G.L.
-
Posts
1,553 -
Joined
-
Last visited
Content Type
Profiles
Forums
Gallery
Events
Everything posted by G.L.
-
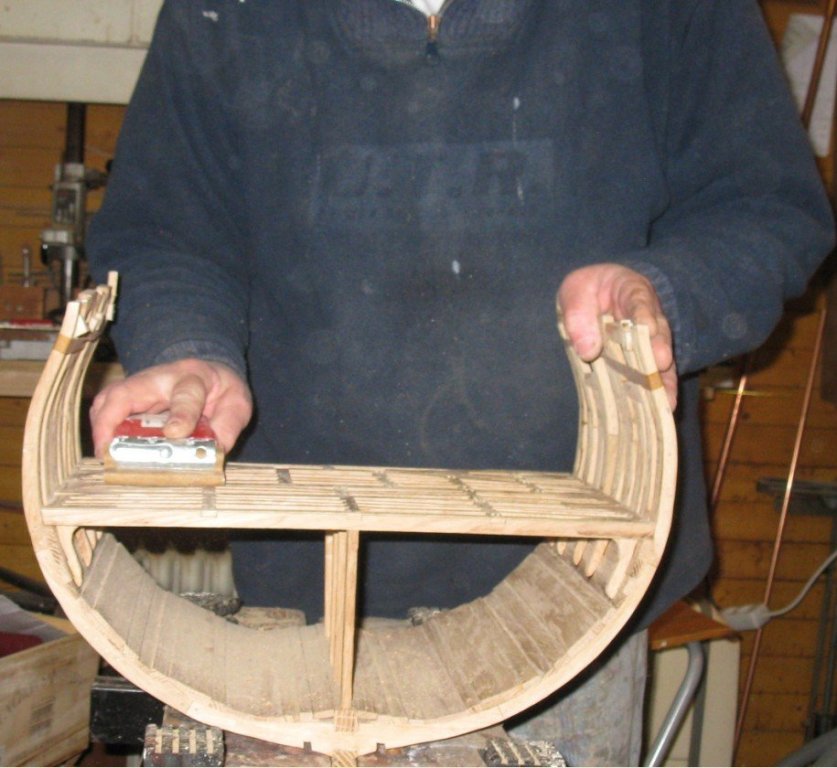
 Tony, Beautiful cross section! I like also the base. Thank you very much for sharing your building experiences in such a clear way. I hope your next build will be the Brixham trawler Valerian because one of my future projects , when my Triton cross section will be completed, will probably be a cross section of a Lowestoft smack. Geert
- 132 replies
-
- 3
-

-
- triton cross-section
- cross-section
- (and 1 more)
-
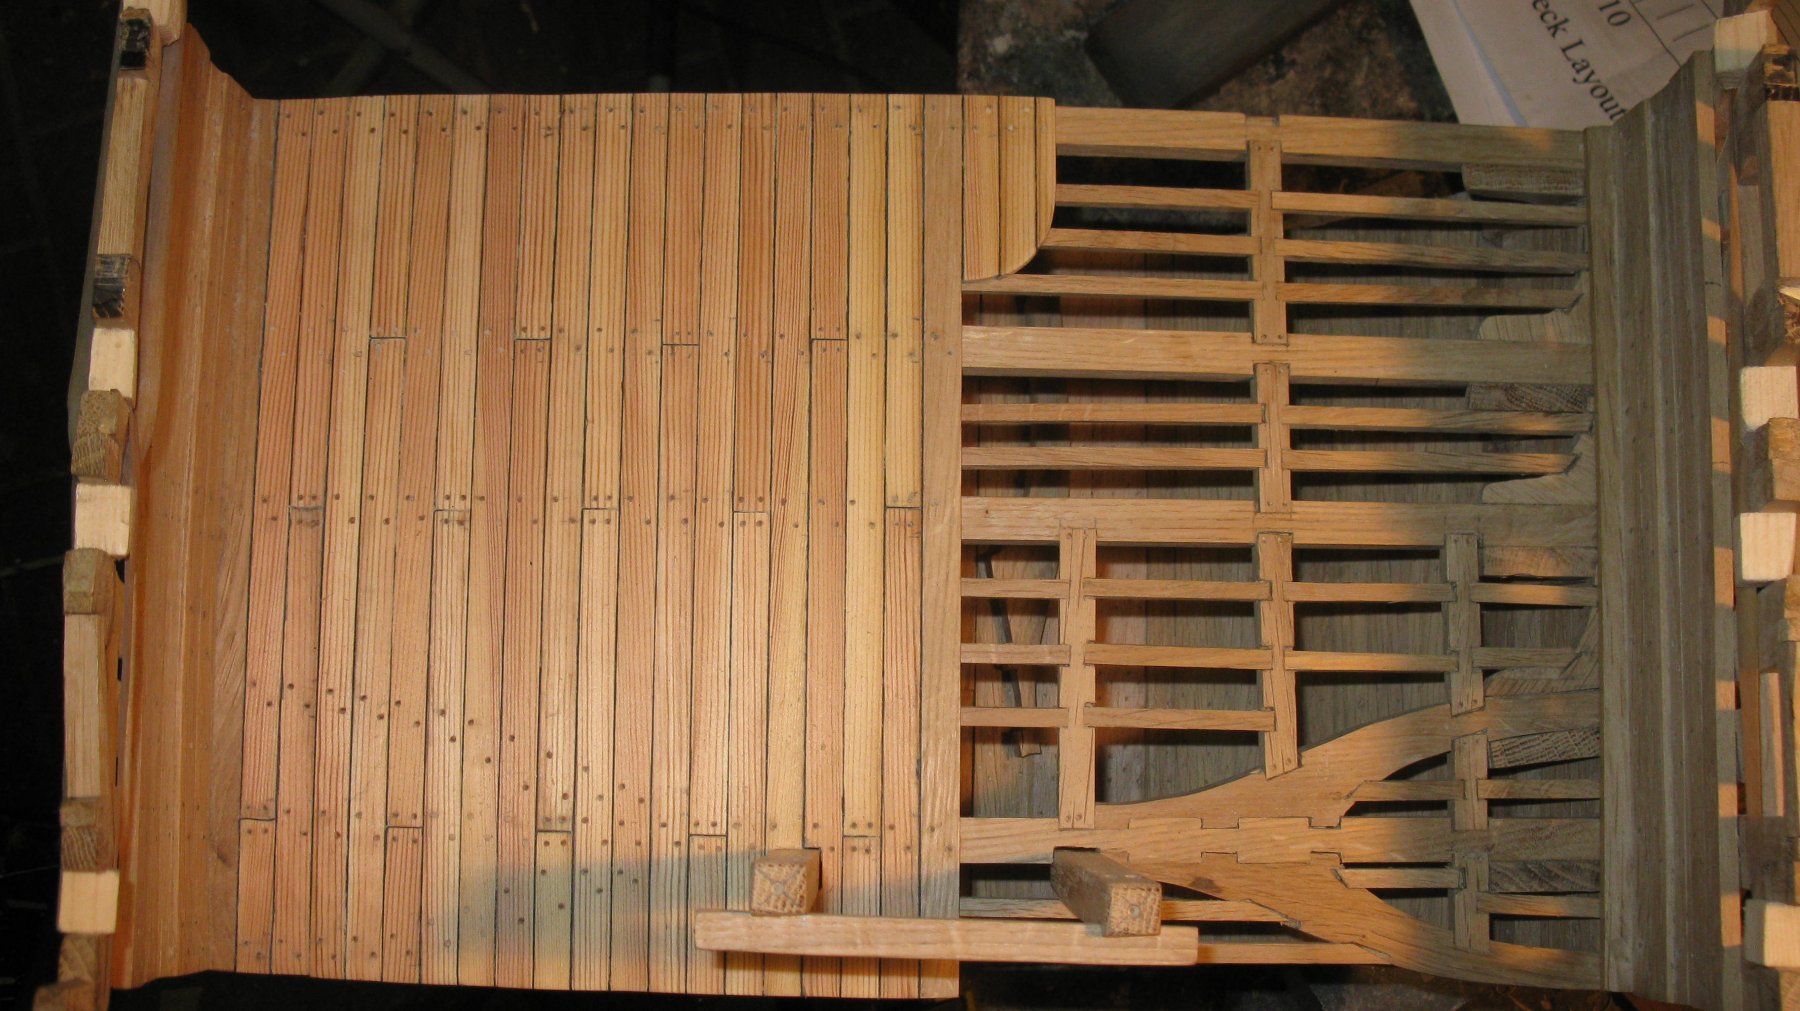
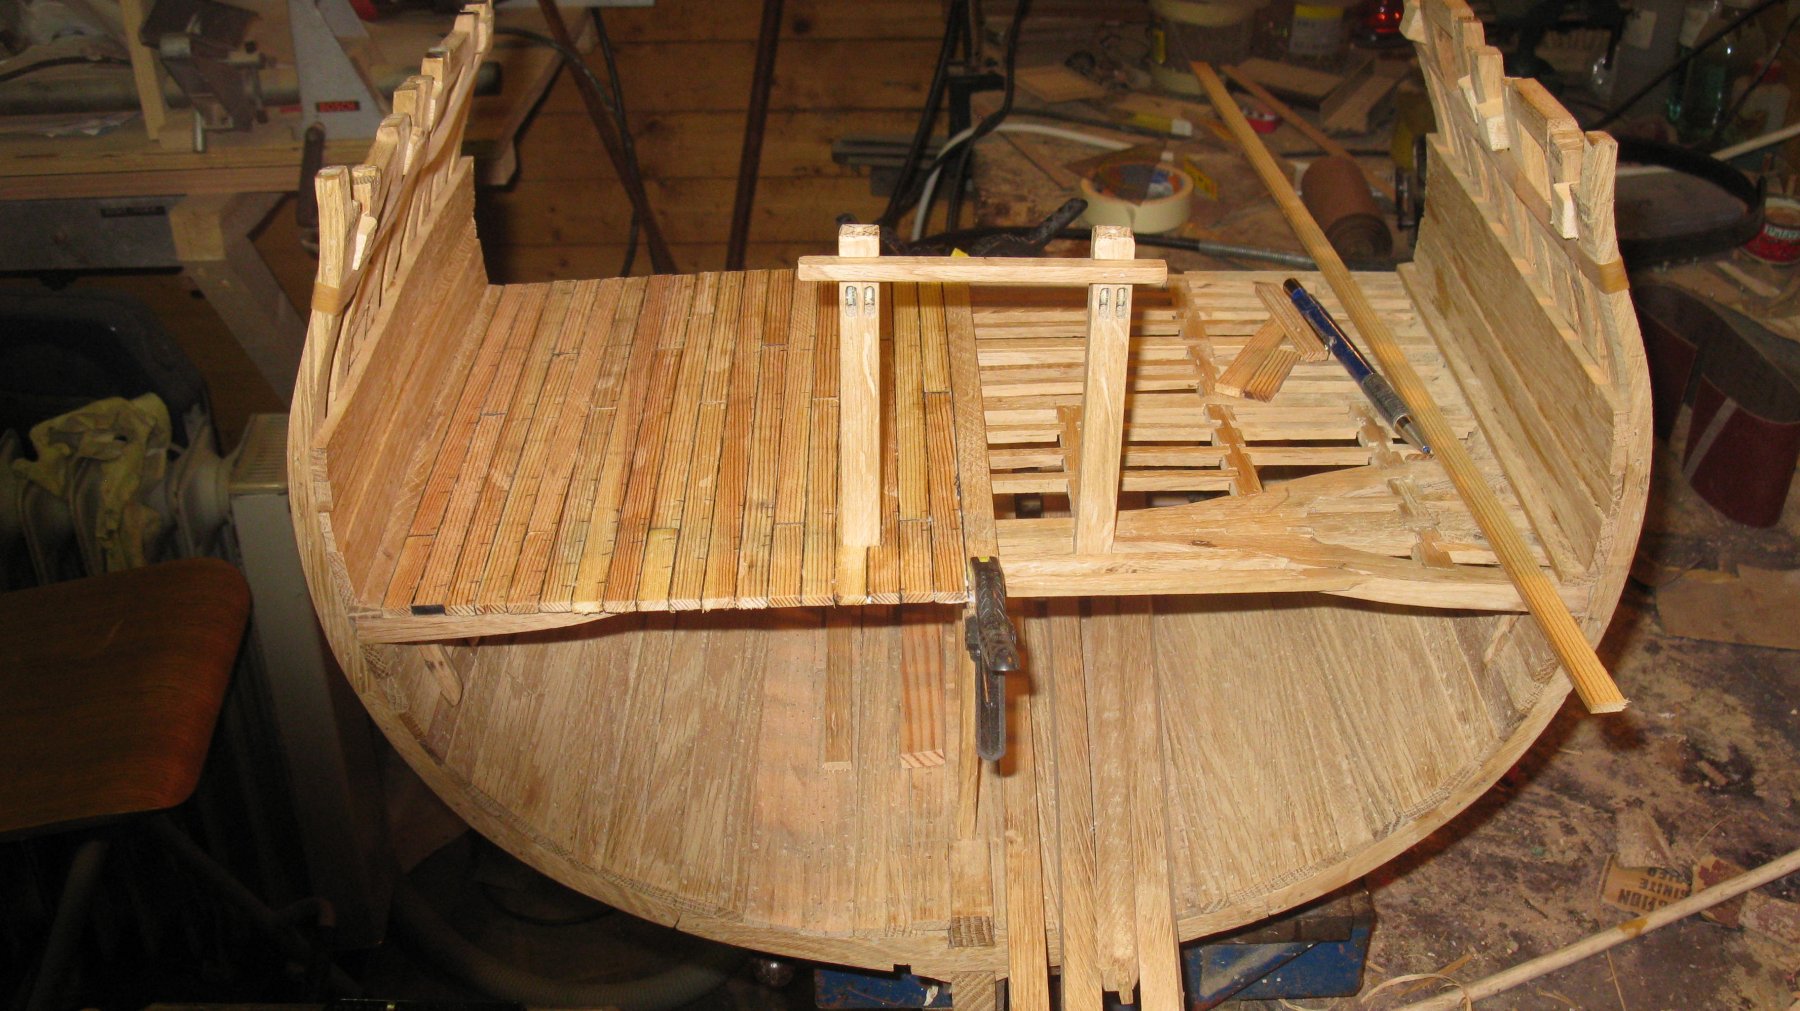
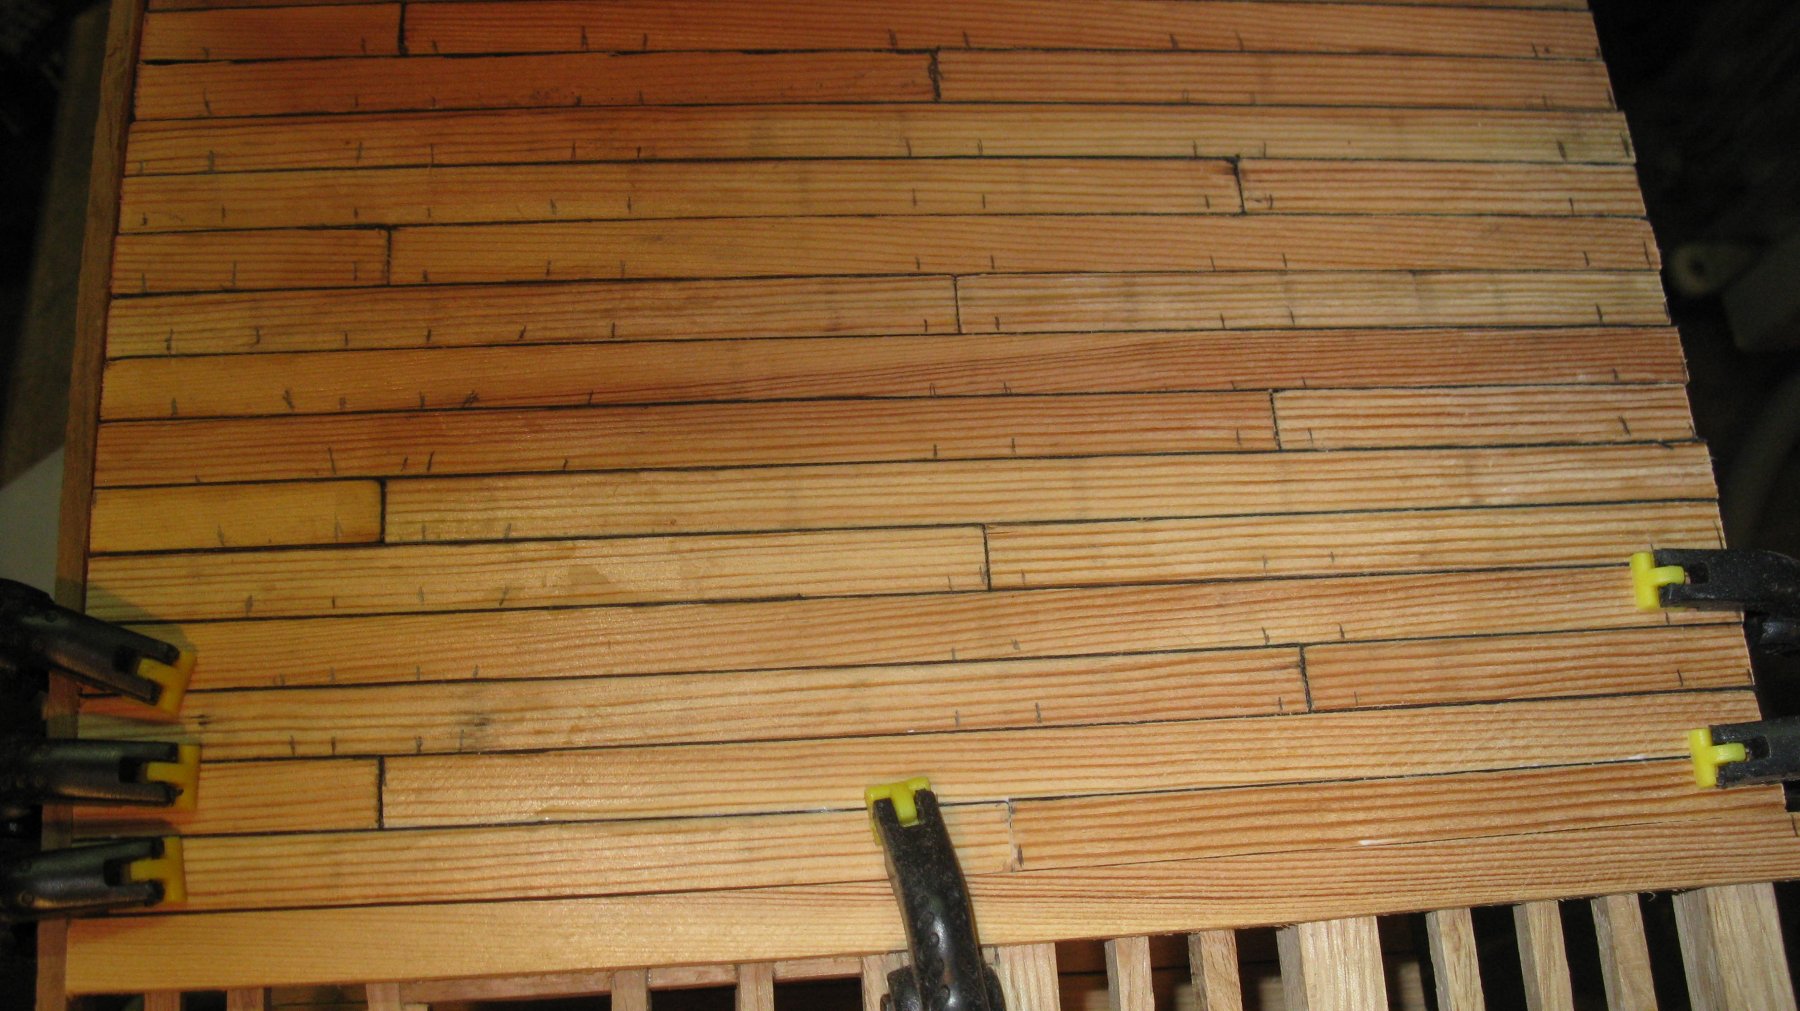
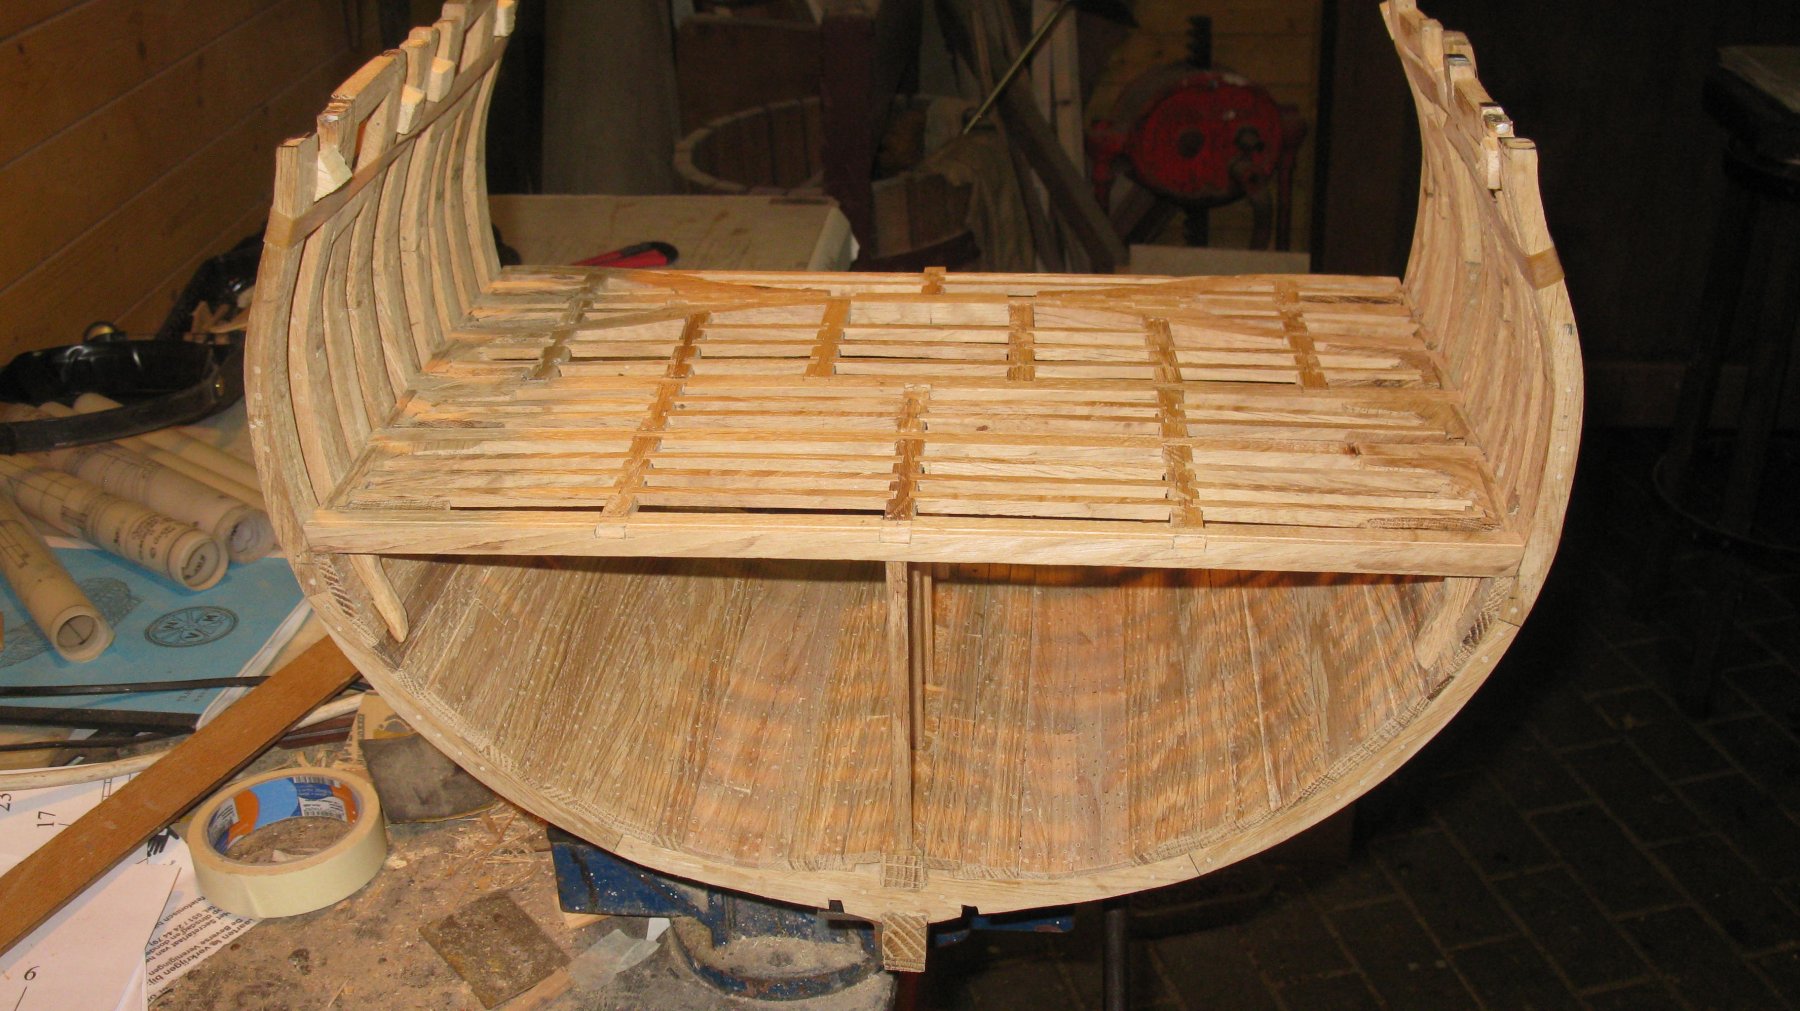
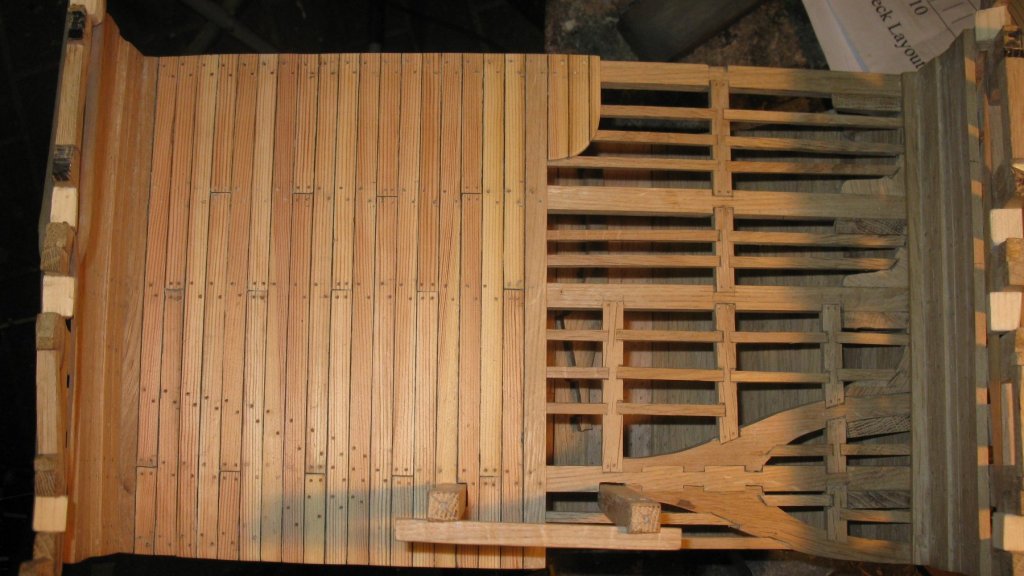
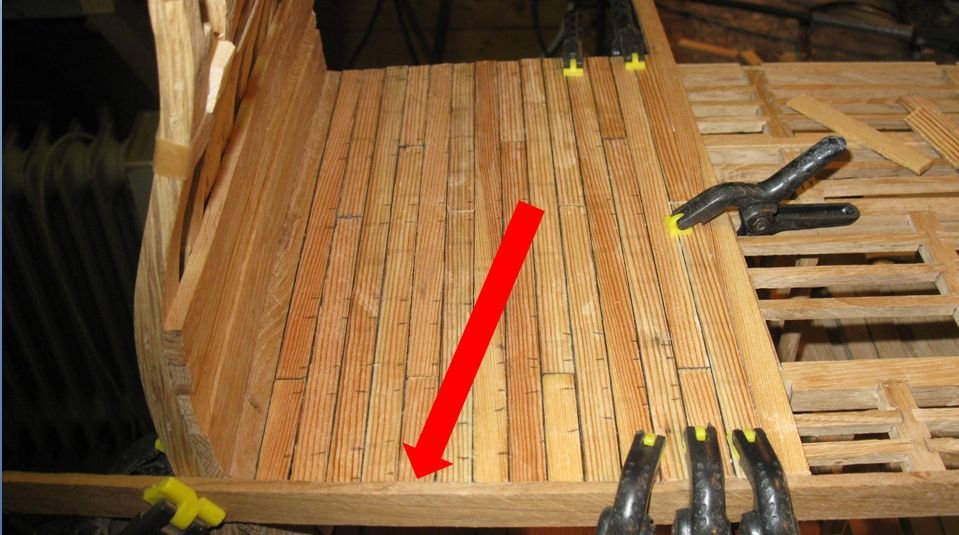
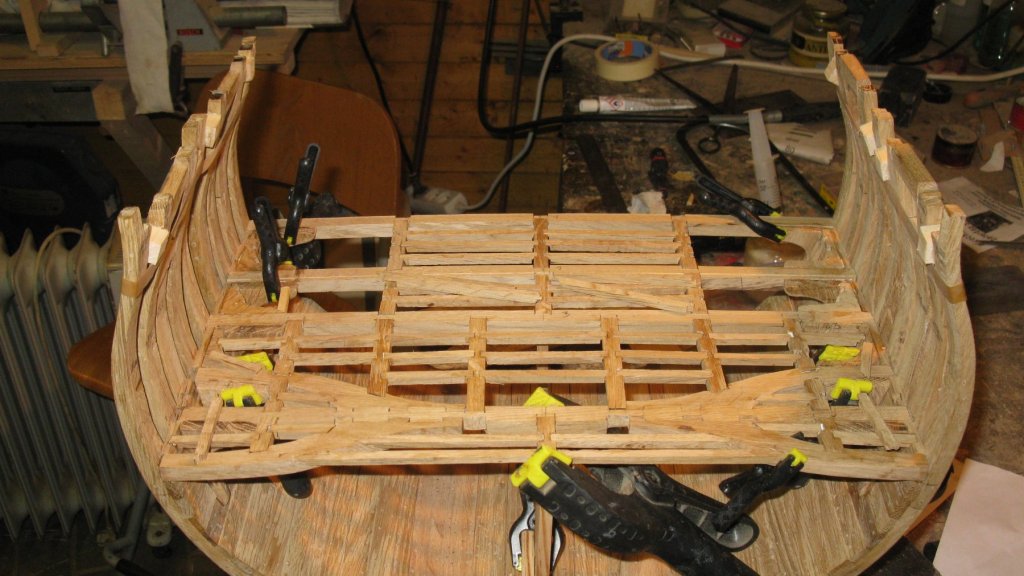
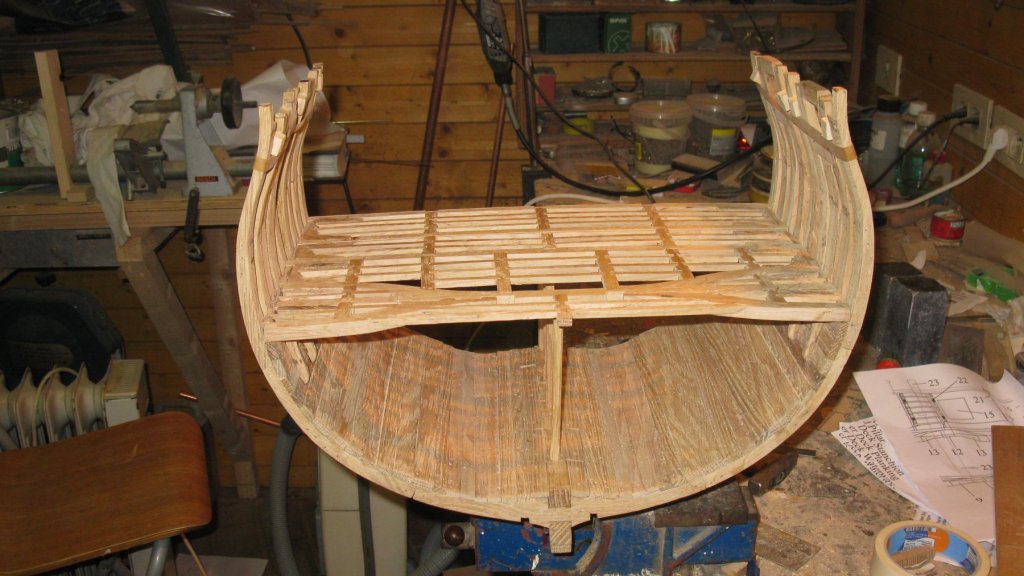
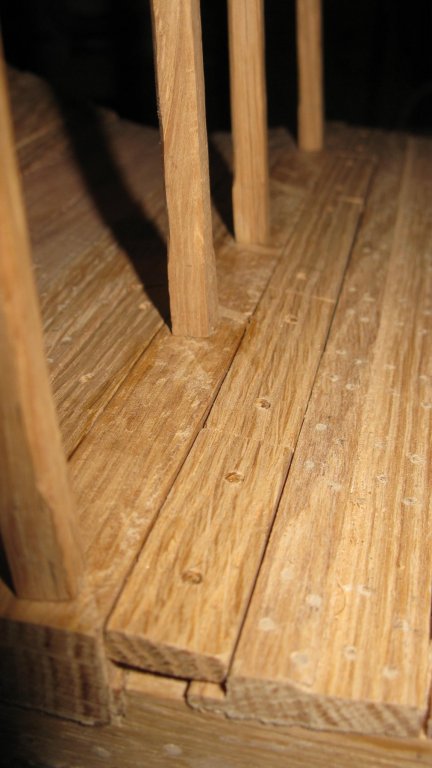
The lower deck after being tree nailed. In the front there is a small widening of the planking where the ladder to the gun deck has to come.
-
The midship plank will not be pine, but oak because she will have to bear the gun deck stanchions.

-
To make it easier to determine where I will have to drill for the tree nails afterwards, I mark the locations of the deck beams with a pencil after laying each plank.

-
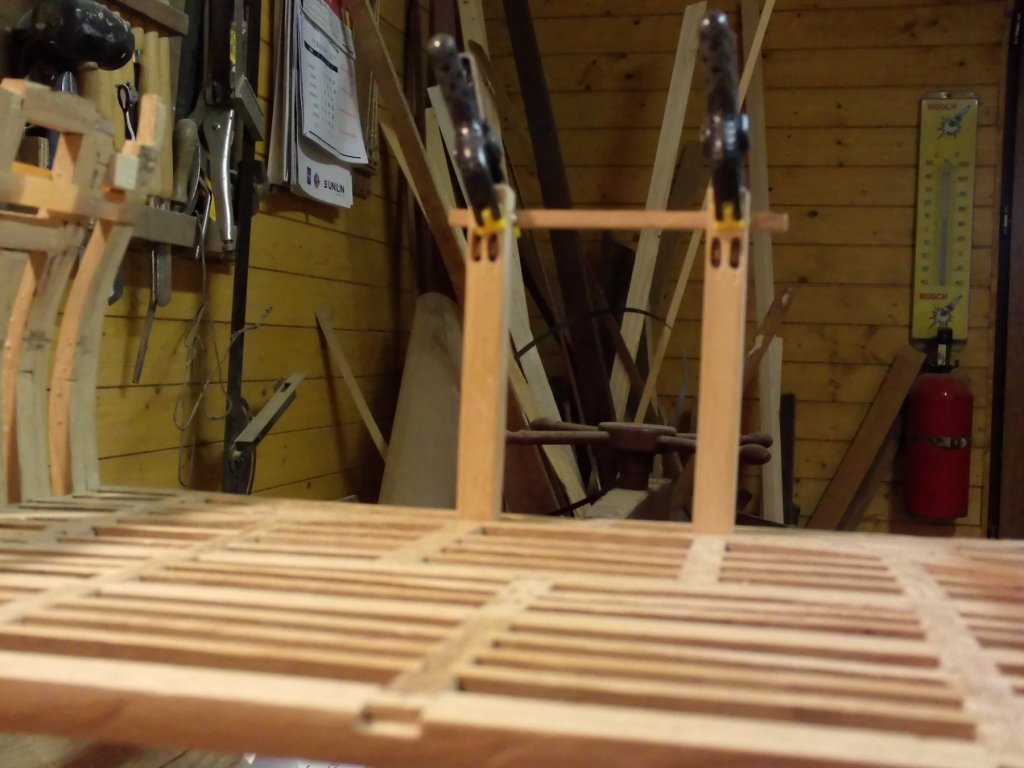
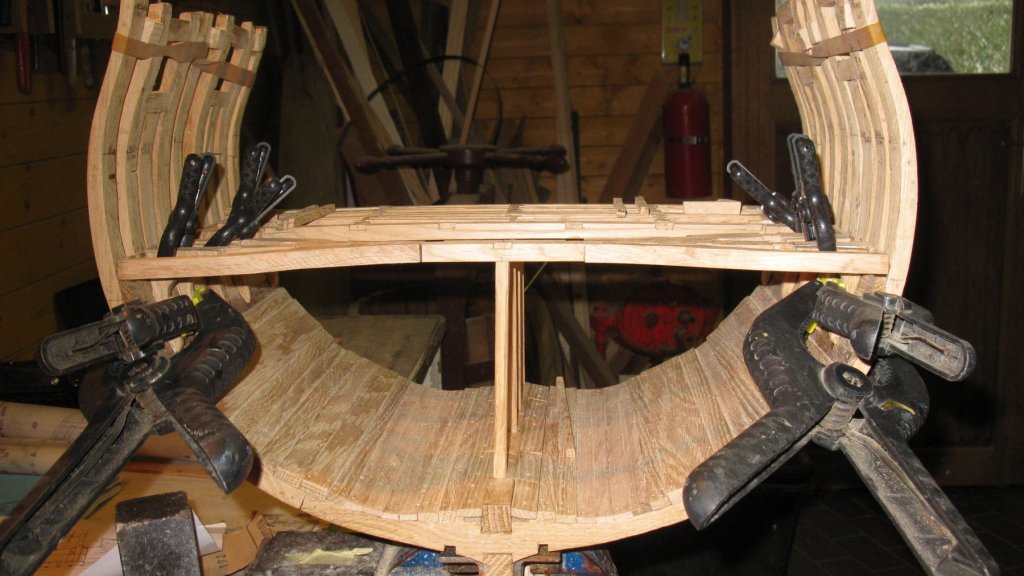
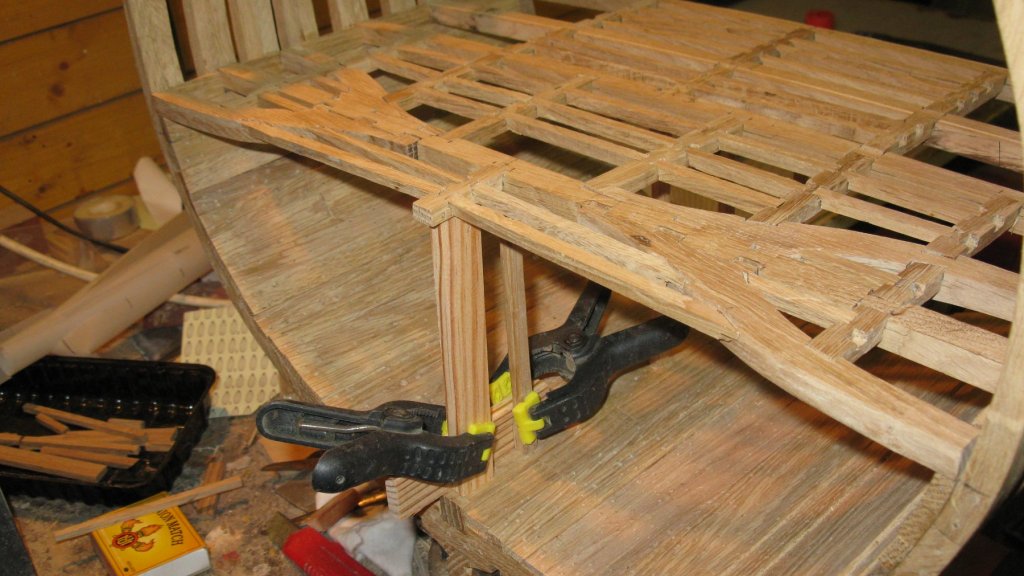
The after end of the cross section is not bound by a deck beam. To assure that the deck planks will have the correct length, I clamp a wooden lath on the after frame.
-
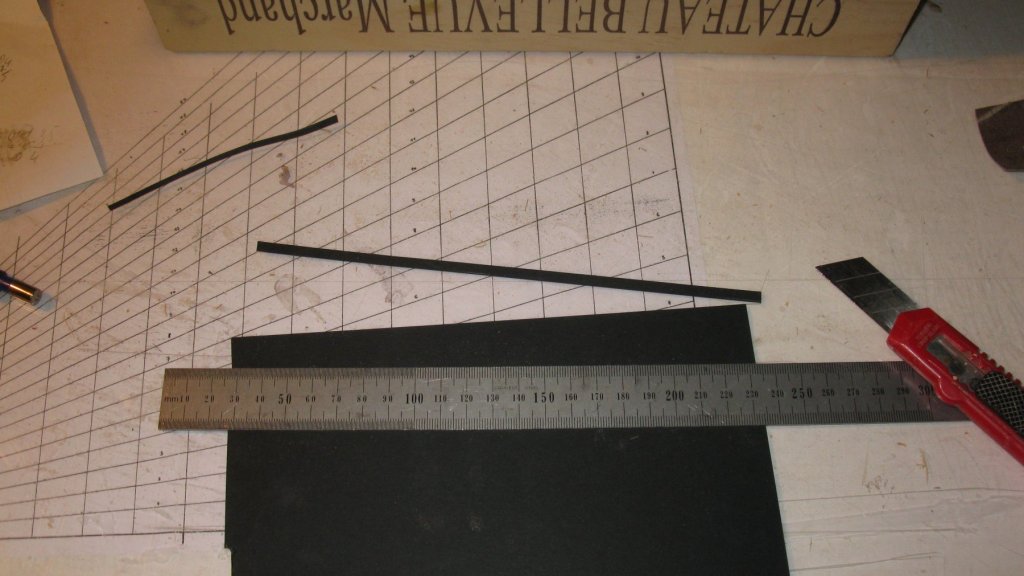
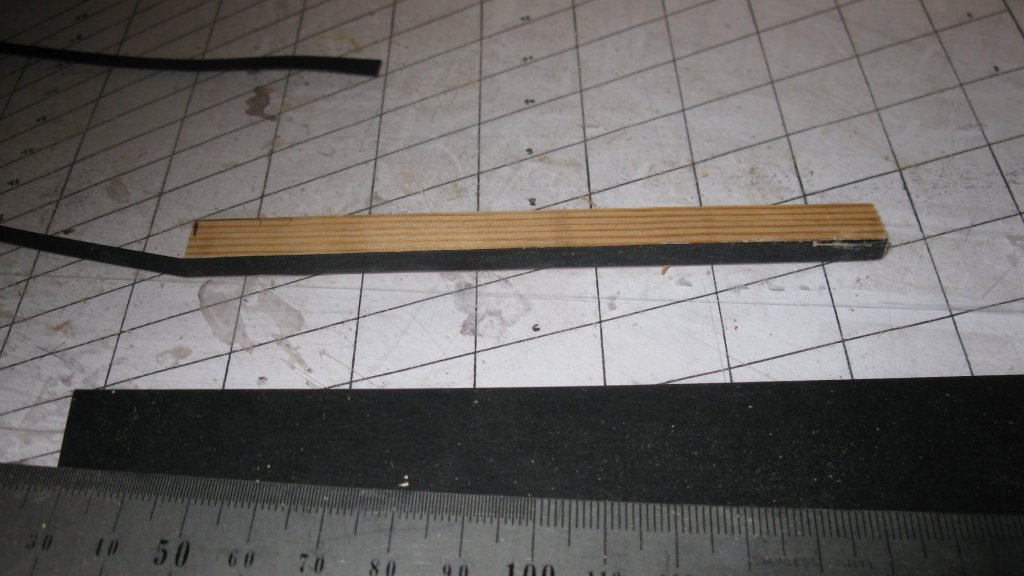
I use pine planks for the decks. I searched for the planks with the finest grains that I dispose of. To imitate the caulking between the planks, I glue strips of 220 gram black paper on the edge of each plank.
-
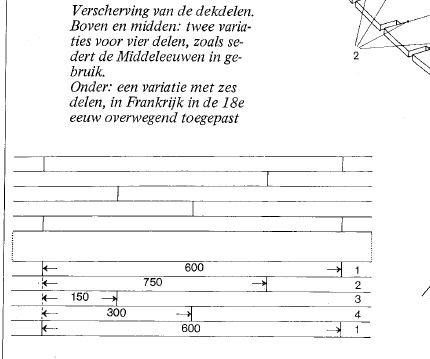
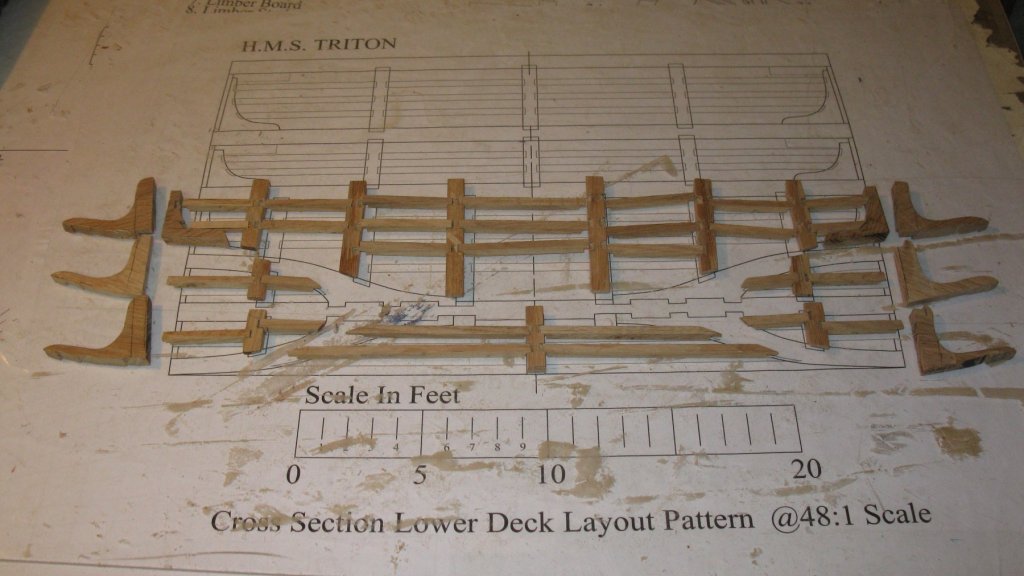
Now I lay the planks of the lower deck. For this I use the deck pattern as described in the book 'Historic ship models' by zu Montfeld.
-
Pete and Christian, Thanks for the comments.
-
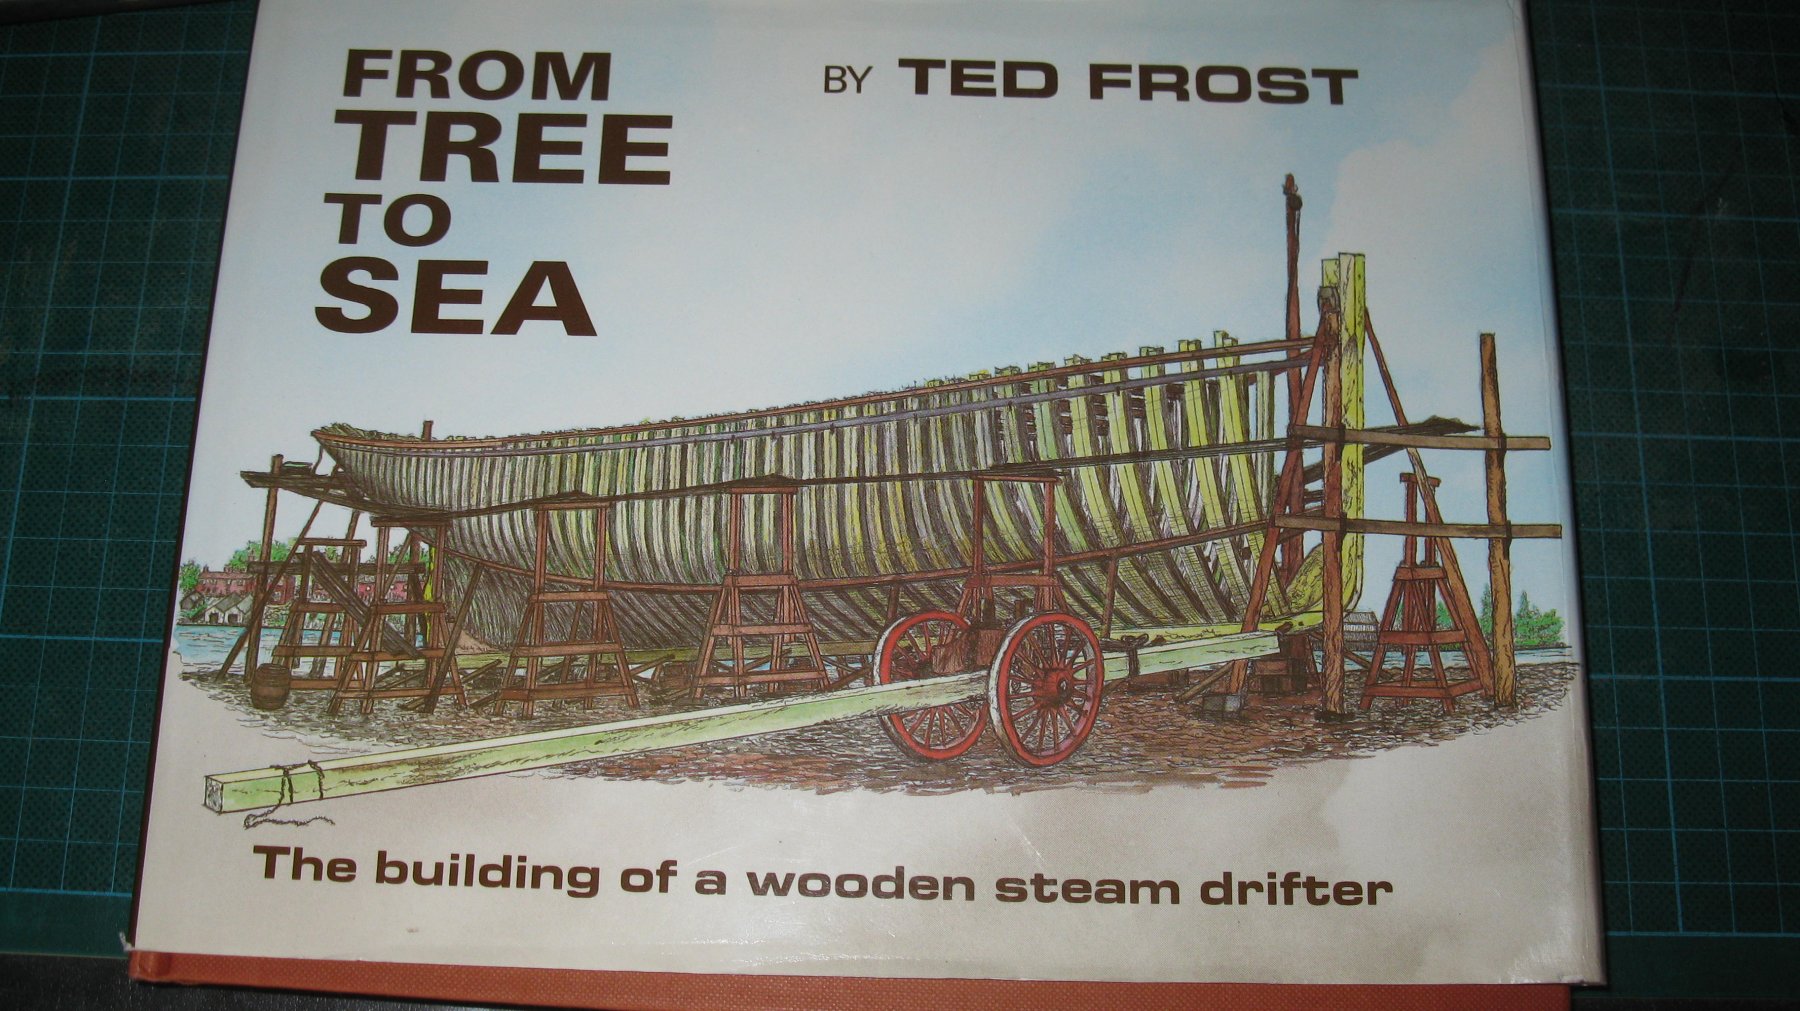
Hey Tony, Maybe the book: 'From tree to sea' could be a help for you. It is written by late Ted Frost, a former wooden ship builder from Lowestoft. He discribes the building of a wooden steam trawler. It is a book with plenty of detailed images. (ISBN 0 86138 033 9) Geert

- 132 replies
-
- 4
-
-
- triton cross-section
- cross-section
- (and 1 more)
-
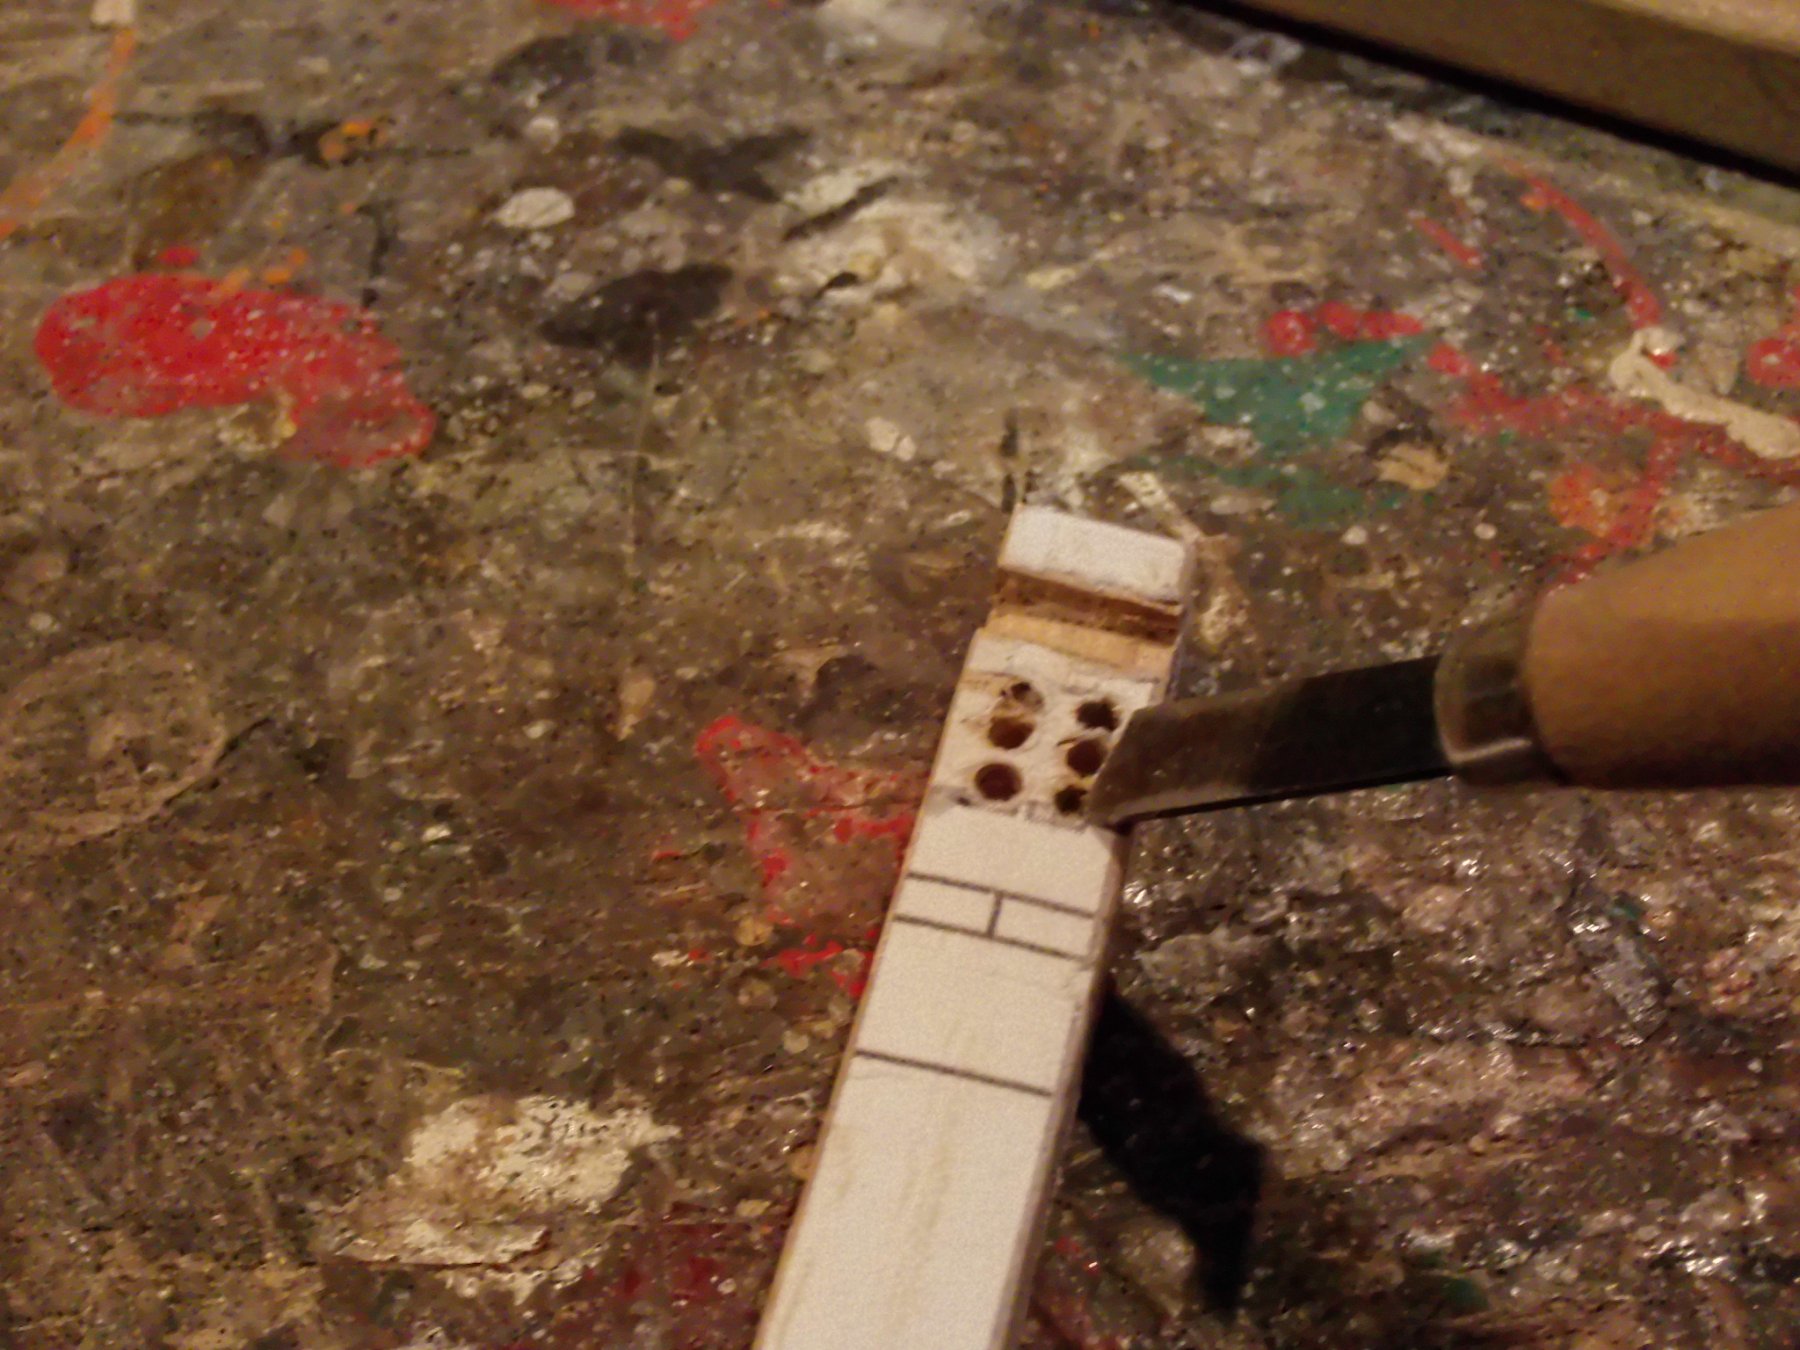
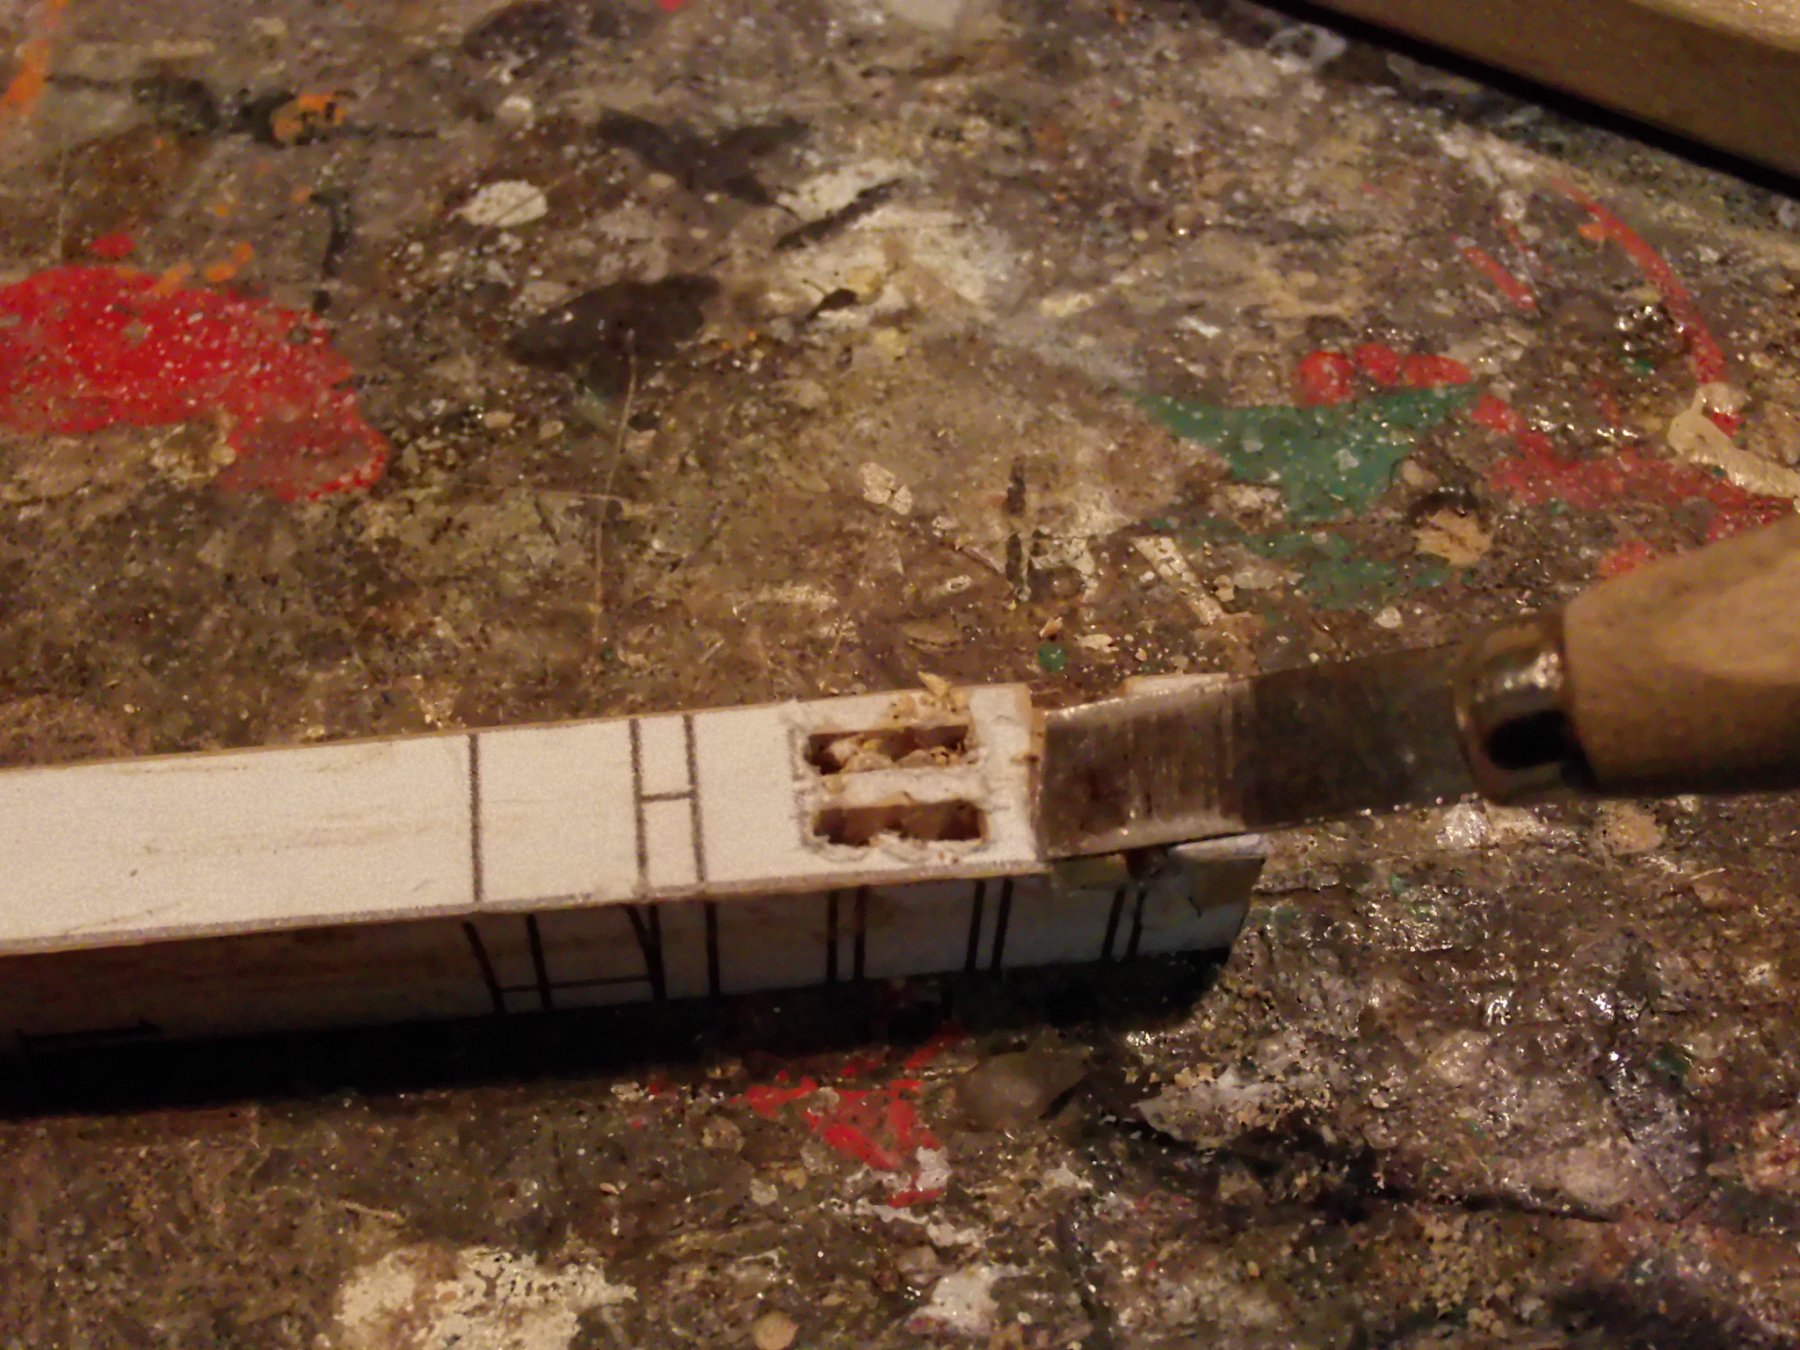
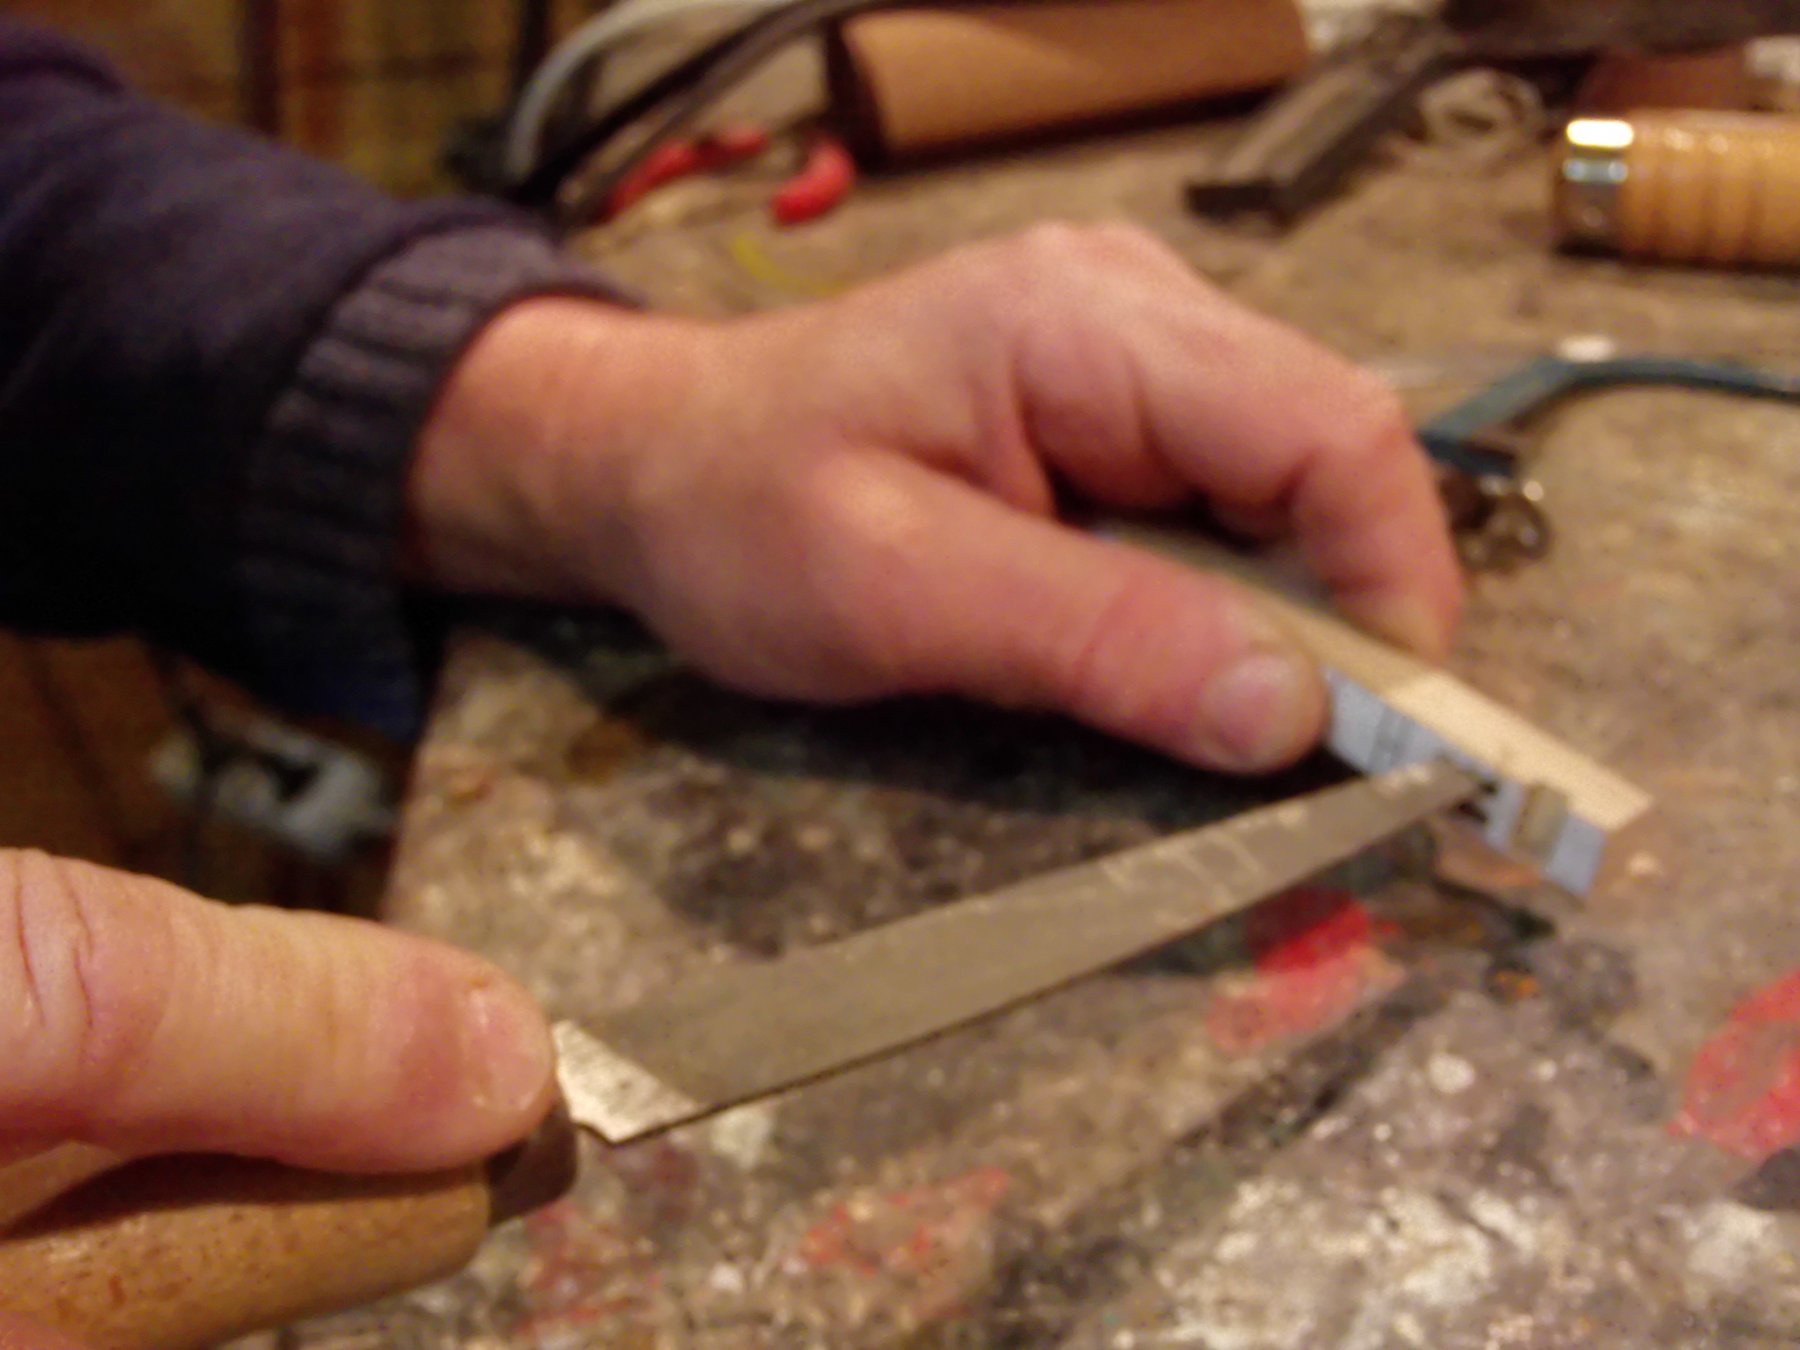
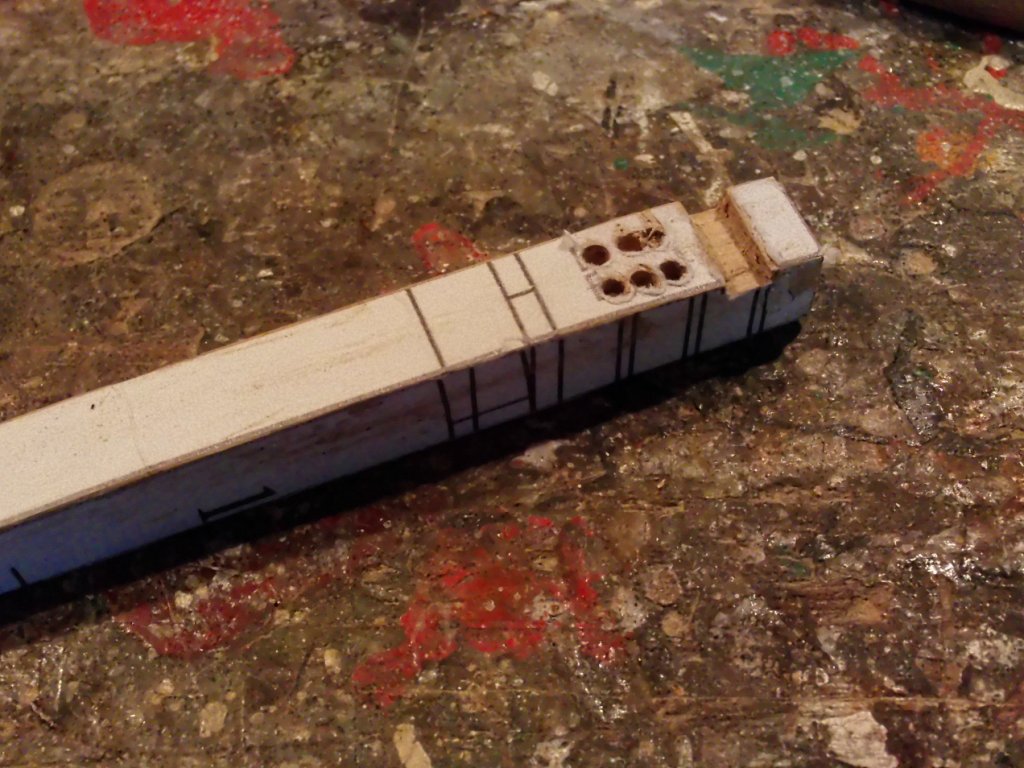
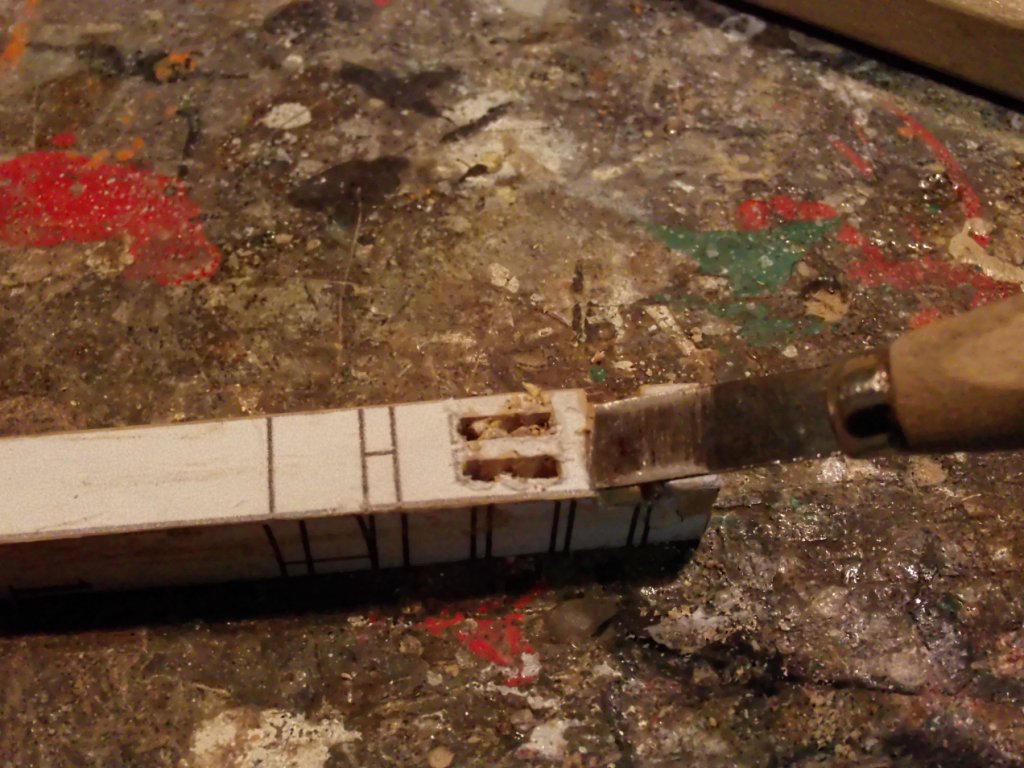
I make now the main topsail sheet bitts. I think that the pictures are self explaining. I made the bitts sheaves in the same way as Tony (Tkay11) explained in his post 50 with the big difference that I made them of wood (I have no metal lathe). My pictures of the production process of the seaves are to unsharp to post them. I will wait to fix the bitts until a later stage.


-
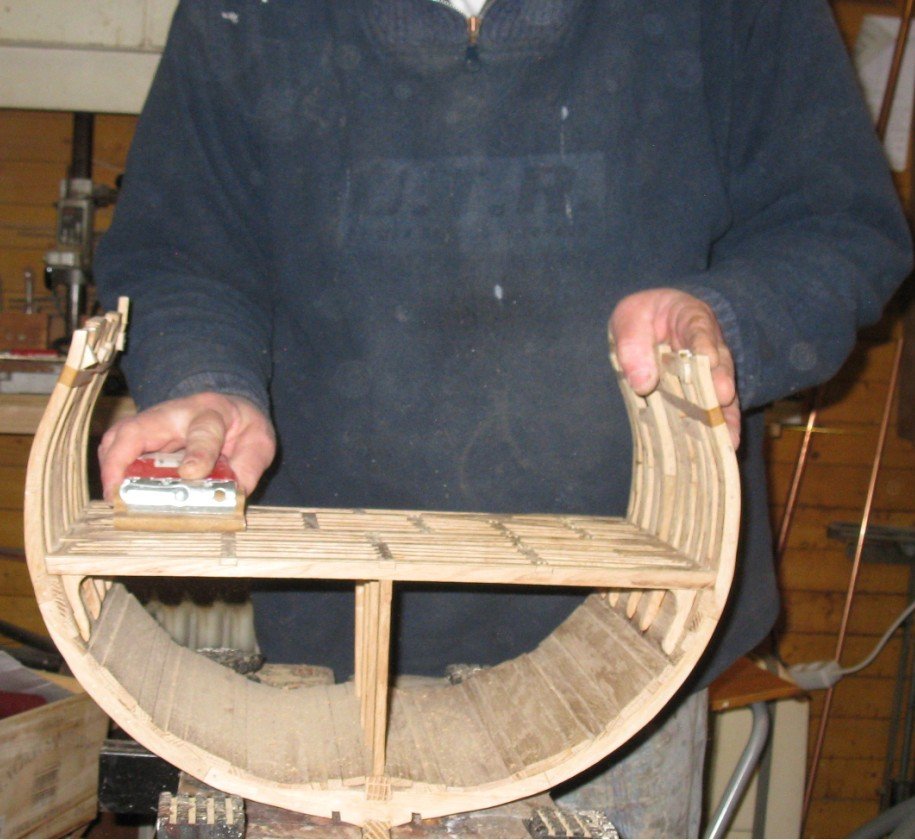
Once the glue is dry, I can sand down the lower deck.

-
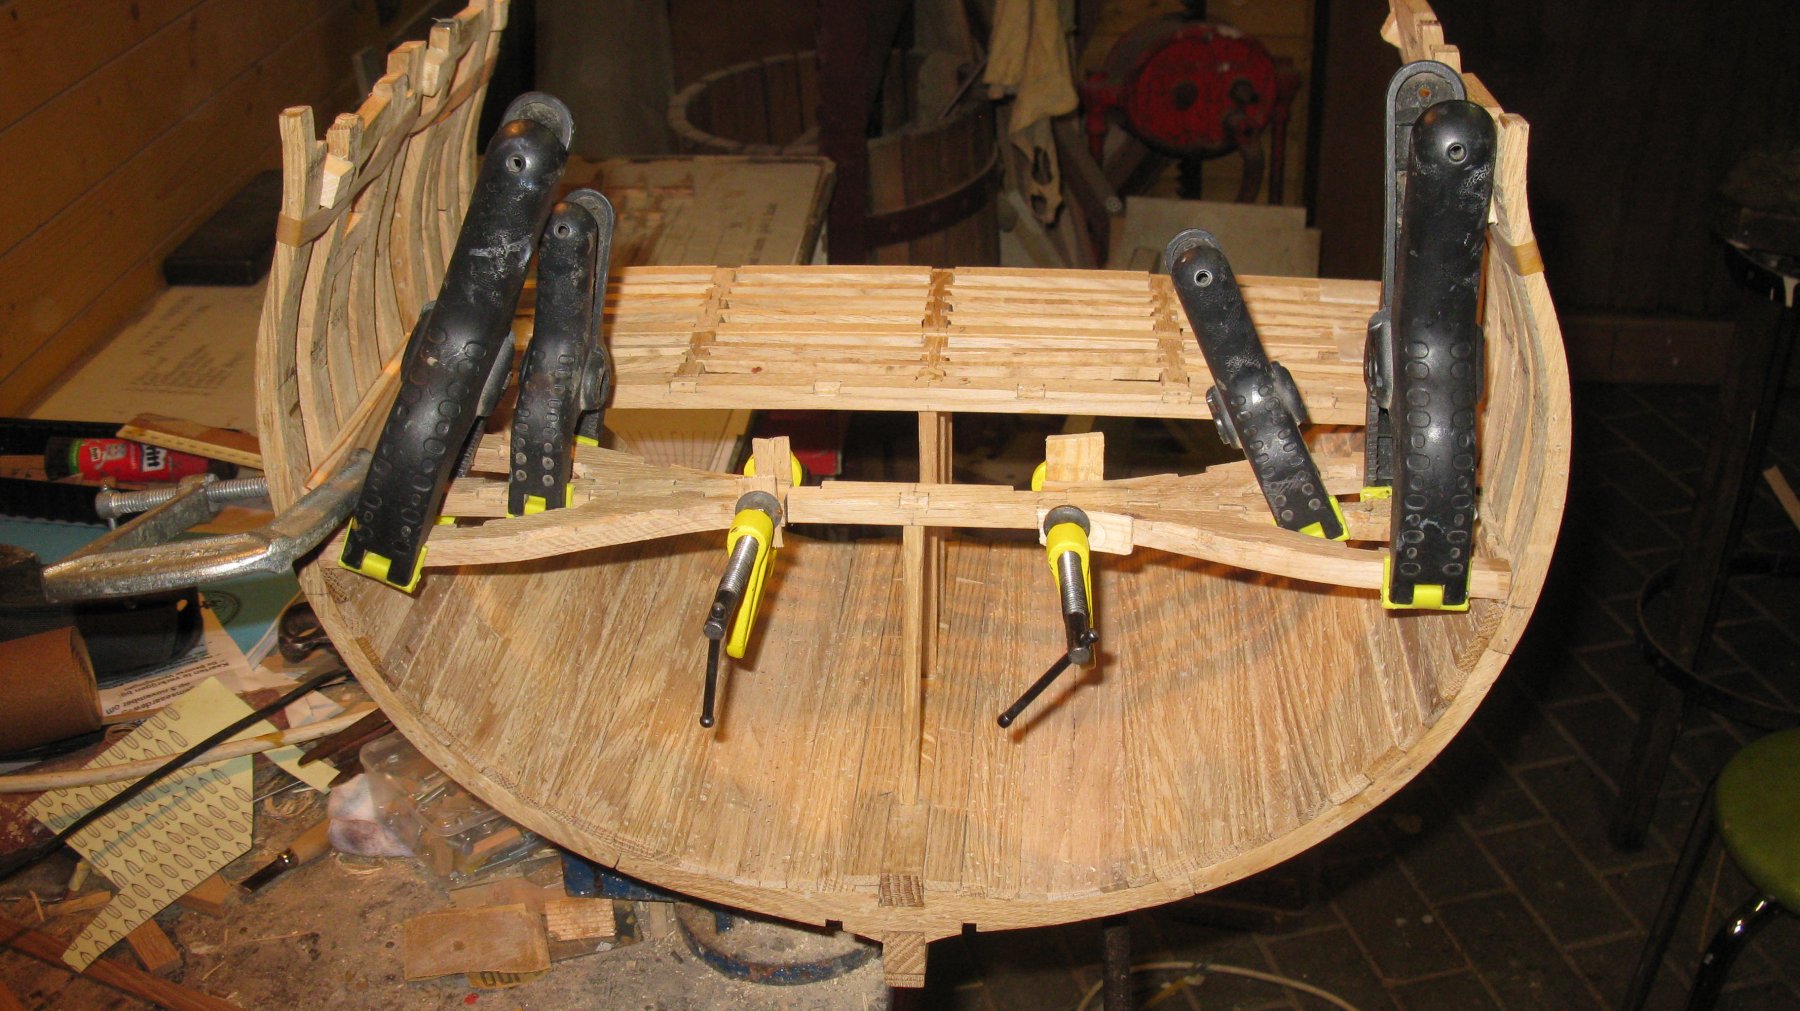
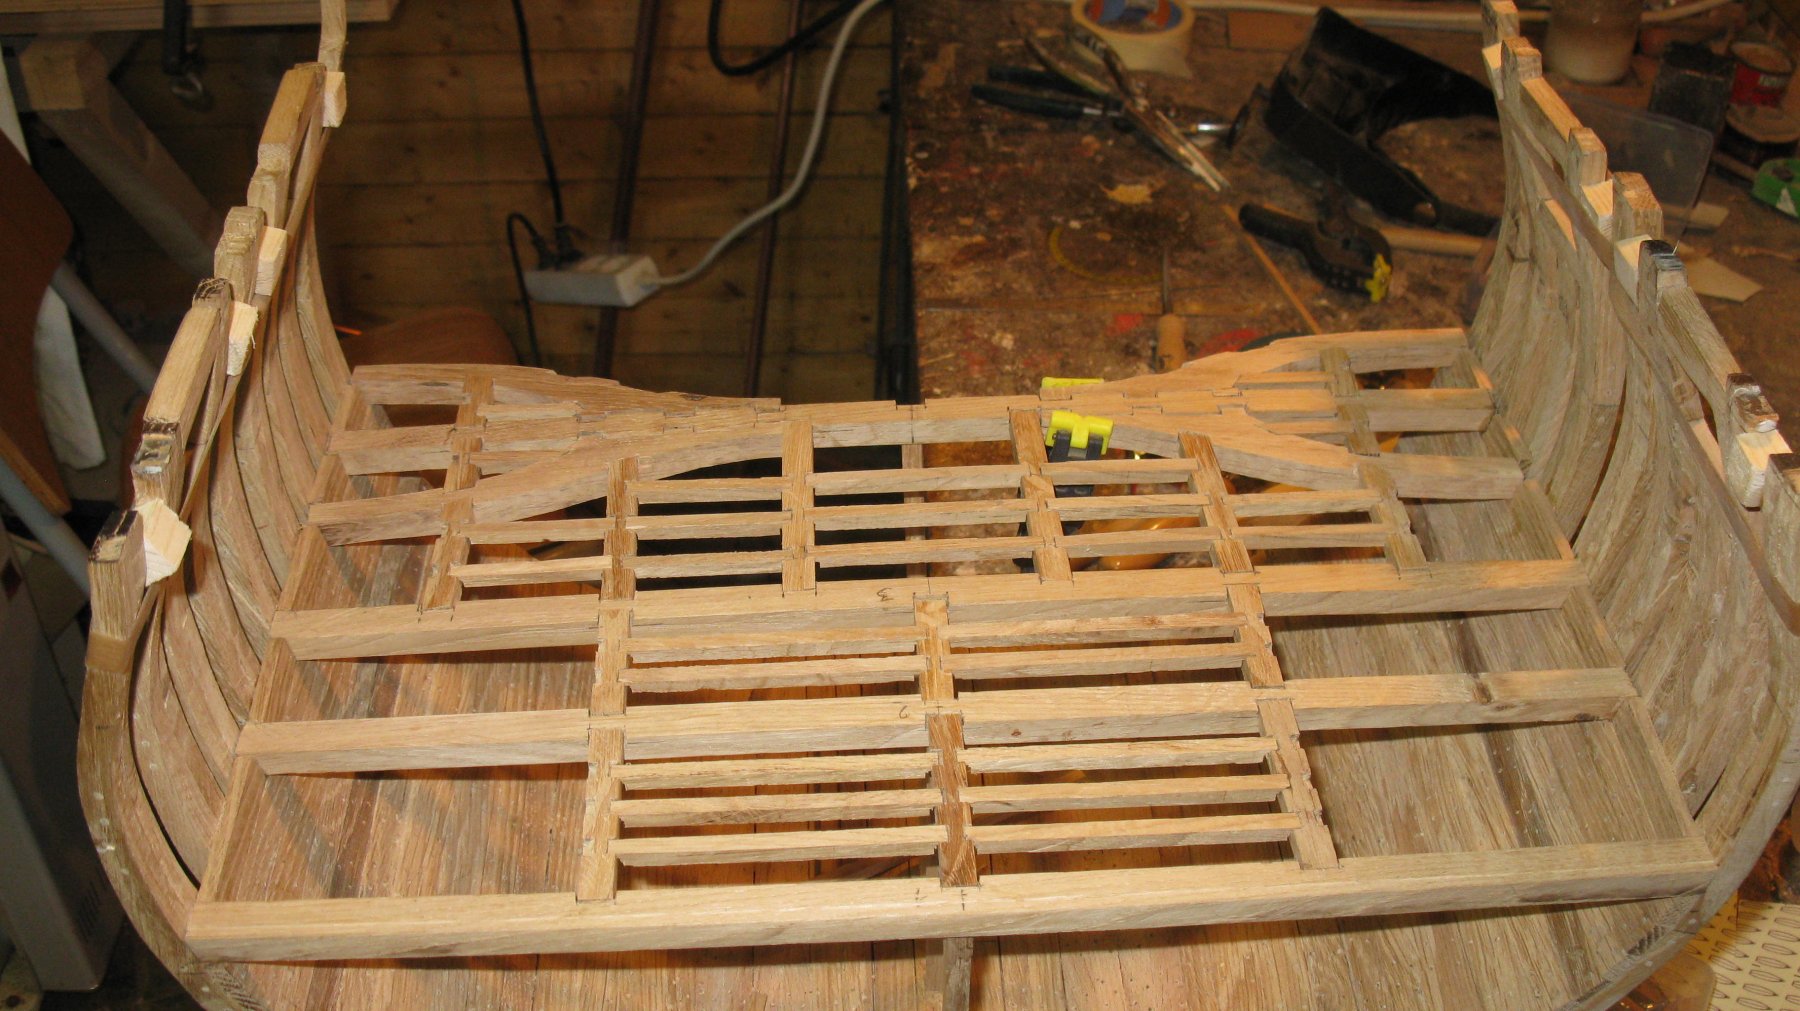
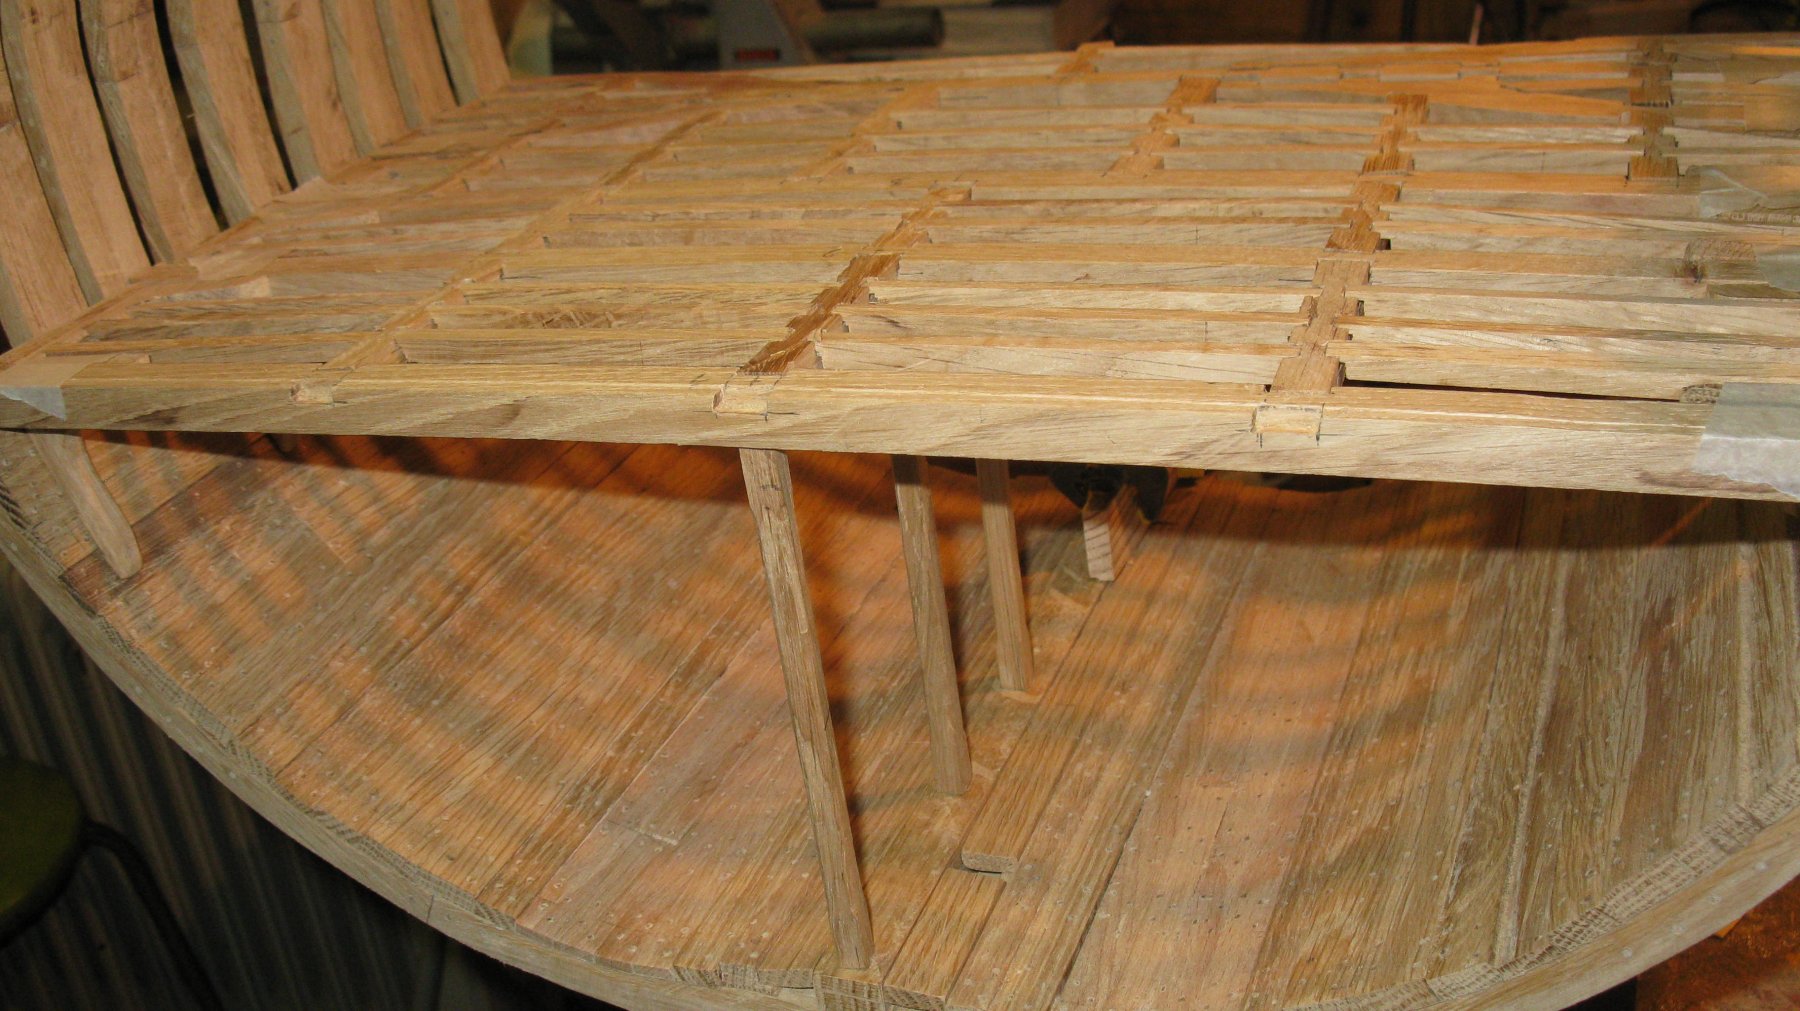
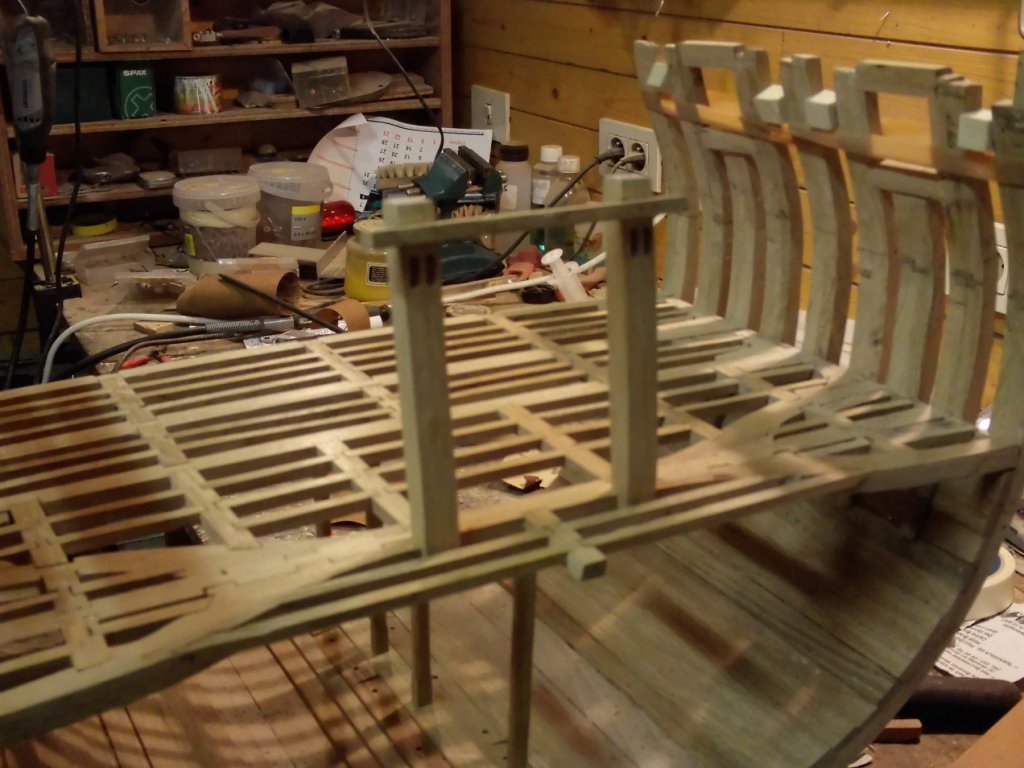
When all ledges are made, it is time to glue the knees in place. Therefore I remove the ledges again in different stages. To find my way in the puzzle I lay them out in same pattern as they are placed on the carlings. Then I put tree nails in the carling ends.

-
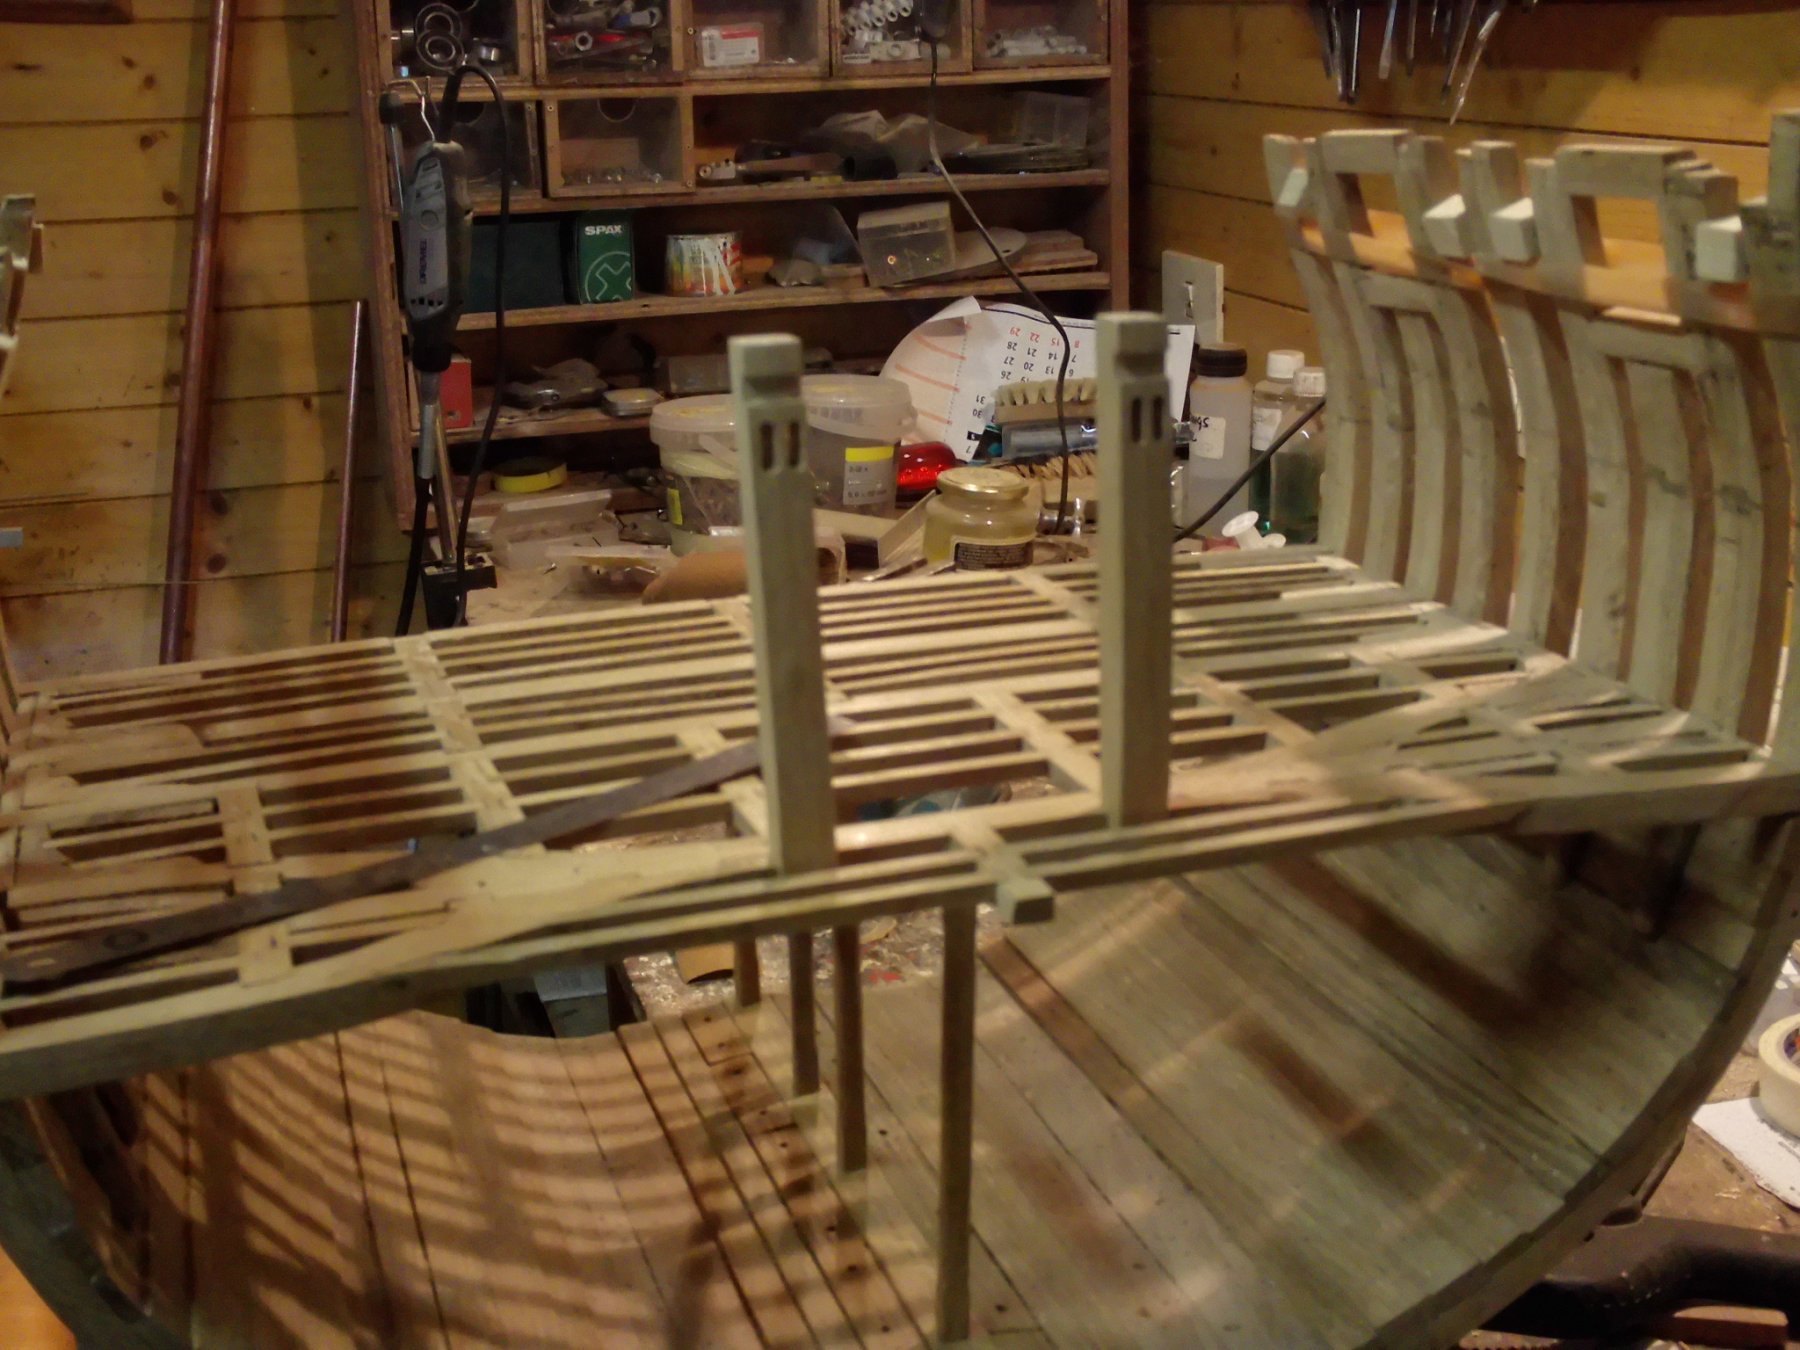
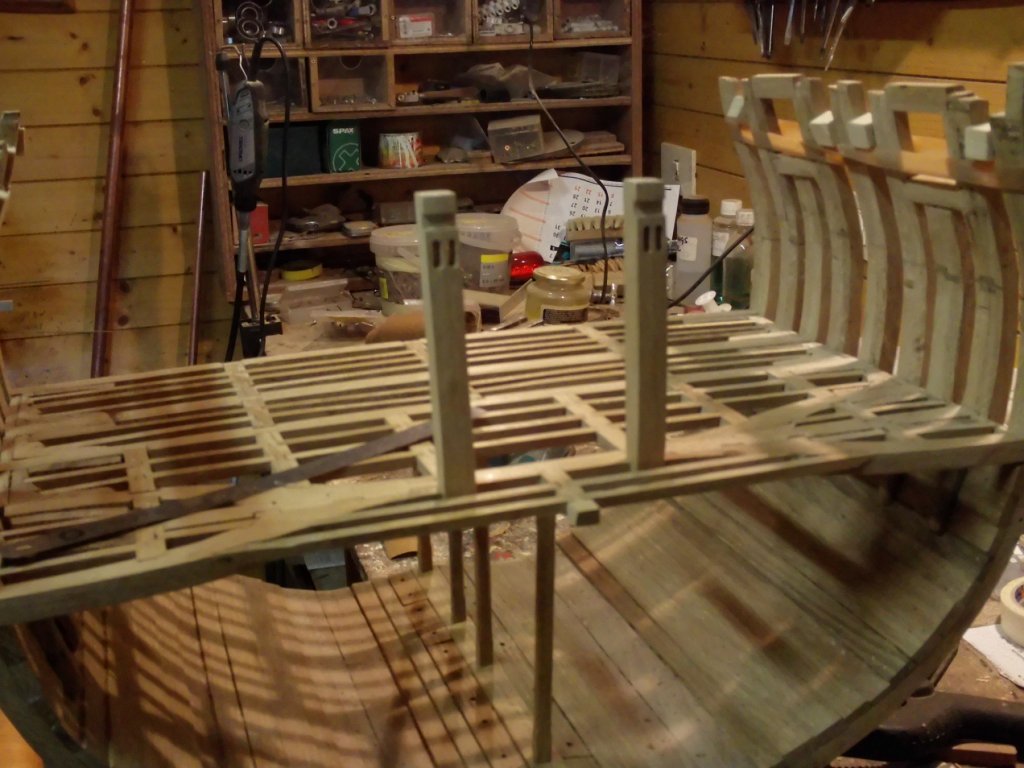
Now I make the ledges. I place a wooden stick below the middle hanging carling to support it as long the deck is not yet planked. The open spaces in the lower deck are slowly filling up. As you can see I made also carling notches in the outside of the outer deck beam although they are not needed for the cross section, but I judge that the ship was not ending at the edge of the cross section.


-
Meanwhile the limber boards are divided in lengths of ± 3 feet, following the advice of Pete38. Thanks again Pete for the information.
-
Tony, This is an excellent tutorial. It will certainly be a useful guide for me and many others to continue our work on our project. Your Triton cross section will be a real masterpiece. G.L.
- 132 replies
-
- 3
-
-
- triton cross-section
- cross-section
- (and 1 more)
-
Hi Michiel, I just watched your YouTube movie. Your work is really a masterpiece. Congratulations, G.L.
-
Aviaamator, Thinking a lot about you. Wishing you a lot of strength. I am praying for you that everything is turning well. I am sure that the whole Model ship world community is supporting you. G.L.
-
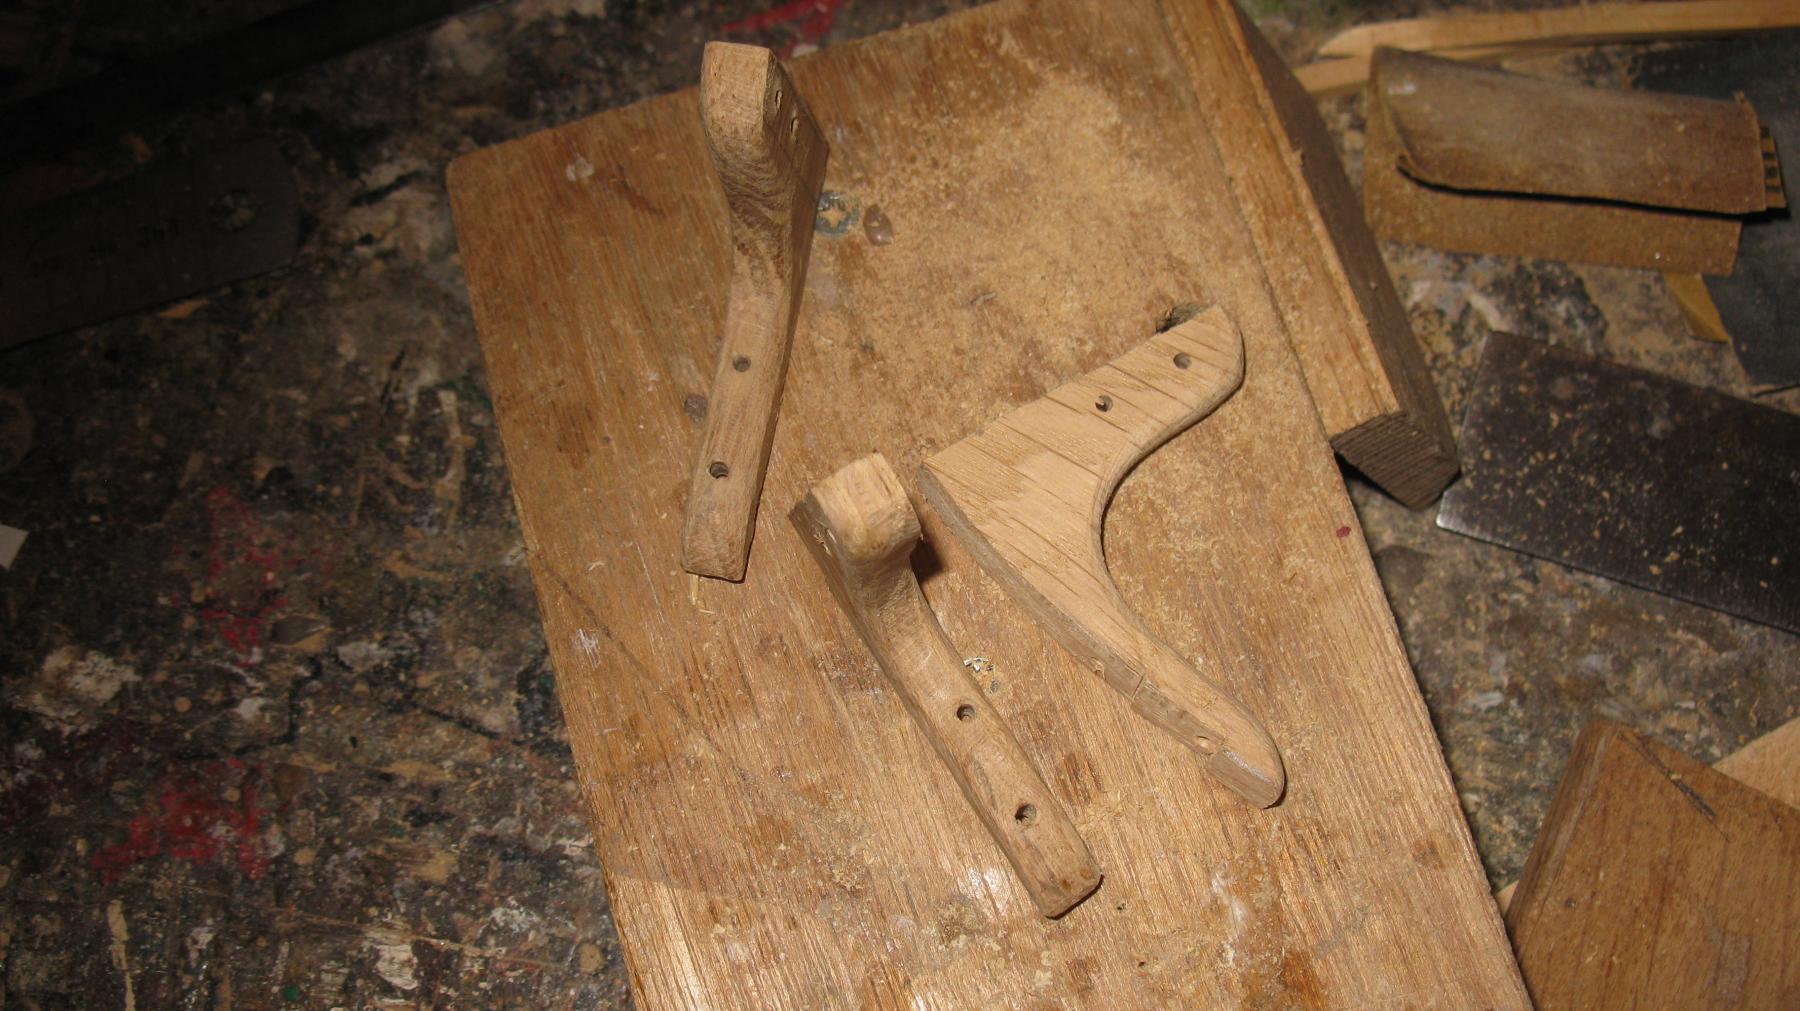
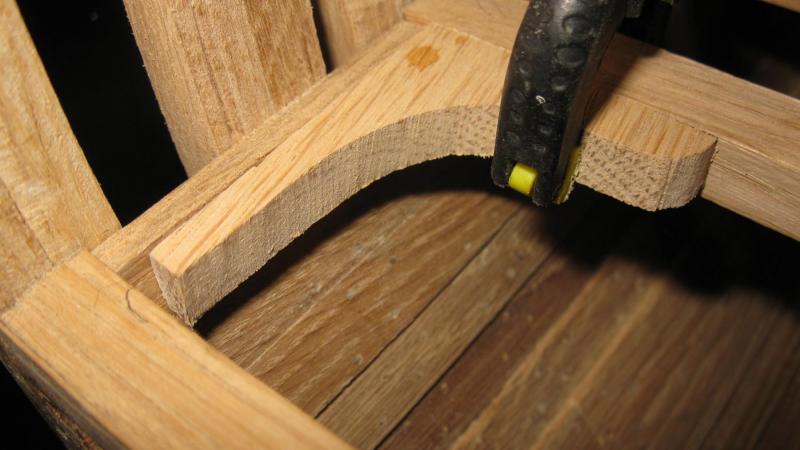
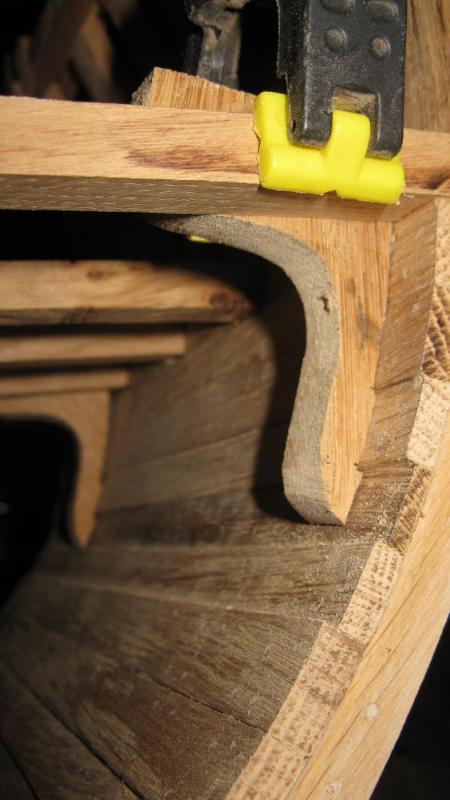
The final touch for the knees is putting some treenails in it.
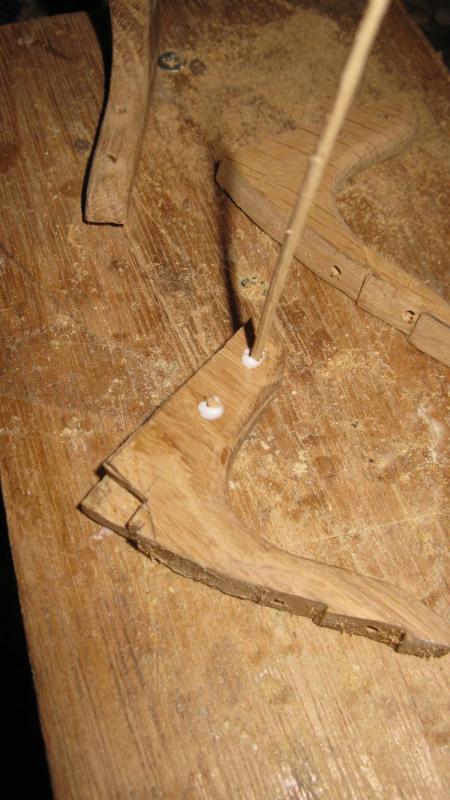
-
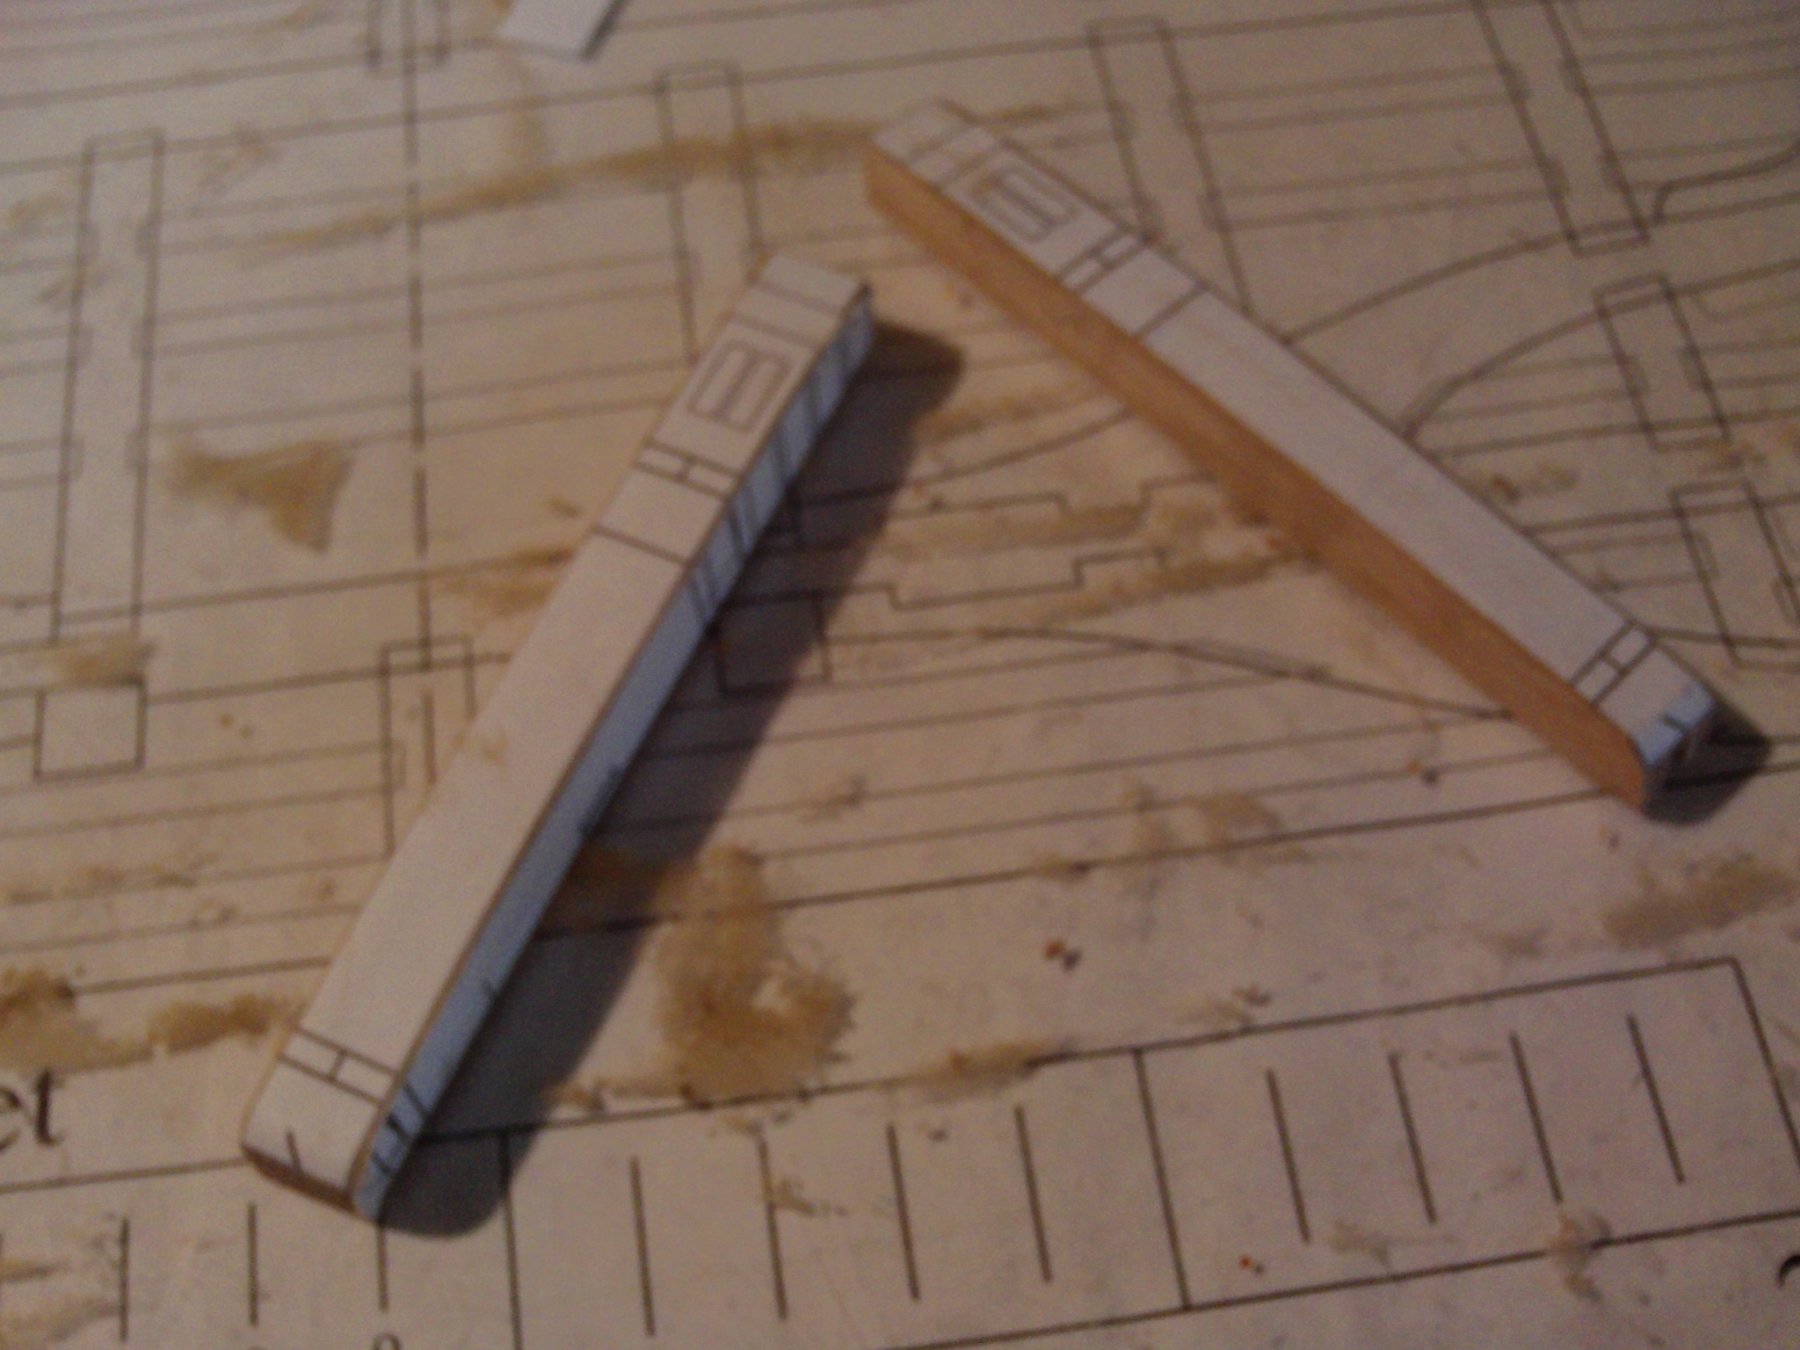
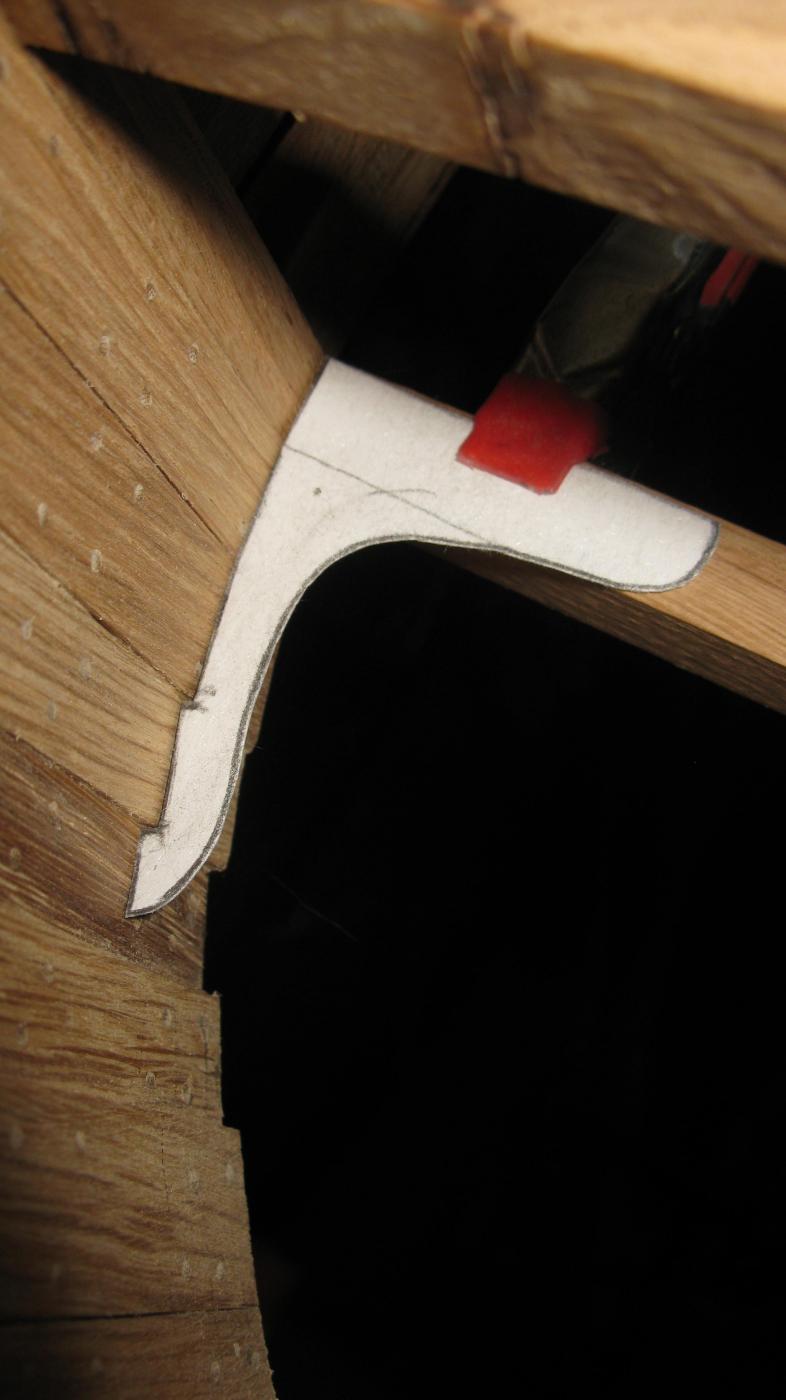
The process of making the lodging knees is pretty well the same as for the hanging knees. Where a hanging and a lodging knee are meeting each other, a notch has to be made in the hanging knee.
-
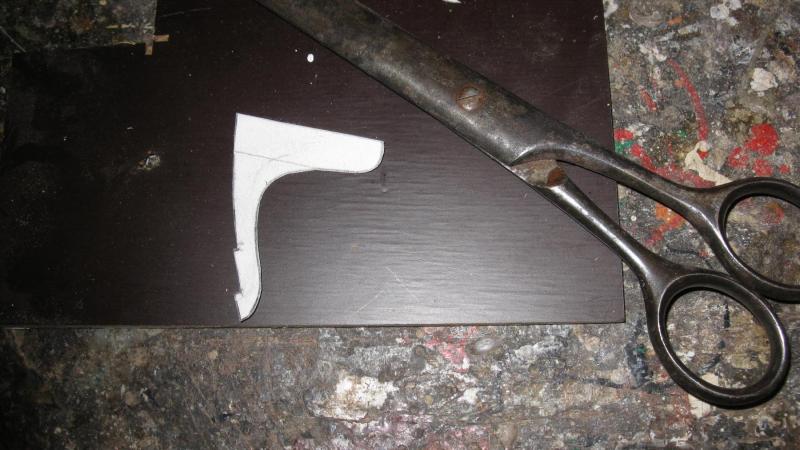
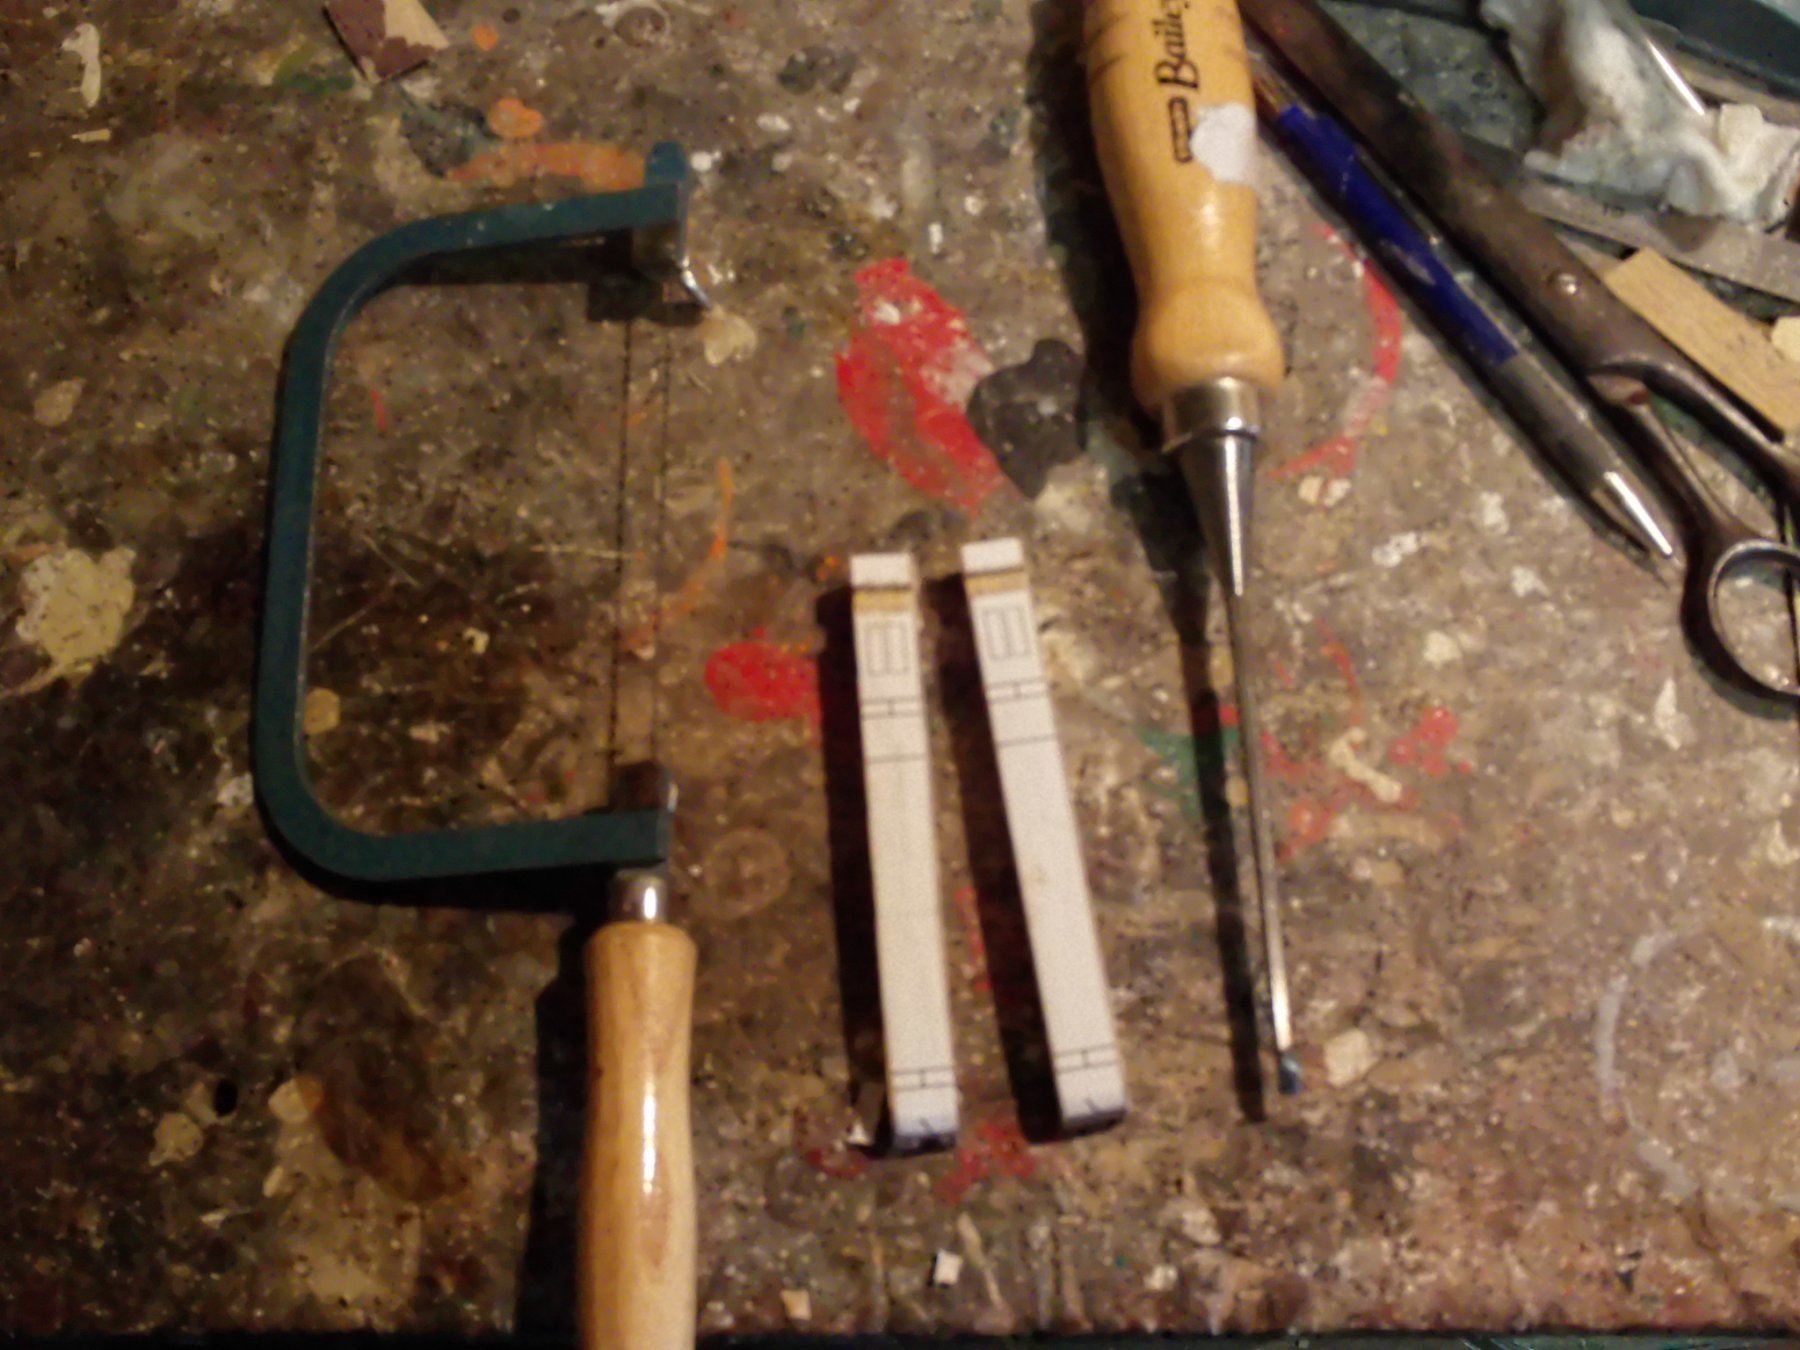
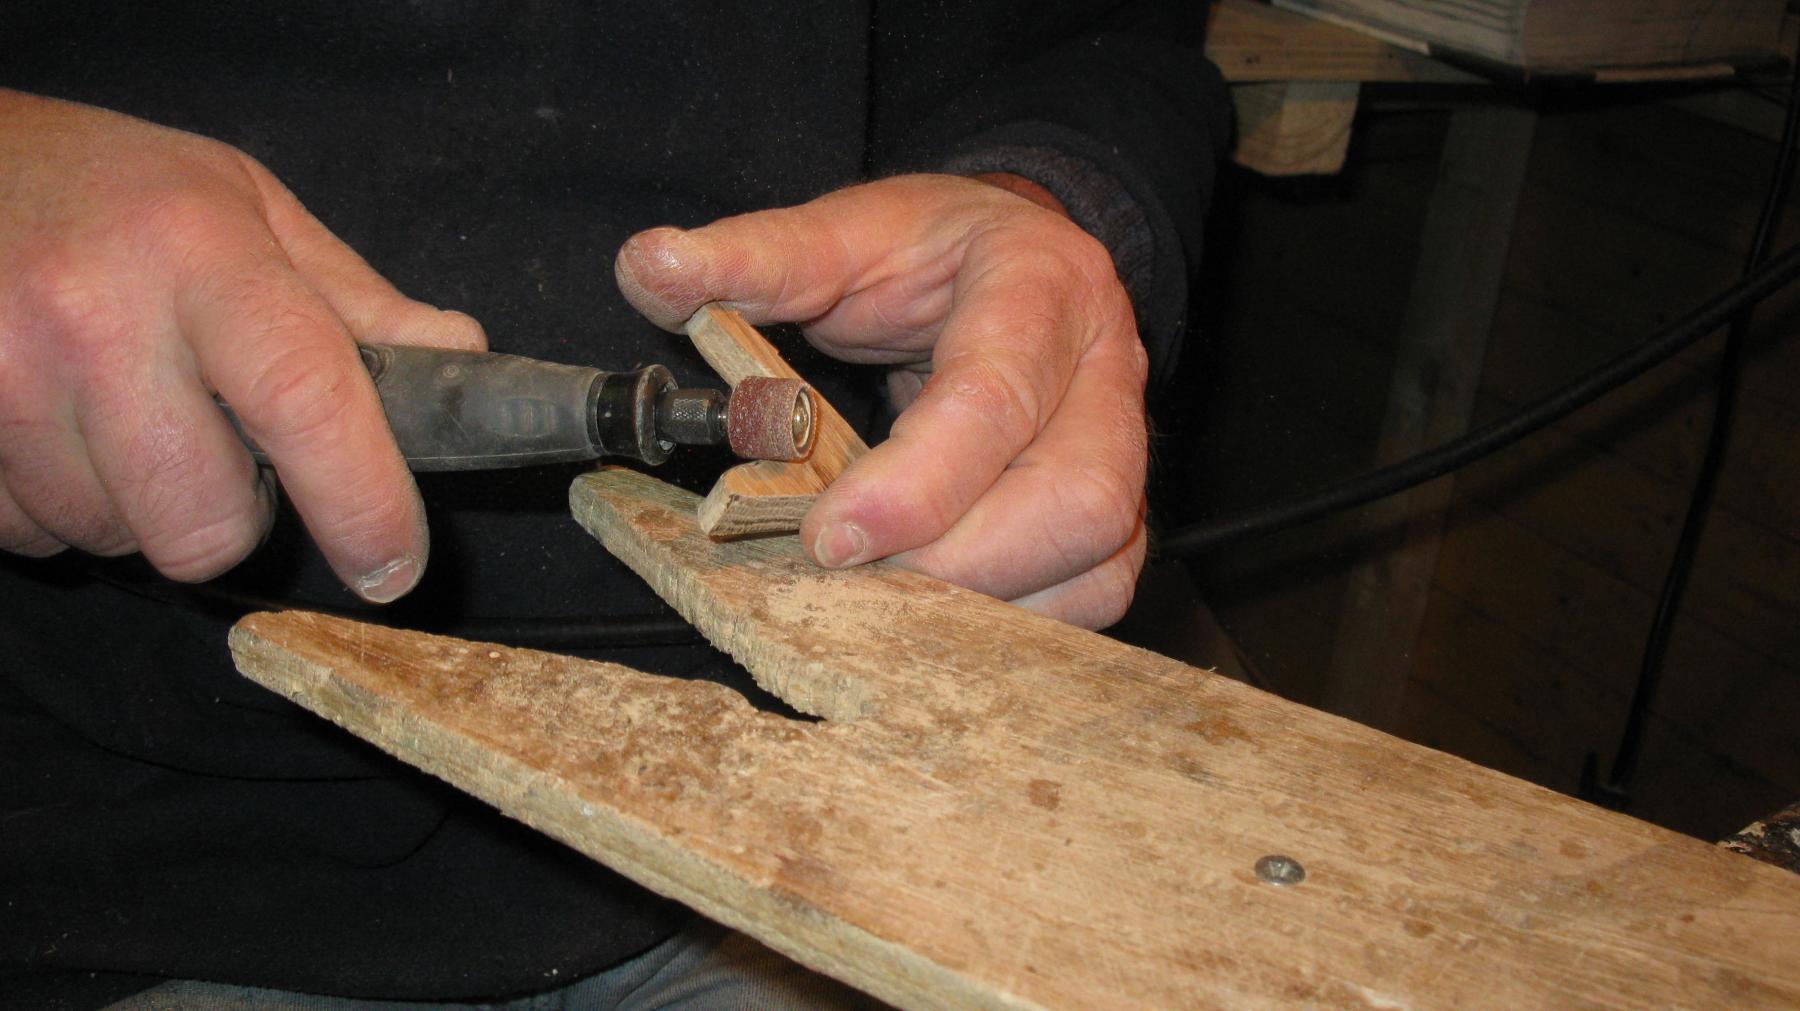
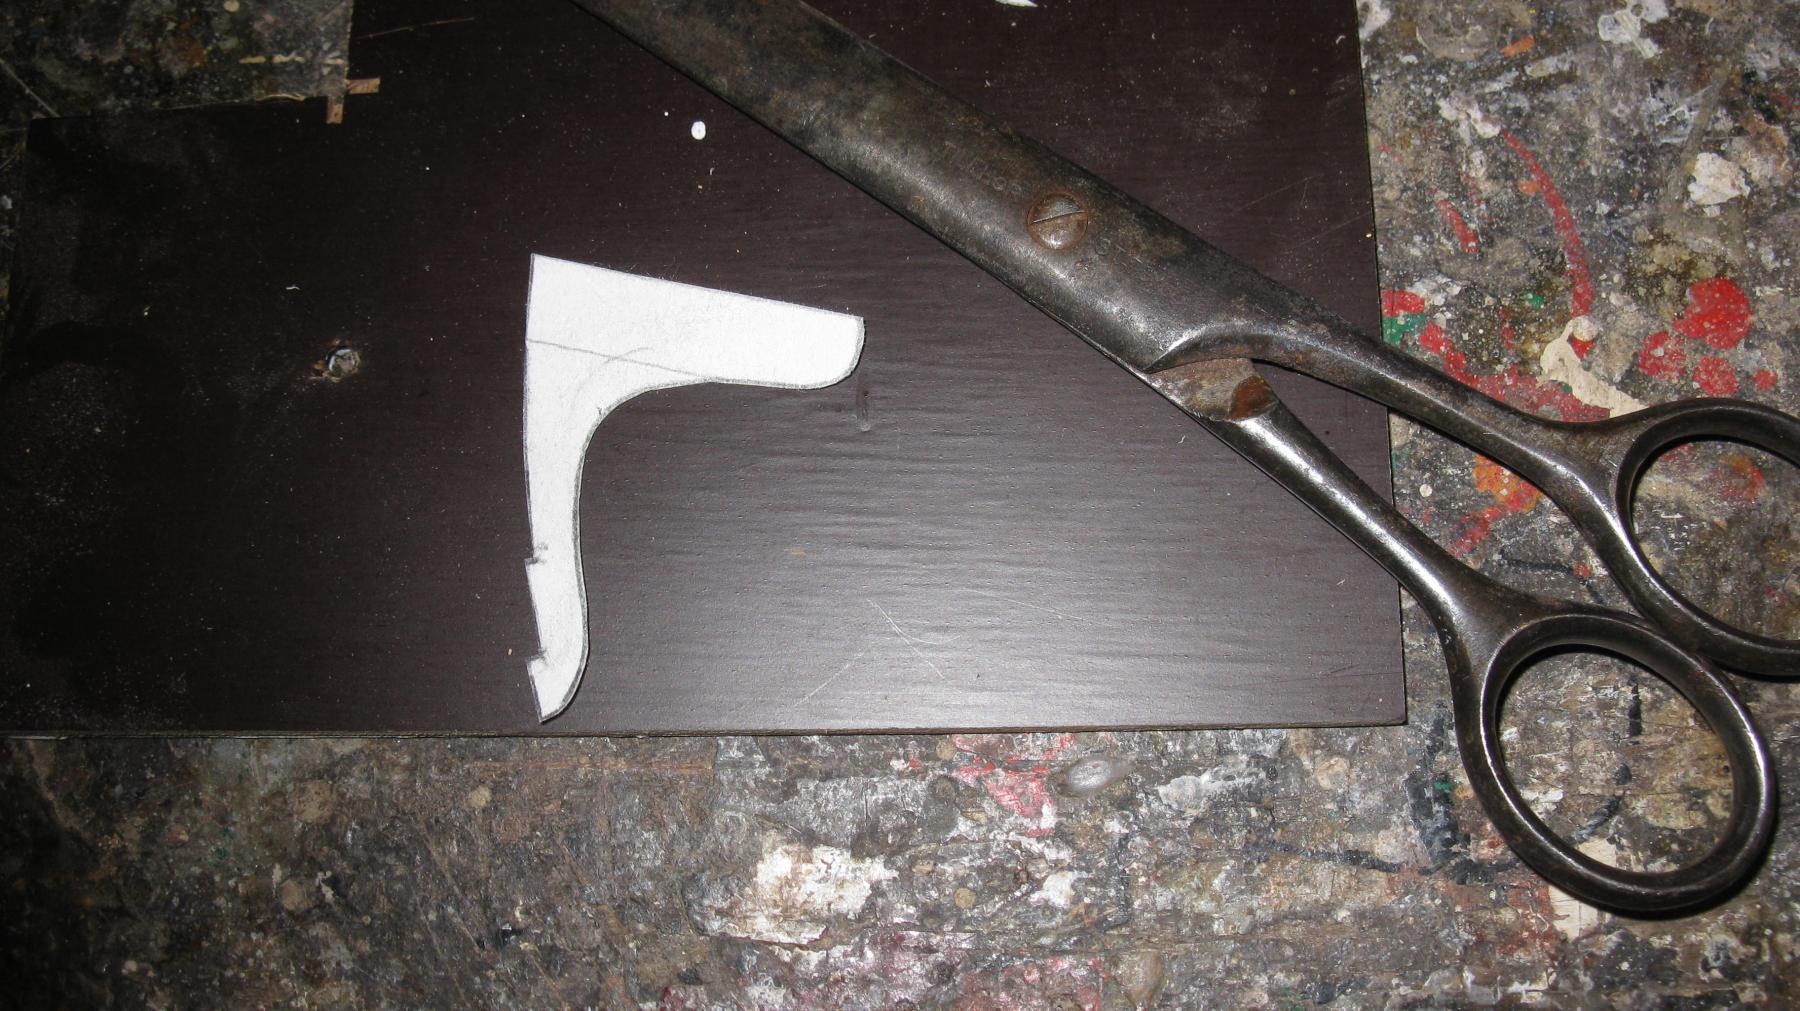
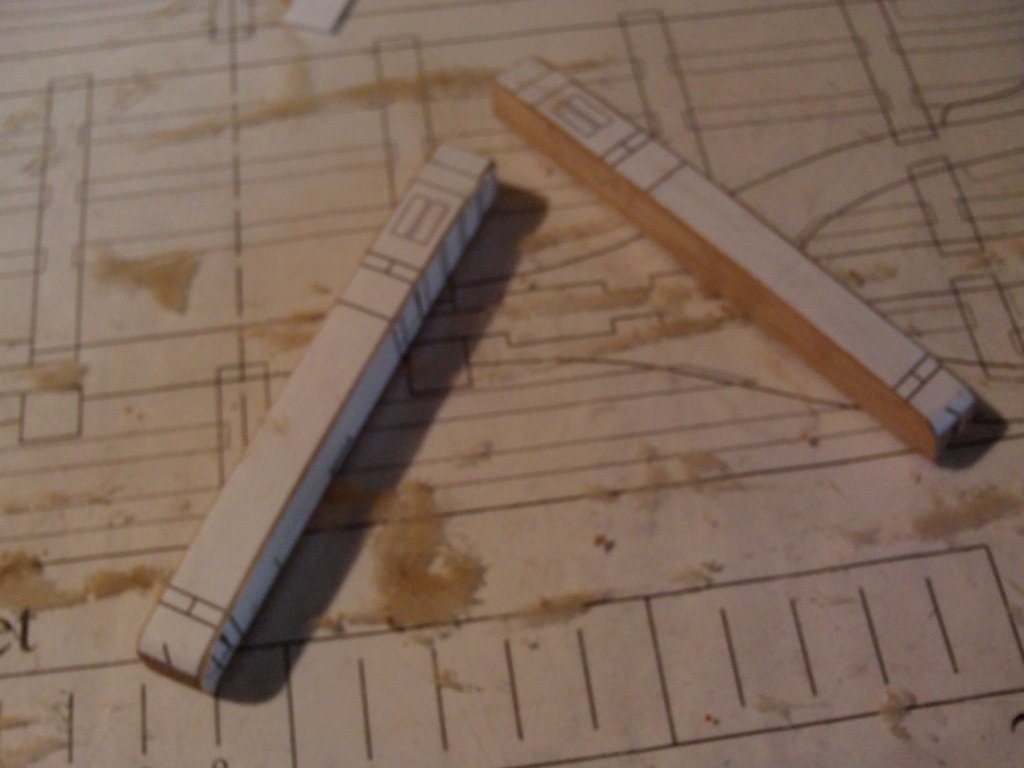
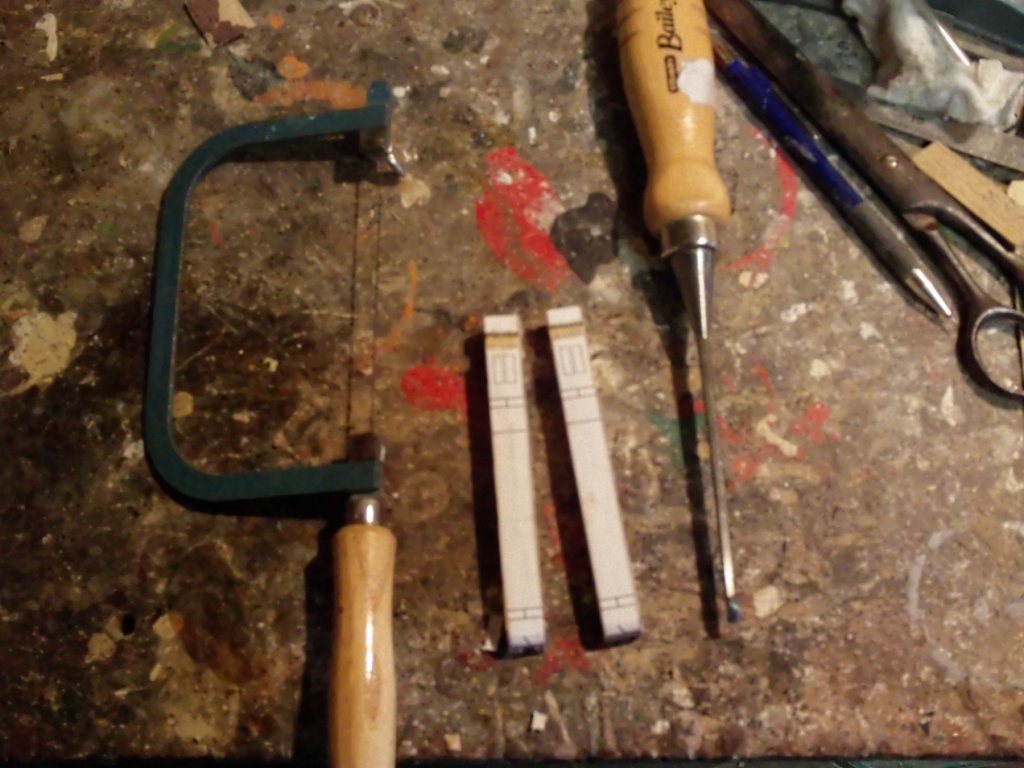
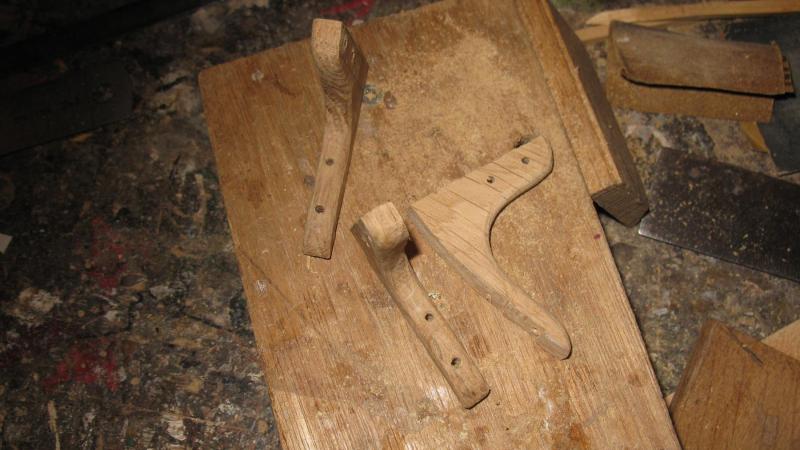
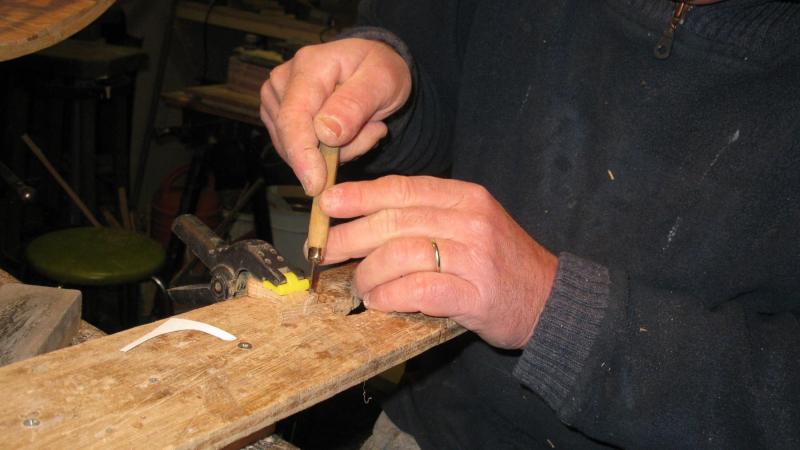
Once the knee is sawn to the correct shape, I round the corners of with the Dremel sanding drum.

-
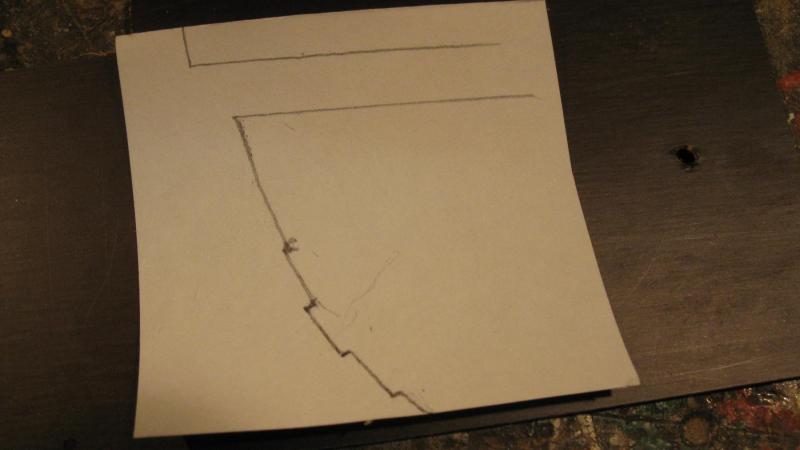
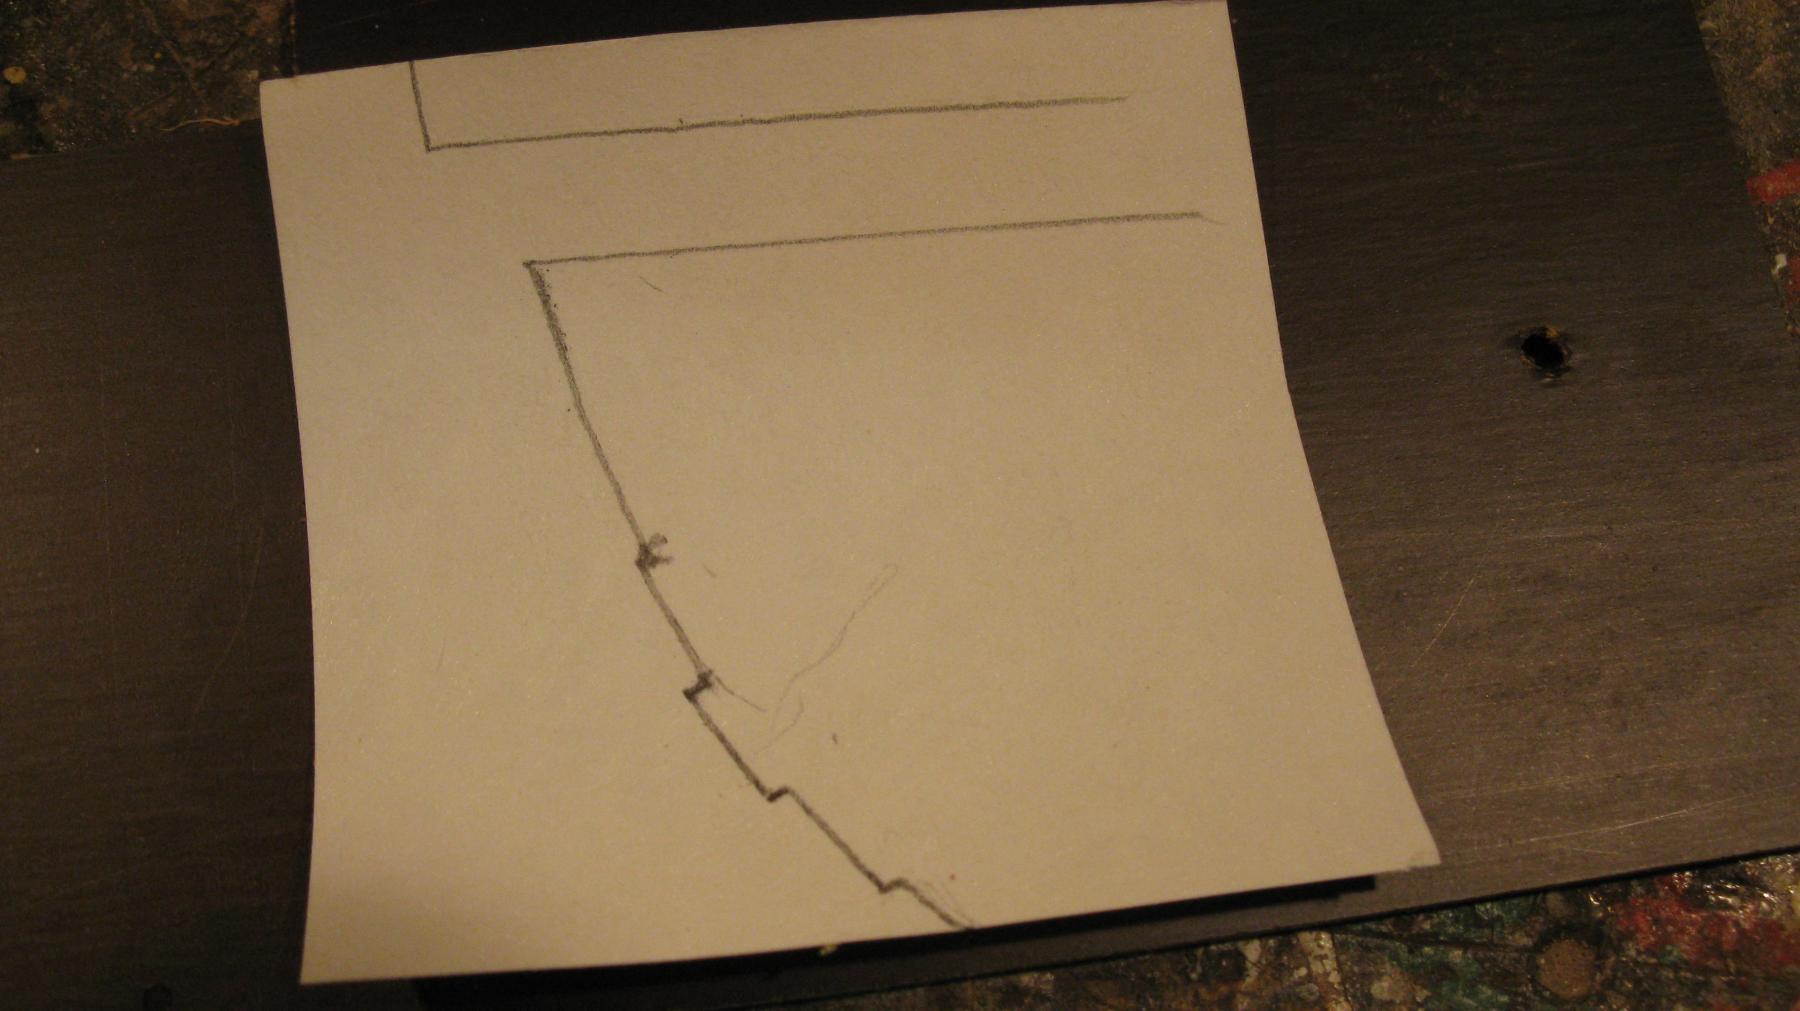
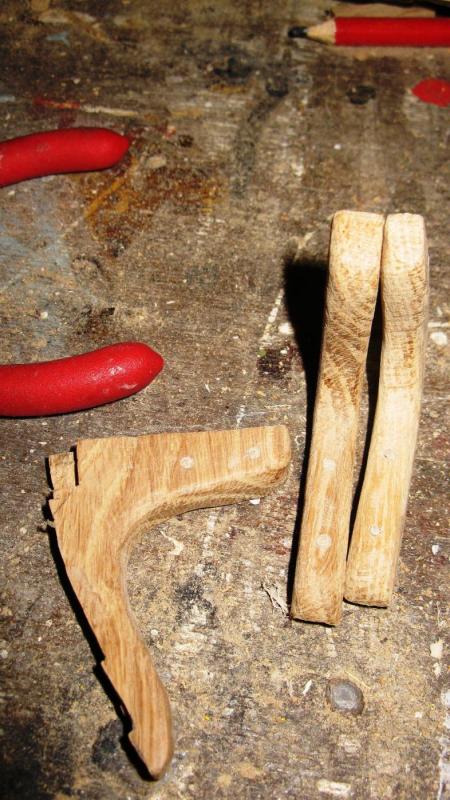
I make the knee a bit too high. The top edge of it can be marked when holding it in place.
-
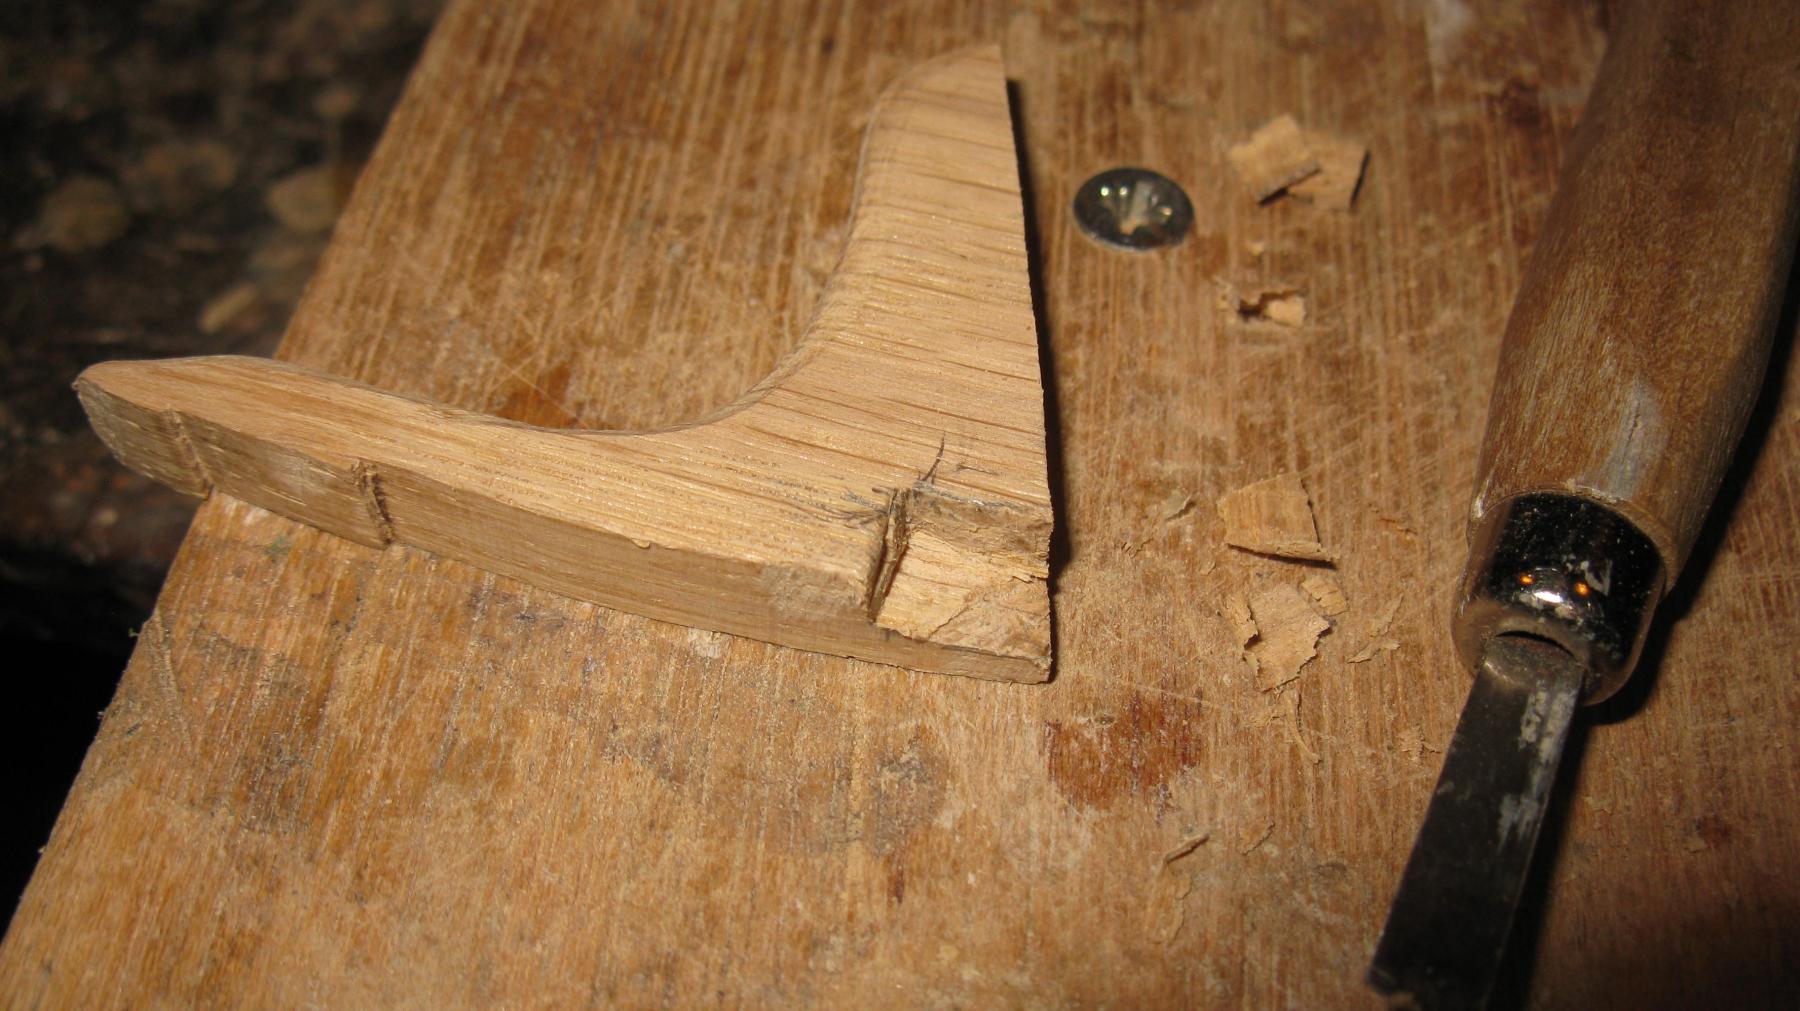
The contours of the mould can now been marked off on a piece of oak and sawn out.

-
On that profile, I draw the knee shape and cut it out. Before using it as a mould to saw the knees, I check it on the model.