michael mott
-
Posts
5,200 -
Joined
-
Last visited
Content Type
Profiles
Forums
Gallery
Events
Everything posted by michael mott
-
 Hi Ross, Now that you have the model it would be good to get hold of the drawings of the ship, also as many photographs of her as possible to help with the details that you need to restore. This site looks to have some nice photographs as well Michael
- 10 replies
-
- 5
-

-
- africa
- passenger liner
- (and 1 more)
-
Just catching up Keith all metalwork is taking this model to the highest levels. Exquisite solution for the fairleads, and the wheel is a knockout. I also like your micro drill. Michael
-
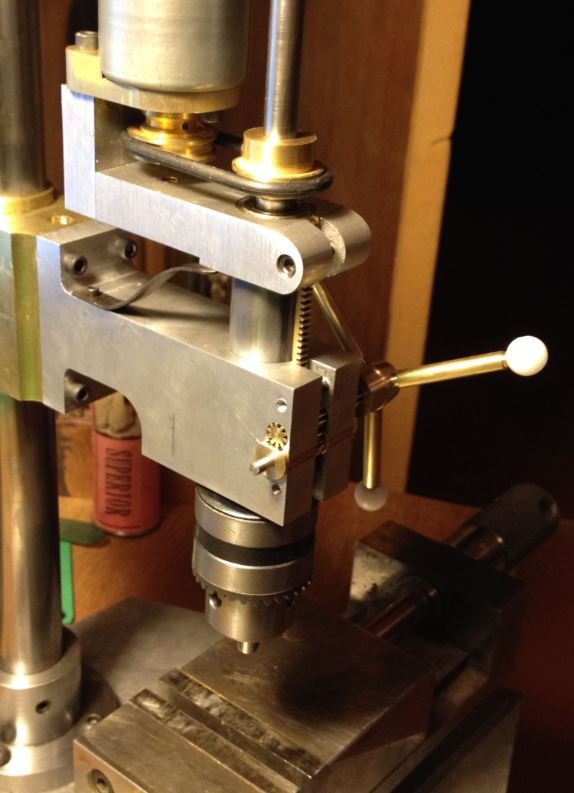
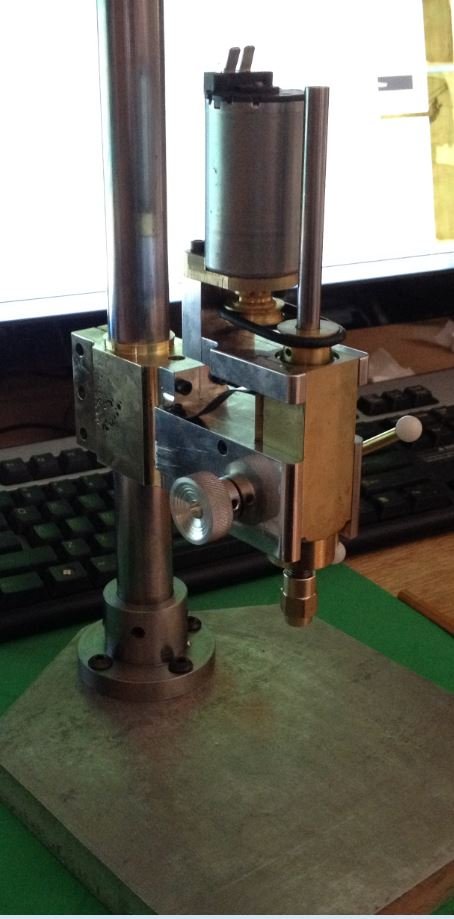
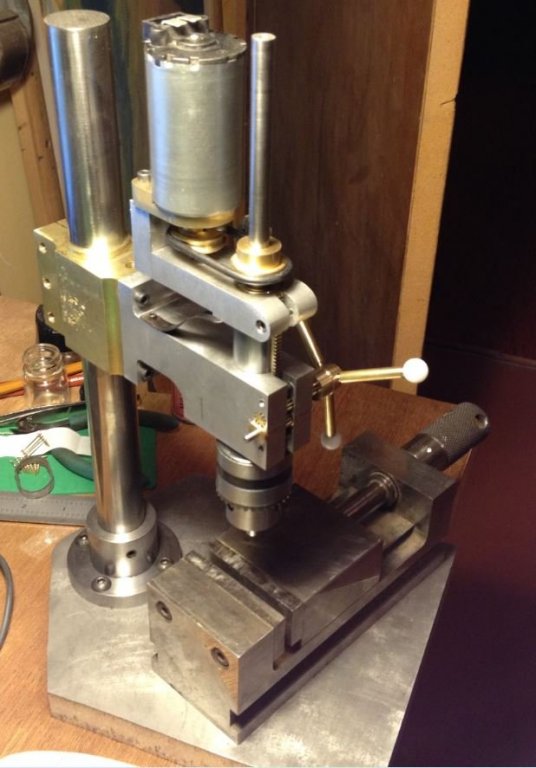
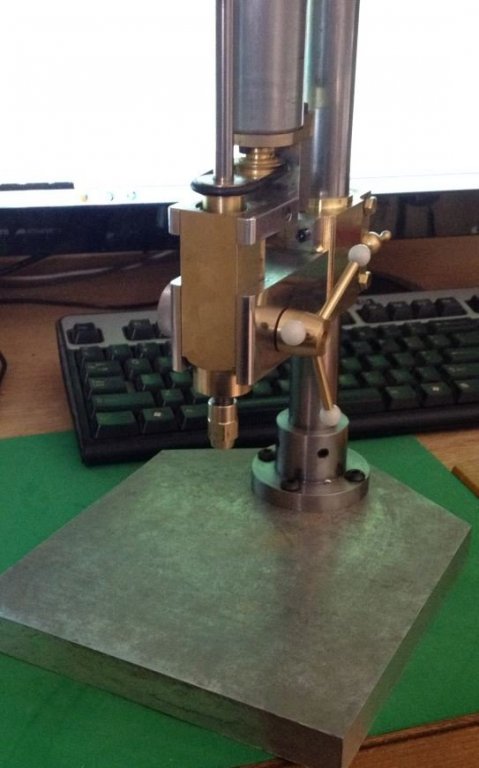
It has been a busy couple of week but I wanted to be able to drill small holes with very small drills in metal using the 3/32 shank and 1/8th shank drills. After looking around at what is available I decided I would build my own. It went through a number of iterations during the build The first version had a round quill but i was not happy with it so went for a square one with a dovetail slide. The other thing i was not happy about was the mistake of putting the rack at the front, this created an issue of direction so added a second pinion, needless to say is was beginning to feel like a rabbit hole that was getting deeper. This is the current state of the press the motor is a 9v dc one and seems to have enough Jam for the tiny drills. I have been drawing it up as a design build and making the changes as things change. Michael


- 56 replies
-
- 26
-
-
That looks pretty cool Bob, The group on this forum never ceases to amaze me. Michael
- 287 replies
-
- 7
-
-
- michelangelo
- ocean liner
- (and 1 more)
-
.03" why that's a full 1/32nd and here I was thinking that it was much smaller. Seriously if you developed the funnel out to a flat surface like a flat grid I think there is a good prospect that you can do it. The compound curve is a more apparent one that real because of the geometry. Then again an etch loaded with paint would give the illusion of rods. Regards michael
- 287 replies
-
- 4
-
-
- michelangelo
- ocean liner
- (and 1 more)
-
Hi Dan, I shall be following along. I am expecting those funnel lattices to be fabricated from rods and integrated with the sheet-work at the bottom, contrary to Druxey's comment. Michael
- 287 replies
-
- 3
-
-
- michelangelo
- ocean liner
- (and 1 more)
-
Plumbing fittings do make nice foundations for all sorts of stuff don't they. Nice work on the rim Keith. Michael
-
Actually each extra hour now I give them money as well..... Thanks for the very nice comments and for the likes. Michael
- 749 replies
-
- 11
-
-
- albertic
- ocean liner
- (and 2 more)
-
Richard, interesting difference in price for the little clamps $1:50 versus 4 pounds sterling The other clamp style is what inspired these clamps Apologies I did not mean to hijack your thread. Michael
-
Found them!! here you go they are called handi clamps Michael
-
I noticed the pile of hulls in the background in picture #8 look like you have been busy. Michael
-
I am enjoying your build log Frederick, I smiled at you comment about the different numbers that you scaled from....been there done that.... more than once. Michael
-
Looks great, you are going to need a small dental mirror to show the details on the inside of the engine compartment. Michael
- 208 replies
-
- 2
-
-
- john cudahy
- finished
- (and 1 more)
-
Your joinery is superb, I noticed in one of the pictures some small cam-lock clamps where did you get them? Michael
-
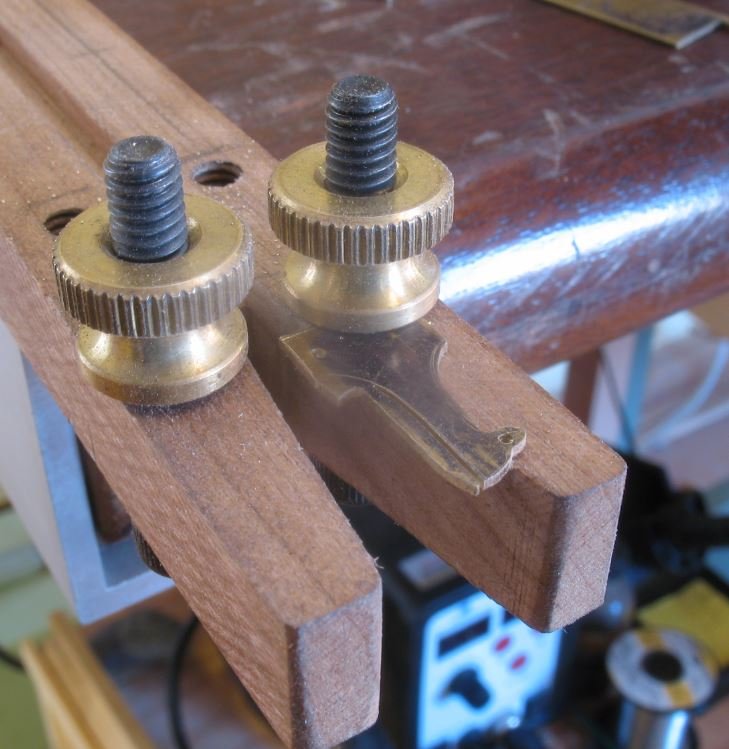
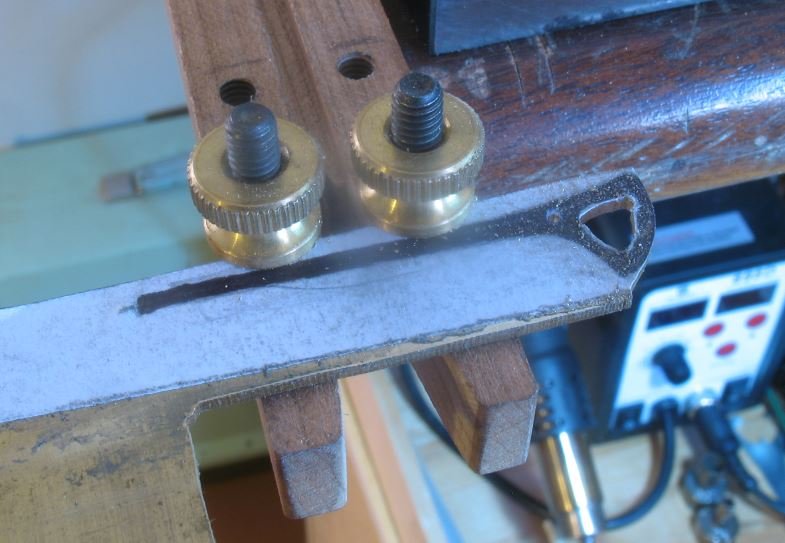
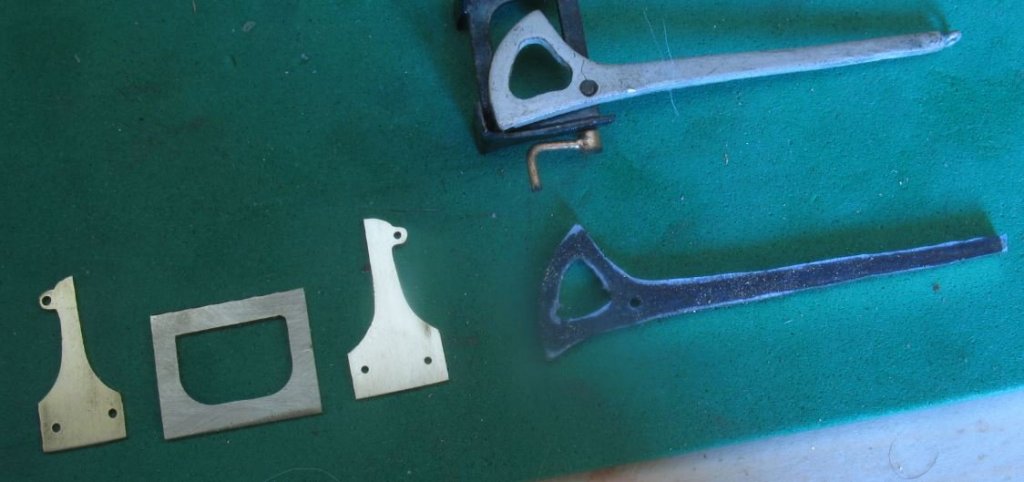
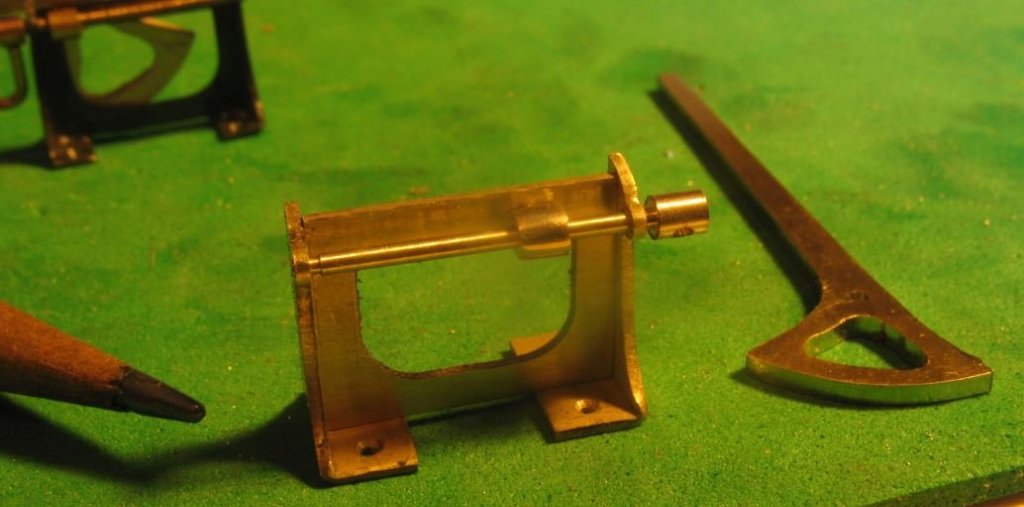
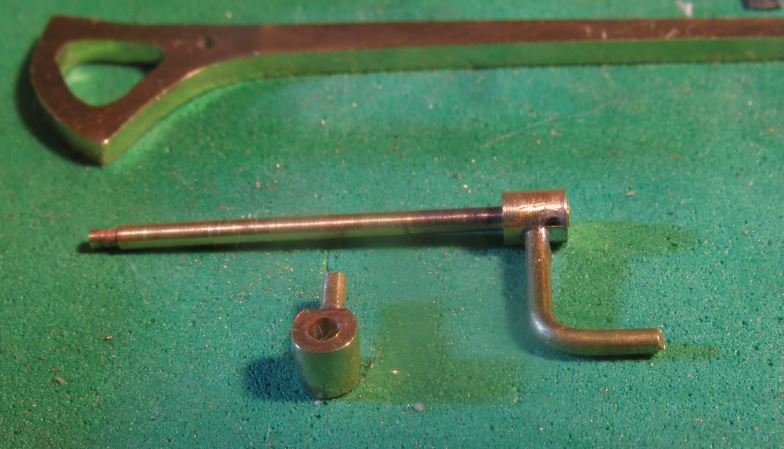
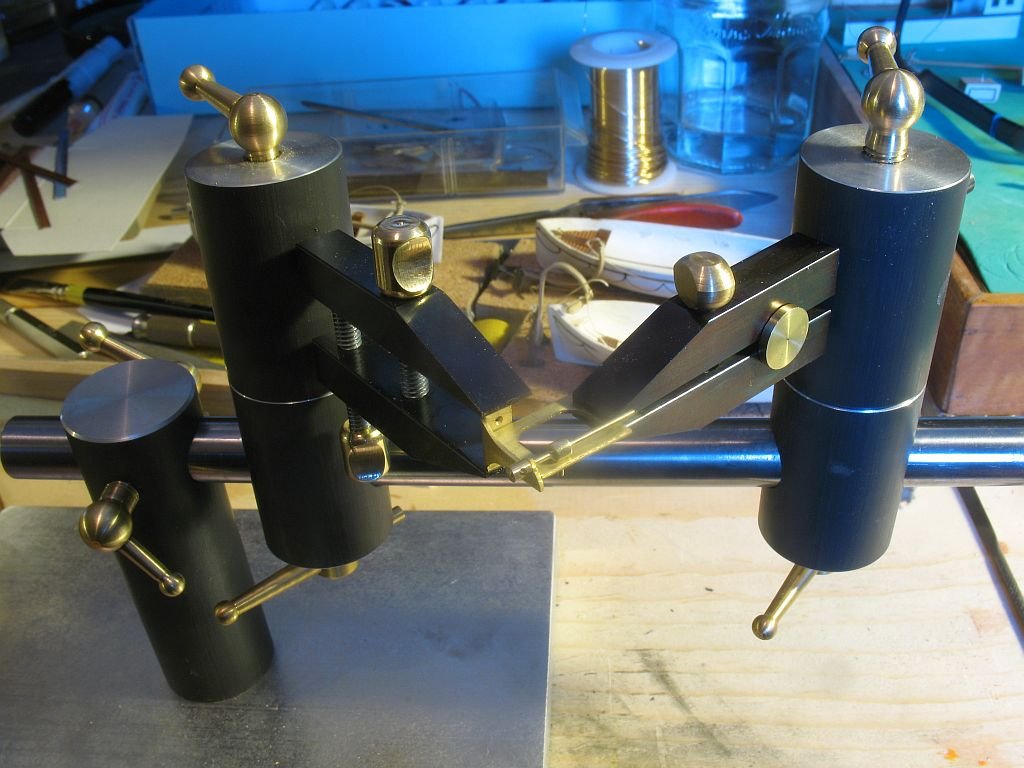
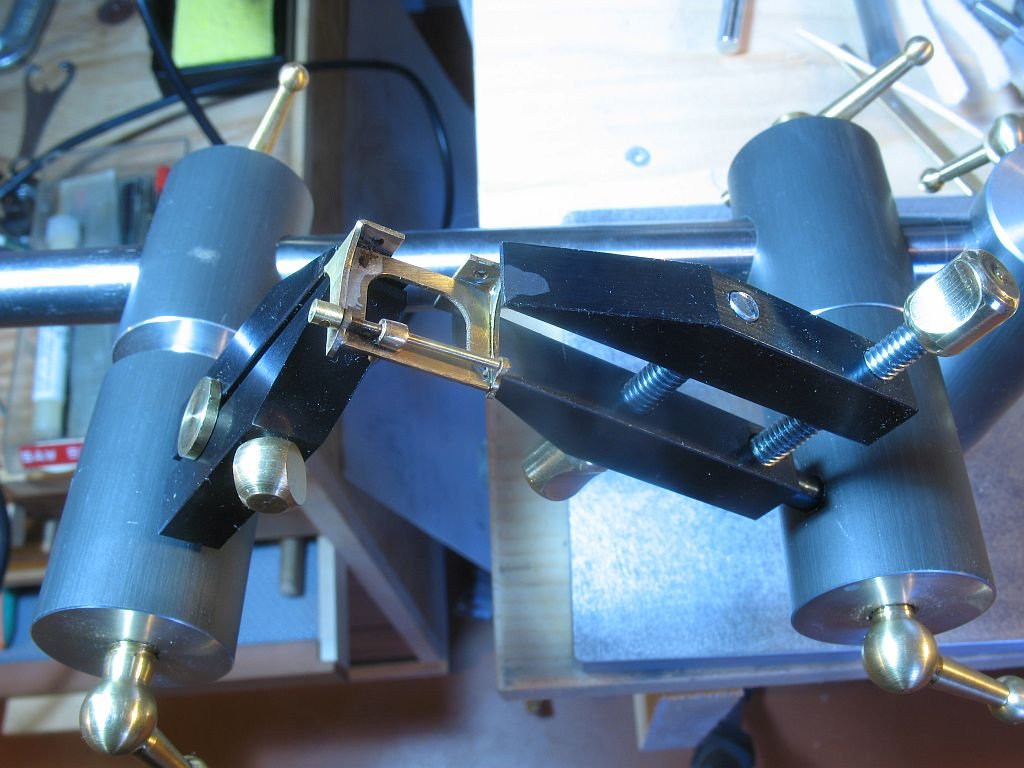
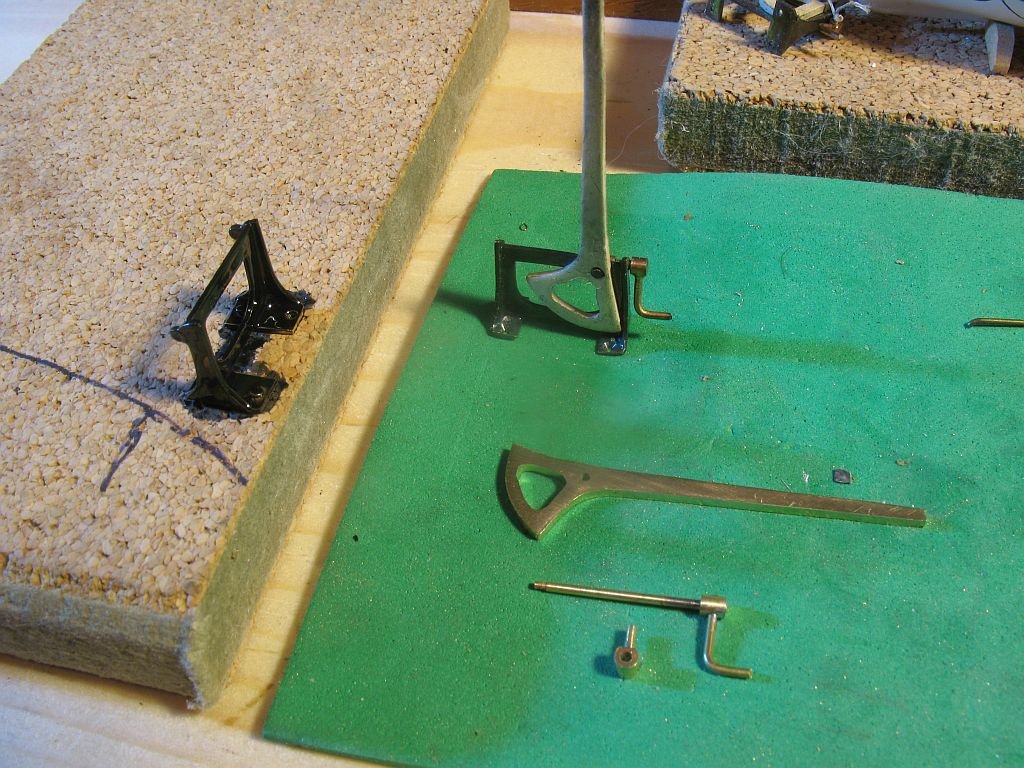
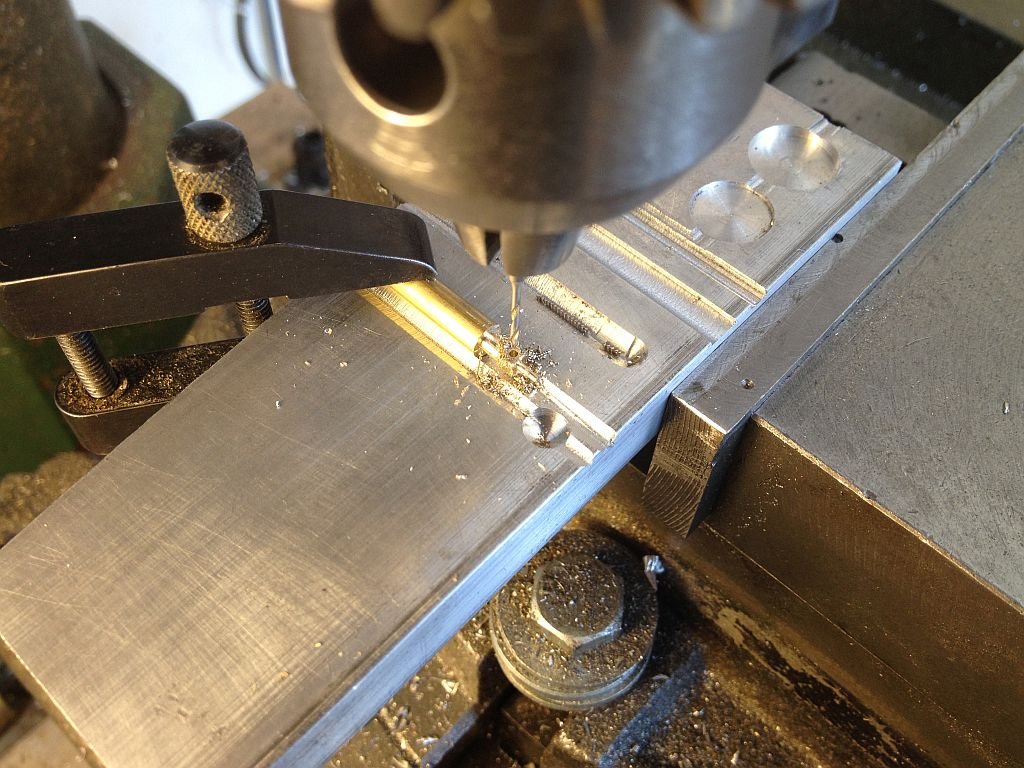
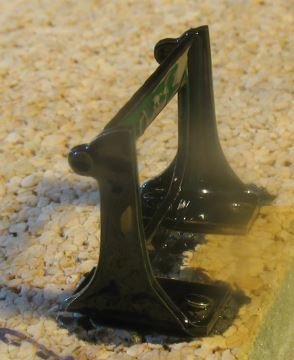
Thank you all for your constructive and complementary comments, and for the visits. The Saga continues. I finished cutting out the parts for the new Davit. The 8x32 thumbscrews make it much easier on my fingers Allows me to concentrate more on following the line than being a human clamp. All the parts cut and cleaned up. And dry assembled I turned down the shaft from some 3/16 which allowed me to start at the small end which is .025" then the long part is .038" and the handle end .081" while it was still part of the 3/16 shaft i drilled the cross hole in the same way as for the sliding collar that moves the davit forward. The picture shows the hole being drilled in the collar which was shaped afterwards in the pin vise with some #4 flat files. The main frame side parts were annealed before folding, I needed to keep reminding myself that these parts were handed a left and a right (made that type of mistake too many times to count.) Set them up in the new clamps in the third hand I am liking the difference between the two types the parallel one holding the side and the single screw one holding the centre plate, it takes a while sometimes to do the set up but I cannot imaging going back to the old unit with the crocodile clips Used the Duz-all flux and a tiny flake of solder the hot air soldering gun and away she went. the next picture shows the other end after it was soldered. After cleaning it up in some hot vinegar and baking soda with a toothbrush A coat of Modelmaster black enamel. Michael
- 749 replies
-
- 24
-
-
- albertic
- ocean liner
- (and 2 more)
-
I know, I was just kidding, but you knew that. I do look forward to seeing how you did it though. Michael
- 3,618 replies
-
- 4
-
-
- young america
- clipper
- (and 1 more)
-
Beautifully executed so far. Ed in the last post you had mentioned that a description of the mast covering would be explained. It looks like wrinkled canvas from this height, but are you keeping how you made it a secret......I have my own thoughts about how you made it, which are likely different from what you did. We are a vigilant lot sir! Michael
- 3,618 replies
-
- 5
-
-
- young america
- clipper
- (and 1 more)
-
MONTAÑES by Amalio
michael mott replied to Amalio's topic in - Build logs for subjects built 1751 - 1800
Amalio Absolutely beautiful work. It would be good for you to answer some of the questions though, after reading through the whole thread again. a lot of good questions remain unanswered. Your skill at the craft is very apparent, and sharing your knowledge would be of a great help. Pictures are fantastic but do not tell the whole story. Respectfully Michael -
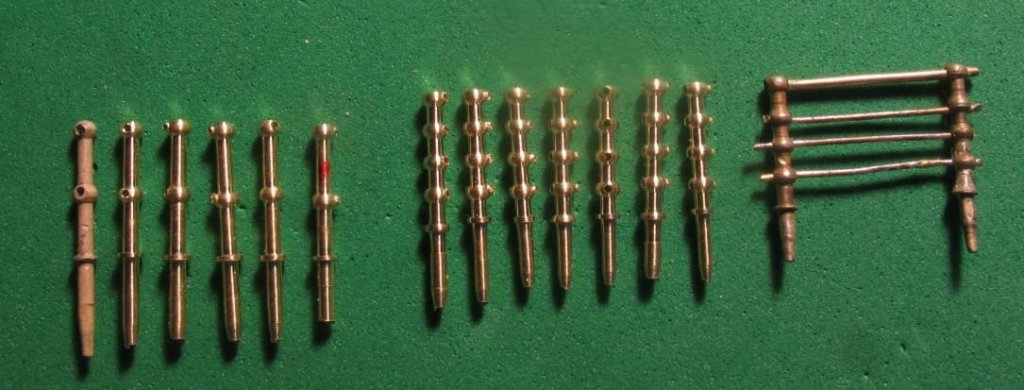
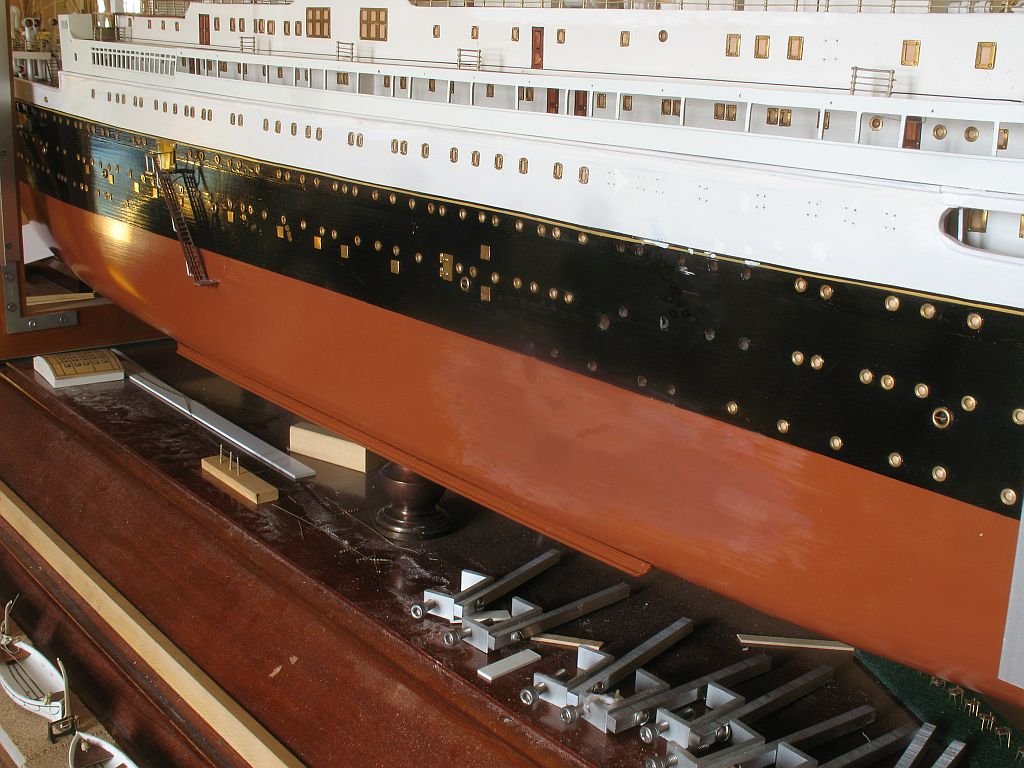
Keith thanks for the link. And a big thank you to all those who have been following adding a like to the posts. Denis I had to do some careful number counting do do the first batch, now that i have modified my leadscrew hand wheel this second lot was much easier to make, it takes a few to get the sequences down but then it is just a matter of following the settings for each tool. I have been plugging away at filling the holes on the side of the hull, I am almost there just a little more on the bottom side then to do the final painting and polishing. befor reinserting the portholes. Michael
- 749 replies
-
- 19
-
-
- albertic
- ocean liner
- (and 2 more)
-
Hi Walter, Great to hear that your wife is getting better and that you are able to spare some valuable time for your shipbuilding. regarding the cad stuff I have found like yourself that the 2D works well enough. I too found the learning curve a bit too steep for my liking. Michael
-
Michael Mott Designed Third Hand
michael mott replied to BANYAN's topic in Modeling tools and Workshop Equipment
Riccardo, thanks. I sent you a PM Michael -
Looking at the wax masters reminds me that there are so many different ways to accomplish the same result. Some requiring complex machinery and even more complex computer programs and knowing how to use them, others requiring thinking outside the box and seeing a wood or plastic bead in the craft bin that is the right size next to the tiny pins in a packet of 500 and the plastic or brass sheet to cut the blades from. And then the old fashioned methods of shaping round stock on a lathe and silver soldering shaped brass blades into milled slots. So much to learn so little time to absorb it all. Again beautiful work Alex. Michael