


michael mott
-
Posts
5,200 -
Joined
-
Last visited
Content Type
Profiles
Forums
Gallery
Events
Everything posted by michael mott
-
 So are you going to engrave the x stitching lines in the copper mast hoops to make them look a little less like copper hoops and more like the leather covered ones that you shewed. I know the voices from the cheap seats can be annoying. LOL The mast work looks super Keith
 -
Just thinking about how much line is needed to haul up that Gaff Jond. The model is looking great. Yes we are still in the midst of winter here too it seems. michael
-
Chuck I am just going to echo Druxey. Michael
- 1,051 replies
-
- 4
-

-
- cheerful
- Syren Ship Model Company
- (and 1 more)
-
Hi Andy great to hear from you. Andy this is the conclusion that I came to after all my reading today. So they will not be installed and as I noted in the last post I just edited. However I think I will have a better gimballed compass at the end of the day as a result. Michael
-
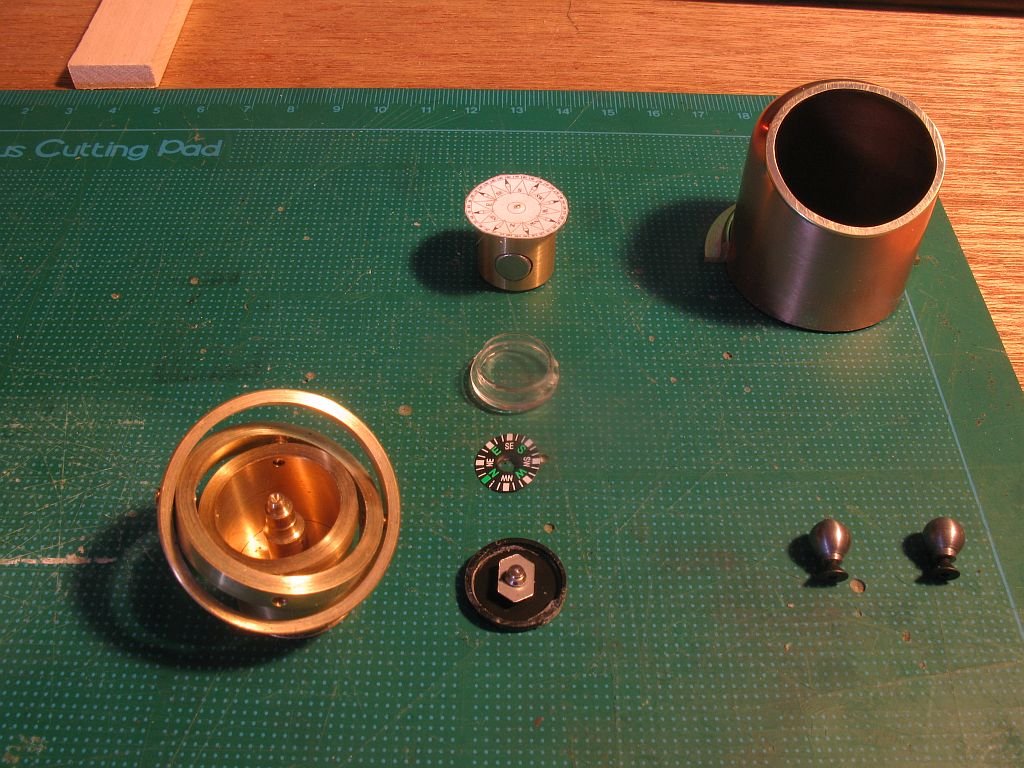
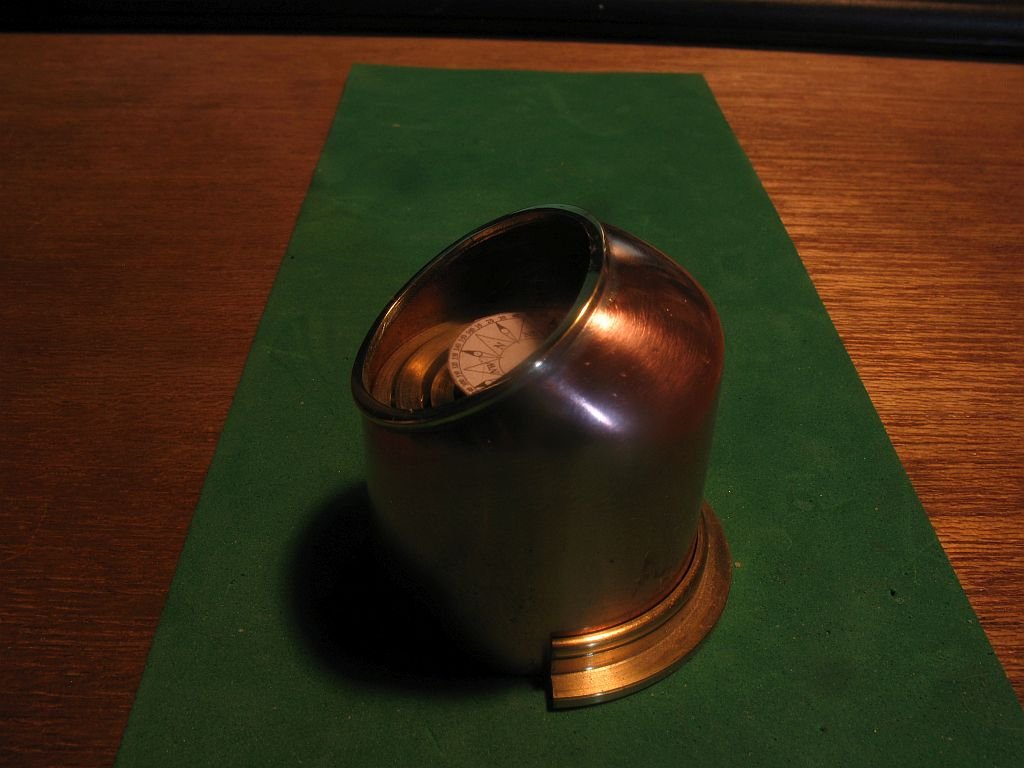
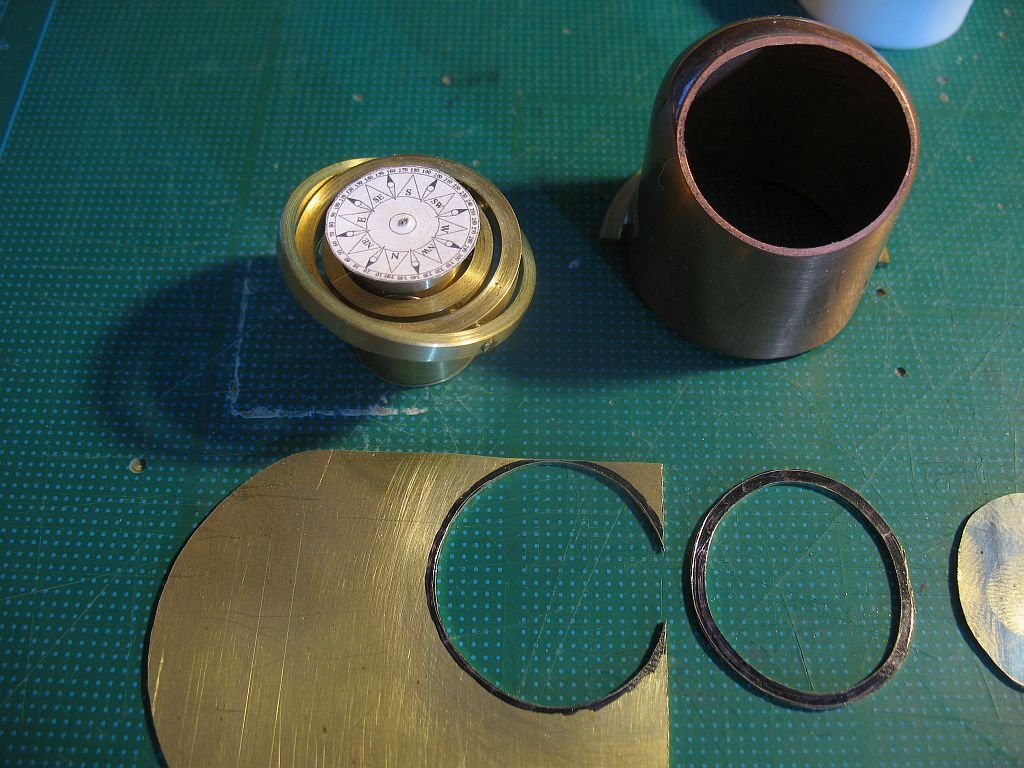
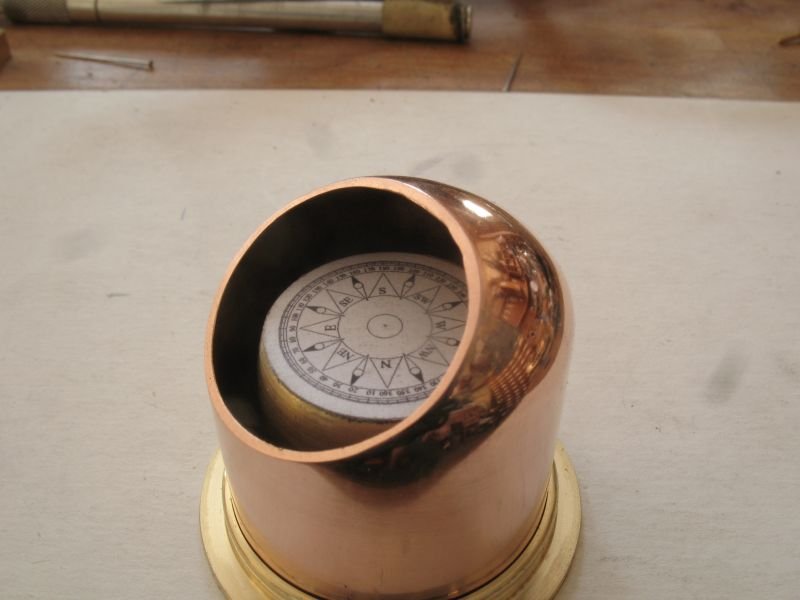
Hi Druxey yes the compass will be fully operational. I spent some time this morning making some soft iron balls They turned out well but are way to small for the scale I am working in as i was doing this I realized that I did not fully understand the mechanism for the balls or how they worked. To be clear on the function of the soft iron Balls. I read a number of articles about binnacles and found the technical stuff surprisingly hard to find. This one was one of the better ones and also a child's article on making a compass has led me to rework the innermost parts of my own. This picture shows the parts of the compass I have made and also the tiny parts from a ridiculous pocket knife compass that showed the alignment of the pocket knife and nothing else. The pocket knife compass though has a one piece that will be able to replace the huge brass mass with the rare earth magnets. The cup hanging inside the gimbals will need a bit of modification to hold the black cup and compass base. I will make a new card to fit over the compass in the black cup, and rework the brass cup to have a needle for the new compass instead of the black plastic cup. The other thing that will need to be done is a cover that will prevent the new compass from lifting off the pin, there is enough meat in the brass cup to drill and tap some holes for retaining screws on a 1/32 plexiglass cover. The soft iron balls will no doubt wind up in the spare stuff tray. Looks like a bit of lathe work is in order. Michael
-
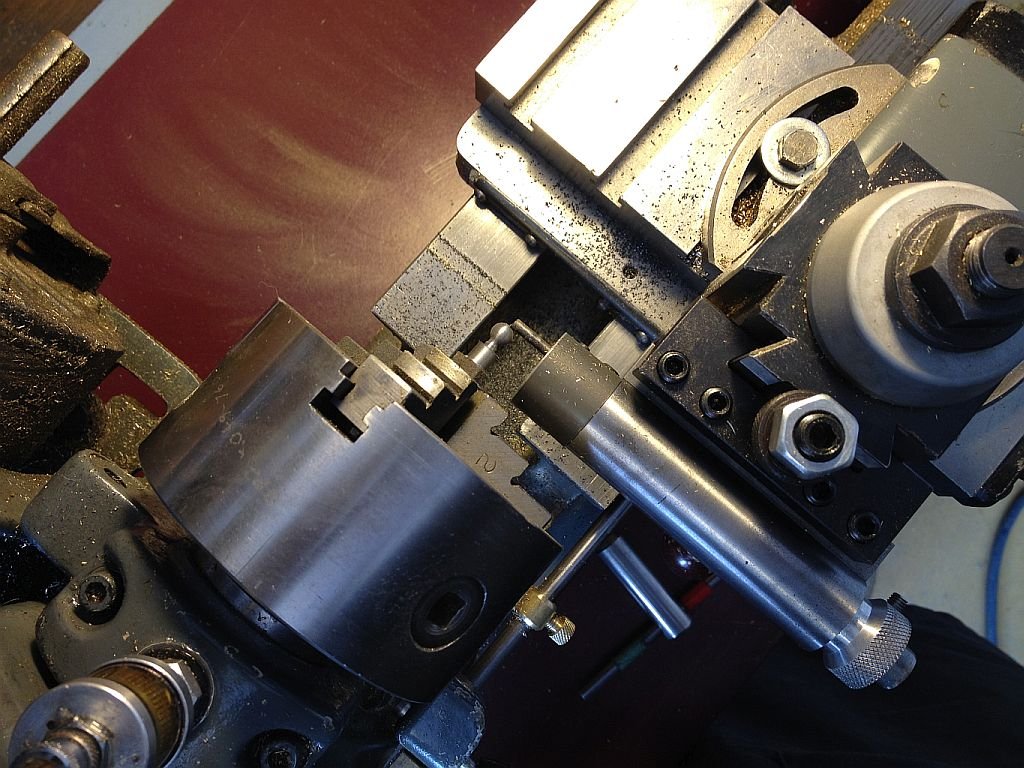
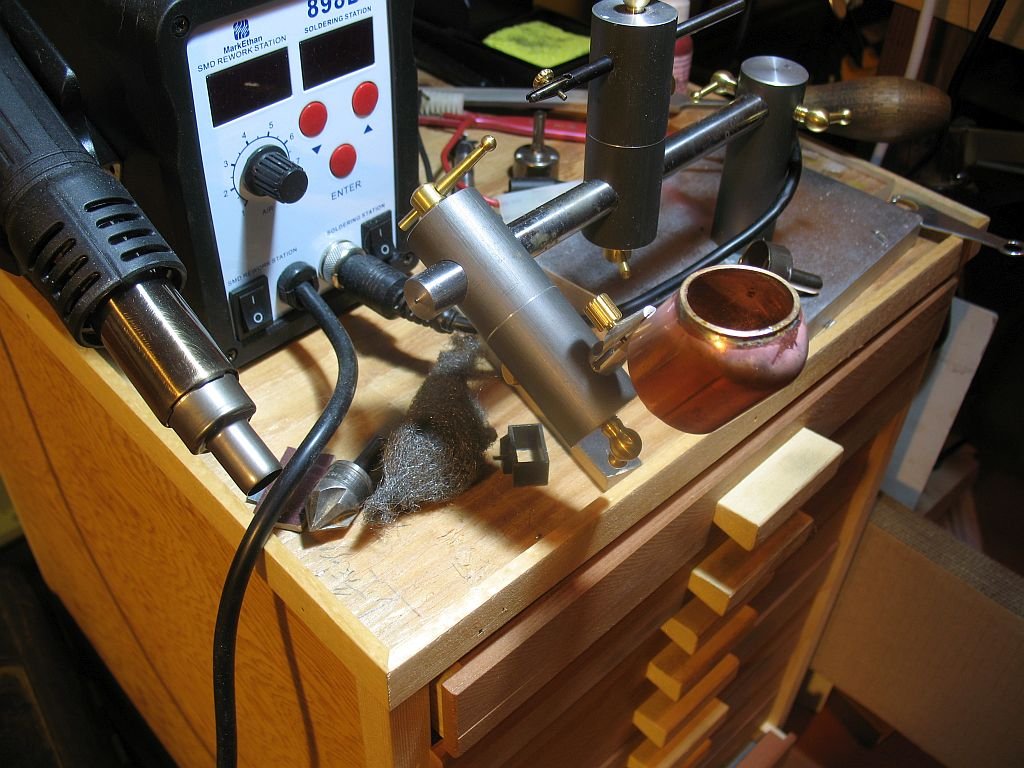
Hi Keith yes it is soft solder done with the hot air soldering gun. Thanks ,John, Nils , Igor I am going to see how turning up a pair of cast iron balls works today. Michael
-
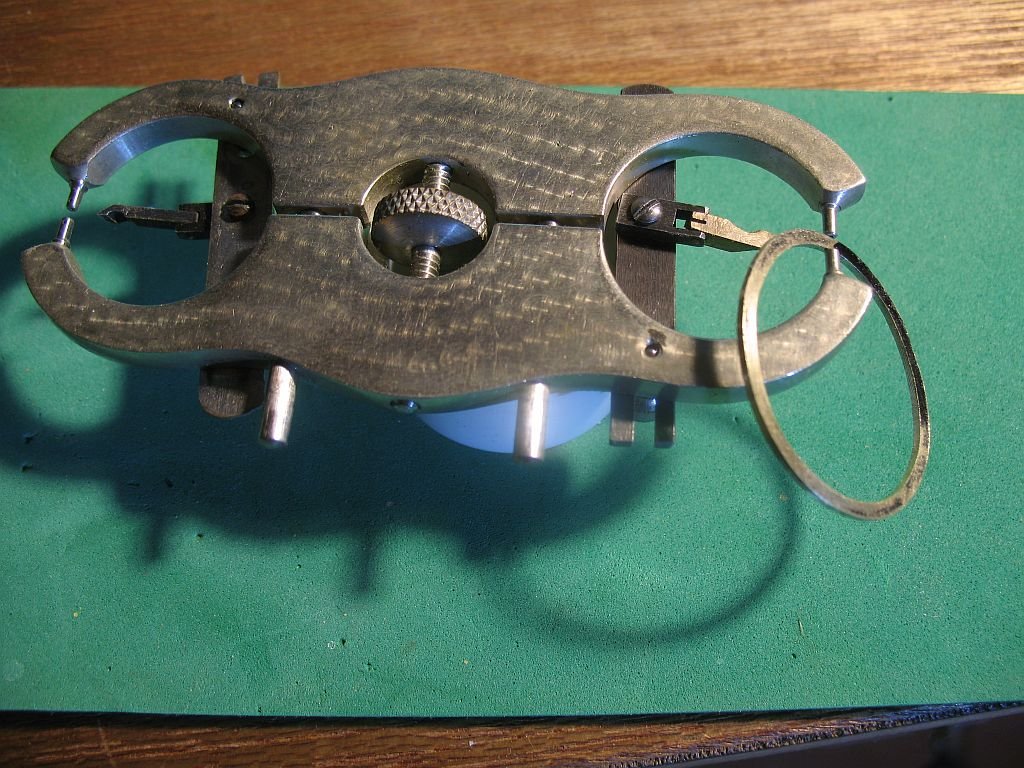
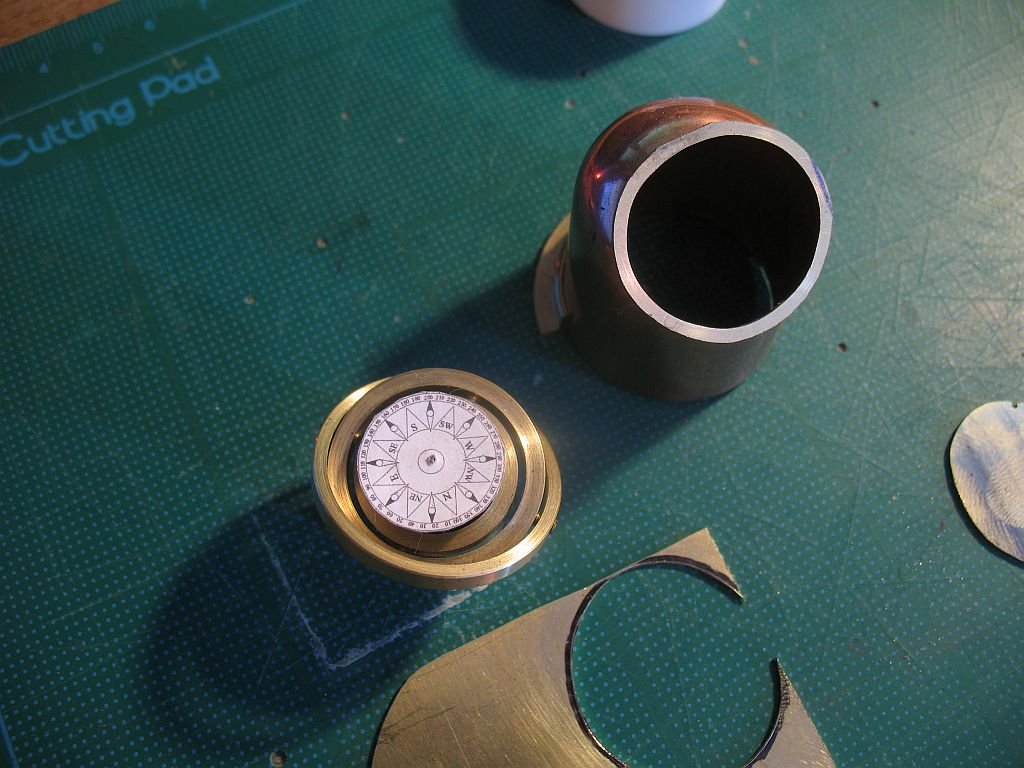
Thanks Julie, and thanks for all those who pressed the like button. I used an old Watchmaking tool as a go no-go gauge to file the ring down to a constant width. Then set up the copper dome in the third hand in order to solder the brass ring to it. temporarily reassembled time for bed Michael

-
Nice work Bob. Michael
-
Patrick, I think you are spending way too much time in the bed and bath shops checking out the latest "mod" fashions.... I mean all those pillows on the bed, they just end up getting tossed on the floor or into the corner because they are not really designed to put you head down on them. Seriously it really is a stunning looking model, I particularly like the shot on the wood table. Michael
-
Ah yes engines that you could actually fix without needing to completely disassemble the whole front end to get to a nut that adjusts the alternator. LOL Michael
-
Johann wonderful precision on the fits of the grating to the frame, nice saw work as well. Michael
-
Mike another option for the case that can be quite elegant is to use 4 dowels as corner pillars with a 90 degree quadrant cut out on the inside corner with a simple aquarium style glue up inside the corner with some clear silicone and a slip on top that locates onto four dowel pins at the corners. I made a case this way a long time ago and it was light and strong. I don't have any pictures of it unfortunately. Michael
- 969 replies
-
- 4
-
-
- hahn
- oliver cromwell
- (and 1 more)
-
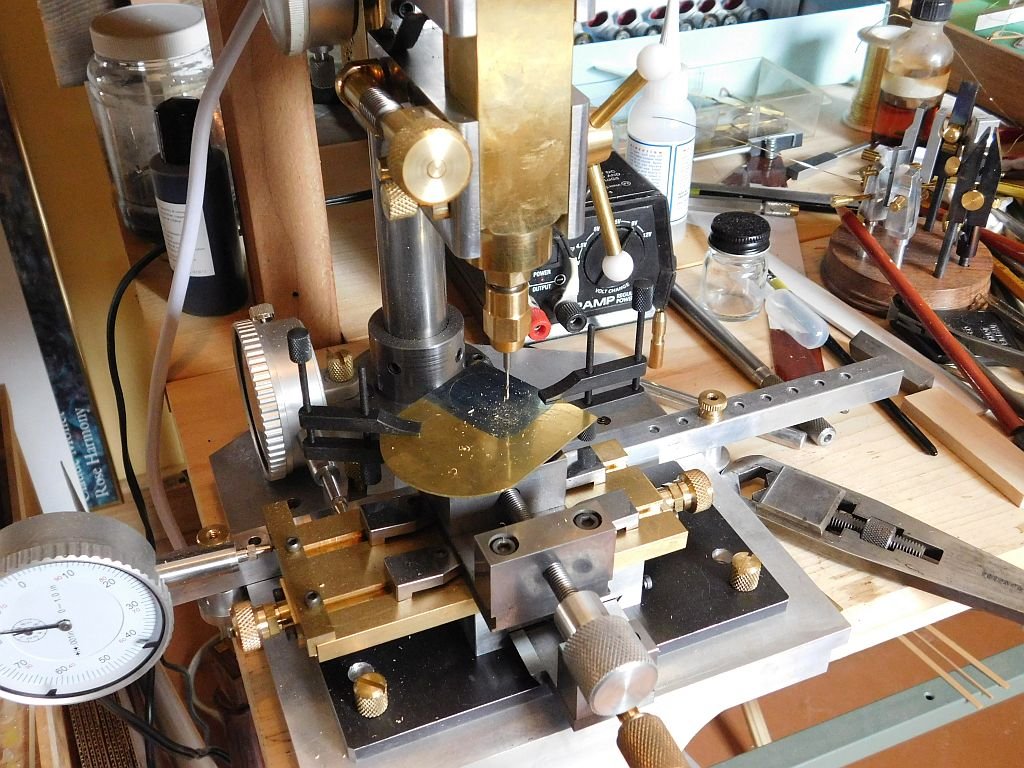
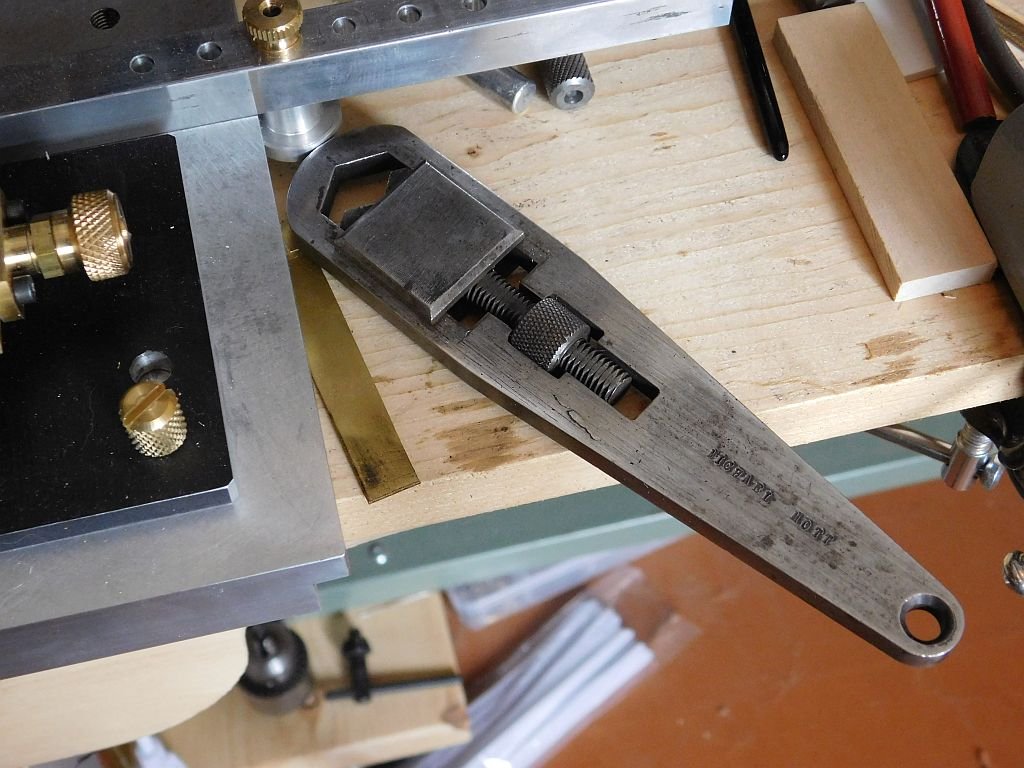
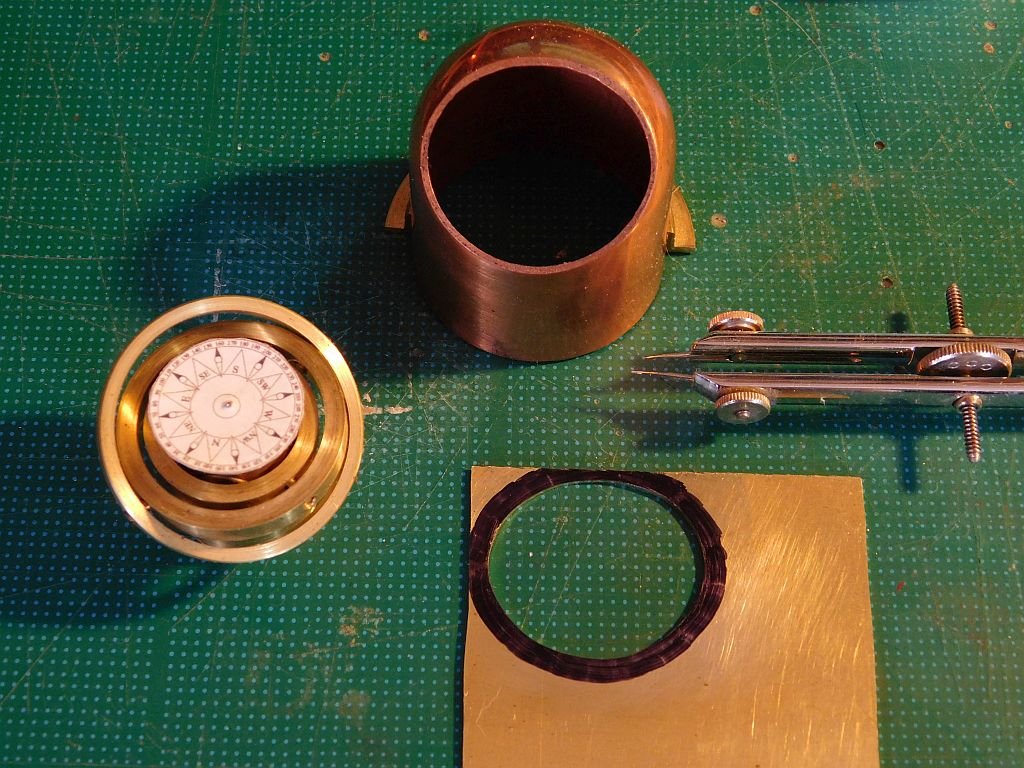
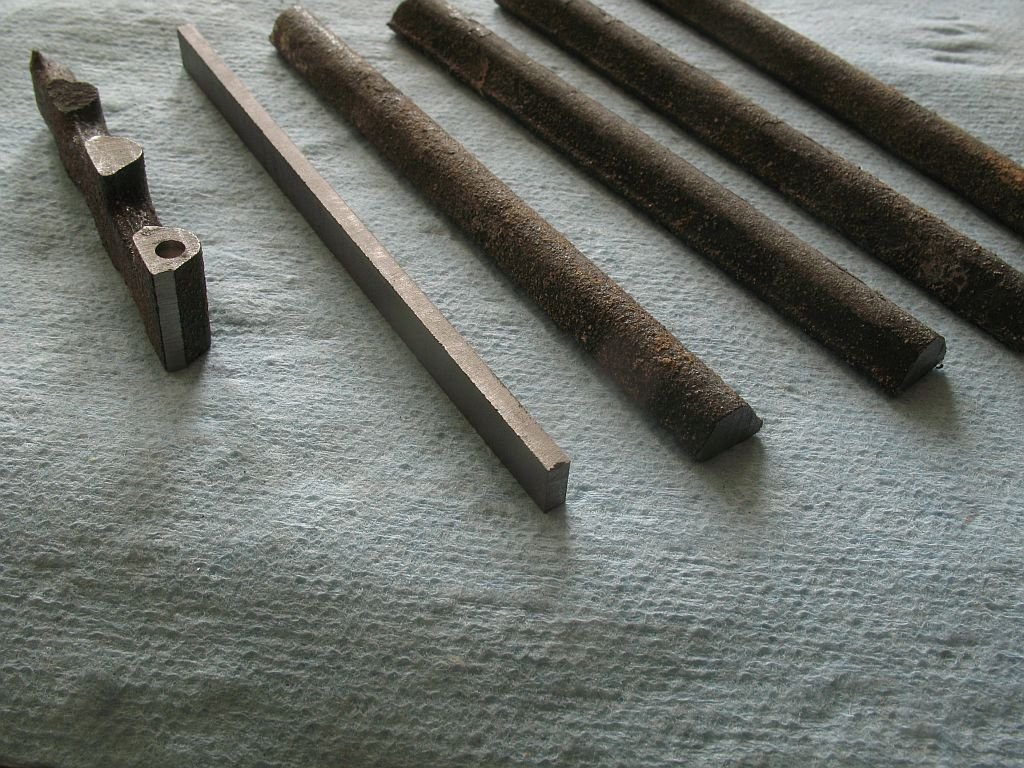
After my afternoon nap a little more progress. first I set up the plate to drill a hole for the fretting out of the central portion. And while looking for a couple of wrenches to tighten the collet I came across my very first tool that i made in school metalwork class an adjustable spanner, a great project that included all the major hand tool operations from cutting with a hacksaw to filing, bevels and holes, also draw filing and lathe work for the adjusting nut, tapping and threading, riveting and also case hardening by heating up the main body to almost white heat in the forge and then plunging it into a tub of carbon powder. All before I reached the tender young age of 14. The next picture shows the bow compass ready to mark the line for the next cut with the jewelers saw. And cut out ready to file to finish size. Temporarily balanced over the hole for a test to see how it will look. I found the picture of the cast Iron from the BBQ grill that I will use to turn up the iron balls, the bar is machined from one of the grill to eventually to be fitted as a firebox grill in a steam locomotive. Michael
-
Thank you for the info Alexandru. Michael
-
Cutty Sark by NenadM
michael mott replied to NenadM's topic in - Build logs for subjects built 1851 - 1900
Hello Nenad, life does have a way of intervening when we are making other plans, wishing you good health with your eyes in the long run. Michael- 4,152 replies
-
- 8
-
-
- cutty sark
- tehnodidakta
- (and 1 more)
-
Beautiful joinery Alexandru, What diameter are the brass pins that you are using for the treenails? Michael
-
Hi John the compass works properly one of the things I need to add are a pair of iron balls I have a little cast iron that I salvaged from a BBQ Grill it is just a matter of turning them up Michael
-
Enjoying following along Gaetan and I especially like your pencil sketches. Michael
-
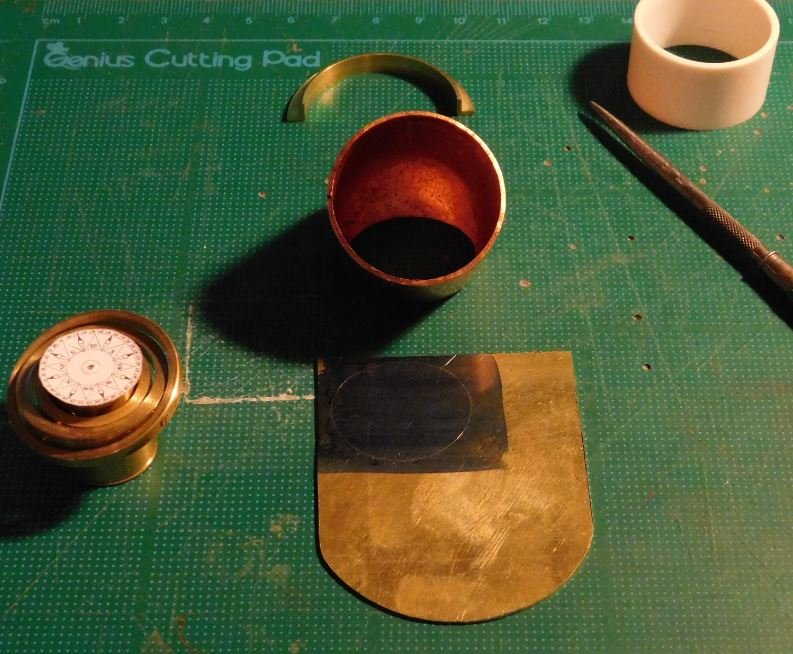
Thank you all for your support and encouragement. Since it seems that winter does not want to let go in these parts I might be able to spend a bit more time working on the cutter alongside the restoration work which I should technically working on diligently in the day time hours. But it is evening. I am also beginning to get back to the compass and am working on the glass viewing and access port. the first task is to cut the foundation ring for the oval support that the lid will hinge off. The copper dome was inverted onto a scrap of .031" (.8mm) brass sheet by inverting the dome and scribing a line to mark the inside diameter of the ring. Next will be to fret out the hole and then use the hole as a guide with an odd-leg divider or caliper to scribe the outside of the line parallel to the inside hole. Michael
-
Very Nice work so far Dan and yes the lattice work by Bob is lovely, Great resolution for the stern. Michael
- 287 replies
-
- 2
-
-
- michelangelo
- ocean liner
- (and 1 more)
-
Hello Mark, I have been mostly quietly following along on your build. I can empathize with your dilemma, even though our types of model are very far apart regarding the era and subject. Resolving the authenticity of a particular methodology for a country's ships is no doubt something that requires a fair amount of research to reach a position that you are comfortable with. It is similar with regards to "original design" As you know I am no chicken when it comes to reworking something or tossing a lot of work because it did not feel right after some time. one only has to wade through my cutter build to see that. In my view there is a great deal more going on behind the scene (eyes) for us than meets the eye. We are engaged in a very complex process when building our models that covers a broad spectrum of decisions, not the least is that it looks right for whatever reason that we each feel is important to us. Probably why we build these things in the first place. The journey is in my view the most important aspect of our work and being satisfied with the results is critical to continuing the build or not. As beautiful and exquisite as the fished results are they are not the most important aspects of our work in my view. Keep up the very fine work you are doing! Michael
-
Thank you Ed for your patient and considered approach to the work of installing the complex rigging. The long line of belaying pins tells me that there is a great deal more complexity to these beautiful vessels than one might expect. I am particularly enjoying the care and attention you are putting into details that are often skipped. Michael
- 3,618 replies
-
- 9
-
-
- young america
- clipper
- (and 1 more)