HOLIDAY DONATION DRIVE - SUPPORT MSW - DO YOUR PART TO KEEP THIS GREAT FORUM GOING! (Only 13 donations so far - C'mon guys!)
×


donrobinson
-
Posts
1,909 -
Joined
-
Last visited
Content Type
Profiles
Forums
Gallery
Events
Everything posted by donrobinson
-
Looking good Derek, and you are doing a great job overcoming some of the problems we all face
-
Looks top notch Bob. Did you make that shackle? If you did I give you an extra wow, if you didn't keep the wow as you still deserve it
-
What is the most EPIC kit available???
donrobinson replied to Rossi46's topic in Wood ship model kits
The epic kit.......that's easy. For me it was Amati's Pegasus then it was Amati's Revenge then it was MarisStella's Trabaccolo then it was MarisStella's Barque Stefano.......................and the list goes on. The first rule in this hobby is "Thou shalt hoard kits" second rule "if you like it buy it"- 32 replies
-
- 11
-

-
Looks like you found the right combination, maybe a little time consuming but it is working for you. Keep going
-
I can't argue that Mike . If I ever get the chance to use boxwood I'll probably be onside with you. It is very hard to find in Canada
-
Welcome aboard Doug always room for more. Back row is actually real close to the refreshment fridge, good choice in seating
-
Thanks Pierre, you are right about the shelf but being there is no admiral at the present time all decorating is at my discretion and I have lots of empty walls and space
-
Good morning and welcome to MSW, sounds like you have a good plan with your wood. I think cocobolo will work good as is not porous like oak, for instance, which is a problem at these scales. Being it is as dark as it is and the size of the pieces being used the wider grain will not be that noticeable. As for bending, I don't think it should be too much of a problem as the pieces to be bent will only be 1.5 mm thick. Myself I would use it for the keel also, I am not so sure how you could blend in a white paint line so it would look good with the cocobolo and boxwood. The boxwood and holly are also good choices and ebony, although lots of work, will look great. What do you plan on using for the mast then? Looking forward to more updates
- 714 replies
-
- 6
-
-
- lady nelson
- victory models
- (and 1 more)
-
Thanks Bob. The finished ship is 1.12 m. when finished so it will take up some shelf space!!
-
Thanks Zoltan, It's been crossing my mind if the first layer turns out good enough I may skip the second layer as it is all copper plates and painted. We'll see.
-
If there is enough wood on the billet, cut the pieces out very roughly then use a drum sander on your dremel for final shaping. If the pieces are going to be painted coat the delicate areas with thin ca glue, this will harden the wood up and help prevent splitting then cut and shape as mentioned. This all I got, hope it helps.
-
Not sure how I missed this. Congratulations she is beautiful, you have every right to be very proud of your accomplishment.
-
I have this practicum, actually I have all of them that I bought when I first started two years ago. The second chapter is all about the hull planking, he does skip the second planking as "it is exactly the same as the first" and unless you want a natural hull there was no need for the second layer. I have not gone through the whole practicum yet just the planking chapter, which seems to be helpful. If you are going to paint the hull why use boxwood, I am talking about the Bluenose. He also mentions that there is 70 - 1/16" x 1/8" strips for planking the hull on the Bluenose
-
Very nice work Mike, a "building board" is very handy to have does not need to be anything fancy just needs to hold things firm and square
-
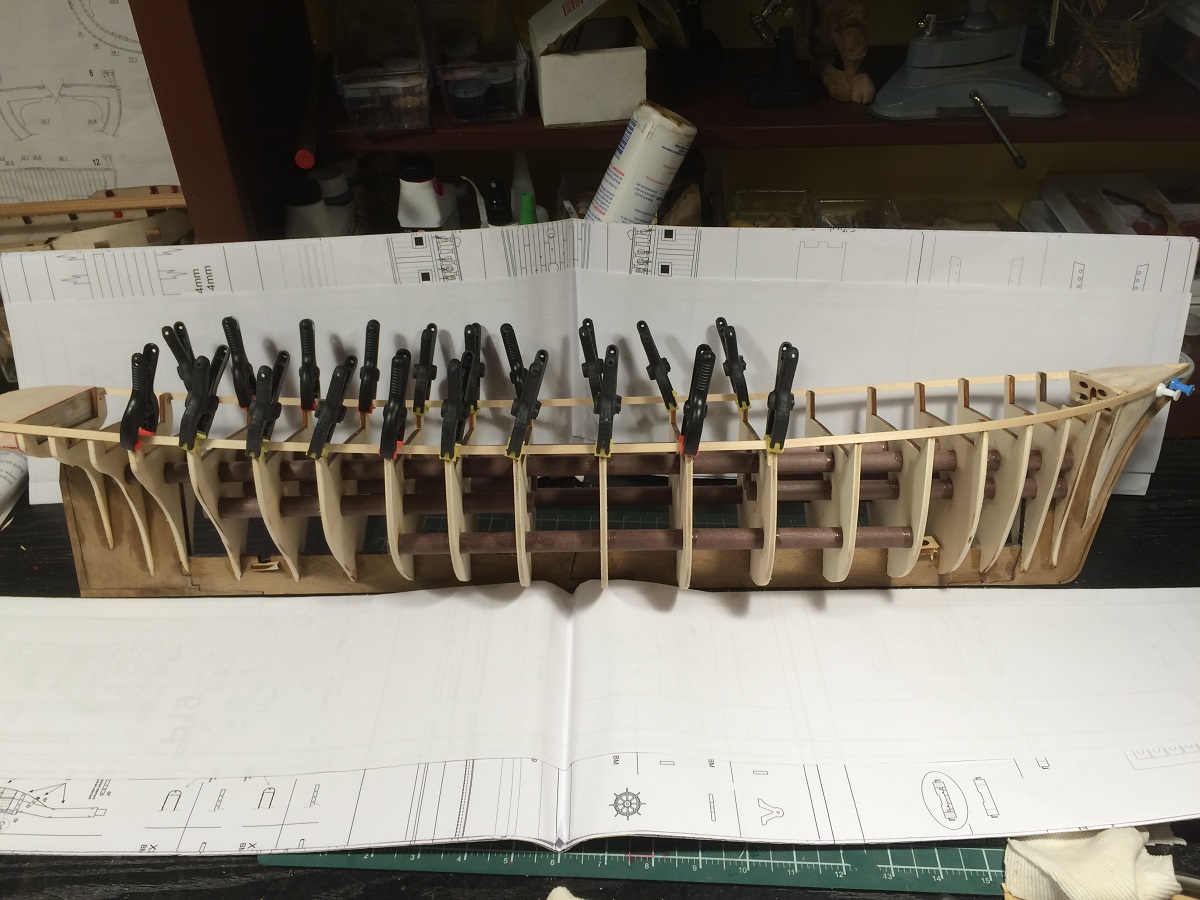
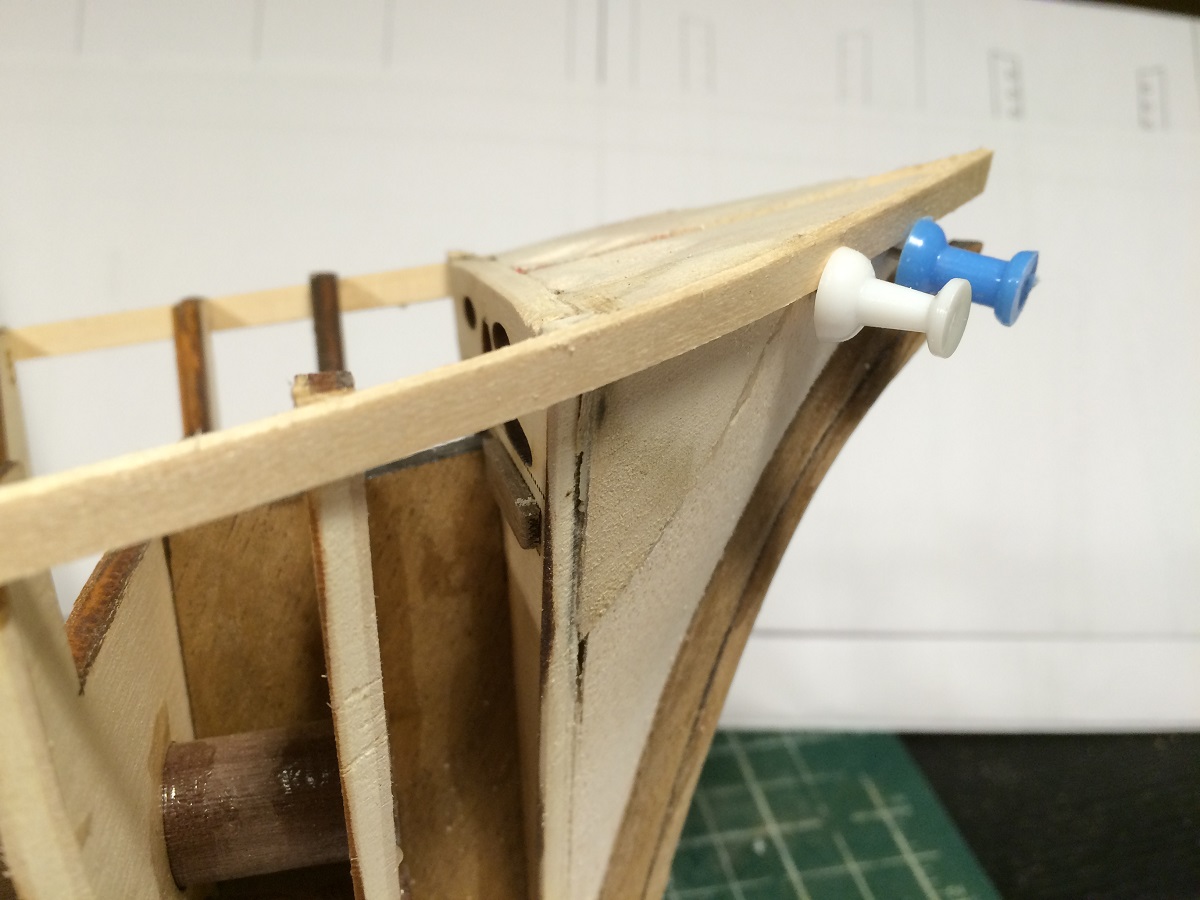
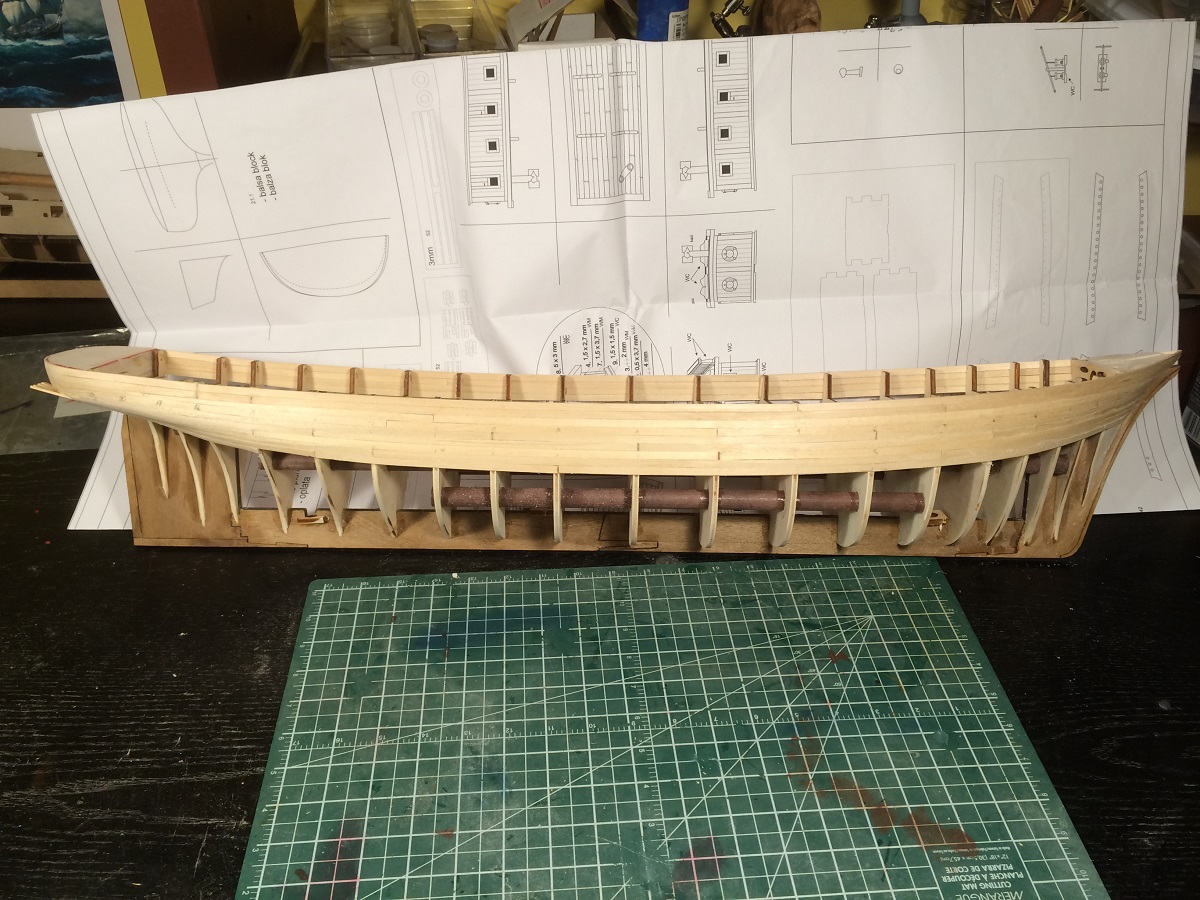
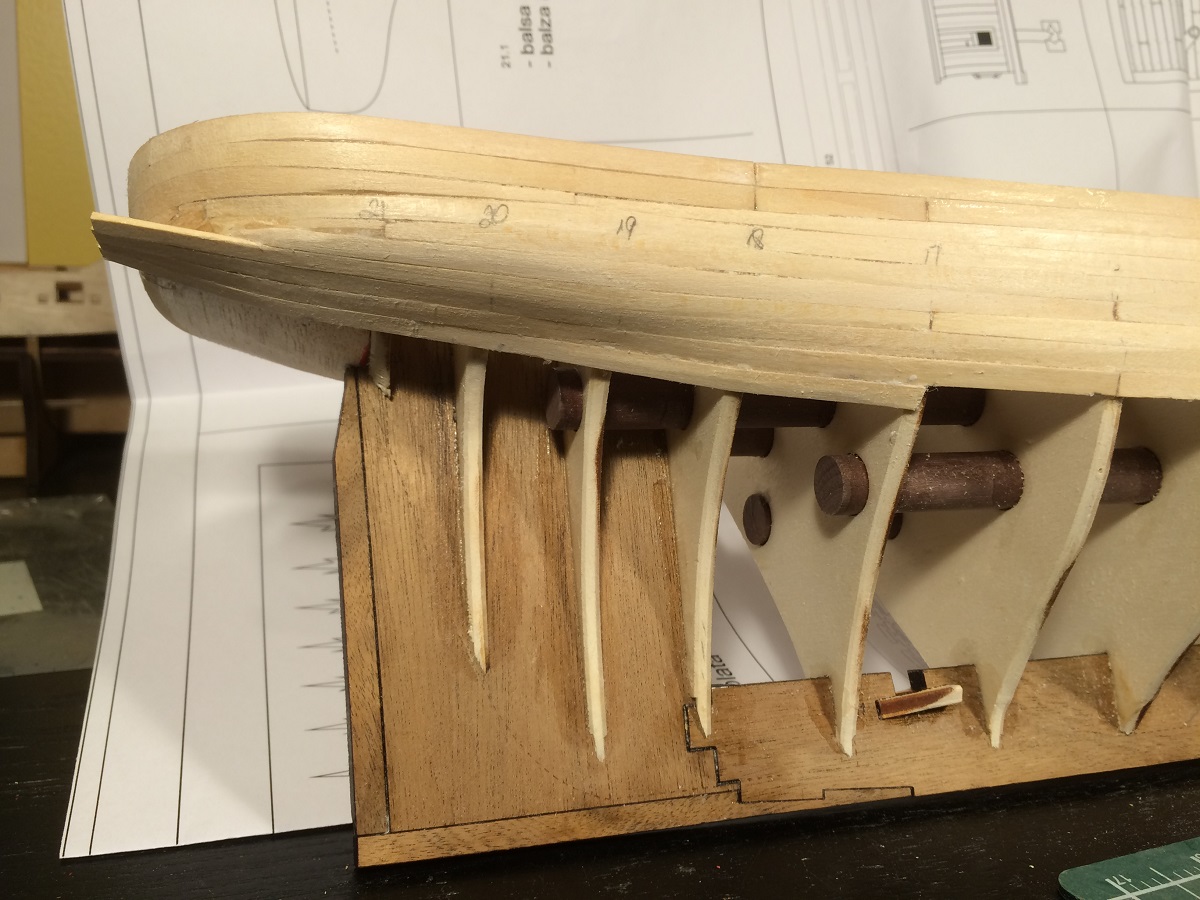
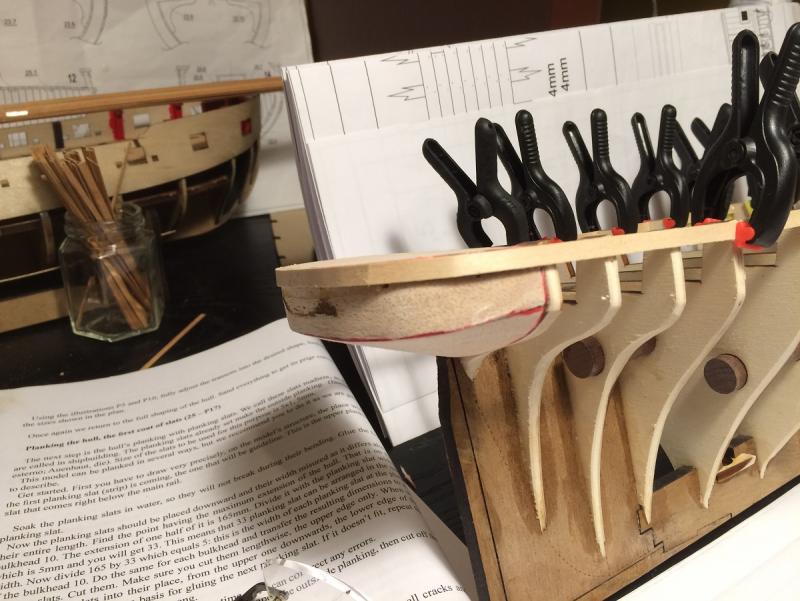
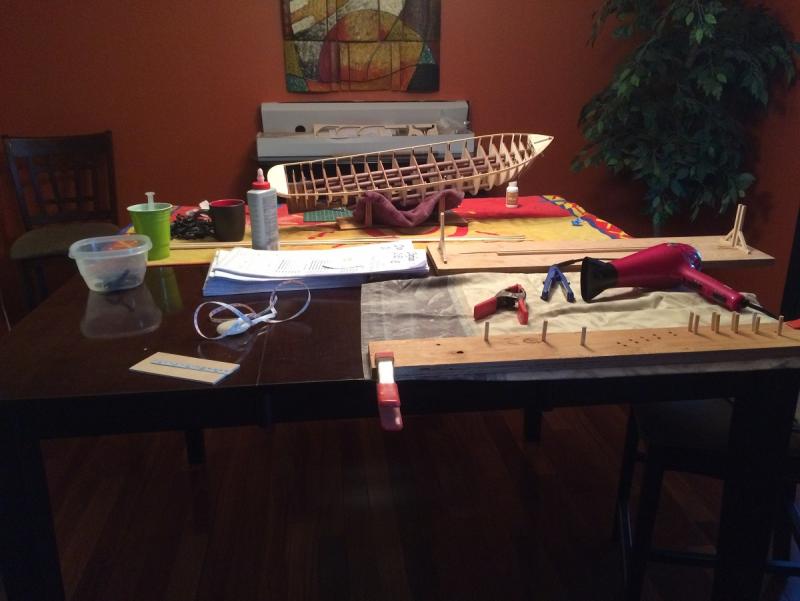
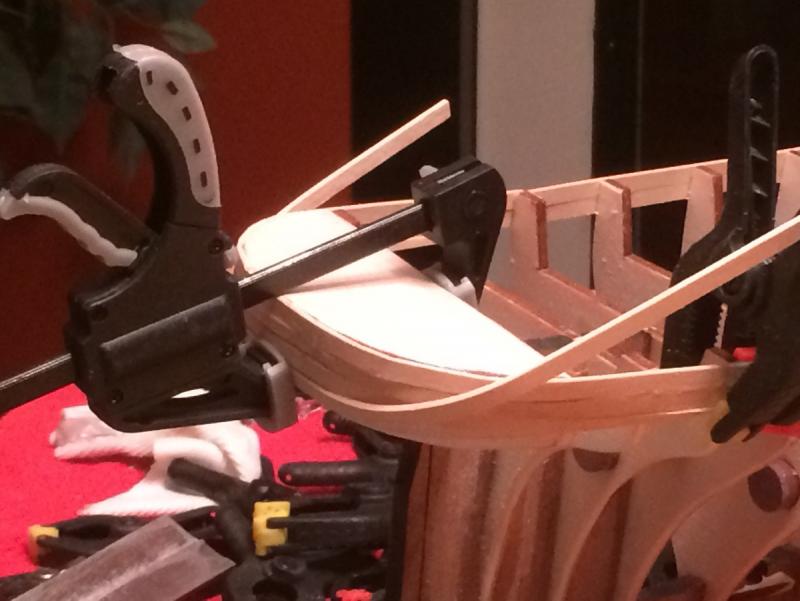
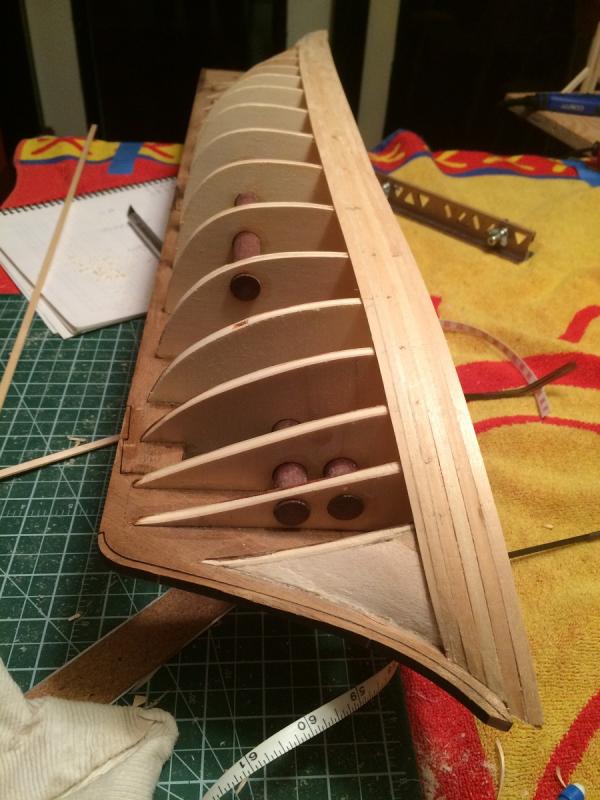
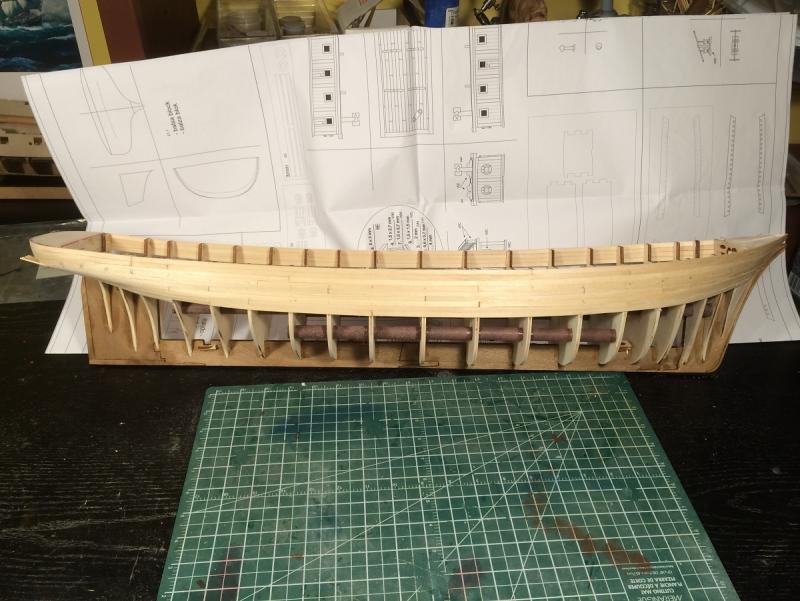
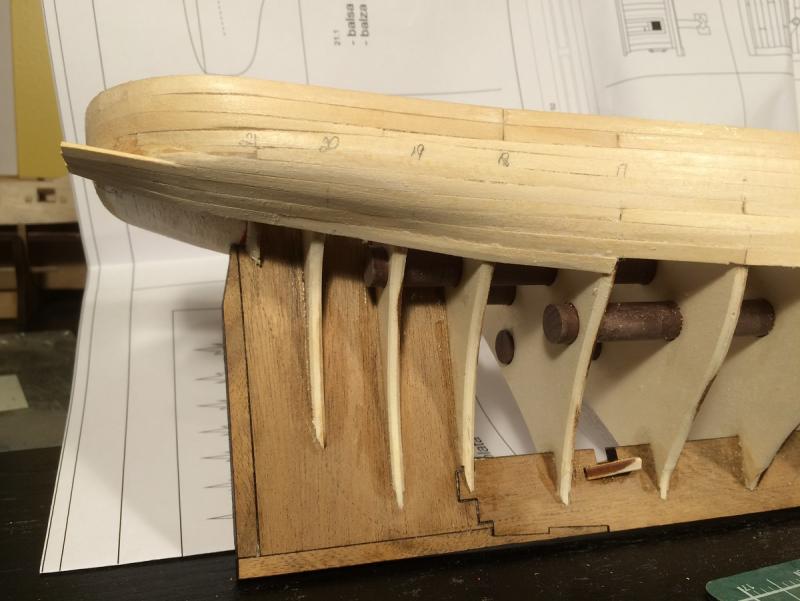
Hello All, Thanks for stopping and for your likes and comments. Well a week has gone by and I don't have that much to show, For some reason I thought I would have had lots more to show, but I have started on the planking and all is going smooth. At this stage Stefano is 810 mm long so I suppose this is maybe why it is going slower than I thought. No matter there is no rush. The transom has proven to be a little bit of a hair puller outer but fortunately with my already thinning hair there was not much to grab onto and all worked out The first row of planking installed at top of bulkheads, no tapering done on this strake. The bulkhead extensions are to be removed later on, therefore there is little glue applied to these points of contact with the planks. It is necessary then to pay special attention while installing the first four strakes and be sure there is adequate glue applied to their edges and proper clamping is applied. The new shipyard aka dining room And here Stefano is beside the Pegasus, the Pegasus is 500 mm in this picture 310 mm shorter than the Stefano. Pegasus is 1:64 and the Stefano is 1:63 This week is the Trabaccolo, See You All Later


- 223 replies
-
- 13
-
-
Coming along nicely Pierre. When I plank I will put a bead of white glue along the edge of the plank then on the bulkheads put ca glue.Little or no need for clamping, just a little finger pressure is all that is needed.
- 46 replies
-
- 2
-
-
- batelina
- marisstella
- (and 2 more)
-
That looks real nice Dave, those mouldings certainly add to the look, once rail is on she will be so sweet. As usual Great Work Dave!!
-
Good progress Chris
-
I say if you likie it buy it, as it has been said it is extremely cheap entertainment. If it is the Pegasus you want talk to Rick at Modellers Workshop, he is located in Montreal and is great to deal with. I bought my Pegasus from him
-
Real nice work Bob. I think I need to get my eyes checked, the rigging looks almost blue in some of the pics.
-
Thanks Dave. I know you mentioned it somewhere but did you get those from micromark?
-
Nice work Mike, I like your wood selections. Does the yellowheart hold its colour or does it turn. I bought some dye I am going to try on some osage orange, I am hoping it will keep it yellow, for on the Pegasus.
-
Looks real good Dave. The mouldings should give it that little extra. How do you like that scraper? It looks like it does a nice job