HOLIDAY DONATION DRIVE - SUPPORT MSW - DO YOUR PART TO KEEP THIS GREAT FORUM GOING! (Only 13 donations so far - C'mon guys!)
×


donrobinson
-
Posts
1,909 -
Joined
-
Last visited
Content Type
Profiles
Forums
Gallery
Events
Everything posted by donrobinson
-
Thanks HD, that stands for Holiday Dave, I mean....really....holidays again
- 653 replies
-
- 5
-

-
- trabakul
- marisstella
- (and 1 more)
-
Hi Mike they really are the way to go. Using a saw and with the up and down motion would have ripped the thin planking(.5 mm) making a mess. These bits are cheap to buy less than a $1.00 each and they stay sharp a long time when cutting wood. Only seven more holes to go!!!!
- 653 replies
-
- 5
-
-
- trabakul
- marisstella
- (and 1 more)
-
Good to see you drop by Ian, help yourself to any of the ideas my bulb does not shine bright very often
- 653 replies
-
- 5
-
-
- trabakul
- marisstella
- (and 1 more)
-
Hello Mike, good excuse to have a cool one..... right?
- 653 replies
-
- 5
-
-
- trabakul
- marisstella
- (and 1 more)
-
Thanks for dropping in Skipper, I remember now when that happened to you. Gives a person a warm feeling all over or should I say a hot a very very hot feeling
- 653 replies
-
- 6
-
-
- trabakul
- marisstella
- (and 1 more)
-
Hey Bob probably is the same song, consists of one word sung many times does this sound familiar
- 653 replies
-
- 6
-
-
- trabakul
- marisstella
- (and 1 more)
-
Thanks E.J., I think I prefer the rope handles to the normal eyebolt and ring ones
- 653 replies
-
- 6
-
-
- trabakul
- marisstella
- (and 1 more)
-
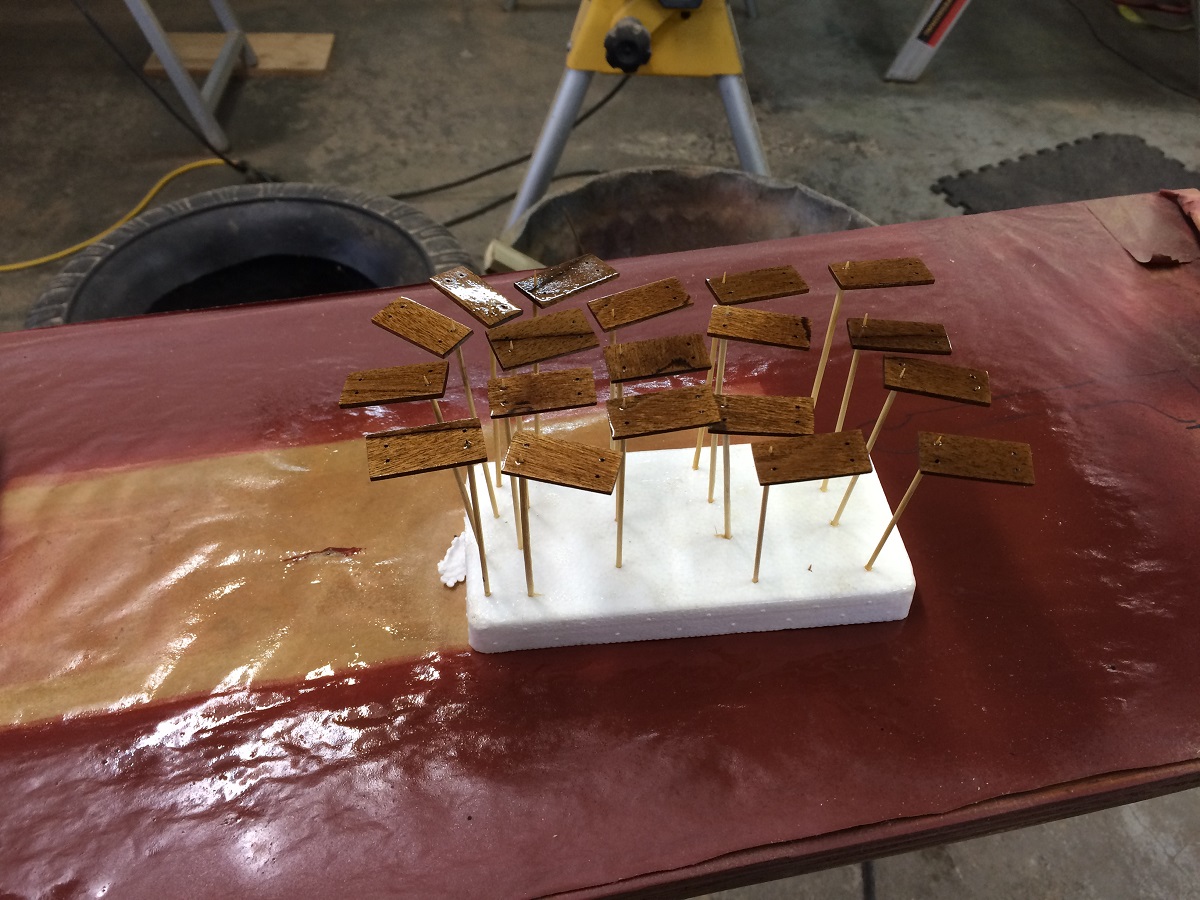
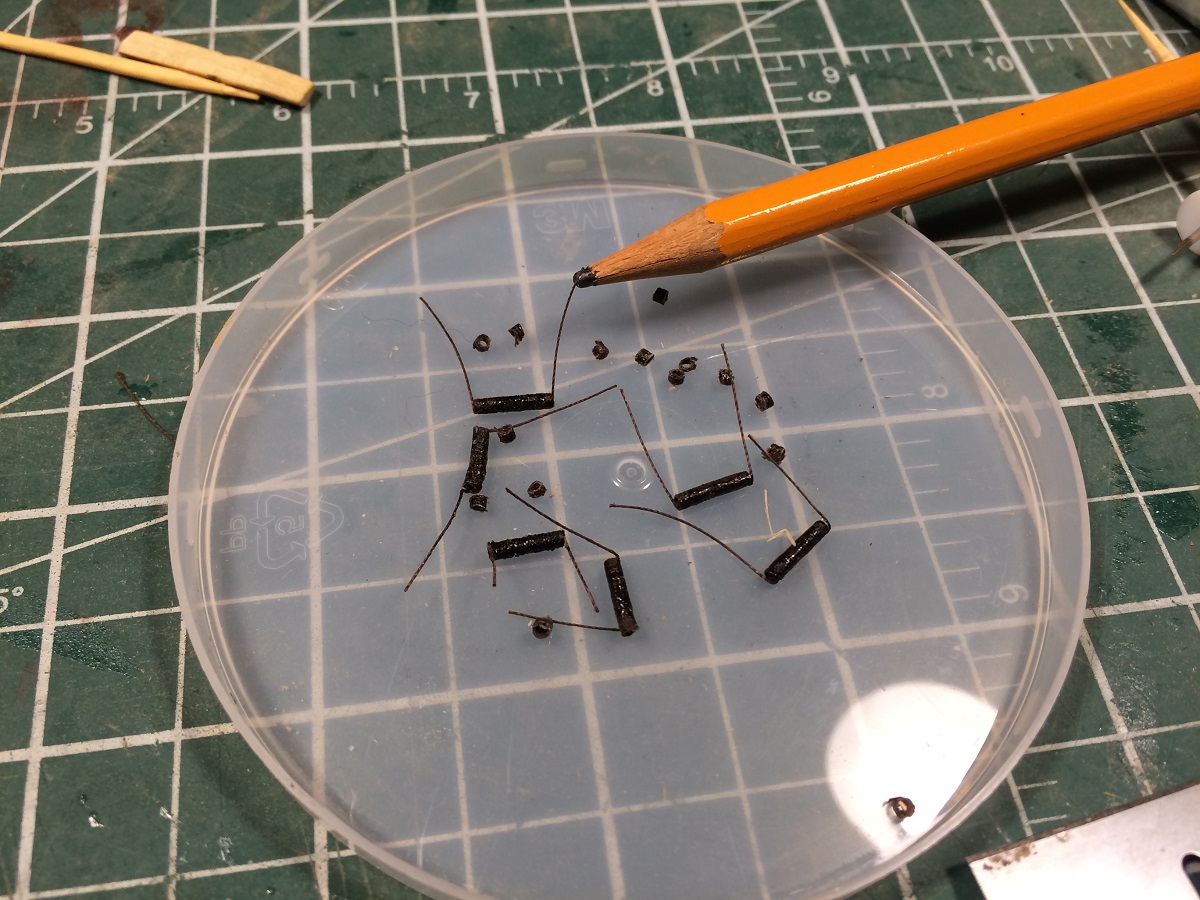
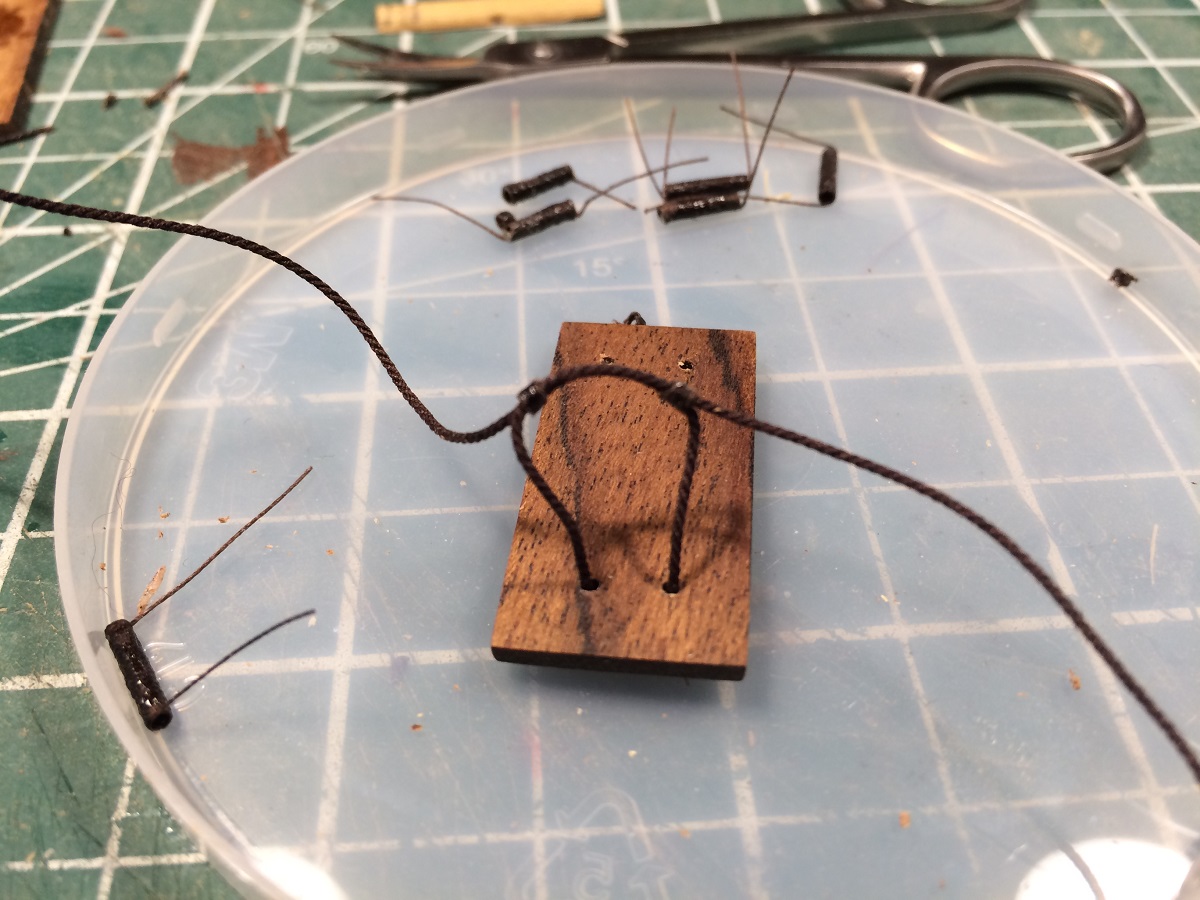
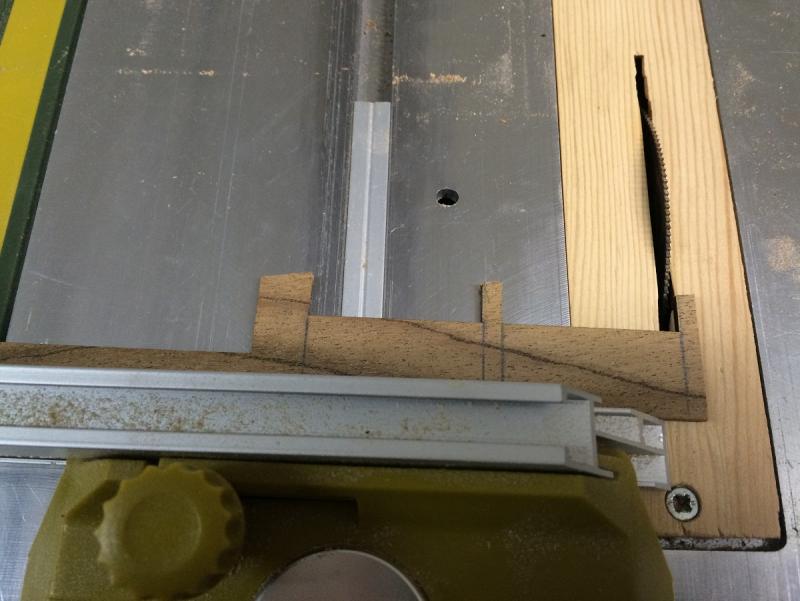
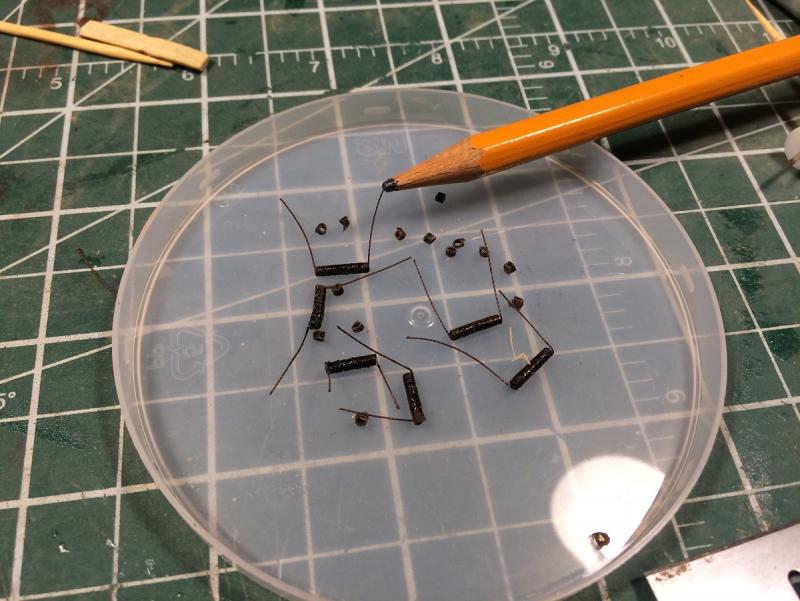
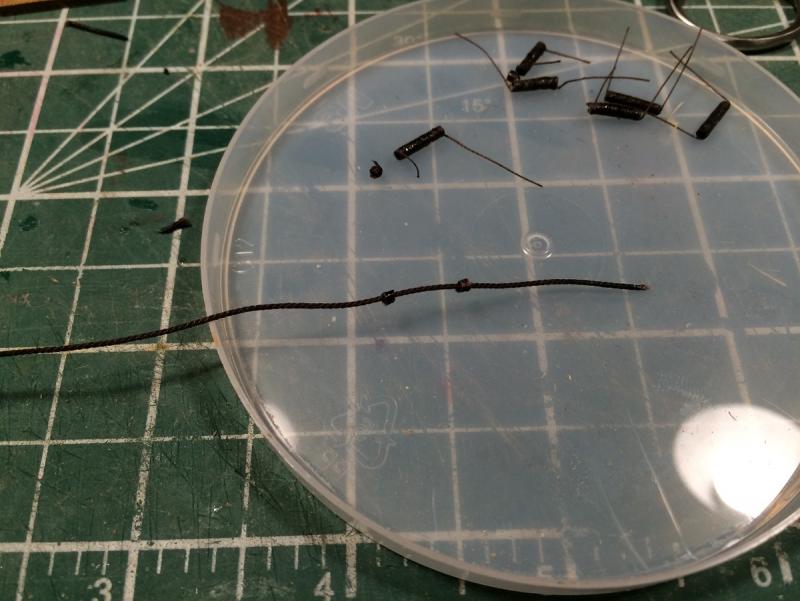
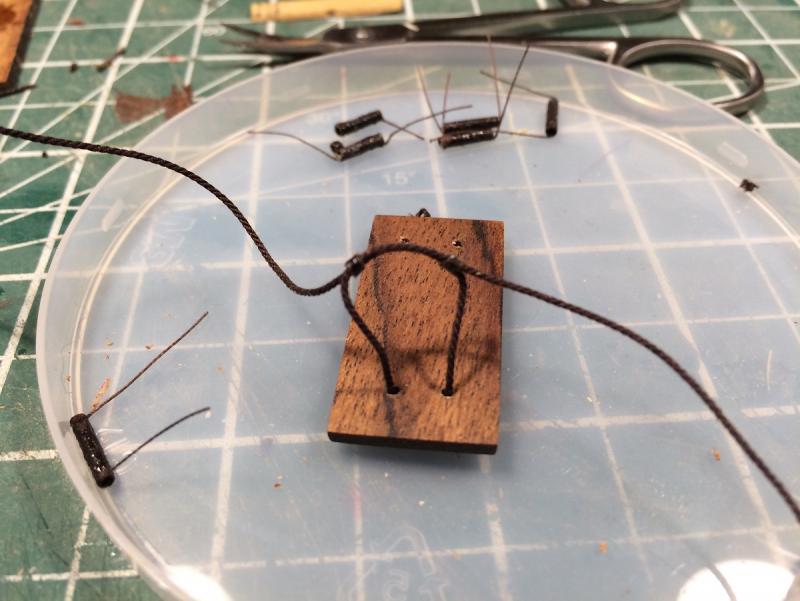
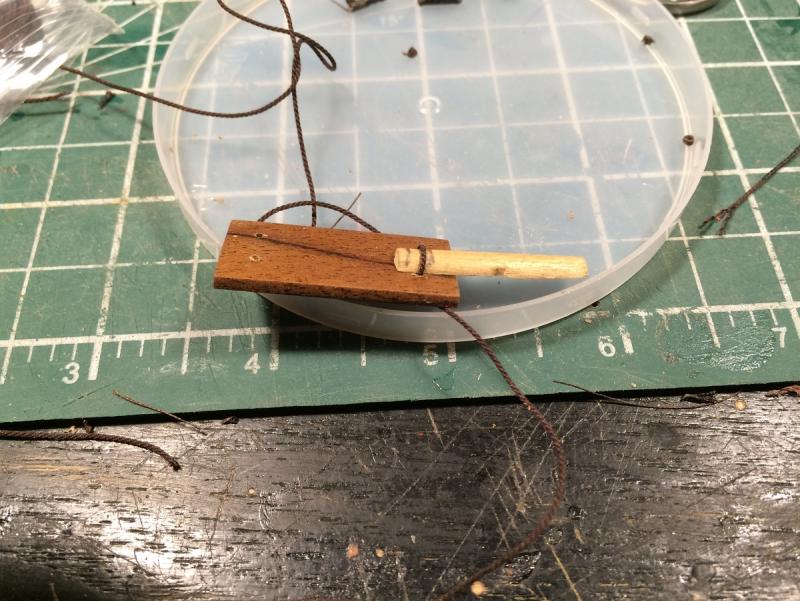
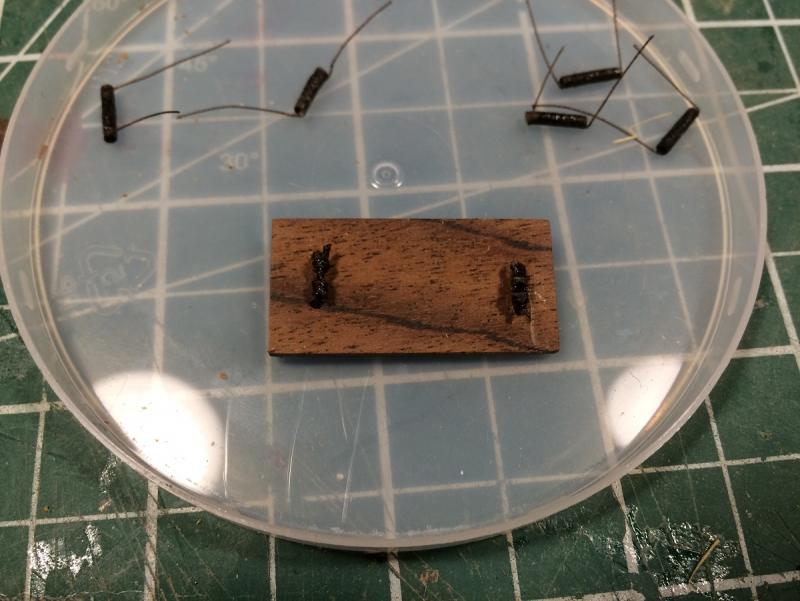
Out in garage, cutting some spare hatch covers. I had a thought of maybe painting the hatch covers so I thought making some practice ones would be a good idea. Covers and hatch got a total of six coats of spray on satin varathane To attach the rope handles to the hatch covers I decided to use zip siezings. The rope I am using for the handles is .025 in. or .633 mm from Syren. The zip siezings are 1.3 mm i.d. and 1.77 mm o.d. and approx. 1.5 mm long First step is to thread two siezings onto the line, after stiffening the end of the line with ca then cutting the end at an angle Then run rope through the bottom and back down from the top. Then insert the end of the line though the two siezings Flatten one side of an appropriate size of dowel to the proper height, in this case 3 mm, and adjust the rope around it. When adjusted properly turn it over, glue and cut the ends off. In the macro picture it looks kind of bulky but in reality it looks good. Finally here is how they look. Now 19 more to go Have a Good Night


- 653 replies
-
- 21
-
-
- trabakul
- marisstella
- (and 1 more)
-
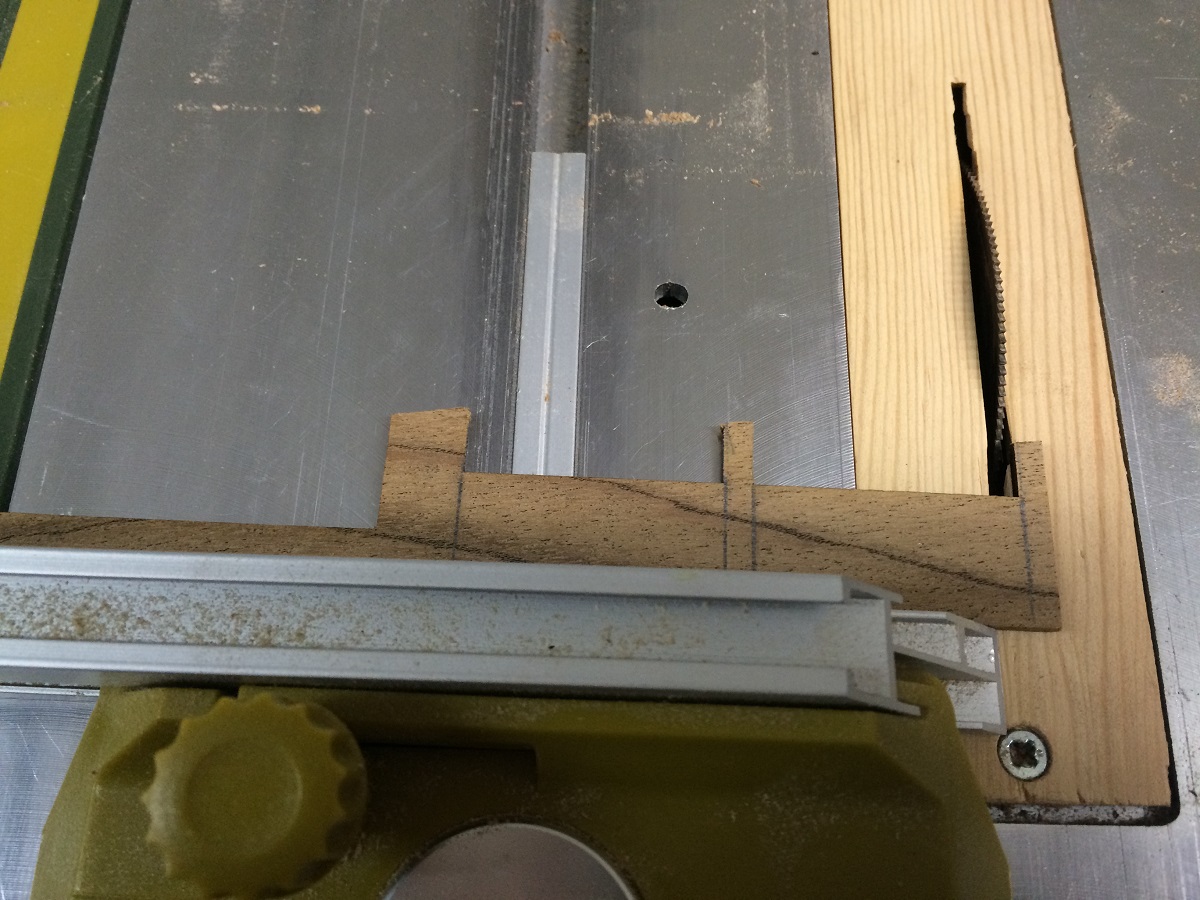
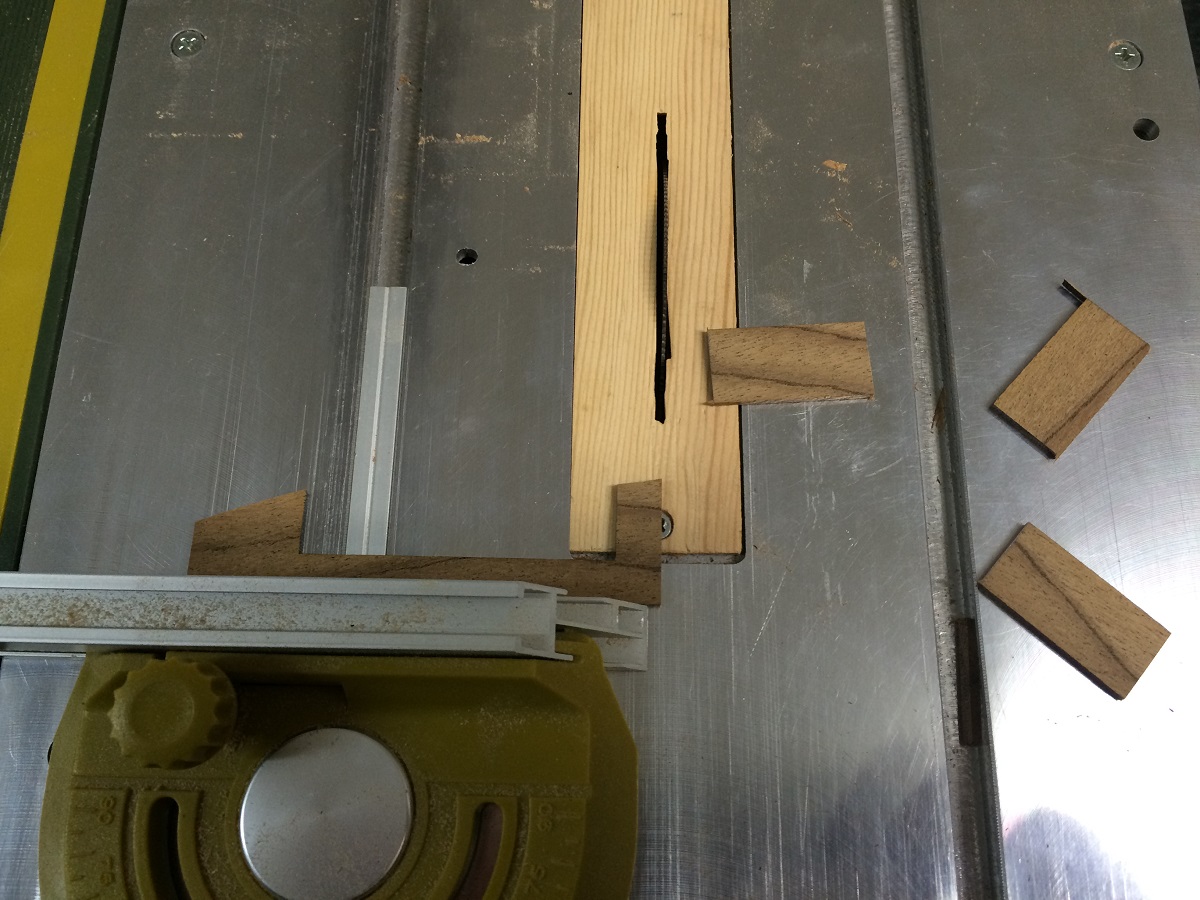
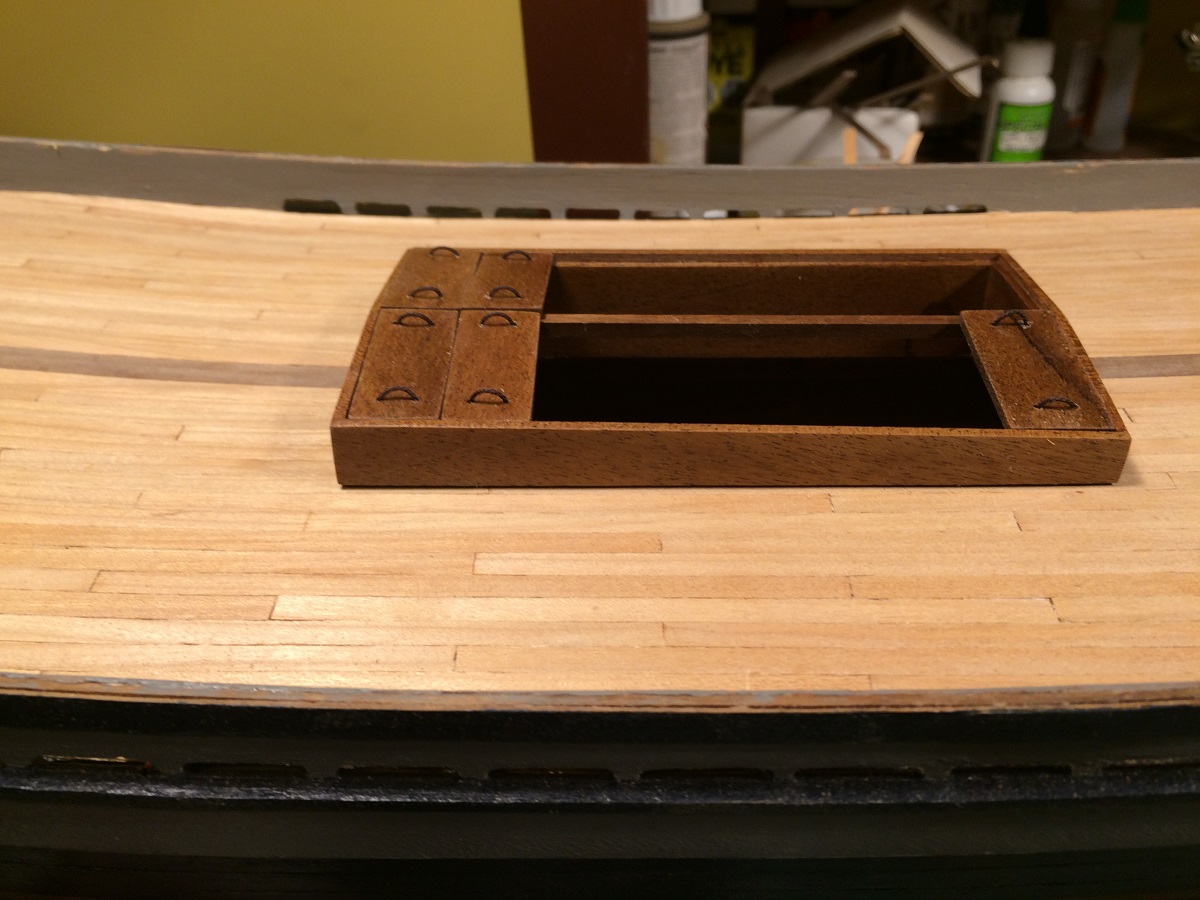
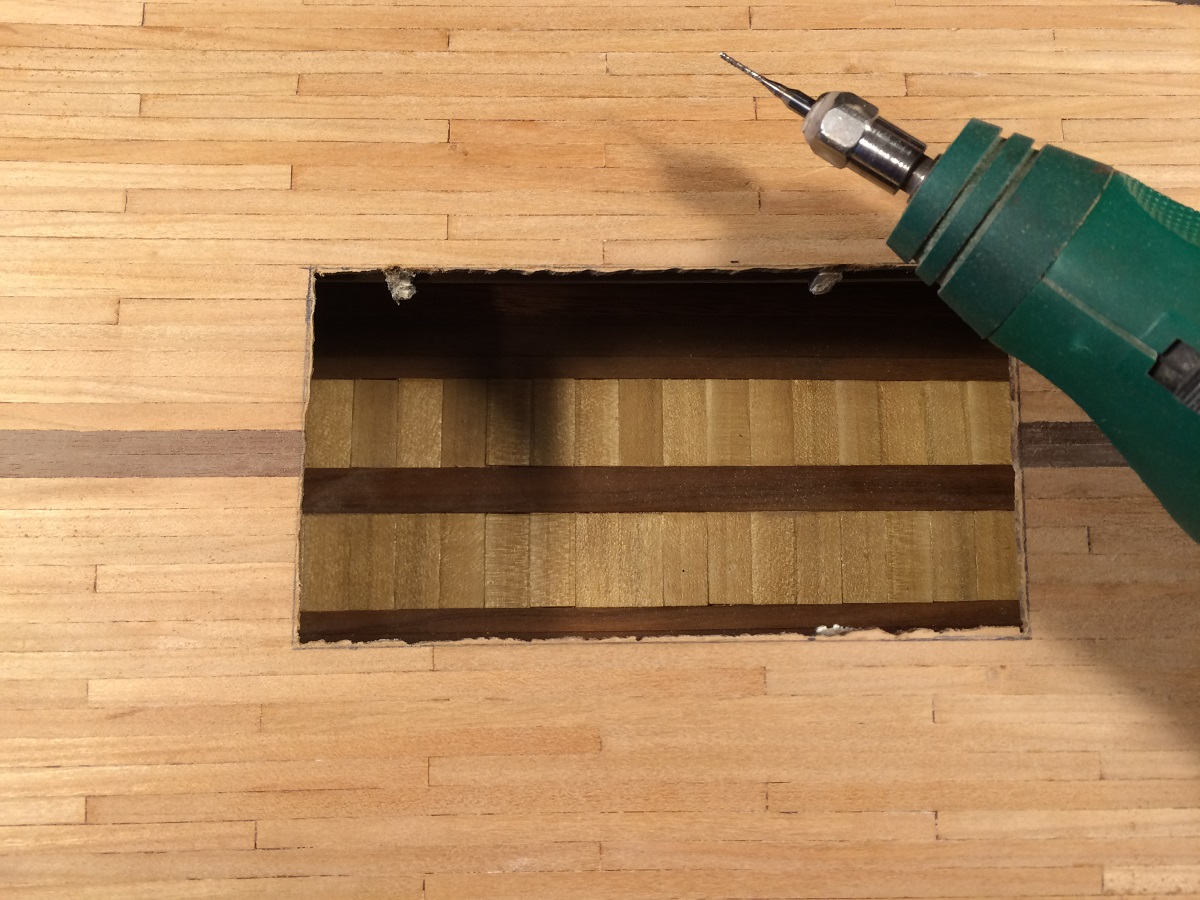
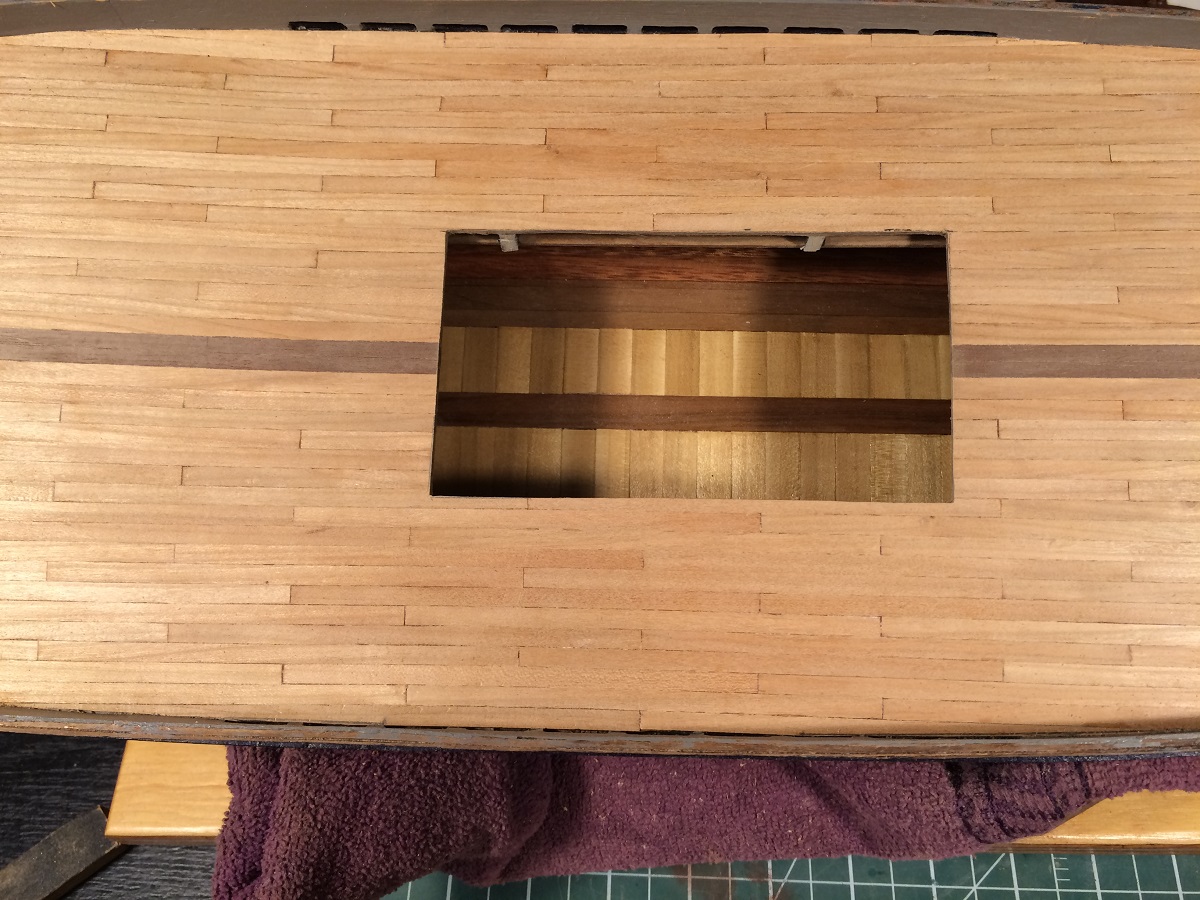
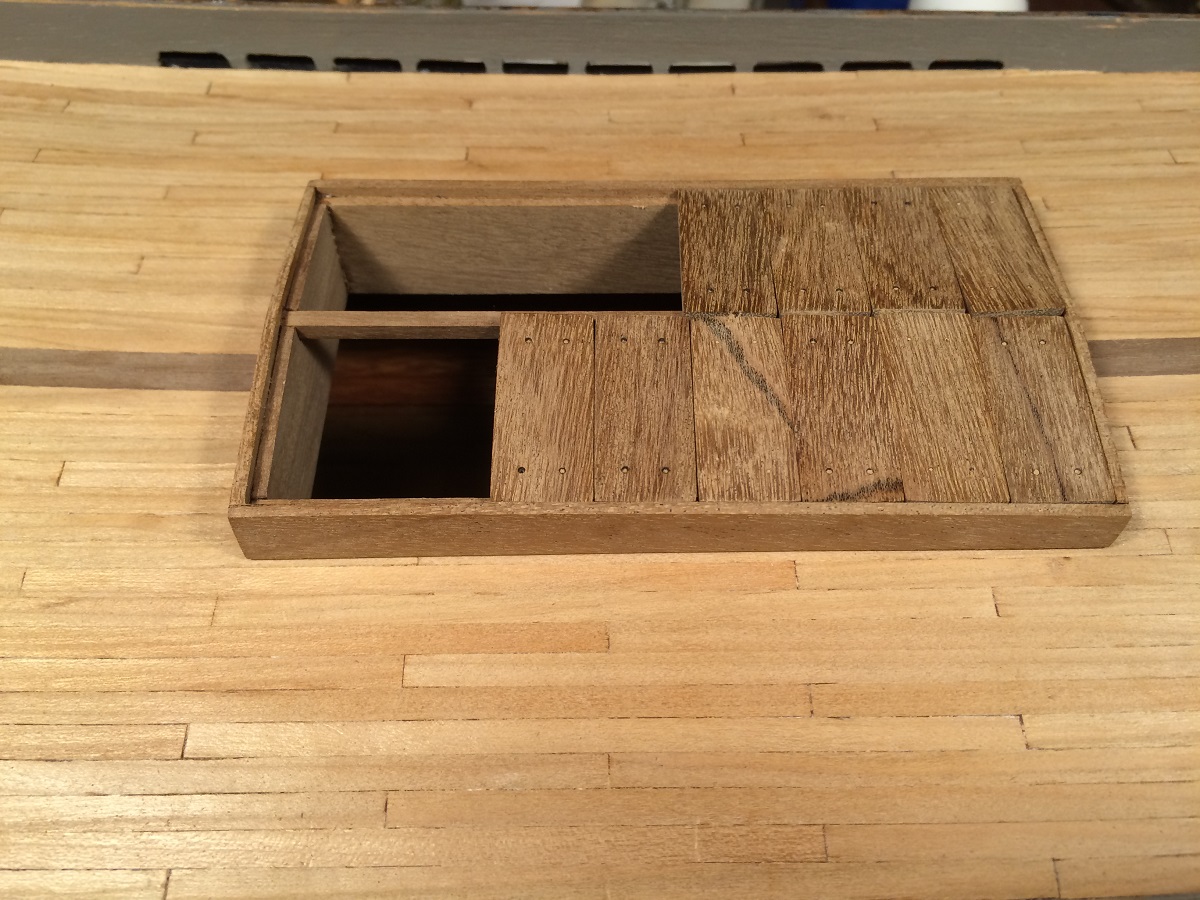
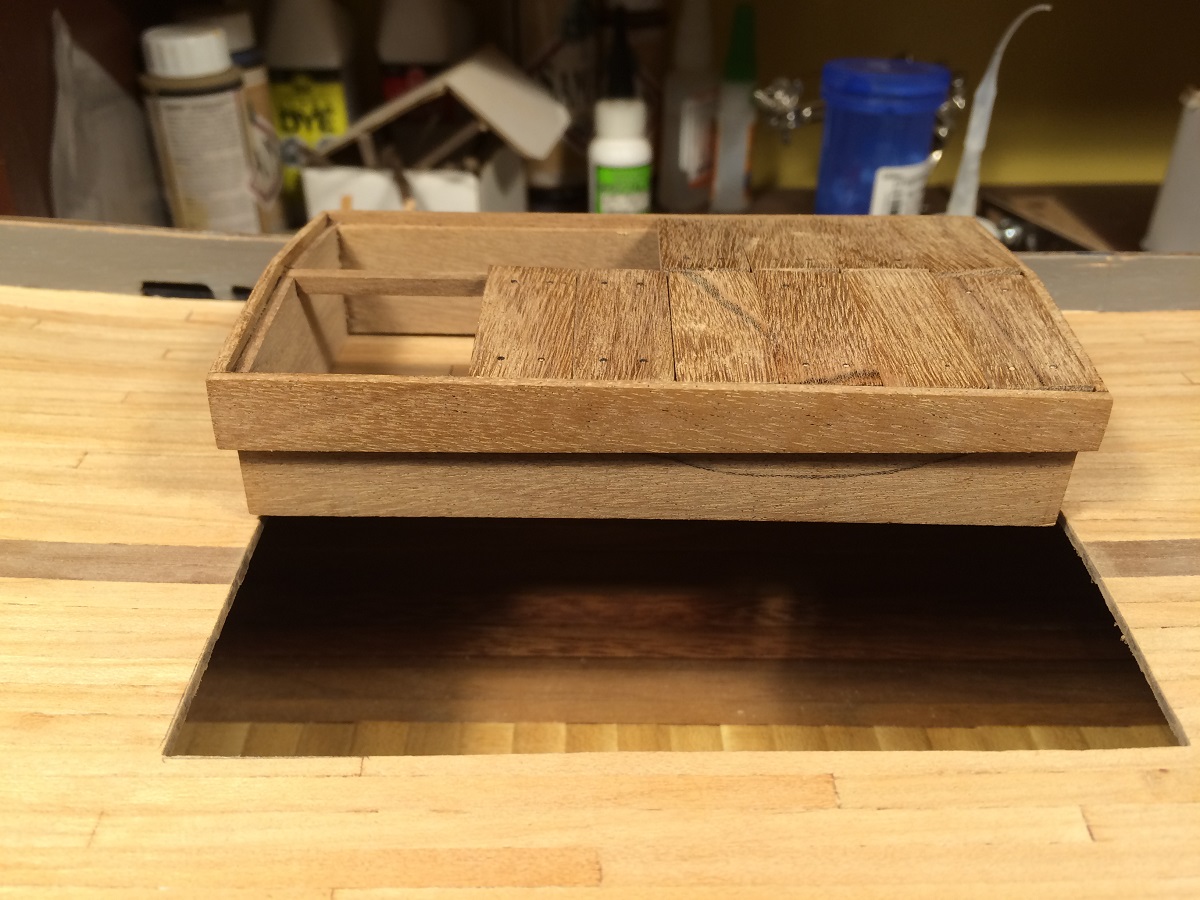
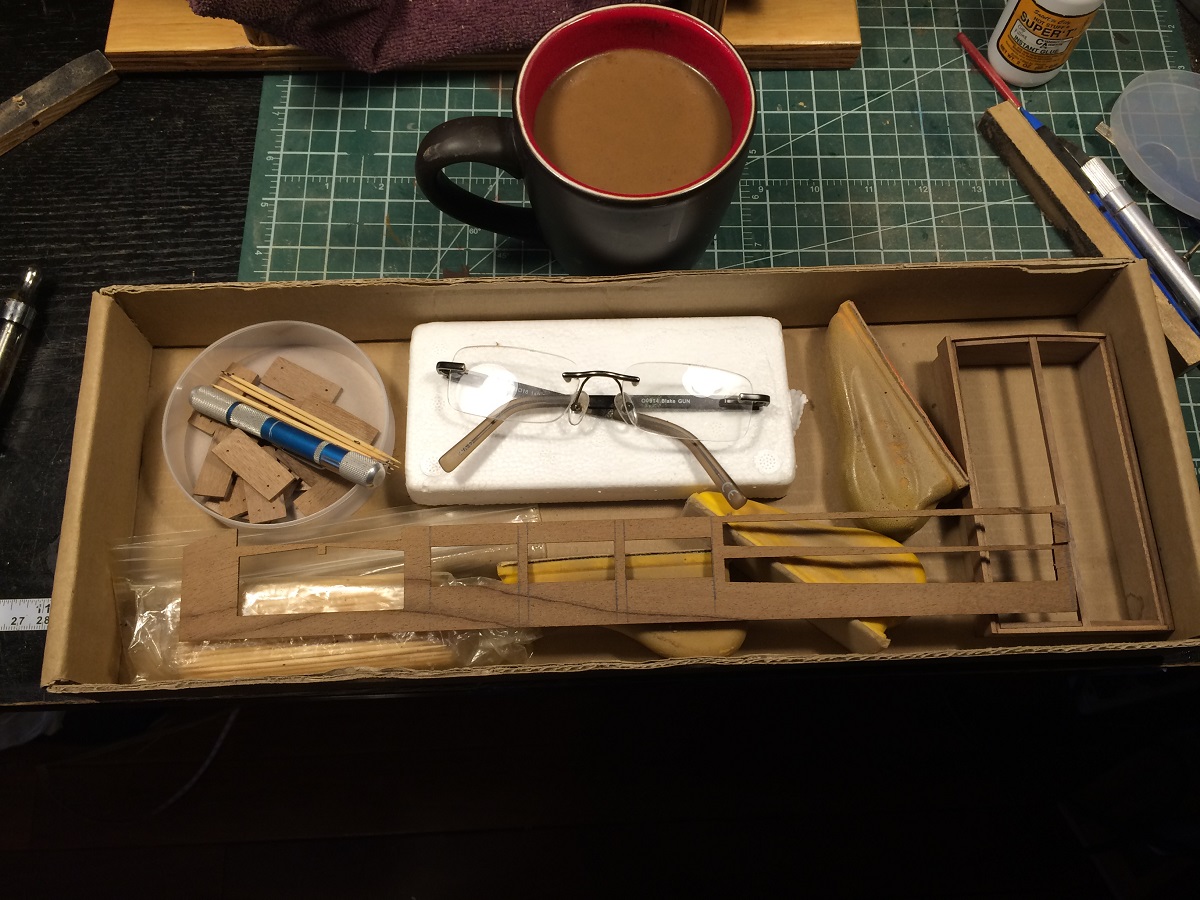
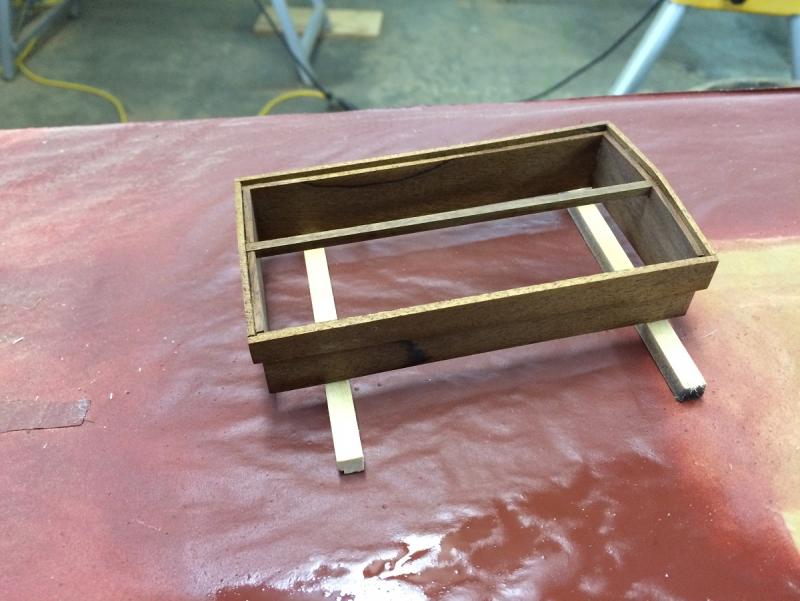
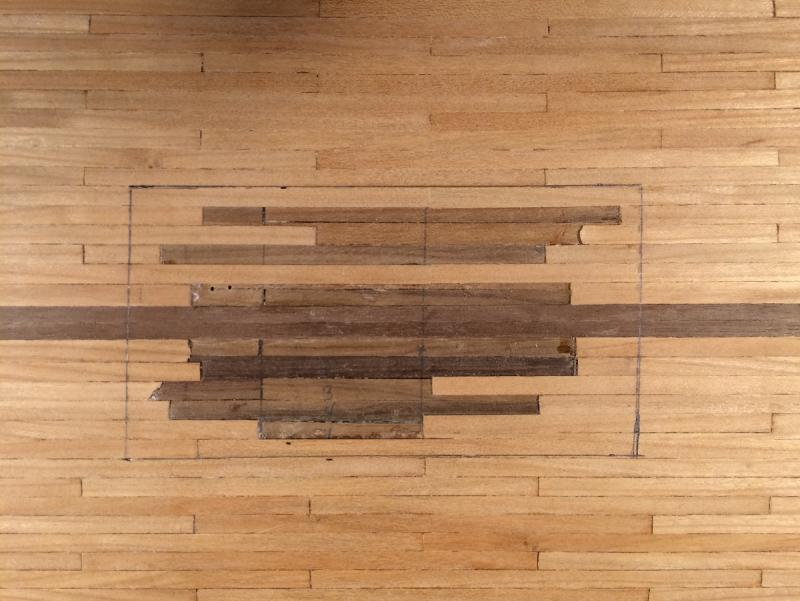
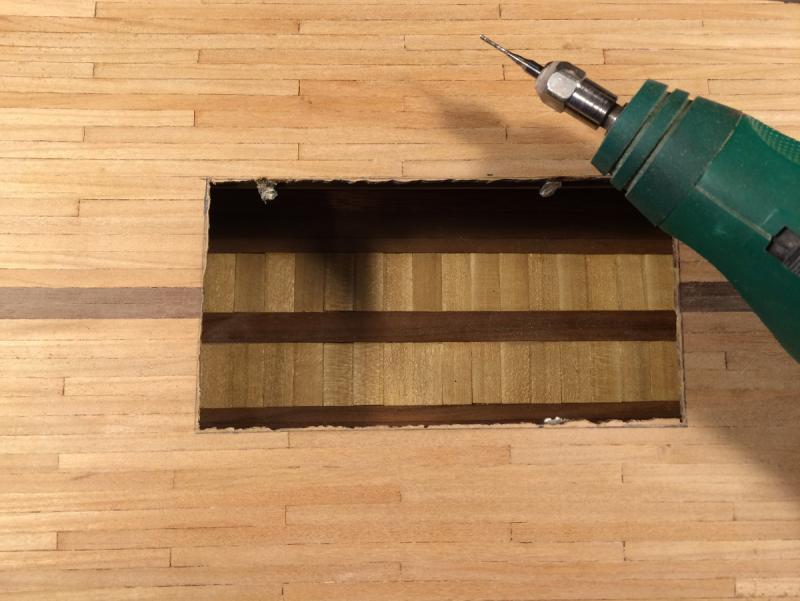
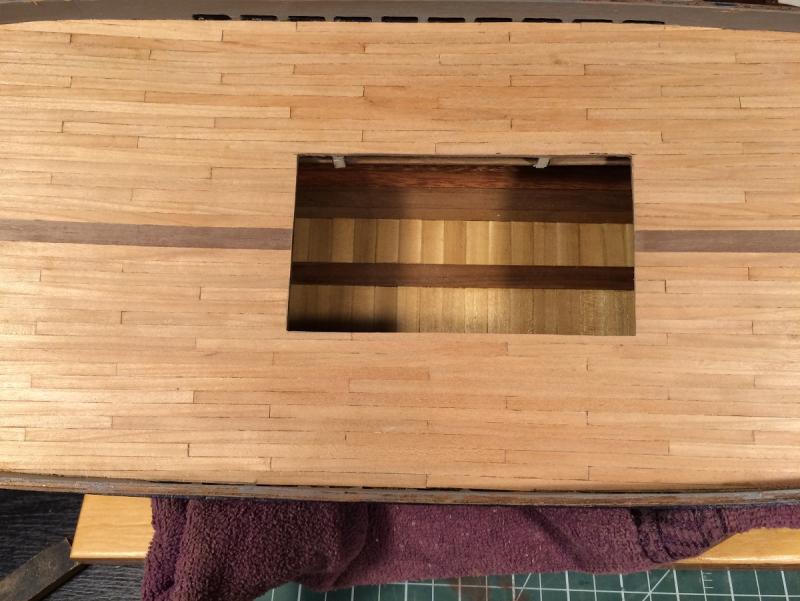
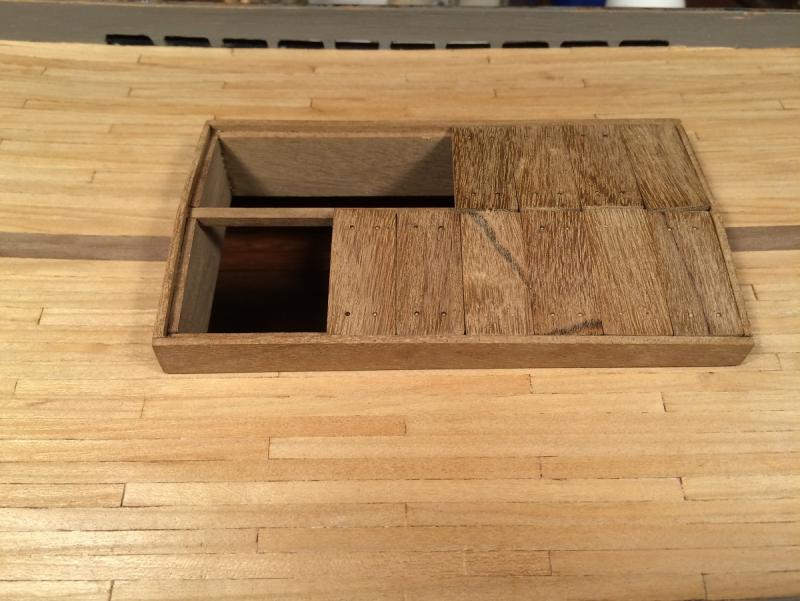
Good evening folks, did a little work on the stowage hatch and thought I'd show some pictures. This one is showing the location marked out and ready to cut Here the hatch has been cut out using a rotary tool and a 1 mm end mill bit( a little shaky on the cut, should have had a beer maybe ) The hatch has been trimmed up and sanded using a sanding block\ The hatch has been built and am cleaning up the covers This how it looks installed I did not take any pictures of the construction of the hatch. It is basically two boxes built around each other. The only minor problem was when I was sanding the two inside end panels. I was using the disc sander sanding both pieces at once and did not realise one had moved forward, so I sanded that end flush, turned it end for end and sanded flush again. Although all ends were very smooth and even the pieces were now 3 mm too short. So after singing a beautiful happy song it was out to the garage to make two new ones Here I am packed up and ready to go to garage to spray some varathane


- 653 replies
-
- 19
-
-
- trabakul
- marisstella
- (and 1 more)
-
Thanks Skipper and Bob, that's what this site is all about is sharing ideas and methods. I certainly did not learn what I know by myself , most of it was from this site. I would have a had a pile of expensive kindling by now if it were not from watching others here . Looking forward to seeing you start your new build log Skipper
- 653 replies
-
- 6
-
-
- trabakul
- marisstella
- (and 1 more)
-
Congratulations on your completion, she looks real fine
-
nice job on the painting, looks like wood
-
Nice method Mike, I will have to give that a whirl when the time comes.
- 843 replies
-
- 3
-
-
- niagara
- model shipways
- (and 2 more)
-
Hi Zoran, Thanks for the explanation of the MarisStella name. That was real interesting
- 653 replies
-
- 6
-
-
- trabakul
- marisstella
- (and 1 more)
-
Good Morning Dave and Thanks for stopping in, you are right about the ca and weldbond. I like this method as the ca acts as the clamp and the weldbond as the "muscle" for adhesion. I use the medium ca so a person still has some time to position the piece being glued, this method really speeds things up.
- 653 replies
-
- 7
-
-
- trabakul
- marisstella
- (and 1 more)
-
Secret is good with me . You have some sweet kits coming, yes Rick at Modellers Workshop just started a couple of months back distributing MarisStella kits. He is a super guy, and Zoran at MarisStella is always there to help and really knows his stuff so you should have no problems. Of course if you really get desperate I will always be around to put my 2 cents(CDN) in . Hope you enjoy them
- 653 replies
-
- 6
-
-
- trabakul
- marisstella
- (and 1 more)
-
Ron, do you have a build log of your build? She looks fantastic!!!!
-
Nice work on the boat Karl, your deck is quickly filling up
- 164 replies
-
- 1
-
-
- Model Shipways
- Finished
- (and 1 more)
-
And so the Kit bashing starts...... . Looks good so far, are those filler blocks kit supplied or are they of your design?
-
120 mm planks at 1:64 would be 25' scale, this length also makes it divisible for all shift patterns...2, 3, 4, or 5. This information is thanks to Ulises Victoria who has a great deck planking tutorial on the NRG site. http://modelshipworldforum.com/resources/Framing_and_Planking/Deck_PlankingIIbuttshifts.pdf
-
Nice work Jerry
-
Congrats on the re-opening and the unpacking, I'll be following both your builds
- 608 replies
-
- 5
-
-
- la couronne
- corel
- (and 1 more)
-
Hi Ulises, I have been following your build and I must say she is turning into a real beauty. I just finished planking the deck of my Trabaccolo using your tutorial and I 'd like to thank you for sharing, it really helped me out.
- 786 replies
-
- 5
-
-
- Royal Louis
- Finished
- (and 1 more)