donrobinson
-
Posts
1,909 -
Joined
-
Last visited
Content Type
Profiles
Forums
Gallery
Events
Everything posted by donrobinson
-
Good to see you back Keith. Looking forward to seeing more updates
-
Nice work, I sure like the colour of that red on the railings
- 165 replies
-
- 2
-

-
- finished
- model shipways
- (and 1 more)
-
Looking good Ken, I don't know if you noticed but there is a list of all the various styrene strips required. I can't remember what chapter it is in but is is there somewhere
-
looks good, what type of planking are you thinking of using?
- 1,135 replies
-
- 3
-
-
- model shipways
- syren
- (and 2 more)
-
nice work on the planking
-
Amazing work Sjors, a very beautiful ship she is!!
- 1,616 replies
-
- 5
-
-
- caldercraft
- agamemnon
- (and 1 more)
-
Nice work Jack, it's almost sad to see all that beautiful framing being hid
- 174 replies
-
- 3
-
-
- gaeta falcata
- marisstella
- (and 1 more)
-
I'll have to agree, have it replaced. They are really good about these things and you should have no problems other than some down time.
-
Not sure what I like more, your skills at modelling or your interventions with Mrs W. It all looks good
- 467 replies
-
- 2
-
-
- fly
- victory models
- (and 1 more)
-
I'm agreeing with Frank, the stern is a thing of beauty.
- 652 replies
-
- 1
-
-
- royal william
- euromodel
- (and 1 more)
-
Good to hear all is good, looking forward to seeing more of your build
- 20 replies
-
- 3
-
-
- maly modelarz
- Batory
- (and 1 more)
-
Looks Derek, two - three hours a day a couple times a week all adds up, keep having fun
-
Looks good Steve, are those blocks from the kit?
-
I can't say much more than what the rest have said, nice work!
- 481 replies
-
- 3
-
-
- rattlesnake
- model shipways
- (and 1 more)
-
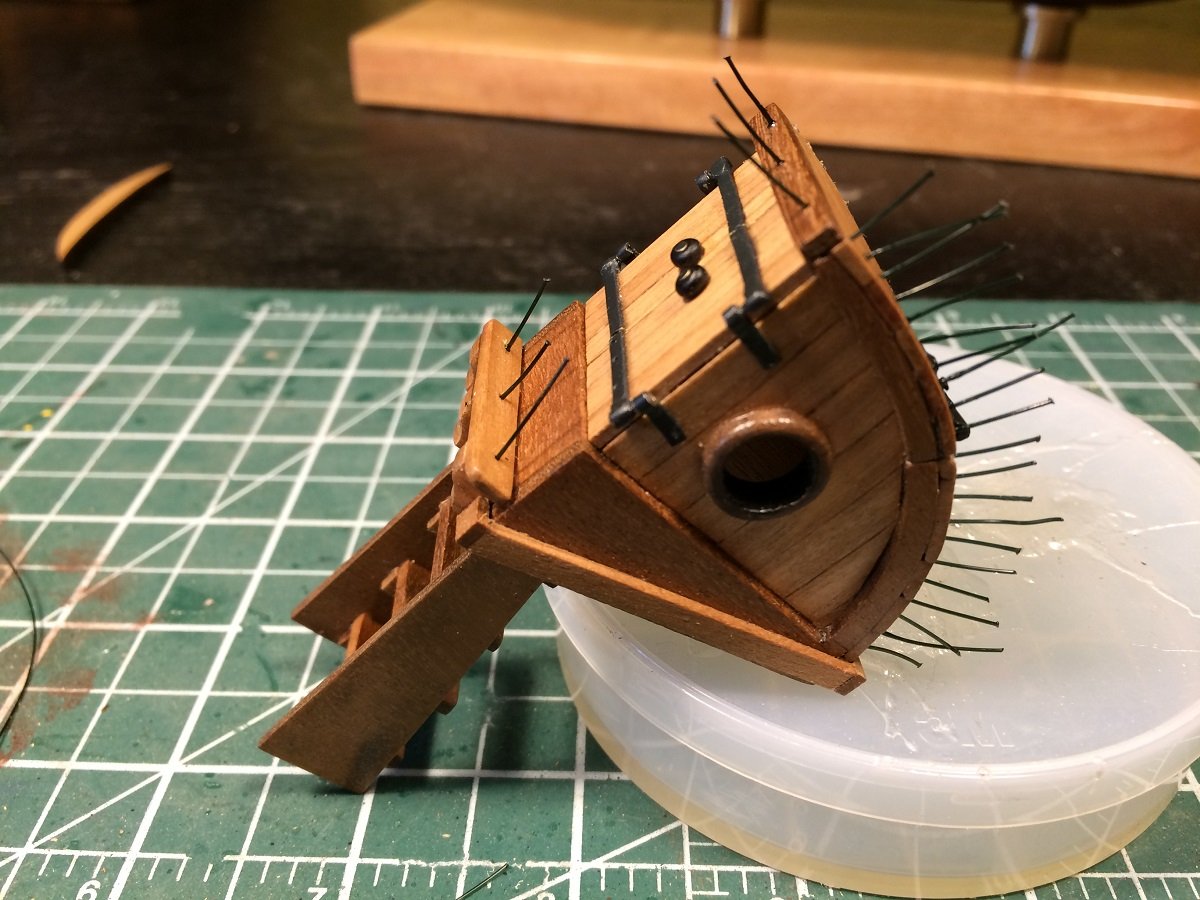
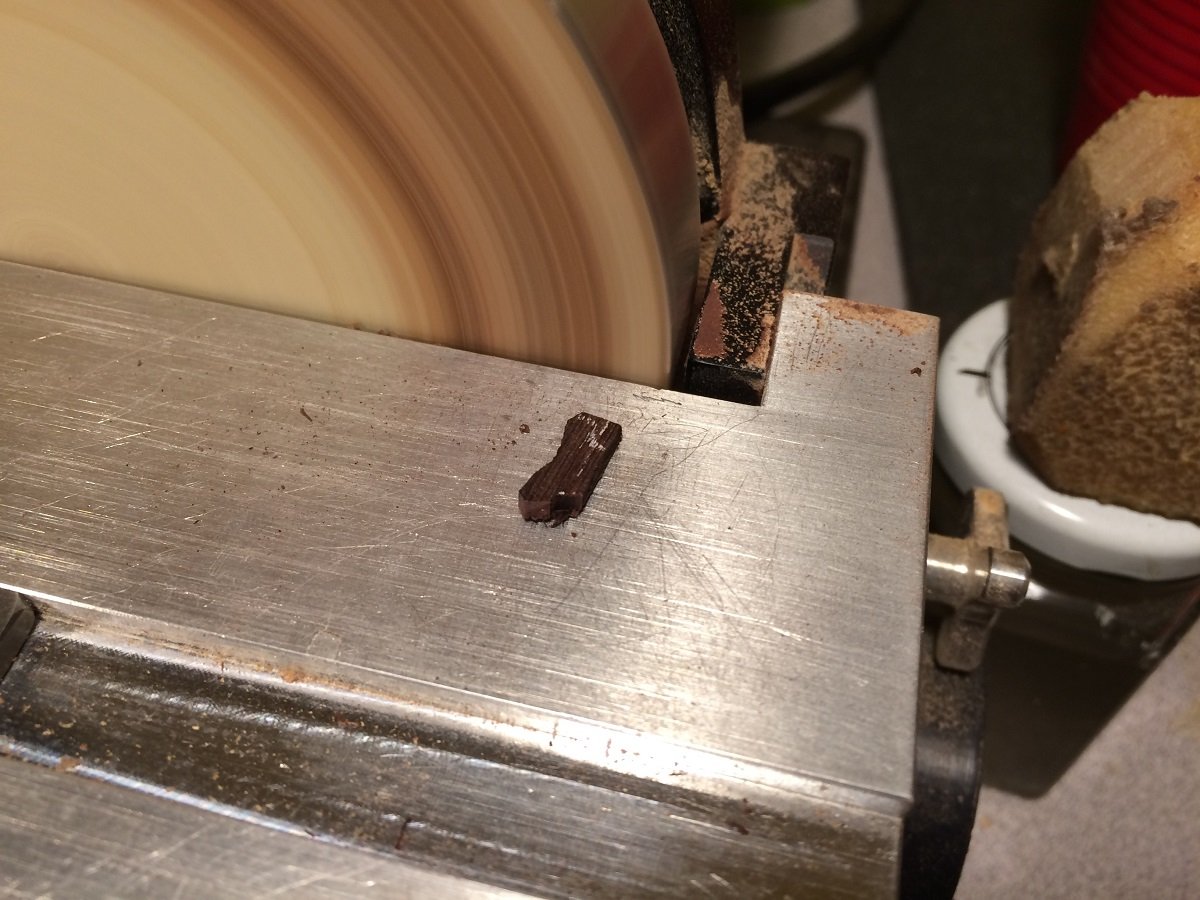
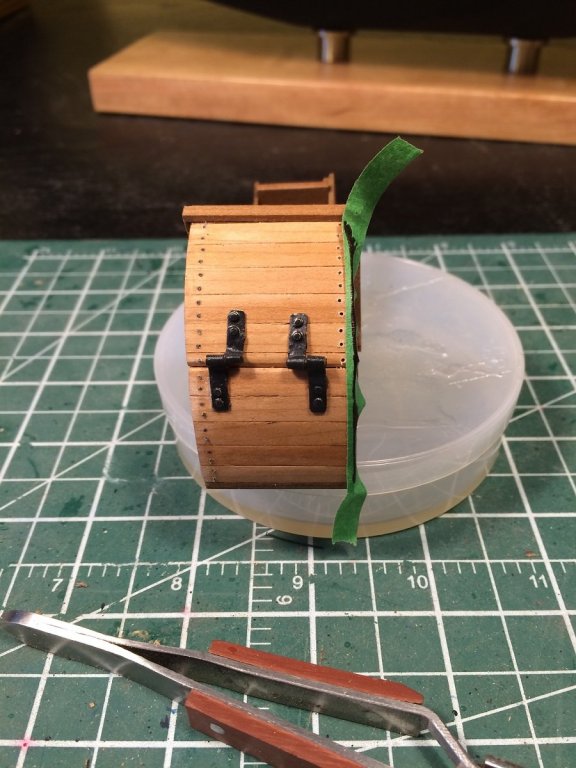
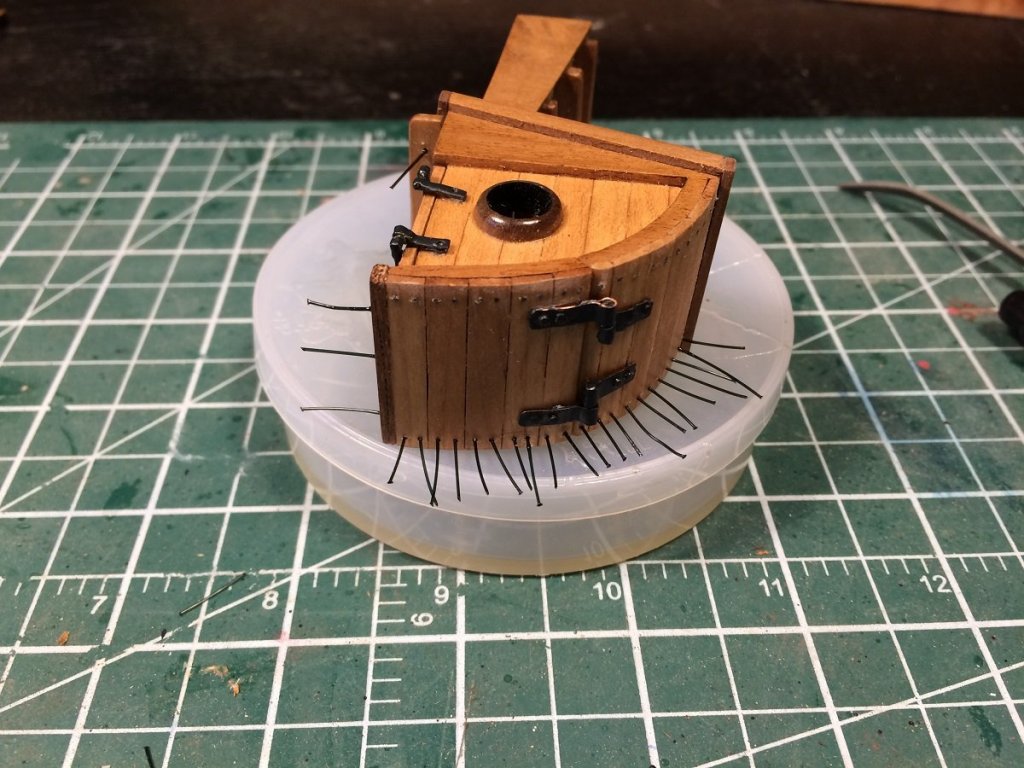
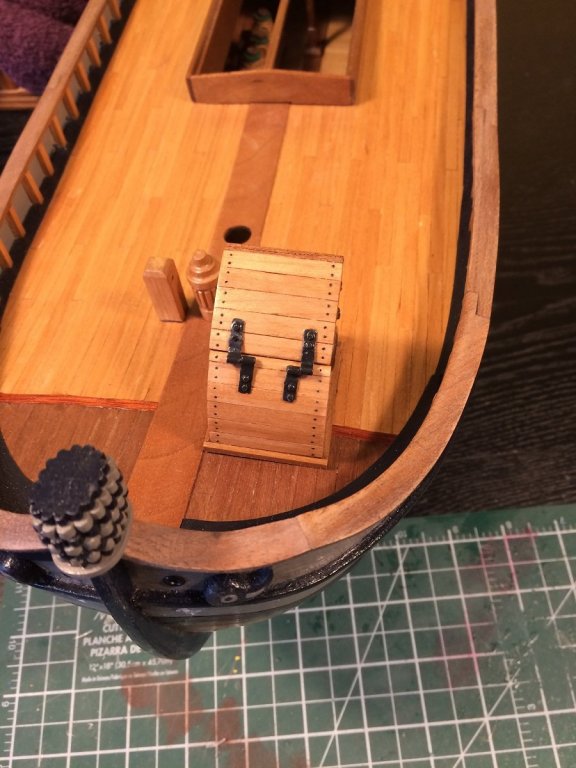
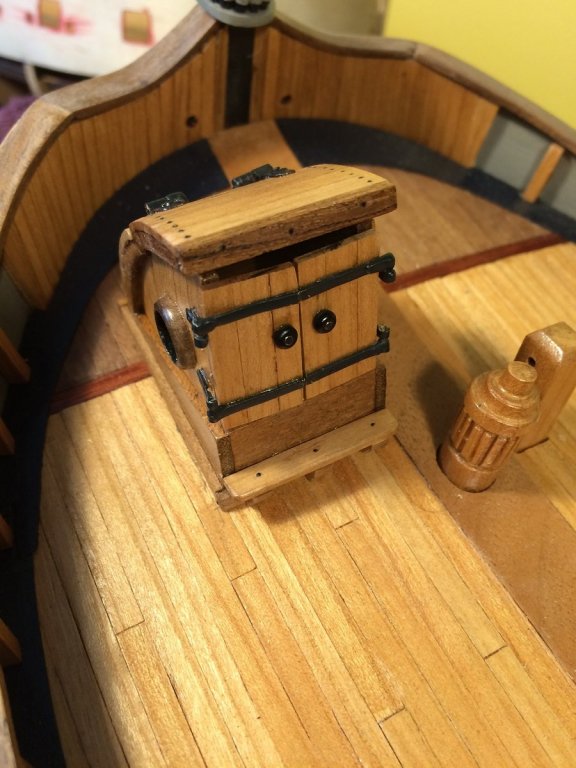
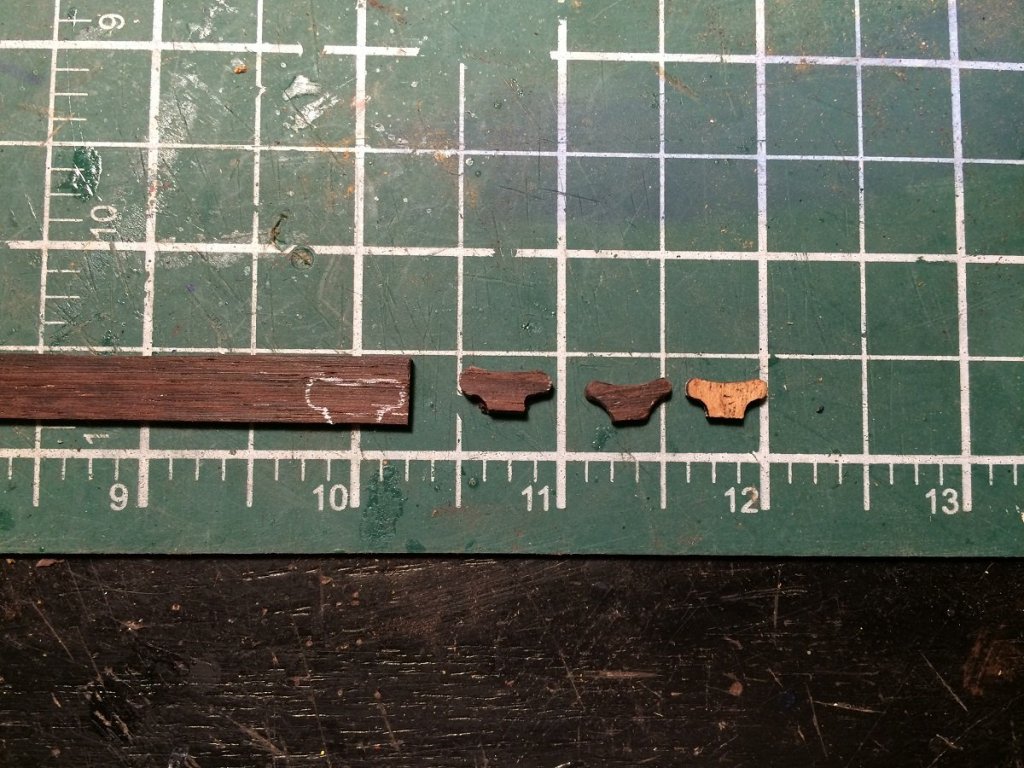
Good Morning All, Thanks to everyone for stopping in, for your likes and comments. This a new one for me, two updates in a week, but without my vehicle(another story) shipyard time has increased. I have completed the back rails which I will show in my next post as they aren't attached yet and will complete the breast hooks today as Mike is on edge waiting to see them. For now I have nailed the companion way and made some cleats from rosewood. Here I am showing how I mask it to try and get a relatively straight line. Here are a couple of shots showing holes drilled and nails in place. I used .4 mm nylon fishing line. First side I cut these off using flush cutters then sanded smooth, this side I used a sharp blade to cut off then sanded. The blade worked much better and very little sanding was required, just enough to remove excess glue. Should be noted the companion way had several coats of poly on it to prevent any stains from the ca glue. Here are the results, I think the .4 mm fishing line is the right scale and looks good. With a little more practice I may do a deck someday. I also found some light brown .3 mm fishing line that I may do a test section on my Pegasus with. Here I'm just showing the steps of making cleats. As you can see they are fairly large about 10 mm so they were fairly easy to make, that's one of the beauties of working at this scale. The first one is after rough shaping on the Byrnes disc sander and the middle one is after some fine tuning with riffler file the cleat on the right is the kit supplied one. I would not normally spend twenty minutes making a cleat but I only need two so I thought what the heck. As you can see I have two extra ones that I am willing to offer to members here before I list them on ebay Here I'm rough shaping it on the disc sander.The thing off to the right in the picture is a crepe block used to clean the sanding disc, this helps prolong the life of your disc or belt if you have a thickness sander. You can get these at Lee Valley they are cheap and last forever. Thanks once more for stopping in and have a good one.


- 653 replies
-
- 23
-
-
- trabakul
- marisstella
- (and 1 more)
-
That wood does look very brittle, good come back. You may have mentioned it before but what are you using to simulate your chalking?
- 453 replies
-
- 6
-
-
- thermopylae
- sergal
- (and 1 more)
-
Looks like it will be a great build. What size is she?
- 322 replies
-
- 2
-
-
- sergal
- sovereign of the seas
- (and 5 more)
-
Looking good. I find with that deep char if I sand it enough to get it smooth and get all of the "shine" off of it glue will adhere just fine. Still a pain in the butt.
- 1,135 replies
-
- 5
-
-
- model shipways
- syren
- (and 2 more)
-
Ahhh that is a good one. You brought tears to my eyes laughing
- 291 replies
-
- 3
-
-
- bounty
- billing boats
- (and 1 more)
-
The blocks, especially the double ones, are a little big. I think once things are all finished on the deck, rigging and masting there will be so much to look at that they won't be noticed. I would not worry about it too much, just one of those things to keep in mind for the next build. Your build is coming along great, nice work
- 291 replies
-
- 4
-
-
- bounty
- billing boats
- (and 1 more)
-
Beautiful work E.J., you deserve a trip to that lovely shelving unit of yours
- 608 replies
-
- 4
-
-
- la couronne
- corel
- (and 1 more)