HOLIDAY DONATION DRIVE - SUPPORT MSW - DO YOUR PART TO KEEP THIS GREAT FORUM GOING! (Only 13 donations so far - C'mon guys!)
×


donrobinson
-
Posts
1,909 -
Joined
-
Last visited
Content Type
Profiles
Forums
Gallery
Events
Everything posted by donrobinson
-
I like your thoughts Ian, maybe a cool one is in order. Thanks for stopping in
- 653 replies
-
- 6
-

-
- trabakul
- marisstella
- (and 1 more)
-
Looking good Glenn, you are really making time
-
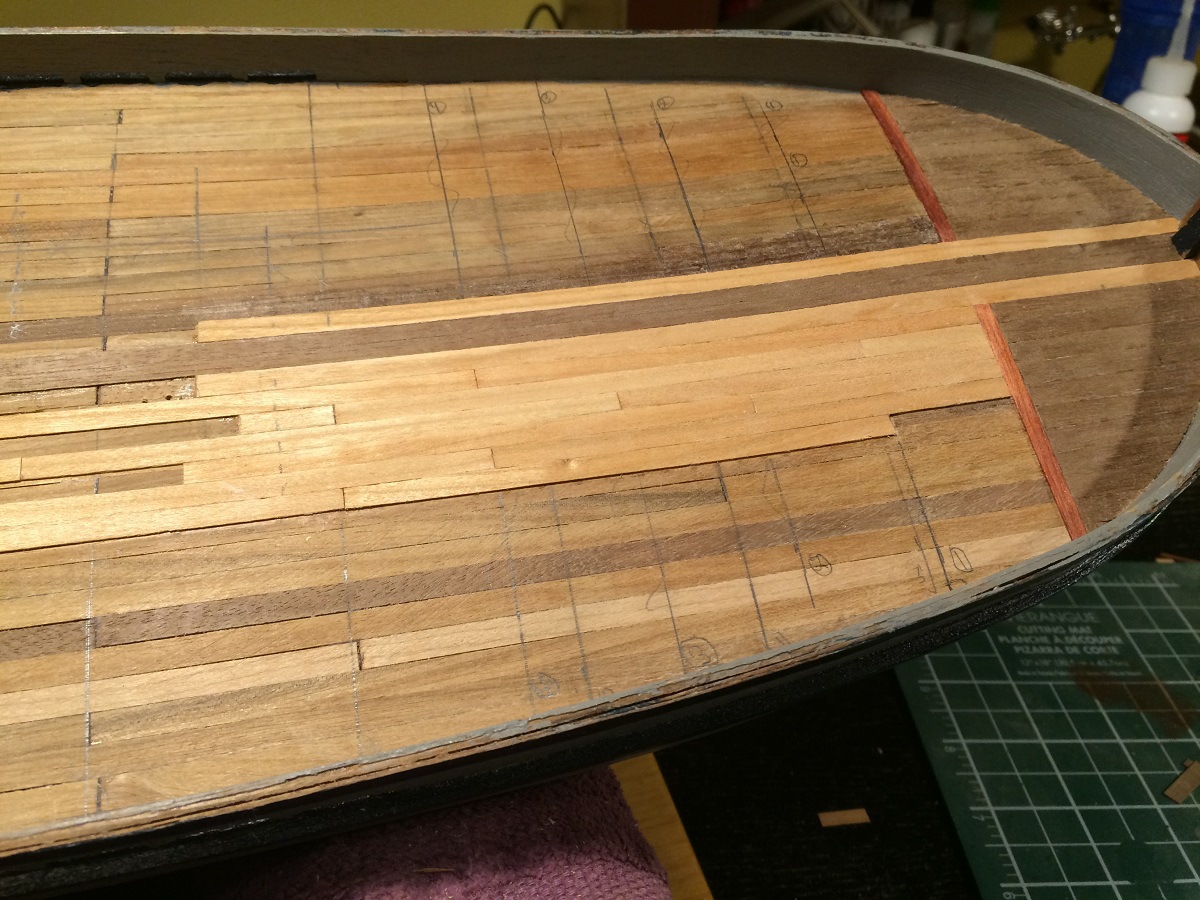
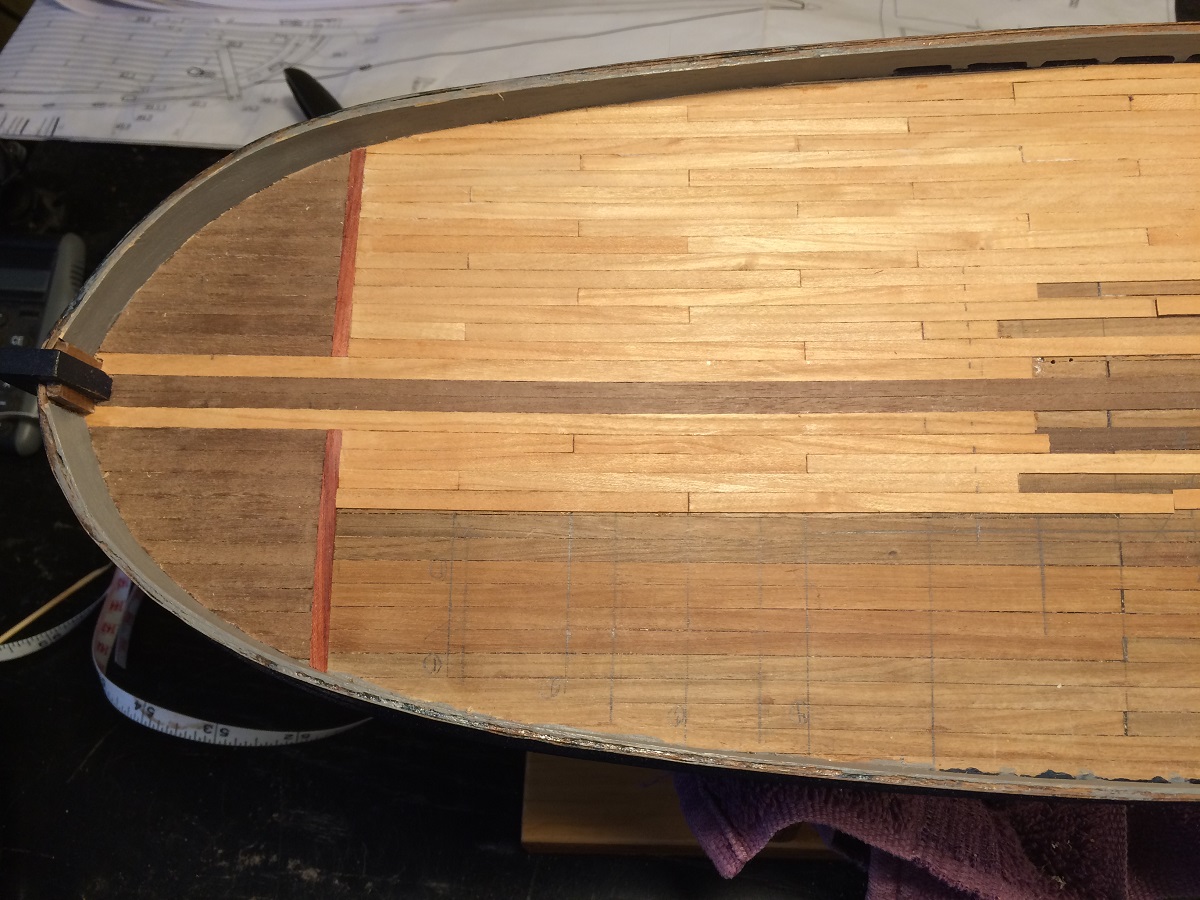
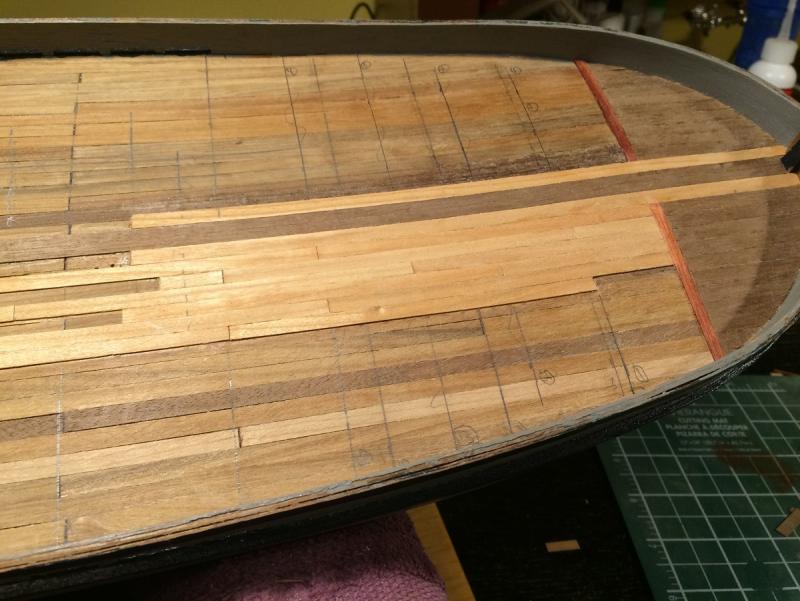
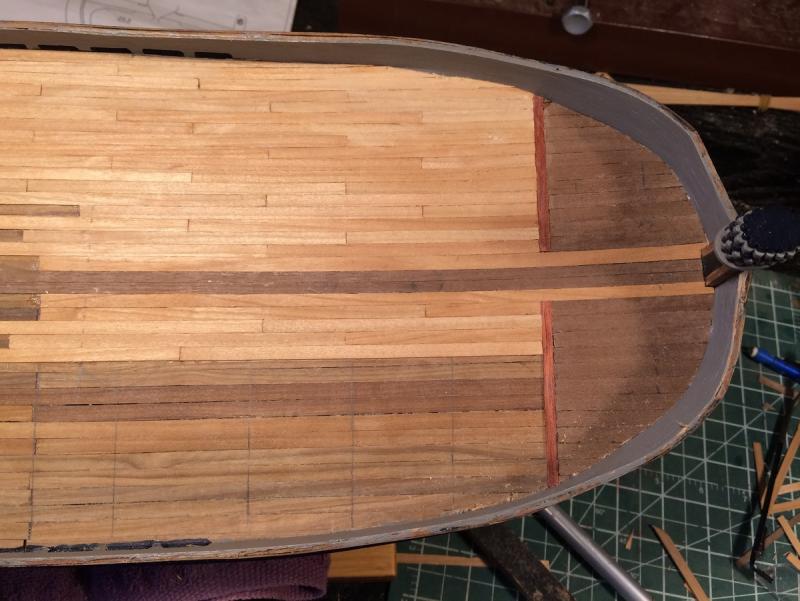
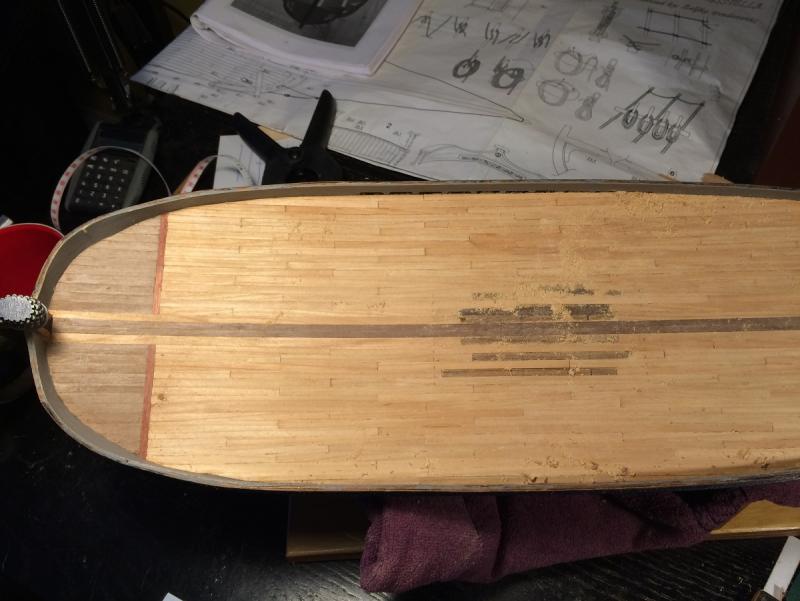
Thanks you all for your visits and comments it is really appreciated Well it's been a long time since my last update. After many hours on pondering as how to approach the deck planking I decided to go with Zoran's(MarisStella) approach. The biggest reason being is that there is a central 17 mm wide plank that goes down the middle it would cover up any mast holes, pawl holes and one of the hatch holes. So I decided to plank the deck first and do the cutting out later. Planking went real good, I changed it a little by putting walnut at the bow and stern a blood wood plank then the cherry planks. I went with a four plank rotation, a big thanks goes to Ulises Victoria for his great tutorial on how to plank a deck http://modelshipworldforum.com/resources/Framing_and_Planking/Deck_PlankingIIbuttshifts.pdf. It was a lot of work and many hours but it is finally finished, scraped and sanded. She is approximately 175 mm x 520 mm at the largest points and took about 220 planks to cover it. Next I will cut out the main hatch then install the central strip followed by the remaining holes required. I am really looking forward when all forms of planking are done Enjoy the pics Take Care


- 653 replies
-
- 22
-
-
- trabakul
- marisstella
- (and 1 more)
-
Thanks so much B.E.
-
Thanks Mark
-
Hey Mike, Thanks. It is a good machine, the zero turn. I do find myself going back to my lawn tractor on some hot summer days and I want a cold beer, as with the zero turn it's impossible to have a beer and steer at the same time
- 62 replies
-
- 1
-
-
- batelina
- marisstella
- (and 1 more)
-
Thanks Pierre, it is a fine little kit and I'm sure you will be happy with it. It gives you a little taste of everything in modelling,except rigging, and will defiantly help in any further models you are thinking of building. I hope you enjoy her and I'll be watching for your build log.
-
We'll be looking forward to seeing your progress
-
Should be a good one to watch, will be waiting for more
-
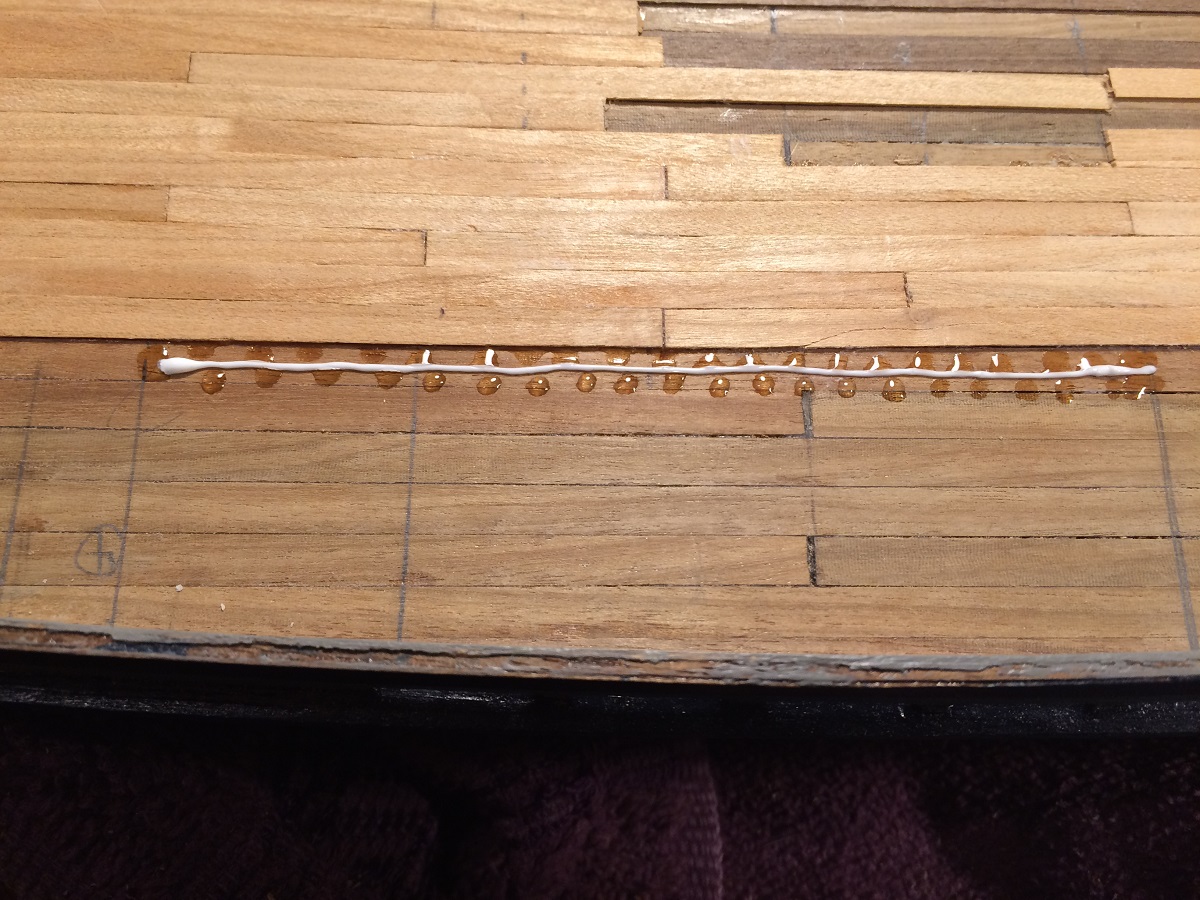
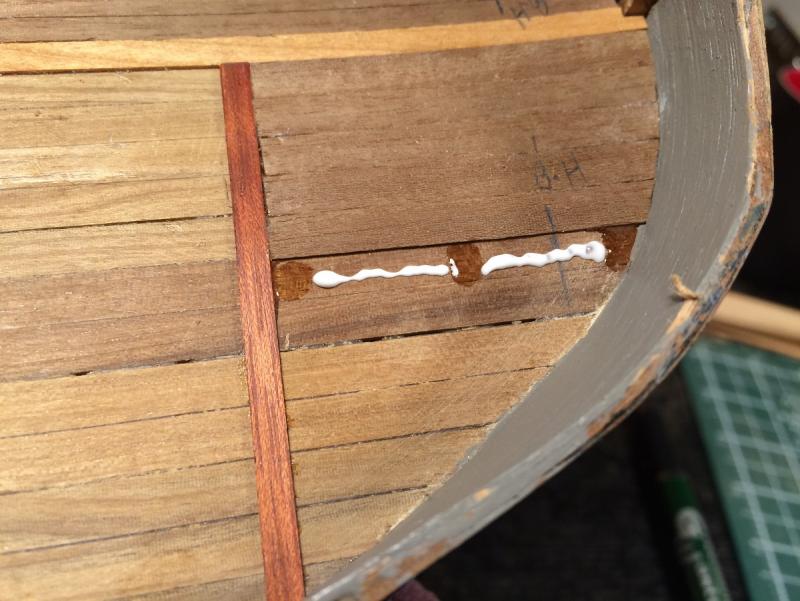
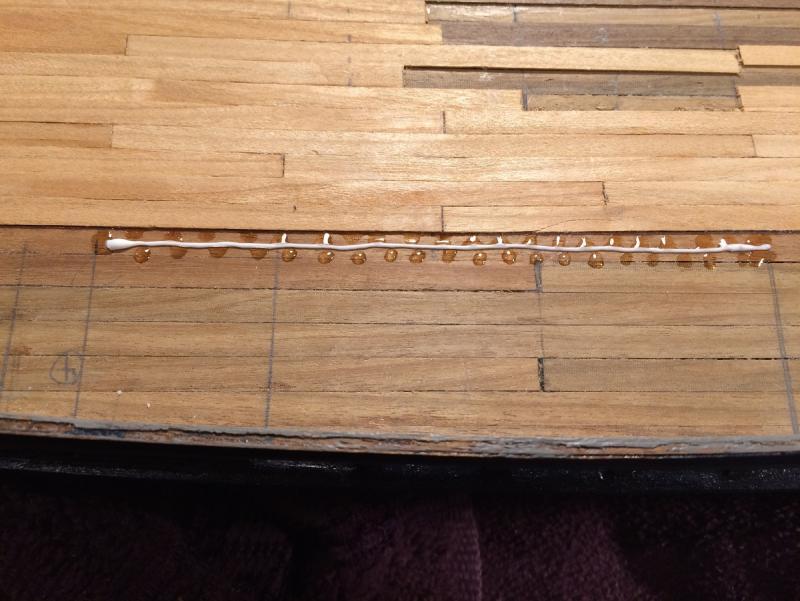
Jack things are looking real good. I like the idea of your bow and stern clamps, something I will have to remember. When planking I use a combination of ca and pva glue. The ca acts as a clamp and the pva for the bond, works quite well. Keep up the good work
- 174 replies
-
- 1
-
-
- gaeta falcata
- marisstella
- (and 1 more)
-
Looking good Ian, You will be real happy with the filler blocks, they make the planking and especially the sanding so much easier. Good catch with the markings, you will learn(if you haven't already) to really trust in the plans a skill I am still having a problem with . Nice work and have a good holiday.
- 107 replies
-
- 4
-
-
- brazzera
- marisstella
- (and 1 more)
-
Nenad is correct
-
Hi Lawrence and Thanks. The lathe is really nice to have even though I don't use it to it's full capabilities yet. As far as being justifiable, mine has not reached that point, but when I retired I had a one time time chance to buy my tools and I went for it. So the bank may be able to take my house but the tools are mine!!!
- 653 replies
-
- 10
-
-
- trabakul
- marisstella
- (and 1 more)
-
That looks like a must need piece of equipment, Thanks for the link Mike
-
looking forward to seeing your hot air soldering station, I have been looking also, it seems a lot of them are 220v. Have you thought of maybe making a jig to hold the funnels in your lathe, then using a good sized rest for your hand turn on lathe and paint the entire funnel that way. I think you should have no problem "cutting" around the brass bands that way. Several thin coats(at a slow speed ) should provide you with a very acceptable smooth finish leaving the brass bands untouched.
- 749 replies
-
- 3
-
-
- albertic
- ocean liner
- (and 2 more)
-
Welcome and Thanks for your support
-
The rats look great E.J. Good luck with the move. My stuff still fits in the back of a truck...........only difference is the truck now has 18 wheels instead of 4.
- 608 replies
-
- 6
-
-
- la couronne
- corel
- (and 1 more)
-
Thanks so much for the tutorial Zoran, this makes things much clearer, I have been away from here for awhile and just noticed this. I will try your methods and keep everyone posted. I will join you with the coffee, I have just completed an extra long birthday celebration so a beer is not really sounding that good yet
- 653 replies
-
- 10
-
-
- trabakul
- marisstella
- (and 1 more)
-
I think you should be ok, if you find them breaking I would just harden them with some ca and that should solve your problems
- 653 replies
-
- 8
-
-
- trabakul
- marisstella
- (and 1 more)
-
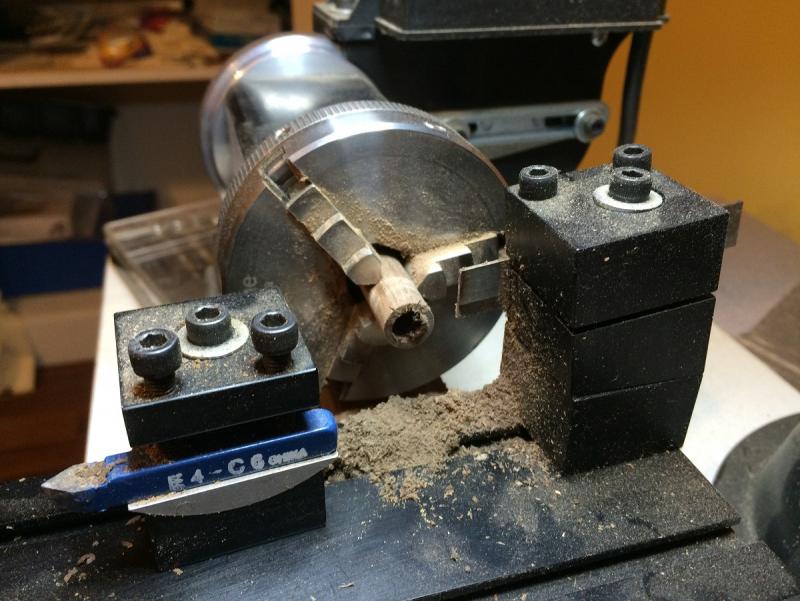
Hi Mike, thanks for stopping in. To answer your questions the dowel is 12 mm in diameter, the hole is 8.5 mm(21/64)( I did drill a smaller pilot hole first) the side walls are 1.75 mm thick and the piece sits 2.5 mm high. The tool I used to part them with is a parting tool, there are some pictures of it already but this one maybe shows a better angle of it(it is the unit on the right)
- 653 replies
-
- 19
-
-
- trabakul
- marisstella
- (and 1 more)