dgbot
-
Posts
3,993 -
Joined
-
Last visited
Content Type
Profiles
Forums
Gallery
Events
Everything posted by dgbot
-
 The hammocks were used to help protect from snipers. splinters and falling rigging. More men were killed from these than anything else. David B
- 1,756 replies
-
- 2
-

-
- constitution
- constructo
- (and 1 more)
-
Isn't moving fun. When I made my last move years ago I lost almost all of my photos. Memorys and models that I built. David B
-
After 3 copies were made. Like I said the sharper the better. The scalpel will be my primary knife from now on. David B
-
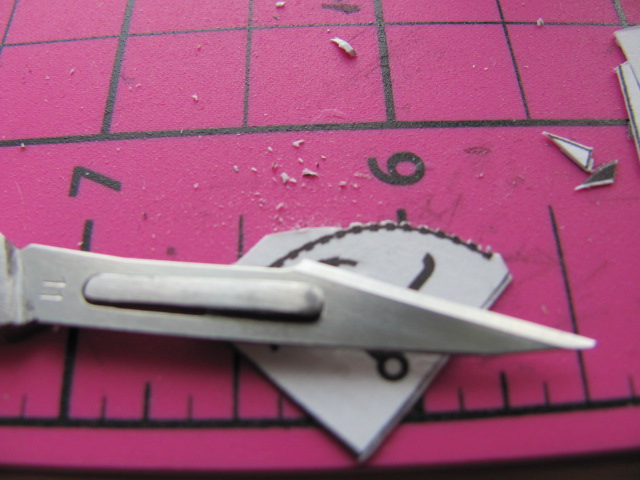
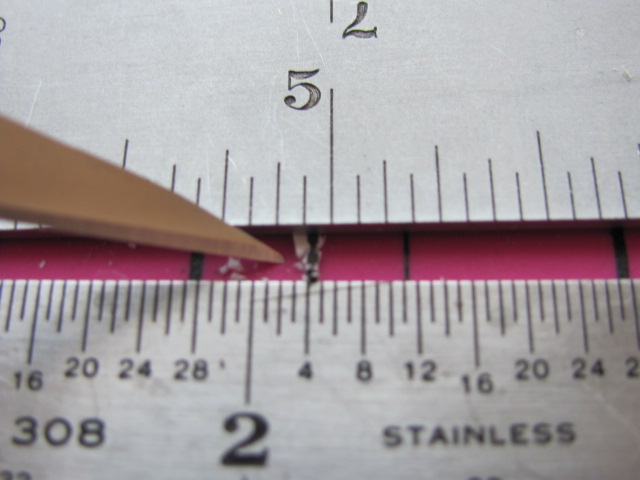
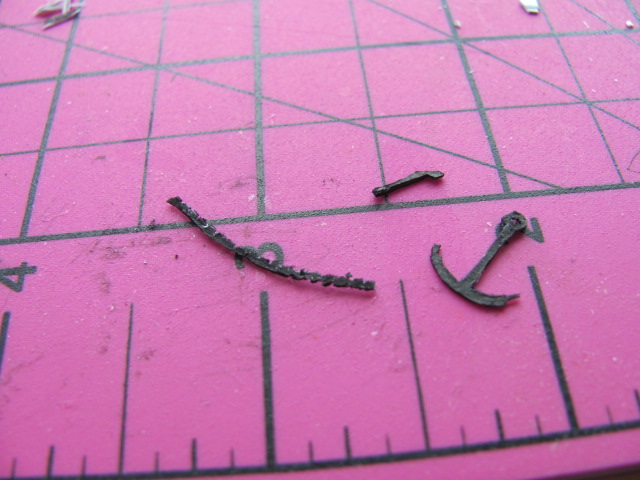
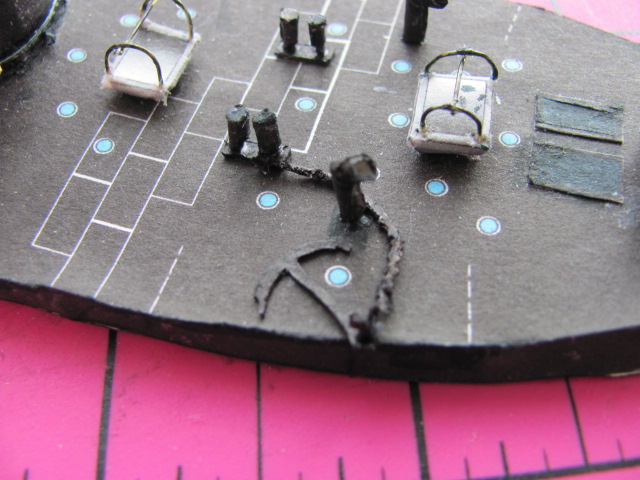
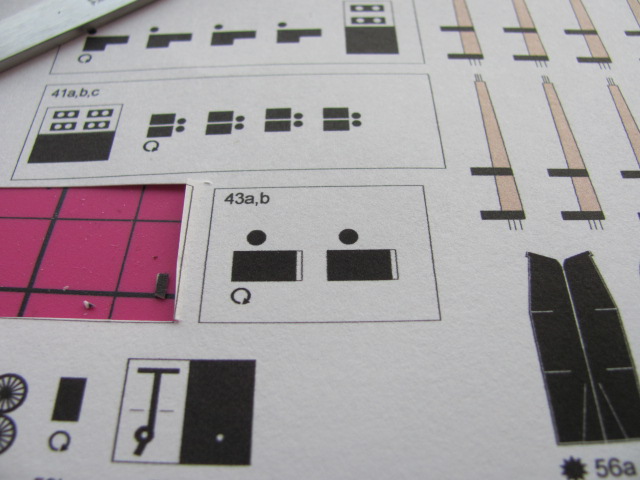
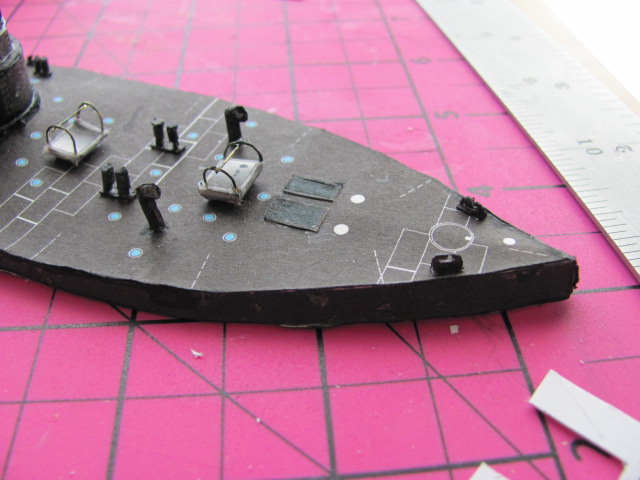
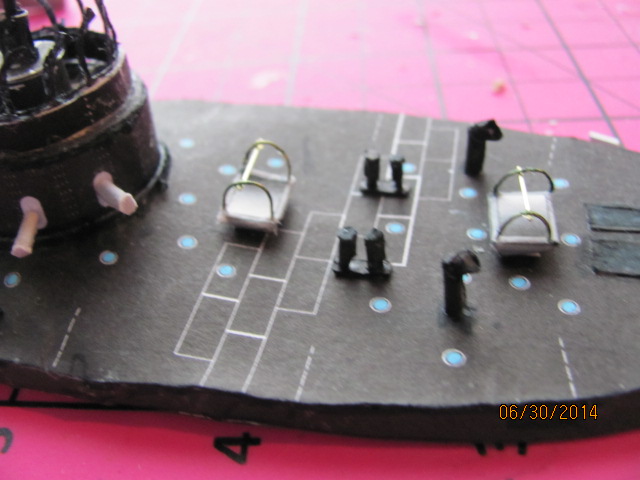
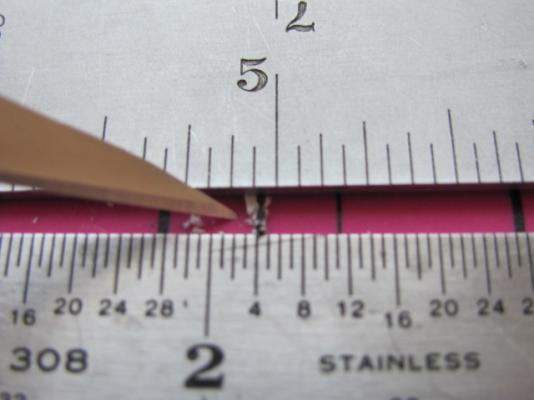
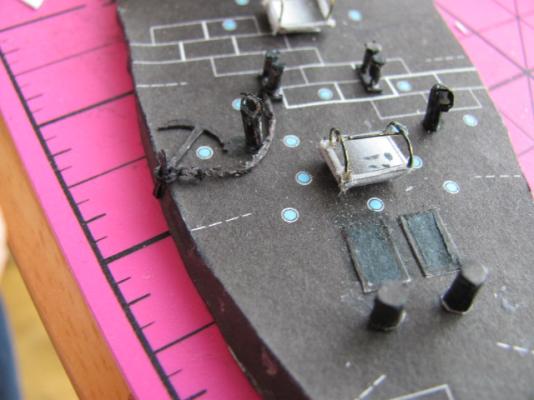
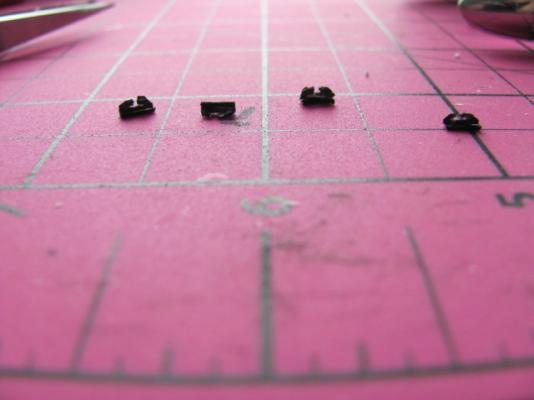
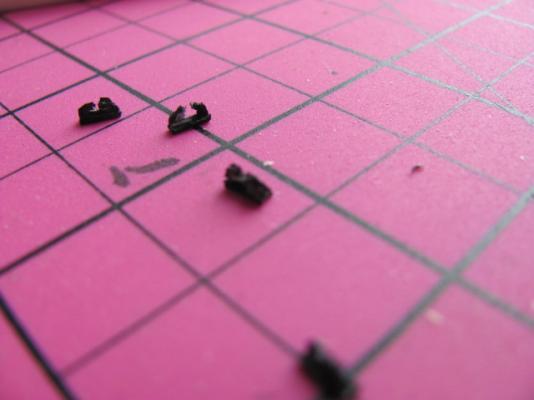
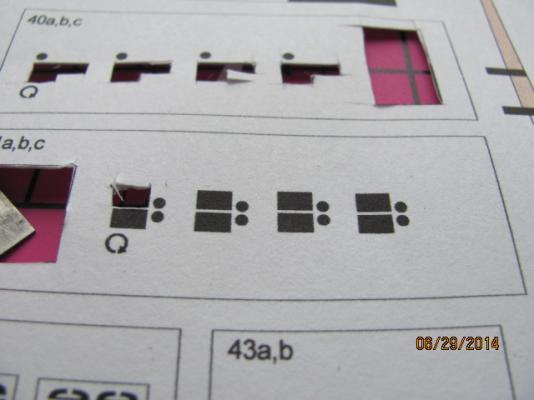
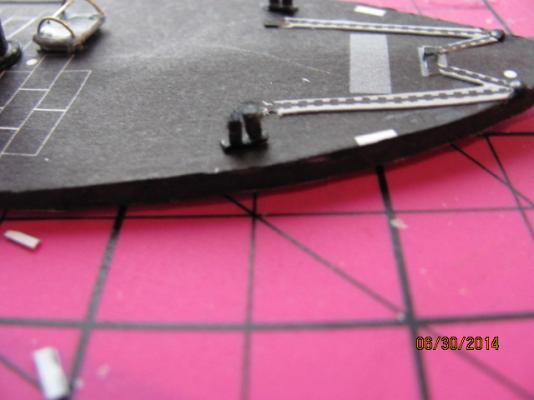
The anchor assembly was next. Once more I cut out the part and folded over. This time I tried to make the glue was well spread out before I clamped it to dry. The first time I tried cutting out the anchor the card stock kept seperating and tearing no matter how sharp my knife was. That was when the scalpel blades arrived. What a big difference. Just a leather strap every now and then. I trimmed out the inside curve first. This provided the best way to cut out this part without tearing it. I then used two straight edges to hold the part steady. The anchor and the stock were then cut out Using a piece of string I tied everything together and attached the chain and anchor to the deck. All of the cut out parts were touched up with a marker. What a difference a real sharp edge makes. i would advice anyone who works in this material to use scalpel baldes if they can get them. They made this job much easier. David B


- 39 replies
-
- 2
-
-
- lehigh
- papercraft square
- (and 3 more)
-
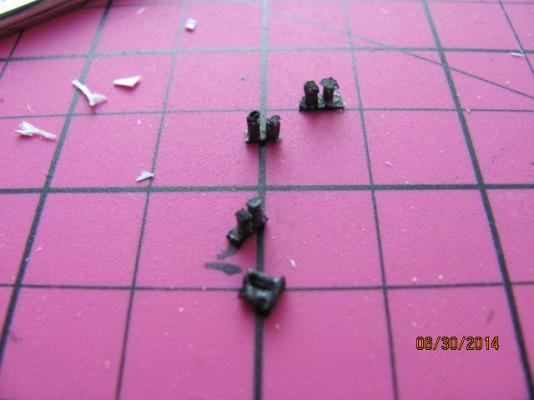
The next part was the anchor bitts. The bitts were assembled and glued as before. Then they were glued to the deck. David B


- 39 replies
-
- 2
-
-
- lehigh
- papercraft square
- (and 3 more)
-
Your Virginia is looking great. As for the sails, the stuff in the kit is just to coarse and thick at this scale. If you have any bed linen or silk span these will work just fine. David B
-
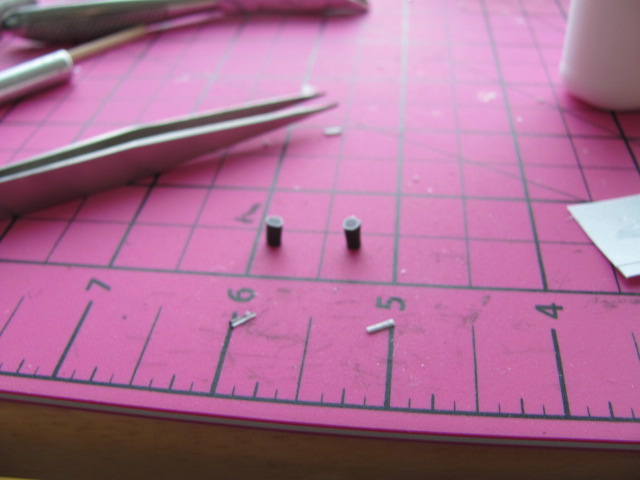
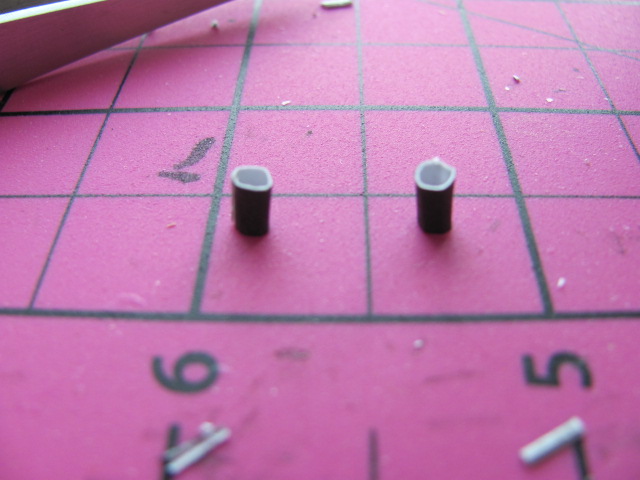
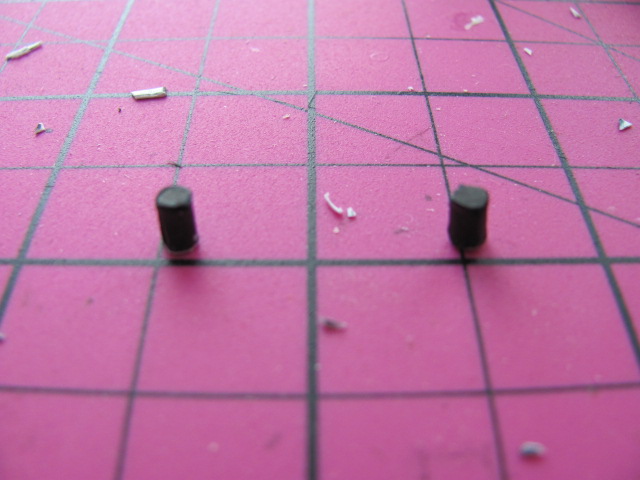
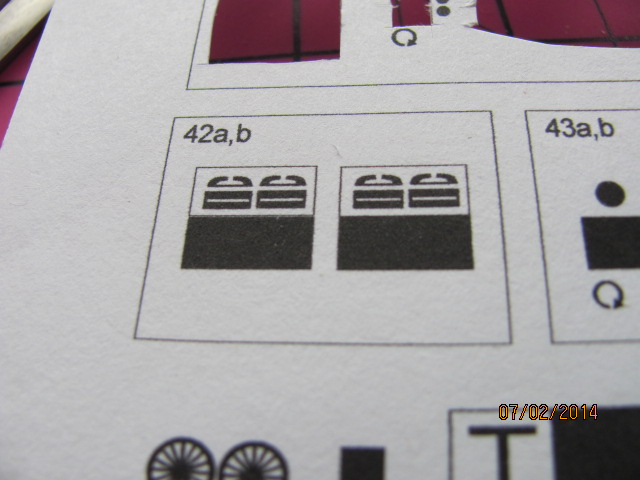
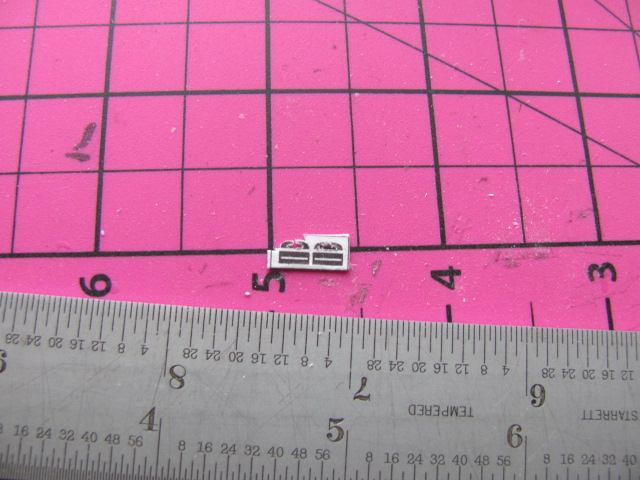
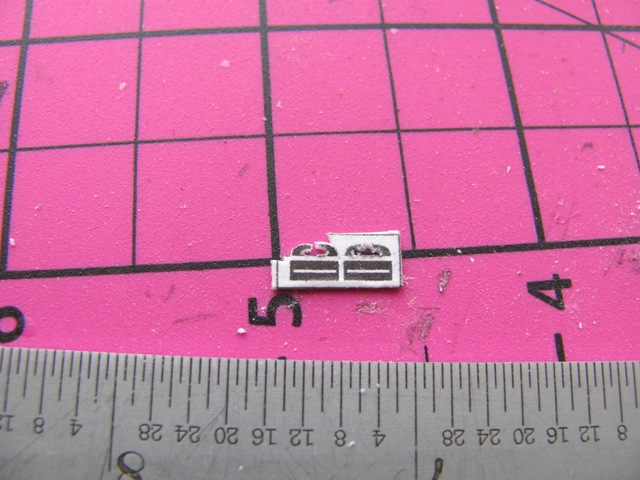
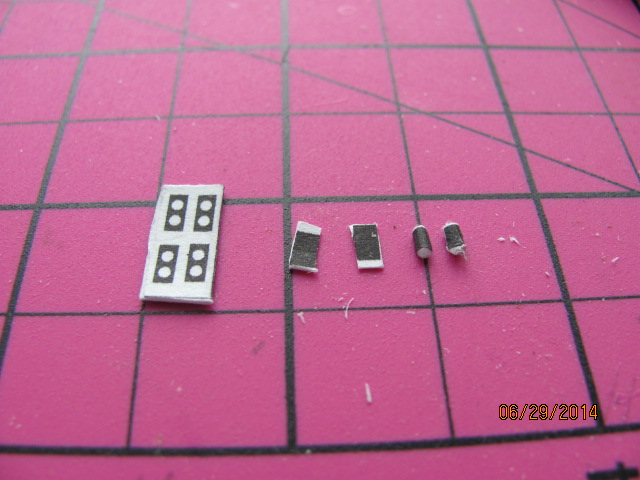
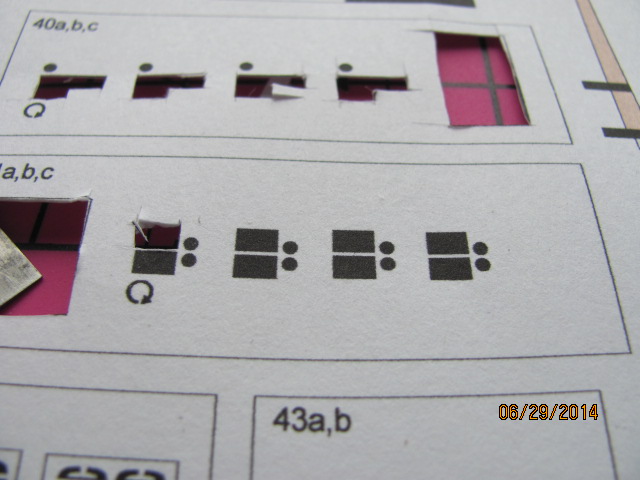
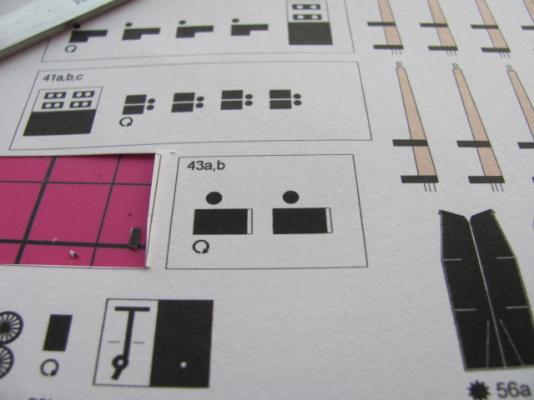
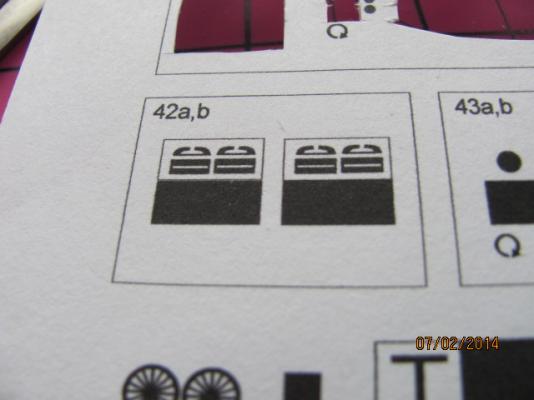
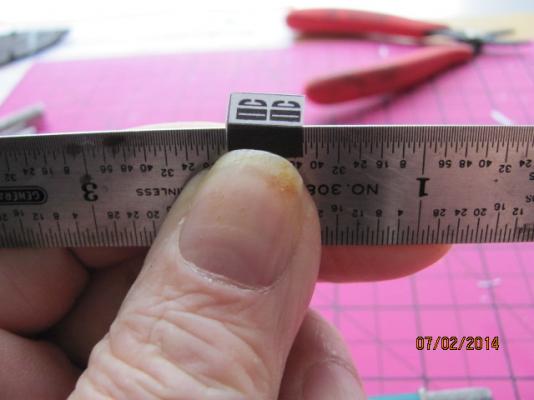
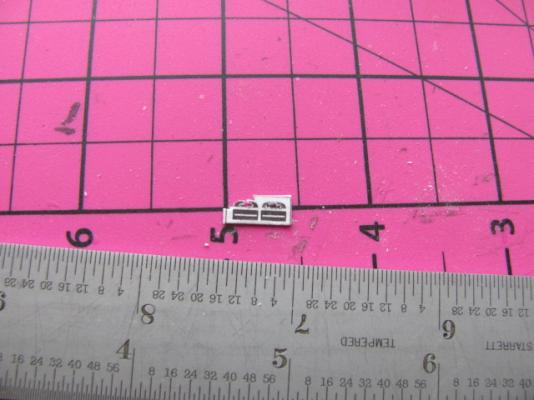
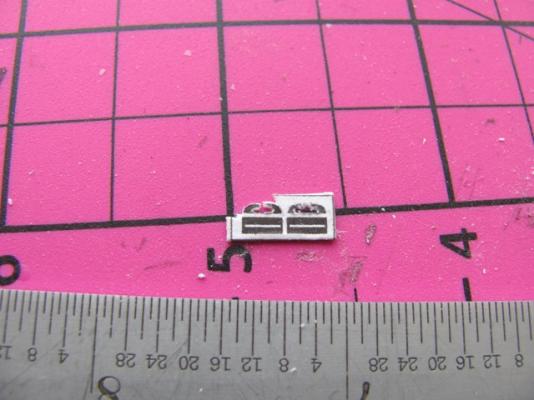
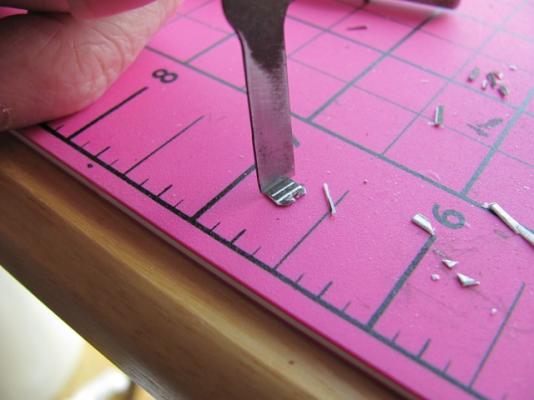
Next came the mooring cleats. After cutting and folding and gluing I let them set for awhile. The one thing I do not like about this card stock that doubling and gluing makes the part stronger but it like to seperate along the edges when cutting the part out unless the blade is super sharp. I ordered some scalpel blades off of Amazon and just cannot wait untill the get here. I used a straight edge like before to get the fold and after spreading out the glue I clamped and let it dry. Doing it this way helps to alevieate the seperating a little. After the glue dried I cut it out I had to redo it a couple of times before they were acceptable. I used a chisel to cut out the base. Then I glued everything together. They are not the greatest but the best I can do at the moment. This is the time when you need a super sharp blade. My xacto blade was sharpened after each cut and it would dull out quick. After attaching them they are not perfect but better. Note to self. The sharper the better. My brother in law asked me to use a double edged razor in a holder. It worked great but there was no control. David B

- 39 replies
-
- 2
-
-
- lehigh
- papercraft square
- (and 3 more)
-
Thanks Bob, they look better on photos than in real life. David B
-
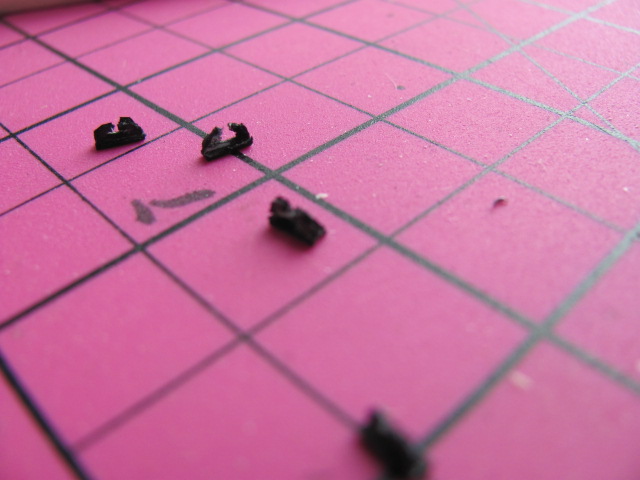
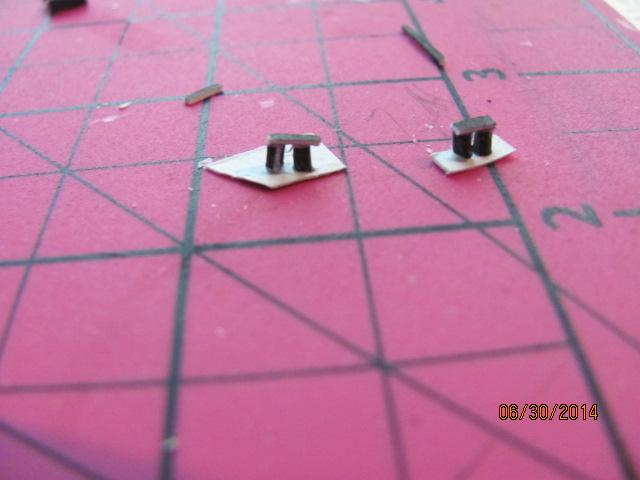
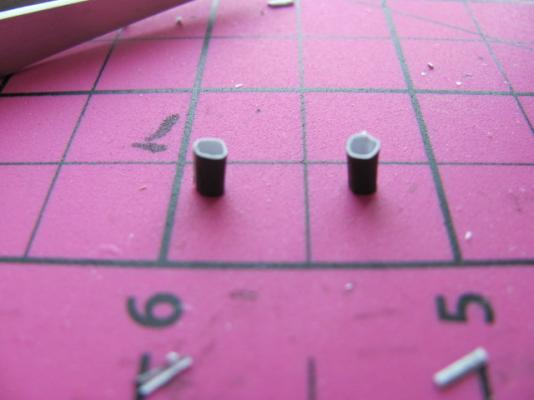
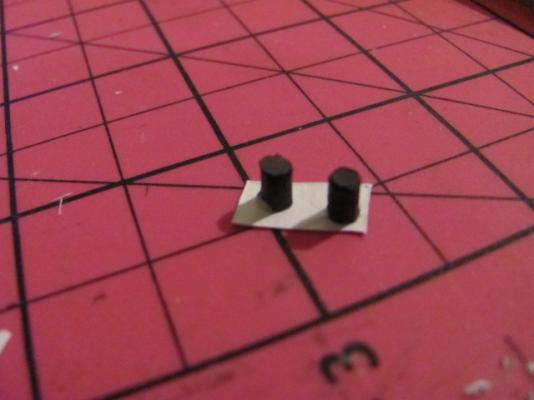
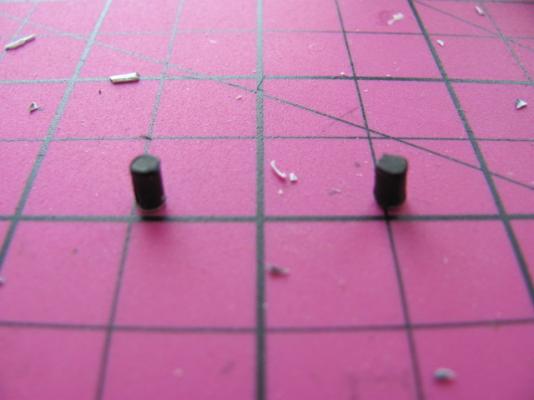
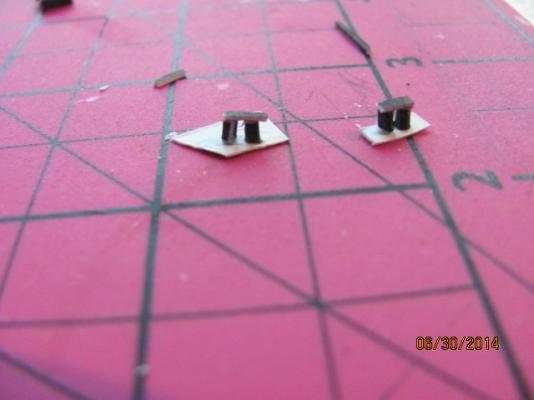
The next thing I did was prepare the bollards This was pretty straight forward the only diffrence was I added a bottom to make the joints more secure. David B


- 39 replies
-
- 2
-
-
- lehigh
- papercraft square
- (and 3 more)
-
When you get done Dan are you going to get a poker game started. in the main salon? David B
- 62 replies
-
- 1
-
-
- king of the mississippi
- artesania latina
- (and 1 more)
-
For fine detail work I will use a Foredom. The Dremel has too much wobble. David B
-
My advice would be to go through some of the Bounty logs. Even though they are not from the same MGR, they will be able to guide you easier than I can. David B
-
Mike, what vessel are you building, if it was a kit it should come with an instruction book. Plus check out the forums for rigging. Your model may already be there. David B
-
If you are going to have sails make sure your standing rigging is taken care of. Try do do all the Spars off the ship. Put your sails on the Spars with all of the blocks etc that you can. The there are several books out there on rigging. Also check out the build logs. This will help you out and make things easier for you. David B
-
I have the same bender. What I do is put it in my vise. I put the planks in a tall tube of water. I take the plank out then quickly run it over the iron until I get the shape I want. Every now and then on compound curves I would wipe it down with a damp sponge and keep on bending to shape. On large parts I would use a male female mold. David B
-
Congats on a quick do over. At least the error did not happen earlier in the build that would have been a nightmare to fix. This unfortunately is a common error that can only be caught by constant and mind numbing checking. At work when I had to make a template it was the same way. Kudos. David B
-
The kit makes into a great model. My main complaint is that they very soft wood for almost everything but this can be swapped out easy enough and the instructions are easy to understand. Have fun and enjoy. David B
-
I wish I could Toni but they are all gone and the photos were on film. Which was damaged years ago. The models that I have finished other than the cards are the America. Harvey, Cutty Sark, a Thames Barge and a few others that I have forgotten. I was working on a Thermopalae with a warped hull that I found to improve my skills when my mentor Dana Mc Calip RIP told me to throw it out and do a fully scratch model. I have been improving my skills ever since That is the Latham at 1/96. It is a learning model that I practice on. As a result it can be rough and good. I have the MS Whale Boat that I will be my next build. Out of the box if at my sisters and scratch using my own woods etc when I get home. David B
-
I do not envy your prediciment. Choose the one you think you will be happiest with. David B