dgbot
-
Posts
3,993 -
Joined
-
Last visited
Content Type
Profiles
Forums
Gallery
Events
Everything posted by dgbot
-
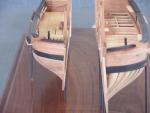
 They look okay to me. Plus once you start putting lines on them they will look even better. David B
- 1,756 replies
-
- 2
-

-
- constitution
- constructo
- (and 1 more)
-
Thanks. I think I am now ready for a kit sent to me by friends from Chicago. The Maine by H.M.V. David B
- 39 replies
-
- 1
-
-
- lehigh
- papercraft square
- (and 3 more)
-
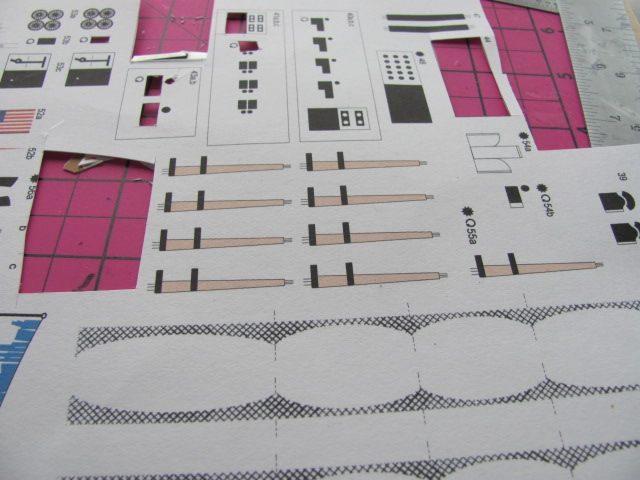
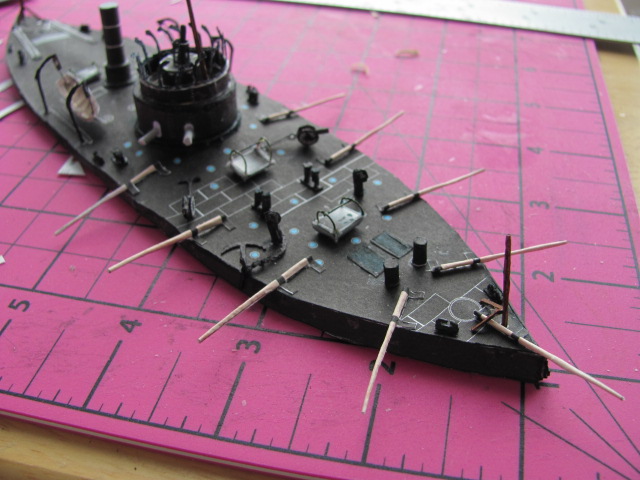
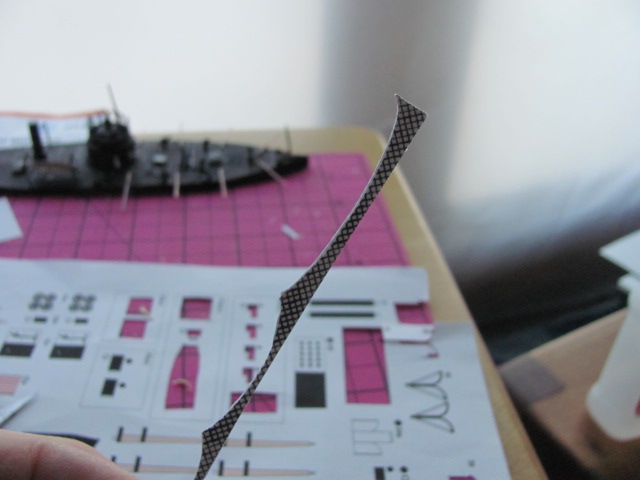
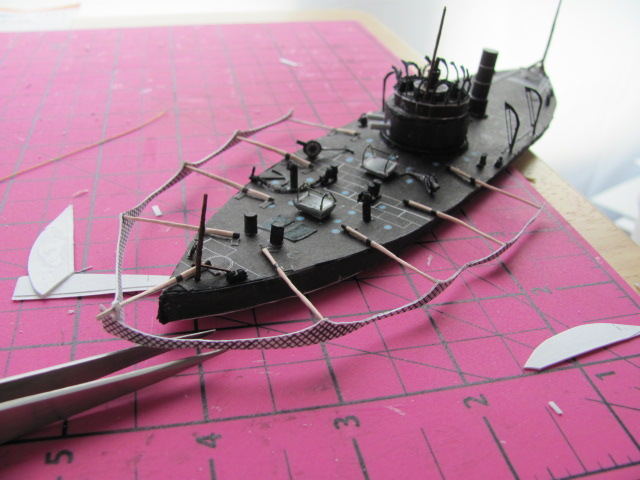
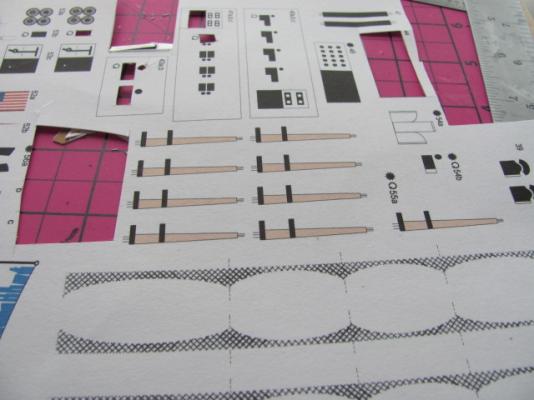
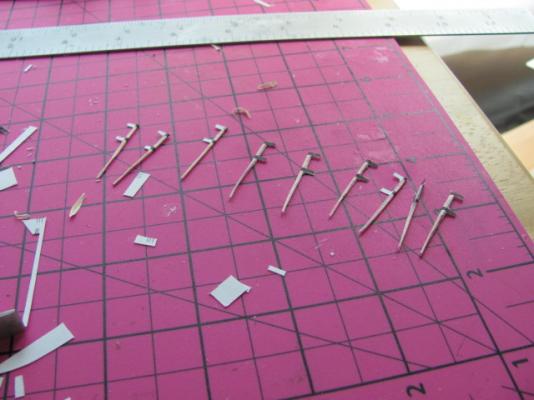
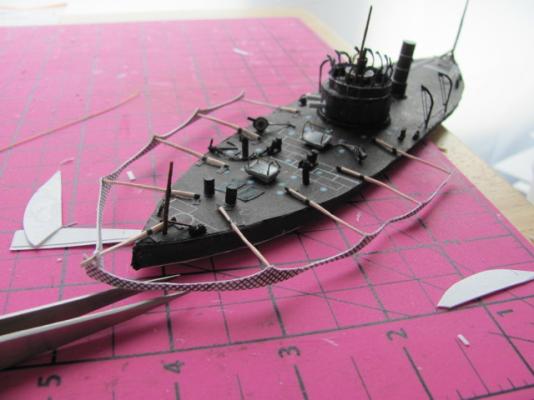
The end is in sight. The next item was the torpedo netting. First was cutting out the poles and shaping them. I used a.016 round brass rod to help shape them Once formed they were then glued in place. Then the netting was cut out folded over and cut to shape. The next time I will use a thinner stock and it will look better. The netting was then installed. I found this kit be be rather enjoyable as well as frustraiting. I learned many new things and also realized that I am not confined to one medium or thickness. The next time I do this kit I will be applying the experience and things I learned. I hope I am not detering anyone from doing one of these. It is a nice change of pace and very little mess. Which is a big plus. David B


- 39 replies
-
- 2
-
-
- lehigh
- papercraft square
- (and 3 more)
-
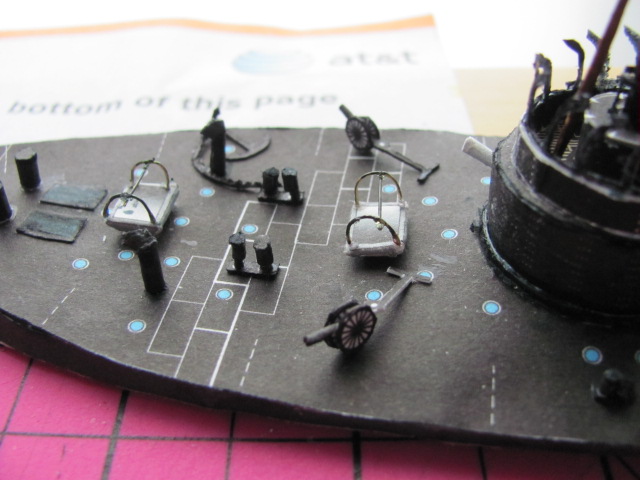
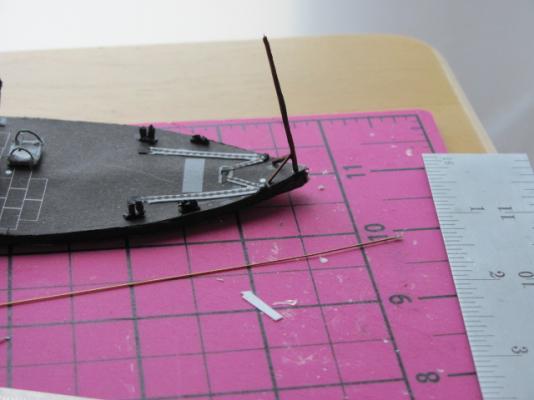
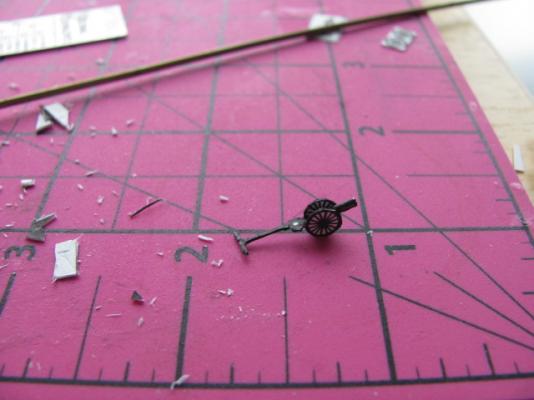
Once the howitzers were done they were glued in place. Next in line were the flag poles these were also fairly straight forward. David B
- 39 replies
-
- 1
-
-
- lehigh
- papercraft square
- (and 3 more)
-
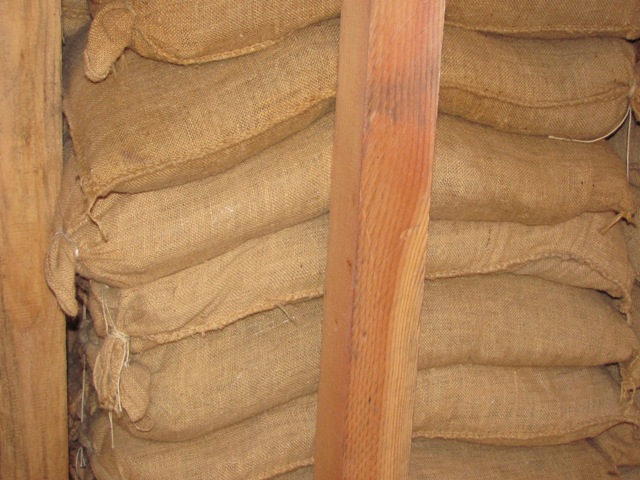
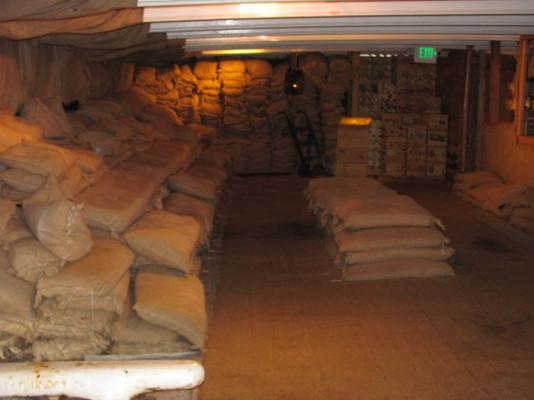
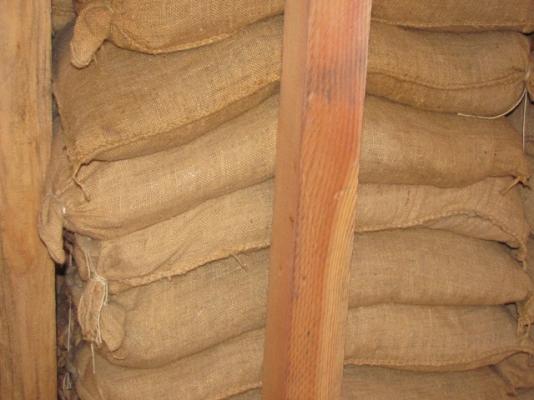
Several years ago when the NRG had their conference in San Fransisco we were able to board the Balcutha. And from what I saw they really packed it in. David B
- 3,618 replies
-
- 8
-
-
- young america
- clipper
- (and 1 more)
-
Nice start on a long process. David B
-
Could you post a couple of photos so we can get an idea of what you bought. David B
-
Nice, neat and uncluttered. David B
-
Looking good. The prep work you did really shows. David B
-
Welcome to M.S.W.2. It is nice that you read the manual. However you are thinking too far in advance at the moment. As for your questions, for most of your build until you get to the planking white glue or carpenters glue will be all you will need. The first thing you have to worry about is the placement of the bulkheads and making sure they are properly fitted. Then the false deck is glued in place, you do not need to dilute the glue for this. These two phases are important for a straight hull so my advice would be to work on this first. Also try and get some books to help out. Ship Models from Kits by David Griffith, Ship Modeling Simplified by Frank Mastitni. and Planking Techniques for Model Shipbuilders by Donald Dressel. These will give you answers for many of your unasked questions. All three are on Amazon. Also look through some of the build logs for kits by the same company, this will help you out tremendously as well. David B
-
Well done on a thankless but necessary task. David B
-
I would have to agree. I have seen worse cleats over the years. Once cleaned up and painted they would probably work out well. If not you can make your own from a piece of boxwood or apple. David B
- 1,756 replies
-
- 1
-
-
- constitution
- constructo
- (and 1 more)
-
Have fun. David B
-
You did it and that is what counts. David B
-
It is the old adage, Damned if you damned if you dont. David B
- 786 replies
-
- 1
-
-
- Royal Louis
- Finished
- (and 1 more)
-
Toni? This might sound like a silly question but I have to know. Are you working from a template that you drew up or are you freehanding? If freehanding you have more courage than I. David B
-
Michael, just make sure you eat your spinach everyday. David B
-
Sails are very hard to replicate in the smaller scales. When using them and you are furling them cut them in half. I have also use very fine rice paper as well. Works nice but very delicate. David B
-
That is a lot of weight. What you need is a couple of kids who play football to do the heaving for you. Unless you have a system for getting the ballast inside easily. Only if I were 30 yrs younger. David B
-
At least you did not use good scotch for the planking. David B
-
Thanks for the thought Omega, Right now I am in recovery from my 1st tranplant. My immune system while not dead is very weak. As a result I have to avoid crowds and other places. My brother in law is a stock car fan. I cannot go to the races with him because of the dust. When I go outside I wear a mask, Right now the windows are open but we are out in the boondocks. Fresh air feels good my mask is sitting beside me. Where do you live? David B
-
Looking good Omega, I amglad you are feeling better. The flu is not a nice thing to have. And in my case it would be lethal. David B
-
For mixing paint go for the thickness of skim milk. For plastic Tamiya acrylics would be your best bet. A couple of rules that will help you out will be practice of the model and keeping your AB clean. David B
-
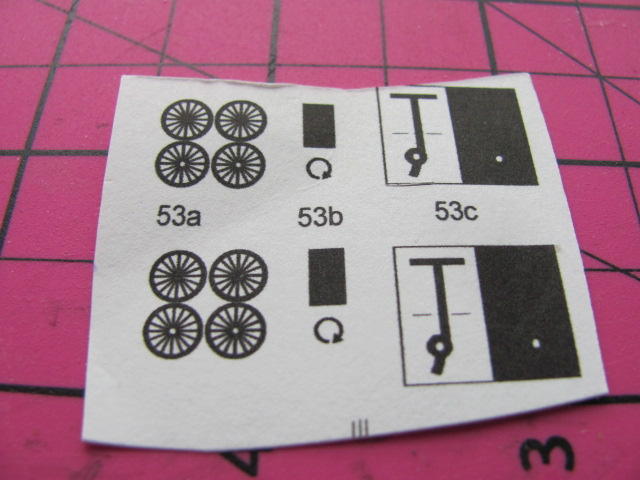
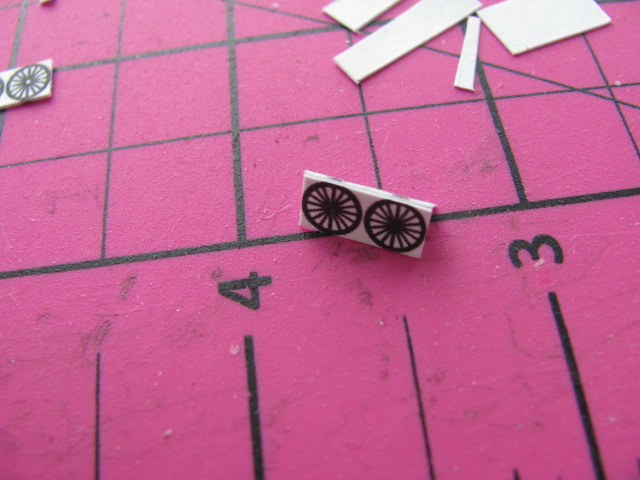
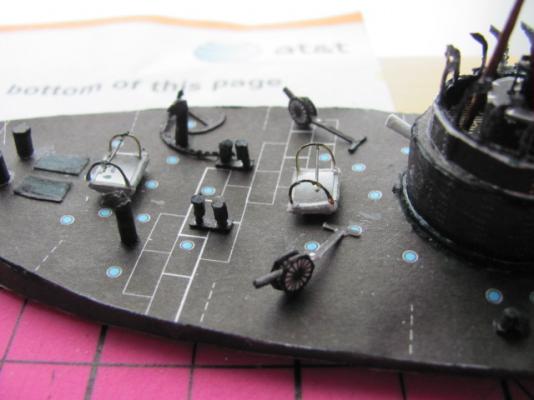
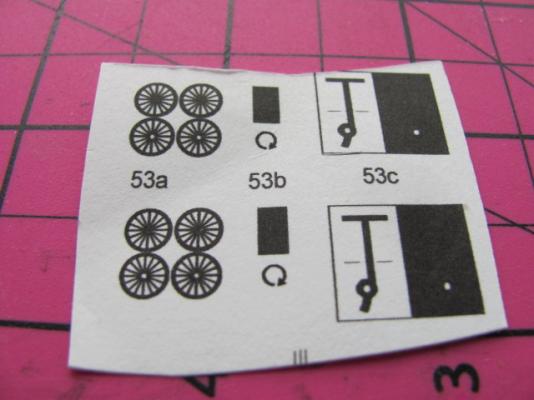
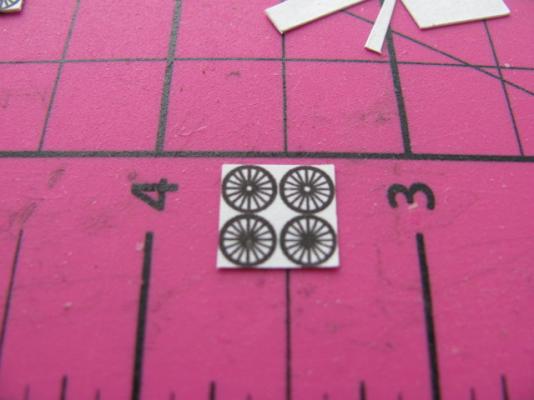
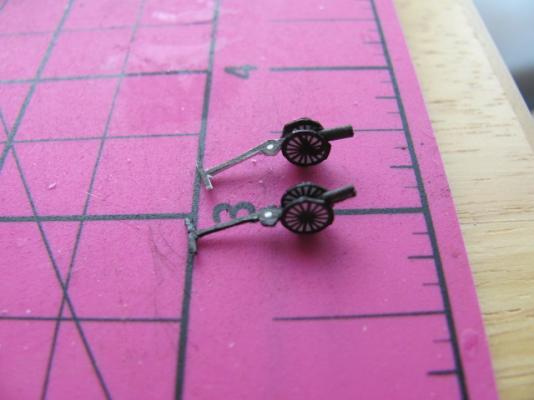
The next item I worked on were the howitzers. I just followed the same procedure as I did before. The end result is satisfactory for the time being. I have been looking around and eventually I might be looking for photo etched parts. David B

- 39 replies
-
- 2
-
-
- lehigh
- papercraft square
- (and 3 more)