Trussben
-
Posts
2,006 -
Joined
-
Last visited
Content Type
Profiles
Forums
Gallery
Events
Everything posted by Trussben
-
 And here are both counter timbers installed and reinforced with a cross spall. I will now start building the framing from the DOF plan to fill in the sides. Ben
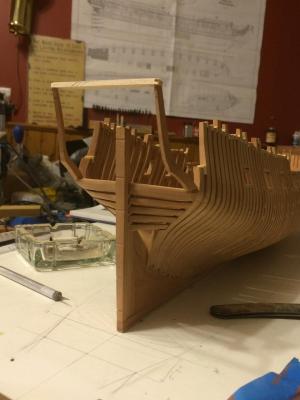
- 889 replies
-
- 12
-

-
Thanks Greg, I'm thinking of glueing in a couple of temporary spalls across them for a little bit of security. Ben
-
Thanks Druxey, I haven't sanded the bevel into the aft outside of the timbers, I thought I'd wait until all of the counter timbers were installed before I do that to make sure they all fair together. Ben
-
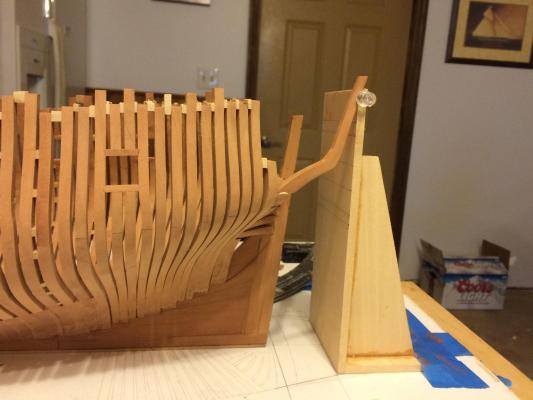
The side counter timbers are being installed in the next picture, the wooden square you see was made to be exactly 12"3' wide and the same height as the toptimber height from the plan, this was then taped down to the build board exactly 5"3' back from the aft perpendicular as per TFFM. I am hoping that doing it this way will ensure the these counter timbers are in the exact right place. Ben
- 889 replies
-
- 20
-
-
I used an extremely sharp v gouge on my Pegasus, I practiced first on some scrap taking very small amounts of cuts over multiple passes, slowly but surely I got a really good result. Practice and a very sharp tool! Ben
-
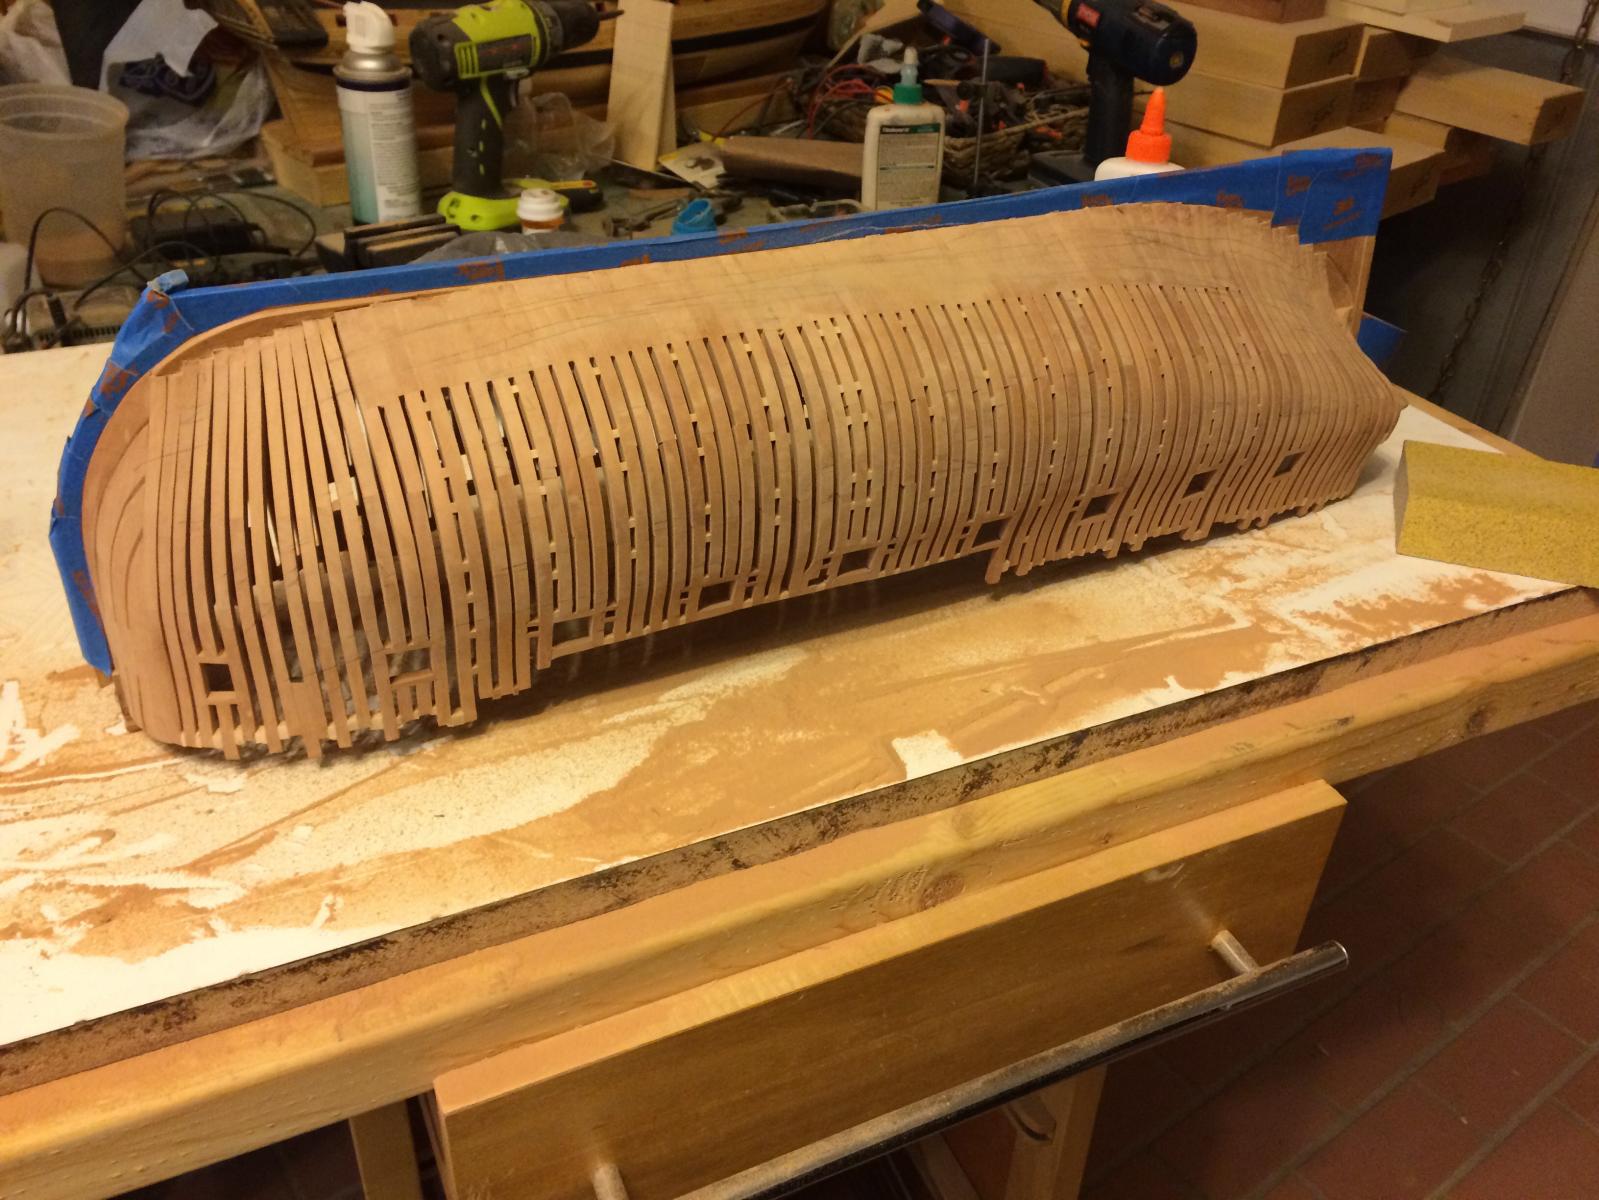
Good Grief, even using 80 grit paper and course blocks this really is taking some time. I'm am going to go to a final grit of 220 below the Wales which won't be planked but I'm thinking of leaving the framing at the Wales and above at 150 grit so the glue to hold the planking on will have a bit of a tooth to grip to - anybody else do this?? Ben
-
I'm sure your stove will turn out superb. Ben
-
Simply gorgeous. Ben
-
That's a beautiful figurehead Danny, Janos did you proud. I think I will be getting a commission done for my Pegasus figurehead as I'm not a carver either. Ben
-
My Arm is getting sore from the sanding but one side is pretty much faired, now to start on the other side ben
-
Thanks Chris! Greg - I find I can " hear " it better than I can feel it! The sanding block ( 80 grit ) makes a note when I'm there! Anybody else do this by ear?? Maybe I'm just weird! Not the first time this has been true, as an engineer I've worked on a lot of equipment that I know more about the way the equipment is running from its sounds and the vibration I can feel through my feet and hands. Ben
-
Hull fairing well under way, if you look close you may be able to see the pencil marks that I am using to look for high/low spots. Ben

- 889 replies
-
- 16
-
-
Thanks Augie, Greg - I have noticed some movement over the last two weeks since we rapidly went from hard winter to spring in a short space of time! Hopefully it will normalize. Ben
-
She really does look great Augie, you must be proud! Ben
- 2,191 replies
-
- 2
-
-
- confederacy
- Model Shipways
- (and 1 more)
-
Nice work Alan, I have tried the black paper route as well, sometimes with good results, but I honestly prefer either using a pencil or archival marker nowadays along with titbond III glue that dries a little darker anyways. I will watch your progress with great interest. Ben
-
Very nice Toni Ben
-
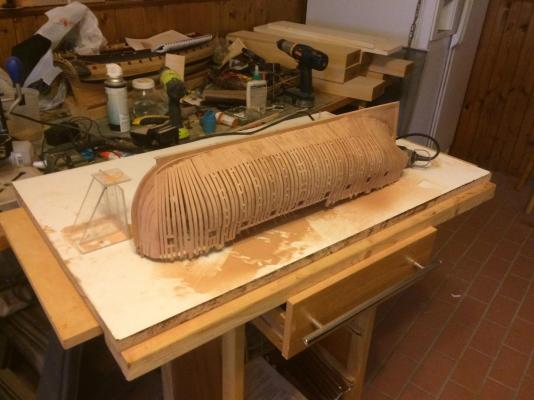
Thanks Everyone for the likes. Druxey - Yep the fillers were added at the same time as the square frames, I do see some small gaps here and there which will need to be filled. Greg - the pencil method is what I used for internal fairing and it worked well so I will use it for doing the external. Ben
-
Hey all, Well the internal fairing is pretty much completed so I released the hull from the build board, so I can start external fairing and will also help to complete the internal as I can hold the hull in my lap and be able to access parts that the buildboard made difficult. I see a lot of sanding in my future! Ben
- 889 replies
-
- 18
-
-
Very Glad to hear you are well Paul and look forward to seeing your remarkable build continue. Ben
-
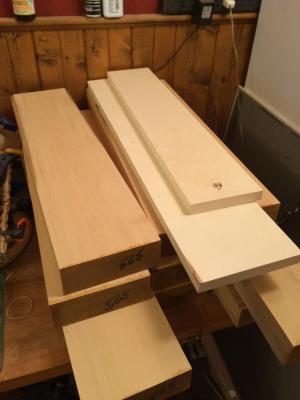
Another addition to the wood stock pile, a couple of billets of nice white Holly stacked on top of my boxwood, Holly is getting really difficult to obtain here in US, So I get whatever I can when the chances arise. I may have some updates to show on Pegasus next week - Ive been working away a lot lately and the sanding and fairing of the inside hull is taking quite a bit of time to get really good. ben
-
Sweet Ben
-
Some very nice planking there! I remember at that point needing a break too, you could always do something completely different like building the stove or getting all of your PE sheets prepped and painted. Ben