HOLIDAY DONATION DRIVE - SUPPORT MSW - DO YOUR PART TO KEEP THIS GREAT FORUM GOING! (83 donations so far out of 49,000 members - C'mon guys!)
×


Trussben
-
Posts
2,005 -
Joined
-
Last visited
Content Type
Profiles
Forums
Gallery
Events
Everything posted by Trussben
-
 Hi Allen just caught up on your log, did you complete getting your hawse holes to size? on my Pegasus I got a small drill though without any breakout/splits in the wood and then I switched to Taper Pin reamers, I think I had to use 3 or 4 in overlapping and increasing size to get to final dimension. instead of cutting the wood, the reamers basically file the holes larger so much less chance of tear out or splitting. ben
 -
Coming along Very nicely!
-
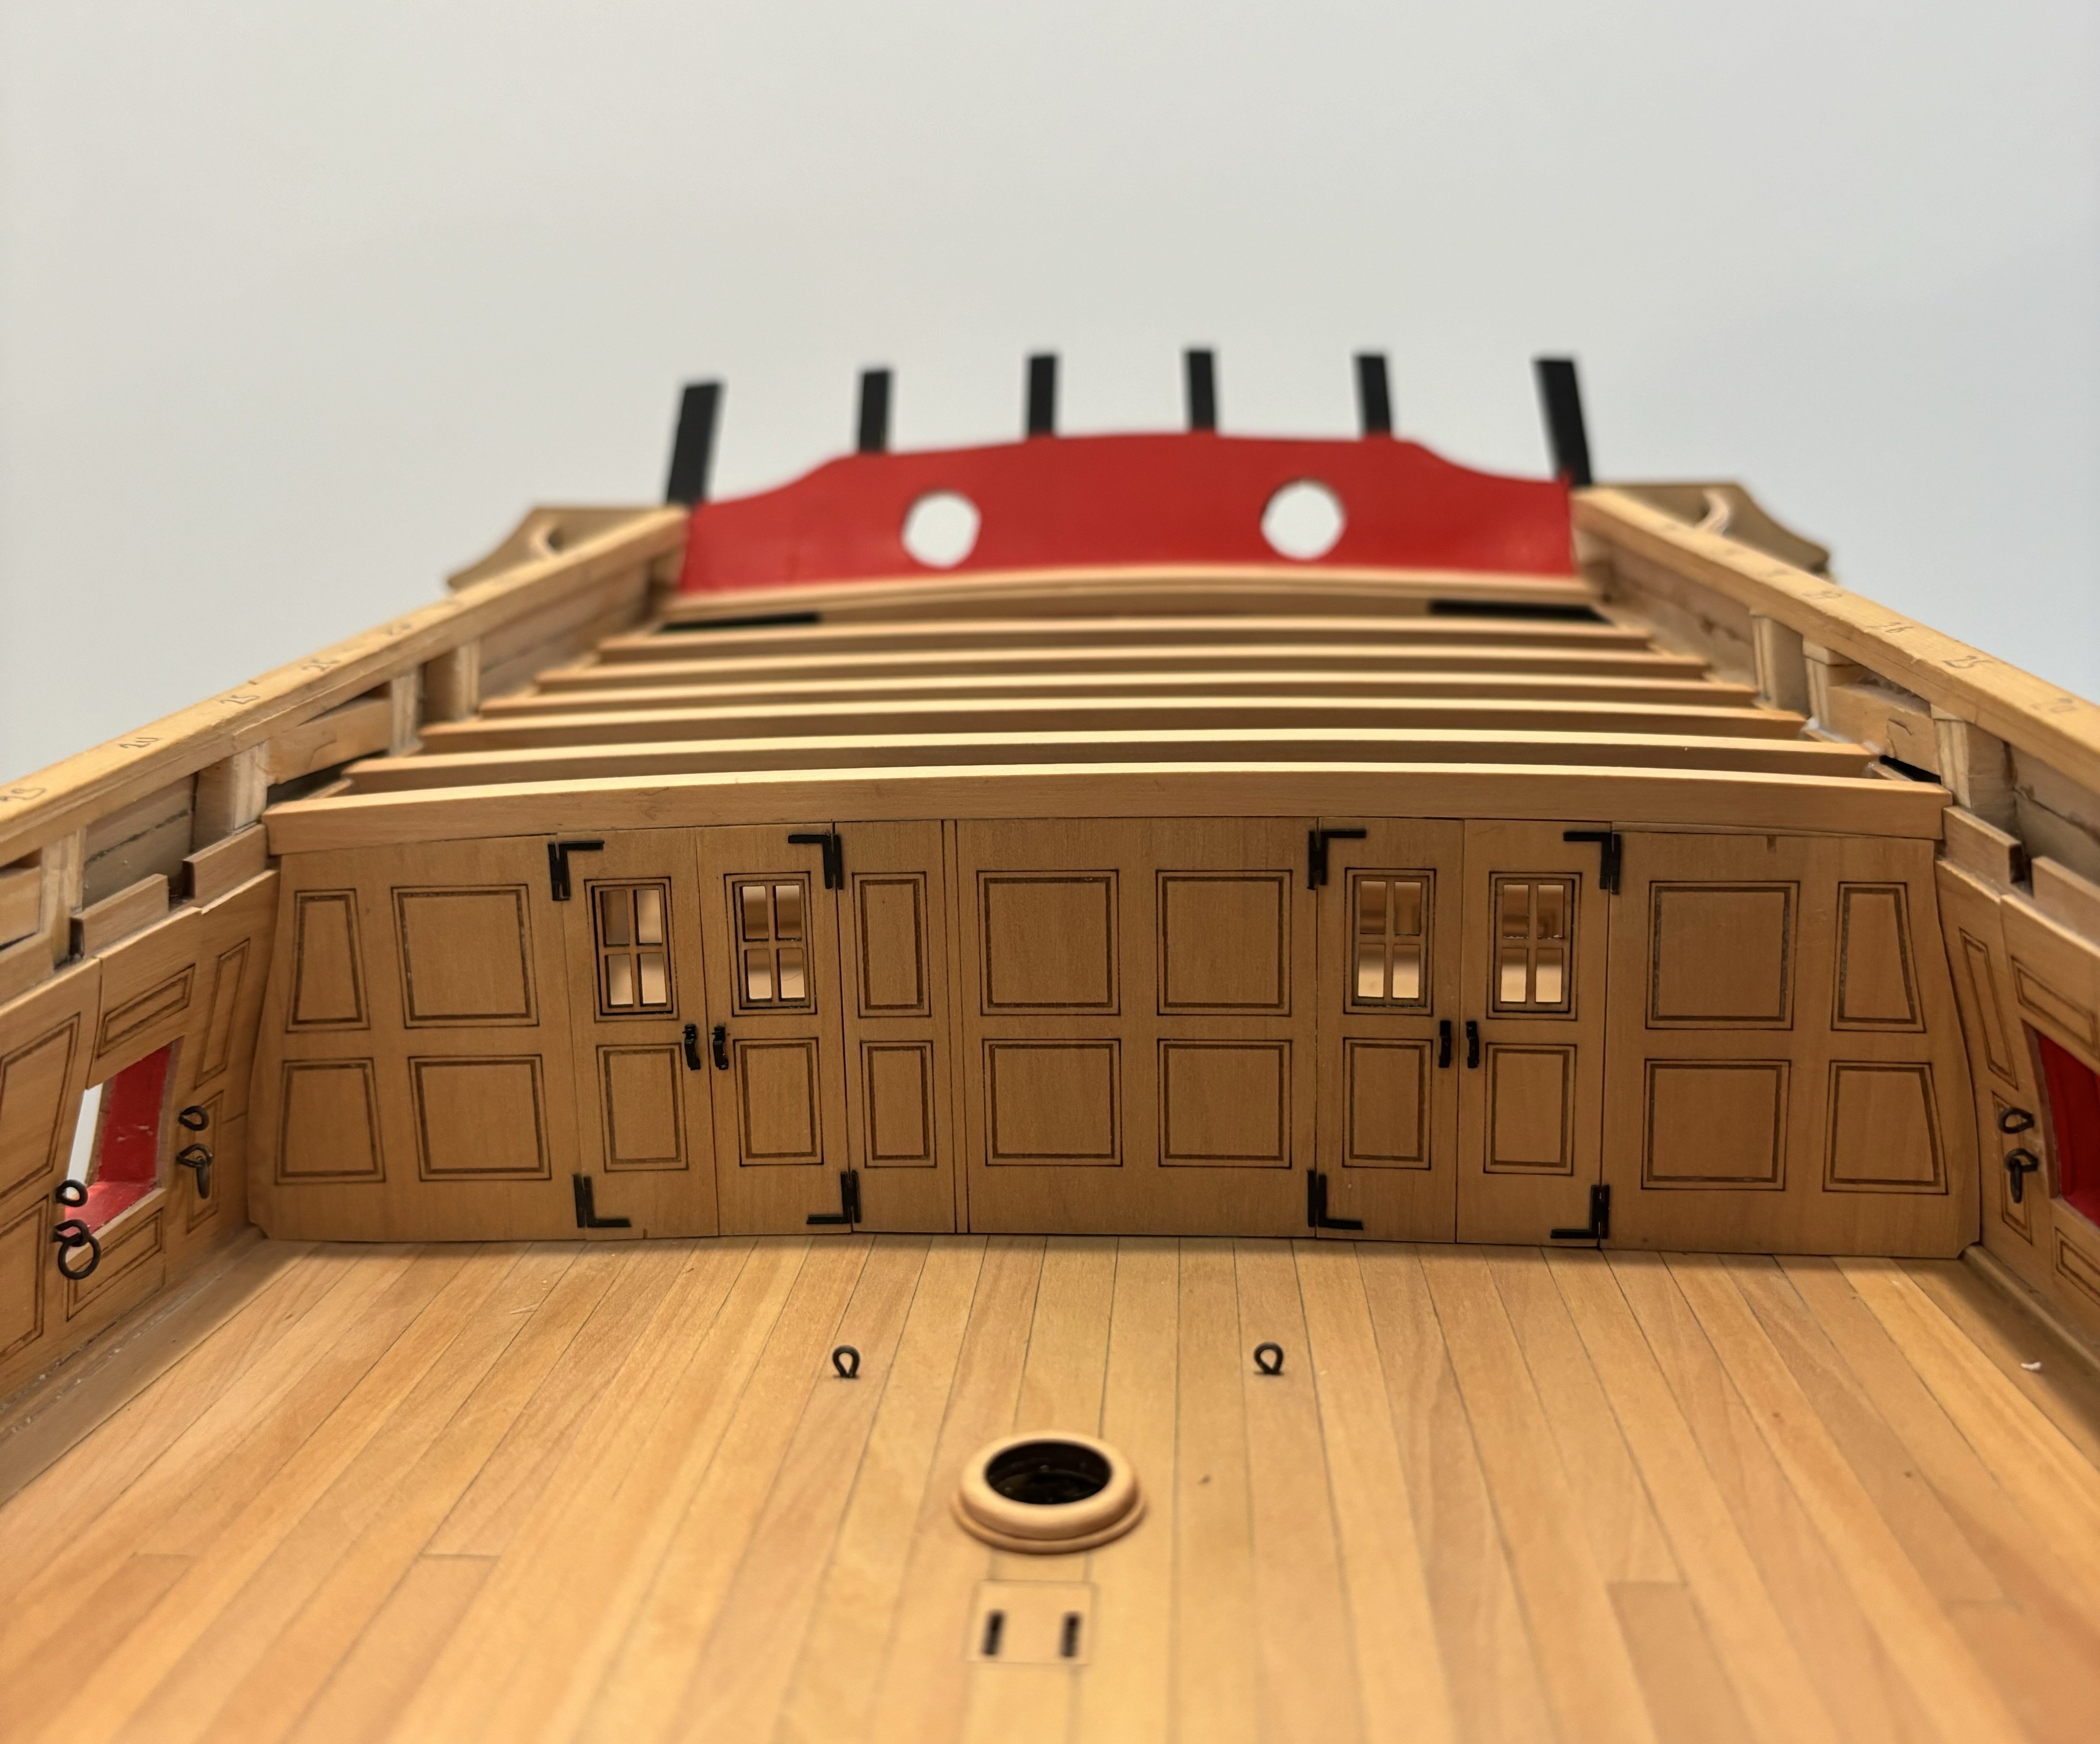
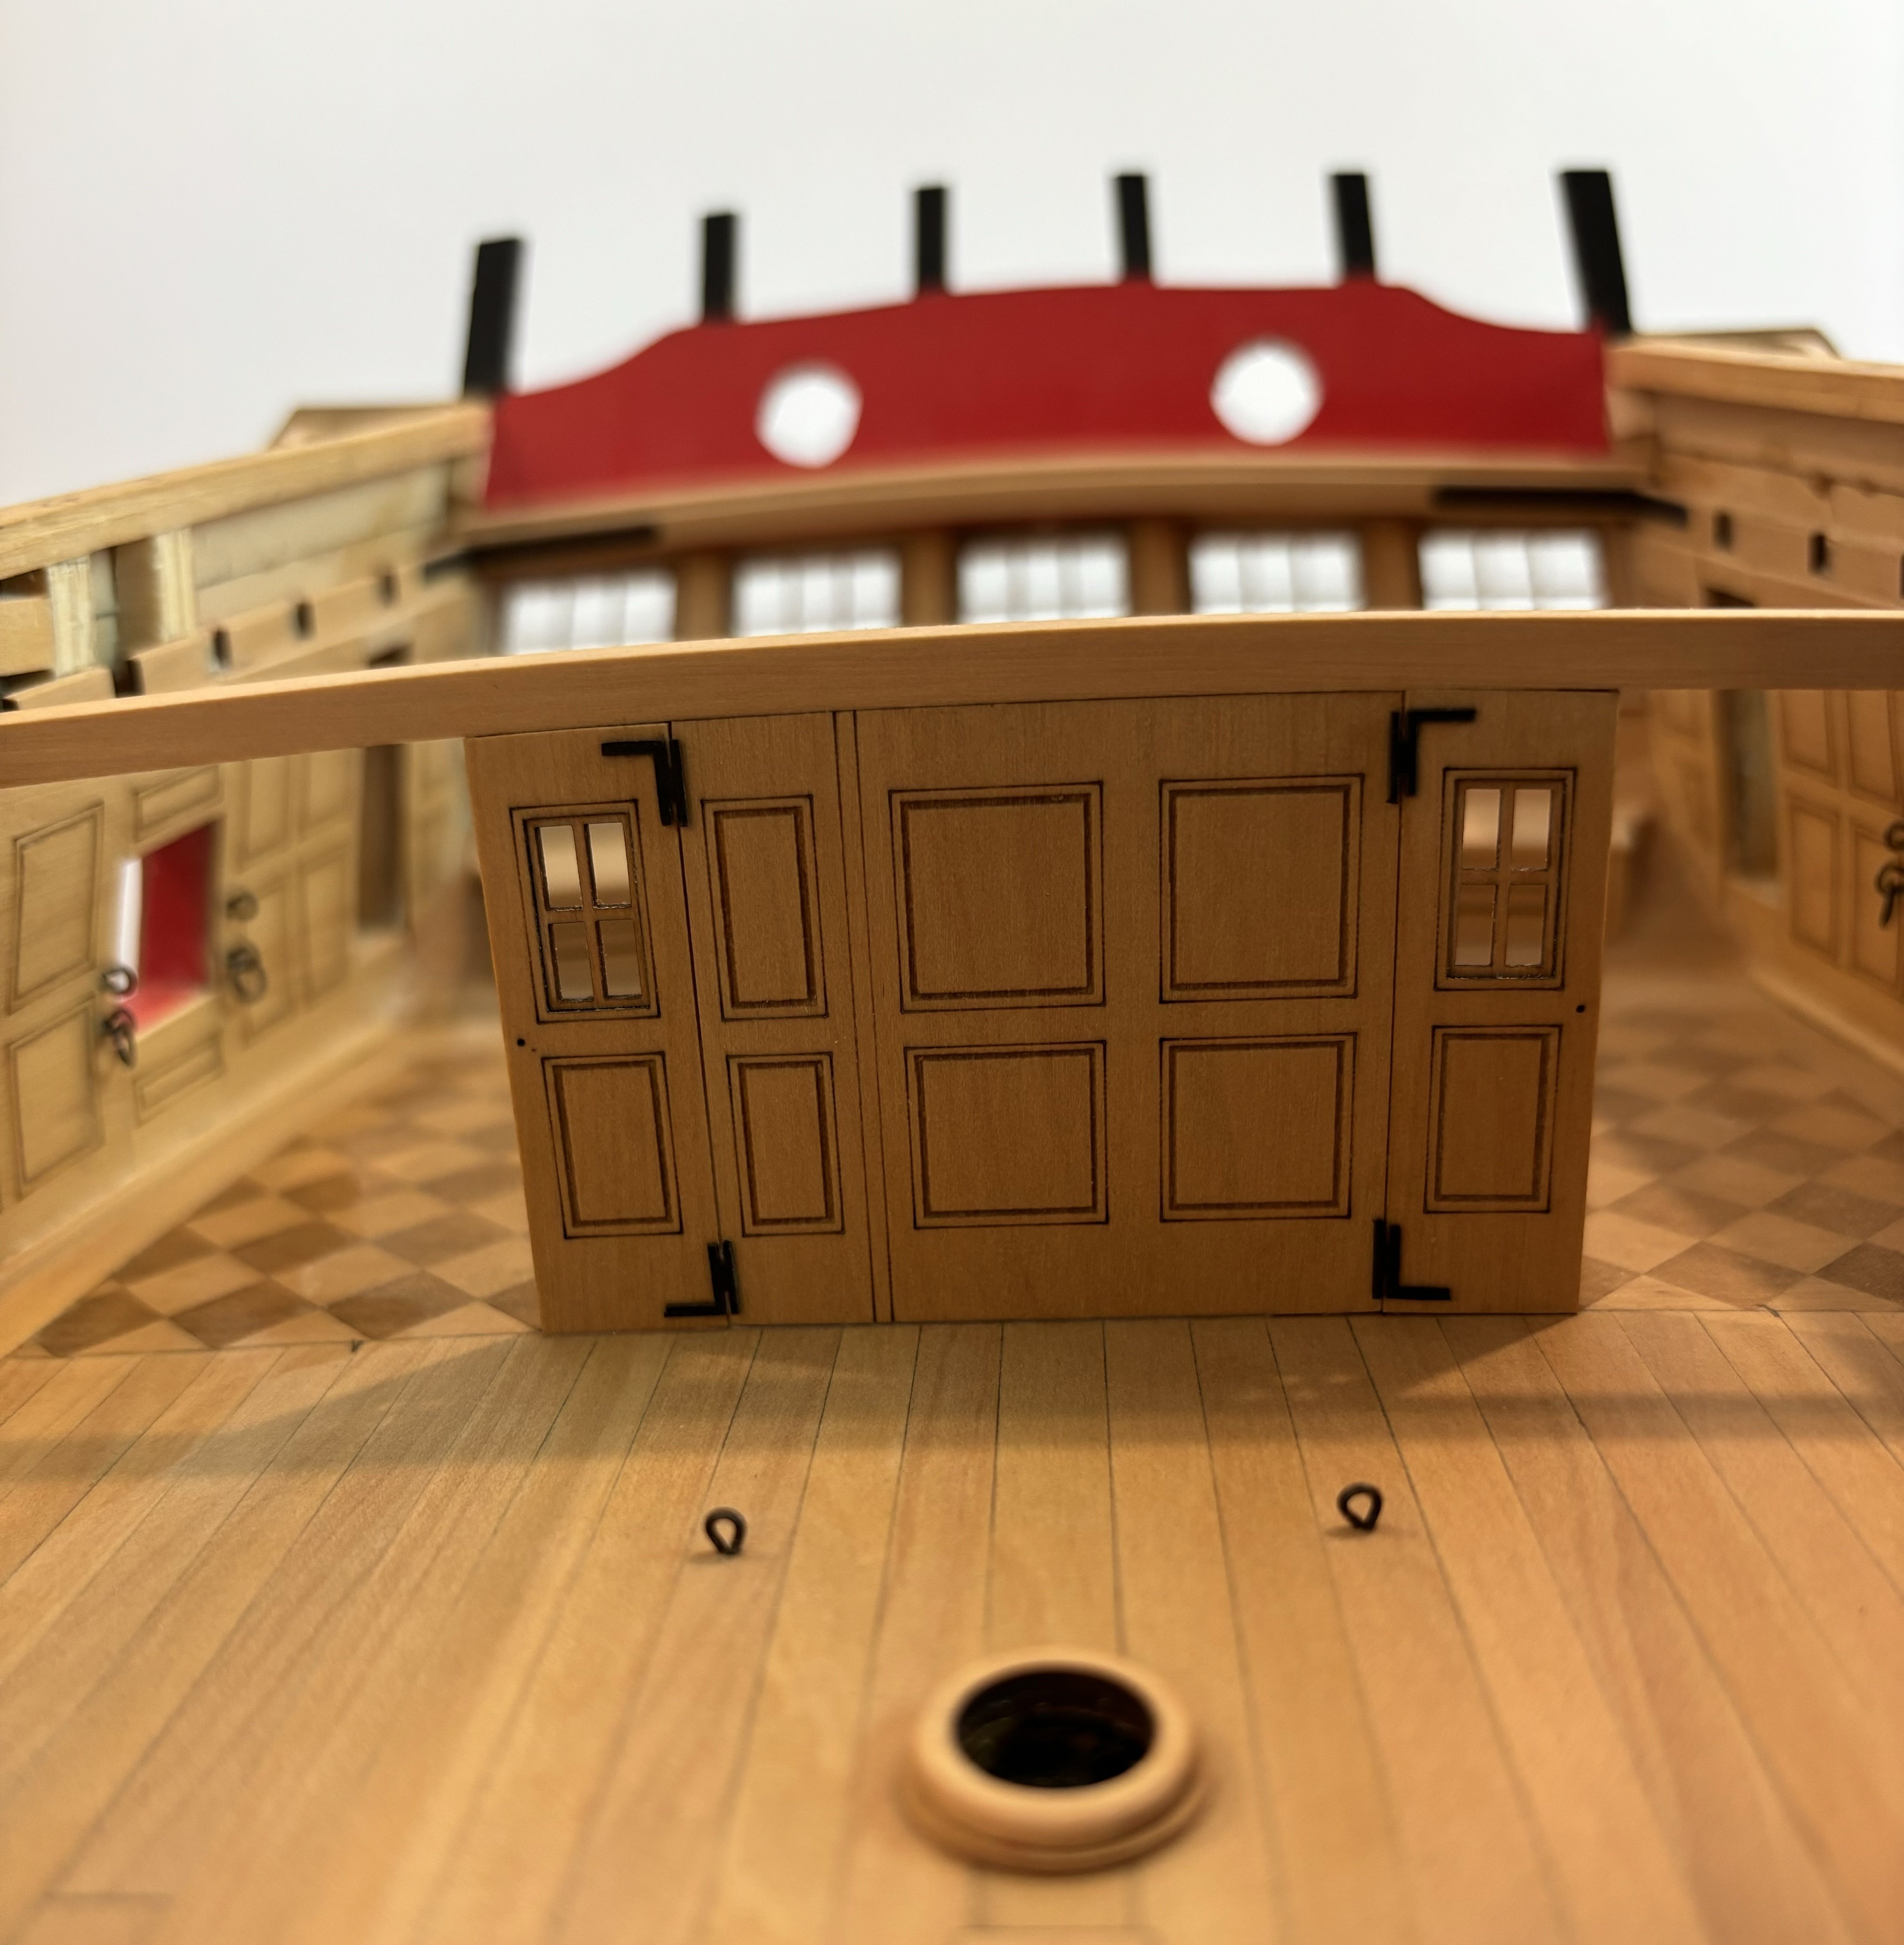
Completed the Aft Bulkhead and installed the QD beams behind it. You can see I used the laser cut door handles from Chuck, I think they look much nicer than the normal knobs. Now on to the next Bulkhead. ben

- 399 replies
-
- 16
-

-

-
- winchelsea
- Syren Ship Model Company
- (and 1 more)
-
Work has restarted on Chapter 7, all of the beam positions were checked again and numbered 1-30, #25 was permantly installed and I have started adjusting the bulkheads and doors into position, I really happy to be back building again. ben

- 399 replies
-
- 16
-
-
- winchelsea
- Syren Ship Model Company
- (and 1 more)
-
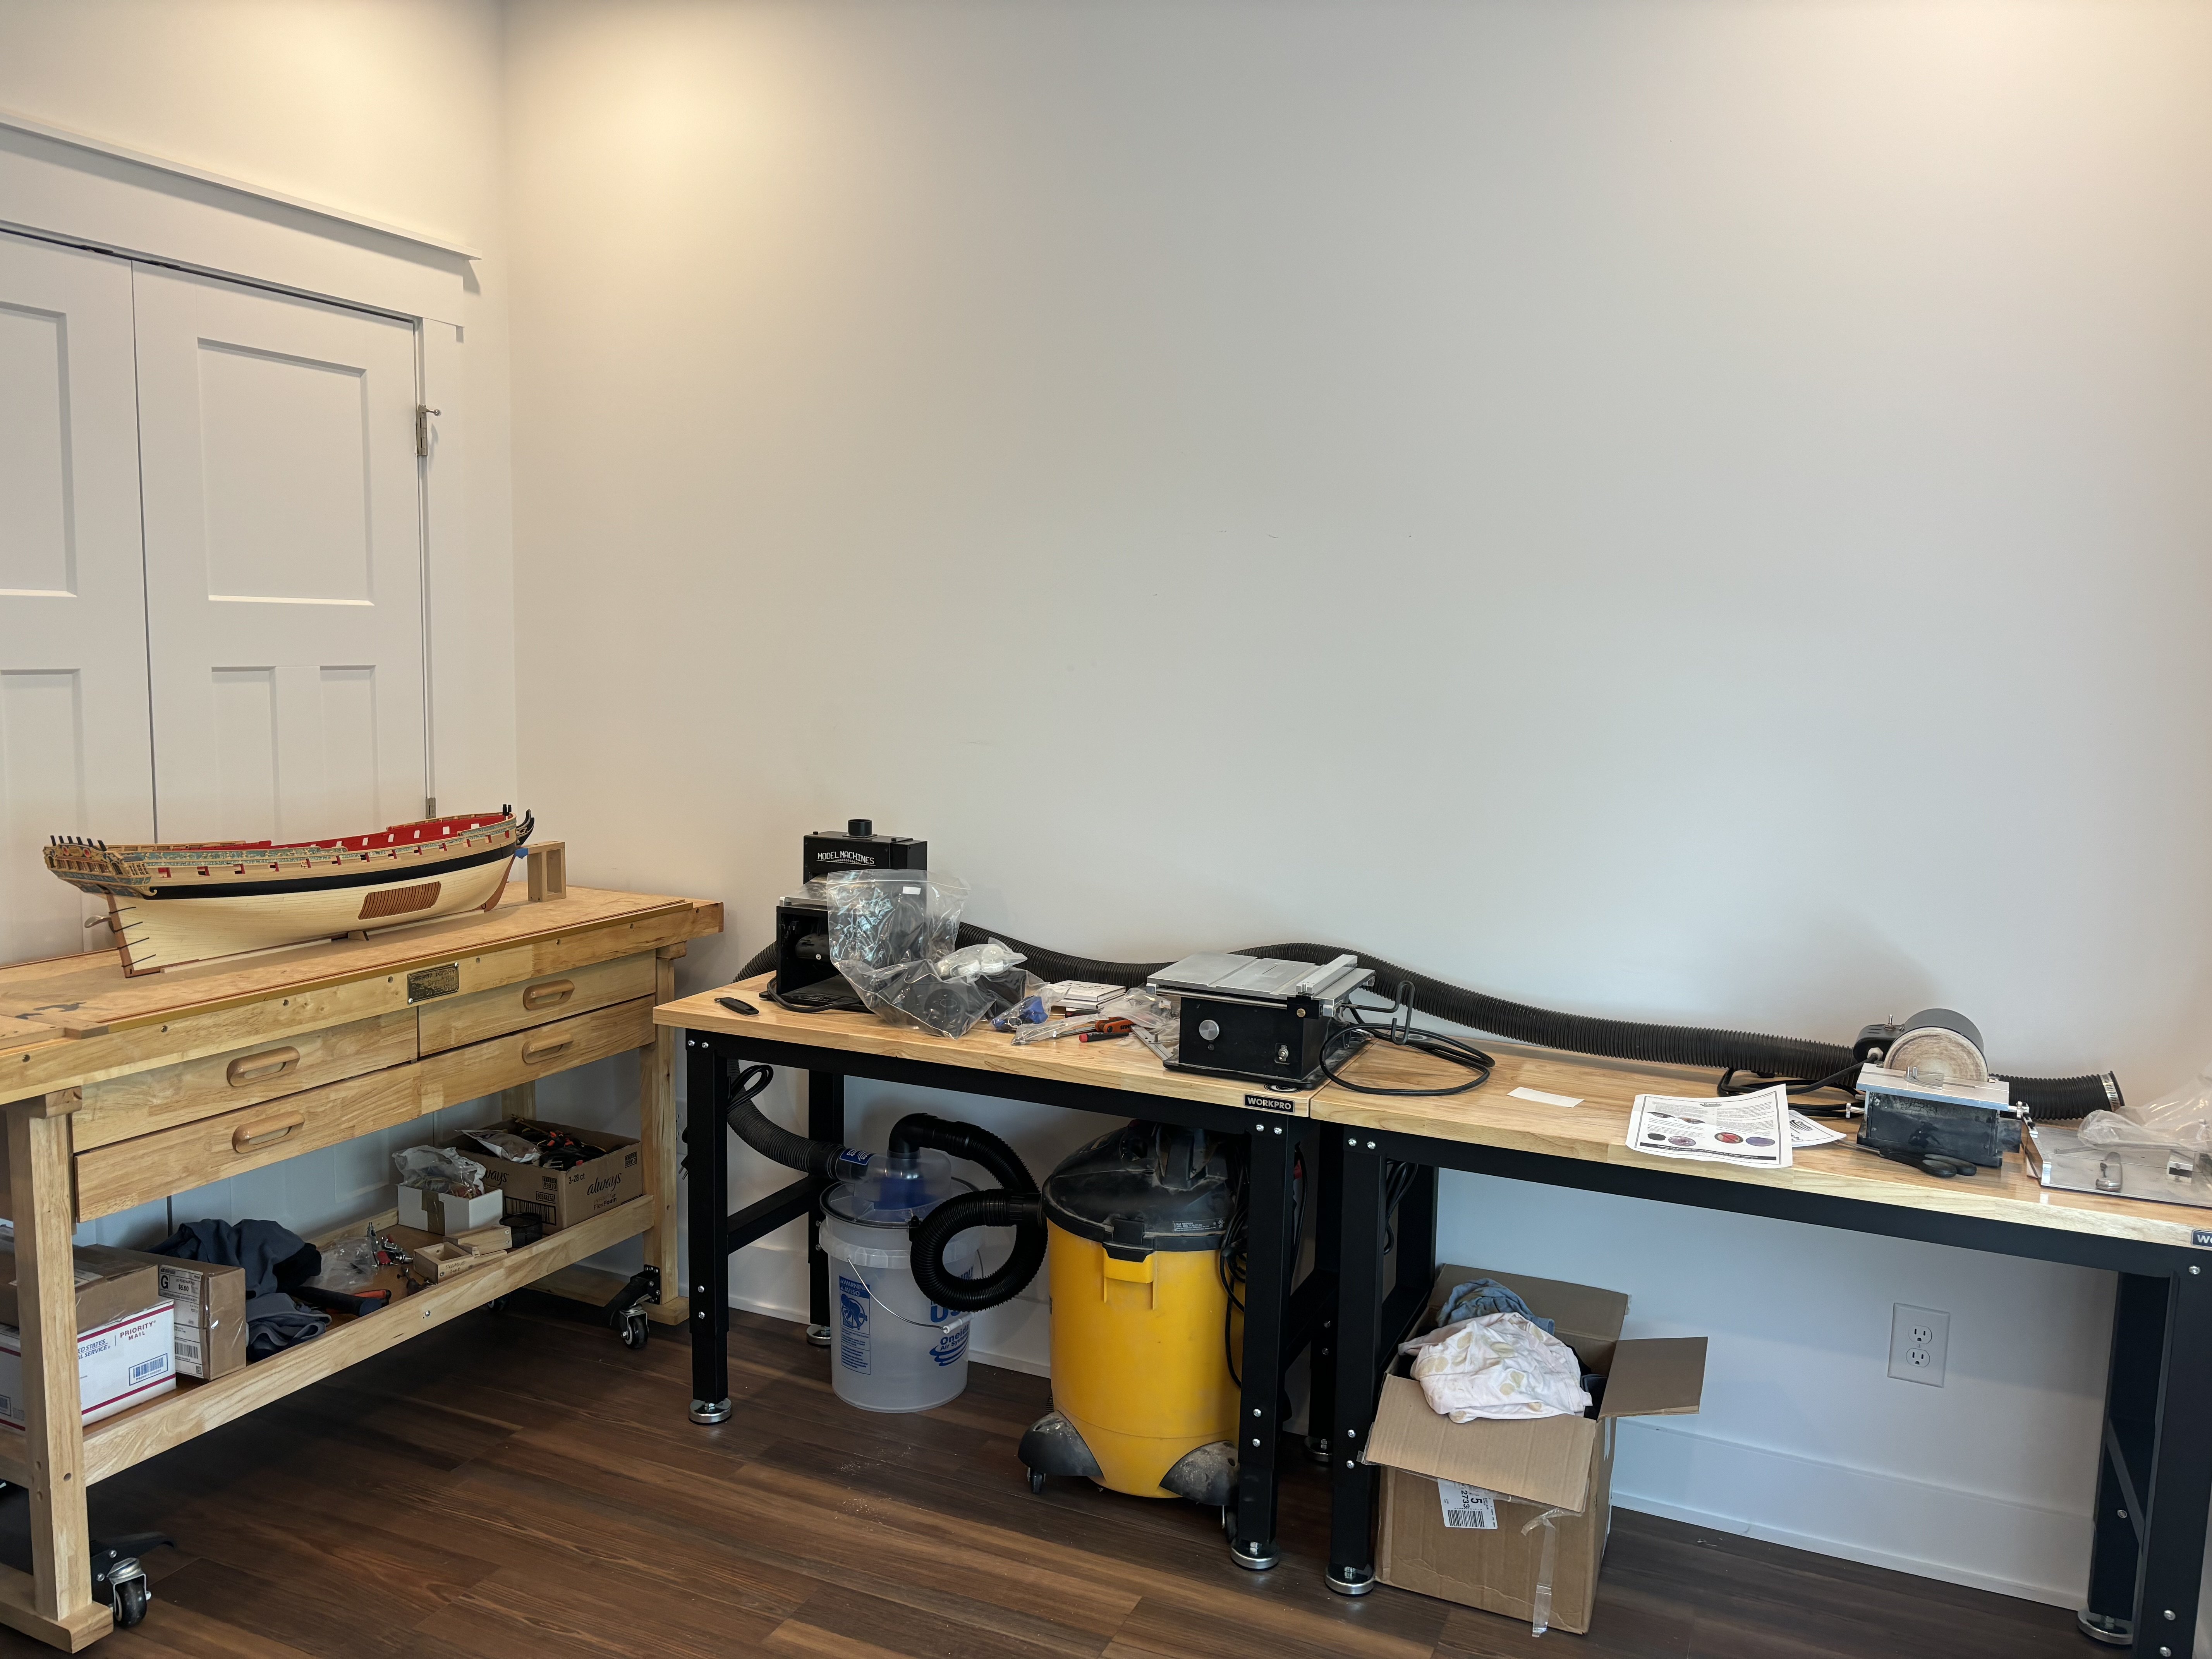
Well the move was completed after our new home was built on Oak Island. The new model workshop/office is far smaller than my previous one at only 13x13 but I’m using shelving and other things to maximize space which is ongoing. Winchelsea is now waiting for me to start Chapter 7 on the Quarter Deck hopefully in the next couple of weeks as soon as I find all the parts!

- 399 replies
-
- 19
-
-
- winchelsea
- Syren Ship Model Company
- (and 1 more)
-
You can also get large plans printed and shipped to you online, on paper or mylar if needed. https://blueprintsprinting.com/account/
-
Long drive from OKI
-
So the move is completed, I'm working on getting my new workshop together - BOTH Pegasus and Winnie survived the move with no apparent damage ( better result than my last move ).
- 889 replies
-
- 12
-
-
I love your design process for those Lockers and rudder trunk, I have to remember that when I do those for Pegasus.
-
Very nice touches Chuck.
-
Looks awesome Chuck.
-
Chapter 1 looks awesome Chuck - really looking forward to this model.
-
As for your question According to "Steel" and the "Shipbuilders repository" table of scantlings, a 32gun frigate of the time would have had 11 1/2" wide framing, with a room and space of 27 3/4" So you would have a line of treenails in a row with a gap between them of just under 2.5" ( 11.5 + 11.5 + 2.375 + 2.375 = 27.75 ). On my cutaway section on my Winnie I simplified that to 11" frames with 3" gaps inbetween. Also if you look on the Plans - Chuck showed a section midships above the wales with a treenail pattern that you could just copy. Hope that helps - that would be a lot of treenails to make!
-
https://deadline.com/2023/11/pete-davidson-joins-jennifer-coolidge-gabrielle-union-movie-riff-raff-new-jersey-1235631611/
-
Fantastic work Chuck.
-
Shes a Beauty Chuck!
-
Count me in for one of the Kits Chuck - $2300 total for a model like this with the quality that we know you will employ - a no brainer for me!
-
She’s a big impressive Beastie there JJ! What are your calculated dimensions of the finished model going to be?
-
If you build it, they will come.
-
Congrats and good luck with moving her.
- 99 replies
-
- 1
-
-
- winchelsea
- Syren Ship Model Company
- (and 1 more)