


kentyler
-
Posts
86 -
Joined
-
Last visited
Content Type
Profiles
Forums
Gallery
Events
Posts posted by kentyler
-
-
back to the frames
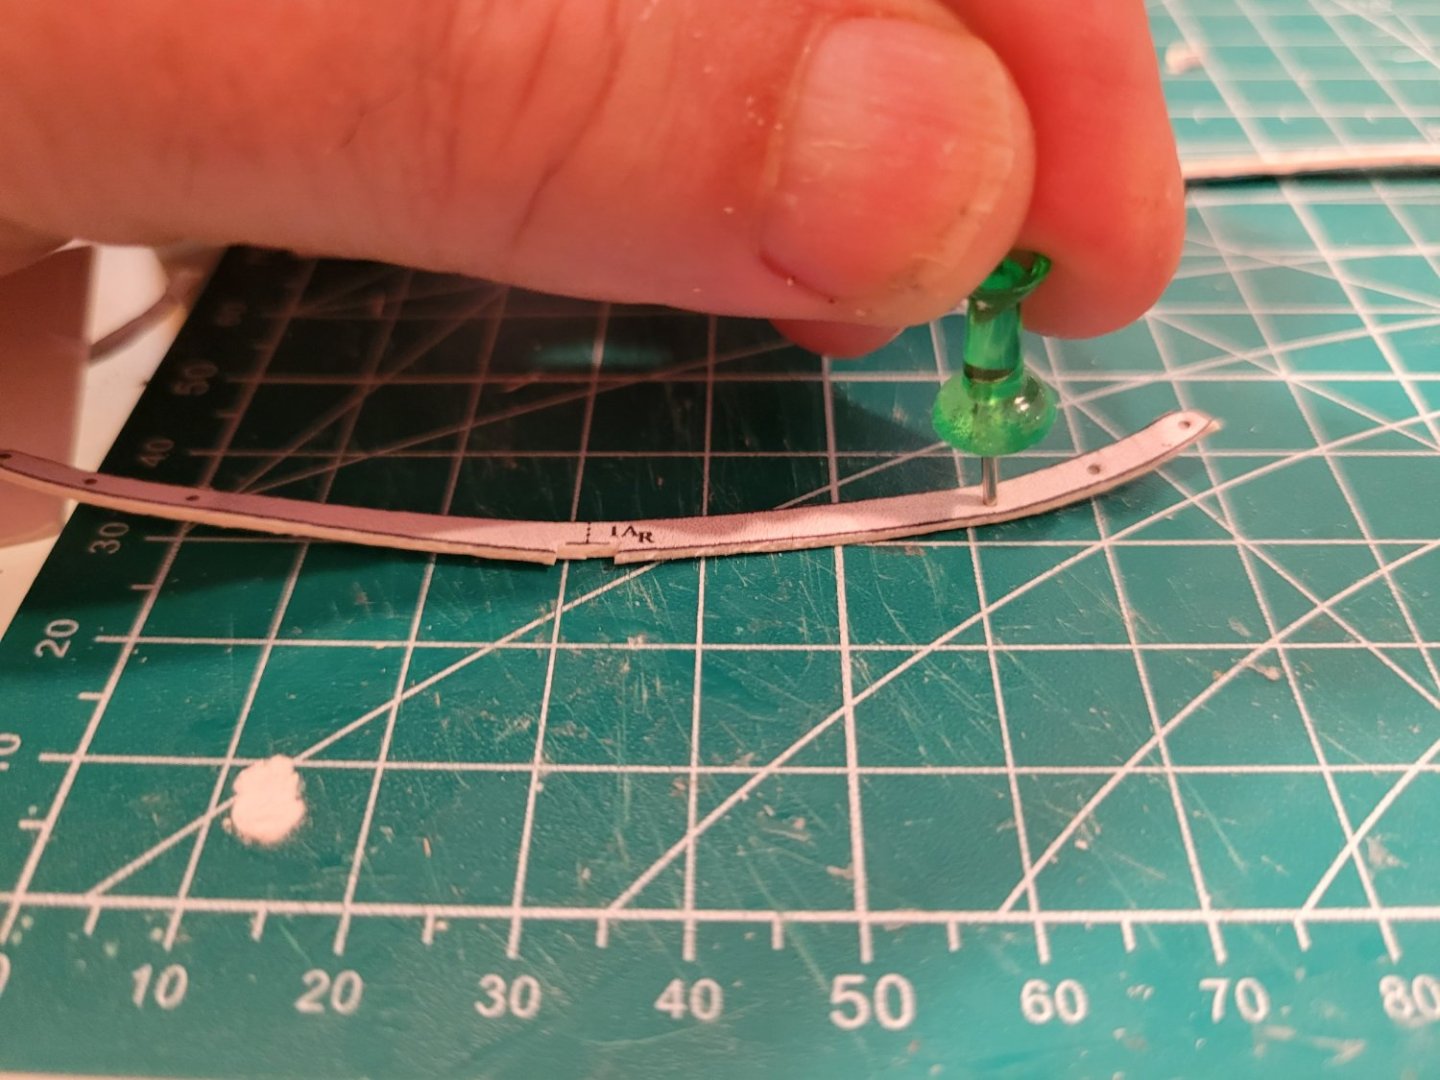
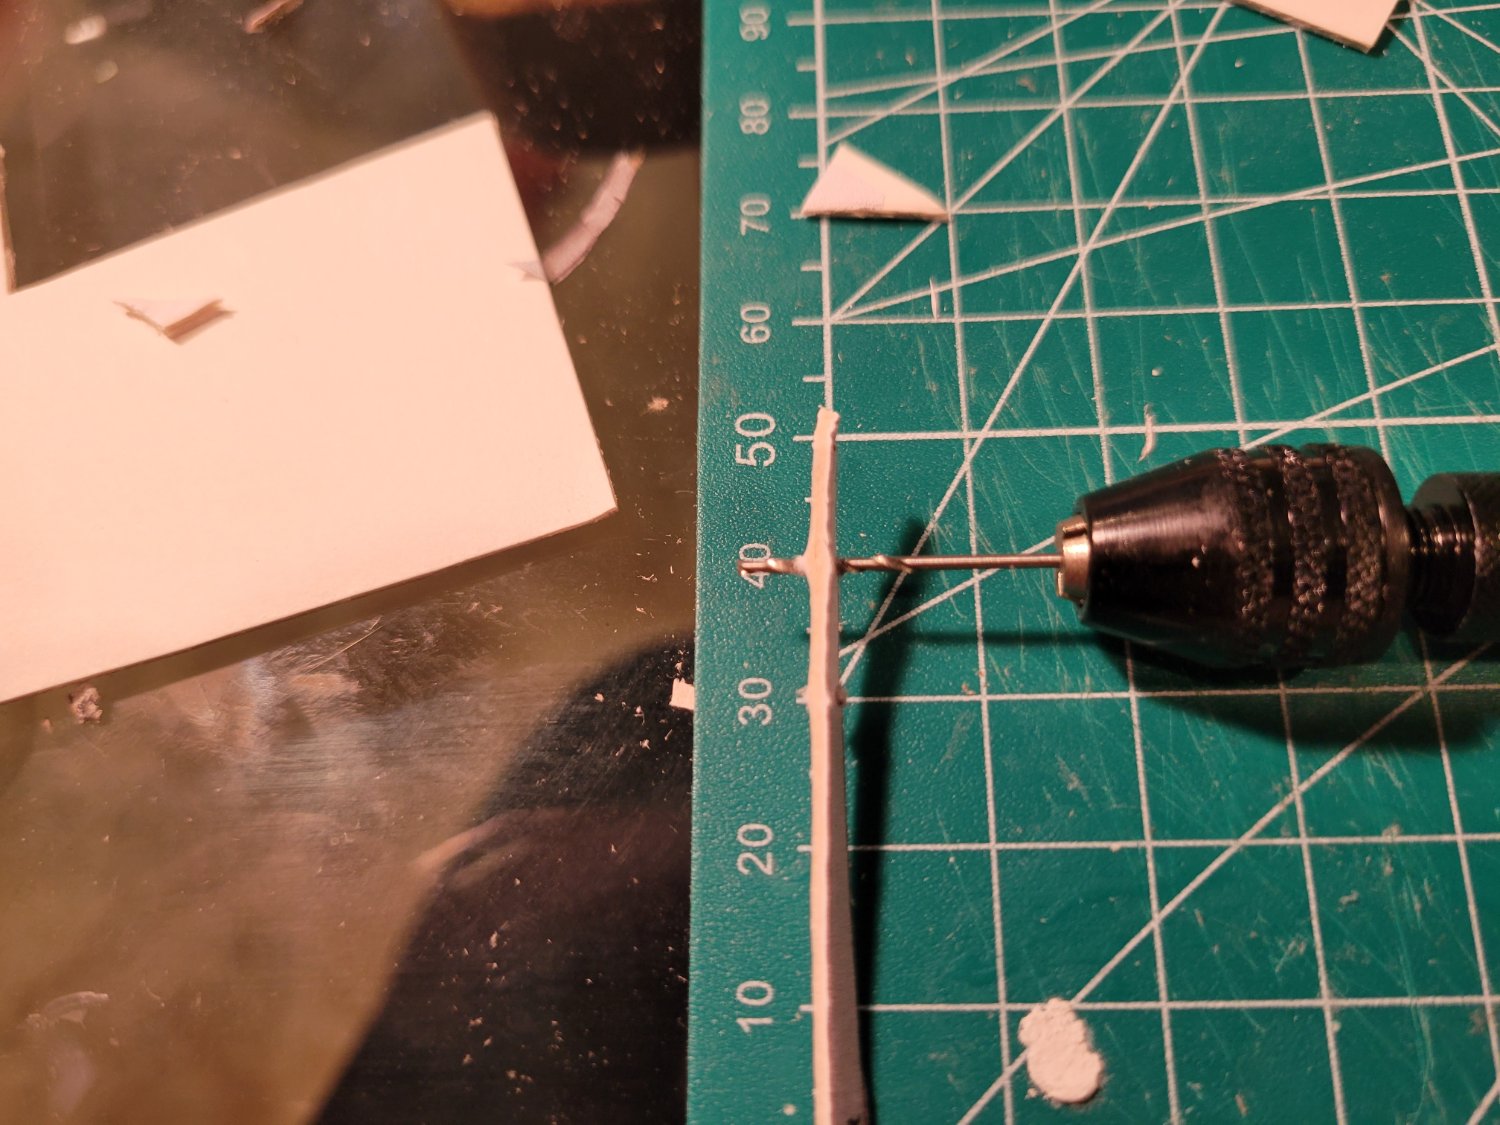
i had to back track. the frames are to narrow and the card to fragile to drill straight holes through 2 pieces glued together
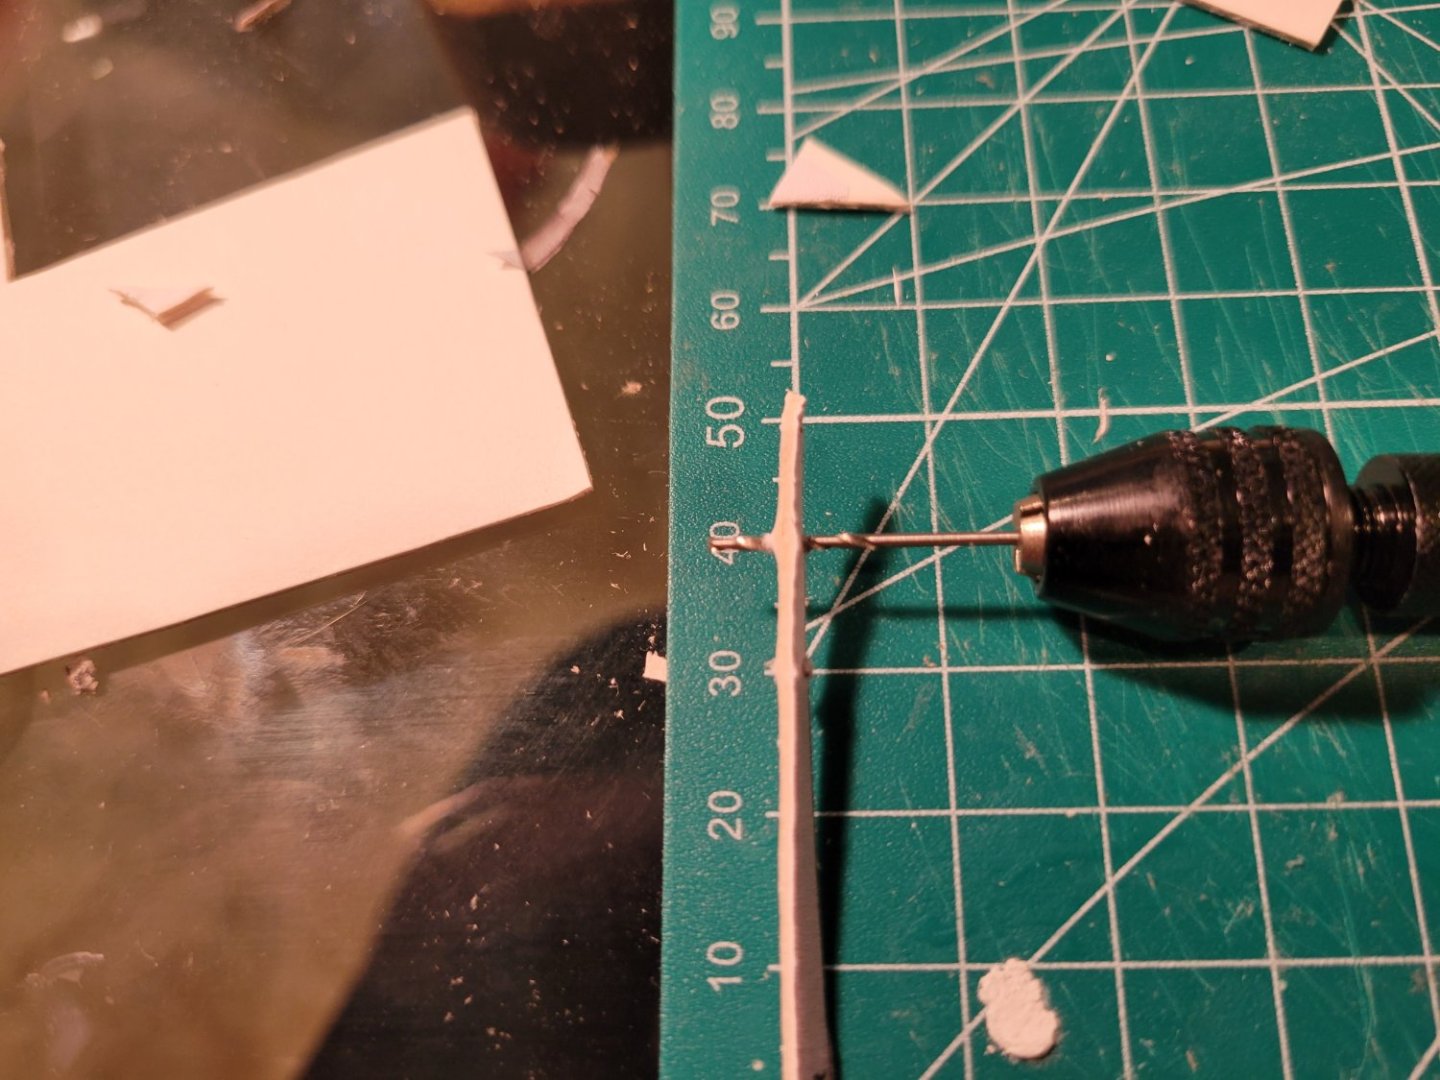
so, i cut a new set of pieces (i did figure out that i should drill the pieces before finishing the cutting, so they would not be so slender)
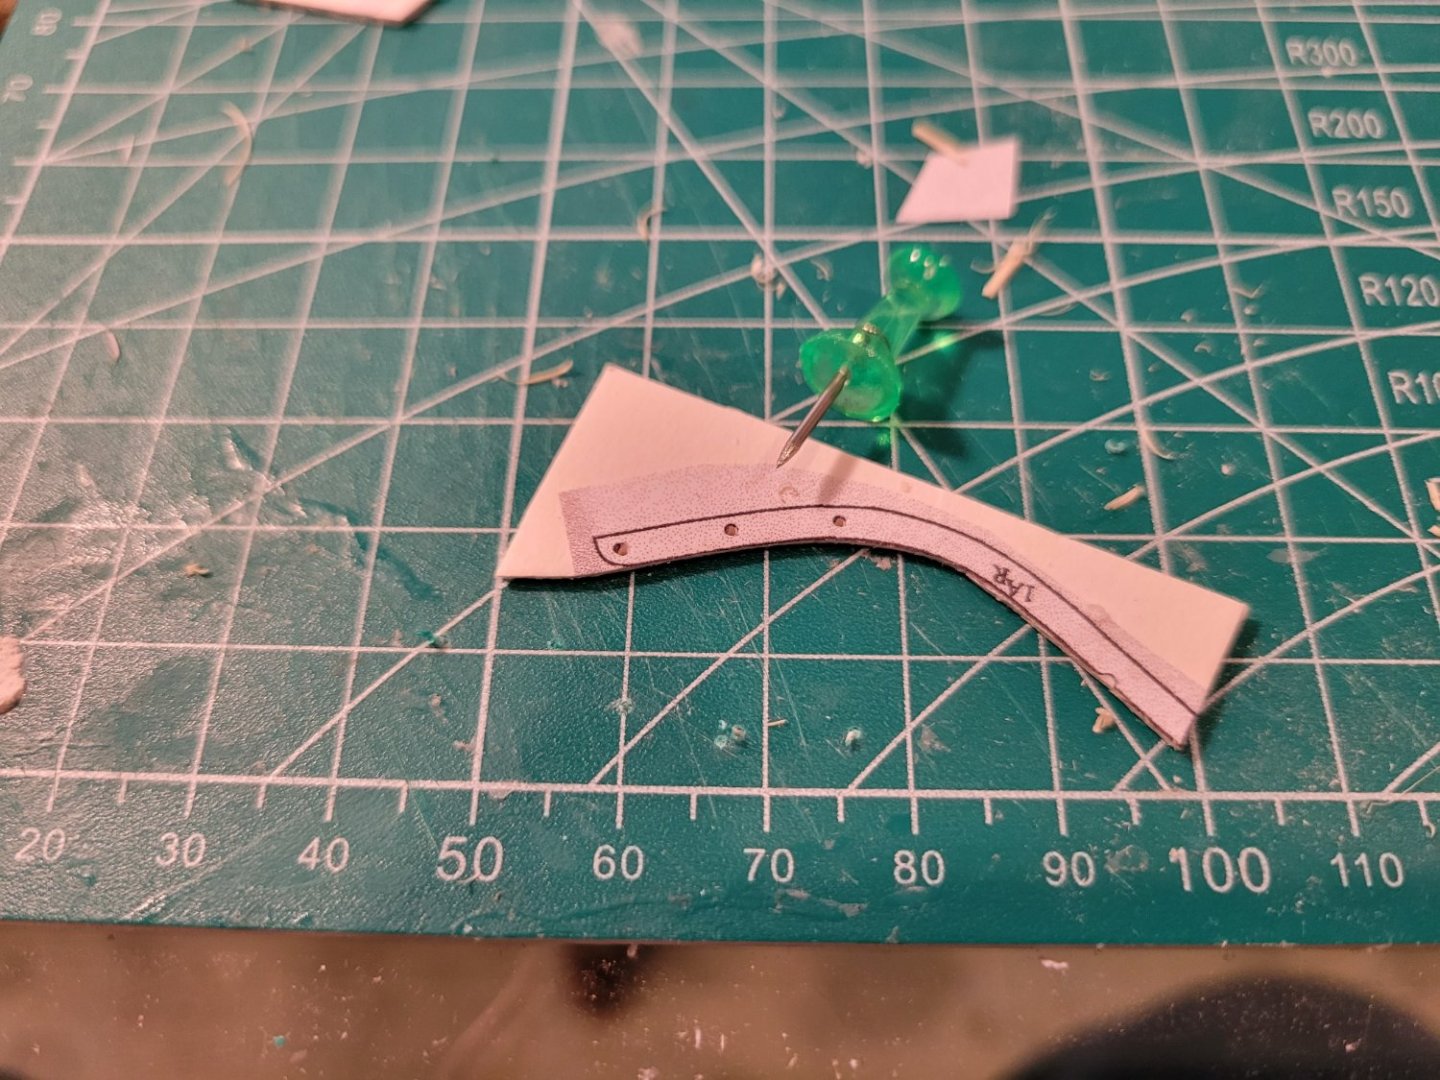
and used a push pin as a center punch to start the holes
i drilled the holes and sanded down the bumps the drill made when exiting the other side of the piece
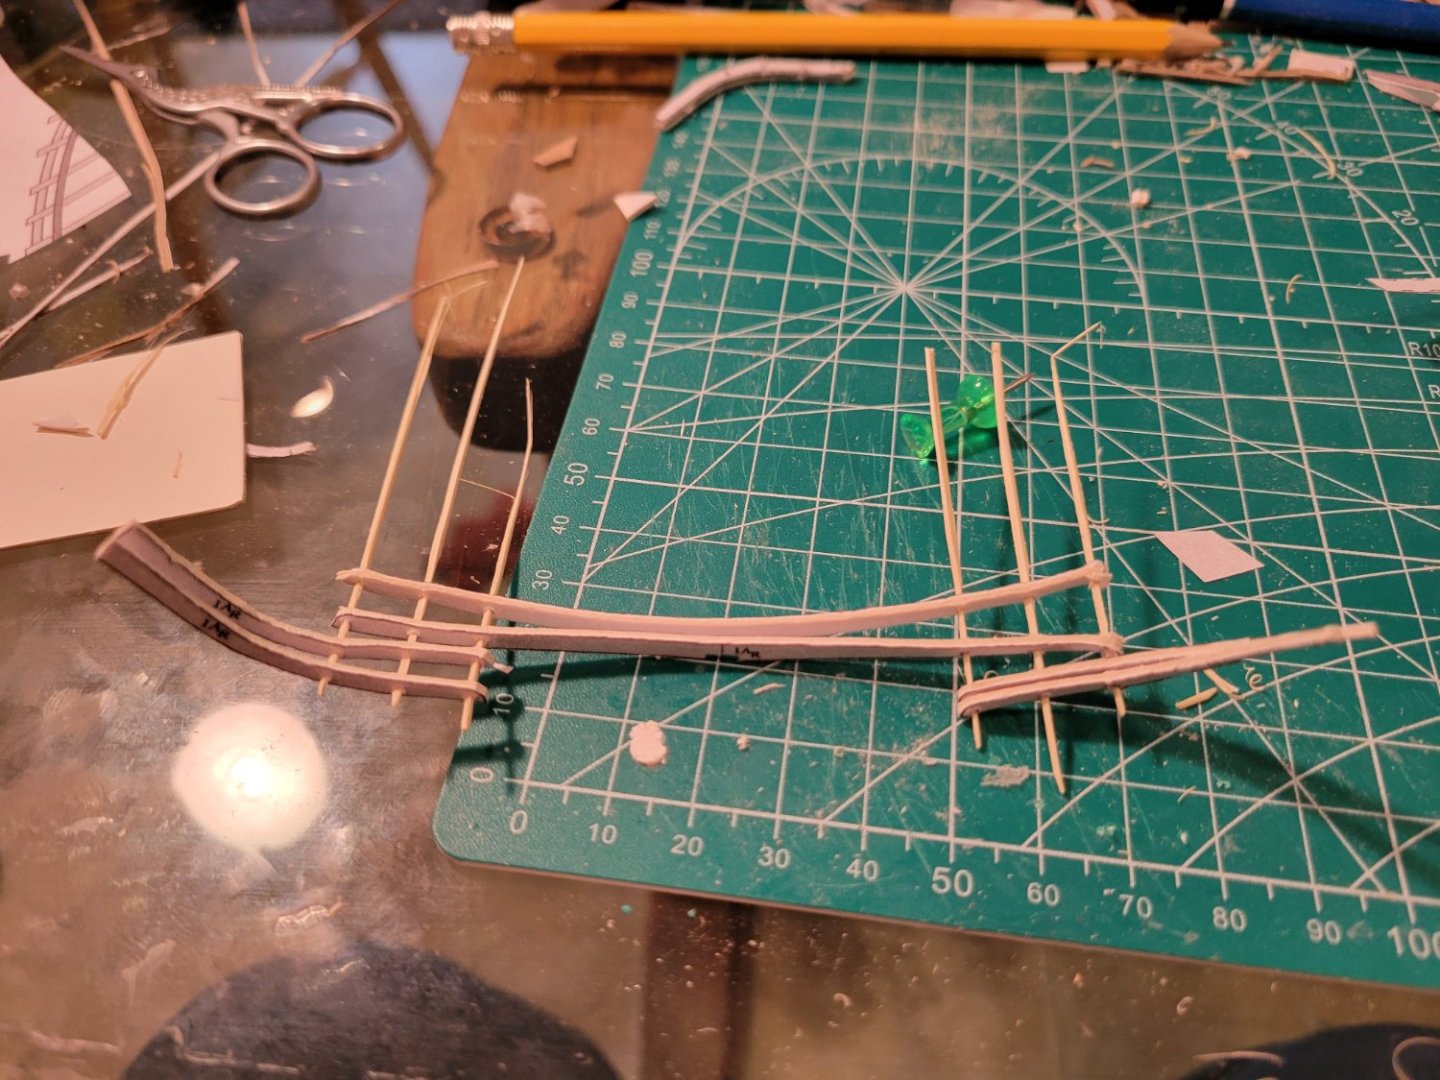
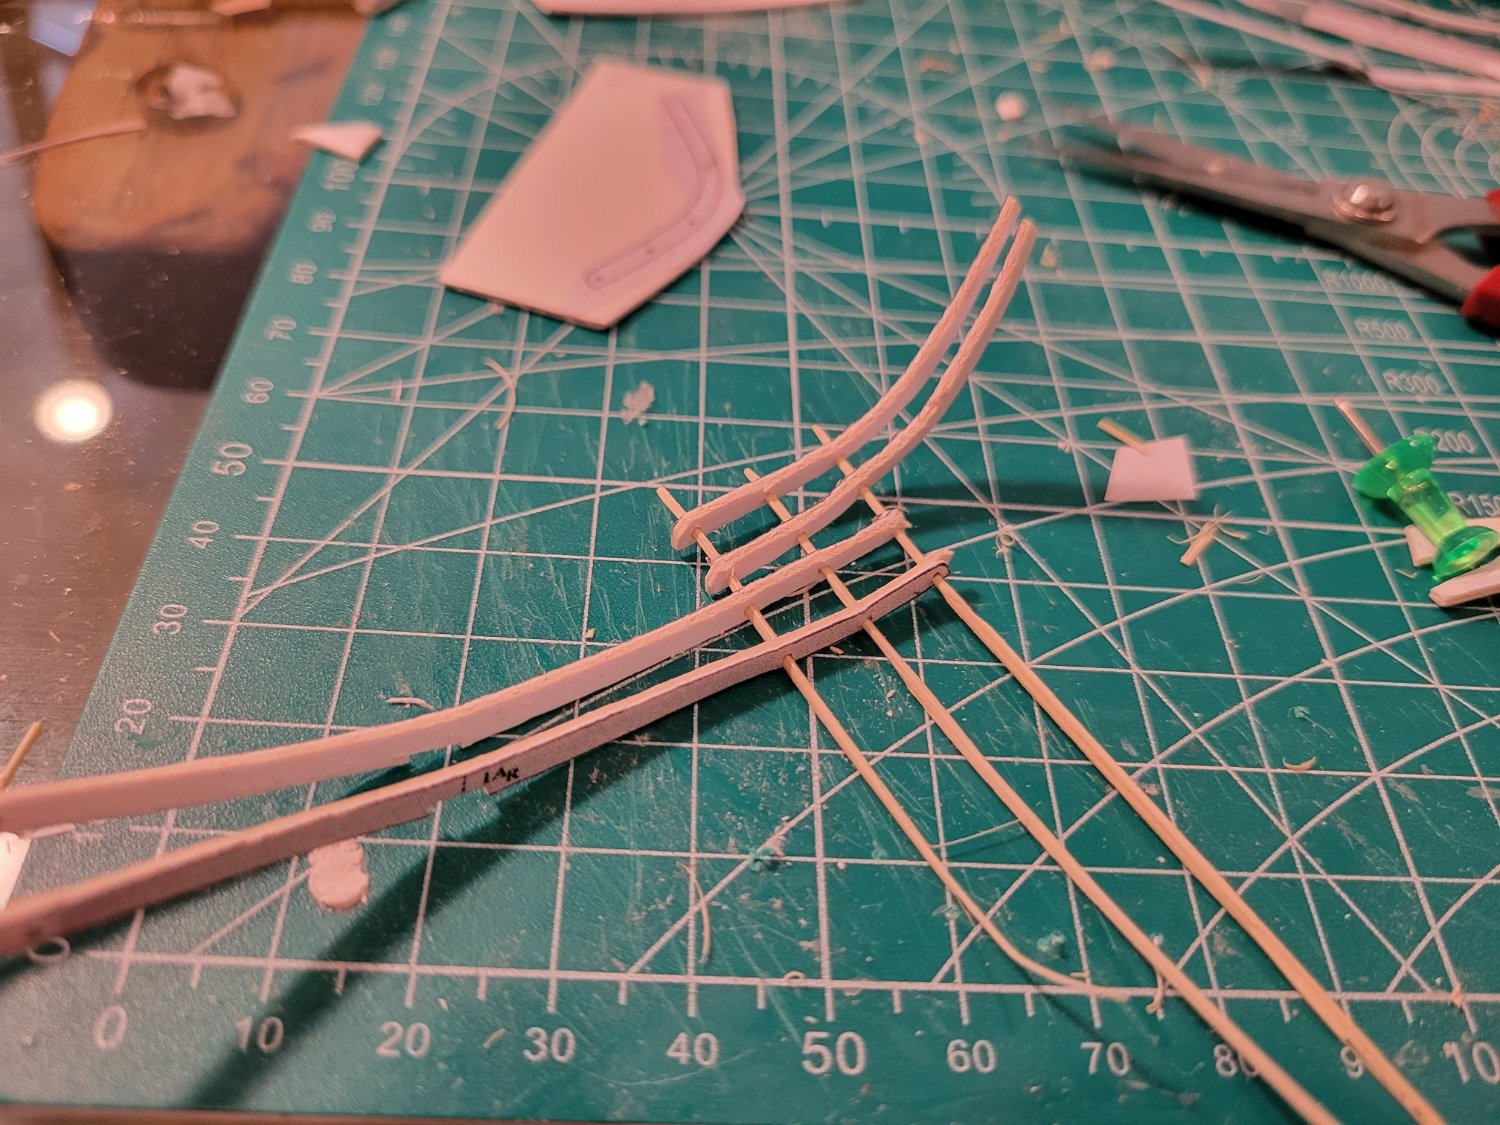
and then made some very, very slender bamboo pins
and pinned all 4 pieces of the frame together before gluing
then i glued then and clipped off the ends of the pegs
one down, upteen to go


- Richard44, GrandpaPhil, hof00 and 3 others
-
 6
6
-
found some images from a swan class sloop log by Sturgo that help with my dilema over the bow and stern parts
- GrandpaPhil, tkay11 and mtaylor
-
3
-
have not resolved that question...so i'll let it hang fire while i cut parts
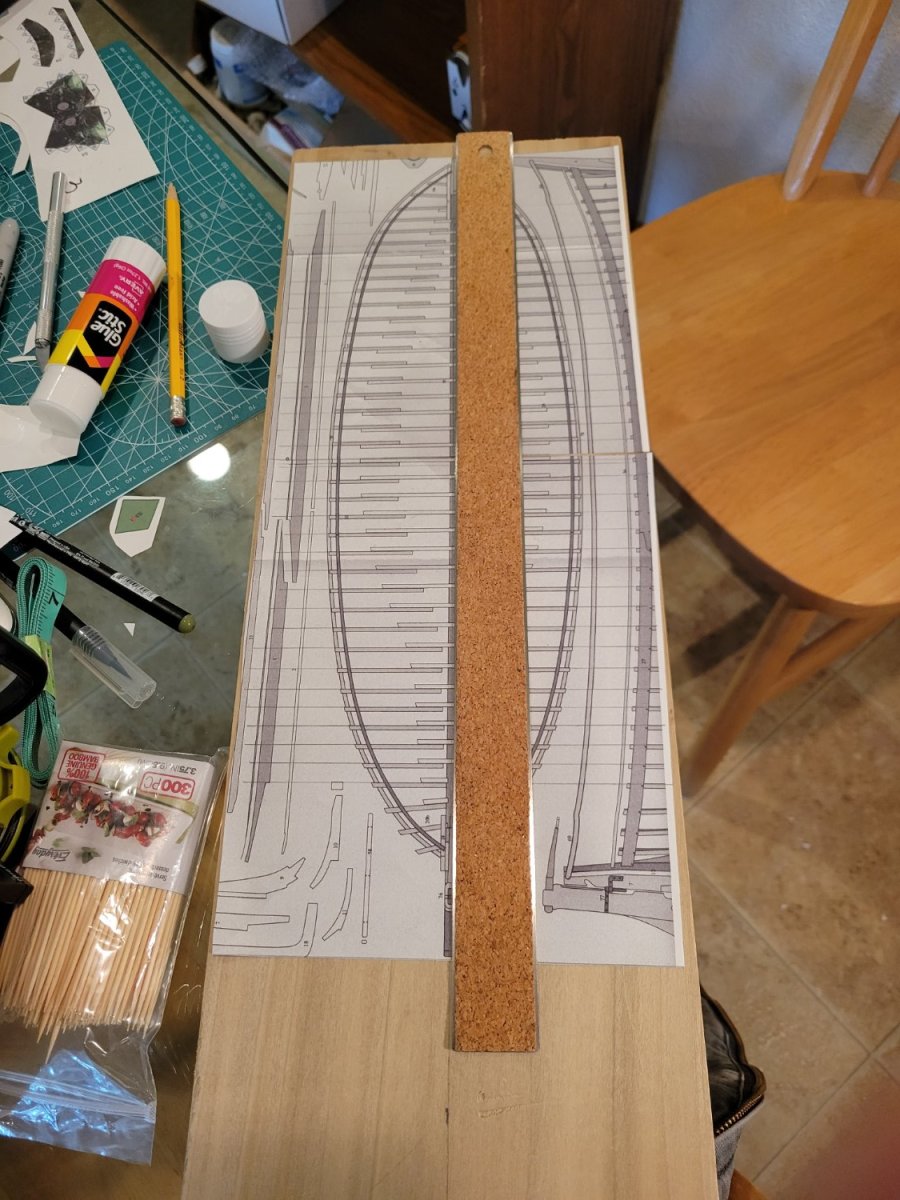
first i cut out the strip from the plans that locates the frames on the keel and used it to mark the keel
then i cut out the parts for the center frame (the frames are in 2 layers)
based on the notch in the frames my keel is just a little wide.....so i cut the notches a little wider
")
.thumb.jpg.6adc3f1d91ebfdde56ae3511c360b8ec.jpg)


- mtaylor and GrandpaPhil
-
2
-
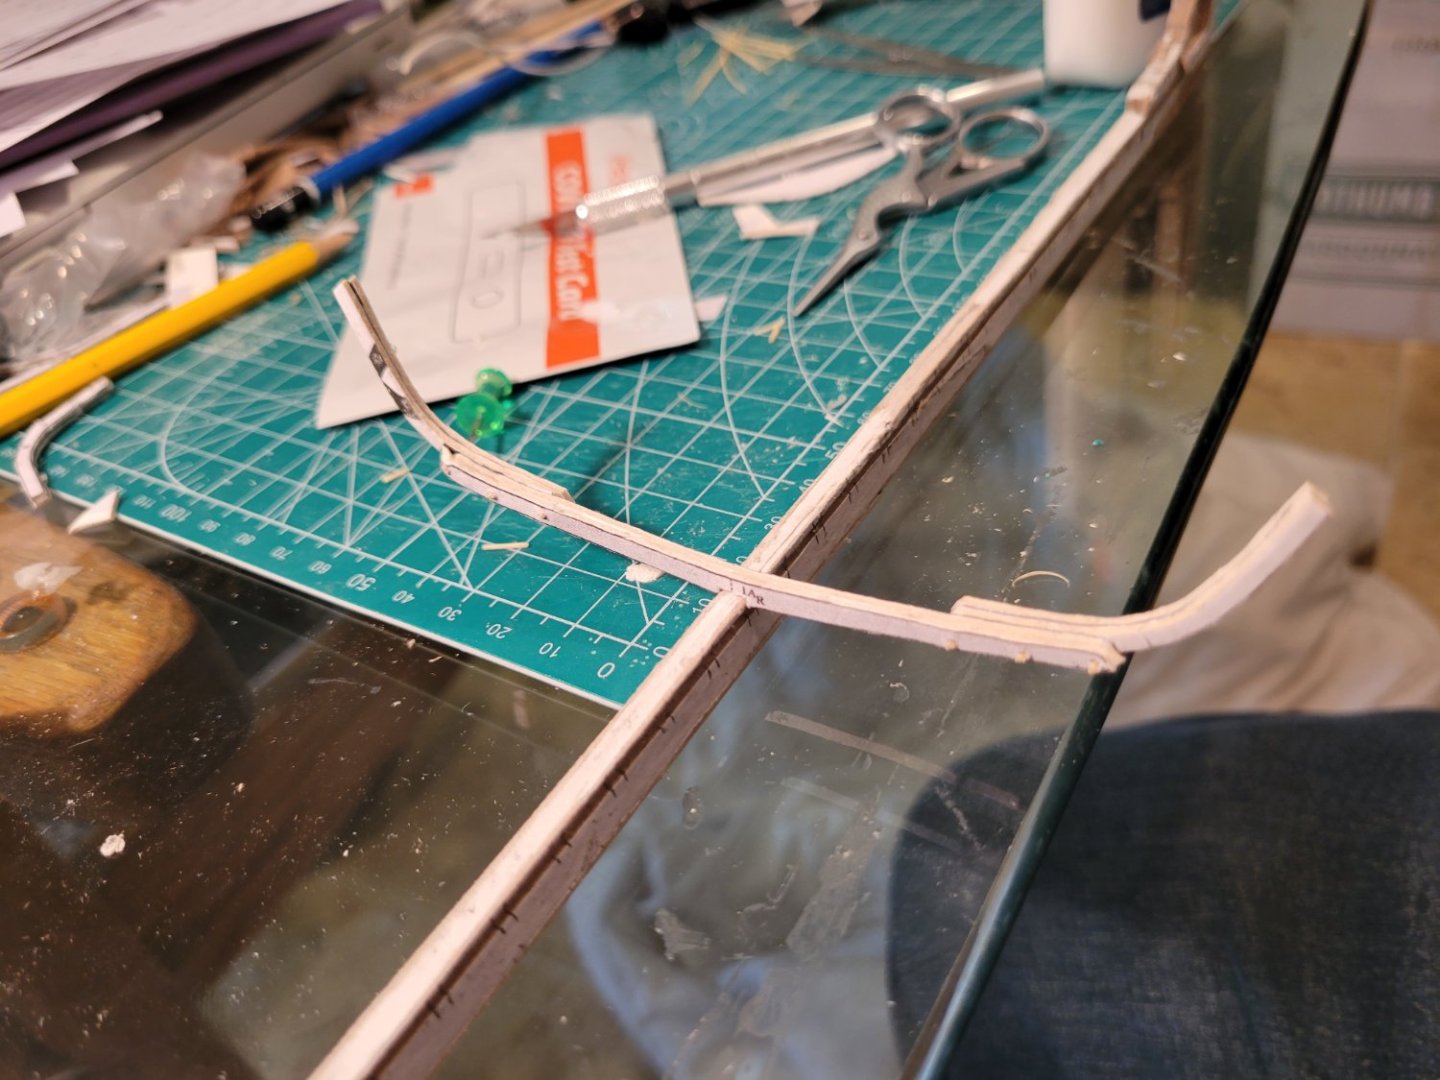
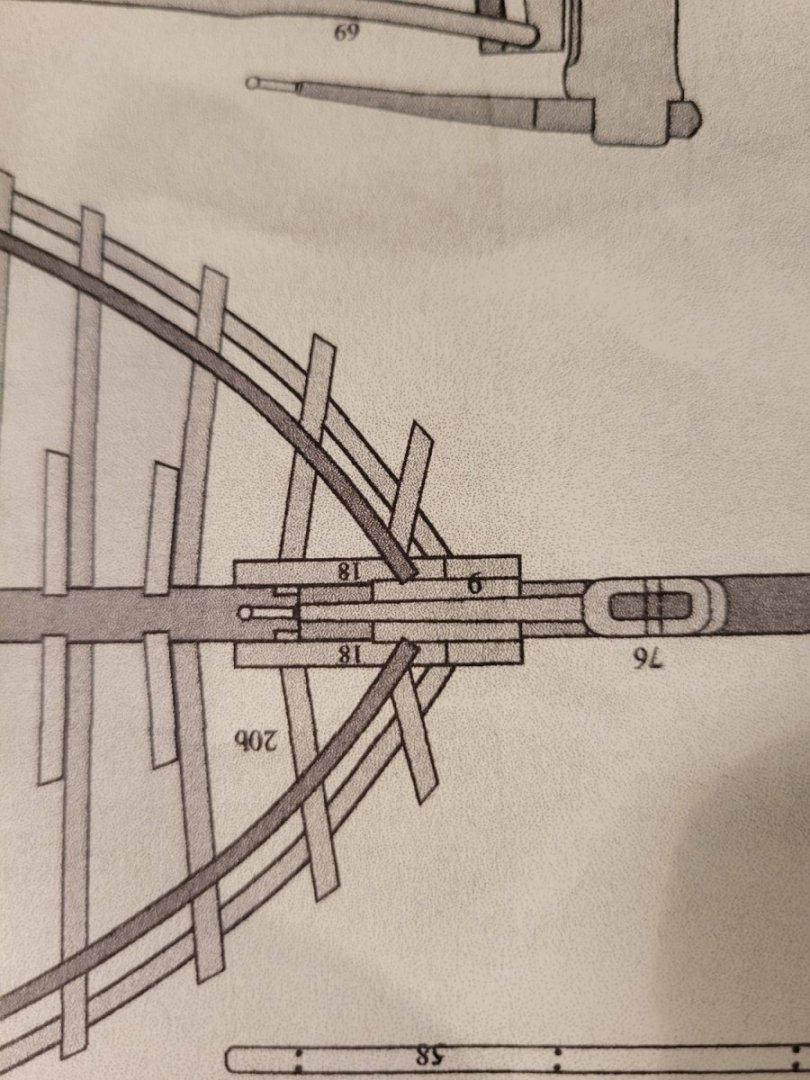
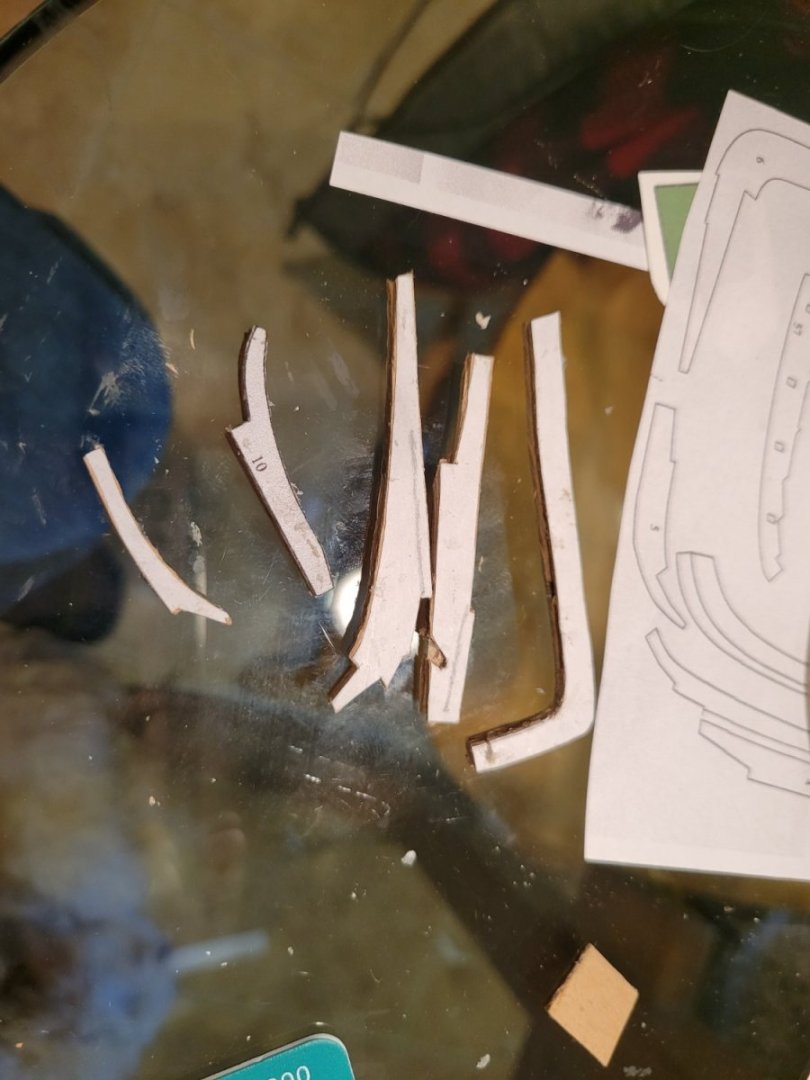
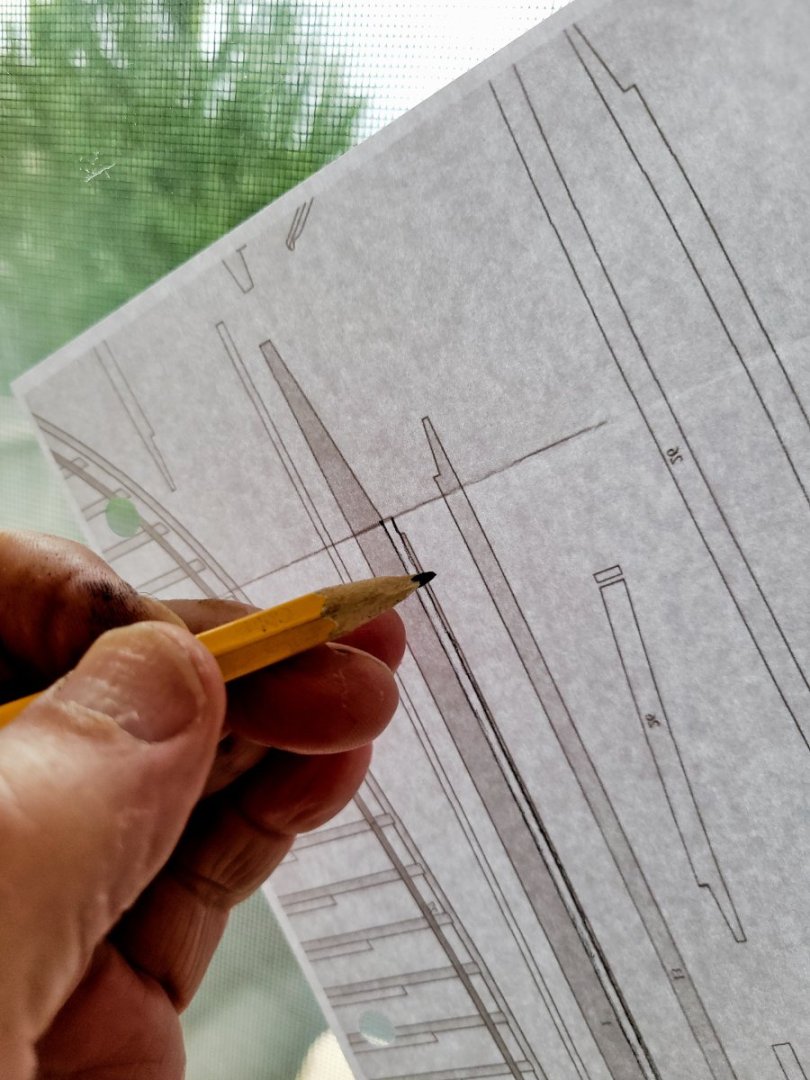
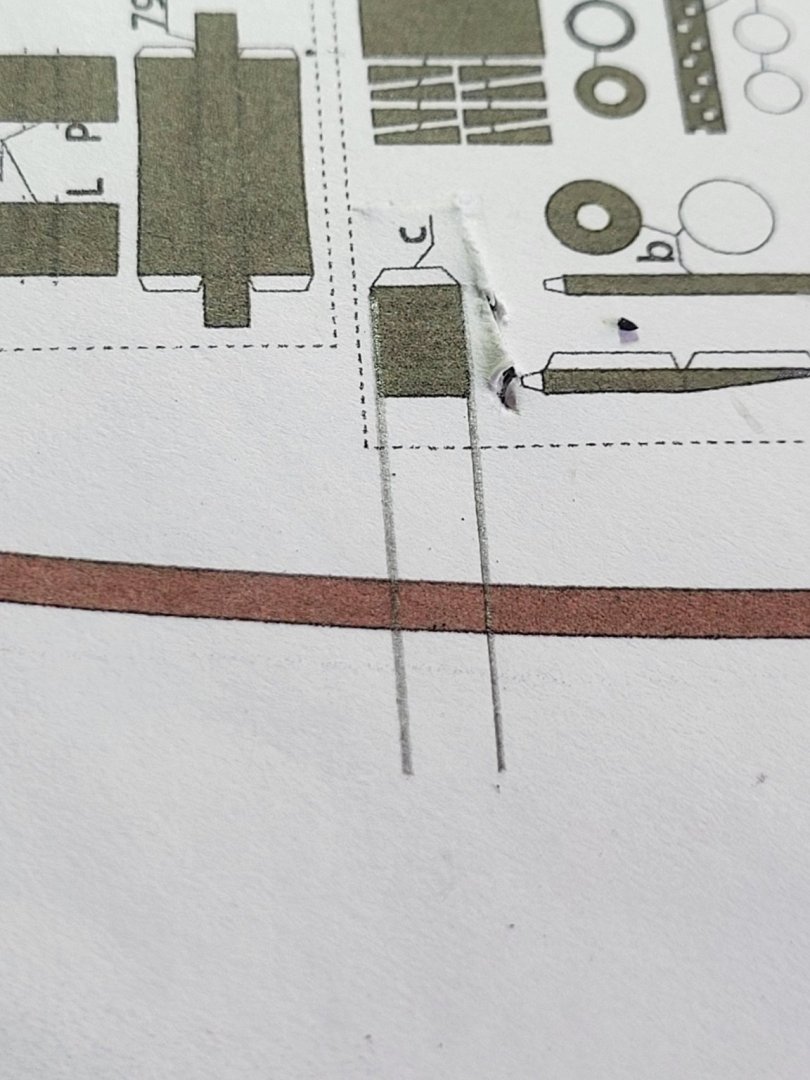
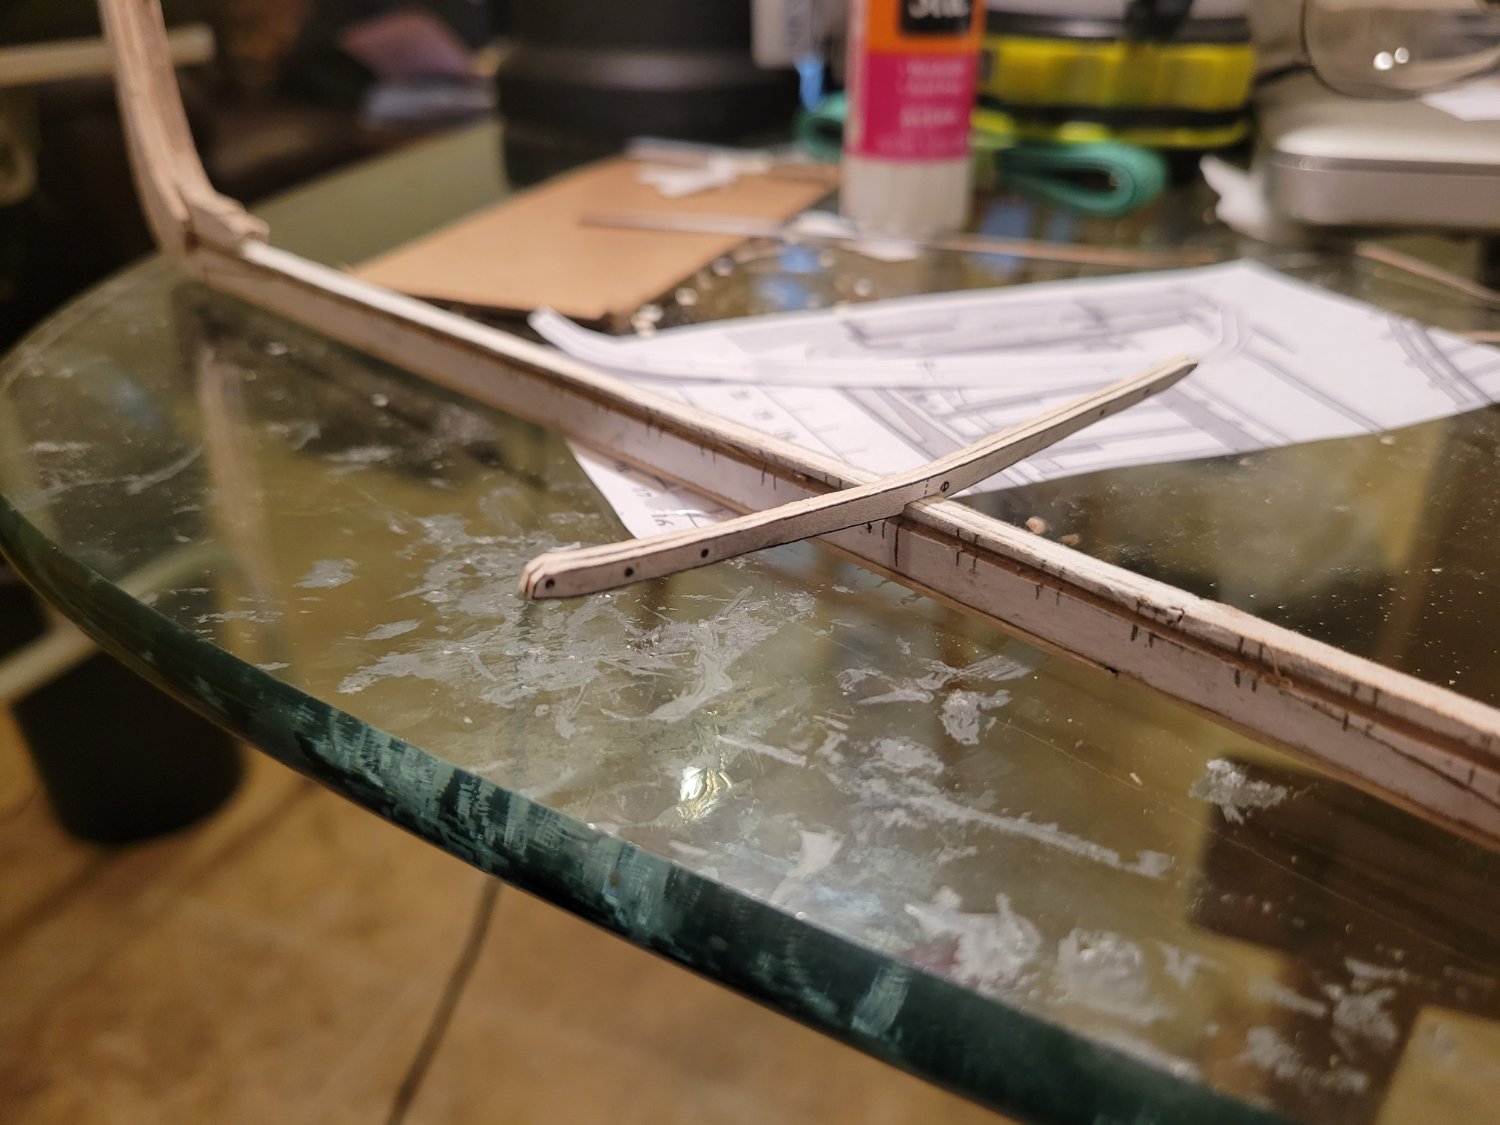
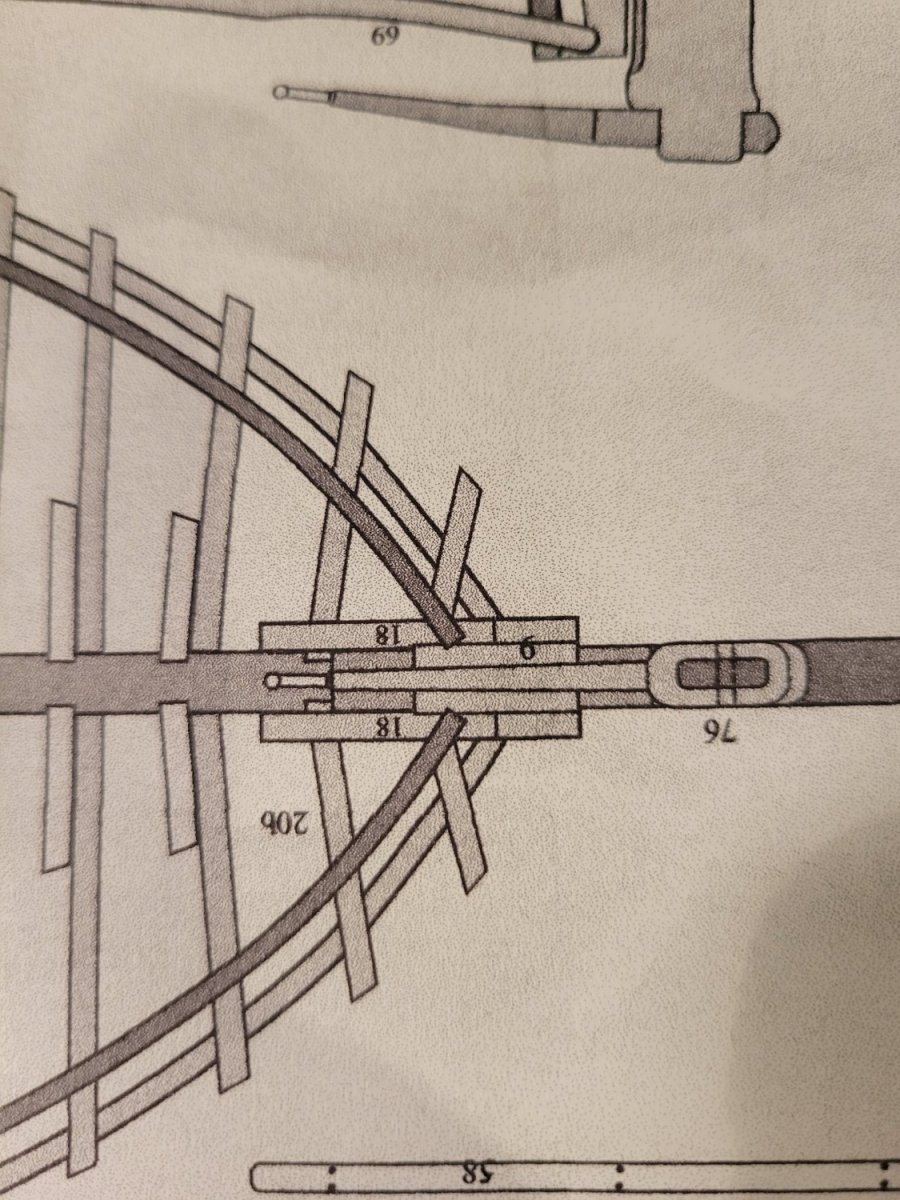
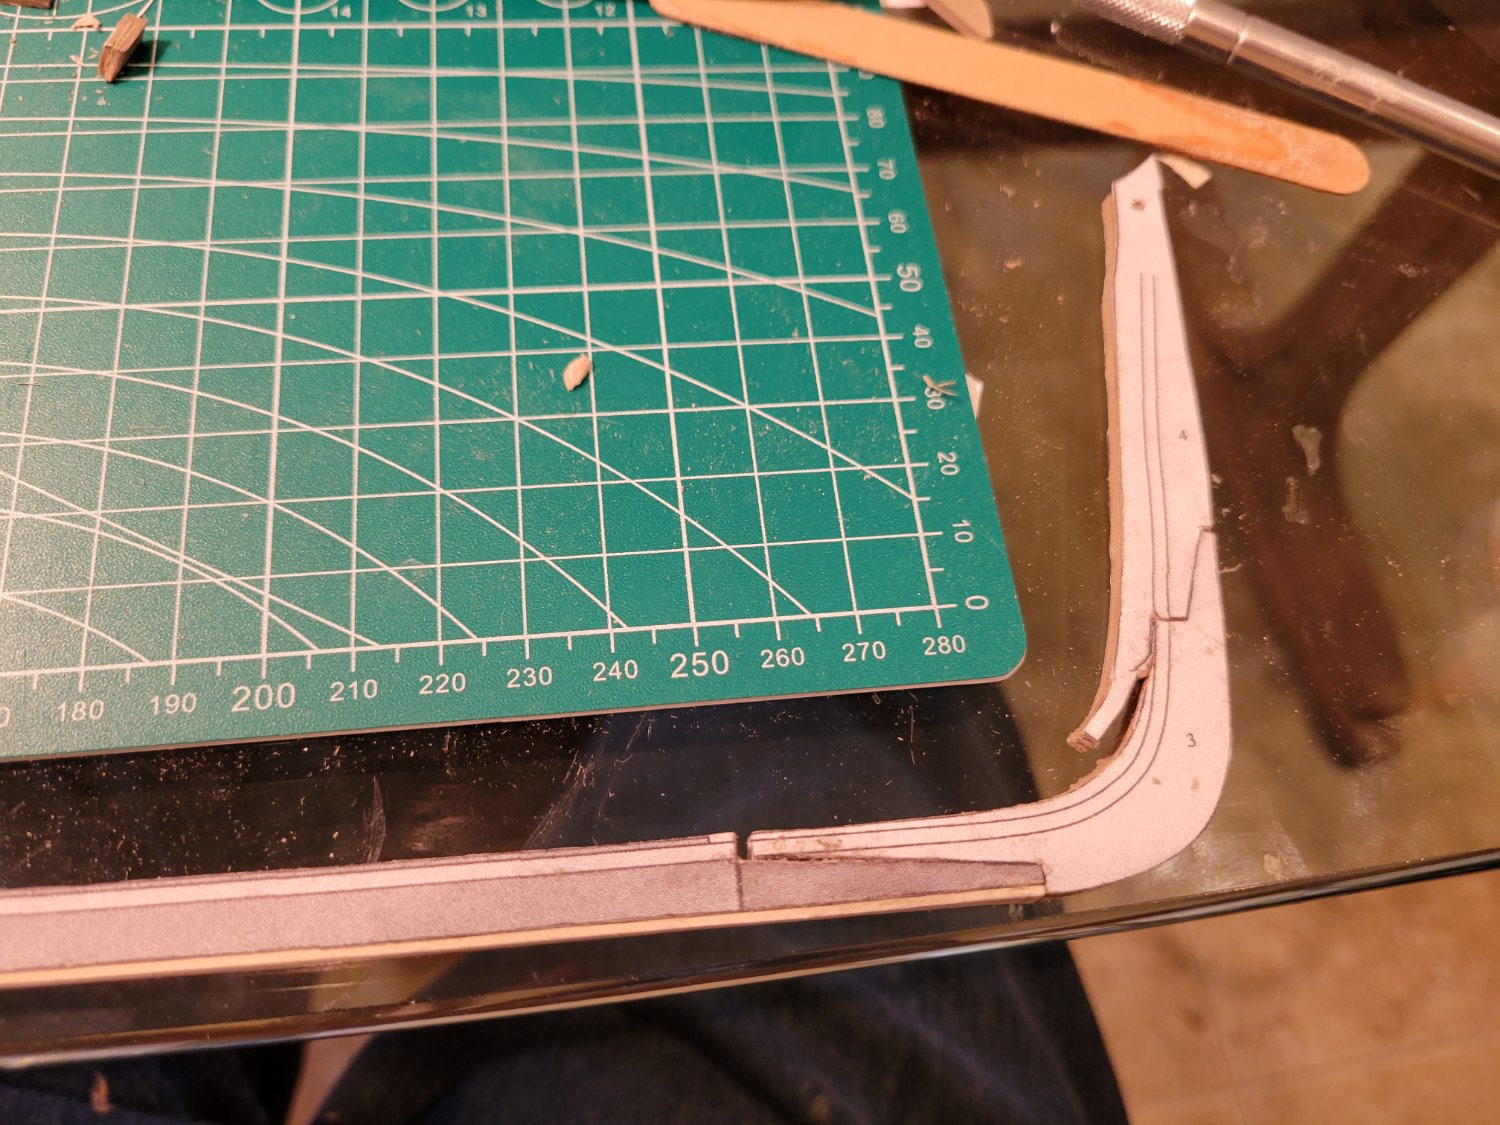
in trying to finish the keel i have to deal with 2 problems, same problem at each end.
There are timbers that only show in the plans in the top view.
They reasonably look like boards that fill out the stem and stern and give the planks a little more surface to be fastened to.
but they don't show up on any illustration or side view
so i'm hoping someone can confirm my placement

- yvesvidal and GrandpaPhil
-
2
-
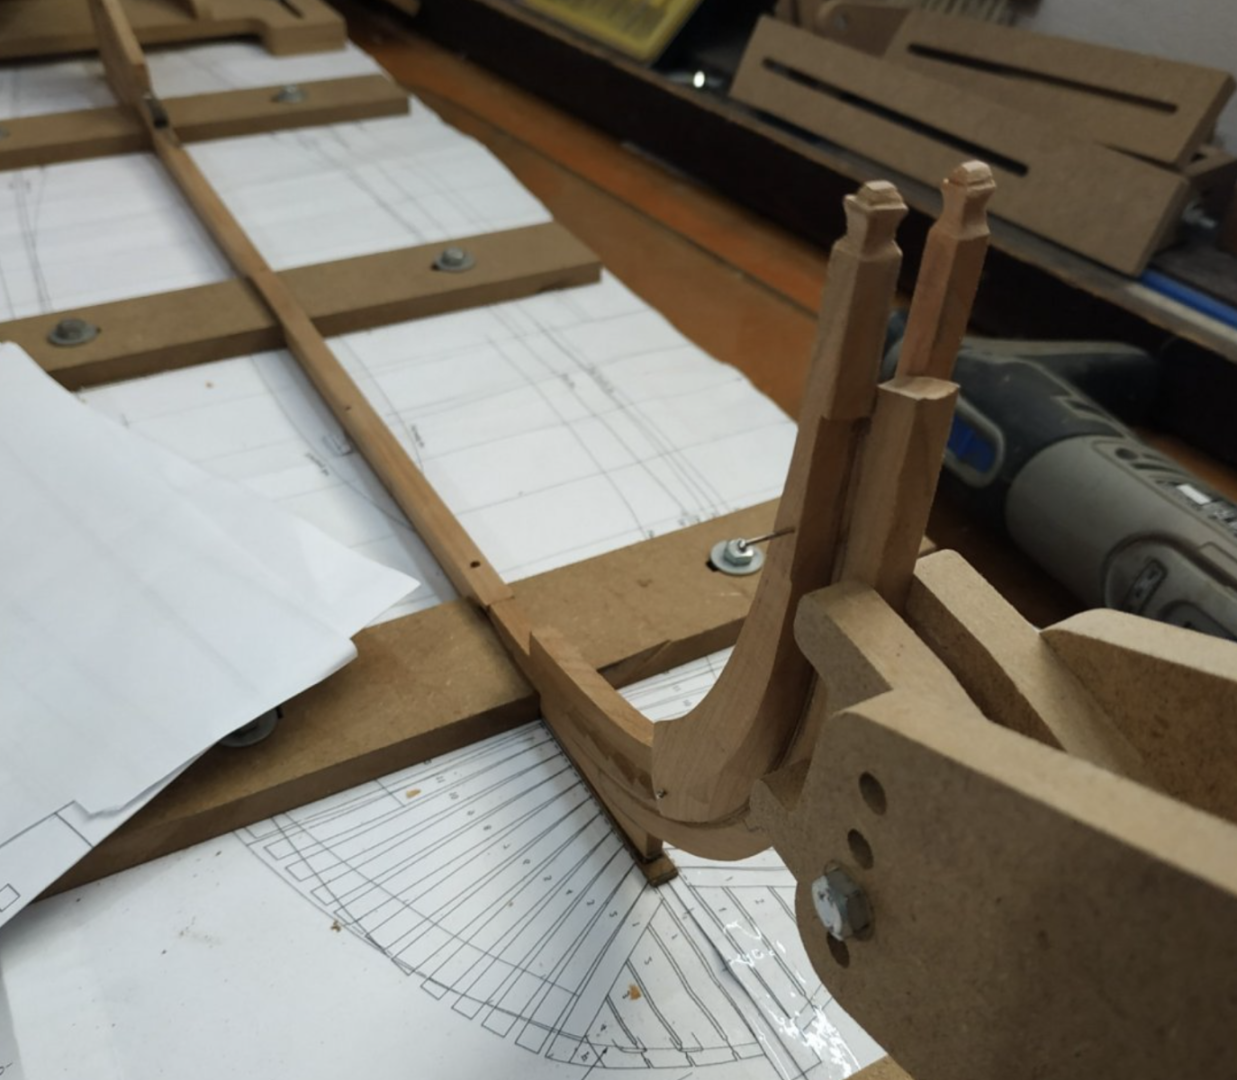
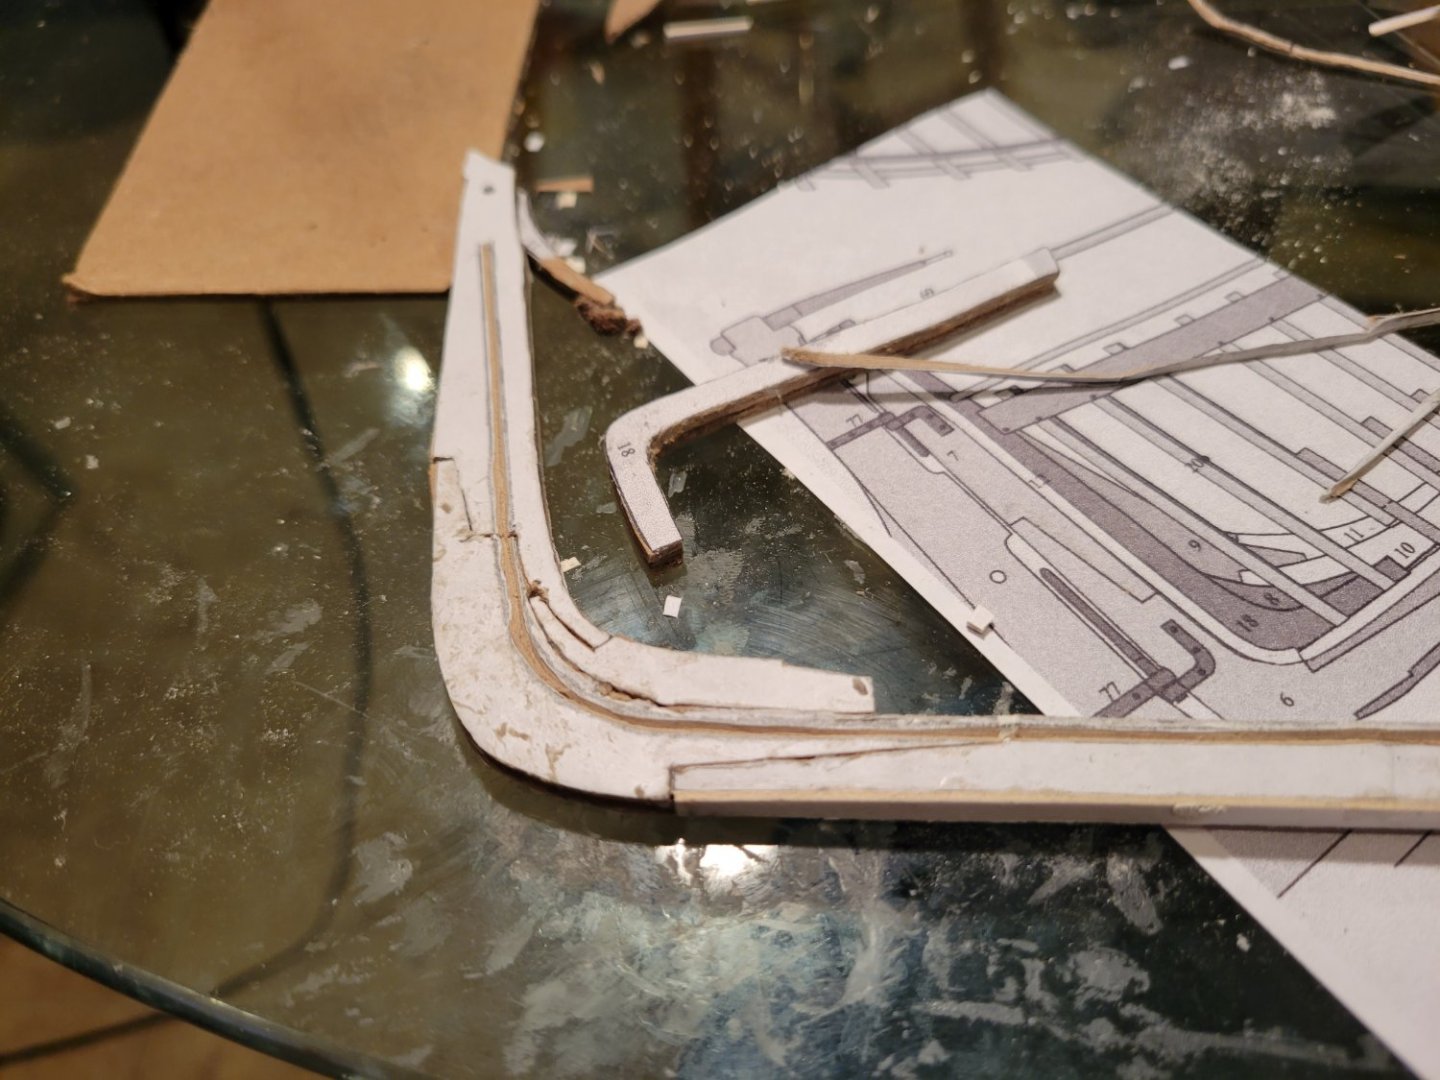
went down a blind alley. there are no convenient 3 dimensional views in these plans and the description of the build in the book skips over all the details. i spent a long time puzzling over the keelson and finally built it with notches for the frames. it wasn't til i got it finished and ended up even more puzzled when i tried to put it into place. the penny finally dropped....the keelson goes "above" the frames. so.....starting over.
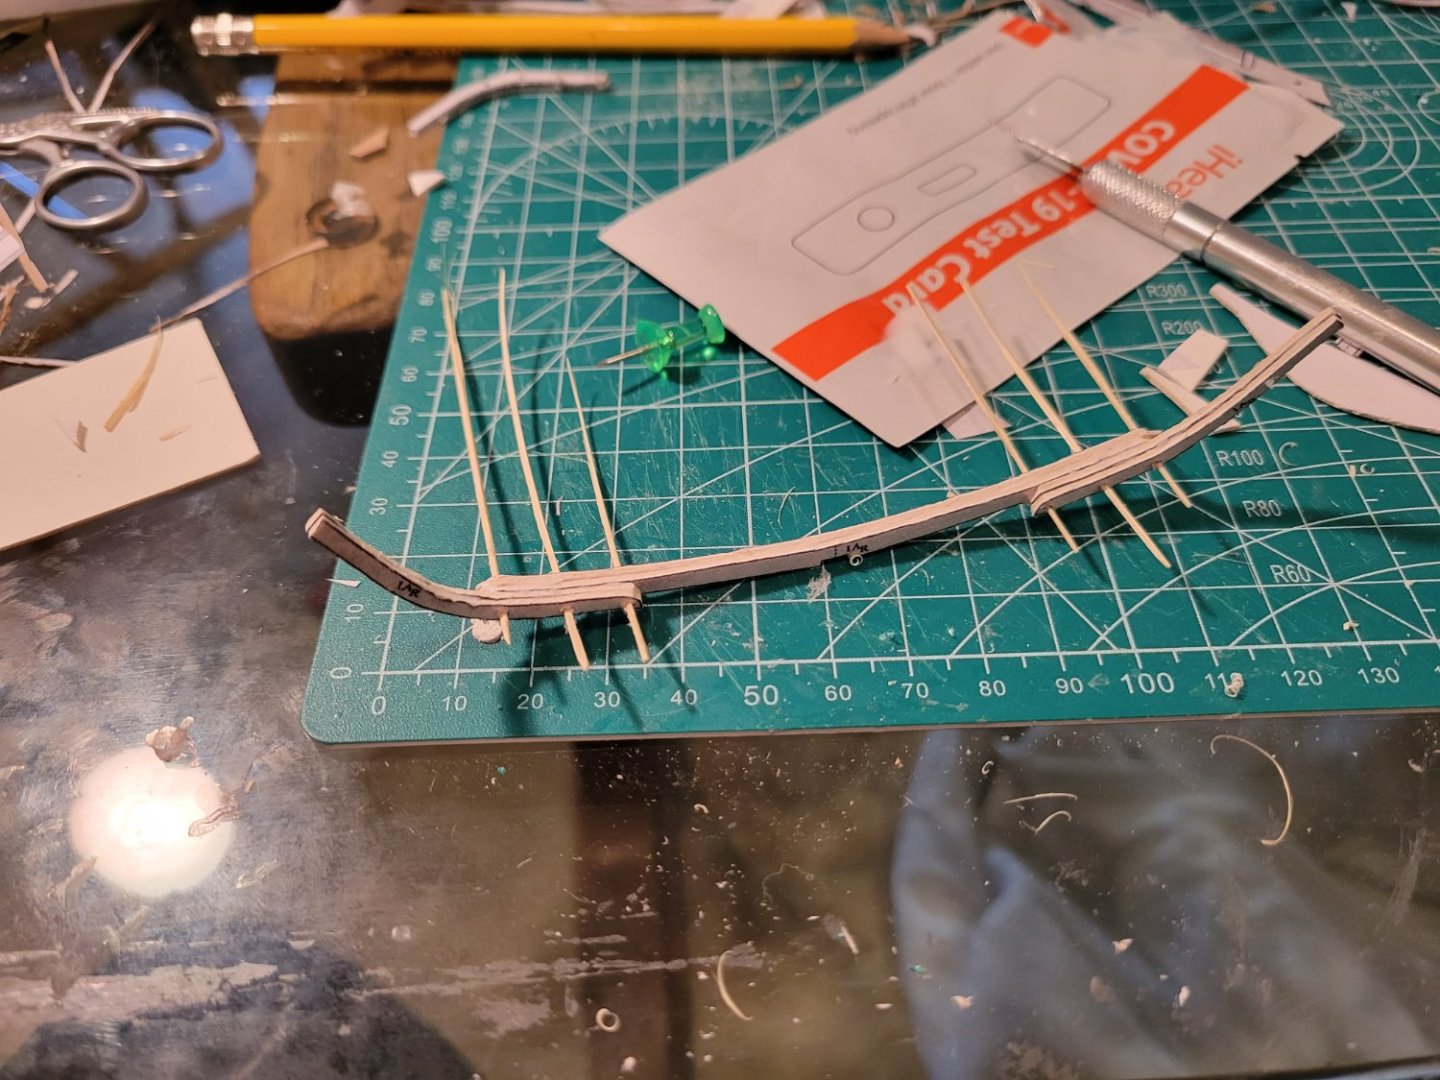
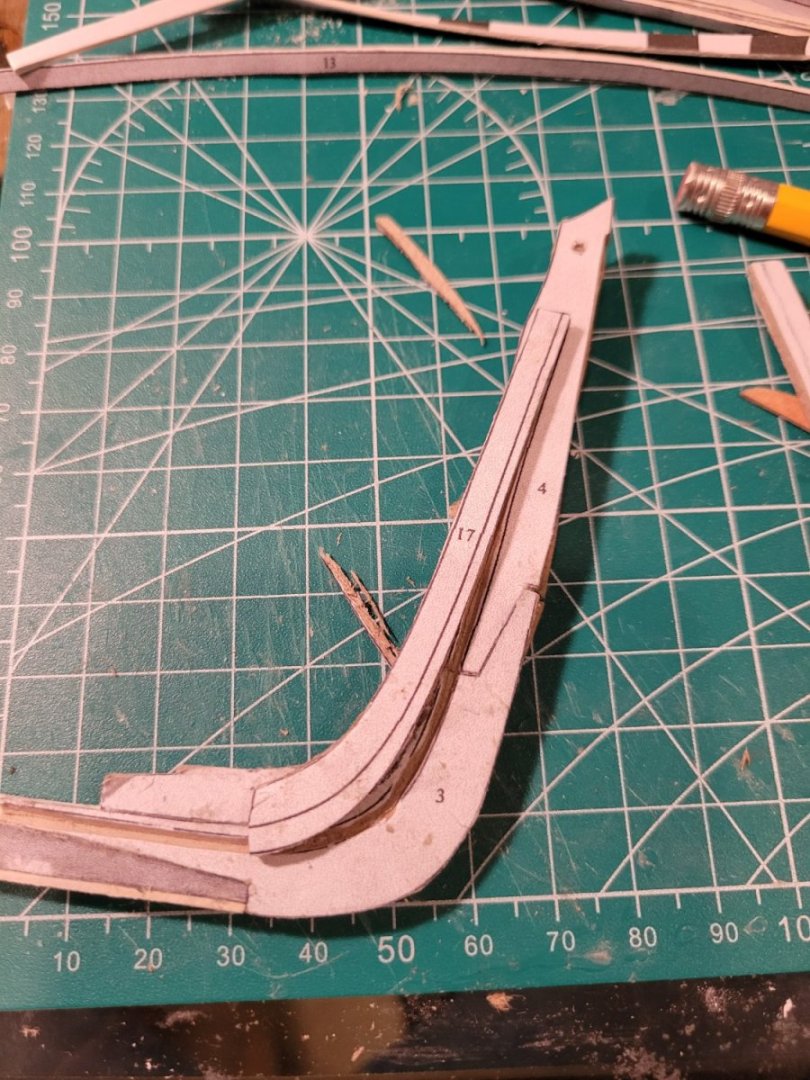
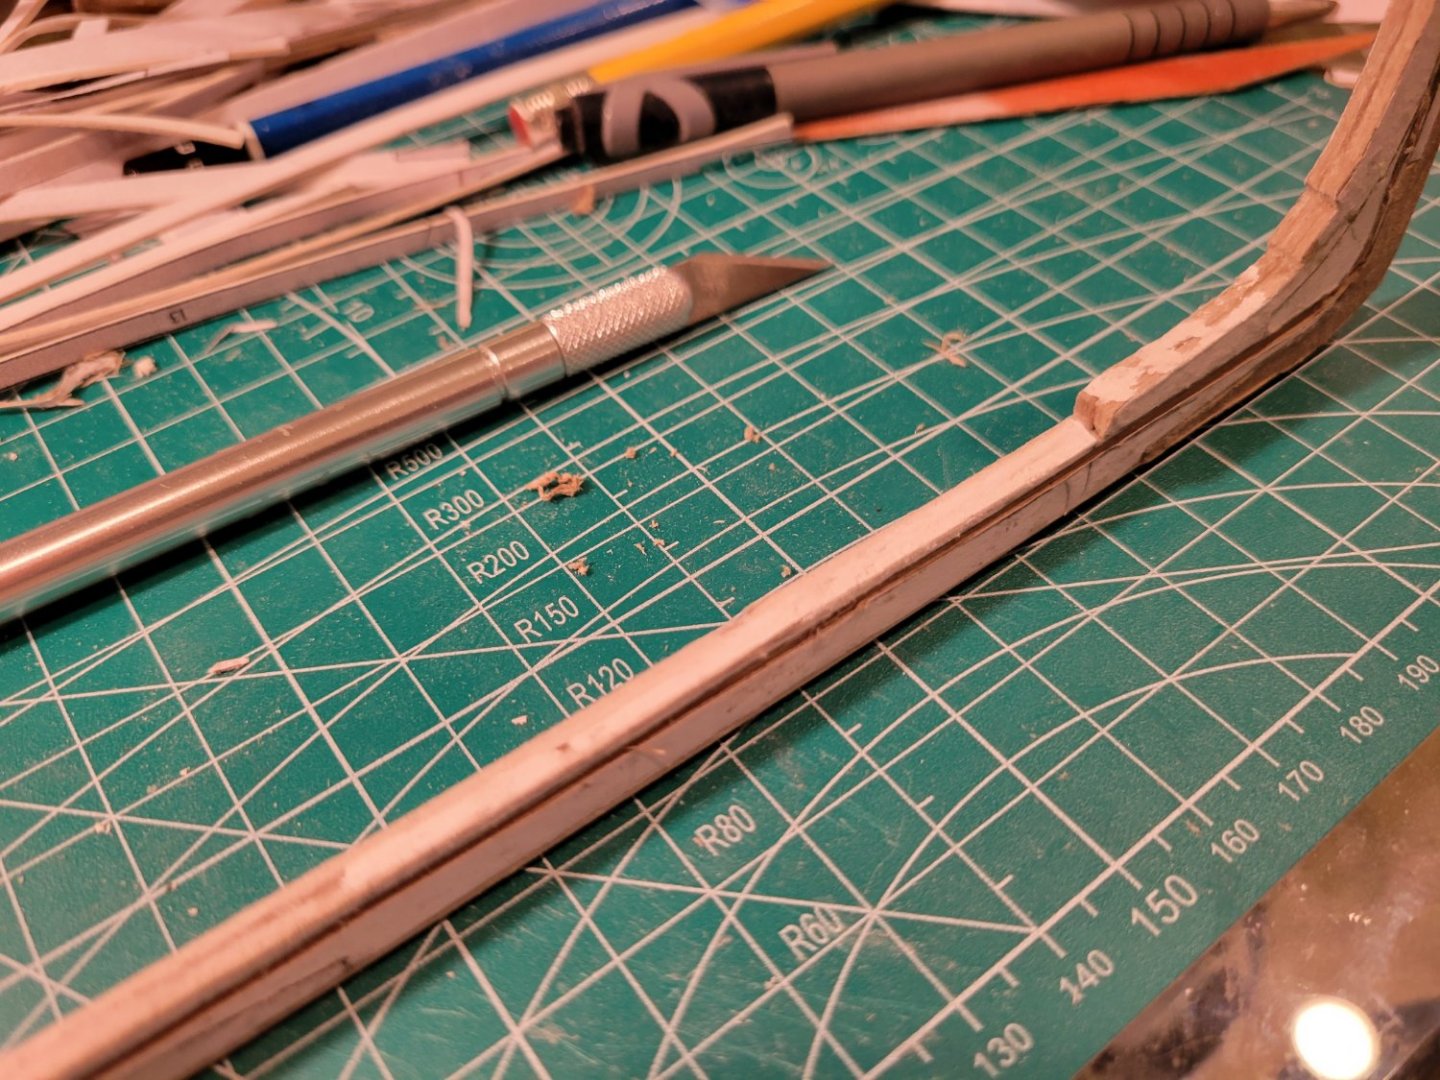
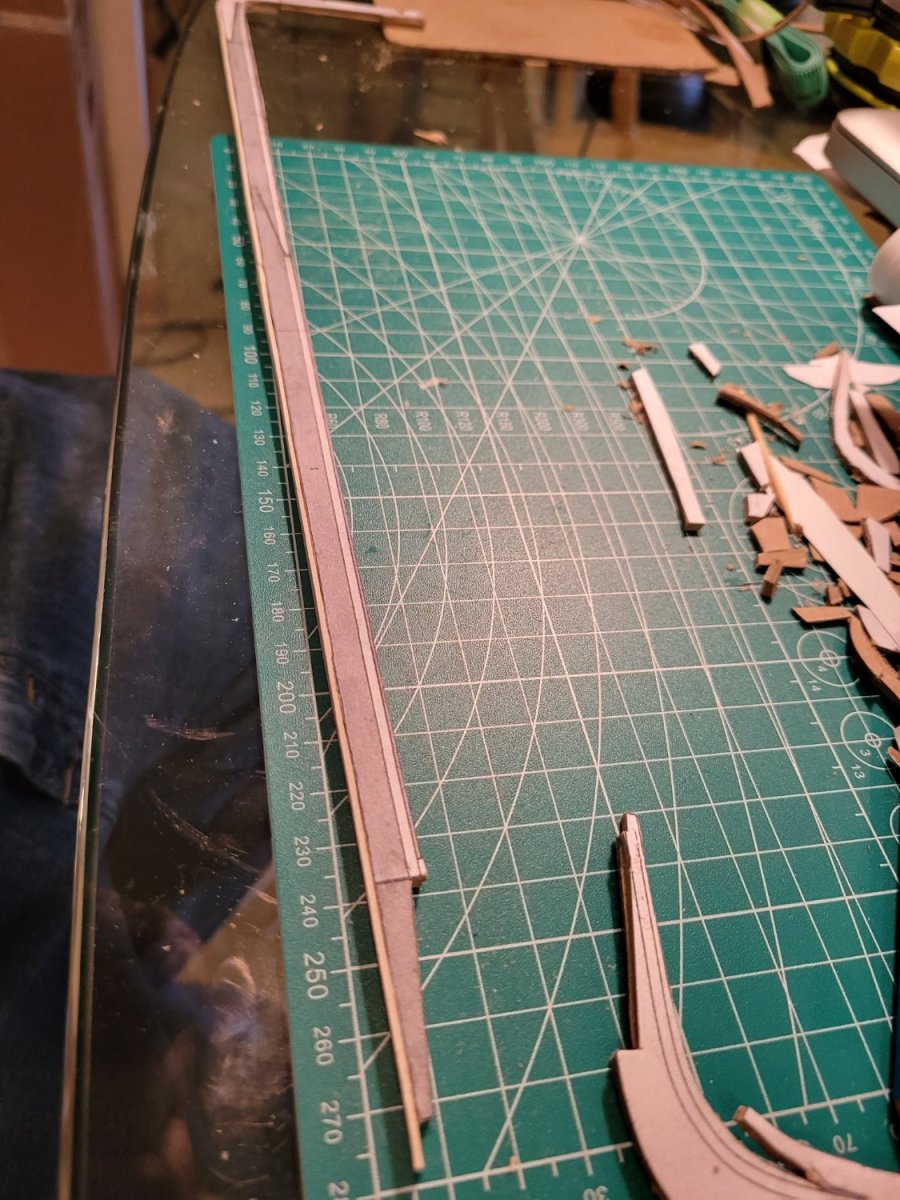
time to finish the details on the keel, since once the frames are on it will not be possible to sand it...and time to cut the rabbet, always a moment of great anxiety. i am always anxious about having things turn out perfect....it's the thing that keeps me from working on the model and lot of time. so i'm trying to be more relaxed, you know, it's only paper...if i screw up i'll just patch it
.thumb.jpg.9d16bcac93e27d9ec7b5529f3bf2a1d1.jpg)
.thumb.jpg.77f1c46c43ed48b88aca55a40d86492f.jpg)
-
Rarely. The Elmer's glue does quite a lot. But basically once you sand and paint things are in pretty good shape. I take extras steps only for small or delicate parts...although lately i just make those out of wood (i'm not much of a purist :))
- GrandpaPhil, mtaylor and tkay11
-
3
-
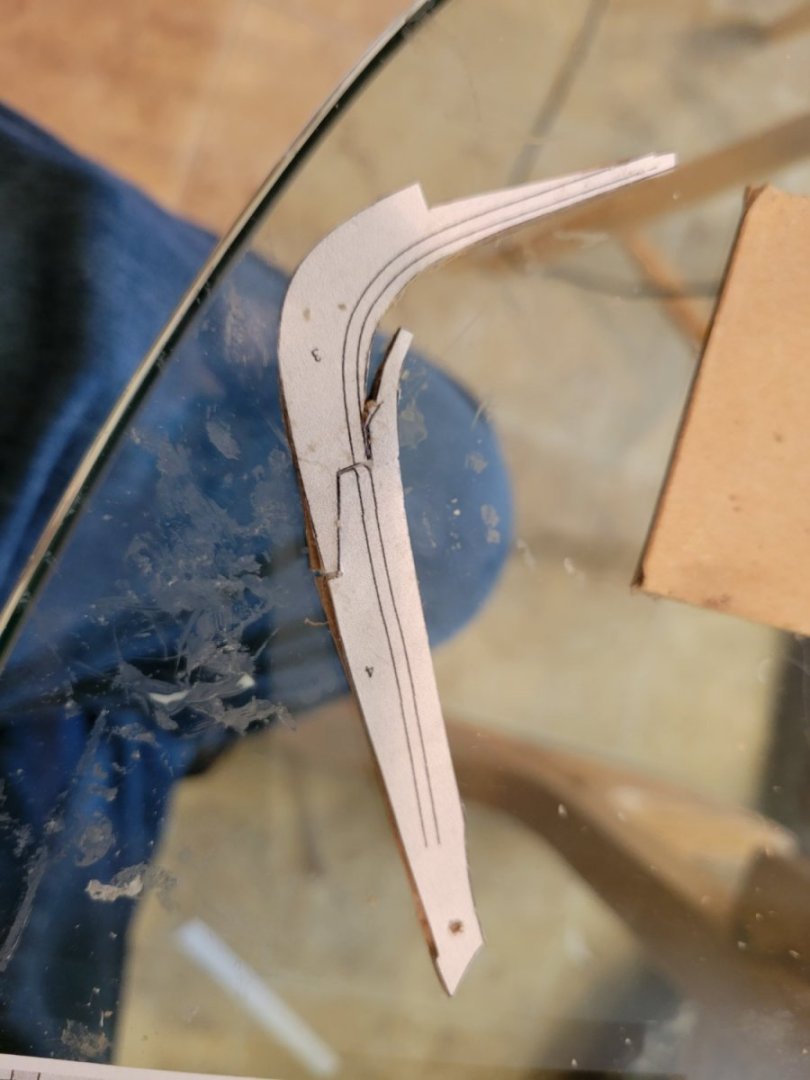
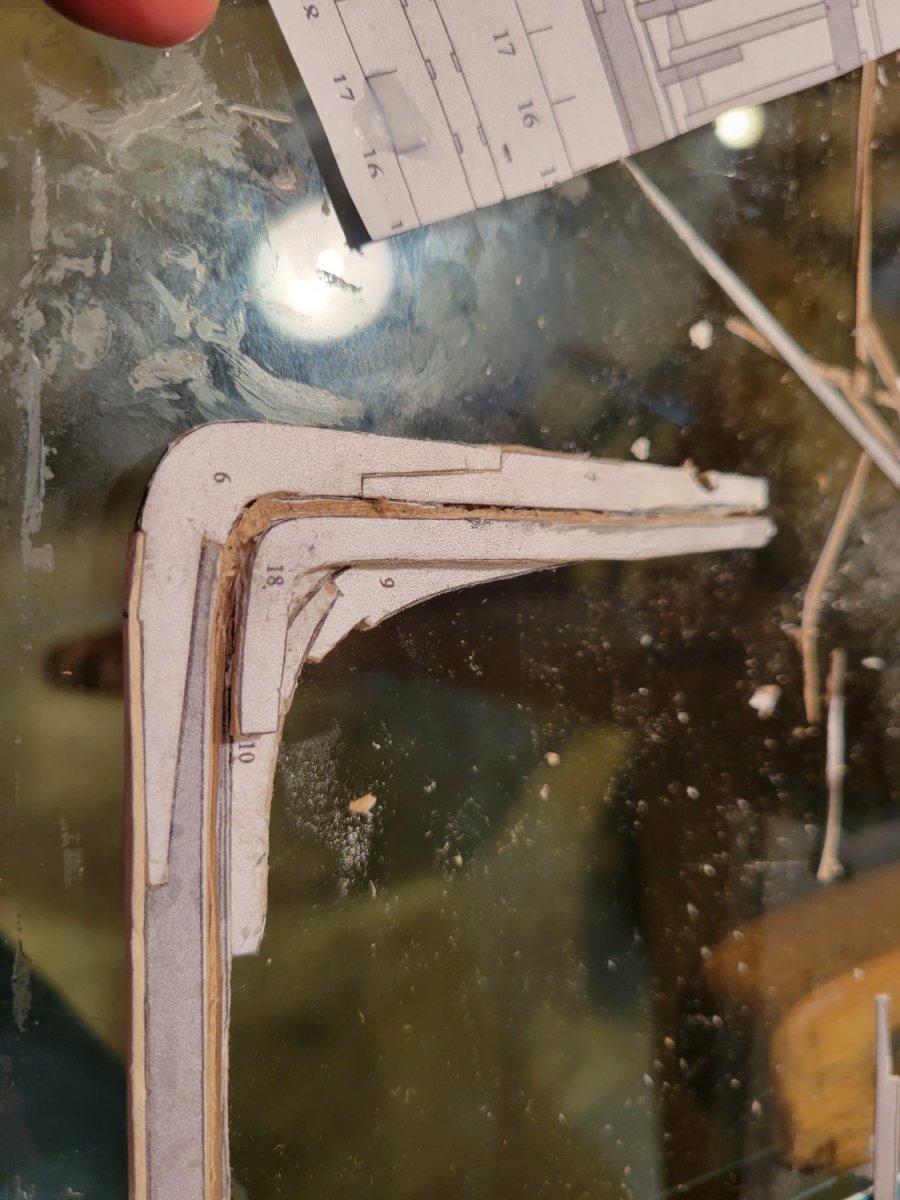
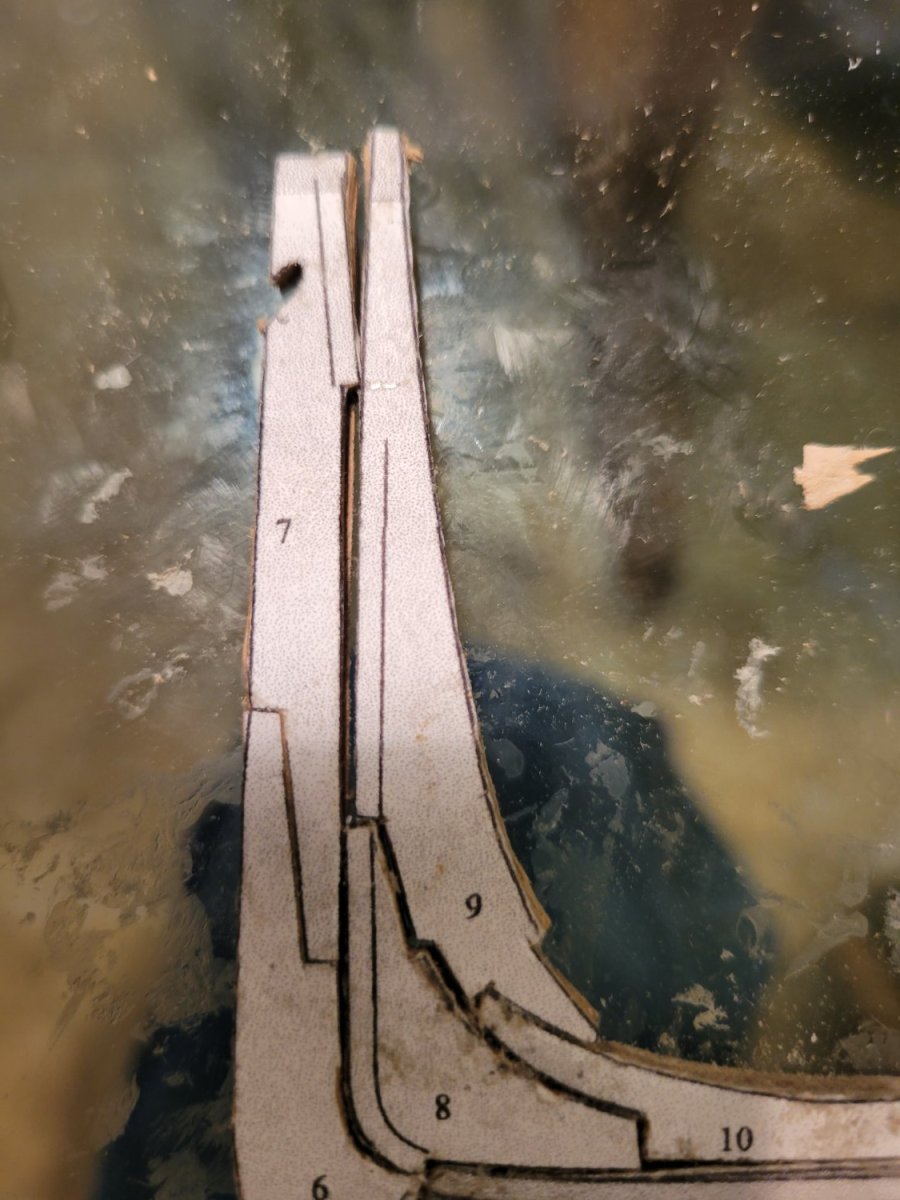
and...i run into my first glitch in the plans...at least as I see them. I'm feeling pretty good at this point, so I just trimmed off the excess on part 7

- GrandpaPhil, mtaylor, Richard44 and 3 others
-
6
-
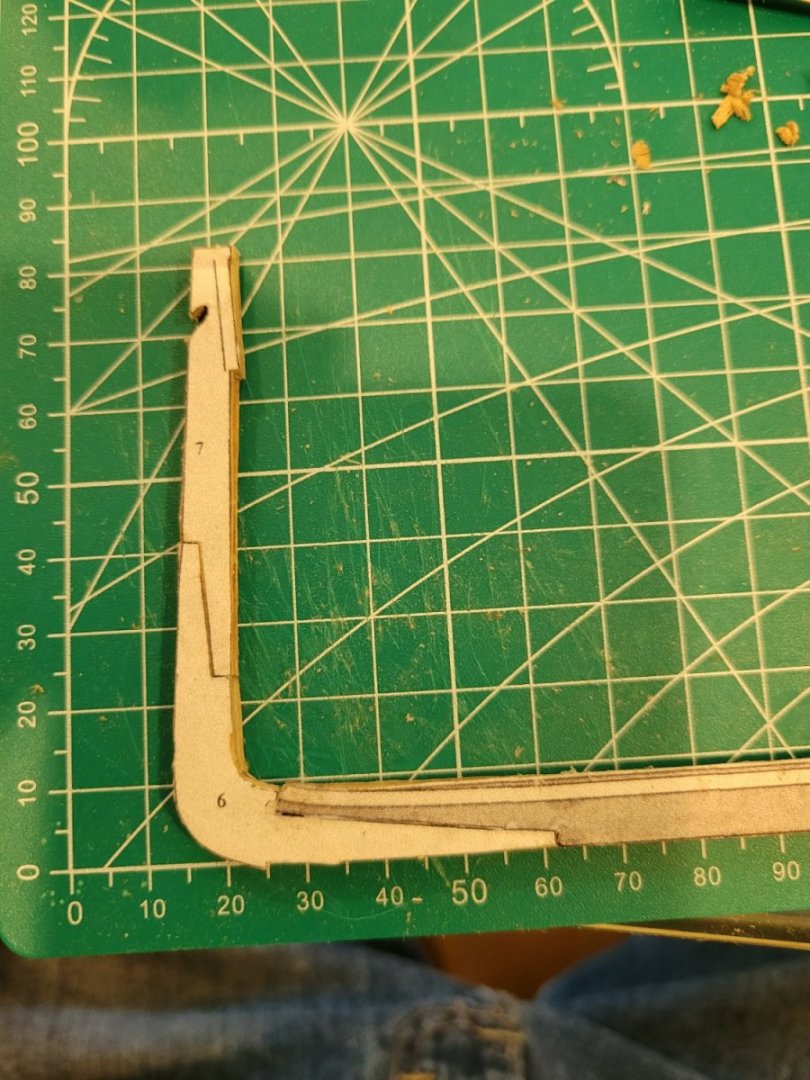
this is kind of fun....
.thumb.jpg.79cb4d5a2447fe5bff3adecfbed2a022.jpg)


- GrandpaPhil, Tobias and mtaylor
-
3
-
For me, there is always a trade off between using thicker card (which is much harder to cut) and building up heavy parts by laminating thinner car. I went the thick card route on this model ..... regretting it already. because my cuts are rarely perfectly perpendicular, I have to smooth and trim the surfaces of any joints so they will be tight.
- ccoyle, mtaylor, GrandpaPhil and 1 other
-
4
-
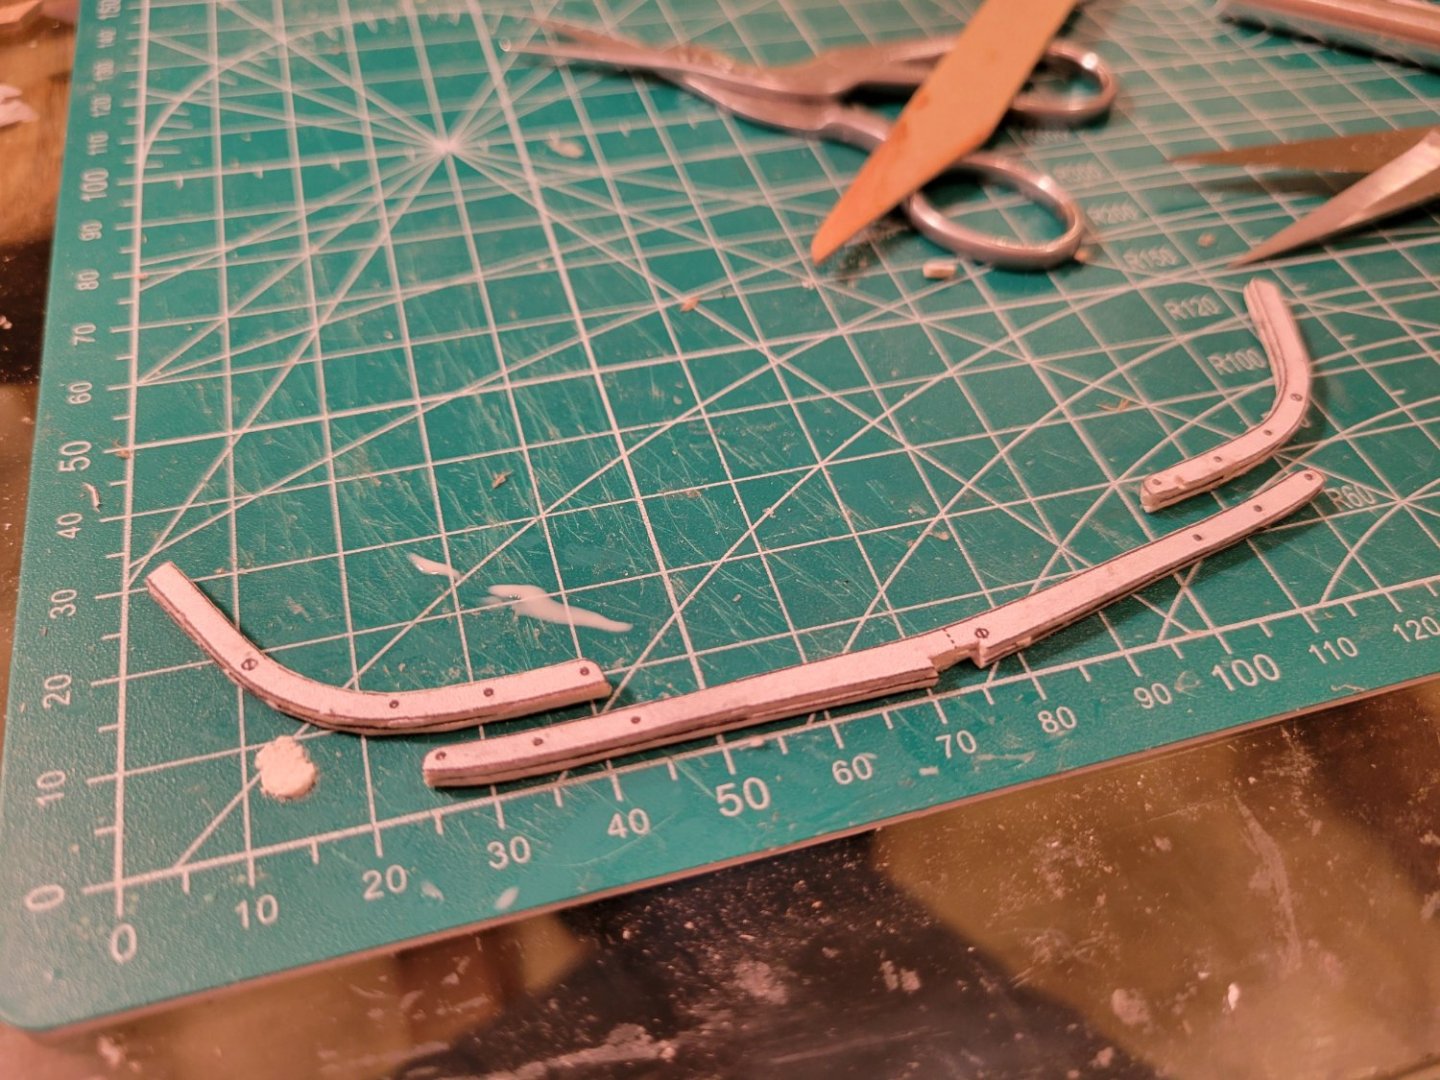
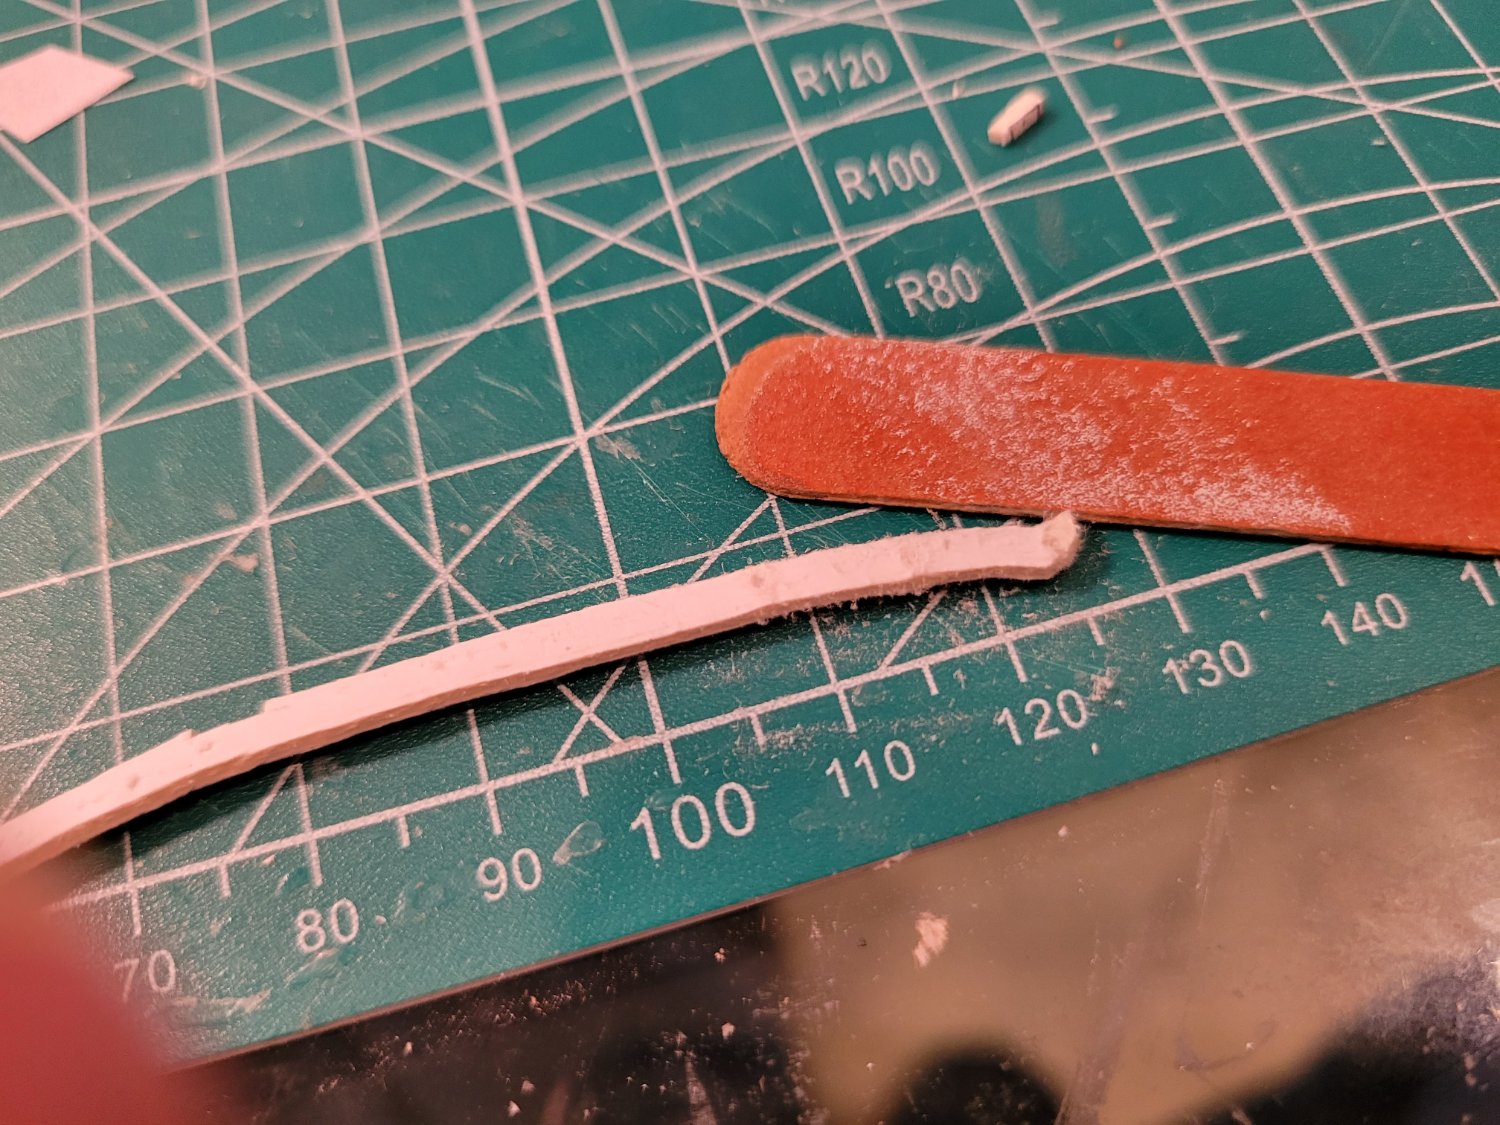
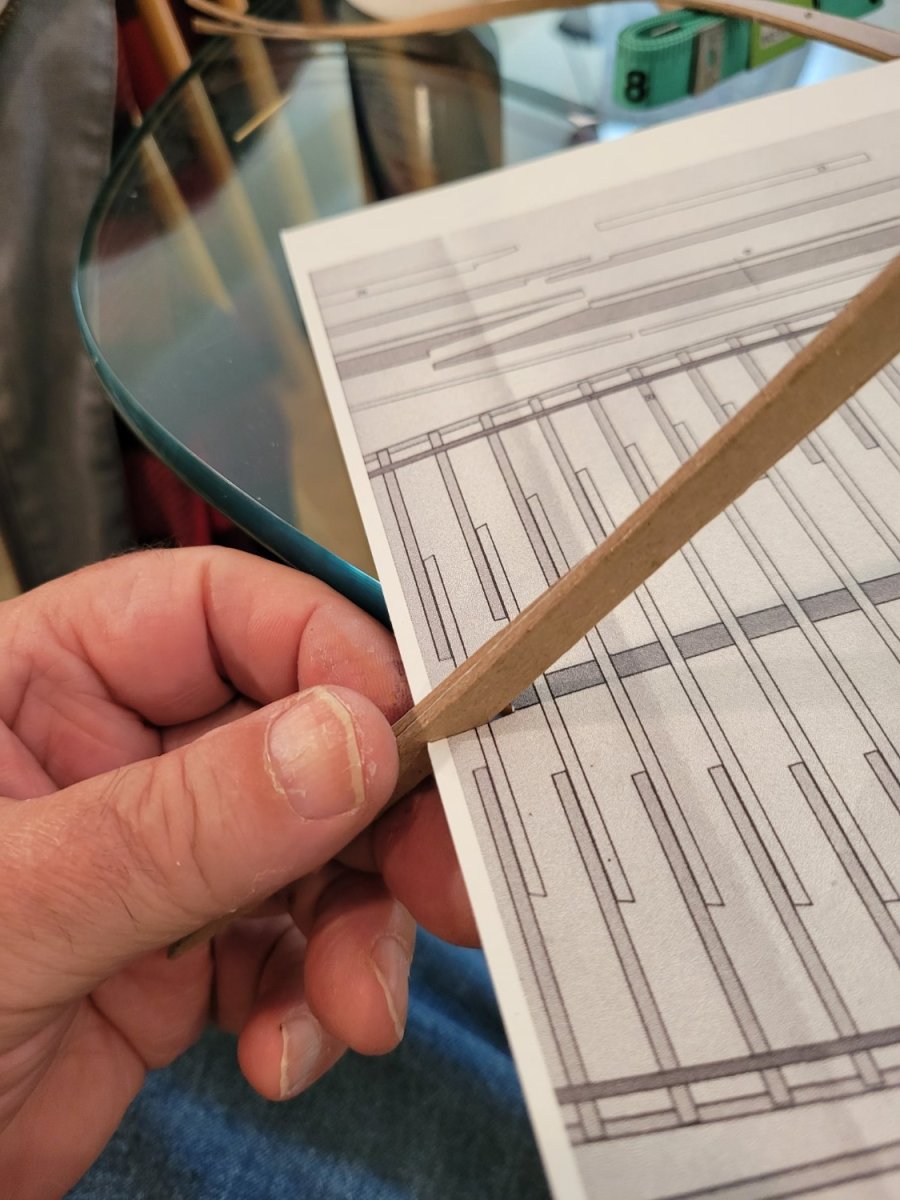
Using heavy card for the keel (did I mention this is a paper model ?)
Testing against a jig cut from a spare plan to see that 2 layers of my card will give me the right width
Since i need the lines to cut a notch I have to transfer them to the other side of one of my pieces of paper.
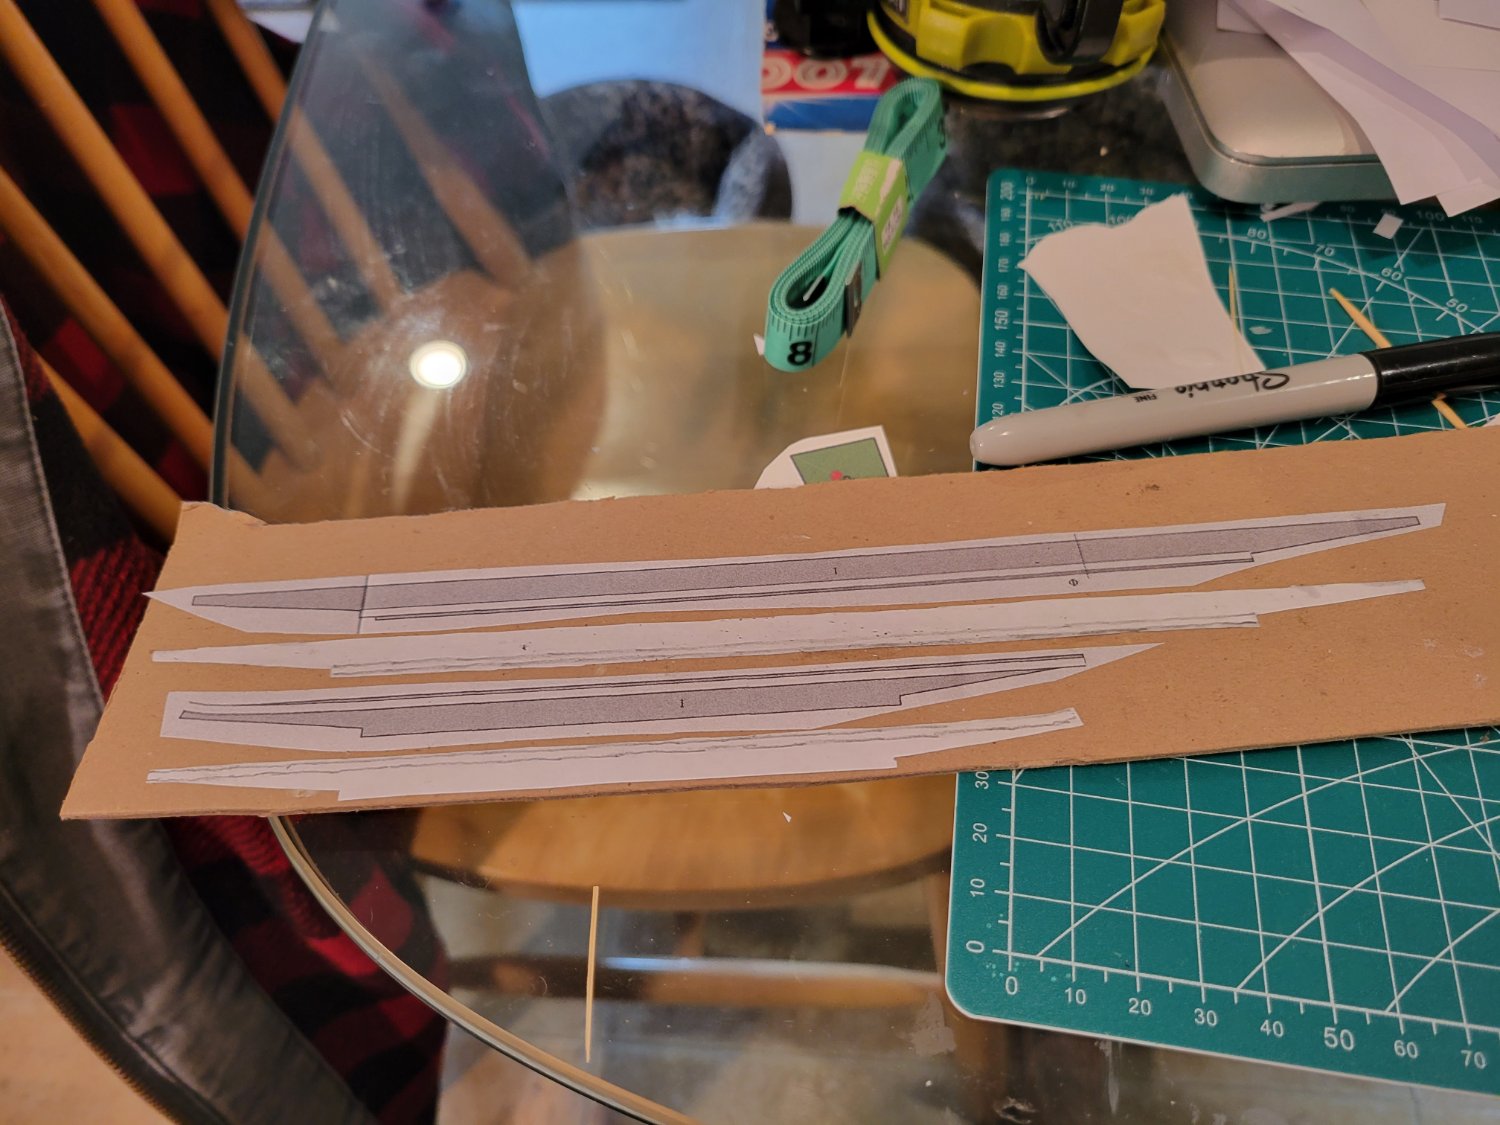
Gluing up.
A little time for the glue to dry and we cut. Long straight lines with shears...smaller cuts with xacto knife.
Glue them together and presto, a keel.
It will require some sanding and filling and some straightening (you bend it in your hands)
then I have to put some blocks on the modeling board to hold it in place.
Away we go.....


.thumb.jpg.a2f08138a50d4302d554b0d8822513b8.jpg)
- mtaylor, chris watton, John Fox III and 6 others
-
9
-
Started a lot of models over the last few years. New state, new house, new model.


- mtaylor, yvesvidal, Paul Le Wol and 7 others
-
10
-
in which i come up with a clever idea
cursing and making more blocks
the paper is just a little on the soft side and the blocks are too small to hold and do anything with
then the lightbulb went off
i flattened down some soft wood (chopstick)
cut a slot (that will eventually be the hole in the block)
and glued the sides of the block on either side
and it worked, the blocks are easy to cut off and they are "hard" enough
to try and trim down the ends so they don't look so square
- Spellapeaka and GrandpaPhil
-
2
-
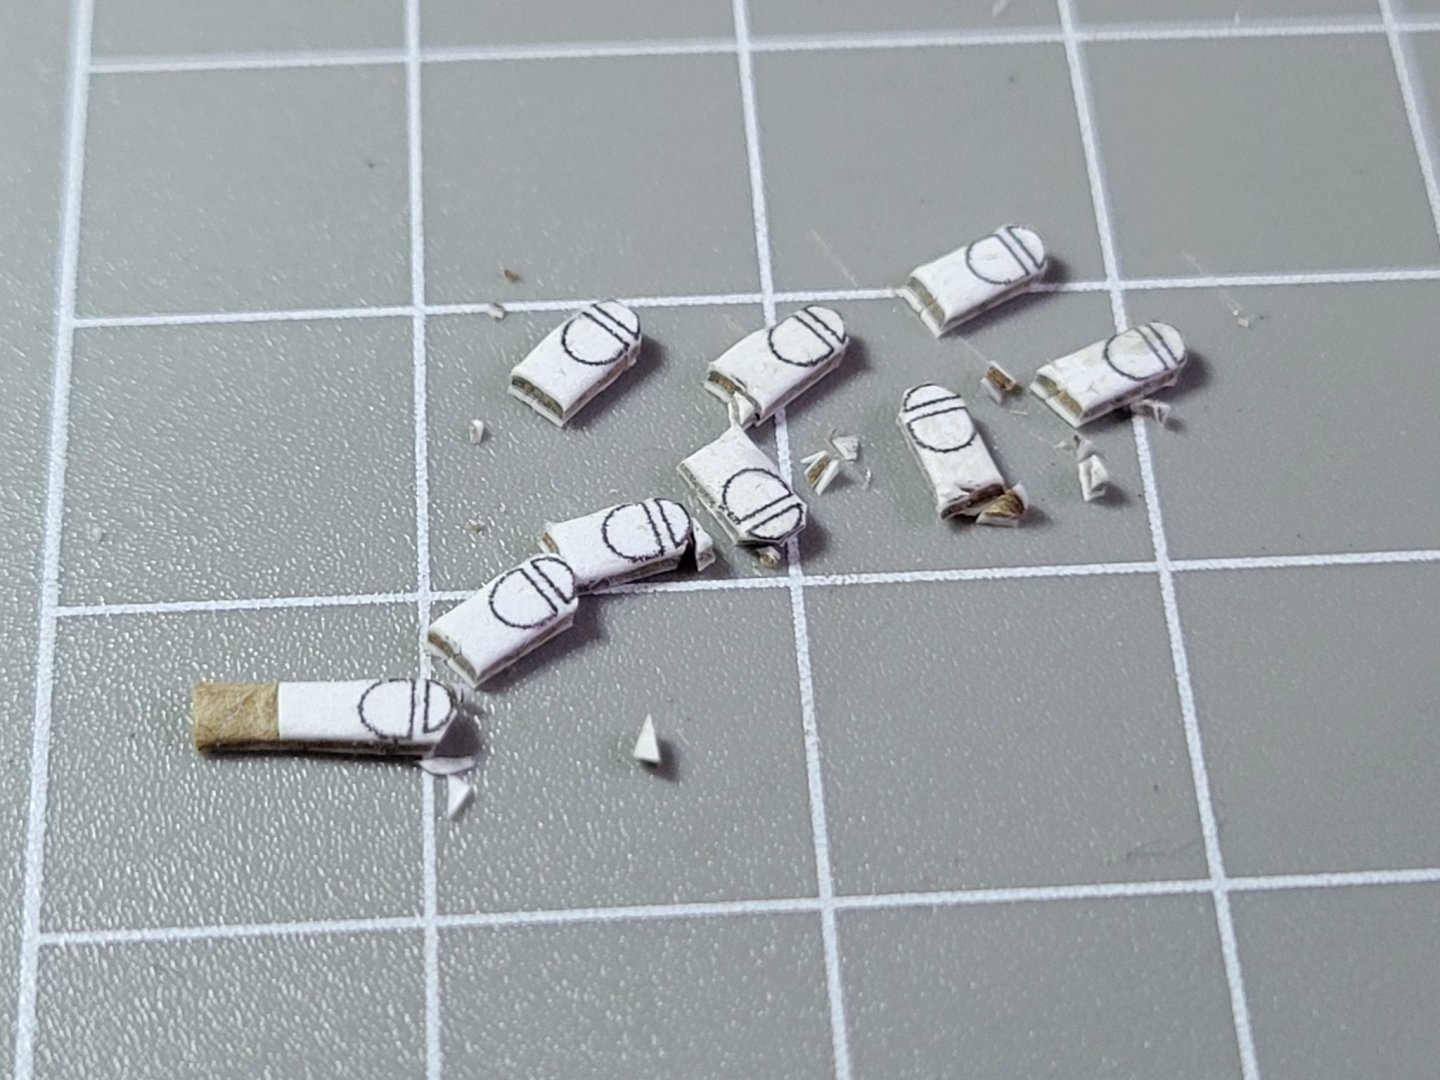
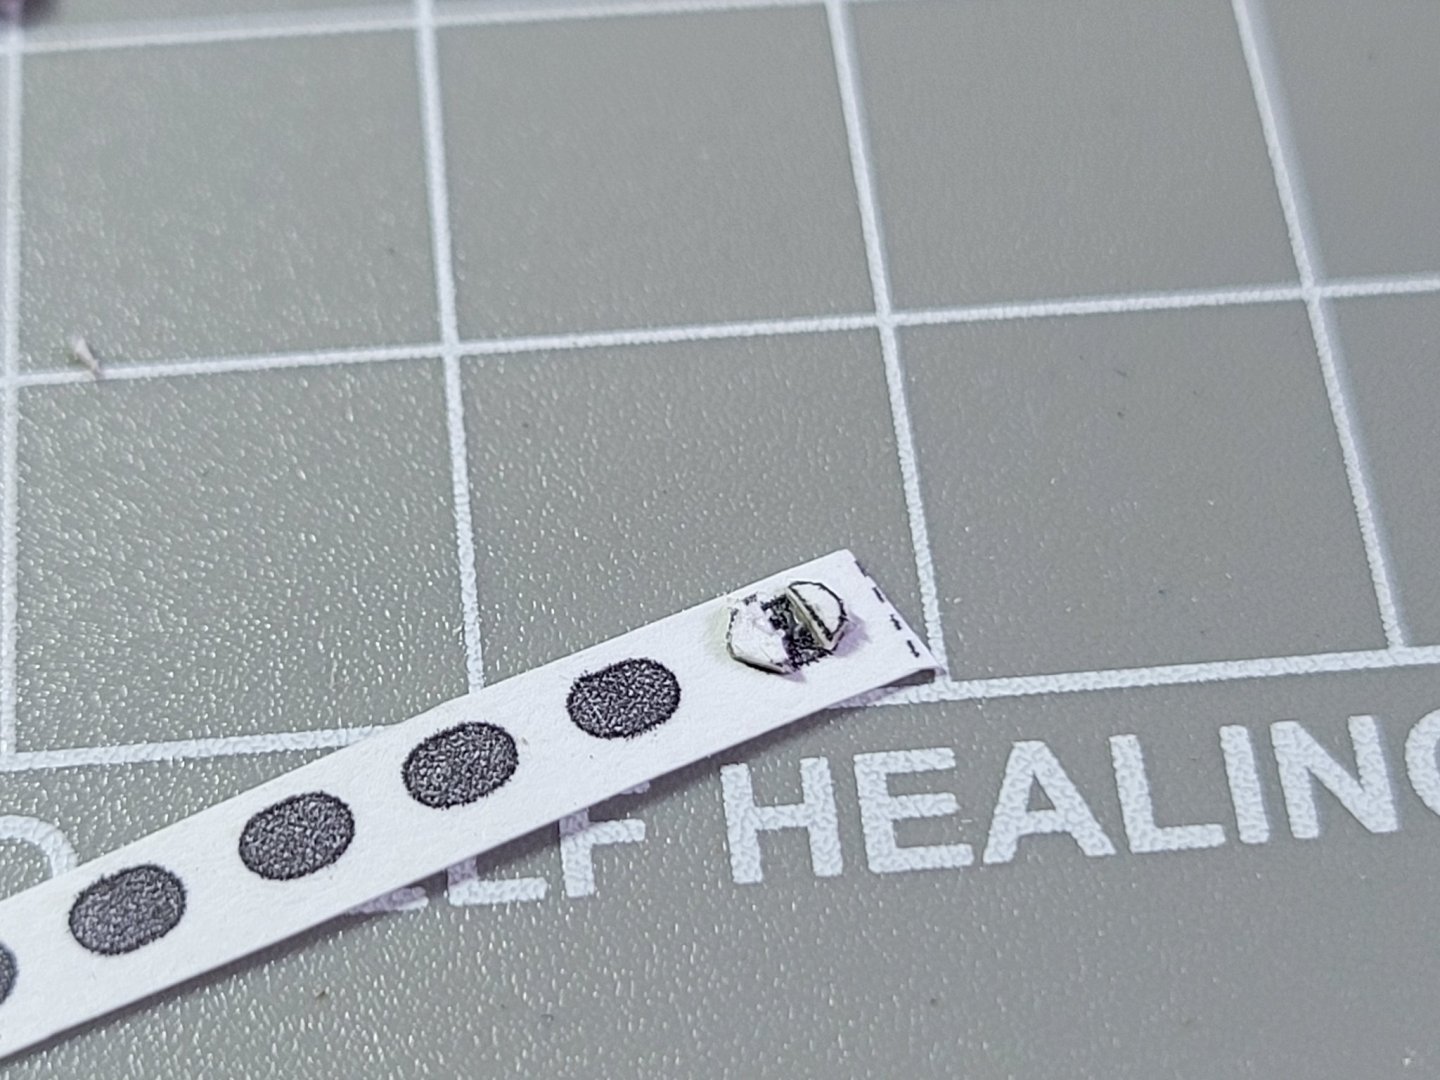
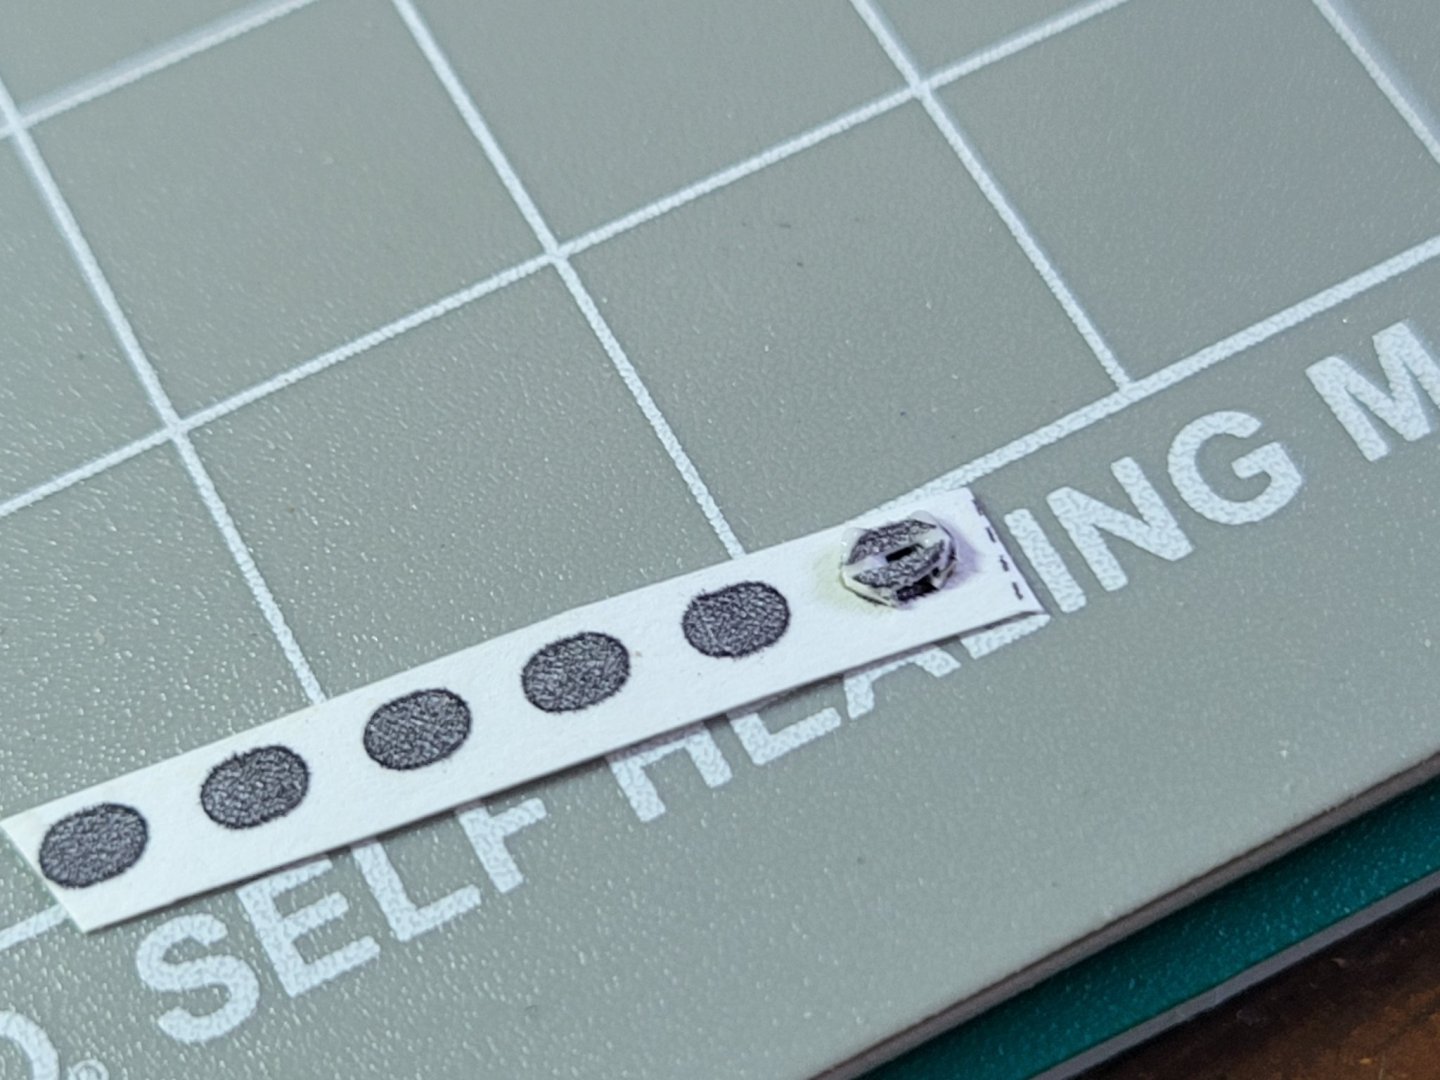
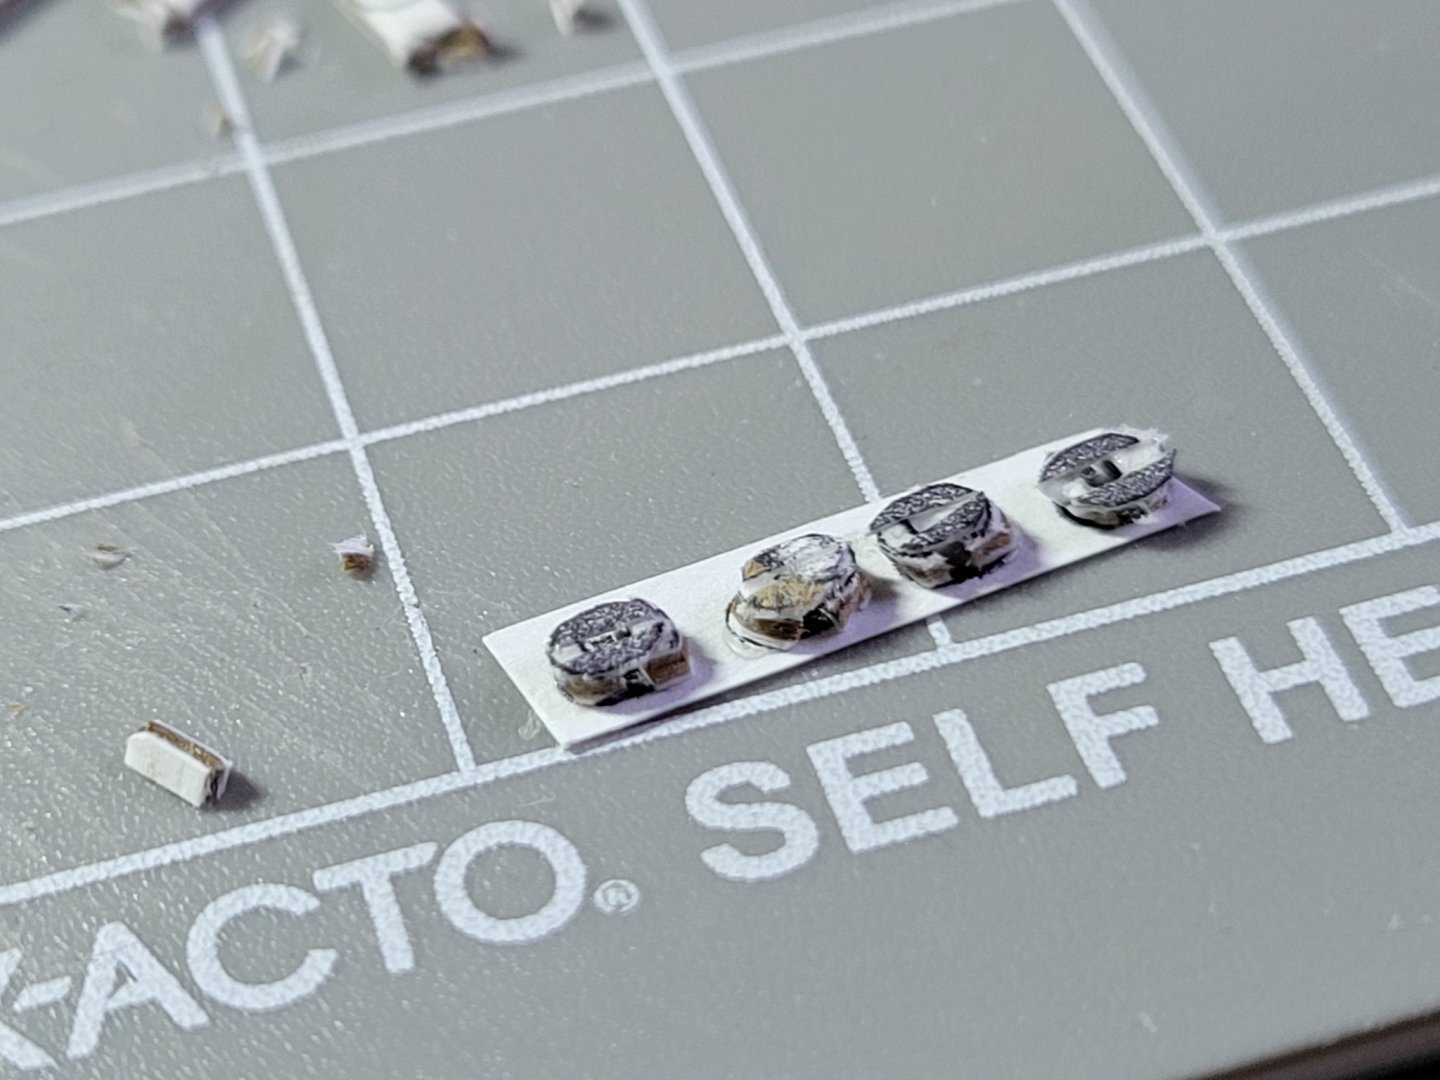
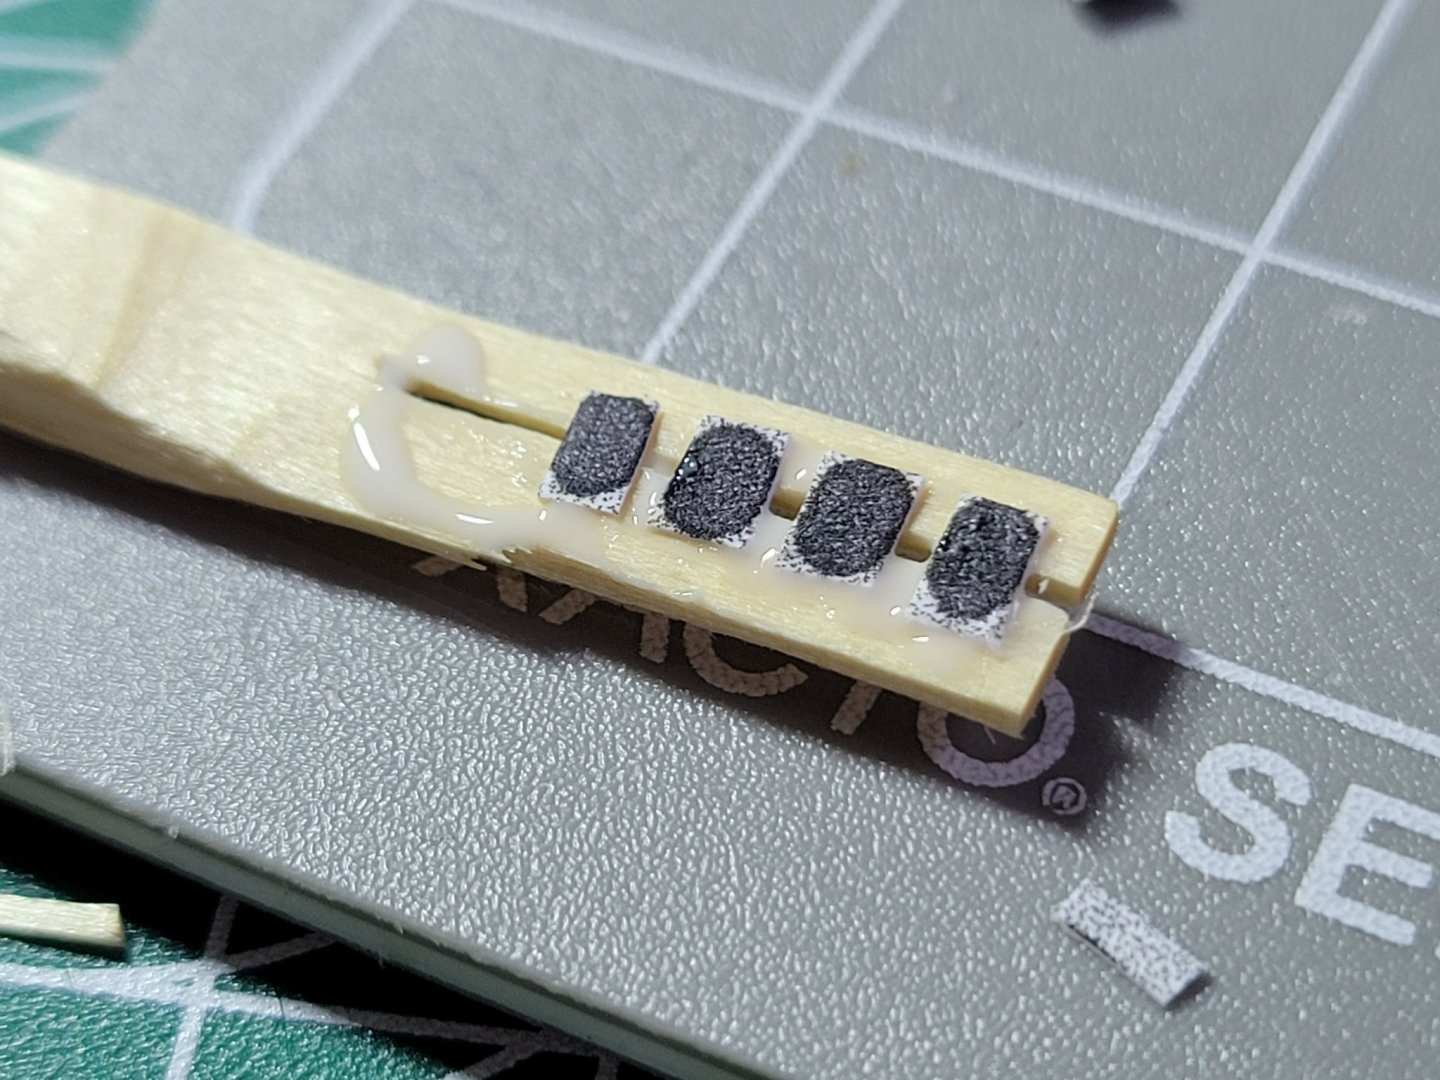
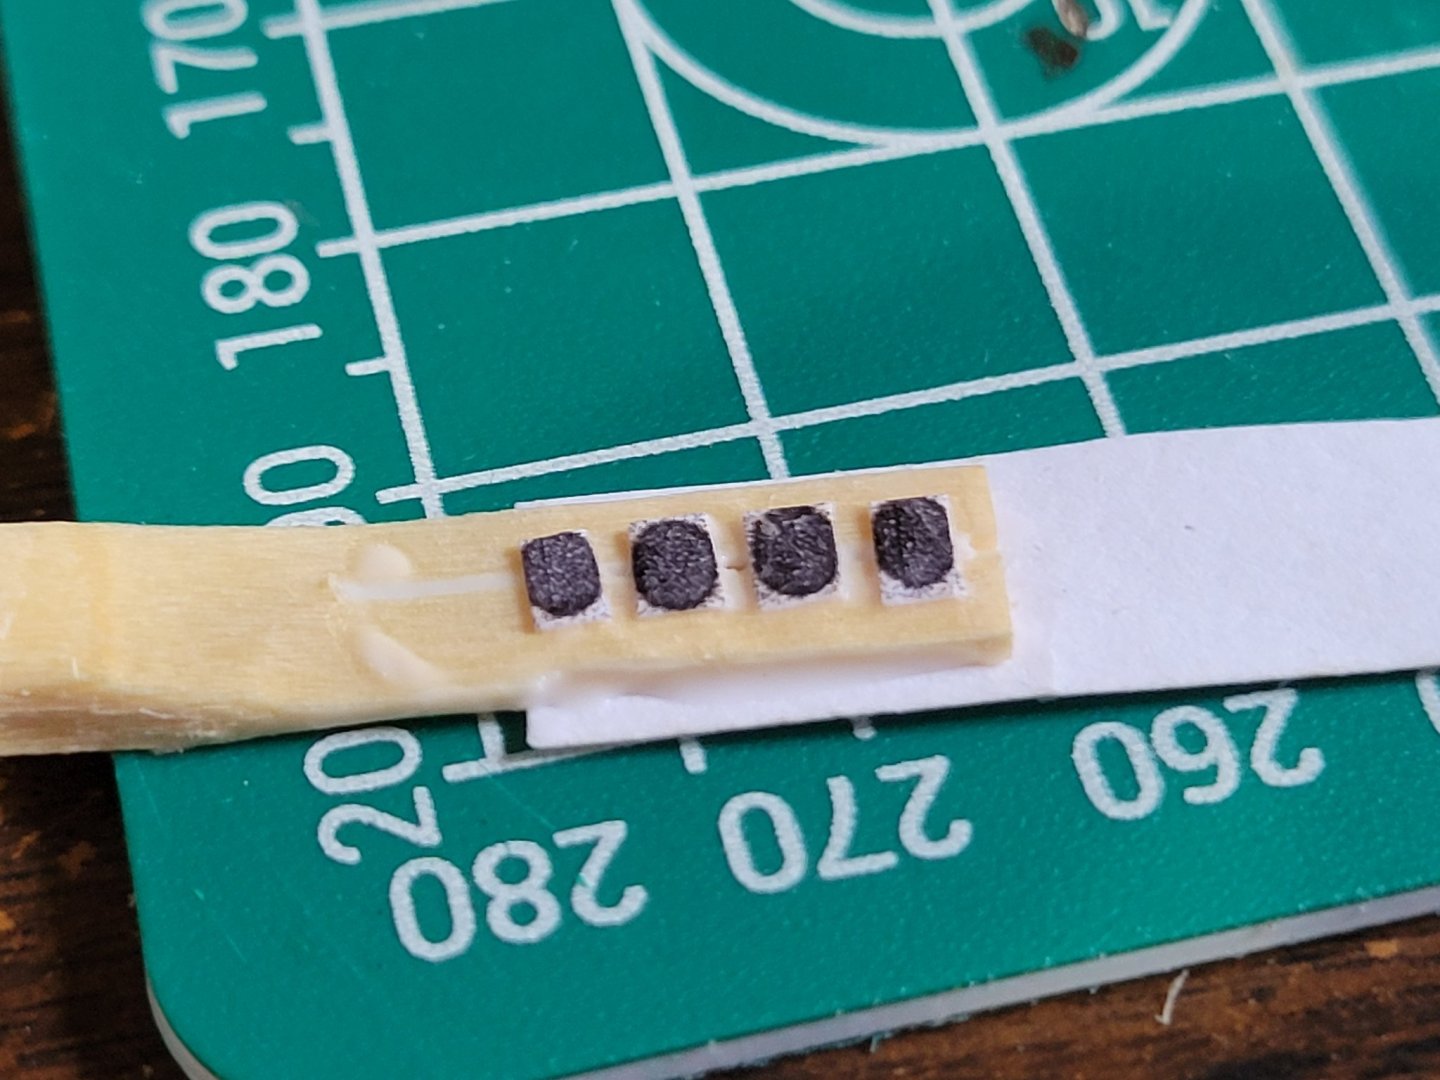
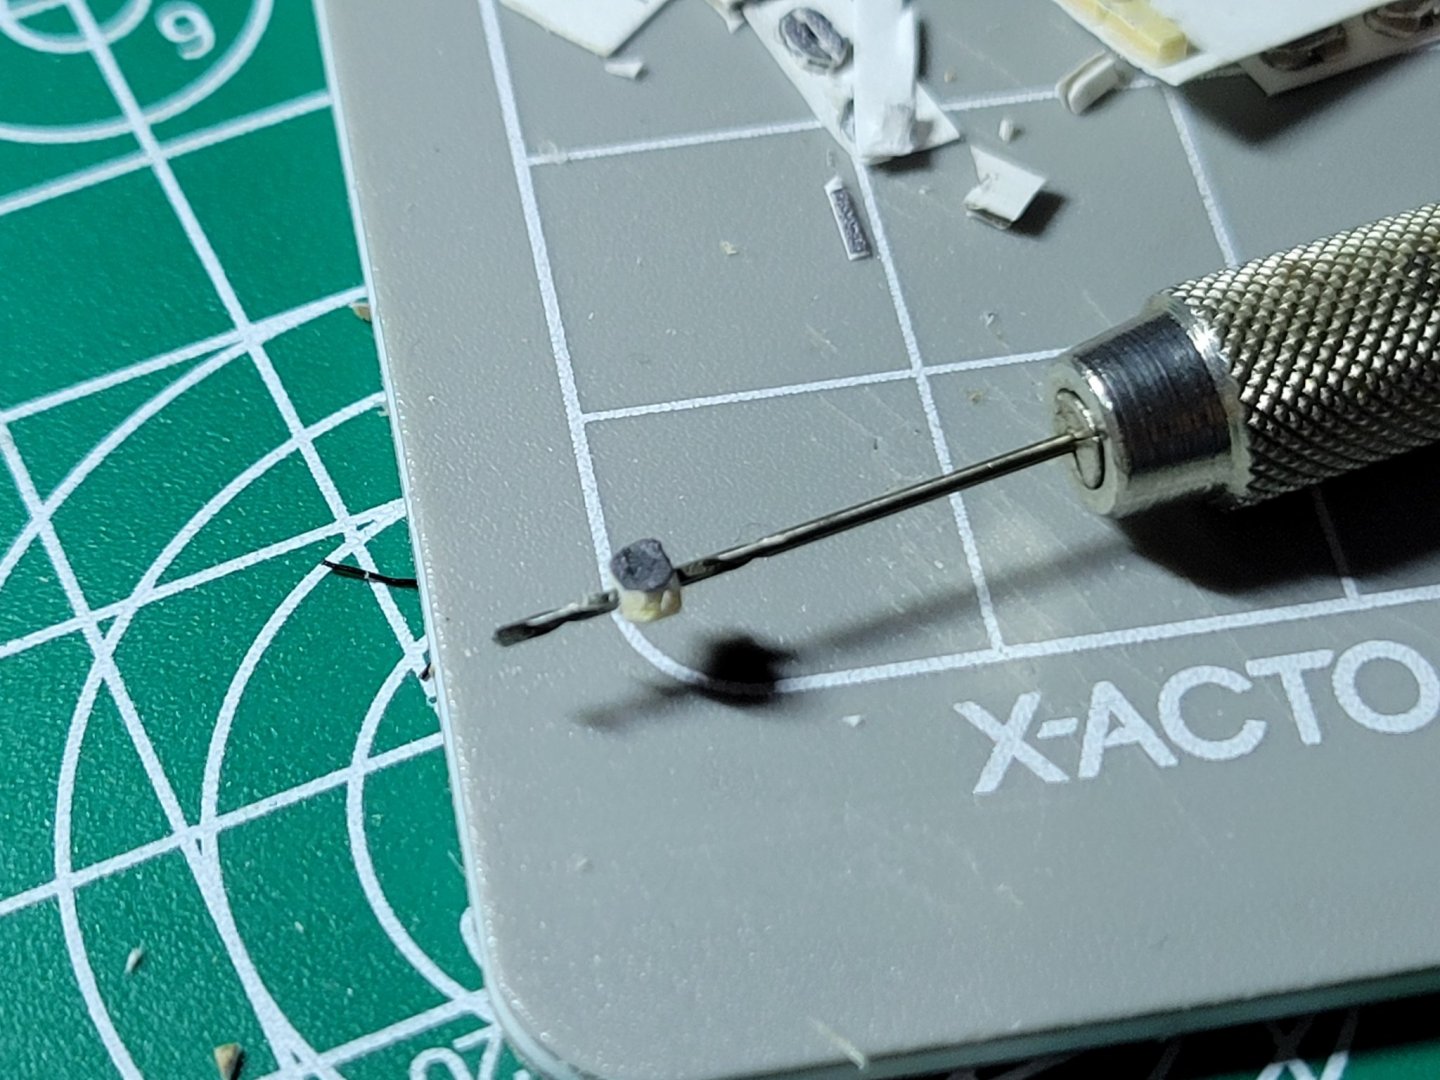
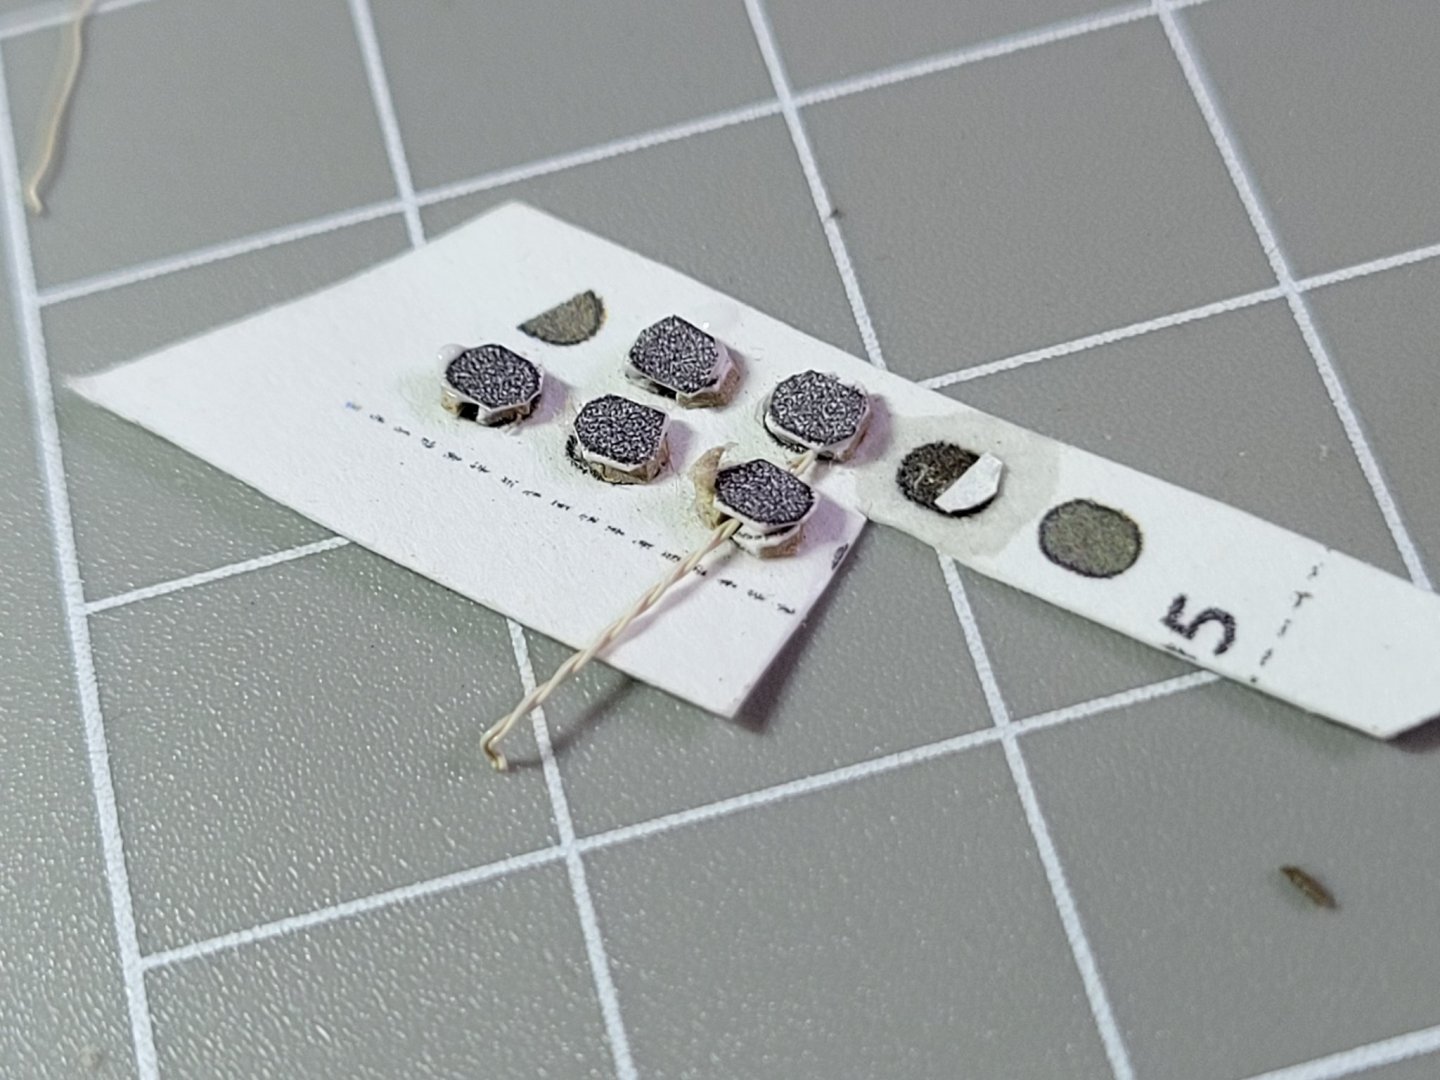
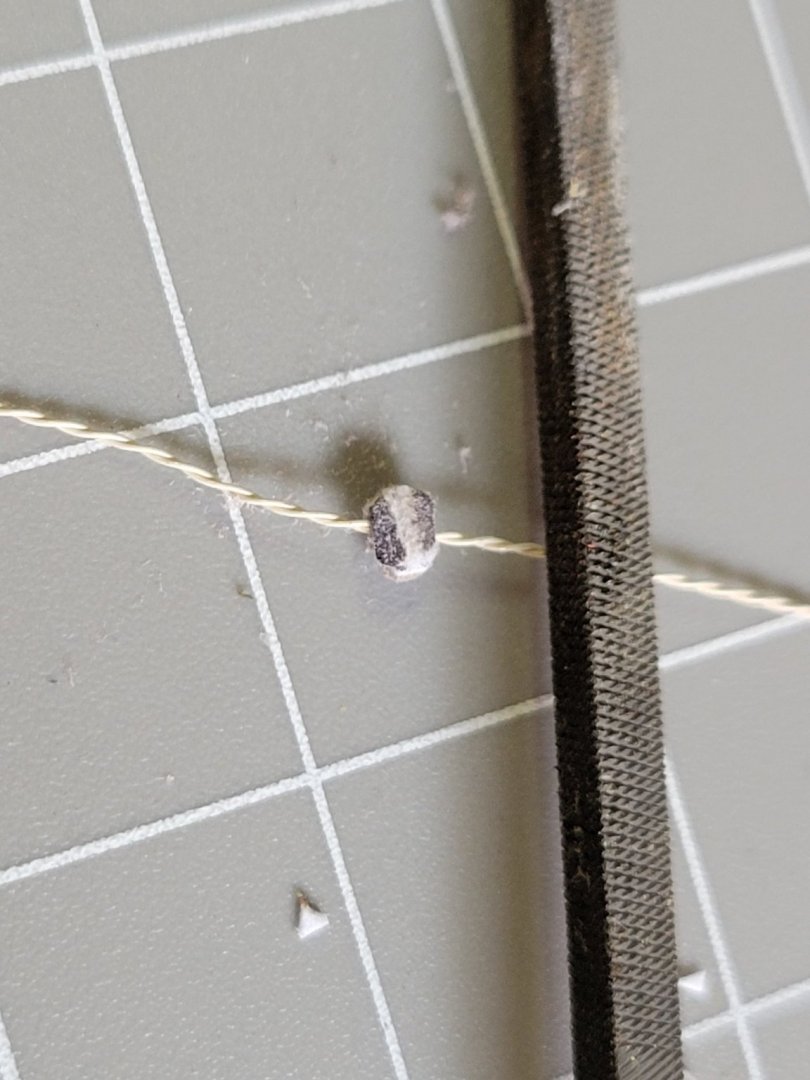
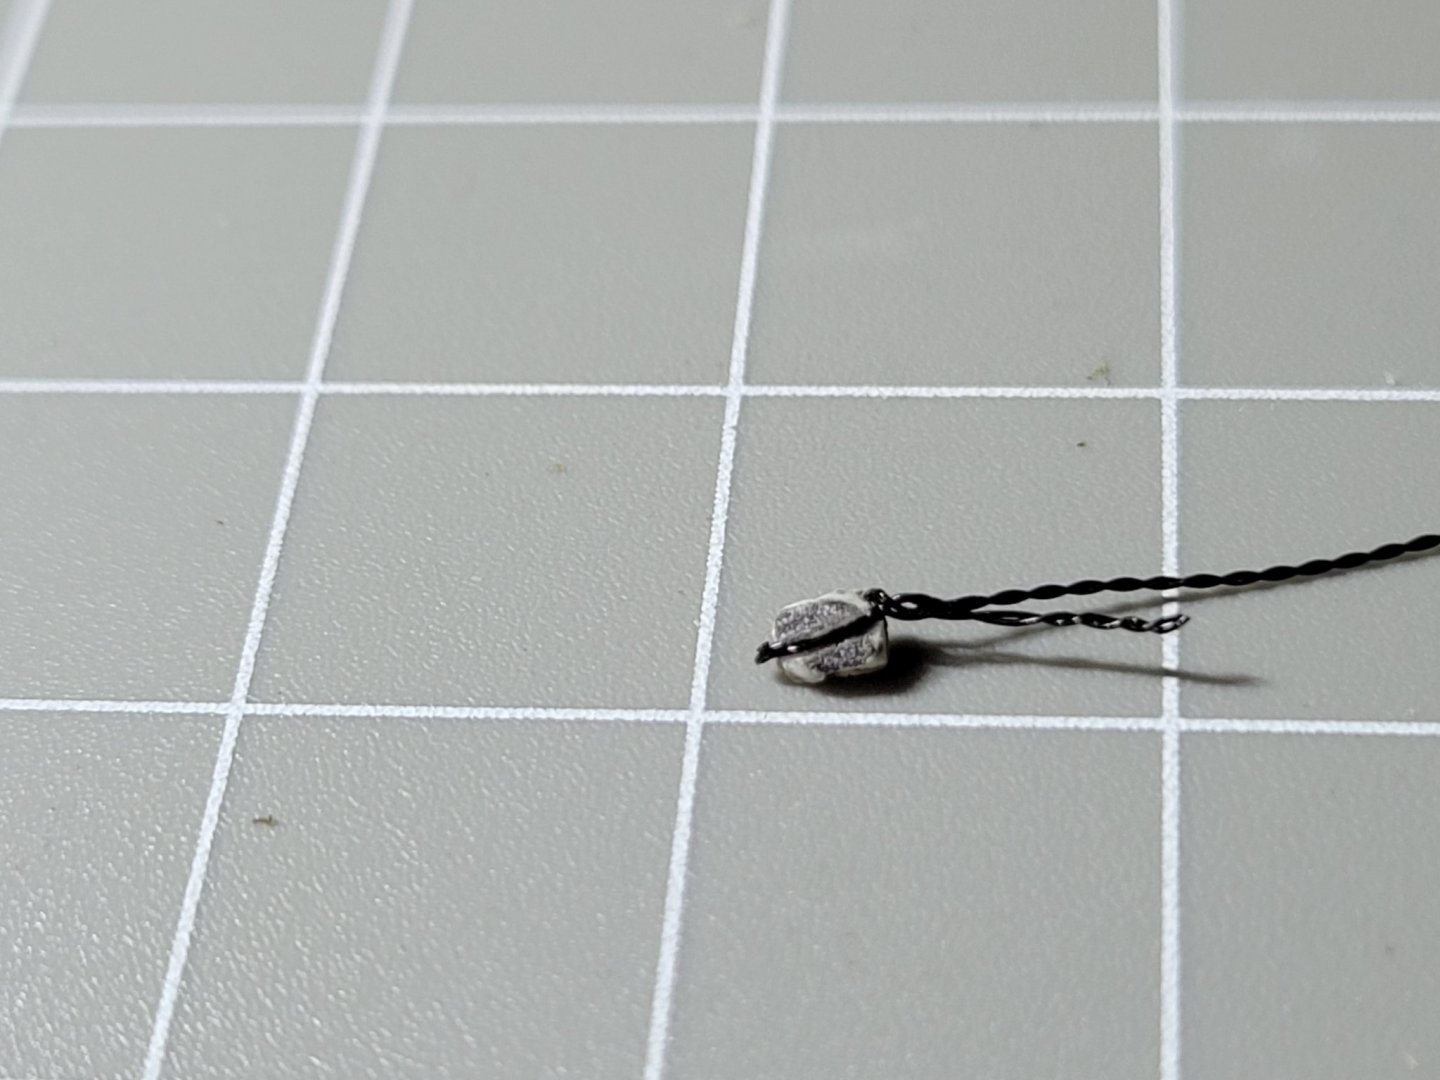
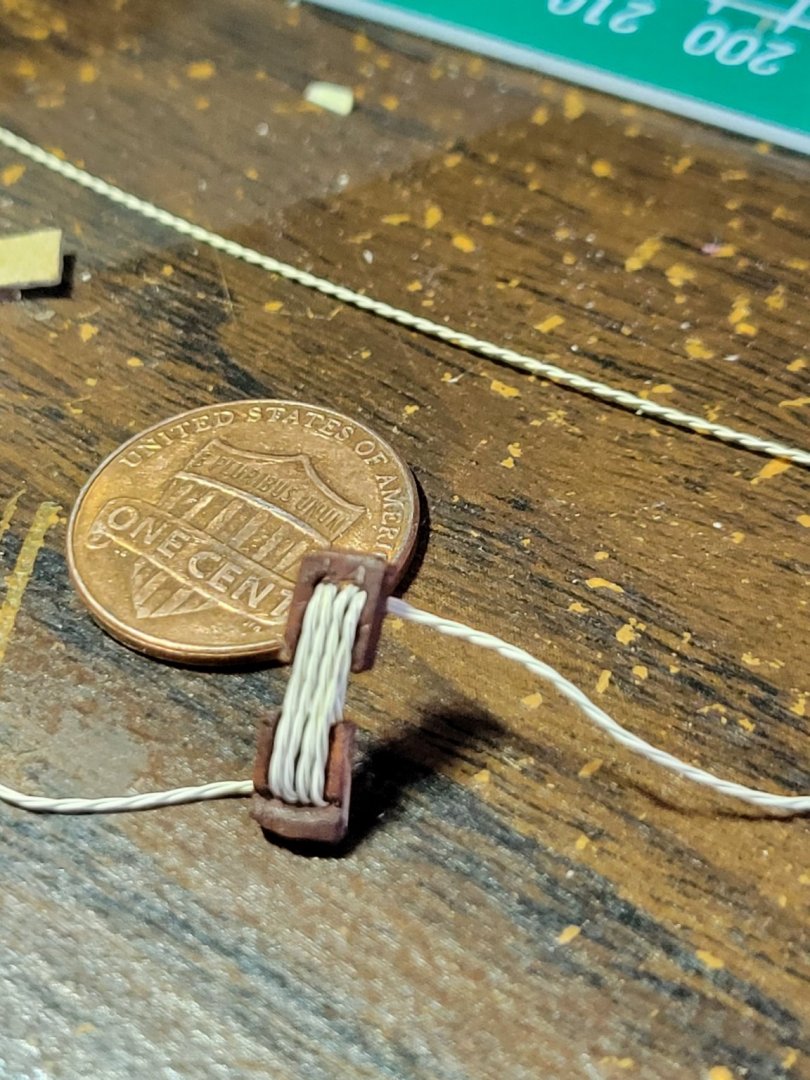
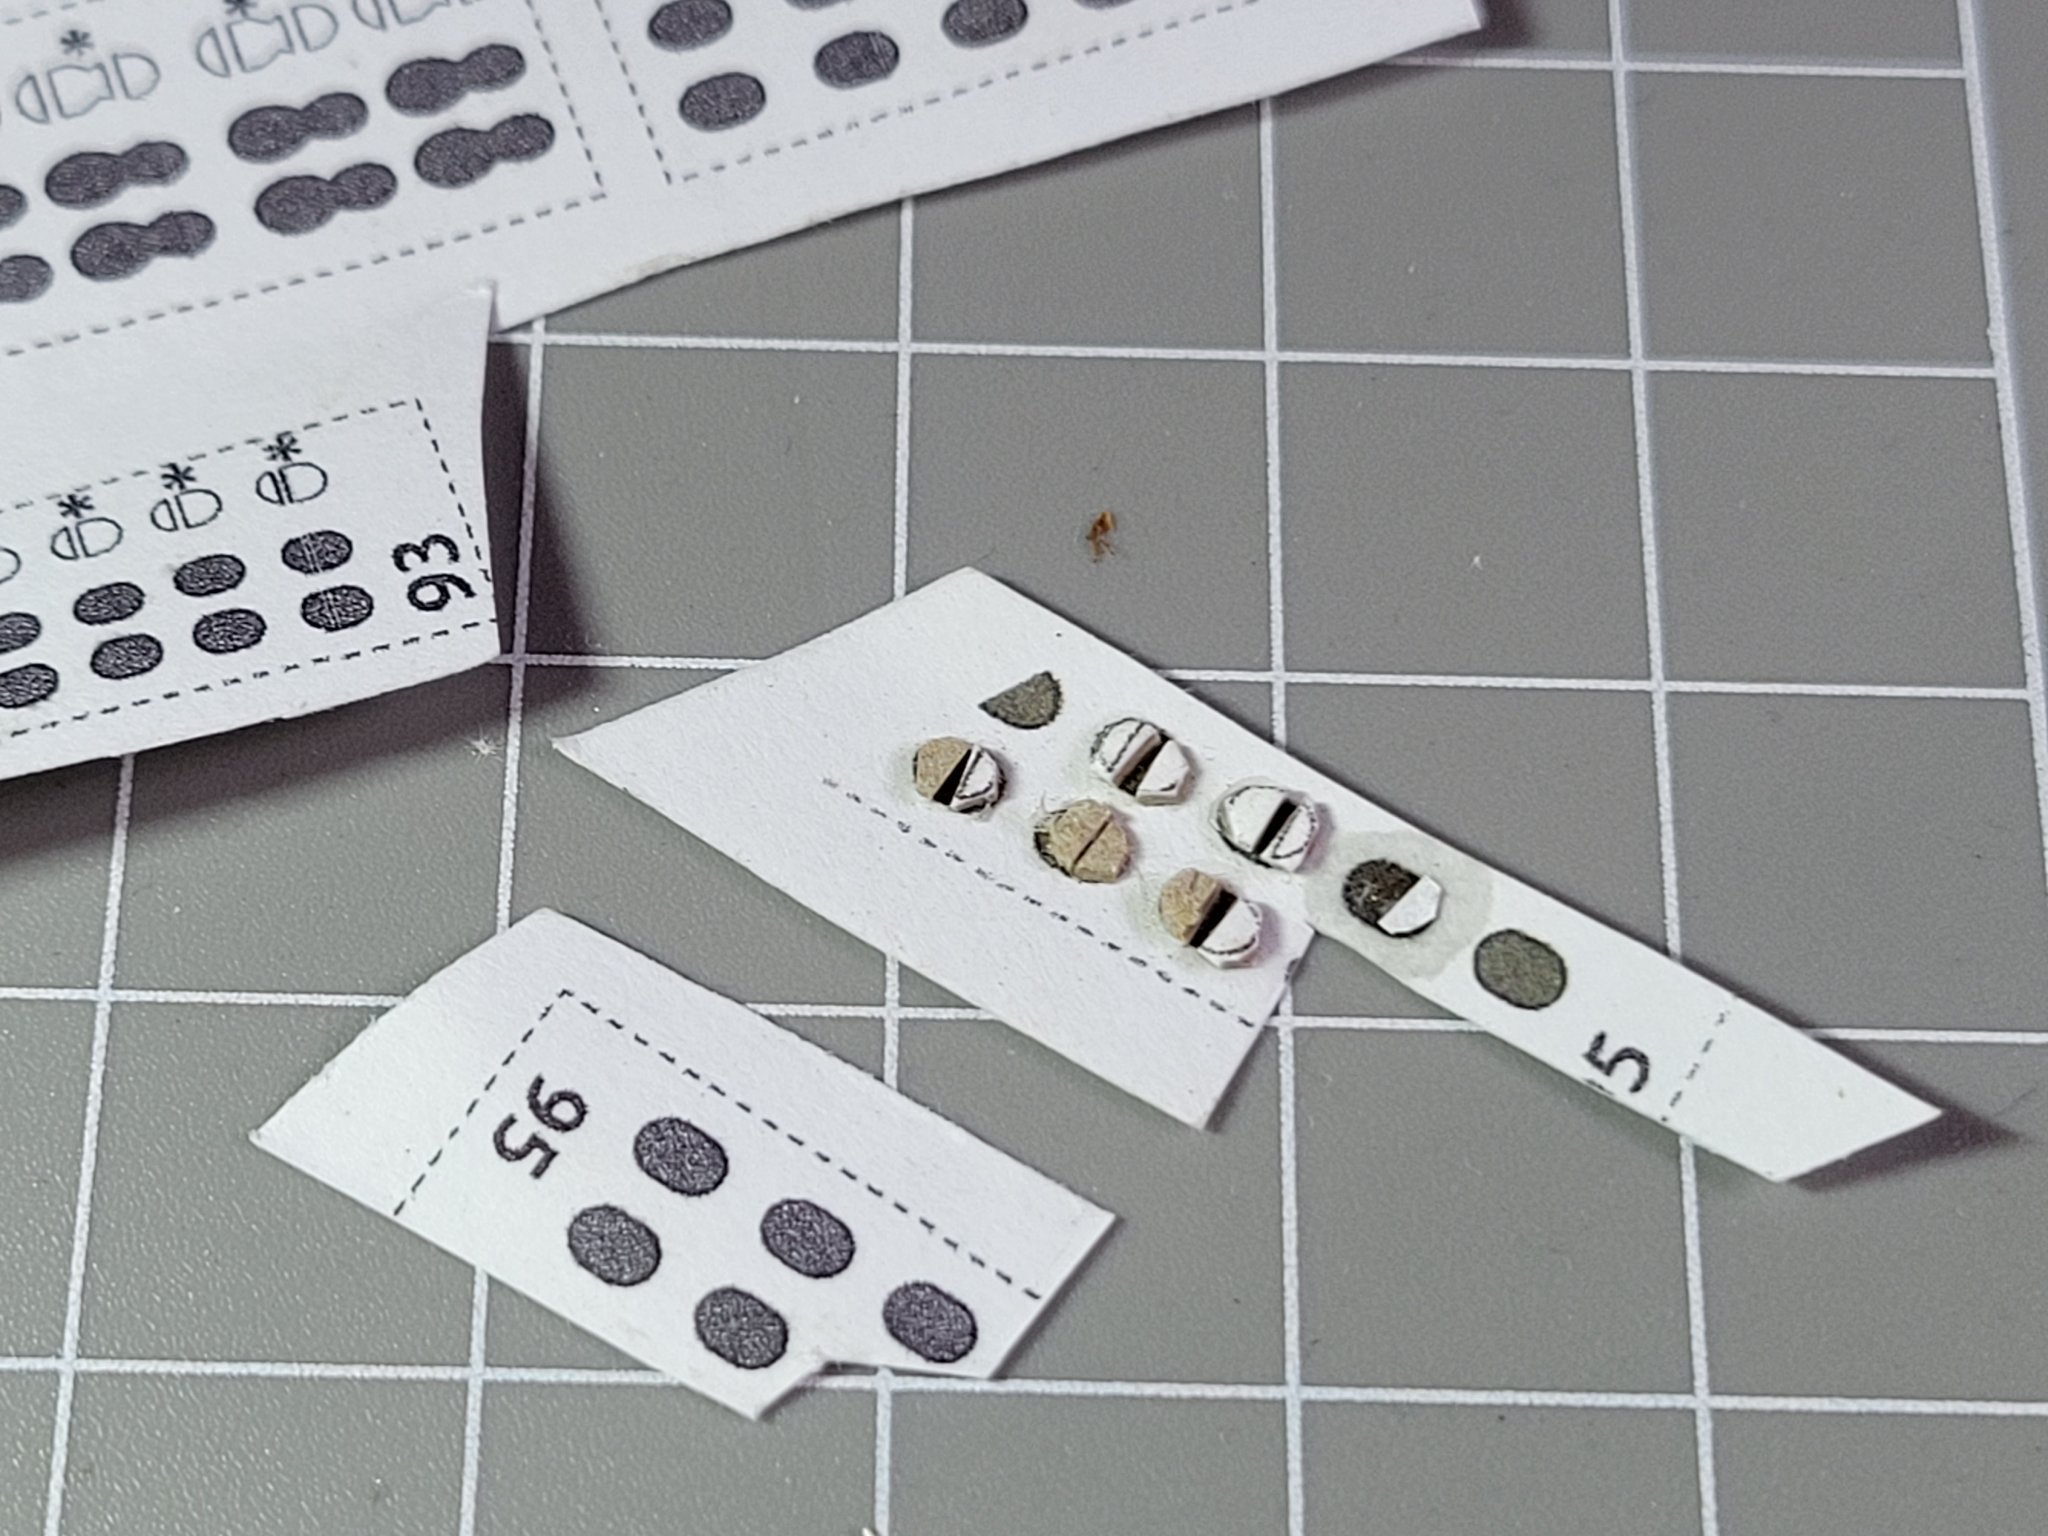
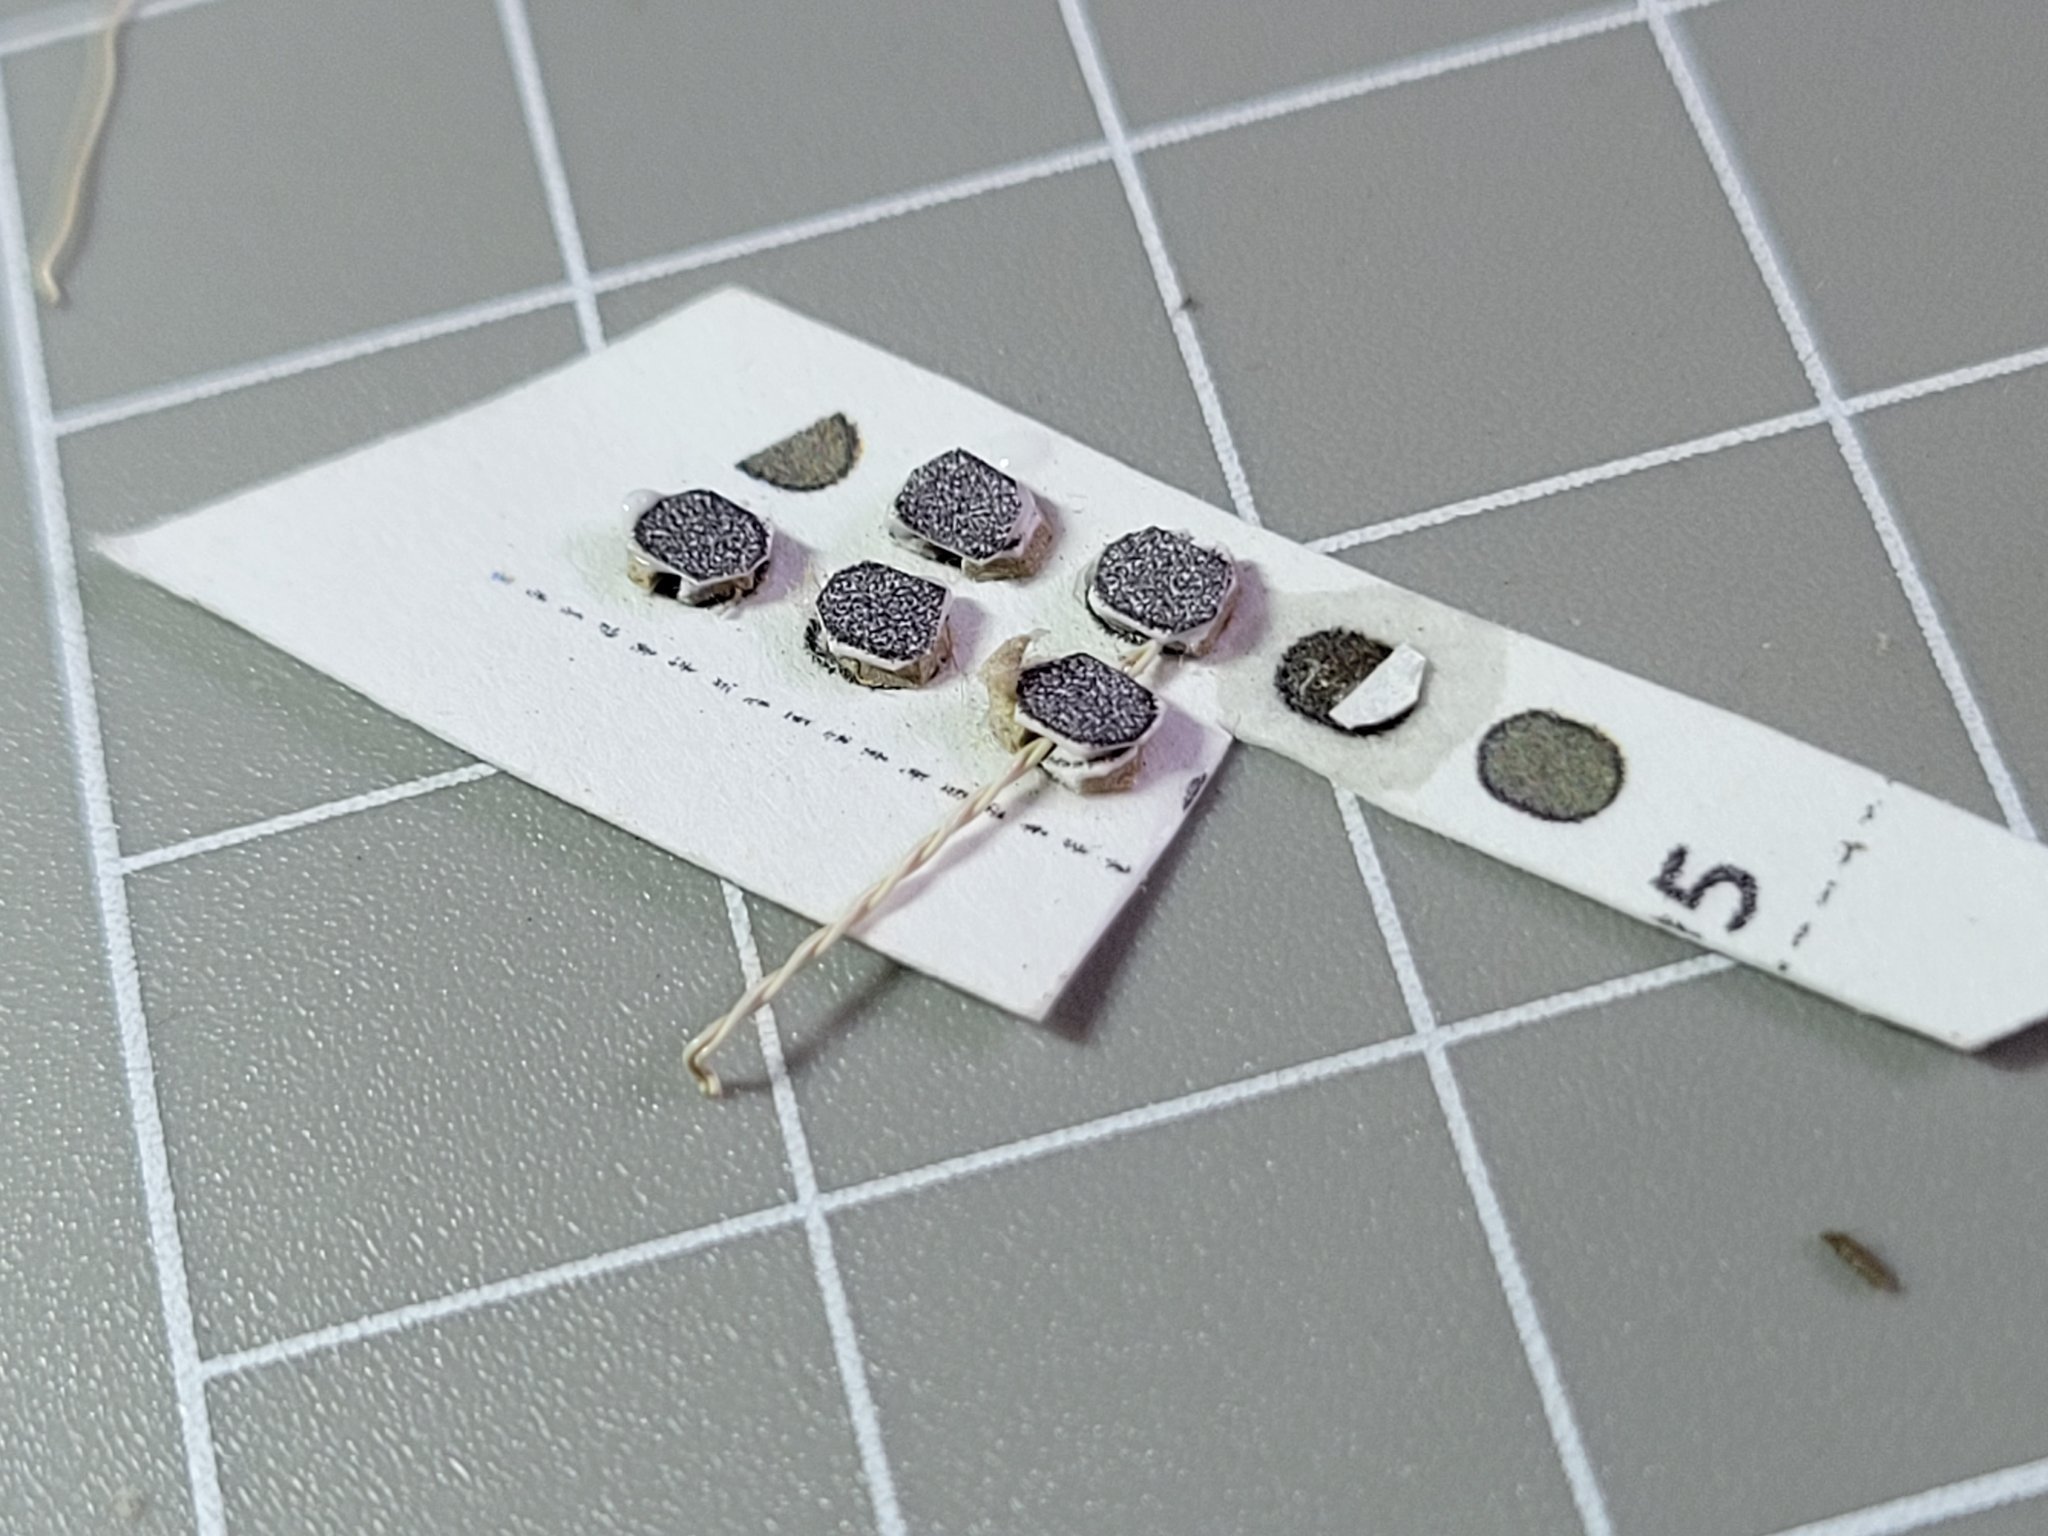
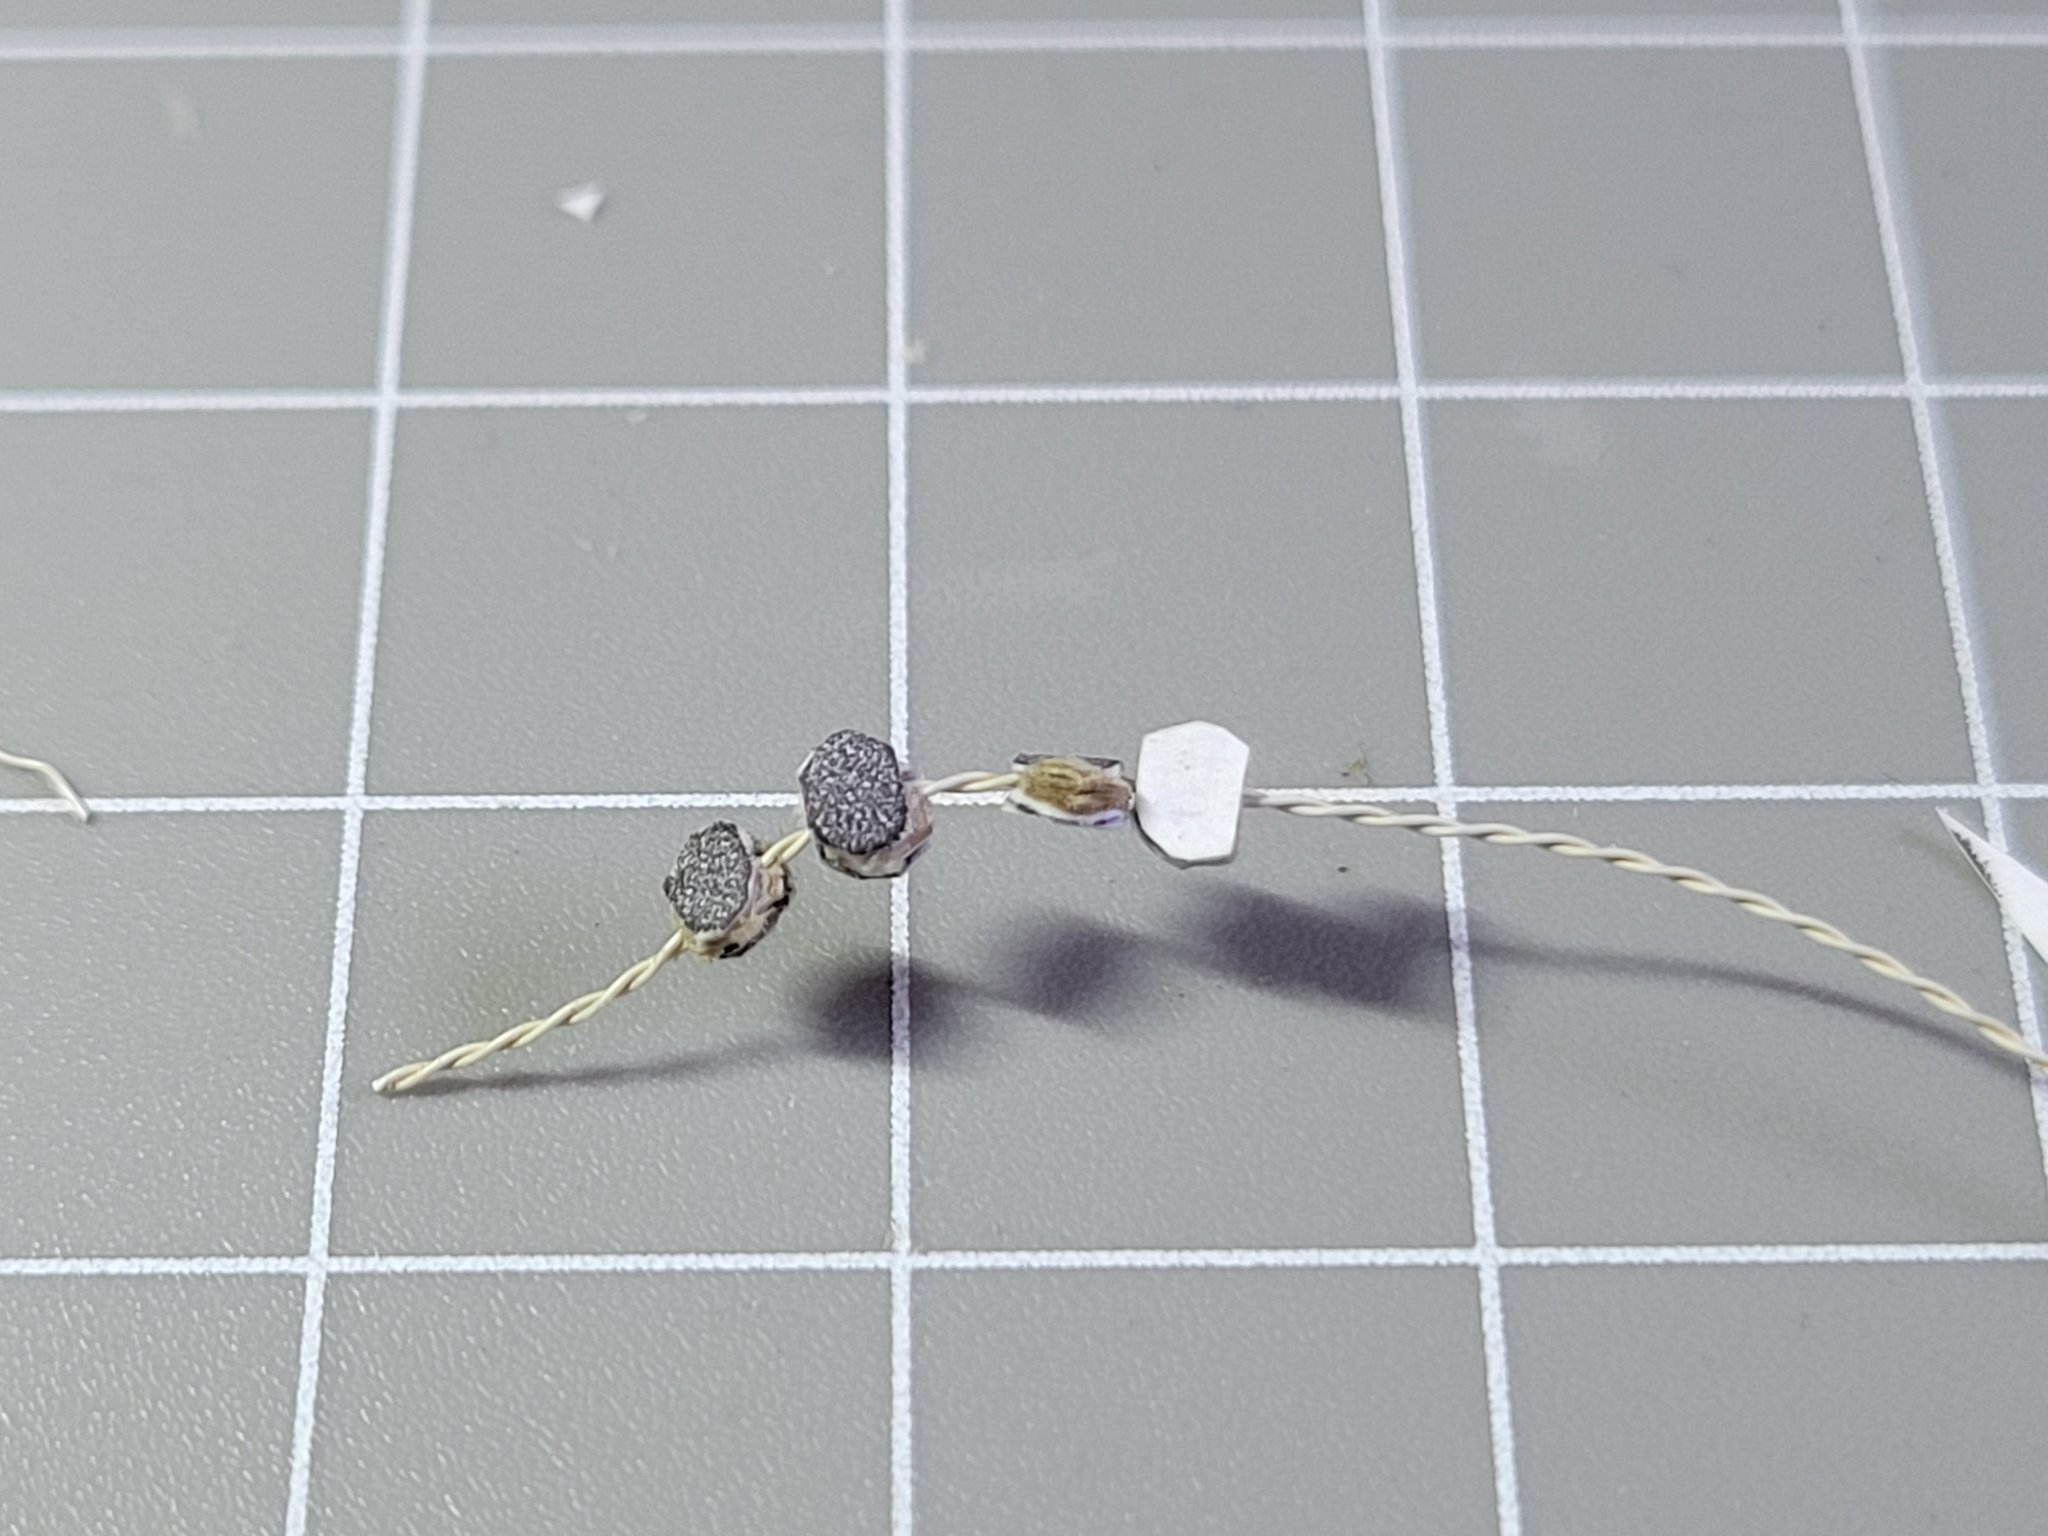
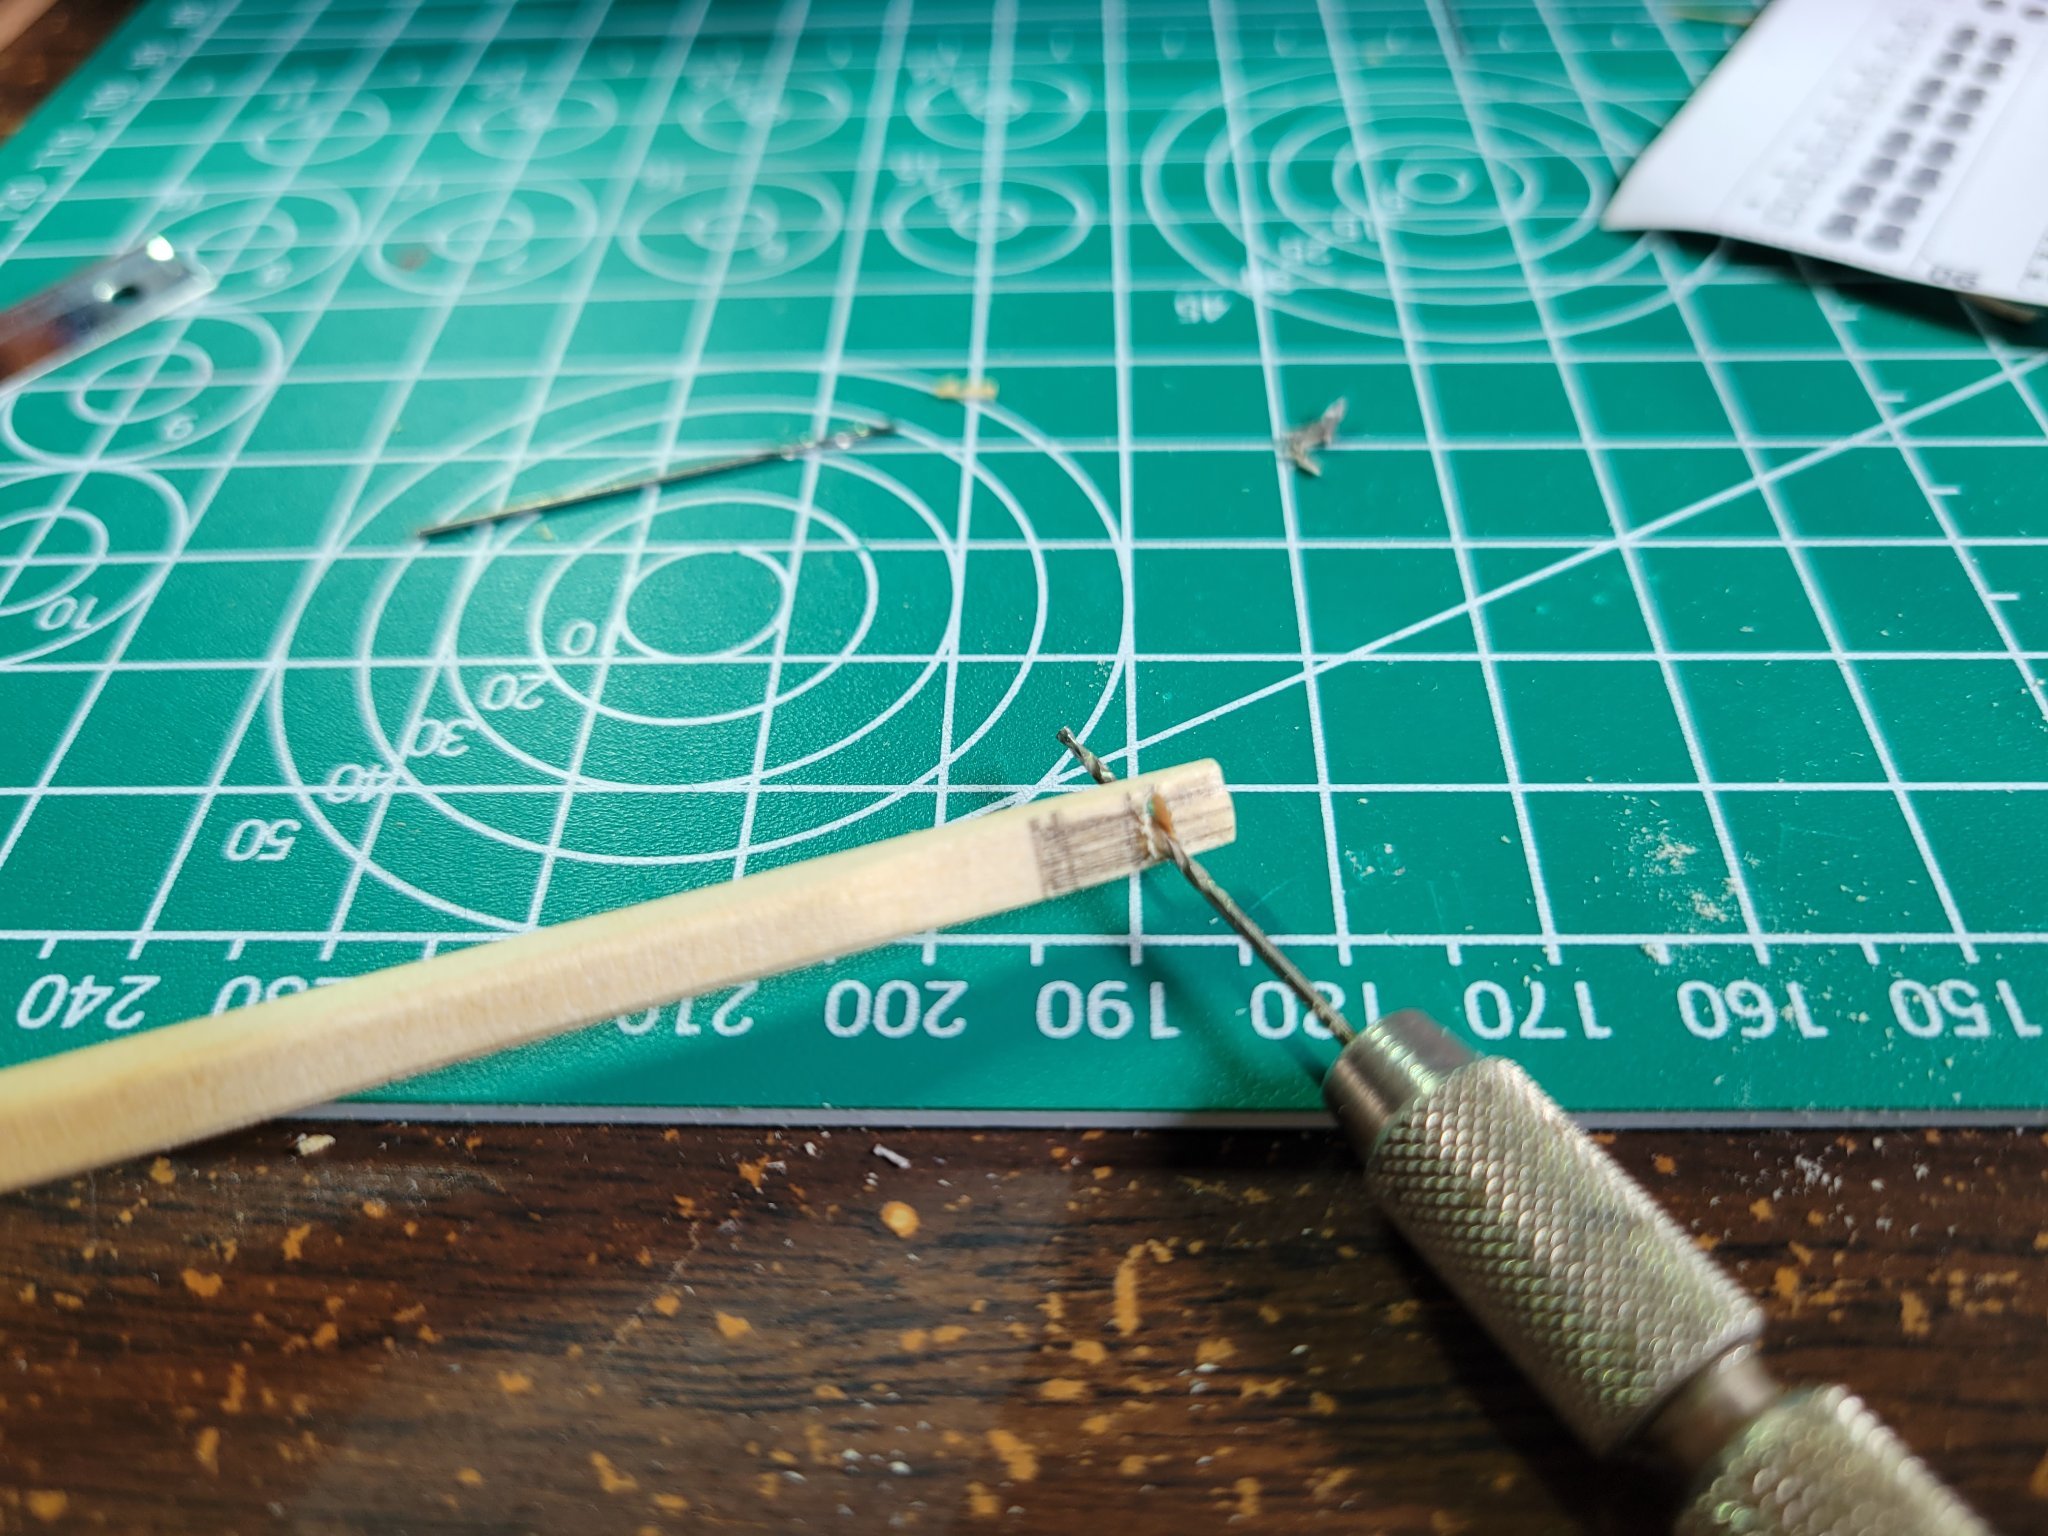
now for some fiddly bits
card blocks at this scale are painful
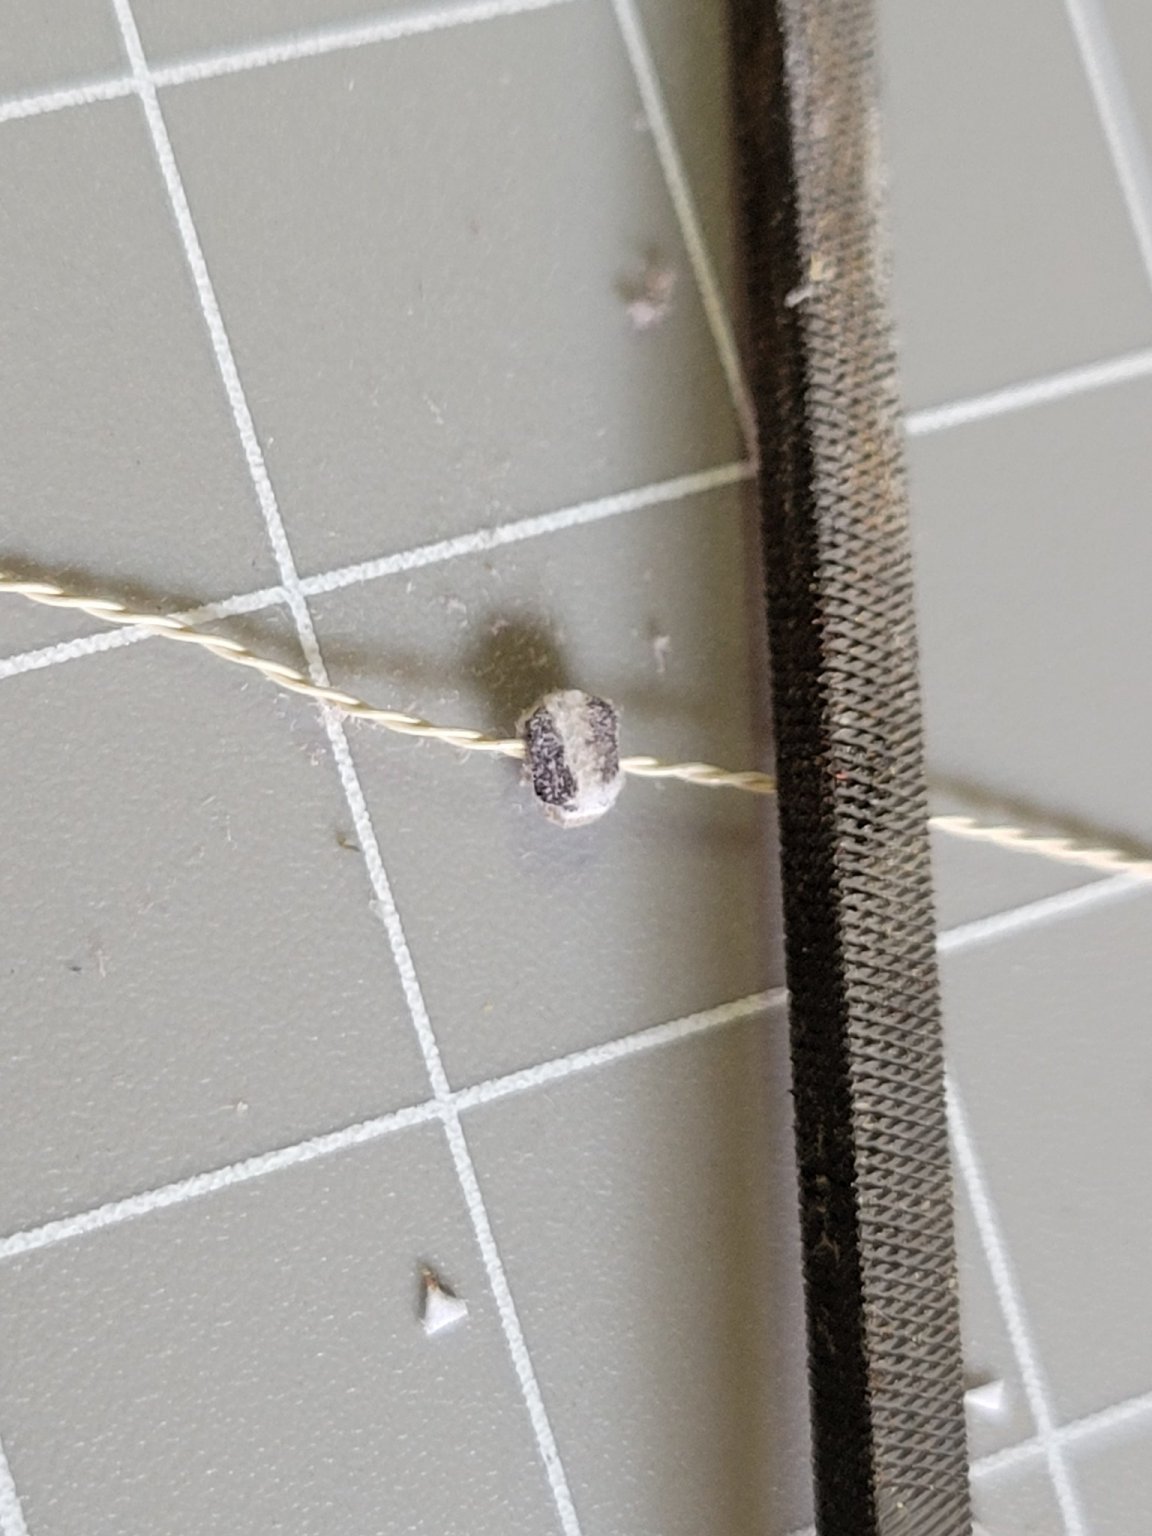
i thread them on a wire to keep track of them
cut something of a slot by starting with a knife cut and then using the corner of a square file
this is rigging that is not indicated on the model plans, it comes from the Ancre plans


- GrandpaPhil, ccoyle and VTHokiEE
-
3
-
-
-
I feel you man. The you have to deal with the difference between the two different directions the ropes can be twisted when made...and which side of the ship each kind goes on...and if you are making your own ropes...it gives me a headache.
-
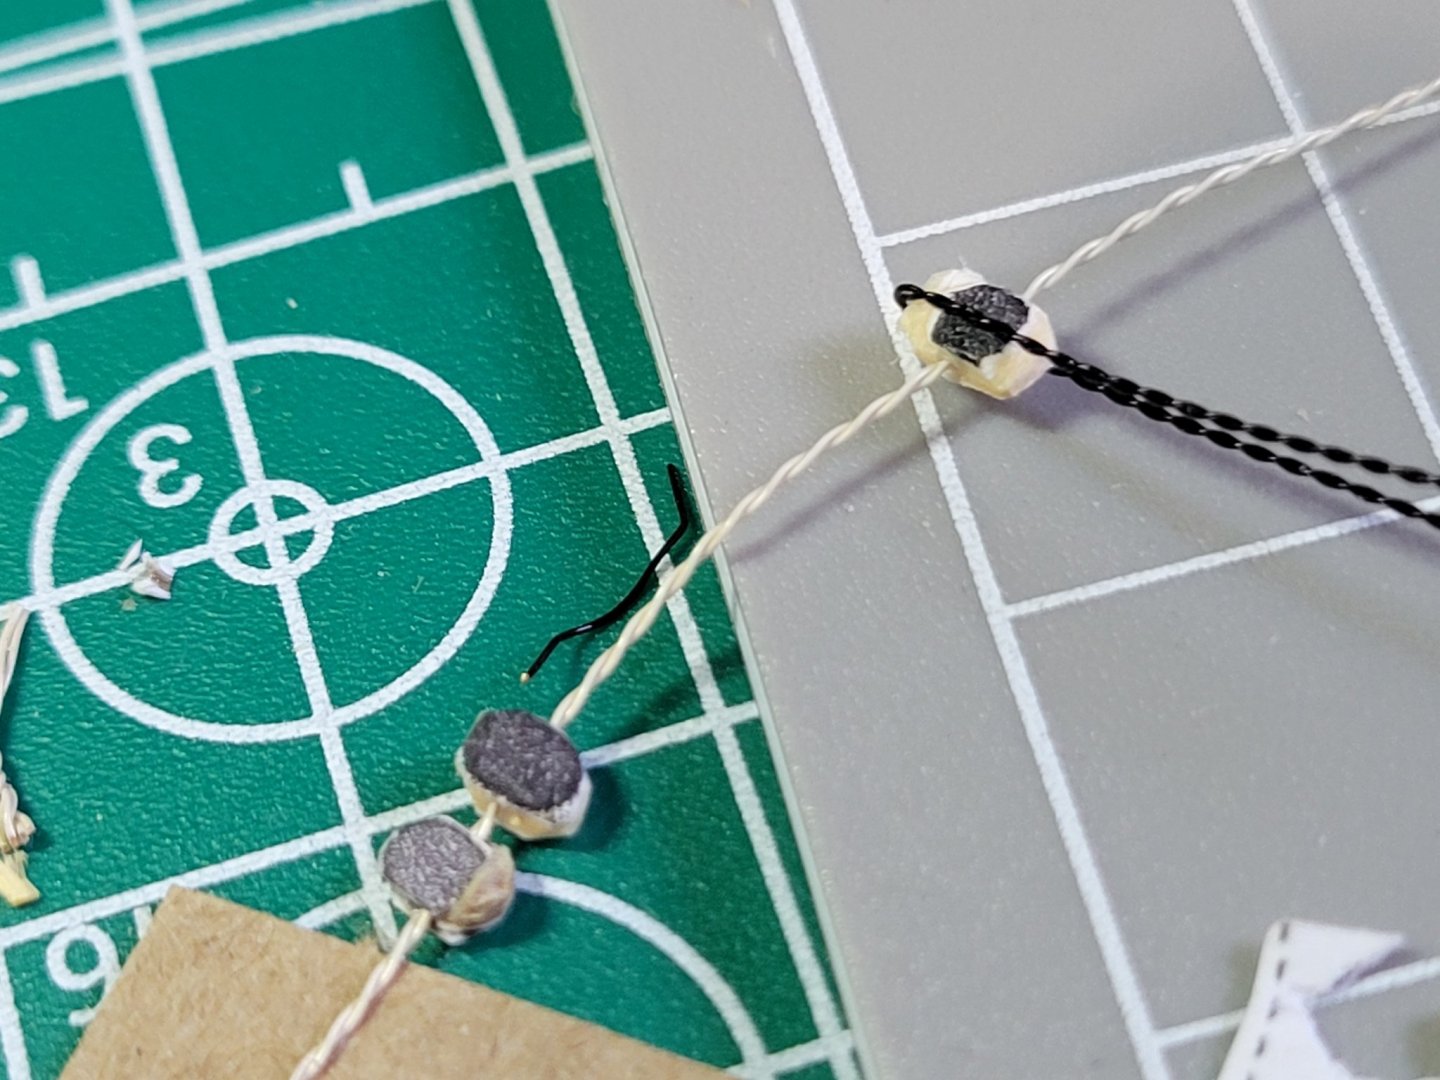
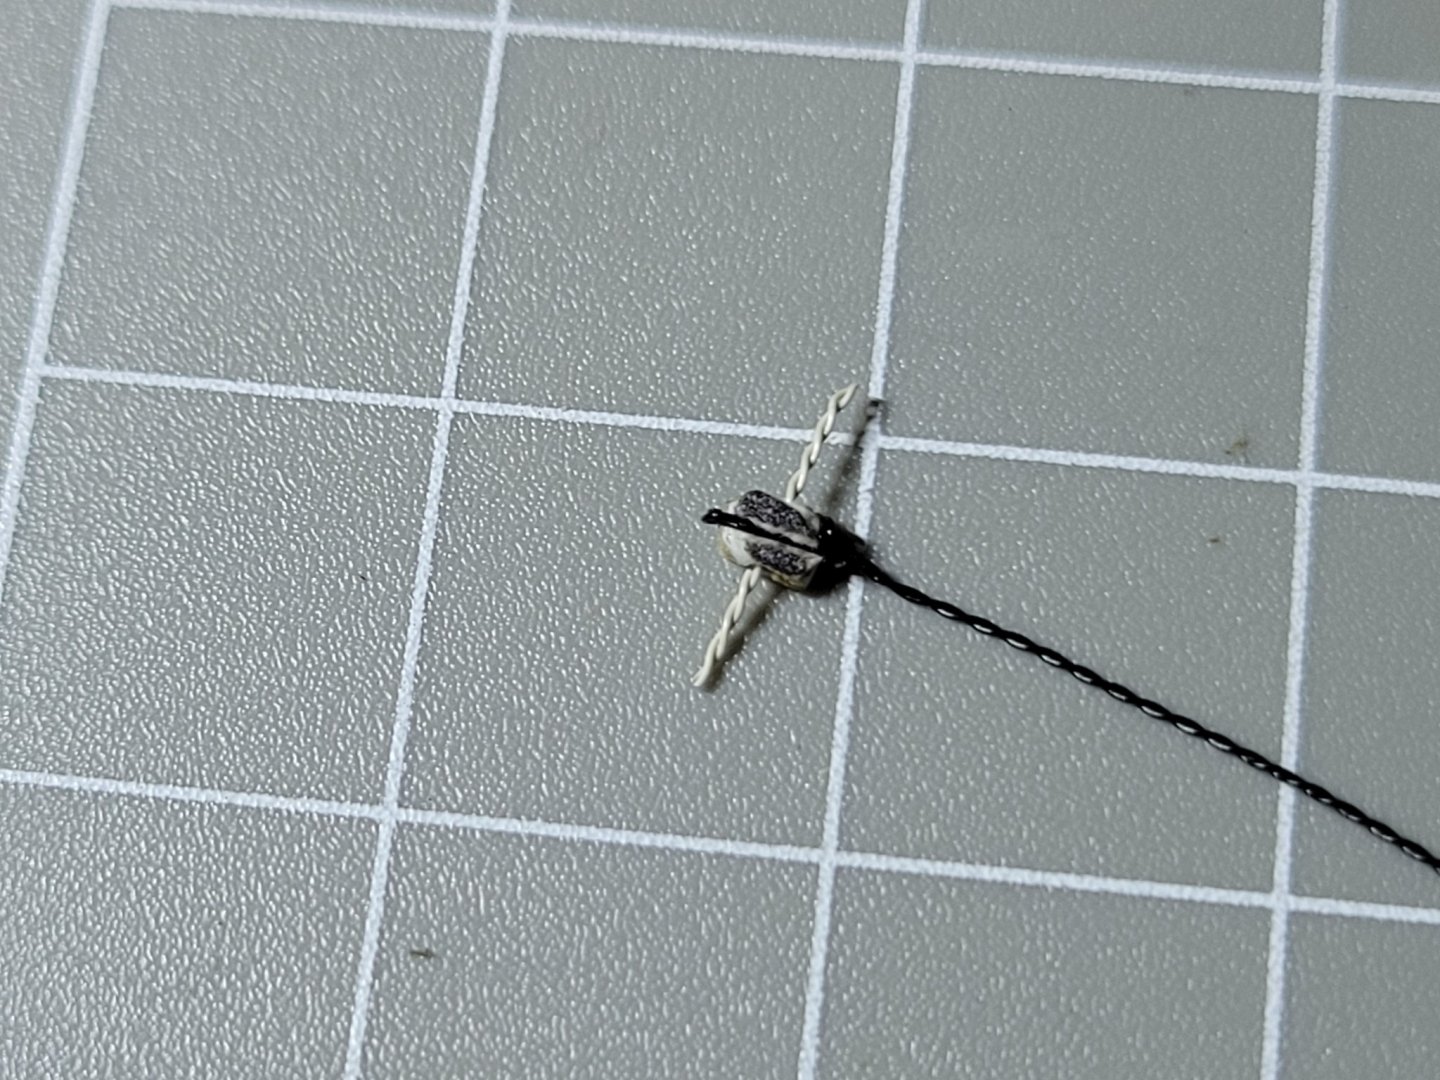
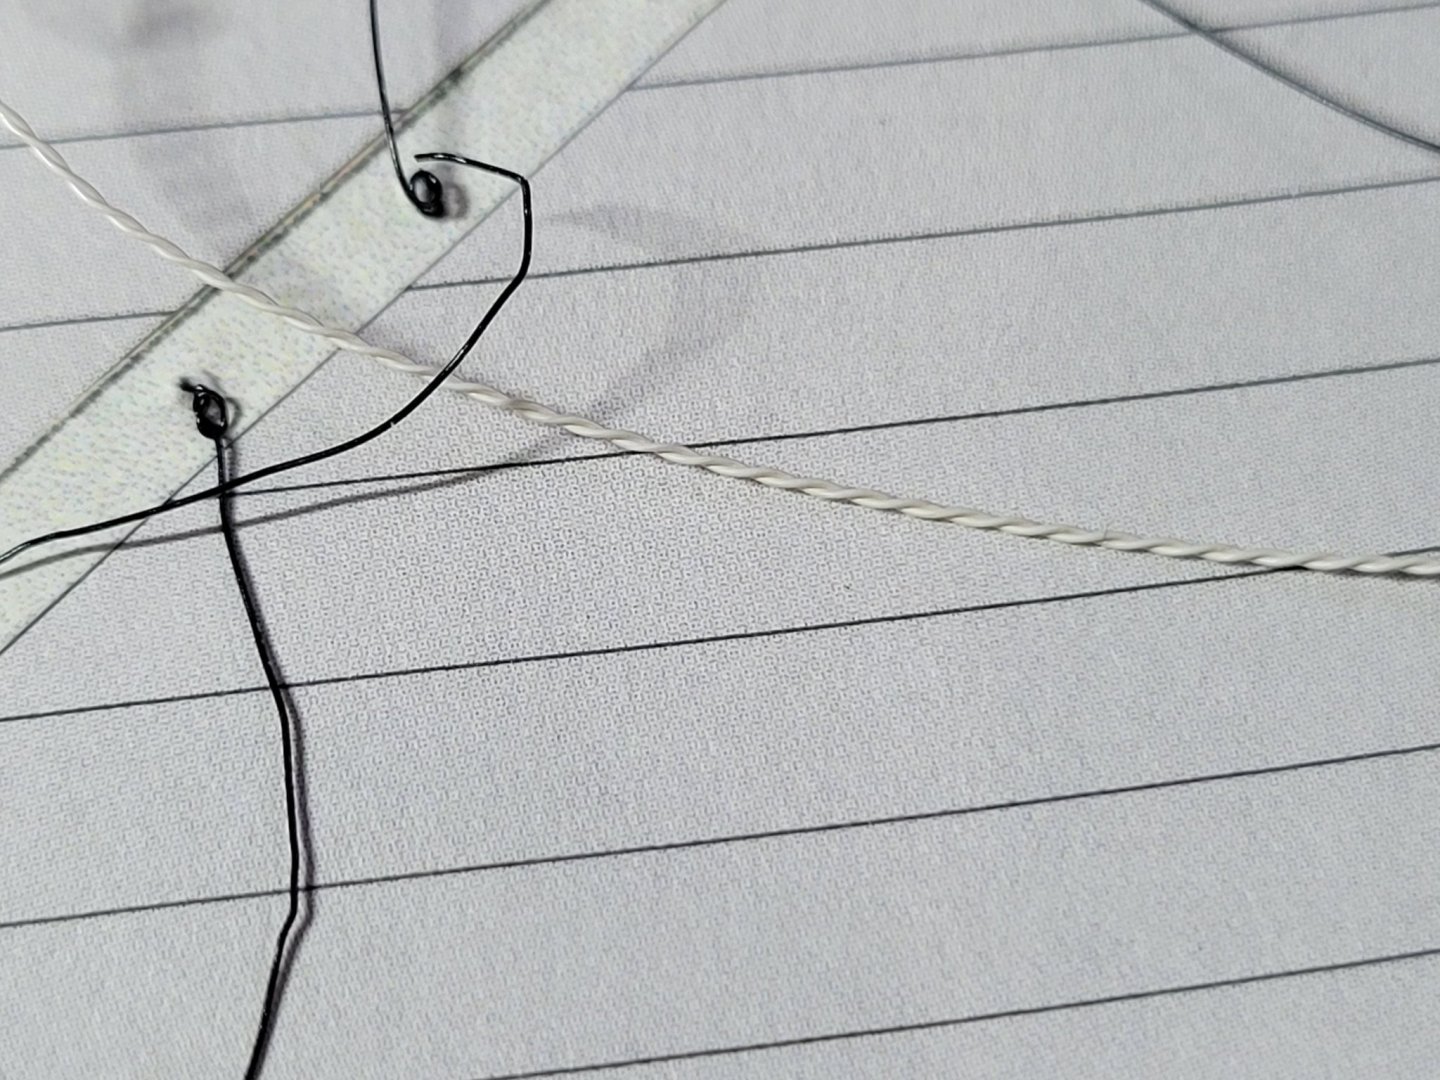
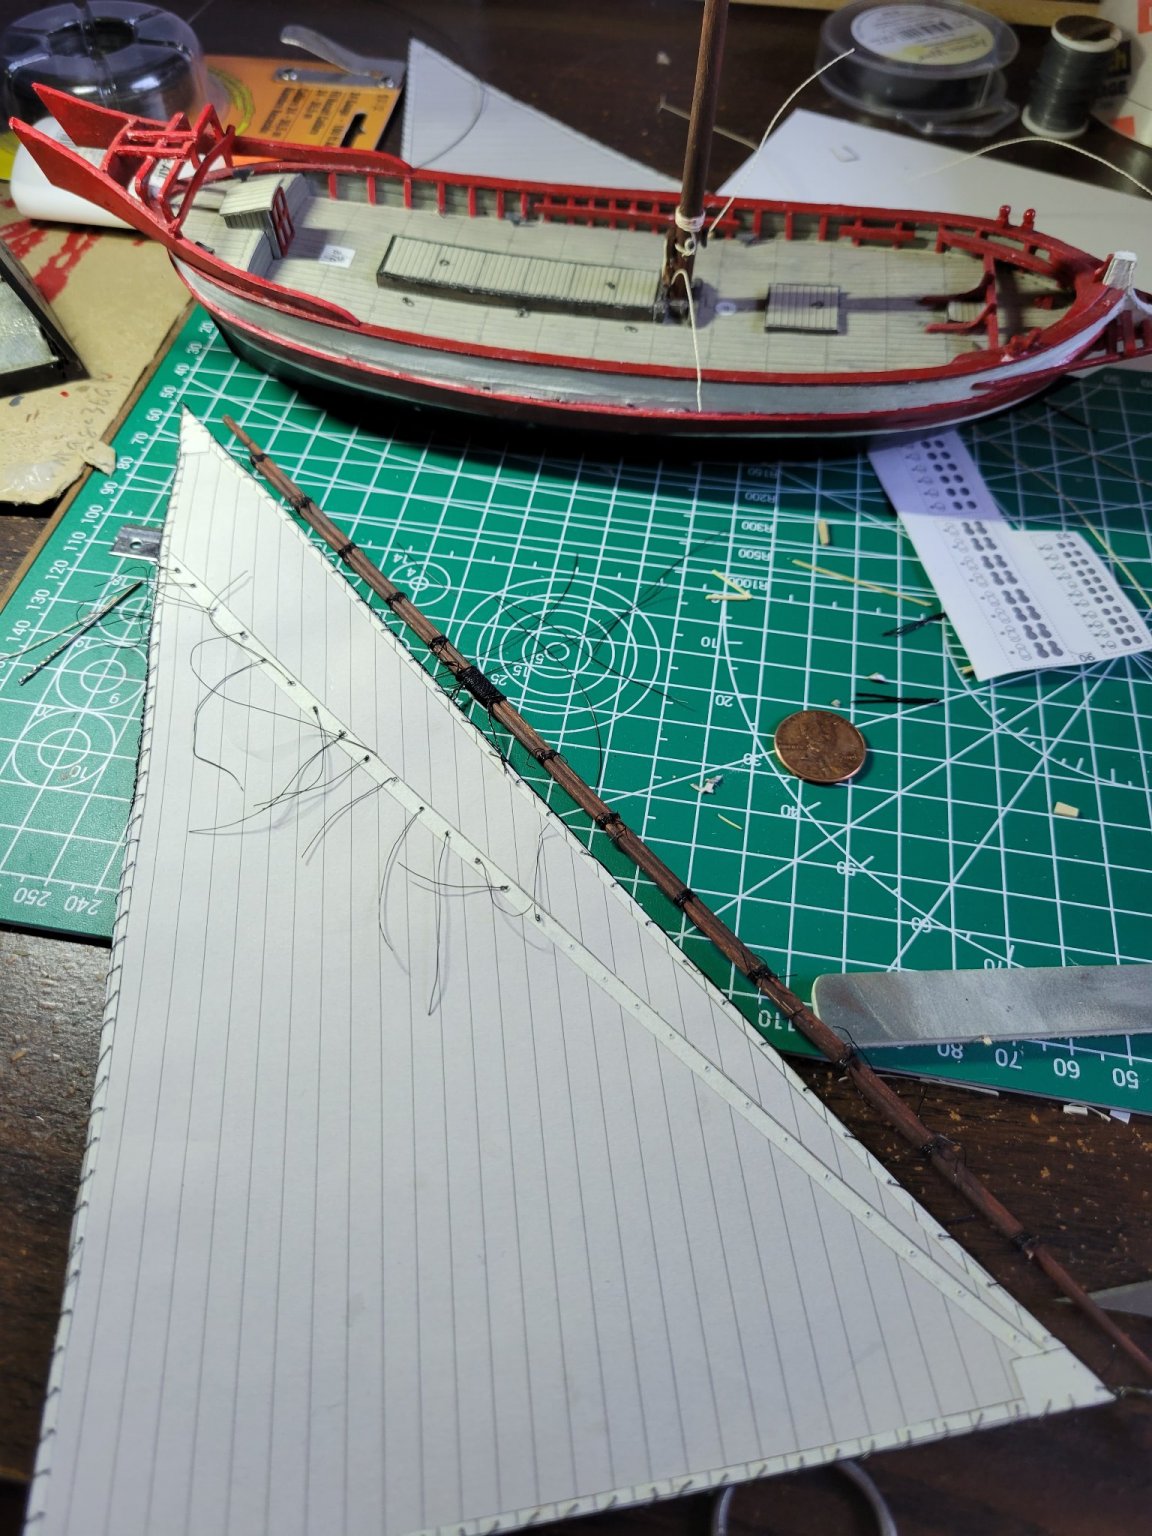
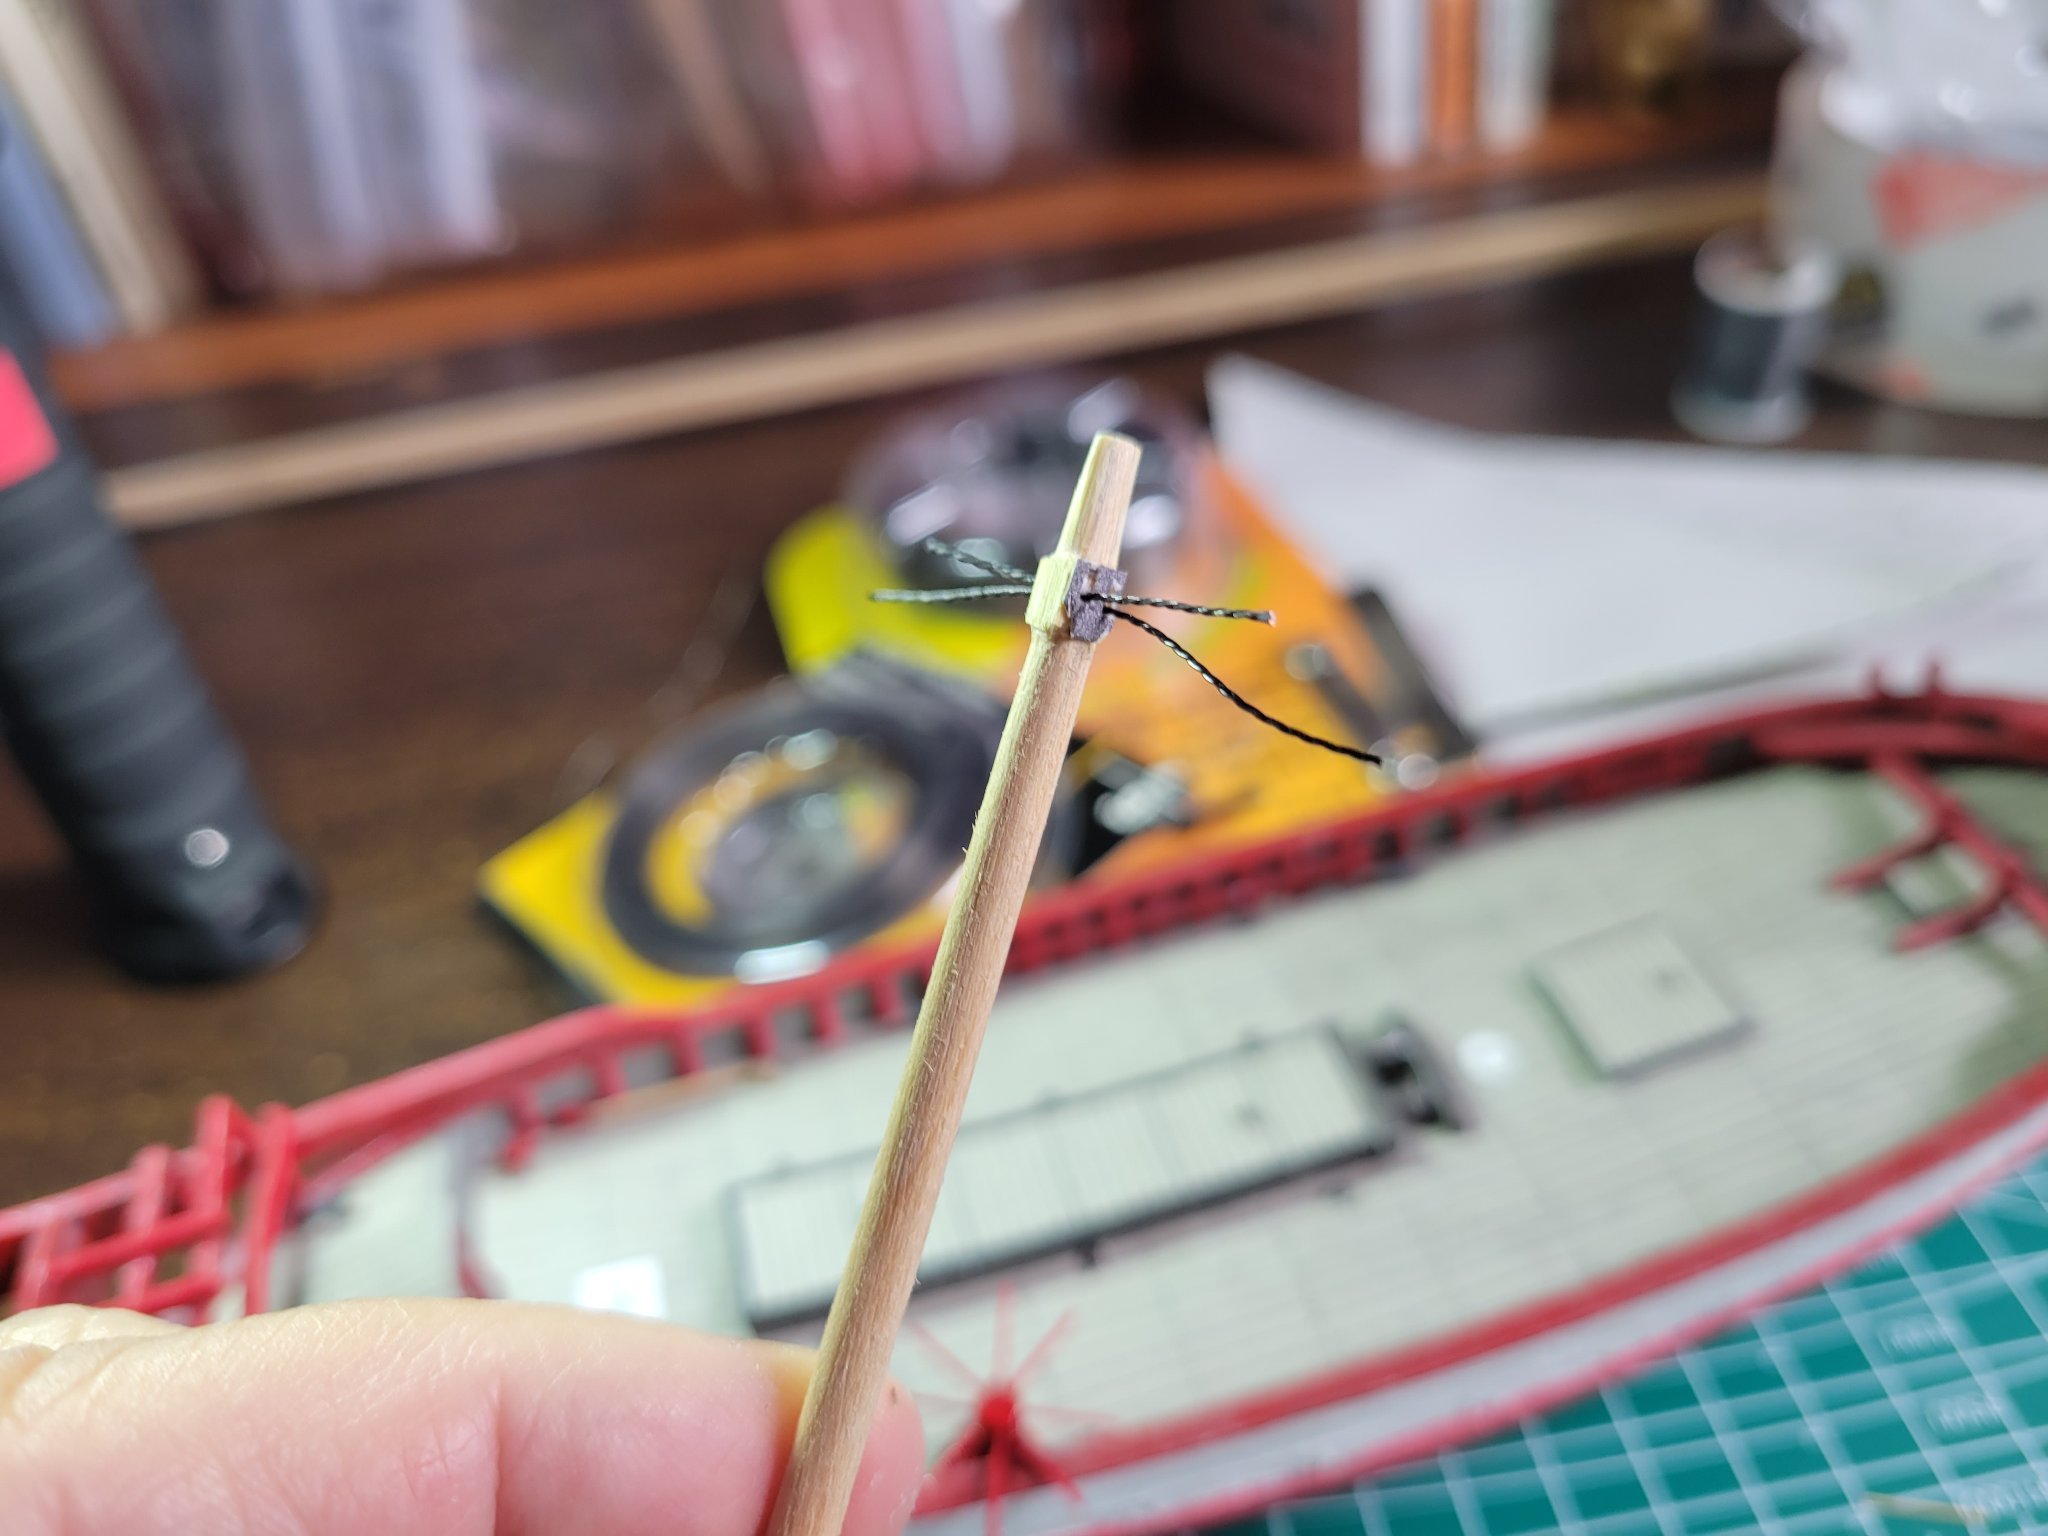
on to some of the hard bits
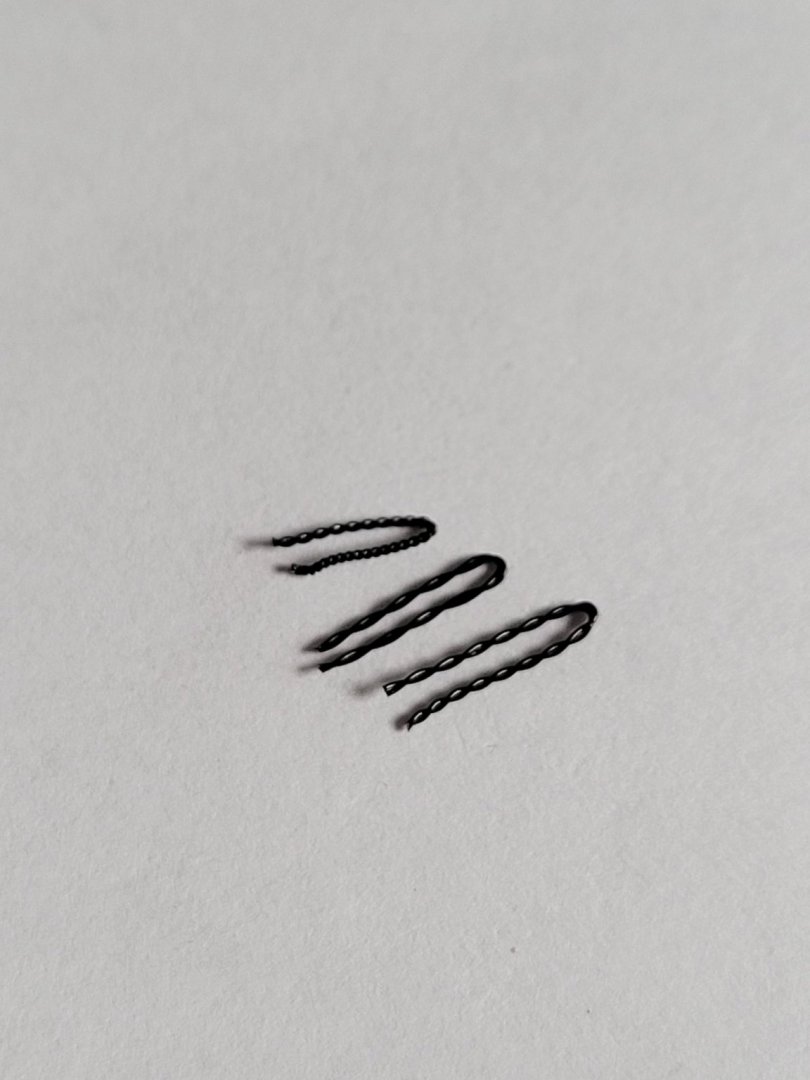
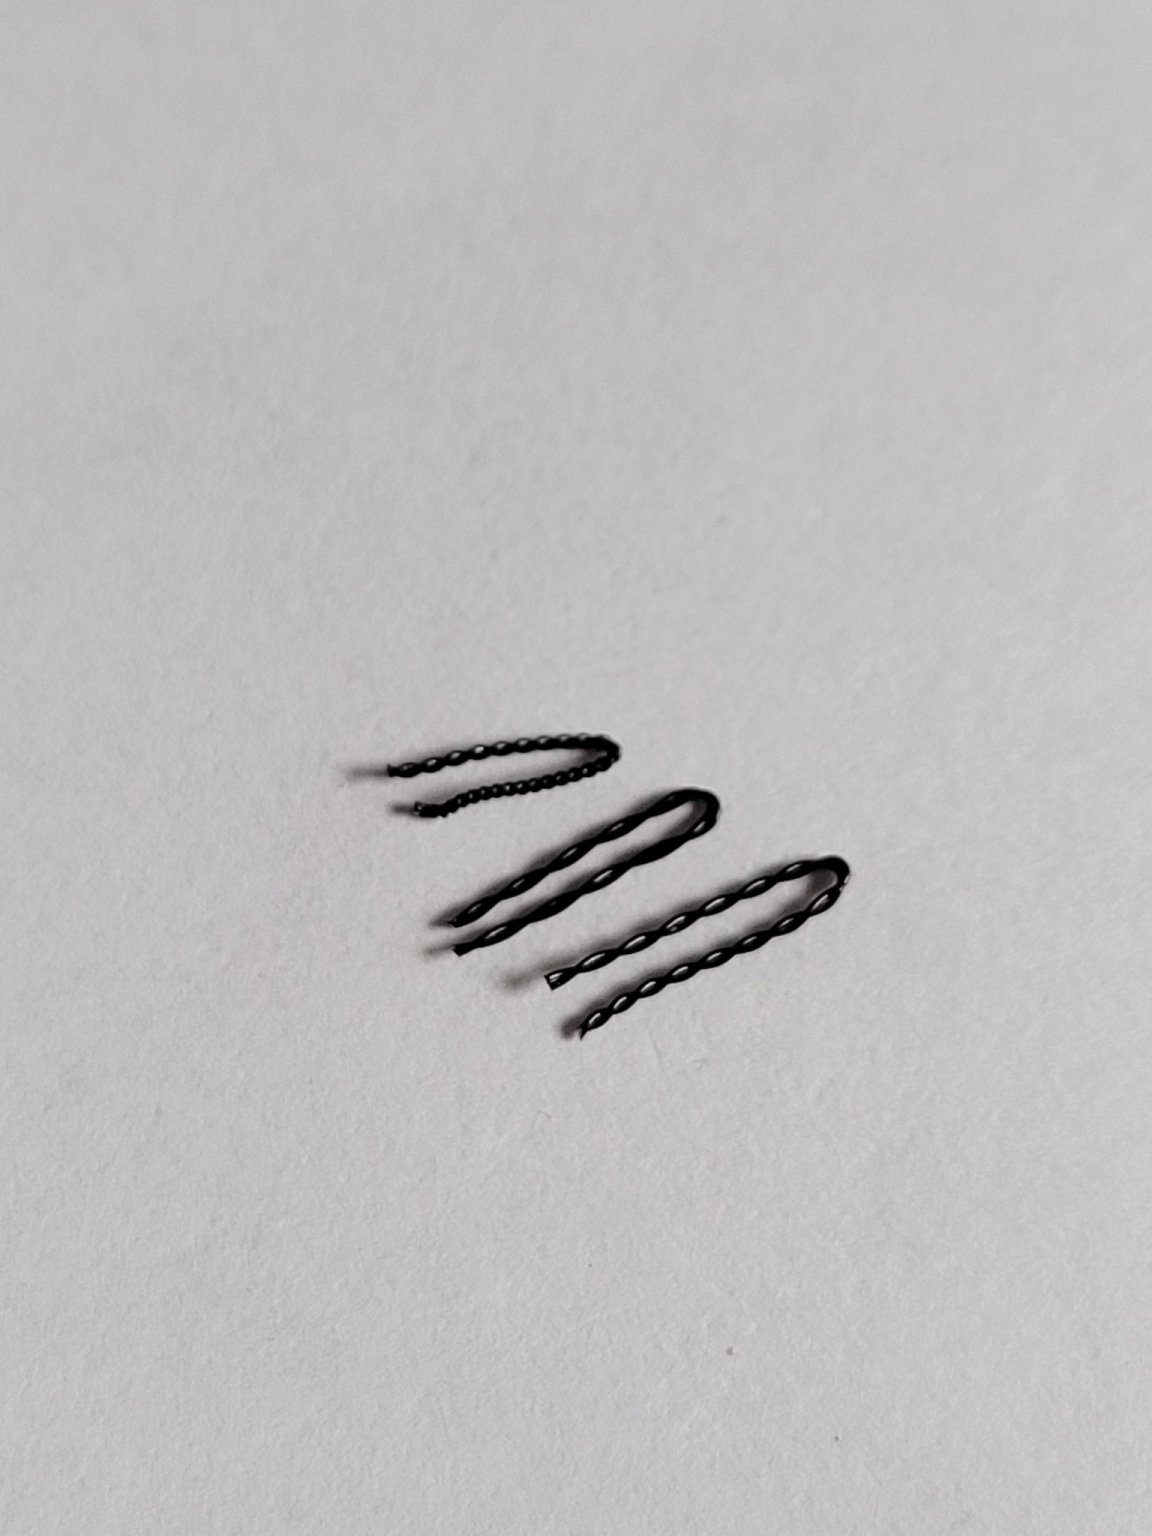
since my wire "rope" tends to come unravelled so easily when making loops or knots, i tried twisting some to the white up a little harder.
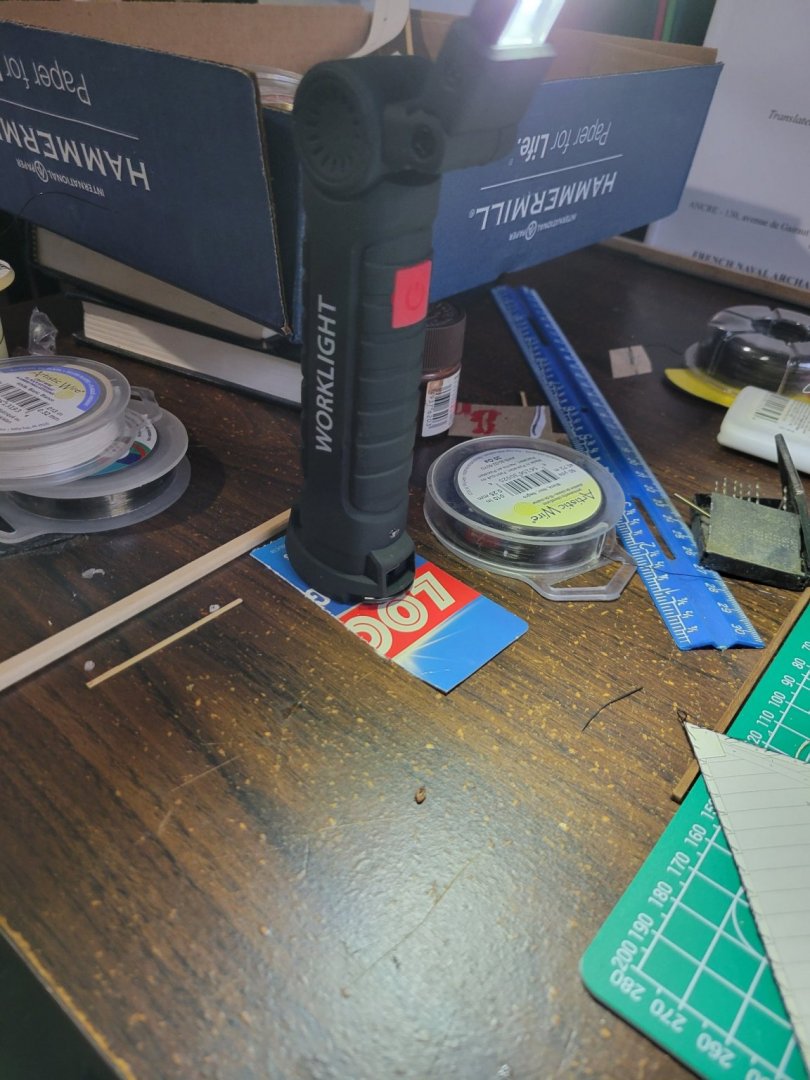
i found these great little battery powered led lights..bright and helpful to old eyes, but they tended to fall forwards (often onto the model) so i glued some card extensions onto their bases.
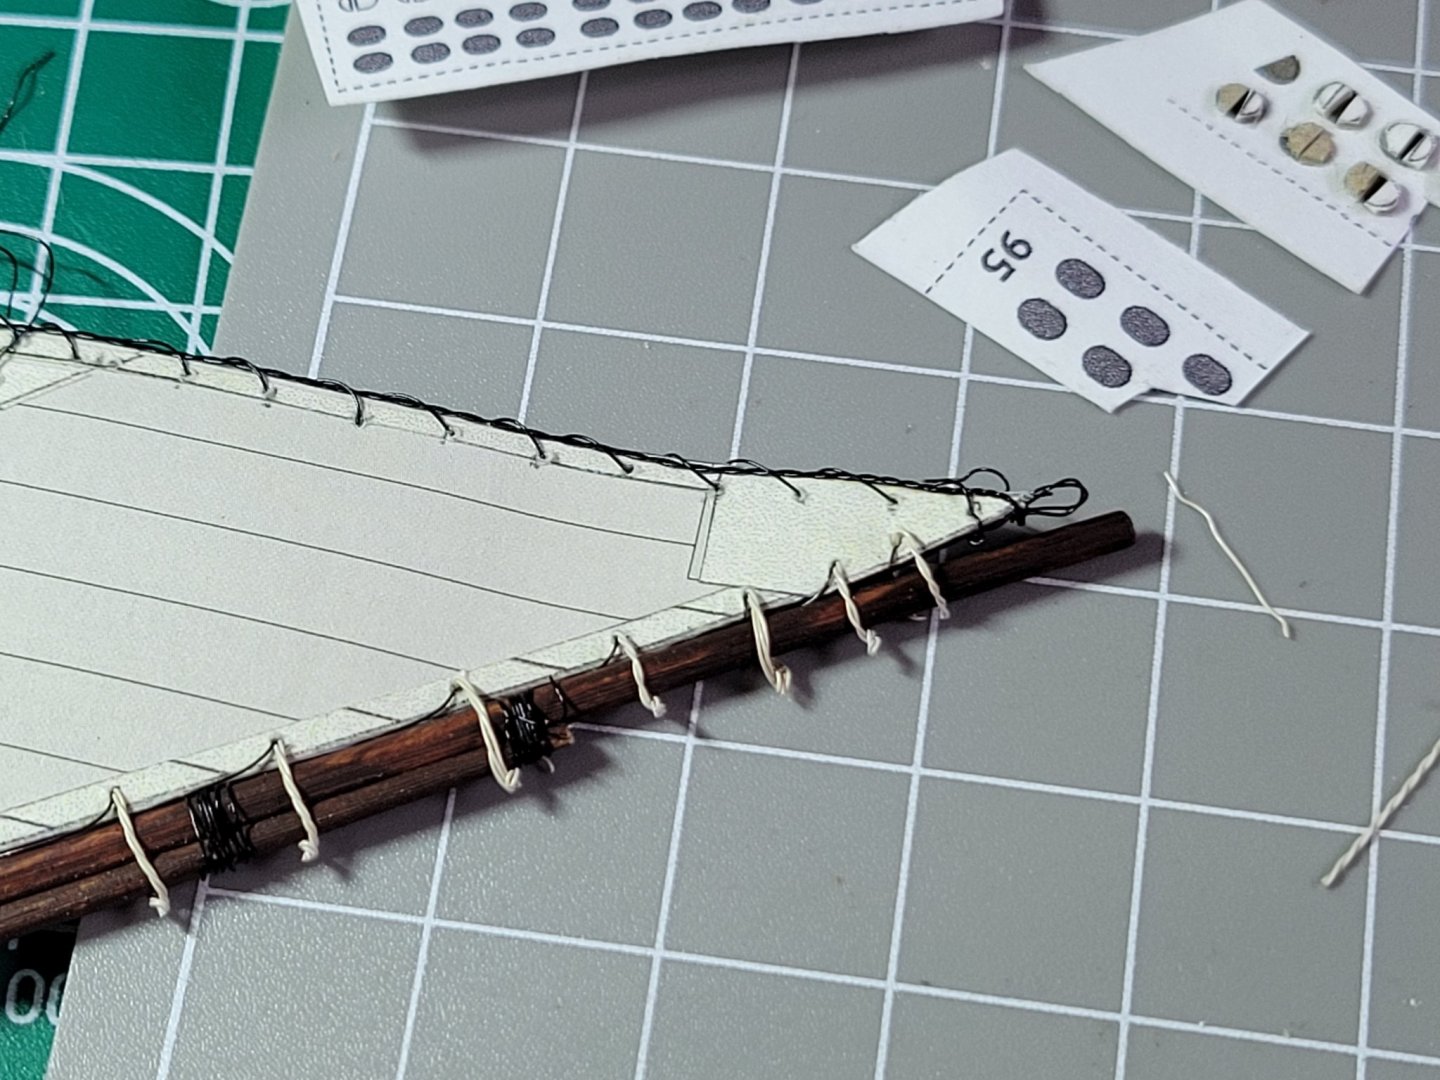
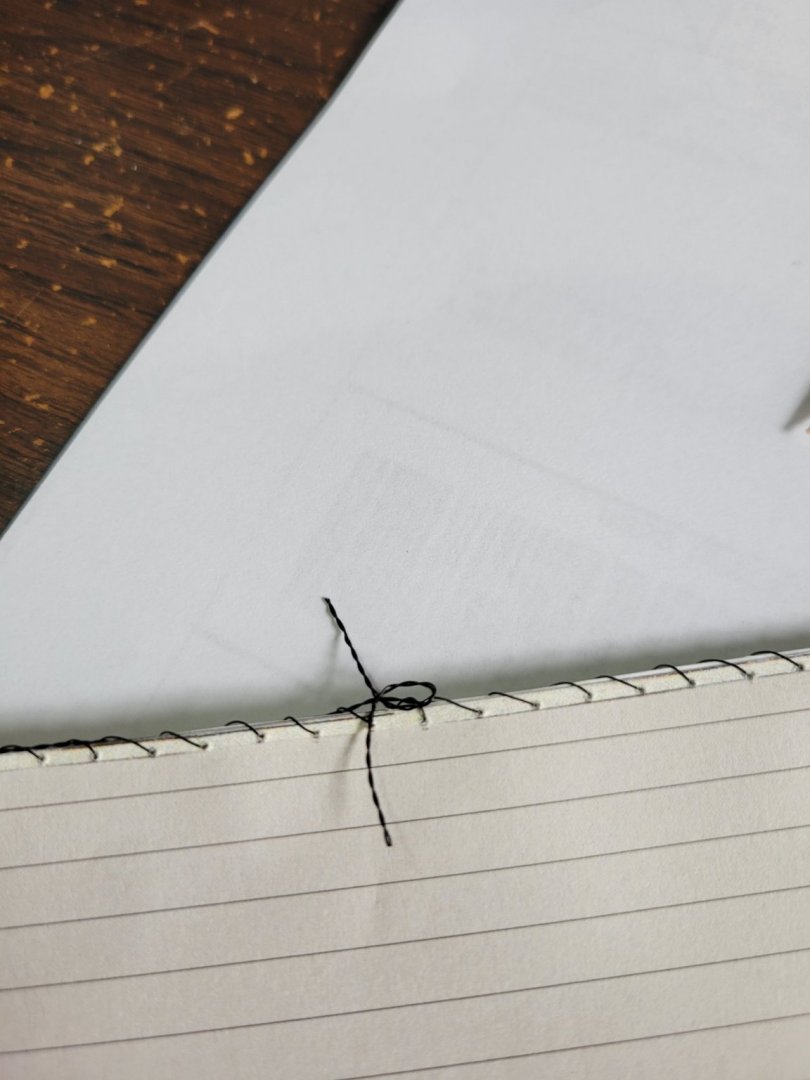
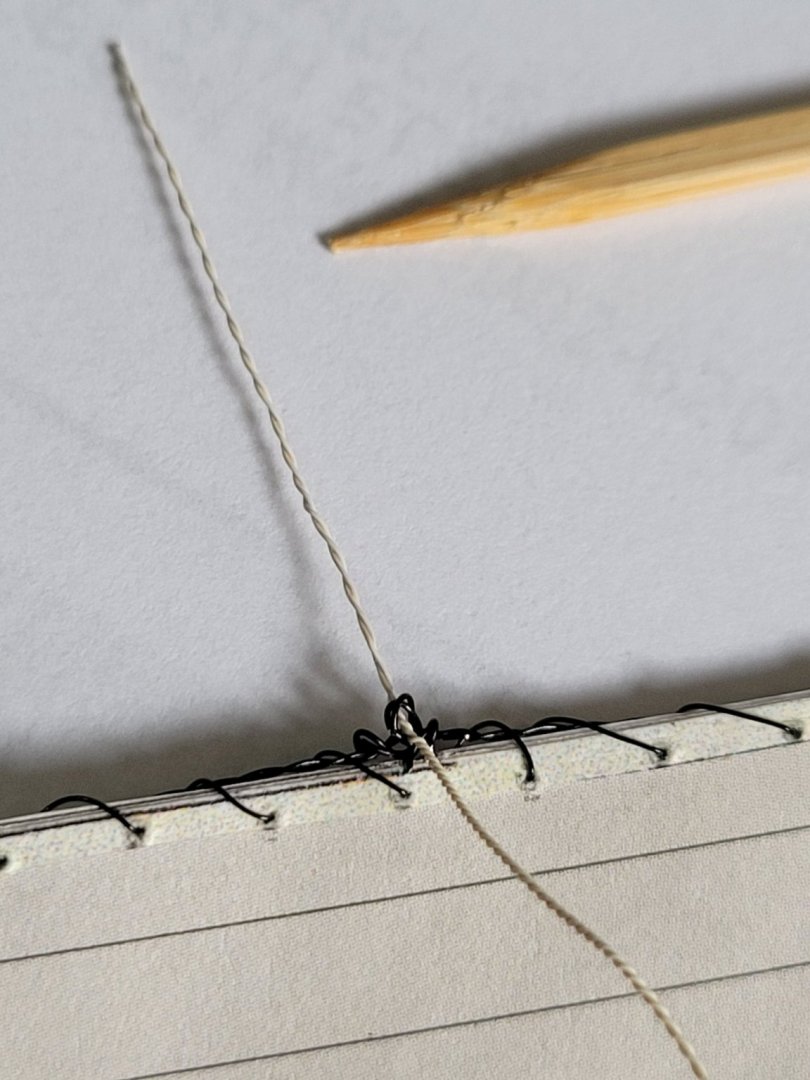
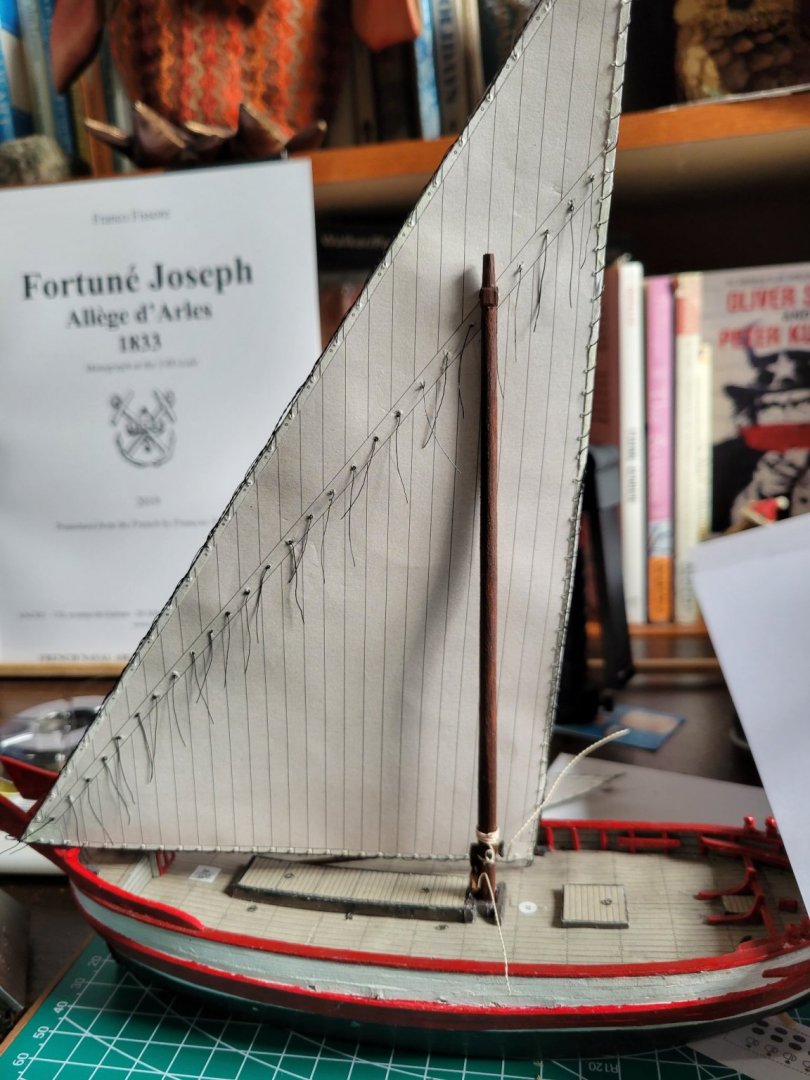
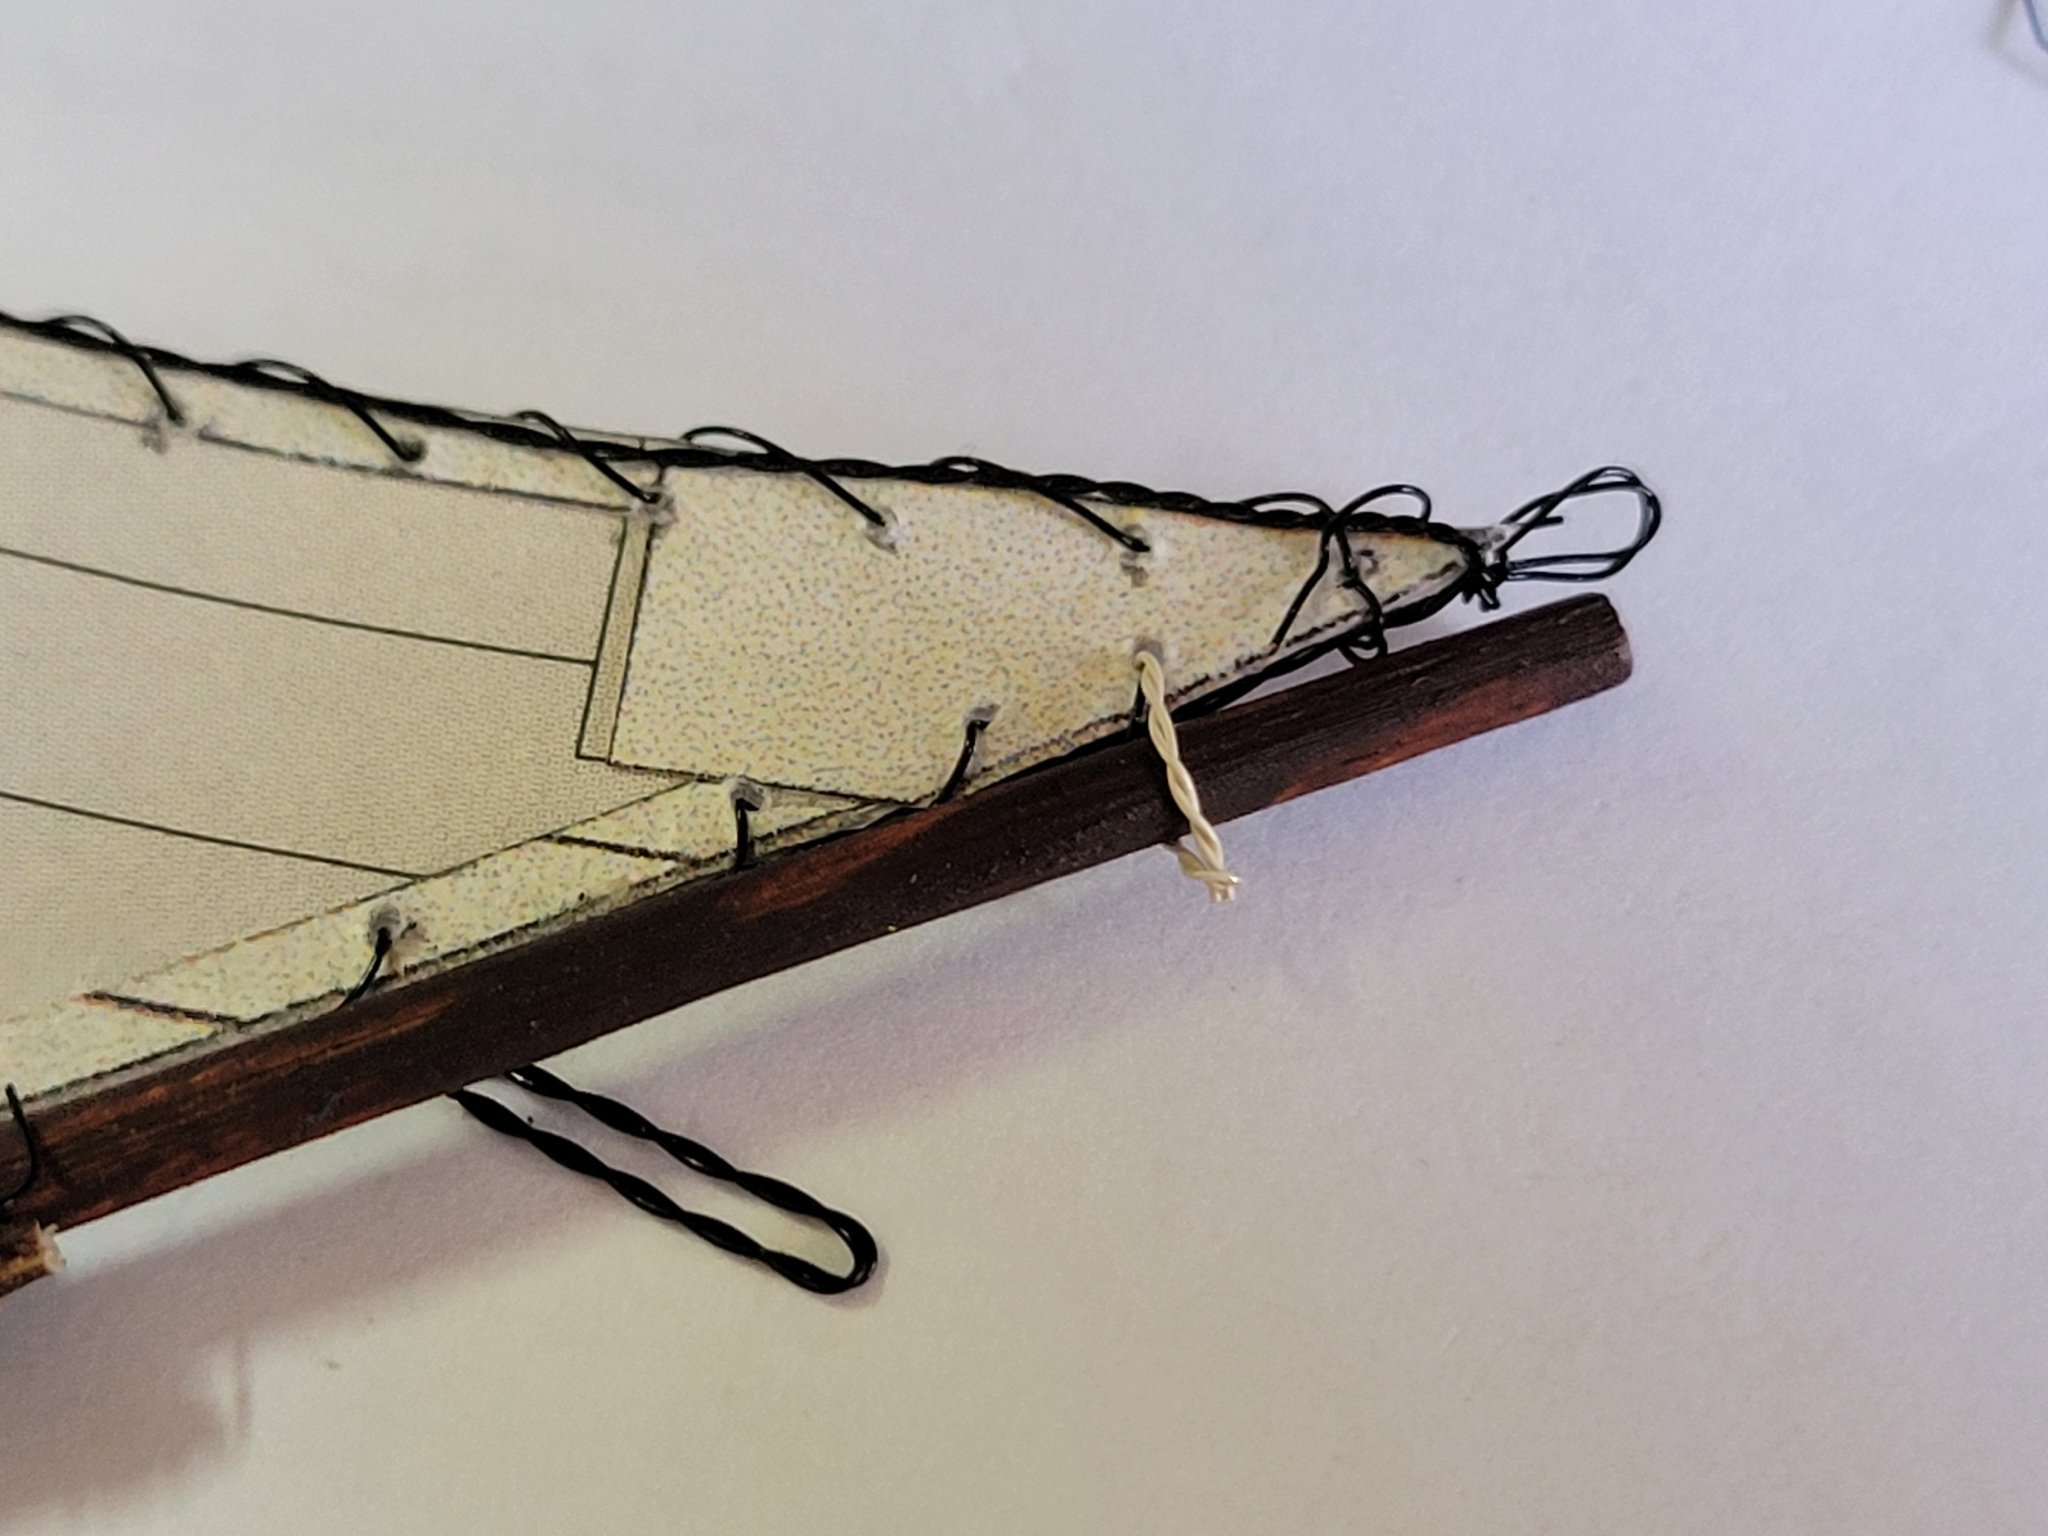
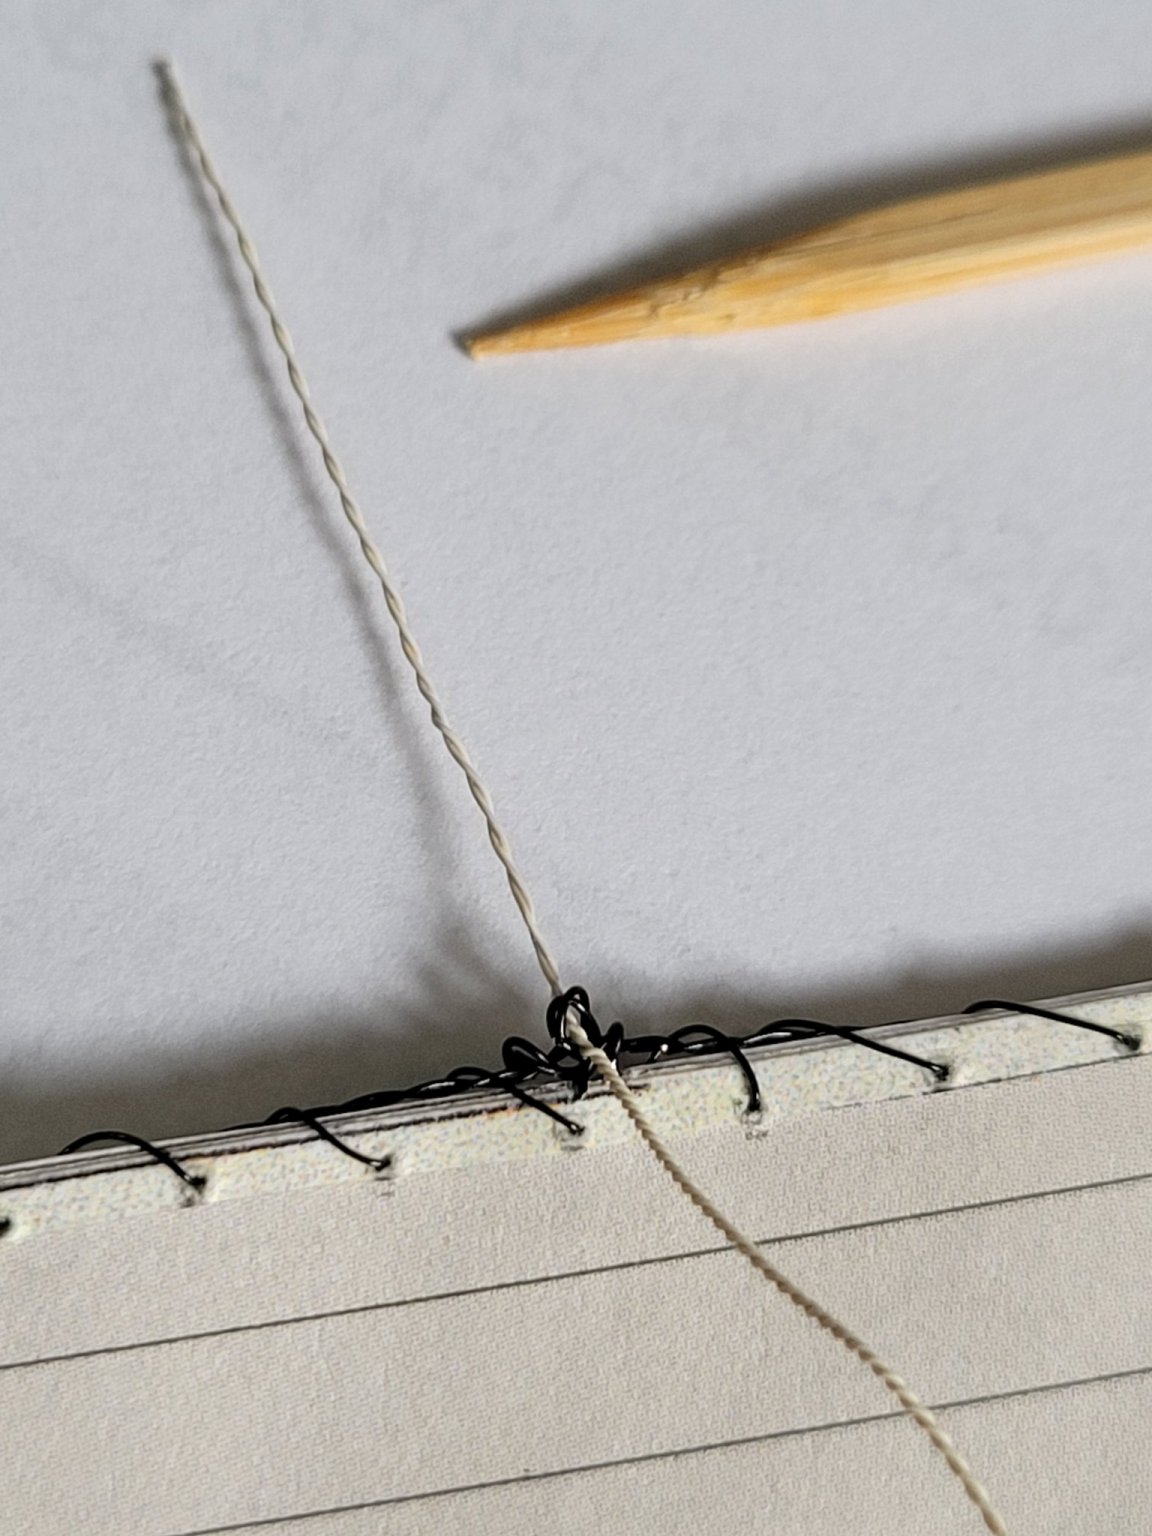
The sail has 3 eylets attached to its edge, I started by first bending them to shape....but then it proved impossible to attach them to the bolt rope. So I had to start with a longer piece and loop it through from each side, and then tighten it up. Nice thing about wire is that often you can do things like this without having to get out the krazy glue, the ends just fold back over the bolt rope, get clipped off and we're ready to go.
I finally finished all the pesky little reef points and was able to trim them to a common length.
Next we have to see about lacing the sail to it's long, long yard.
- ccoyle, tkay11 and GrandpaPhil
-
3
-
Well... the cat is black and white... so eventually he will match the color scheme
-
-
another day in rigging land
After all my worries I ended putting the bottom block on upside down
its a sign of age that i no am no longer willing to remove it and rebuild the whole thing "correctly"
Going to have to wait until I can get all the rigging on the main mast, and hang the sail as well, i think, before i dare glue the mast in
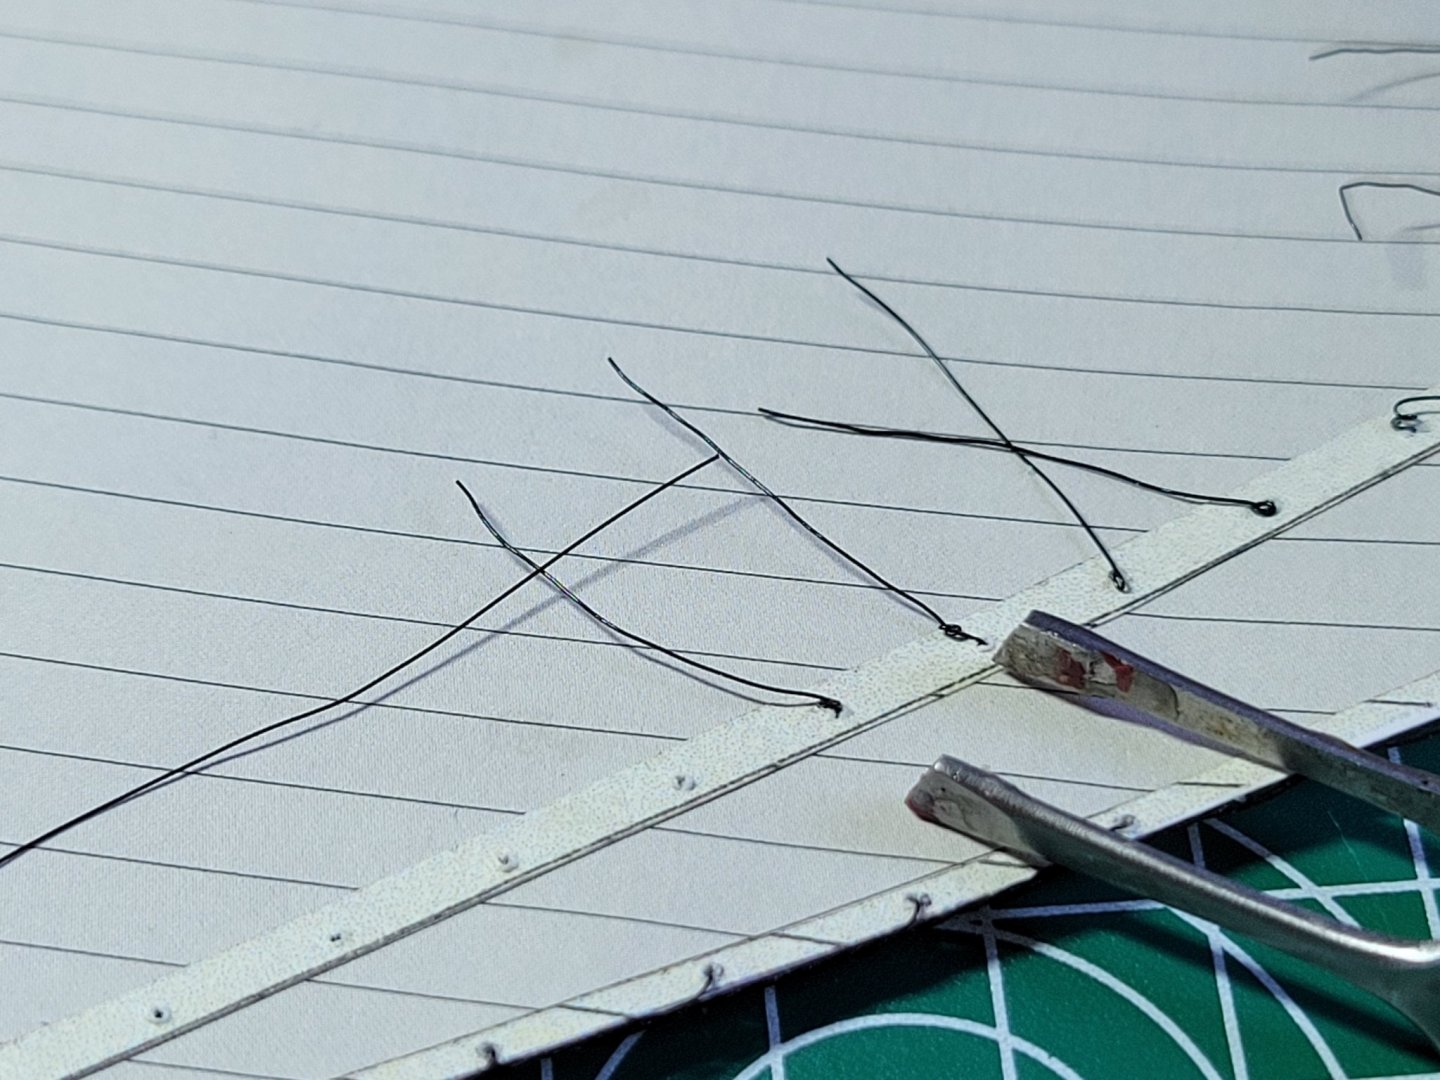
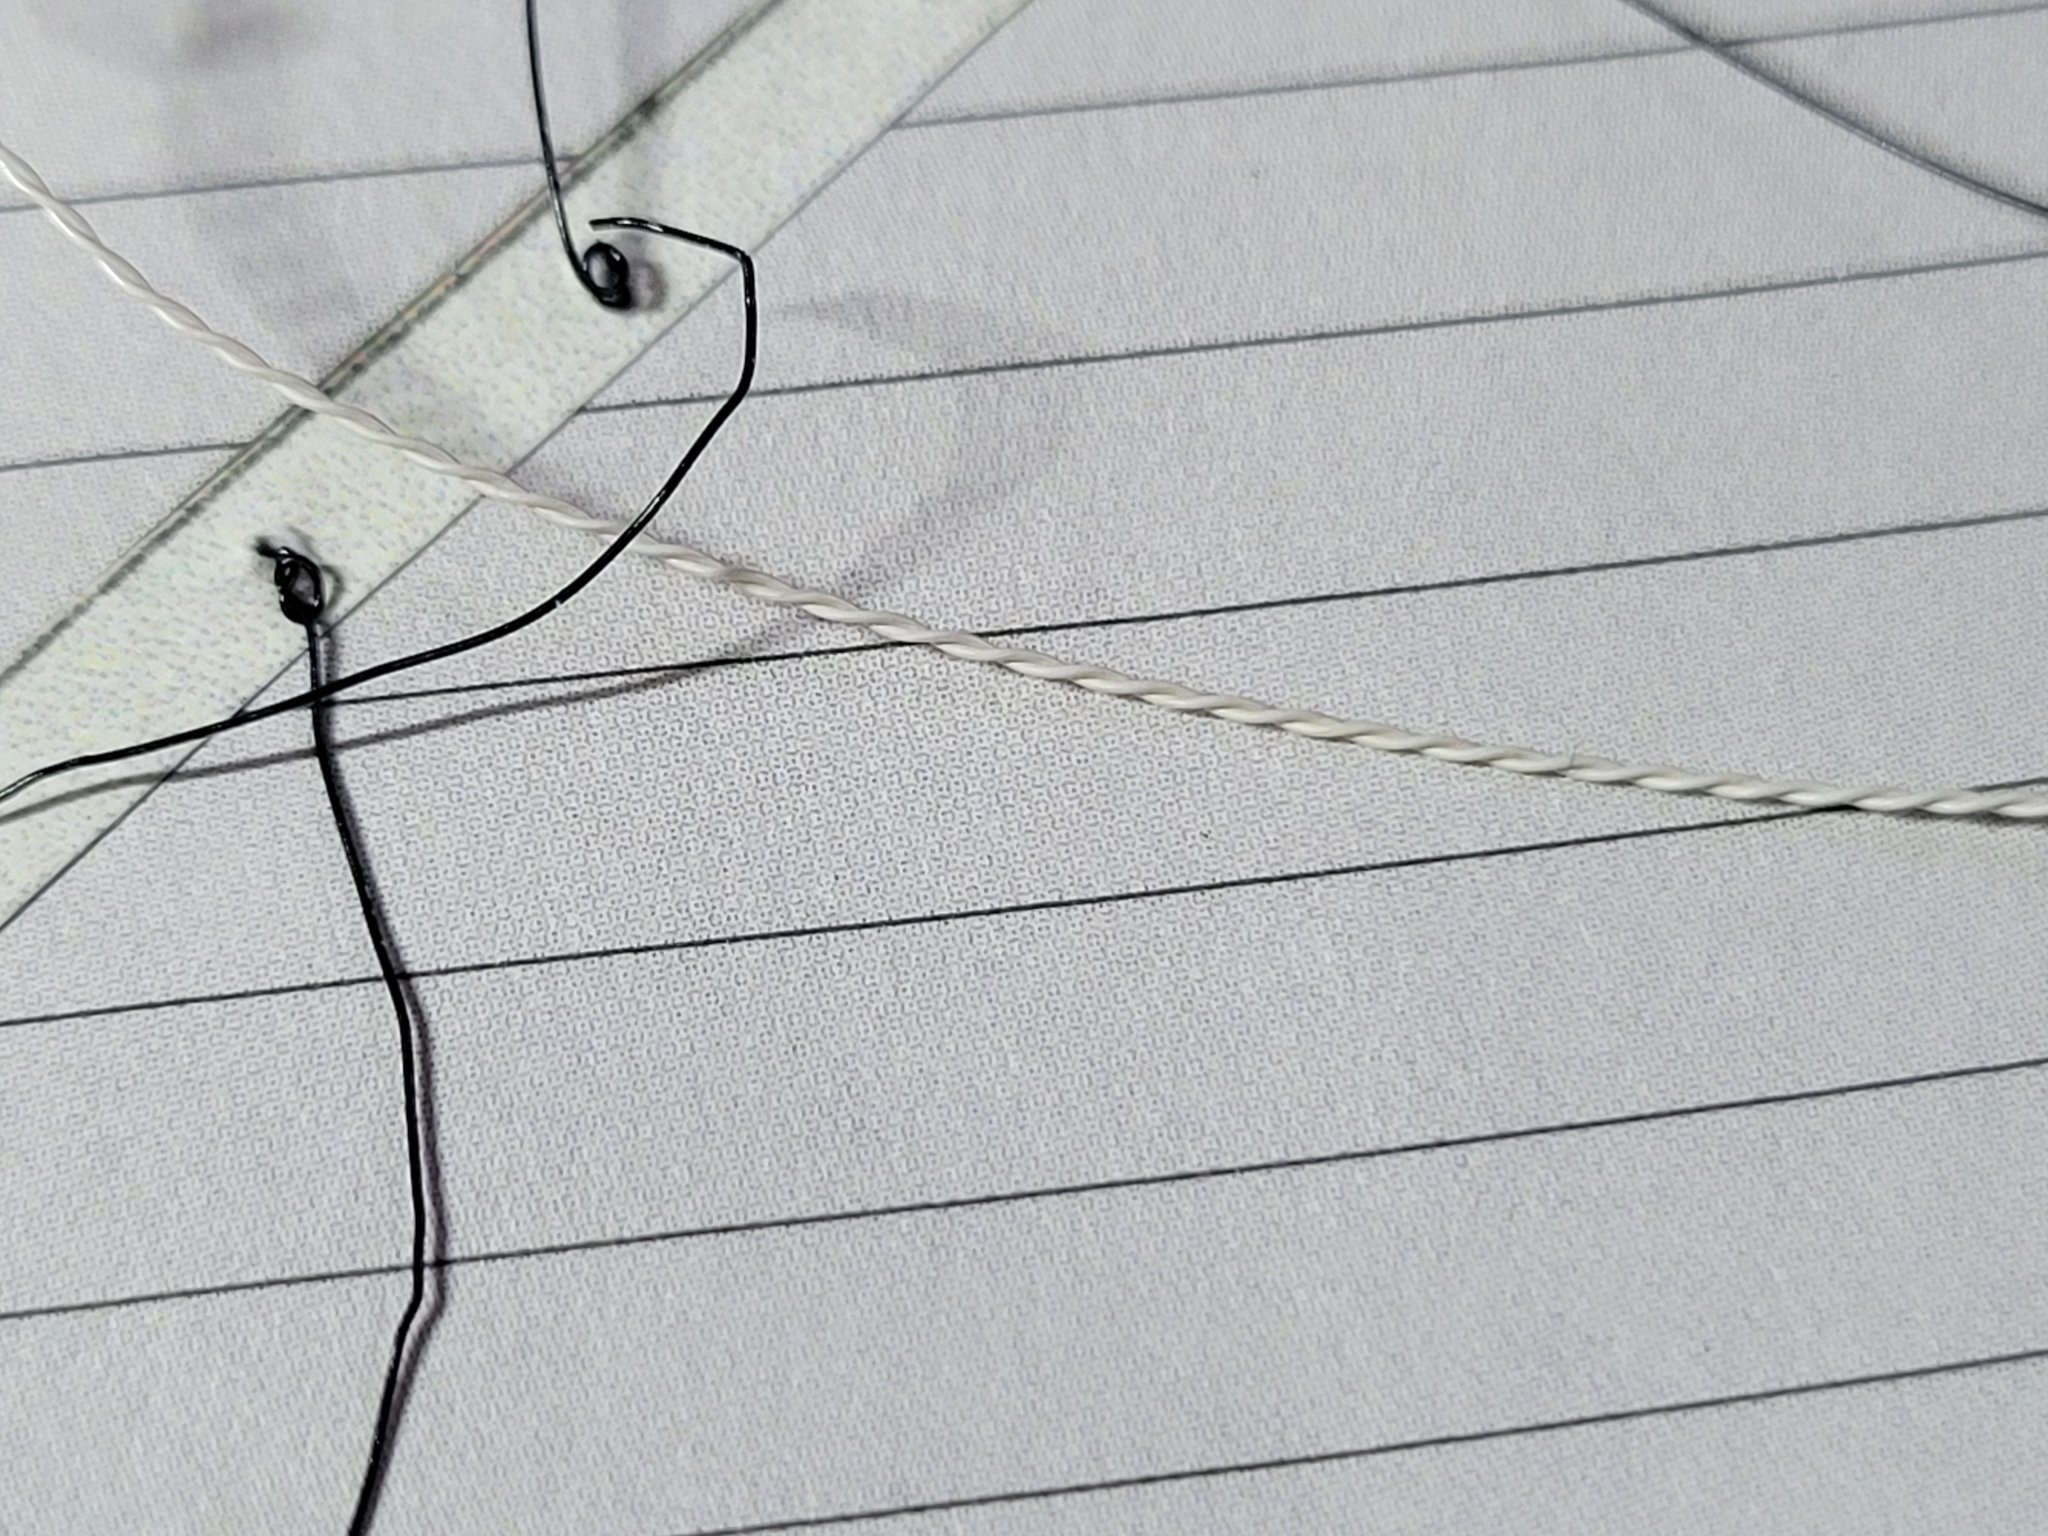
So I'm back to working on the reef points...they drive me crazy
I can tie a little knot on one side...but not successfully on the other
That stumped me for a long time
Then i realized it didn't actually have to be a knot, it just sort of had to look like one
so now i make a couple of tight coils and sort of mash them together into a blob on the off side...sort of looks like a knot


- GrandpaPhil, kondzik, Rudolf and 1 other
-
4
-
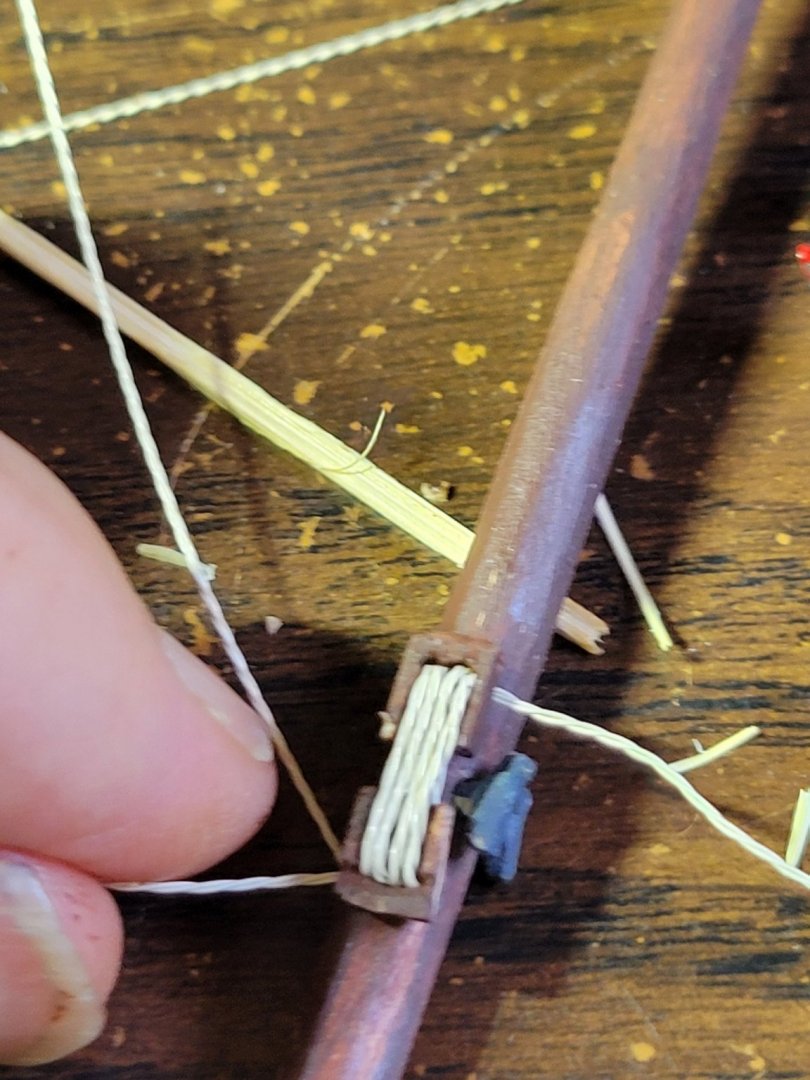
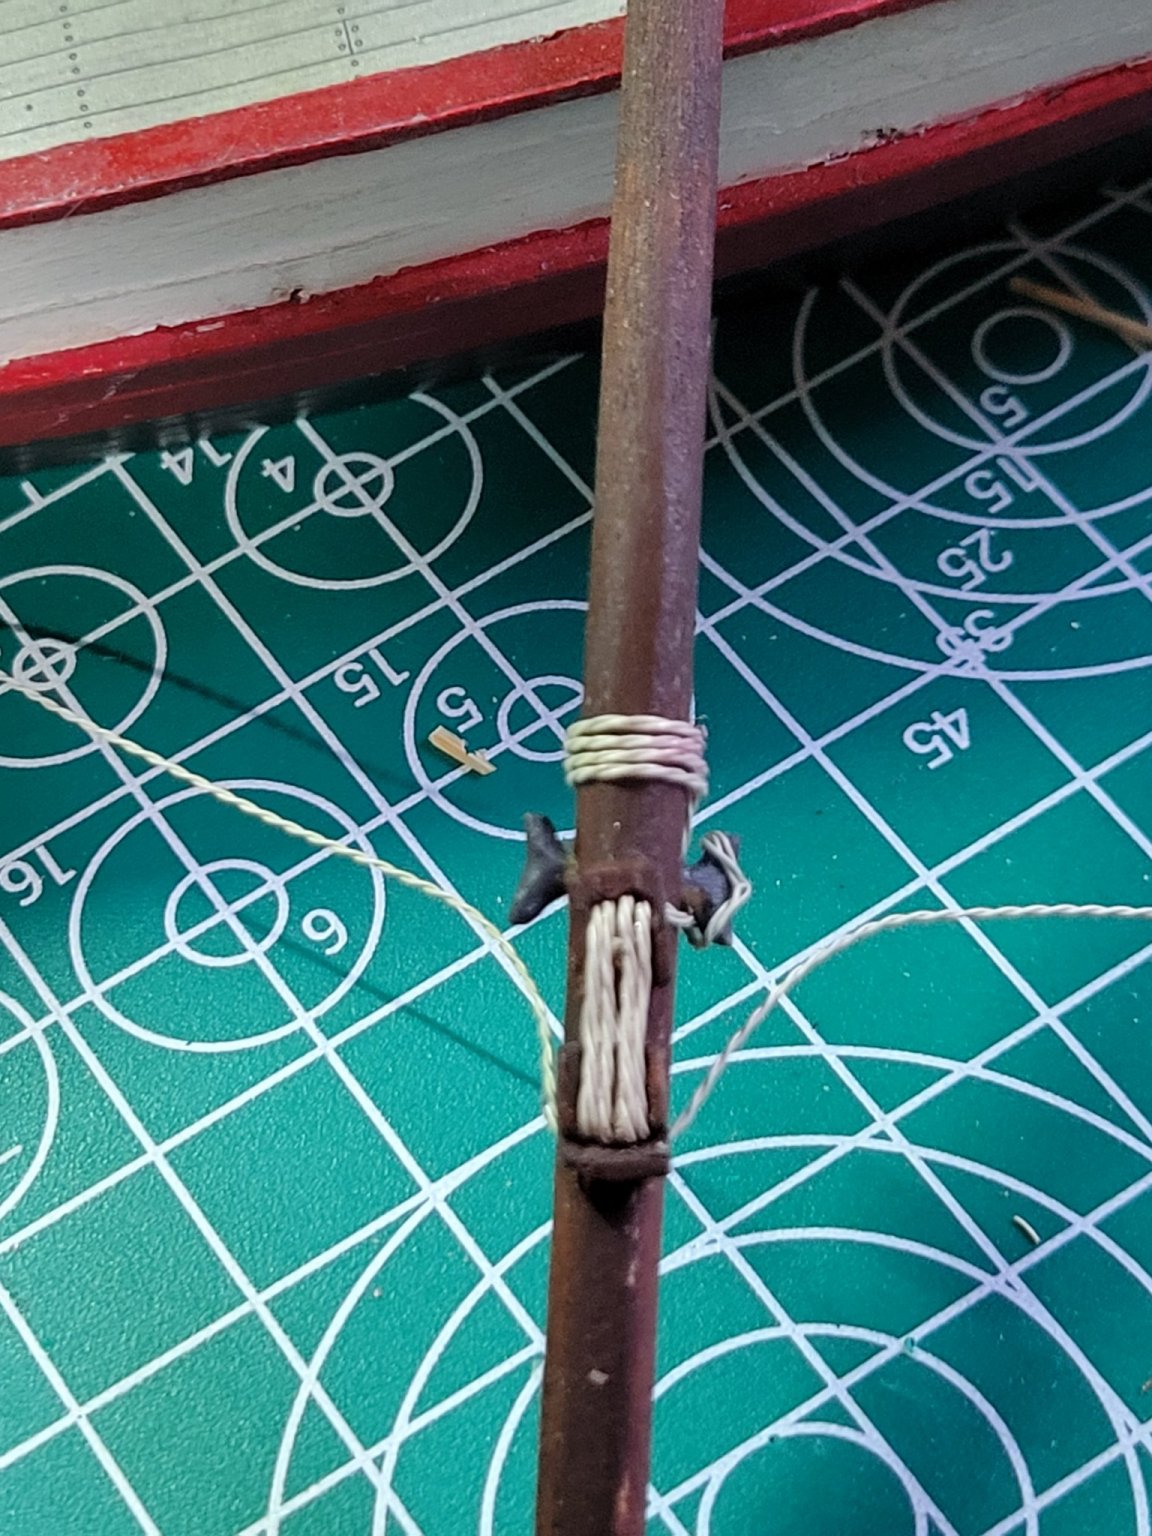
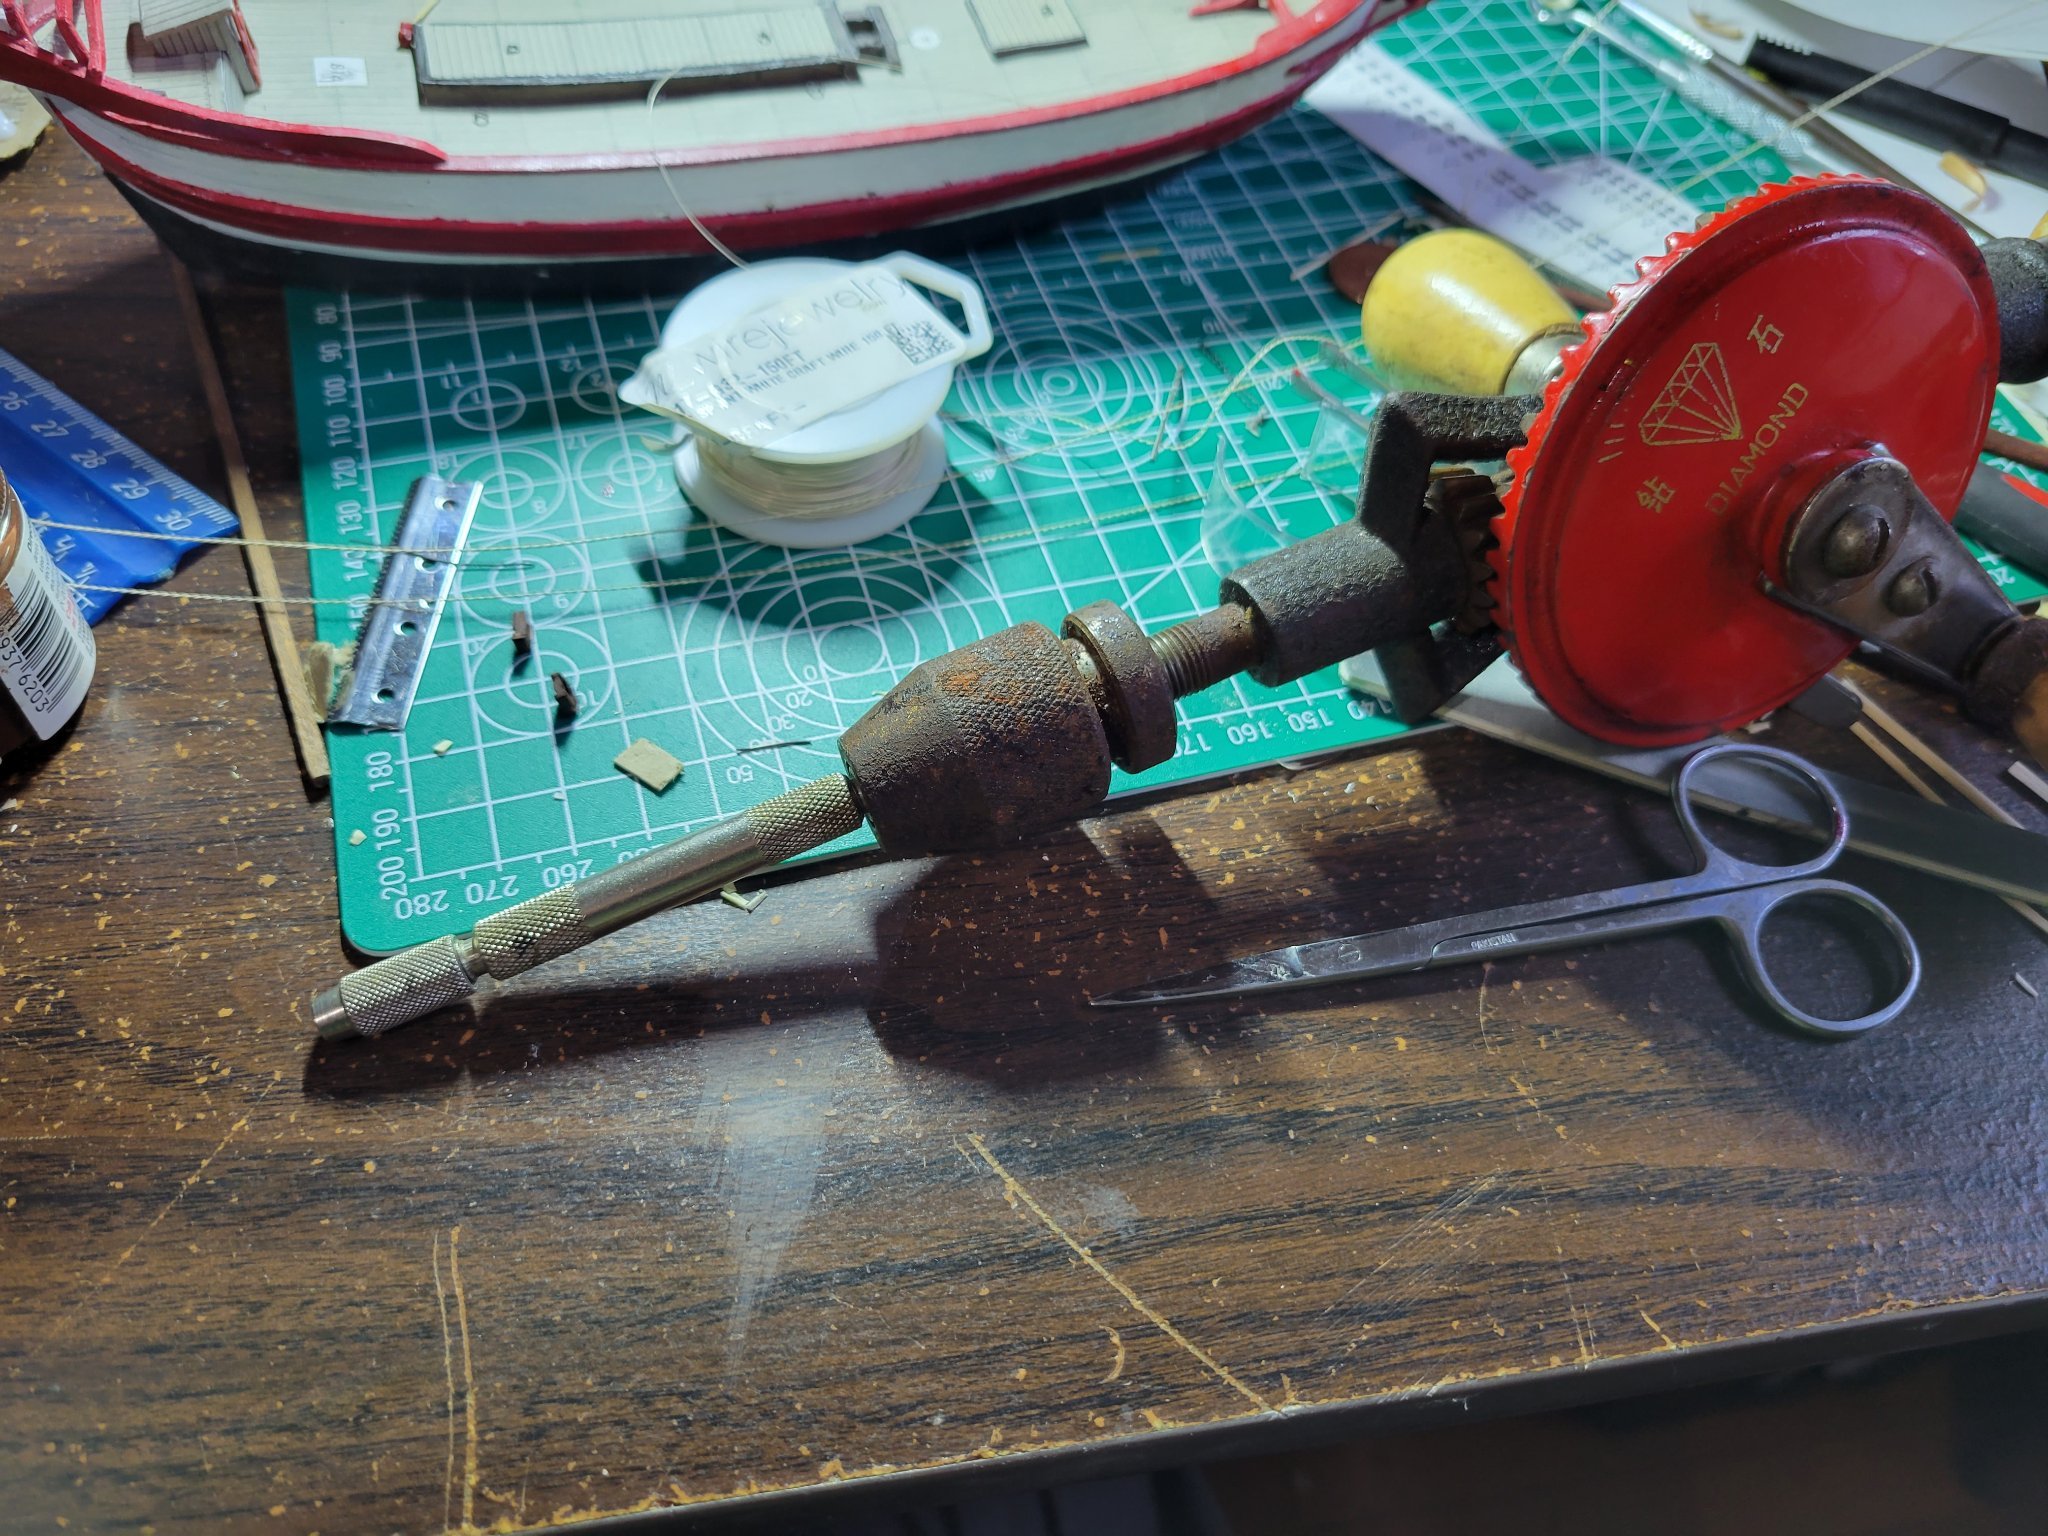
So, taking the bull by the horns...we start on the rigging
i mated an old hand drill with the minature drill holder to make something to use to twist the rope
i tried 2 strand and 3 strand...
i've decided i like the antique white...i've never found a way of doing the running rigging unbleached that satisfied me...maybe this will work out
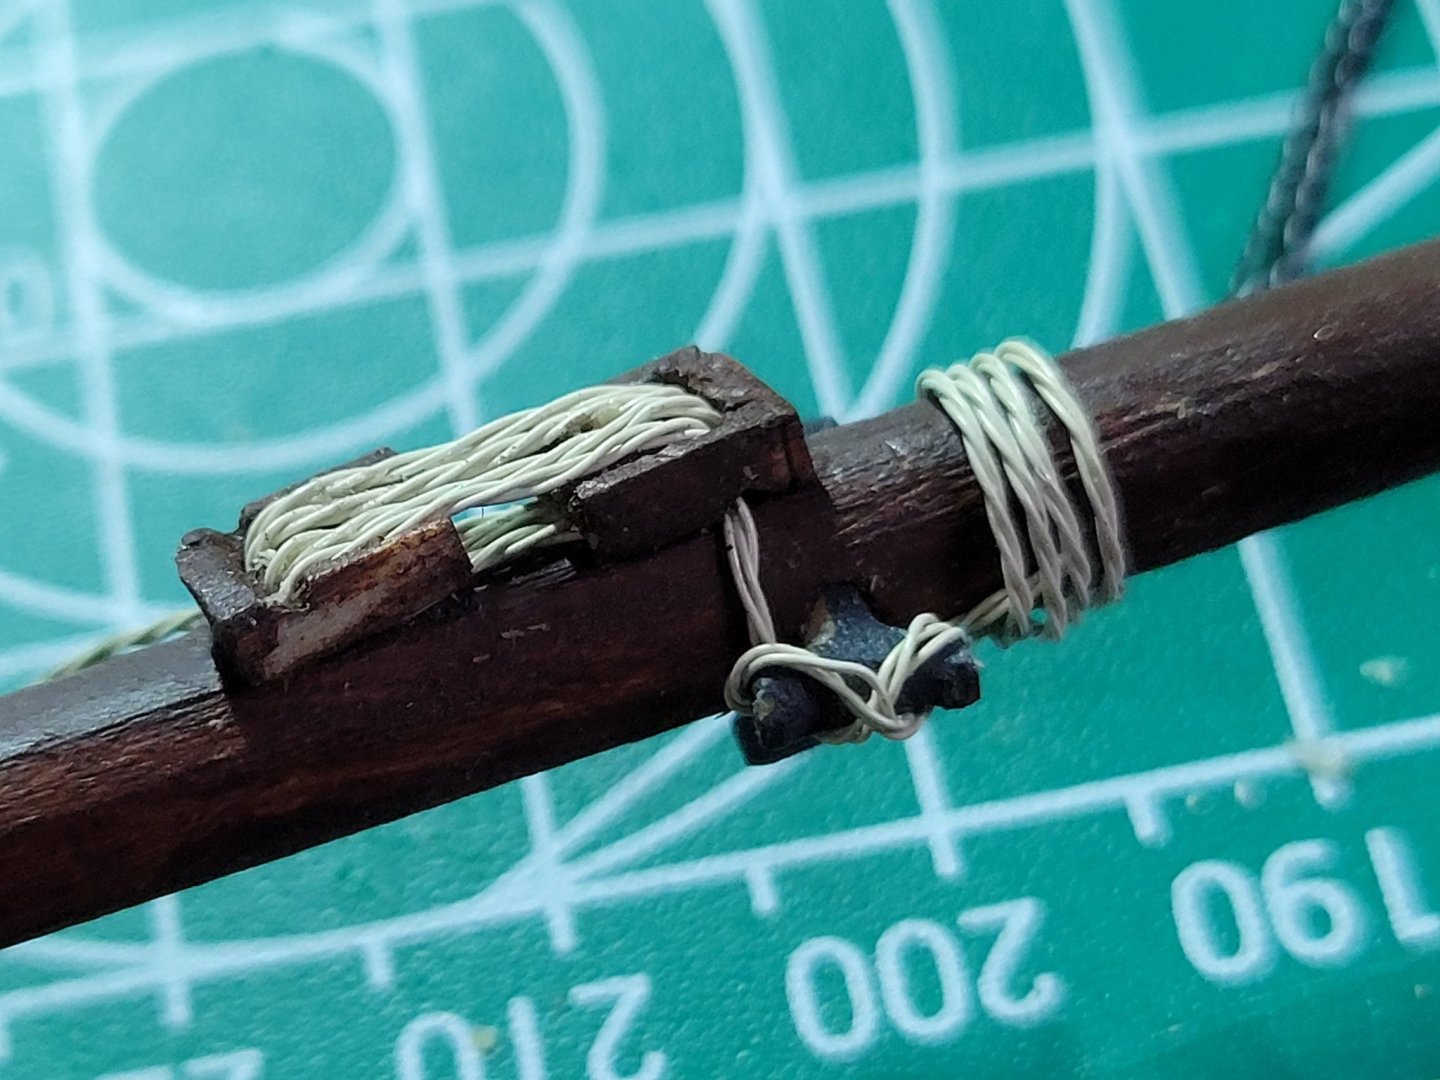
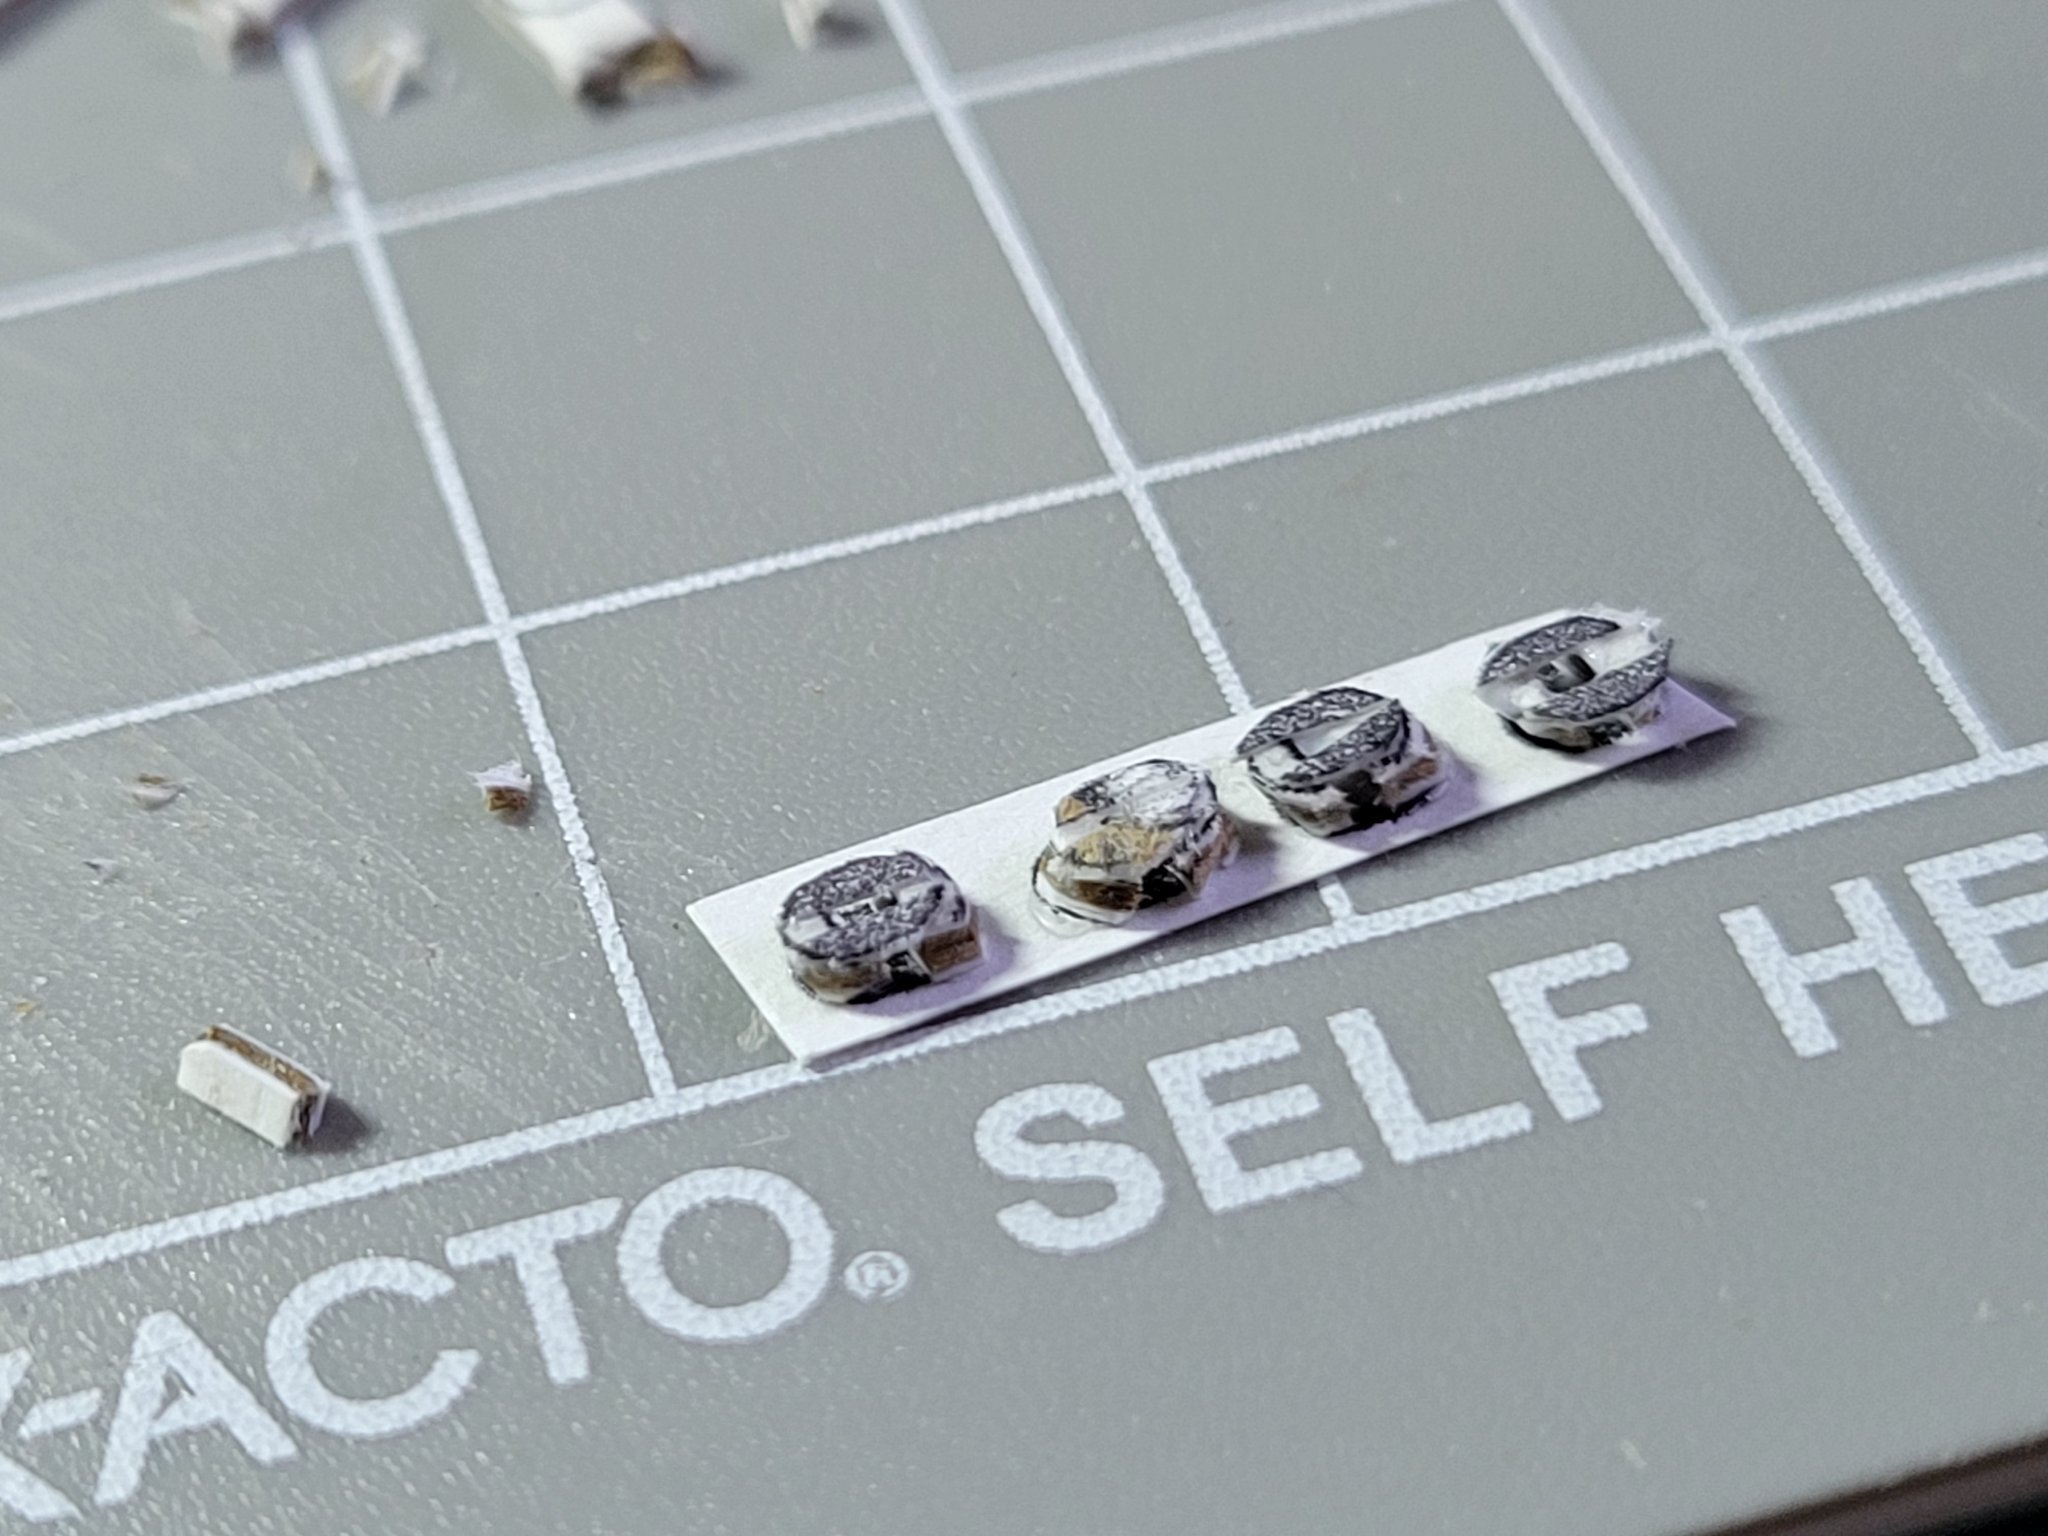
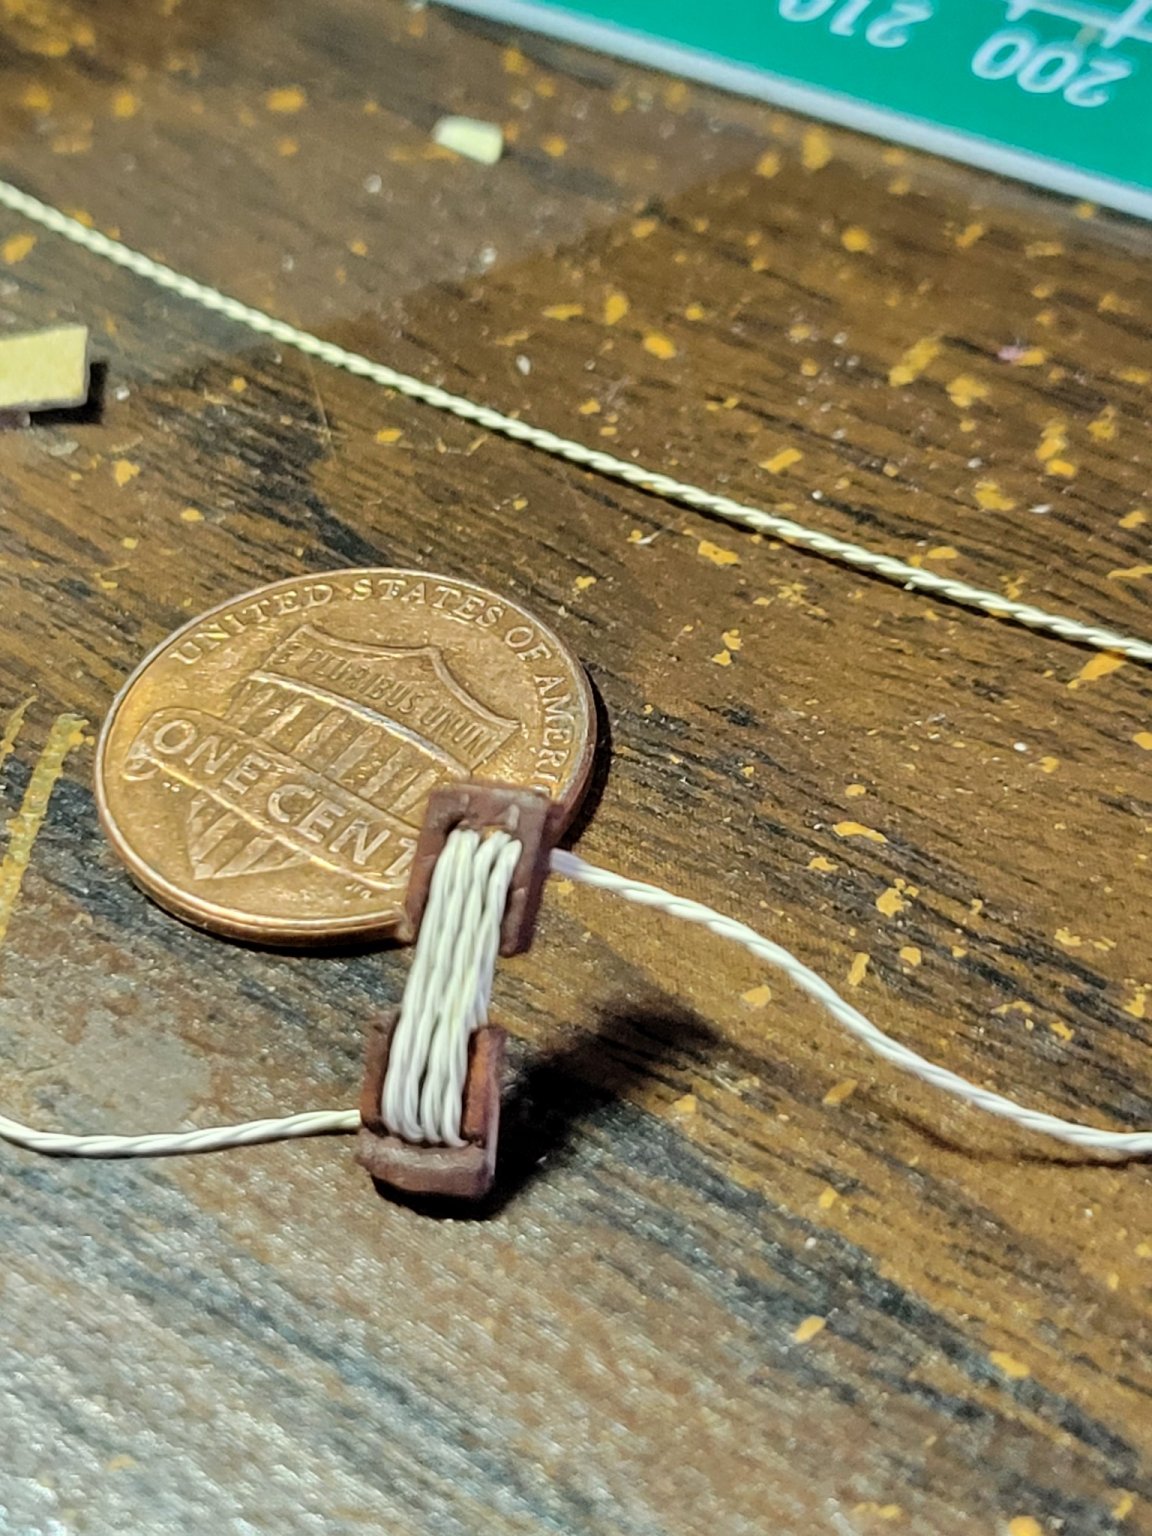
so i started with the big 4 sheave blocks at the base of the mast
they are way to small for me to think of actually inserting the pulleys, but my "fake" slot seems to have worked
so i guess have to commit and starting gluing things
i'm never quite sure i'm doing the rigging in an order that won't trap me in the end
my ambition is to someday build a model where the masts can be taken down and then rerigged like a real ship


- ccoyle, kondzik, GrandpaPhil and 1 other
-
4
-
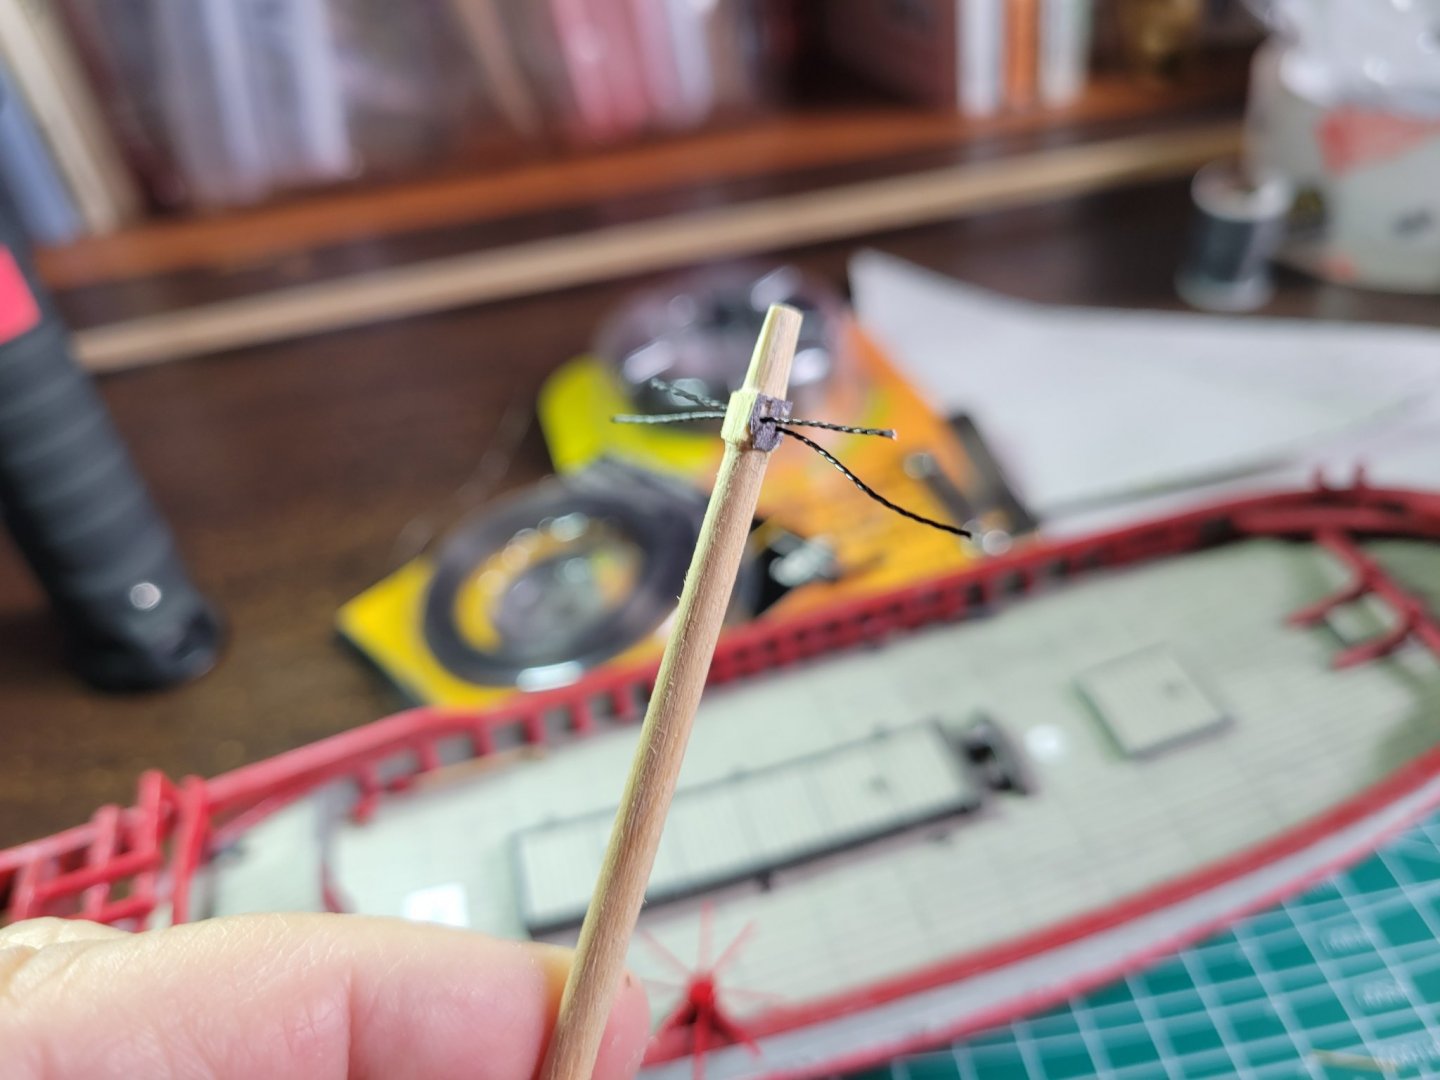
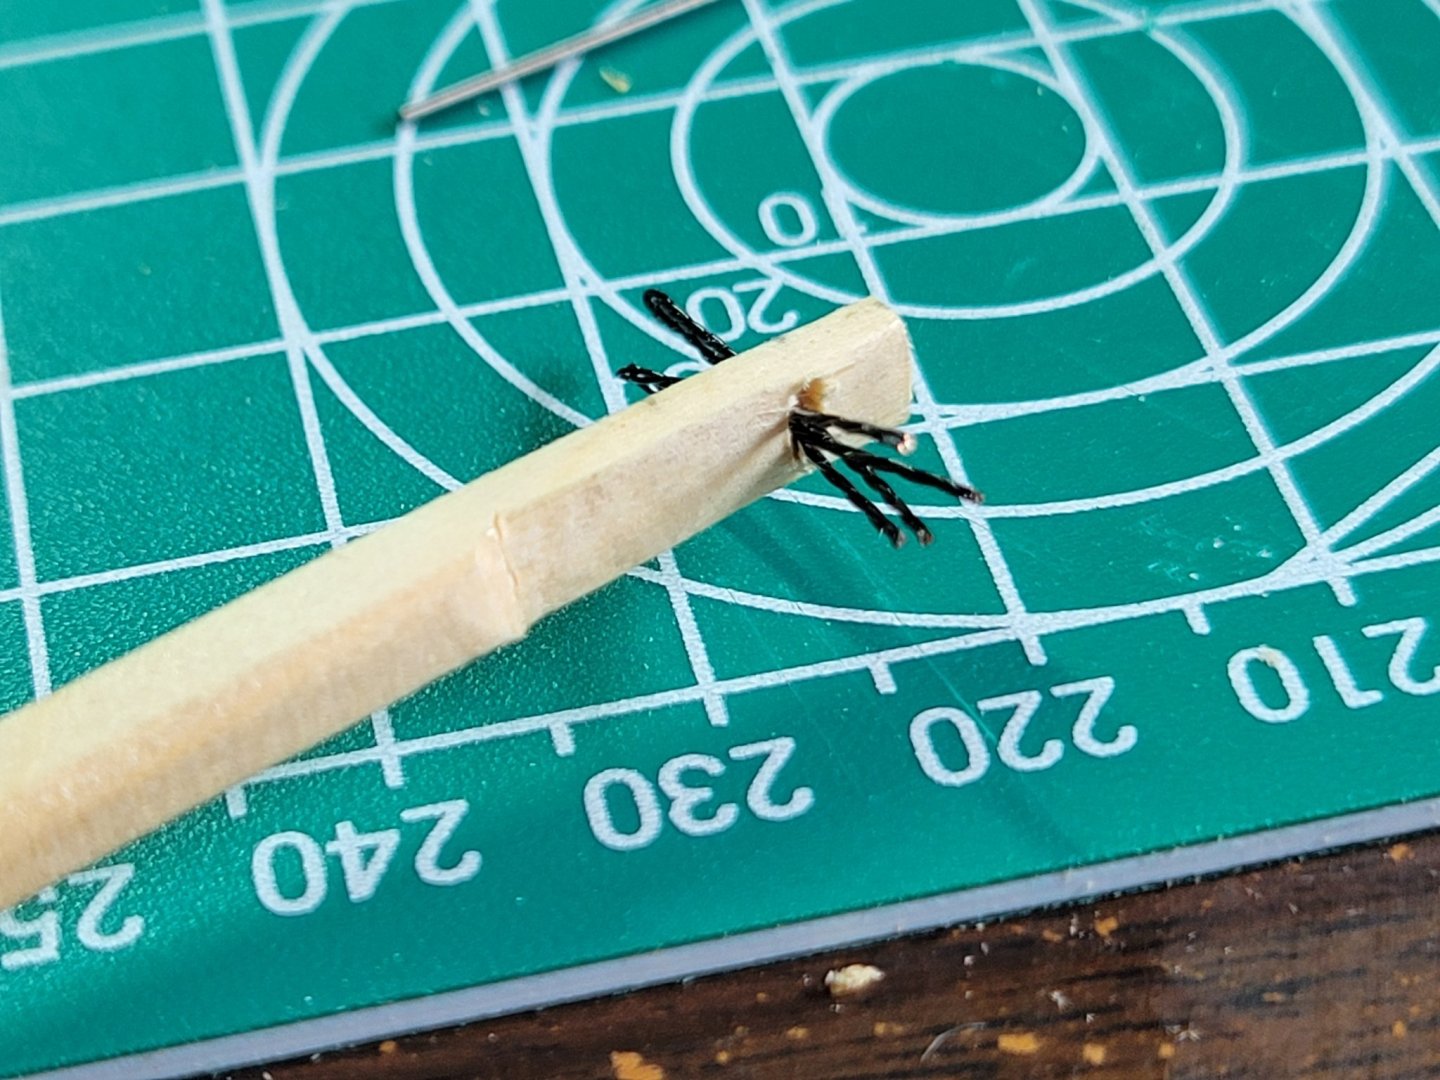
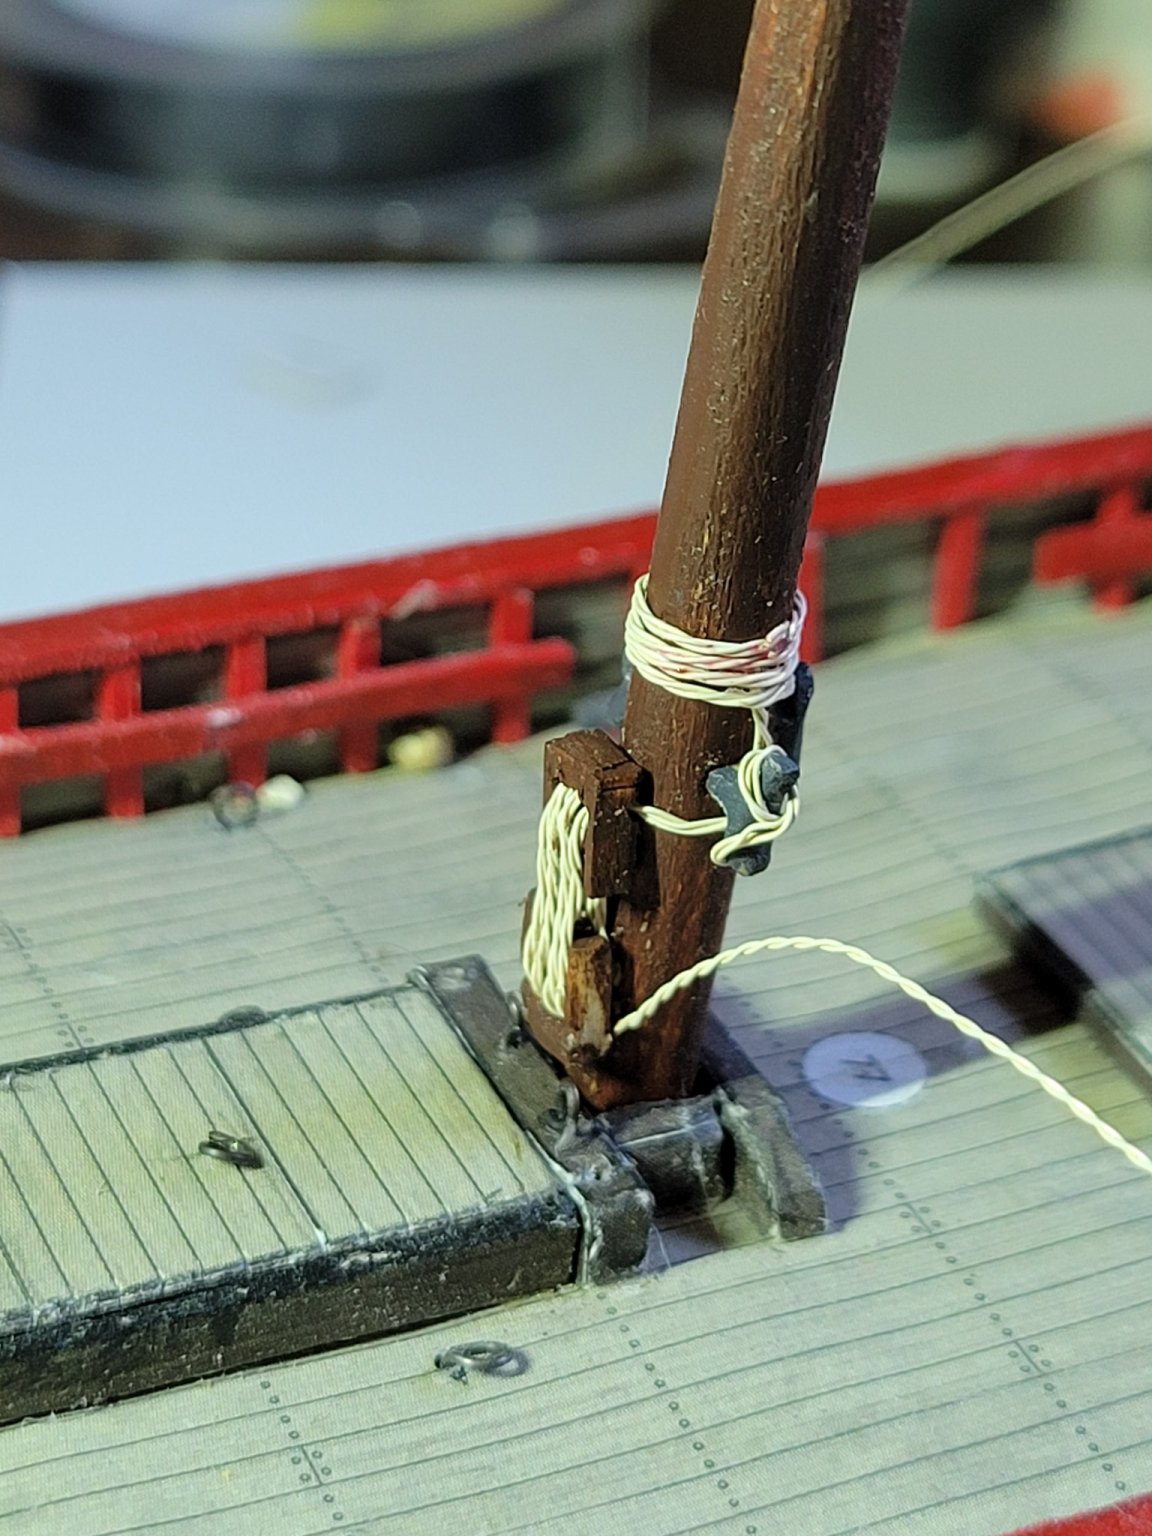
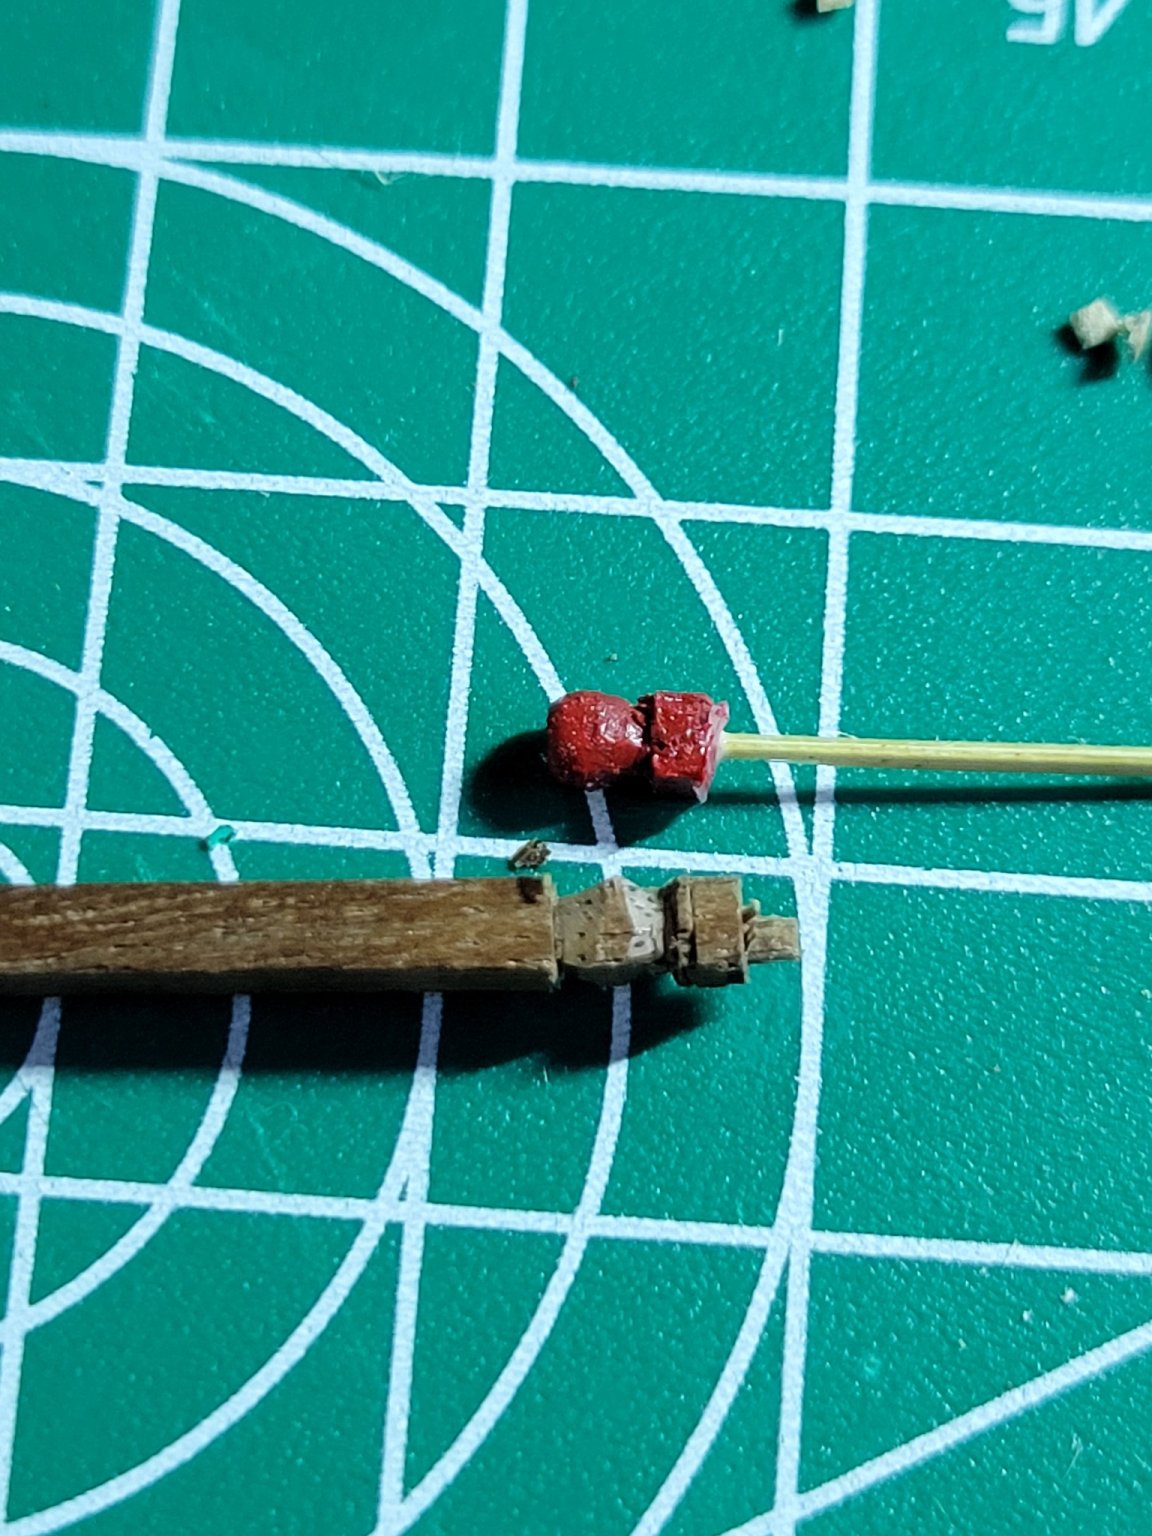
daily changes.
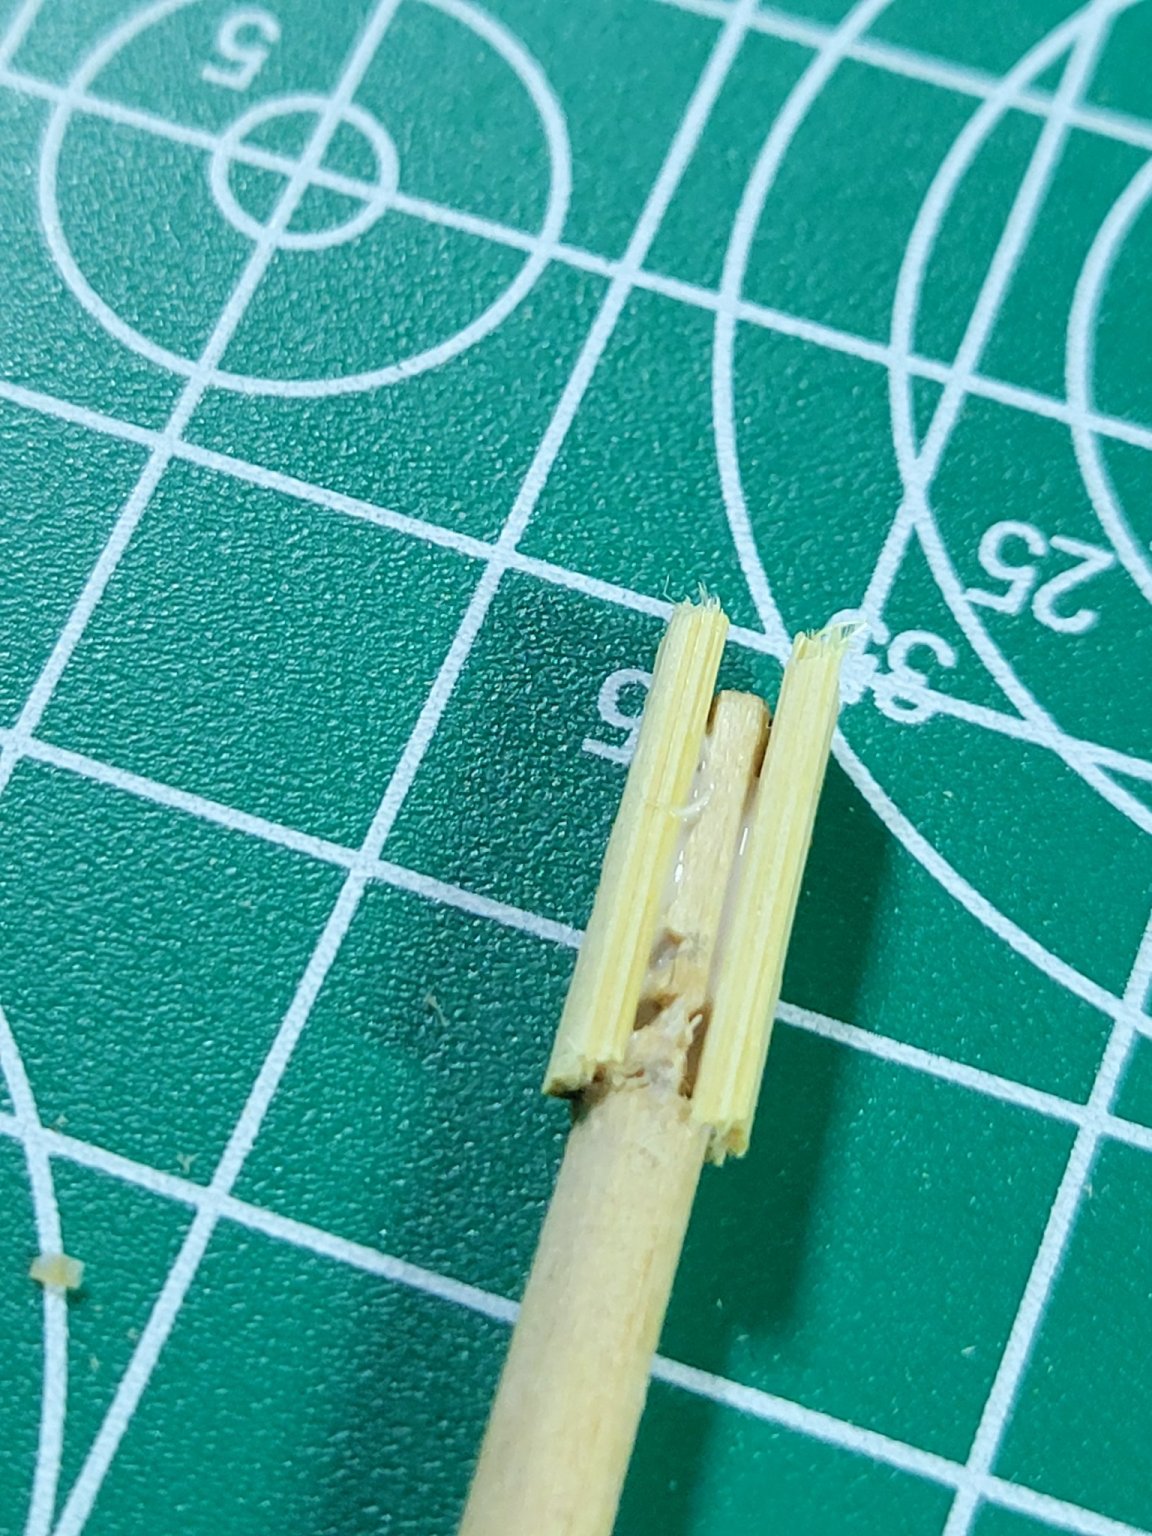
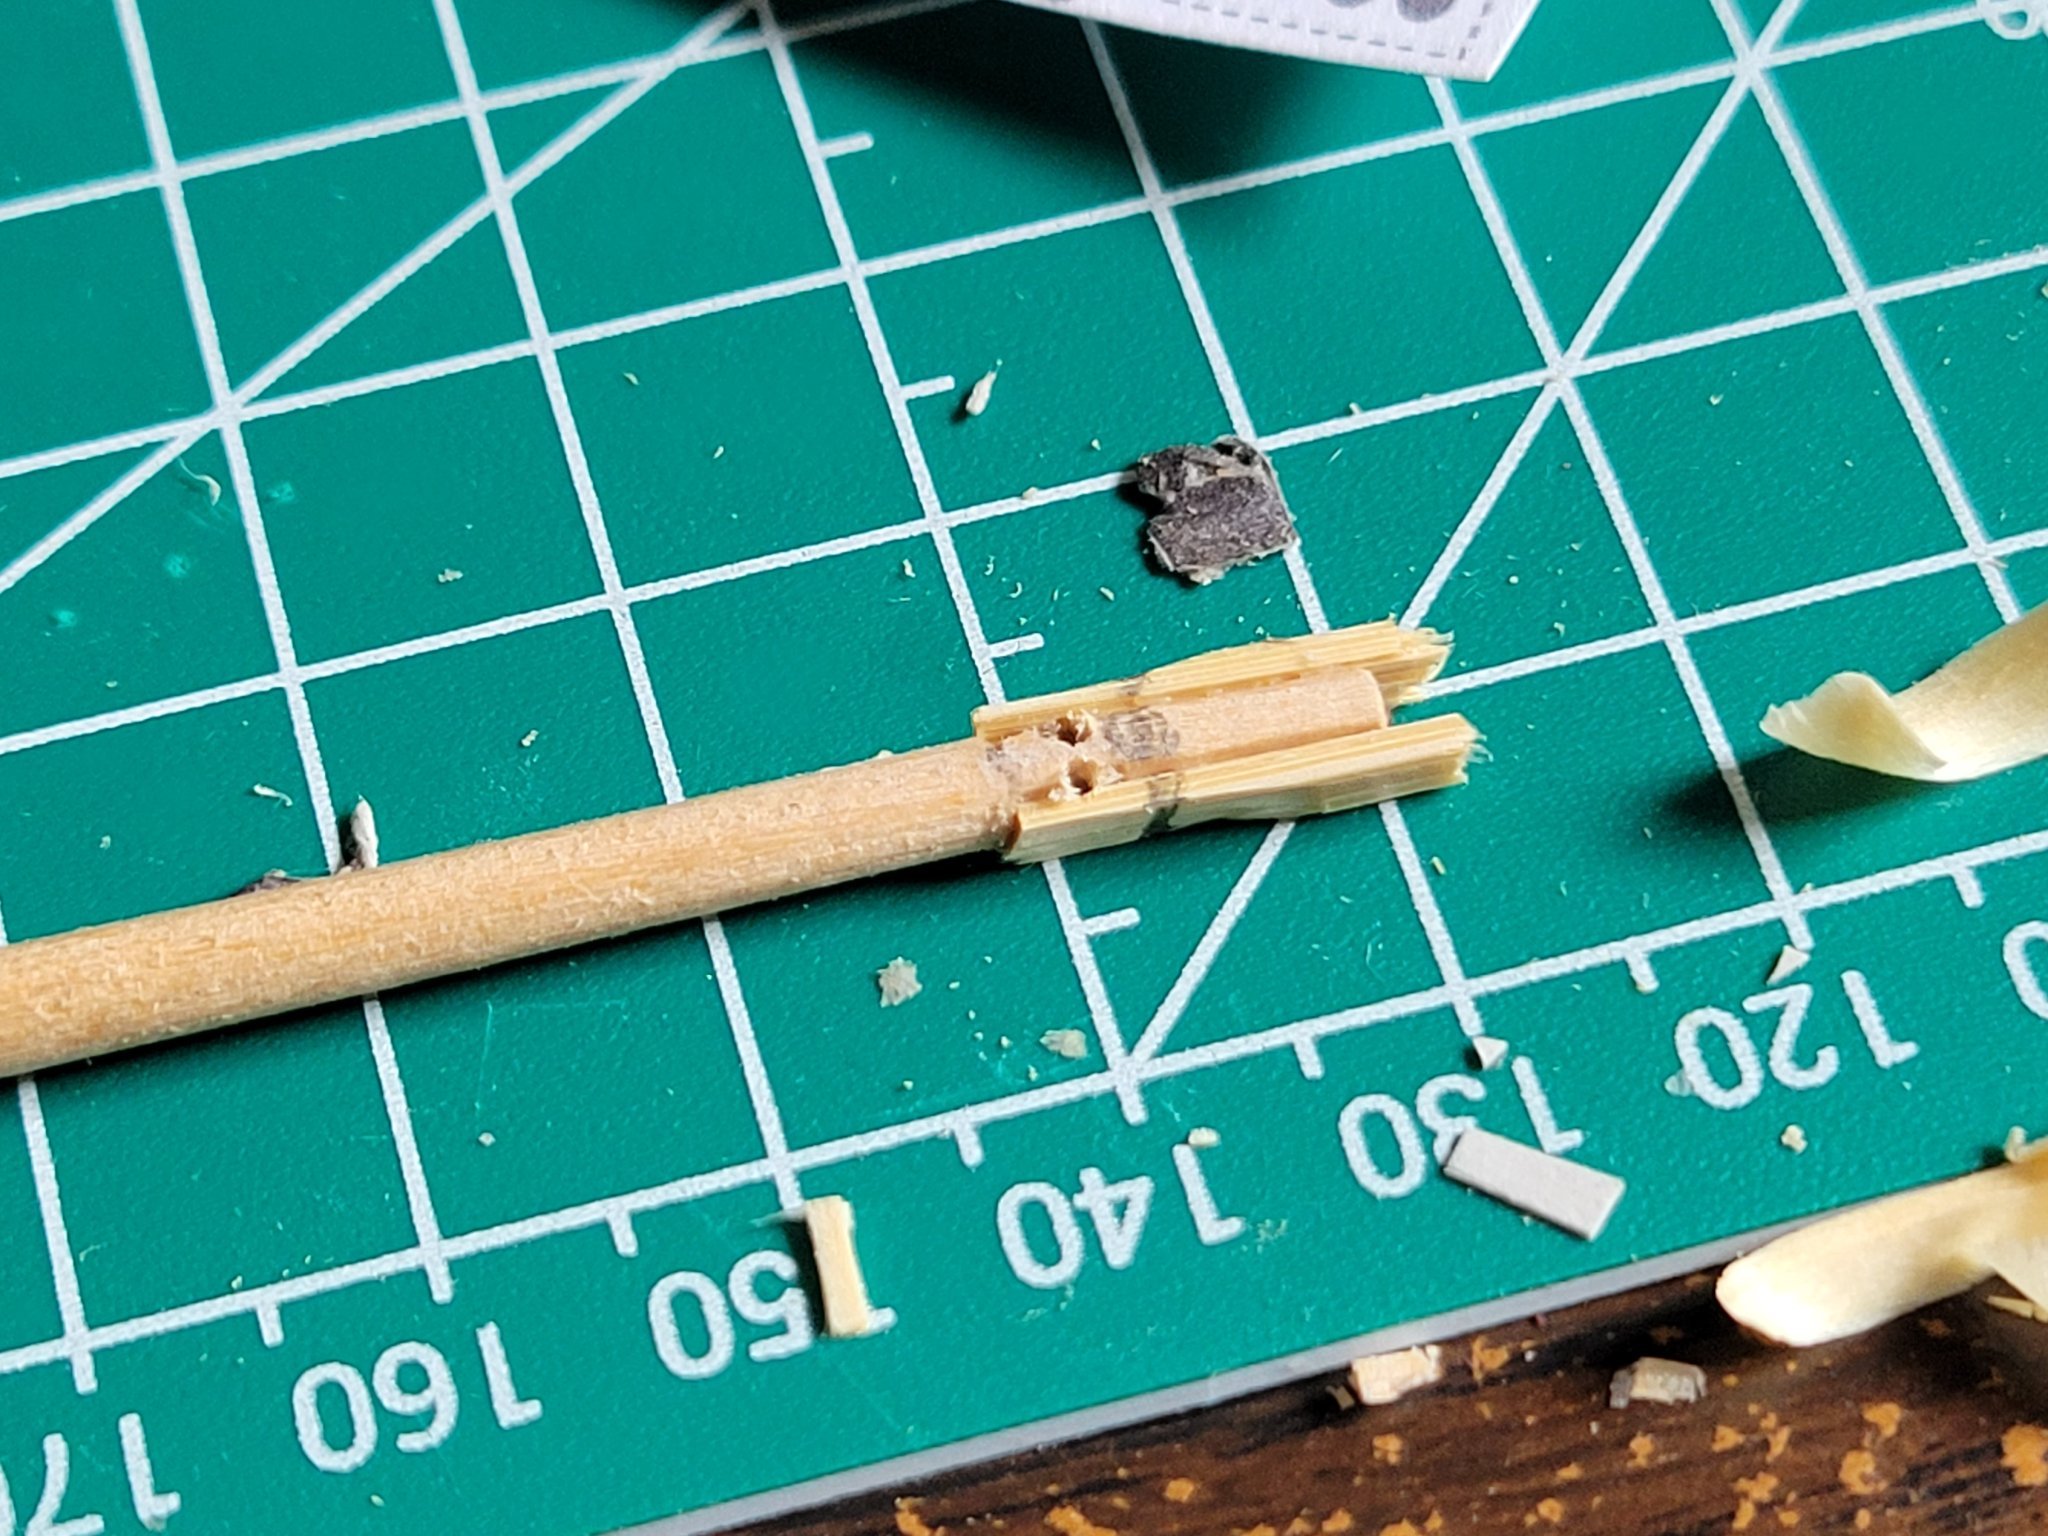
I gave up on the paper block at the mast top with 2 sheeves in it and built it out of wood. instead of trying to make it as small as needed i used some oversized pieces of bamboo and after they glue had dried i trimmed it to size. i did add faceplates from the paper parts to get the appearance of the "slots"
There are wooden blocks on the mast with 4 pulleys in in them, but the size was too small for me to cut the 4 slots, so i just cut one slot across the top and all 4 lines will go through that. i think it will give the right illusion.
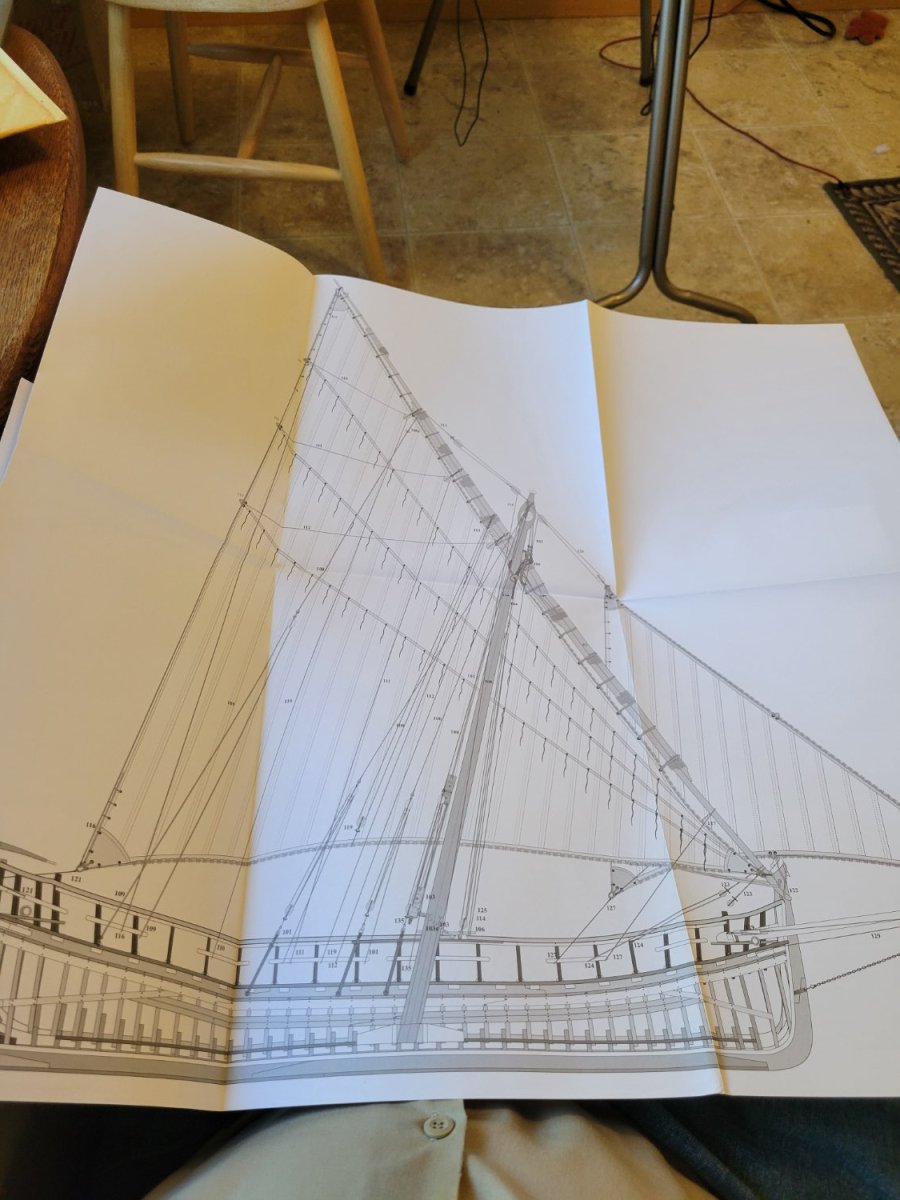
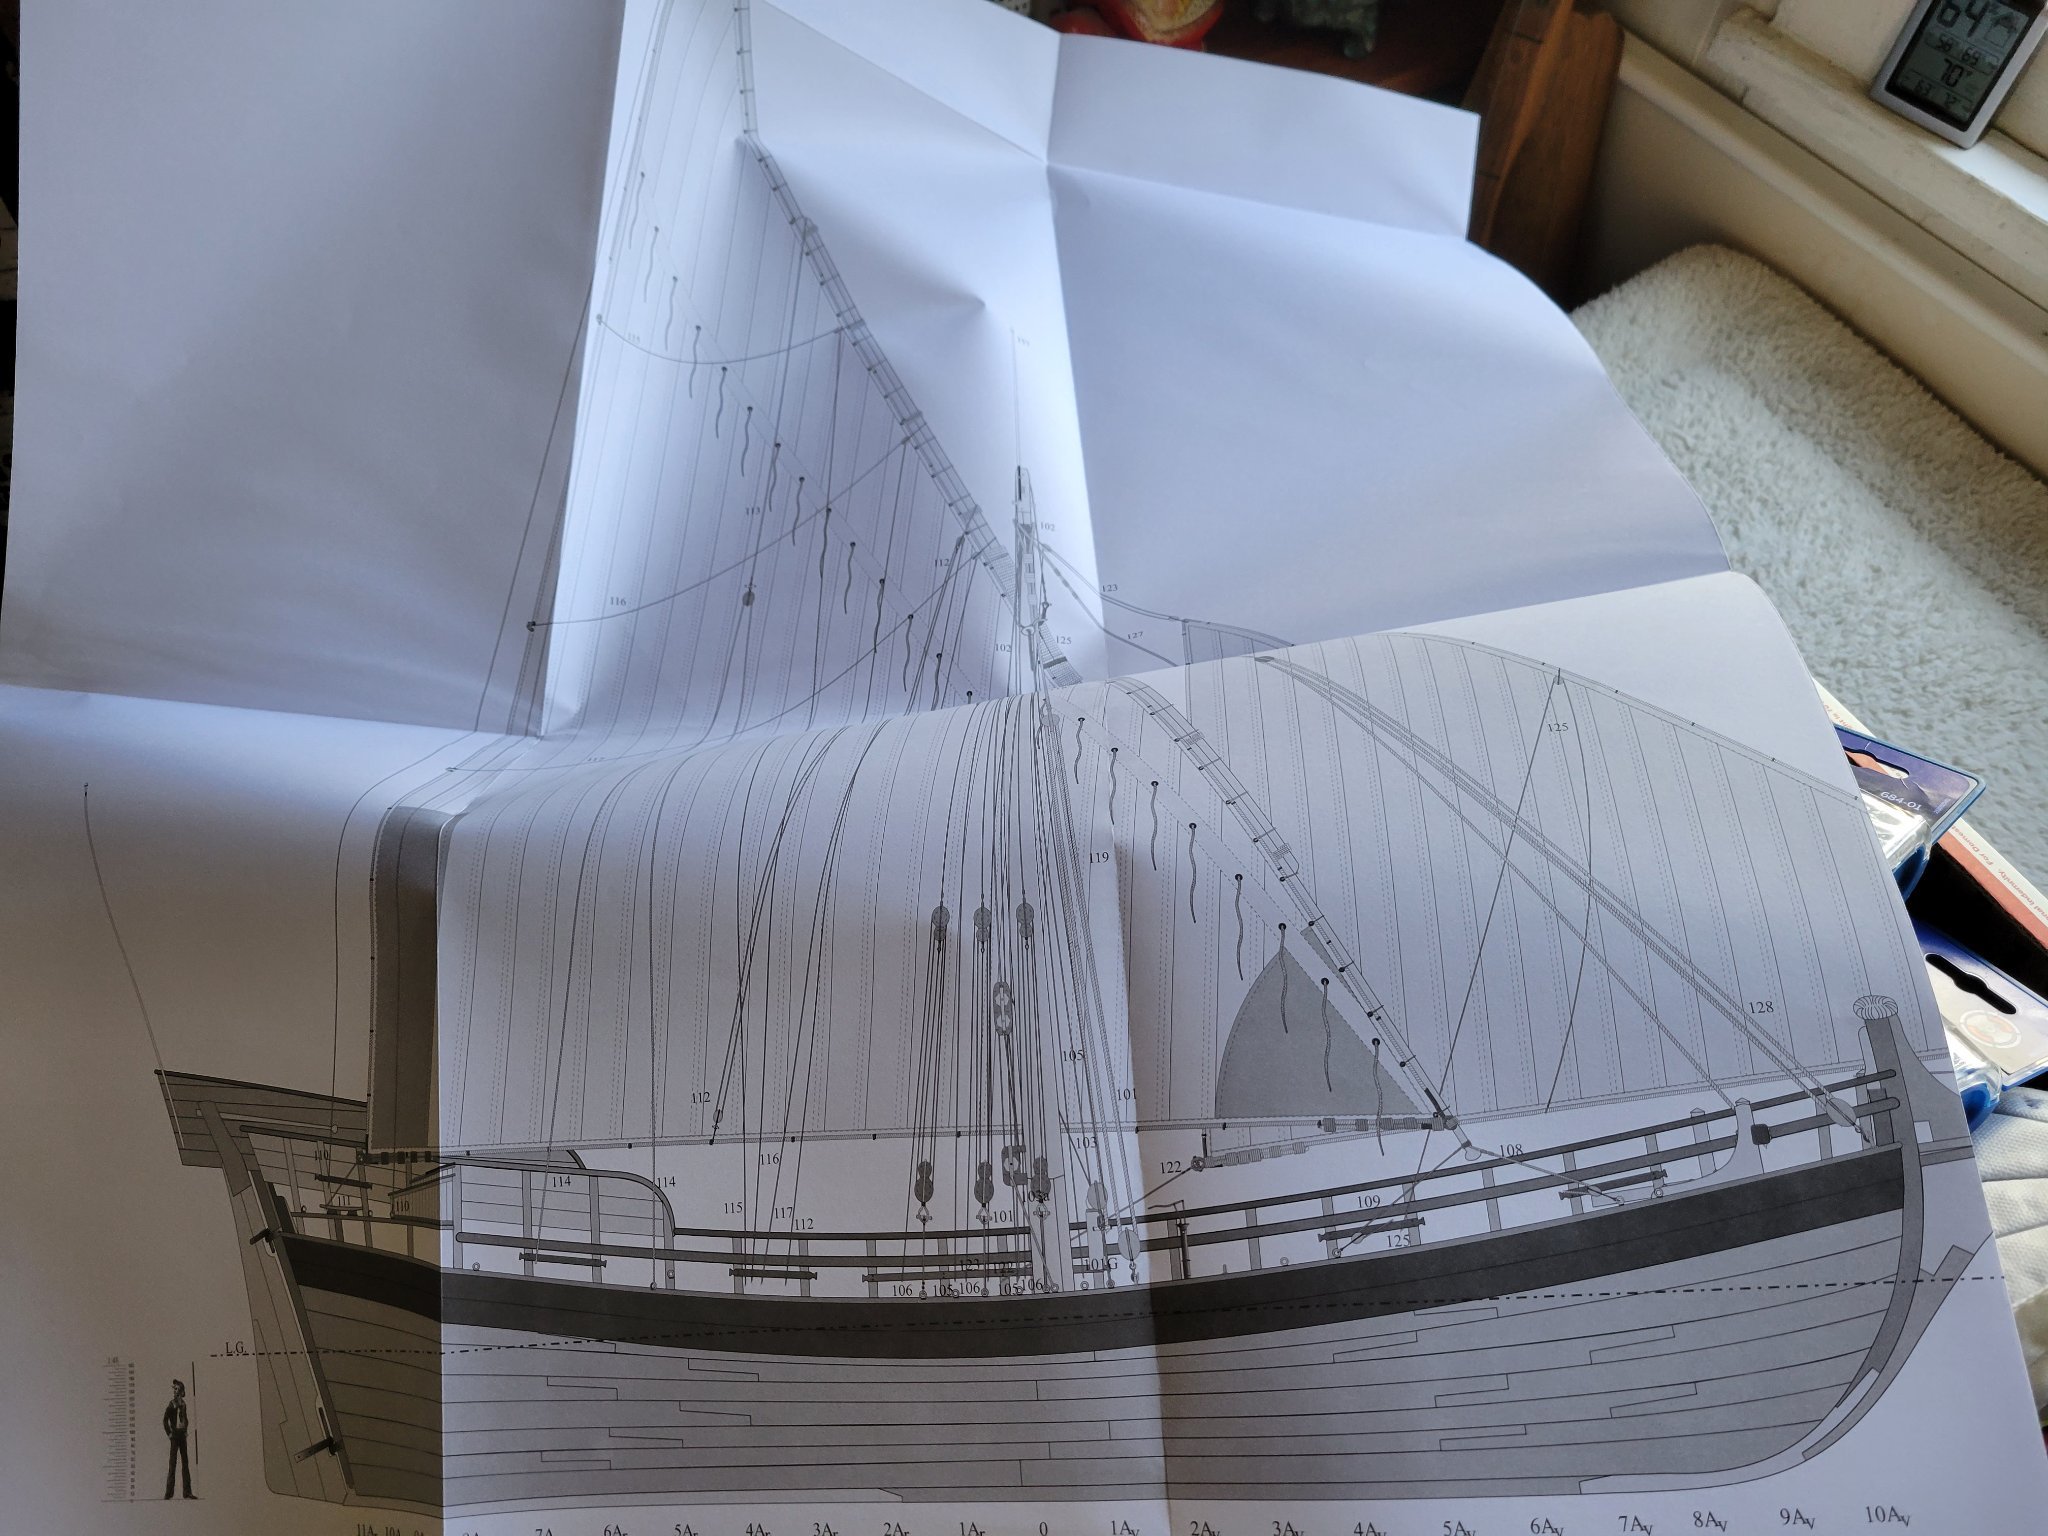
I did get some more reference material.
The good news is i now know everything i need to know about the rigging, and all its details.
The bad news is...
.thumb.jpg.5222bf15880aa8c41b6901fe79683062.jpg)


- GrandpaPhil and kondzik
-
2
-
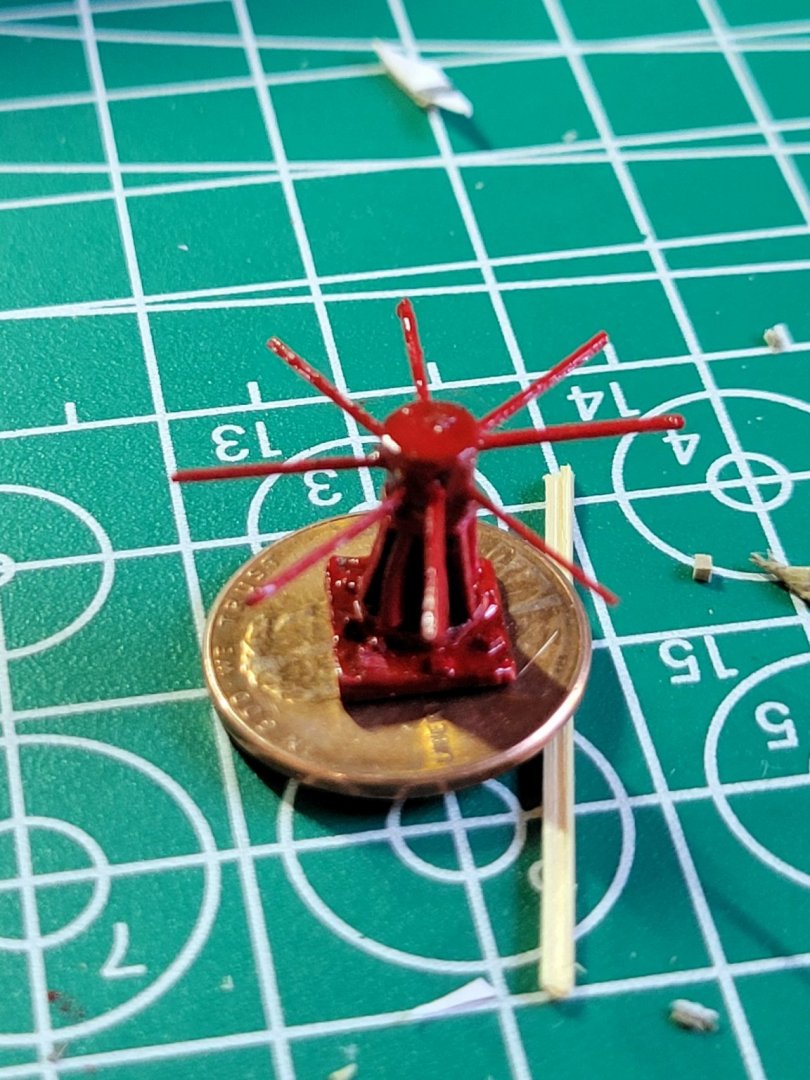
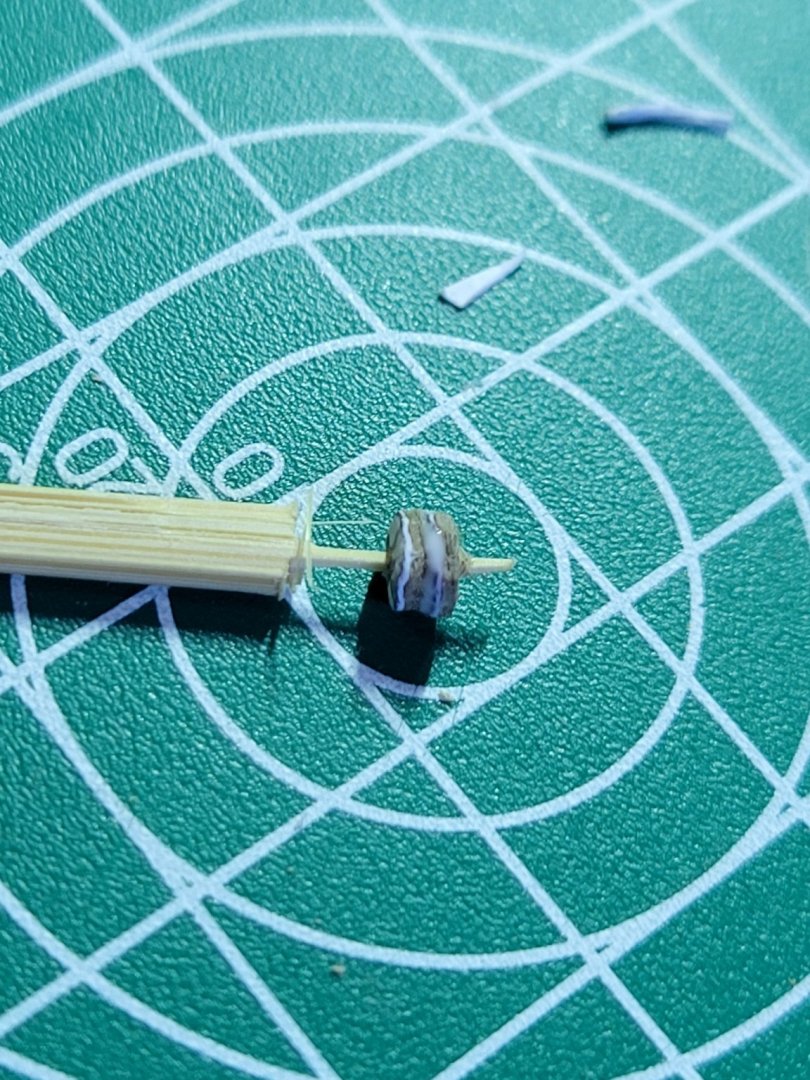
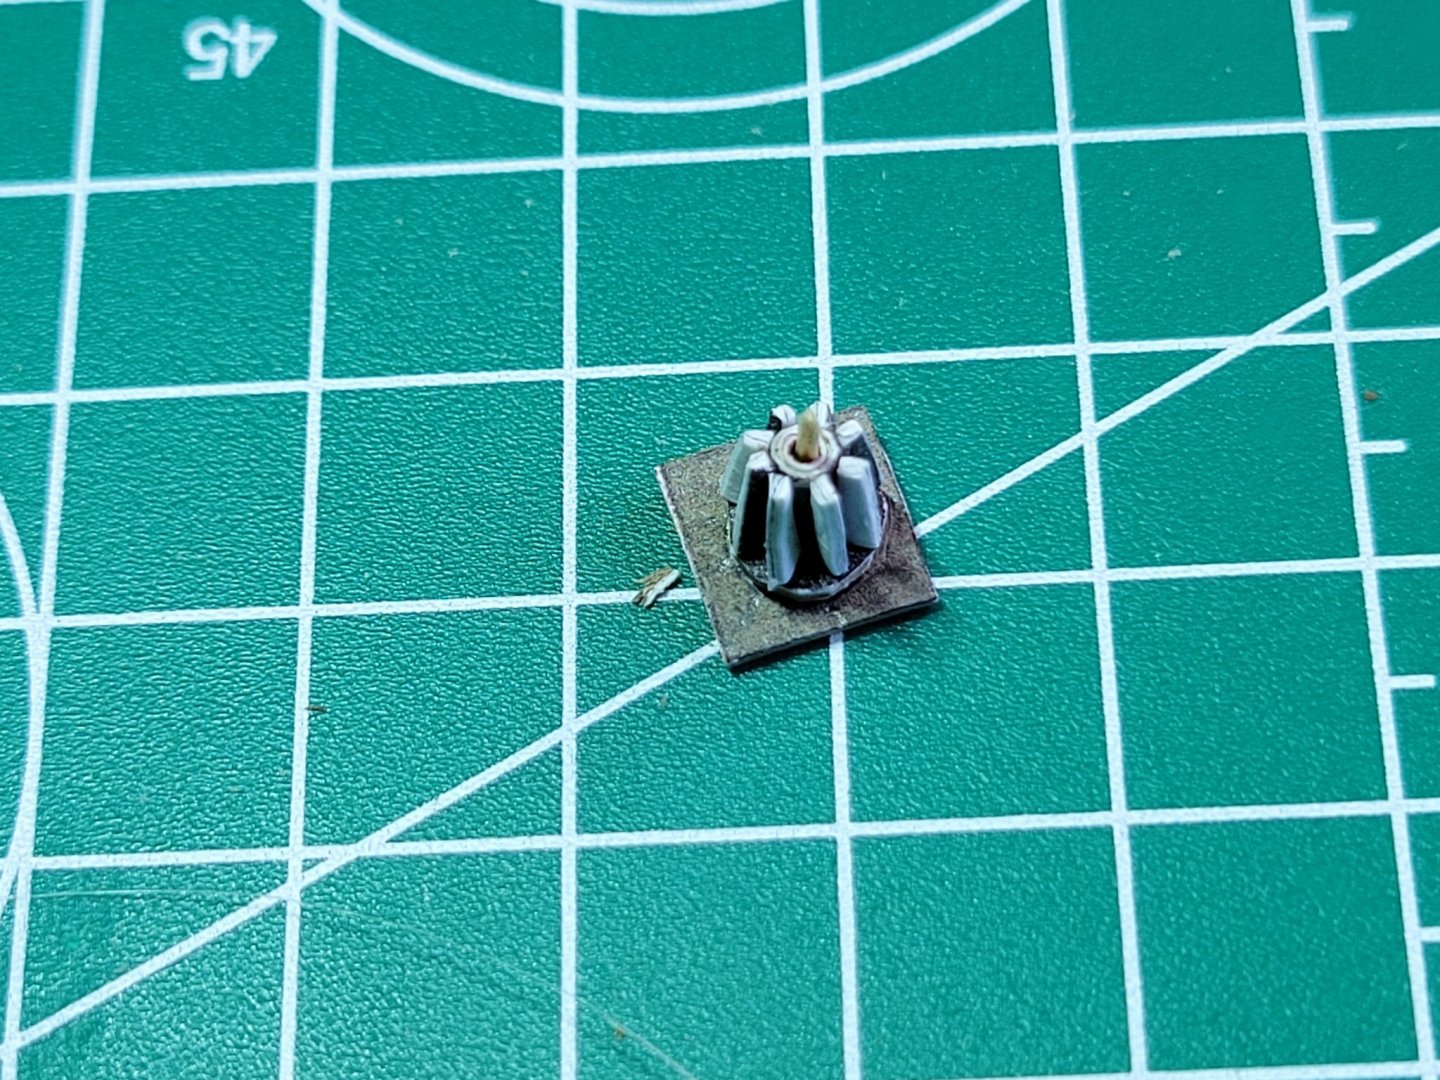
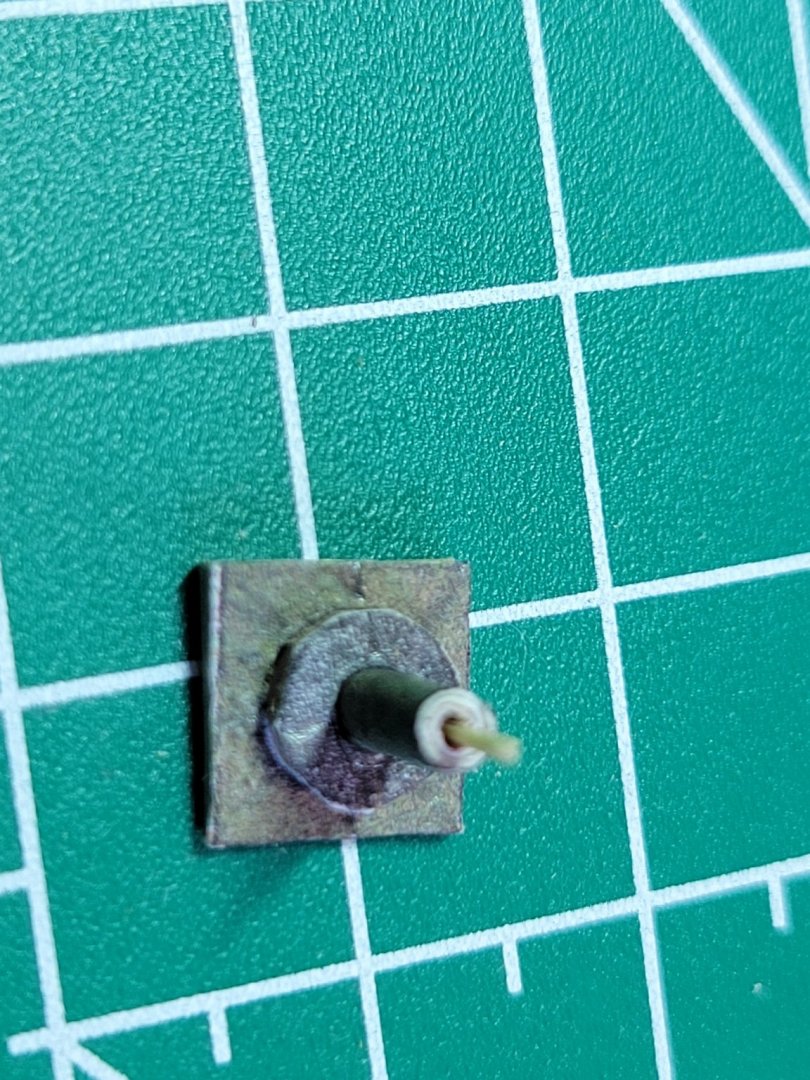
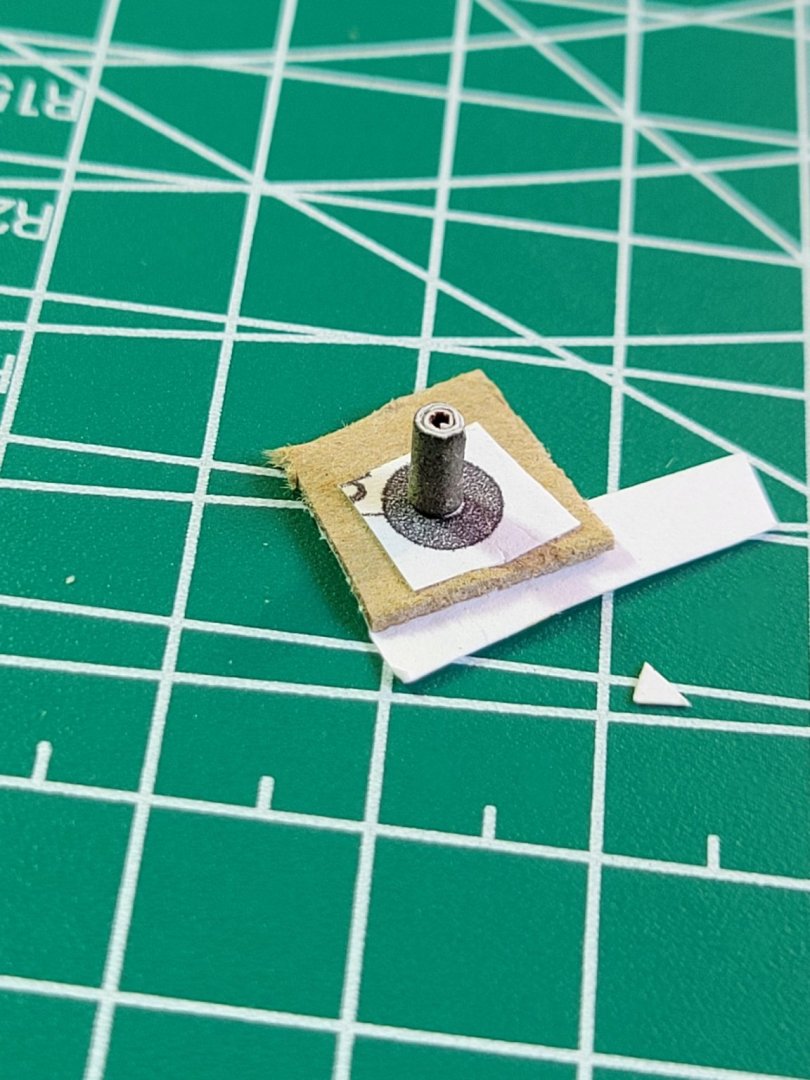
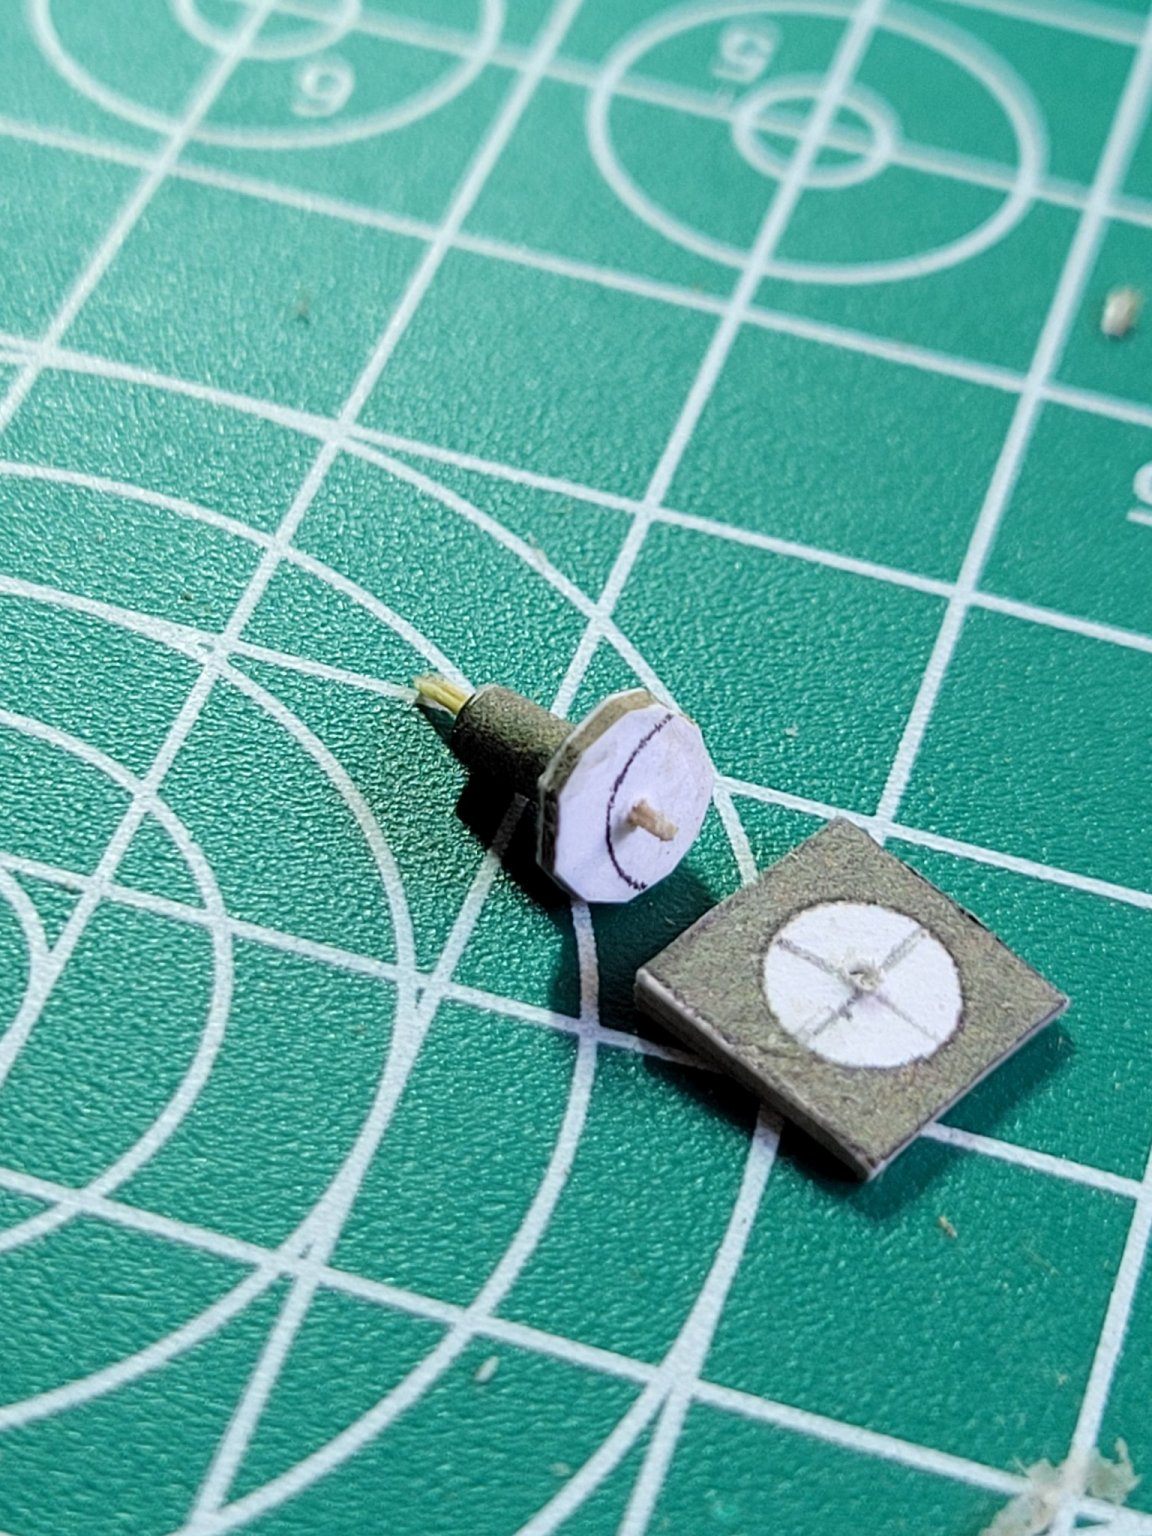
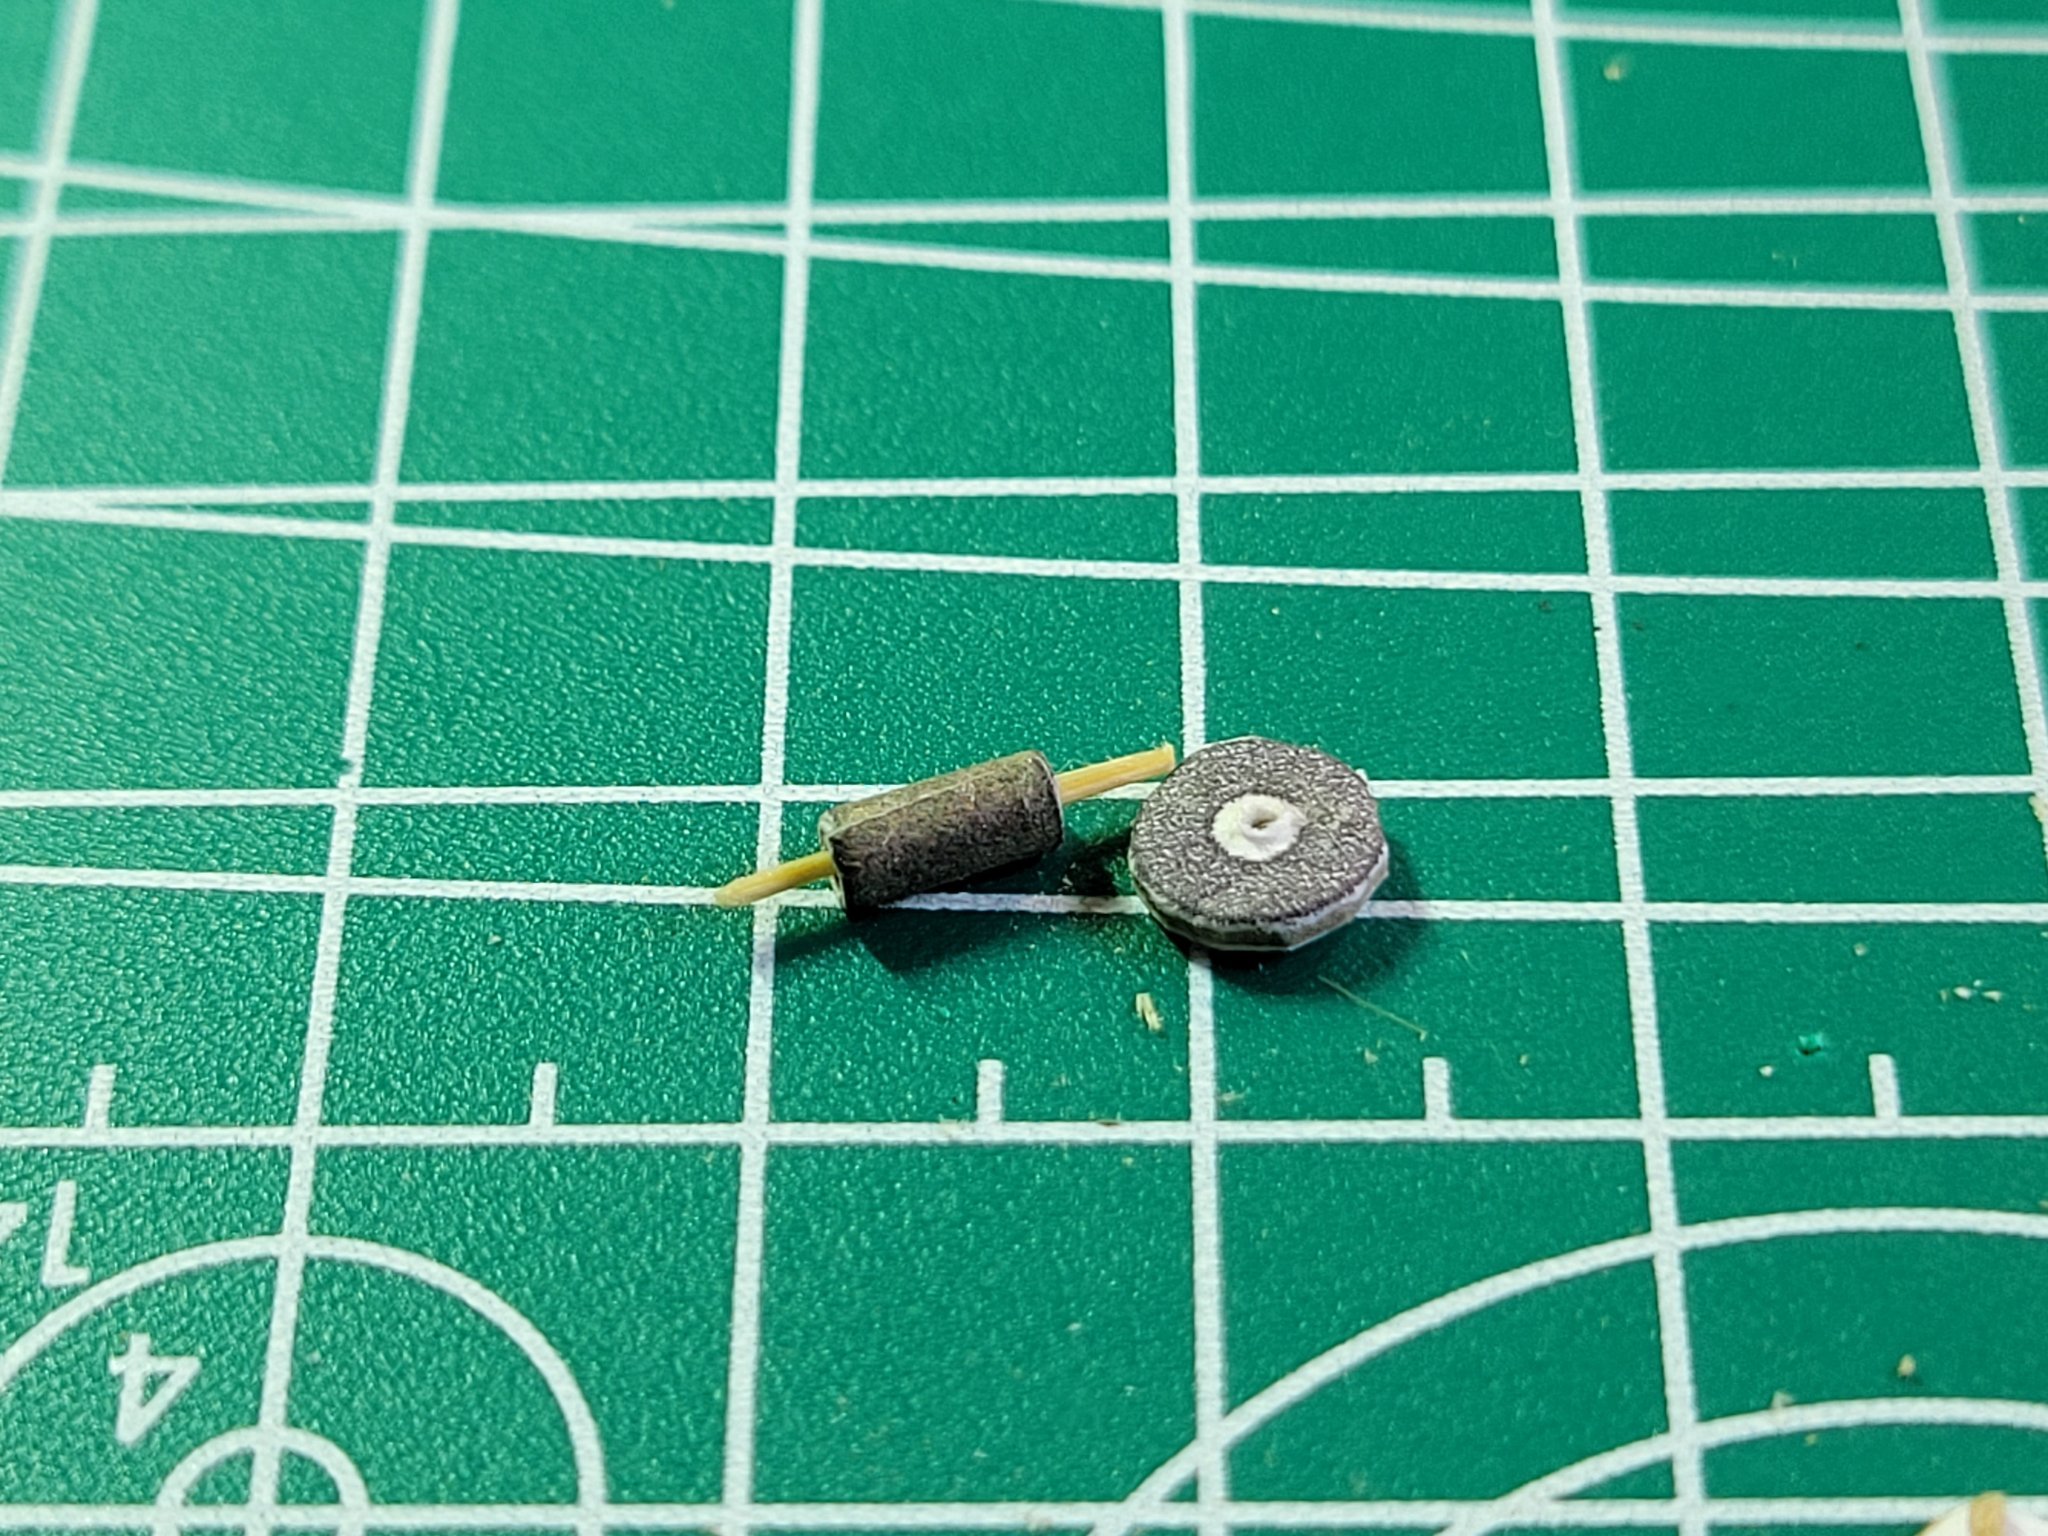
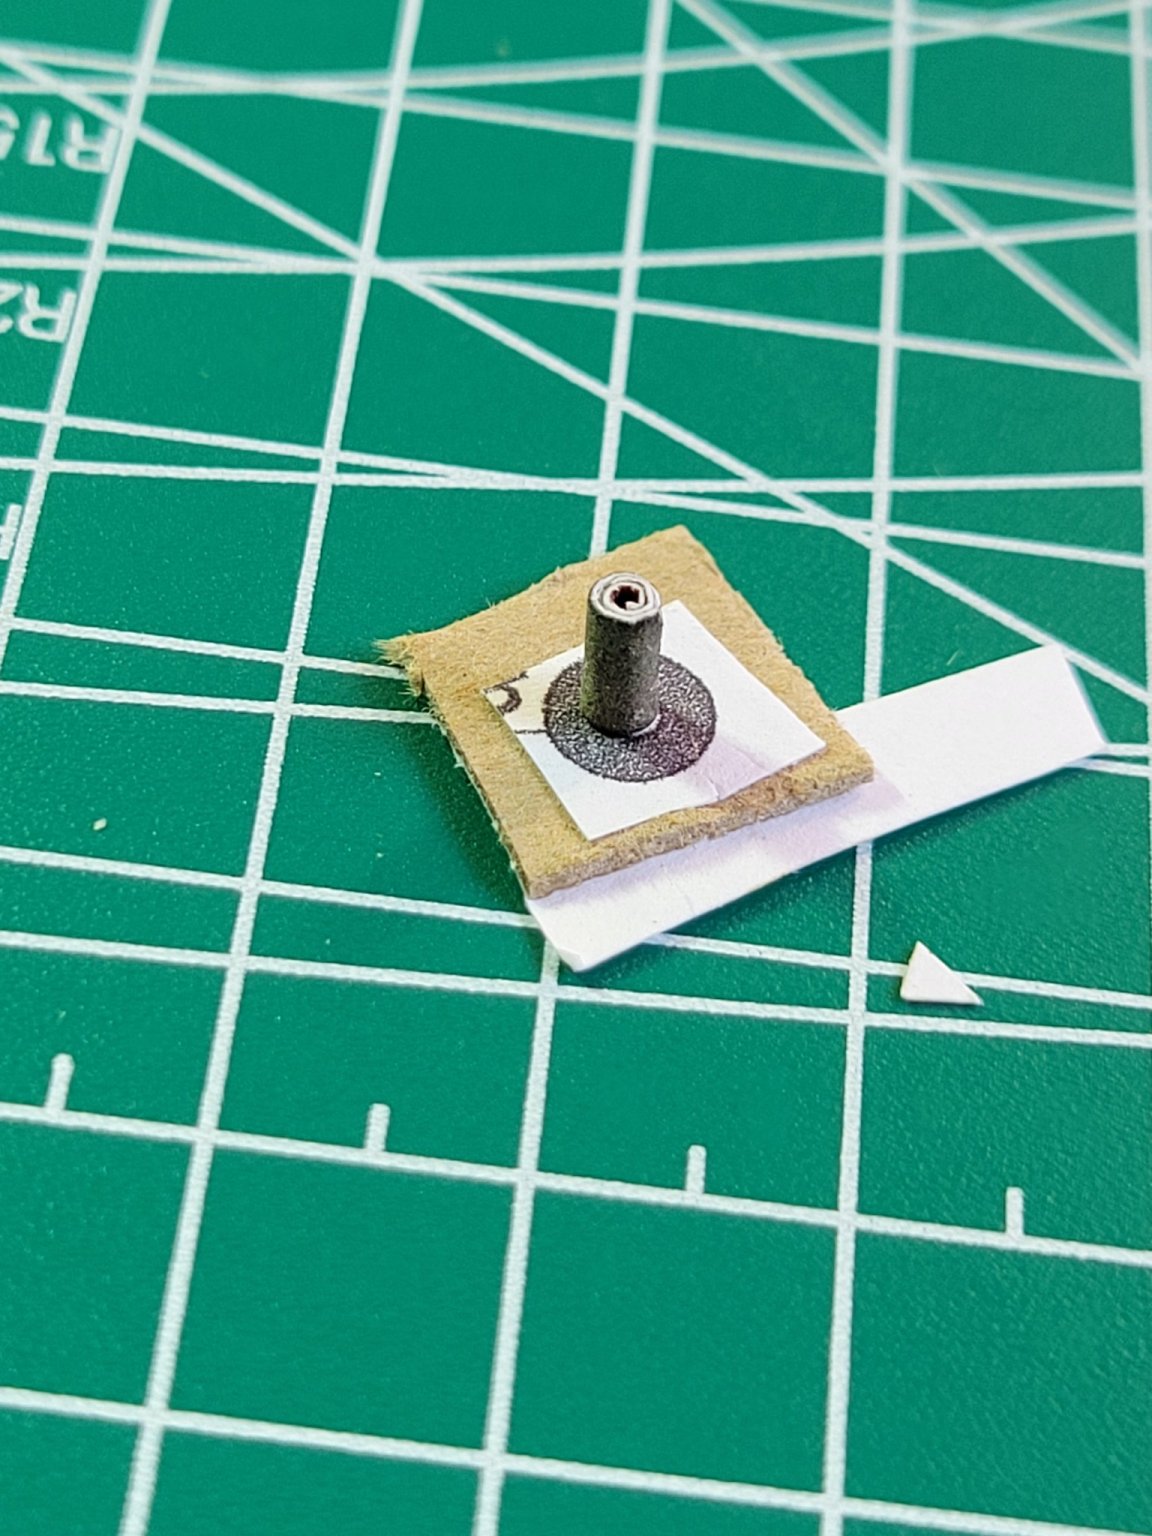
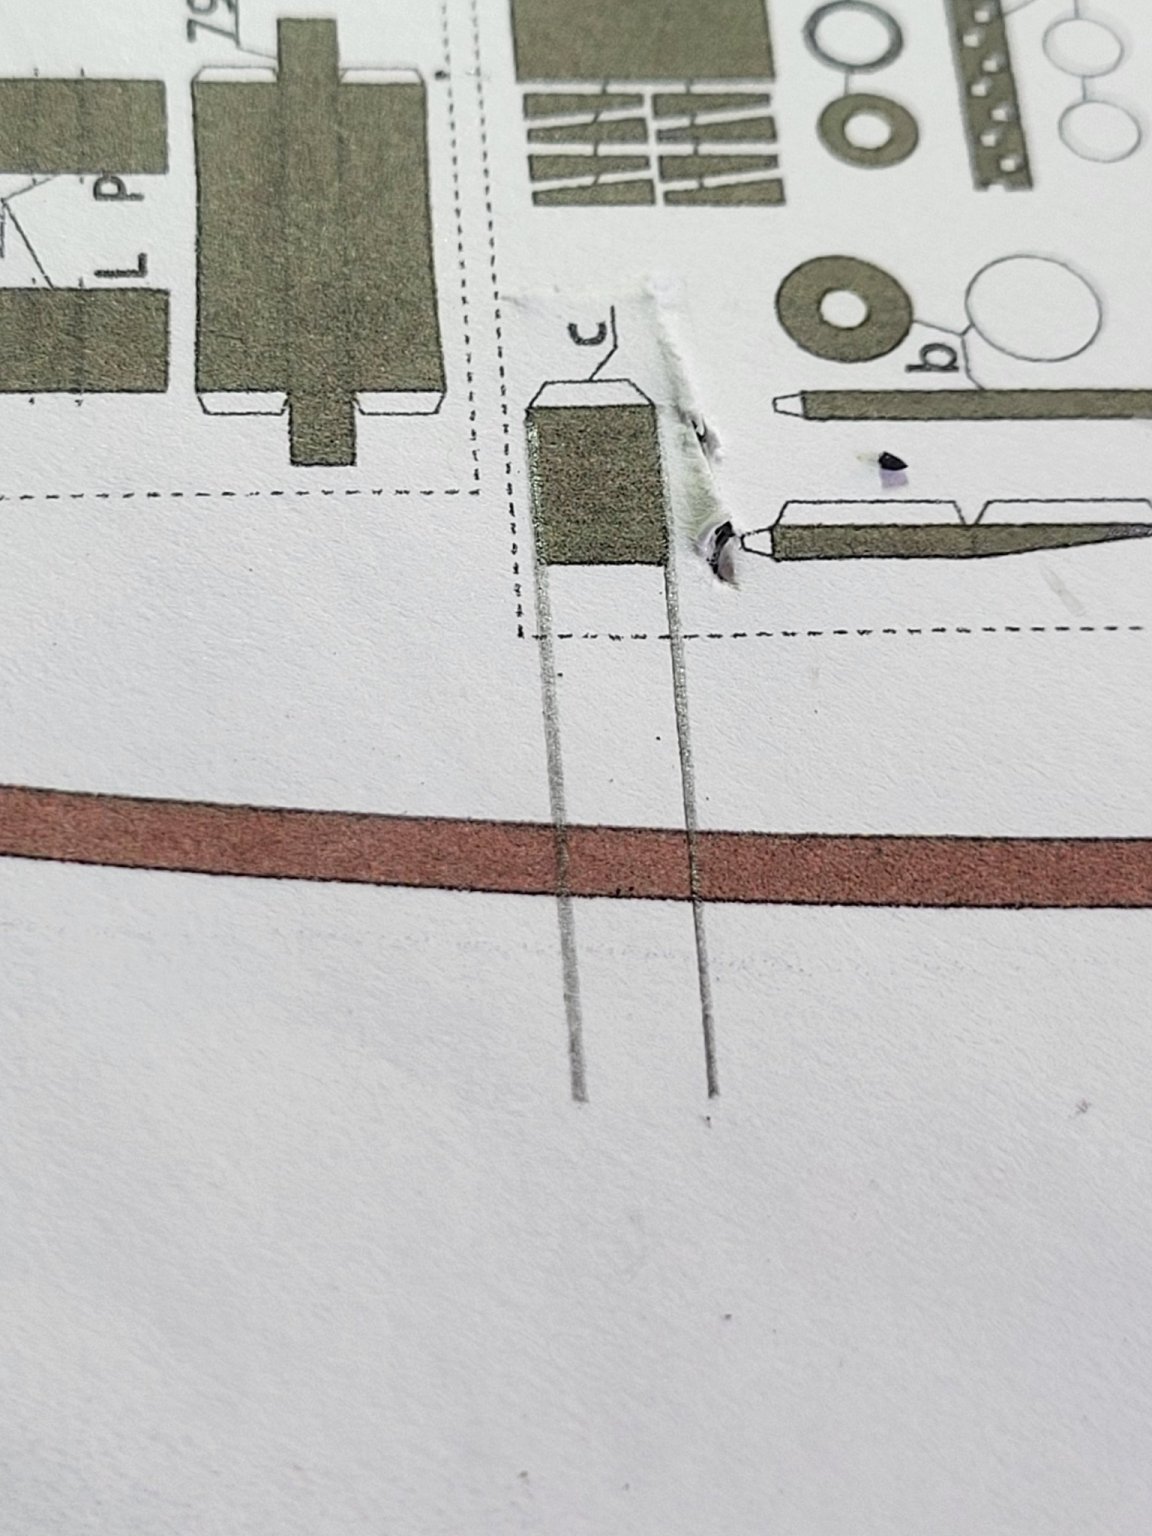
Back after a big gap. Built the capstan...which is just a little past my ability to see... Decided to try "pinning" parts, so a small bamboo pin was used up the center... bars are also bamboo. Since I am painting everything it gives me some freedom. I prefer to roll parts like the center of the capstan rather than to form the cylinders by gluing a paper part in a circle. You can see how i extended the kit part to be longer...and then rolled it into the right sized barrel.
A couple of the bollards got knocked off in the interim, one was found...i'm adding a "pin" to it, a new one had to be carved from walnut, so i made the pin an integral part of it


- GrandpaPhil, tkay11, kondzik and 2 others
-
5
-
It's not nice to make fun of the poor boat builders
- mtaylor, Louie da fly and Chuck Seiler
-
2
-
 1
1


.jpg.8ac35ea0b30cccb444aa1762276764a6.jpg)


.jpg.265710fce65e9db09d4357db55e62078.jpg)
.jpg.00a8775c2f1c2c3d4813a5e625b7493c.jpg)


.jpg.874d9413973f4526d1b205d93145cac7.jpg)


.jpg.96232a4c61191e4de3d3d282d4254485.jpg)


.jpg.0deb44fd854f1249c5b715c5c16007b1.jpg)


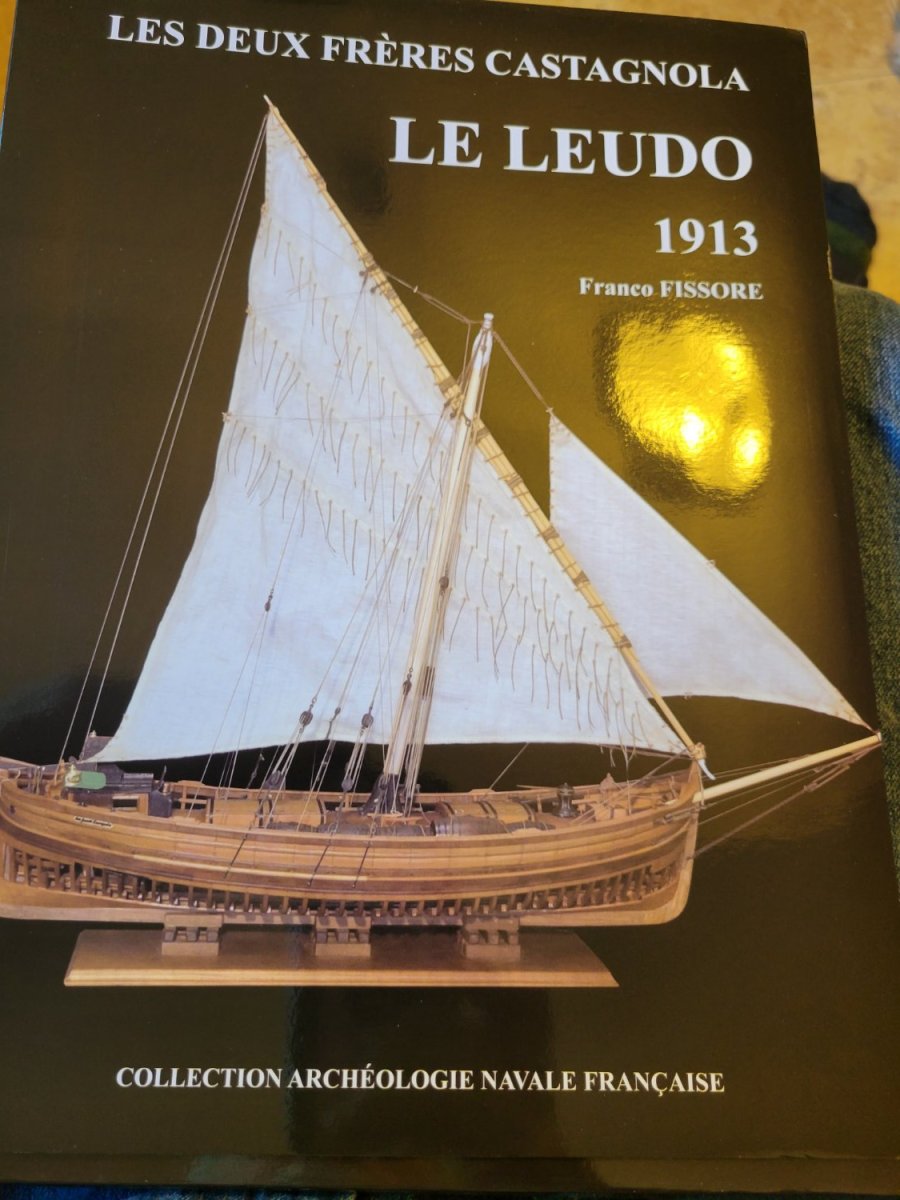
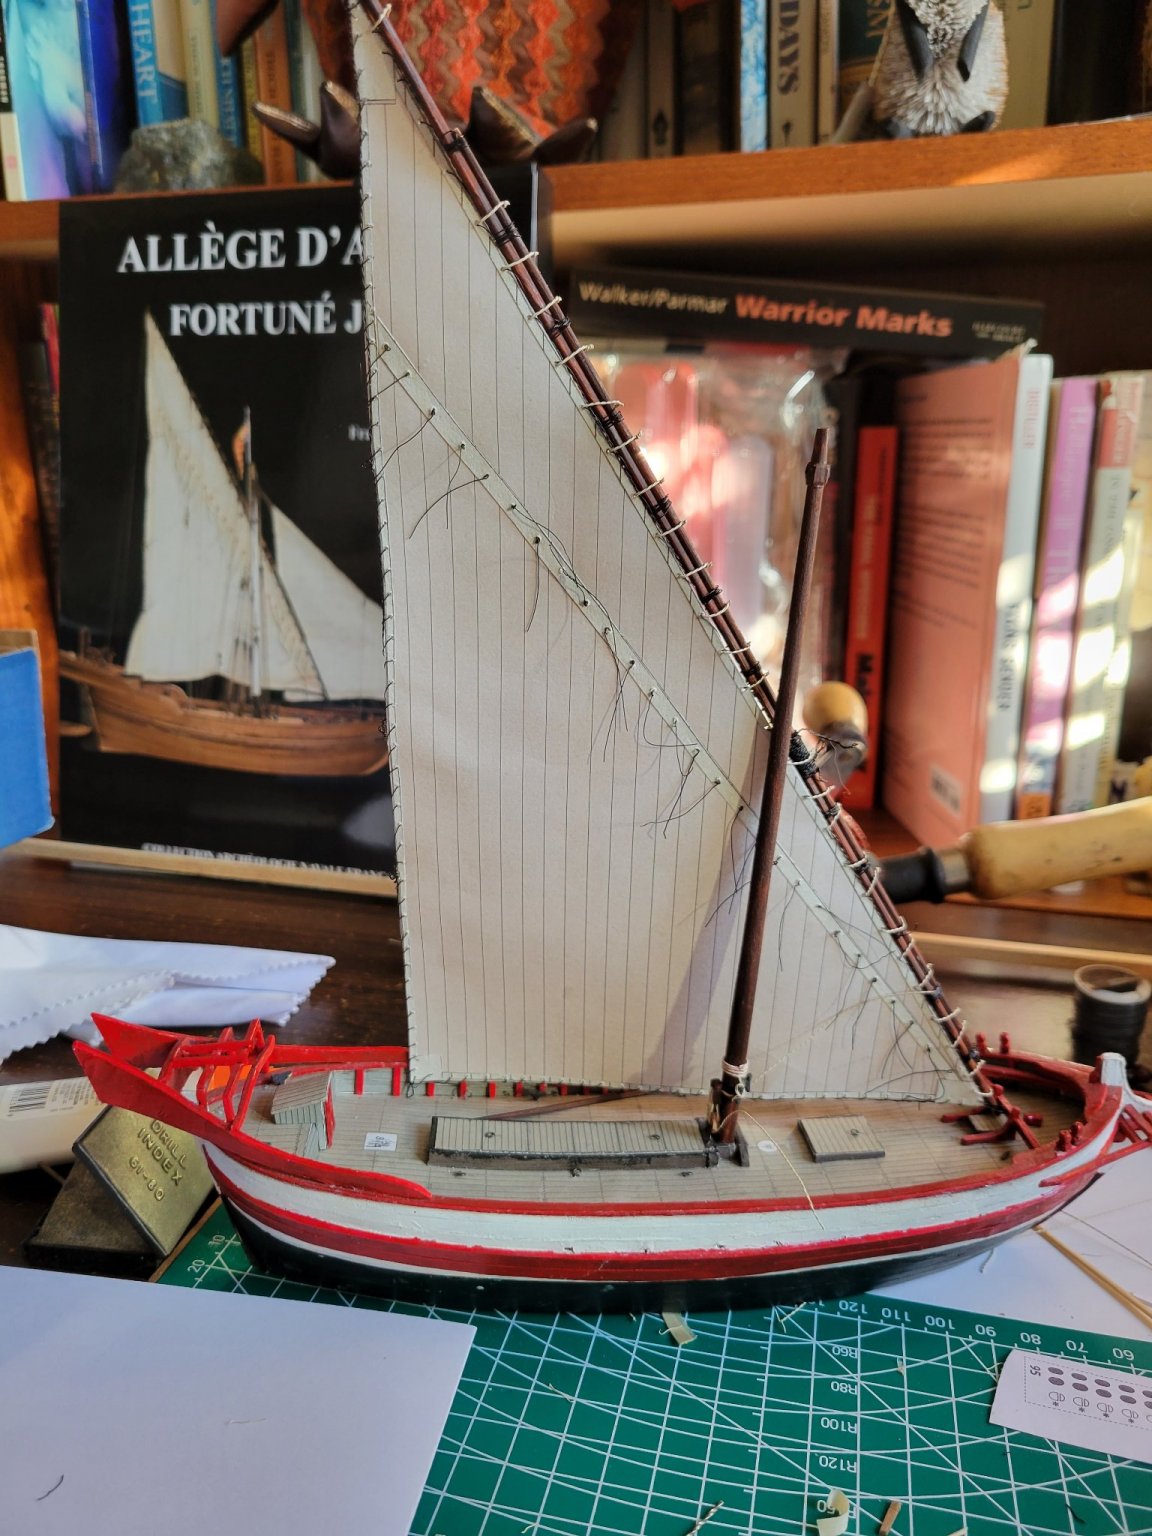
Le Leudo 1913 by kentyler - 1/36th - CARD - from Ancre plans
in - Build logs for subjects built 1901 - Present Day
Posted
Staggering the bamboo pins makes it easier to assemble the pieces.
Center punching and drilling the holes causes fewer problems if it is done before cutting the frames out.
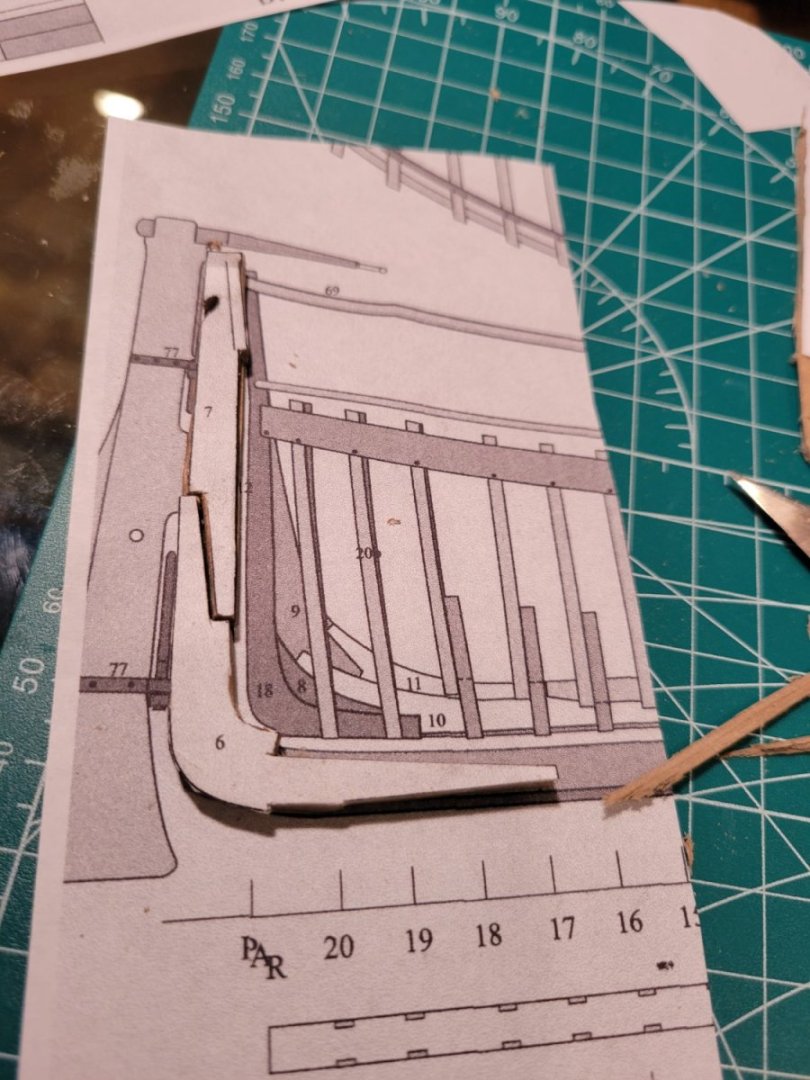
I decided I had to cut the angles on the filler pieces at stem and stern...but had no reference in the plans....so i just winged it. My feeling is that it is more likely i will cut them to thick than to thin....and they will be hard to cut or shape once all the frames are on