-
Posts
506 -
Joined
-
Last visited
Content Type
Profiles
Forums
Gallery
Events
Posts posted by petervisser
-
-
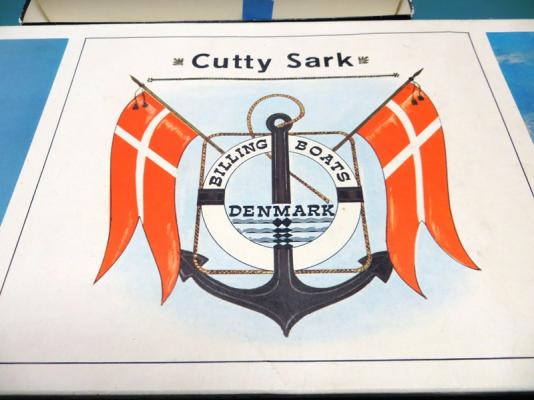
Well with winter round the corner, it's time to hunker down and get back into the shipyard with Cutty Sark. This is a model I have always wanted to build since starting out in this hobby with Billing's Mary Ann. Thanks to Kip (aka Sawdust), I was able to acquire this second hand model which he purchased from a neighbor for 2 bottles of wine. He also sold me Nepean's book and Campbell's drawings so I have lots of info over and above what Billing supplies which isn't much. Thanks to Lou's lead, I have also purchased J.J. van Griethuysen,s drawings which are spectacular.
As you can see from the photos, this is an early Billing kit , from the 70's I would guess. Einar Billing includes a little intro with the Reader's Digest version of instructions they are known for. In them he states that the kit is intended to be built and not merely assembled. He expects the builder to exercise skill and imagination in the building of the kit. Sage advise indeed.
As with all earlier Billing kits, the hull and fittings are sold separately. Billing believed some modellers might want to create their own fittings. They also recognized that many models are never completed so why buy a bunch of fittings that might never make it onto the model which will never be used.
The majority of the wood in this kit is mahogany, which you can imagine is now rather dried out and a little warped. I have decided to replace the hull planking with obechi which I have used on previous Billing kits. It's not expensive, bends easily with a little steam and will be painted, so no need for top quality timber. As the build progresses, I will decide what other wood needs replacing.
As can be seen from the photos, the kit is already started. The original owner of the kit did get it stared but then realized he no longer wanted to continue. So I have the kit framed and with the false deck installed. The rest will be all me. He has done a first rate job, and the keel is straight so it is a good point to resume where he left off. Job one will be to bevel the bulkheads.
So here's a couple of pictures of what is to come...
-
Ain't it amazing what you can find on YouTube.
I have begun re-reading the Aubrey-Maturin series for the fourth time (yup, I like 'em) and for the heck of it, decided to see if there was anything on YouTube about the author. Lo and behold, there is an hour long interview sponsored by the The Mariners' Museum, in Newport News, VA, on April 11, 1995.
I sure do miss him..
Peter
-
Hi Don,
Great work on your Gorch Foch!
As for your turnbuckles, glue them in place and then do the following.
Secure the shroud at the head of the mast. Take that line and thread it through the top of the turnbuckle. Cinch up the line by doubling the end back up the shroud. This takes the slack out of the shroud. Now pinch it off with an aligator clip about an inch (2.54 cm
 ) above the turnbuckle. And then seize the doubled line just at the turnbuckle. I just tie a series of half hitches a bunch of times to secure it. Then give the seizing a dab of matt laquer to hold all the knots in place. Presto!
Hope this makes sense...
Peter
-
-
Hi Gundorph and welcome to the site.
Mary Ann was also my first wood model. You have made a great choice. Now I am contemplating my 8th model ship! So I think Mary Ann is a good beginning for a long journey with model ships.
Good luck with your build. You have made a fine start.
Peter
-
Hi Ian,
Just looked in and wow, what a great Unicorn you have made. Can't wait to see more.
Peter
-
Hi John,
What a great Unicorn you are building. I really like the way you finished the hull. It reminds me of an Admiralty model.
I will follow along with your log as it offers lots of great lessons.
Peter
-
Hi Mike,
Beautiful model!! I have an old Billing Danmark as well which I am now more anxious to build, having seen yours. Like you, I depend on the drawings to guide me through the project. Mr. Billing is short on instructions, which is fine. After all a picture is worth two in the bush, as the saying goes...
Thanks for the photos and inspiration.
Peter
-
Hi Gerald,
Thanks for resurrecting your build log of the Charles W. Morgan. I remember poring over you original build log. A real masterpiece.
Wish you well with the rest of your model.
Peter
-
Hi Keith,
I am in the same boat as you! I also bought a partially started Cutty Sark wih only the frames and false deck started. Having seen your fine work on the Victory, I will follow along closely with your CS.
I am taking the summer off from modelling, but at least I have your model to follow in the meantime to keep me inspired.
Cheers,
Peter
-
Congratulations on your completed model Marc!
She looks terrific! Well done.
Peter
-
Congratulations on your fantatic model. Very fine work and the pictures do it justice.
Time to splice the ole mainbrace, I'll wager!
Peter
-
-
- AntonyUK, jbford, Mirabell61 and 4 others
-
 7
7
-
Hallo Nils,
What a great model that is you have built! Another unusual kit produced by Billing. Like you I have really appreciated the unusual subject vessels they have chosen to produce kits. They are a nice change.
Cheers,
Peter
- WackoWolf and Mirabell61
-
 2
2
-
Hi Mike,
I used an Anatomy of the Ship book of the Pandora as a guide on the belaying plan as well as Lenarth Petersson's Rigging Period Ship Models to add more pins to the rigging arrangement. I did not use the rigging diagrams that came with the kit.
Peter
-
Hi Everyone,
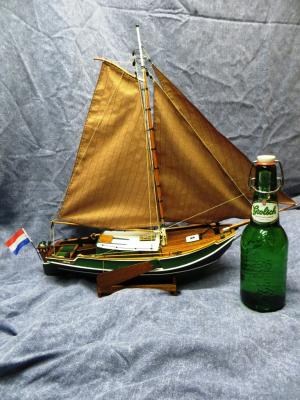
I am pleased to say the my little Zeeschouw is now complete! It is always a thrill to complete a ship (boat) model and this little kit is no exception. It was a treat to build and after the Unicorn, a breeze.
I highly recommend this model to newcomers to the hobby. It might be hard to come by to those who do not live in Europe, but with the interwebby, anything is procureable.
For those who have asked me what my next model will be, I have the answer. It will be a Cutty Sark model, by none other than Einar Billing! I purchased this model third hand from Kip (aka Sawdust), who bought it from a former neighbour for some bottles of wine. It is an older kit (Kit 459 - Hull and Kit 565 - Fittings) with mahogany planking which must be replaced due to its age. I have always wanted to build a Cutty Sark since I started this hobby with the Mary Ann.
But spring and summer are beckoning, so I won't be starting that project anytime soon.
Thanks for following along and posting all your very kind words. I hope I have been able to give some of you a bit more inspiration in continuing with this wonderful hobby. I will post some more completed pictures in the Gallery.
Now if you'll excuse me, I have a beer to drink...
Peter
-
Another quick update.
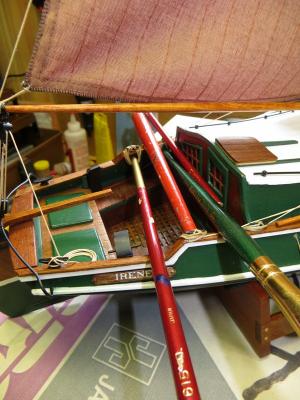
I have belayed the halyards and headsail sheets which competes the rigging. All is coiled down with a coat of lacquer and the paint brush handles are holding everything in place. Come morning these will be removed and I will cut of any little tails that need trimming.
I think just the anchor needs to be fitted and "Irene" will be complete!
Peter
-
Hey ZyXuz,
Welcome back and sorry to hear about your father's health. Glad he is on the mend.
As for your model, it's looking splendid. I really like the detail you have added and your interpretation of the kit. As a model boat builder, I believe we are our own bosun/shipwright and captain. Our models are unique to ourselves and we can have our own interpretation as to how they are built and how they look. You are doing a fine job in making yours unique.
Keep up the great work.
Peter
-
-
Well, this morning I finished off the gaff sail by rigging the boom vang, main sheet and coiling everything down. I also re-did the mast hoops because I wasn't altogether happy with their spacing and positioning. I am much happier with them now.
Here are a couple more pics...
I use lacquer to keep the knots tied and the lines coiled. It is very effective and leaves no trace. I have left the tails on until the lacquer dries and then snip them off.
Here is the boom vang and gaff lift coiled down. Again, I used a coat of lacquer to hold them in place.
Here is the main sheet rigged and coiled down.
And finally the main sail finished. Now for the head sails!
Peter
- tarbrush, flying_dutchman2, Piet and 3 others
-
 6
6
-
Hi Ian,
Just looking in on the latest developments. I am really impressed with all the mods you have made. The extra work you have put in really shows and she is looking great.
I wonder if I should perhaps break out the mini chop saw and make a few alterations myself....JUST KIDDING!
Good luck with the research.
Peter
-
I have finally started putting sails to model. This is always a favorite part of the build for me as it seems the culmination of the whole build.
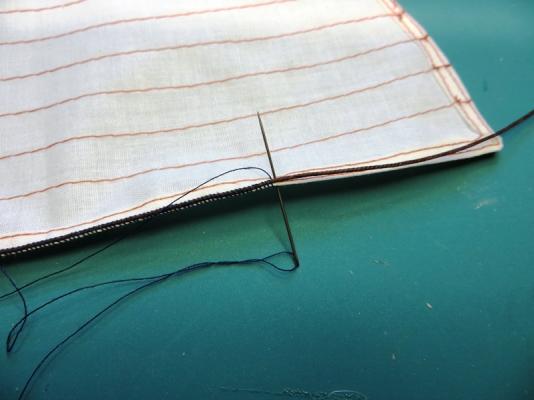
I started by attaching the main sail to the gaff and then used a number of mast hoops to marry the sail to the mast. These were not supplied with the kit, but I had some laying about and decided to put them to good use. I then attached the shrouds to the mast before fitting it to the hull. Then it was just a matter of rigging the sail.
Here are some pics showing the progress...
I find this little Workmate to be a handy third hand.
Here's a photo showing how I put seizings on to tie off the shrouds.
And finally a photo of the model so far. I still have the boom vang to attach but that's for tomorrow.
Cheers,
Peter
-
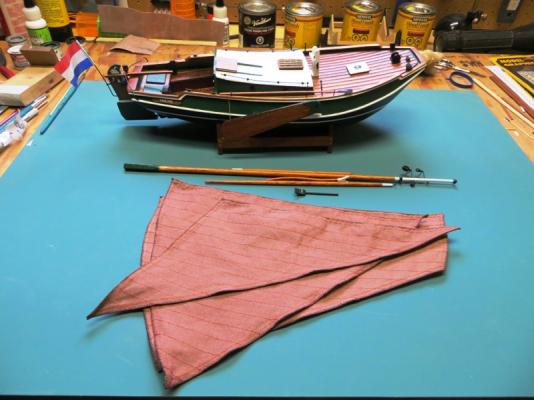
Okay, now the fun begins. I have been very anxious to get the spars up and the sails on. Now that all the components are prepped I can finally begin.
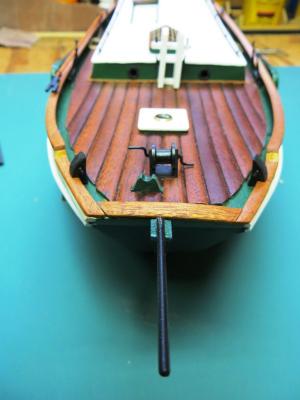
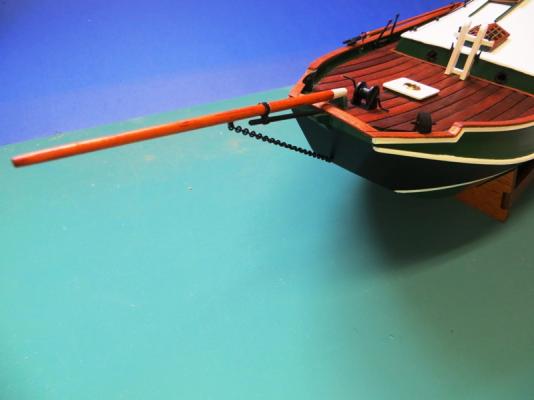
Well to start with, I had to mount the bowsprit. It comprised of a couple of components including a small support which helps secure the bowsprit, I am assuming. Although the kit did not suggest a bob stay, I decided to rig one anyway. It is for piece of mind and besides, it looks good!
Here are some pics of the progress...
Now, back to the boatyard for the main mast and gaff sail!
Peter


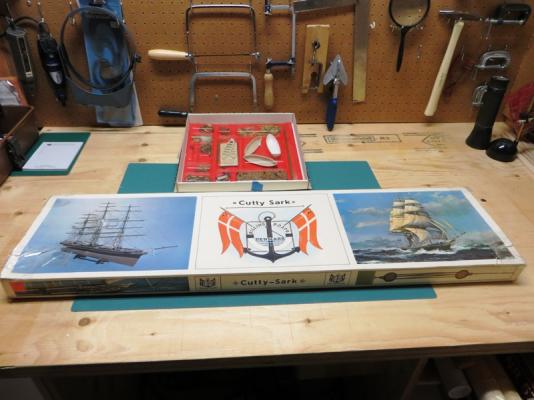
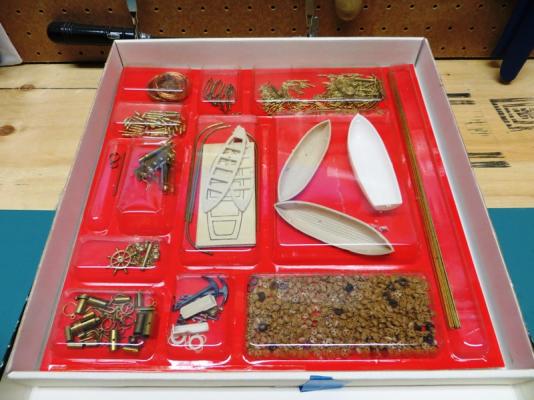
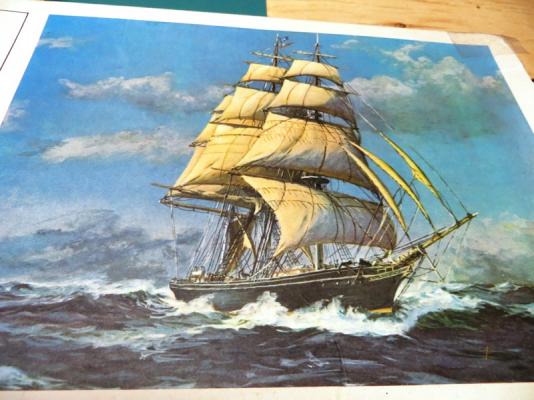
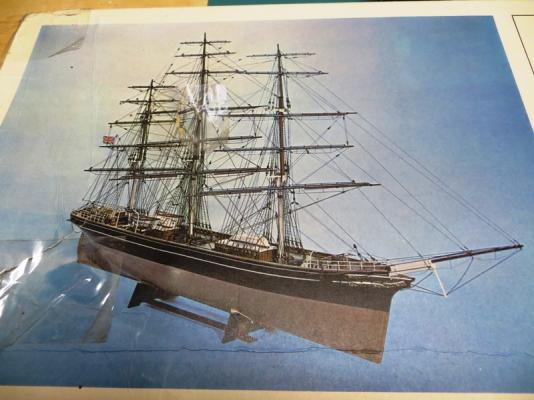
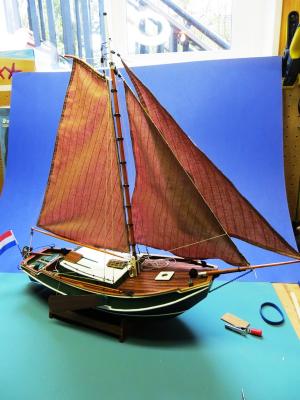
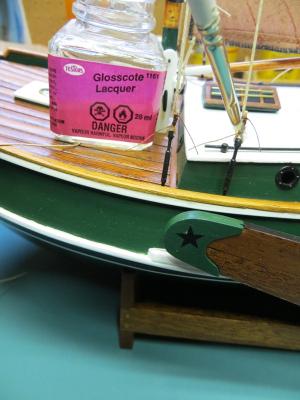
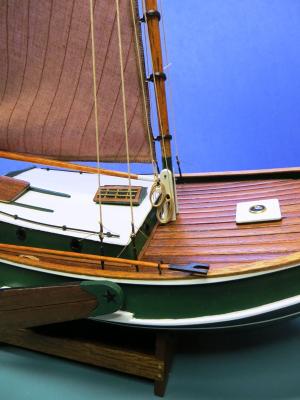
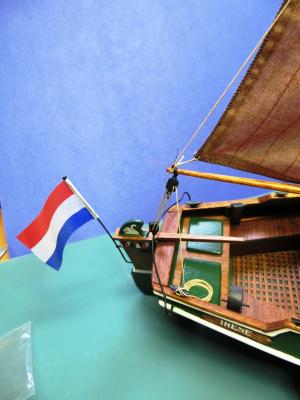
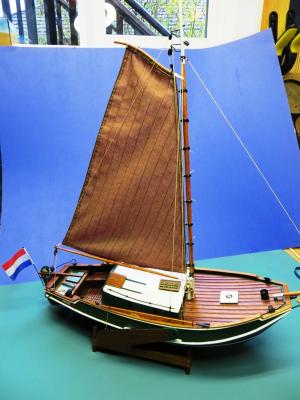
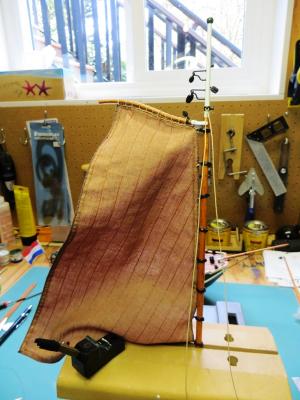
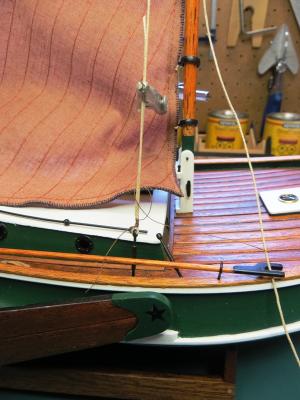
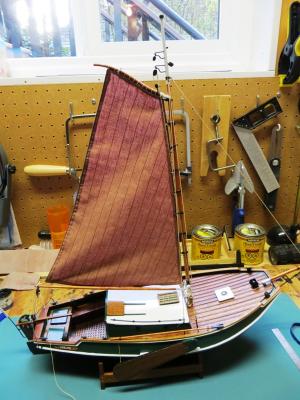
Cutty Sark by petervisser - Billing Boats - Scale 1:75
in - Kit build logs for subjects built from 1851 - 1900
Posted
Here are a few more pictures of the model as it looks now.
I have also downloaded the building instructions from the Billing web site that include step by step building sequence drawings. They will help.
The kit number on the box is 459 which will give some of you an idea of the age of the kit. The fittings kit is #1080.