


RGL
-
Posts
5,084 -
Joined
-
Last visited
Content Type
Profiles
Forums
Gallery
Events
Posts posted by RGL
-
-
-
-
Sweet ship, very nice. L'Arsenal probably have some French aftermarket for her.
Im in.
- Piet, Old Collingwood, cog and 3 others
-
 6
6
-
-
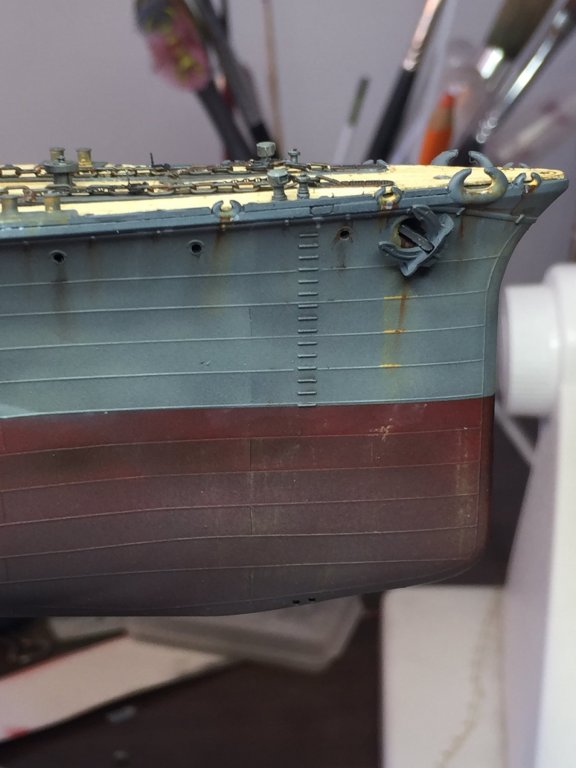
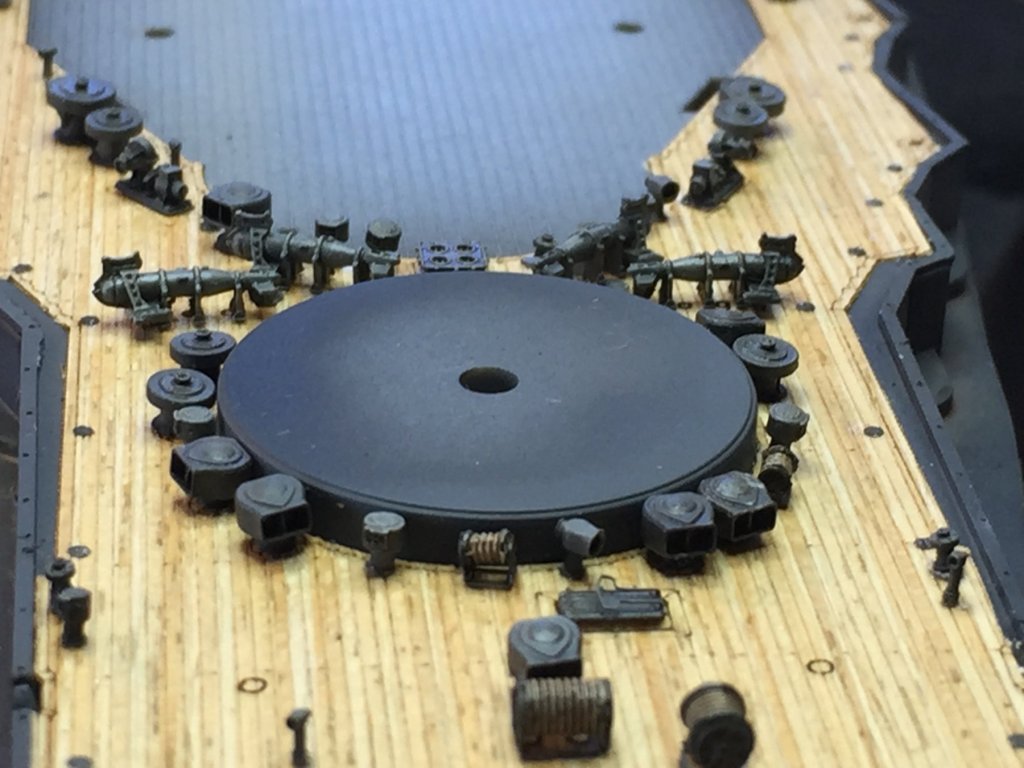
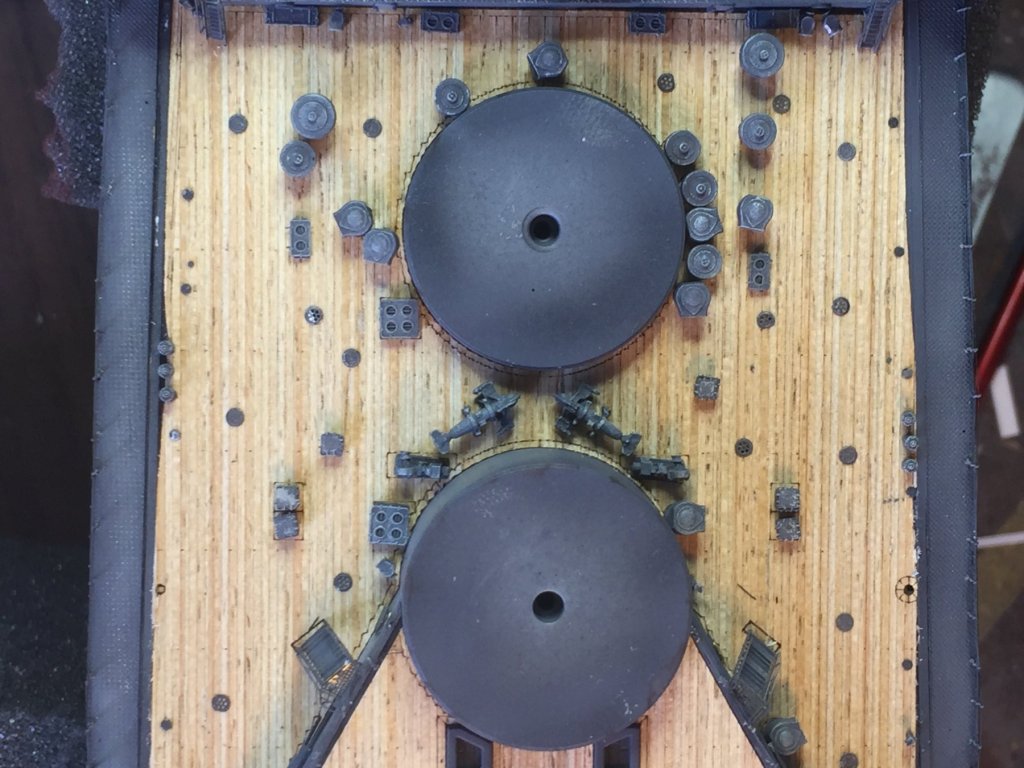
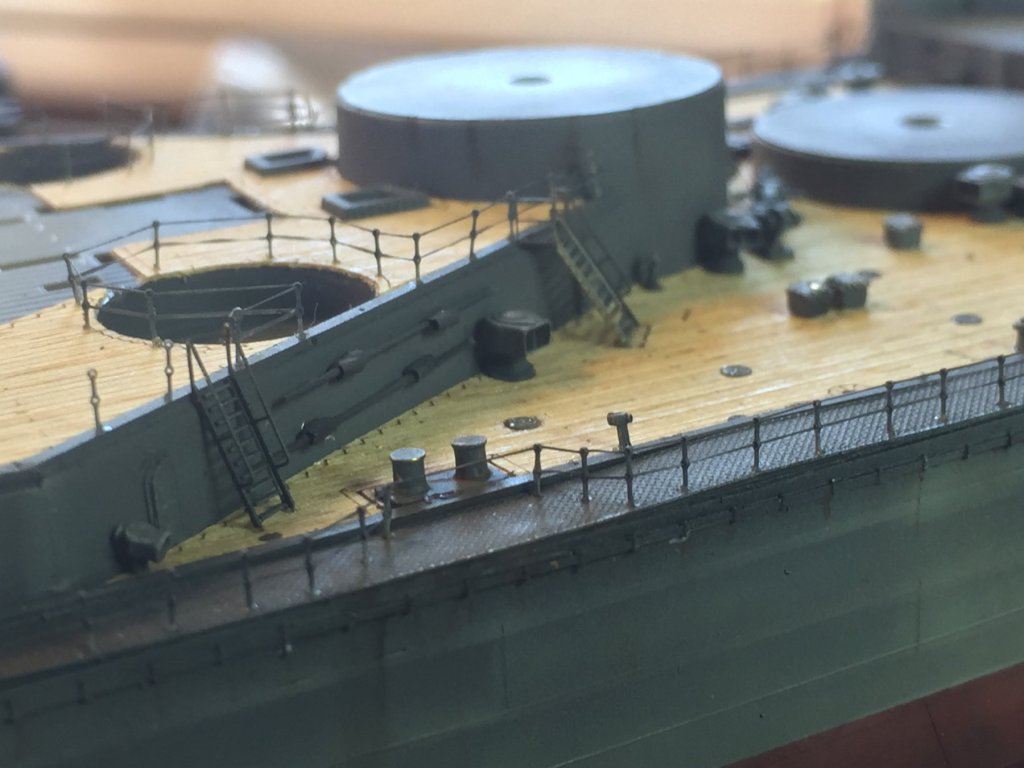
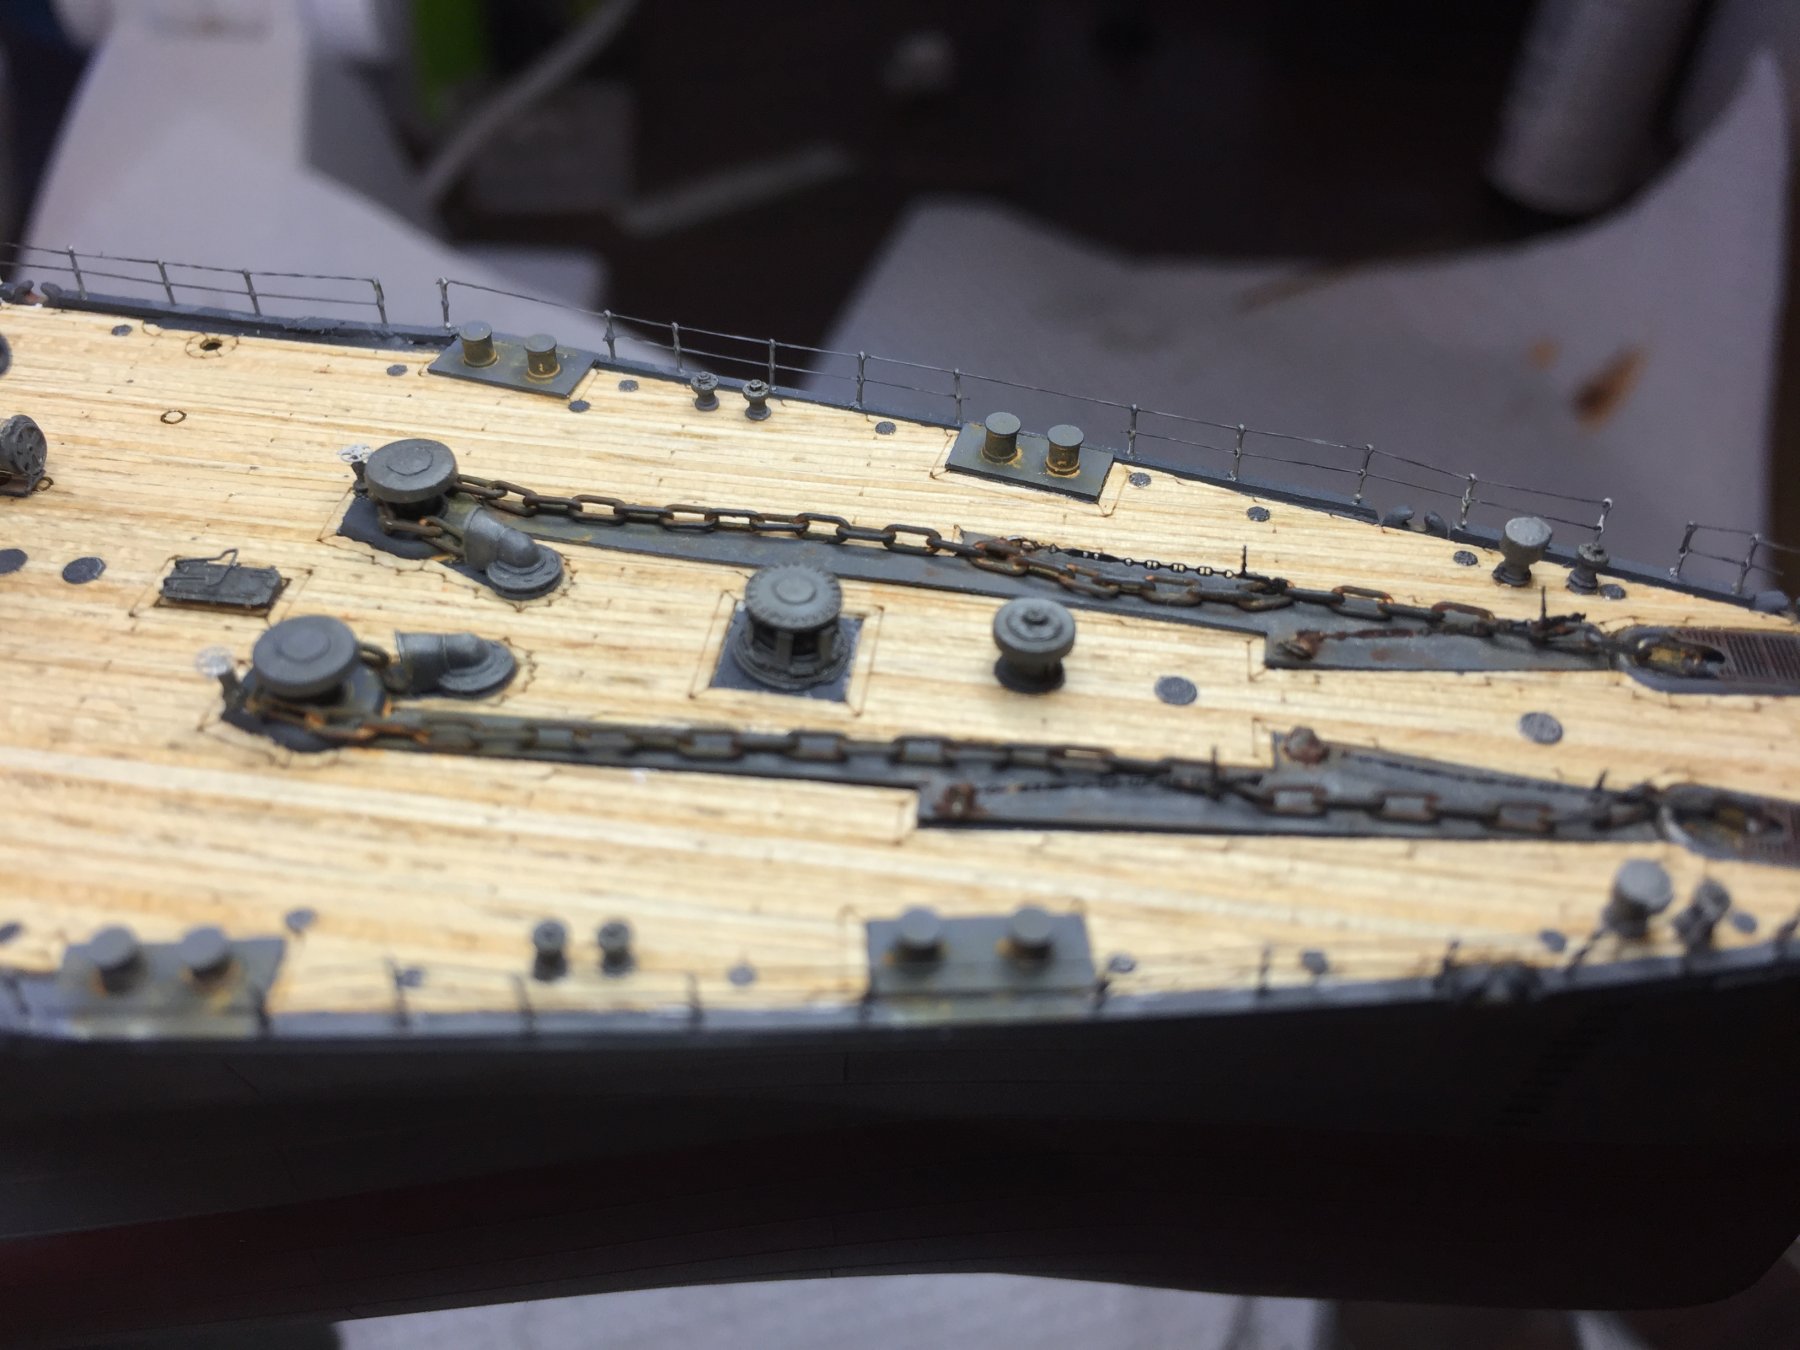
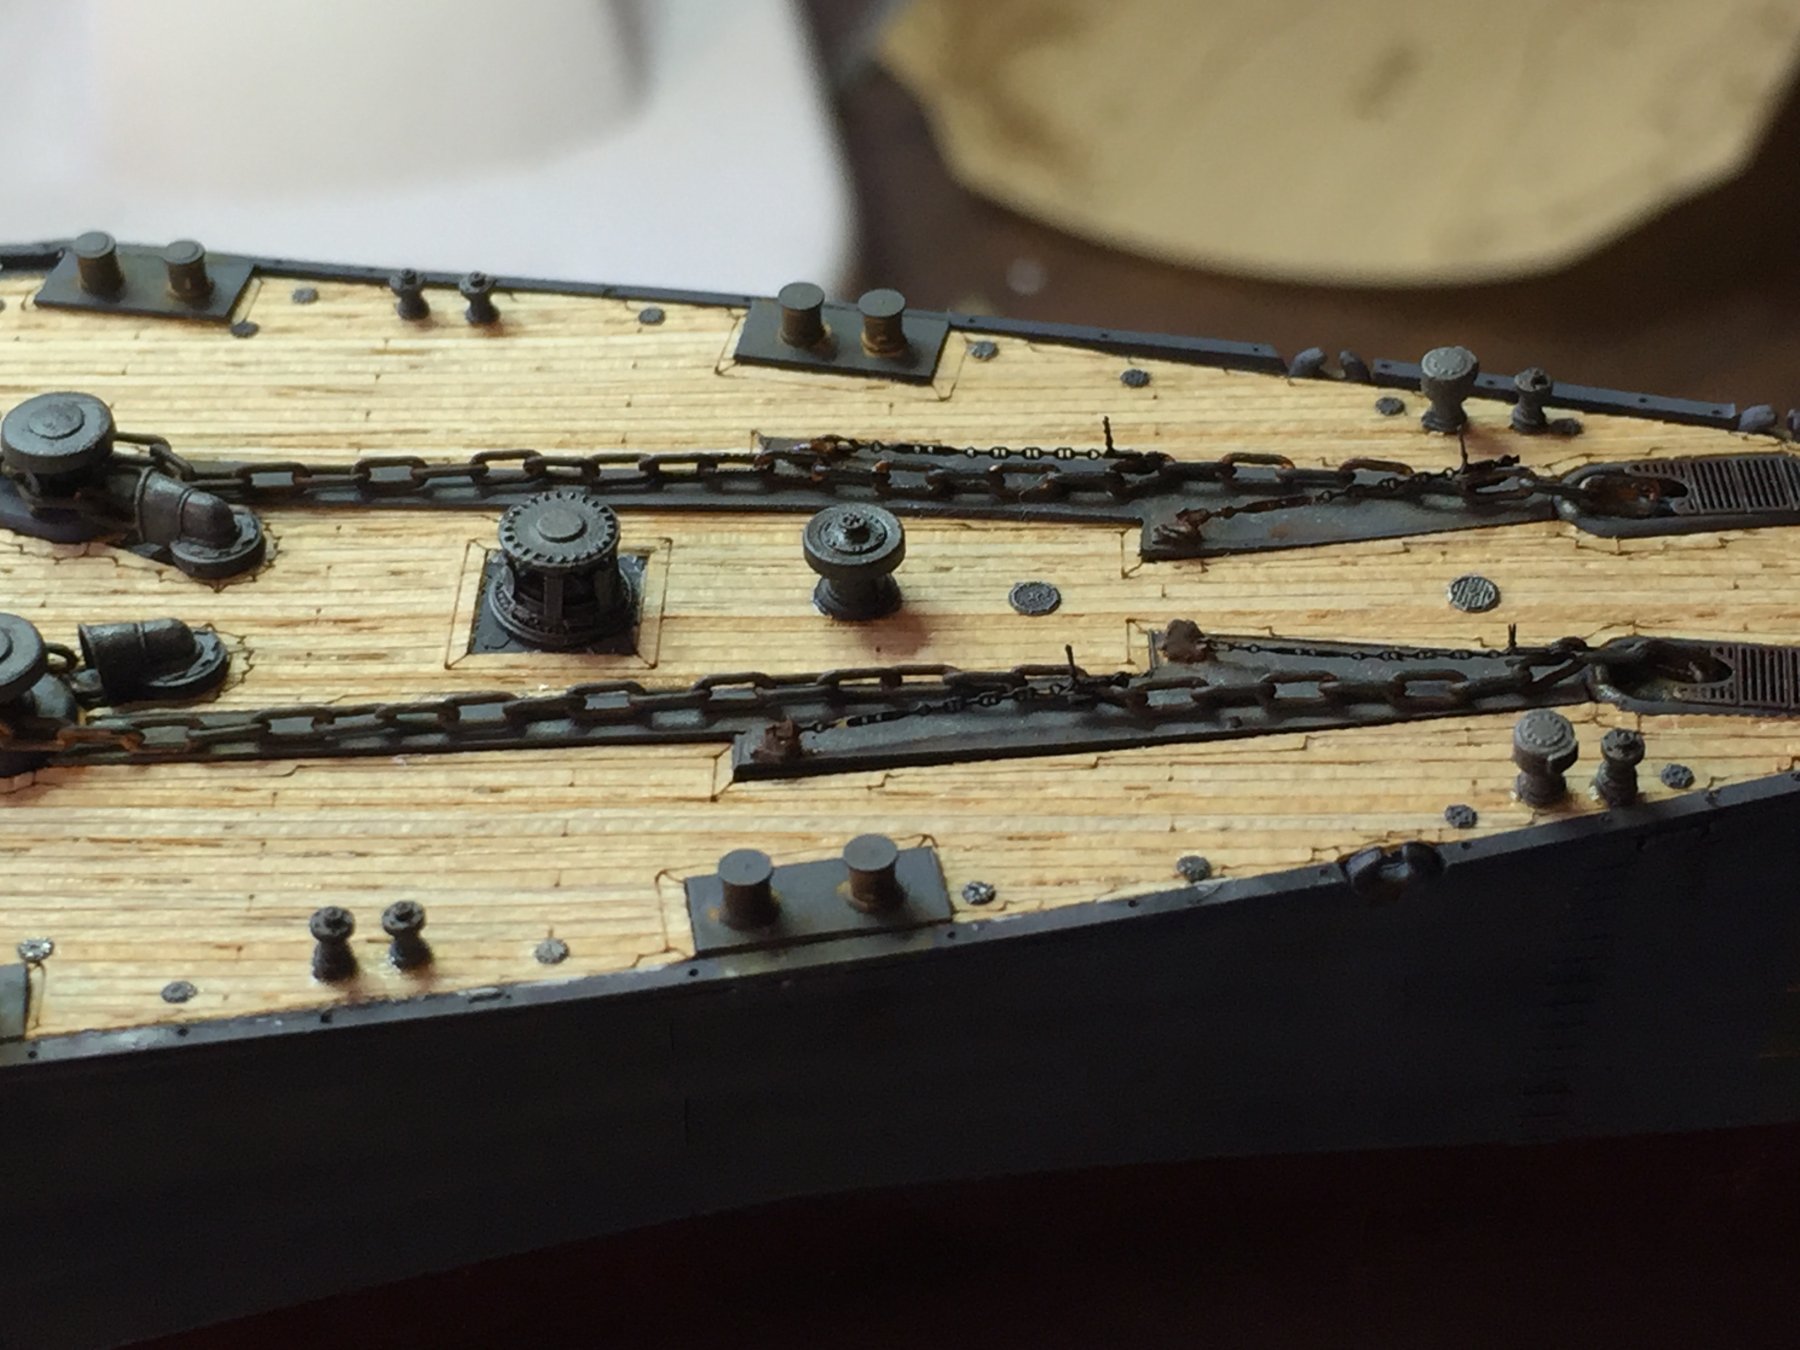
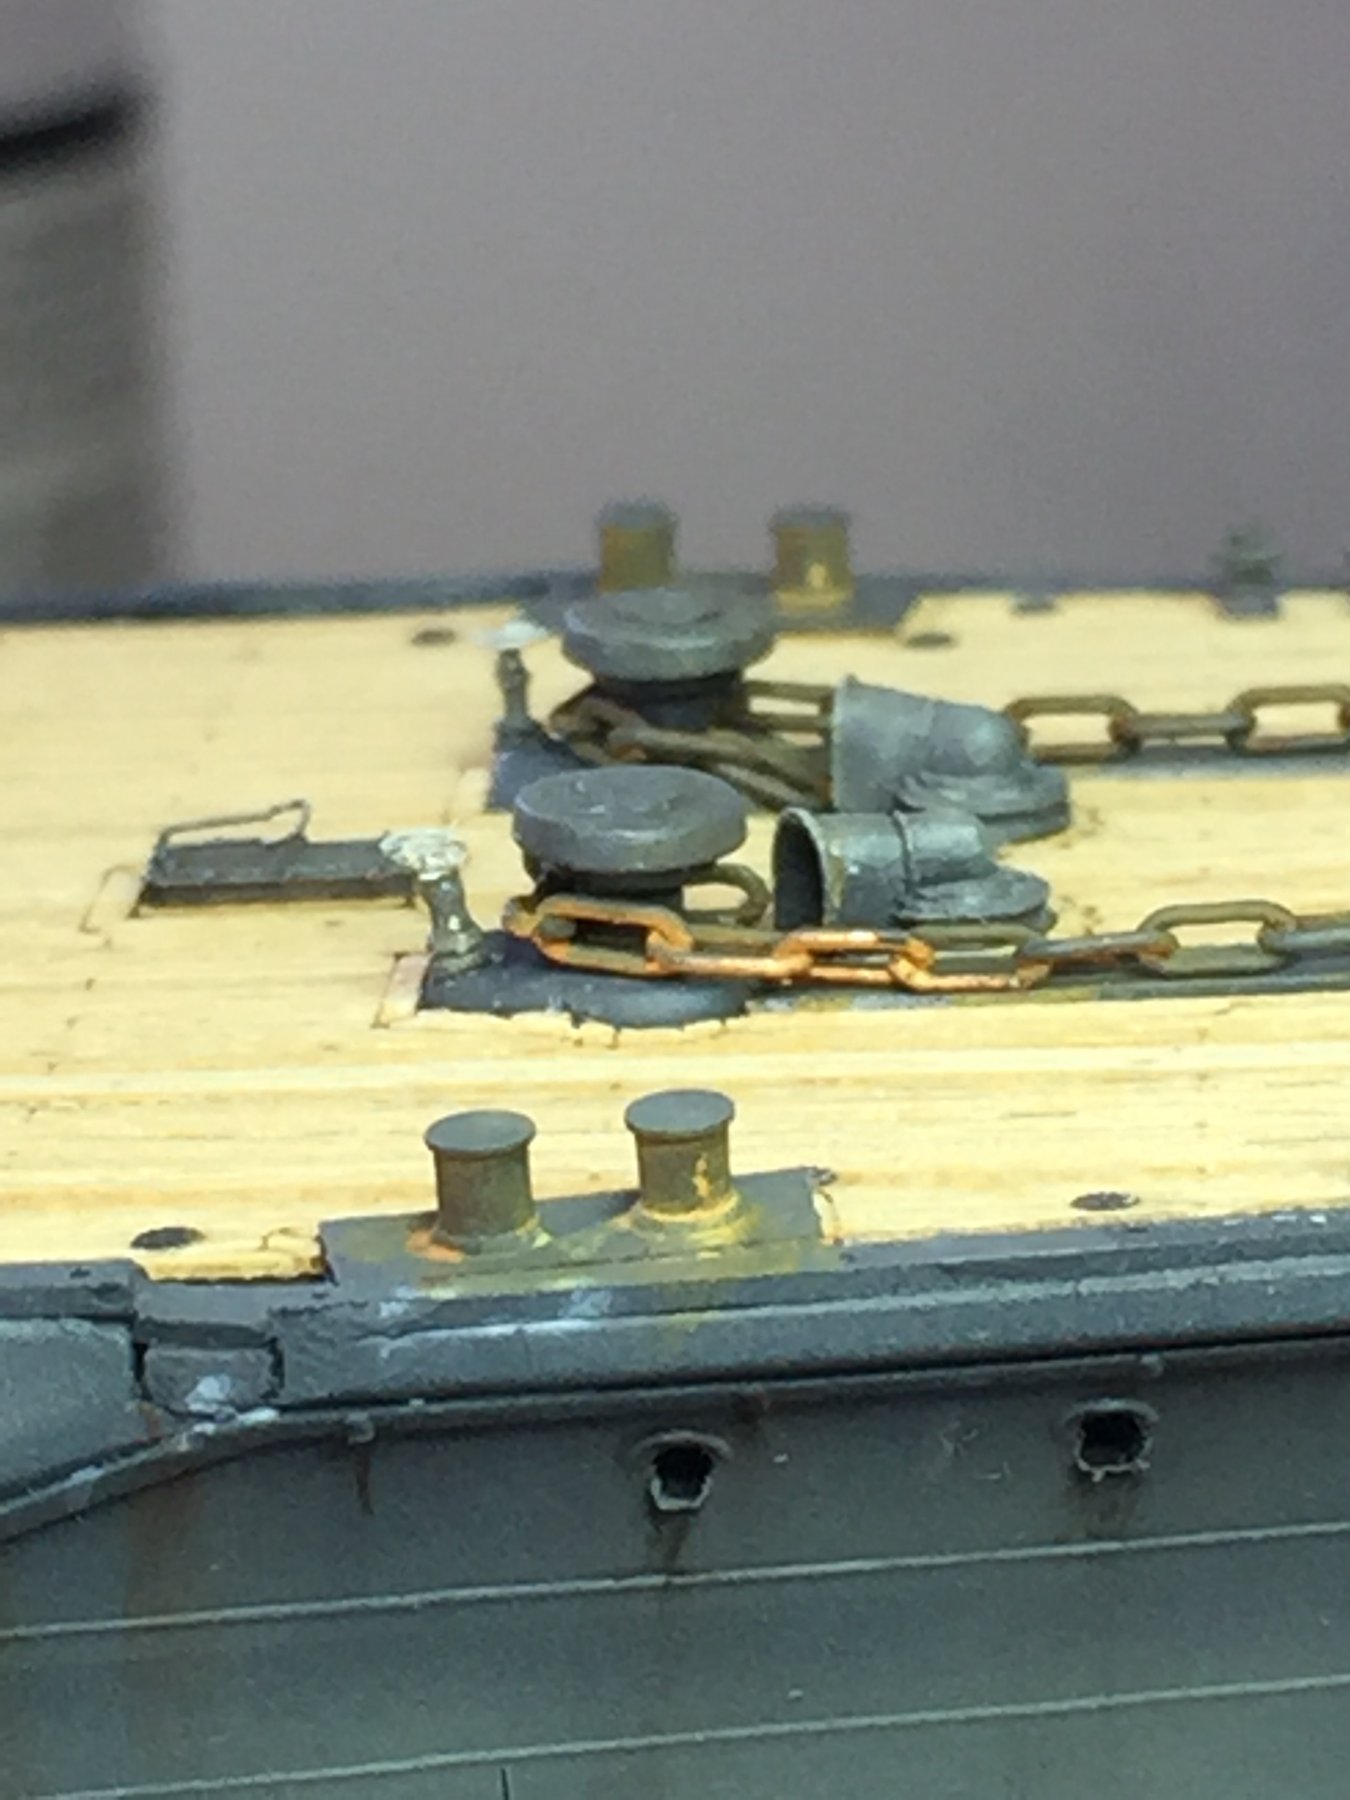
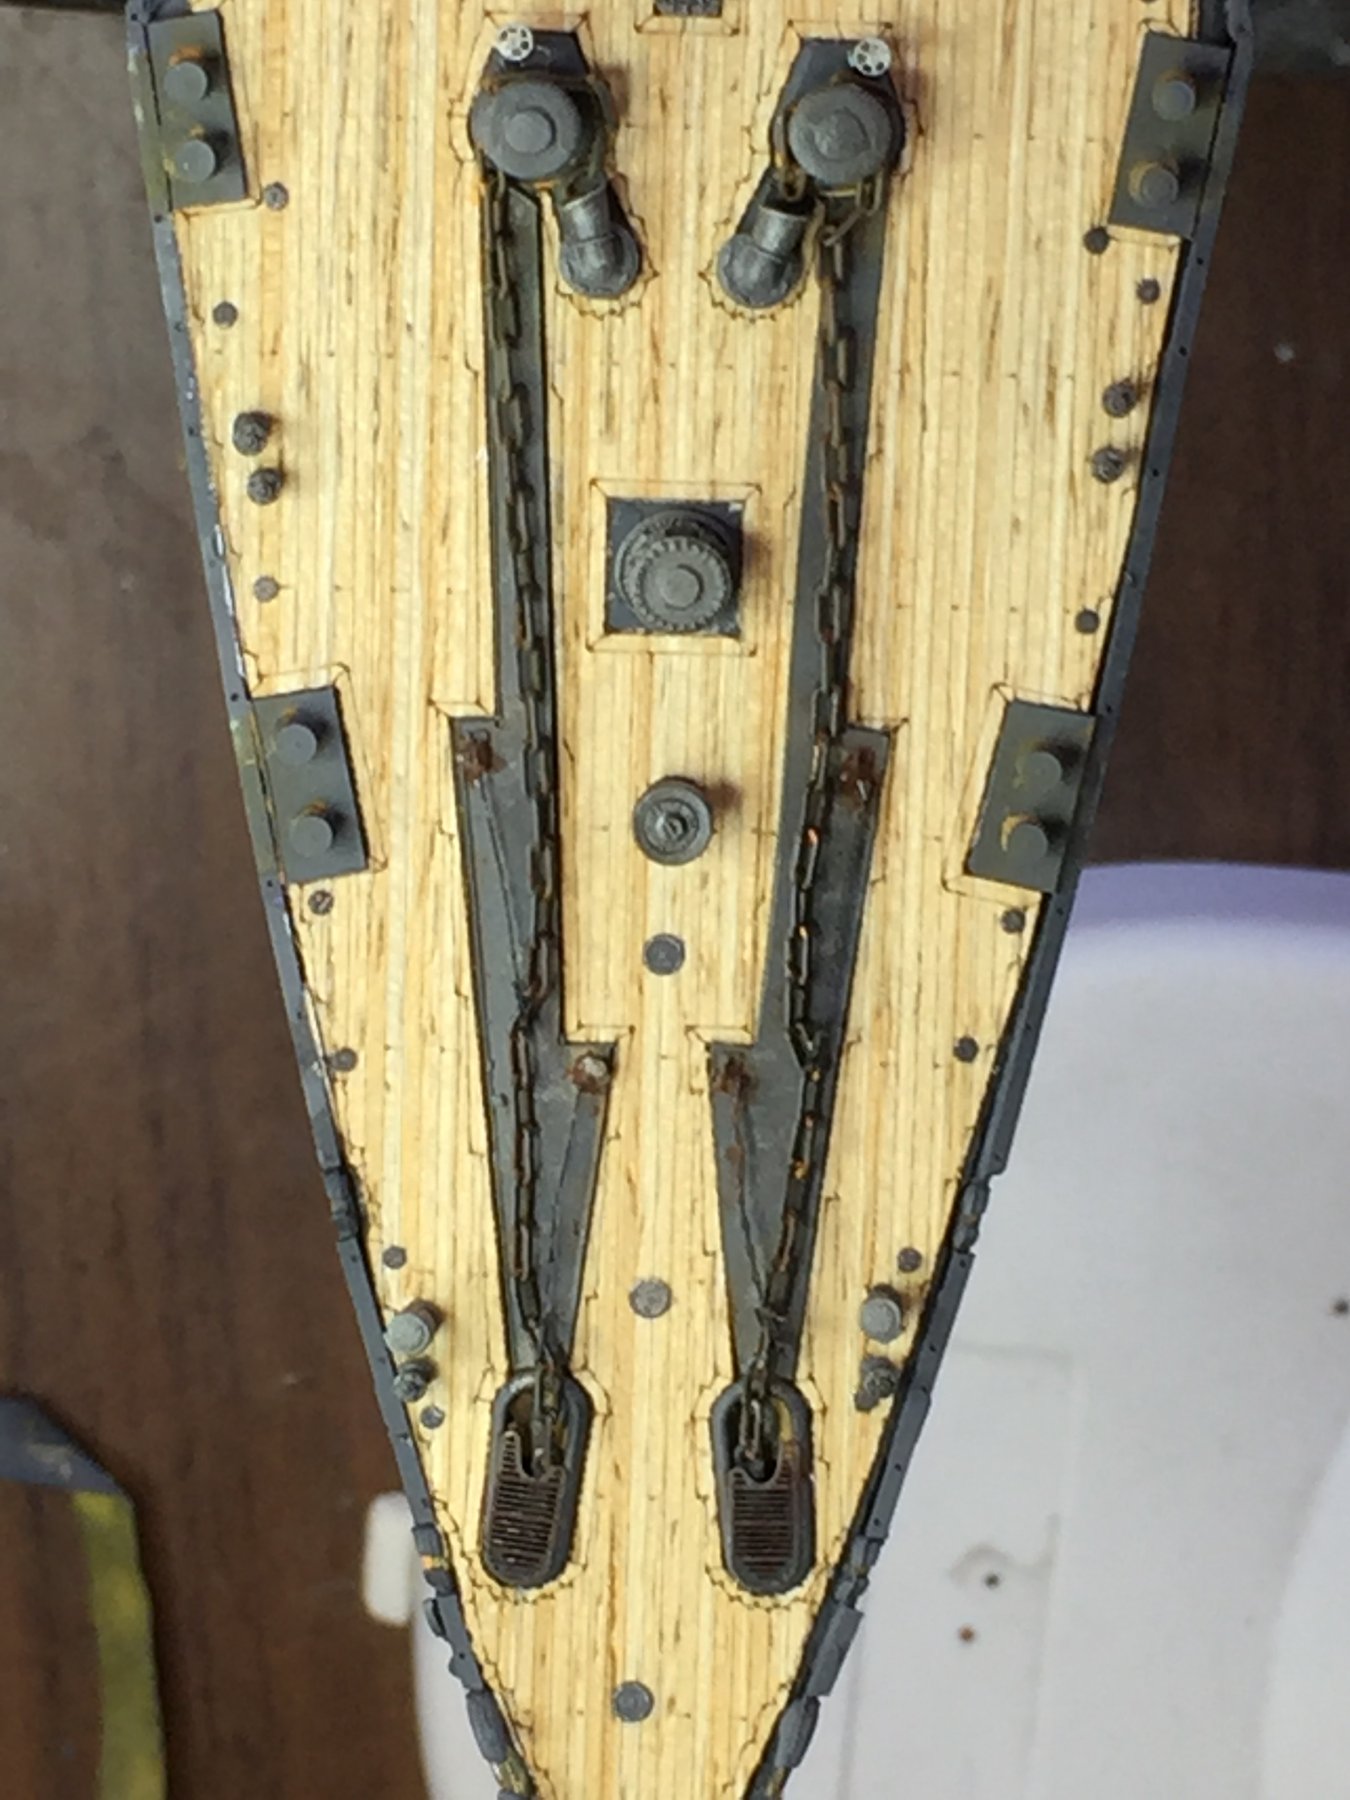
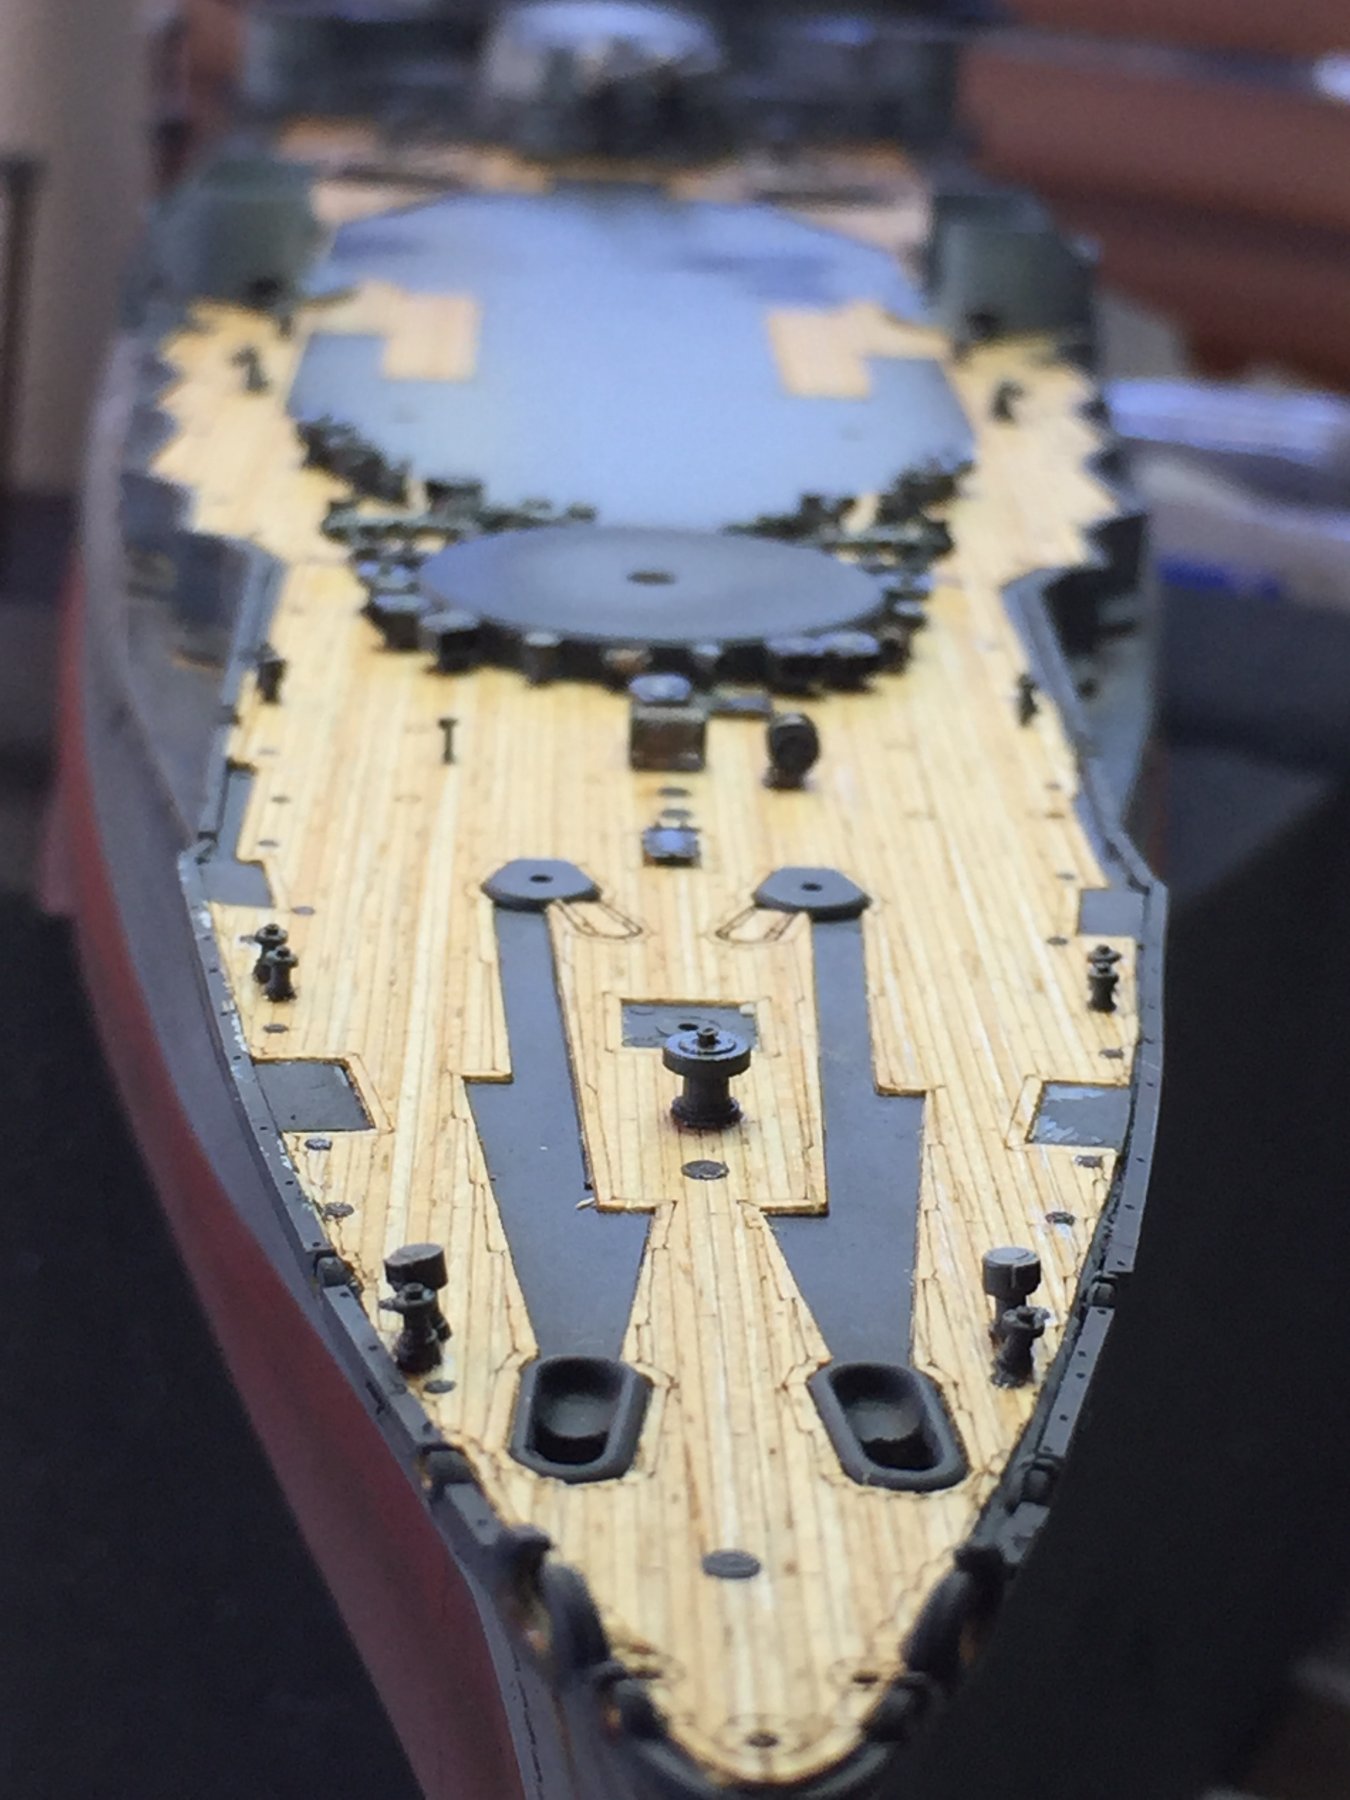
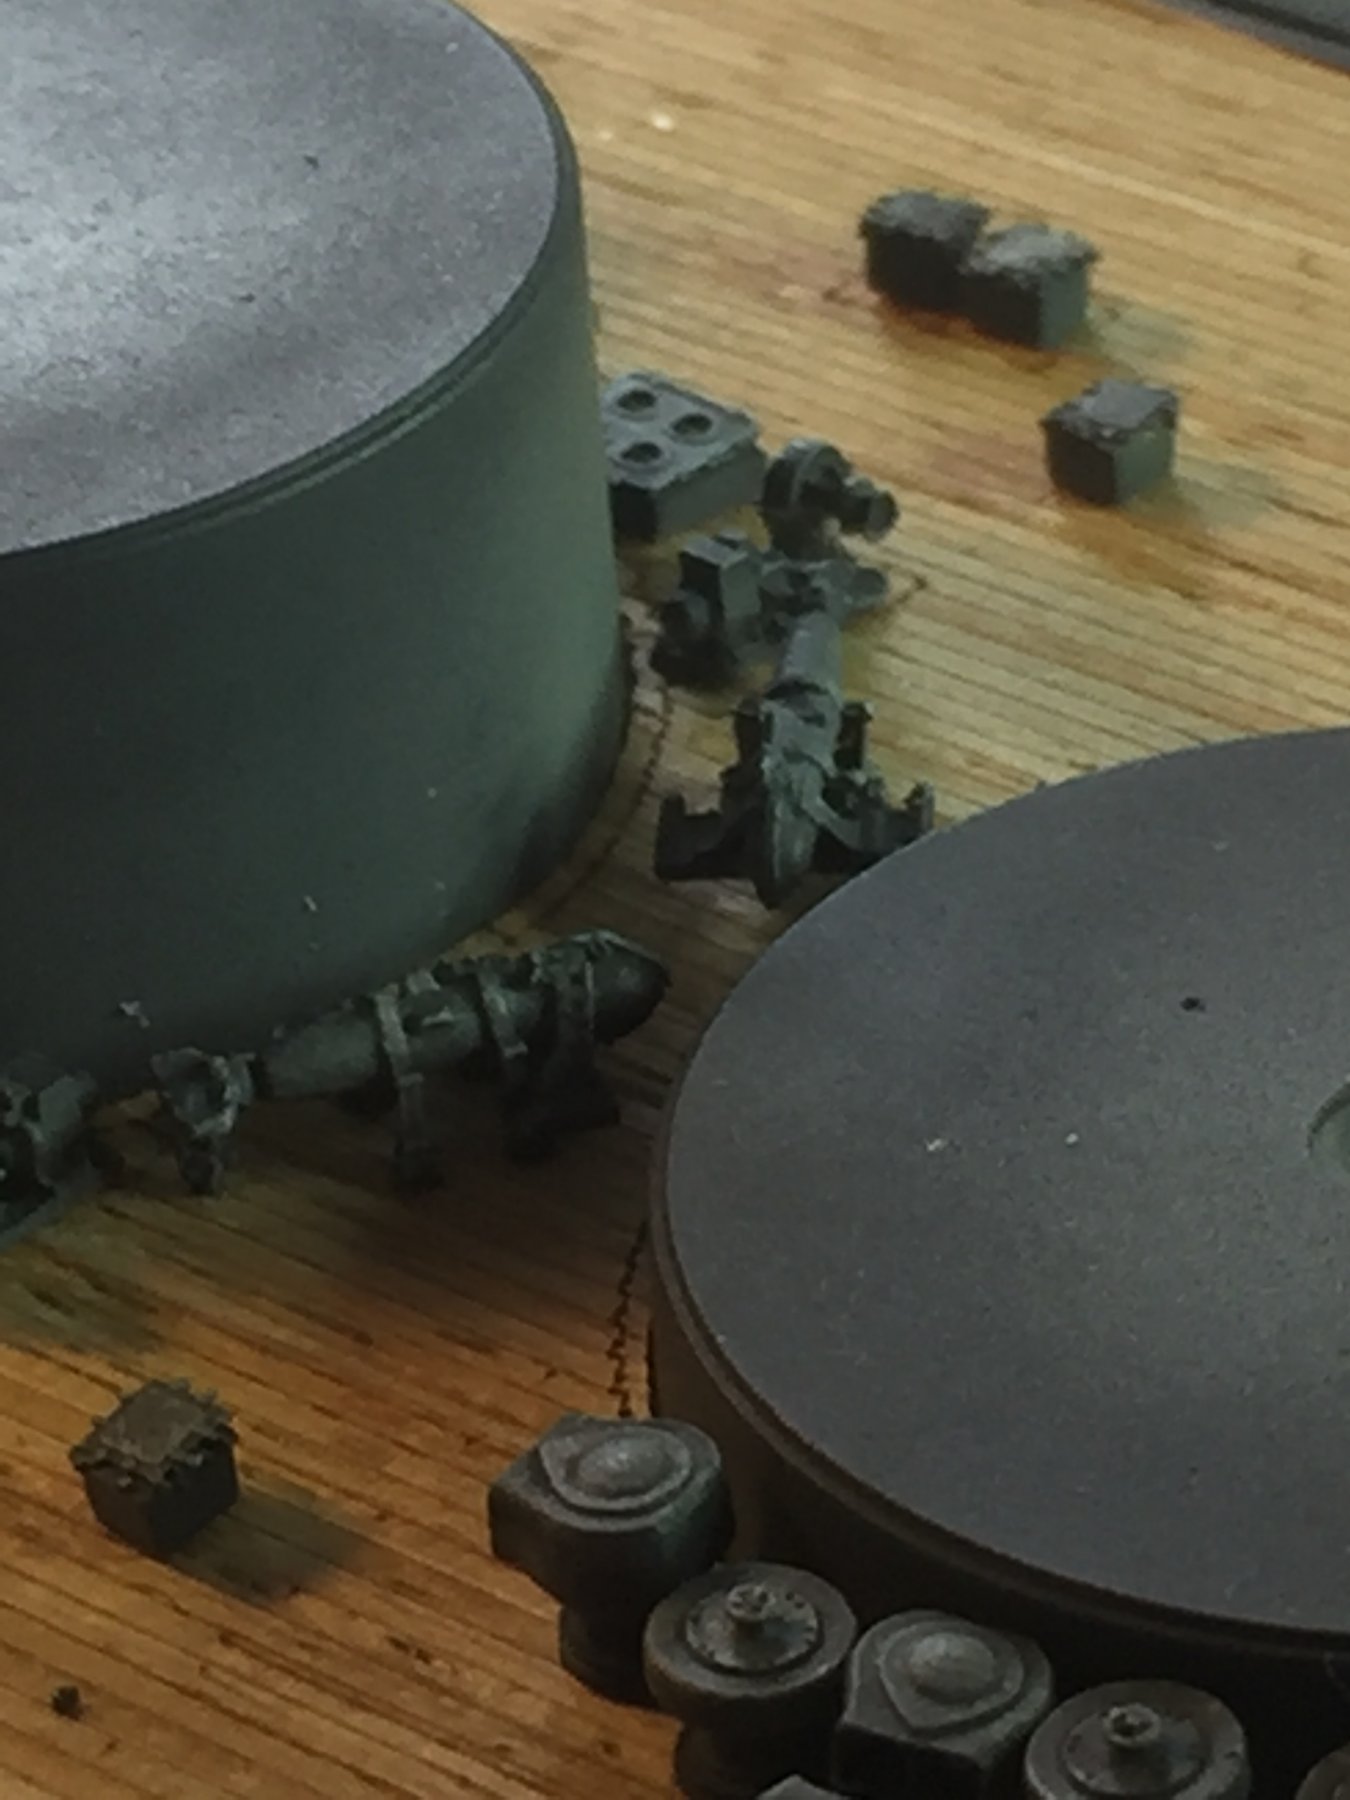
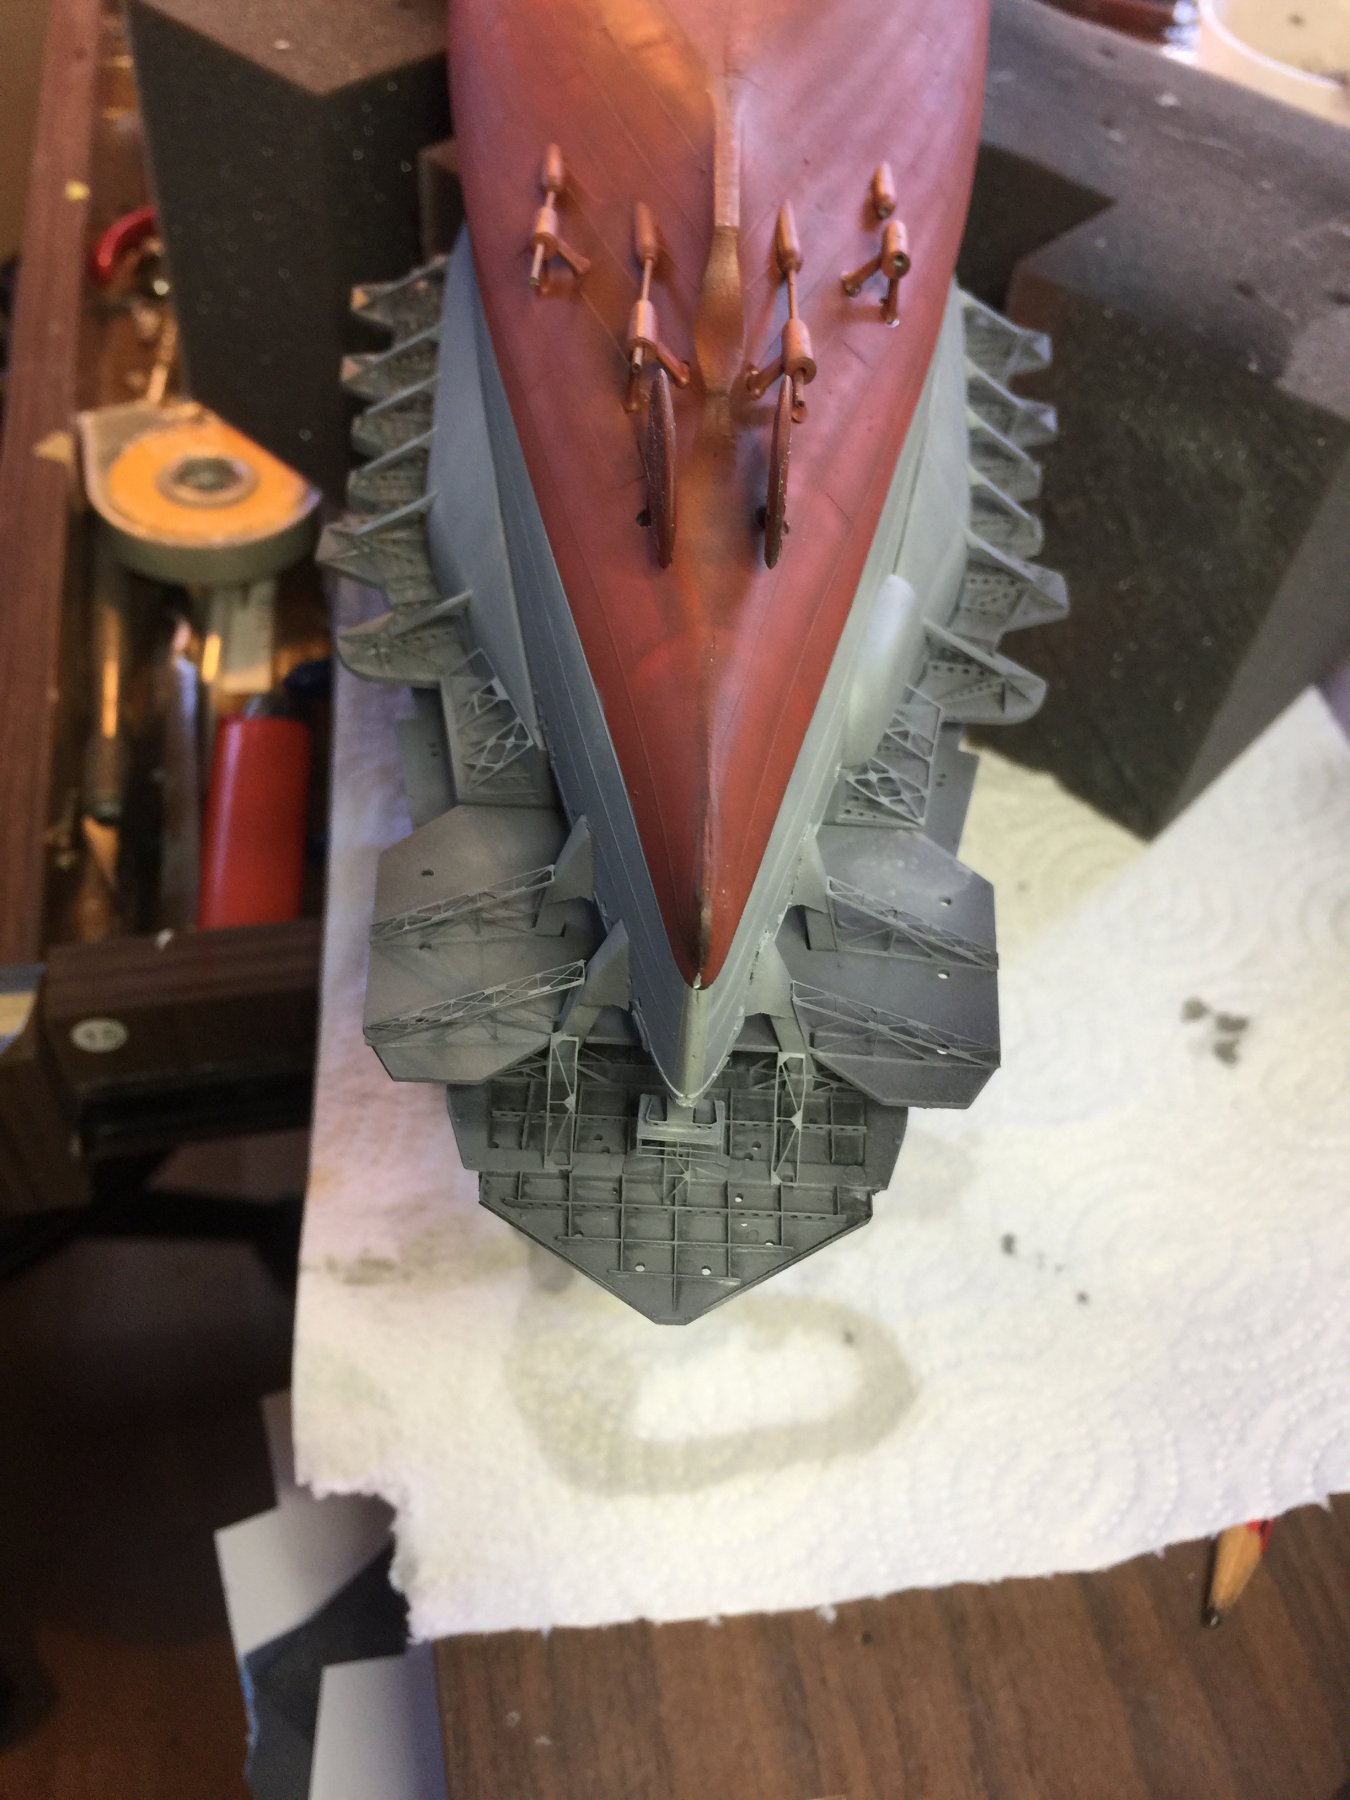
The kit provided anchor is pretty much rubbish, the stock is a curved piece of plastic! There are also no stern anchors provided.
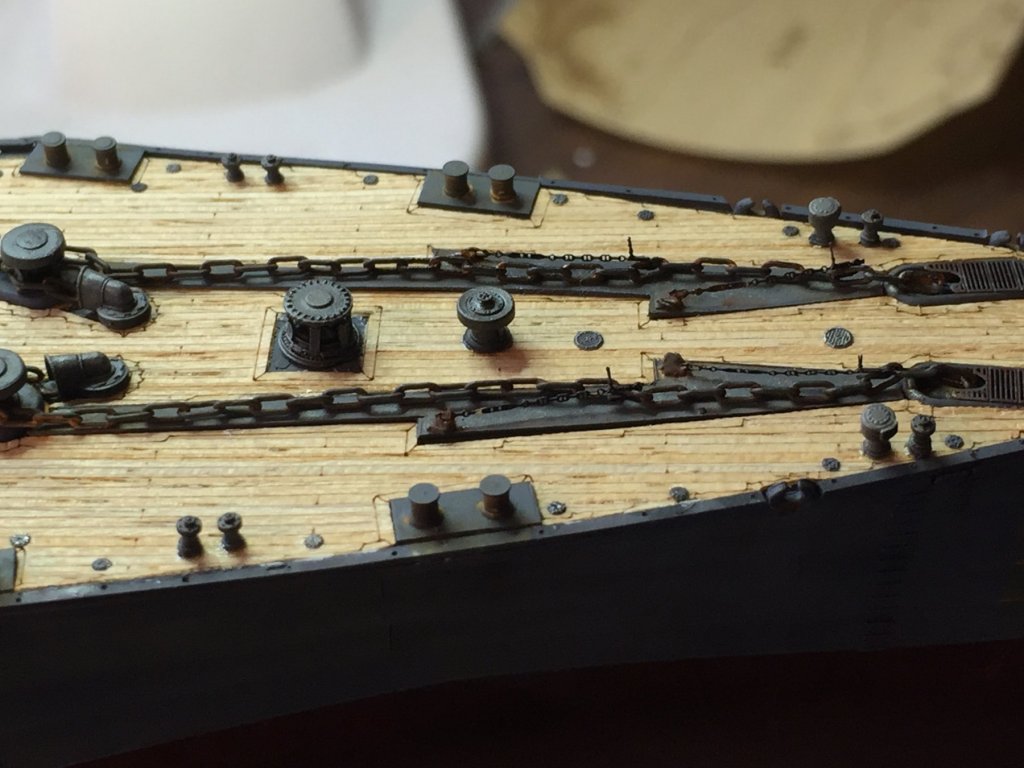
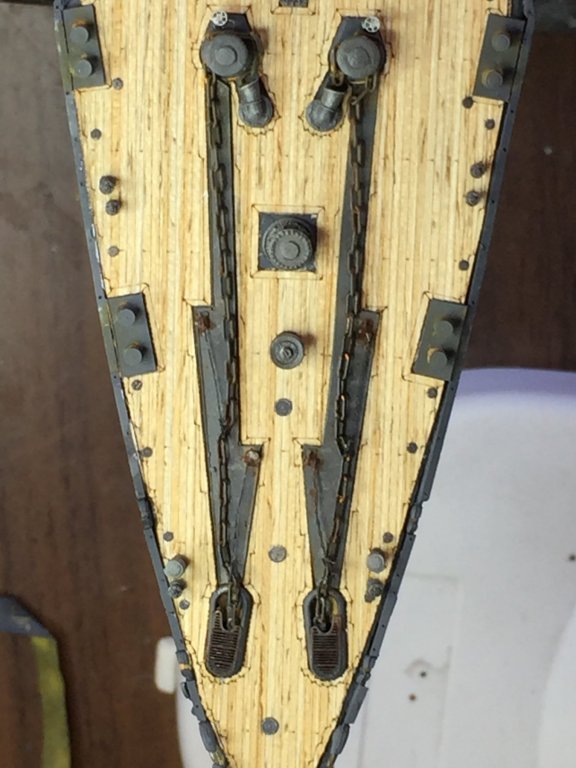
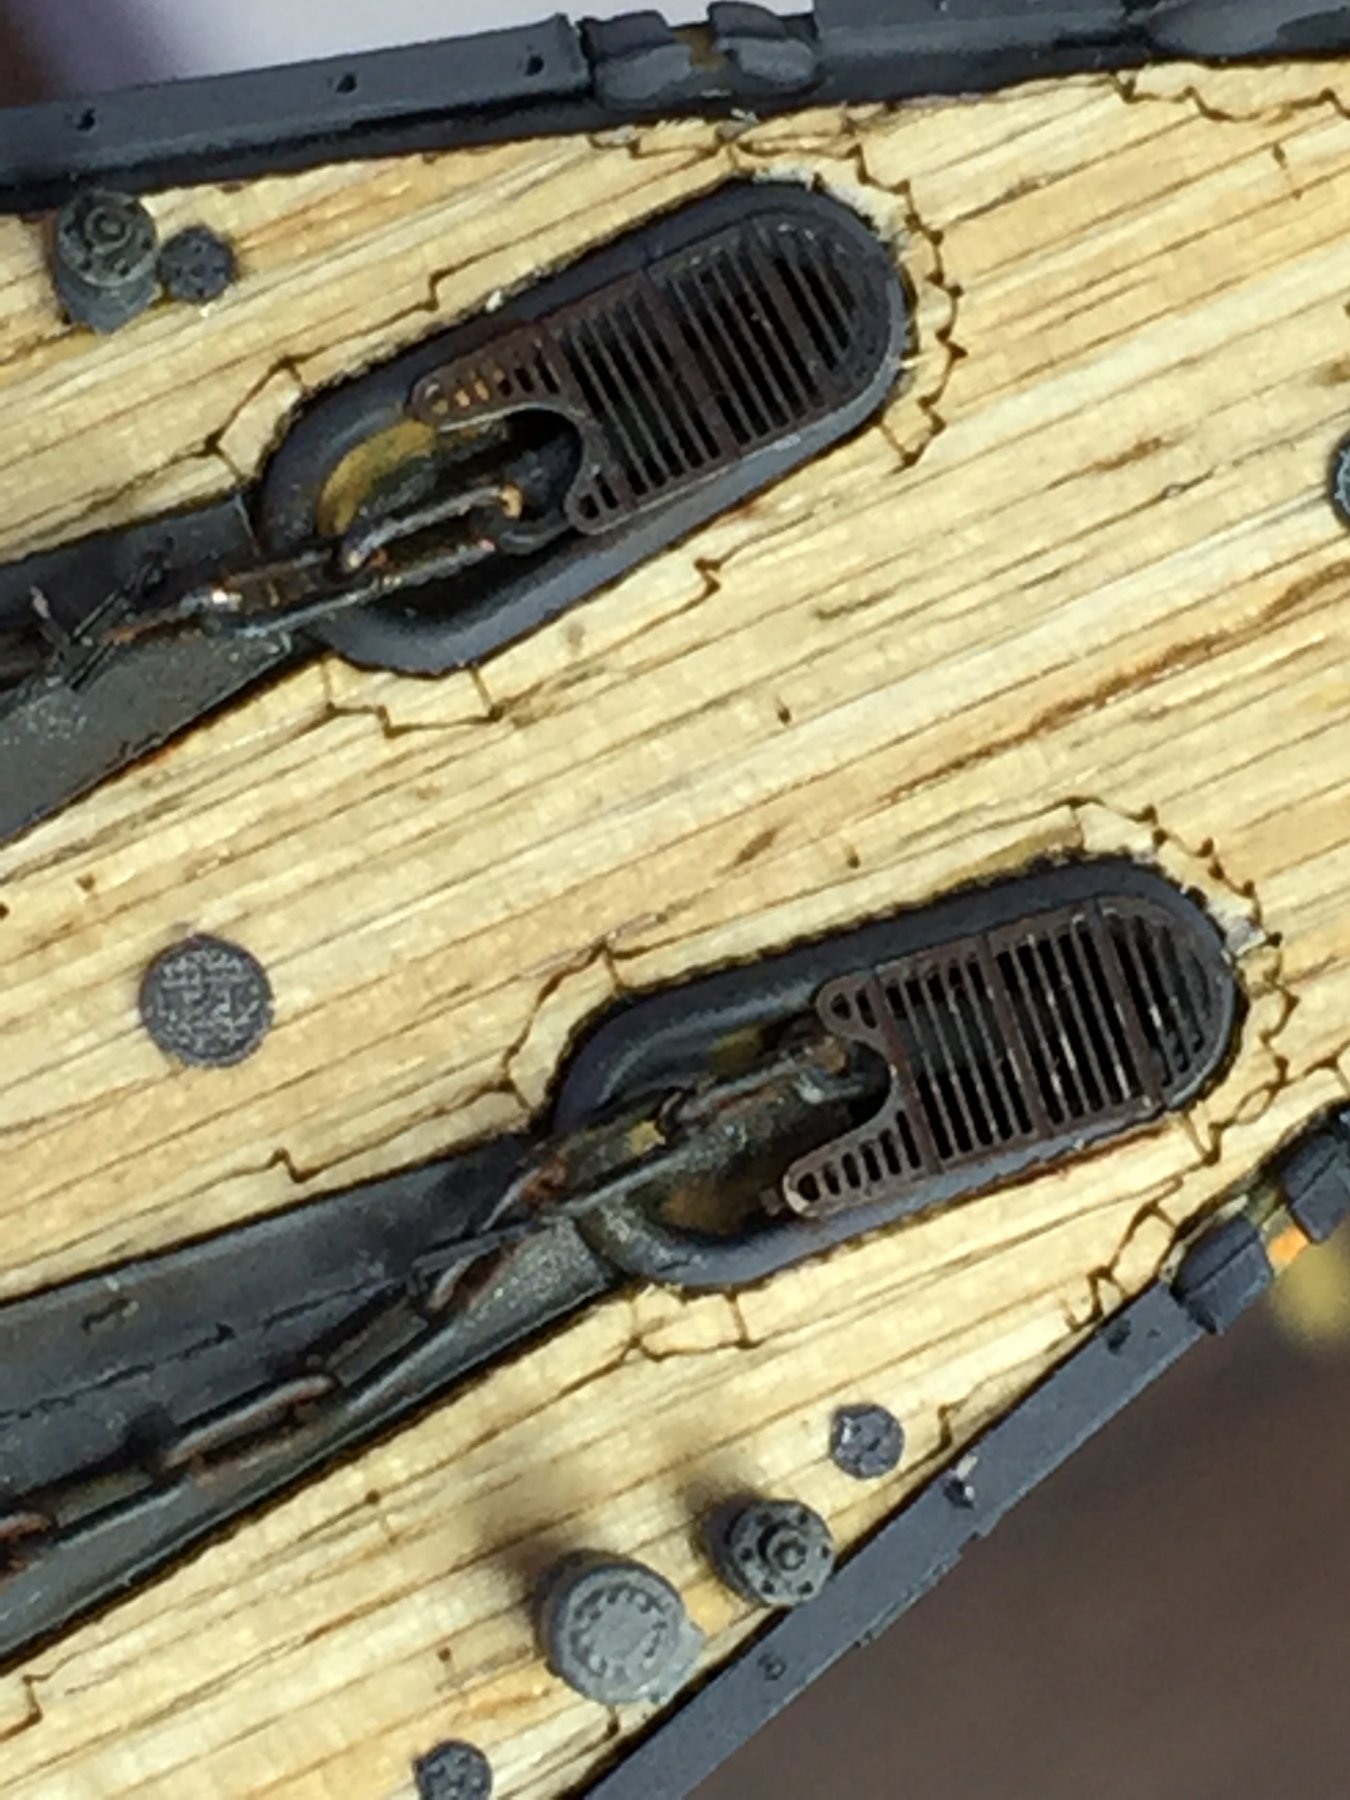
I widened the hawser holes holes and used a North Star anchor set, joined to the Artwox chain, running strait through to the capstans. Hawser holes covers, chain stoppers and brake handles, as well as covers for the bit where the chain runs into the chain locker.
The bit where the chain runs was recessed into the deck after the wooden deck was used, so I used the cut outs as stencils to cut plastic strip to fill the holes.
Mall of the bollards from the kit were shaved off ages ago and are brass on plastic strip.
Little bit of weathering, and railings to go.


-
-
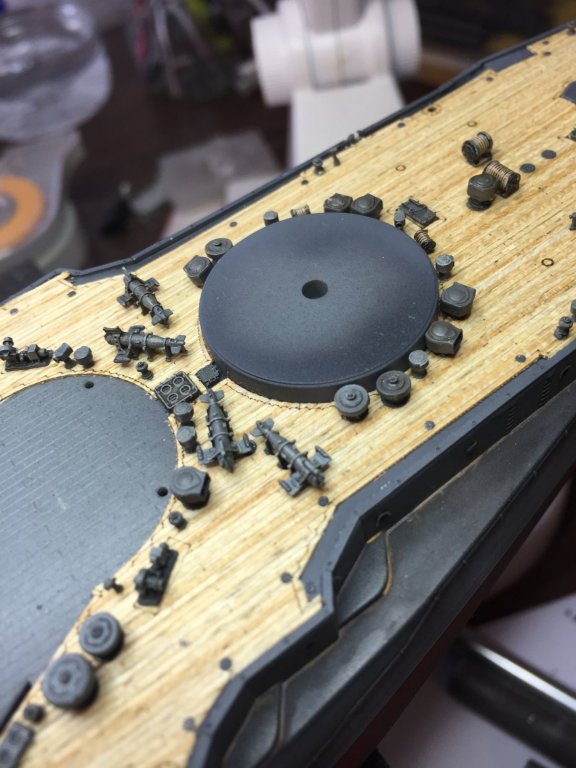
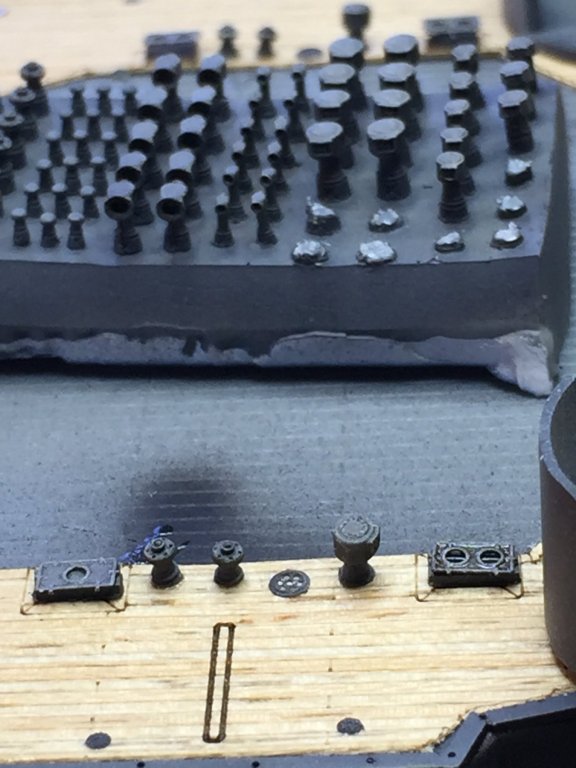
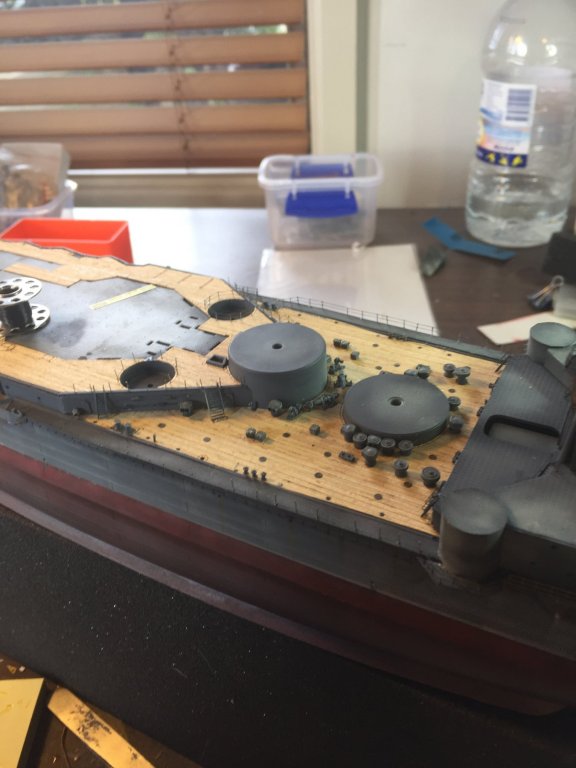
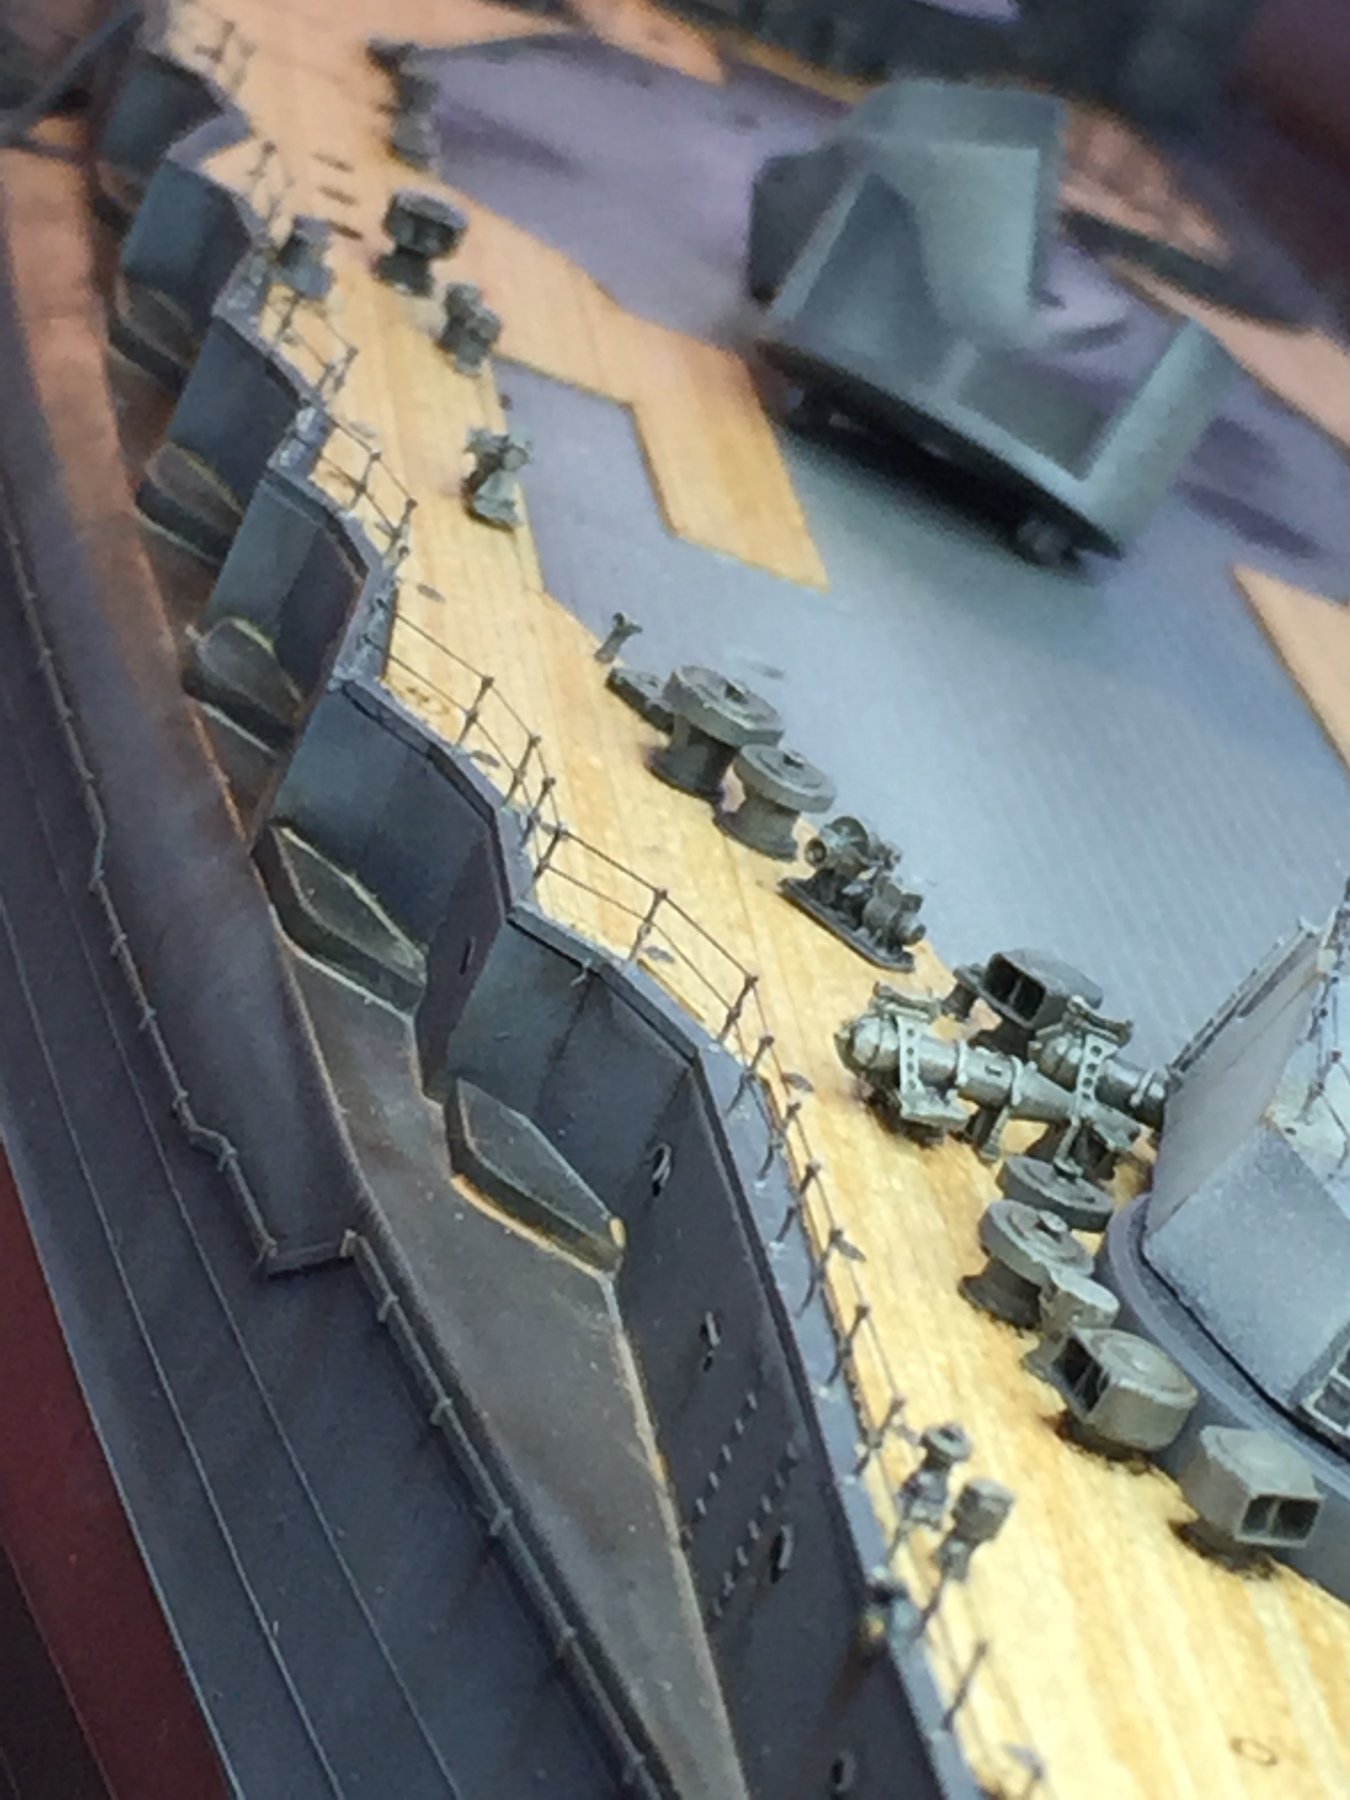
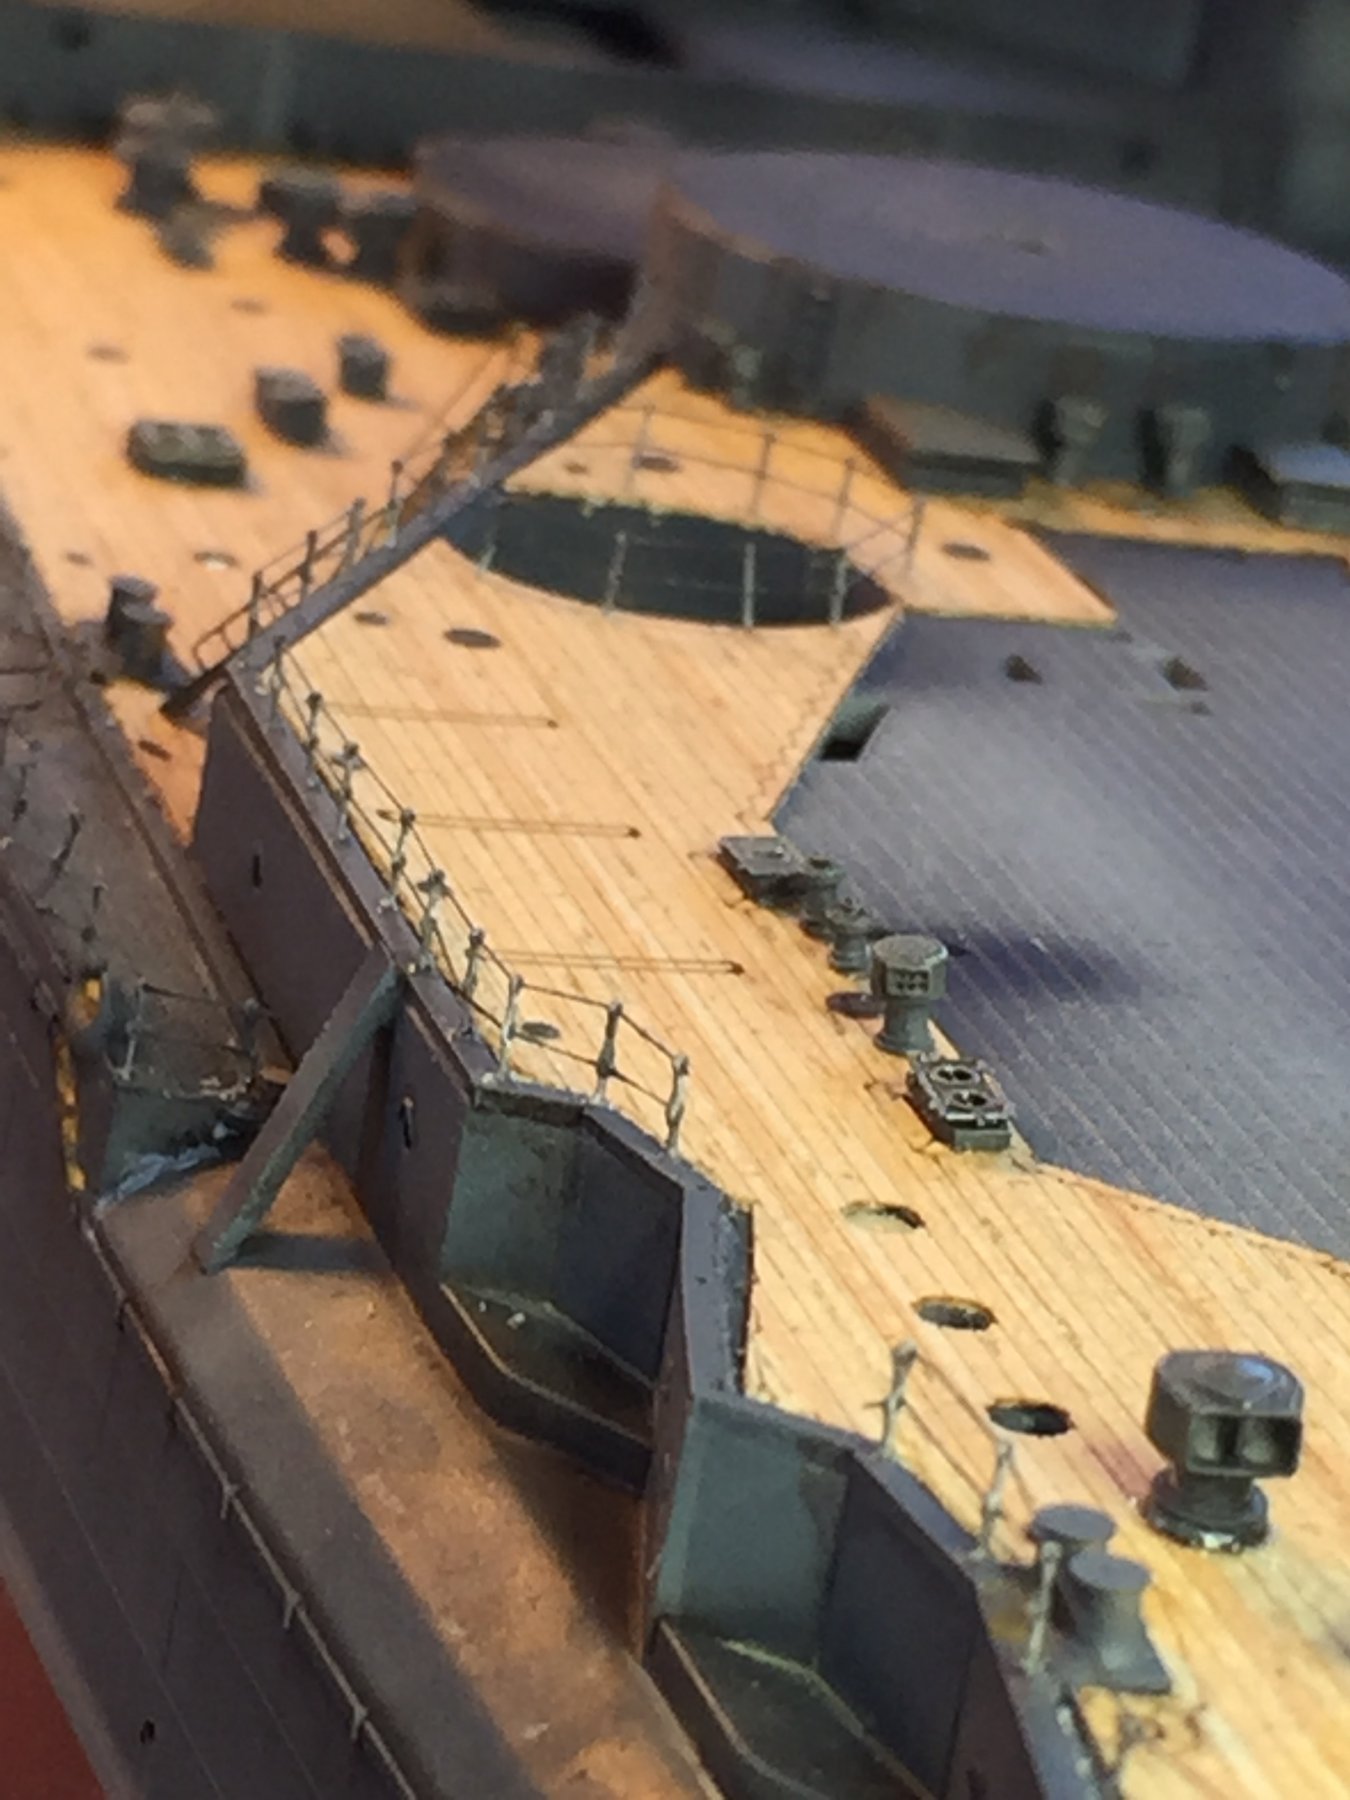
Finally the vents. I have to do up the anchor stuff now, chains, stoppers, breaks, anchors, cut some strip to make the anchor run flush with the decks. I've got a few more places to add vents at the base of the Pagoda, but I want to get the railings finished first.


-
Next, more deck equipment, vents etc.
- Beef Wellington, coxswain, BANYAN and 9 others
-
12
-
-
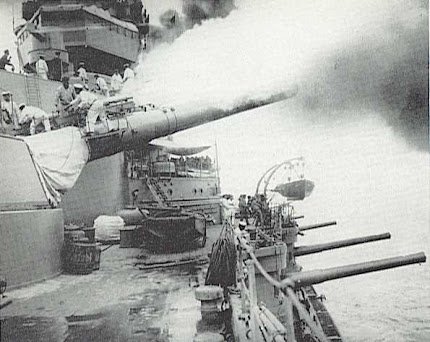
I read as it was just the platforms and practice barrel, the rest remained in place.
- popeye the sailor, mtaylor and Canute
-
3
-
-
-
Cog, there are 28 triple mounts to go yet, but only 9 singles. There seems to be a lot more details on these older Dreadnought type ships.
- popeye the sailor, Canute and mtaylor
-
3
-
-
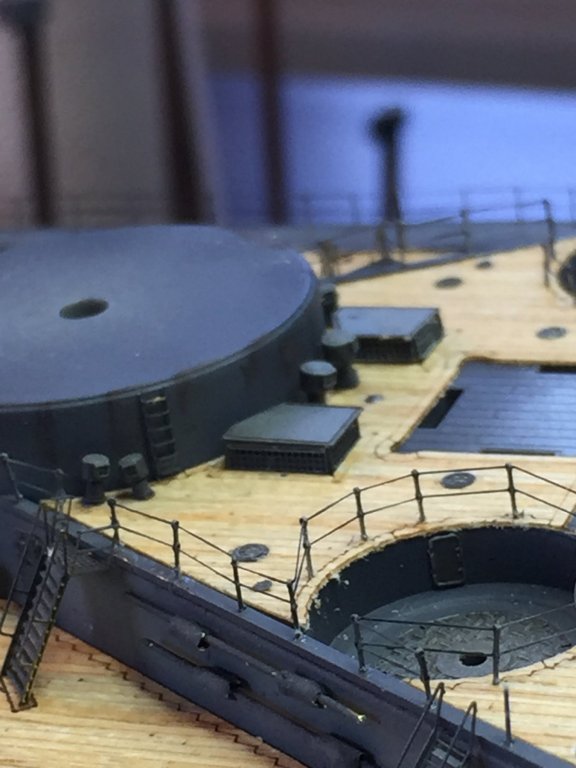
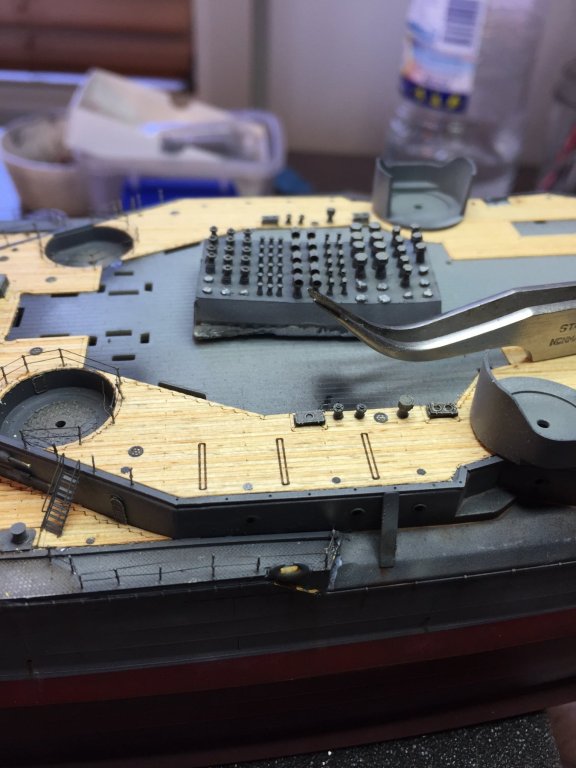
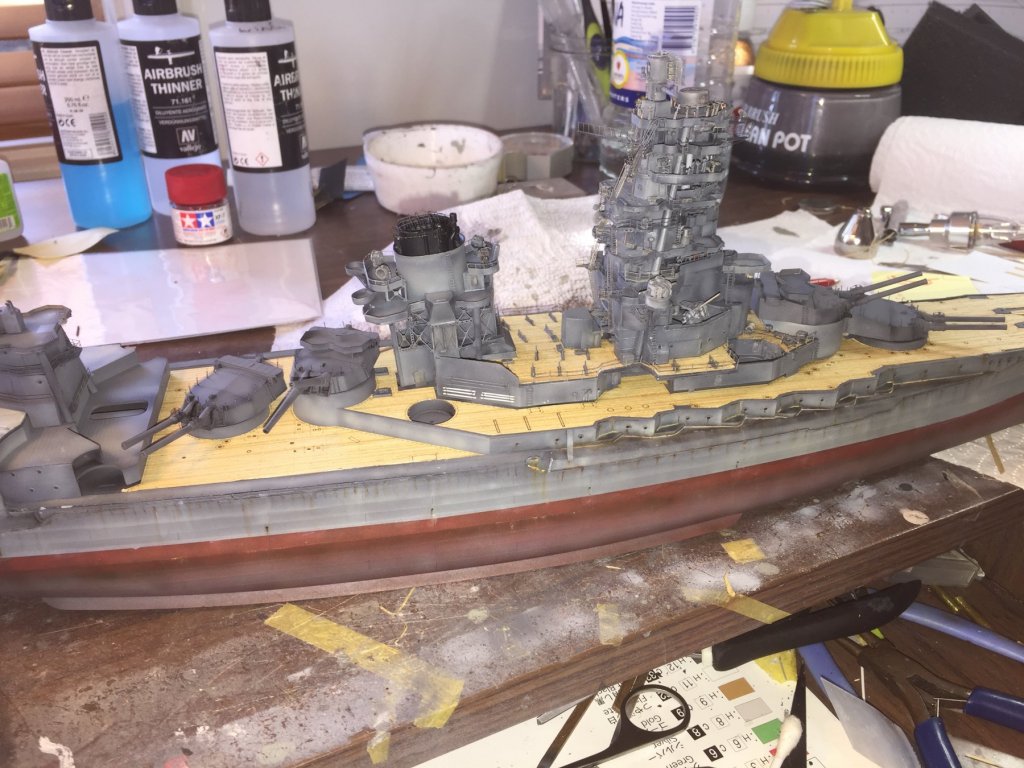
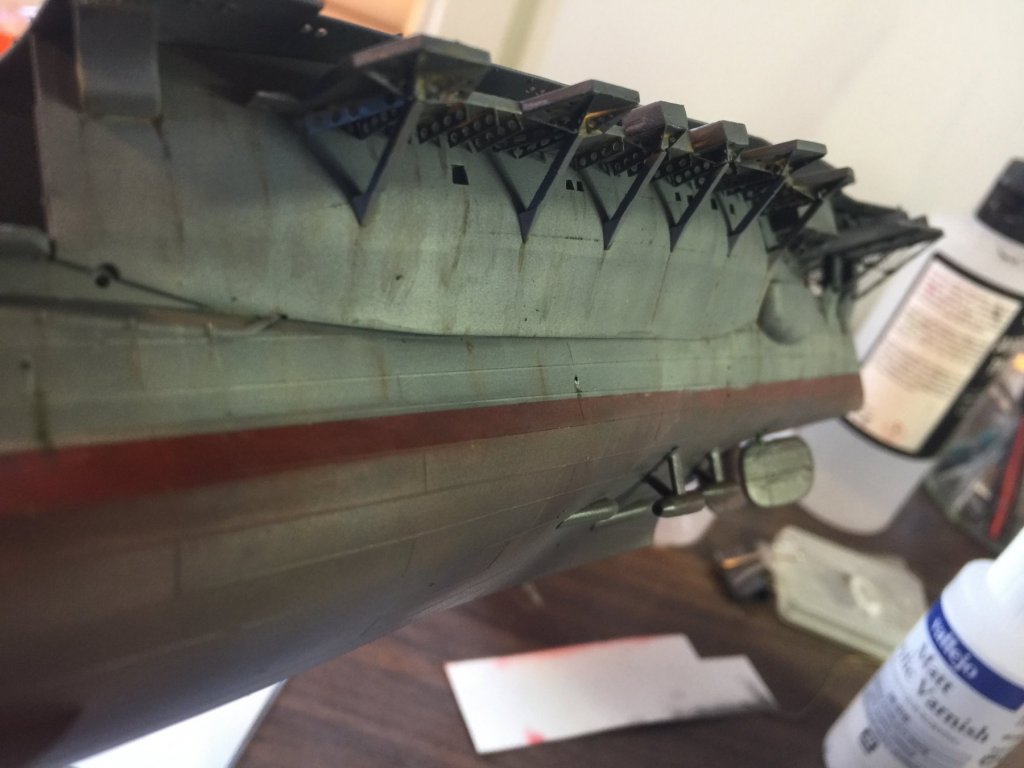
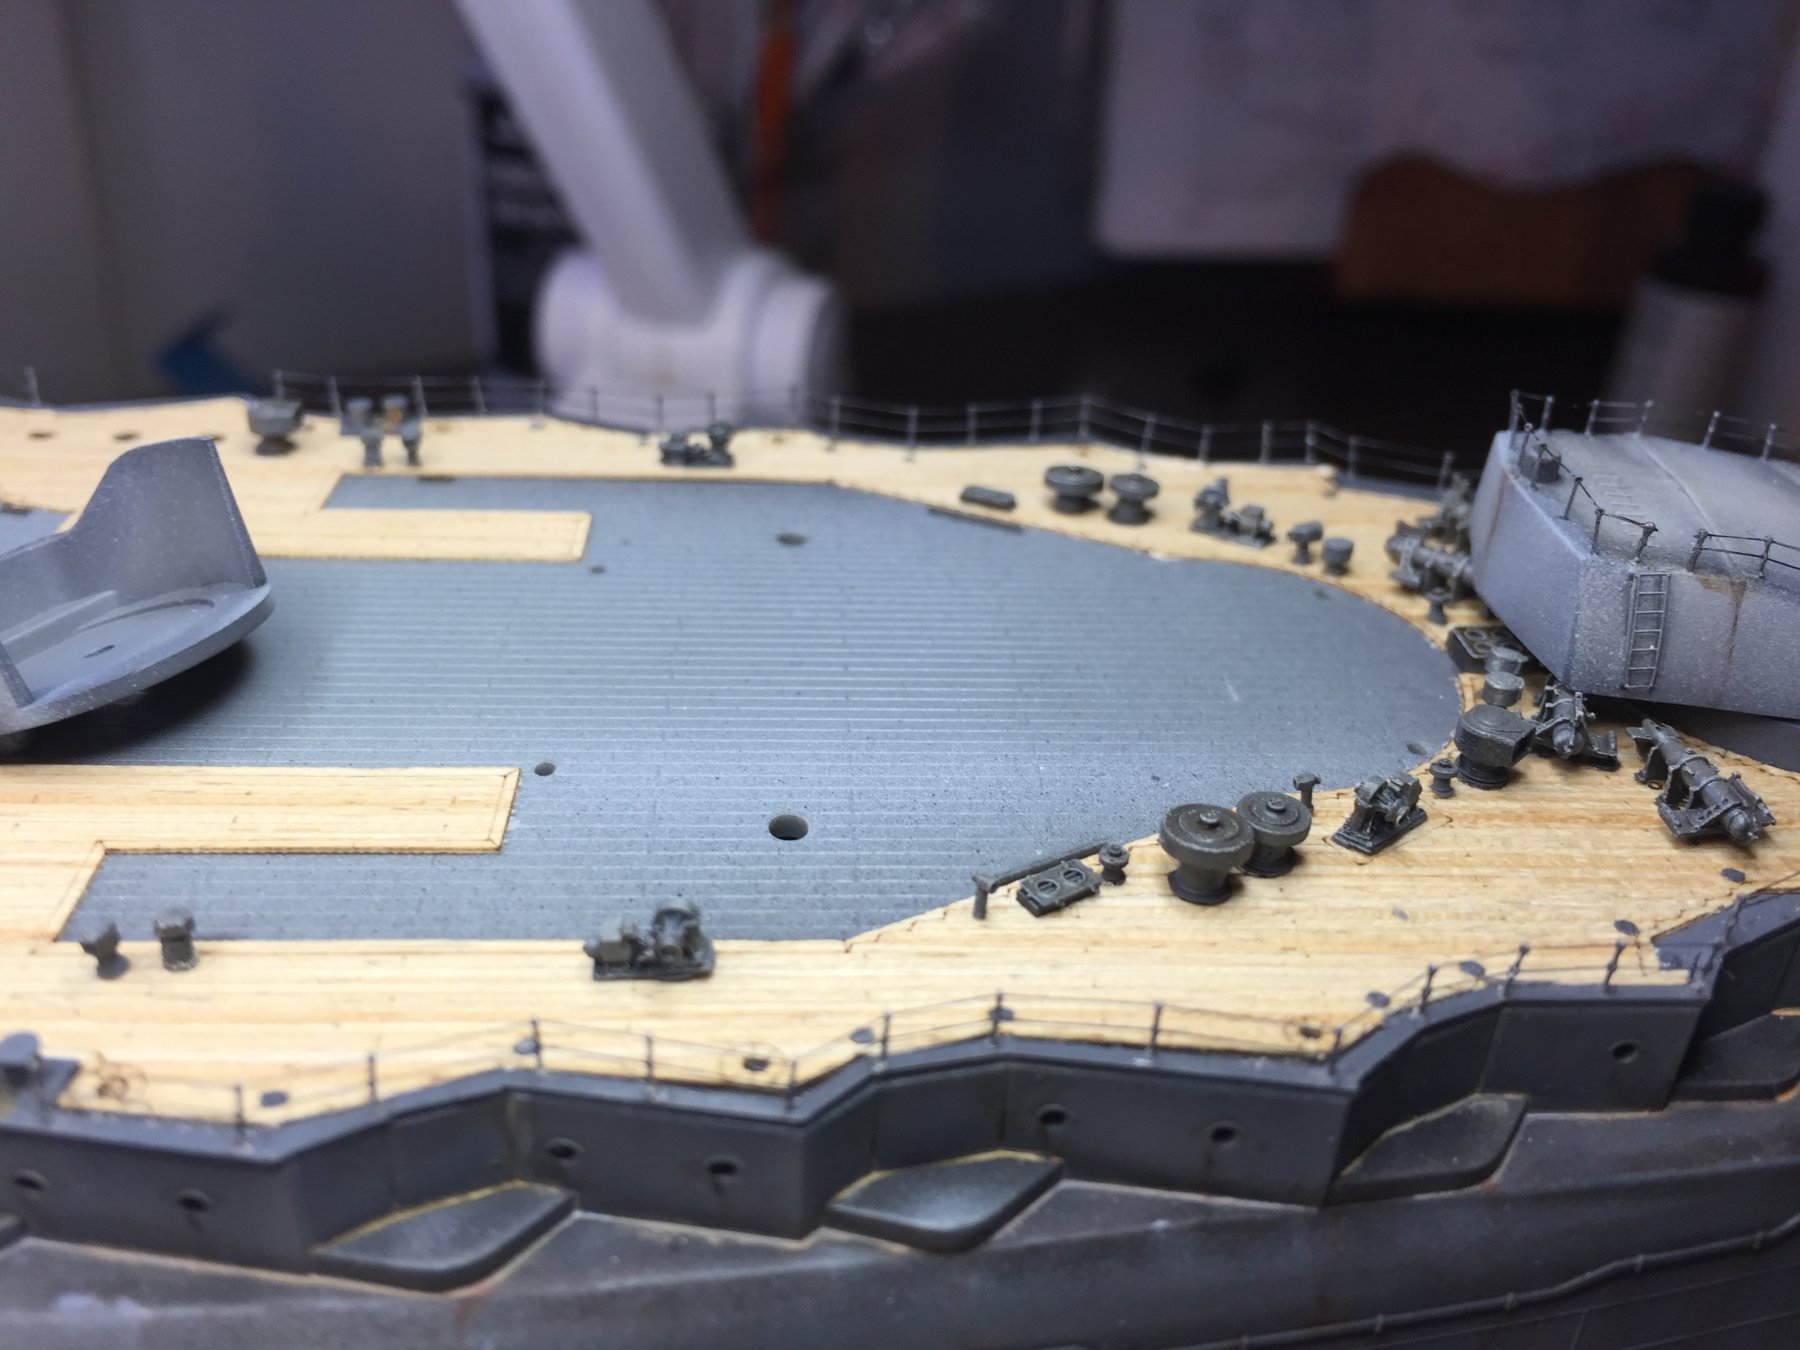
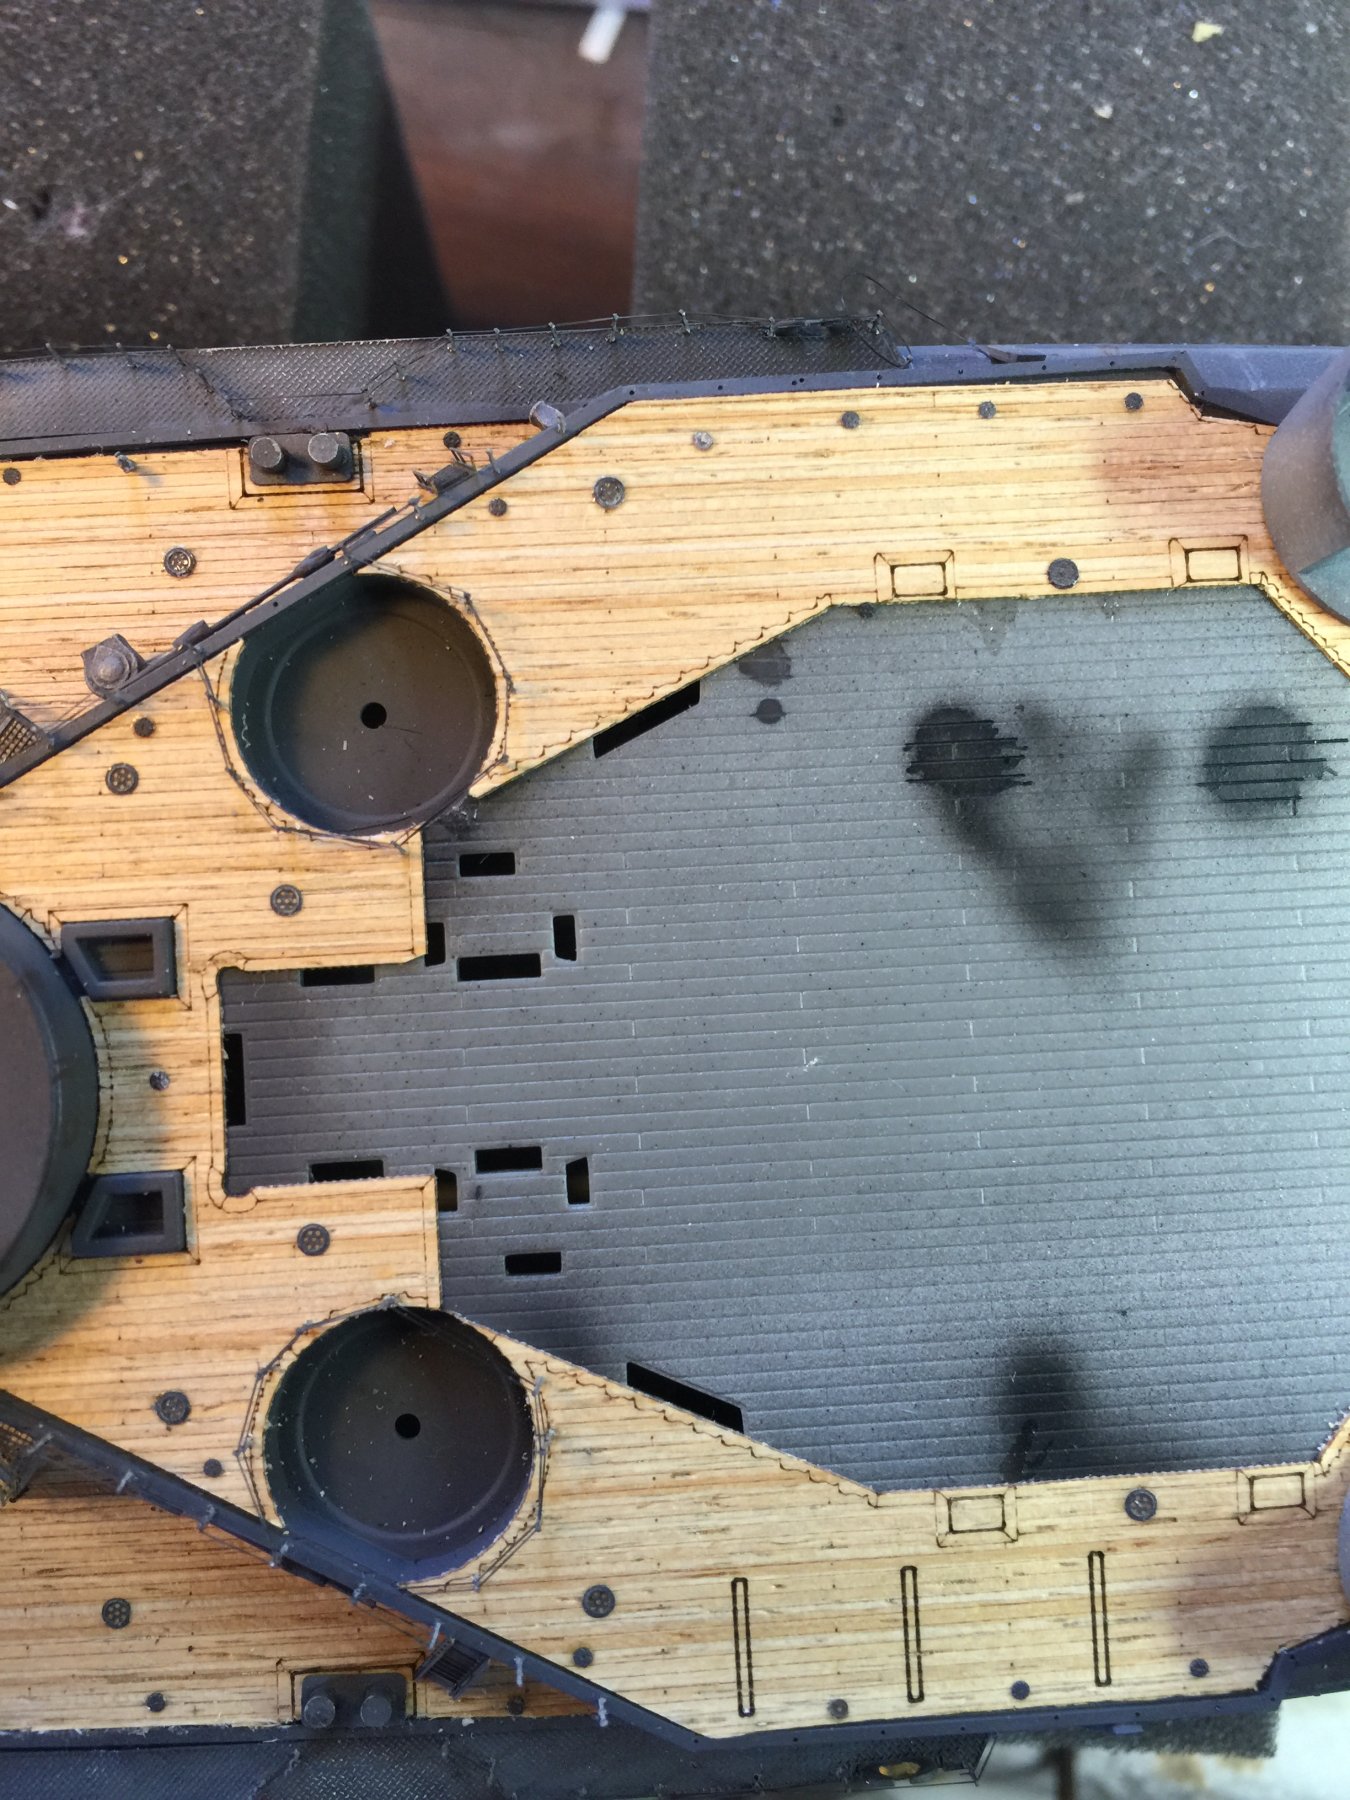
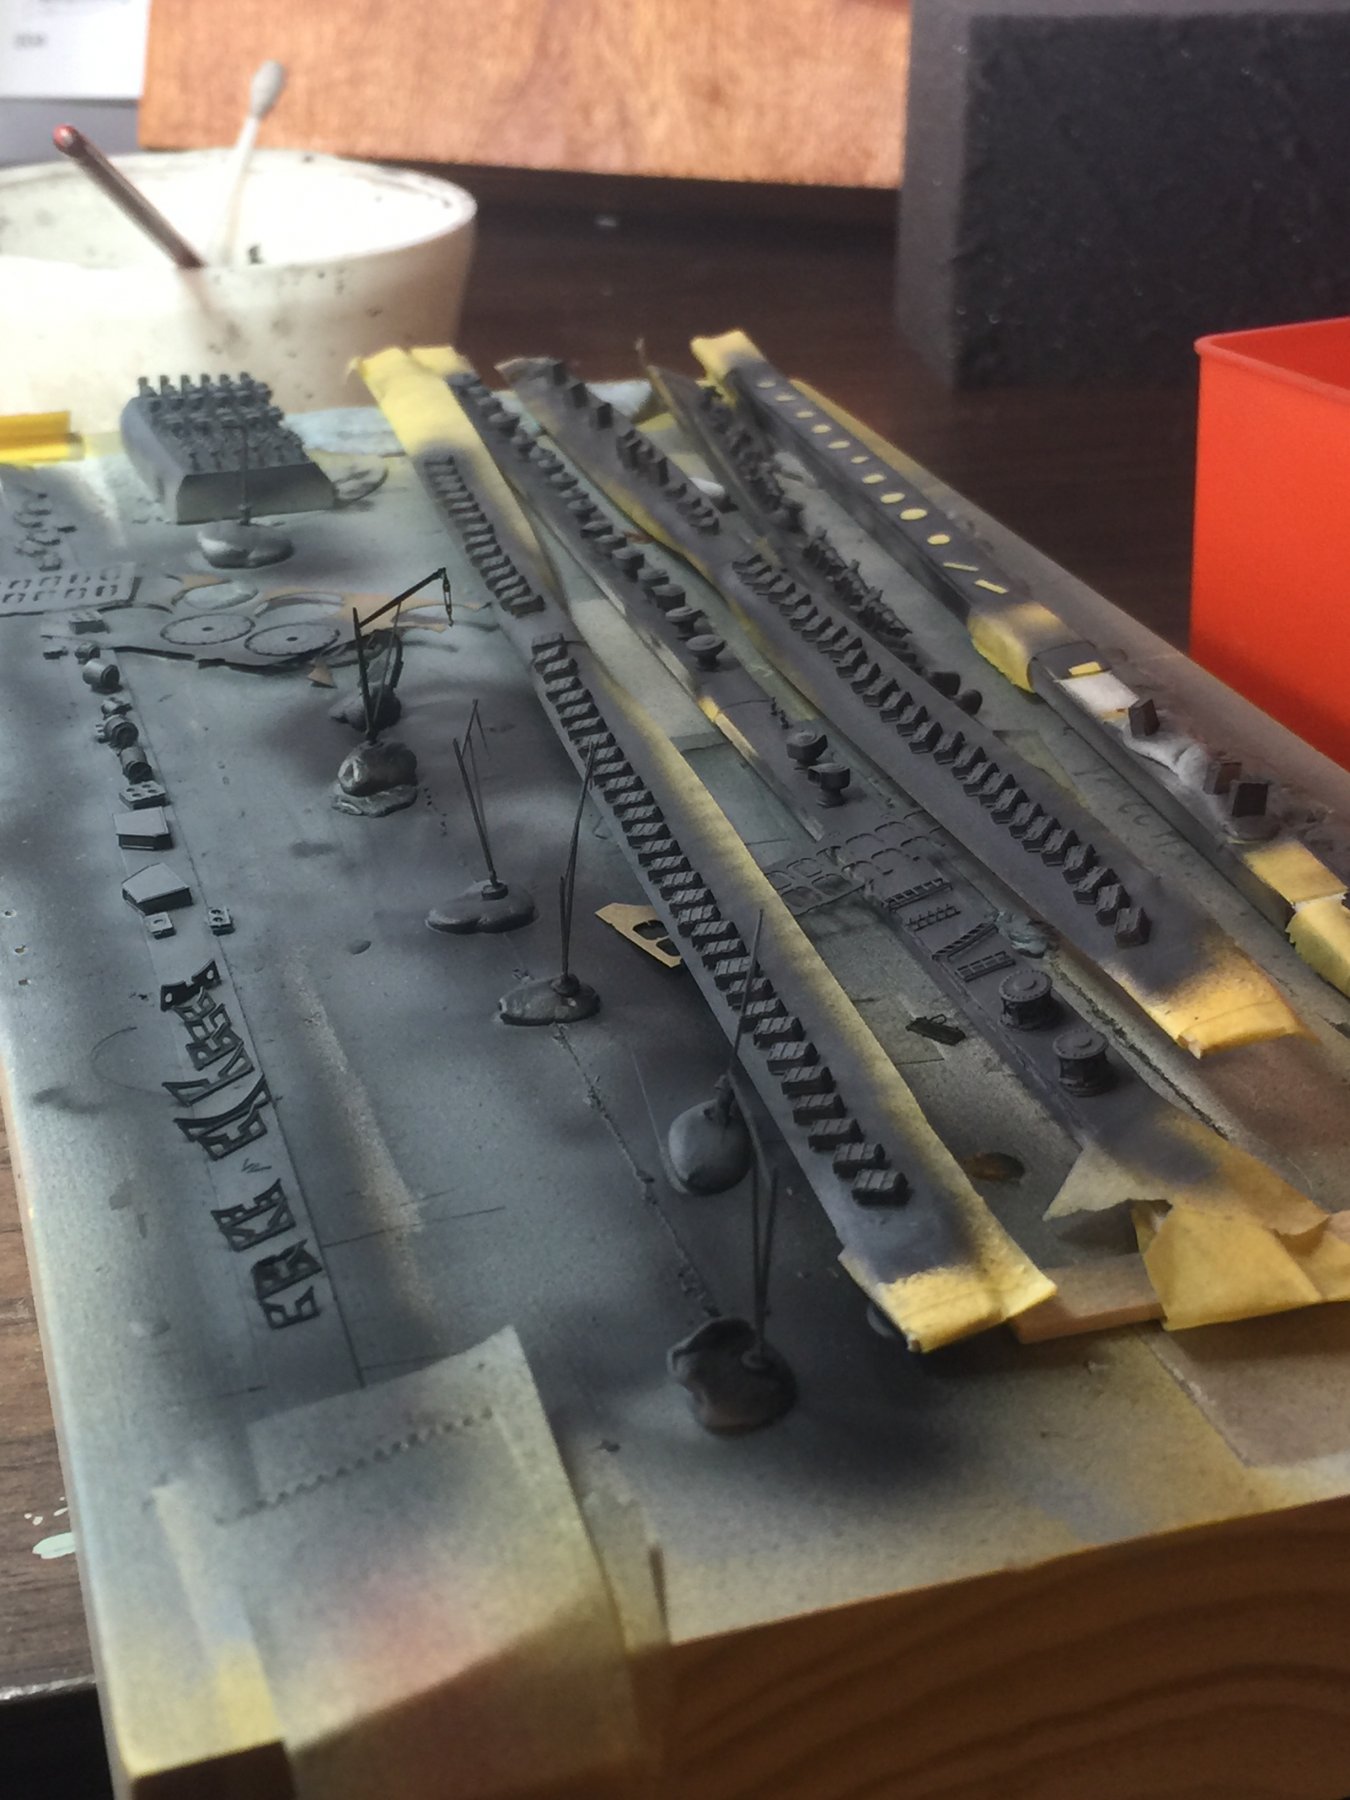
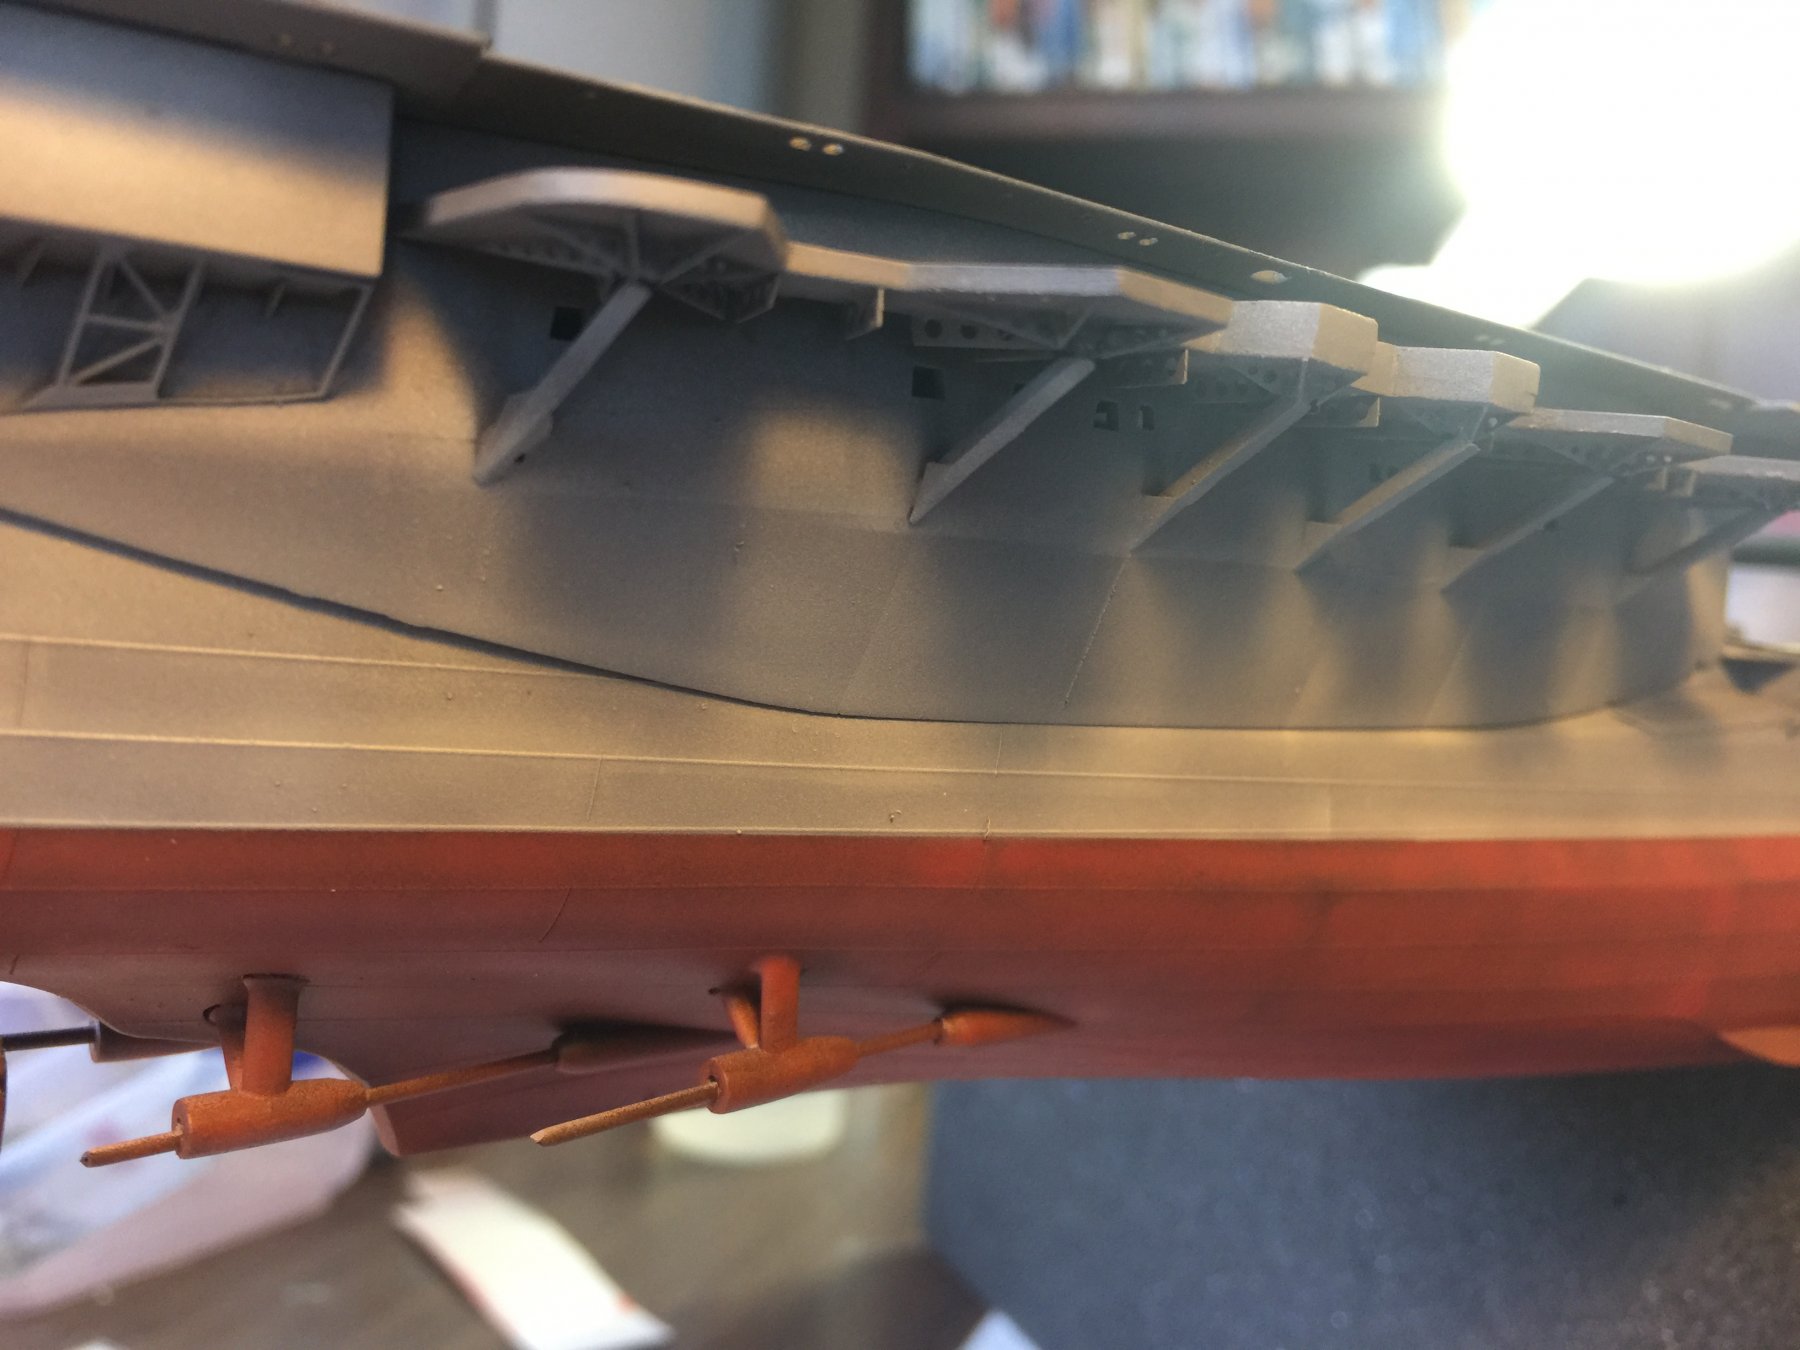
Ise Amidships; lots of vents, funnels, deck lights and holes. Side gantries added, individual stanchions, railings done up. I am yet to do up the cranes and davits. So much detail that has to fit in such a small area and it's all aftermarket.


- WBlakeny, Captain Slog, Canute and 12 others
-
15
-
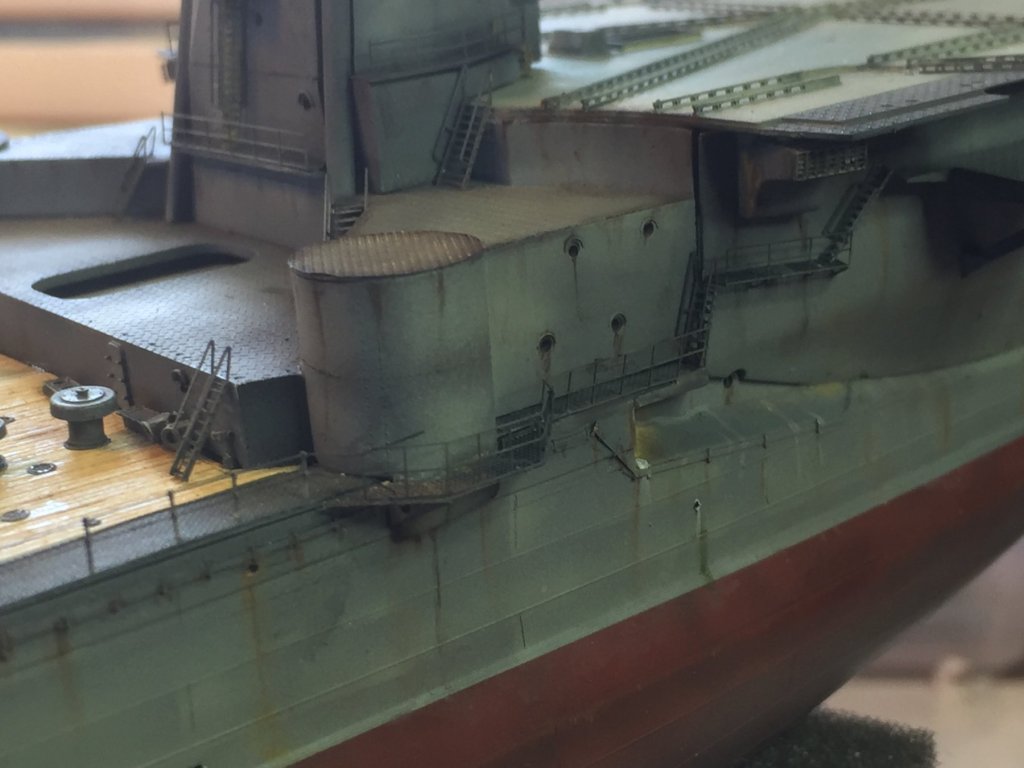
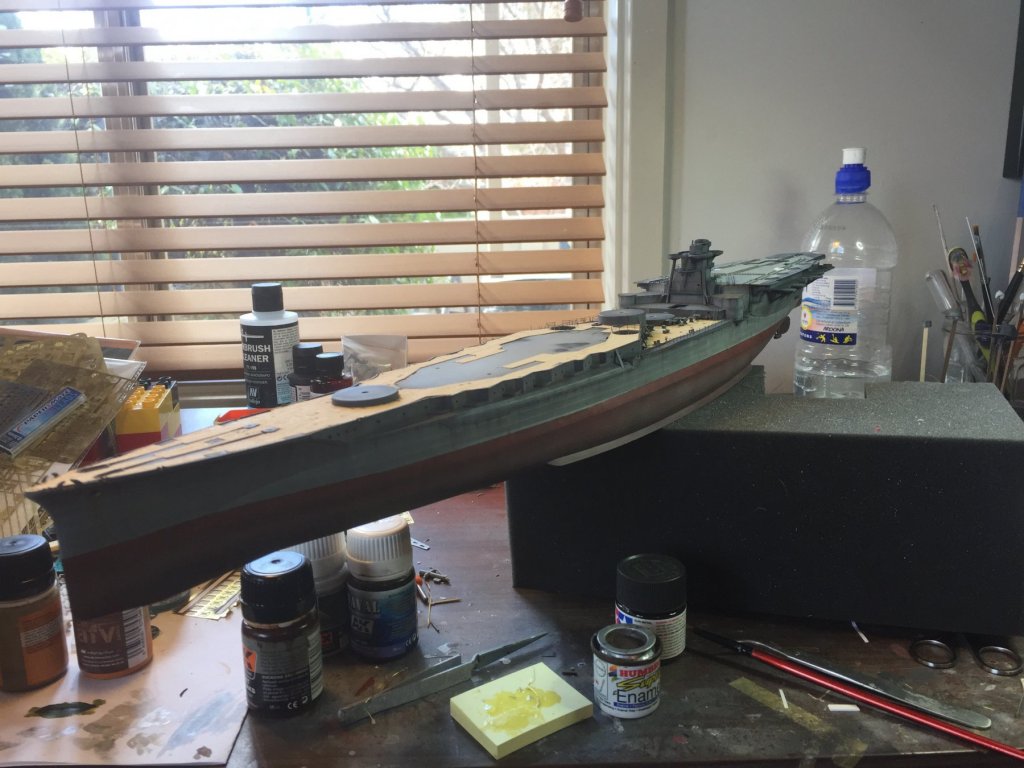
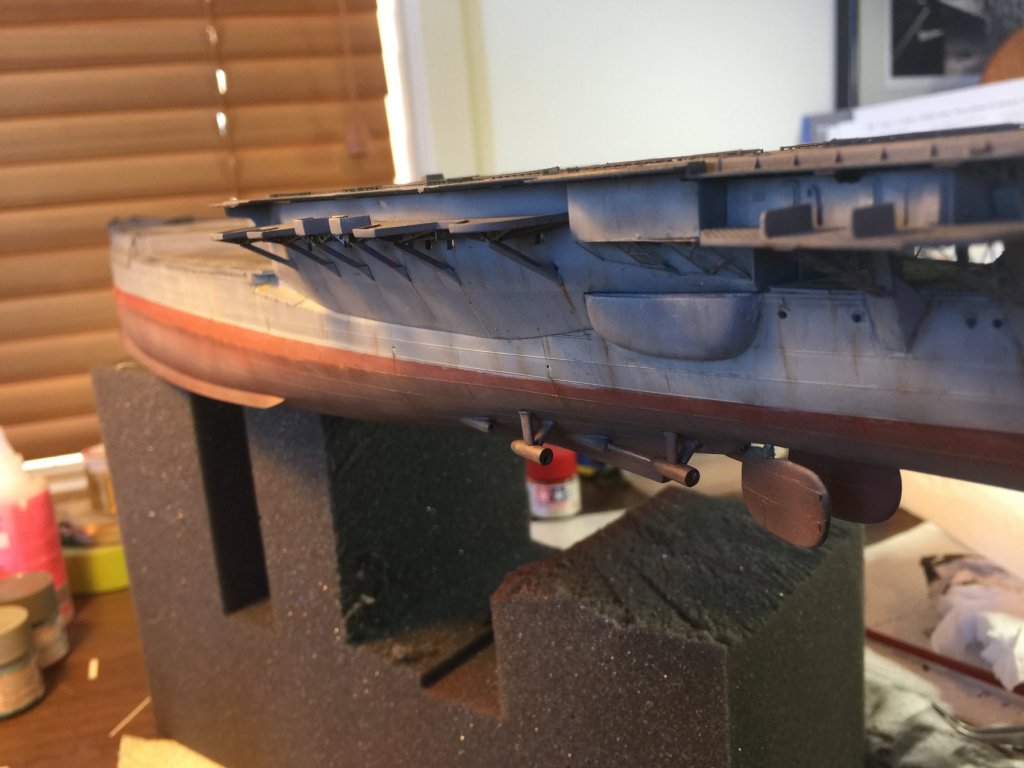
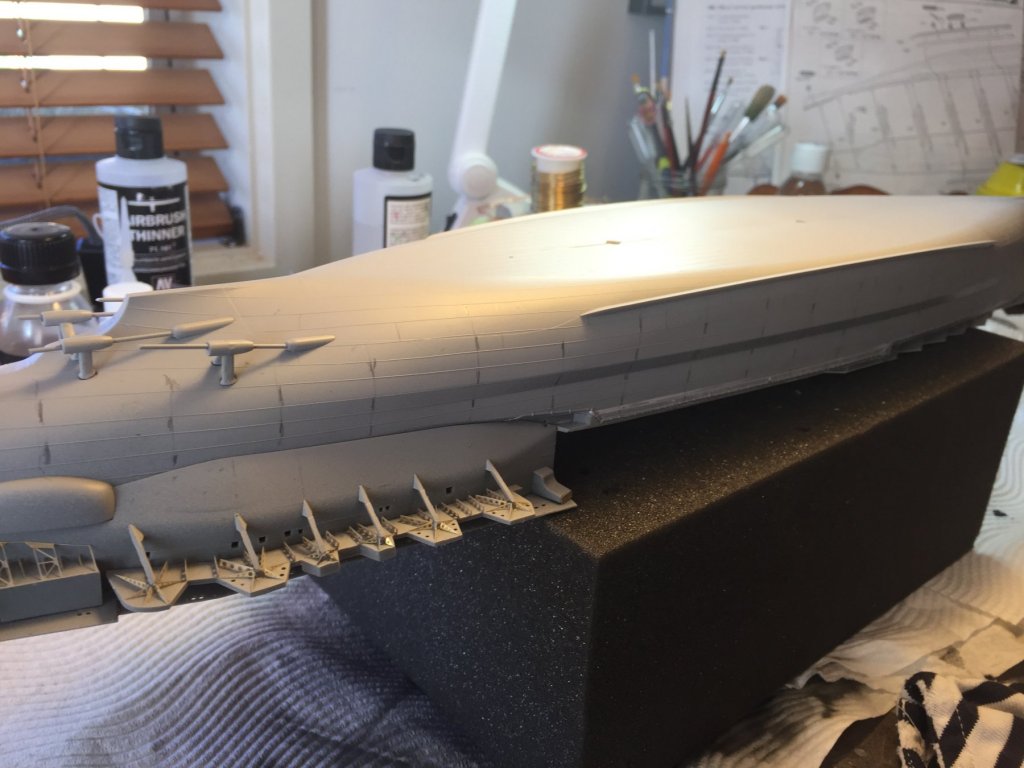
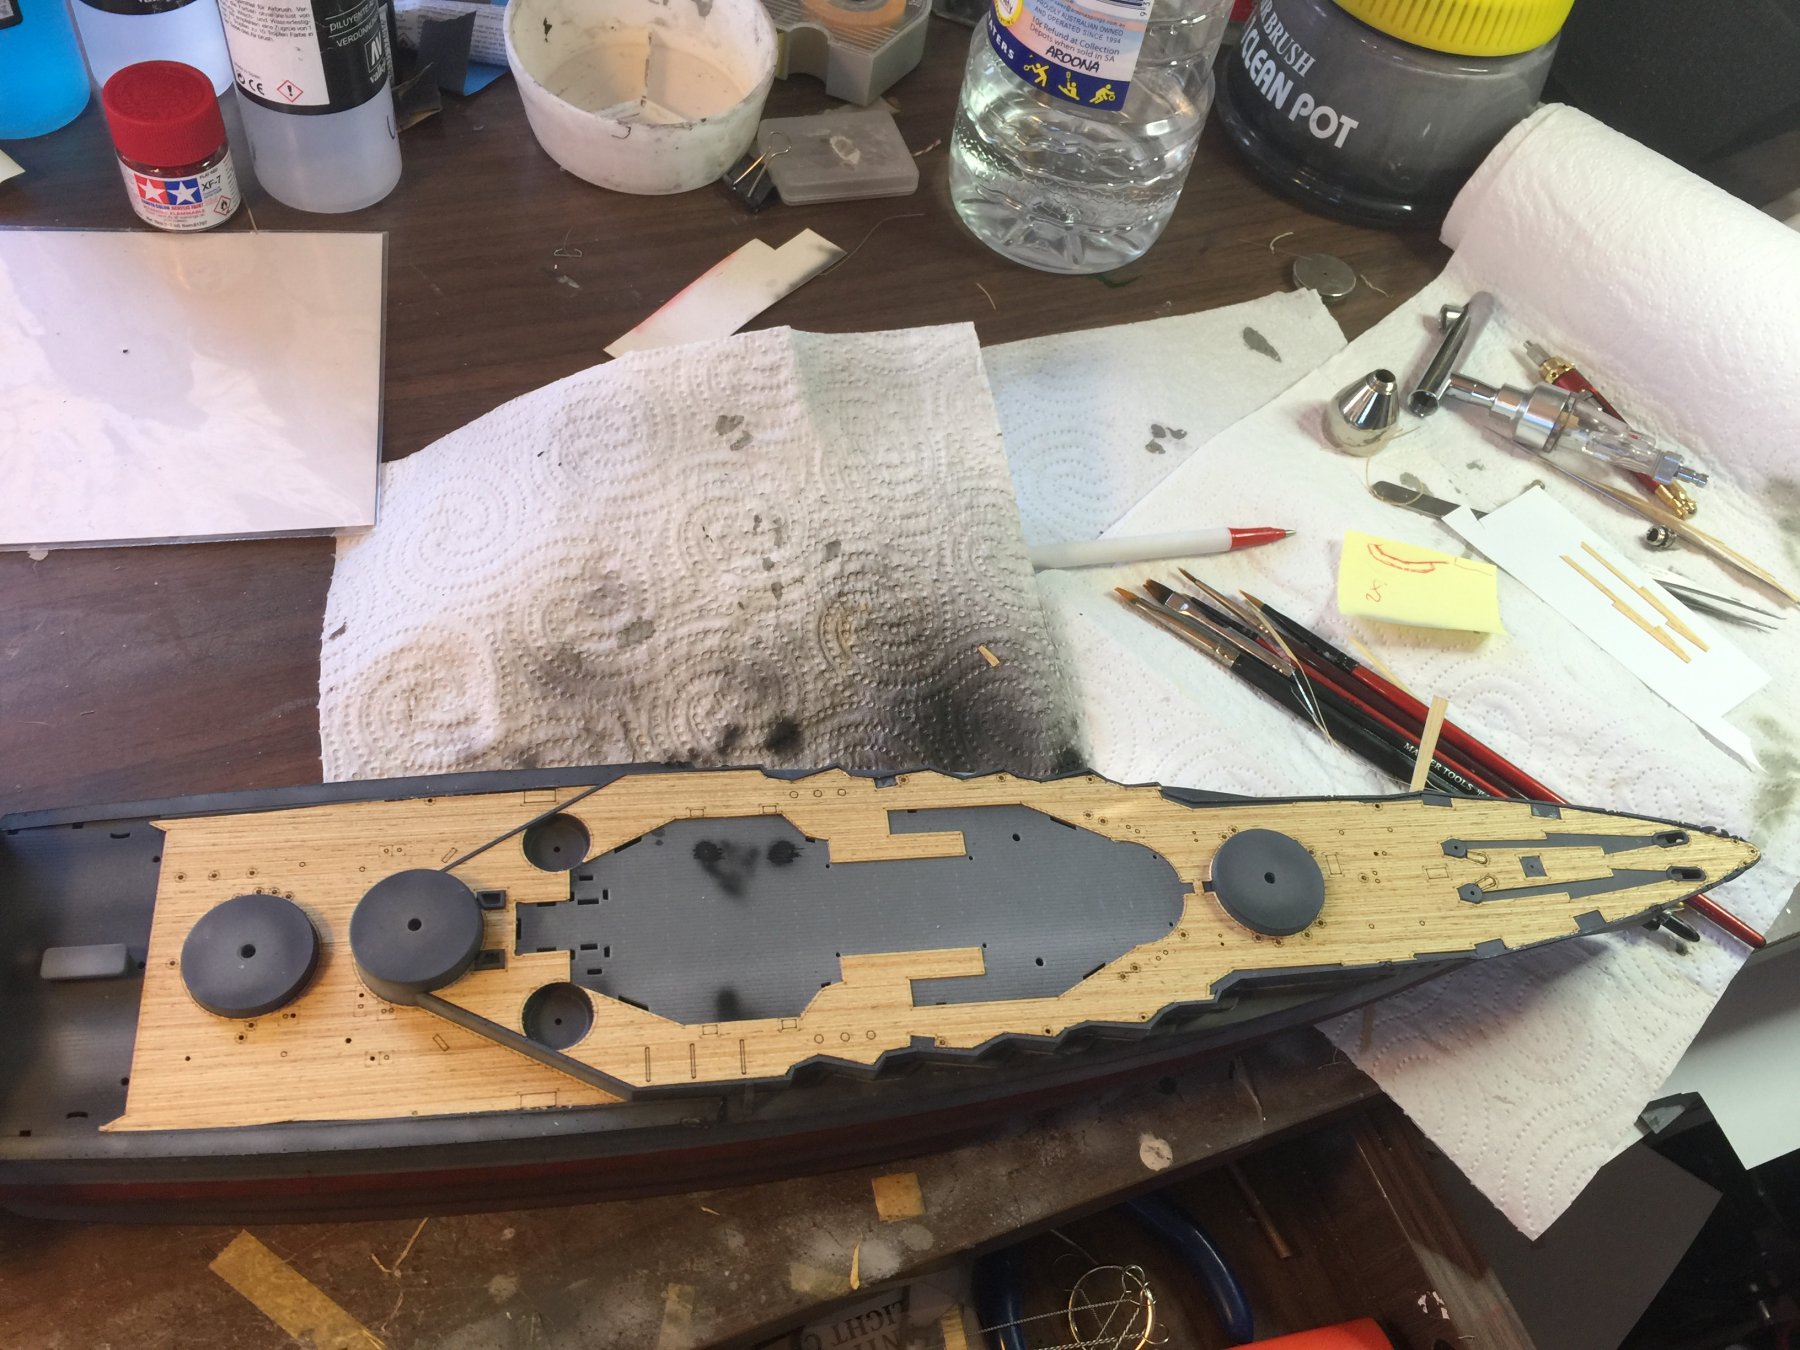
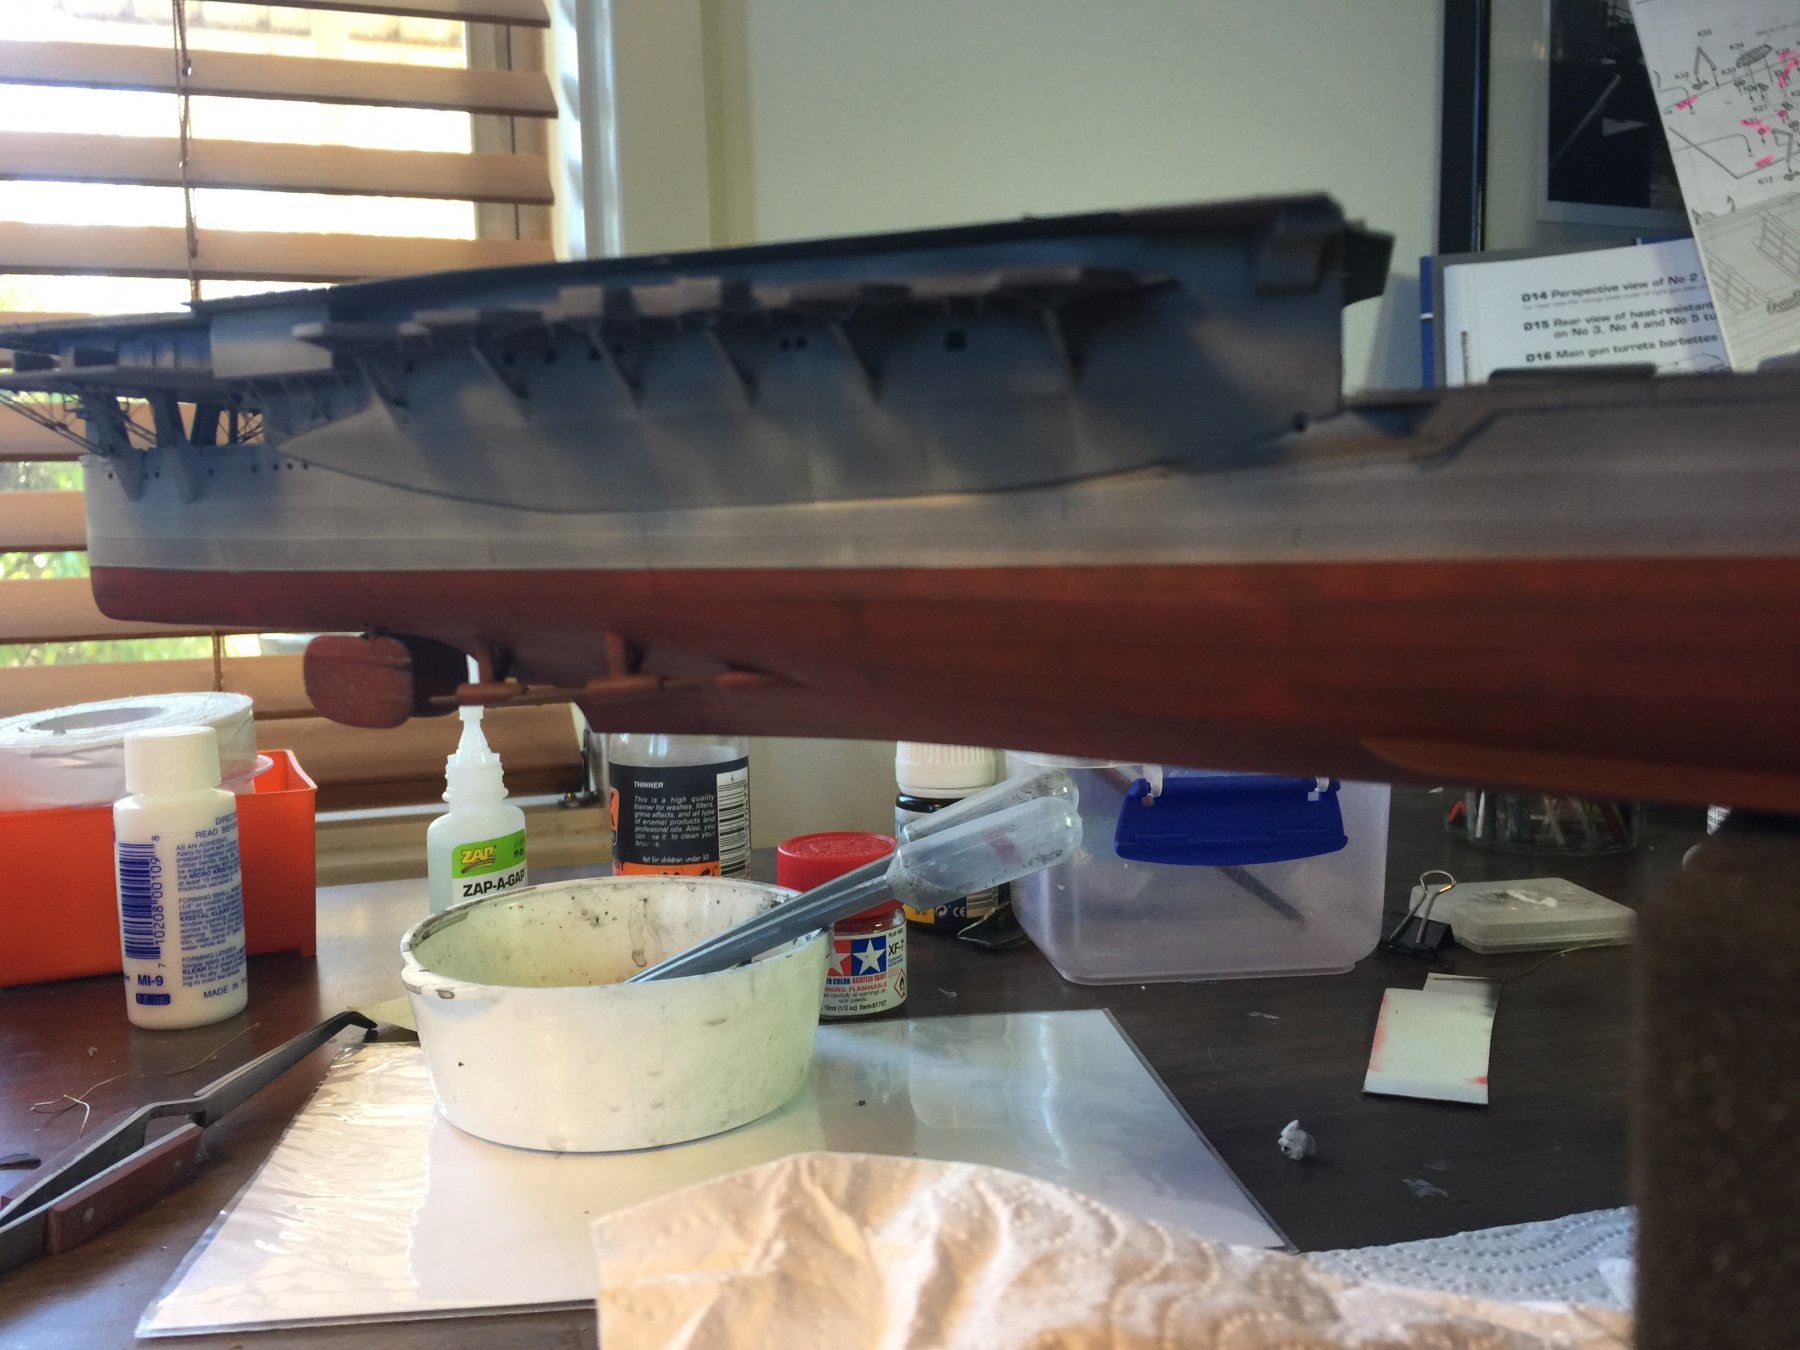
Now the hull is done, I can paint the rear flight deck or veranda. This was poured concrete so I have made it lighter in colour and will weather it and the rails later. Next, the stick on deck, which required some trimming due to the gunnels I added so I can put the individual stanchions in. Finally a dry fit.


-
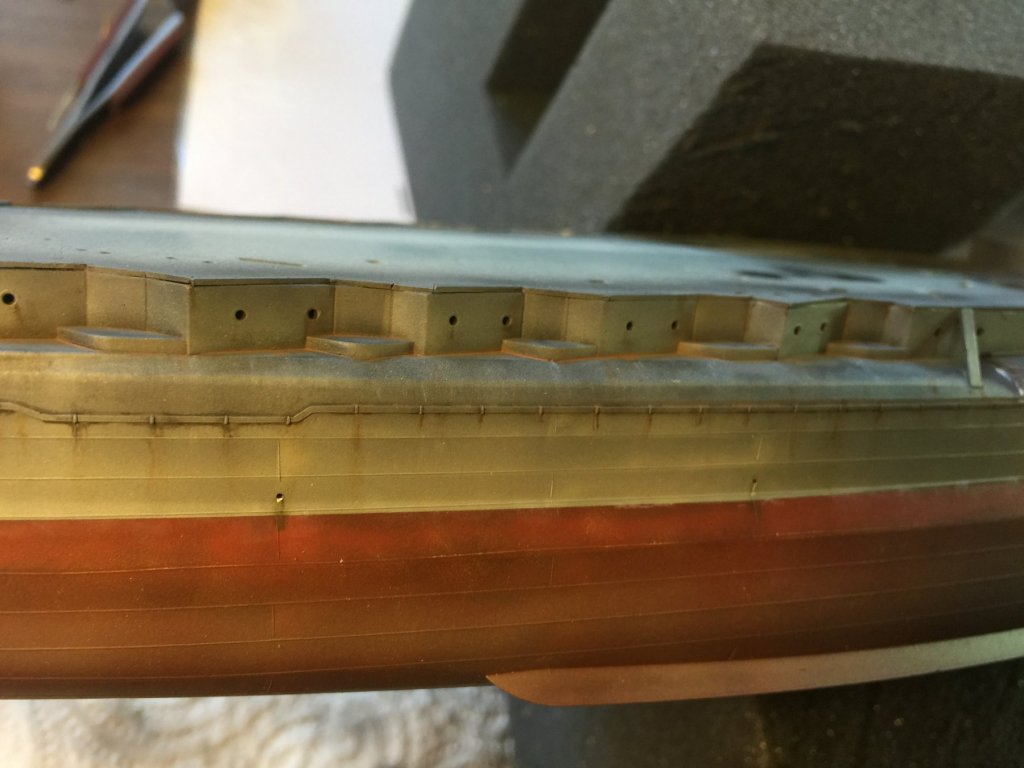
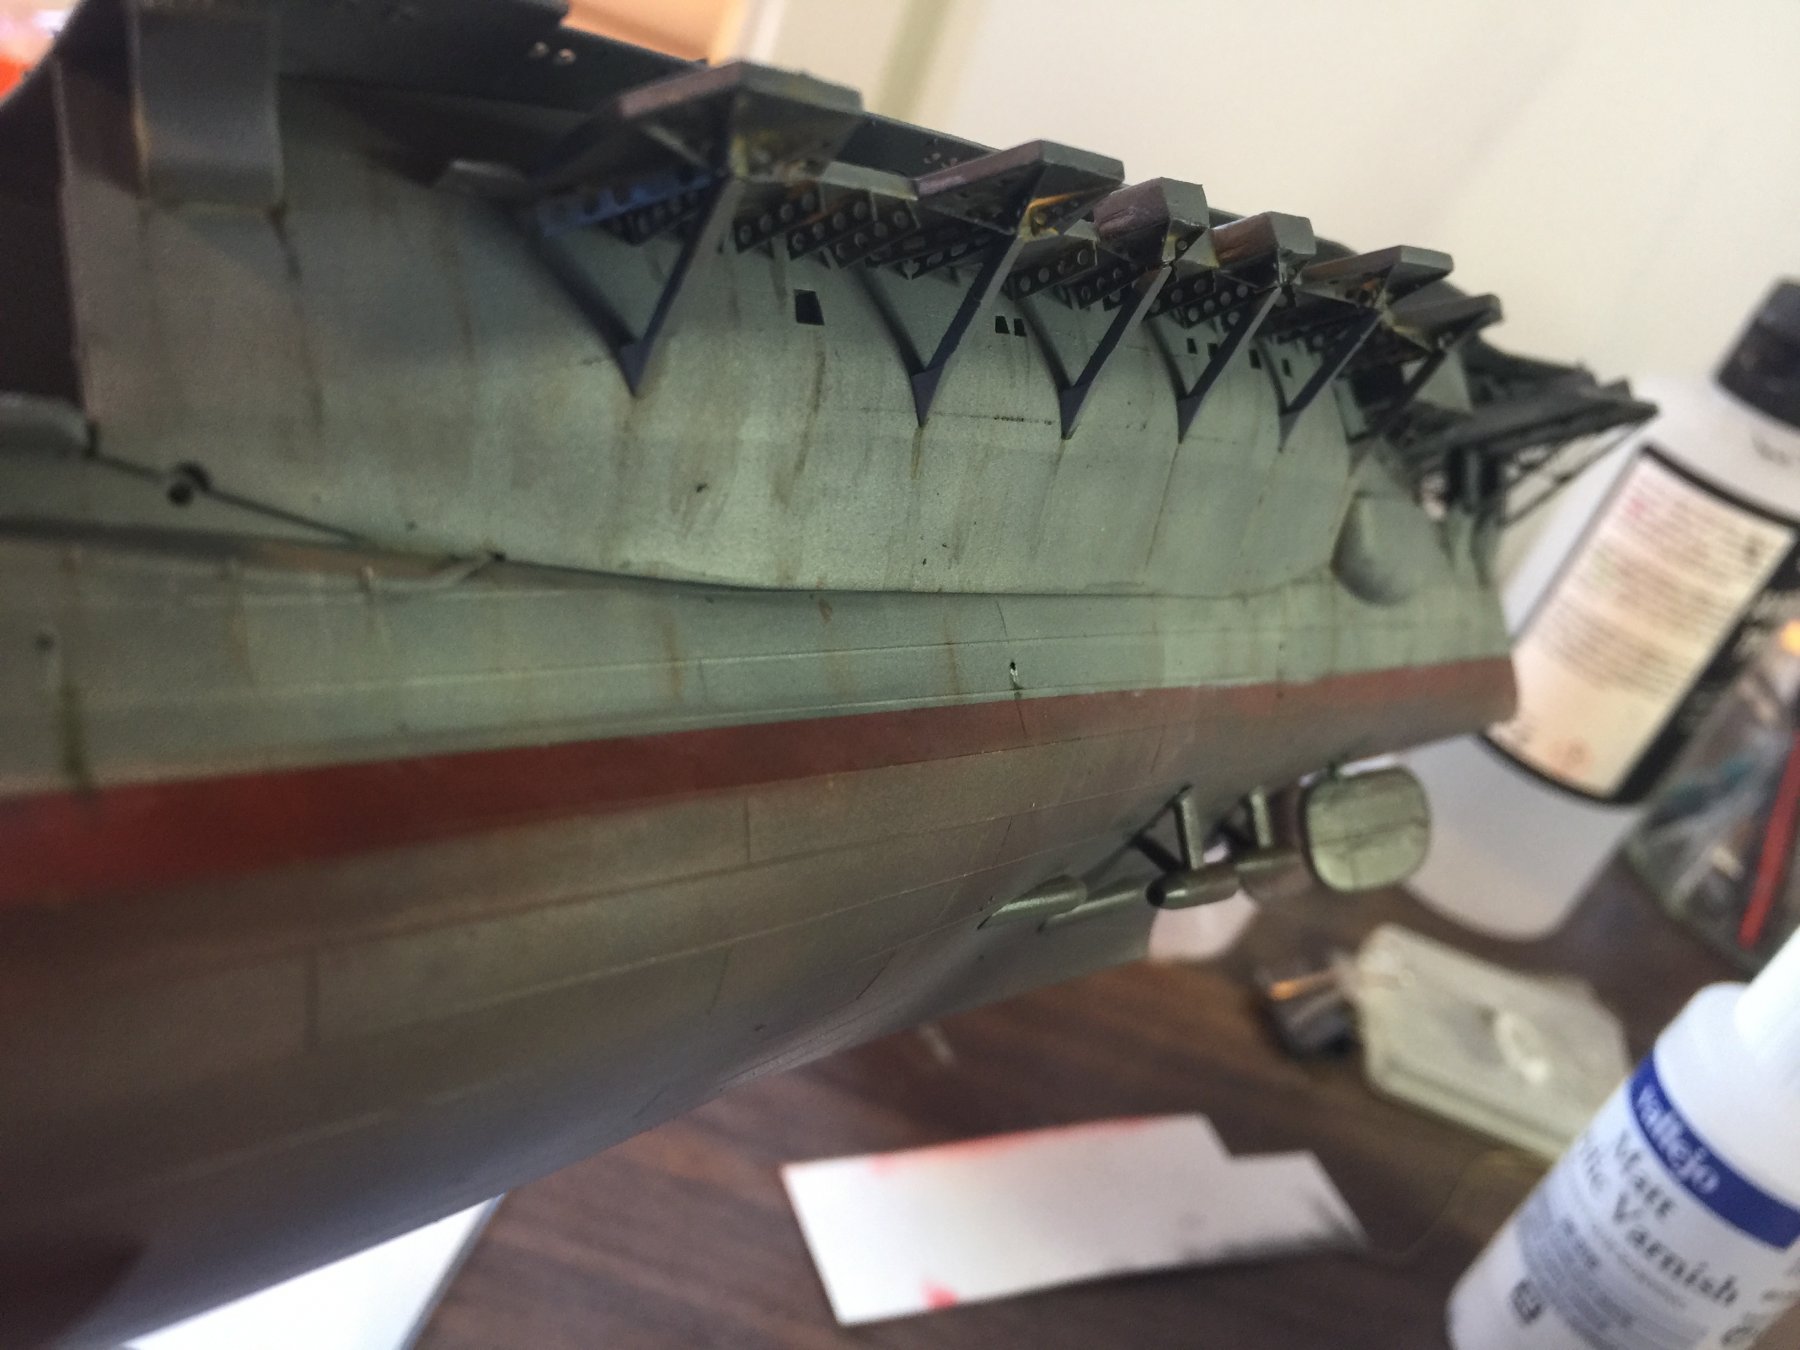
Given the ship on 1944 would not have been that beaten up prior to removing the catapaults, I have lightly weathered the hull (port side so far), and added some scuppers. Green, black and light grey overspray on the lower hull for a little grunge, then AK's streaking grime, crusted rust, slime, rust streaks and salt. It's come up ok so far. Once this is done I can work on the deck.

-
-
-
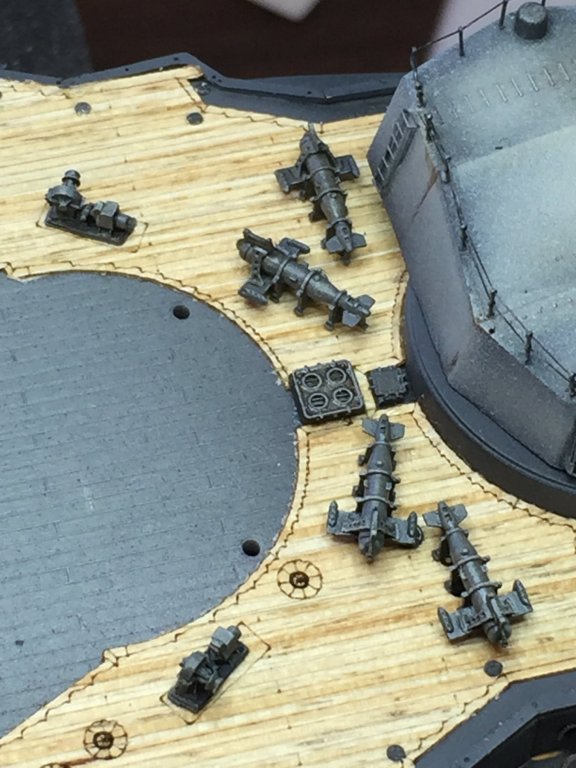
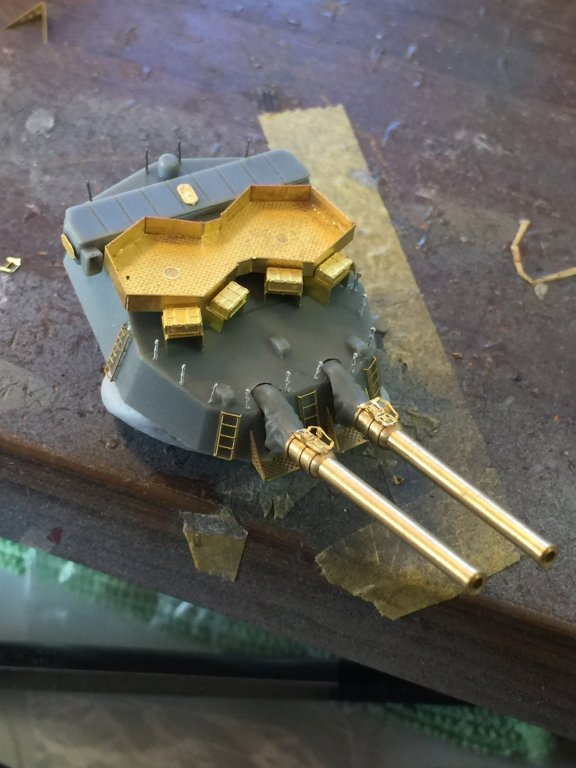
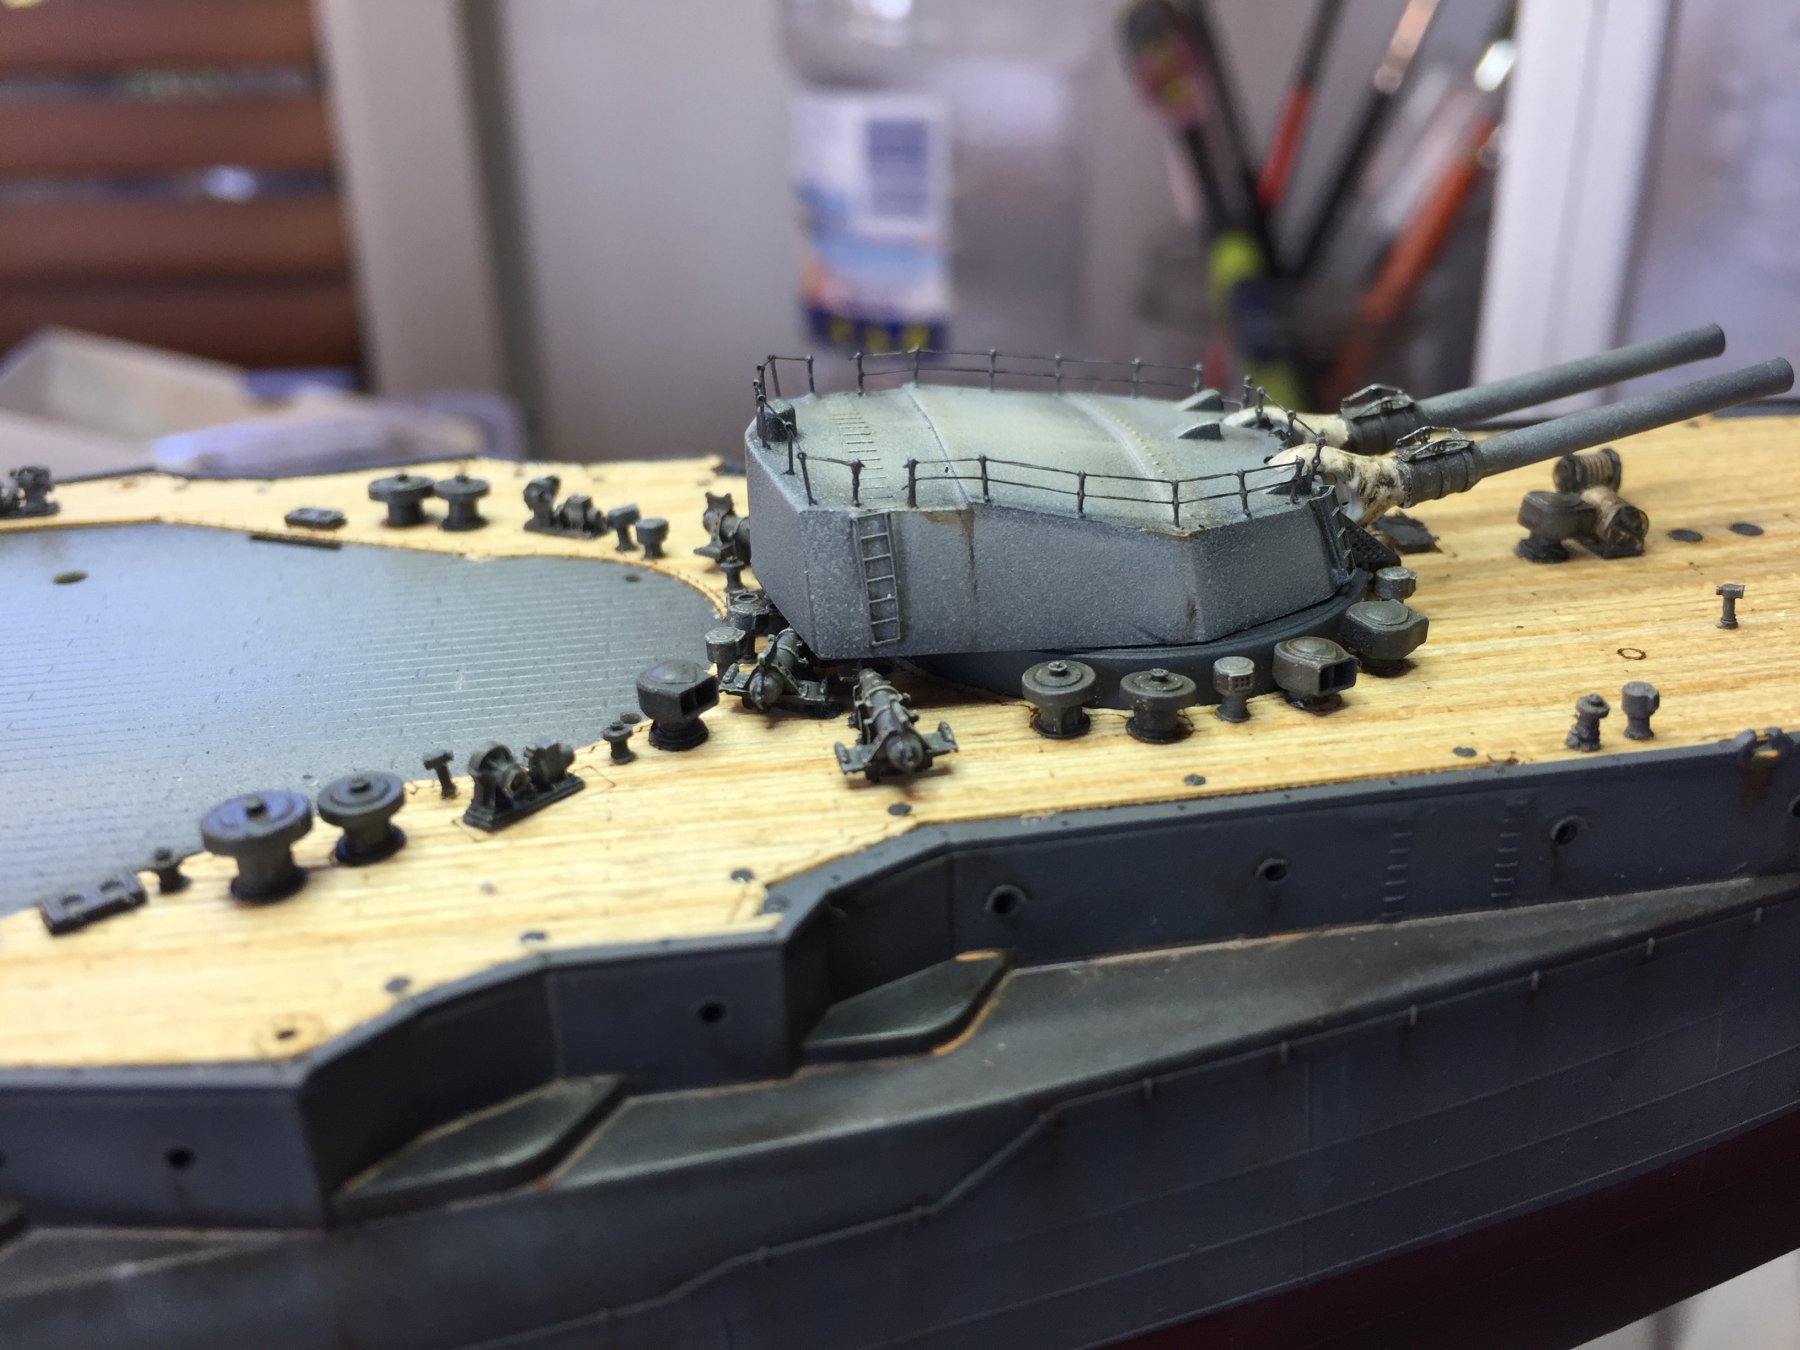
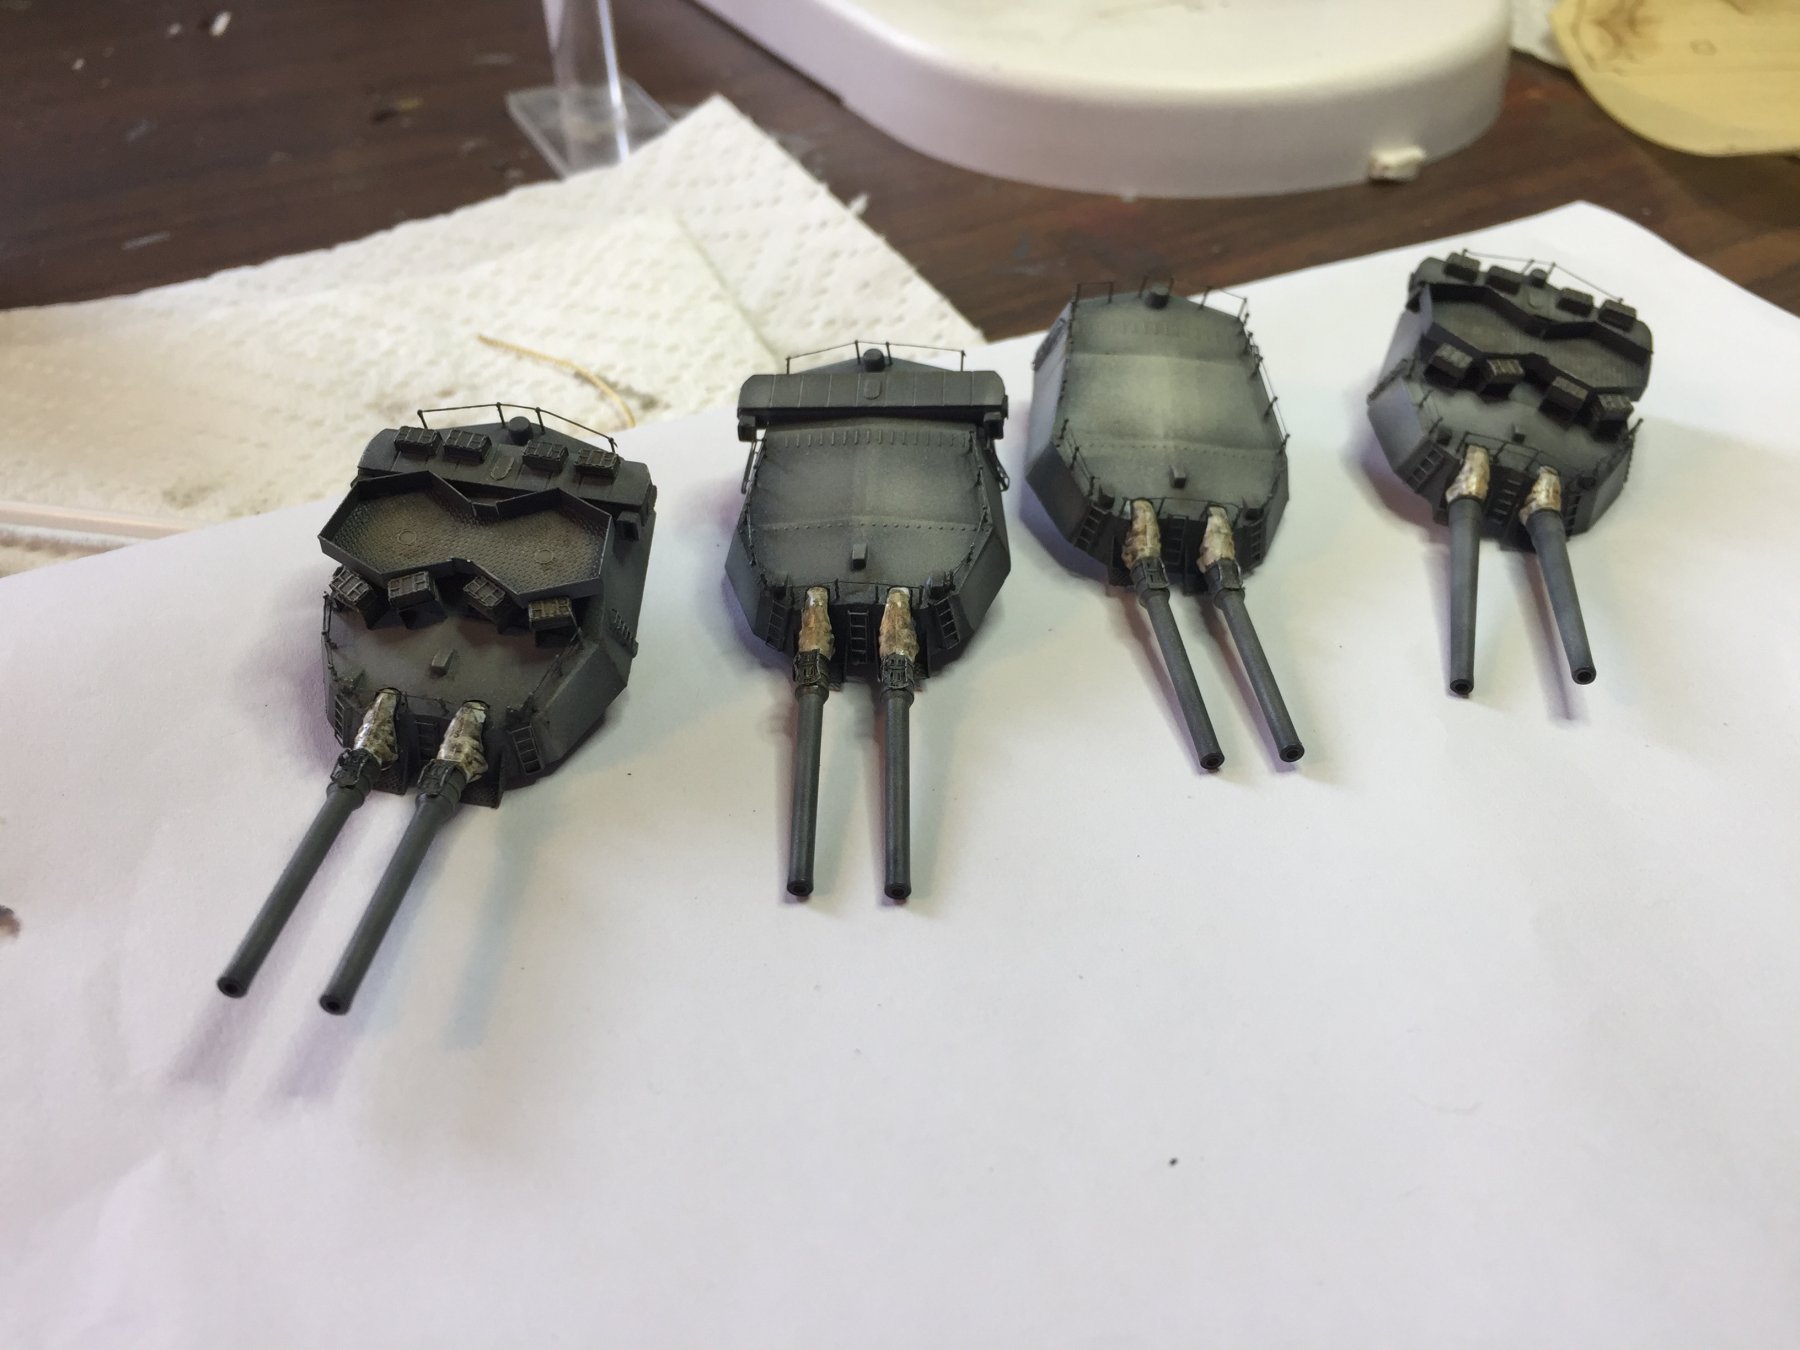
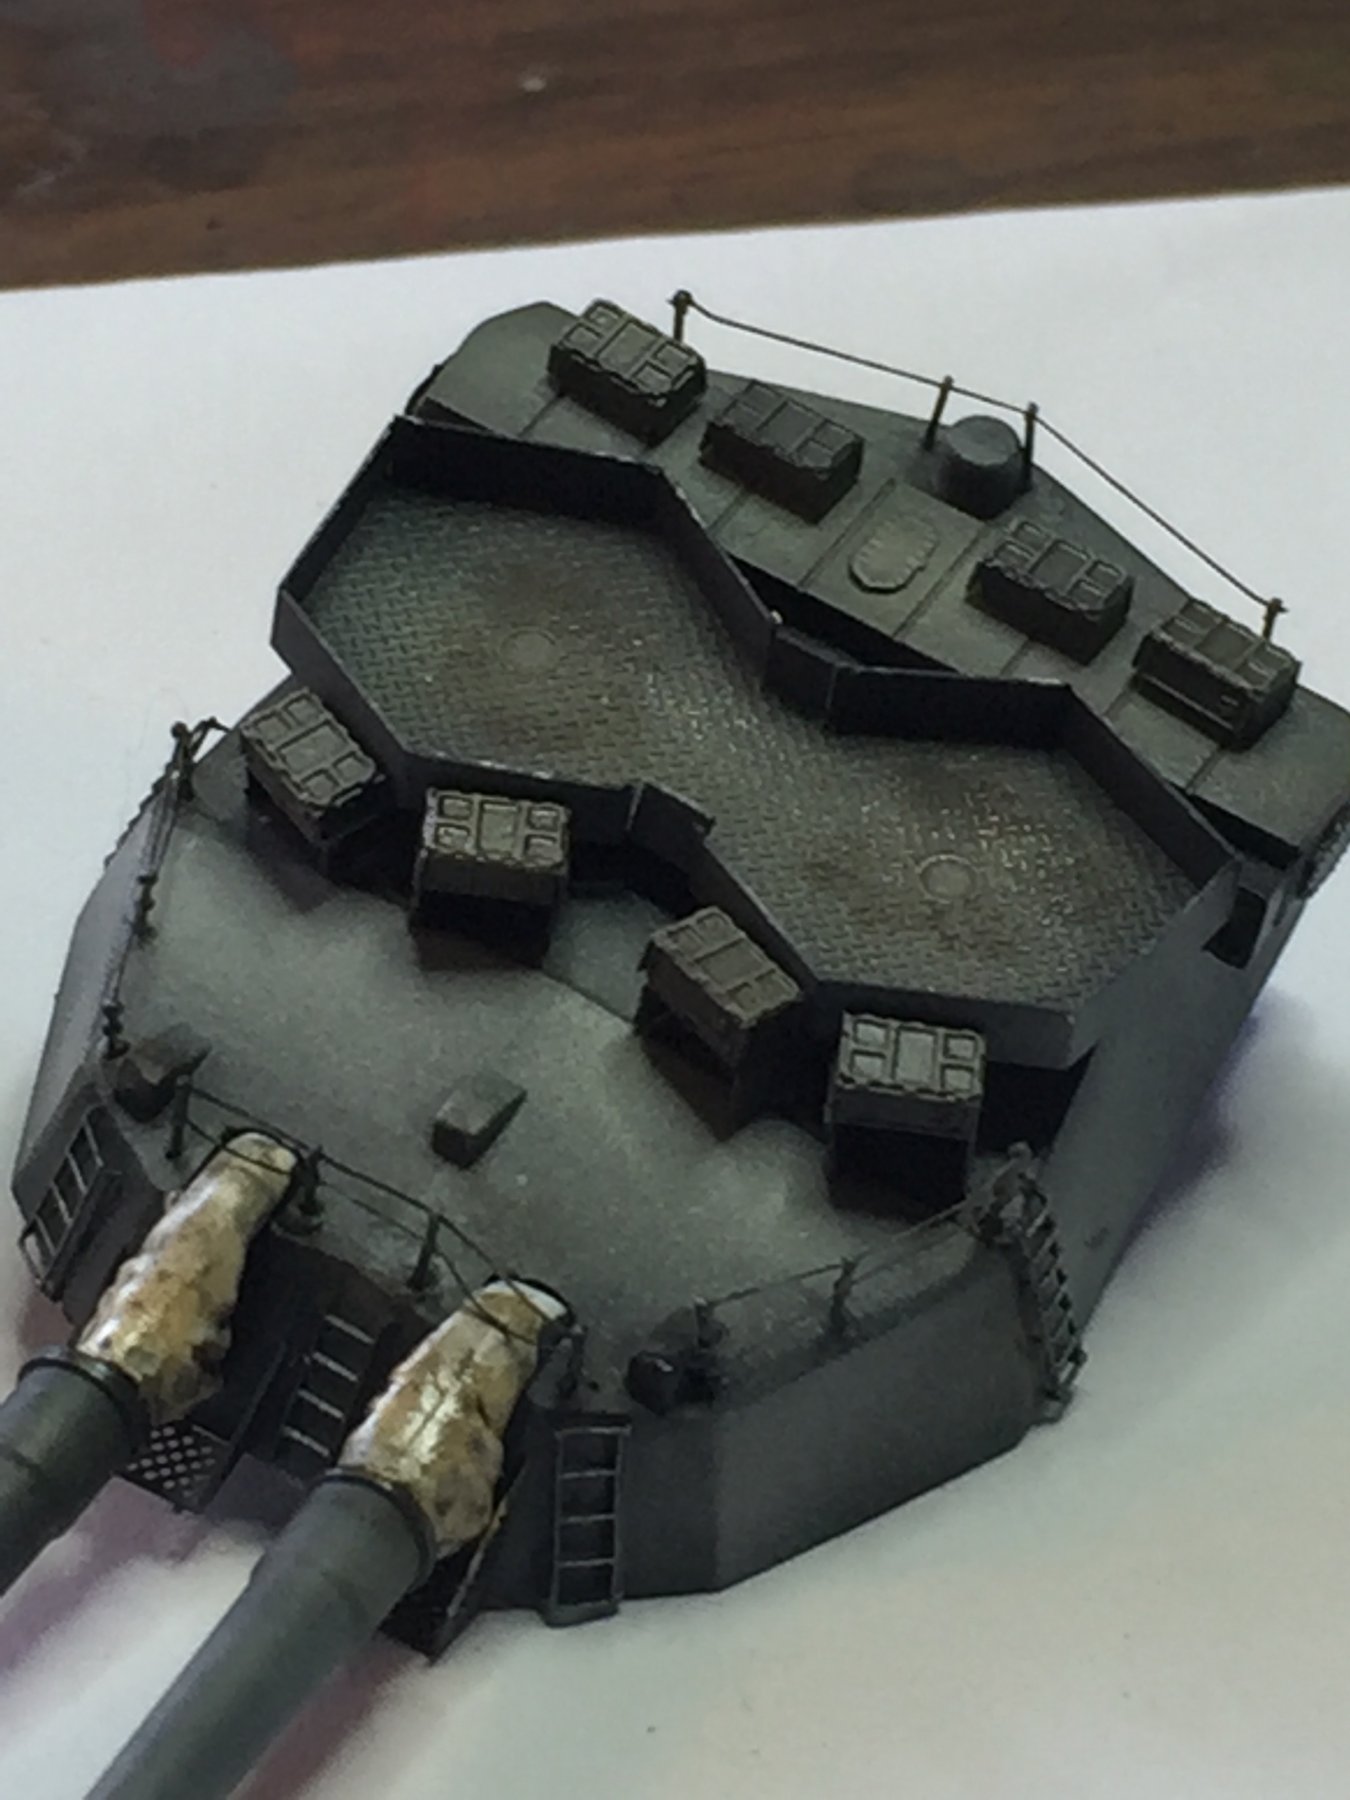
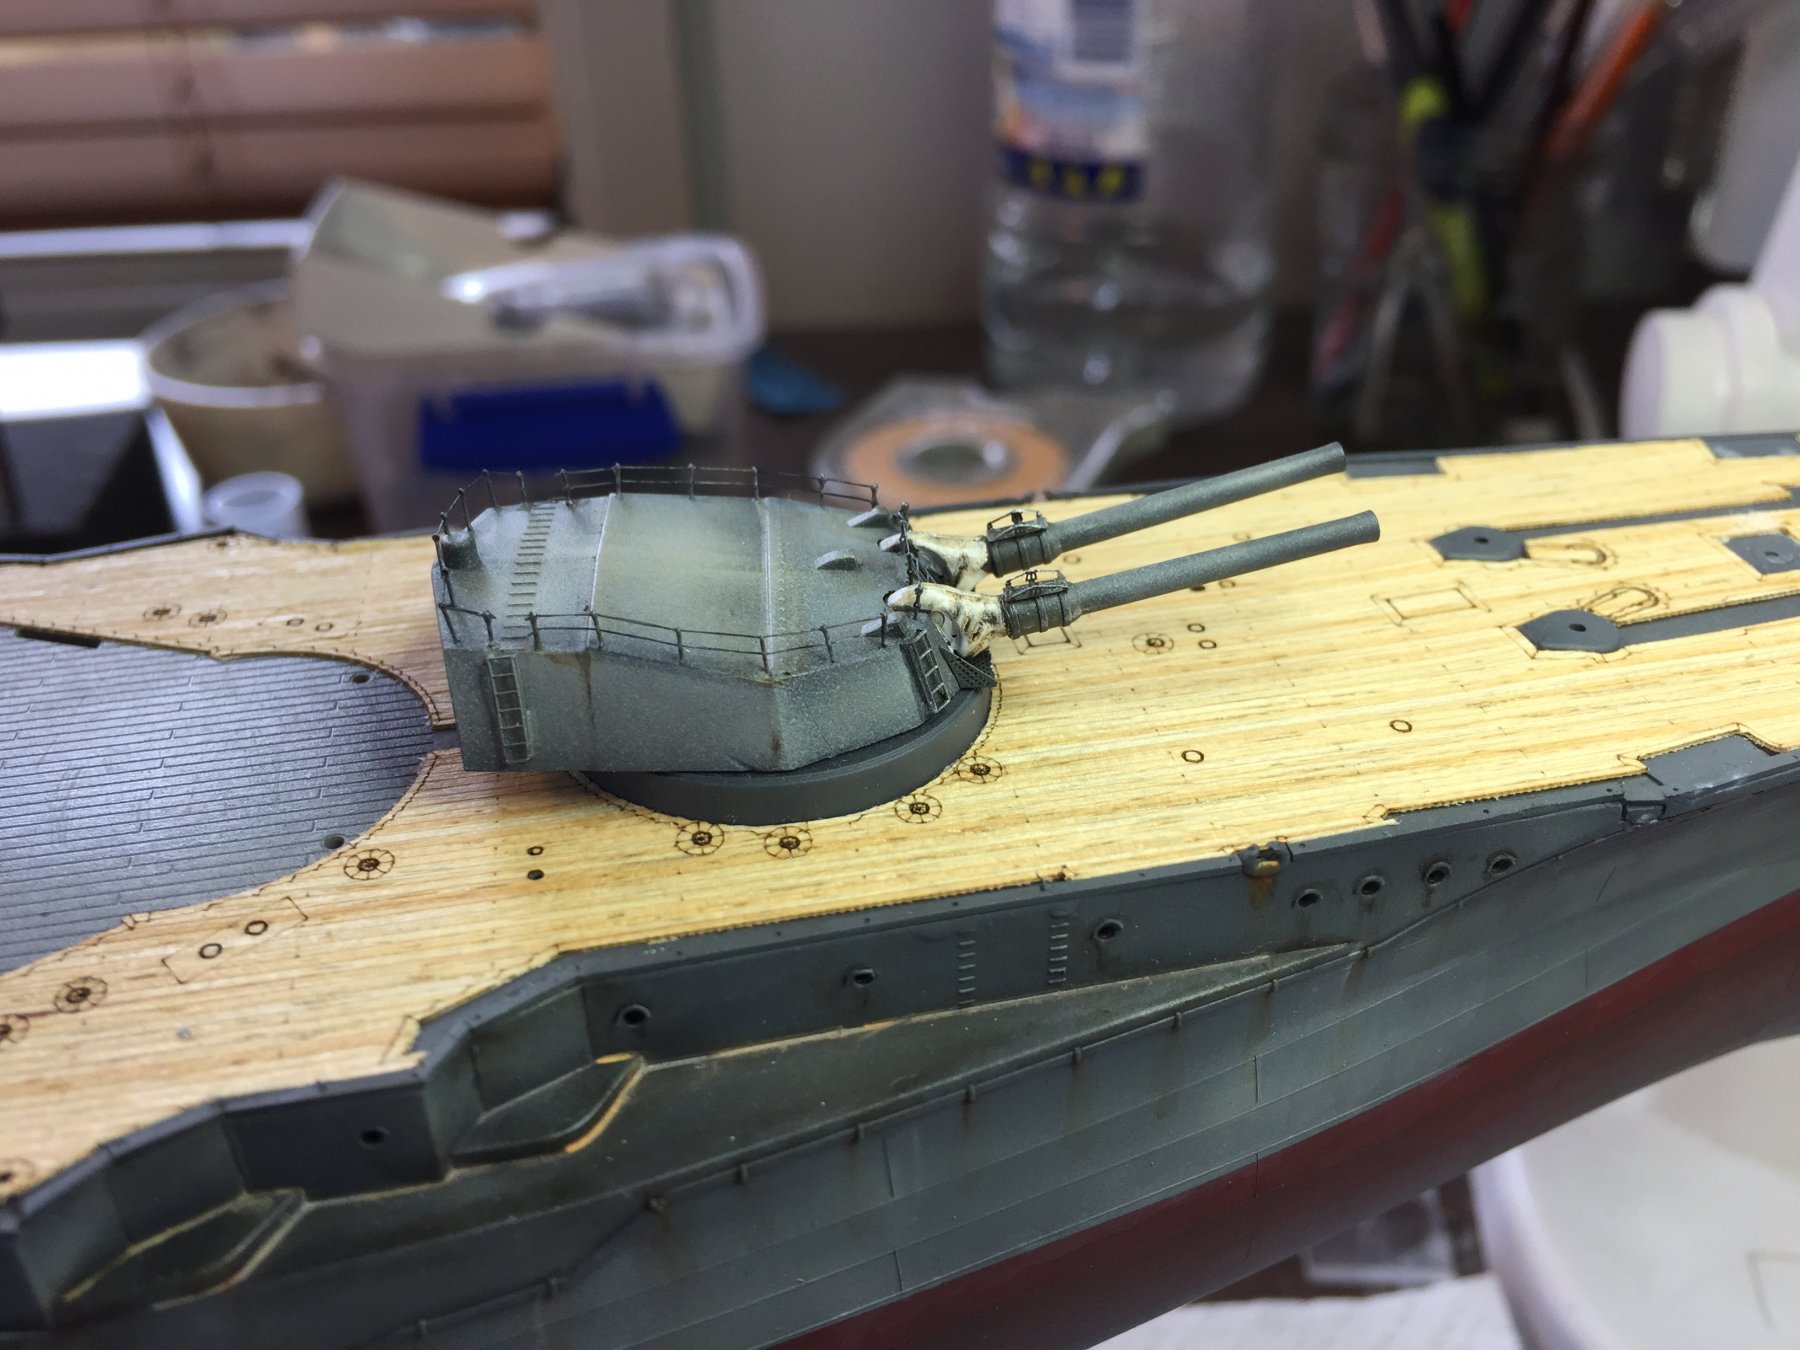
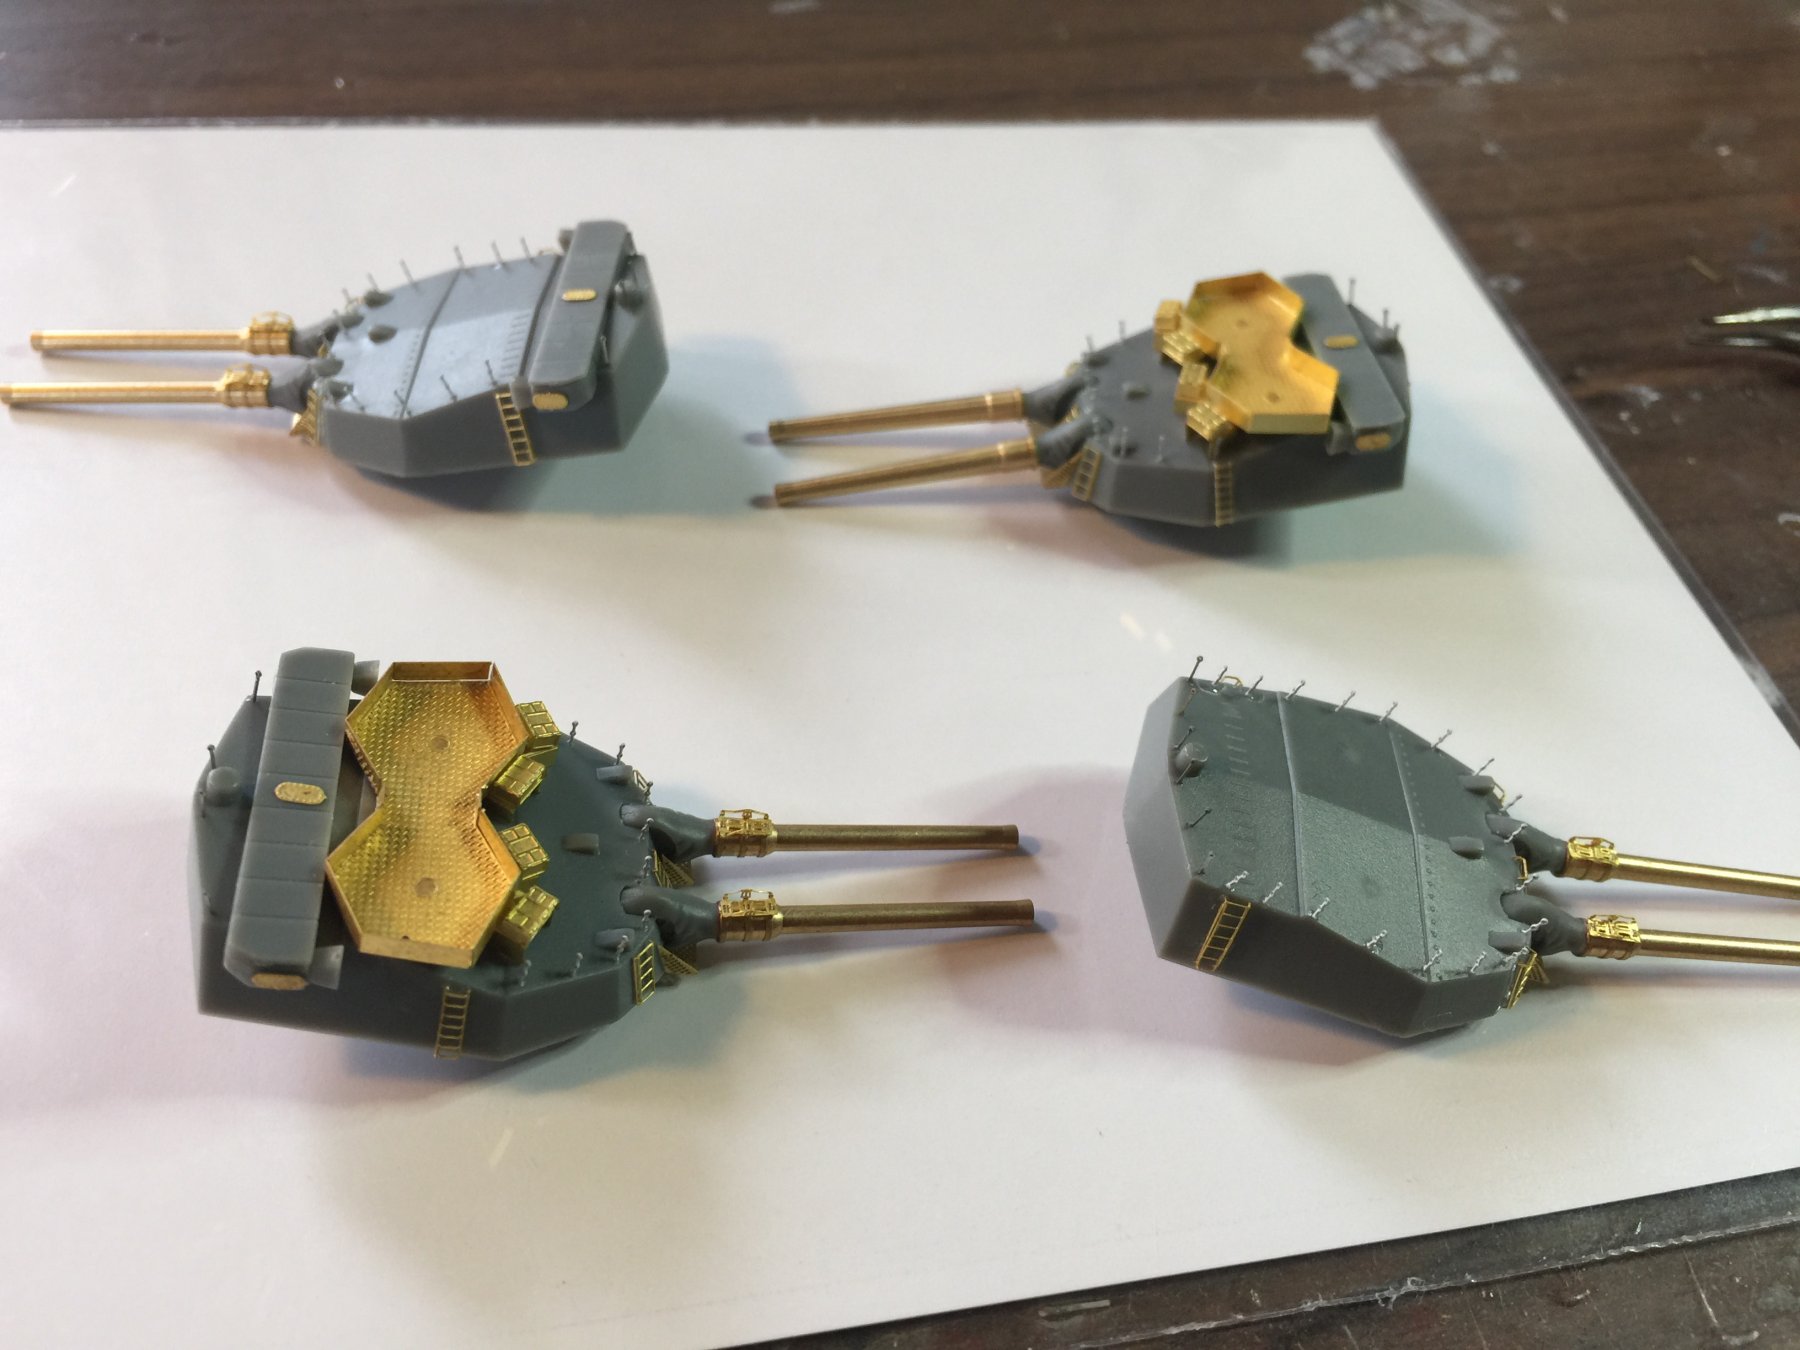
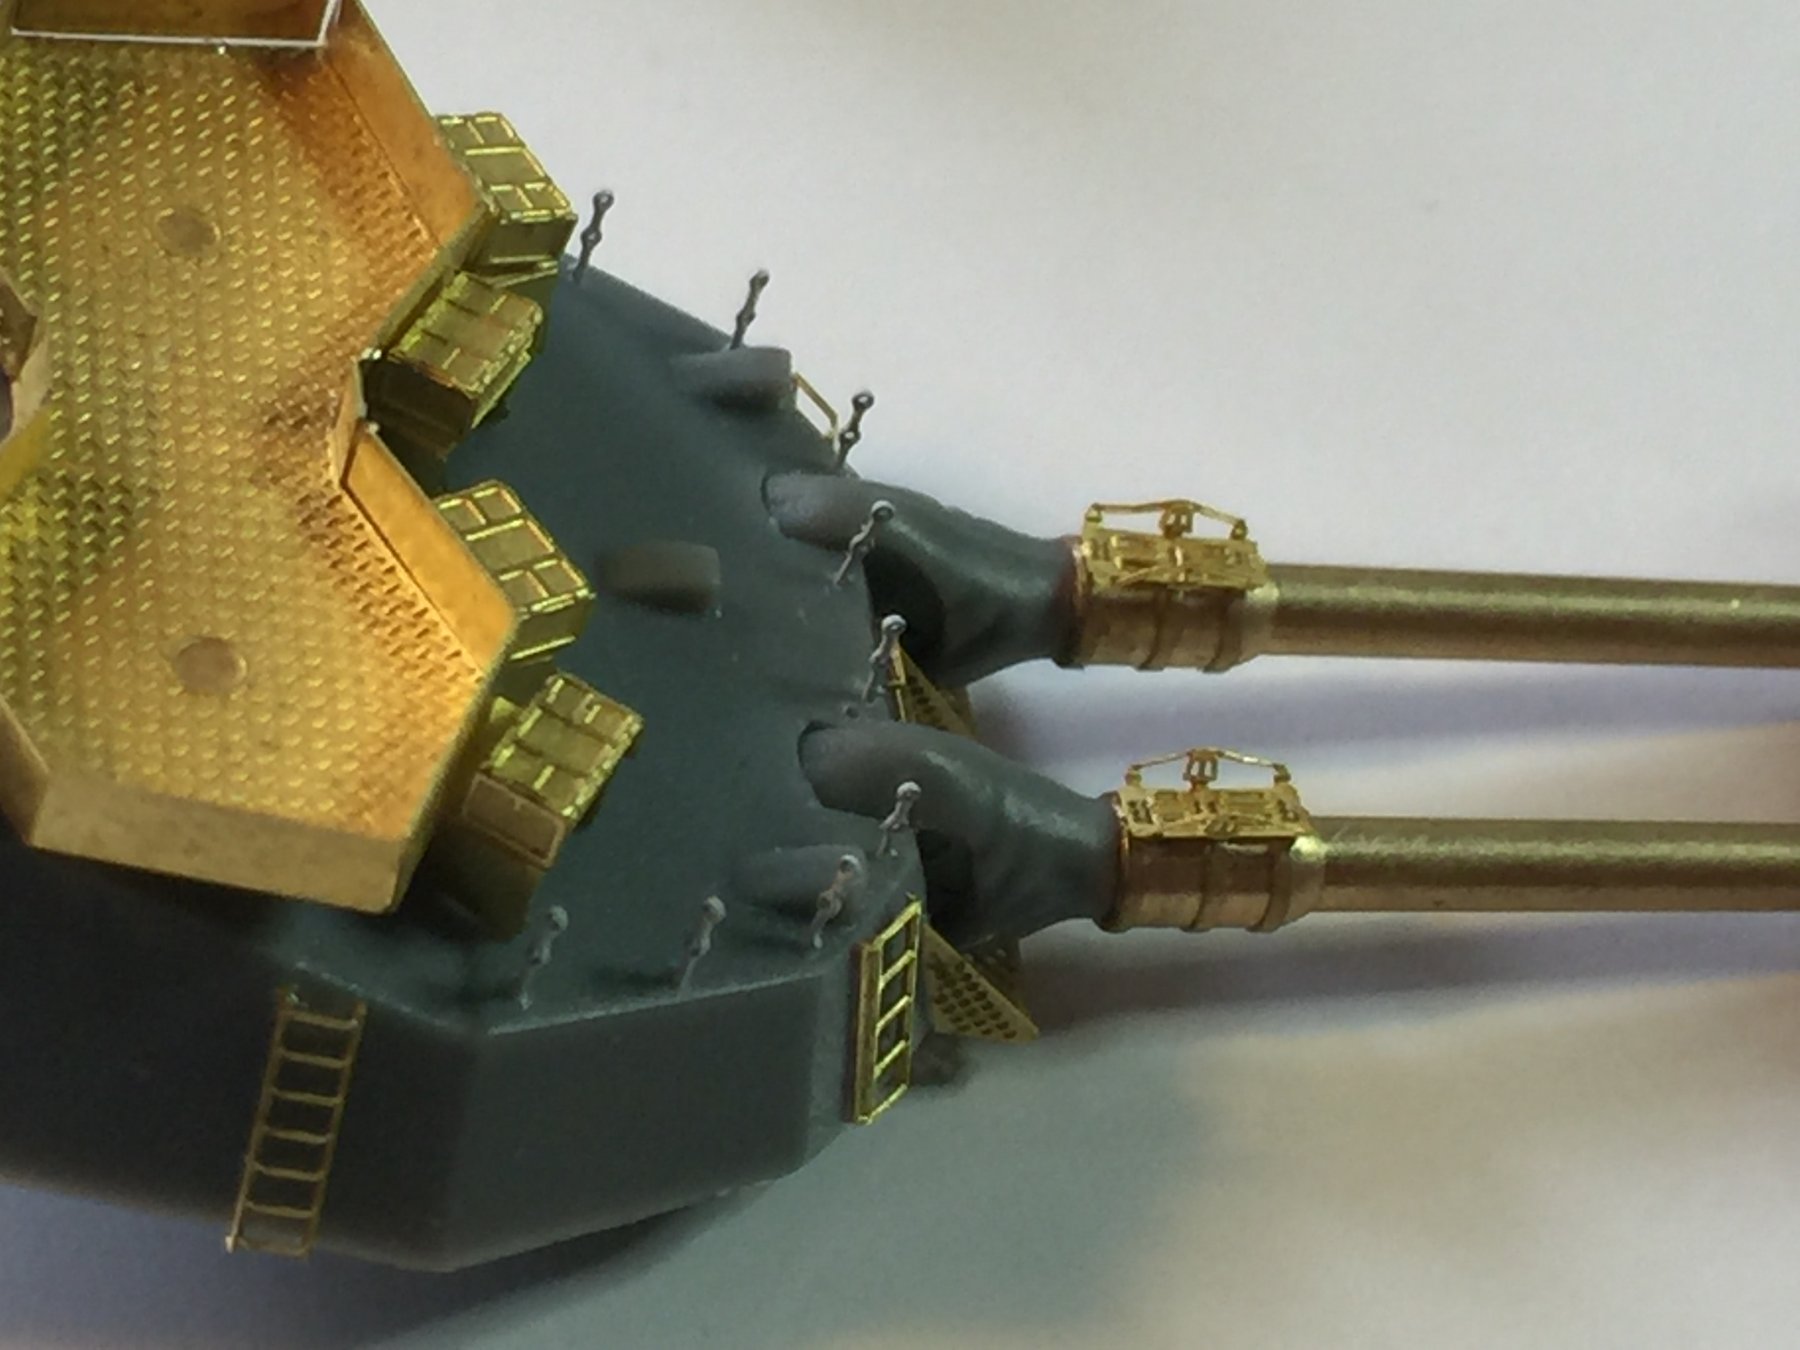
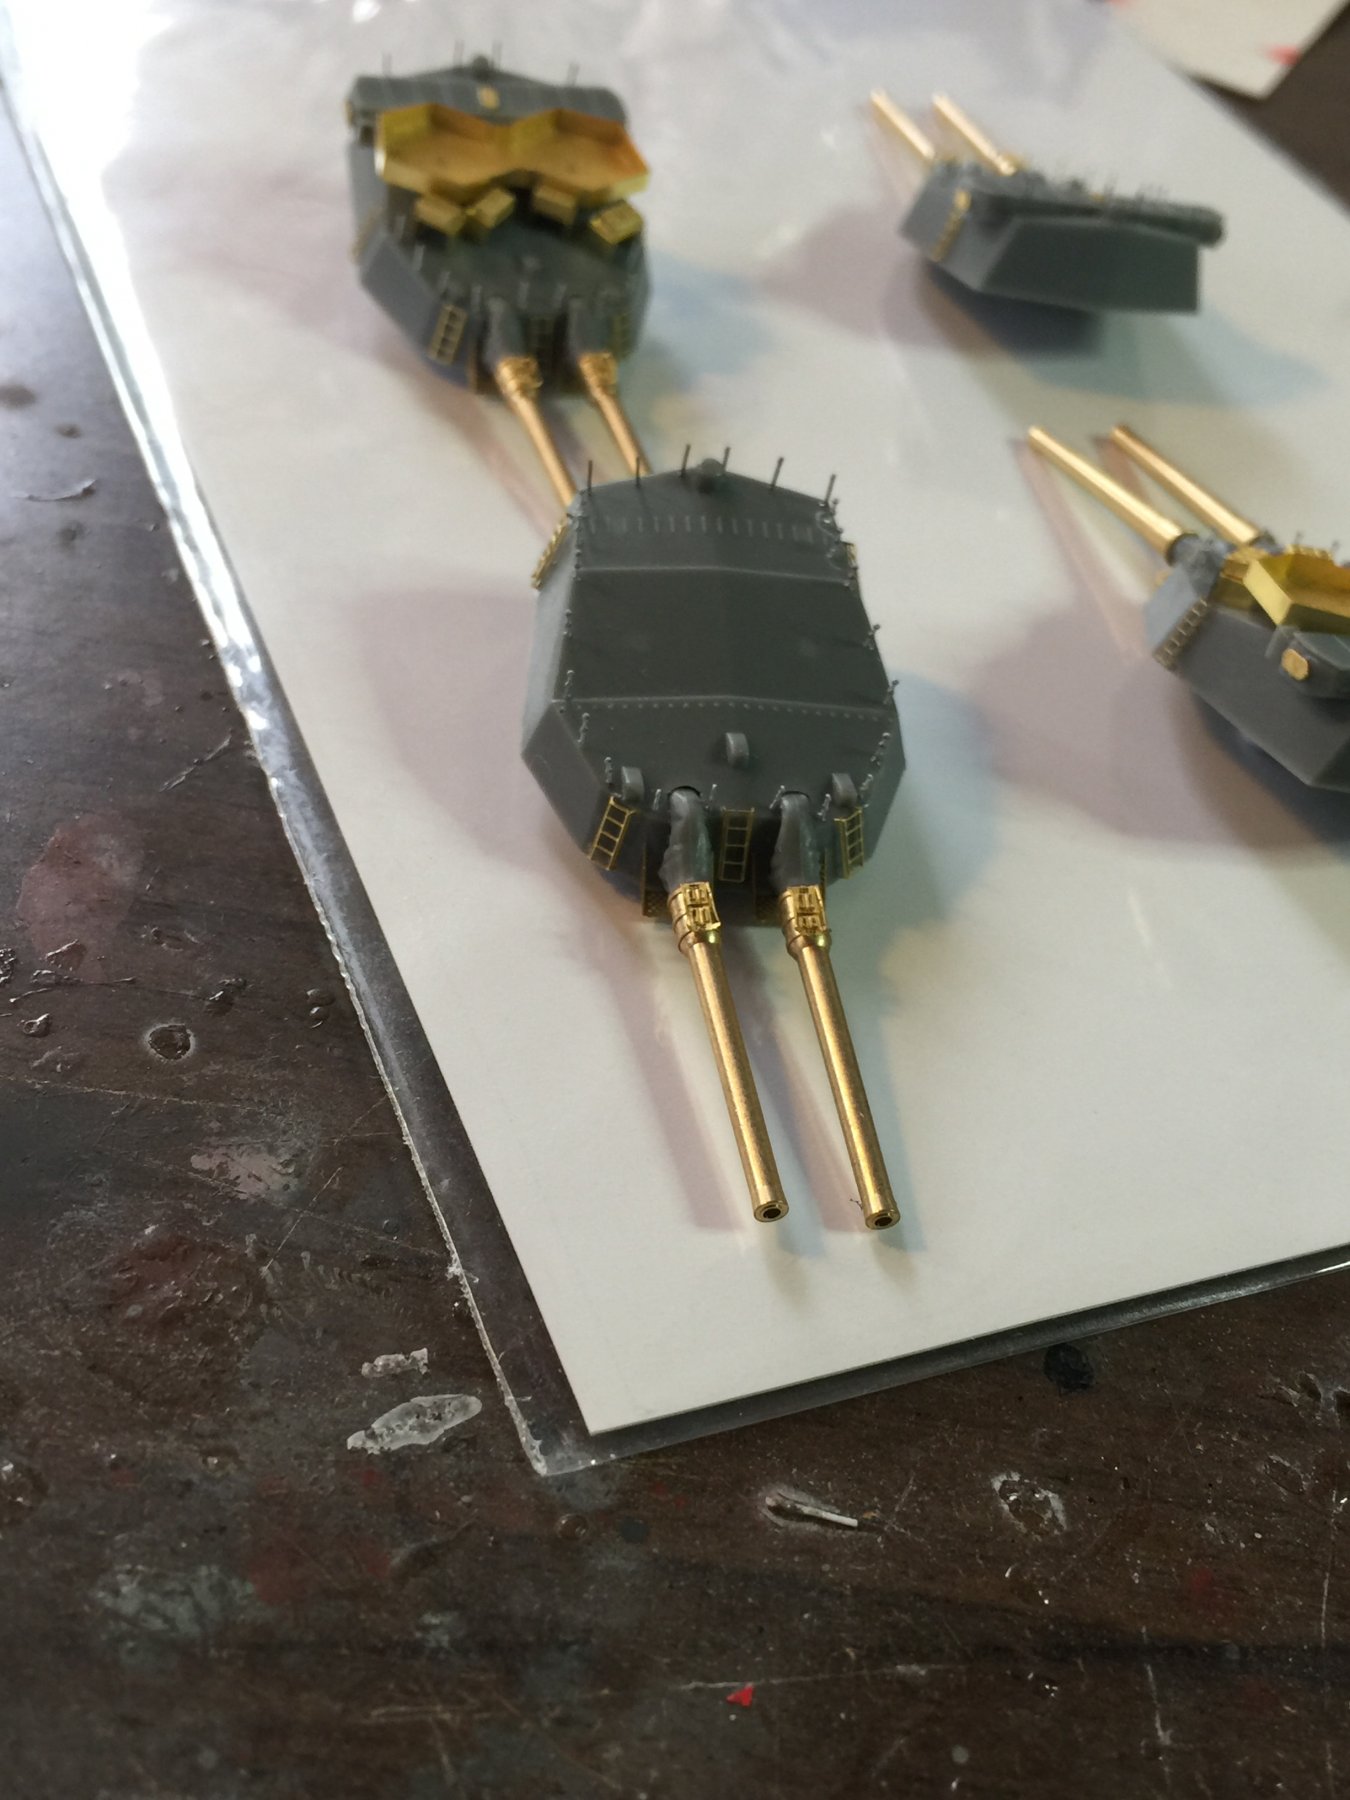
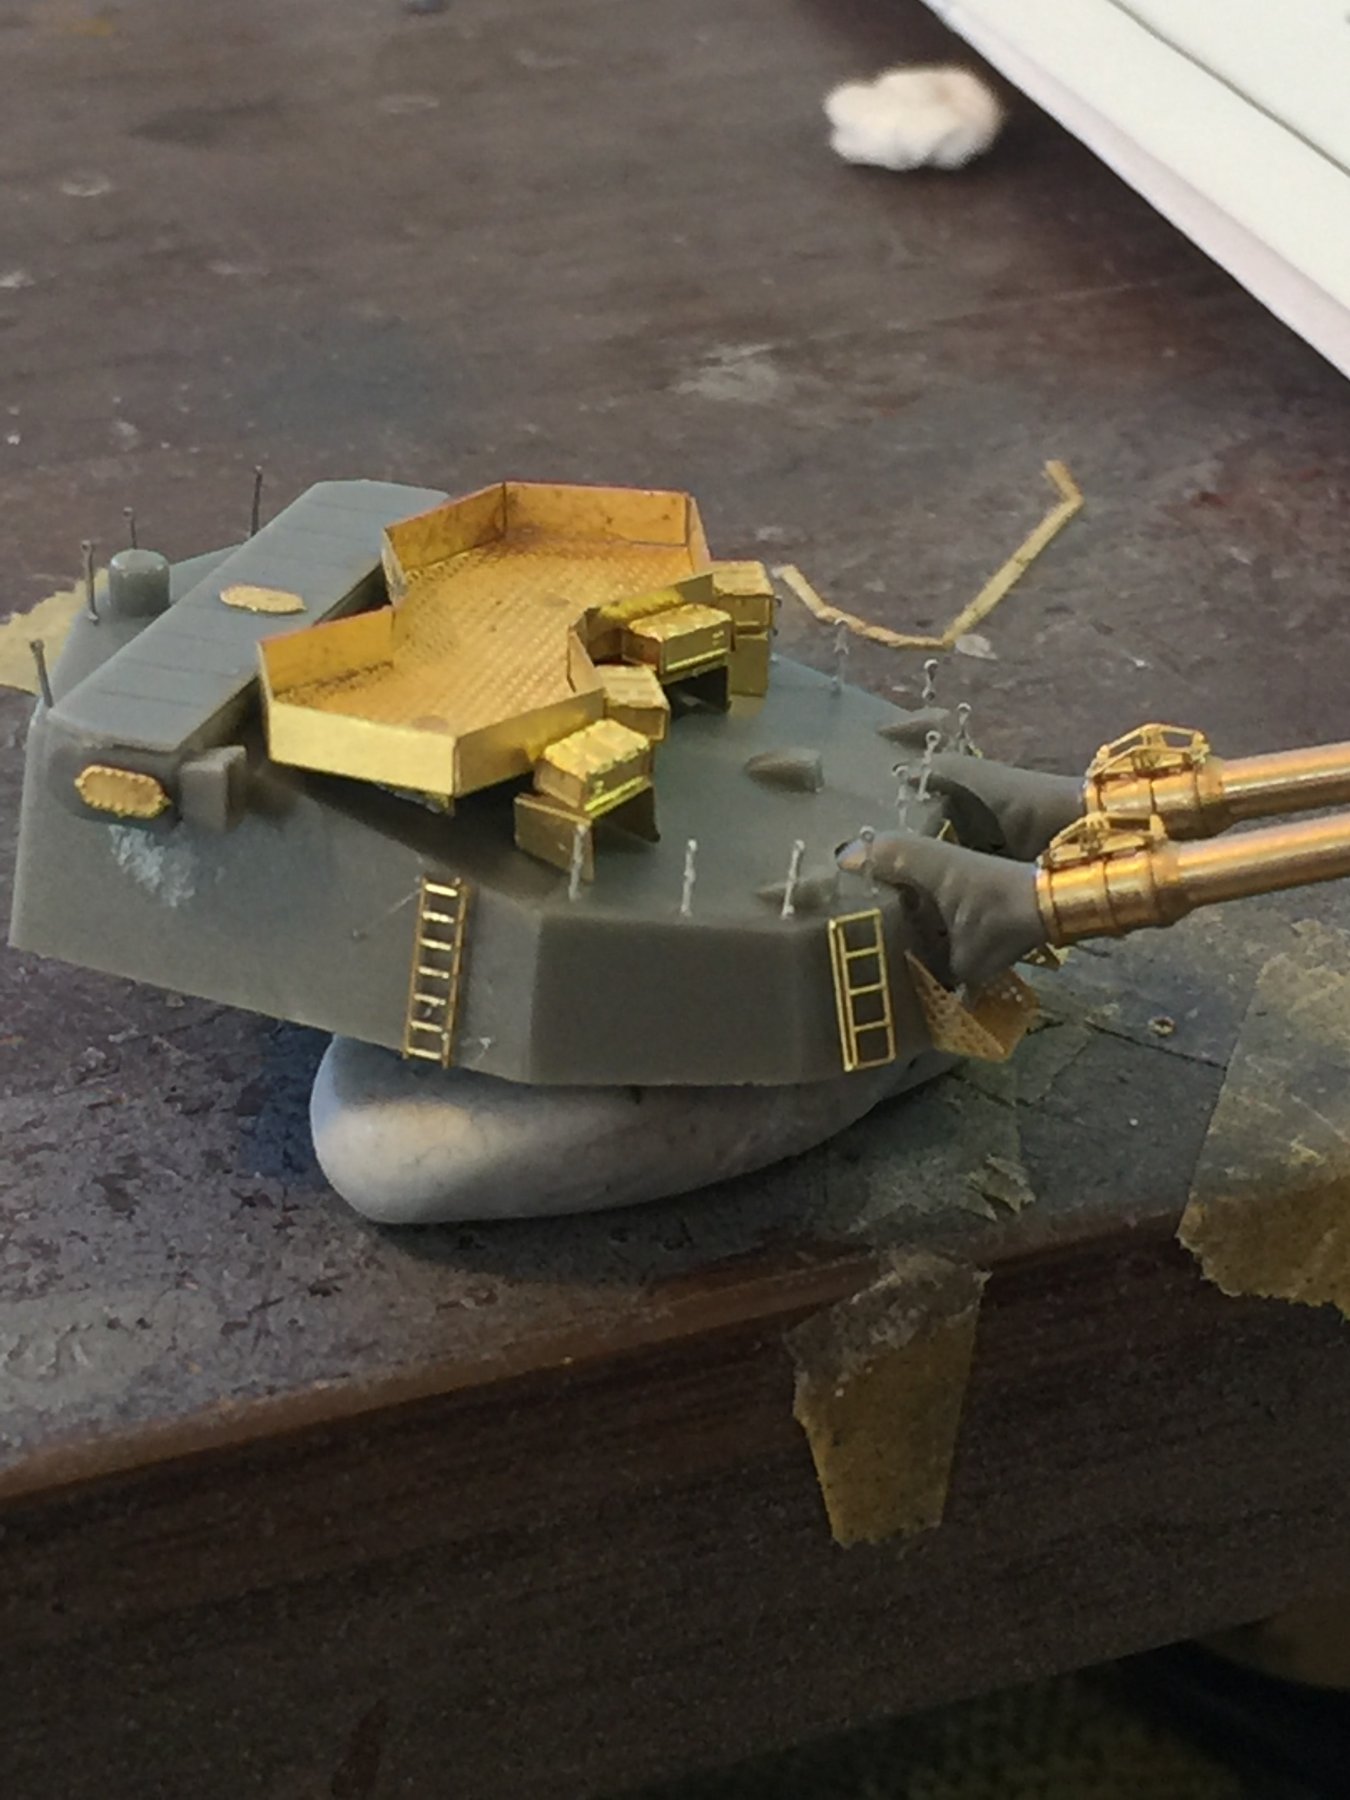
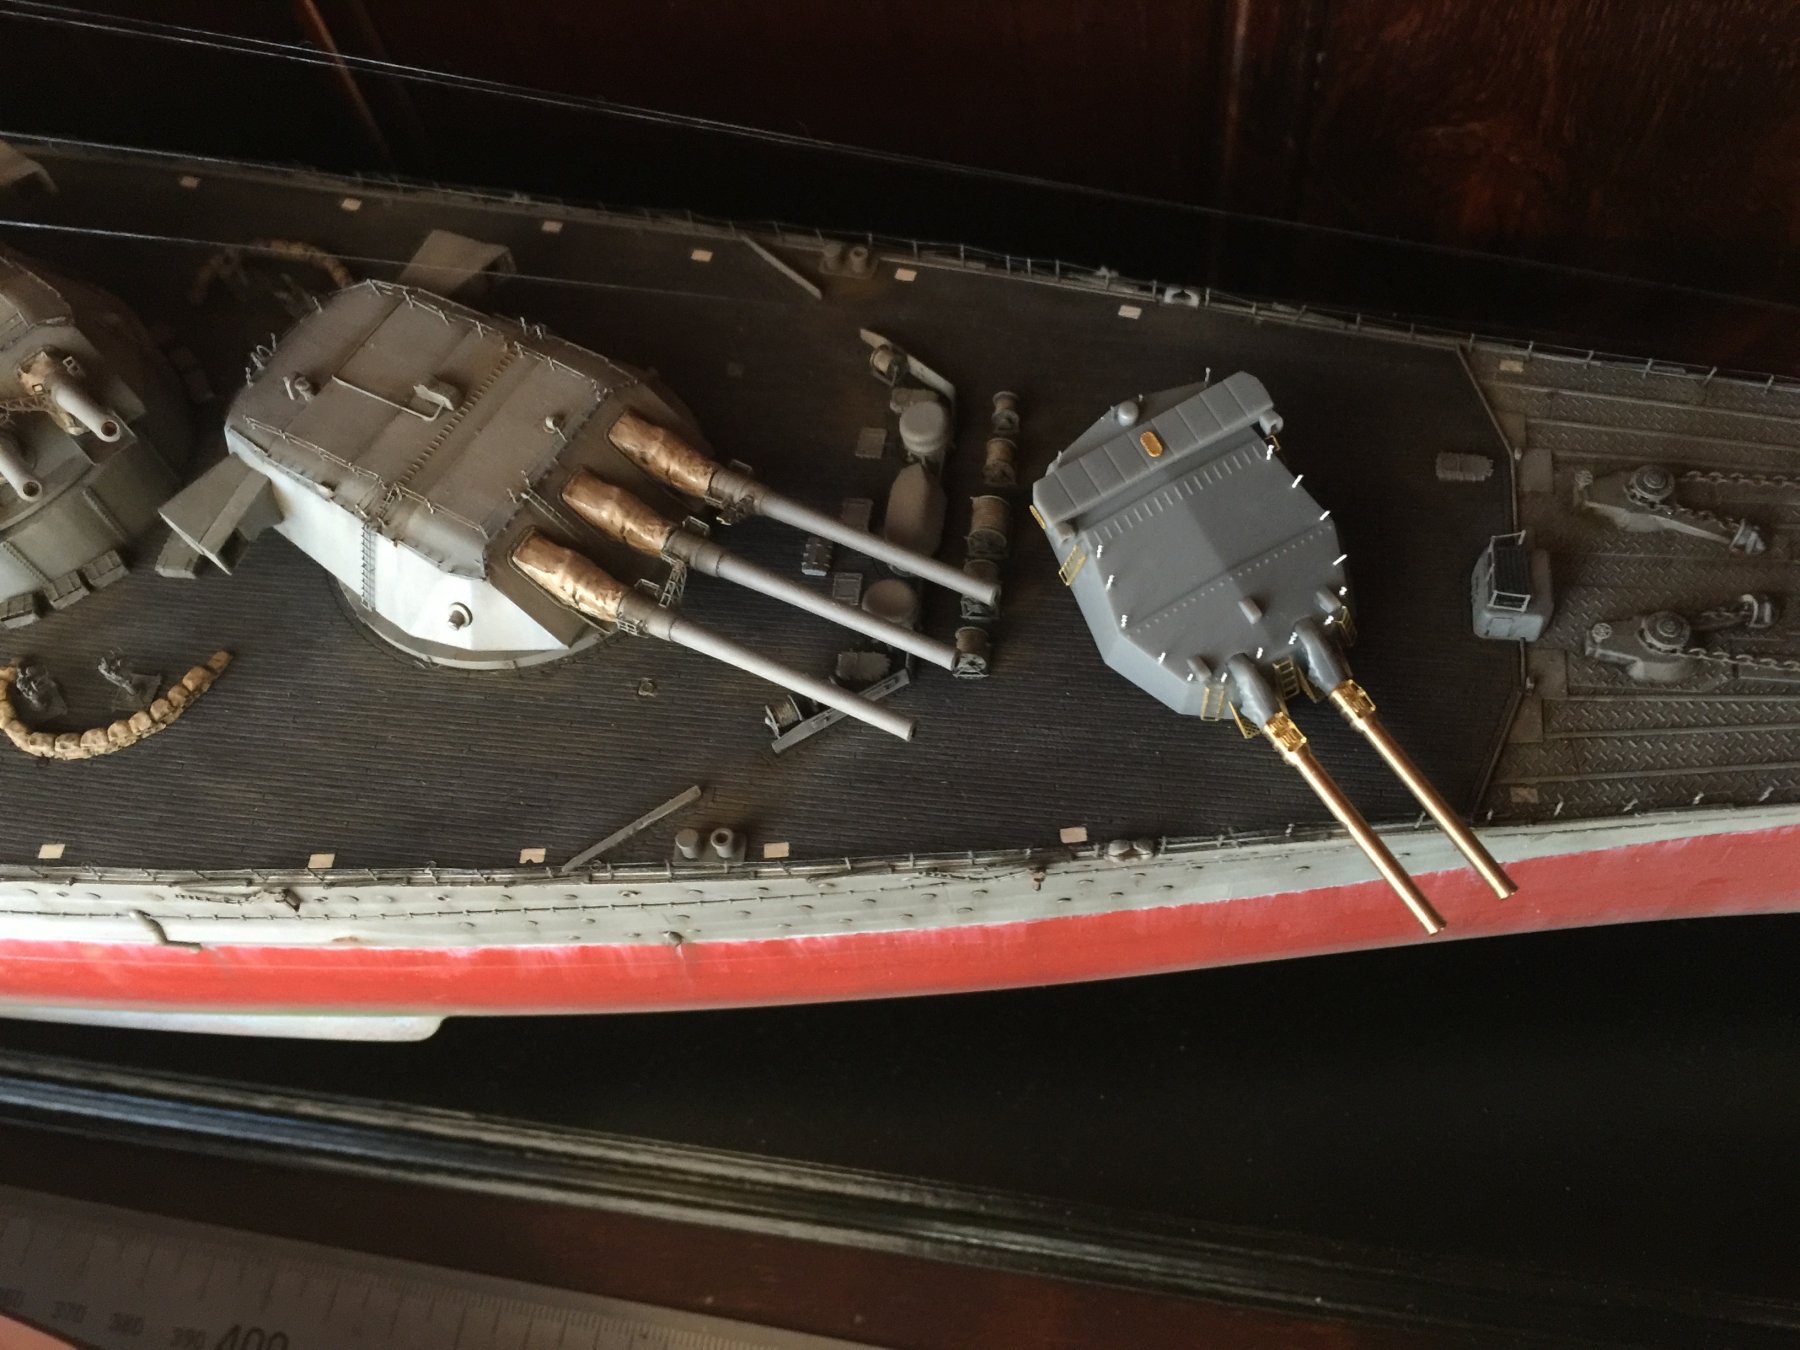
Breaking it up, the main cannons. I sightly disagree with Flyhawk placements of the 25mm's on top that does not consider the ammo boxes.
I used the Tamiya stanchions again as it looks a lot better. The training equipment on the barrels does not include the stands (I have not used them this time), as apparently they were only used when in training and the actual bit that clamps into this bracket is not included.
You can see the difference between Yamato and Ise main guns.


-
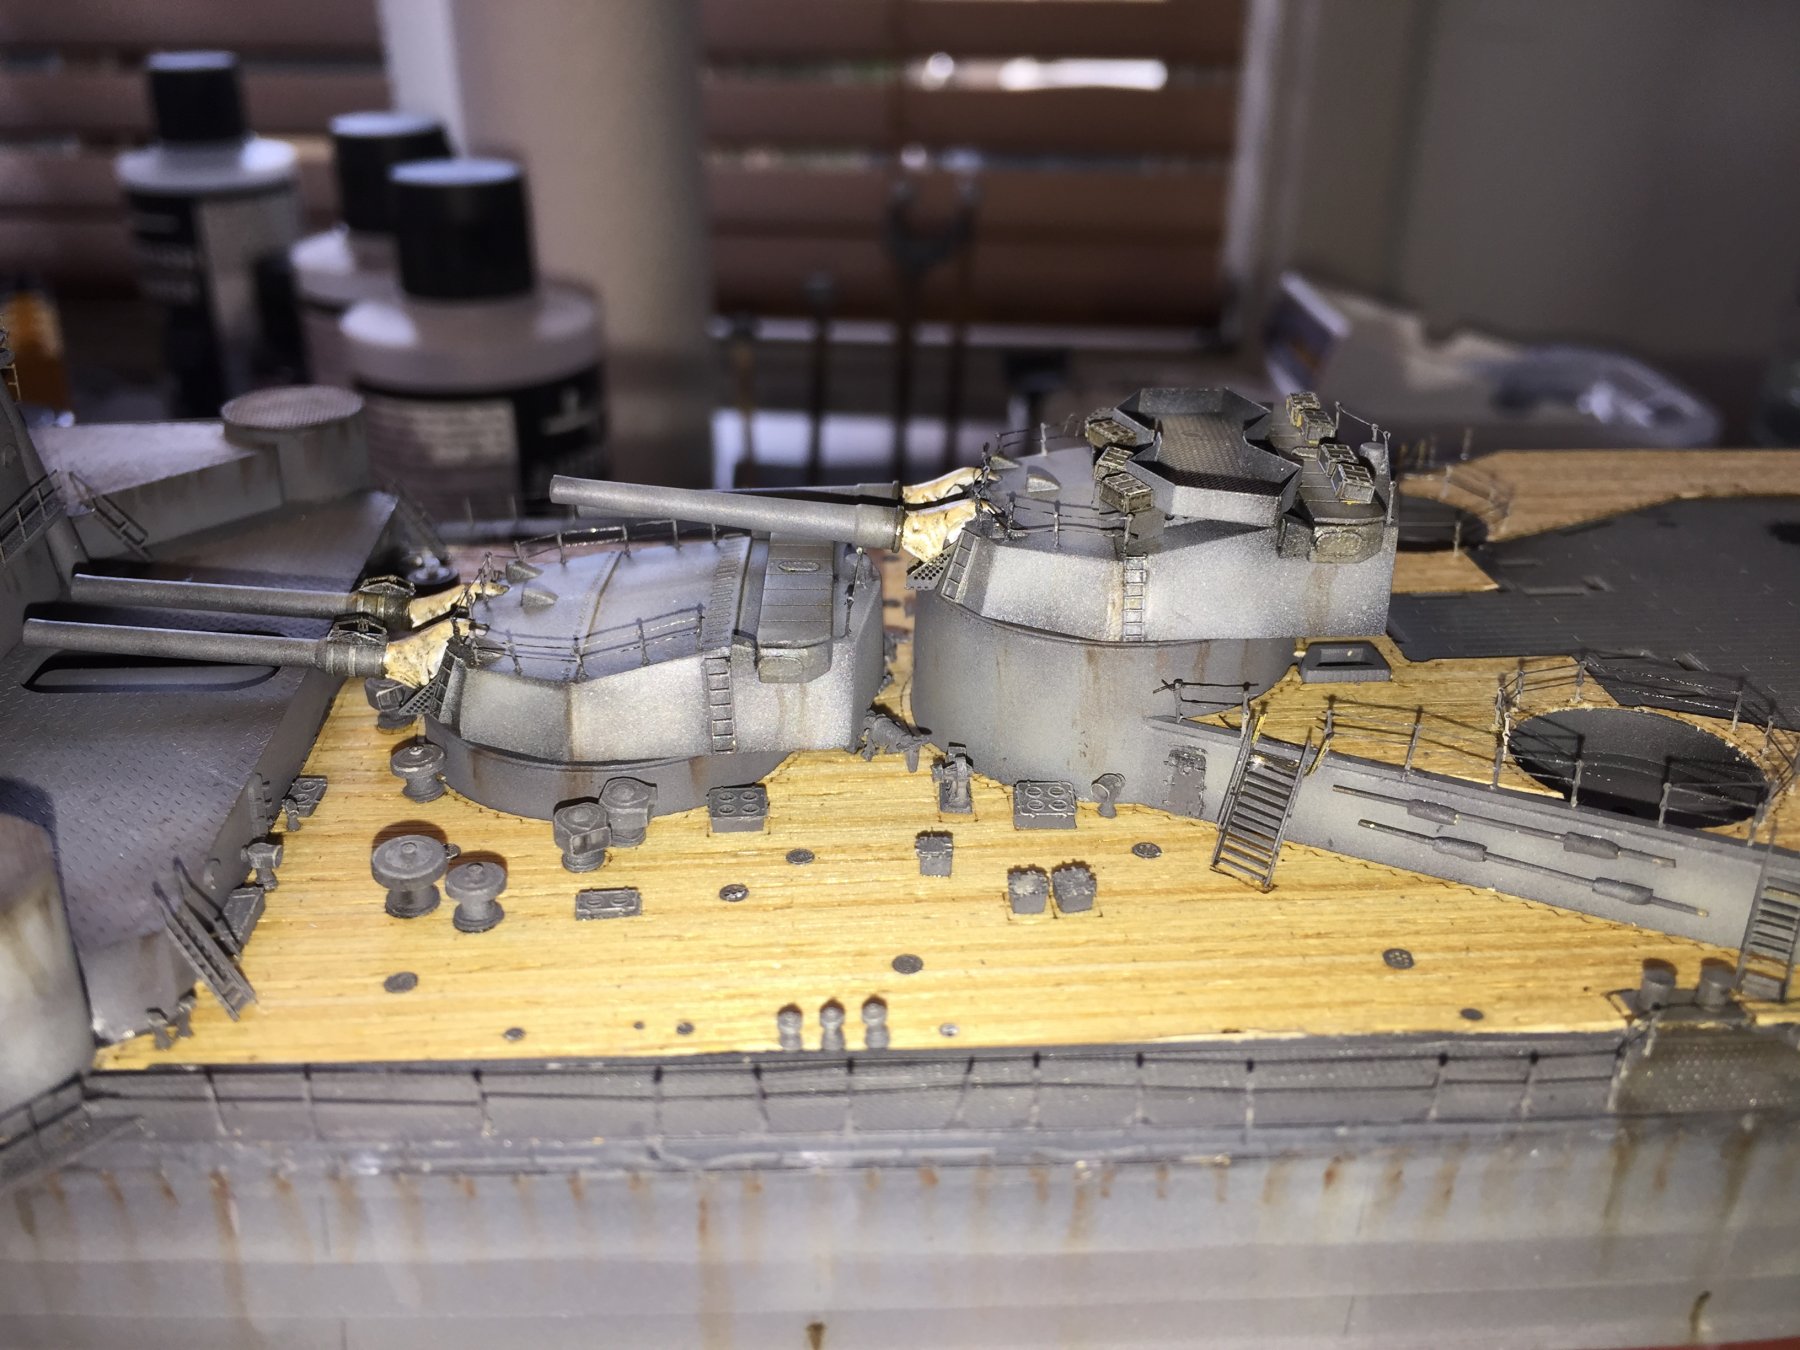
Very true, my grey primer seems to have gone off so I used the black. I'm still new to the airbrush gig (this is number 3), and I want to do a grey grunge coat plus a little bit of green.
- popeye the sailor, mtaylor and Canute
-
3
-
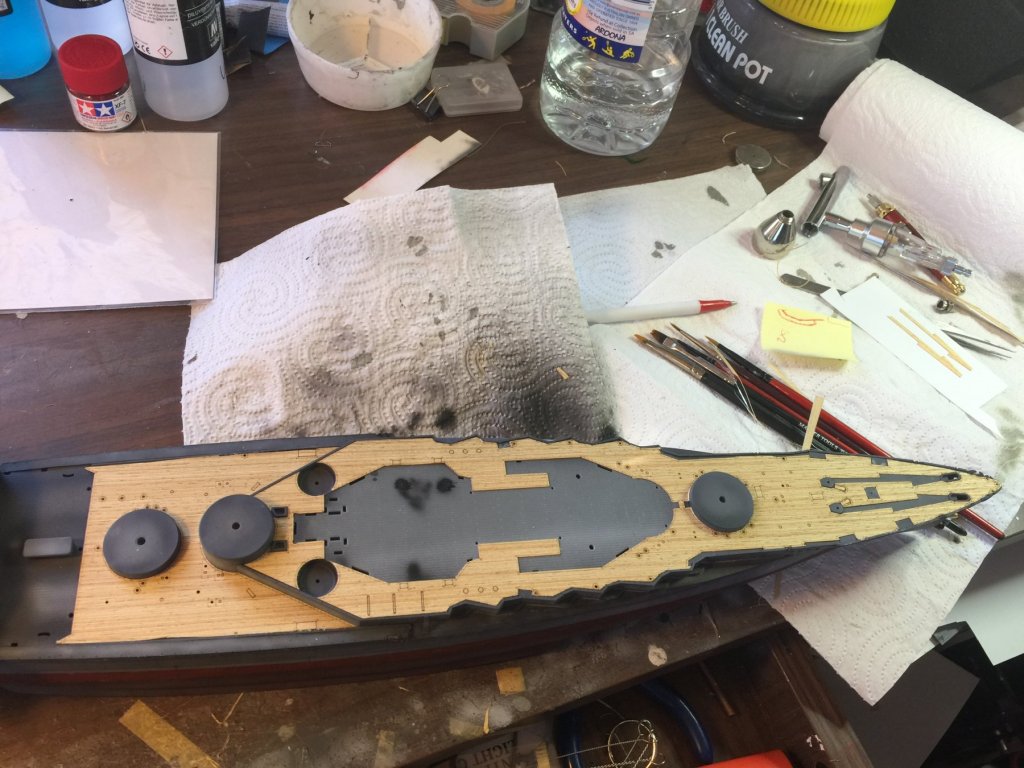
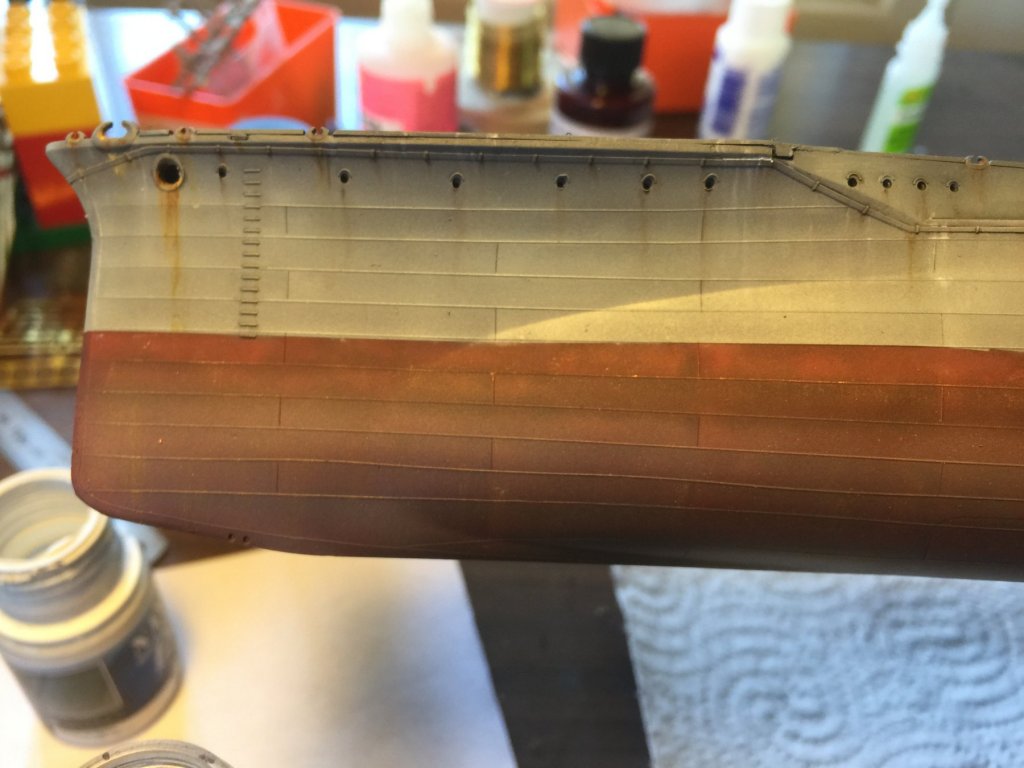
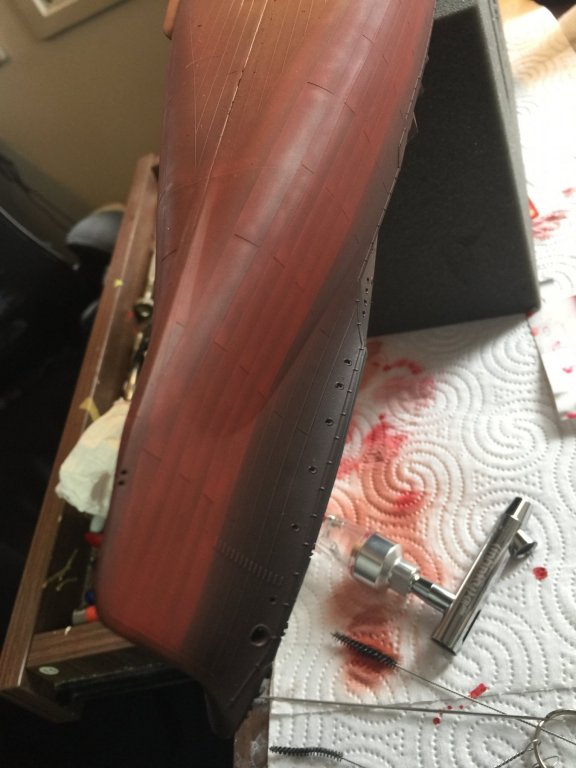
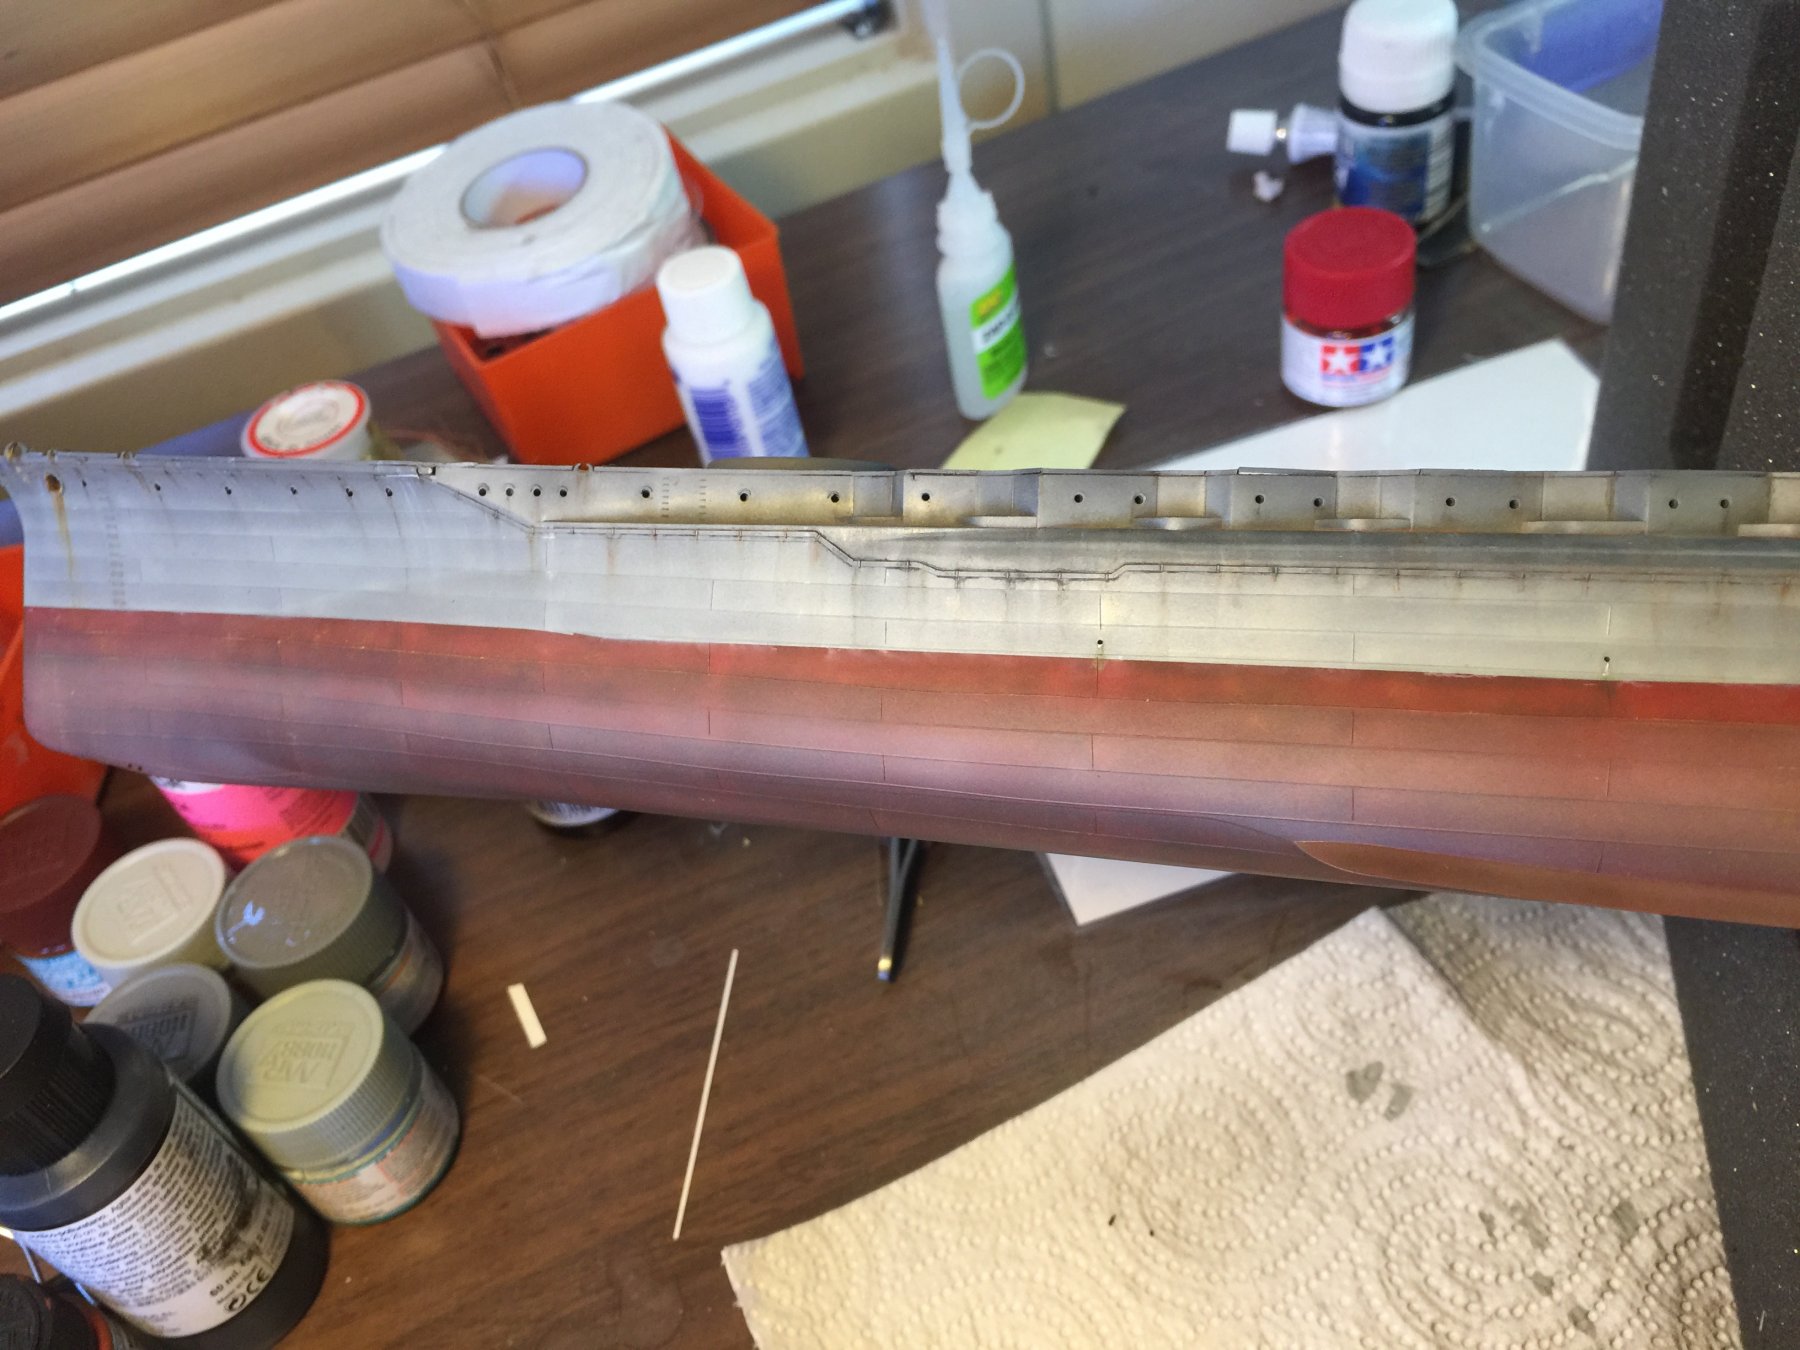
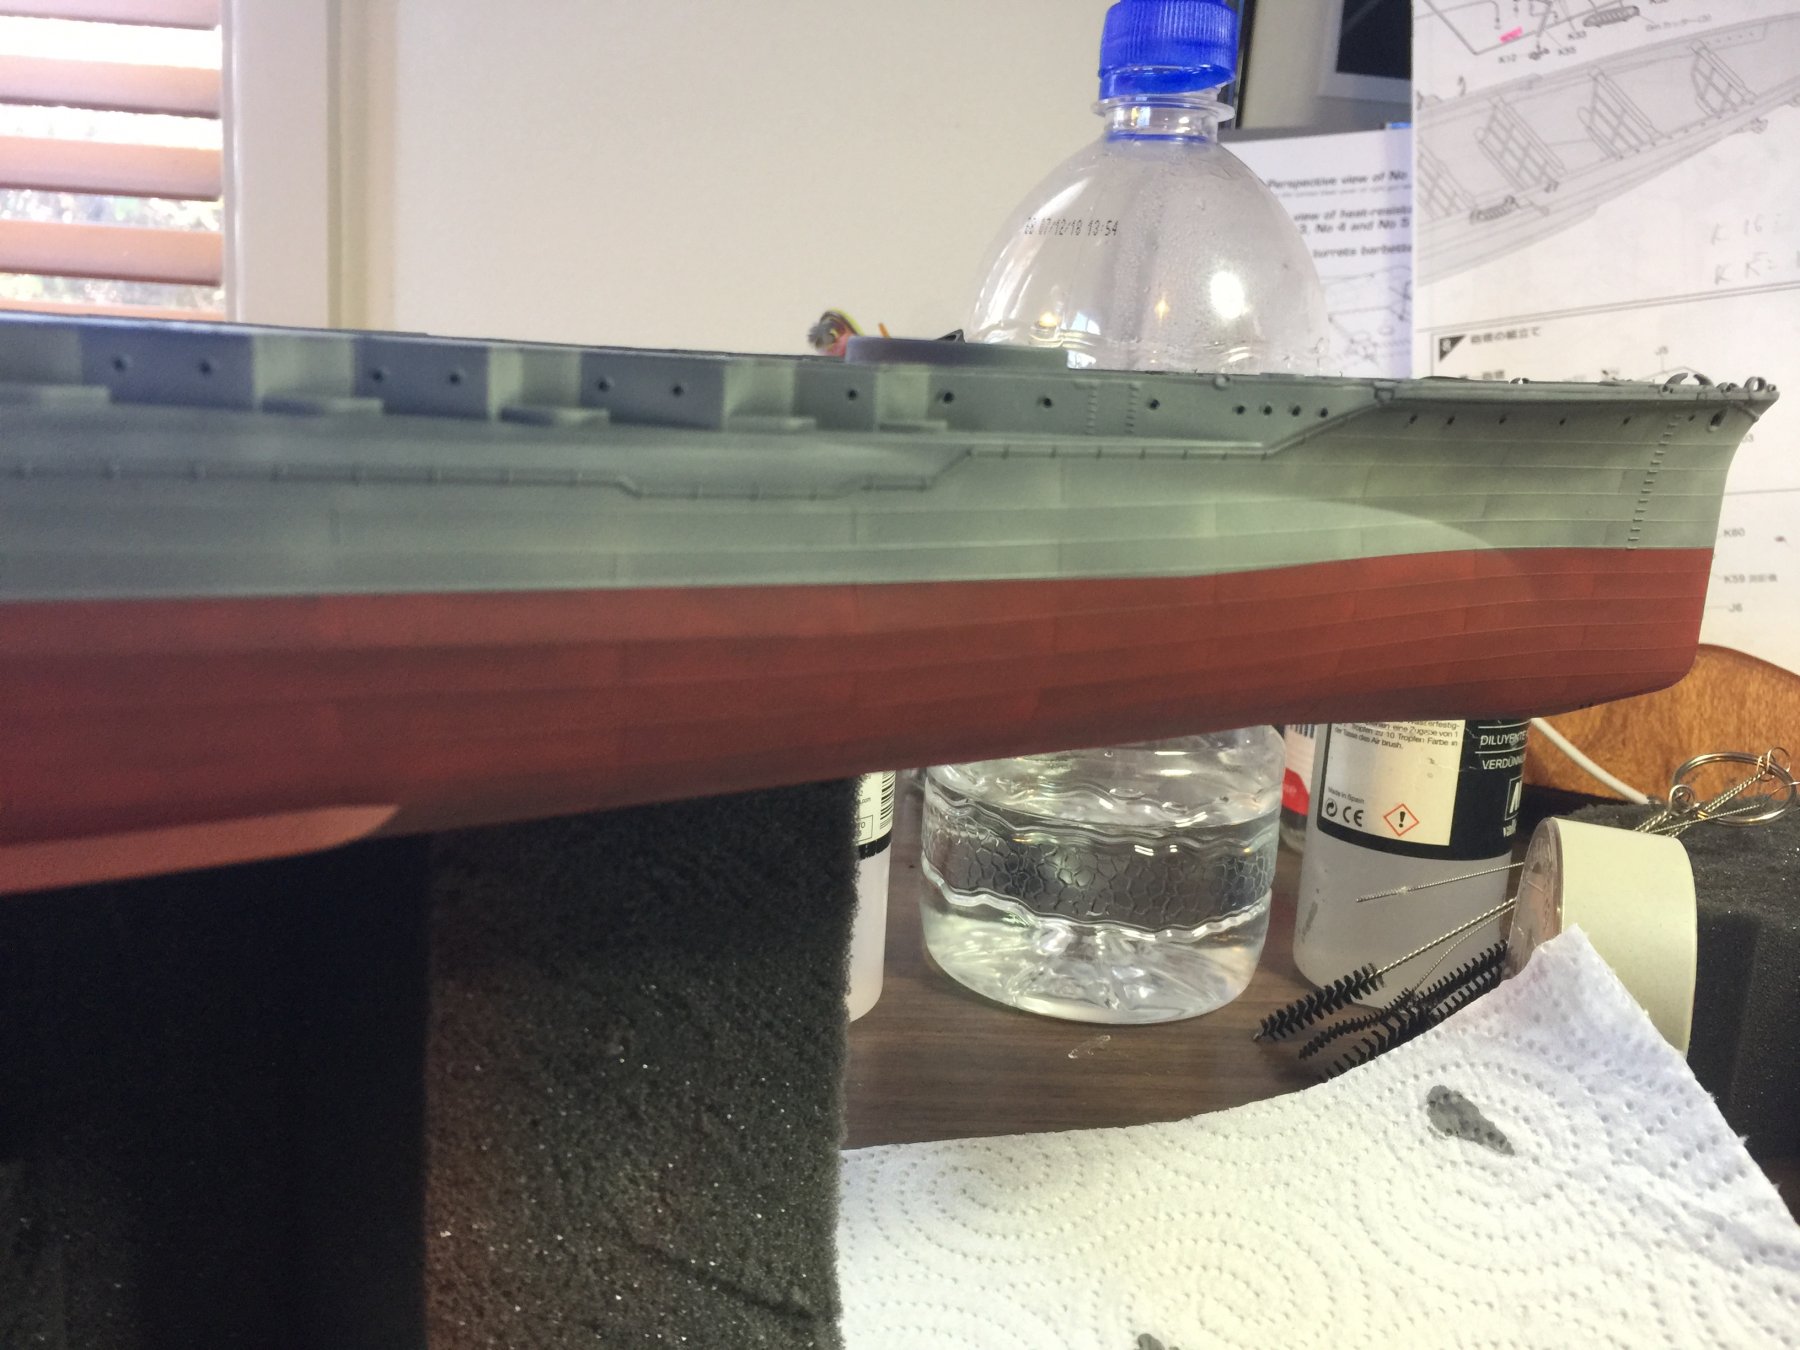
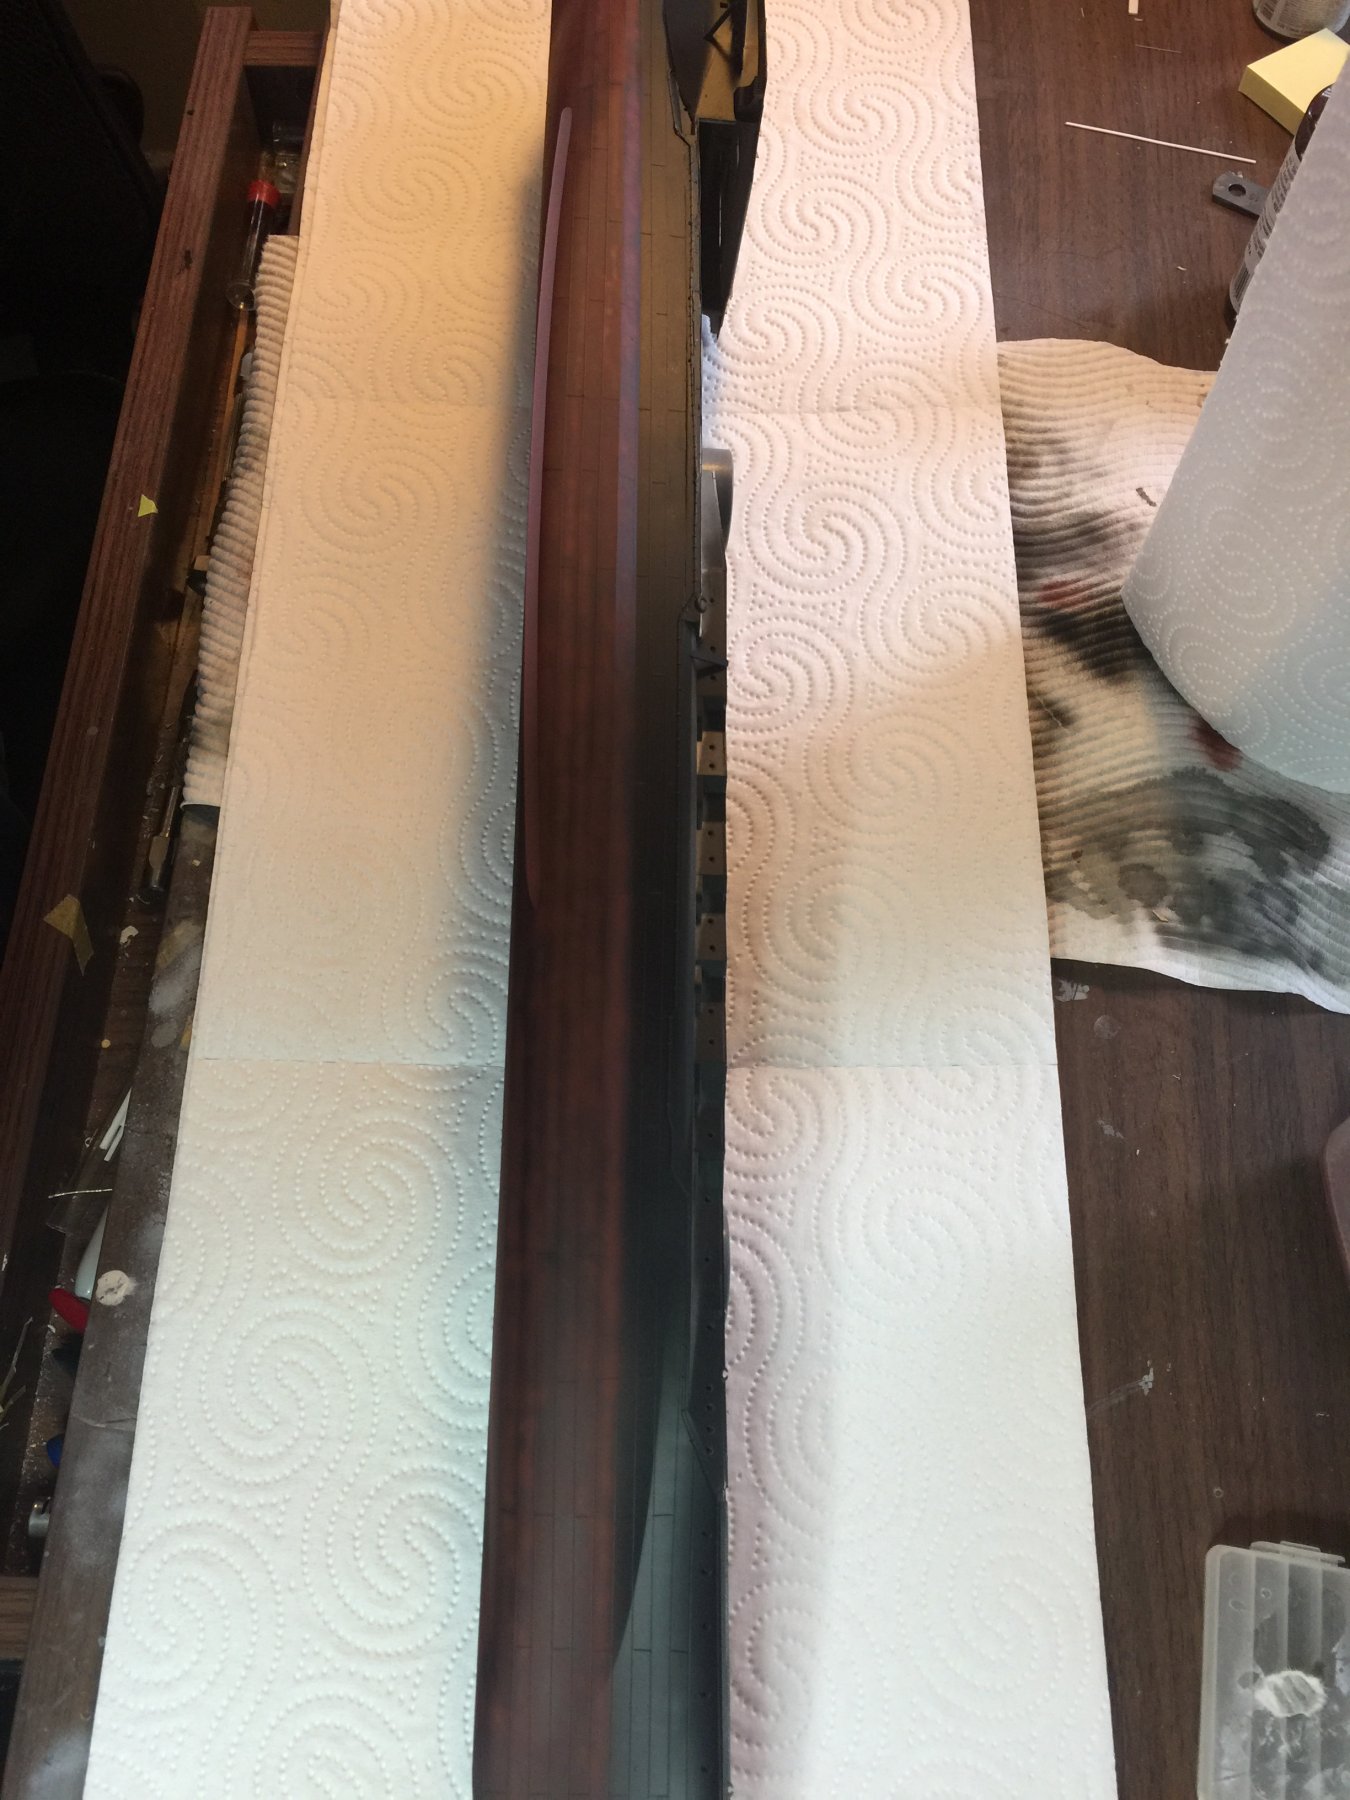
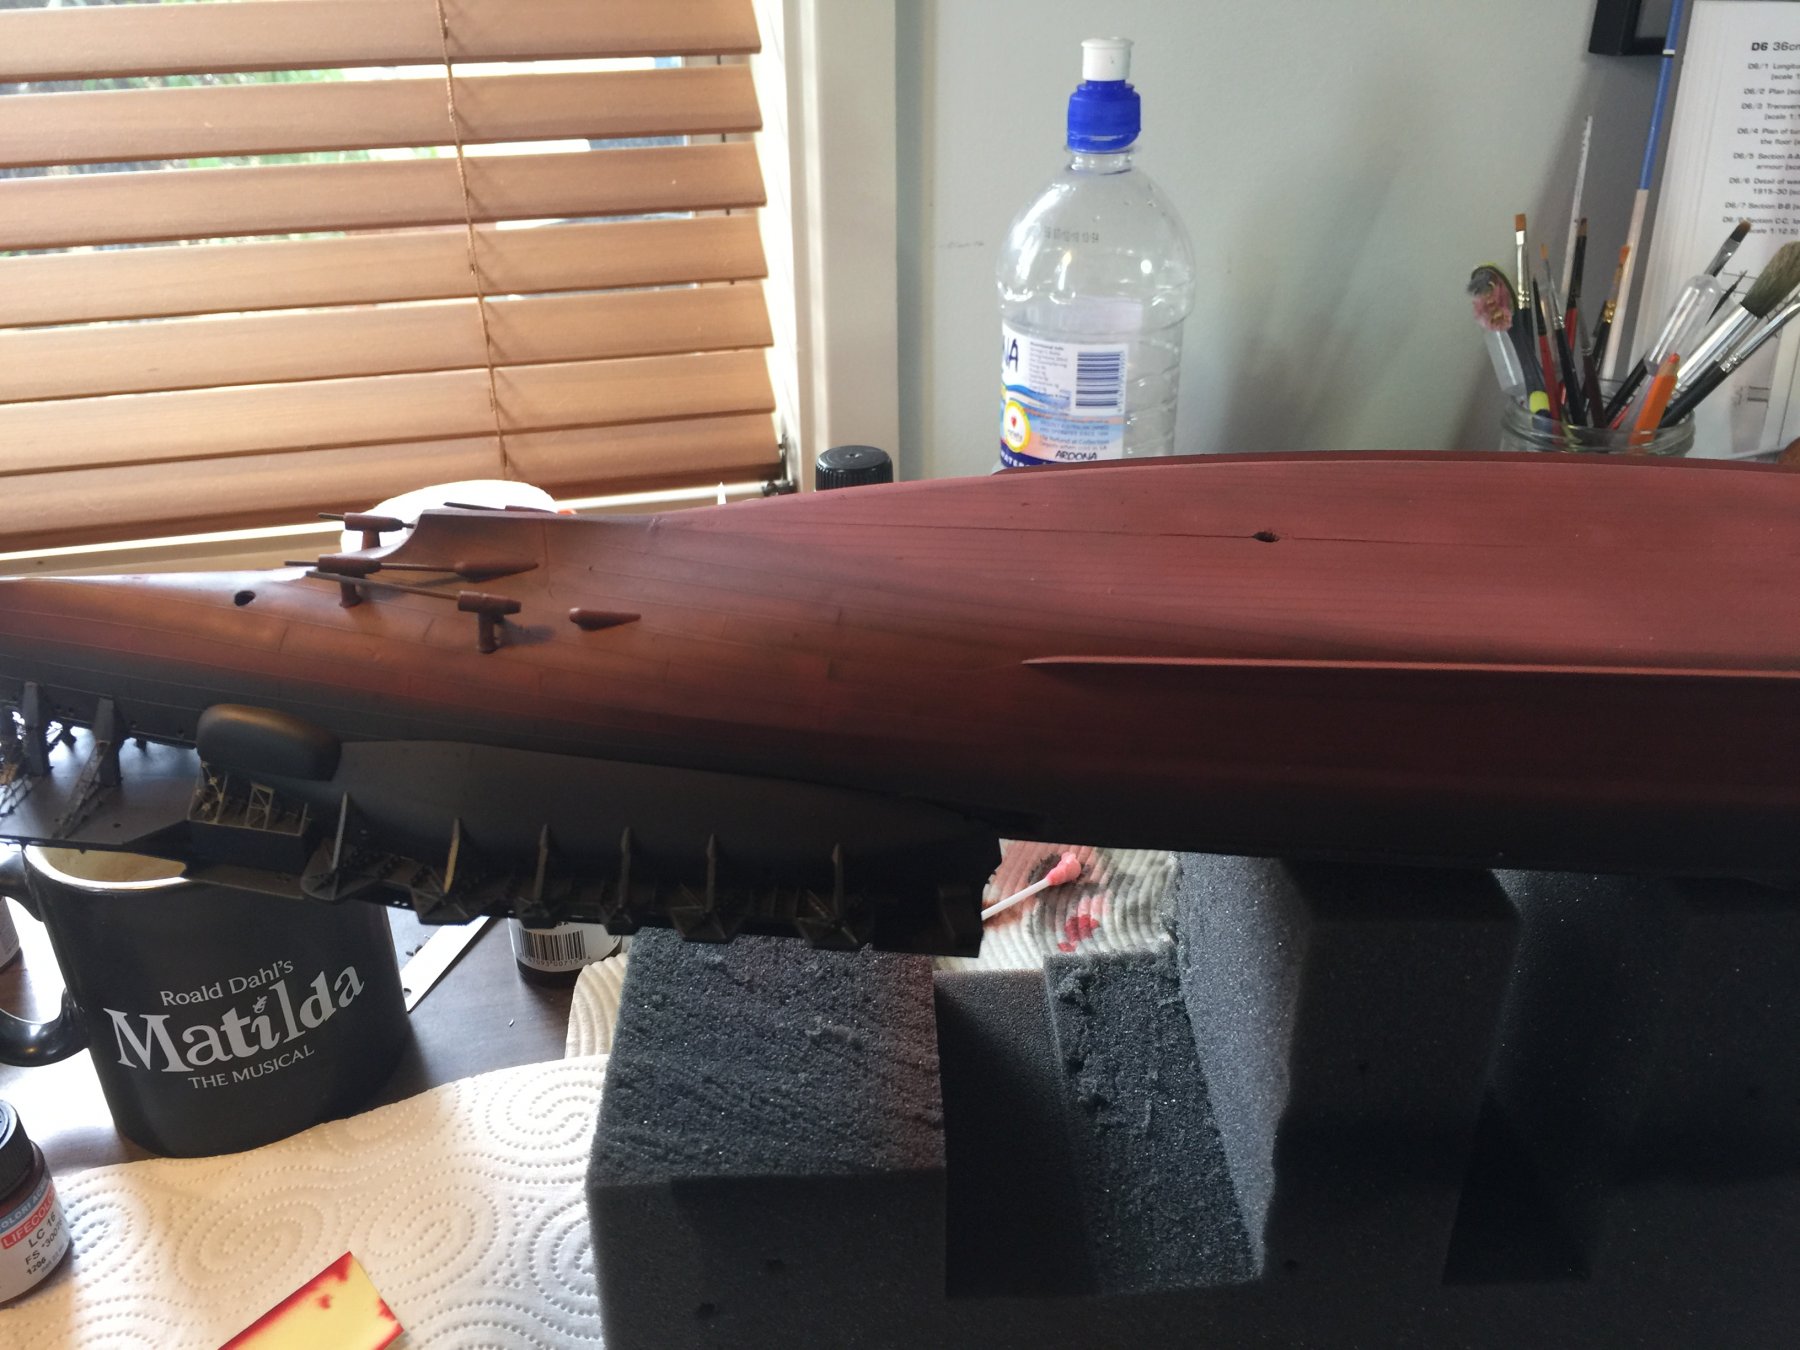
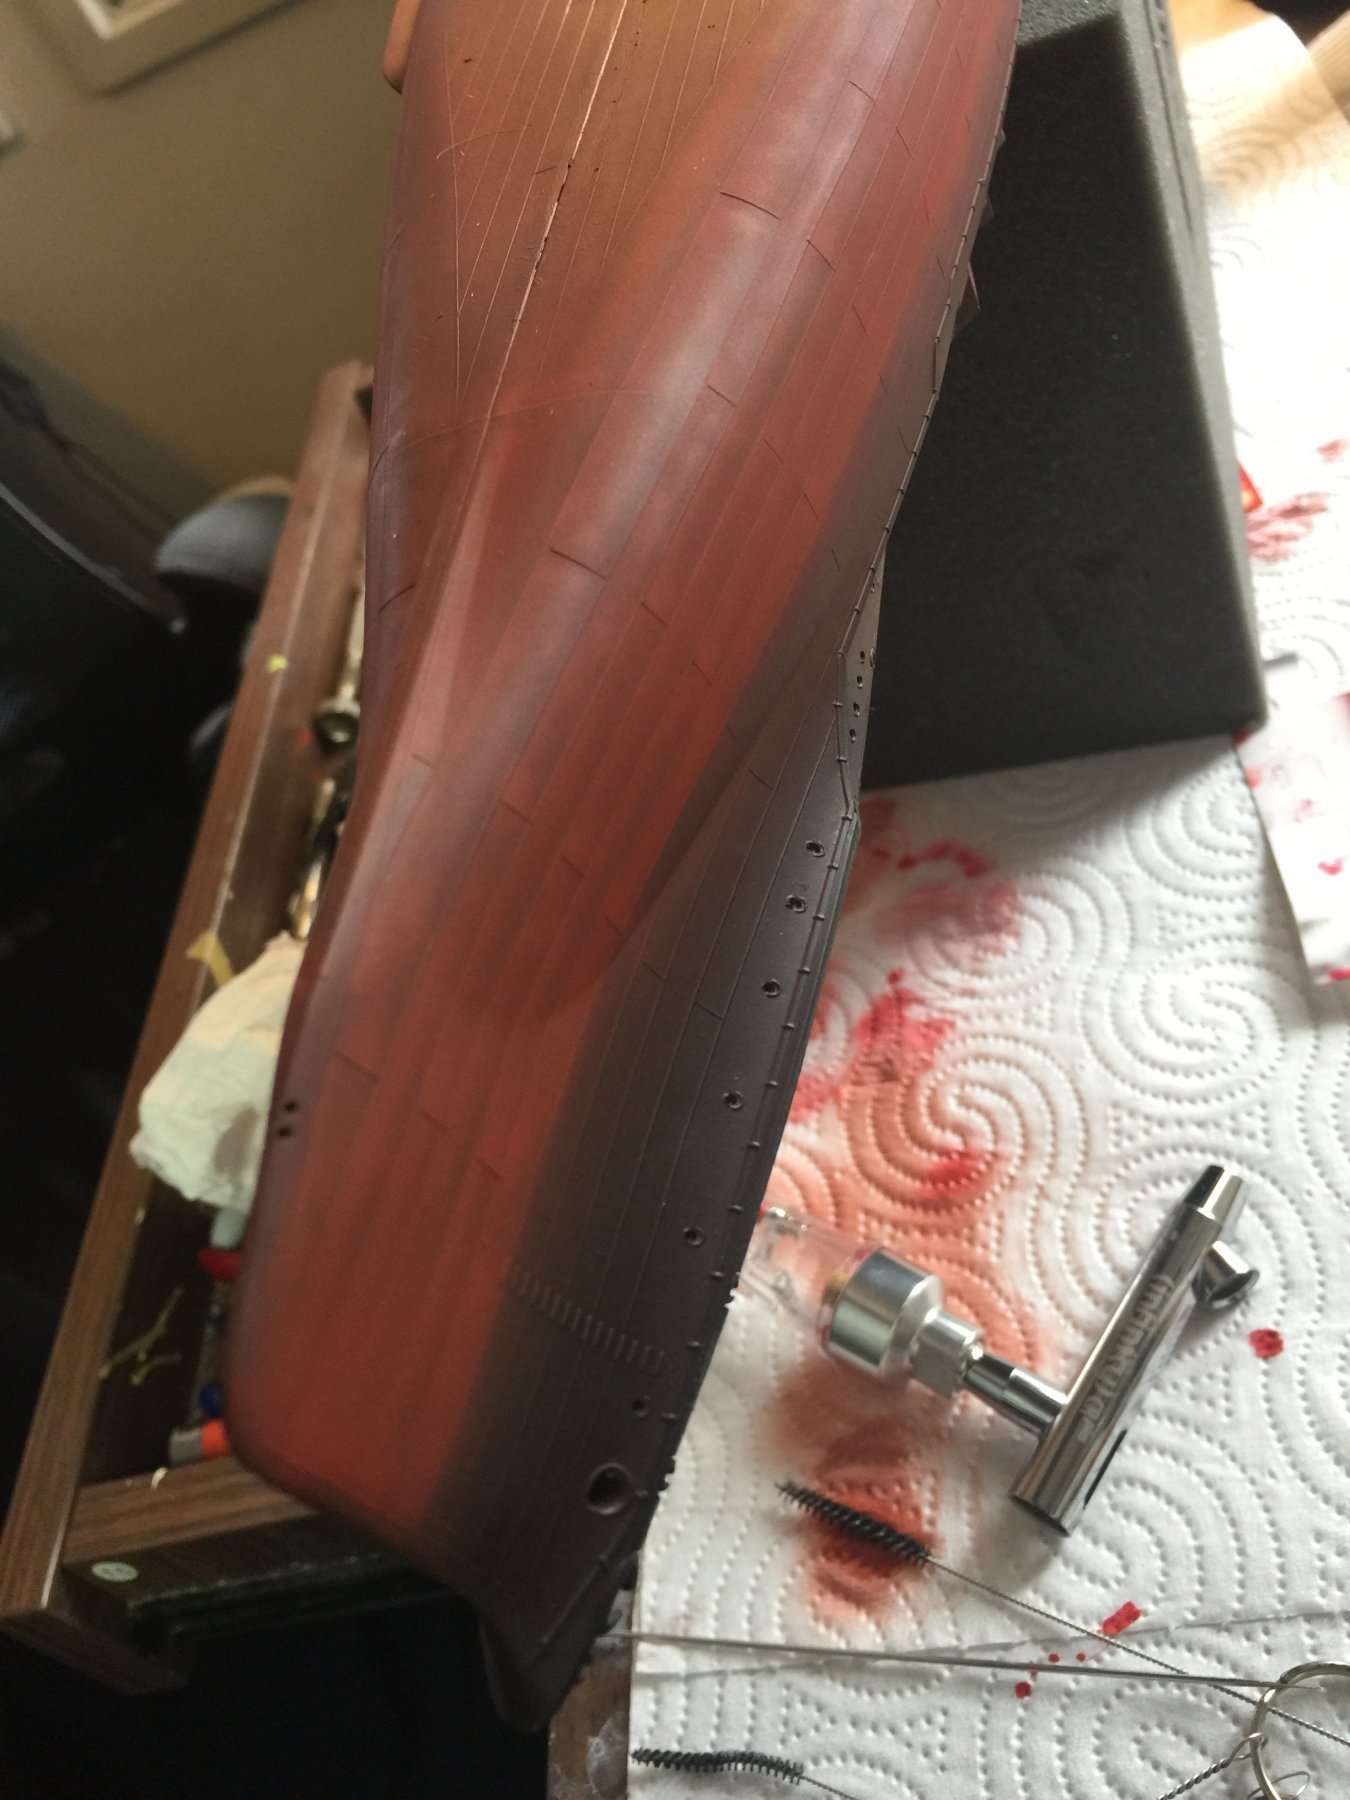
Lower hull, red brown, then red, then an overspray of raw sienna. I like the way you can see each panel, and when I grunge it it won't draw the eye so much. I'm liking a black primer as it makes it so much easier to see where I miss on a grey plastic hull.

- Kevin, Captain Slog, Dubz and 8 others
-
11
-
-
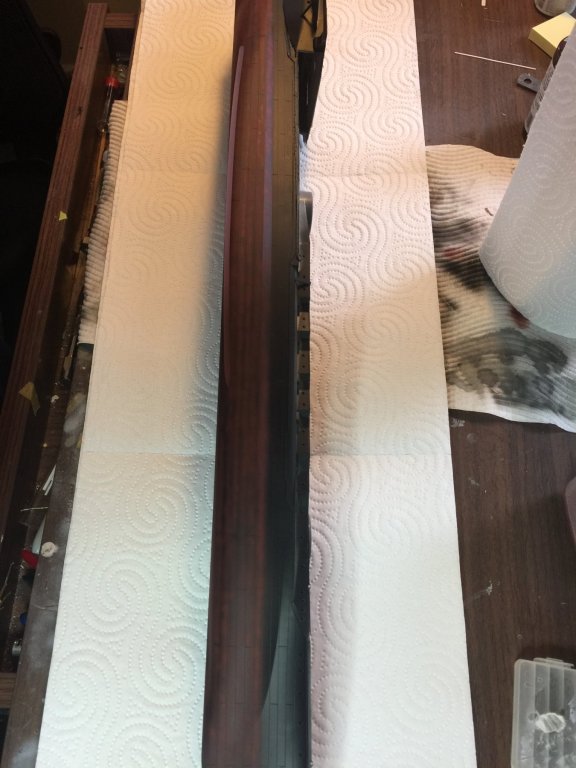
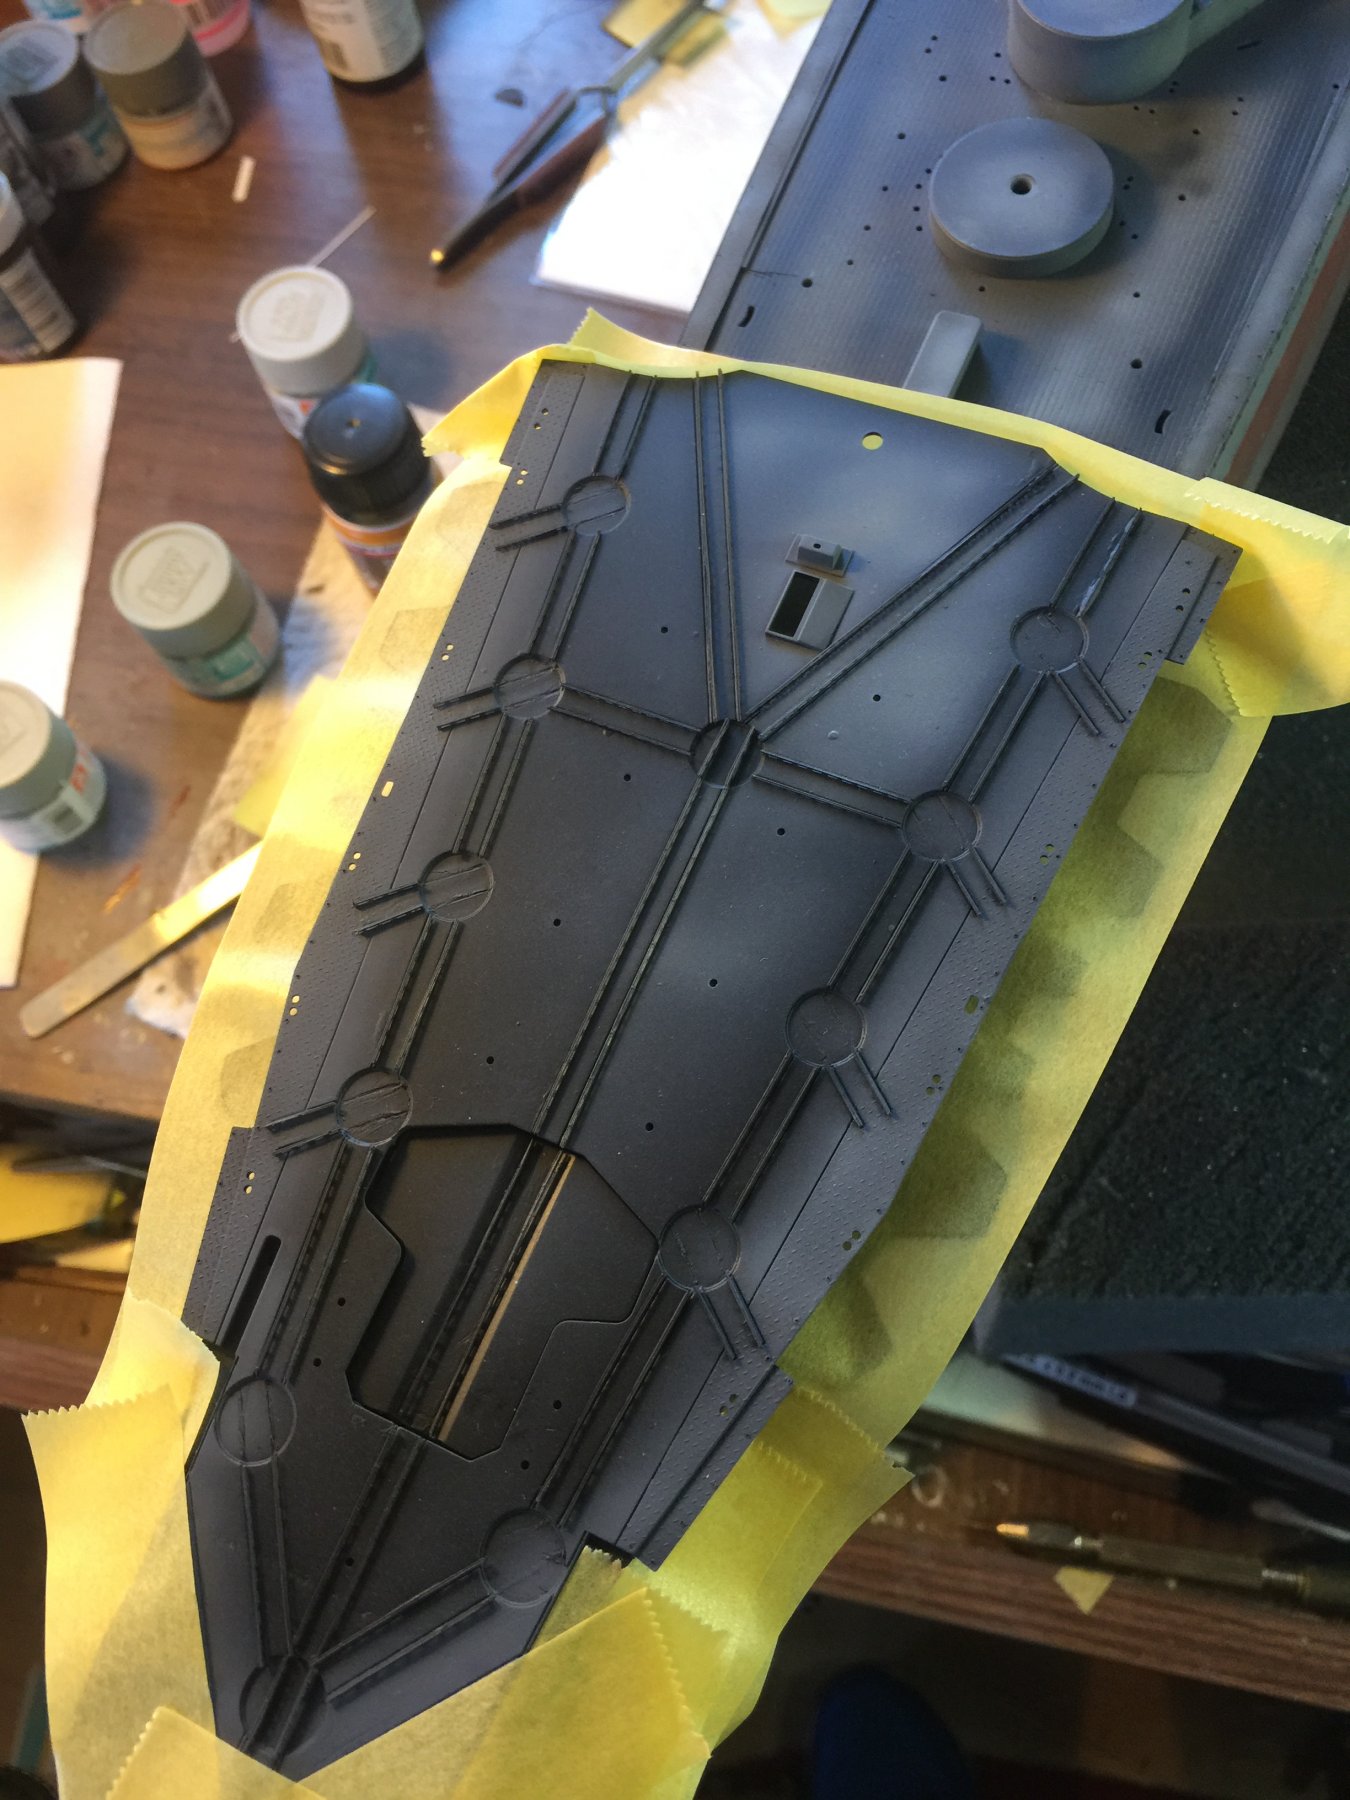
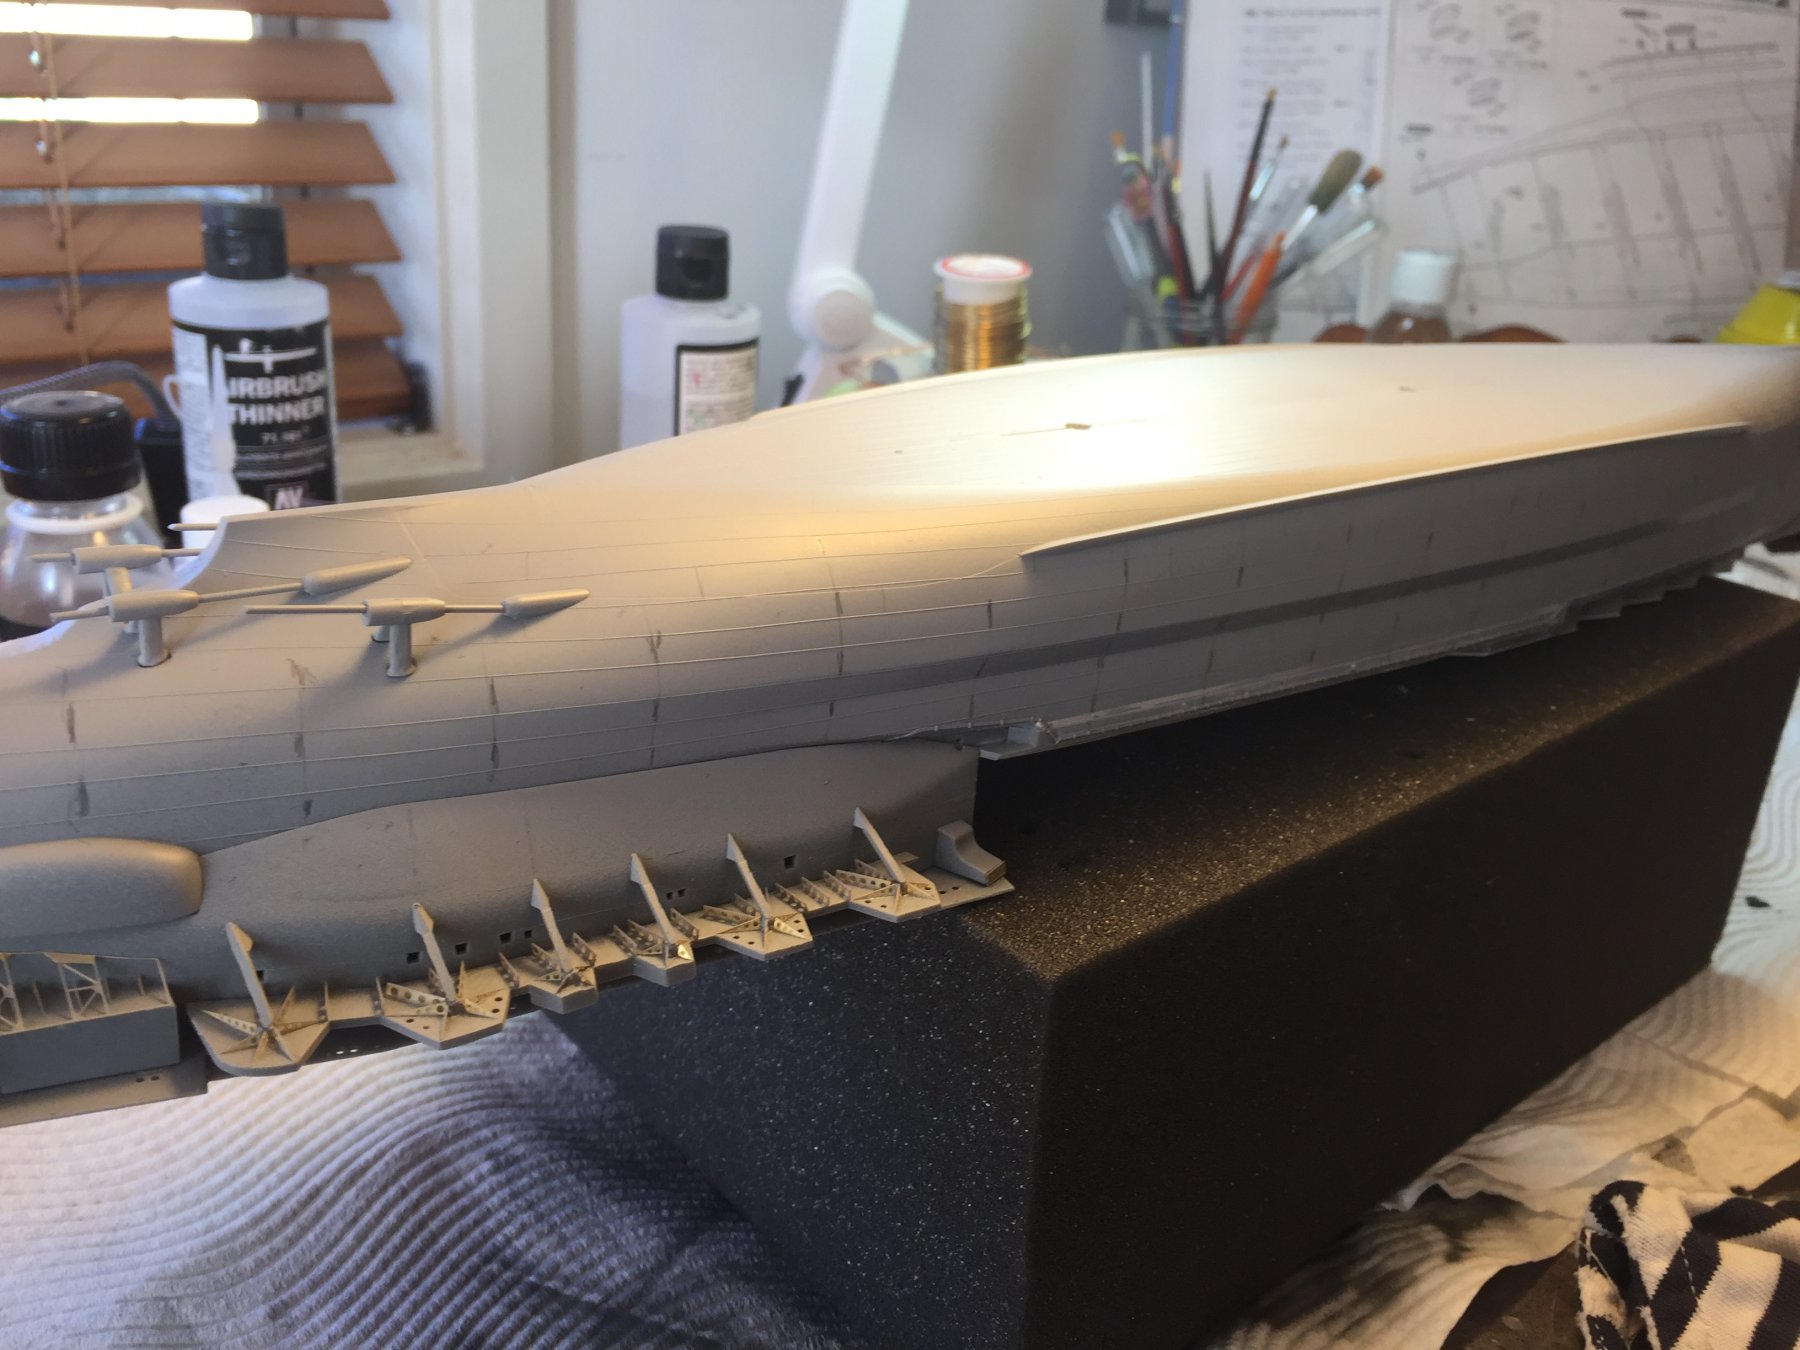
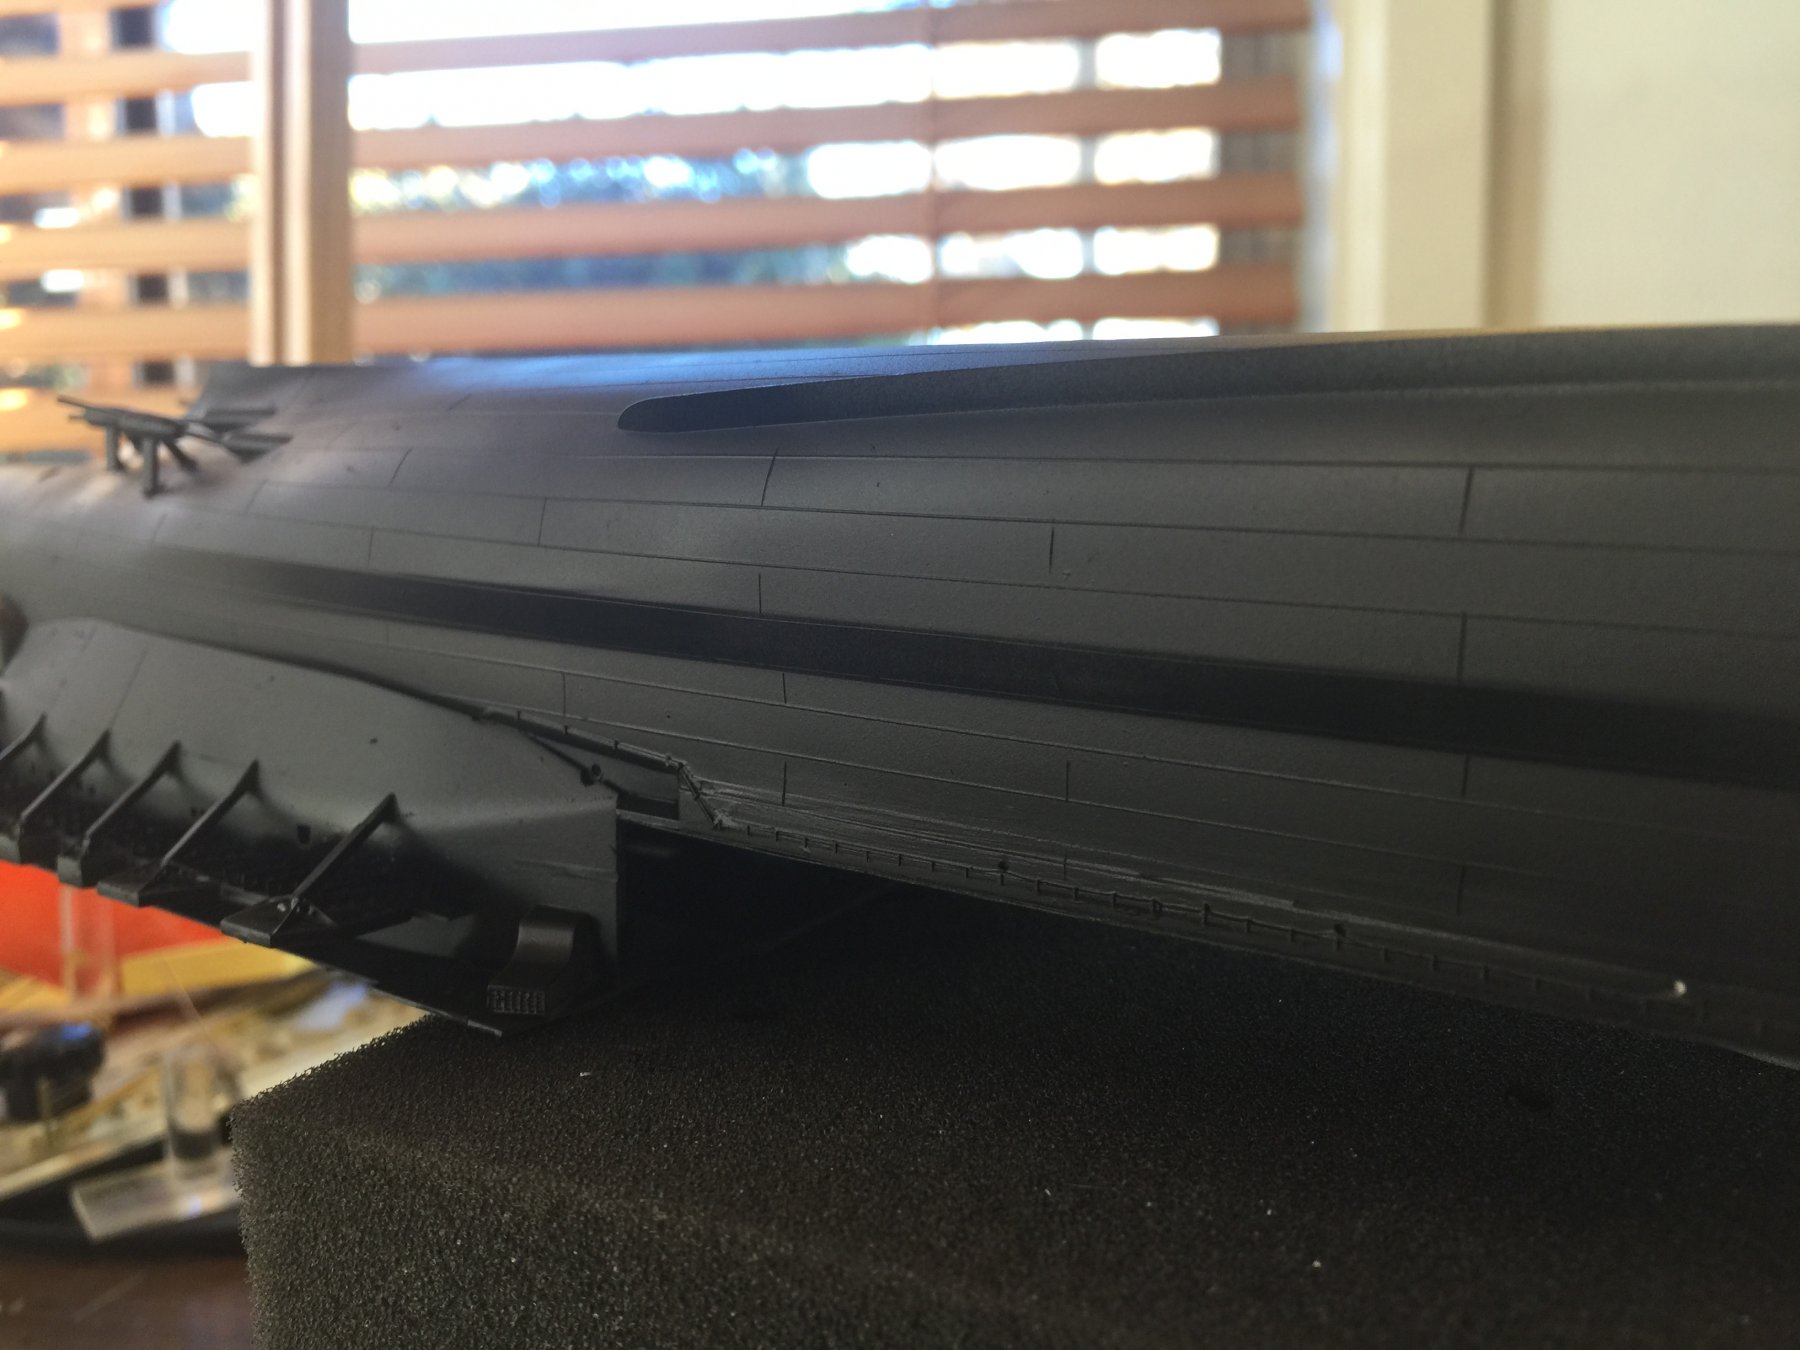
The hull has nice lines but the armour belt run continuously the length of the hull. I gave the hull 2 coats of Tamiya rattle can primer then measured up individual plates, then etched them into the primer coat with a strait razor. Then a black primer coat with the airbrush. I'll leave this coat for 24 hours now.


IJN Ise 1944 by RGL - FINISHED - Fujimi - 1/350 - PLASTIC
in - Kit build logs for subjects built from 1901 - Present Day
Posted
The Pagoda has been lightly weathered with grime, rust and salt. The lugs that go into the deck were cut off and it sits almost perfectly snug without glue. I'll weather the funnel next, then once attached I can add the crane and it's rigging. You can see from the close up there is a lot of detail to add, and I still need to add 9 25mm's, and do up the remainder of the 13.7cm guns plus one barrel which has gone god knows where.