

tlevine
-
Posts
1,944 -
Joined
-
Last visited
Content Type
Profiles
Forums
Gallery
Events
Posts posted by tlevine
-
-
-
I started building this model in the mid-80's. Like yourself, after the hull was built, I decided that the plans were problematic so the rest was scratch built. It was never finished because I realized how much I hate rigging, especially at this scale. I hope you finish yours. Why Esmeralda?
-
-
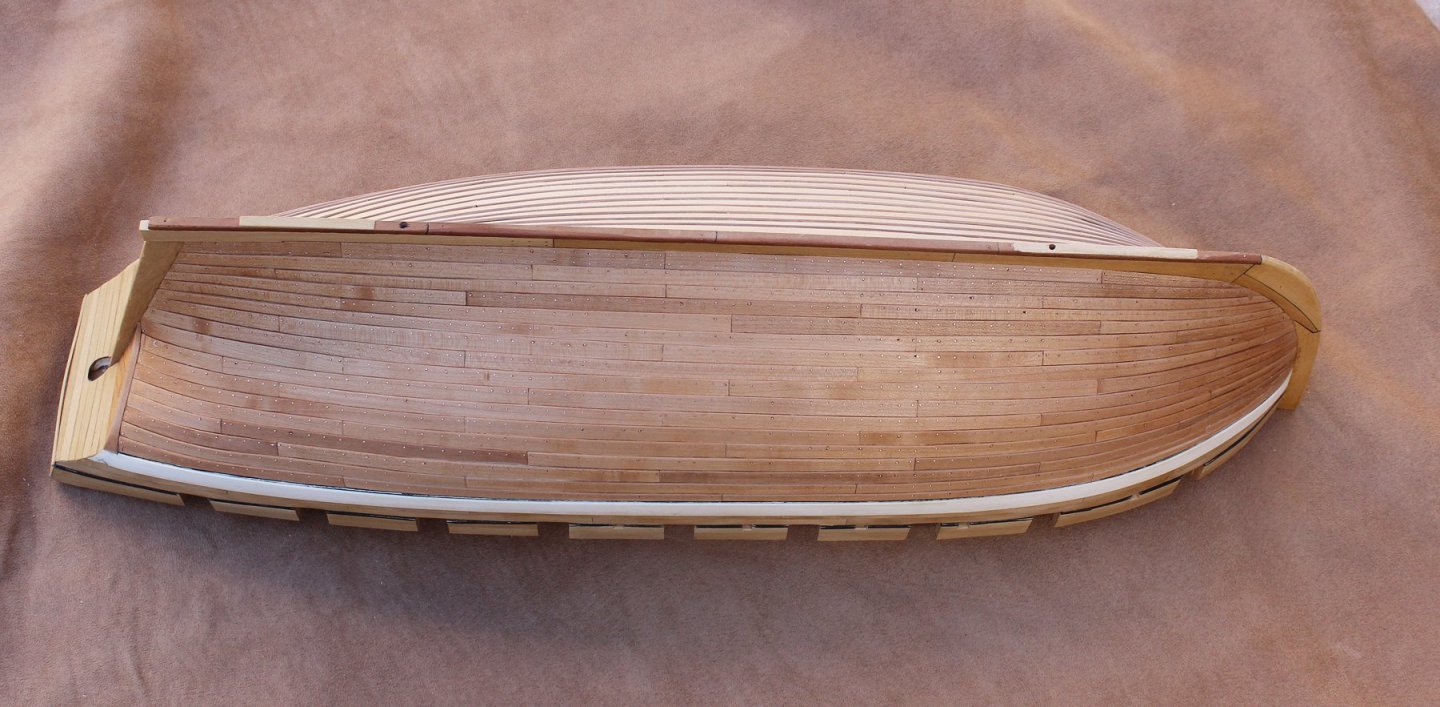
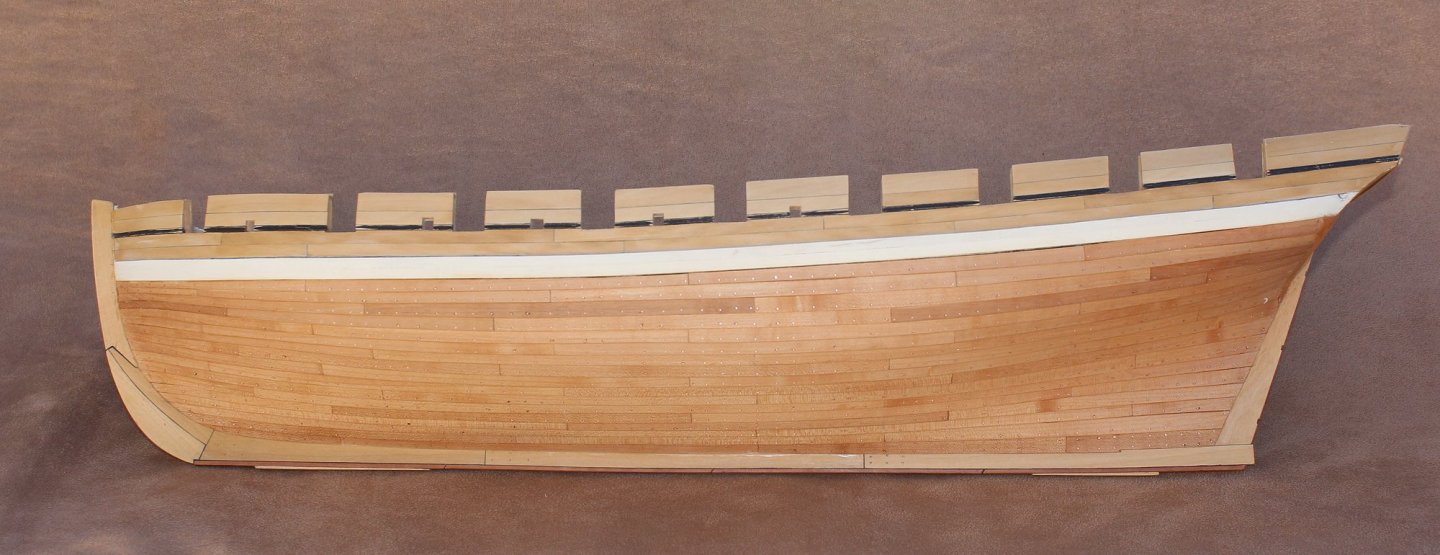
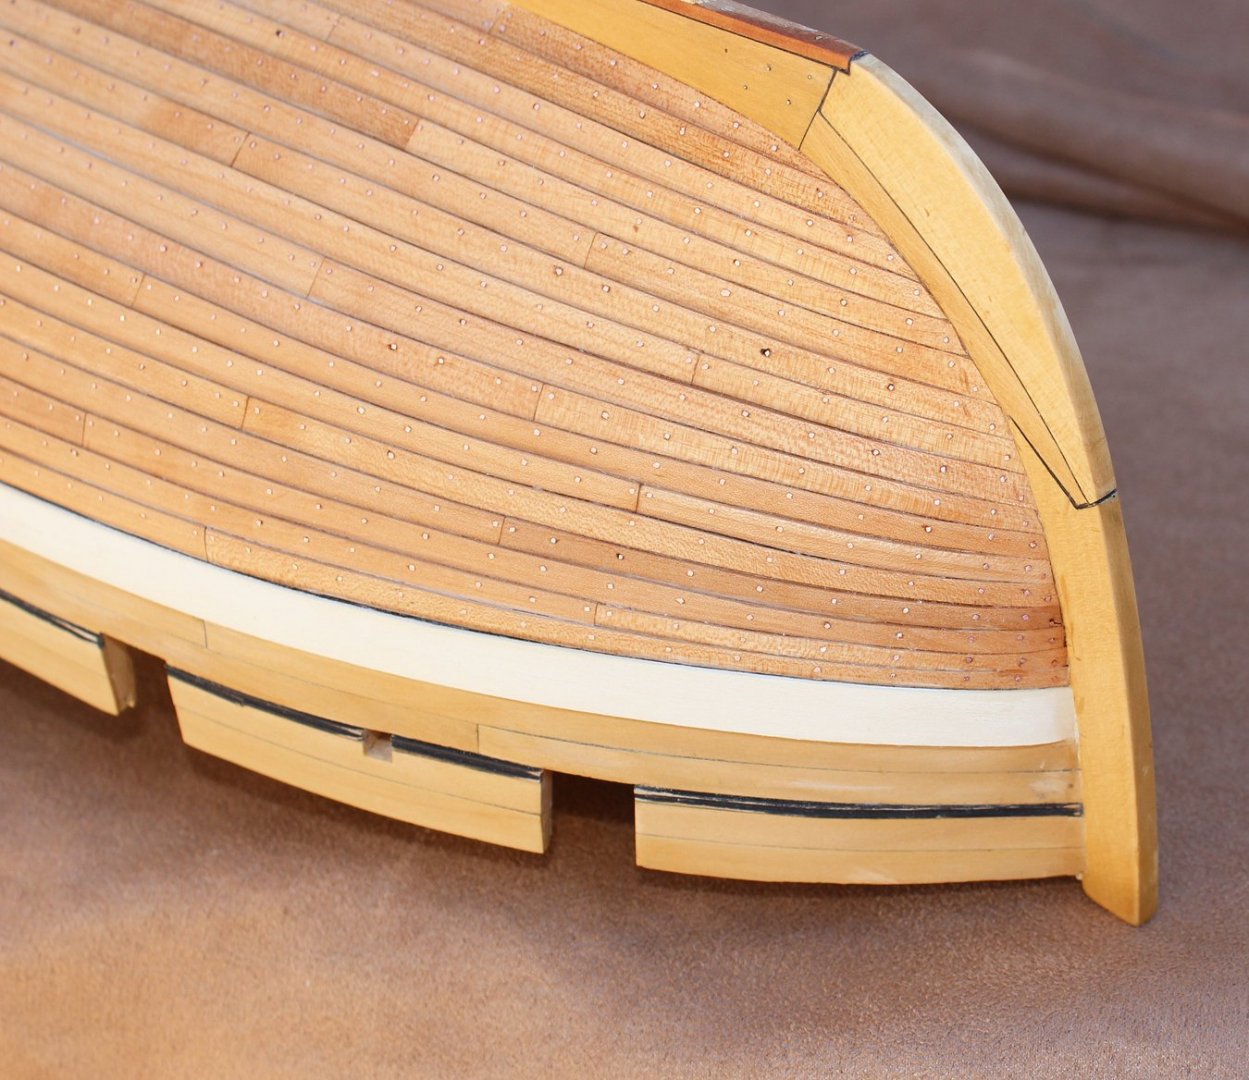
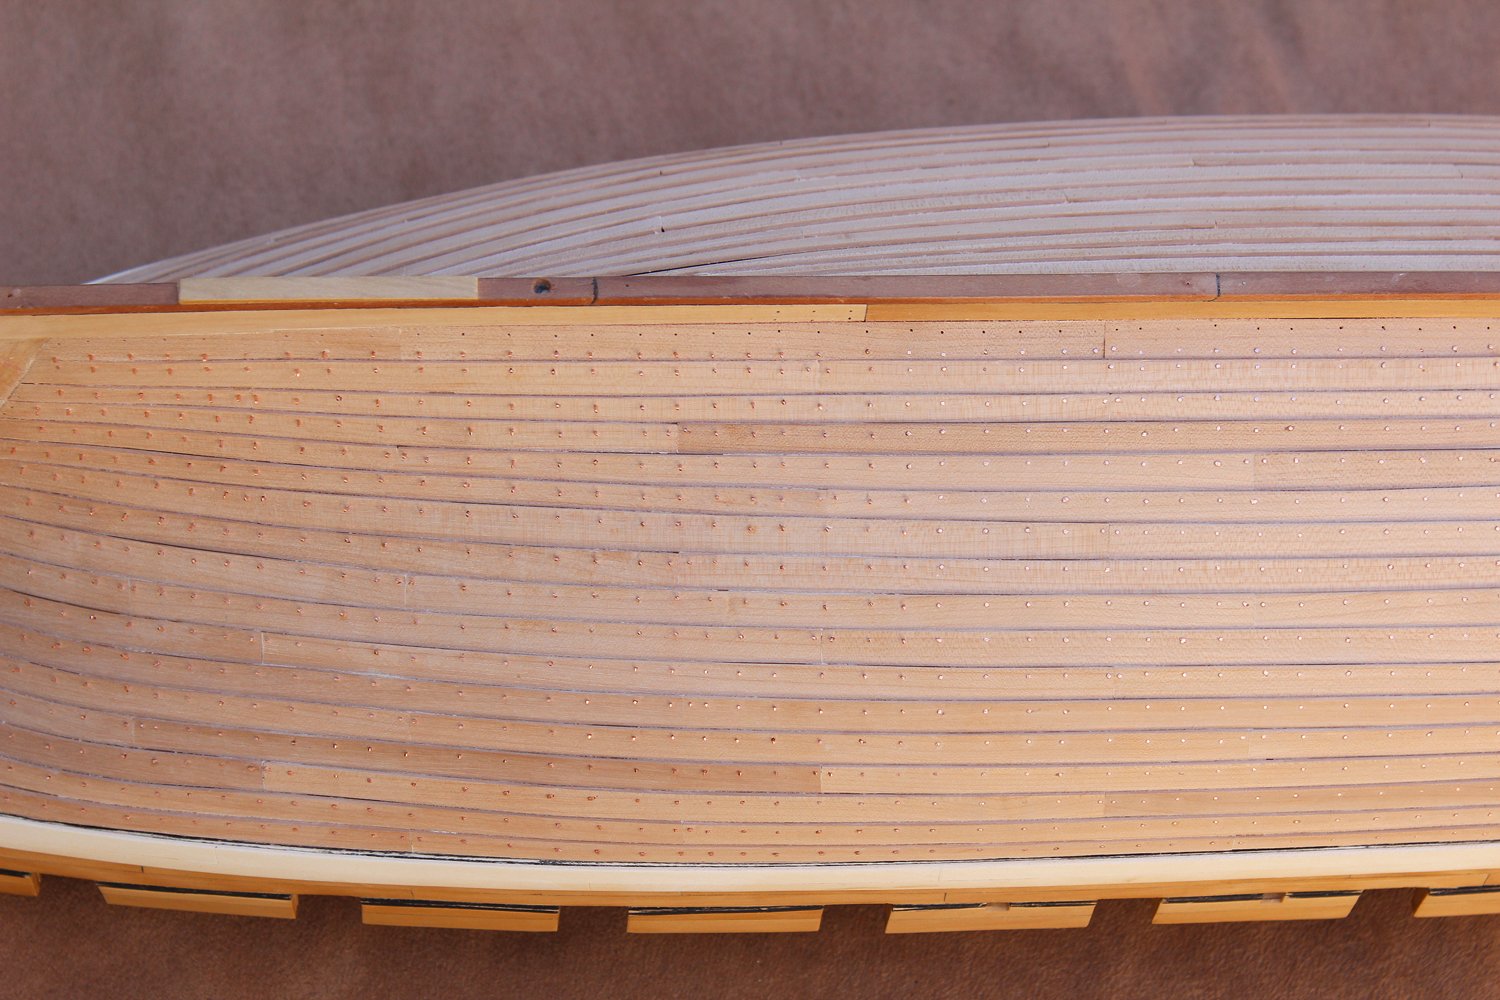
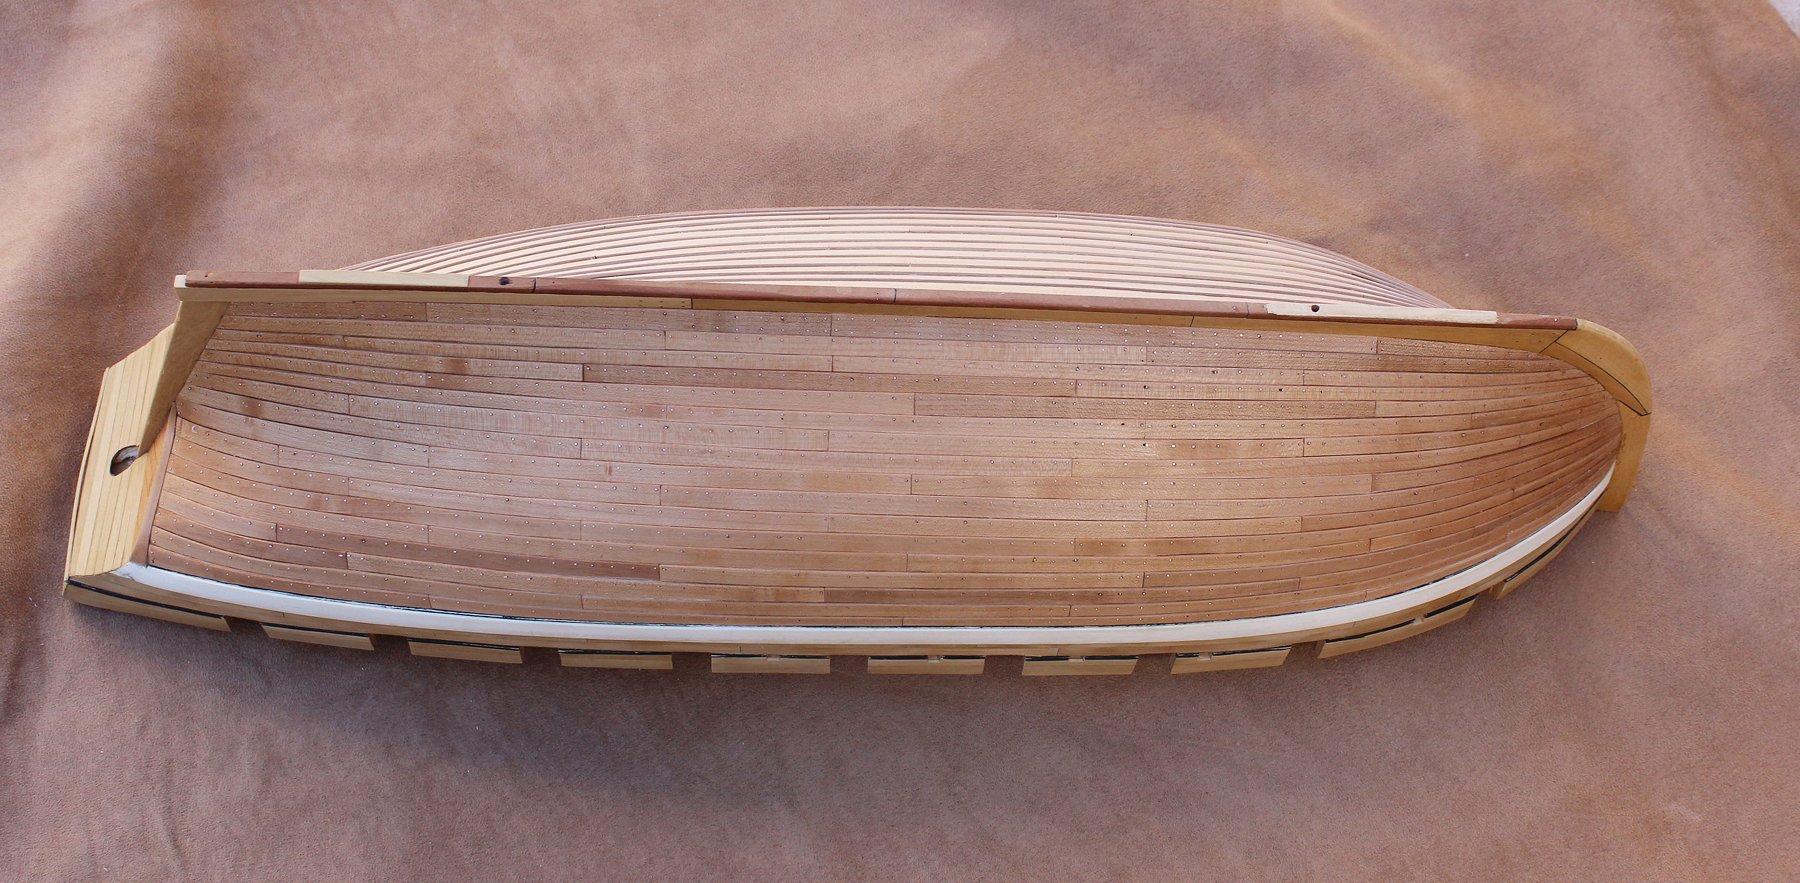
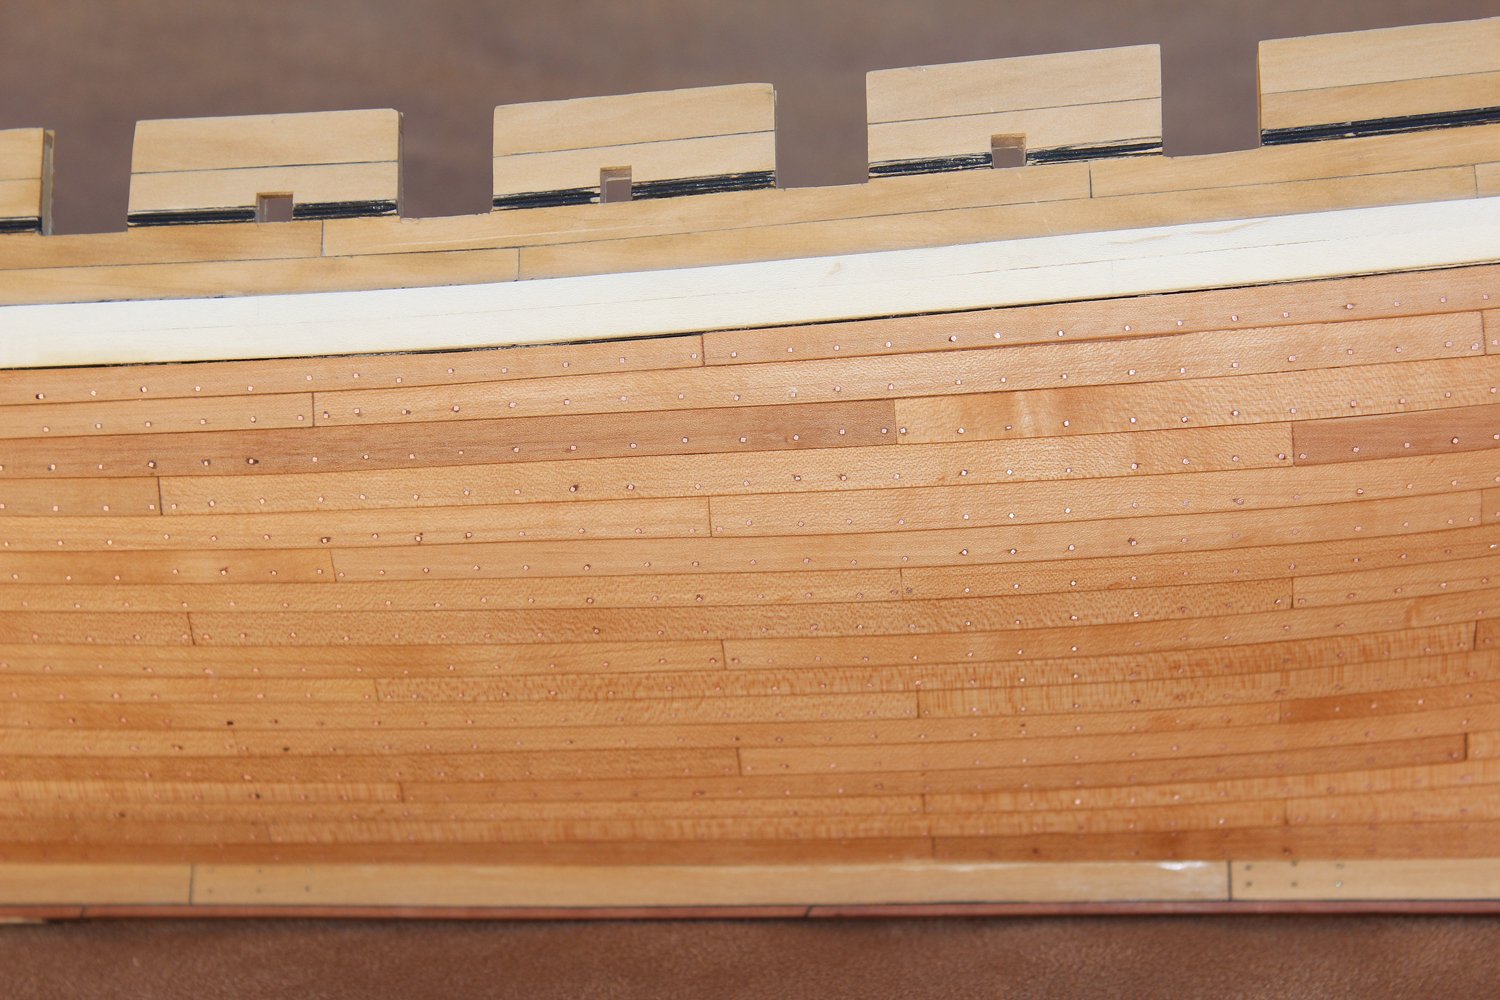
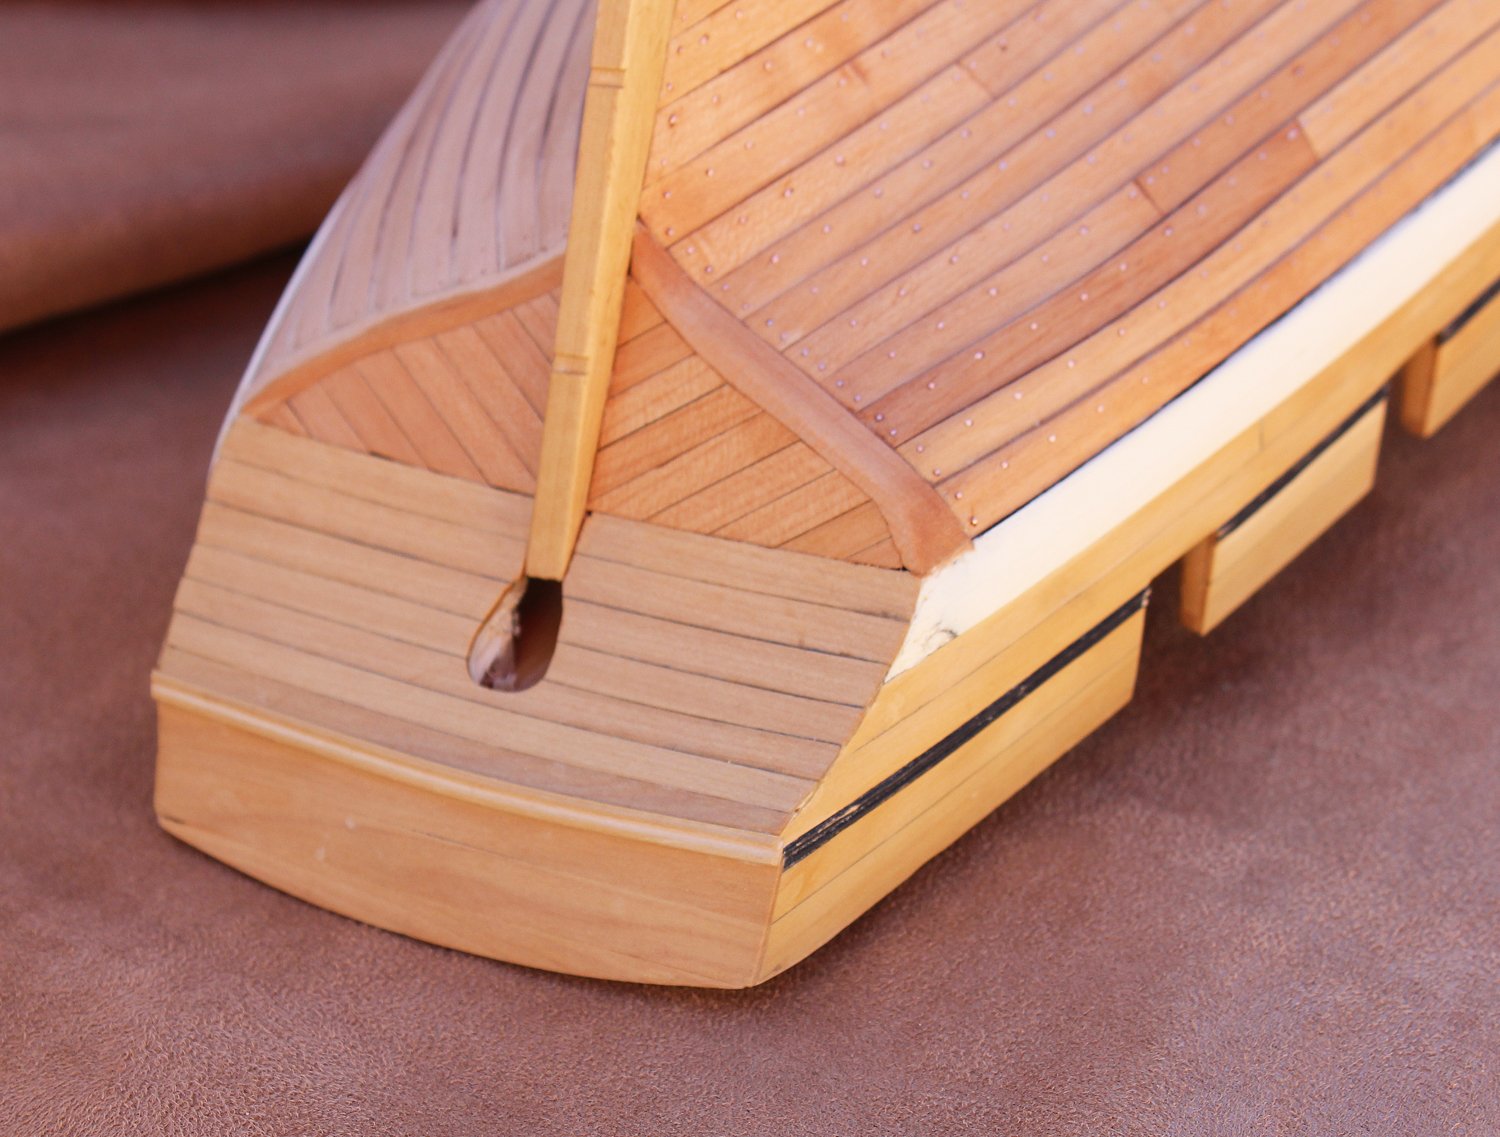
I have finally finished installing the rivets on the port side. As these would have been hand forged, I used square copper wire fit into a size 77 hole. After all the wires were inserted, the hull looked like a porcupine on a bad hair day. In the photos, I have started to flatten the heads using a flat file and rotary sanding disc on the Dremel. Once all the heads were flattened, I finished up with 400 grit sandpaper.
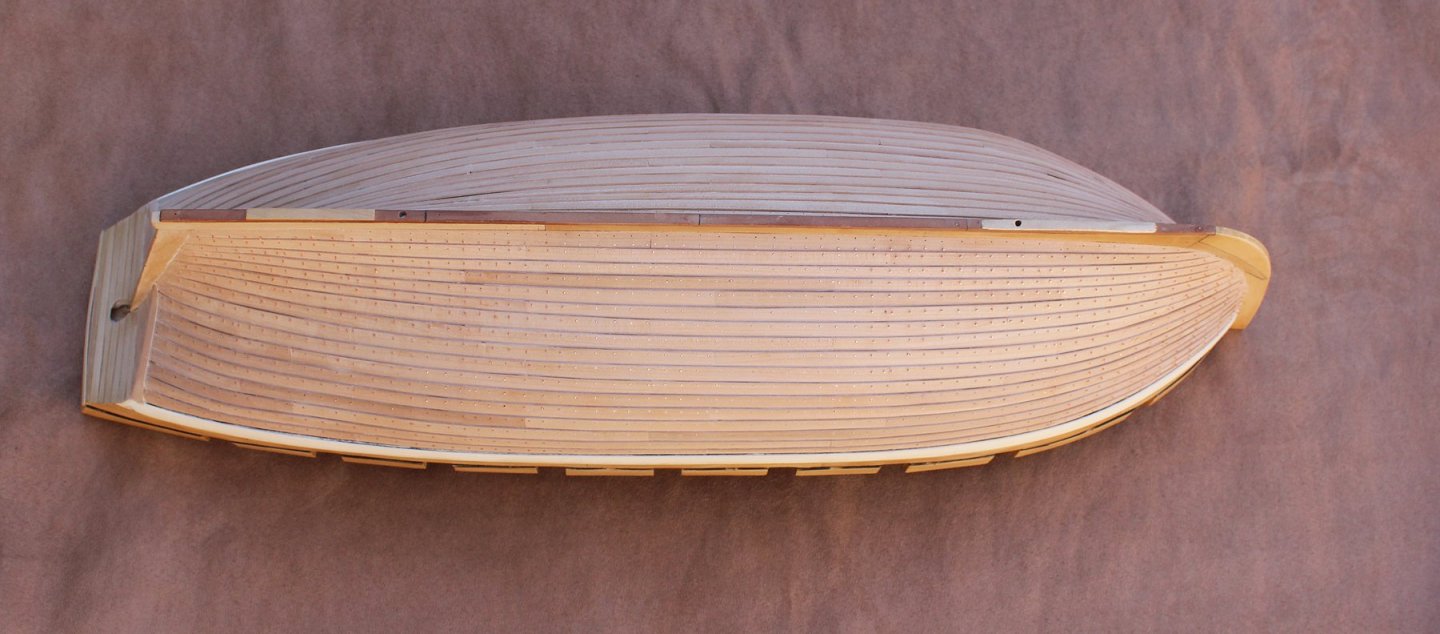

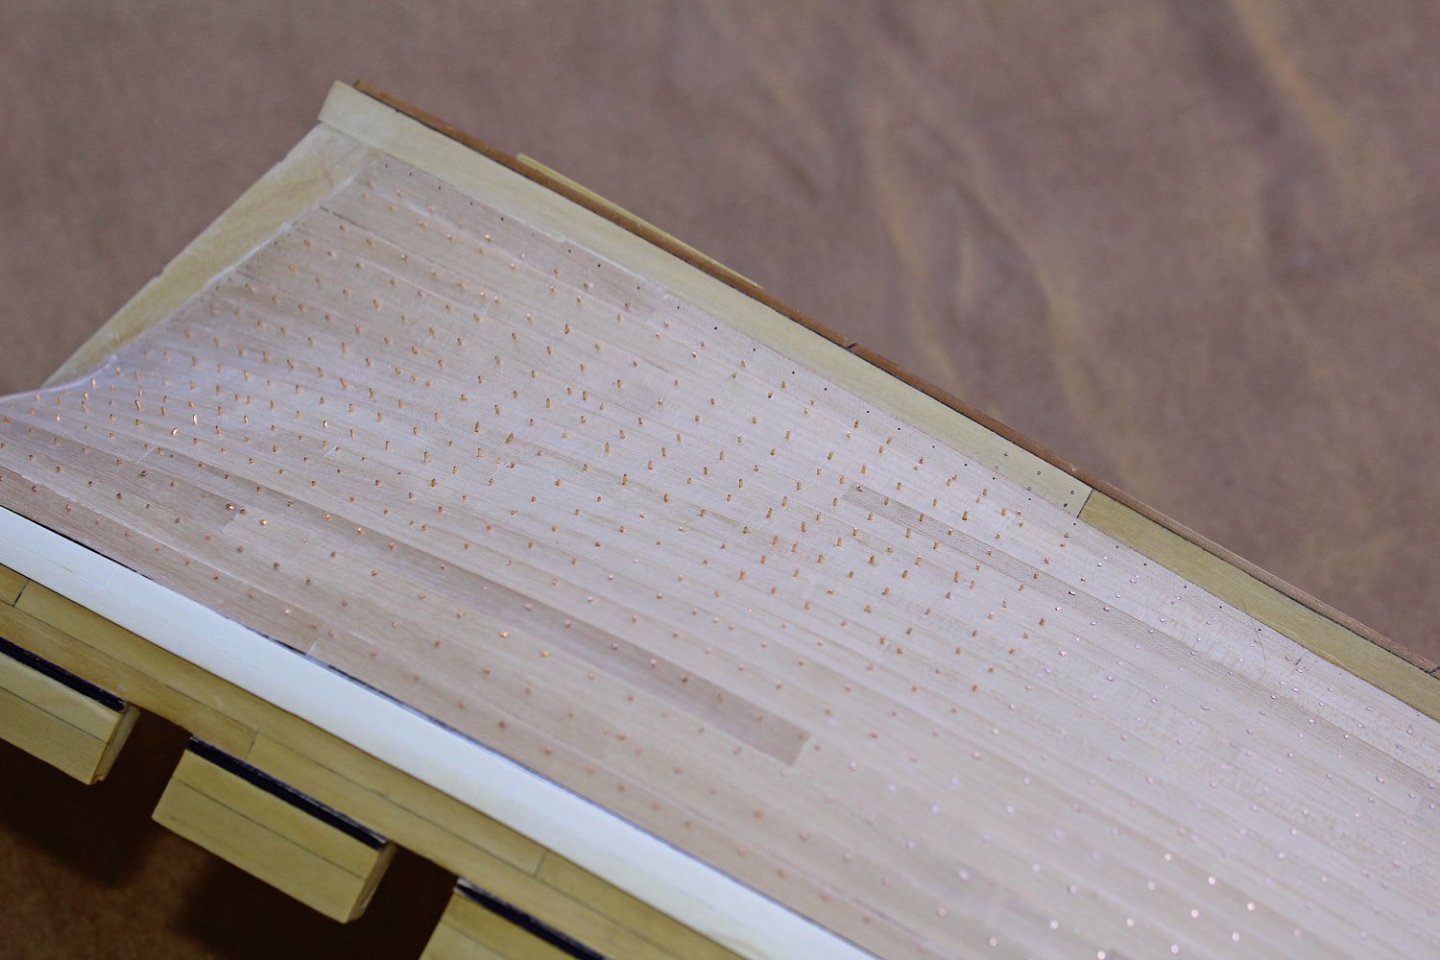
Once the sanding and filing was completed, I put a coat of Watco's on the finished side. After both sides are completed I will add a second coat and then paint the wale. Over time, as the pear darkens, there will be more of a contrast between the castello above the wale and the hull below.


- Blackreed, Ainars Apalais, JeffT and 31 others
-
 34
34
-
Bite your tongue, JD. Maybe next time. 🤔
- michael mott, druxey and mtaylor
-
3
-
Oh, we are all a little nuts.
-
It is wonderful hearing from you. Sorry to hear of your real life problems. Wishing you the best in 2021. Hopefully you will be able to resume Kingfisher soon.
- Ryland Craze, druxey, mtaylor and 1 other
-
4
-
-
It isn't the first time and it certainly won't be the last! 😁
Seriously, Stephen, I am more than happy to answer any questions about the half-hull kit. Let me also encourage you to join the Guild. The quarterly Journal is a good source of modeling information as well as maritime history. And as Ryland says, members receive a discount on all the products in the store. But the Guild is much more than that. It is an organization comprised of like-minded individuals who want to promote and enhance our hobby of model ship building.
-
-
-
-
Might I suggest various diameter sauce pans instead of the rolling pin. It is much easier to secure the plank to the rim of the sauce pan with clamps or bull-dog clips than to a solid surface, such as the rolling pin. This works well for me. 1. Secure the end of the plank to the rim of the sauce pan. 2. Put a few inches of water into the pan and put the pan on low heat (this will warm the plank without much risk of getting burnt). 3. Gently bend the plank around the pan with one hand while using a hair dryer in the other hand to supply more heat and airflow. 4. Overbend the plank to compensate for springback. 5 Once you are happy with the curve, clamp the other end of the plank to the pan, turn off the heat and come back when it is completely cool.
Whenever you are trying to bend a strip of wood, test bend it first to see which direction it is "happier" bending. Otherwise, you will end up with a lot of splintered wood.
- Ryland Craze, Canute, Justin P. and 3 others
-
6
-
Your water stain is probably a glue stain. If so, it has most likely soaked into the wood. Why do you heat the plank after gluing? Is it possible to remove that plank without damaging the surrounding planks? If you used white or yellow glue, isopropyl alcohol will dissolve the glue securing the planks to allow you to remove and replace them.
-
-
-
-
-
-
-
That was really bad, druxey. I guess that I should not have relied on just one source. I have not found any other sources that confirm Goodwin's approach. Thank you, Dan for bringing this to my attention. In a way this is a blessing. Those little copper circles are a pain to install. I just hope I can remove them (and the adhesive) without causing any damge. To say that I am not in the mood to replank the upper four rows would be an understatement.
-
-
-


Professional Building Slip - Hobbyzone
in REVIEWS: Model Shipwrighting Tools, Parts and fittings
Posted
Why not make your own? In my opinion, the markings on the vertical support and base are too broad and too far apart to give more than "eyeball" accuracy anyway.