HOLIDAY DONATION DRIVE - SUPPORT MSW - DO YOUR PART TO KEEP THIS GREAT FORUM GOING! (78 donations so far out of 49,000 members - C'mon guys!)
×


garyshipwright
-
Posts
927 -
Joined
-
Last visited
Content Type
Profiles
Forums
Gallery
Events
Everything posted by garyshipwright
-
 Hi No Idea. I believe that the small blocks are to help keep the gammoning cable from sliding down on the bowsprit. Believe that the small blocks are called the gammoning cleat's. Gary
- 589 replies
-
- 6
-

-

-
- le gros ventre
- cargo
- (and 1 more)
-
Rest In peace Bob and our prayer's are with you. May your sail's always be full, and we will miss you very much. Gary
-
Looking good Ken. Keep up the good work. Gary
-
Hi Steve. Outstanding job on the carving which help's bring you Victory to life. Thanks again for the info on your base. Help's me a lot. Gary
-
Hi Kevin. Getting your shop complete does take awhile, believe mine took me a few years longer but I seam to have every thing I need, for my ship yard. Your set up of the foredom look's good and was wondering if you were going to add a small vise on the top of the table. You have one heck of a work shop so can you give us a 360 degree view of you shop? Am always interested in other's work shop's and give me ideal's to add to my own shop. Are you planning adding the drill table. Just wondering and have enjoy your video's very much. Gary
-
Hi Steve. I knew Victory was floated in a drydock at Chatham because usually 1st and 2nd rates was built in drydocks and was a little to big to be launched like a 3rd rate in a slip. I was just wonder how big was your base. Thank you for the info. Gary
-
Thanks Jack. These small tool's might take me a bit to get used to due to most of mine being on the large size. I do have a very small plane made by stanley which I use all the time and is kept quite sharp. Help's make quick work of trimming plank's. Gary
-
Hi Jack. Since you have all of their tools do you also have there Miniature Bench Vise? If so have you built a small wood working bench and mounted it? Just wanted to see how and on what you using your tool's on. Working on making a miniature work surface so it can be clamped to my work bench. Thank you Gary
-
Well mine is on order and probably have to wait for Christmas before I get to use them O well at least their on the way.
-
Hi Steve. I have to agree with every one, she is a beautiful model and one to be proud of. Just a question good sir but how long and wide is you dock? Am wanting to build one for my Alfred but has a slip with the wall's like the Bellona has she is being built in. A little on the hard side to find measurement on them and maybe other's will have information on them as well. Gary
-
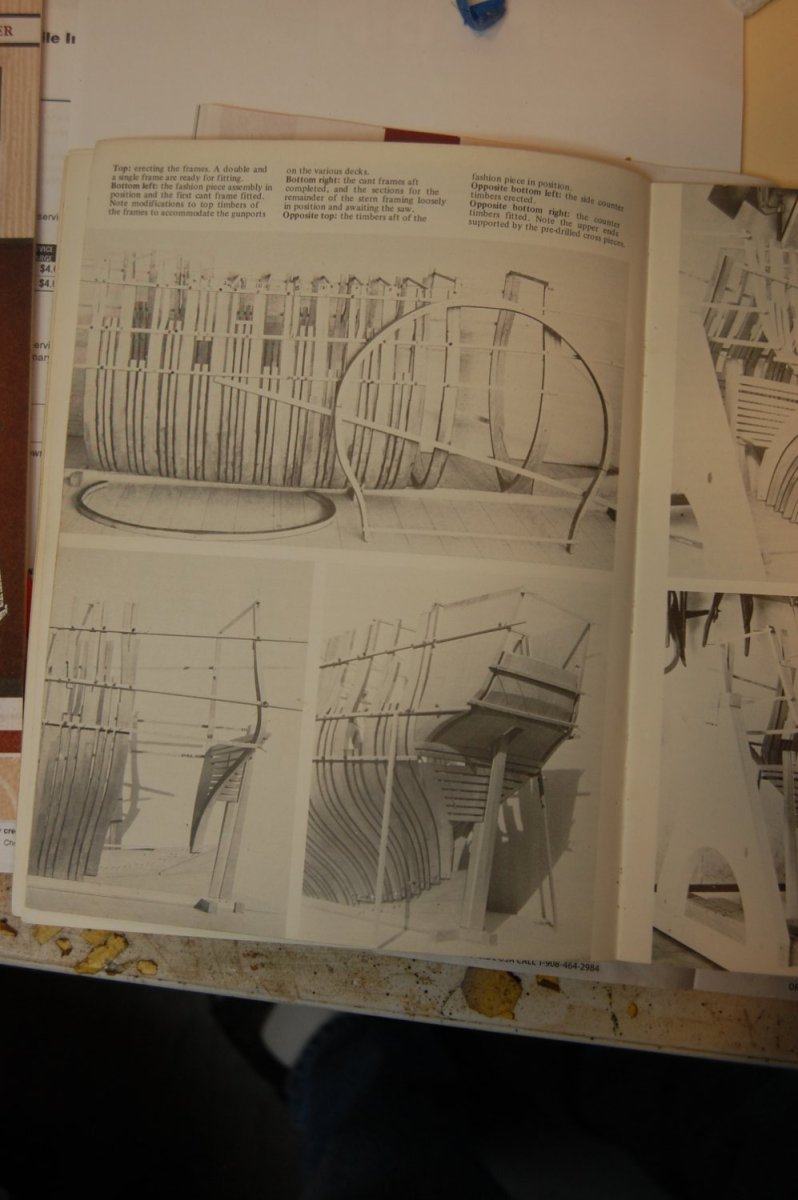
Hi Guy. They are Model Shipwright issues 41, 42 and 48, by John Franklin.
-
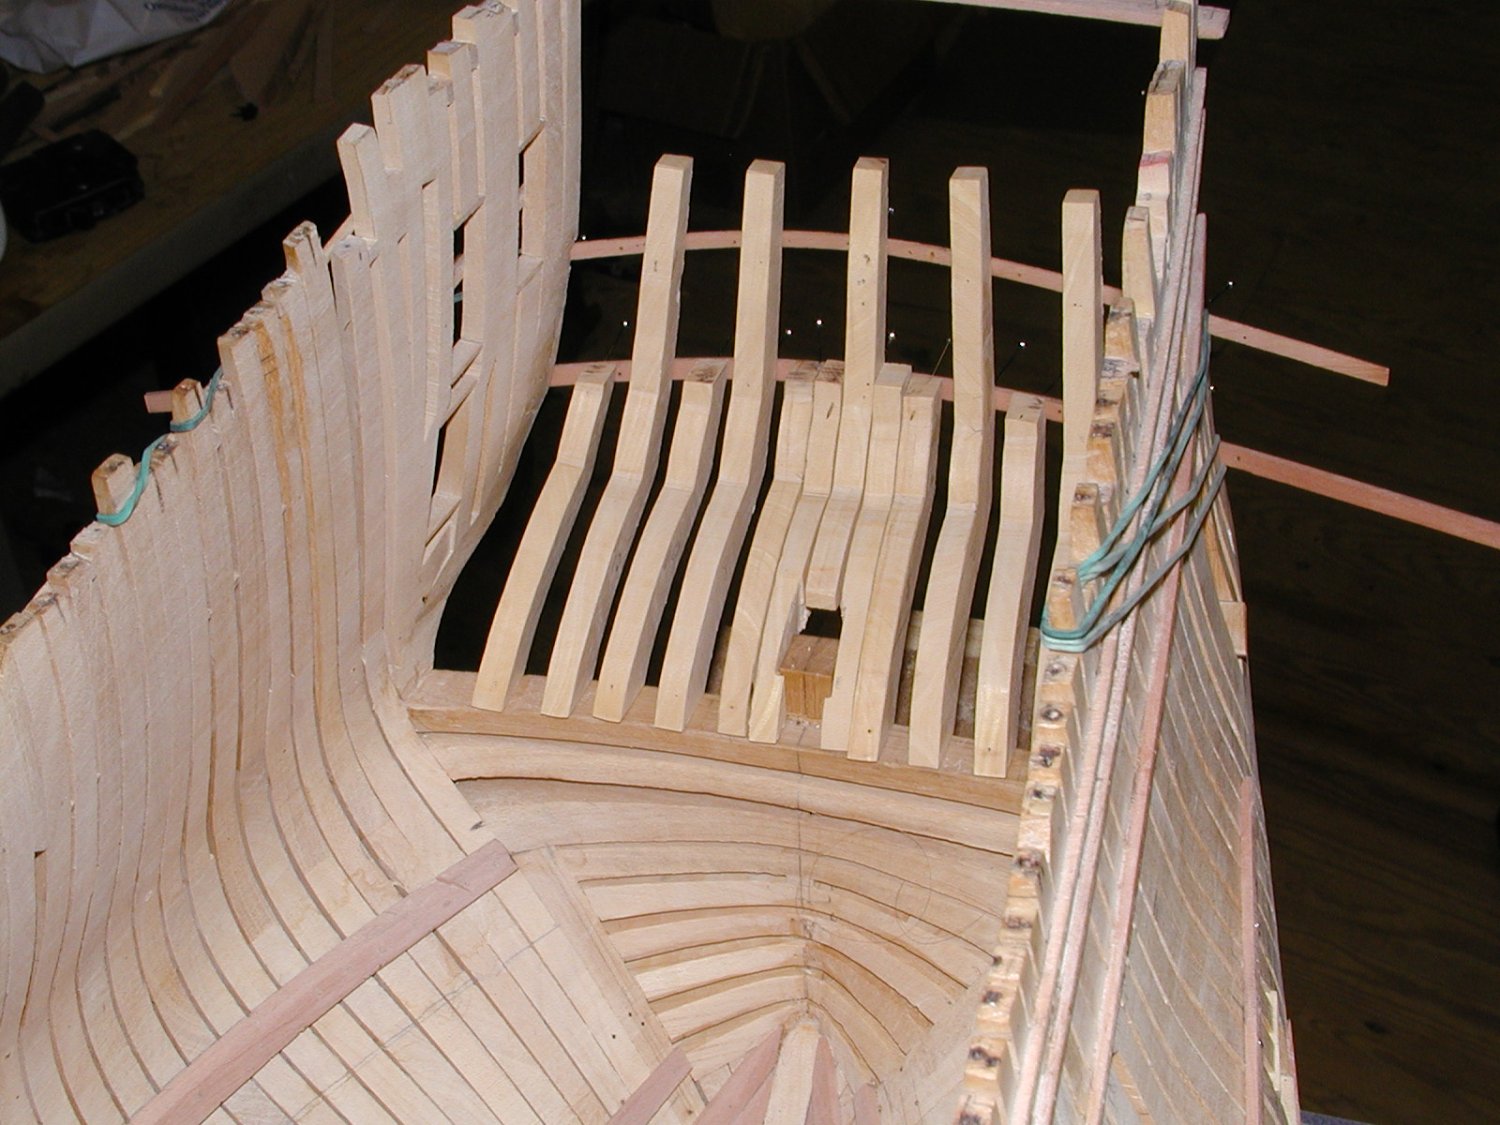
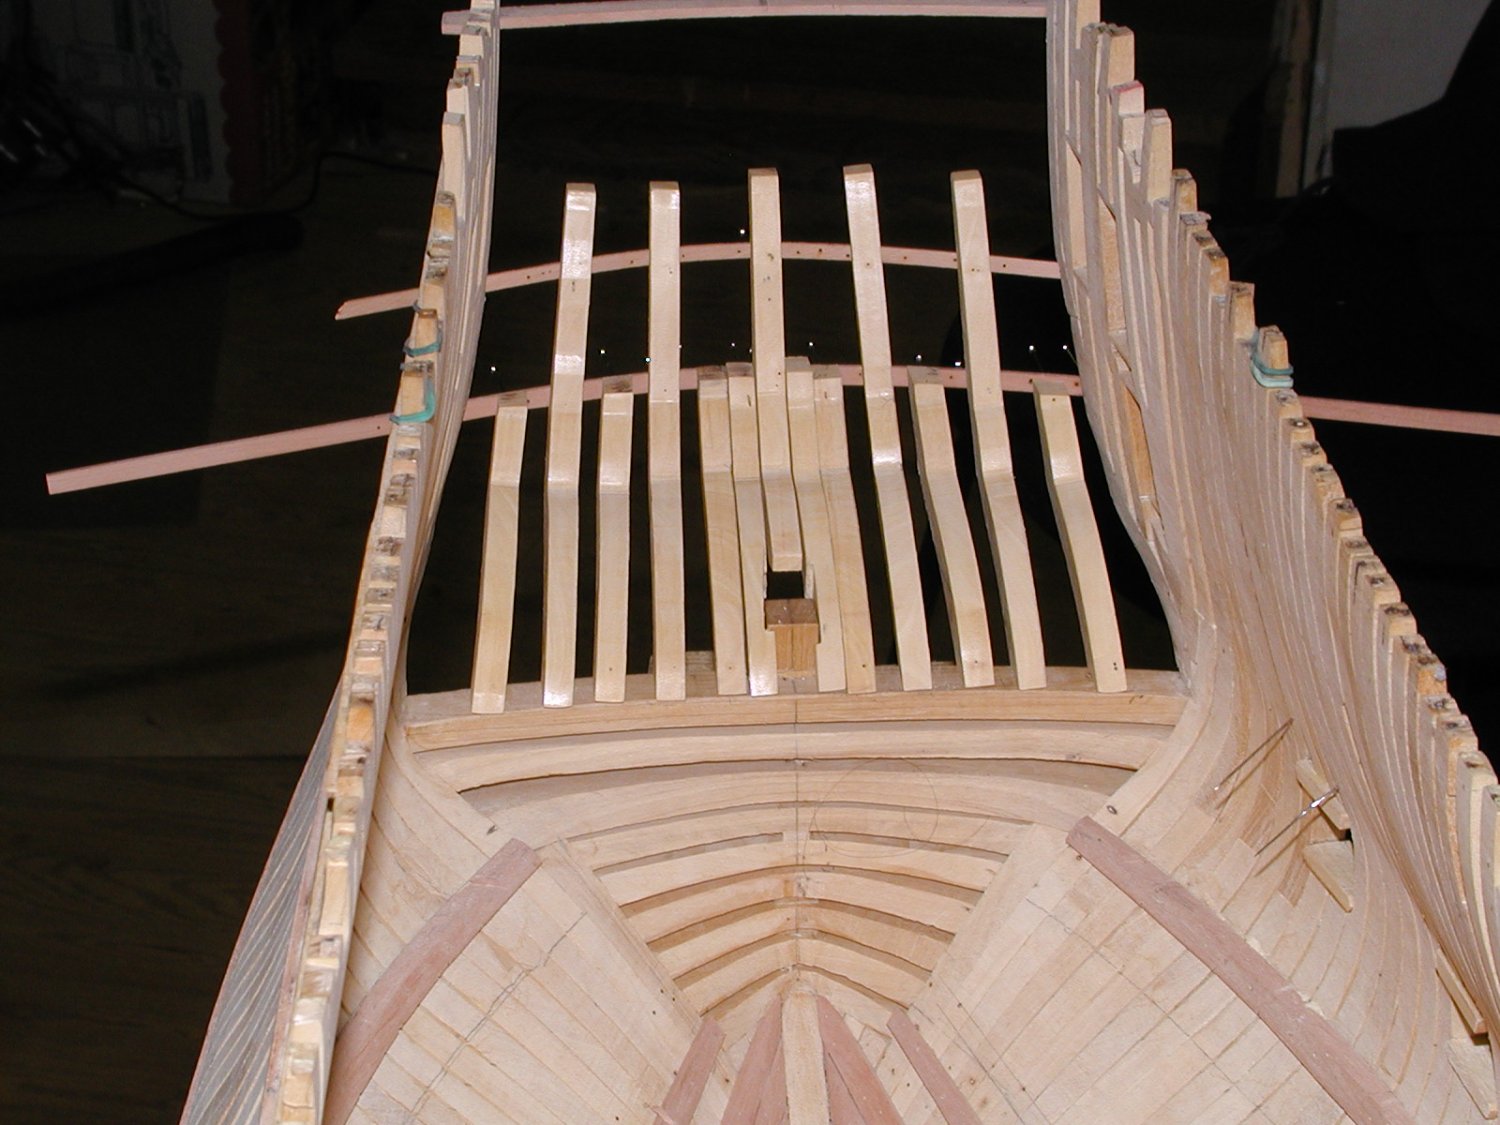
Alan just a queston good sir. Why not remove the transom you have fitted and fit the counter timber's first then install the transom to fit them. I made all of my stern timber's first and then fitted the transom. Take the stern timbers in shape and using rubber cement or Pva which ever you choose to glue them all to each other with thin pieces of balsa wood in between the pieces and then sand all of them down at one time. Mark them out with numbers from right to left and reinstall them in order. I found this so much easier fitting the stern timbers first then the transom. there is a whole lot more stern timbers then transom that's for sure. Hope this help's you.


-
Hi druxey. One can not have to many toy's sorry I meant tool's. Beside I need them to fix my capstan. 😊Gary
-
Hi Jack. I just handed my wife my Christmas list and asked her if santa could bring me the set if possible. Now all I have to do is wait for Christmas to get here. Gary
-
Thanks Jaager. Do you know which monographs they were. I have a number of them which I just may go take a look in. Looks like you done your research and thank you very much for the info. Am trying to get colors that are right or least very very close to what was used. Seems there is a lot of them to choose from which lead's to getting the wrong color. Thank you again. Gary
-
Thanks Chris that makes sense. Will see about getting your paint in the future. Gary
-
Hi Chris. Just a question good sir. I know you been doing this ship building and making kit's for quite awhile and you have my utmost respect, but was wondering why these color's? You must of done a lot of research on what color's to use but curious mind's at least mine, was wondering why these. I have not really been into painting my ships and just go with the natural wood but am building Chuck's Winchelsea which there are items that need to be painted which is why am asking about your color's. Thank you. Gary
-
Thanks Frank. Guess that's me and deviating is some times good for the soul. It allow's us to show a different side of the journey we take. I did mention to Chuck that I might be doing different item's a bit different, but try to keep Winchelsea changes on the small side. Always found it hard to do when trying to coping another's work down to the last nail so you will have to forgive me on that one. Gary
-
Thanks Glenn you are so right. Only 4 month's left to go according to you time frame. I know only kidding. Spent a month putting on planks just to turn around and take all that was installed off in 15 minutes. Wonder if that set the record for the fastest time in removing planks. Ok Just kidding😉 Am having a good time and that's what count's. Gary
-
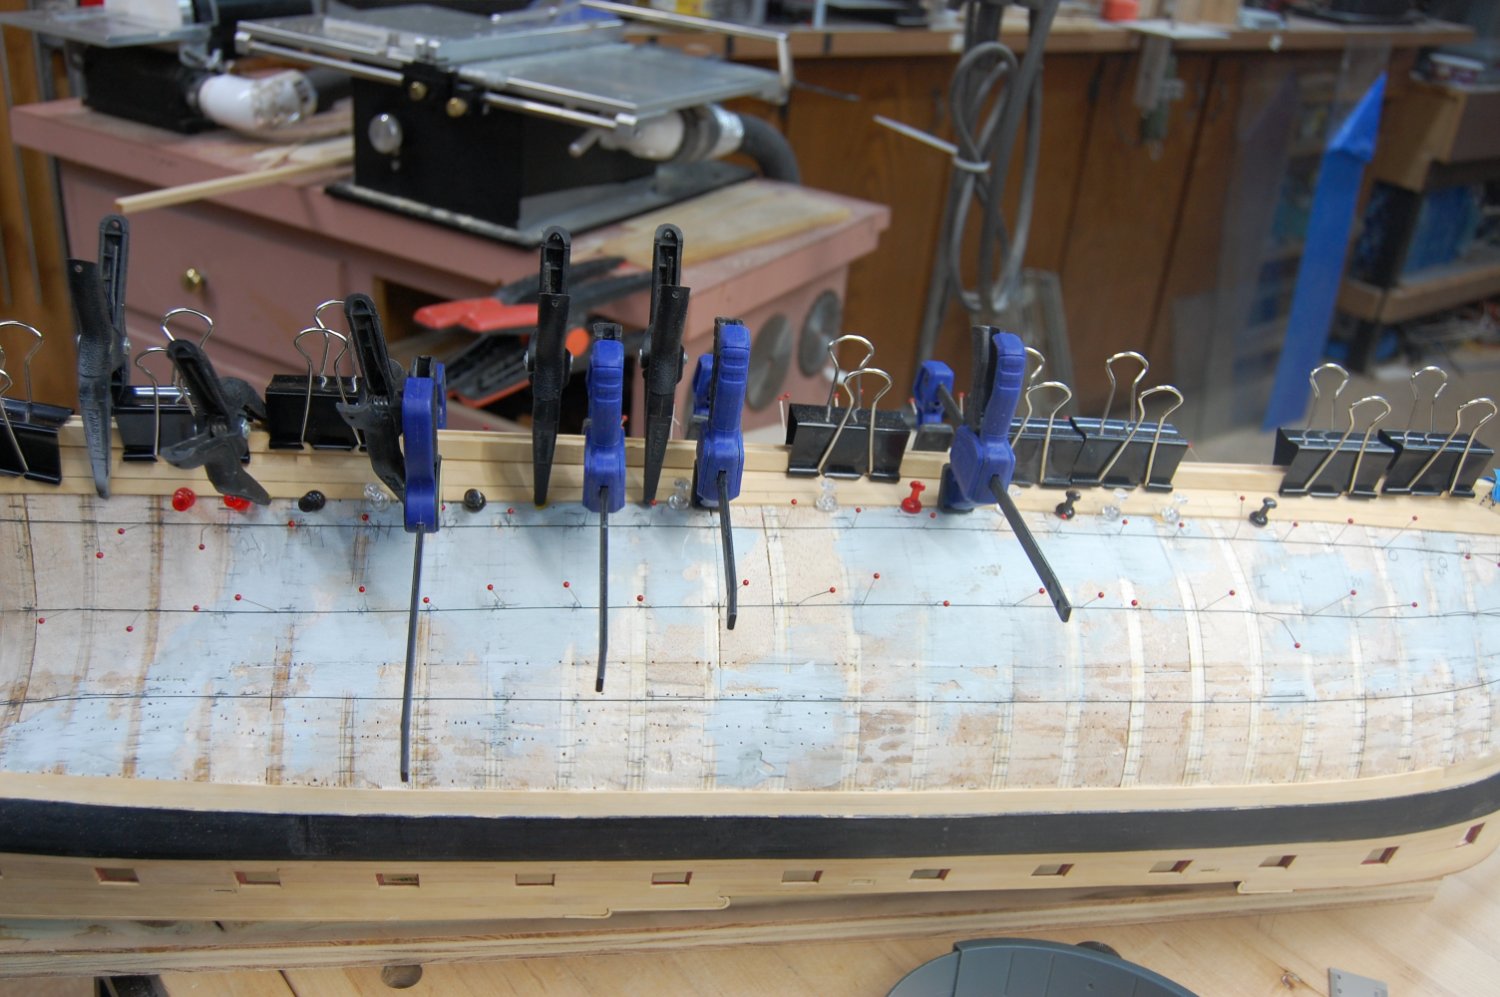
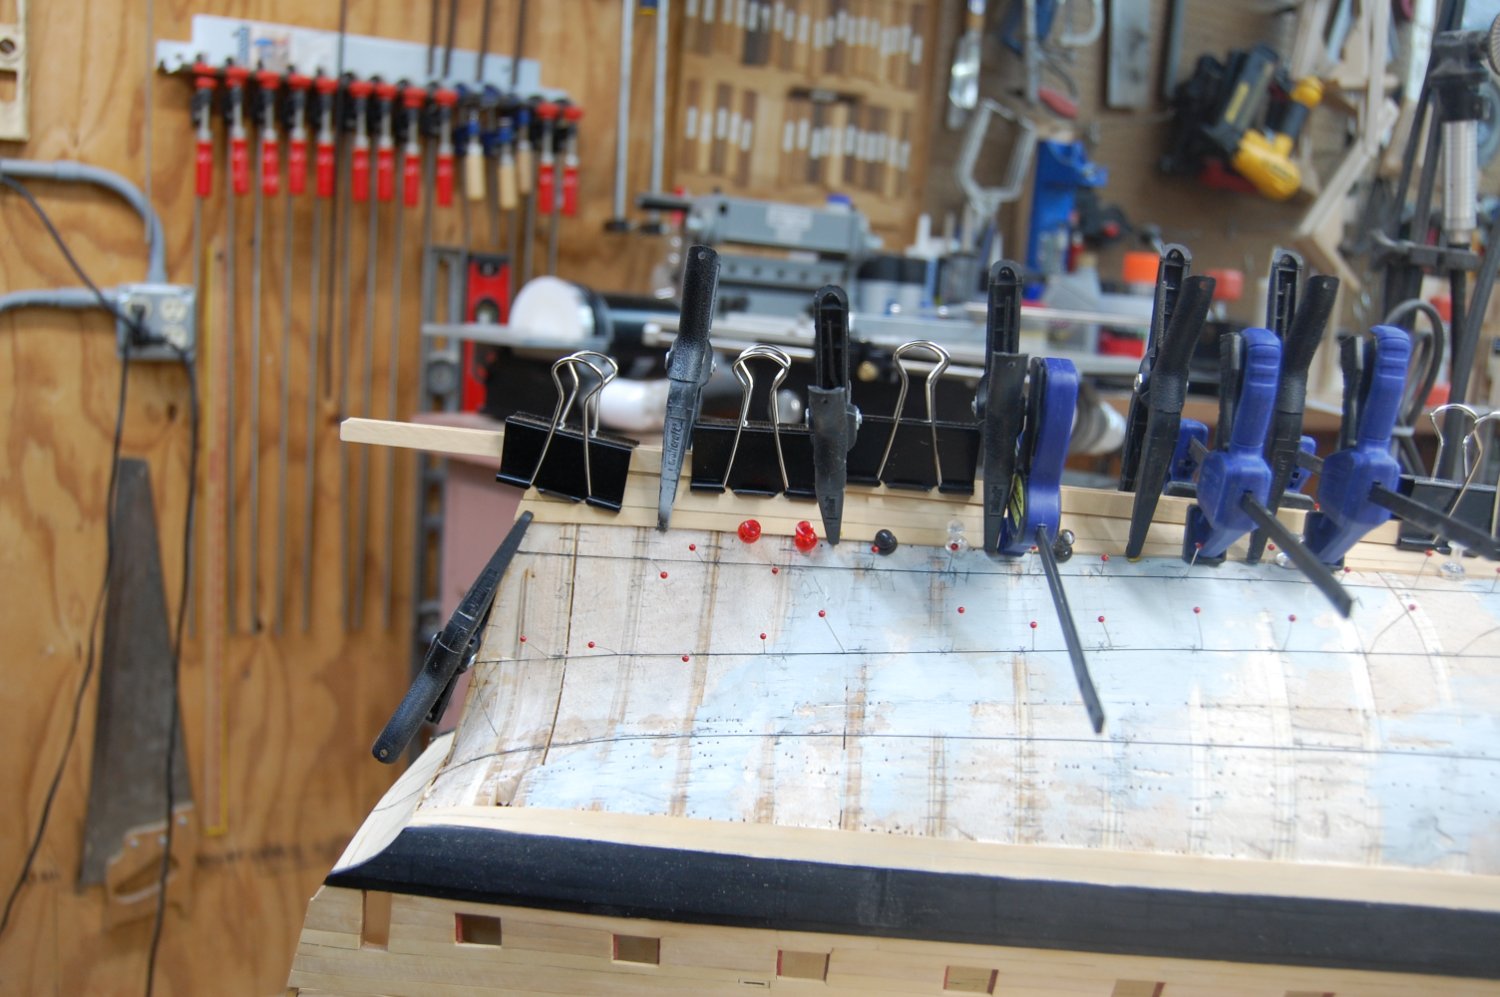
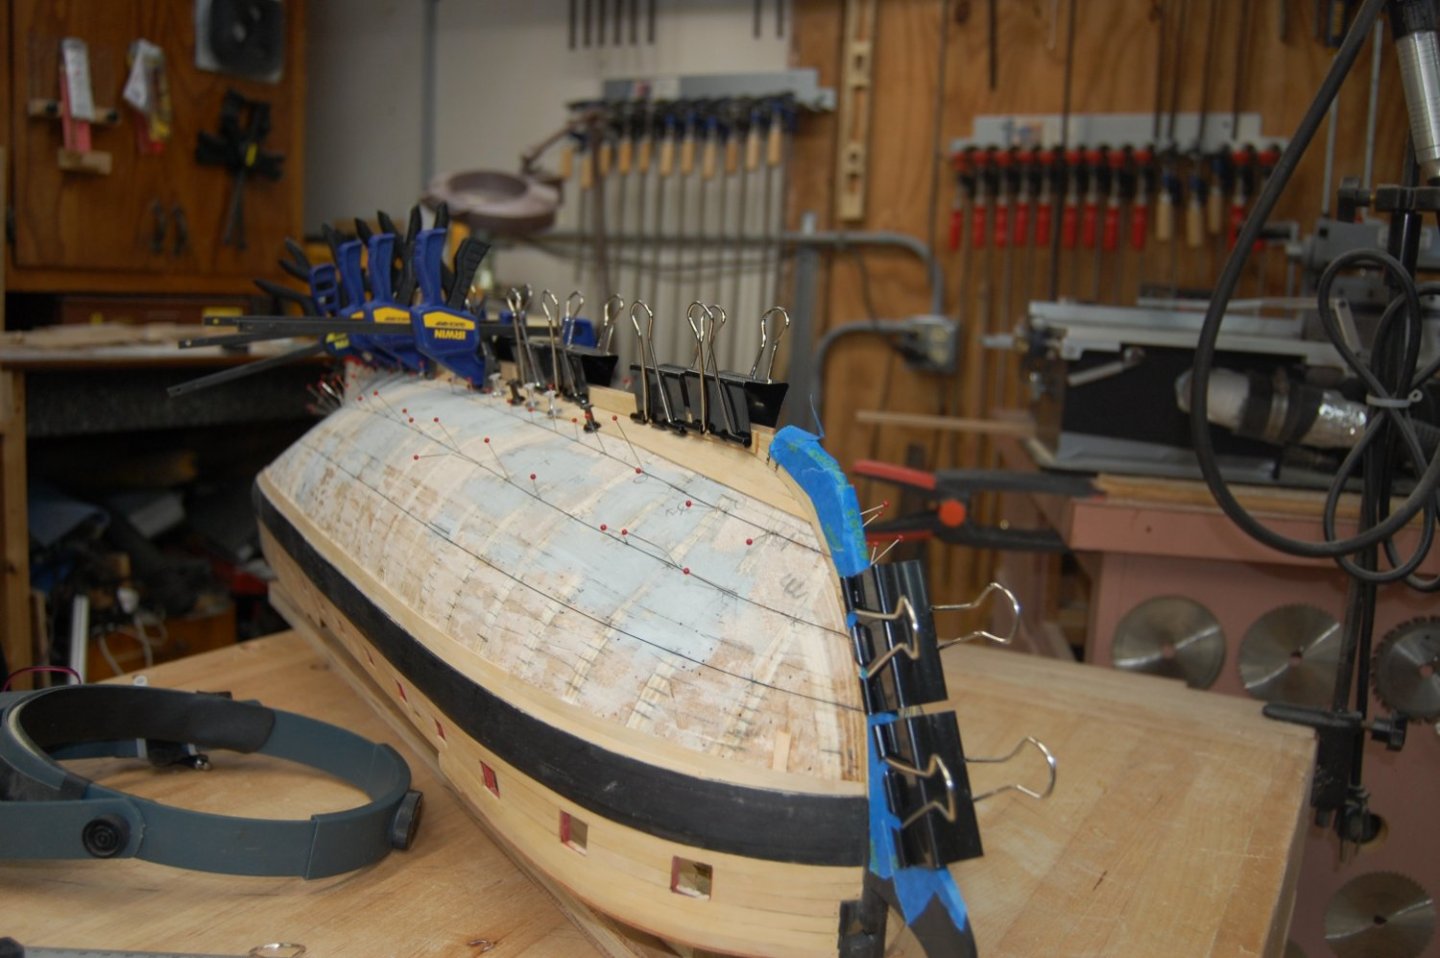
Thanks Greg and Ben. One thing is for sure planking her is a little bit of a long process. Of course I start at the 2nd plank below the wale and got the first belt planked on both side's and when you would look at it head on it just was not up to par, kind of bumpy so I tore it all off back up to the wale and figure it couldn't hurt to start at the keel this time. Also I was going to plank her lower hull in Holly but the gray kept showing up, and just wasn't happy with it, so am planking her in boxwood. Also got myself a new propotional divider to help with the planking and using it is really making a big difference with marking out the planks instead of tick strips. My first divider, used it for years that is until the tighten nut strip out and couldn't find a new one. O well one has to do what one has to do.
-
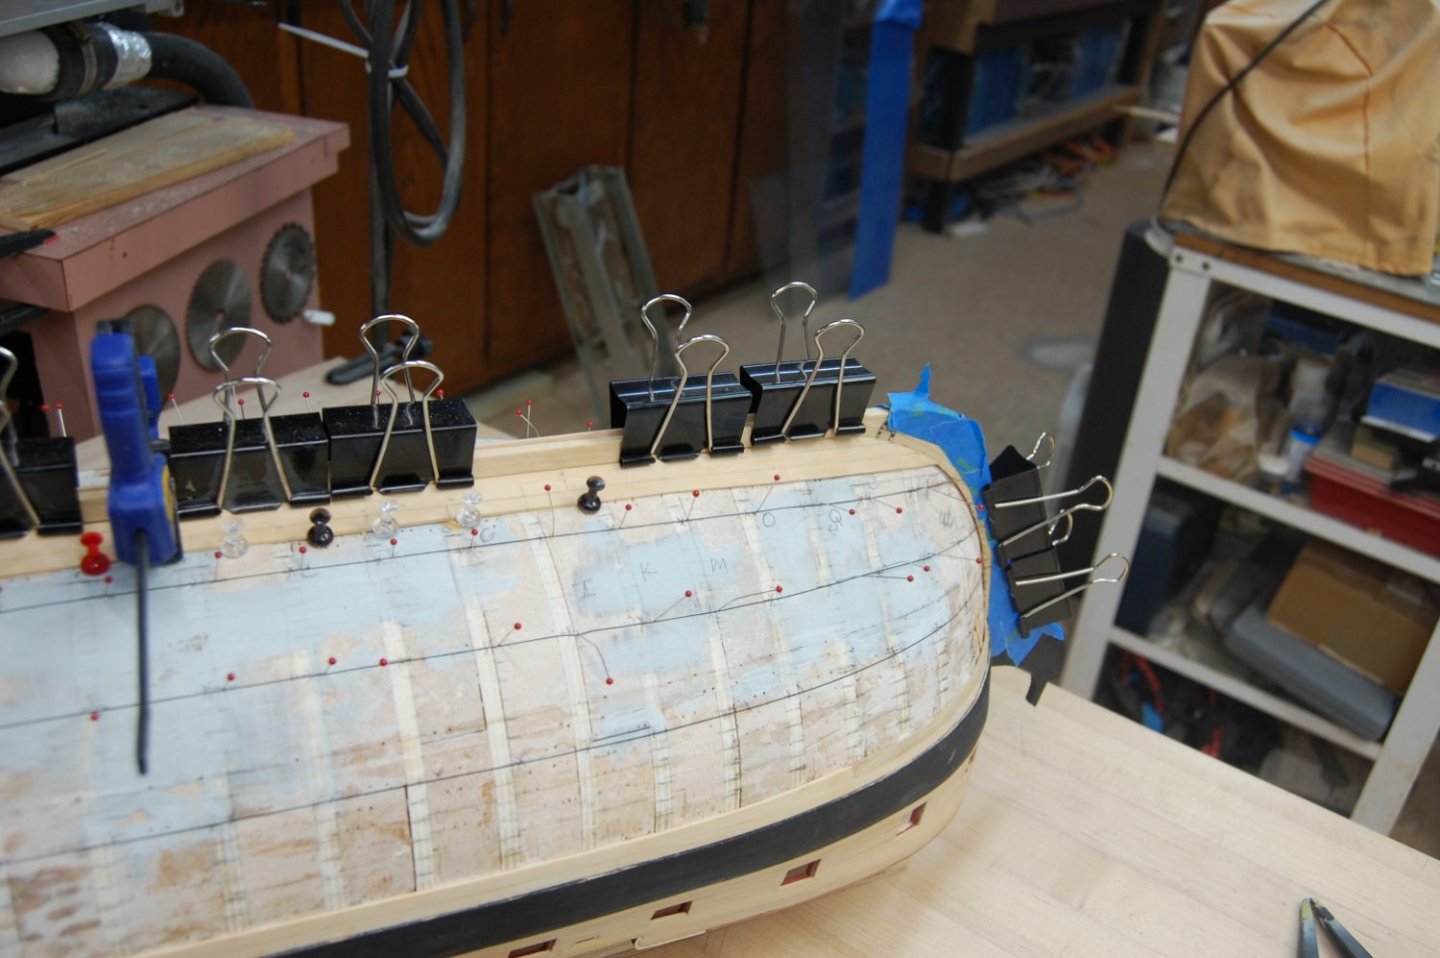
Hello just a small update to the planking.


-
Hi Mark. Hope your starting to feel better and getting back to work on Sphinx which by the way is looking great. Keep up the good work. Gary
- 505 replies
-
- 7
-
-
- vanguard models
- Sphinx
- (and 1 more)
-
Thank you Mr Bean. Maybe some day I hope to do the carvings but that one is for the future. Again thank you. Gary
-
No worry's Ken. Just taken a break from her. Working on Winchelsea let's me work on some thing different like her planking and other part's and pieces. Thank you for the compliment and your not doing a bad job your self. Gary