HOLIDAY DONATION DRIVE - SUPPORT MSW - DO YOUR PART TO KEEP THIS GREAT FORUM GOING! (Only 24 donations so far out of 49,000 members - C'mon guys!)
×


Blackreed
-
Posts
83 -
Joined
-
Last visited
Content Type
Profiles
Forums
Gallery
Events
Everything posted by Blackreed
-
That is a beautiful boat. you did a really good job with the log as well as the boat.
-
Thank you for that information alross, that really was some enlightenment, and very interesting, I still have a lot of questions, but I’m naturally curious. I served as a weapons expert too, I’ve never studied anything like this, so it raised a lot of questions, and seeing the different variants is awesome. I was on a navy ship one time, I could not get over how clean it was. Thistle keep up the good work.
-
Great looking bunch
-
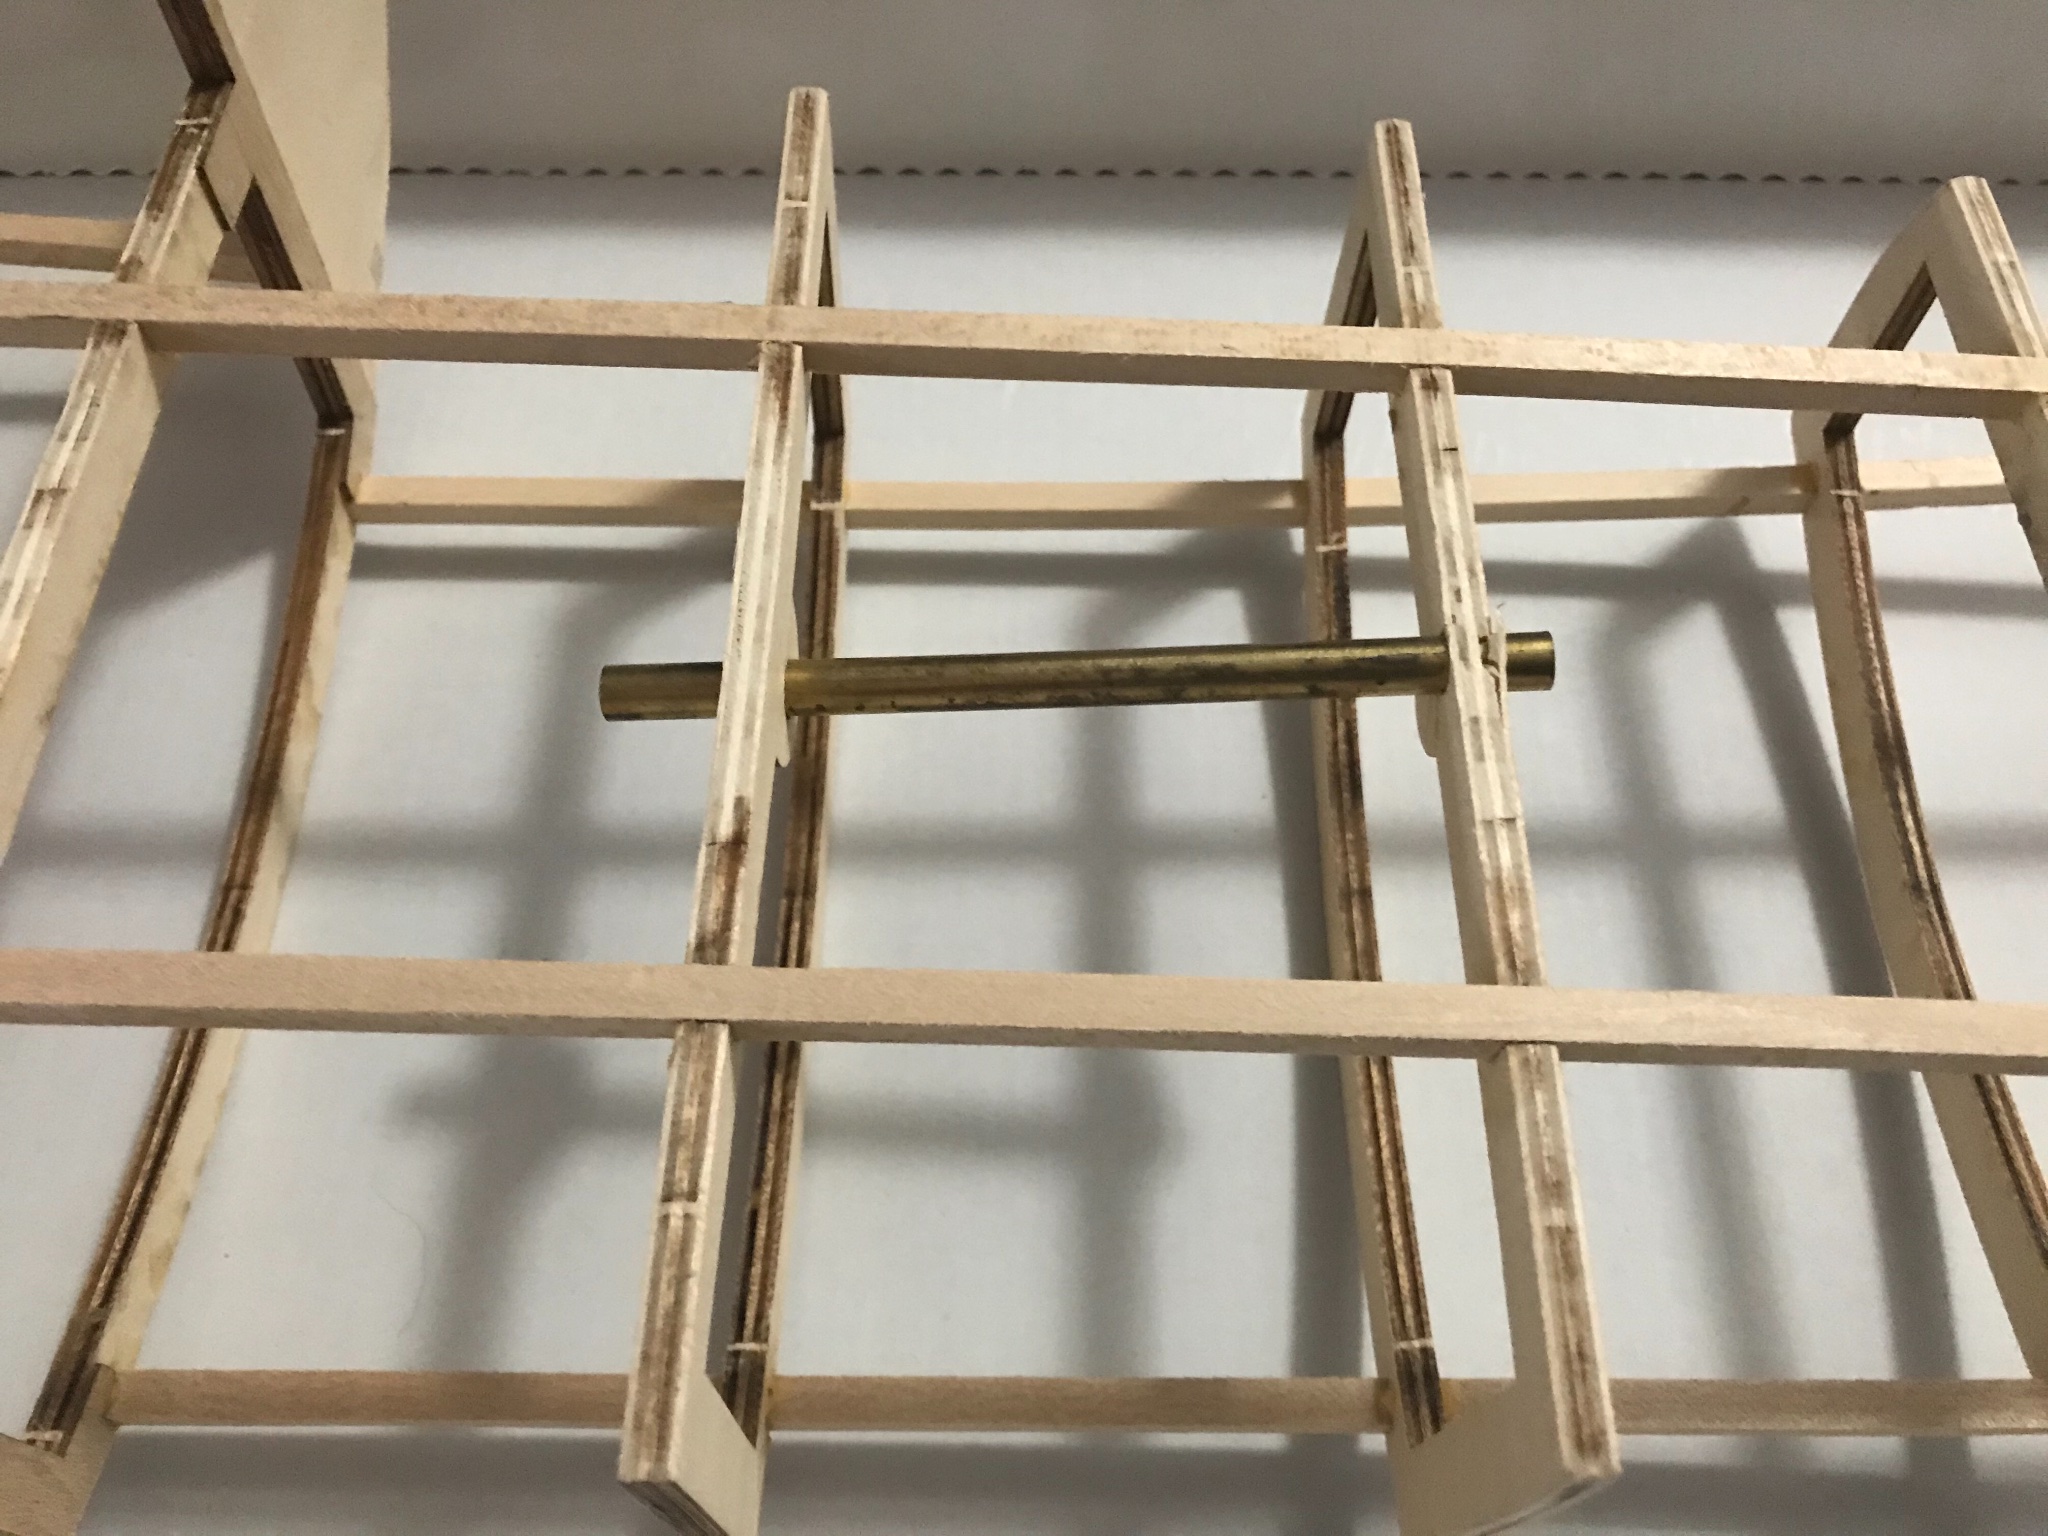
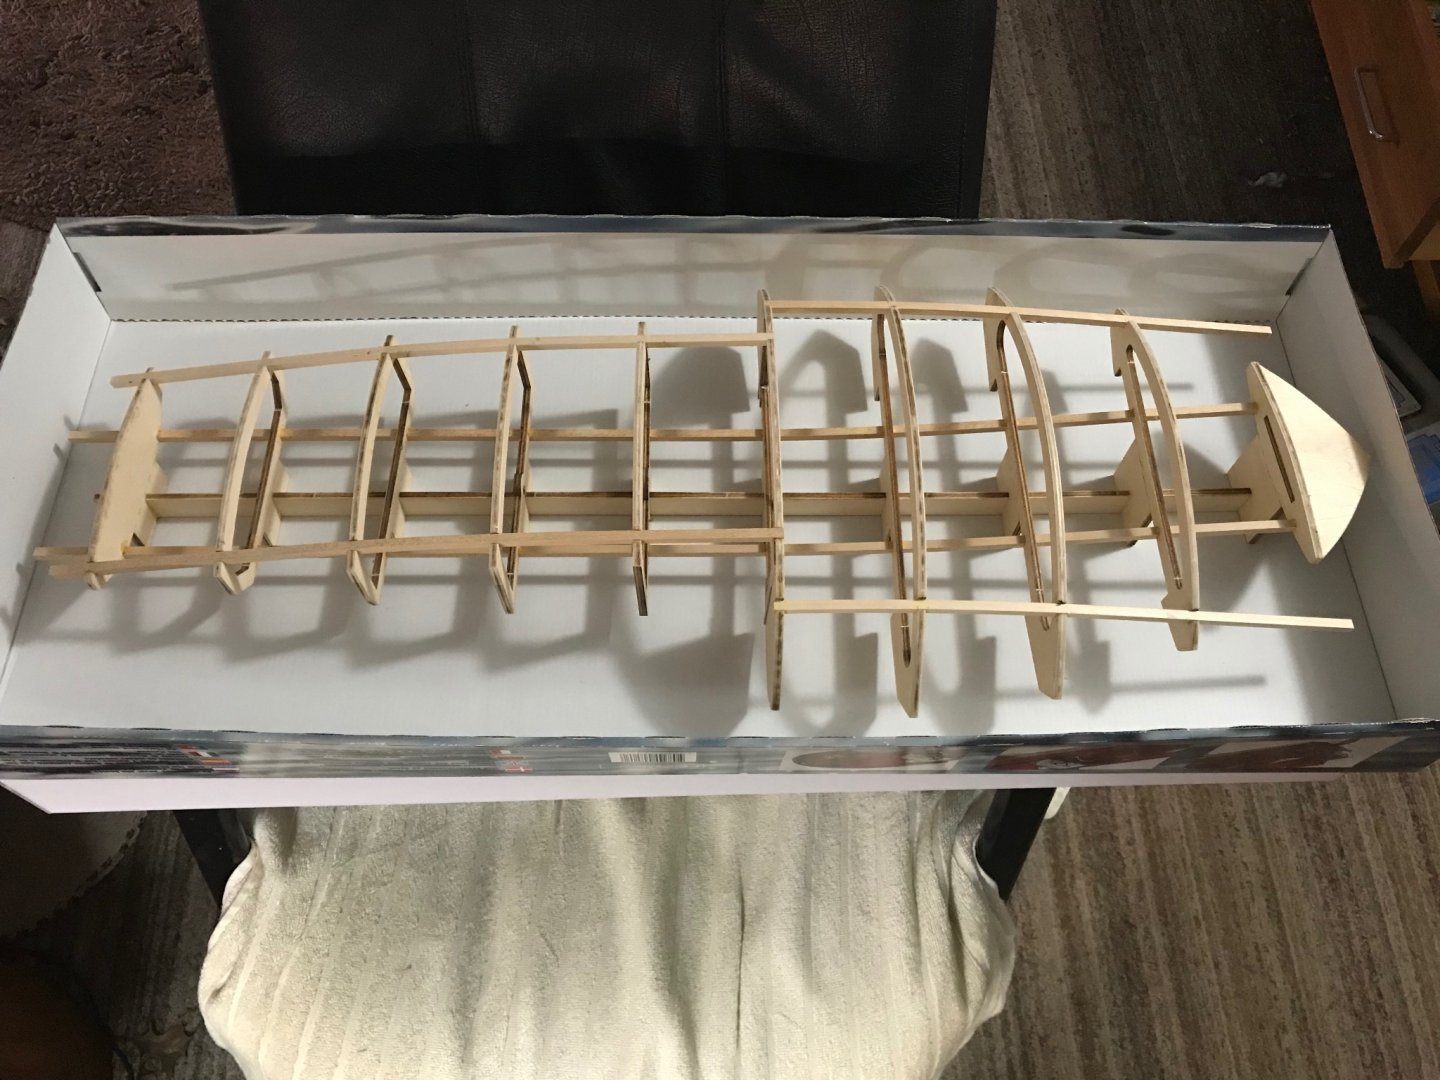
I also got the frames all pinned together, now if they come apart it’s because I made it. I also got everything sanded so the planking will go smoothly. There is a brass tube here, this tube is a bearing carrier, the drive shaft will pass through this. This step is not included in the directions, as the holes that this tube pass through are very tight and then the brass tube passes through on an angle it’s very tight, and I’m not sure how this would have been done later. And the tube has to be placed so that the planking can clear it as well as the bearings, I’ll have them in place today so I can begin measuring for the engine and drivers floor supports. I need that drive shaft to show me the angle the motor mounts will be at. I may change this angle later, but for now I want to stay on point so the end result looks close to the real thing.

- 55 replies
-
- 4
-

-
- hydroplane
- Slo-mo-shun IV
- (and 1 more)
-
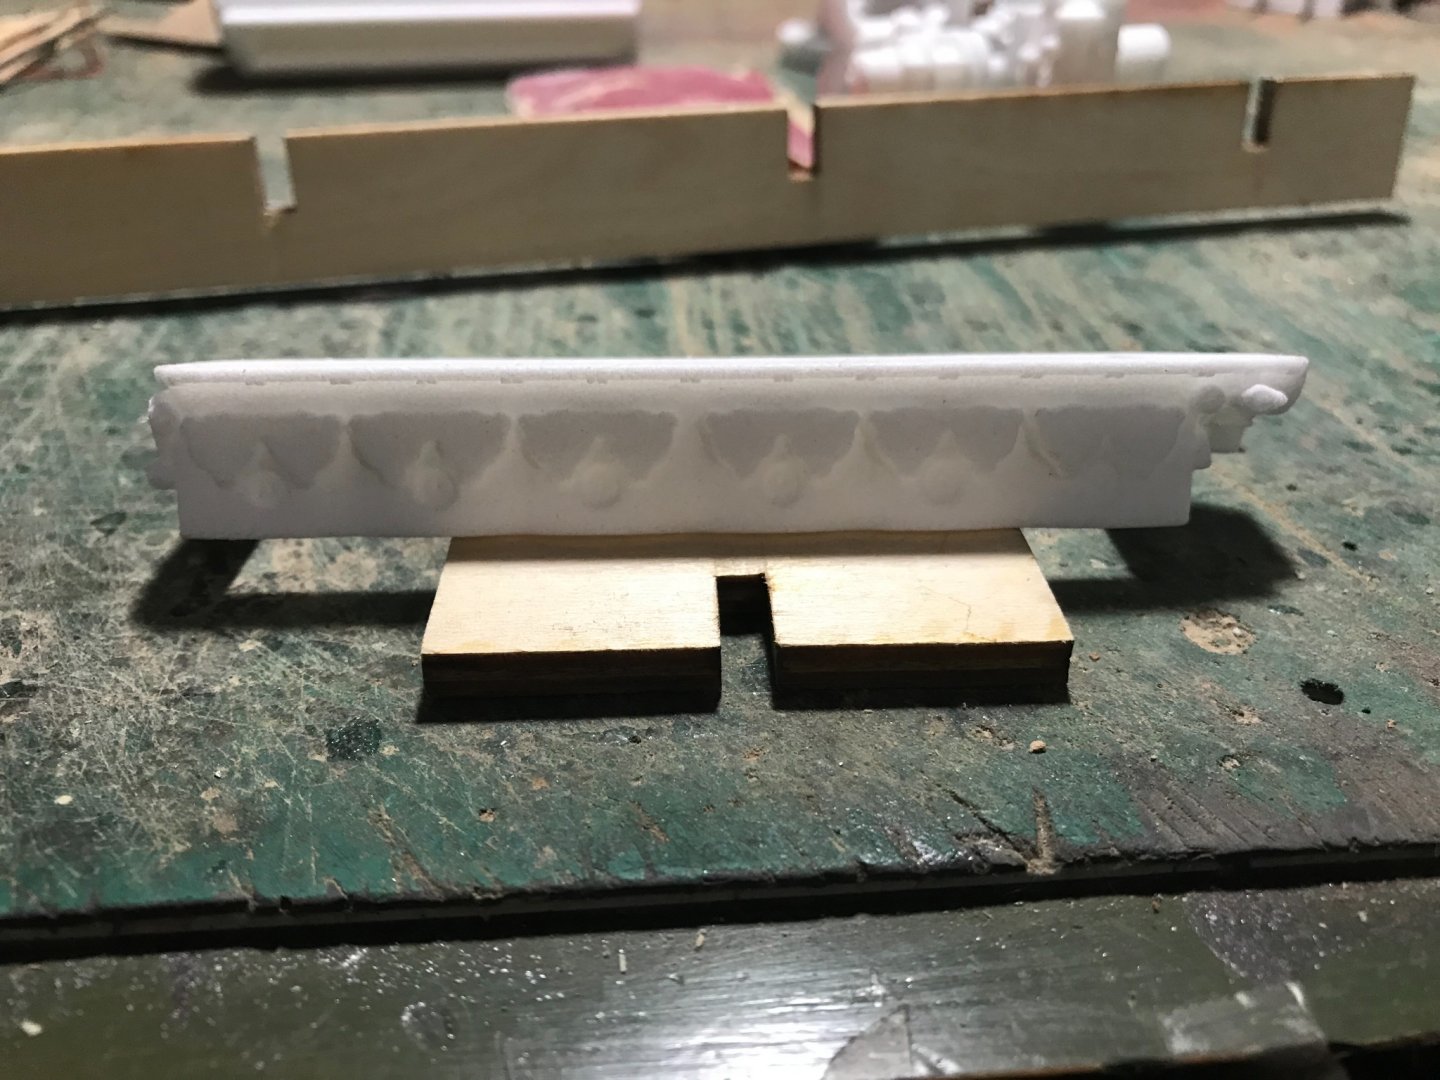
I did more planning than working yesterday, hoping today goes smoother. I got started on the engine, I need to figure out it’s height at several different places. So the cylinders are on. I drilled out what I suspected was the spark plug wire rails, only to notice that the oiling system hooks to this, it’s a bit low, no loss there, I’ll place plugs into the holes to resemble freeze plugs, then I will make the spark plug wire rails and attach them. I also designed the spark plugs, I will drill out the heads for them today, and get ready for the intake to be assembled, I believe the intake should not be on the engine during the initial painting because it’s going to be in the way.
- 55 replies
-
- 1
-
-
- hydroplane
- Slo-mo-shun IV
- (and 1 more)
-
Through looking into these boats I noticed that this kit with very simple modifications could be made into any boat of this era. These things are very difficult to find good data on. Shapeways is a gem of a site, some of the lead times are painful, and some of the prices, look into the 1/8 scale D-type Jaguar, it’s so close and yet so far away. For some really cool and somewhat affordable drag racing paraphernalia check out 3D Model Specialties by Ron Olson on Shapeways. I asked a friend to head over to photograph SLO-mo-shun in person and to not hold back on the detail shots, unfortunately due to our current situation that’s going to be a no-go for the time being. I do also hope to someday build the Ferrari, I’m just not looking forward to that engine. The worst part here has been several eBay wins and 2 more acquisitions from Model Expo that Have been very hard to resist for the last 2 months while waiting for these parts, the only missing link for now is Spaz Stix high gloss and chrome paint. lunch is over, to the shop.
- 55 replies
-
- 1
-
-
- hydroplane
- Slo-mo-shun IV
- (and 1 more)
-
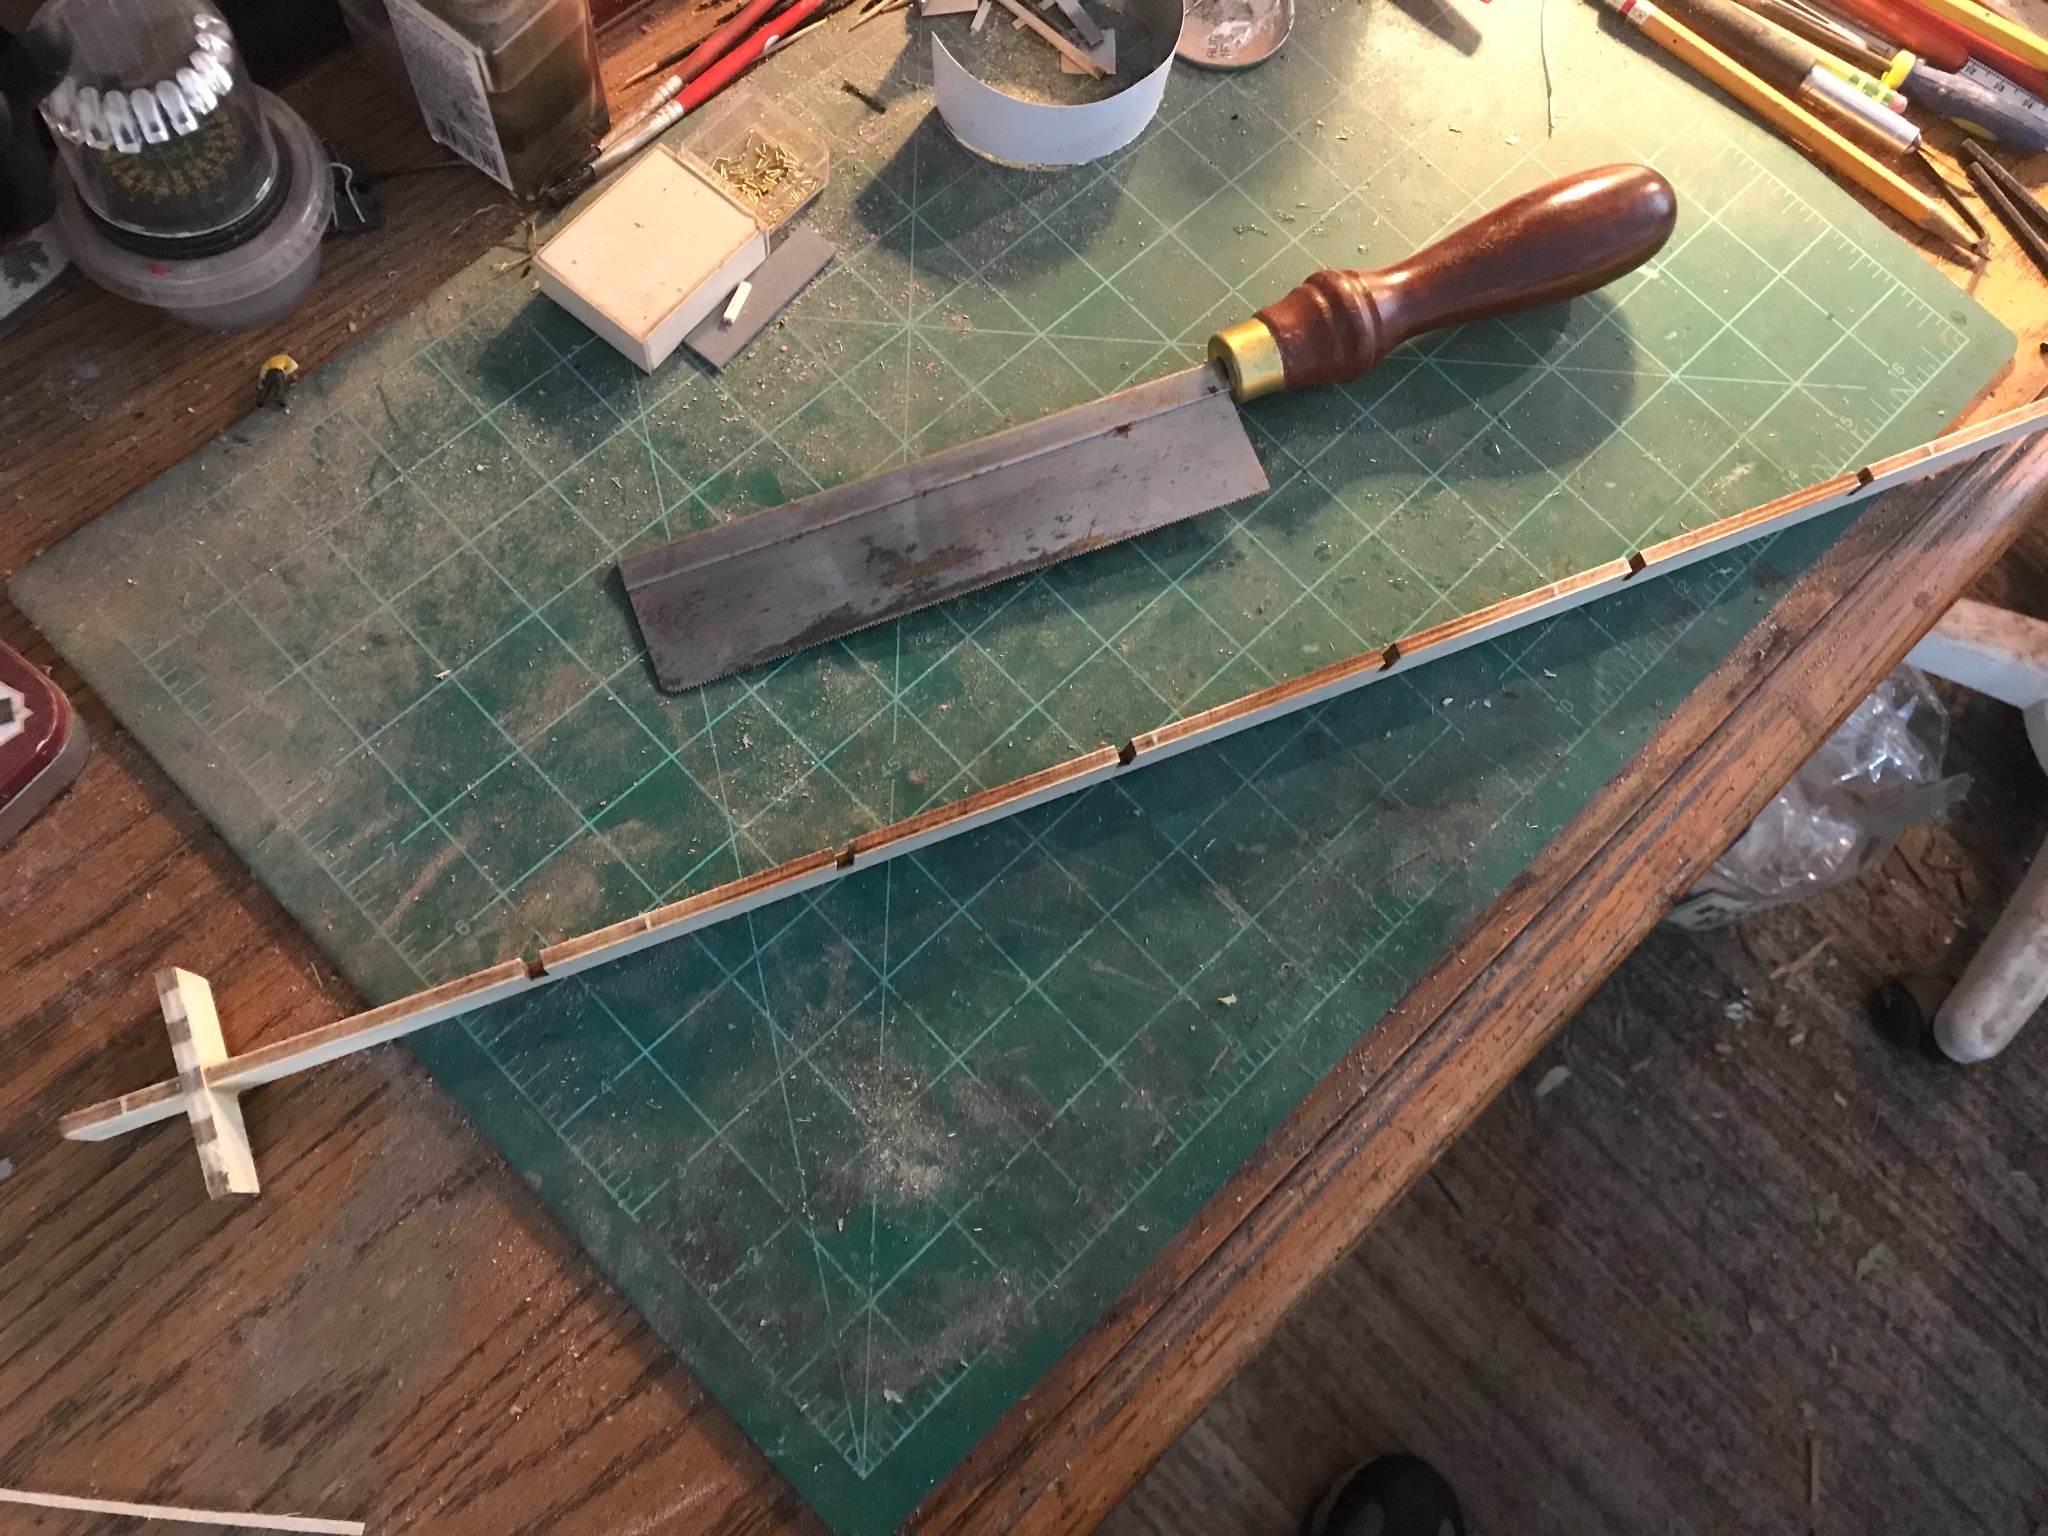
Once all of this had dried I cut the keel free. This was fairly easy, the Zona saw made quick work of the rear couple, then because the frame got in the way I turned to the Dremel, oh the smell of burning wood. Only one of the frame support pieces popped free, easy fix, these pieces all fit together so well there’s practically no reason for glue. I am going to pin them together, I do not want any of this coming apart later. I am going to be working off the supports for the engine mounts, or at least in my mind that’s how it’s working so far.


- 55 replies
-
- 3
-
-
- hydroplane
- Slo-mo-shun IV
- (and 1 more)
-
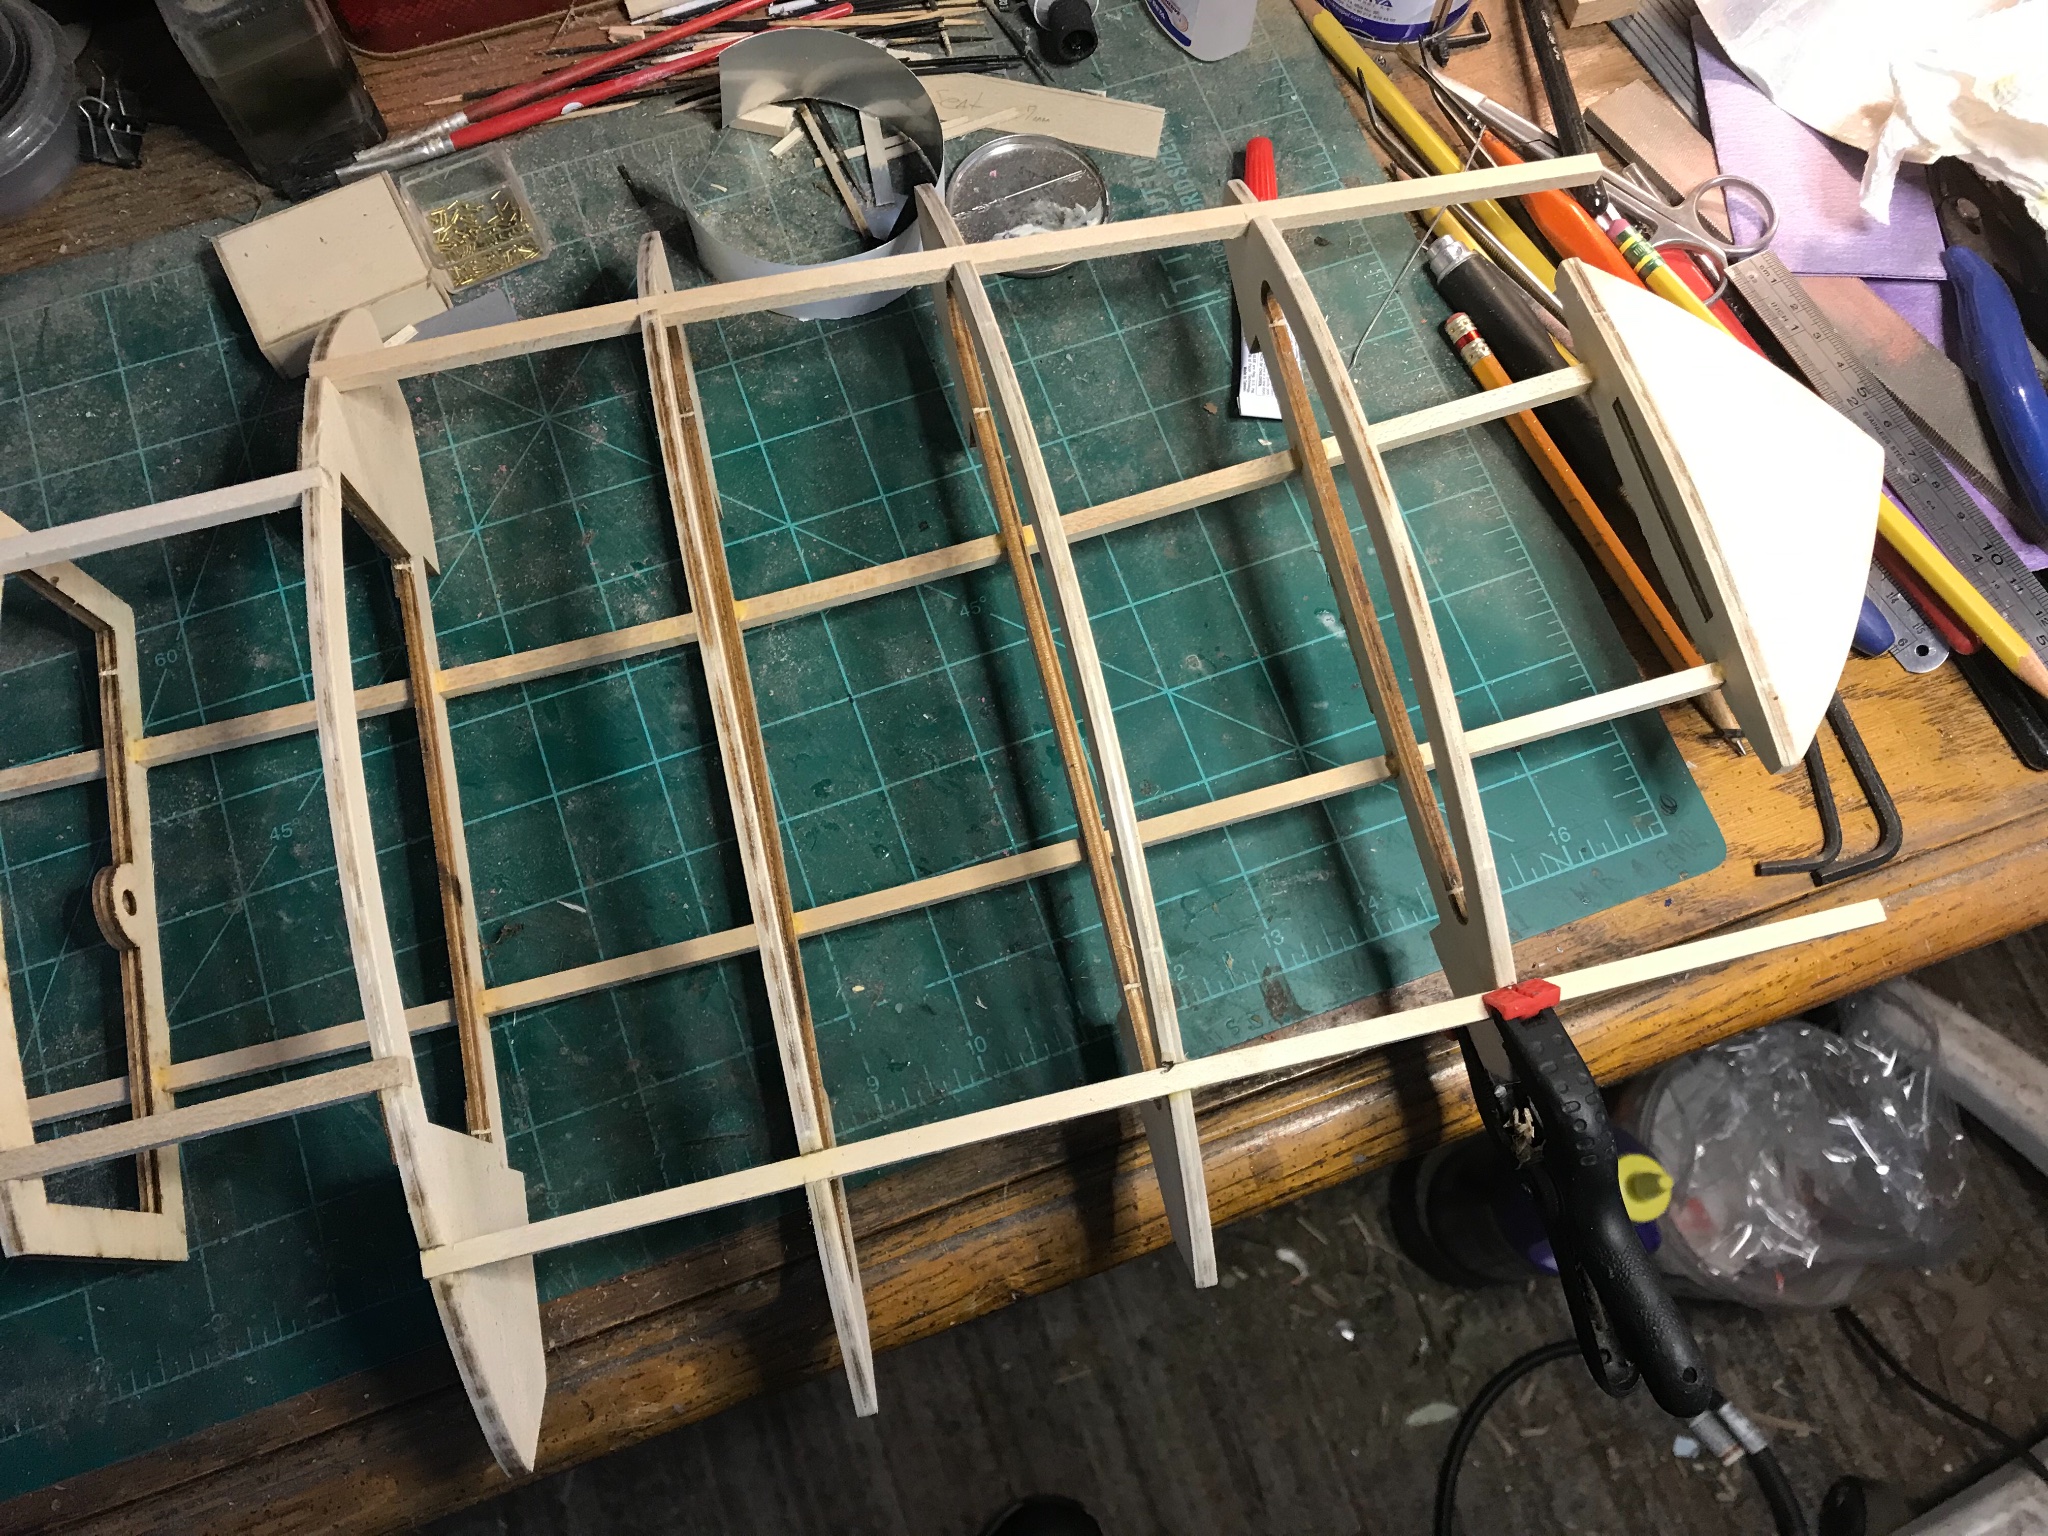
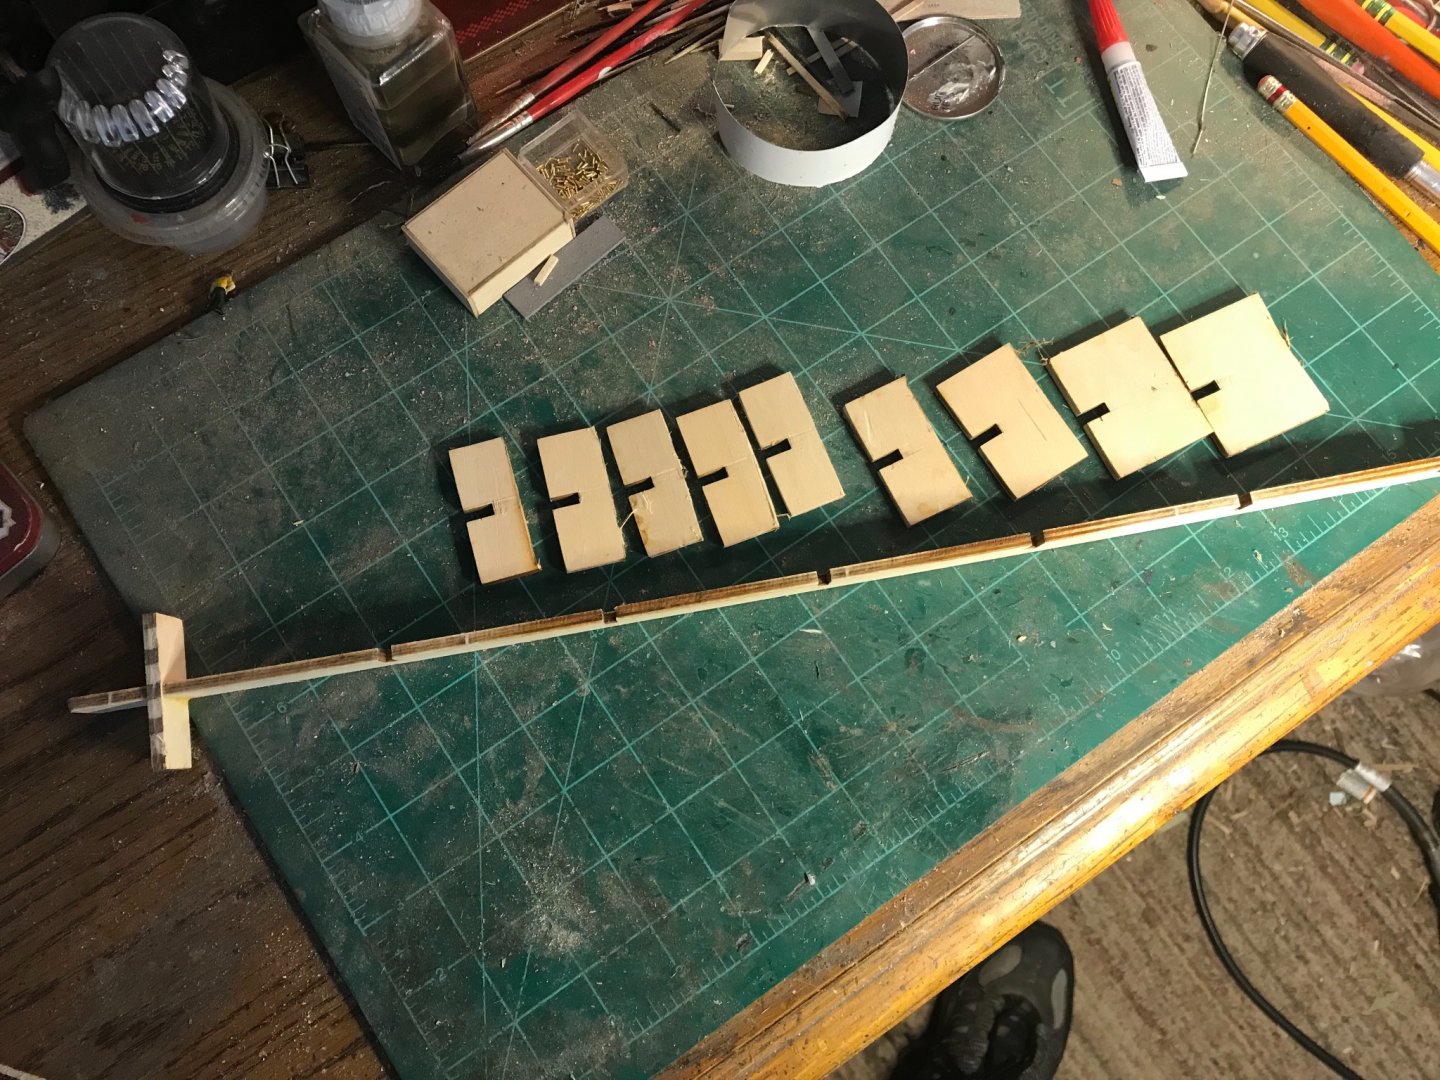
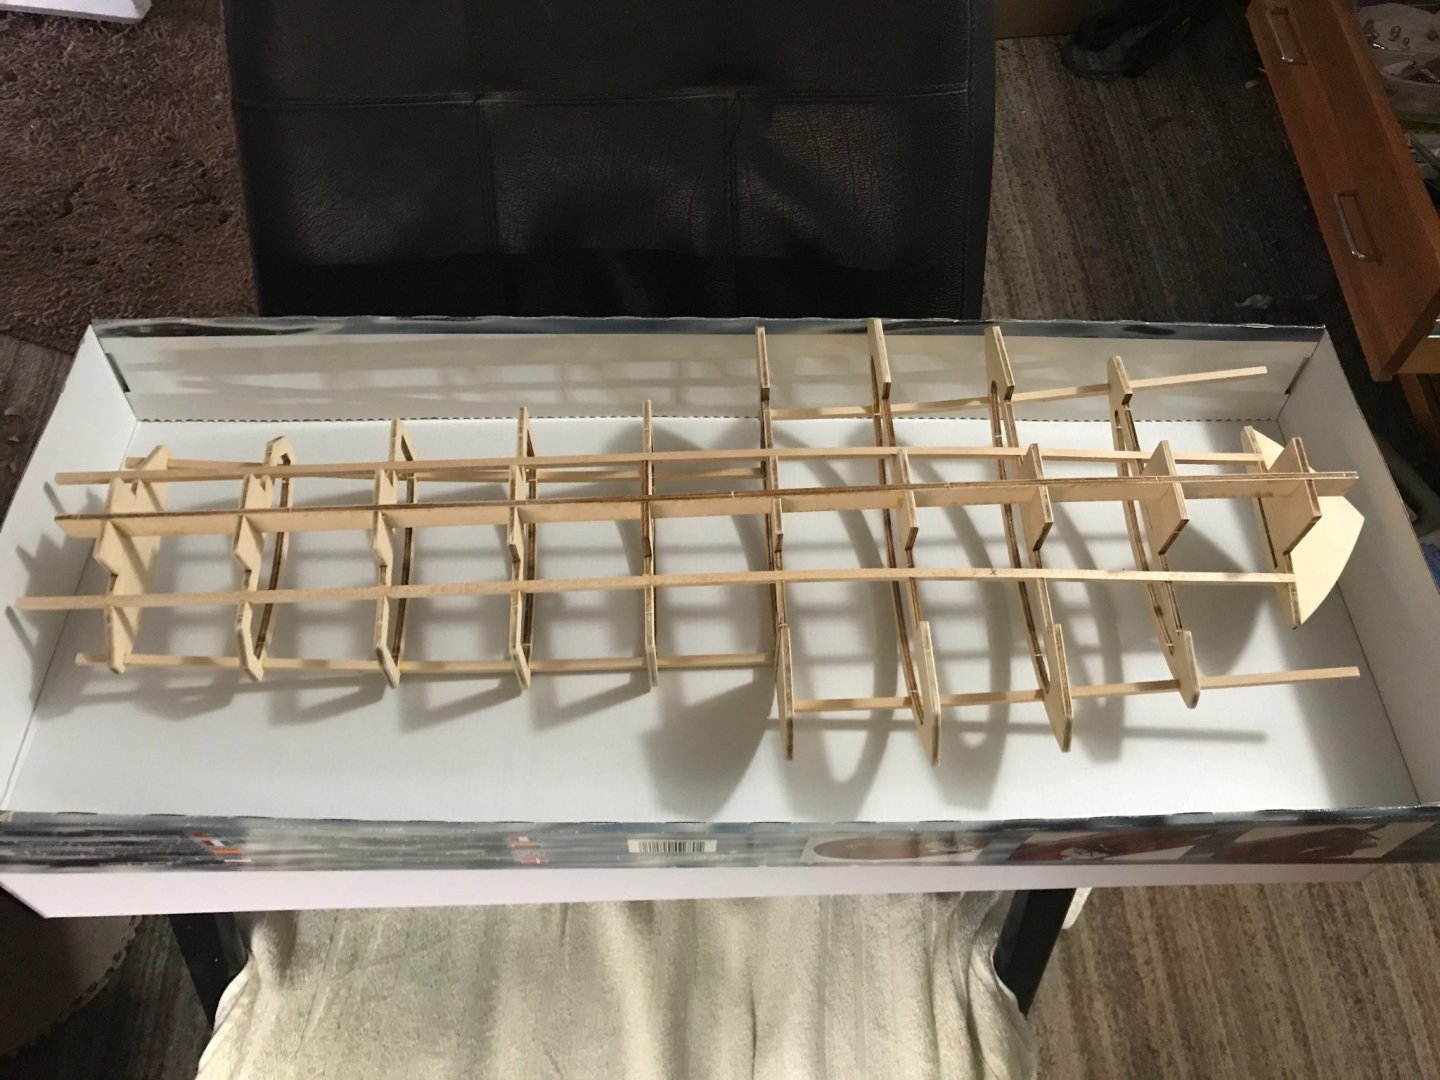
I assembled the framing along what I believe is the keel. This was pretty easy to figure out. I only glued the rear frame and squared that with the keel, I then laid in all the following frame pieces, leaving them dry. I began running the pieces that hold the frame true, gluing each one at 67mm, as per the keel.
- 55 replies
-
- 5
-
-
- hydroplane
- Slo-mo-shun IV
- (and 1 more)
-
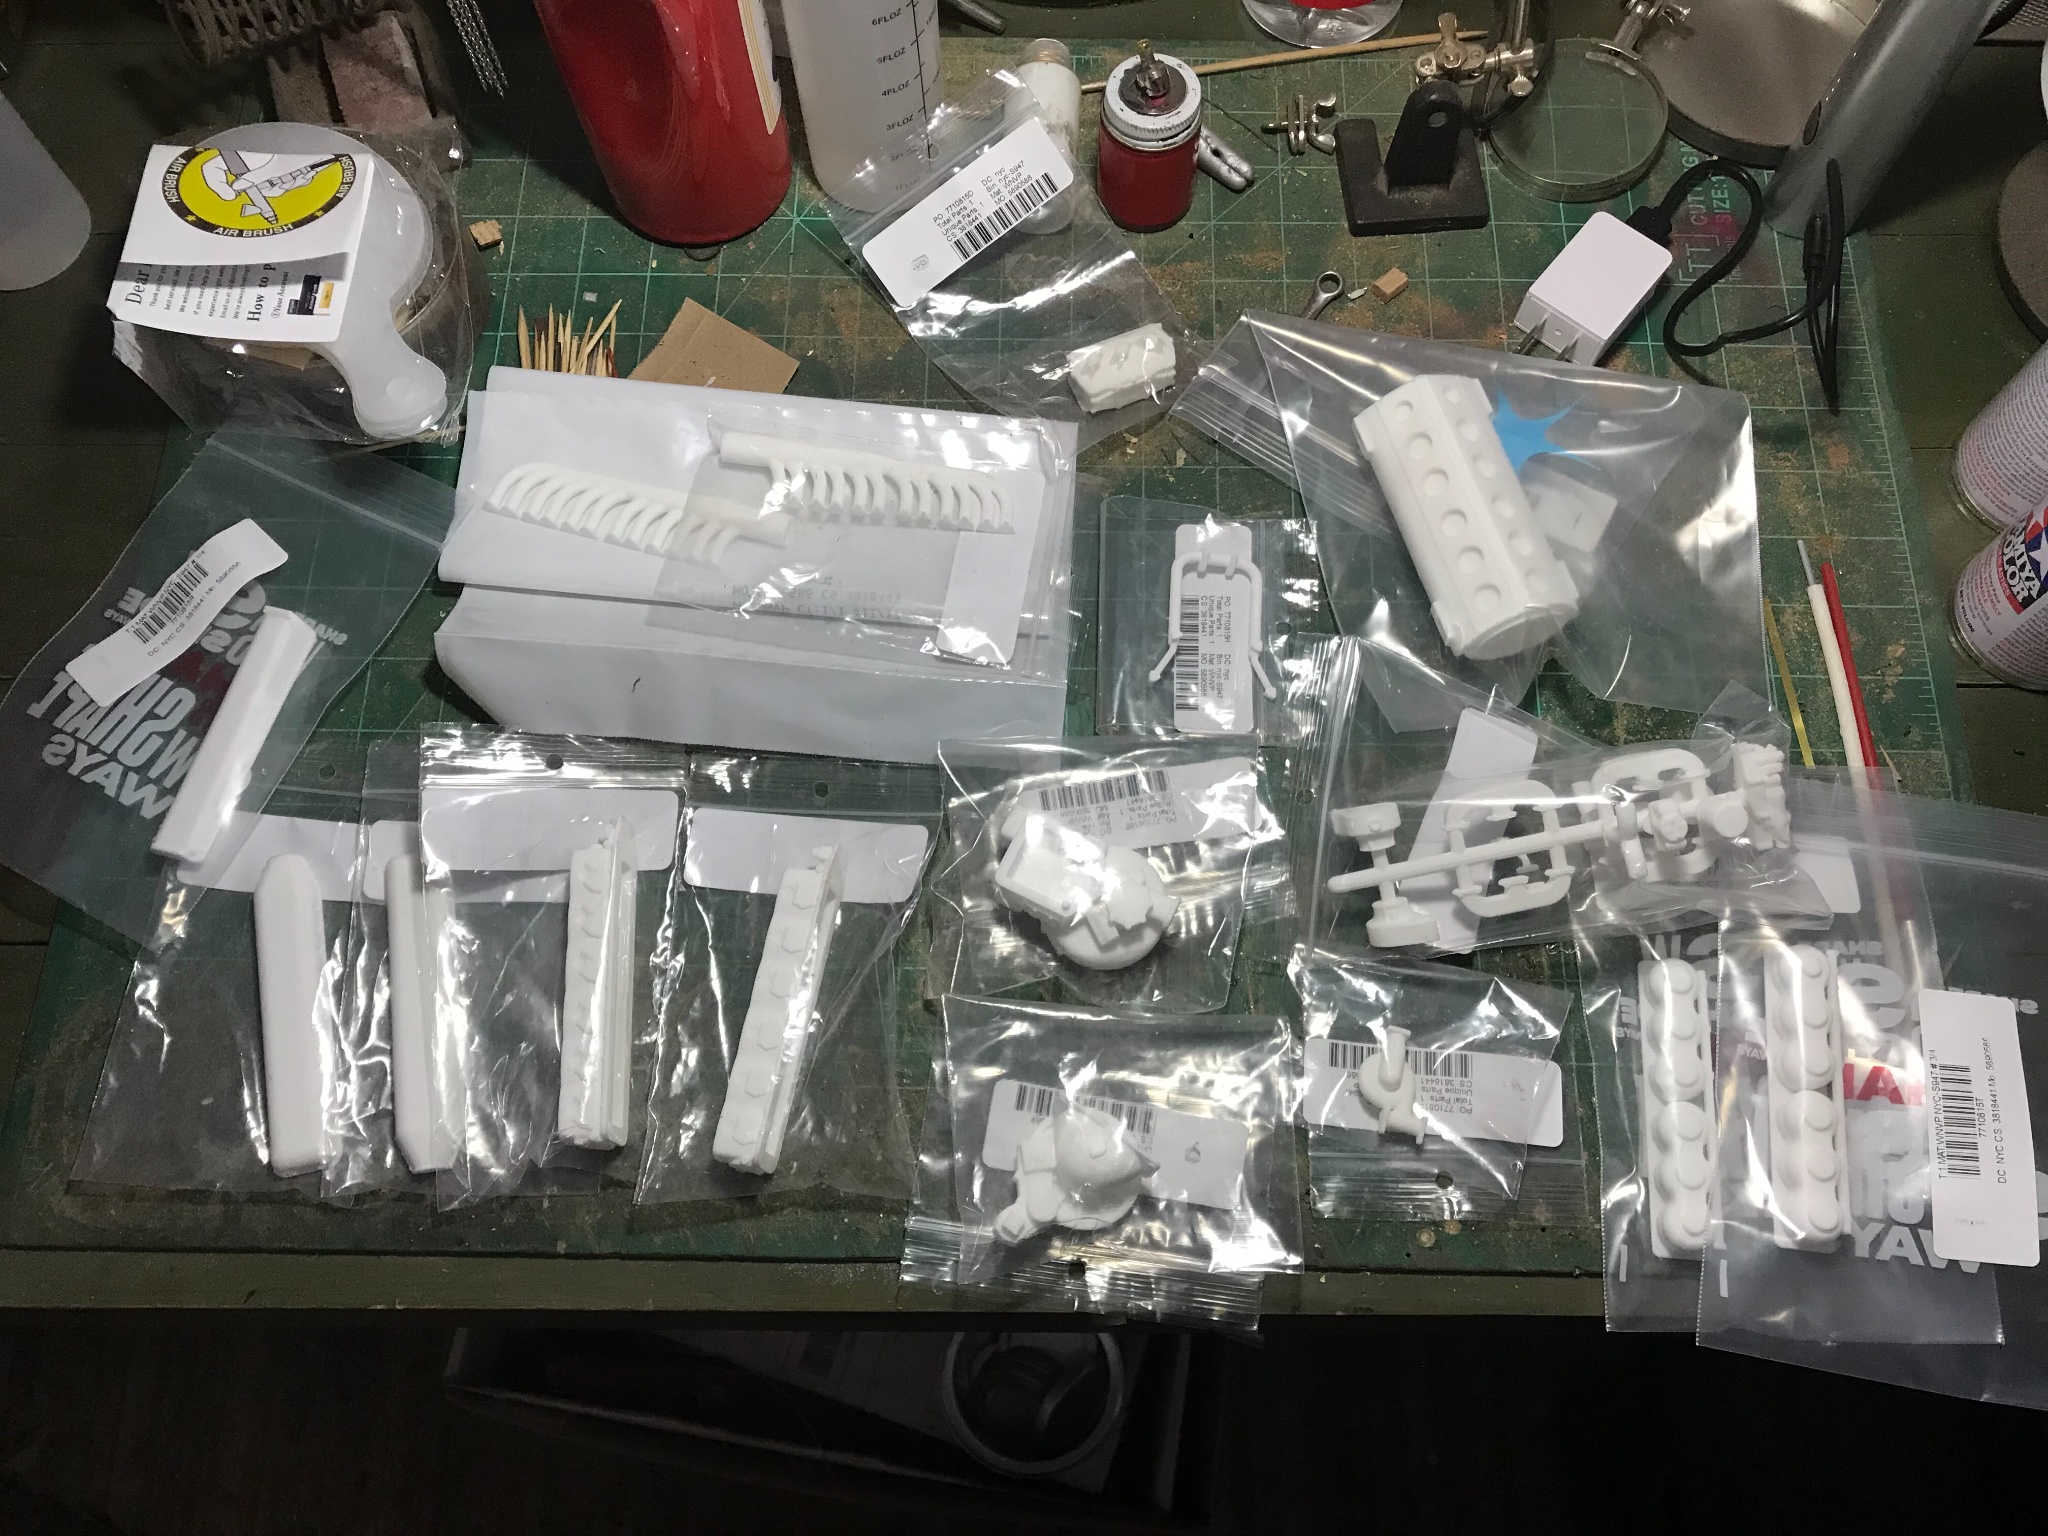
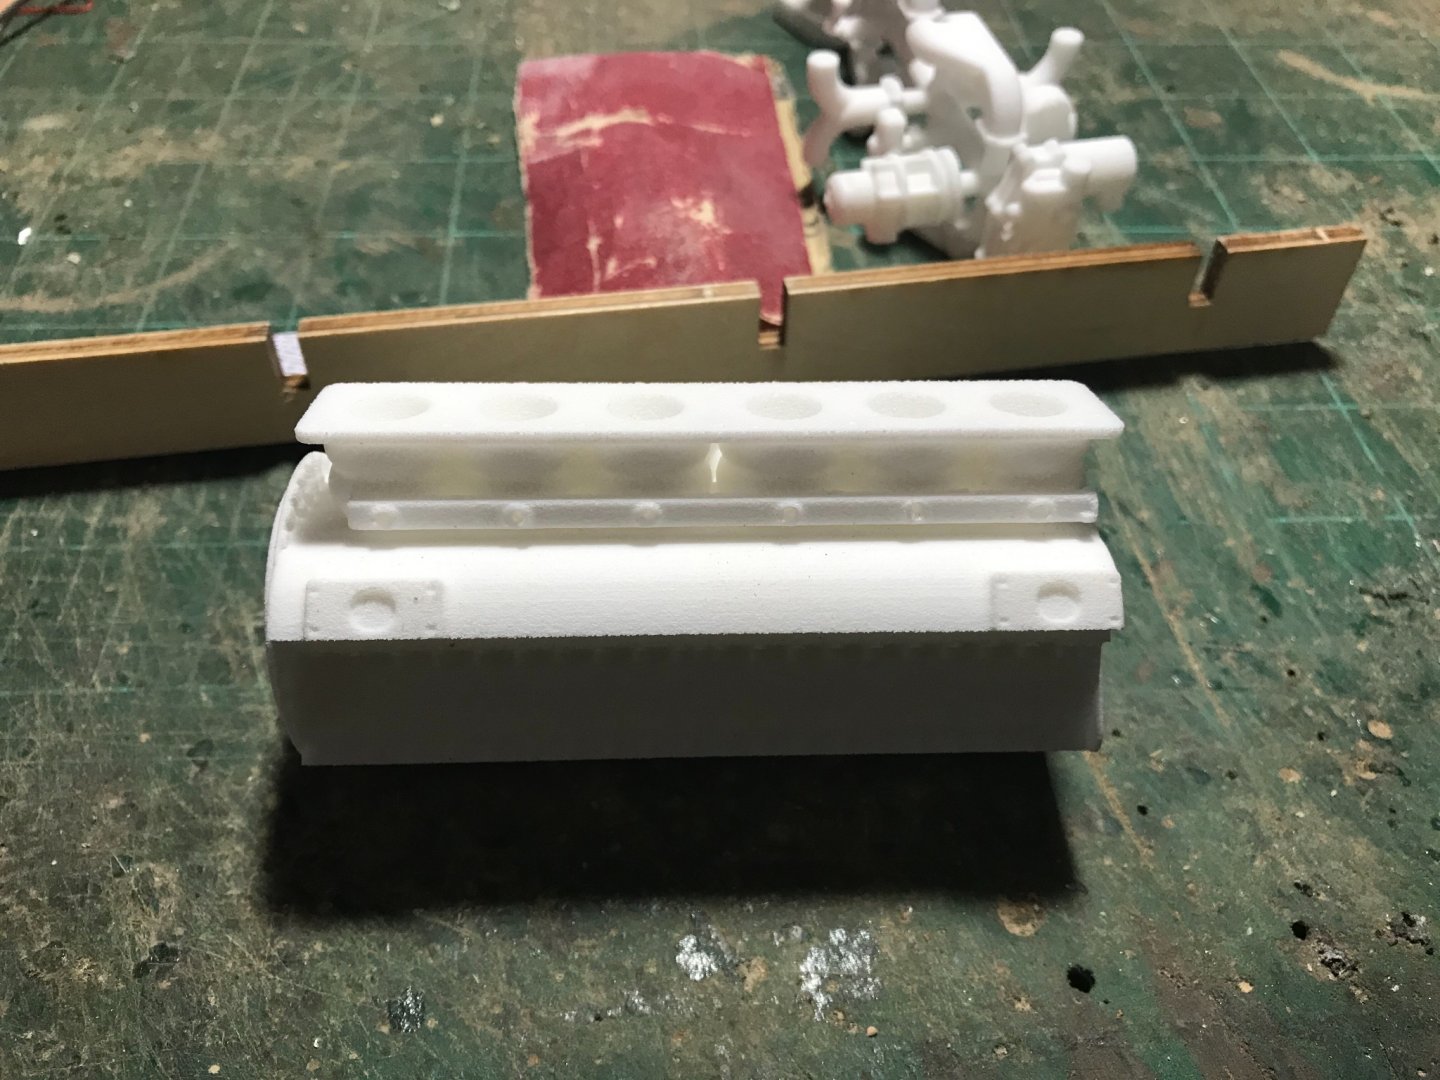
This is the TDR Innovations engine. The overall size is great, now I need to sort out the linkage, fuel lines, water and oil lines, how I’m going to do the spark plug wires and if I’m going to be doing the inside set, as this will be impossible to see. I also need to sort out the intake, as none was provide, simply the carburetors. The engine needs to be placed so that the crank and the output shaft are in a perfect line. I also want to build the engine cradle so that I have something to attach the engine to. My overall opinion of the engine is that it is very nice, it comes with no instructions, so par for the course here, however I’ve identified all the parts and will sort them as I’m ready to paint.

- 55 replies
-
- 5
-
-
- hydroplane
- Slo-mo-shun IV
- (and 1 more)
-
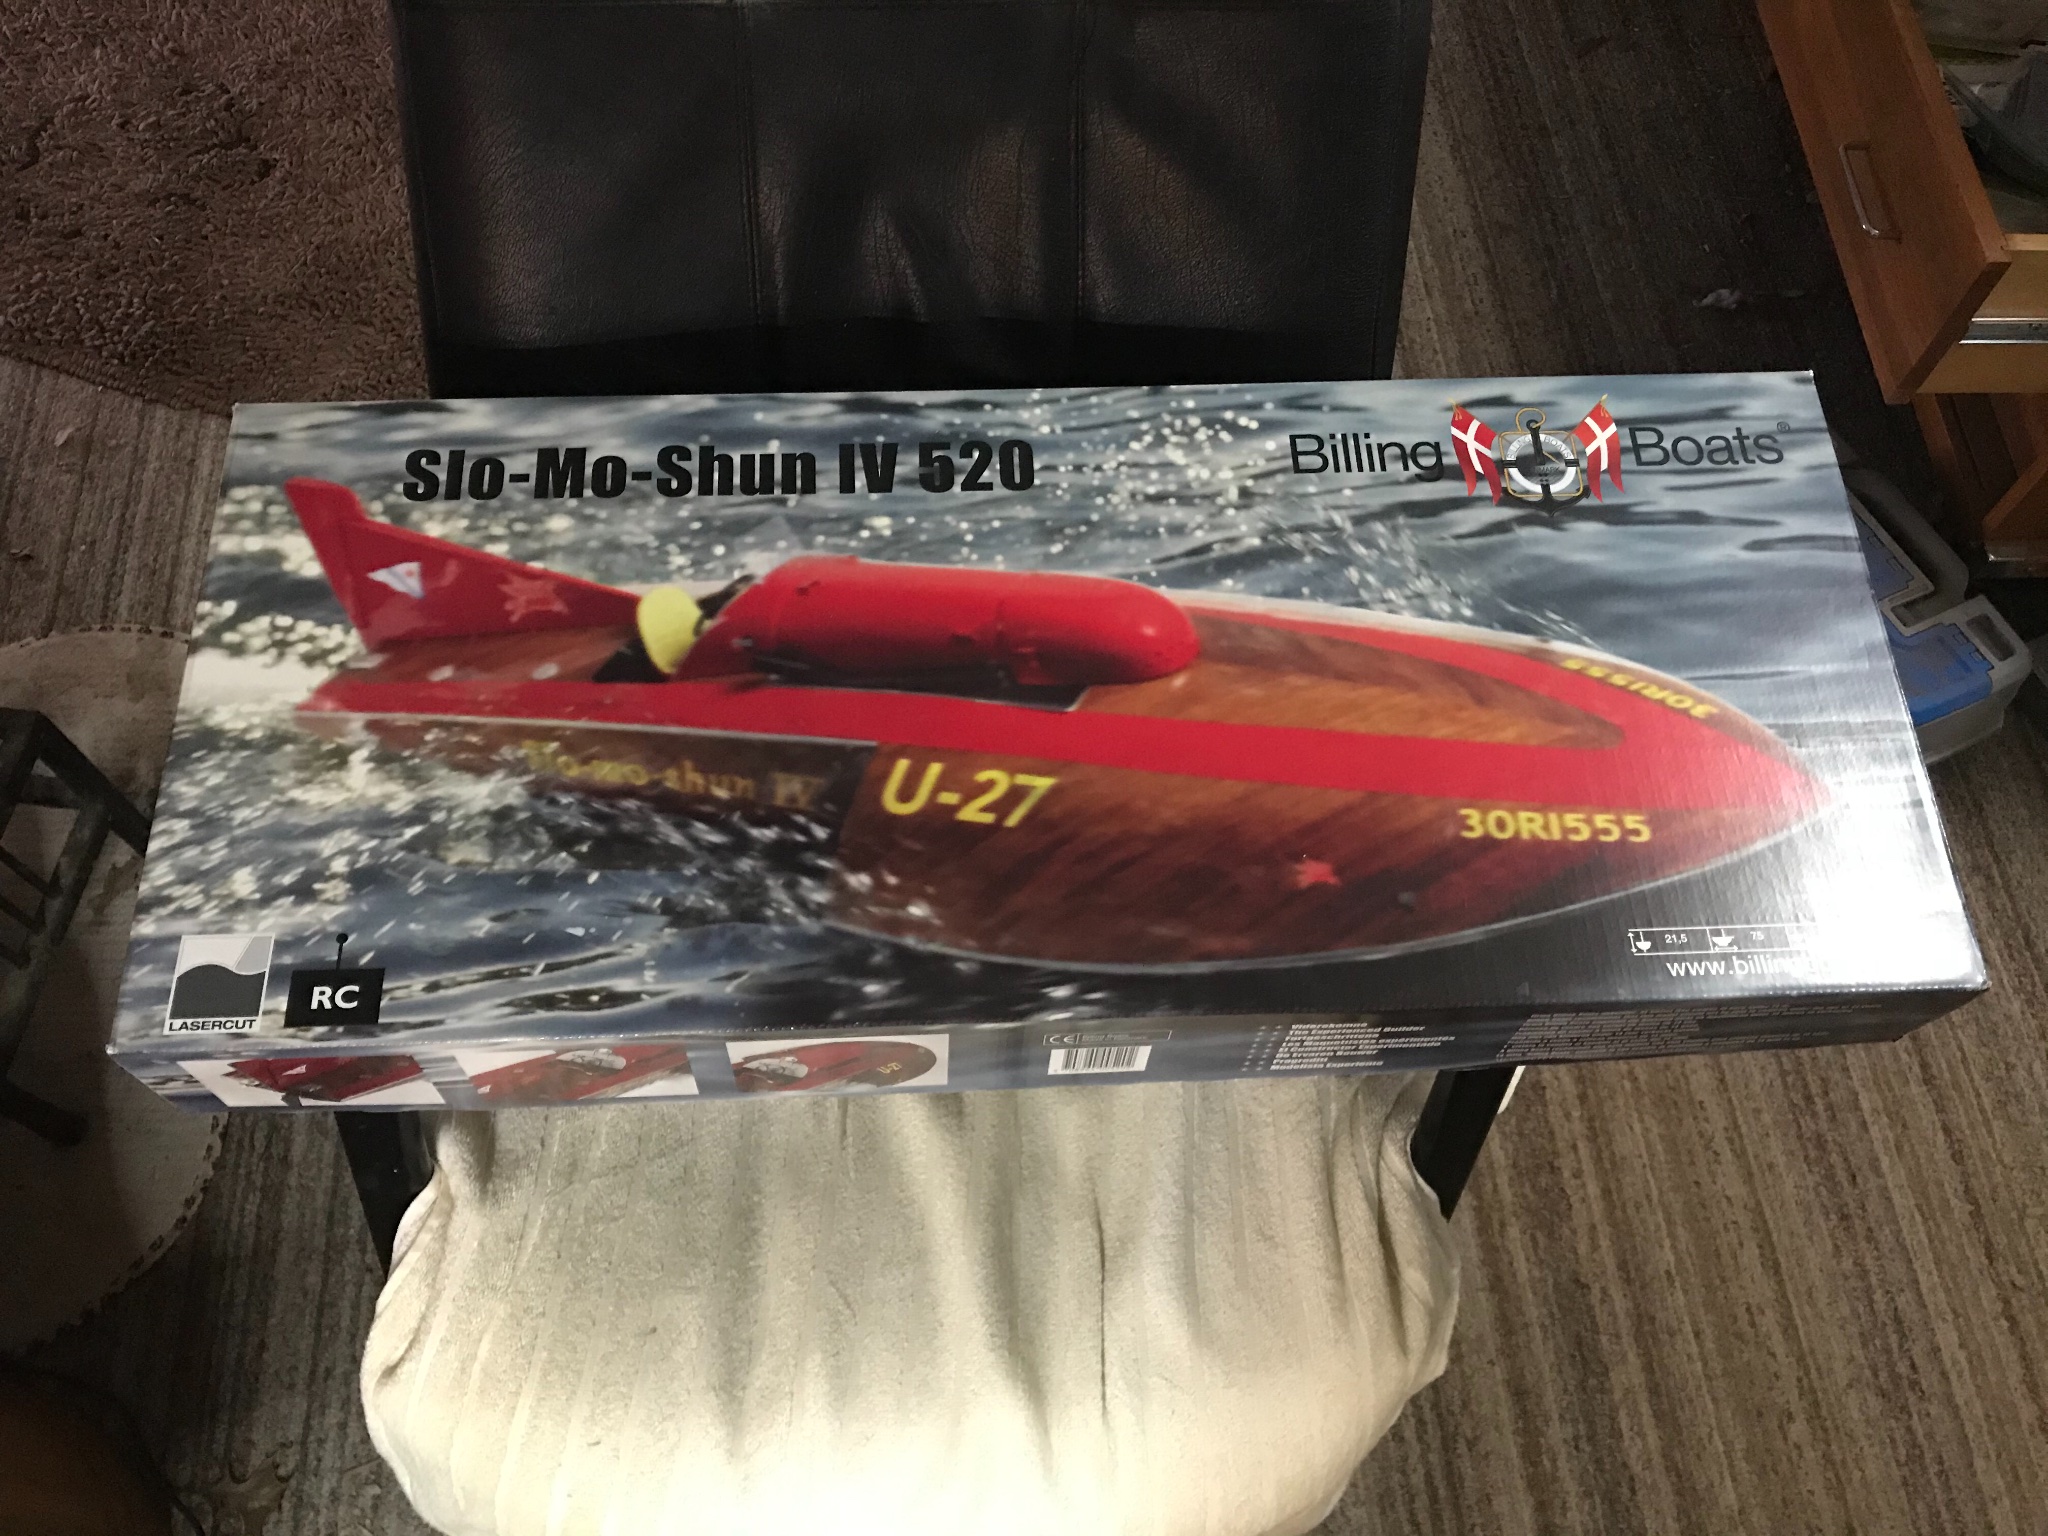
Hello all, this is my first build log. This boat has been on my models bucket list for some time, and last December model expo had it marked down and it fit right into my budget. After 2 months and a lot of searching I was able to get the engine. I was lucky enough to get an Allison 1710 from TDR innovations, I intend to paint it to resemble the Merlin that SLO-mo-shun ran. My initial take on the kits instructions is some what of a let down, I read through them 3 times, or should I say I looked at the pictures, not understanding any of it, only to decide that I would probably make headway once the parts were in my hands. The actual wood provided is of good quality, I did also forage around for alternative ideas for the hood, I think I’m good there now, we’ll learn as we go.

- 55 replies
-
- 3
-
-
- hydroplane
- Slo-mo-shun IV
- (and 1 more)
-
This is really cool. The scale is awesome, you should have no problems getting people, guns, mortars whatever you could want in this scale. the turret you have chosen feeds the 50 cals from the center, the charging handles are opposite the feed side. It would be really interesting to hear how they loaded them from your boat operator. And how they suppressed fire while reloading. The rounds are sensitive to the elements, so were there ammo cans that allowed them to place 200 rounds in for each gun? I’m sure there was a spotlight of some kind on that turret, I would assume that light would have been mounted above the head of the gunner, this would have blinded the enemy and also caused the enemy fire to be directed at the light, estimating that the average fire fight was 100 meters would have caused the small arms fire to climb over the boat, or at least the head of the gunner. I hope you don’t mind if I follow along with your build.
-
This is a wonderful model, with unlimited potential, and hundreds of possible road names. your effort is fantastic, good job seeing this through. I love how these old models are all finished differently, just like they would have been.
-
Very nice
-
Great job, the paint looks awesome. what do you do with it now?
-
Sorry am unable to upload photos at this time.
-
I understand your dilemma. I was thinking of repurposing a coffee table, something still usable as a table with the ship built in. However that ship is the size of a large family sized dinner table, and at that it would probably not fit out any normal sized door, without complete disassembly. I also thought of how great it would be to build that case. Any reasonable case that size would cost more to ship than could be imagined. I do guess if you make an upper and lower shelf you could very easily build the lights right in, along with a door, no matter it’s hinged or not, could still be basically dust proof. Good luck with your plan. We need a display case section, there are several cabinet makers on this forum.
-
If the ship is 1700mm long how wide is it? And how tall is it? How will you light it up? How will you move it? It’s so beautiful, I personally would want to be able to walk around it.
-
Thank you Michael for bringing this forward, for this newbie to see. I do especially like the case, I feel there should be a section on this forum dedicated to the cases. A nice case or cabinet / stand is also a piece of art.
- 113 replies
-
- 2
-
-
- heinrich kayser
- steamship
- (and 1 more)
-
Miniature Drill Bit Chuck for Dremel Tool?
Blackreed replied to turangi's topic in Modeling tools and Workshop Equipment
The smaller drill bits are so small that hand drilling is what works best for me. And even then I’ve broken so many, it’s also become a hobby of mine. Mostly by dropping the drill, or wand. The speed is best set by the material you are drilling. Drill bits get hot, this is a nightmare for plastic, causing the dremel to be practically worthless. The idea of the bit is to self clear the waste, on these tiny bits they can’t, causing them to actually change size very quickly, due to using waste as a sanding/polishing agent. These tools are all great but are not designed for such small bits. If you have a physical condition, I’m sorry. And if you use an electric drill please buy the bits in bulk, it will save you time in the long run. -
Looks beautiful
-
The model is beautiful so far. I really like the hinges, they look like they all work. Heavy duty. it looks like you could run a key way to that windless through the side, that’s removable, I guess the feat would be holding the windless in a specific position, how is that done?
- 175 replies
-
- 1
-
-
- hanse kogge
- shipyard
- (and 1 more)
-
Beautiful work.
-
Tally Ho by jwpage - Scale 1:16
Blackreed replied to jwpage's topic in - Build logs for subjects built 1901 - Present Day
Your work is amazing, so is the wood you started with, I thought you were going to make cabinets😁 I looked into the bolts, you are correct they are expensive and I can not find them in bulk, threaded rod is by the piece, no savings there, and to find 1/16 rod in my bin I was looking at paper clips, I wasn’t sure how I would hold the brass rod while I threaded it, I do have it in plastic rod, the bolts would be easy to turn, but no realism there. Although it would make 4 sided bolts easygoing. if you could move up to 1/8 inch it would reduce the price considerably. keep up the good work. everyone on this site is so amazing. -
I think you did awesome, you should never need paint stirs again.
- 19 replies
-
- 1
-
-
- milling wood
- echo cross section
- (and 1 more)