Keith Black
-
Posts
6,728 -
Joined
-
Last visited
Content Type
Profiles
Forums
Gallery
Events
Everything posted by Keith Black
-
 Eric, IMO that's the better choice for now, once you have the town and foliage in place then decide.
 -
Congratulations, Jacques. All those hours of research paid off in a well executed and handsomely built model of a little known work a day vessel. 👍
- 312 replies
-
- 3
-

-

-
- Chile
- Latin America
- (and 6 more)
-
Cheap price and probably a quality block as built in obsolescence hadn't been invented yet.
- 457 replies
-
- 6
-

-
-
- sternwheeler
- Hard Coal Navy
- (and 1 more)
-
It's good to see the Astrolabe back on the menu, Bob. 👍
-
Mine fly off into the abyss never to be seen again. I guess it's food for the modeling gods?
- 288 replies
-
- 7
-
-
-
- Card
- Pre-Dreadnought
- (and 3 more)
-
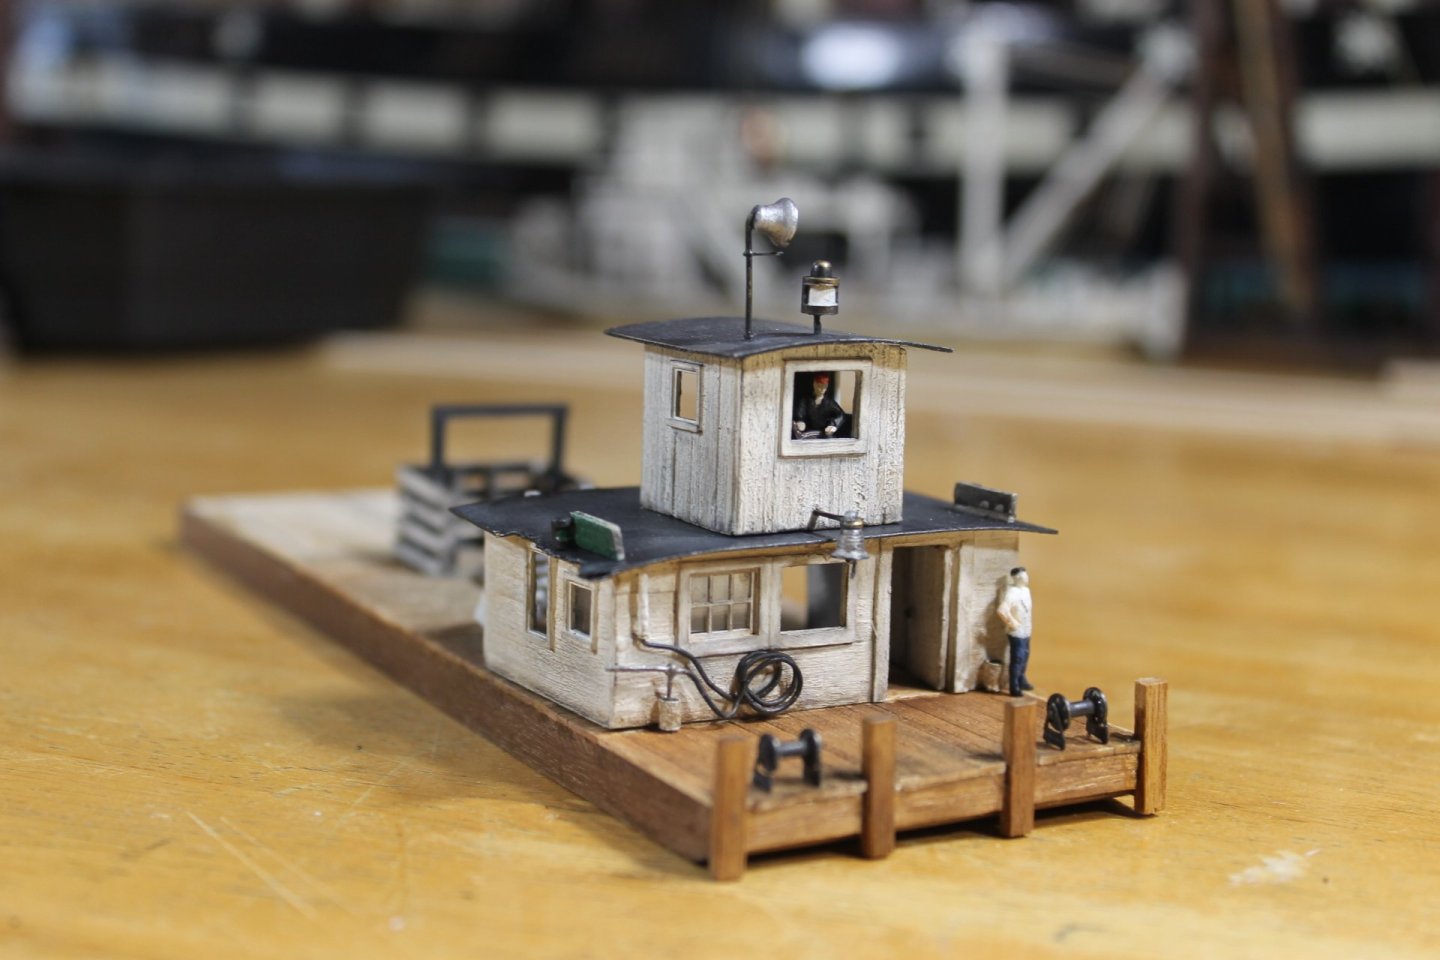
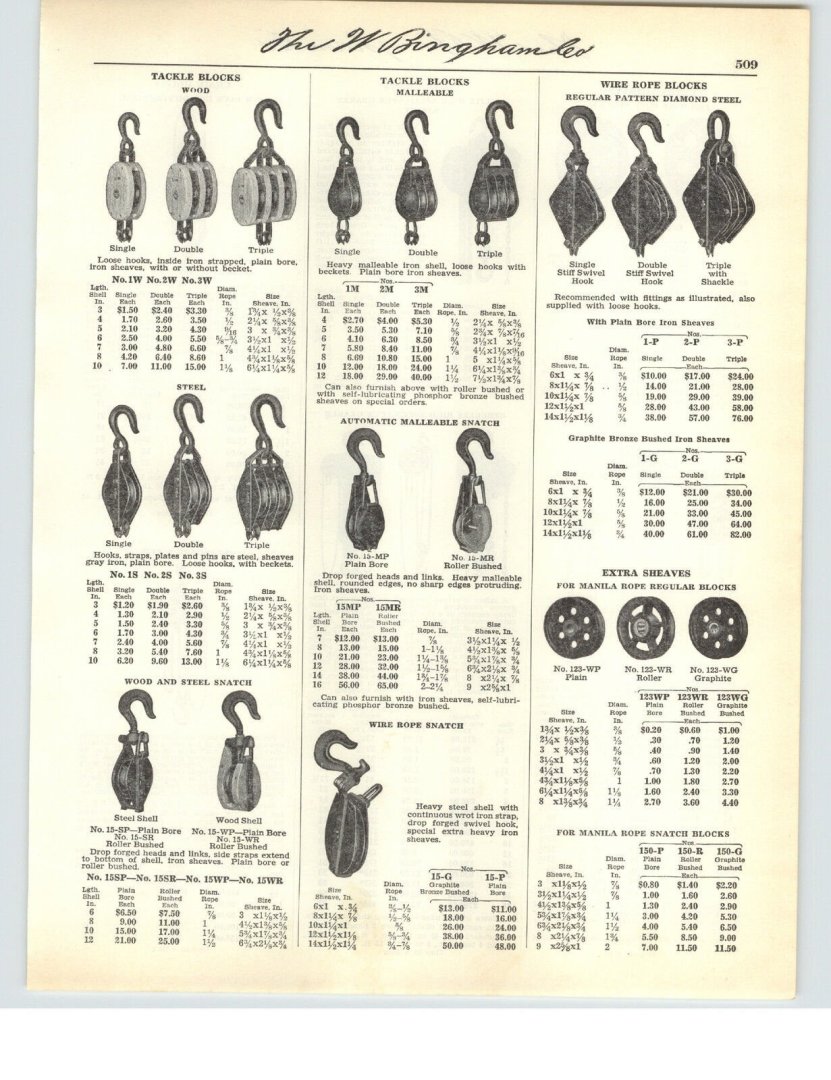
Thank you to all for the kind comments and the likes. A bit of play and a bit of progress. Nothing is glued to the deck as I'm still trying to determine the exact hull length. I'm close and I'm thinking 67 feet is going to be the magic number. I need to get a rough boiler in place and start trying to get some idea of the coal auto feeder shapes and dimensions. If anyone has photos or drawings of large scale auto feeders for vertical boilers I'd be forever grateful, please post anything that might be helpful. I think it was either belt or bucket fed because the wire rope blocks hanging above the coal crib as seen in both the bow and stern original photos. I did some preliminary work on the deckhand, sill more to do but he looking the part. The chain winches need to lowered a tad. The stairs are glued to the roof of the engine room, much more work on the stairs is required. The coal crib and support for (this is where the wire rope blocks hang from) the auto feeder's tail. I don't know of it was belt or bucket that took the coal to the crown table. Did the crown table shake and then coal went onto the slide or did gravity alone get the coal onto the slide? The top right group single is what I see hanging from the support. Thank you for your support and for being part of the journey. Keith

- 457 replies
-
- 20
-
-

-
- sternwheeler
- Hard Coal Navy
- (and 1 more)
-
That second photo looks like prairie hula dancers. Both are great compositions.
-
Okay, okay. I'm just sayin' I'm ready to see another one of your beautiful SIB projects come to life. Thank you, Keith. Thank you, Gary. John, how very kind of you to say. I do believe I've found my niche. I've enjoyed, am enjoying creating models of vessels most wouldn't give a second glance. Not all boats come off the ways with beautiful lines but if one looks hard enough at those that don't, one comes to appreciate their persistence to keep moving forward in their work a day world.
- 457 replies
-
- 10
-
-
- sternwheeler
- Hard Coal Navy
- (and 1 more)
-
Thank you, Glen. Hey, when's that "TBD" gonna change?
- 457 replies
-
- 4
-
-
- sternwheeler
- Hard Coal Navy
- (and 1 more)
-
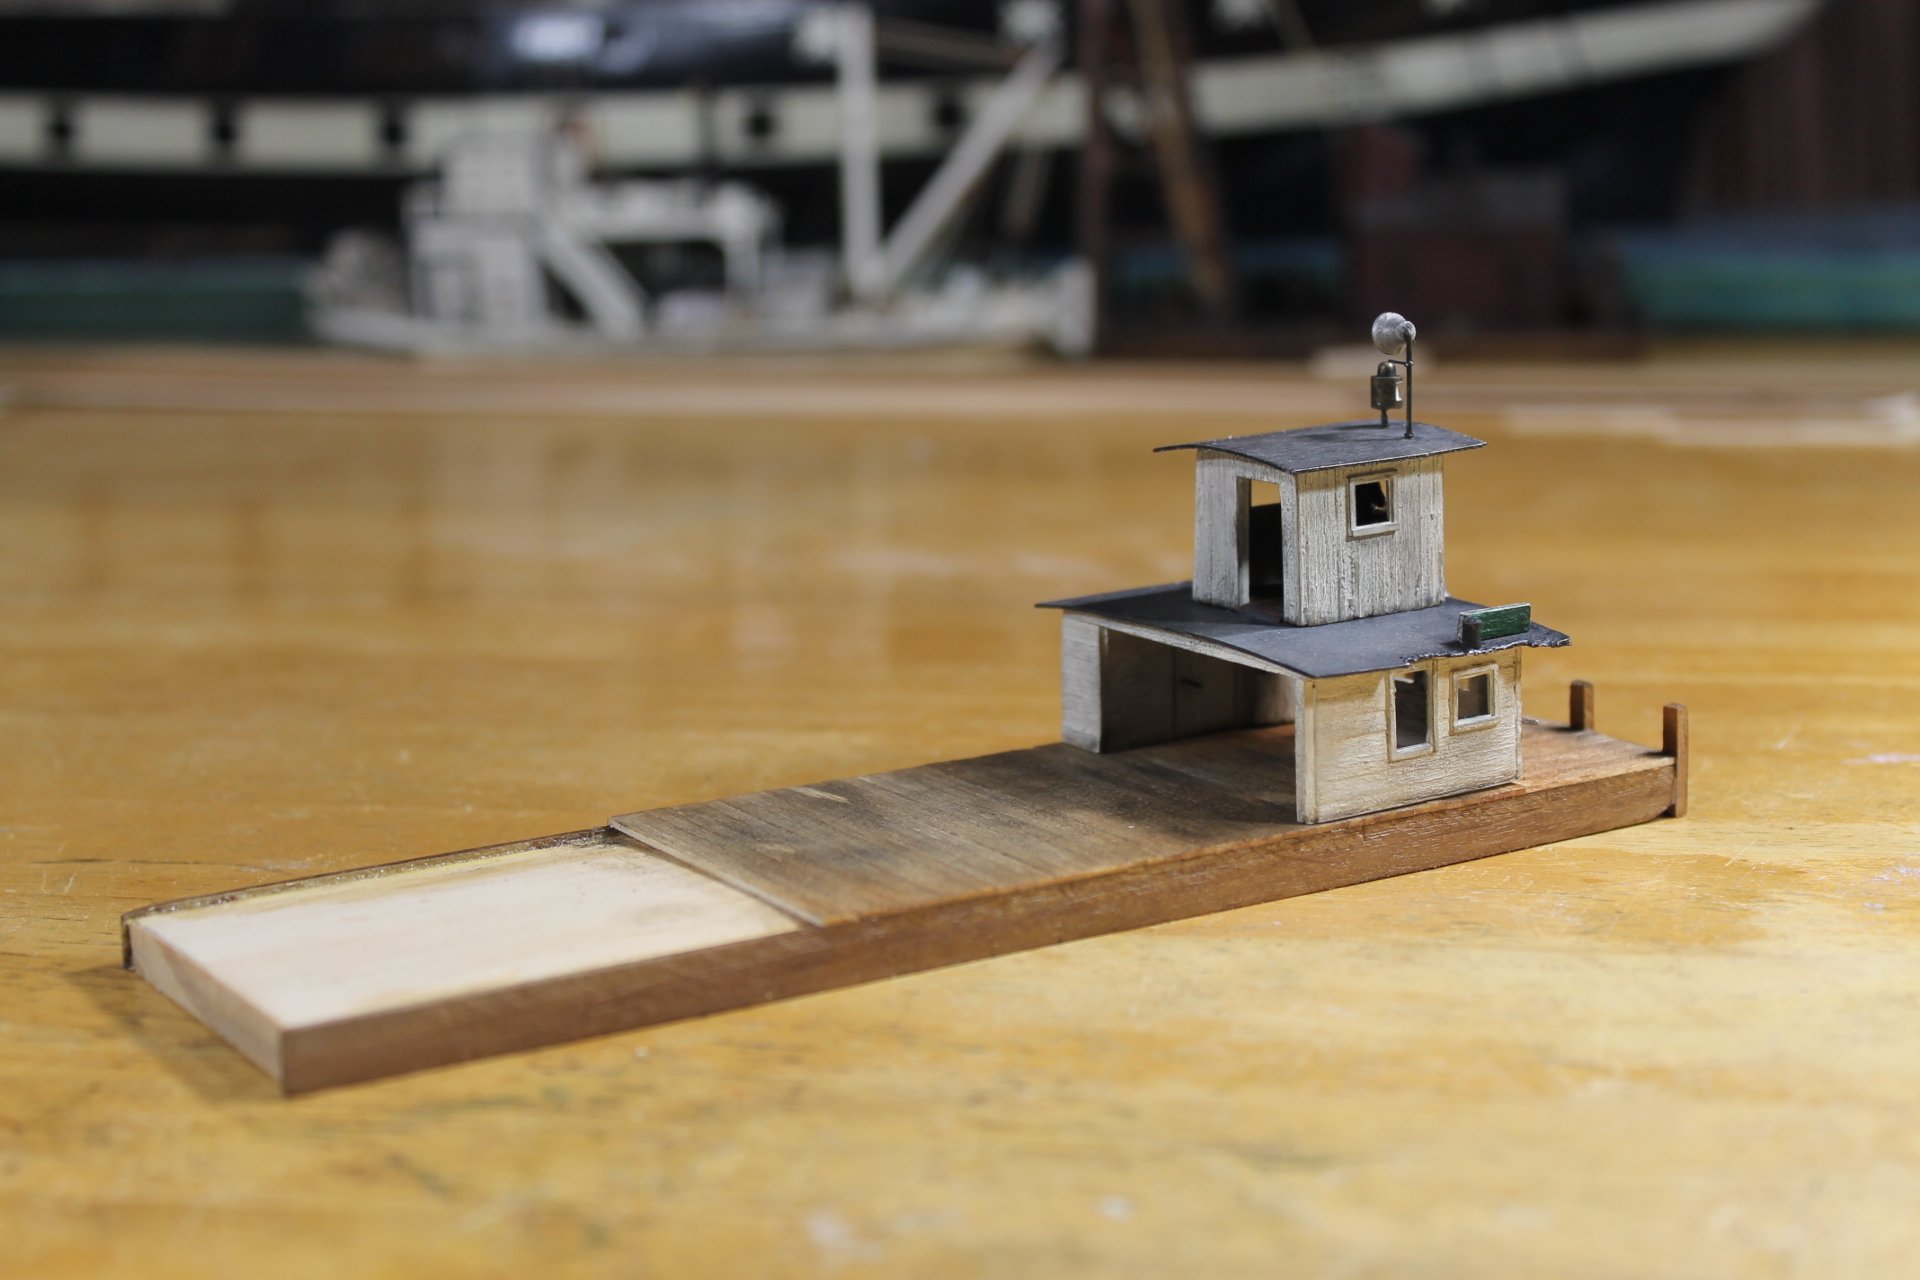
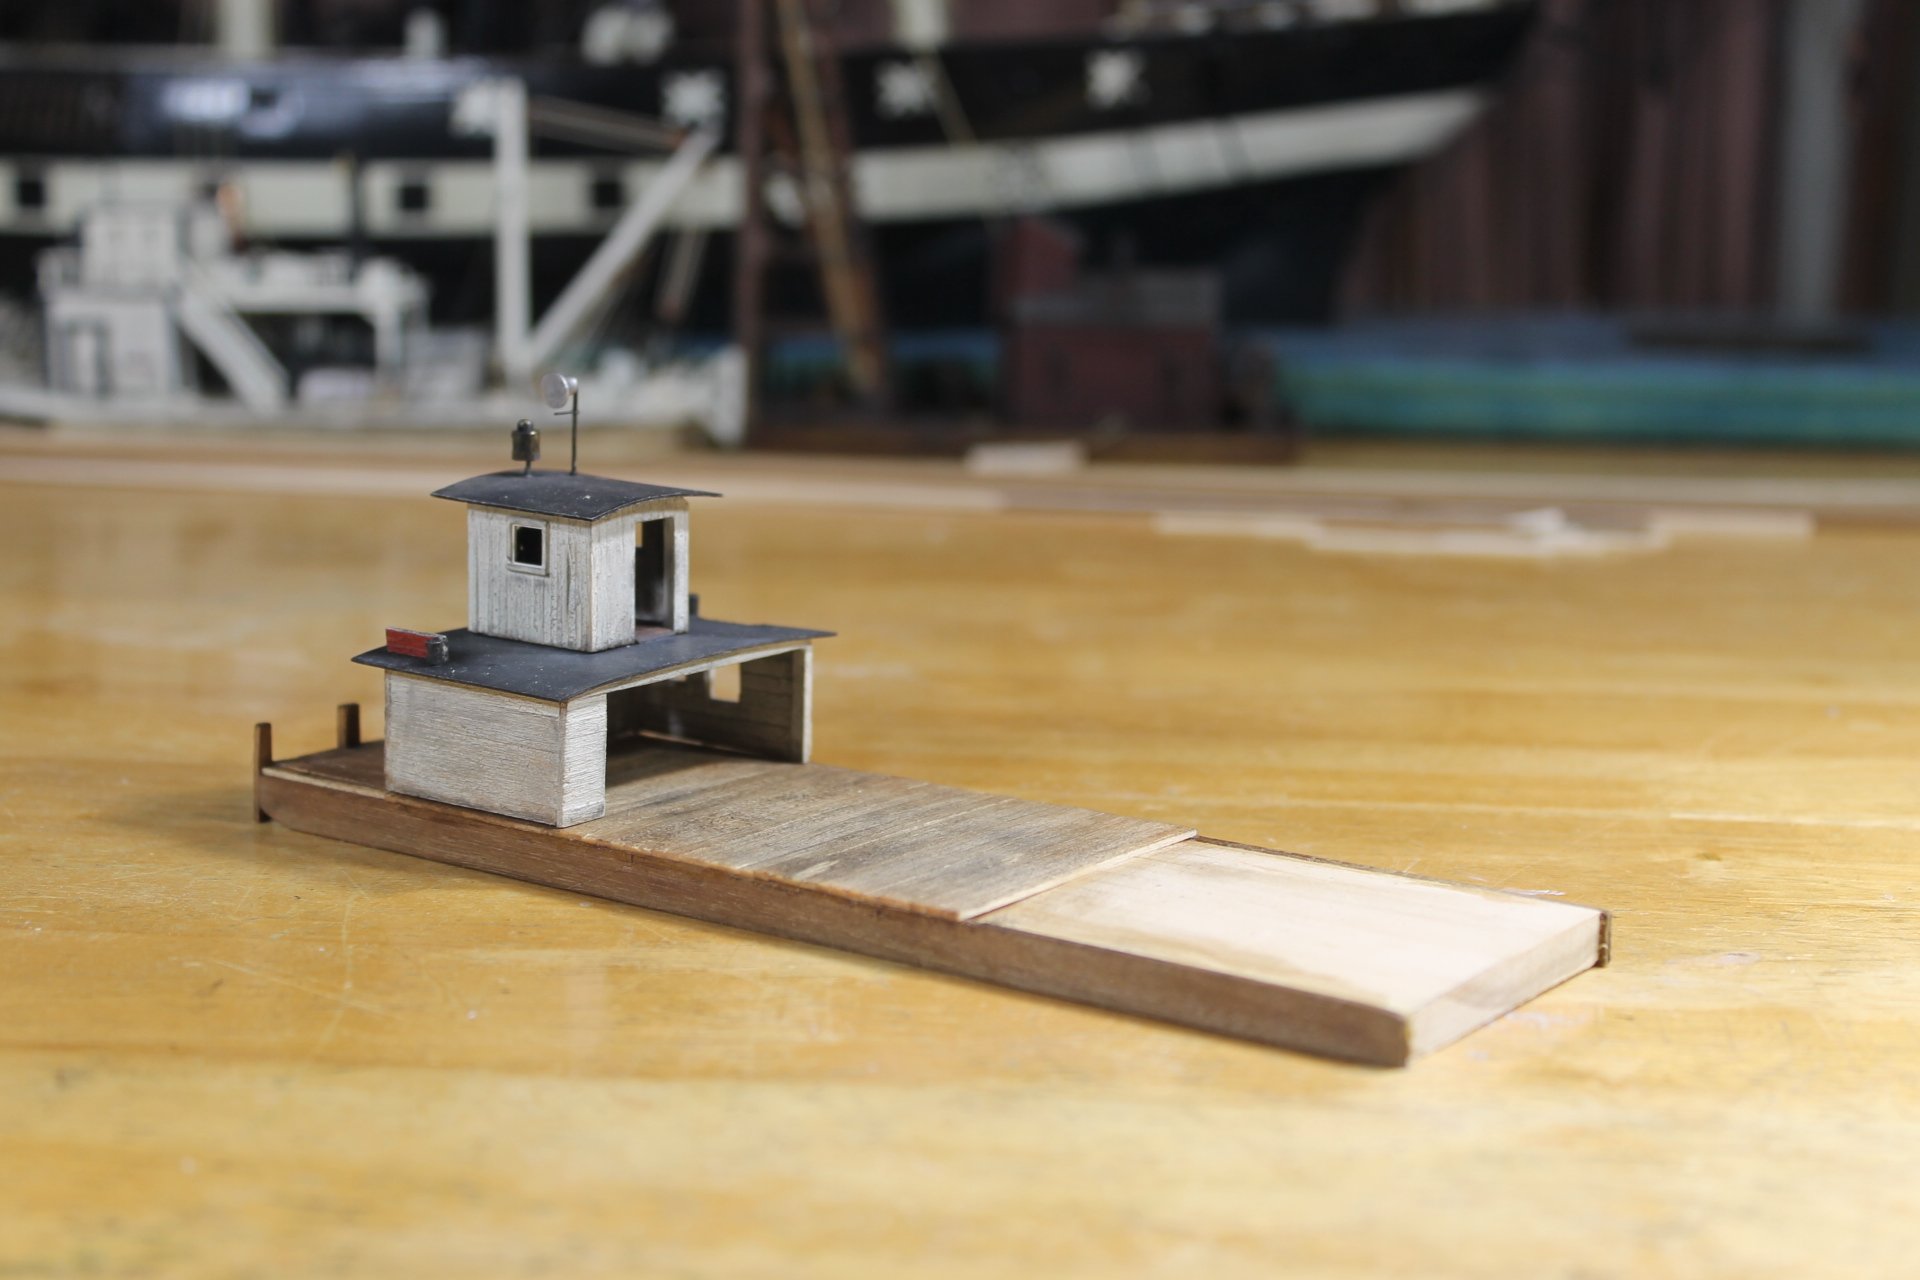
Thank you to everyone for the comments and likes. There is a hull in the action. I added some color to the bow. In the original photo the decking on the bow runs fore to aft but the decking aft of the engine room fore wall runs from side to side. The only reason I can think of for that being the case is another layer of decking was laid down on top of the old decking at some point as the bow decking takes the most beating. I also added a little color aft of the engine room. More will be added as the build progresses. I've let the aft run wild till i know exactly where to make the cut out for the wheels. Thank you to all for your support and for following along. Keith


- 457 replies
-
- 18
-
-
-
- sternwheeler
- Hard Coal Navy
- (and 1 more)
-
That background is beautifully done, Eric. Bravo!
-
john, a nice update before you head off on holiday. I pray your medical treatment is successful, get back to us when you're able. Take care.
-
Ah, don't sell yourself short, John. Yes, decent figures painted or unpainted are difficult to find. With the number of cottage 3D printer industry folks out there these days I'm really surprised that someone hasn't taken on that market niche and made a determined go at it.
-
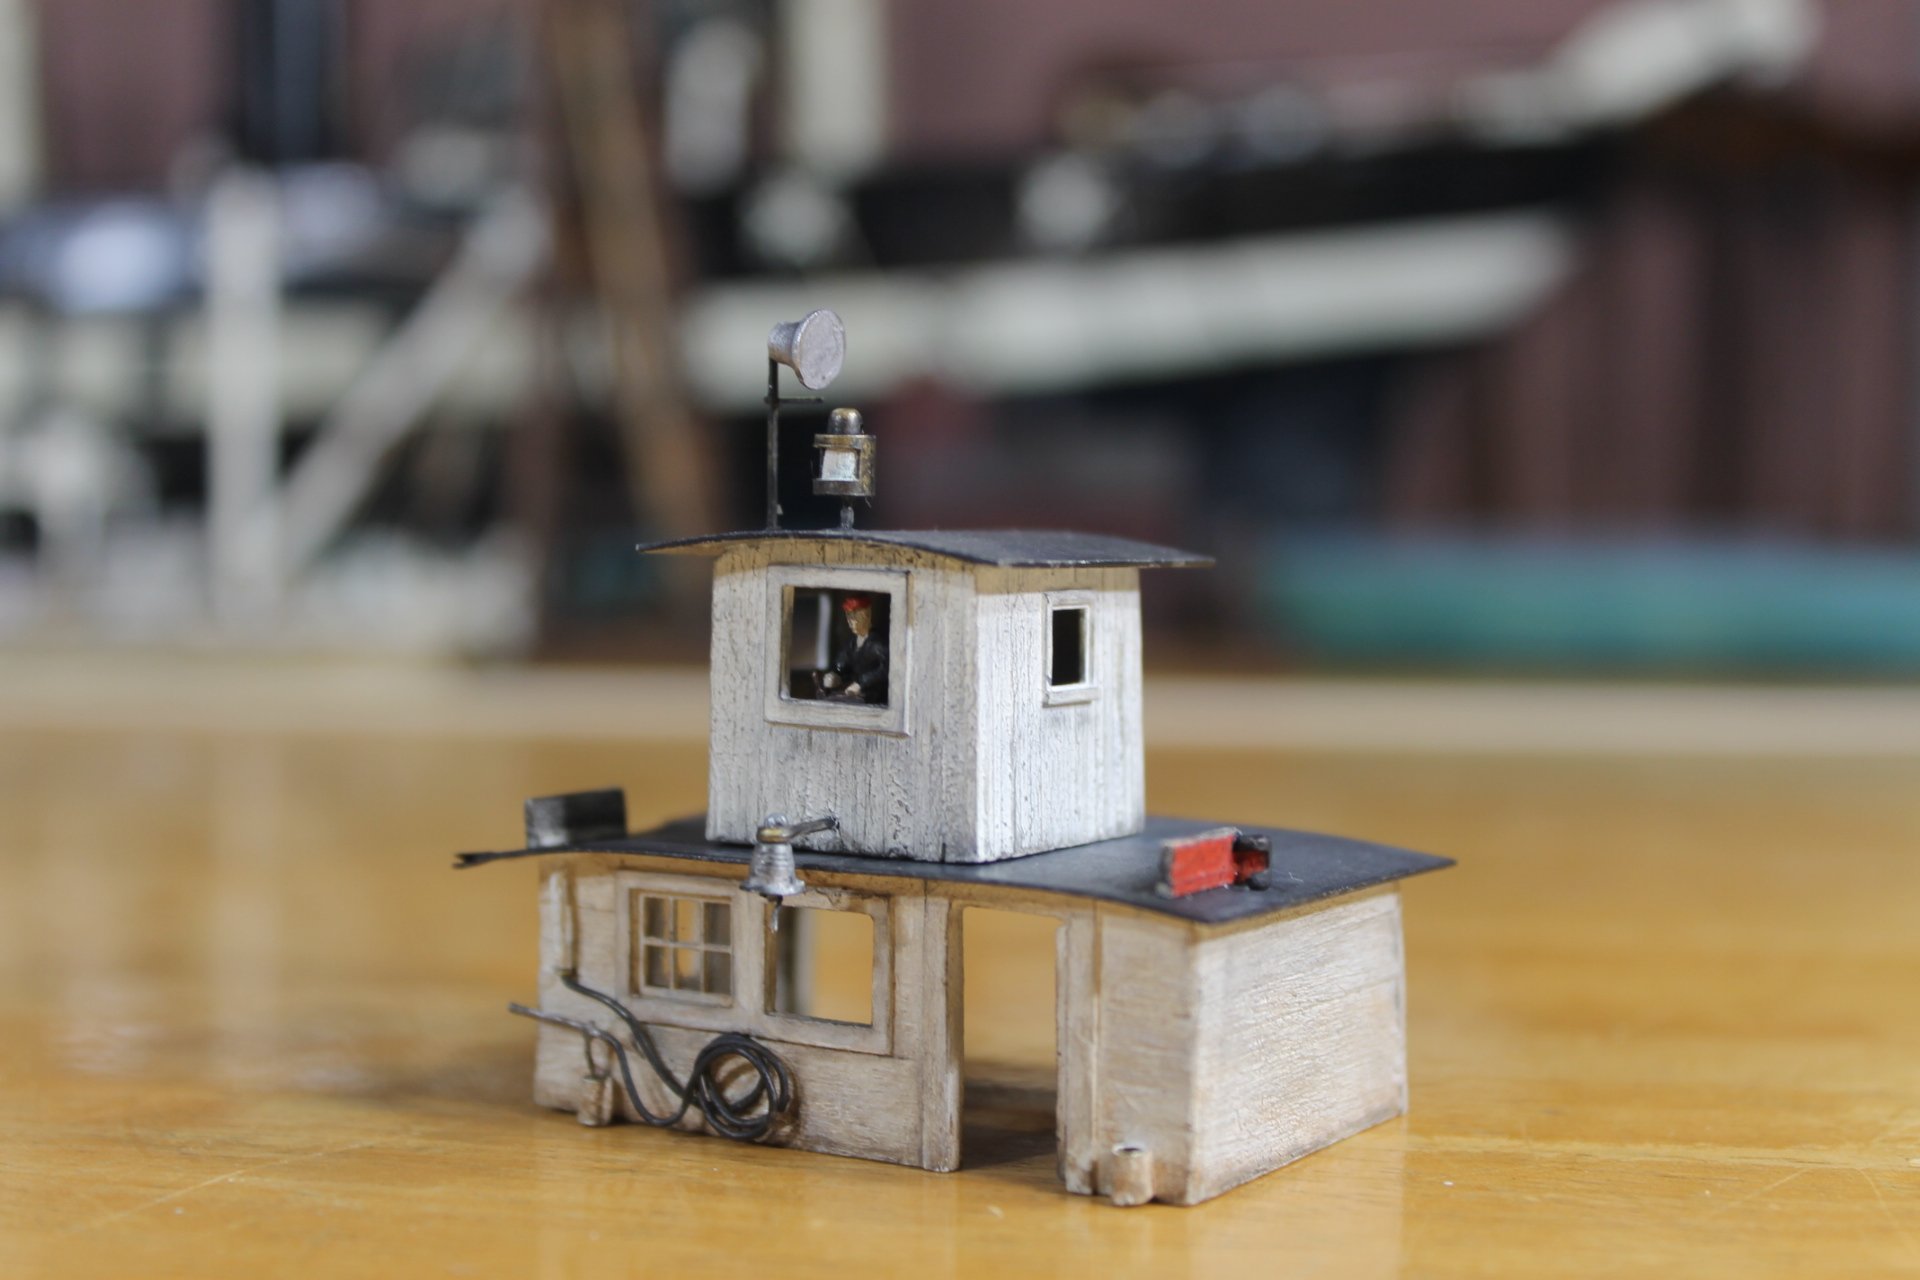
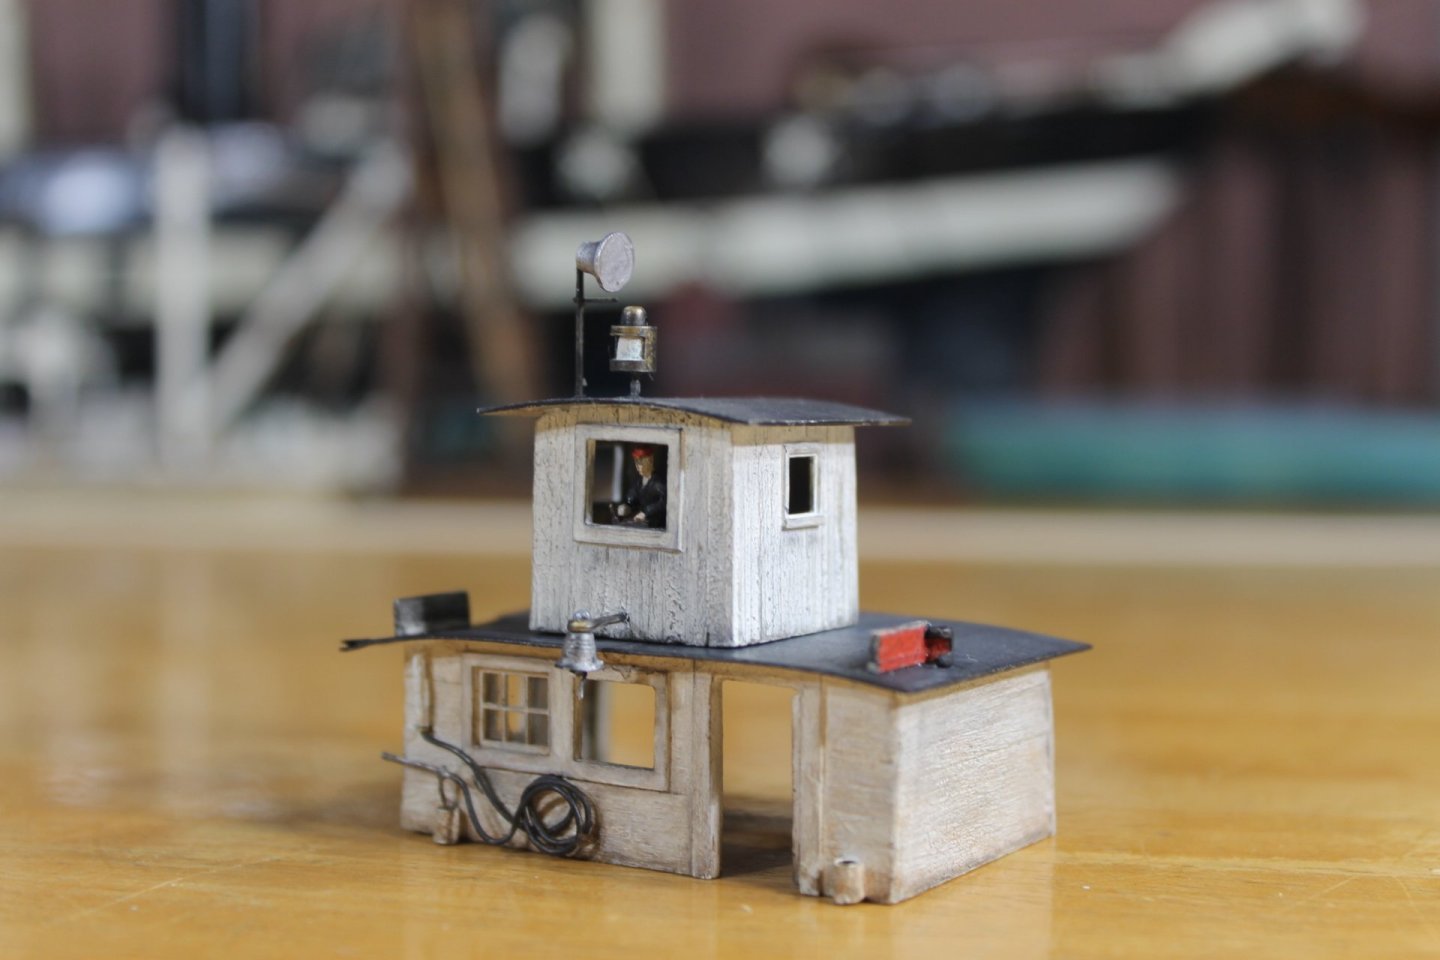
Thank you, Tom I agree, the pilothouse was more coal sooted as it was higher up and it was worse on the aft side. The engine room was more of a tan color because of the dredged material being primarily on the side and fore walls. If anything, I think I need to add just a whisper of tan to the pilothouse side and fore walls.
- 457 replies
-
- 7
-
-
- sternwheeler
- Hard Coal Navy
- (and 1 more)
-
John, did your figures come pre painted or is that your work? Whichever, those are sharp looking figures.
-
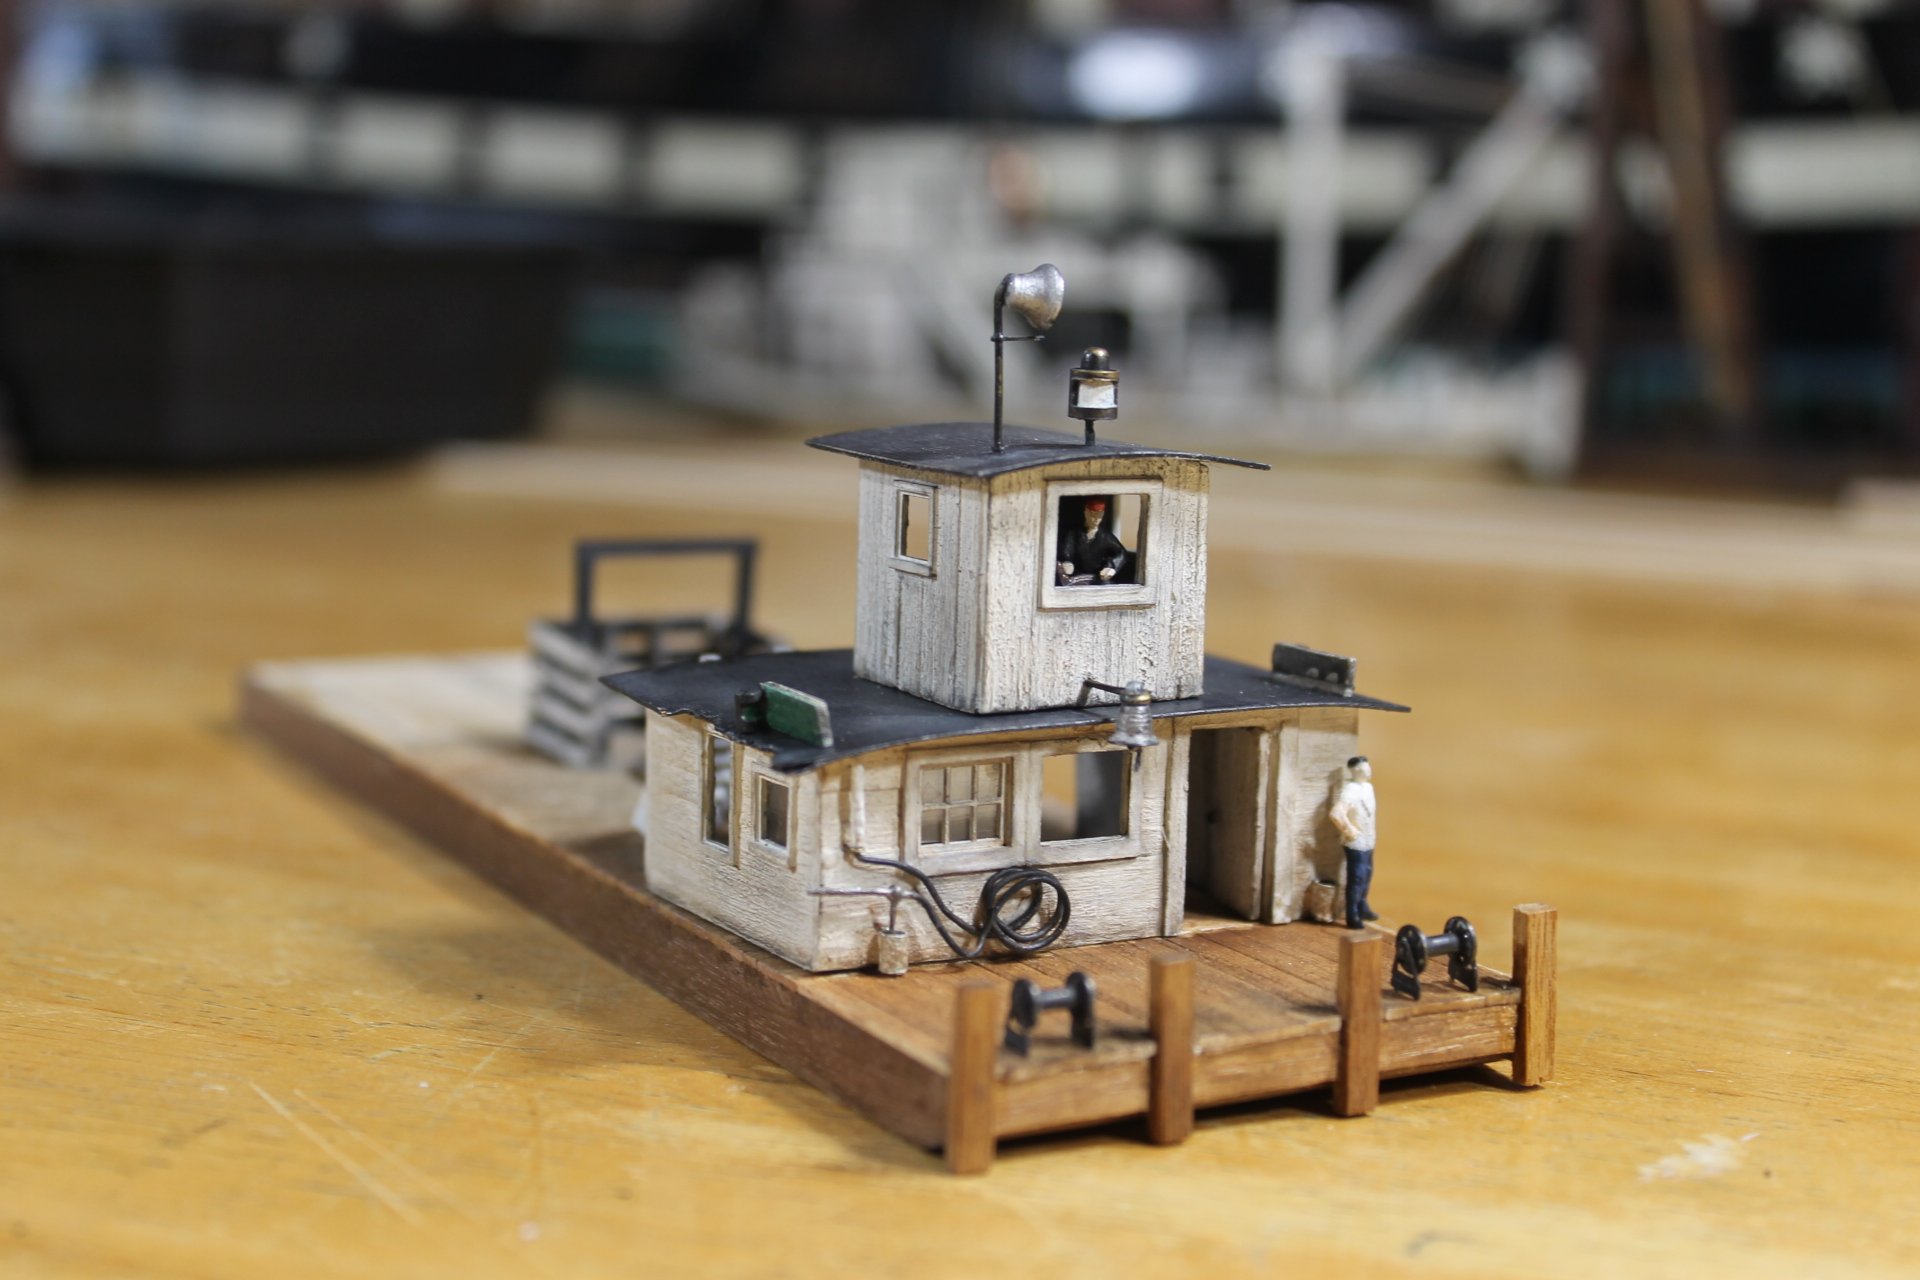
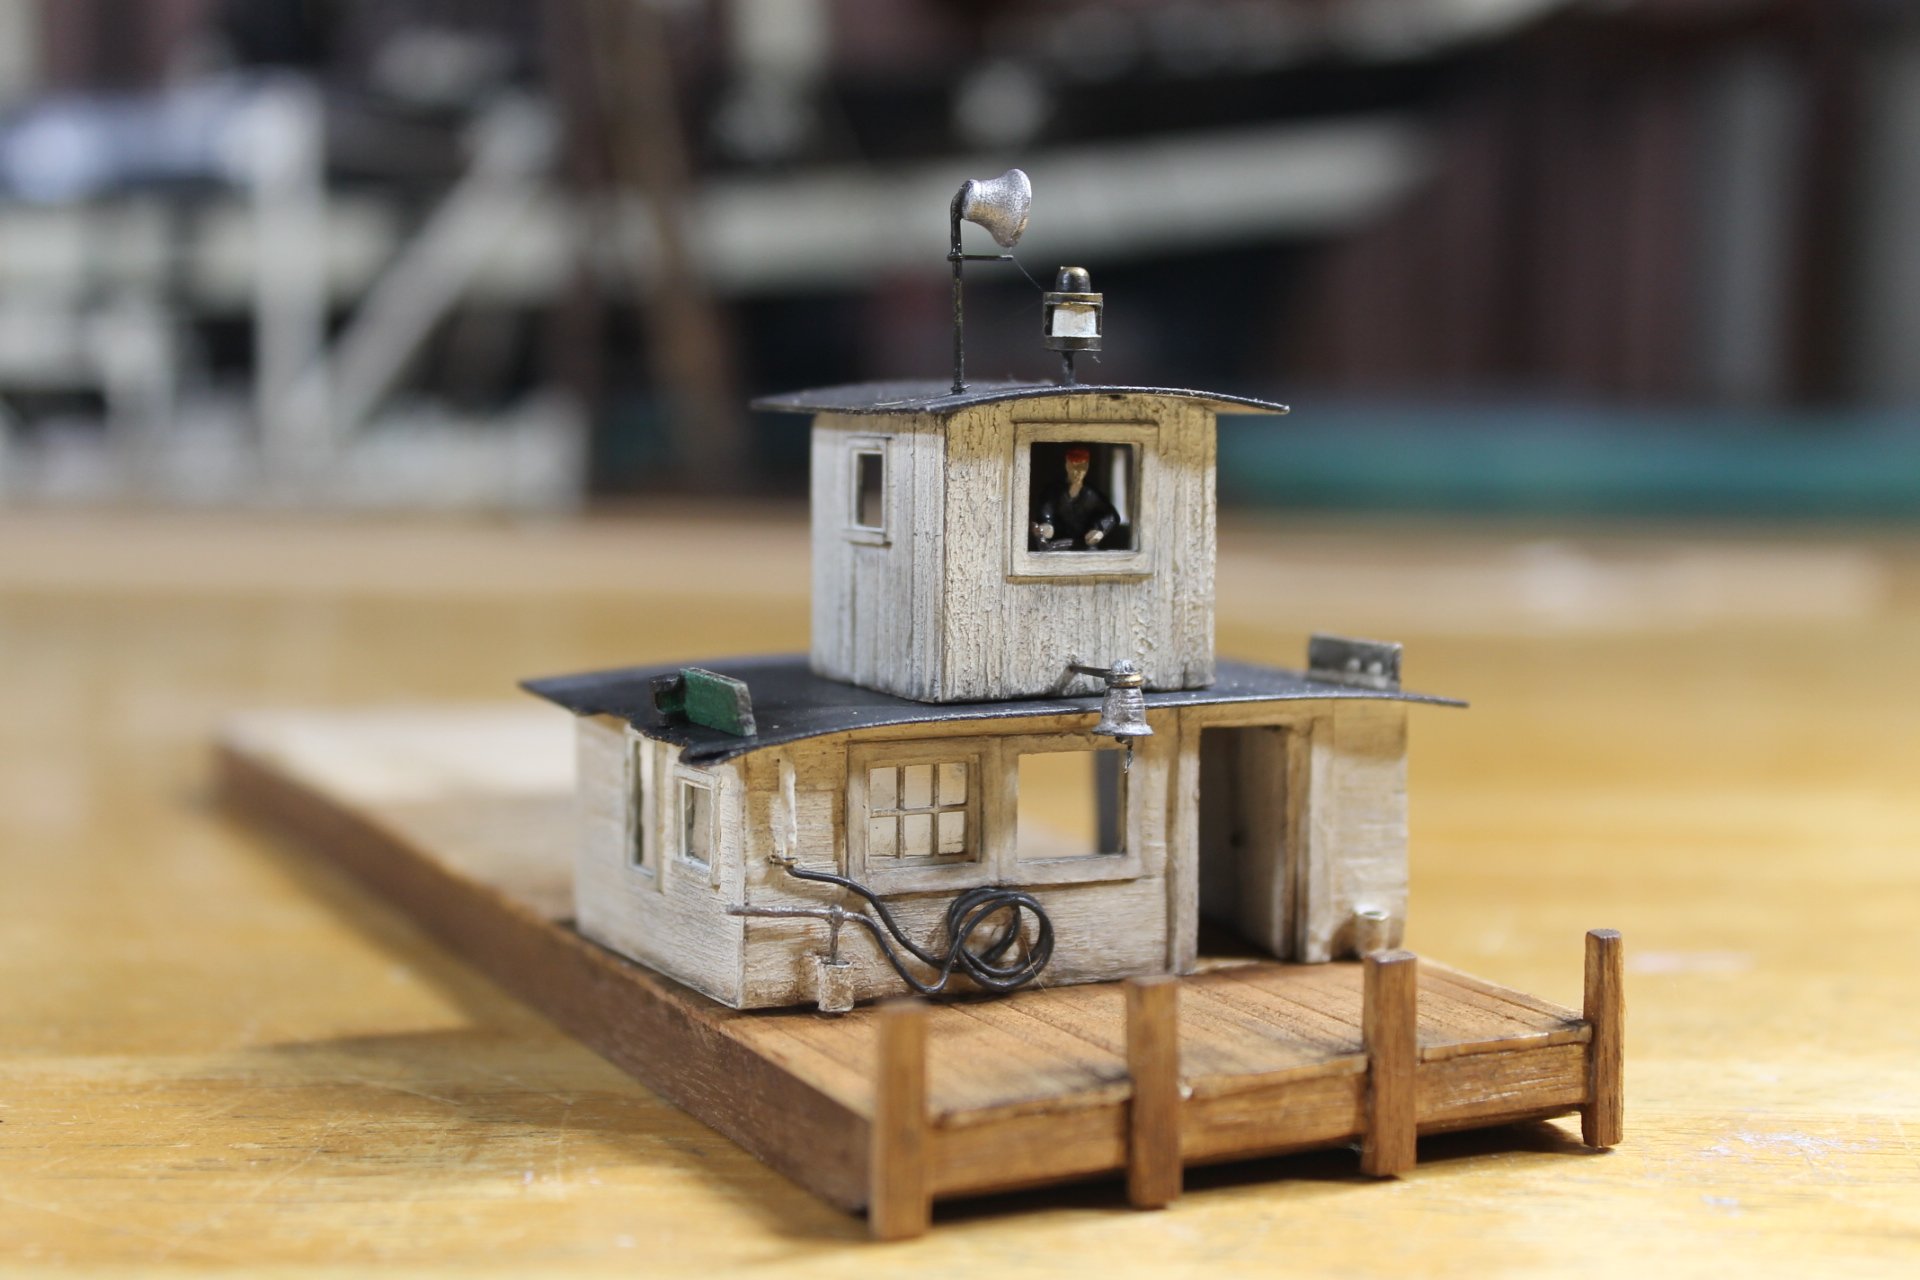
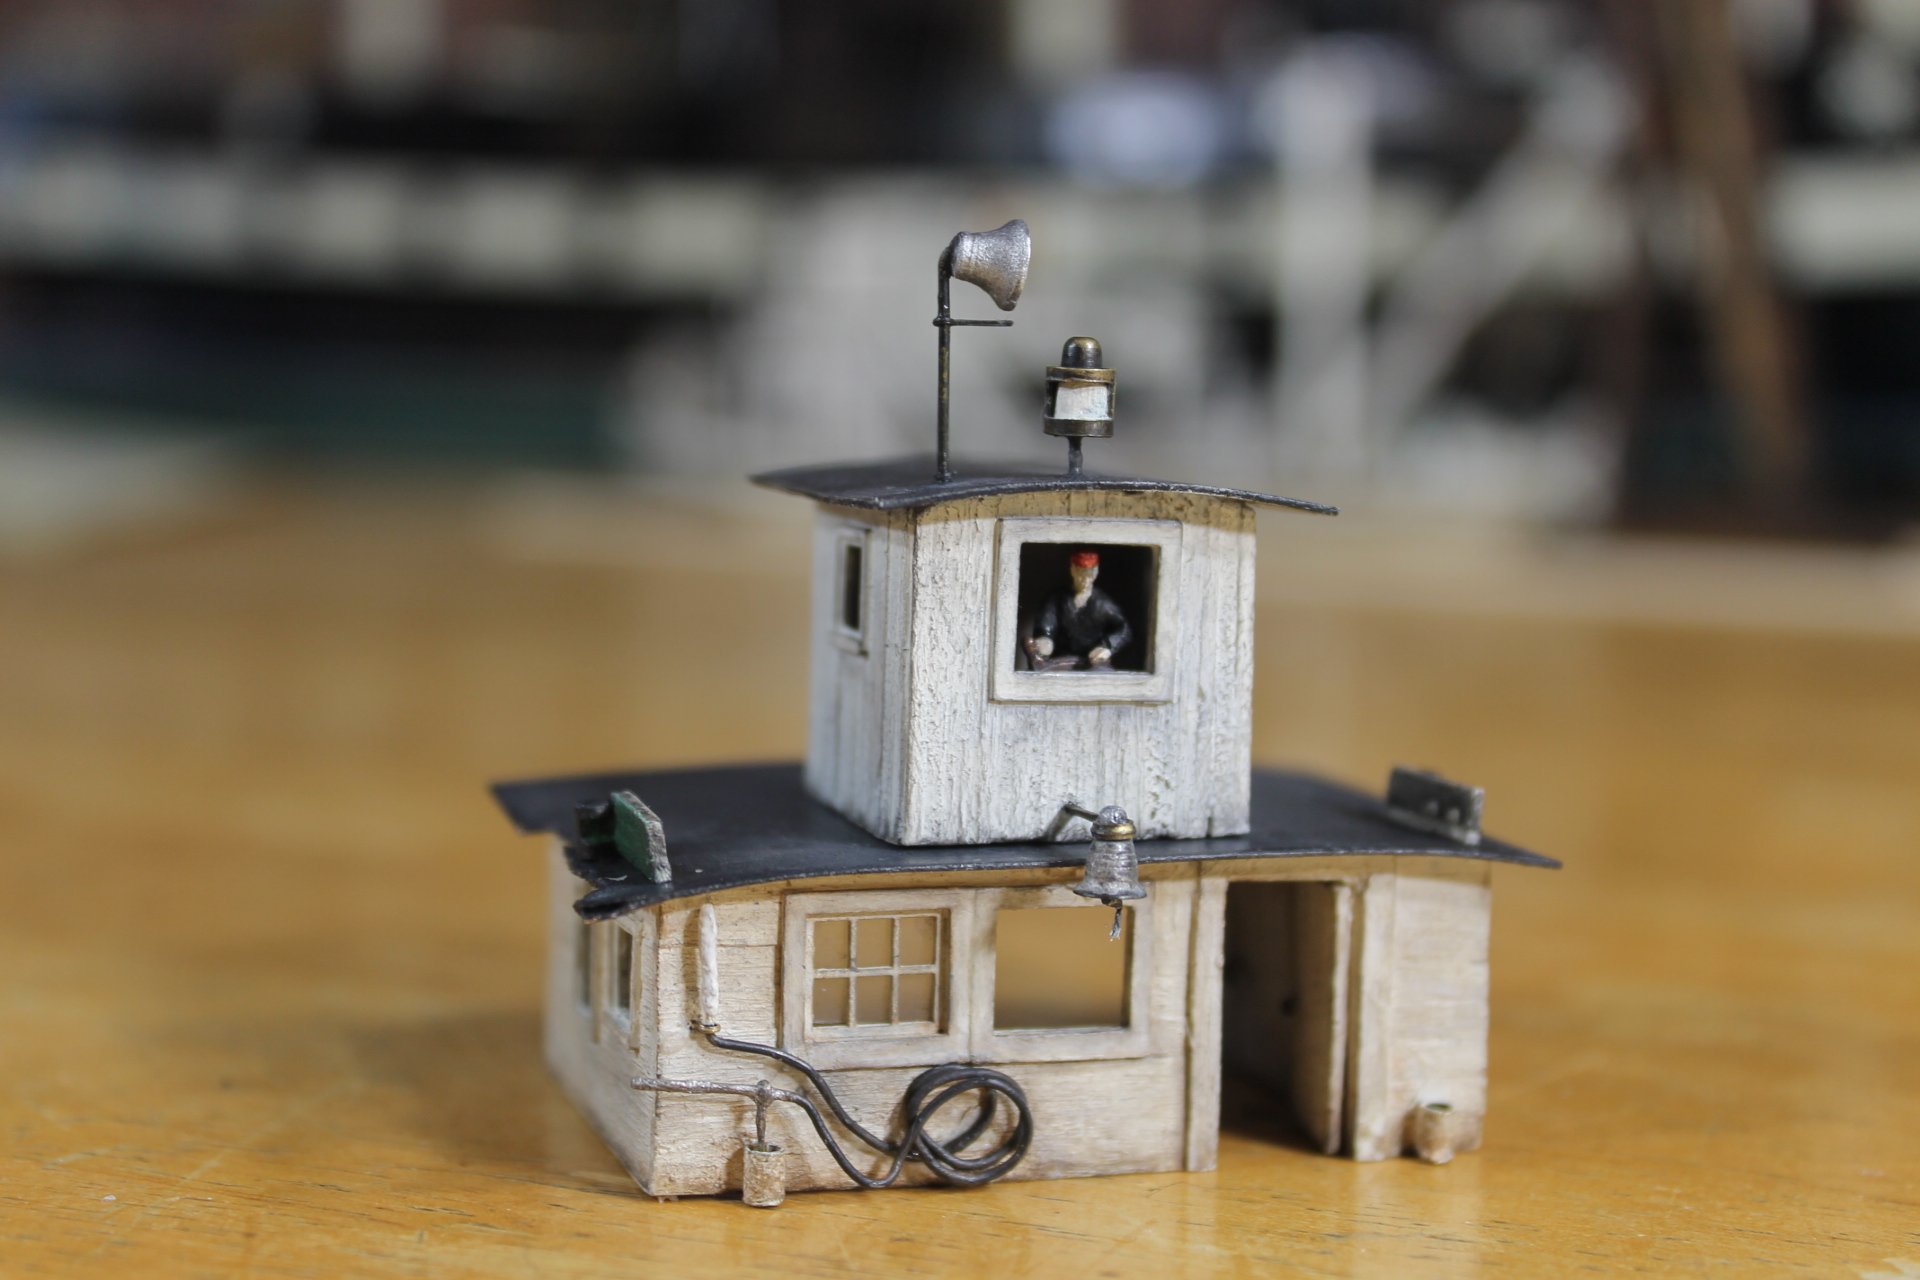
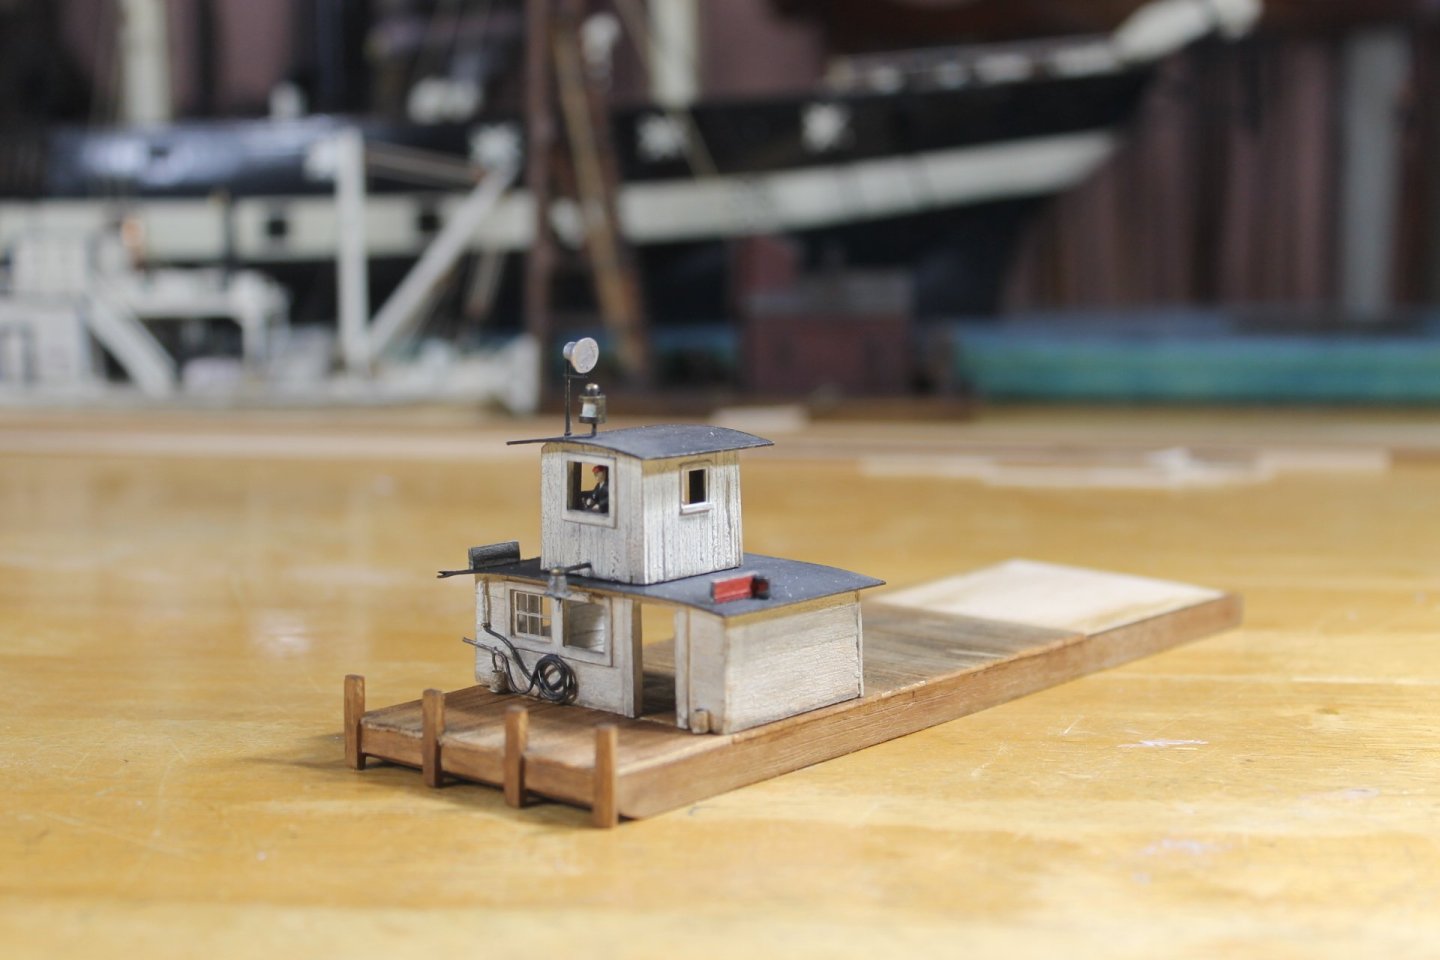
Thank you to everyone for the comments, laughs, and the likes. I repainted the pilothouse and got it weathered. There is enough weathering on the engine room, I don't think it needs any more. Weathering requires a light touch and I'm prone to be heavy handed. I really have to reign myself in to keep from going overboard. I also do better in natural light as artificial light cast shadows. My worktable lights wash the weathering effects so these are actually a bit darker than pictured. I added the pilot. This particular resin figure was perfect for the pilot but both hands had broken off. These figures are so small (the tallest is 0.60 inches) and fragile that the extremities are easily broken off. I removed the hands from two other figures that were badly damaged for the pilot figure repair. I did my best job yet sculpting away the navy uniform and I think the figure turned out pretty okay. He looks the part of the pilot in the original photo. Time to quit messing about and start on the hull. I've been dragging my feet because the amount of space between the furnace and the wheels is unknown but I've got to go with my best guess. Between the furnace and the wheels is the furnace's automatic coal feeder, the coal crib, and the twin cylinder steam engine and shaft to the wheels. The water pump/pumps and gas engine are all on the port side. Thank you for your support and for following along. Keith

- 457 replies
-
- 18
-
-
-
- sternwheeler
- Hard Coal Navy
- (and 1 more)
-
Danged keyboard! It outta know when I mean following. Thanks for making me laugh, Eric. Golly knows I needed that.
- 457 replies
-
- 4
-
-
- sternwheeler
- Hard Coal Navy
- (and 1 more)
-
Heaven, welcome to MSW. Glad to have you aboard.
-
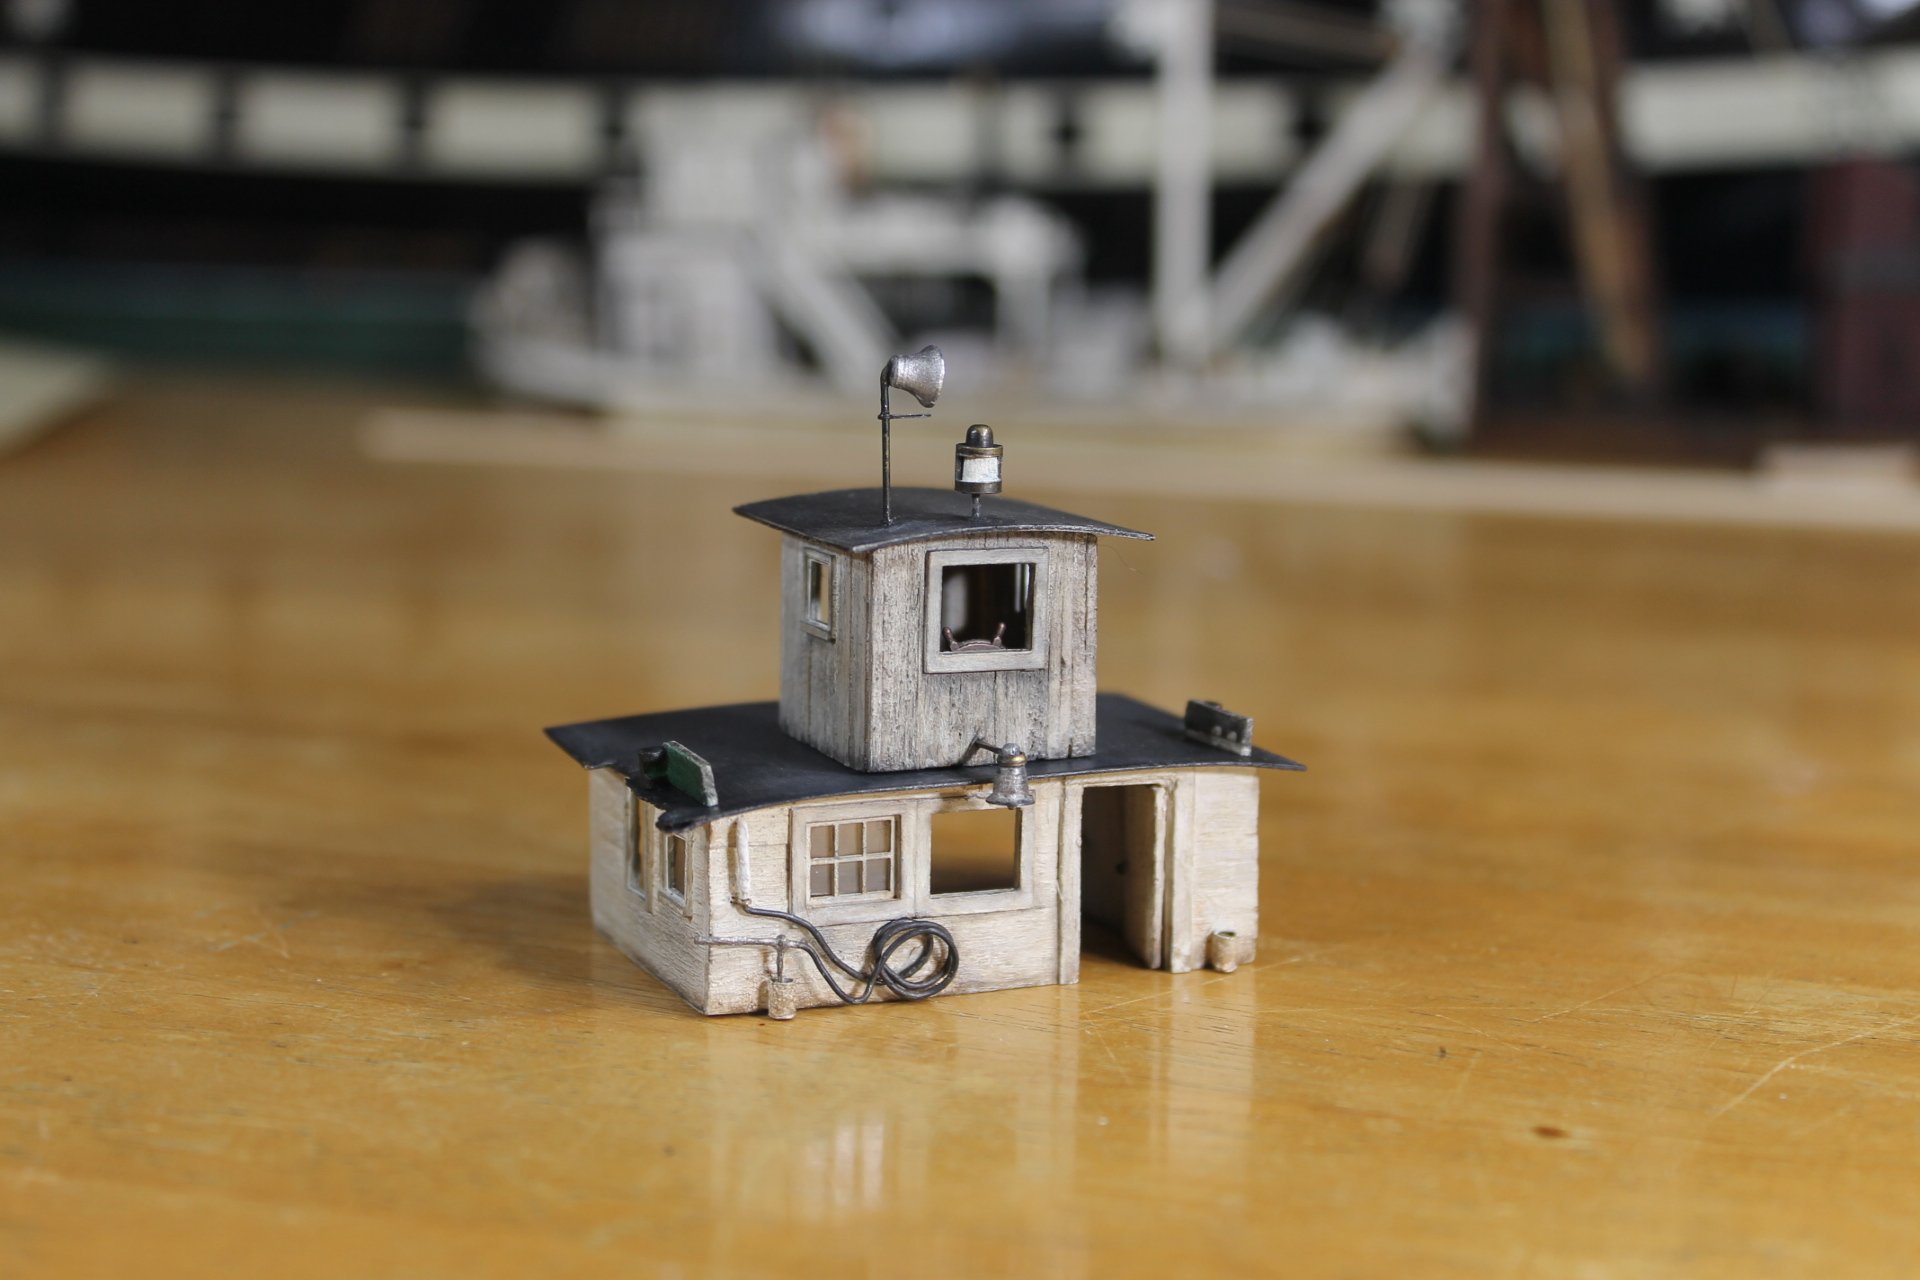
Keith, it seems we all have more time for modeling in the winter. Thank you to everyone for the likes and the comments. The first attempt at weathering is done. I say first attempt because I'm not keen on the results. Too much on the pilothouse and not enough on the engine room me thinks. I've got to get the pilot painted and in position not that it will make a difference but it delays repainting the pilothouse and starting over on the weathering. Thanks to all for your support and for flooring along. Keith

- 457 replies
-
- 18
-
-
- sternwheeler
- Hard Coal Navy
- (and 1 more)