HOLIDAY DONATION DRIVE - SUPPORT MSW - DO YOUR PART TO KEEP THIS GREAT FORUM GOING! (Only 20 donations so far - C'mon guys!)
×
Bossman
-
Posts
283 -
Joined
-
Last visited
Content Type
Profiles
Forums
Gallery
Events
Everything posted by Bossman
-
 Bartley, very, very nice! Cheerful is next on my list.
 -
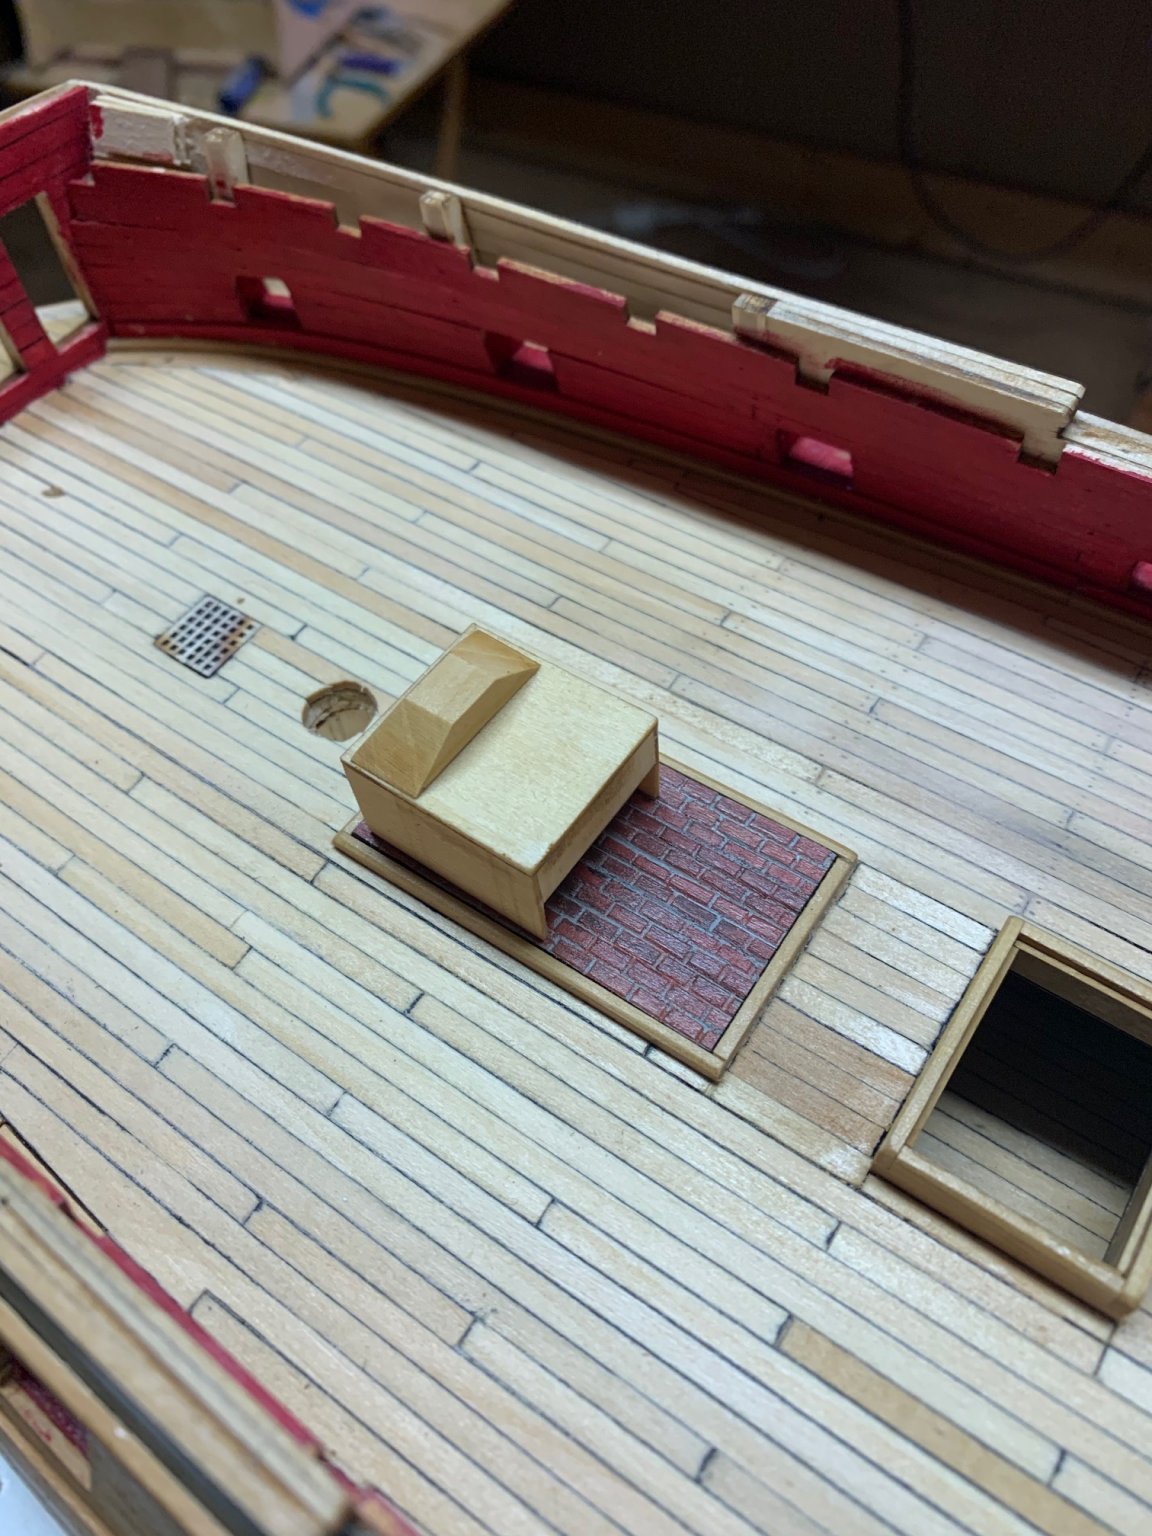
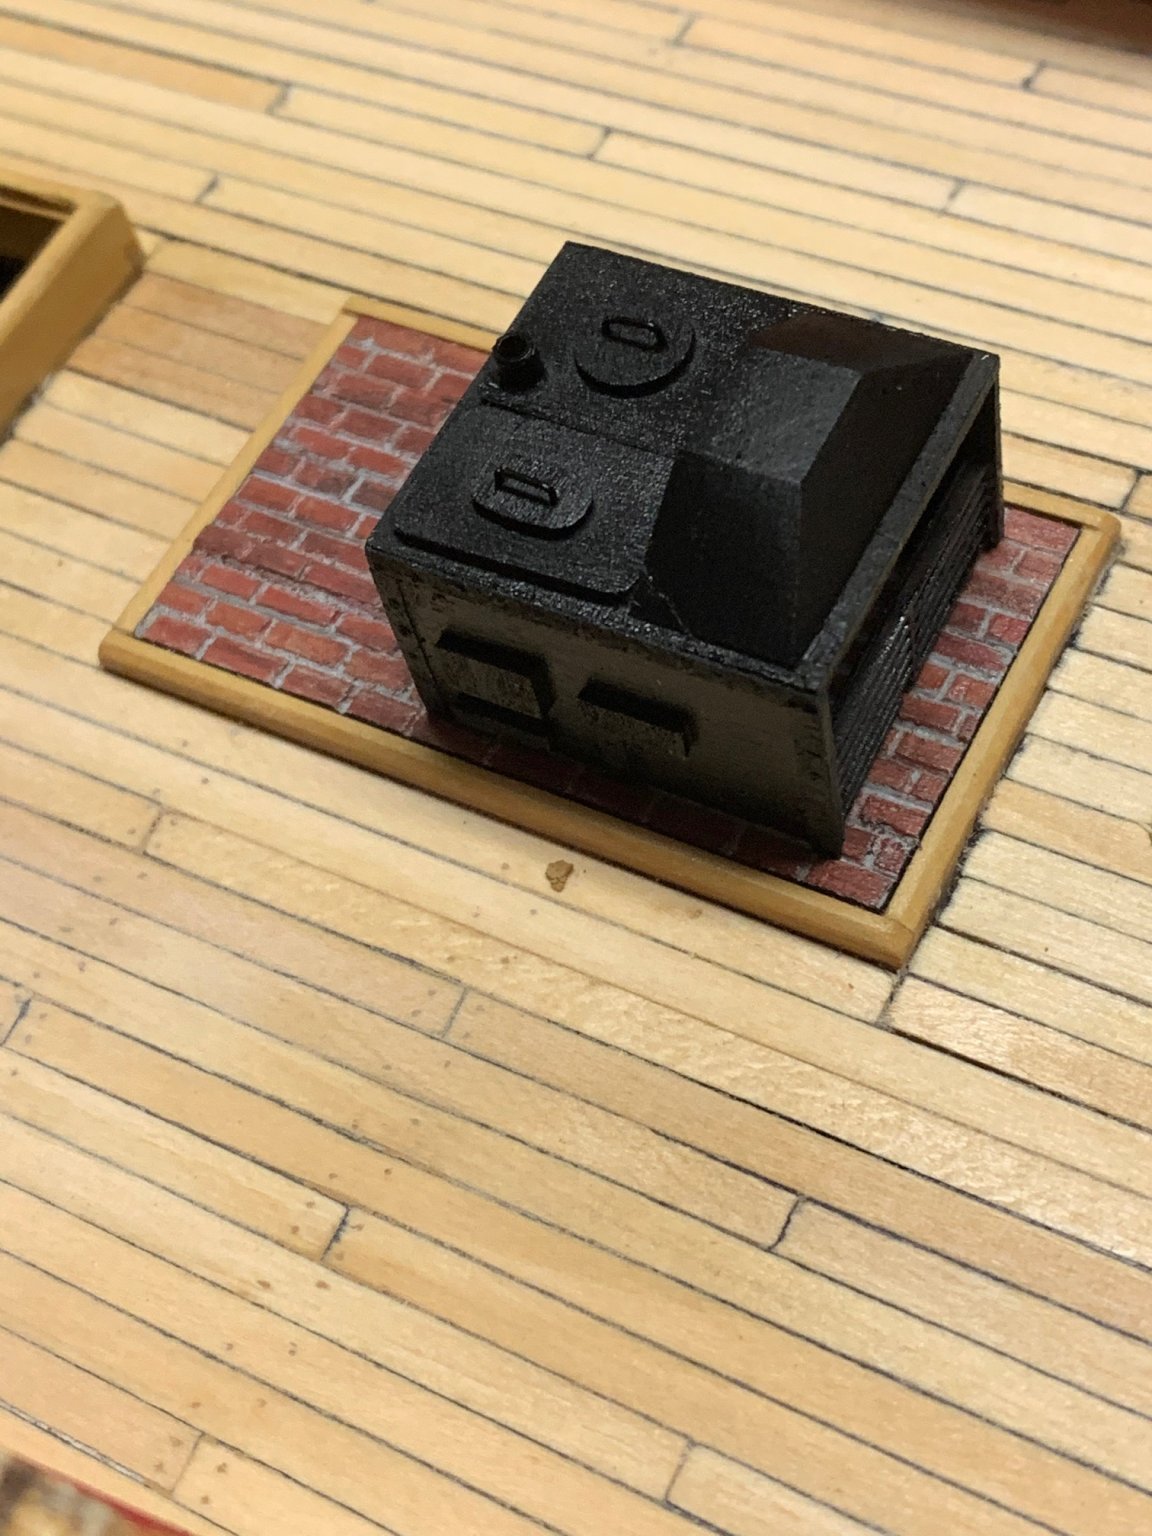
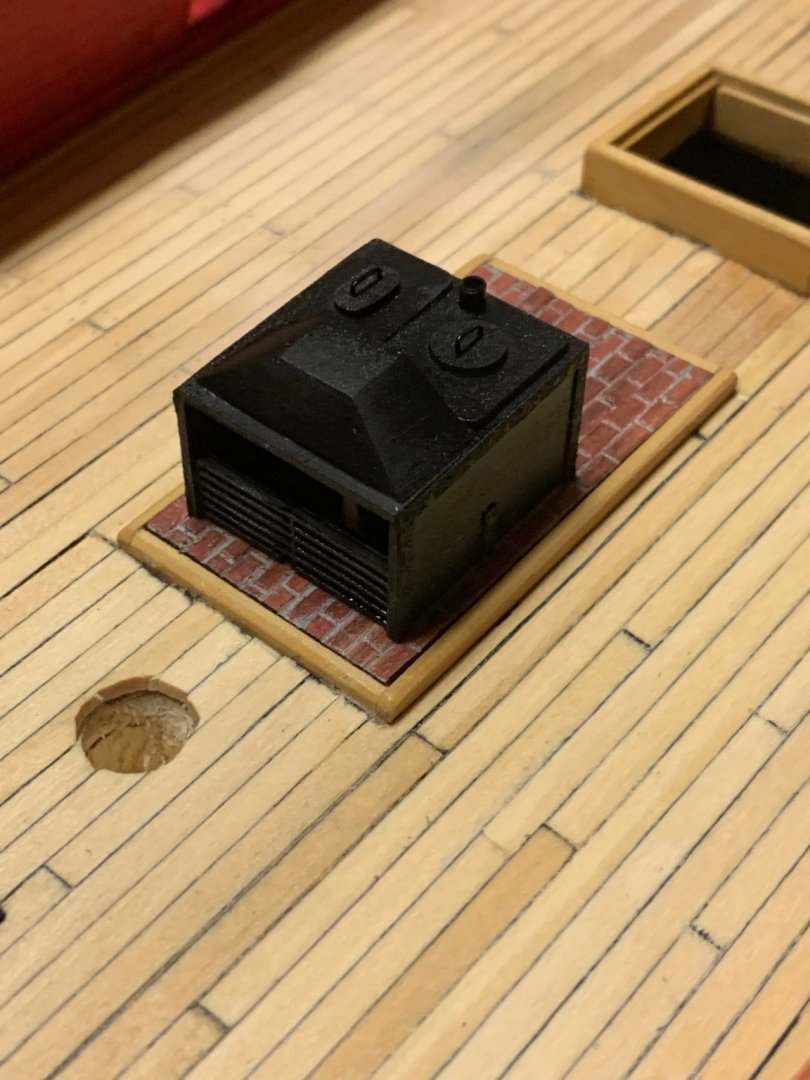
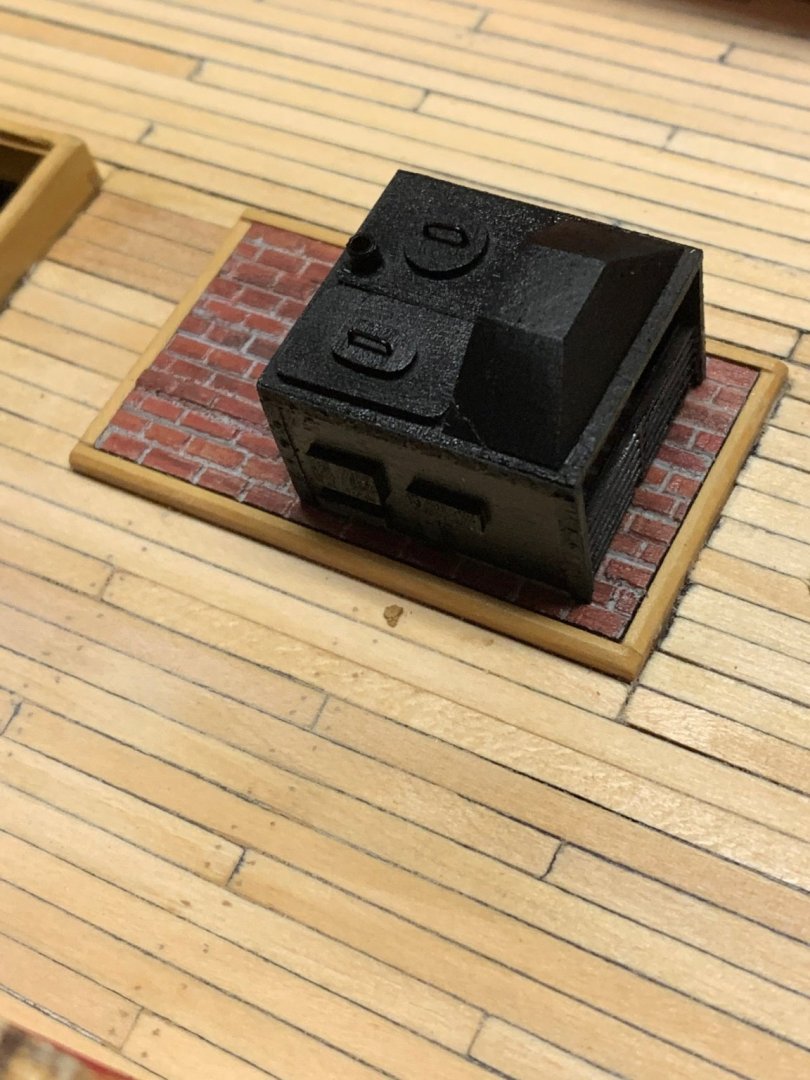
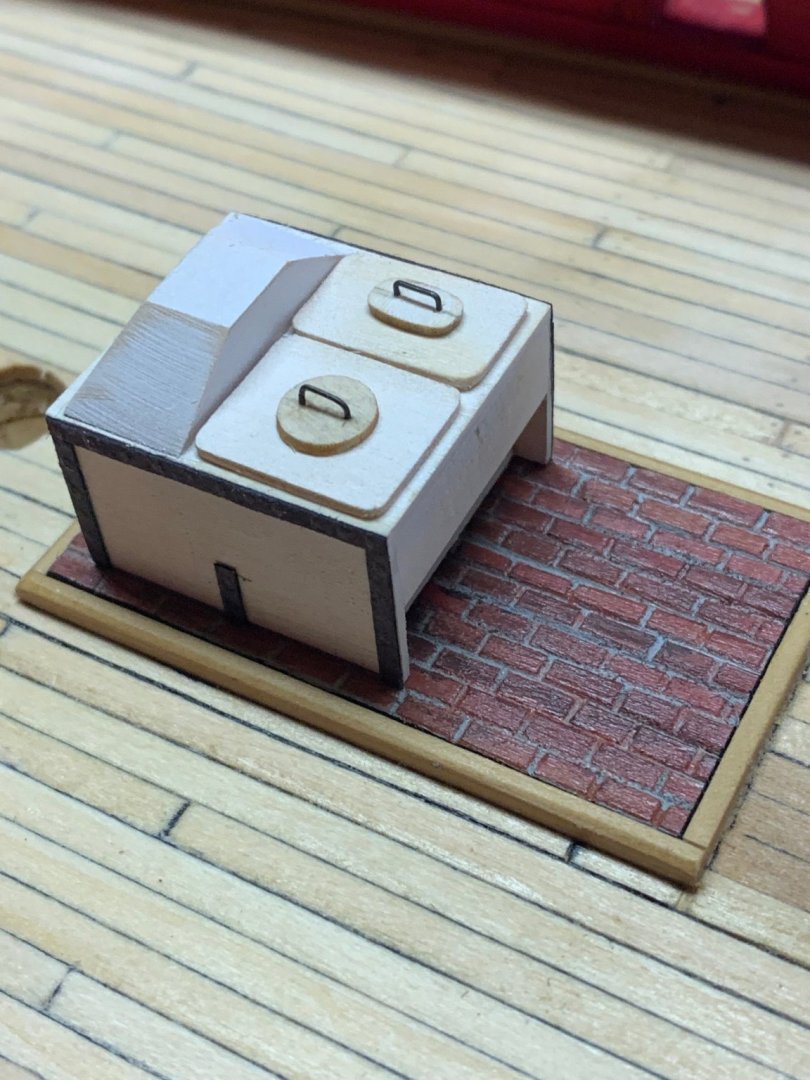
Somehow I missed your post Chuck, thank you very much! Also thanks for all the likes. I have half a side to finish the hull treenails and about 1/3rd done with the treenails on the deck. Do a few, make a cannon, do a few more, make a cannon. Yesterday and today it was galley stove time. As suggested in the directions, I chose to make the lower stack out of a solid piece. The thin basswood pieces just didn’t work for me. I used craft paper for the reinforcement around the stove and added everything but the rotisserie. There is a laser cut grill, lower back, and a photo etch grill. I glued the photo etched grill to the wood grill. The laser cut grill was too delicate by itself in my opinion. A coat of poly then primer and sand. Twice. How Chuck gets the results with basswood that he does is beyond me. It looks a lot smoother to the naked eye but some grain still shows. I figured the cook just finished a real greasy meal. That’s my excuse anyway. Painted with Tamiya flat black. Now on to the fiddle rotisserie part but I have some more treenails to do 1st!

- 127 replies
-
- 11
-

-
- confederacy
- model shipways
- (and 1 more)
-
Blackening brass advice
Bossman replied to Bossman's topic in Metal Work, Soldering and Metal Fittings
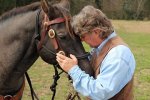
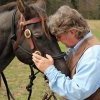
Thanks Greg. The picture was taken just after blackening and a quick wipe with a cloth to make sure it was permanent. Thanks again for the excellent tutorial. -
Blackening brass advice
Bossman replied to Bossman's topic in Metal Work, Soldering and Metal Fittings
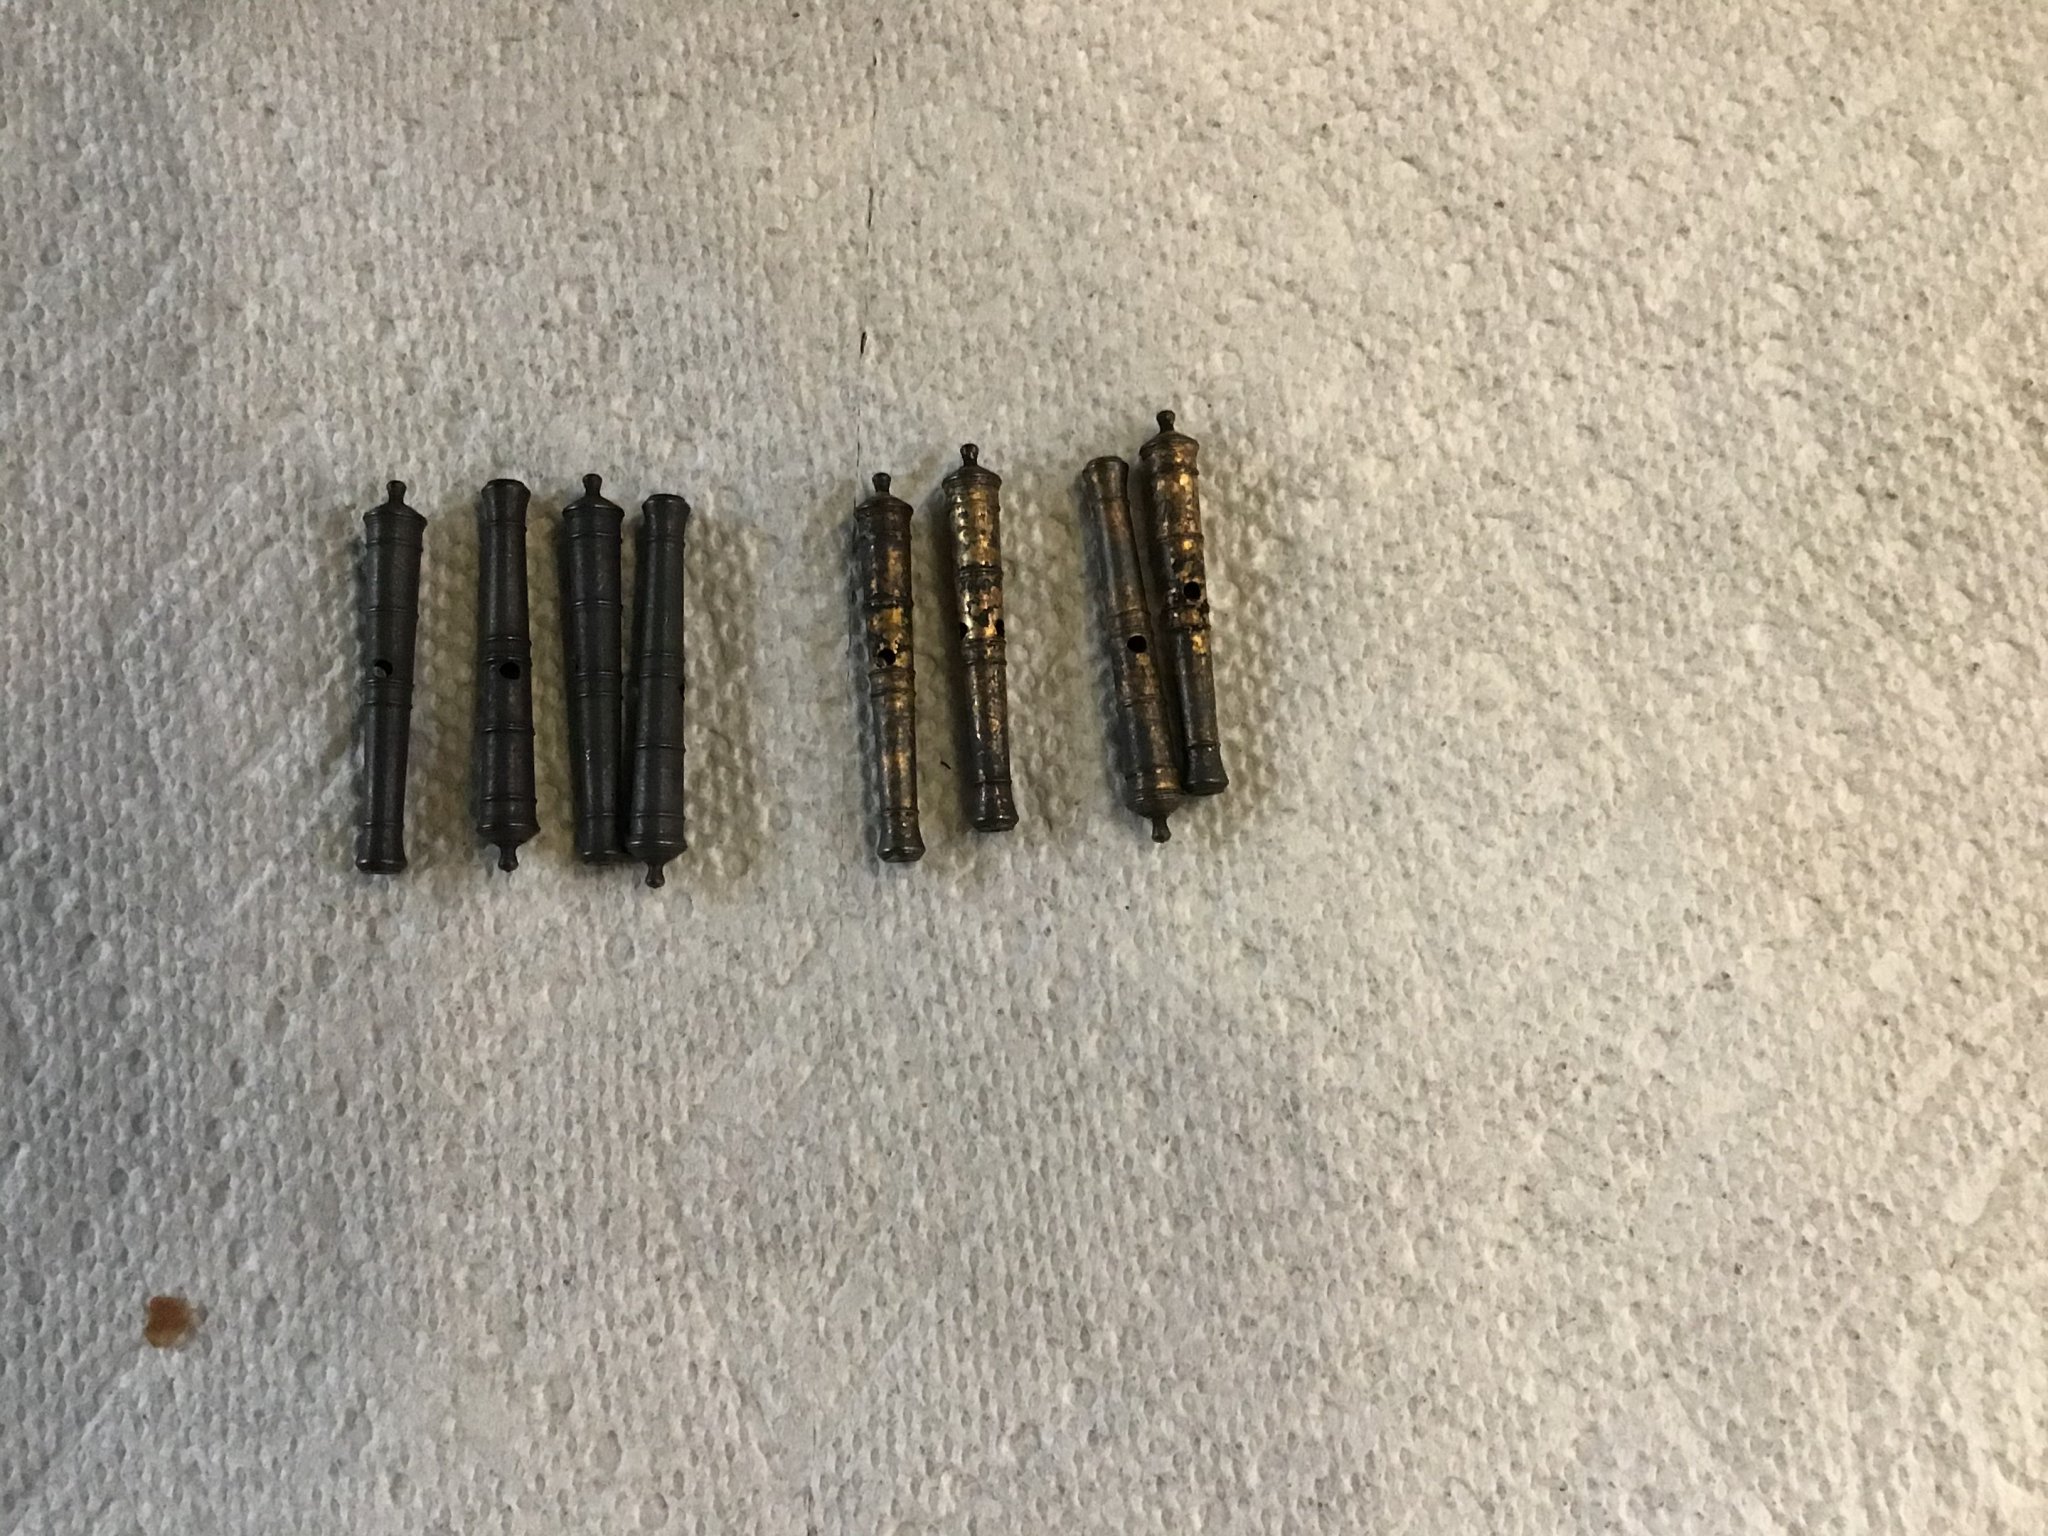
Update. I finally got around to redoing the 1st cannons that did not go well. I first steel wooled the crap out of them and then reblackened following the tutorial. Success. There is a glare in the picture but they are a nice even black. Greg, thanks again for the tutorial.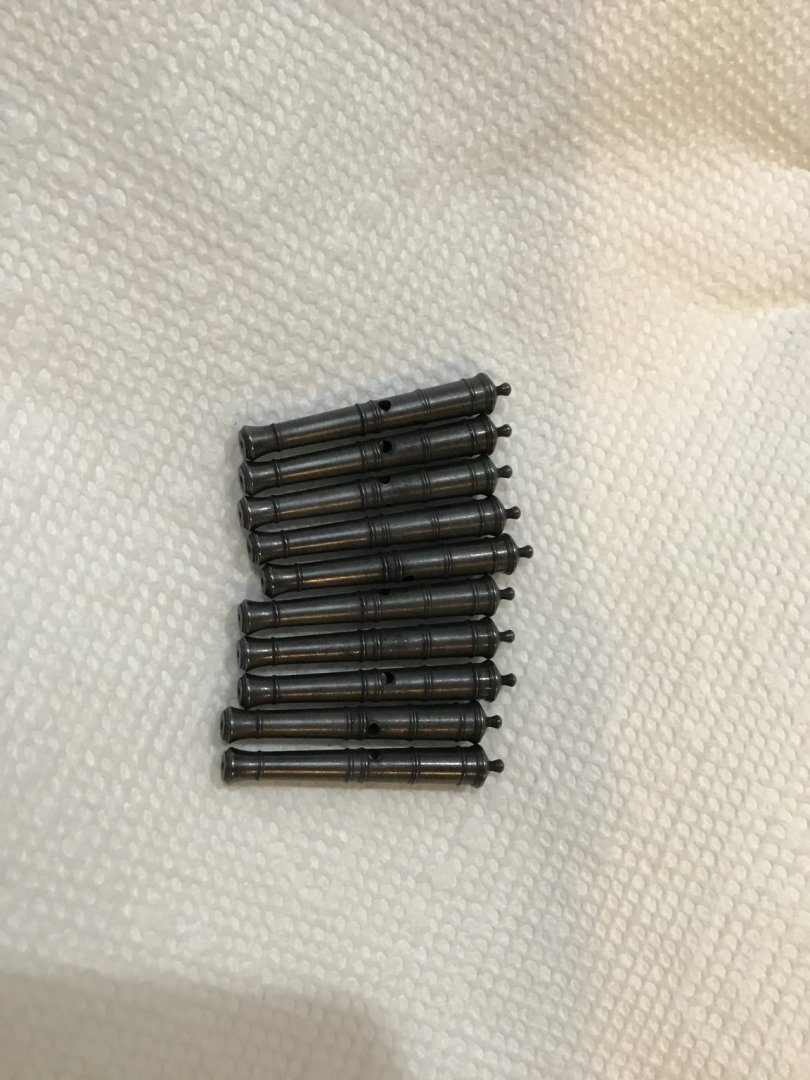
-
Mark, I think your uncle will be smiling. Nice job!
-
Down-sizing rope ratio compared to the proper scale
Bossman replied to Sandor Laza's topic in Masting, rigging and sails
Yep, made that mistake before! -
This is one of the most unusual builds I have ever seen. Also one of the best. Craftsmanship and artistry is first rate!
- 358 replies
-
- 2
-
-
- occre
- santisima trinidad
- (and 1 more)
-
Mugje, thank you Sir! She has been a fun build. Glad you want to follow along. It’s getting to the fun parts. Also thanks to all for the likes. They mean a great deal.
- 127 replies
-
- 4
-
-
- confederacy
- model shipways
- (and 1 more)
-
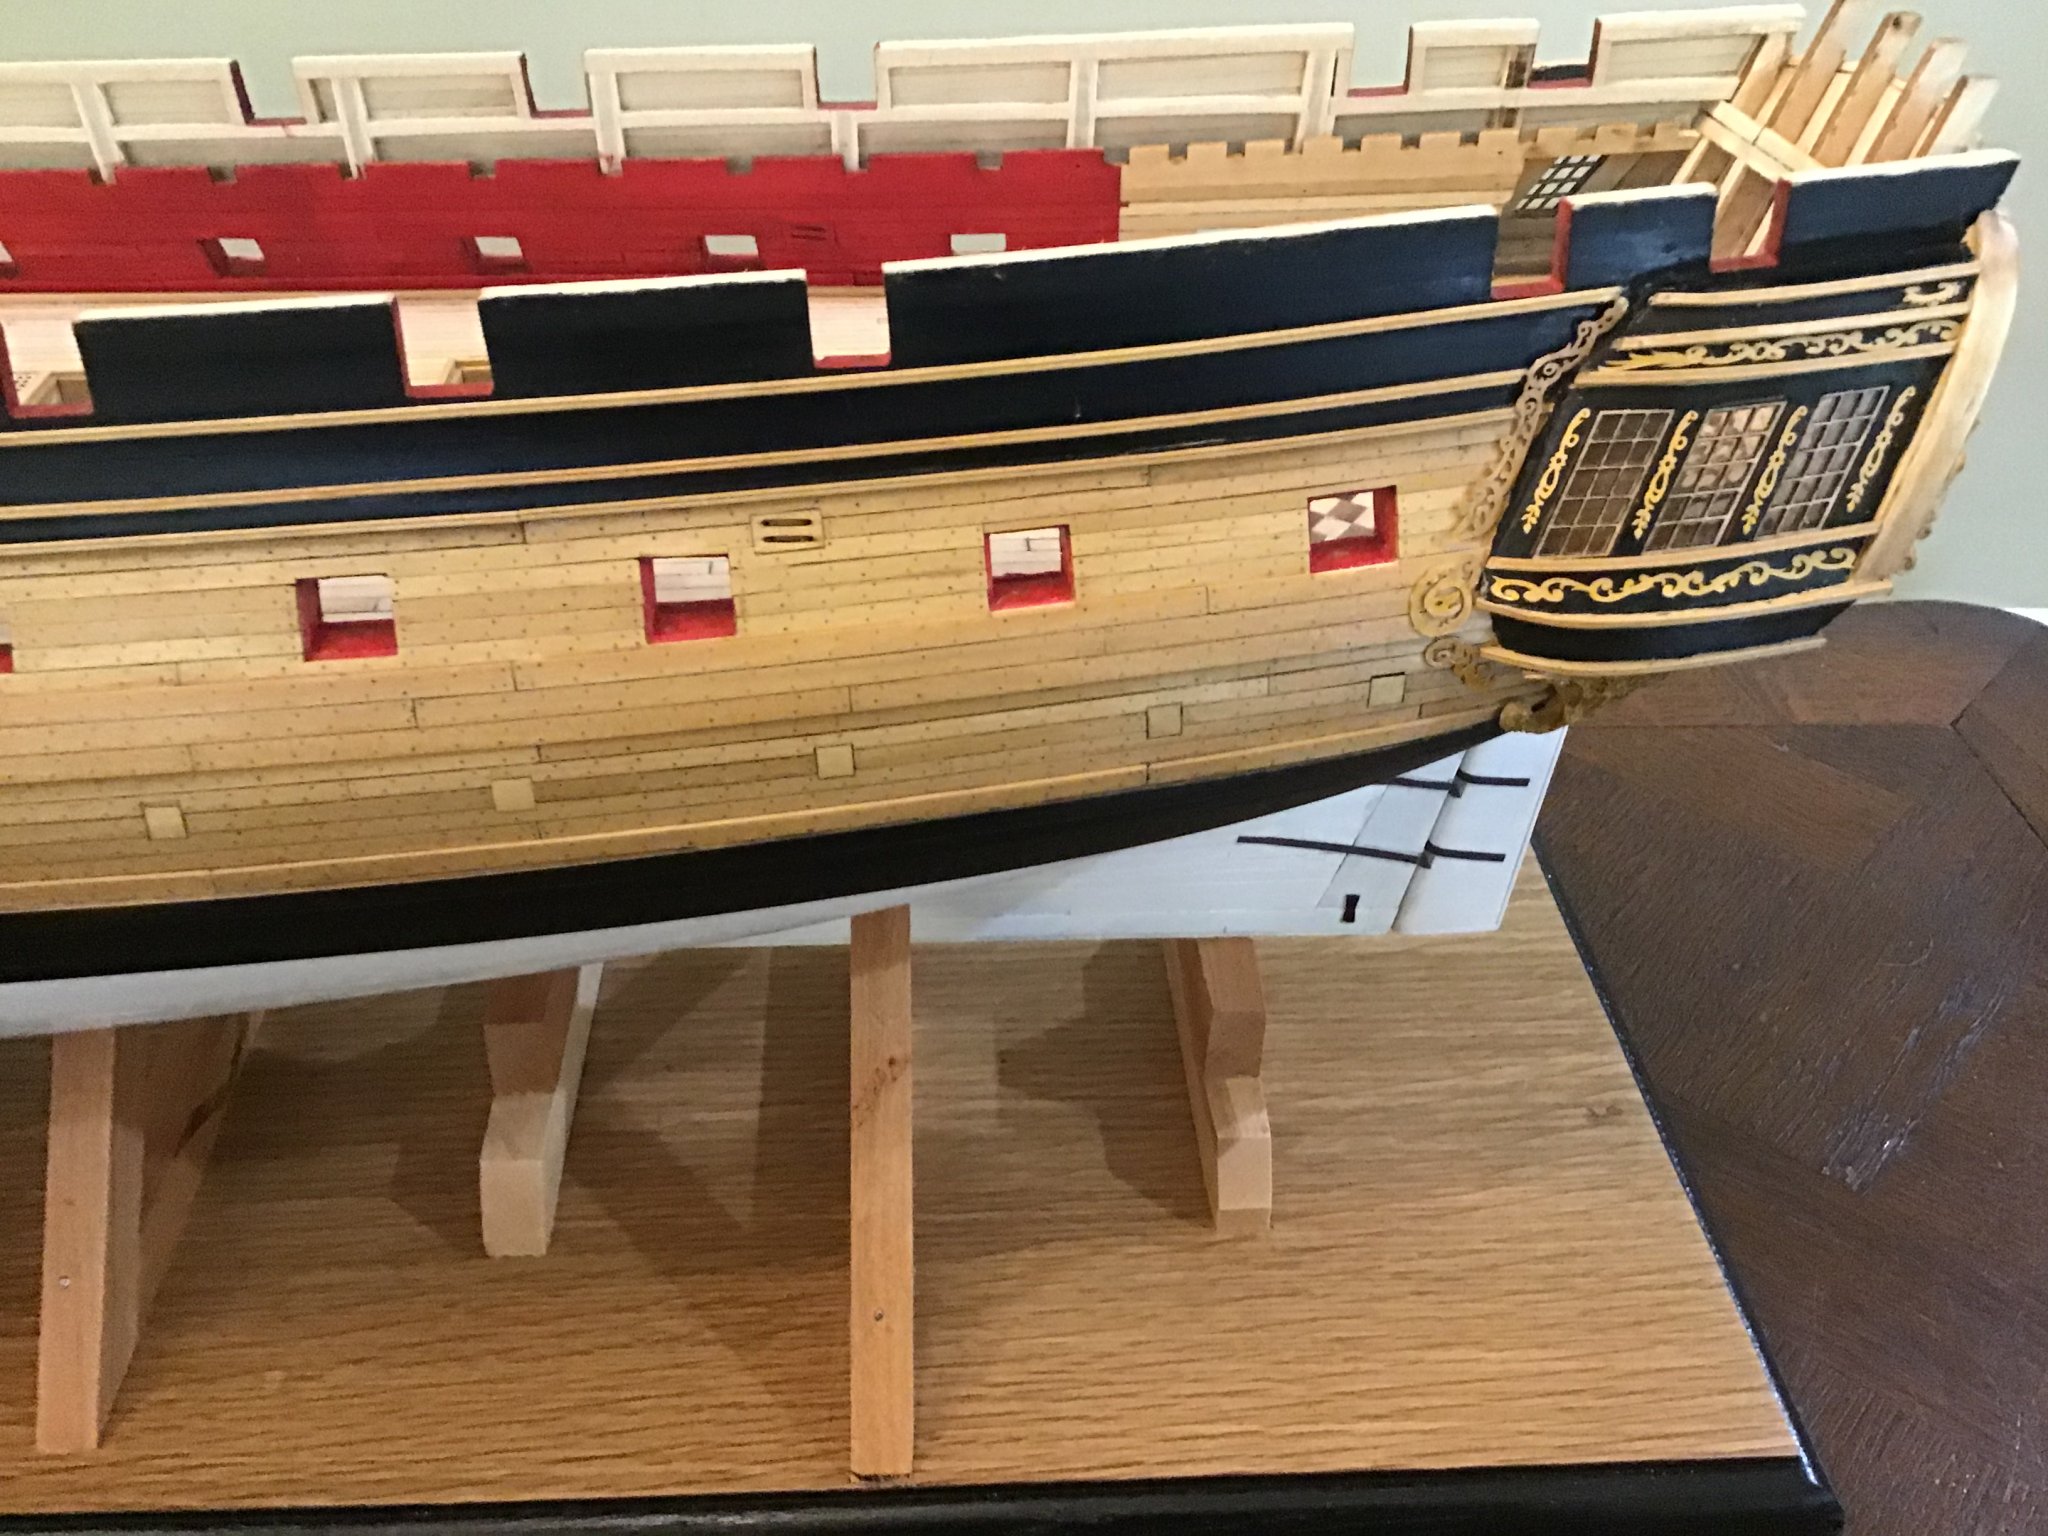
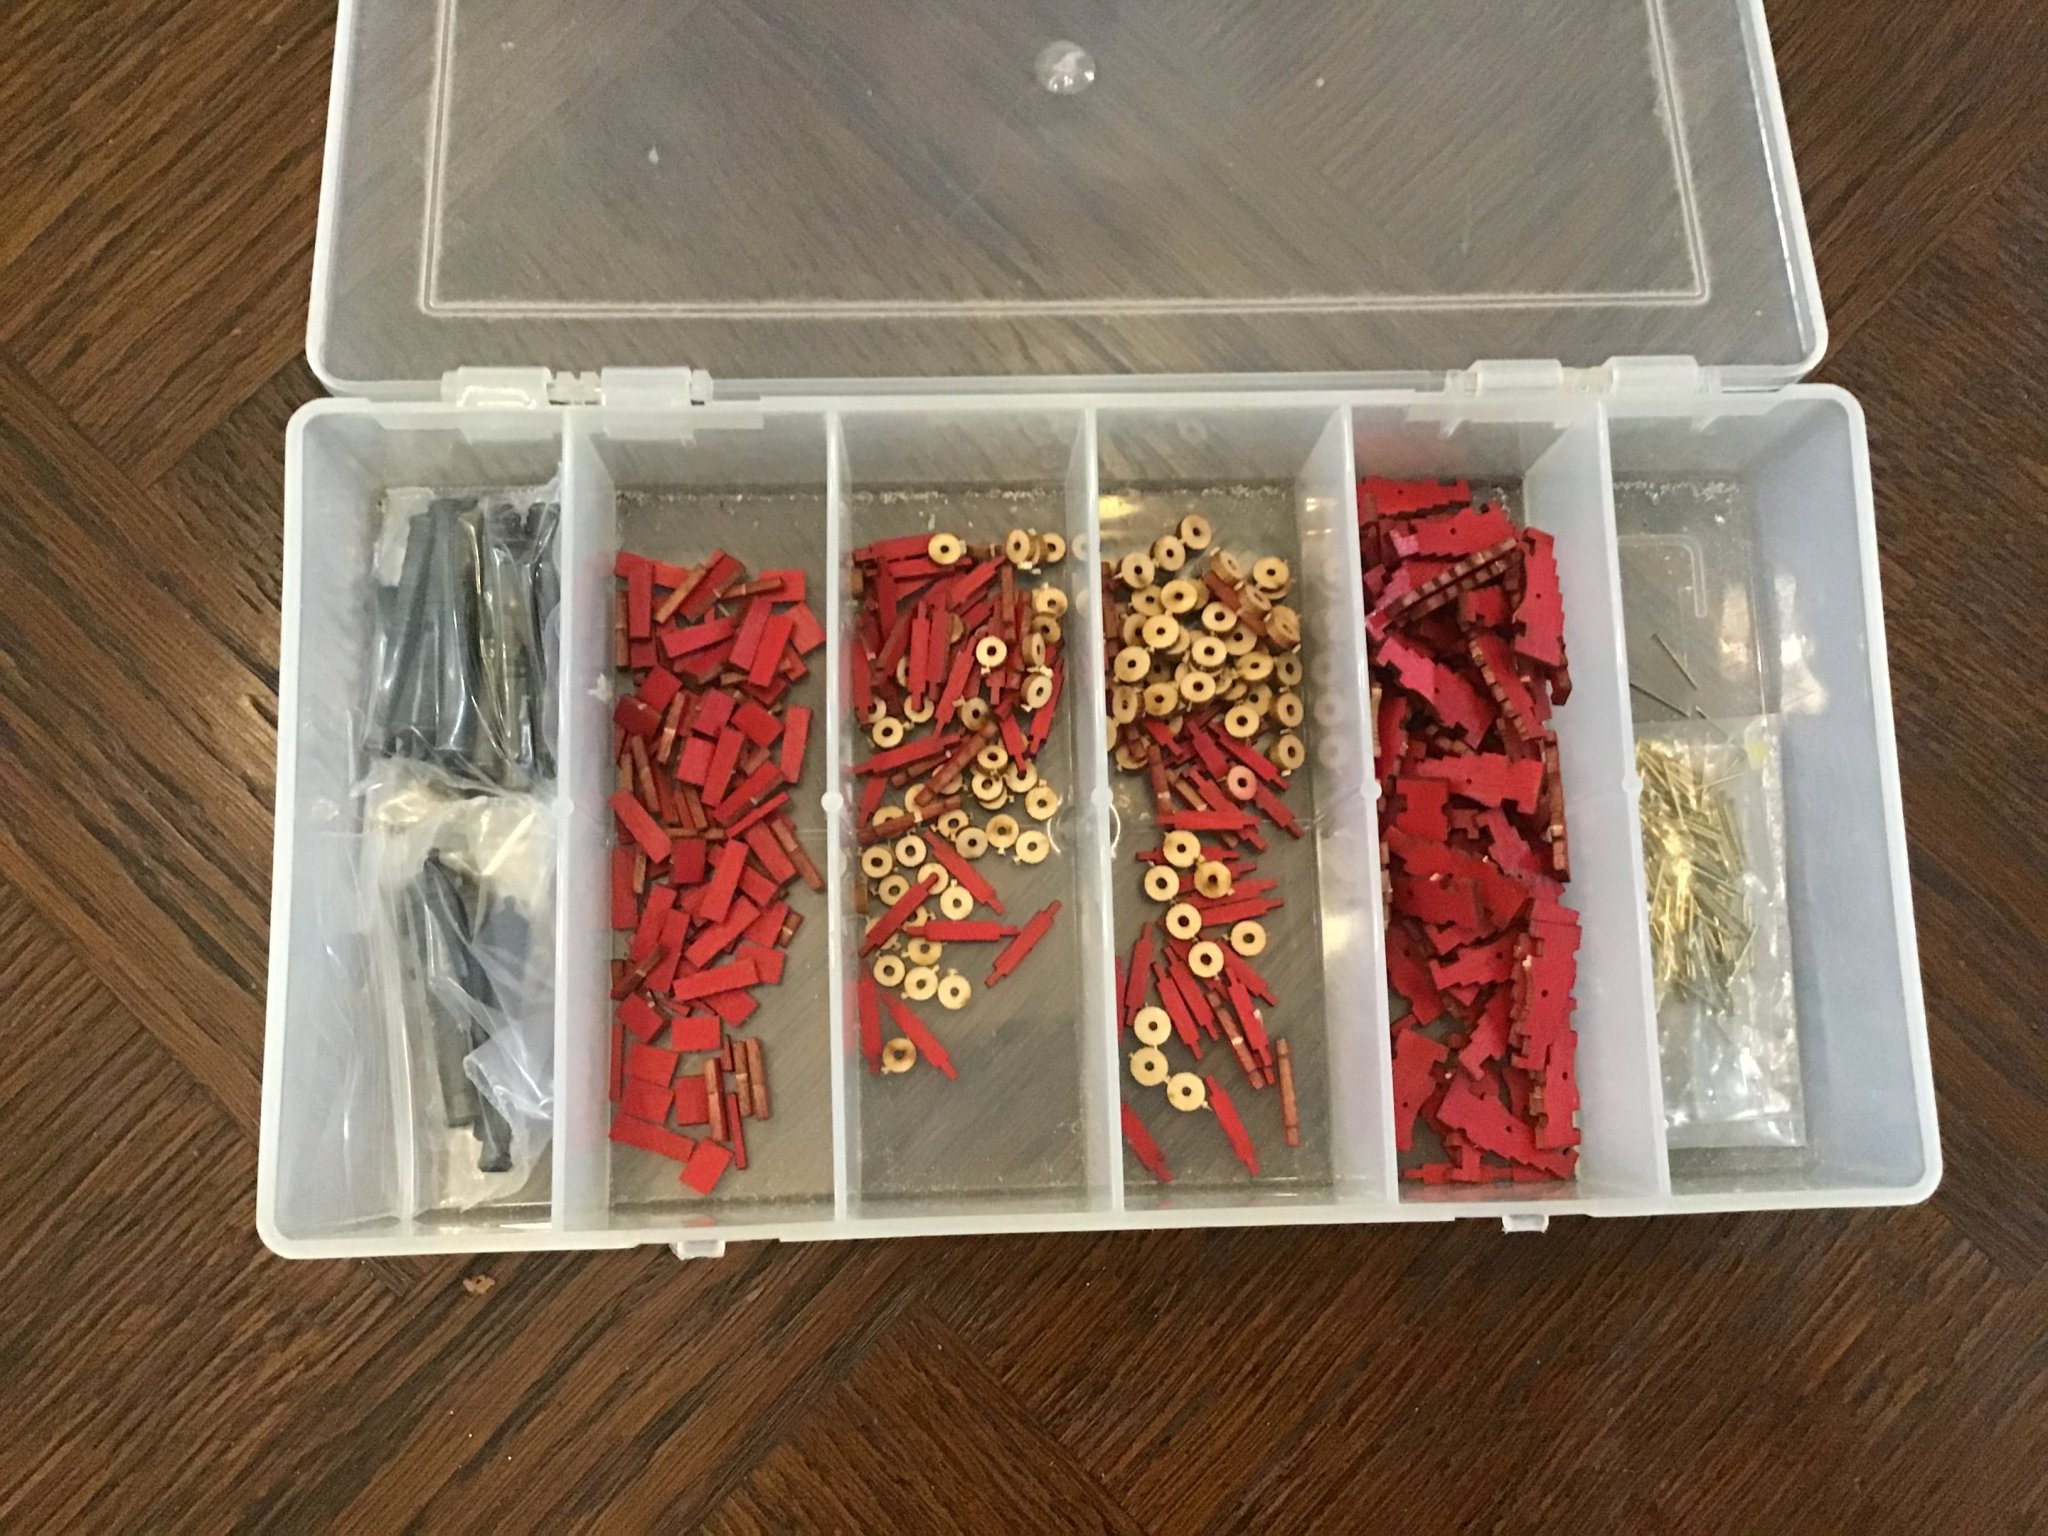
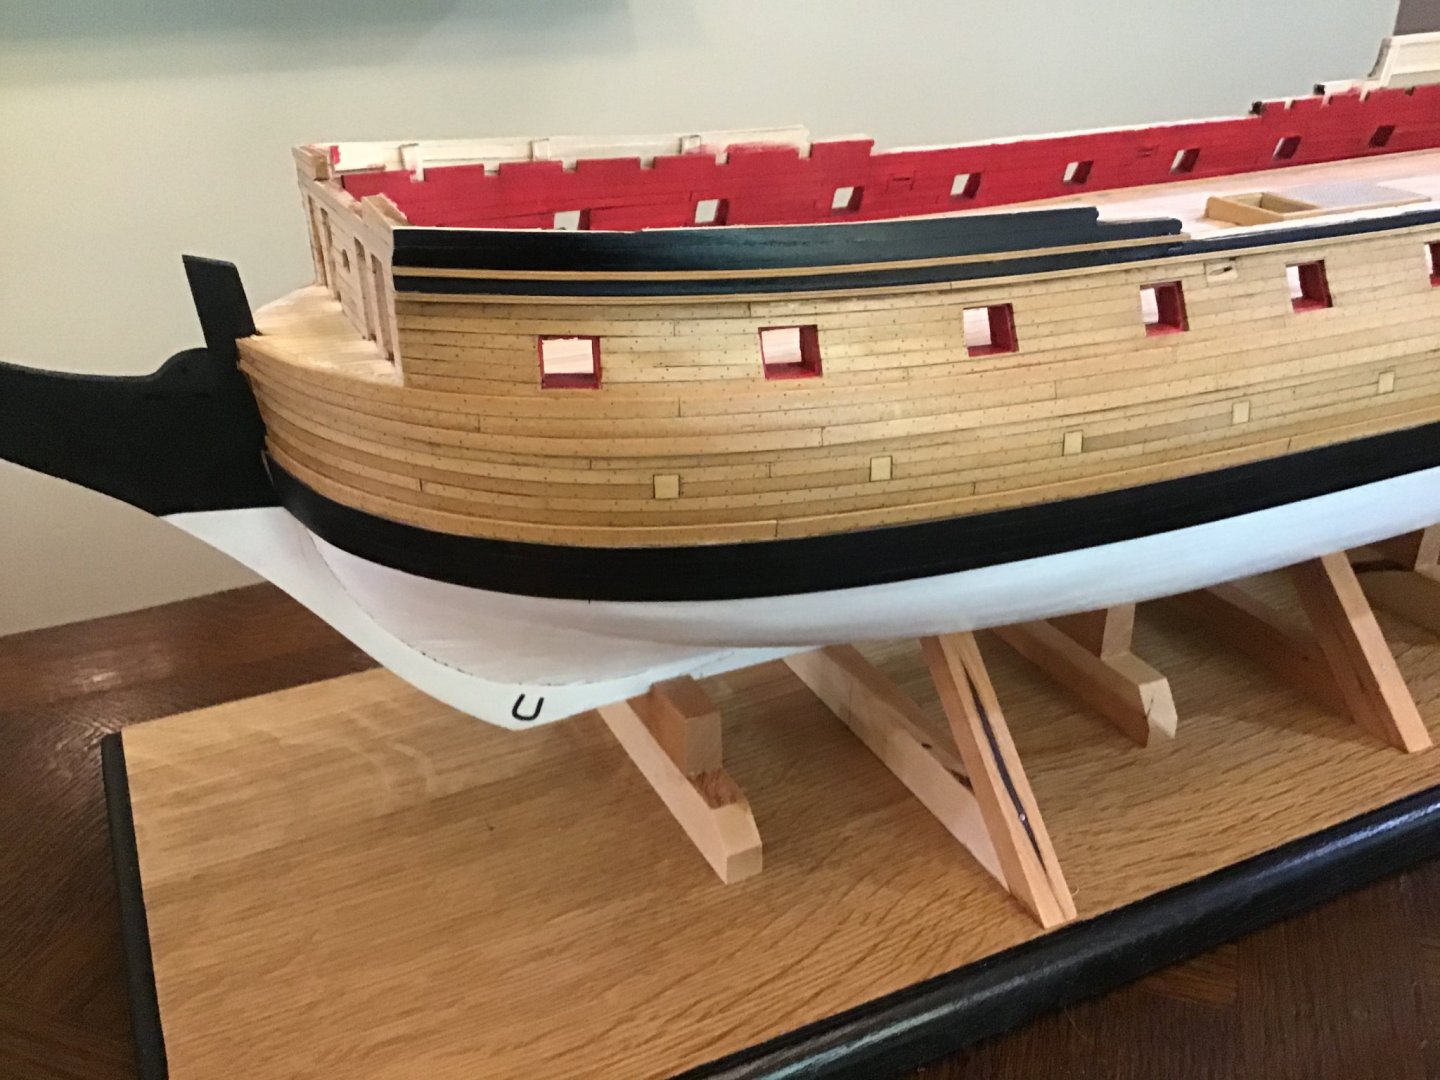
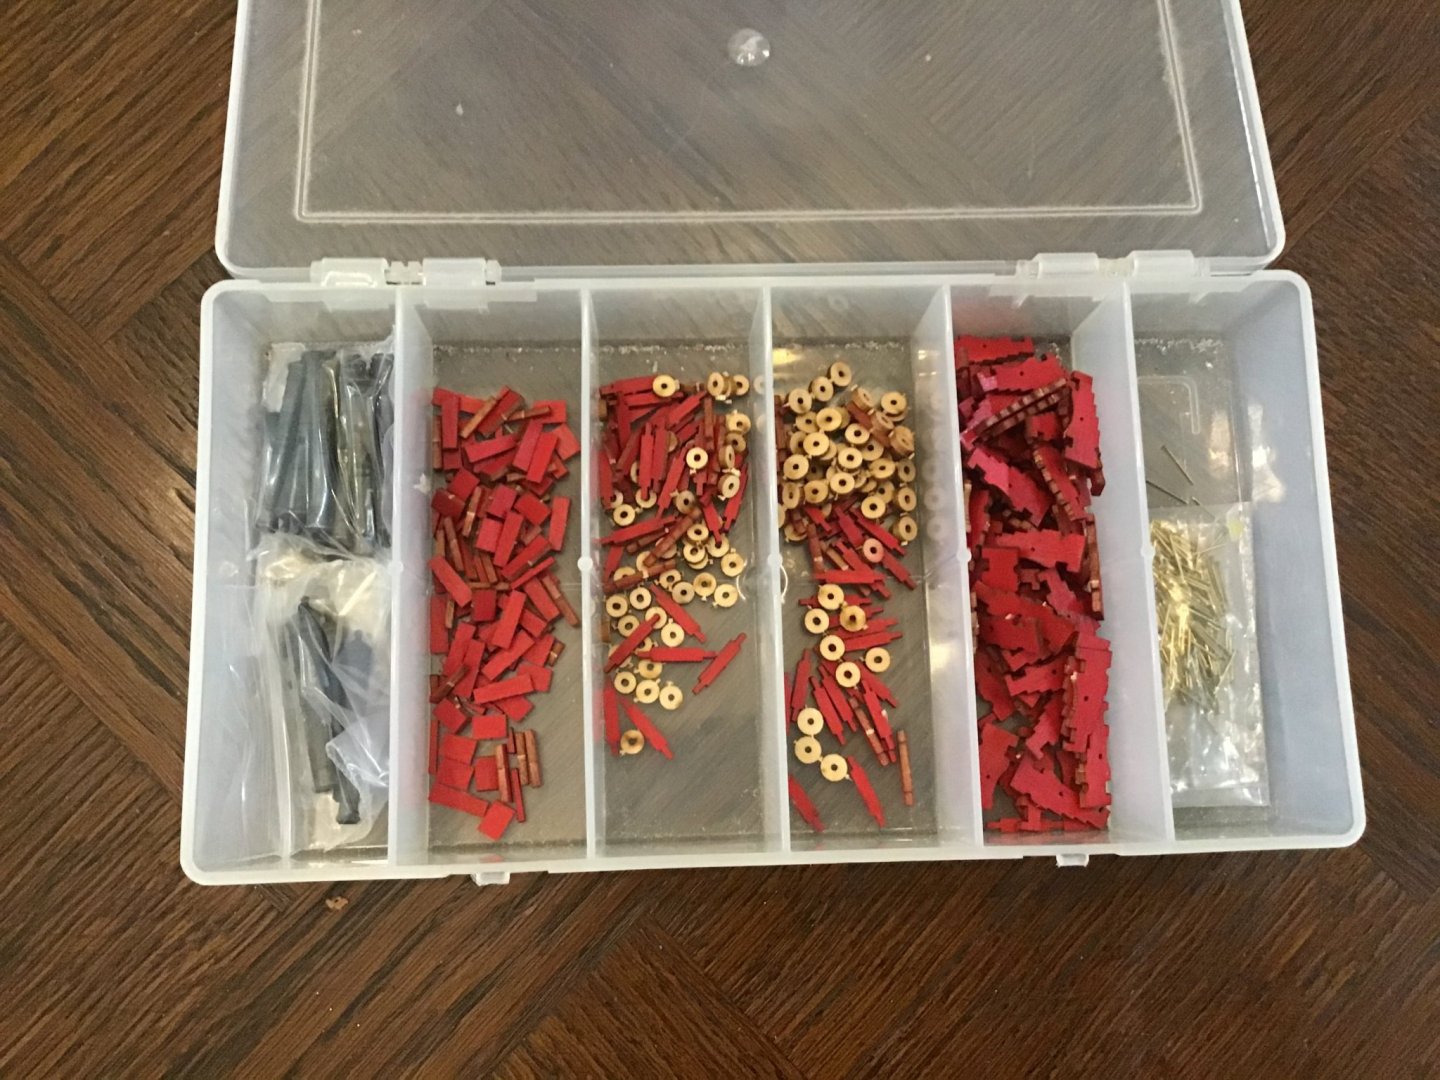
Good day ladies and gents. I finally finished the treenails on one side of the hull and put the last coat of WOP on it. Once finished with the other side I will be very happy I endured the pain of this detail. Cannons. I sanded and prayed Polyethylene on the laser cut sheet with the parts For the cannon. Then sprayed on the red. The parts are all cut and ready for finish sanding and assembly. it is amazing what a moments inattention will do. The rear axles are a bit longer than the front. A tiny bit! While cutting out the rear ones I got happy and dropped three of the front ones into the pile before realizing my mistake. I spent the next 15 minutes p, which seemed like an hour, measuring each with callipers before sorting them out!

- 127 replies
-
- 15
-
-
- confederacy
- model shipways
- (and 1 more)
-
Peter, it may not be perfect but it’s pretty darn close! Very nice.
-
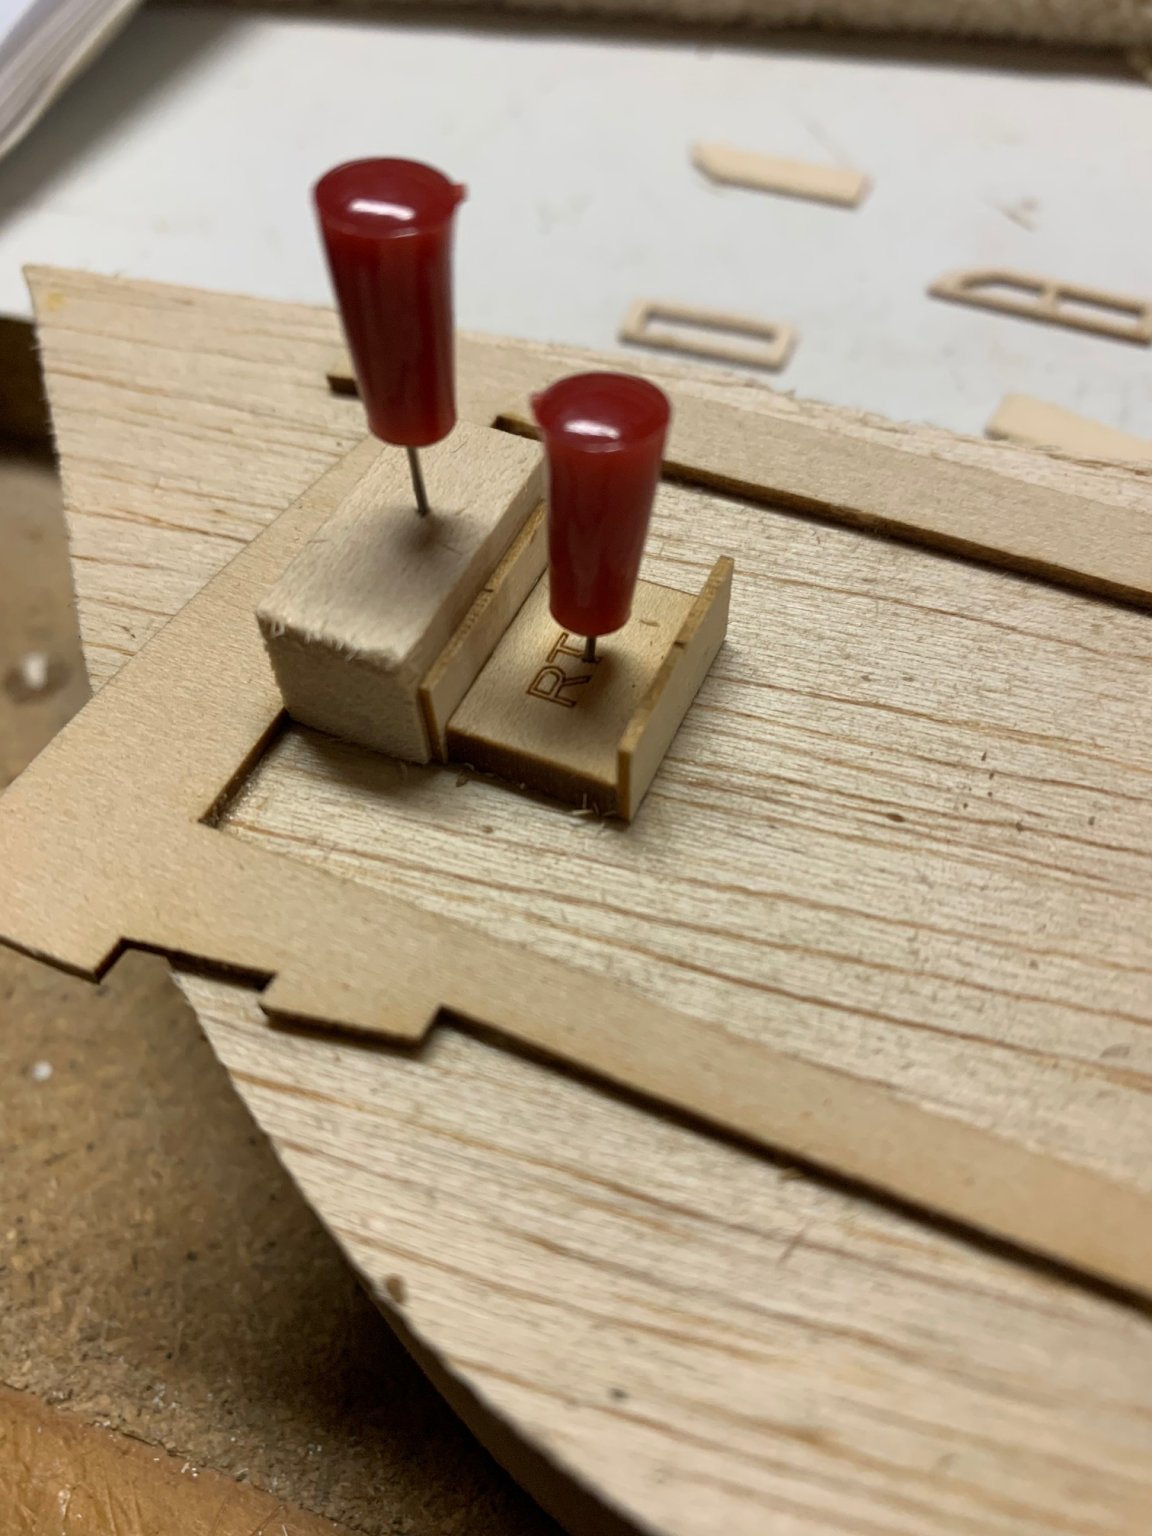
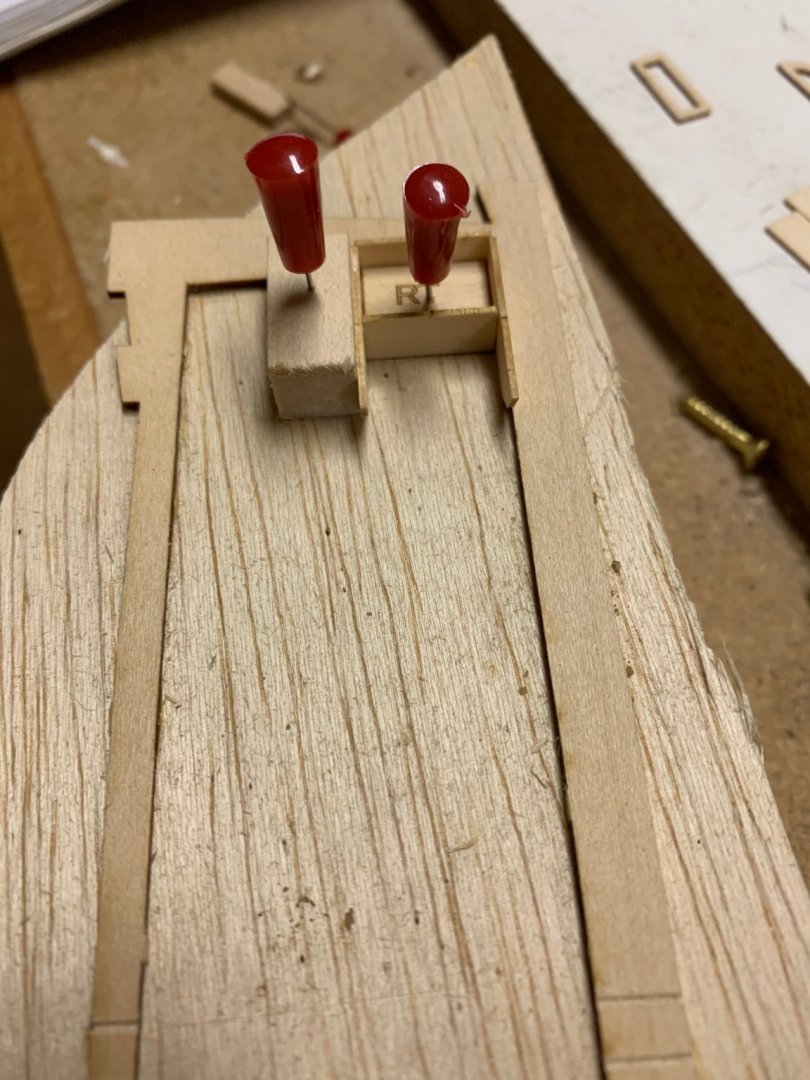
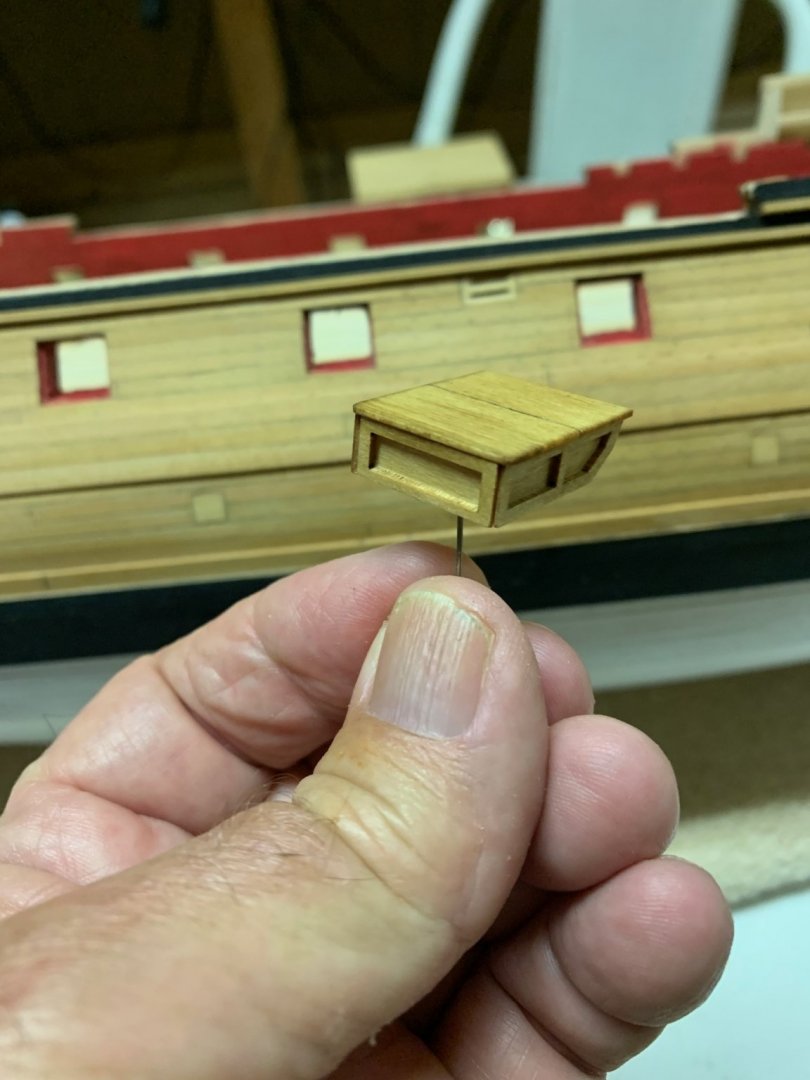
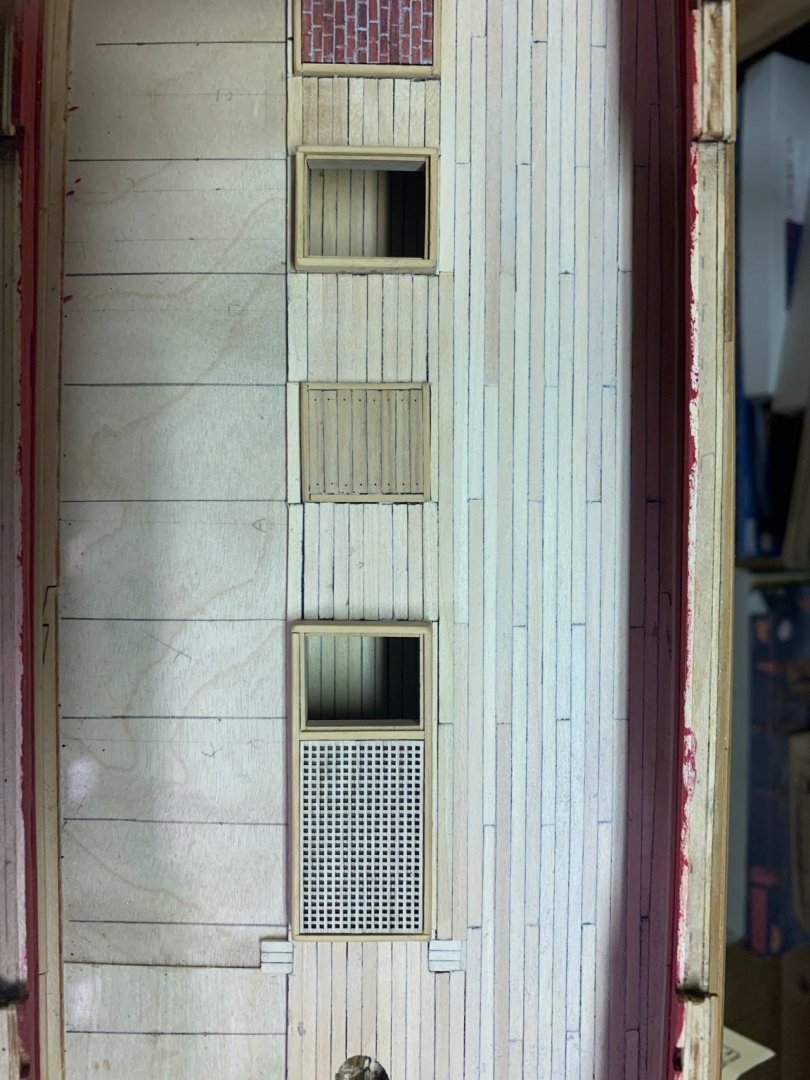
Before I blow my brains out putting in treenails, I started on a few sub assemblies. 1st was the rudder box. I used my quick and easy jig which is a piece of balsa with a scrap piece of laser cut waste glued to it. A few basswood pieces of different dimensions and push pins and you can do a lot of stuff. All I need to do is add the hinges and she’s ready to place.

- 127 replies
-
- 13
-
-
- confederacy
- model shipways
- (and 1 more)
-
Blackening brass advice
Bossman replied to Bossman's topic in Metal Work, Soldering and Metal Fittings
Jason, I used about 1 to 7 Jax Black and Water respectively in a bath. -
Mike, thank you very much! Even a blind hog finds an acorn every once in a while.
- 127 replies
-
- 4
-
-

-
- confederacy
- model shipways
- (and 1 more)
-
Thank you very much Edward. I’m having a lot of fun for my first foray back into ship modeling.
- 127 replies
-
- 2
-
-
- confederacy
- model shipways
- (and 1 more)
-
Nicolas, ambitious indeed! As others have stated, start a build log, go very slow and ask lots of questions. Welcome aboard.
-
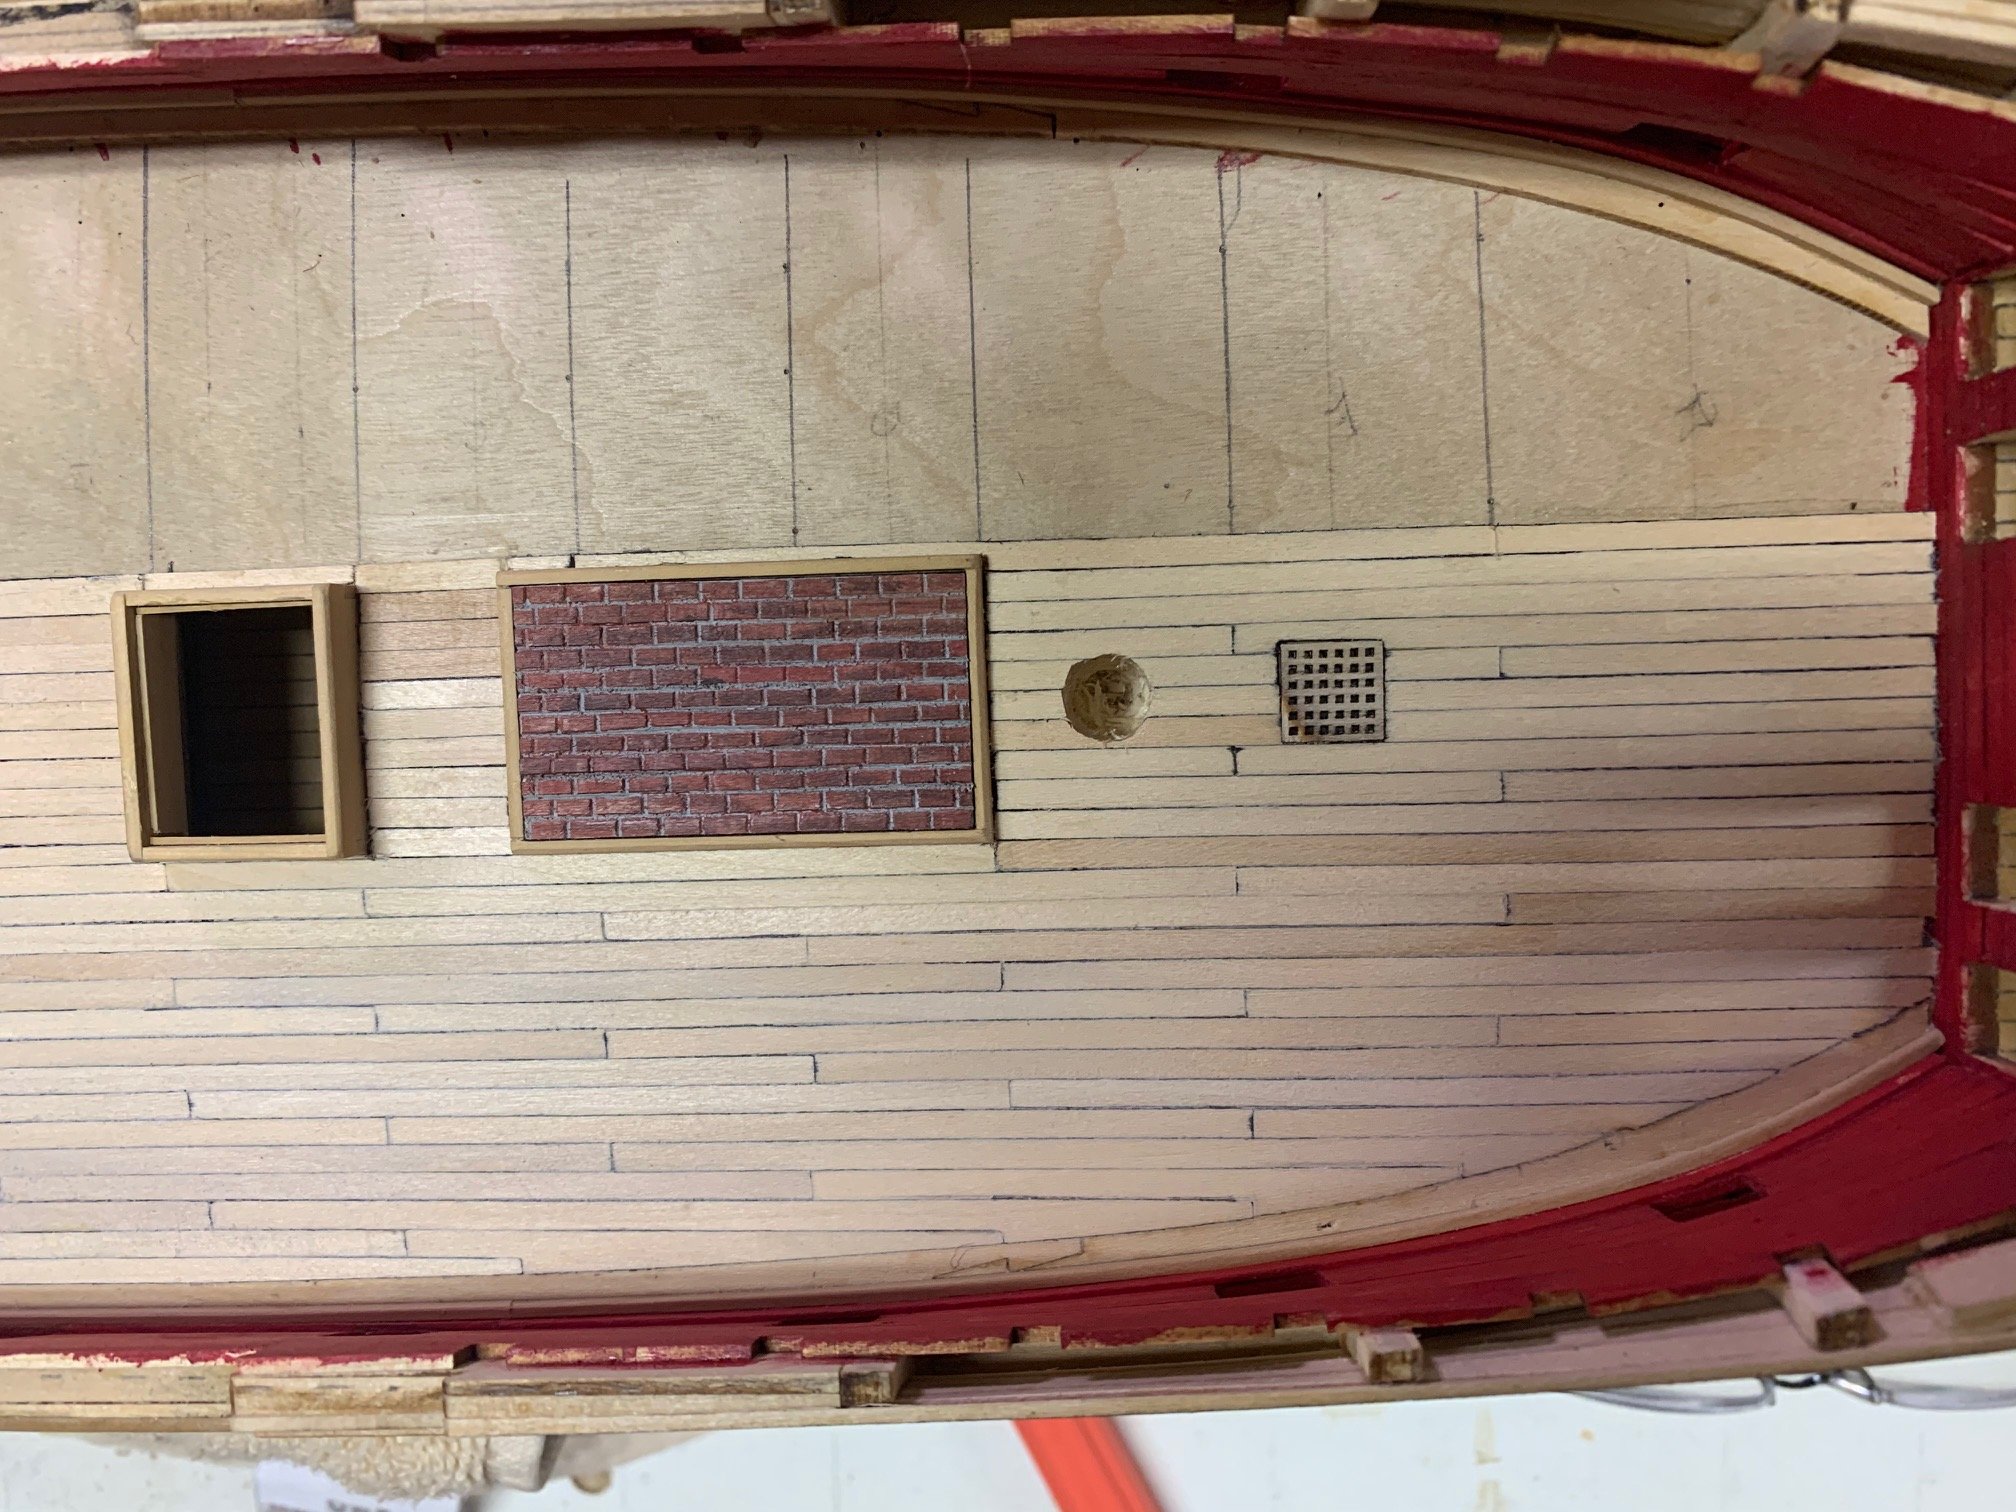
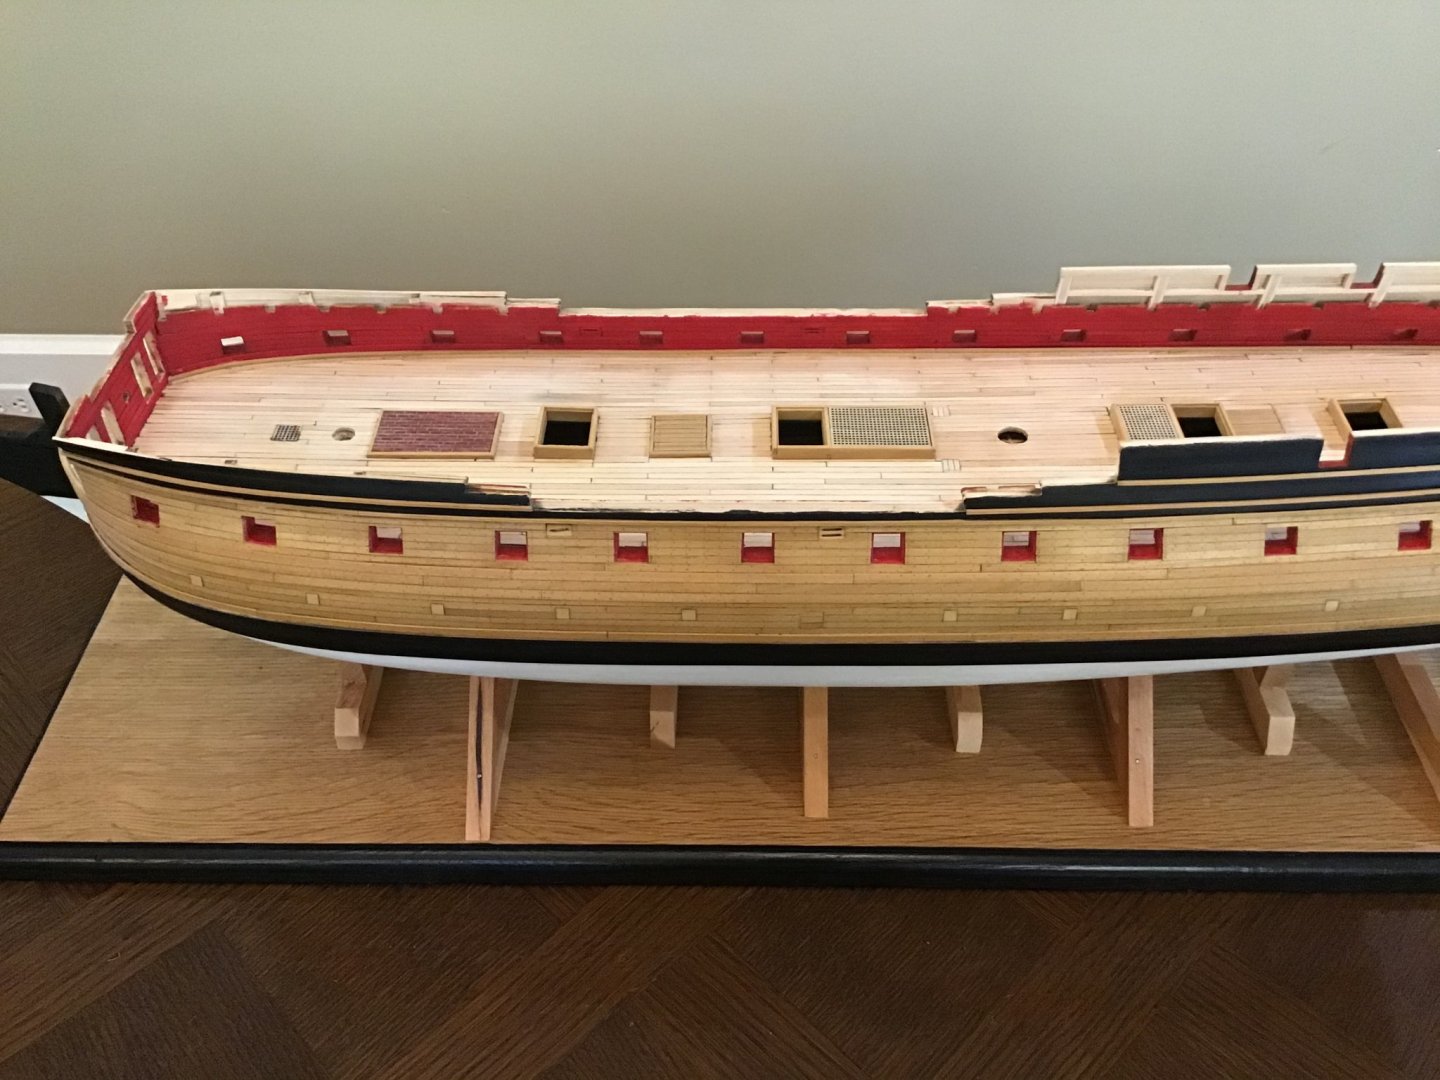
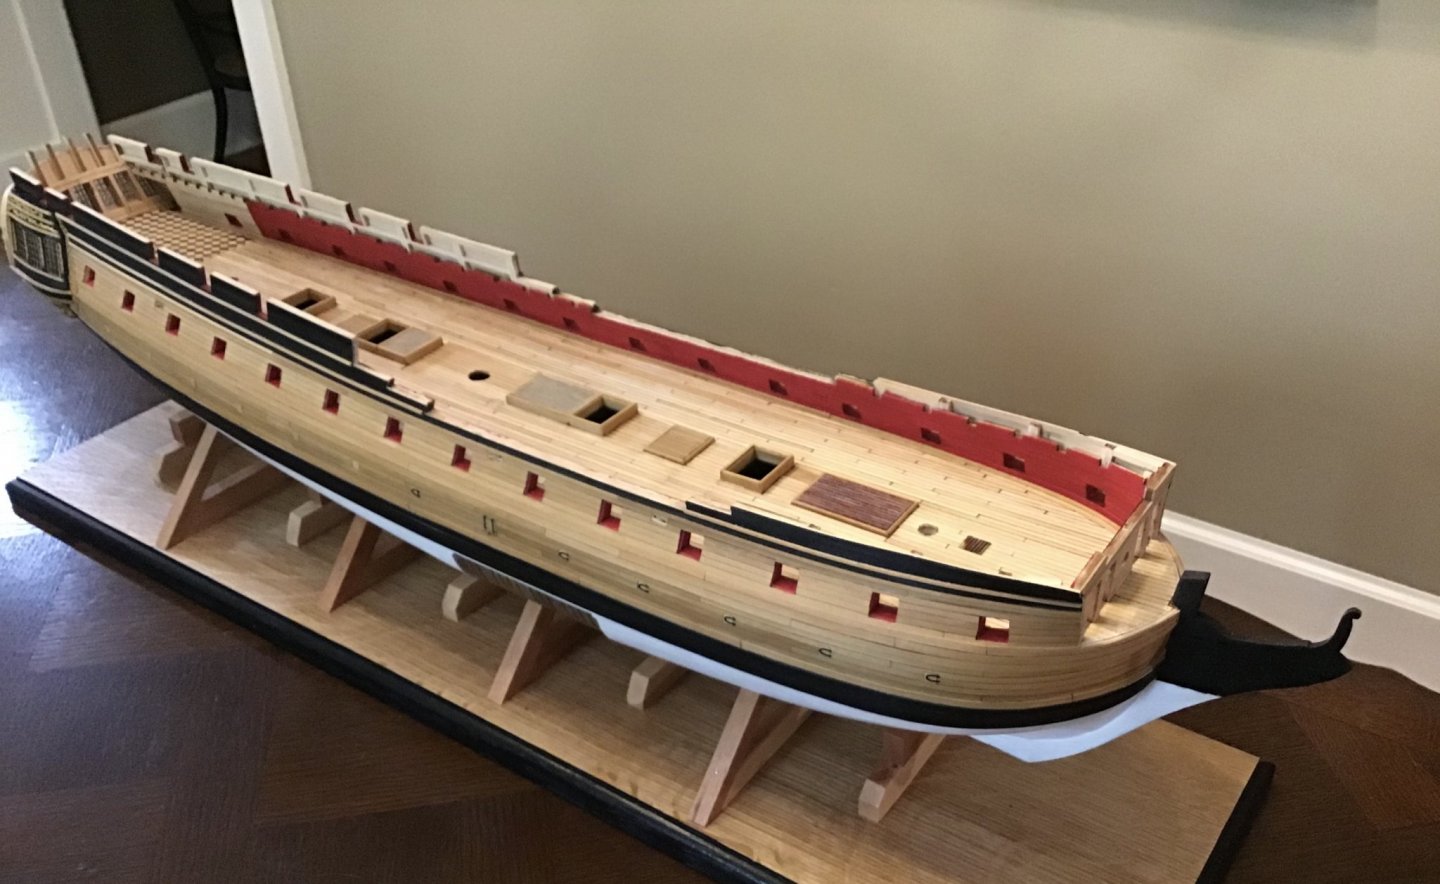
The deck planking is complete. I can live with the mistakes. Time to start working on some artillery. Thank you all for the likes. It keeps me motivated.

- 127 replies
-
- 10
-
-
- confederacy
- model shipways
- (and 1 more)
-
Blackening brass advice
Bossman replied to Bossman's topic in Metal Work, Soldering and Metal Fittings
Will do! -
Blackening brass advice
Bossman replied to Bossman's topic in Metal Work, Soldering and Metal Fittings
Allen, thank you Sir! I’ll take it down and redo. -
Blackening brass advice
Bossman replied to Bossman's topic in Metal Work, Soldering and Metal Fittings
James, thank you for the quick reply. As you can see, the second batch is perfect. Yes, they were both pickled, neutralized, cleaned in acetone and blackened. Actually, the culprit was not leaving them in long enough. My question is, when I redo the bad batch, do I need to take them back down to brass first and start from scratch or just redo following the above without taking off what blackening is there. -
Ladies and gents, i blackened the cannons for the Confederacy I am building. I used dvm27’s excellent tutorial on this. As you can see, my first batch did not turn out so good. The second batch is perfect. I figured out what I did wrong with the first batch. My question is, doi need to take the first batch back down to brass before re blackening or just redo? Thanks in advance for advice.

-
Very nice Glenn. I have the Cheerful up next and will be watching your build closely.
- 778 replies
-
- 2
-
-
- cheerful
- Syren Ship Model Company
- (and 1 more)
-
Bob, there are lots of ways to skin a cat but if it were my project, I would paint the hull white. When dry, I would mask off the white stripe. Then paint the black and aqua color take off the masking and you are done. Just my two cents worth.
-
Phil, I believe this child will be following you on this build. This medium is of interest and she’s a beautiful little ship.
-
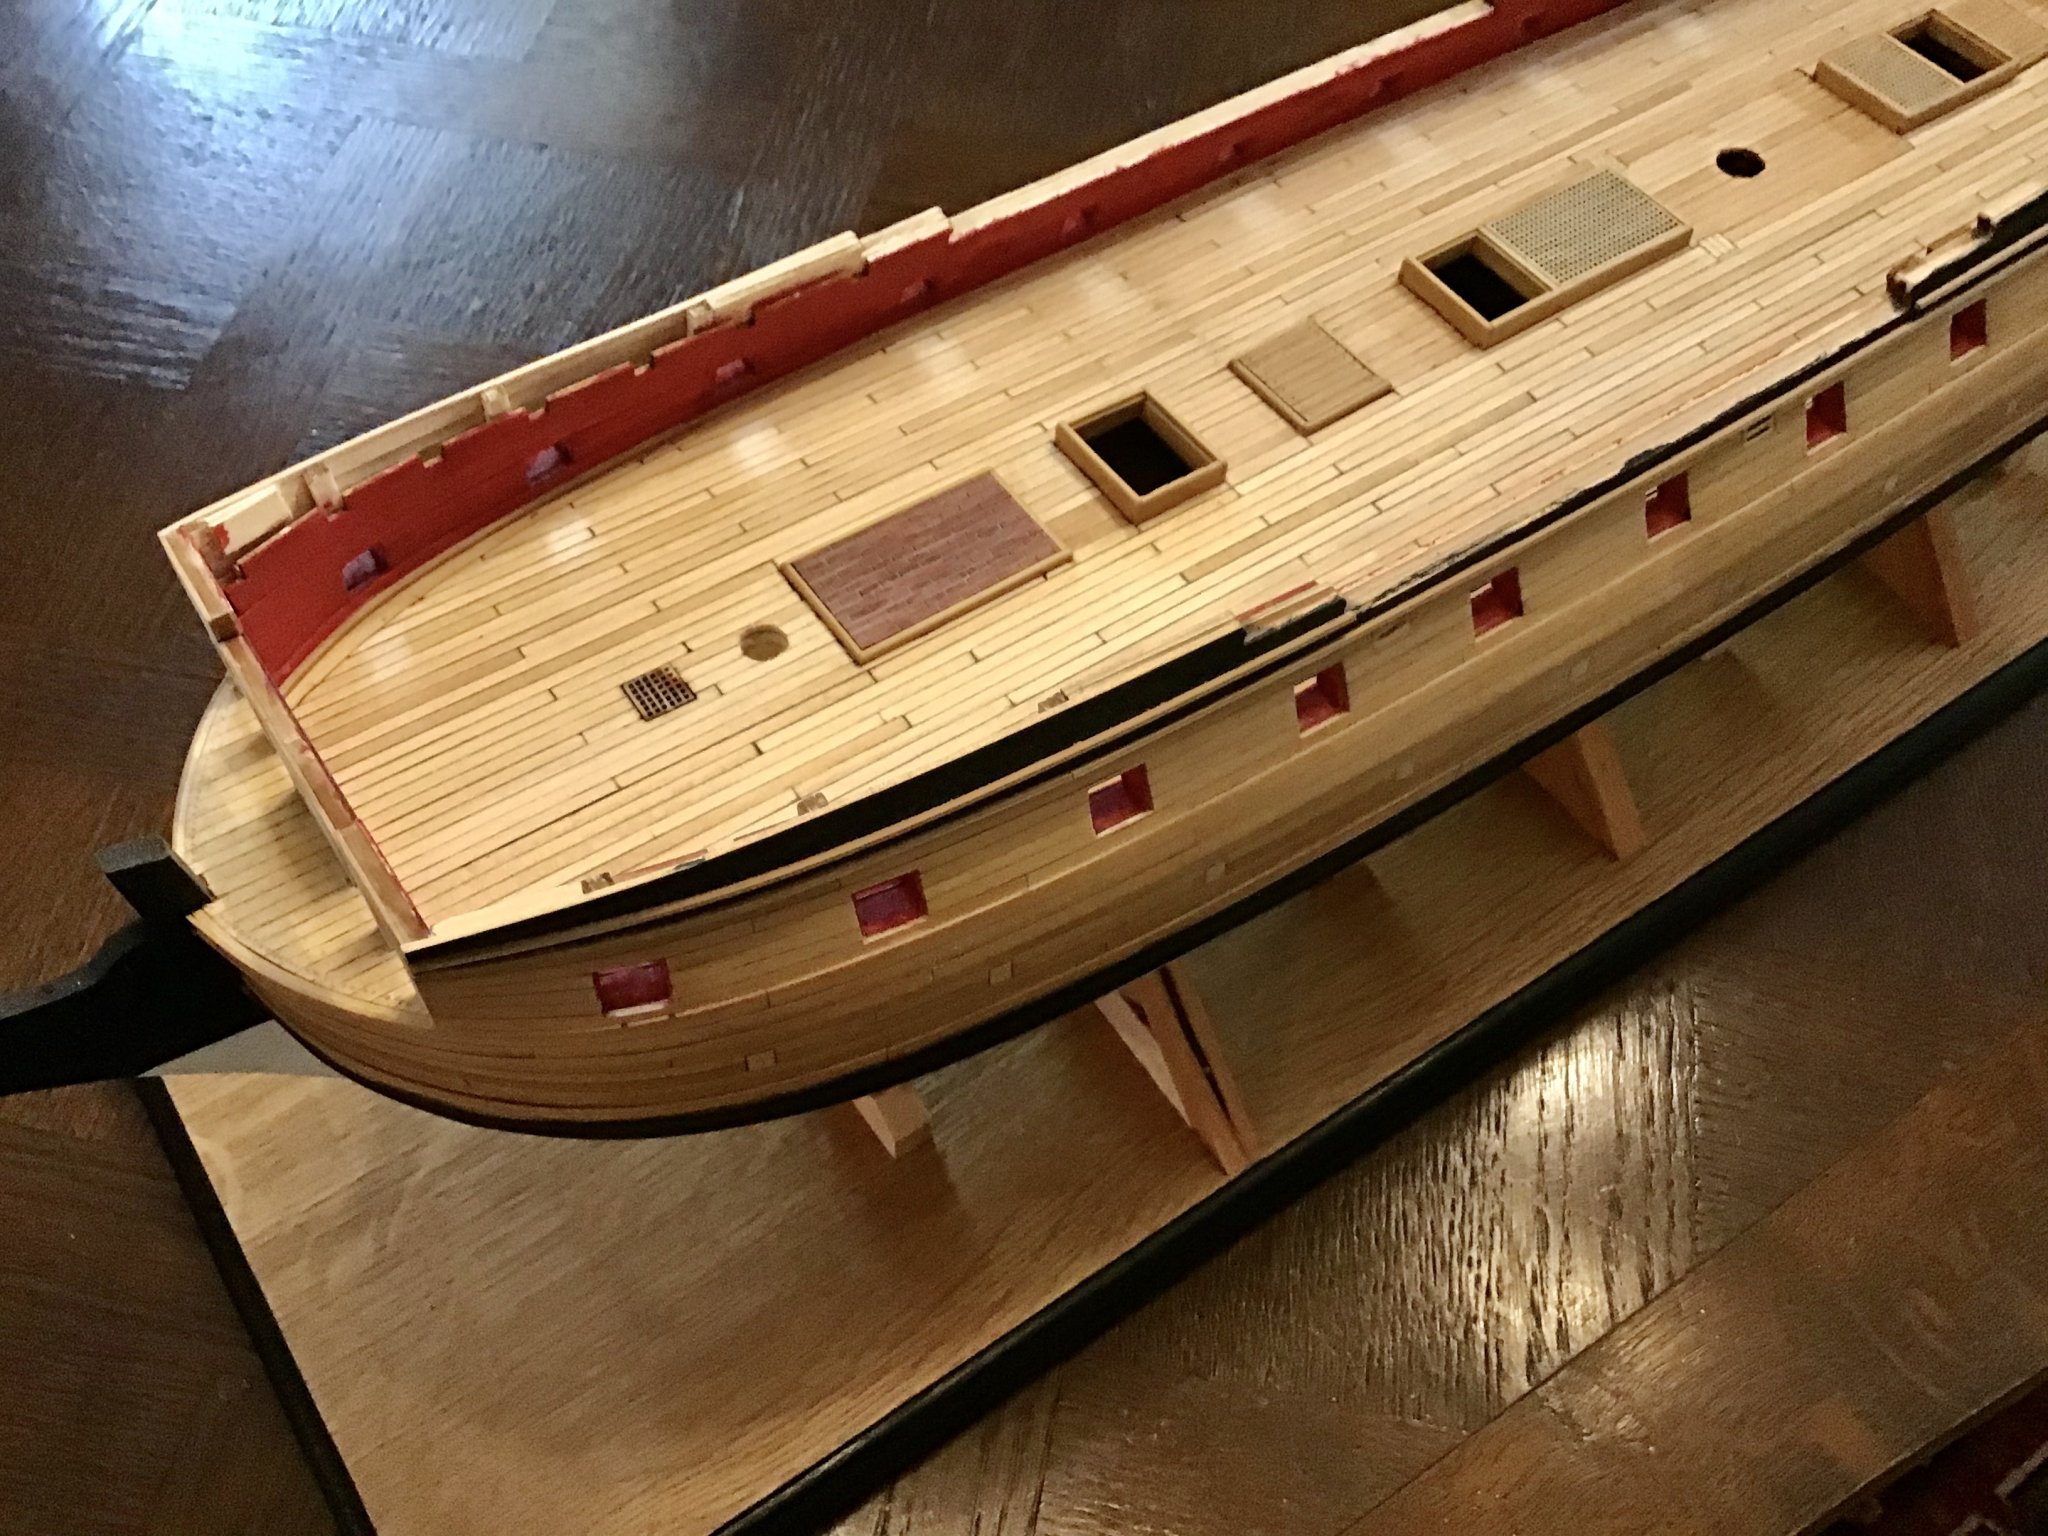
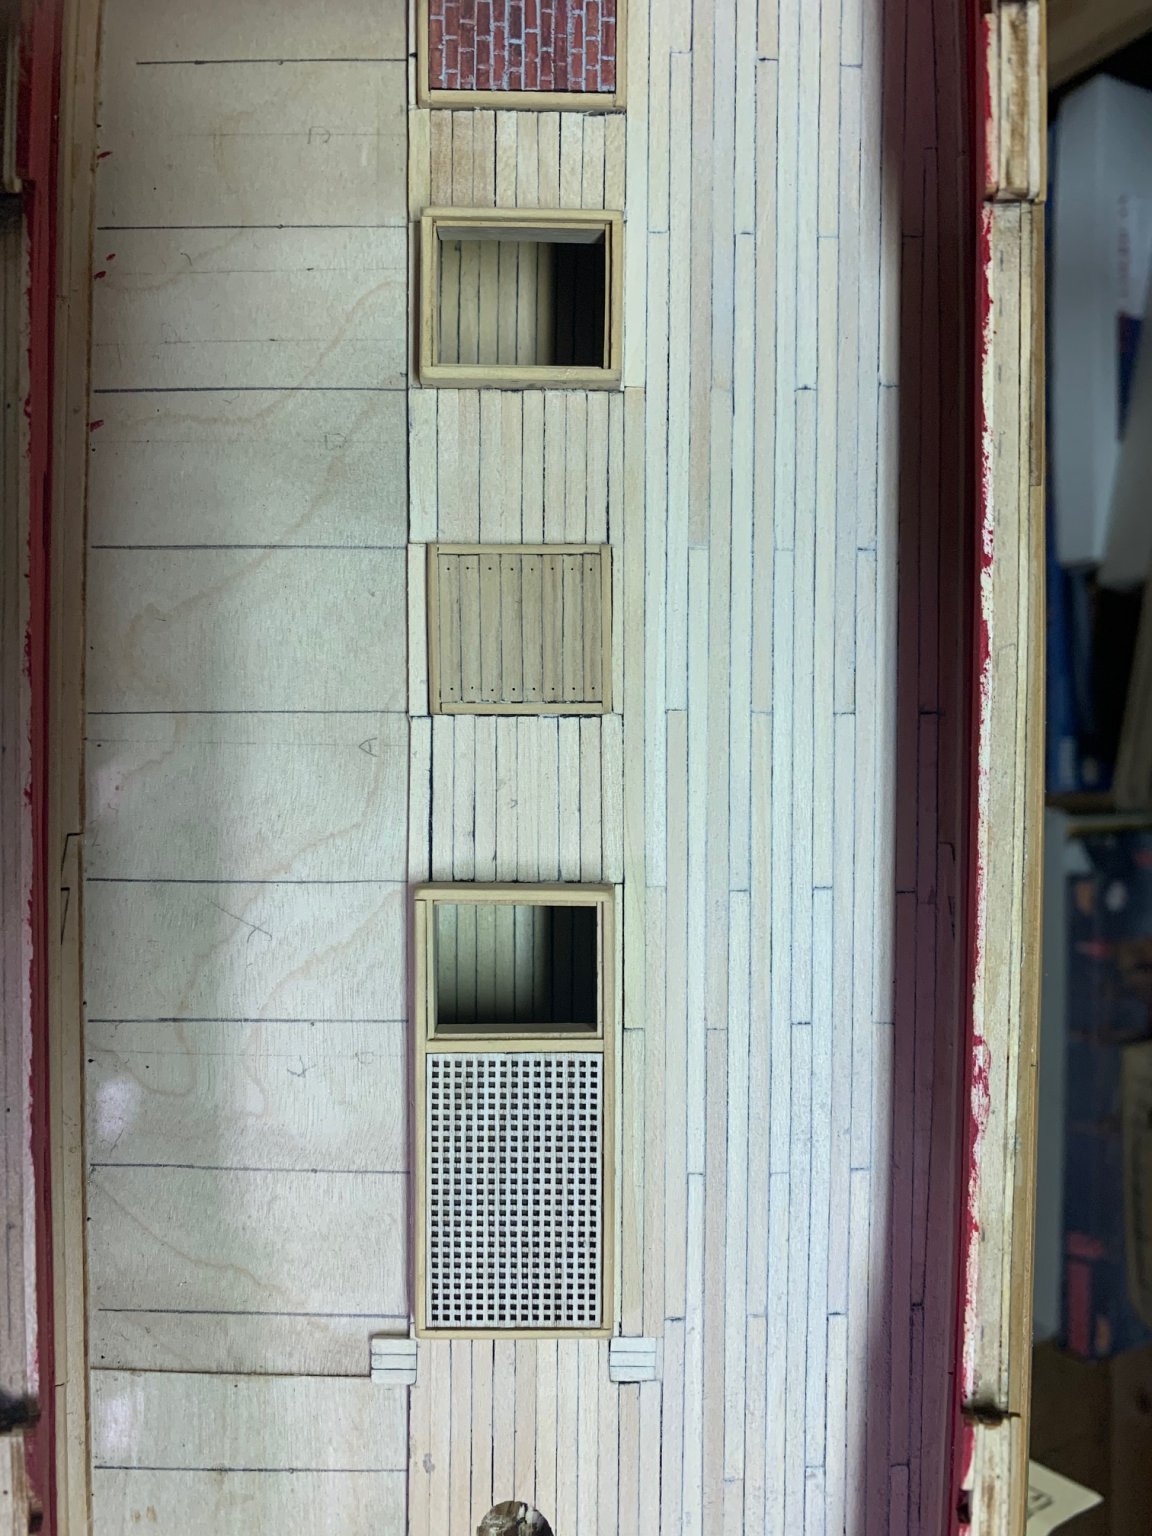
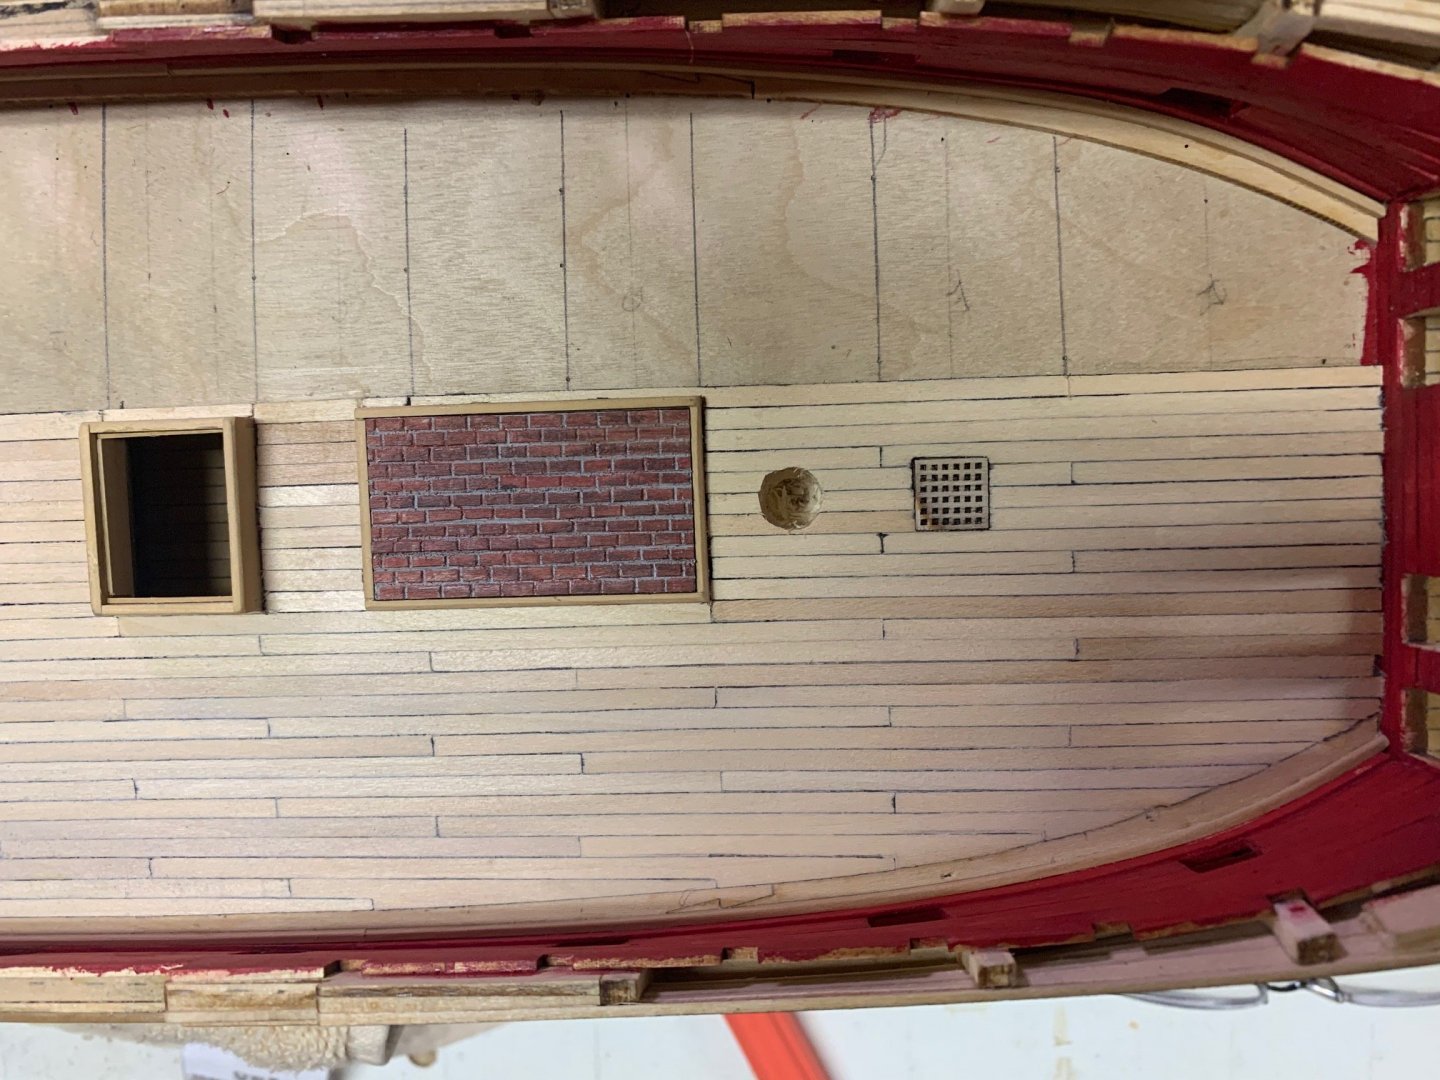
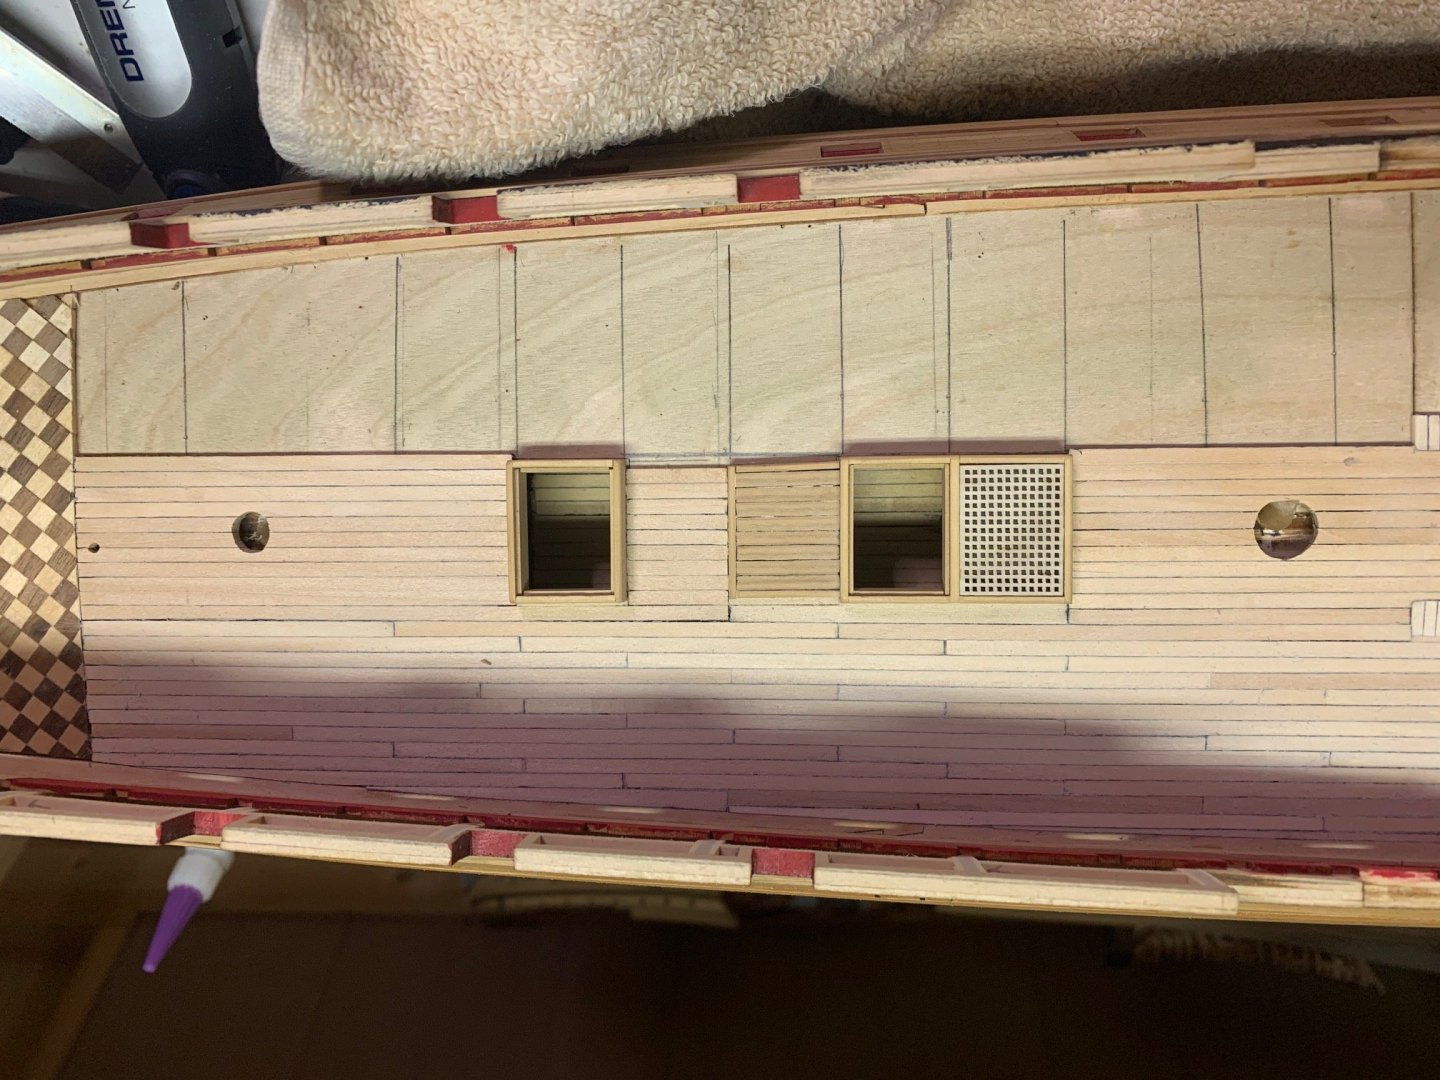
I have been alternating between deck planking and treenails. I think the deck planking will finish 1st! One thing I would do in hind sight is lay a batten the full length of the deck to make sure all deck combings are dead on the same line. I didn’t and it has caused some problems. Otherwise I am happy with the results so far. Thank you all for dropping in and the likes. They are much appreciated!
- 127 replies
-
- 8
-
-
- confederacy
- model shipways
- (and 1 more)
-
So true Peter! Lots of sanding, but mostly just good ol’ perseverance. Good work Sir, looks great.