HOLIDAY DONATION DRIVE - SUPPORT MSW - DO YOUR PART TO KEEP THIS GREAT FORUM GOING! (Only 36 donations so far out of 49,000 members - C'mon guys!)
×


JerseyCity Frankie
-
Posts
1,338 -
Joined
-
Last visited
Content Type
Profiles
Forums
Gallery
Events
Everything posted by JerseyCity Frankie
-
Finishing a silkspan sail
JerseyCity Frankie replied to Kevin Kenny's topic in Masting, rigging and sails
I’ve recently purchased two different types of silkspan, from two different sources. I’d never seen the stuff in the flesh before and I thought it’d be different. The first batch I got was thin and too transparent and would tear as easily as tissue paper, I didn’t see the advantage over tissue paper since tissue has no grain and this stuff had distinctly visible fibers. The next version of the stuff was slightly thicker but disappointed too, the same issues with the other stuff just slightly less transparent. I had imagined something more like drafting velum or paper. If there is a spectrum between Kleenex on one end and writing paper on the other, this stuff was far too close to the Kleenex end of the scale for me. As I looked at the material in my hands I wished there was a version of it that was twice as thick, this stuff was too insubstantial for me. Ill likely try working with it to see if it can be stained and maybe strengthened by painting it with acrylic medium? I haven’t written it off yet but my initial impression was that I didn’t like it for being too flimsy. -
I know on the schooner I sail on, only the halyard remains run when no Topsail is set. Both ends of the halyard are on deck with the hauling end on a designated pin and the working end simply tied to the sheer pole. We leave the Sheet off the rig unless we know we’re setting the Topsail, in which case we run the Sheet through its blocks while still at the dock. When the Sheet is run both ends are on two pins on the boom jaw itself on the Starboard side. the tack remains with the sail, gasket coiled. When the time comes to set the sail, the furled sail is brought on deck and the Sheet and halyard are being on. We point up into the wind so the sail can be hauled up without fouling on anything and when in place we belay the halyard and Sheet and sweat the tack which then goes on one of those two pins on the boom jaw. in this arrangment the tack is on the Starboard side and stays on that side, even when the schooner changes tacks. Some vessels have two tack lines on the sail, one on each side, and a line who’s name I don’t remember who’s only job is to raise the tack up so the opposing tack can pull up and over the falls of the Peak Halyard and thus set the sail on the other tack.
-
Chuck provided a link to Bonhams auction house. They have a presence in NYC and for years they had an annual Nautical auction- I think in the spring- but they have not held the Nautical auction in New York lately, I think the last one was 2016? It would be sad if they have discontinued it but perhaps the market for Nautical stuff has dropped off?
-
I’m building Niagara too and I’ve already broken the Main fife rail and had to reglue it. I’m not even aware how I broke it. It’s kinda small for drilling and dowling so I avoided that for the horizontal parts but now I’m regretting my decision. The glued surfaces are so small where they butt together.
-
Is someone being prevented from doing so? I’ve never seen a hint of that here. One can find ship models of every skill level here on Model Ship World but I have NEVER seen anything like condemnation of someone’s efforts or mean-spirited dissmisiveness of a model. Far from it! It’s very rare to see even the most gentle criticism of some small detail in a build log. I’ve simply NEVER seen anyone being discouraged from building a model or sharing photos of it here.
-
EDIT: we’re talking about a gaff Topsail, right? I see a few days have gone by and nobody has answered. I feel your assessment is correct, three principal lines. A halyard to lift it to the Masthead at the top of the sail, a Sheet to haul the clew out to the end of the gaff, a tack to pull down the tack of the sail and later to haul the sail to the deck. A lead block or a sheav set into the Gaff for the Sheet, the line leads through this then back inboard to a lead block on the gaff jaws and then to the deck. The tack opposes the halyard and this controls the shape of the sail, but nothing opposes the Sheet so hauling the Sheet tends to pull the Topsail away from the Masthead. The schooner I sail on overcomes this by having a dedicated jackstay, a bit of standing rigging that runs parallel to the mast from the bulwark to the Masthead. A shackle on the luff of the Topsail rides on this jackstay and this keeps the luff of the sail close to the Masthead and opposes the Sheet. Note that this is a flying gaff Topsail, there’s no such thing as a flying gaff.
-
Lees has the lower blocks hooked in the channels but the hauling part belayed on a cleat on the mast. Up until 1805. After that the tackle remained the same but the hauling part belayed on pins near the shrouds. And I have no reason to doubt Lees.
-
Well the sail is called “the driver” so the “driver gaff” is the Gaff. I think you’d only need to call it “driver gaff” if there were another gaff in the rig somewhere. Likely it’s the ONLY gaff though. Using the same logic Caldercraft could have called the Boom the “driver boom”. The use of “Gaff boom” is unfortunate though since it’s confusing. But maybe Caldercraft is a non-English speaking company and there was another (there are so many in this great hobby of ours!) translation error?
-
There is no “gaff boom” those are two different spars. No idea why your plan is describing the Boom as the “gaff boom”. The Boom is the lower spar on your sail and the Gaff is the upper spar. The Gaff will not have a topping Lift, only the boom has that feature. The topping lift’s only function is to keep the Boom up off the deck and at the proper height, the Gaff needs no such lines. The reason there are two Topping Lifts is because you slack off the leeward Tooping Lift when you’re sailing so the sail won’t press against it and cause wear. This is why the TOpping LIft can be adjusted on a pin or cleat. This is also why the Topping Lifts often have baggywrinkle on them. when sailing with the wind abaft the beam, the boom will be sheeted out, meaning the sailors want it over to port or Starboard so the sail can fill with wind. Often they Sheet it out as far as it can go and the extent to witch it can be swung outboard is limited by the location of the aftermost standing rigging, in this case the Running Backstay. If that Backstay was fixed in place, they can’t Sheet the boom out any farther and that limits the amount of power they can get out of that sail. This is why the Running Backstay can be adjusted. If the crew slack off the lee Running Backstay completely (or even move it-that’s why it often has a hook on it) they can free up more space to Sheet out the boom a few more feet, and gain more sail power by presenting a better angle to the wind.
- 1,144 replies
-
- 1
-

-
- snake
- caldercraft
- (and 1 more)
-
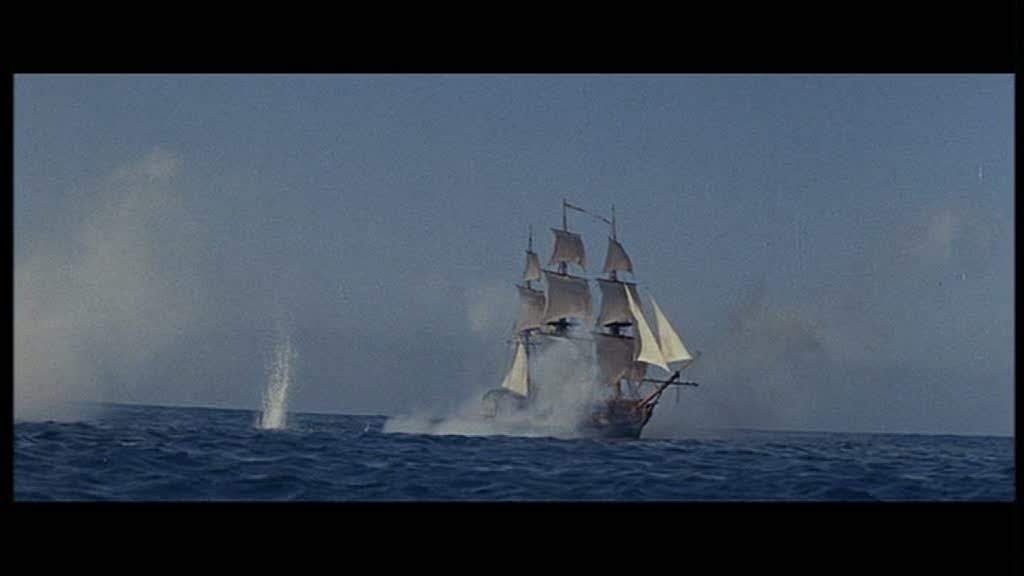
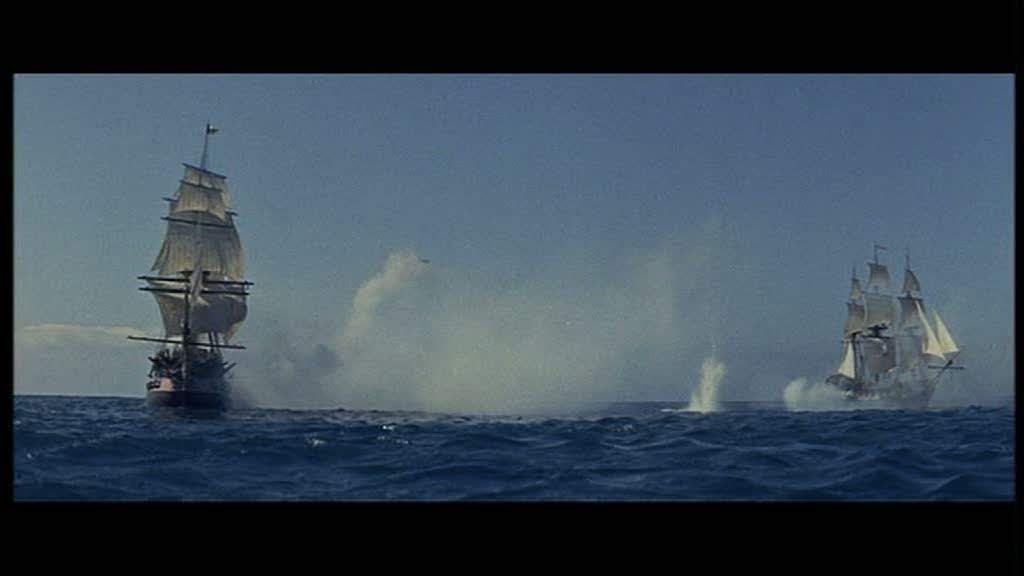
Released in the US as Damn the Defiant. Made before CGI, all the ship sequences are miniatures so any MSW members would love this film. Here’s the link dcelent Model Ships in Cinema websit’s take on the film: https://www.modelshipsinthecinema.com/2012/10/hms-defiant-1962-damn-defiant-us-title.html?m=1 and here’s some of the many screen grabs from that article.
-
I’m working on a Niagara too. So naturally I’m looking very closely at tons of photos of the real Niagara. And it’s amazing to see how closely your miniature version matches the real thing. Again and again I’m seeing your photos and they look exactly like photos of the real ship, particularly the photos of the Top.
-
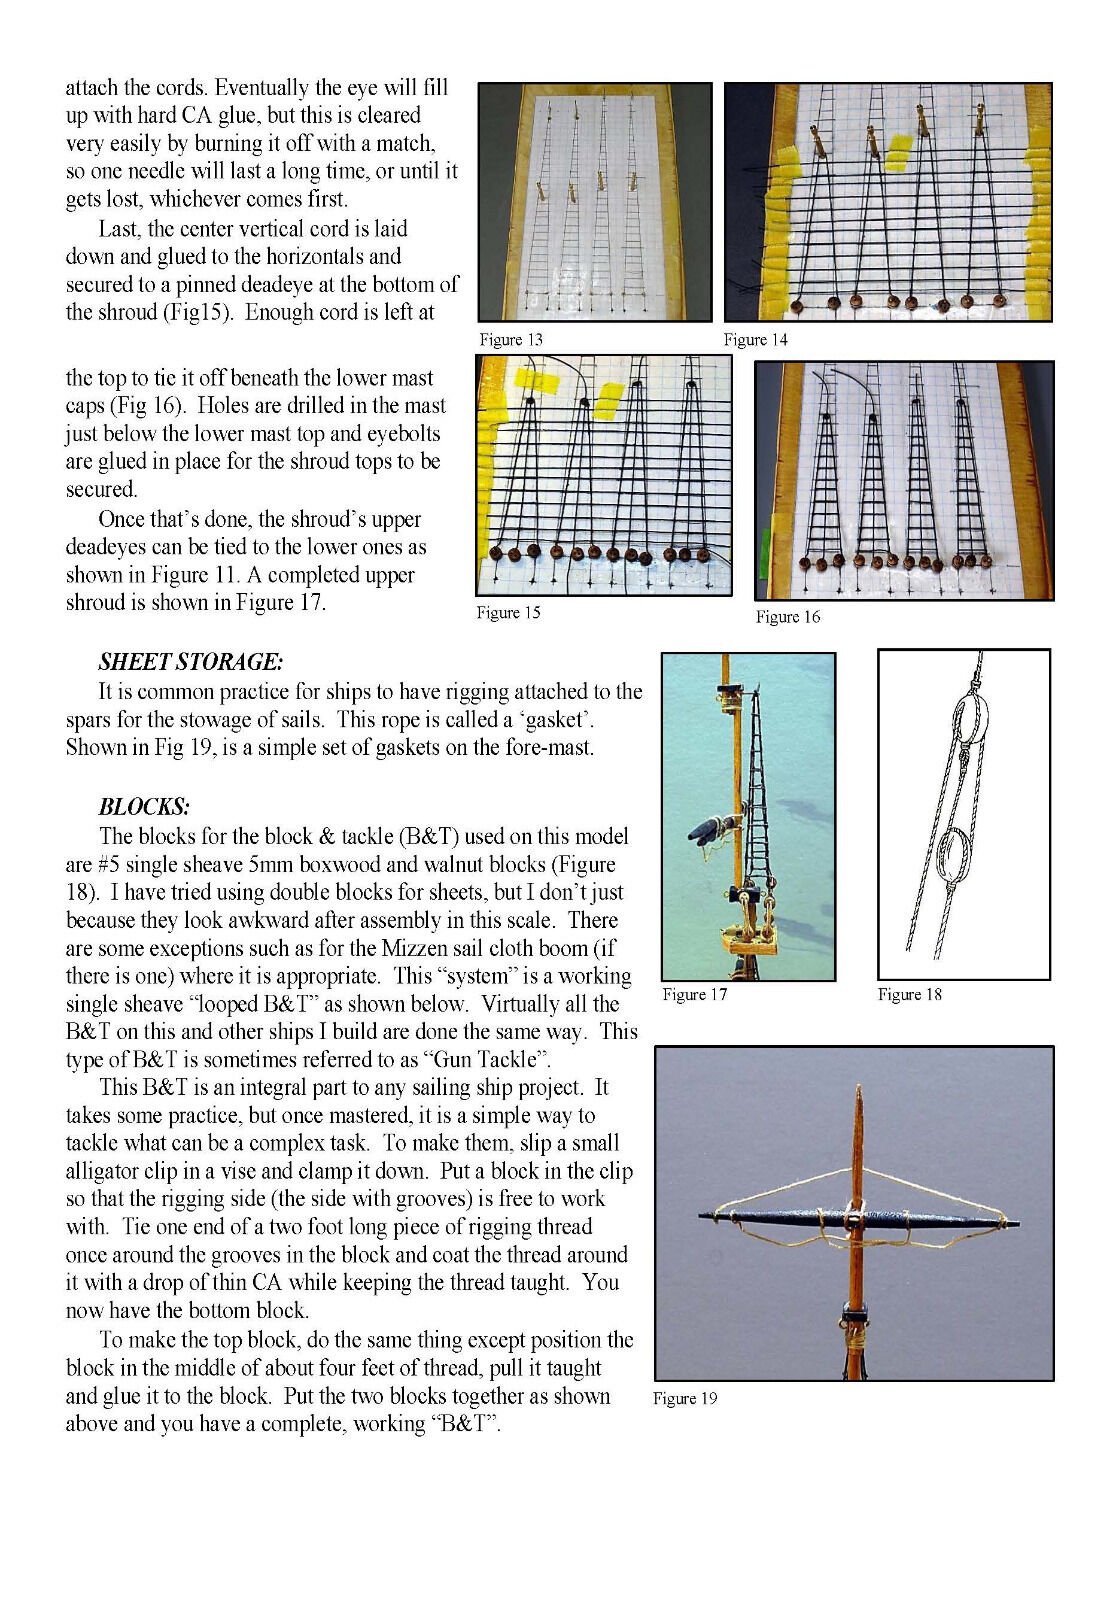
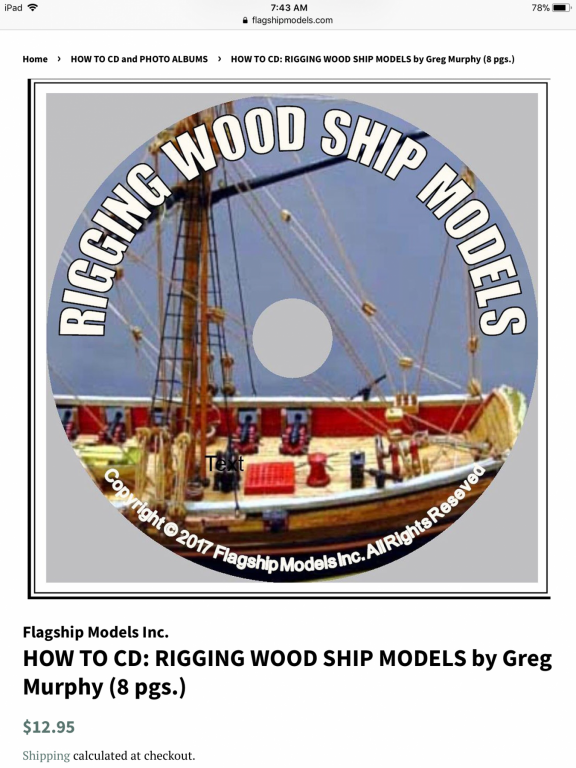
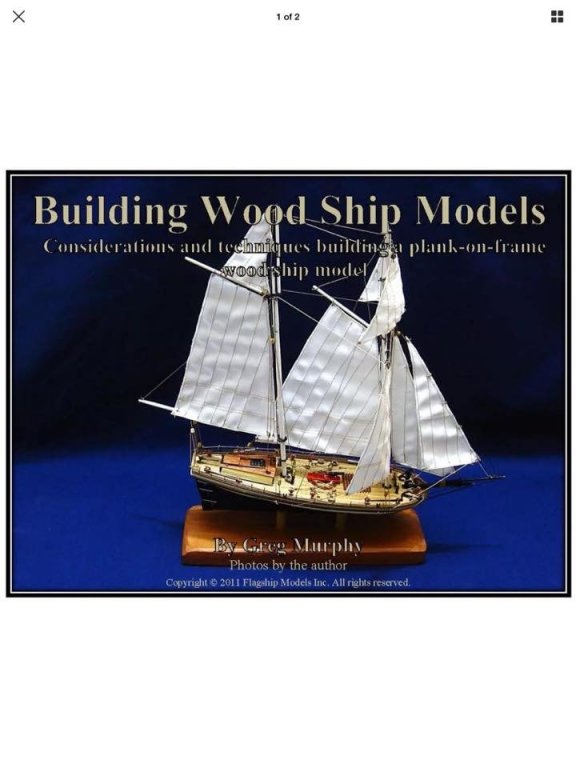
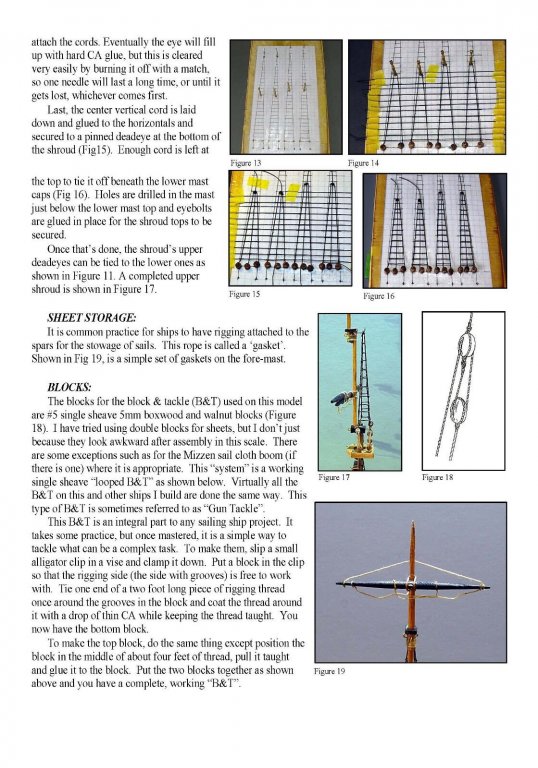
I can’t speak for the company itself or most of its products. But I did click on the link and noticed this cd they are selling, advertised as a how-to on ship rigging. Which is hilarious since I had stumbled upon this cd on eBay and was AMAZED at all the very obvious blunders visible in the COVER PHOTO of the publication. The eBay listing had photos of some of the cds contents and I saved them. It illustrates the point that anyone can claim to be an expert, there’s no official criteria that has to be met before one can claim expertise on ship model rigging and publish a book. Not too much obviously wrong in this cover photo but hasn’t he accidentally switched the Main and the Fore? Lol. This photo is AMAZING. I’m prepared to say that nearly every scrap of rigging in this photo is wrong. But to someone who’s never learned about rigging? They would assume this book was going to show them the proper way. Under the title “sheet storage” this guy appears to think the footropes are for “storing” the sails? He appears to think the Gaff is called “The mizen sailcloth boom”! And look at the topmast shrouds in figure 17.

-
safety neting construction
JerseyCity Frankie replied to Thomas Staley's topic in Masting, rigging and sails
Congratulations on your first post on model ship world! If I was doing the safety net I’d tie it all together on a jig off the model. I imagine it’s tied on its outboard sides to Bowsprit Shrouds? I’d make all that stuff off the model and glue it on in one piece. Or omit it entirely? After all it’s very small diameter rope. On my models i will often decide not to include some stuff that’s below a certain size/visibility threshold. -
Certainly I've always loved wooden sailing ships. But after seeing the photos of your build as it approached completion, I love wooden sailing ships EVEN MORE.
- 242 replies
-
- 1
-
-
- syren
- model shipways
- (and 1 more)
-
yards before sails?
JerseyCity Frankie replied to Mike Dowling's topic in Masting, rigging and sails
The quick answer, in my view anyway, is to dress the yards as much as you can prior to installation. Getting in close to the mast with your hands and tools will be tricky once the shrouds and stays are rigged. -
My advice is to look in sewing or craft stores for “carpet thread” or “button thread”. In a real pinch you can use wire and then paint it.
-
The nice thing about a plastic kit is you can take it right into the shower with you and wash away every bit of dust, something you can’t do with wood. But I’d discard the plastic spars after using them as patterns to make wooden replacements.
-
She’s fine. Nothing looks as broken as a broken ship model, this may not be as bad as it looks. Try to save the shrouds if you can, otherwise I’d throw away all the rigging and sytematicaly re-rig her. If you can get her down to just the masts and the shrouds the rest is child’s play.
-
As an alternative point of view, I use CA all the time, even sometimes on rigging. I agree though that white or PV glues are best for rigging, I’m not in agreement that CA has no place in ship models. It’s a question of where and how you employ it. It’s also a question of scale too, smaller models have tiny shrouds and I’ve done ratlines entirely in CA on my smaller models, such as my Sophie and Leopard.
-
Take my advice and scrap this nonsense. You can save the model, just rig the shrouds like all other shrouds are rigged: with deadeyes. This drawing is pure nonsense. For instance, how is line #114 to be tensioned? Shrouds are TIGHT, they are holding up the masts, you can’t just nail a metal flange with a hook on it to the hull, it could never be adjusted. And if you’re just nailing the end to the hull, why do you need a hook that can NEVER be disengaged? Also look at line #113, why is the hauling end on the lower block? It should be coming off the upper block, rove to advantage. This was drawn by a landlubber who has never seen a real ship before.
-
The rig height was a variable because there is a range of risk verses safety involved in adding more canvas to a given hull. Baltimore Clippers were known for their speed due in part to being recklessly overcanvassed. But Baltimore Clippers were intended for speed and those who sailed them accepted the risk as the penalty for greater speed. Conservative ship owners would sacrifice speed for the safety of a shorter rig, as they would also sacrifice a more efficient (and faster) hull shape in order to have a hull that could hold more cargo while traveling slower.
-
Regarding the concept of three turns of line on a windlas or Capstan, or any cylindrical object, you need to understand the term “Tailing”. Three turns around the cylinder provide a long “bearing surface” where the surface of line and the surface of the windlas or Capstan are in contact. If the circumference of the cylinder or Capstan is 36”, three turns of line taken around it give 108” of bearing surface- this is where the friction occurs. But there can be no real friction unless the turns remain tight on the drum. You can lead your anchor line from the haws hole to the Capstan or windlass and take three turns around it and then you can start turning your Capstan or windlass but those three turns are NOT going to grip the cylinder unless someone is “Tailing” the line. A person “Tailing” is merely pulling on the inboard end of the line. Not very strenuously but just enough to hold the turns tight to the drum and activate the friction of the three turns. Once the friction bites the line,the Capstan or windlas begins to take up the line that’s on it.The person Tailing acts like a clutch and can halt the process of taking in the line merely by slacking the line on his end.
-
Mostly I see (in models and in modern replica ships) the Capstan Bars stored horizontally in racks on the nearby bullwarks. I doubt they’d be stored below decks but it’s possible.
- 1 reply
-
- 2
-
-
Simplified running rigging, from thickest to thinnest line, is determined-logically- by the load the line is expected to take. So the halyard used to raise the topsail Yard is going to be thicker than the one assigned to the Tgallant and Royal yards, which are considerably smaller. The exact same principle applies to the braces on all those yards too, and their Lifts. The lightest and thinnest lines will be the Buntlines, which are only used to lift the weight of the sail when it’s no longer drawing wind. the other consideration is when you have a block and tackle on the end of a line: the pennant ( the part the blocks is fixed to) is always going to be much thicker than the falls of the tackle-the line that’s rove through the sheaves of the tackle.
-
You can kind of ballpark guesstimate rigging sizes. Especially if you keep in mind the running rigging has to fit into the sailors hands! Any rope thicker than two inches would be too large to grab and haul on so make yourself a cardboard cut-out crew figure of the proper scale for your model. If the hands on your figure are too small to see? You better not use any very thick thread for rigging. You can get by with three different thicknesses of running rigging, unless your model is very large. The standing rigging can be worked out based on the mainstay, which is the thickest material on the ship. The shrouds are slightly smaller, the topmast shrouds are further slightly smaller. All the standing rigging gets smaller the higher up it goes in the rig until at its highest point it’s about as thick as your “medium size” running rigging. You can gain a lot of comprehension from looking at photos of actual historic square rig ships, look for photos of the coiled rigging on the pins and you will see typical size ranges.