


CPDDET
-
Posts
988 -
Joined
-
Last visited
Content Type
Profiles
Forums
Gallery
Events
Posts posted by CPDDET
-
-
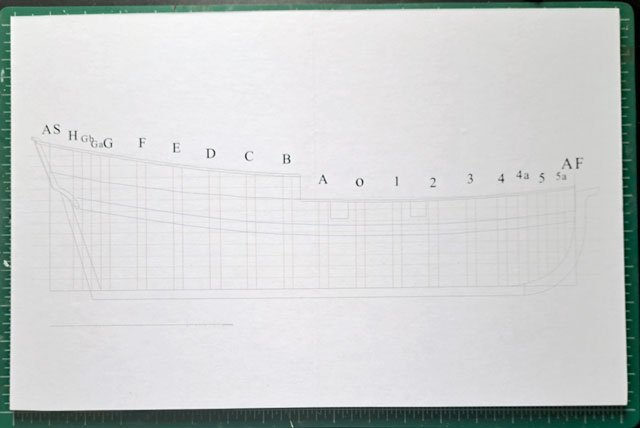
Got a bit of a start today. Used Elmer's spray adhesive to attach the plan to a piece of foam board and then trimmed the board to the edges of the plan with a utility knife and metal straight edge.
The proceeded to remove all the laser cut pieces from the billets. Using a razor blade saw made a quick job of this.
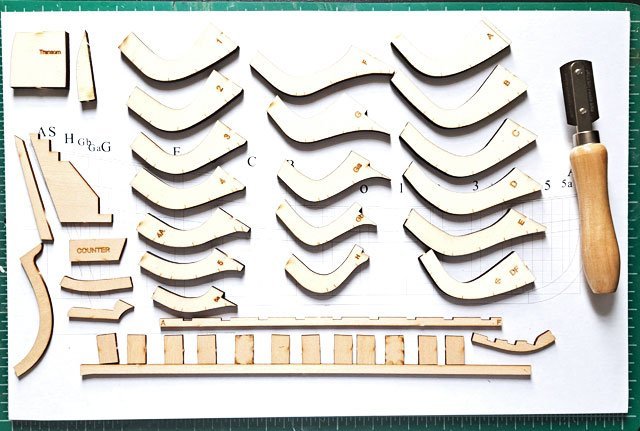
Please excuse the poor exposure on these pics, they were taken will my cell phone. I usually use my SLR and will do so in the future.
Tomorrow I will get a start on squaring up the pieces (lasers don't cut a perfect 90) and removing the char as well. Not sure how far I will get but no hurry, of course.
Dave
- GrandpaPhil, Cathead, robert952 and 3 others
-
 6
6
-
2 hours ago, Ed Ku20 said:
Very fine job Dave! Congratulations on completing your Bluenose. Good Luck on your next project!
Best regards,
Ed
Thanks Ed, just have to clean up the shipyard and wait for the boxwood I ordered before my next project.
-
Thanks, Knocklouder! Your kind words are much appreciated.
-
Thanks! Will be following Toni Levines build log, among others, for the NRG Half Hull model.
I've seen Toni's finished piece as she attends our model shipwrights club meetings and was very impressed. Hope mine comes out as well.
-
-
After taking my Bluenose as far as I wanted I decided it was time to learn proper hull planking.
I ordered the kit ( https://thenrgstore.org/products/half-hull-planking-project) from NRG some time ago and will spend the next week or so gathering what I need for this build. I will also be reviewing the various build logs of other other shipwrights to gain further insights.
Since I now have some experience I've decided to upgrade my material to Boxwood rather than using the Basswood that comes with the kit. Hopefully I would ruin too much of it. 😆
Any advice or suggestions from those who have built this kit is always appreciated!
Dave
- CiscoH, Knocklouder, ccoyle and 6 others
-
9
-
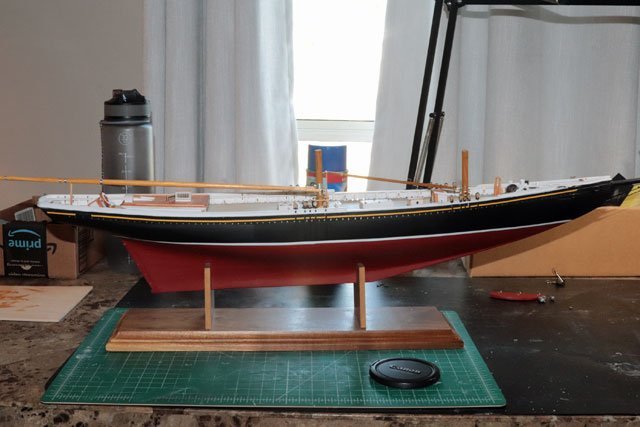
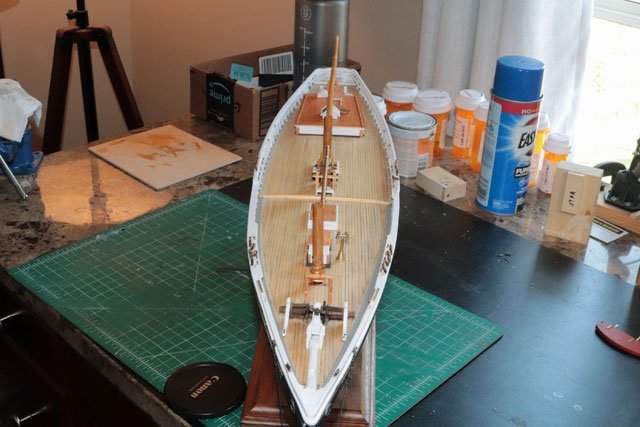
So this will be my final post on this build as this is as far as I'm taking this model. If I had to start this hobby again I wouldn't have chosen this particular kit. This build was far more complex than I anticipated. Because of its complexity, it was truly a baptism by fire. I always viewed this one as a "learning build" so many of the finishes aren't uniform. Some bright brass and some blackened, some painted parts and some stained with different finishes, and some left natural. But I did learn a lot about many different facets of this hobby; woodworking, metal working, painting, staining and so on. It also forced me to invest in the various "tools of the trade".
All and all I'm fairly satisfied considering this is my first build. I expect to improve on my skills and believe that what I learned during this adventure will only make future builds that much more enjoyable.
My next endeavor will be to complete the NRG Half Hull Planking kit. Ill leave this current build with some picture............


-
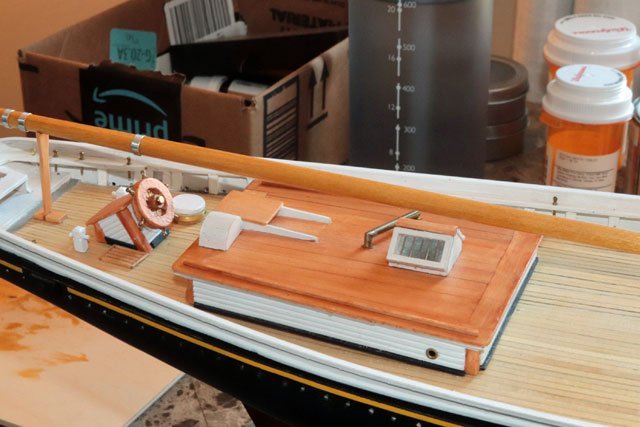
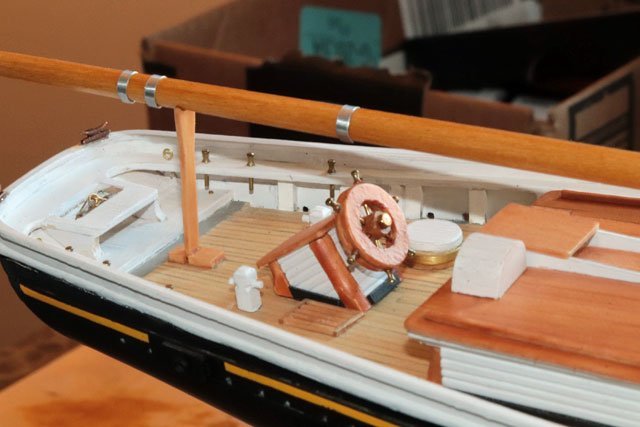
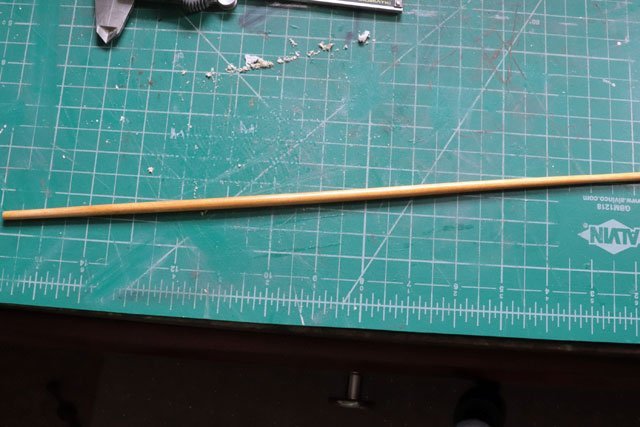
Building the main boom.
Started off by using the cordless drill and sandpaper method to taper the main boom.
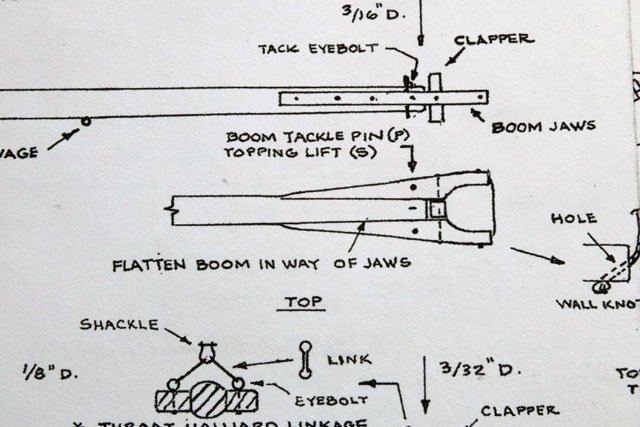
First step in making the yoke was to cut out the printed plan and glue it to a piece of 1/8th inch stock. I used white glue for this.
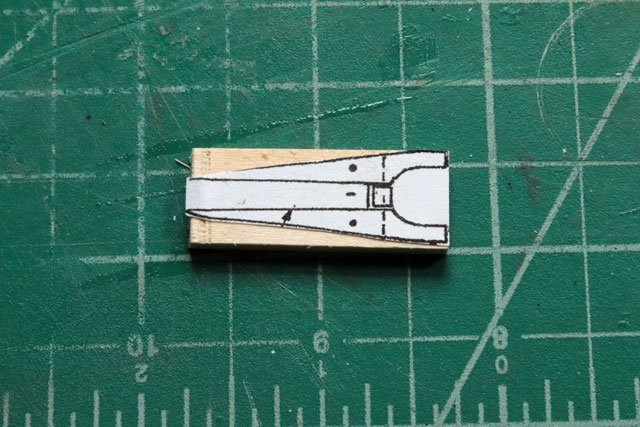
Then drilled out the slot that will fit around the mast.
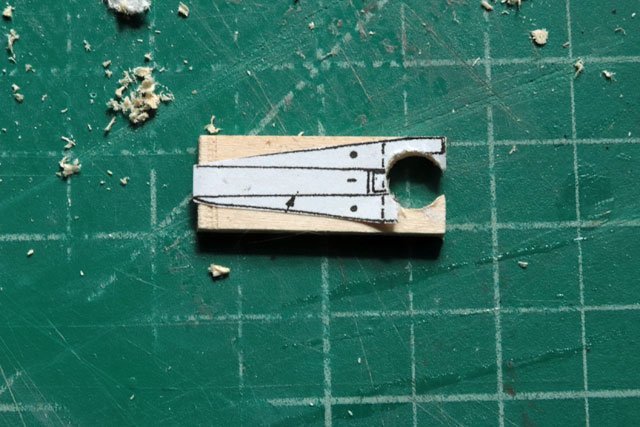
After cutting the piece in half with a fine cut pull saw, I used the disk sander to remove the excess material.
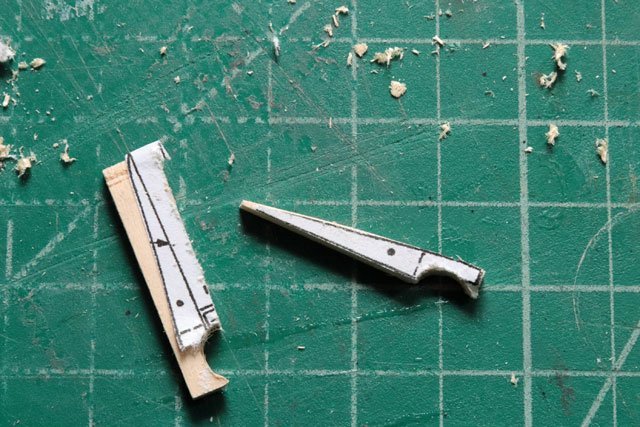
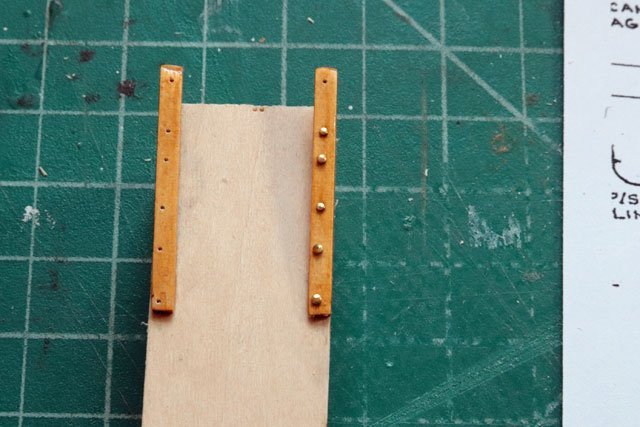
Then used files and sand paper to finish off the pieces, gave them 2 coats of amber shellac and, using white glue again, stuck the bolt pattern onto the 2 pieces
Used the mill to drill the bolt holes on each piece. These didn’t come out as well as I wanted as they aren’t in an exact line, but they are acceptable. I shouldn’t have trusted the pattern on the plans.
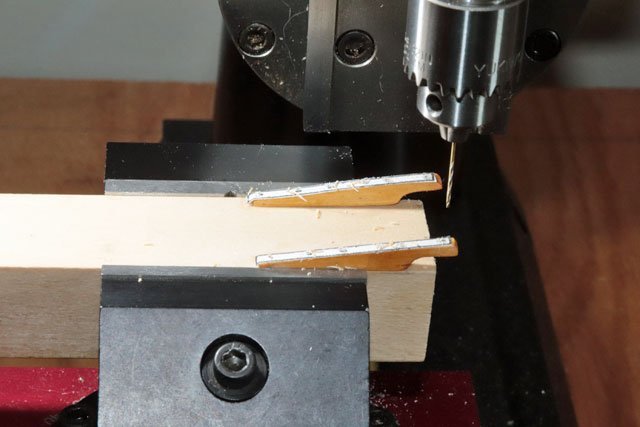
Cut some small brass nails down to the proper length and inserted them into the drilled holes.
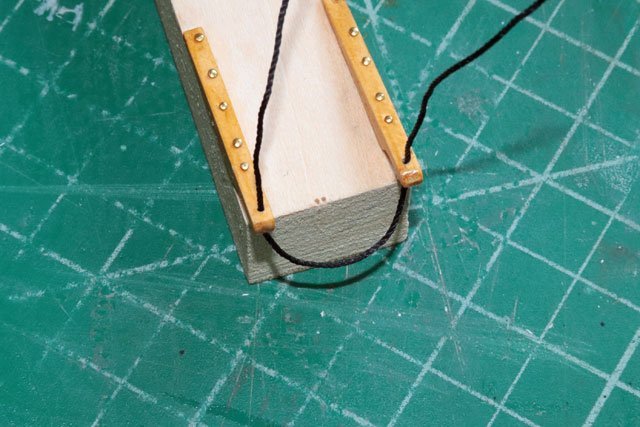
Had to use the pin vice and a slightly larger bit to make the holes larger to accept the rope. But the smaller holes acted as a guide to keep things straight. Used CA on the tip of the rope and white glue on the rest to stiffen it and threaded it into holes. Tied off one side.
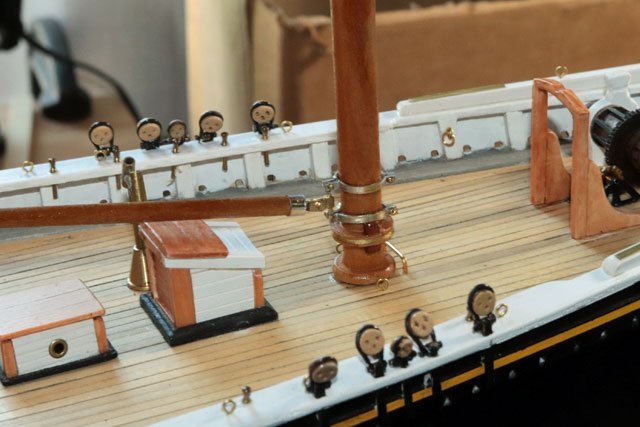
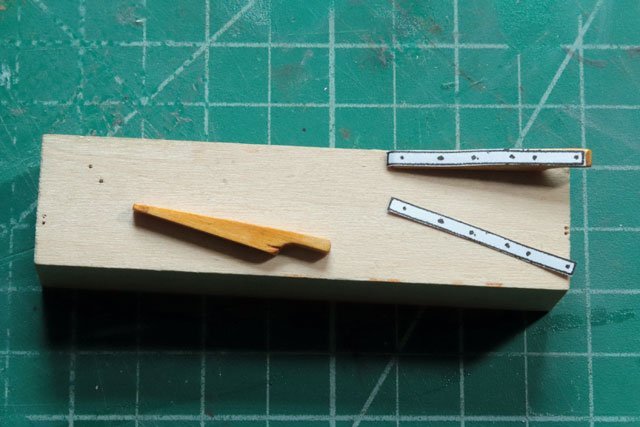
Made the clapper and glued it to the end of the boom.
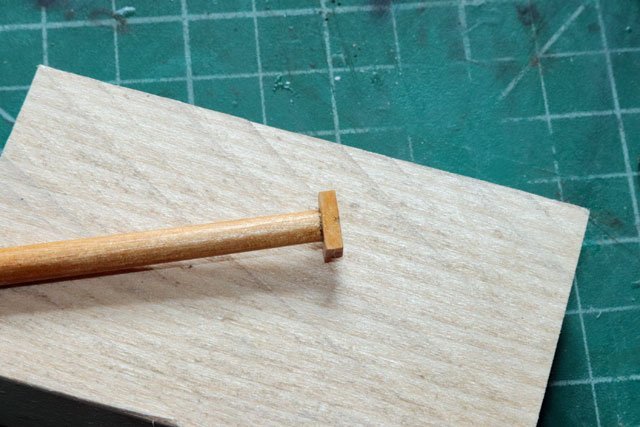
Then glued the 2 yoke halves onto the boom. I used Titebond Quick and Thick for this so it was necessary to sand a flat onto each side of the boom and to prep the side of the yoke halves that would come into contact with the boom. Since the clapper was already in place it was easy to flatten the sides of the boom 180 degrees apart, using the clapper as a guide. Will do some clean up and touch up the amber shellac when the glue completely dries.
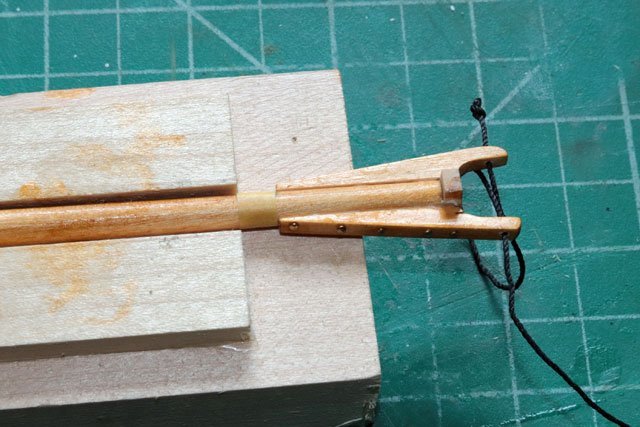
While I have cut the masts short and won’t be doing the rigging, I will add 5 metal bands to the main boom per the plans. But these will be for decorative purpose only. Now to move on to the bowsprit rigging, which is a far as I will be taking this model.
- GrandpaPhil, berhard and bhermann
-
3
-
Welcome!
- mtaylor and Keith Black
-
2
-
Welcome! Yes, this group has been an immeasurable asset to me as well.
- mtaylor, JeffT and Keith Black
-
3
-
-
Thanks!
Will be starting a new build soon and contemplating using dyed shellac rather than different types (colors) of wood or paint. My thoughts are to use the same type of wood throughout and doing tinted shellac test colors with that wood before I begin.
Going to have to learn alot about shellac, universal tints and how to mix them.
Dave
-
-
Welcome! Very impressive work your doing.
- mtaylor, Herby63 and Keith Black
-
3
-
Welcome back to the fold!
- Keith Black, Knocklouder and JeffT
-
3
-
Welcome! All the help you will ever need can be found here.
- mtaylor and Keith Black
-
2
-
https://mainemaritime.edu/waterfront/schooner-bowdoin/
Perhaps some help can be found at the email addresses posted here.
-
I believe I got a set of 3 plates from Micro Mark for about $17.
-
In my opinion, I would sacrifice a bit on exact dimensions in order to produce better detail on the workpiece. But that's just me.
I don't know of scrappers that come in decimal or fraction, only in mm. I've used these with good success after experimenting using at different angles to the workpiece. I've also learned to work pieces longer than what's needed. At one end you need material to hang on to and at the finished end I've always had to trim off a bit to get a consistent shape in the finished piece.
- Boccherini, mtaylor and DaveBaxt
-
3
-
5 hours ago, rcmdrvr said:
Welcome. Model Shipways has a "kit" containing three small models projects that will get you started step-by- step. There are also build logs that will be very beneficial in your build of these models. Have fun!
This is great advice! If I were to begin again it's what I would do. I would also recommend the half hull planking project offered by Nautical Research Guild. Planking a hull correctly can be a tricky business and it's a skill that will serve you well in future builds. That said, welcome aboard!
Dave
- mtaylor, Keith Black, Ryland Craze and 1 other
-
4
-
11 hours ago, DaveBaxt said:
I definately will give those shapers ago.They look great on the video. I have noticed that they are possibly being used on lime or perhaps some other type of soft wood. I have quite a bit of lime and lots of walnut in small sizes. Do you think they would work on walnut too? Perhaps it is possible to use these for making the scrolls out of a square or round flat piece of wood. Any one tried this?
I have used them on cherry wood with great results. Don't know about walnut.
-
Welcome, while you will find all the help you need here, we are all looking forward with what you can share with us as well.
Dave
- mtaylor, Keith Black and HardeeHarHar
-
3
-
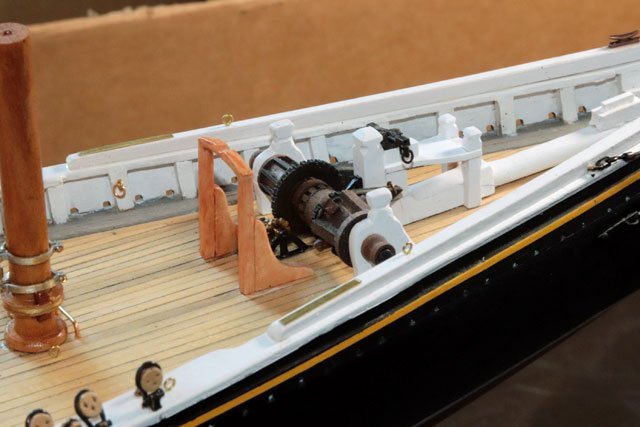
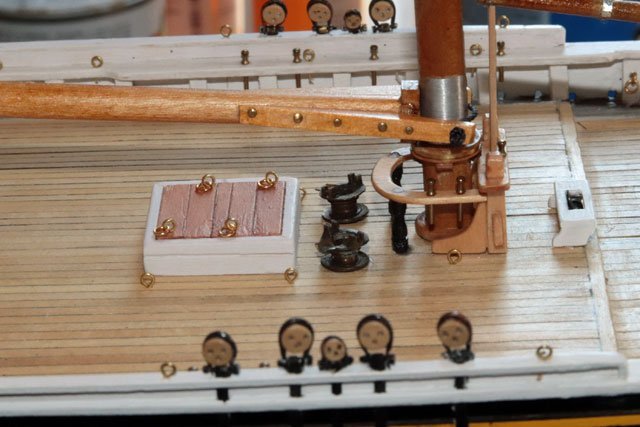
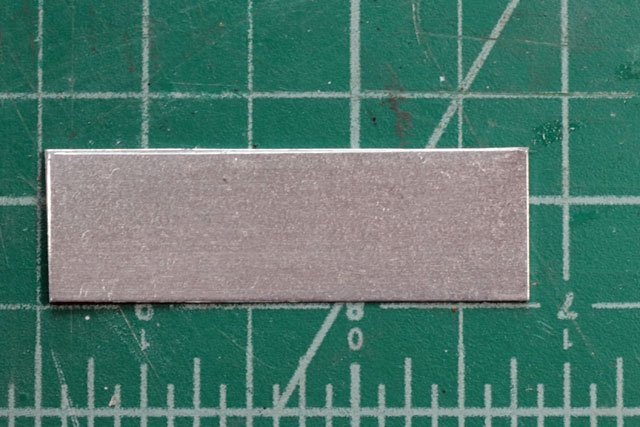
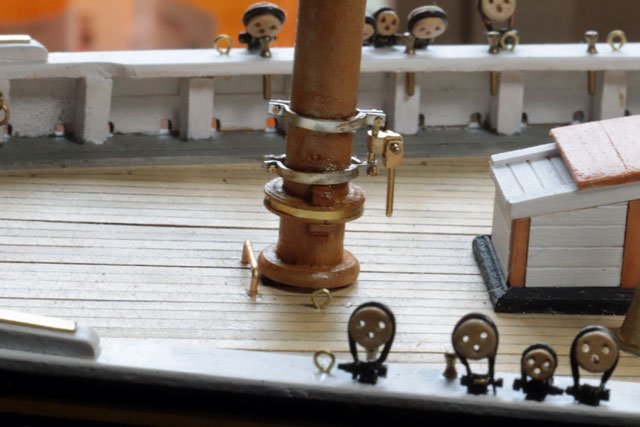
Since the plans called for these straps to be galvanized steel, I decided to make them out of aluminum instead of brass.
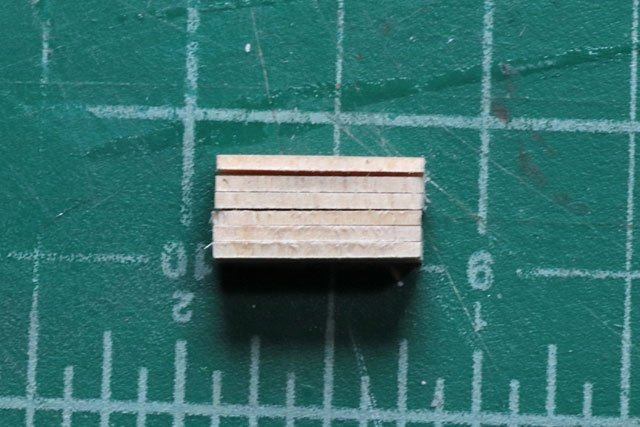
Started with 2 pieces of 1/8 inch thick plywood
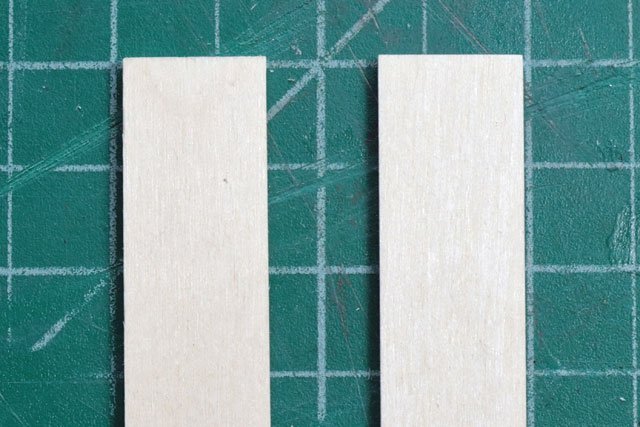
Glued (CA) a piece .016 thick aluminum between the pieces of plywood and clamped until set up
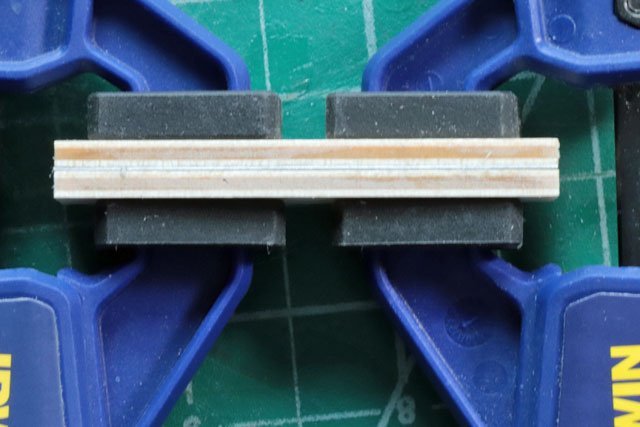
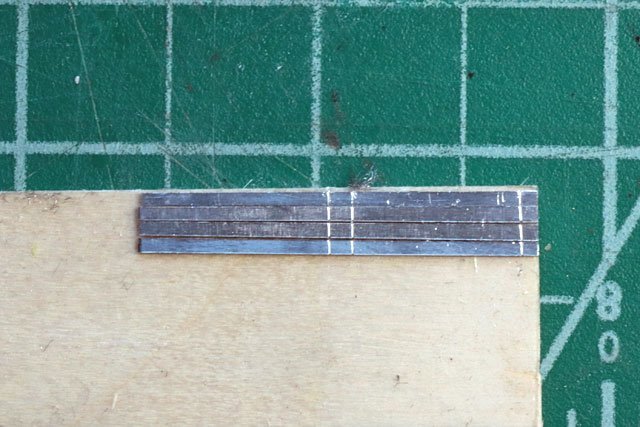
Then cut .05 wide strips on the Burns saw, needed 4 but cut a few extras
After soaking the cut pieces in acetone to release them I marked where I needed to drill holes for the bolts. The far left mark is the cut off. Then drilled holes with a #77 bit
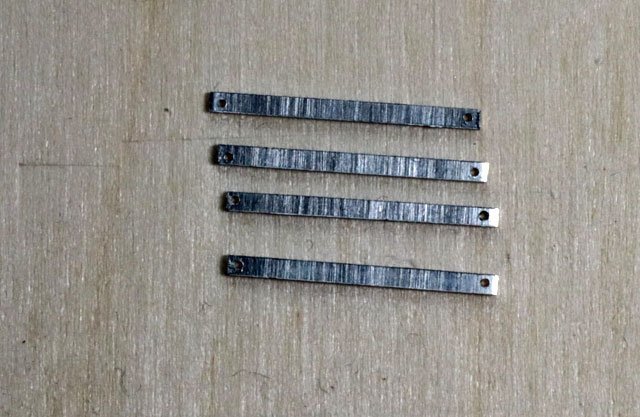
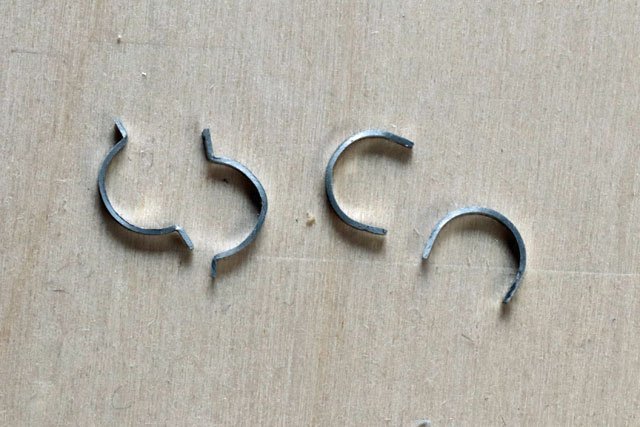
After shaping the 4 halves I mounted the gooseneck to the bands and the bands to the foremast with .05mm bolts and nuts. Touched the bolts with CA to hold them in place then added a coat of amber shellac. Dropped both the foremast and mainmast into the model, but did not glue in place yet.
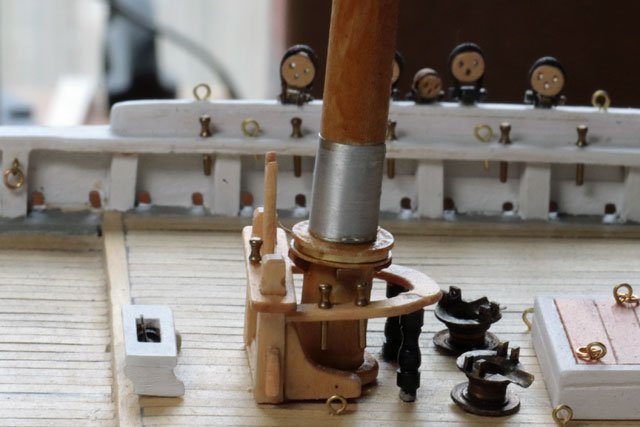
Now it’s onto the foremast boom….
- berhard, bhermann and GrandpaPhil
-
3
-


Hello all from Israel
in New member Introductions
Posted
Welcome aboard!