grsjax
-
Posts
1,062 -
Joined
-
Last visited
Content Type
Profiles
Forums
Gallery
Events
Everything posted by grsjax
-
Coffee is acidic but tea is more or less neutral. The acidity of tea will be the same as the water used to make it. A interesting thing about tea is the more acidic the water the lighter the color. If you want darker color putting a pinch of calcium carbonate in the pot will do it. However if you put in to much the tannins in the tea will start celating with the calcium ions and make a sort of scum on the surface.
-
I bought a used 14" bandsaw that is a '70s clone of the Delta made in Taiwan. With the exception of the belt drive it is an exact copy of the of the old Delta saw. The belt drive is adjustable to give 4 different speeds for cutting different materials. The saw is all cast iron. Heavy but very stable. Cost was $100. With a little tuning up it runs like new. Takes up more room than a bench top saw but is great for resawing lumber up to 6" thick. Look for a good used saw and don't overlook the older clones.
-
All of the 9" and 10" bandsaws I have looked at are pretty much the same design manufactured in China. It is only in the details that they differ. Look at the construction and check to see if the frame is all metal and fairly heavy to prevent flex. Some of these saws have wheels make from plastic. Not a good idea, you want aluminum wheels or even better steel. Check the table, it should be solidly made and easily adjusted with a robust means of attaching to the frame. Make sure that alinement of the wheels and guides is adjustable (believe me they will need to be adjusted to make the saw work properly). check to make sure the blade size is a standard one and can easily be replaced without special order. A few nice to haves is a blade tension release lever, easy to replace blade guides (carbon for preference), A blade tension indicator and a port that a vacumn can be attached to to remove sawdust.
-
I have read that soaking in strong black tea works but have not tried it myself.
-

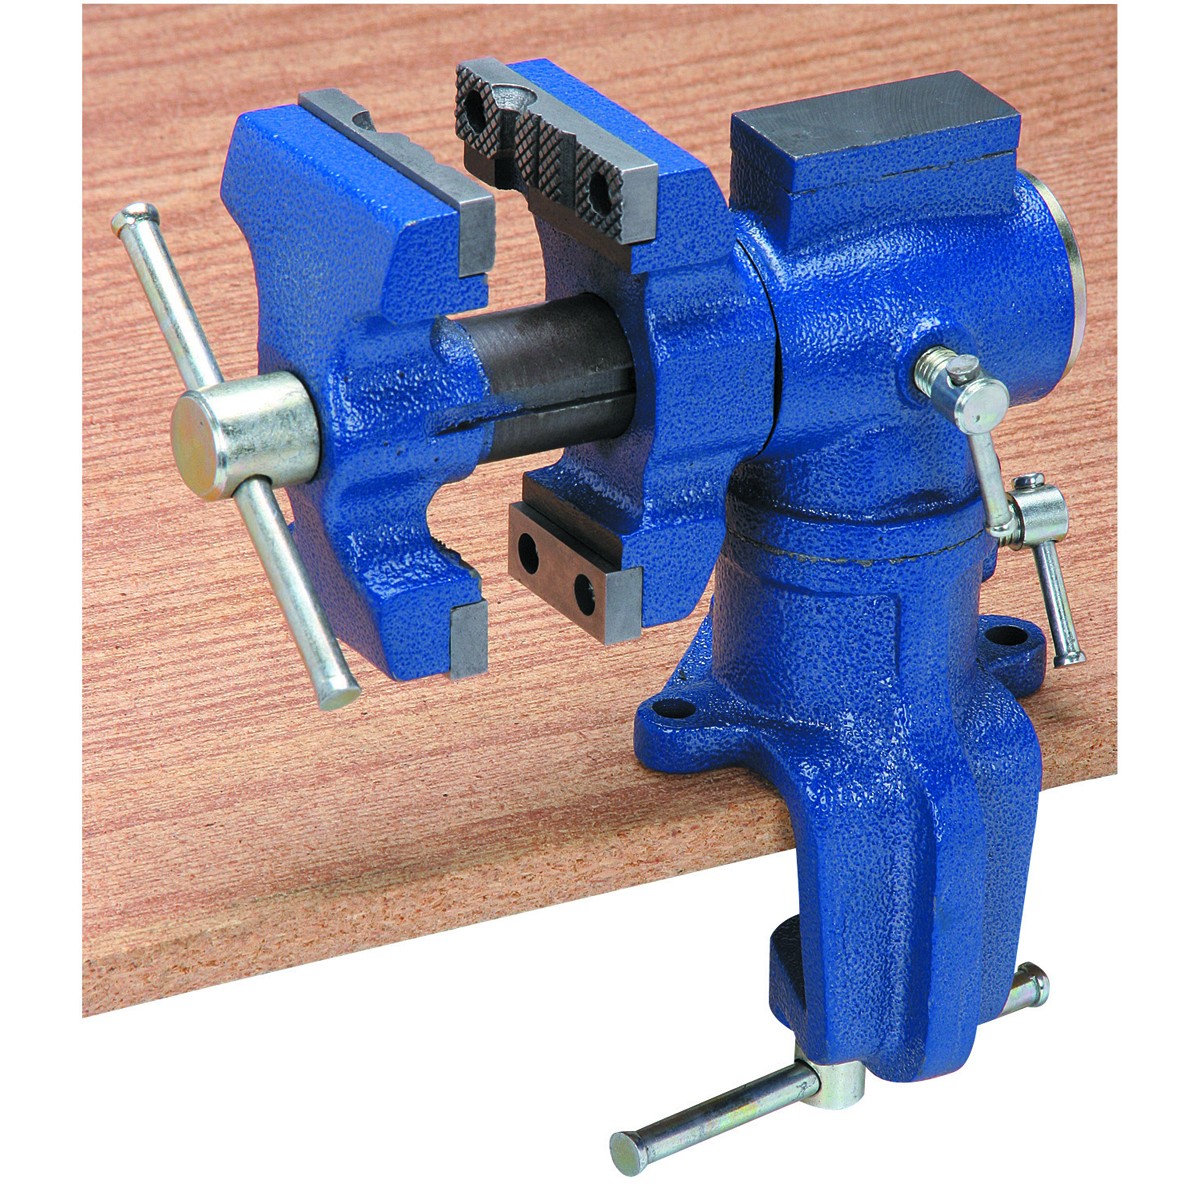
Jigs for soldering photo etch
grsjax replied to bluenose2's topic in Metal Work, Soldering and Metal Fittings
You might want to try a setup like this one. Available from Amazon for under $10.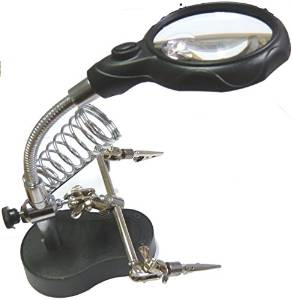
-
Table Saw from tile cutter
grsjax replied to Q A's Revenge's topic in Modeling tools and Workshop Equipment
Just a word of caution. Make sure your slitting saw blade is capable of handling the speed of the tile saw. Tile saws generally run at higher rpm than wood saws and the blade needs to be manufactured for these higher speeds. -
A 14' boat could be either carvel or lapstrake planked but I would guess in this situation it would be lapstrake as it would be lighter and easier to manage than a carvel boat of the same size. As for how it was launched and recovered it was probably just manhandled over the side and recovered the same way. These old sloops had relatively large crews and could handle a boat of this size. Alteratively could be a spar from the mast rigged as a crane.
-
Thanks for the info. I will try and get a couple of pics posted in the next few days. Looks like a nice kit.
-
A long time back I remember reading an article about a model of an arab dhow. The builder carved sails from a very fine grained wood that looked amazingly real in the photos.
-
Could be a misprint. Score might supposed to be sheave or maybe it is an obscure way to indicate the size of the opening in the block for the sheave. Just a WAG.
-
I use this type. Not perfect but works well and doesn't cost a lot. I think I paid about $35 for it. Harbor Freight has these and they show up on eBay regularly.

-
Just picked up an old kit for a "Hurricane Island Pulling Boat". Wondering if anyone has built or is familiar with this kit. This is what I know so far. The boat is a modified version of the old US Navy whaler designed for sail and oar. The boats were built in the '70s for the Hurricane Island Outward Bound School. The kit was made by Laughing Whale. That is pretty much the sum of my knowledge. If there are any build logs or other information out there I would really like to find it.
-
In defence of Fair a Frame. I agree that it isn't as usefull as it could be but I find it good for keeping the bulkheads straight on small models like Midwest's Sakonnet daysailer. Biggest problem is that it is really to short and not strong enough to handle larger models.
-
What mtaylor said. Another consideration is to use a scraper to do the final fitting. This works best with hard woods like cherry although with care it can be used on fine grained softer woods like basswood. An Xacto #11 blade works well as a scraper but it isn't the only option. I have seen broken glass, small chisels and pieces of sheet metal used. Scrape the joint a little at a time with the scraper held flat to the surface. Trial fit after each scraping. Scraping, if done right is better than files or sandpaper for fine fitting work and is the method actually used in old time shipyards to fit tight joints. A few cavets, if scraping across the grain you can get an uneven surface, be very carefull to keep the blade in the correct plane or you will end up with a surface that is tilted out of line.
- 15 replies
-
- 10
-

-
Don't know why I didn't think of this first. I looked up pictures of the USS Constitution's guns. The carriages are painted a red ochre color with the trucks painted black. Don't know if this was a standard color scheme for US Navy ships but it is the best data I can find.
-
I believe the British painted broadside gun carriages red during the war of 1812. A couple of questions, 1; Did they also paint pivot gun carriages the same and 2; did American Naval practice follow the British fashion?
-
On a slightly different subject, are the decorations necessary at all? Endeavour was a Whitby collier originally and I would be surprised if it had even a small amount of carving on the transom or anywhere else. Did the royal navy add carving to the transom during the refit or is this just a flight of fancy by the kit designers?
-
quality lighted magnifiers sold in the U.S.
grsjax replied to jazzchip's topic in Modeling tools and Workshop Equipment
Amazon has some good ones for less. Depends on how big you want the magnifier to be. I bought one several years ago that has a 2x lens about 3" across and a 60w light. I think I paid about $30 for it. -
Any of the above.
-
I have been looking at a set of plans for a boat that used wire rope for shrouds and stays. Has anyone tried using a ropewalk to make wire rope? I was thinking about trying it with very thin copper wire lubricated with bees wax. Any help, suggestions are comments welcome.
-
"Shine looks sort of like the armed Bermuda sloop yet has two masts." Entirely possible. It wasn't unknown for a cutter or sloop hull to be remasted and rigged as a schooner or brig. BTW The smallest fully rigged brig I can find reference to was only 50' overall and it worked for a long time as a merchantman around Britian.
- 66 replies
-
- 3
-
-
- resolution
- hunter
- (and 2 more)
-
An old dremel table saw with a 4" blade can be had on ebay for less than the asking price of this one. Anyway you cut it the Dremel table saw is a much better deal.
-
The locks were only mounted to the guns when ready for action. Few pictures were taken when the guns were about to be fired so it isn't suprising that there are few pictures showing them.
-
Dapper Tom is a good kit but suffers from the same problems as the others. For one thing it is based on a set of lines taken off by a French officer in 1925 from a ship being built. This puts it well outside the time frame for the Baltimore Clipper. The model also has so many sails and cannon that it would probably capsize on launching. Last but not least it shows the aft quarters being below deck in an area where the head room would only be about 3'. Still makes a good model and if modified to a more appropriate sail plan with a rearranged deck layout it would actually be fairly accurate for the second quarter of the 19th century. Chapelle discusses this ship in his book.
-
Try Bookfinder.com. This is a great website for finding out of print books and comparing prices from different vendors.