cog
-
Posts
8,764 -
Joined
Content Type
Profiles
Forums
Gallery
Events
Everything posted by cog
-
 When I look at what you have achieved for details on your past builds, you'll manage fine, maybe not a walk in the park, but what do you expect when you're building a model ... Looking forward to the end result of this subbuild
- 420 replies
-
- 2
-

-
- captain roy
- lugger
- (and 2 more)
-
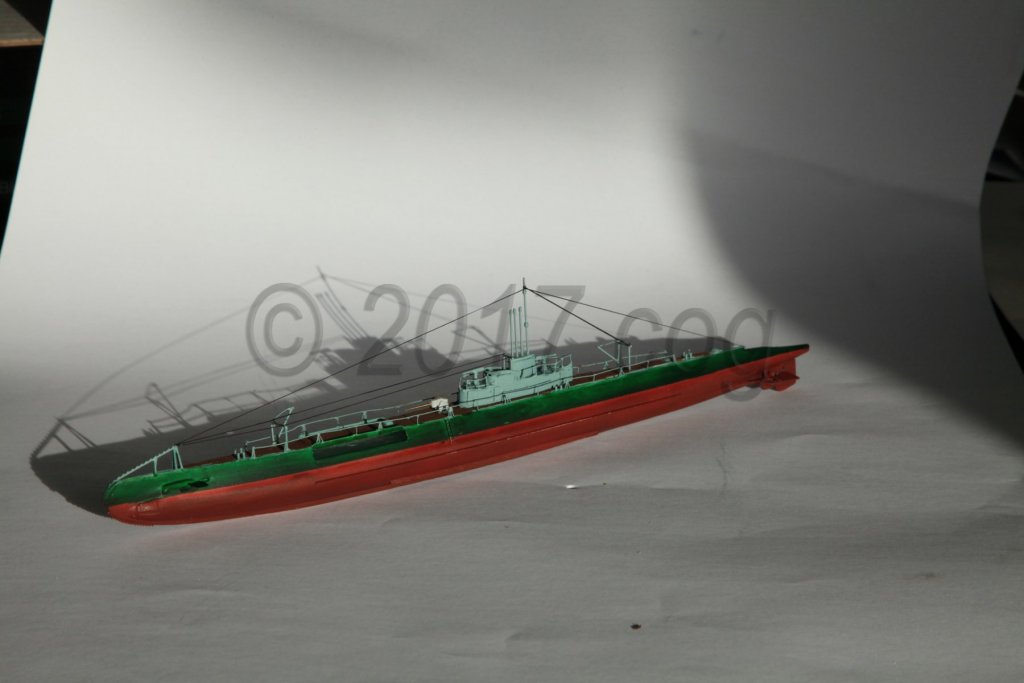
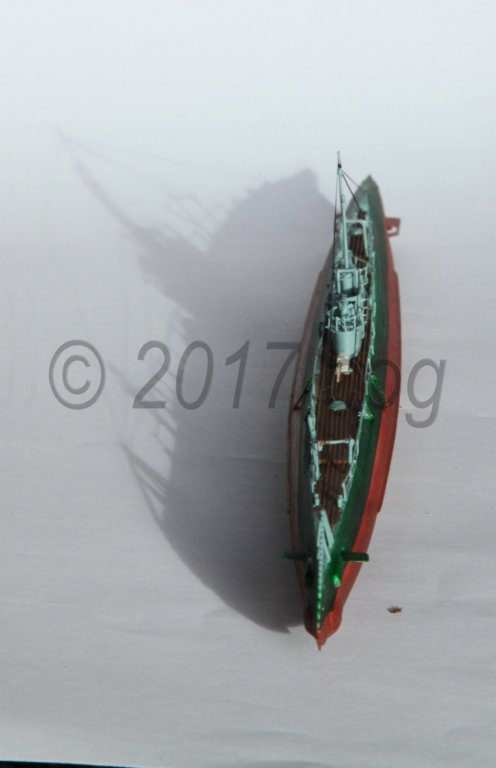
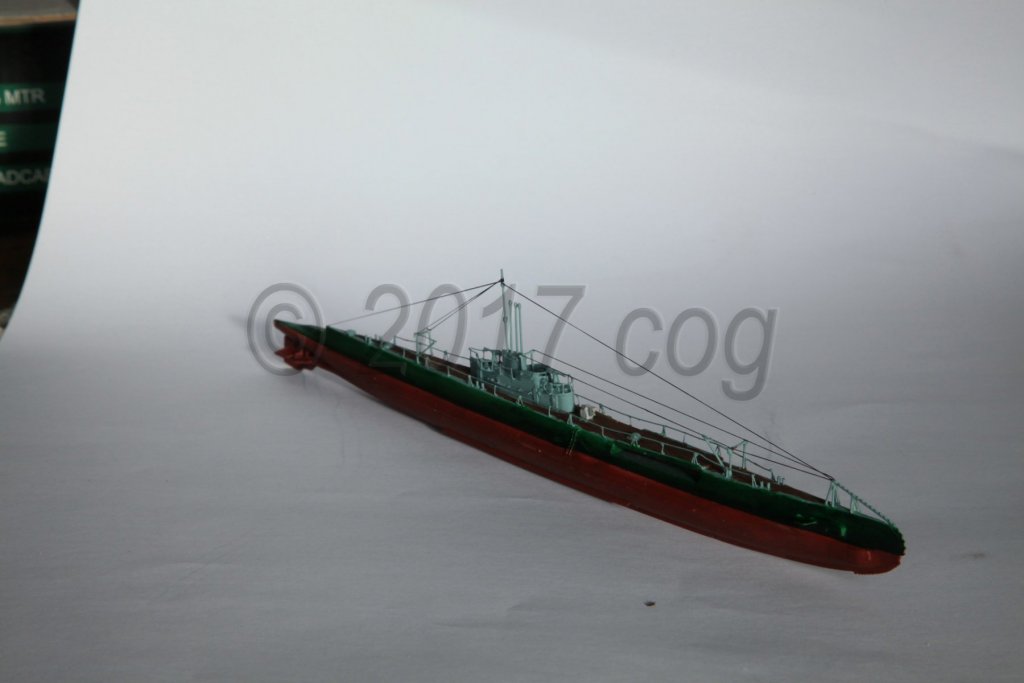
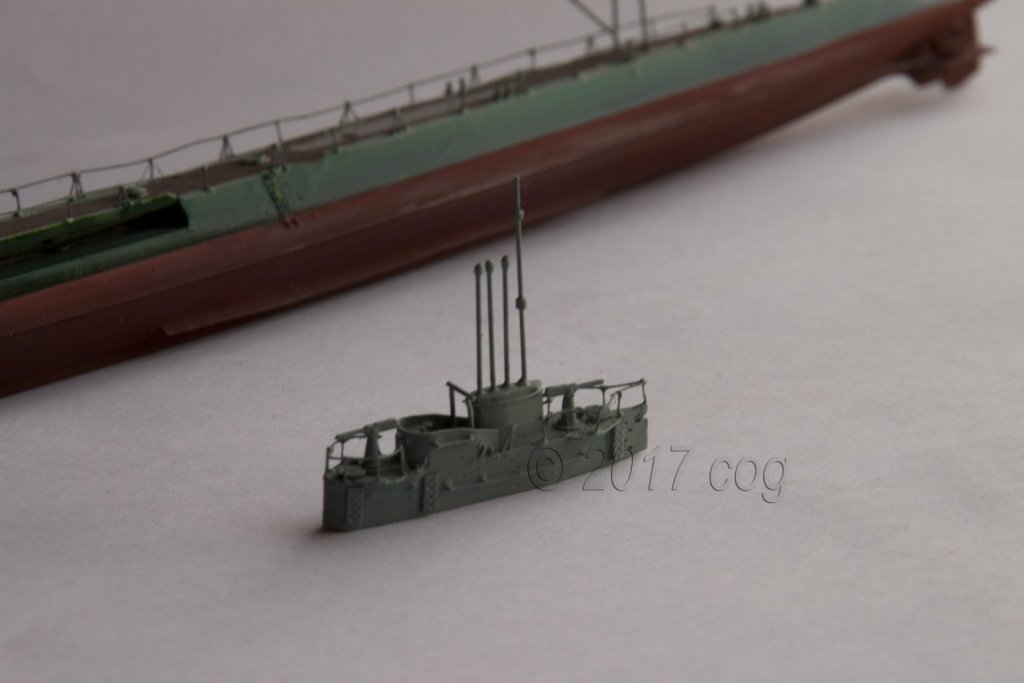
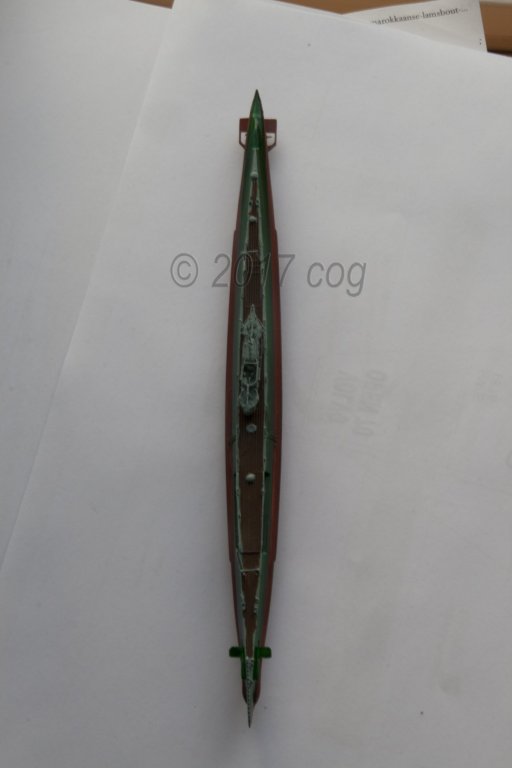
Yep, but for the stanchions ... mat varnish done, conning tower stapled to the hull, rigging done ... I just need to find a way to display this cigar ...
- 46 replies
-
- 10
-
-
- o16
- pacific crossroads
- (and 2 more)
-
Nice spray station Scott. You've got quite a steady hand with the brush! I like the fantasy lathe ... old motor as far as I can see, not made any more nowadays
-
He's right Scott. For my Musashi I've got the Pontos, and the Flyt Hawk detail up sets, besides that I've got a few sets of railing stanchions (7 brass and metal colour), perforated gussets & support beams, water tight doors, epoxy anchors for IJN ships ... I hope to use them on other ships aswell ... that's for my first plastic /PE build. Currently distracted by a dutch sub, and I used some of the stanchions for it. Besides the PE, the tools, the paint (airbrushes/compressor/cleaning utensils/etc), I've got brass rods, sheet, and styrene rods e.a. Let me put it this way: It is not for the faint hearted. However, it is fun and the support and motivation is awesome
-
Marcus, Welcome aboard, although it's nearly finished. Thanks for the good word!
- 46 replies
-
- 5
-
-
- o16
- pacific crossroads
- (and 2 more)
-
The Trumper kit PE, and epoxy set. Nice. You'll add some weight to your build with that one!!!
-
Pff, JIT, got me a front seat You know what that means mate ...
- 91 replies
-
- 5
-
-
- kolderstok
- duyfken
- (and 1 more)
-
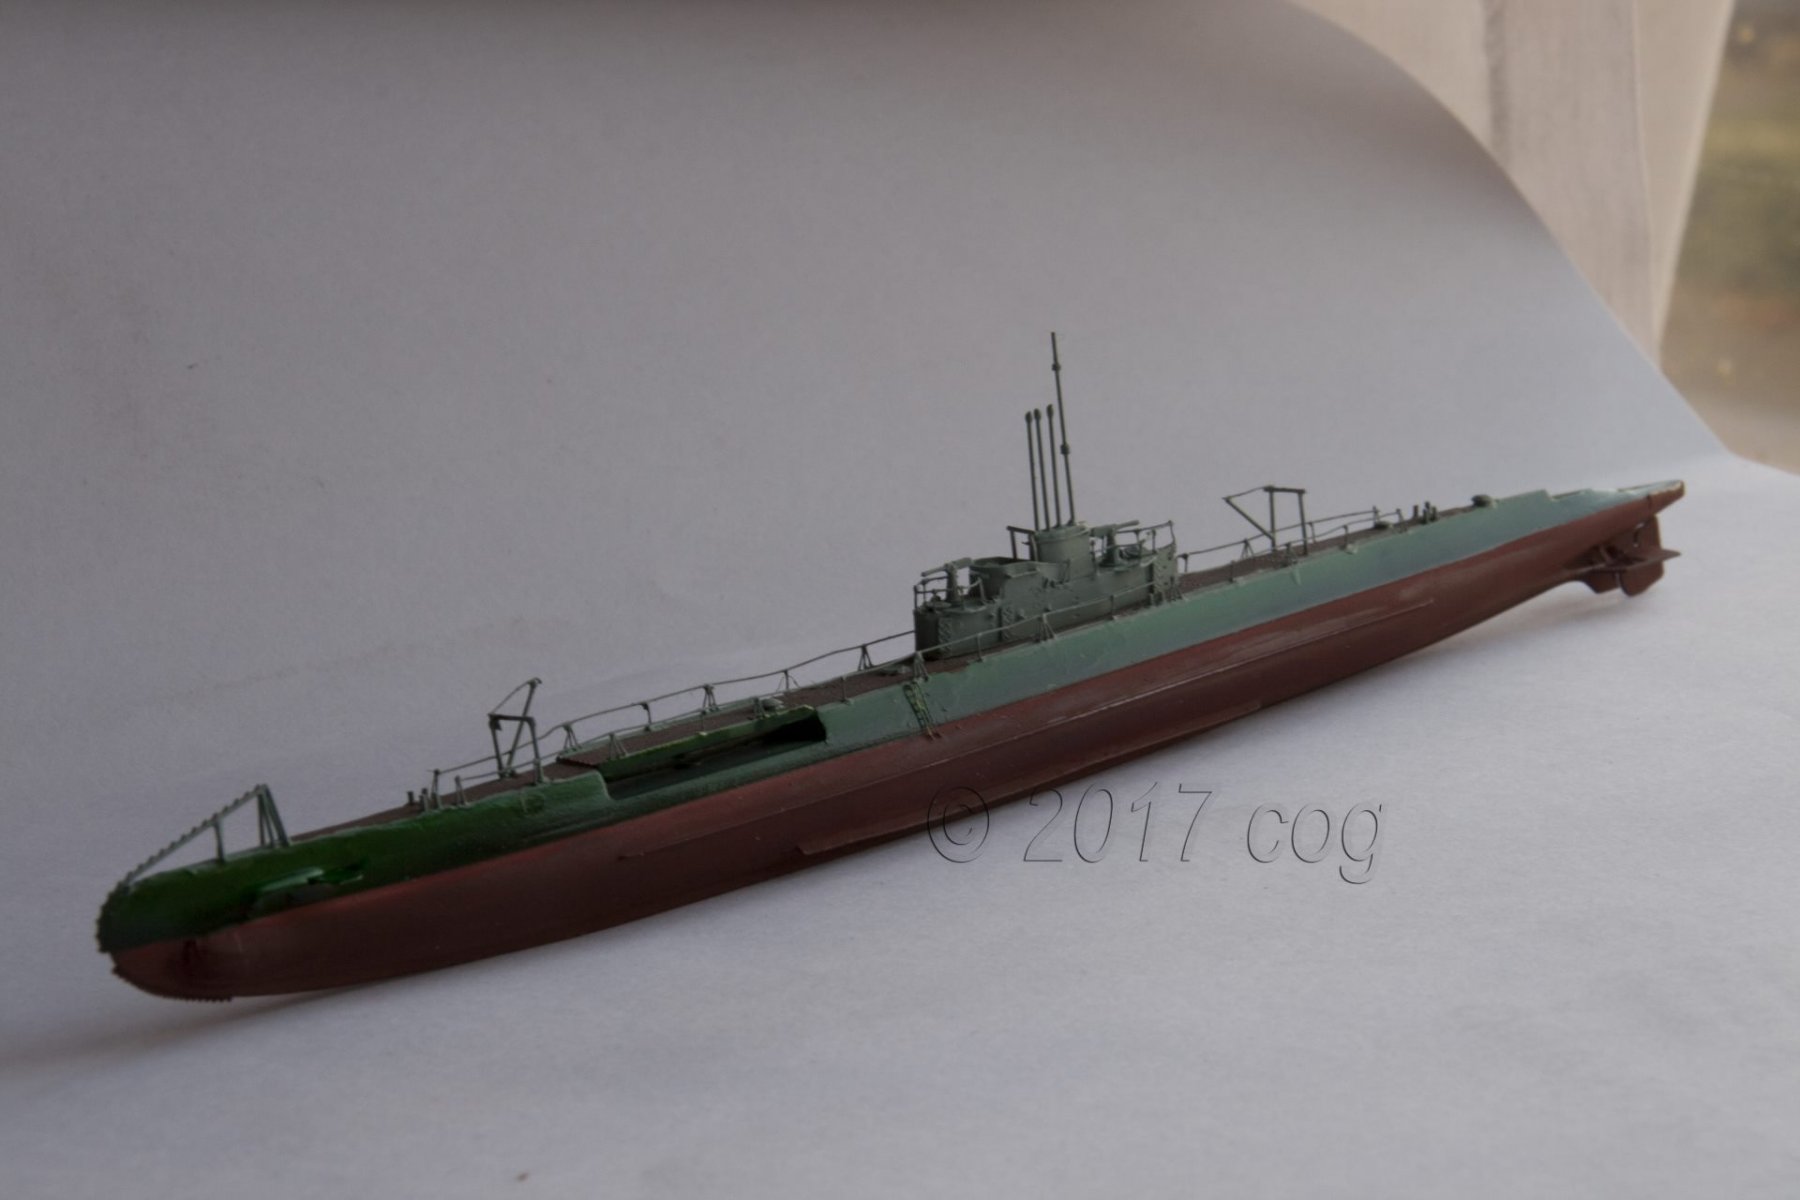
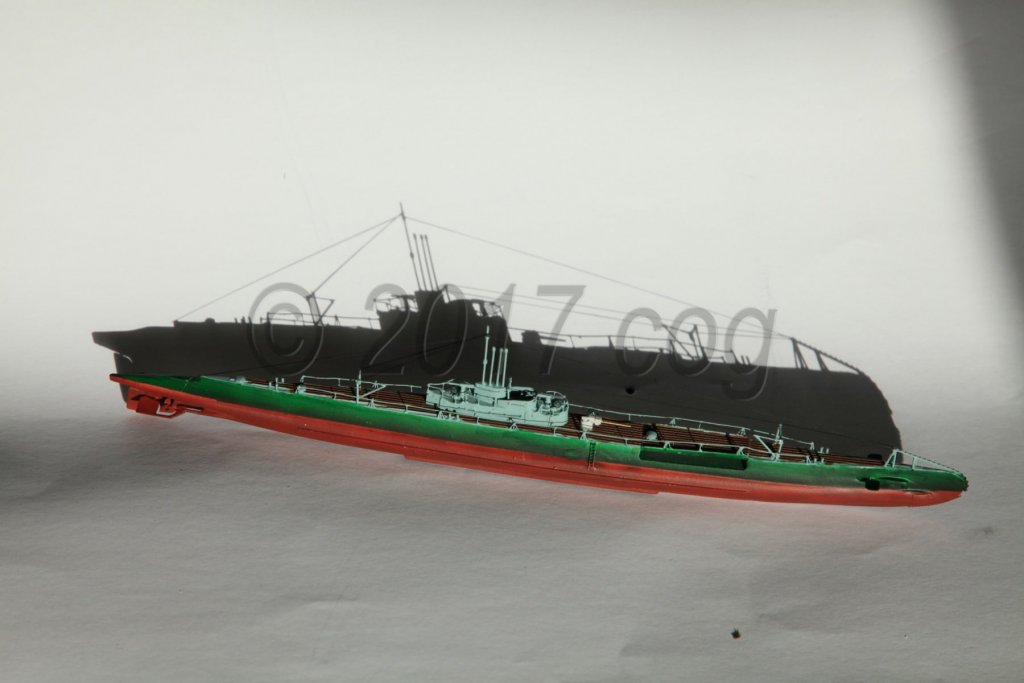
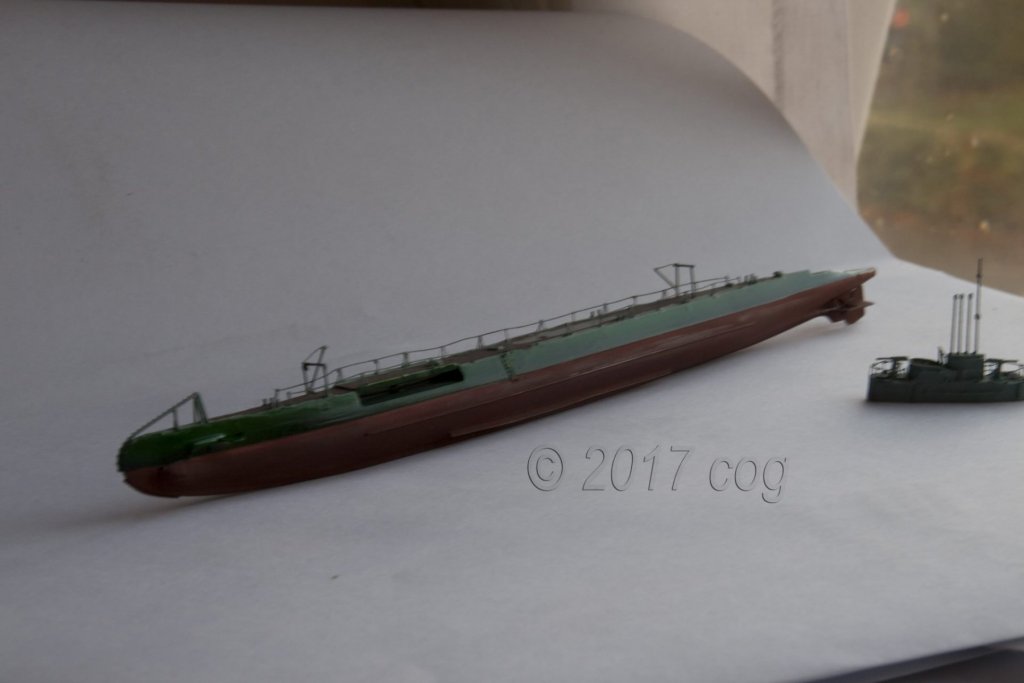
A bit more touch up - grey-ish - and some bush work (wooden deck) Next steps mat varnish, tack the conning tower to the hull, and a bit a riggin'

- 46 replies
-
- 13
-
-
- o16
- pacific crossroads
- (and 2 more)
-
I'm working, a.o. on a 1:350 Dutch sub, and some PE got loose - a wee bit clumsy handling - I had sprayed the cigar, and could still use CA to attach the "ripped off" part. I use CA from BSI INSTA-CURE (thin) and INSTA-CURE+ (medium/gap filling). So far I can't complain, but for the fact that it is somewhat hard to get here in the Netherlands, I have to get it from the UK P.s. what I suspect is that paint which hasn't cured, or doesn't bond well to the surface to which it is applied, will cause the glued part to fall off, something likeglueing on a dirty surface ...
-
Despite the set backs(?) - learning moments - you have created a beautiful bireme. She deserves to be displayed in such a wonderful case. Besides an inspirational build, it was fun to follow, and I picked up some knowledge (which I'll probably will forget again with my memory leak). Cheers
- 473 replies
-
- 4
-
-
- greek bireme
- dusek
- (and 1 more)
-
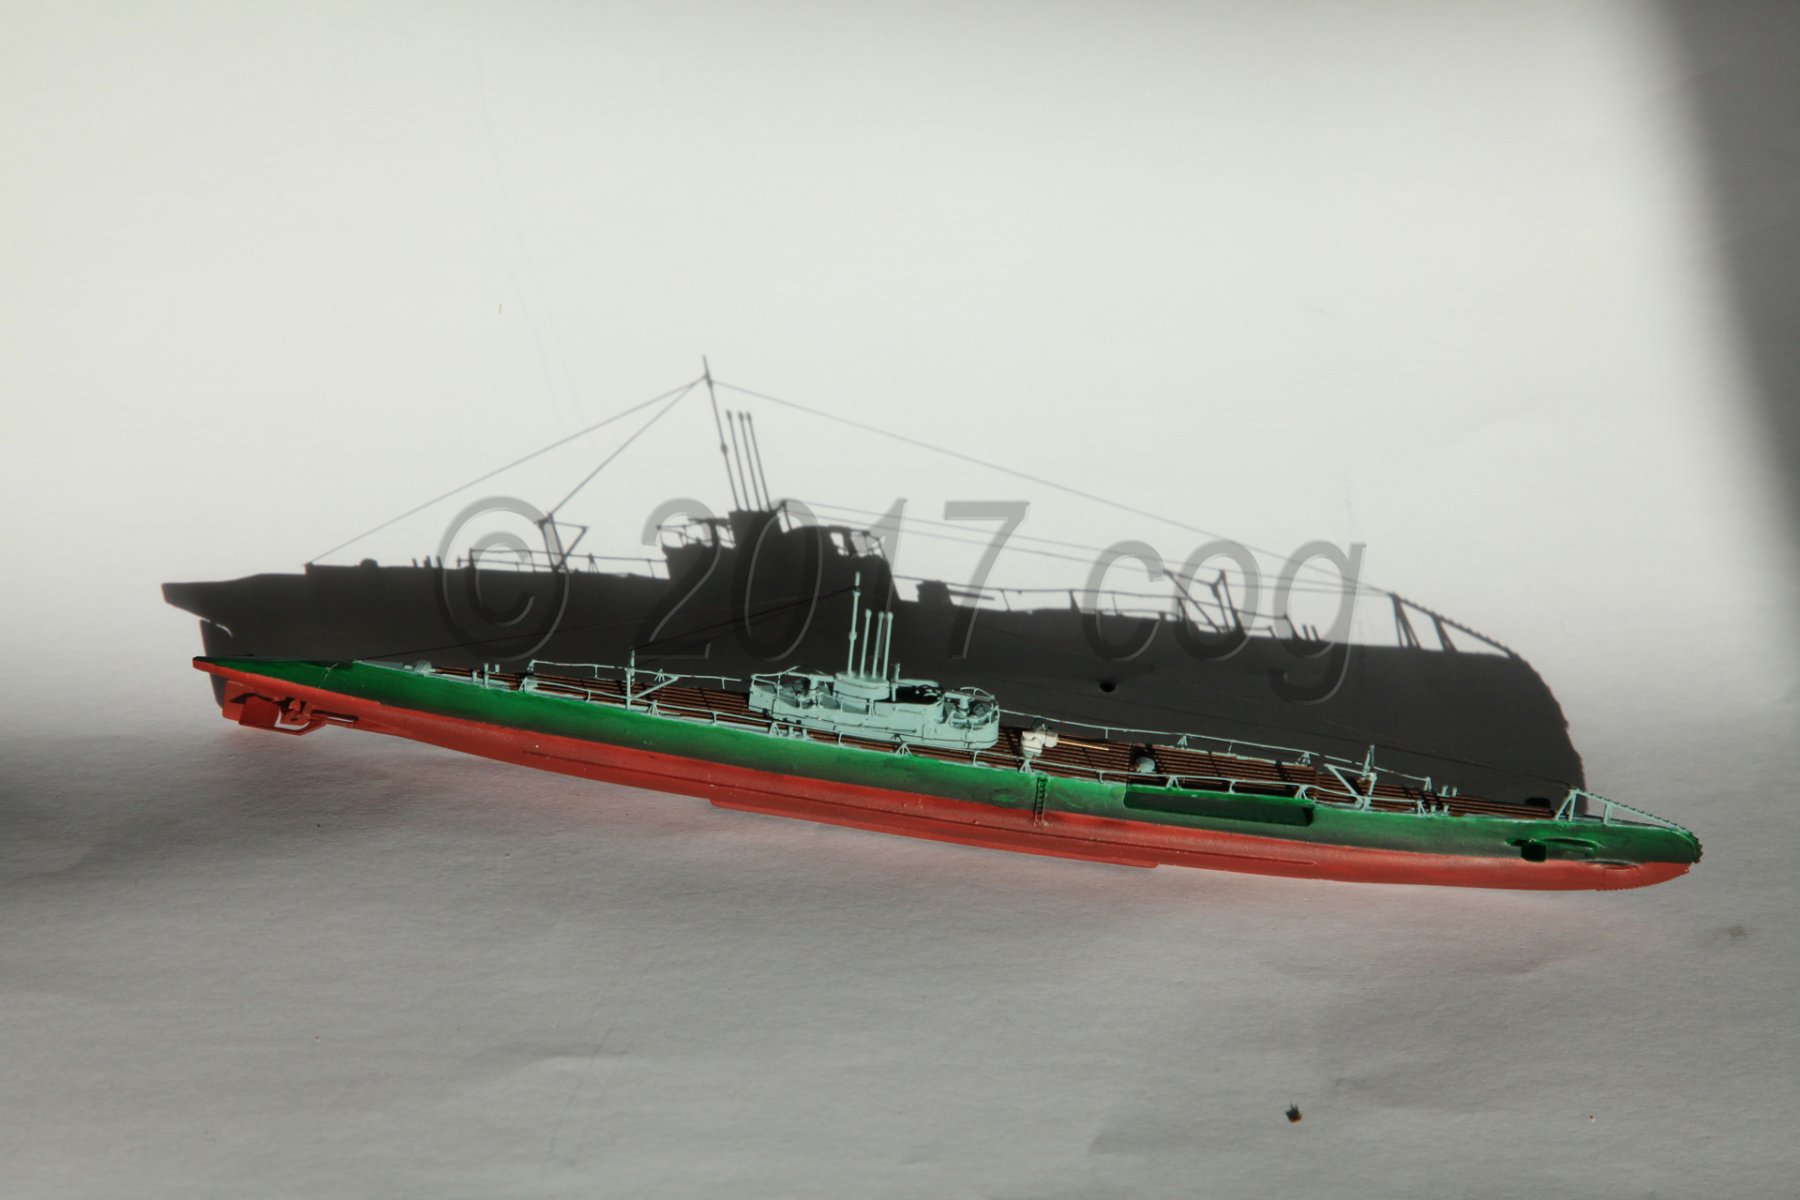
Aye, Piet. Thanks for visiting. 't-was about time I did something else with PE I didn't have so much PE problems as that I found it to course. besides I have so much spares I could replace it with, in my eyes, better suited parts. My periscopes are brass, with a brass ring and a dot of CA on top. I see enough battle grey ... I craved for a wee bit a colour, so that colour selection was easy. The bottom is a mixture of red (clear) and IJN hull red. On the picture you could see it as darkened copper. It'll probably be different once I put the clear layer on top of it. First the conning tower and rigging. Cheers
- 46 replies
-
- 5
-
-
- o16
- pacific crossroads
- (and 2 more)
-
Luckily we differ of opinion Robin. We have to follow Japanese rules. Stick planes on cats Besides, I prefer dogs those are dumb and listen
-
Hmmm , looks promising Nils. A Bald Eagle at 1:1 ... that will be overwhelming for your Eagle of Algier
- 692 replies
-
- 4
-
-
- eagle of algier
- chebec
- (and 2 more)
-
Depends on the tickness of the brass. For strong joins: silver solder (wire or paste, paste is easier sometimes), else solder iron with solder. I can solder wih a torch upto (or is it down to) 0.2mm brass wire with silver solder paste. Most will use the solder iron as it is very easy to burn the brass away ... You'll have to try and find out what works for you.
-
Glad to hear you can manage with wire. Silver solder is expensive enough not to waste it! Looks spiffy
-
Darn, I mixed up rotational direction, clockwise would push it backwards (like I am presently )
-
Looks promissing,. Mike. You don't need to scrap it, just send it over
- 969 replies
-
- 5
-
-
- hahn
- oliver cromwell
- (and 1 more)
-
"I've skinned the Main Keel" ... what a pitty to take it all off again ... it looked so good ...
-
A serrated shield, nice touch. Stay well, take care of that cold Robin
- 473 replies
-
- 3
-
-
- greek bireme
- dusek
- (and 1 more)