


mikegr
-
Posts
585 -
Joined
-
Last visited
Content Type
Profiles
Forums
Gallery
Events
Posts posted by mikegr
-
-
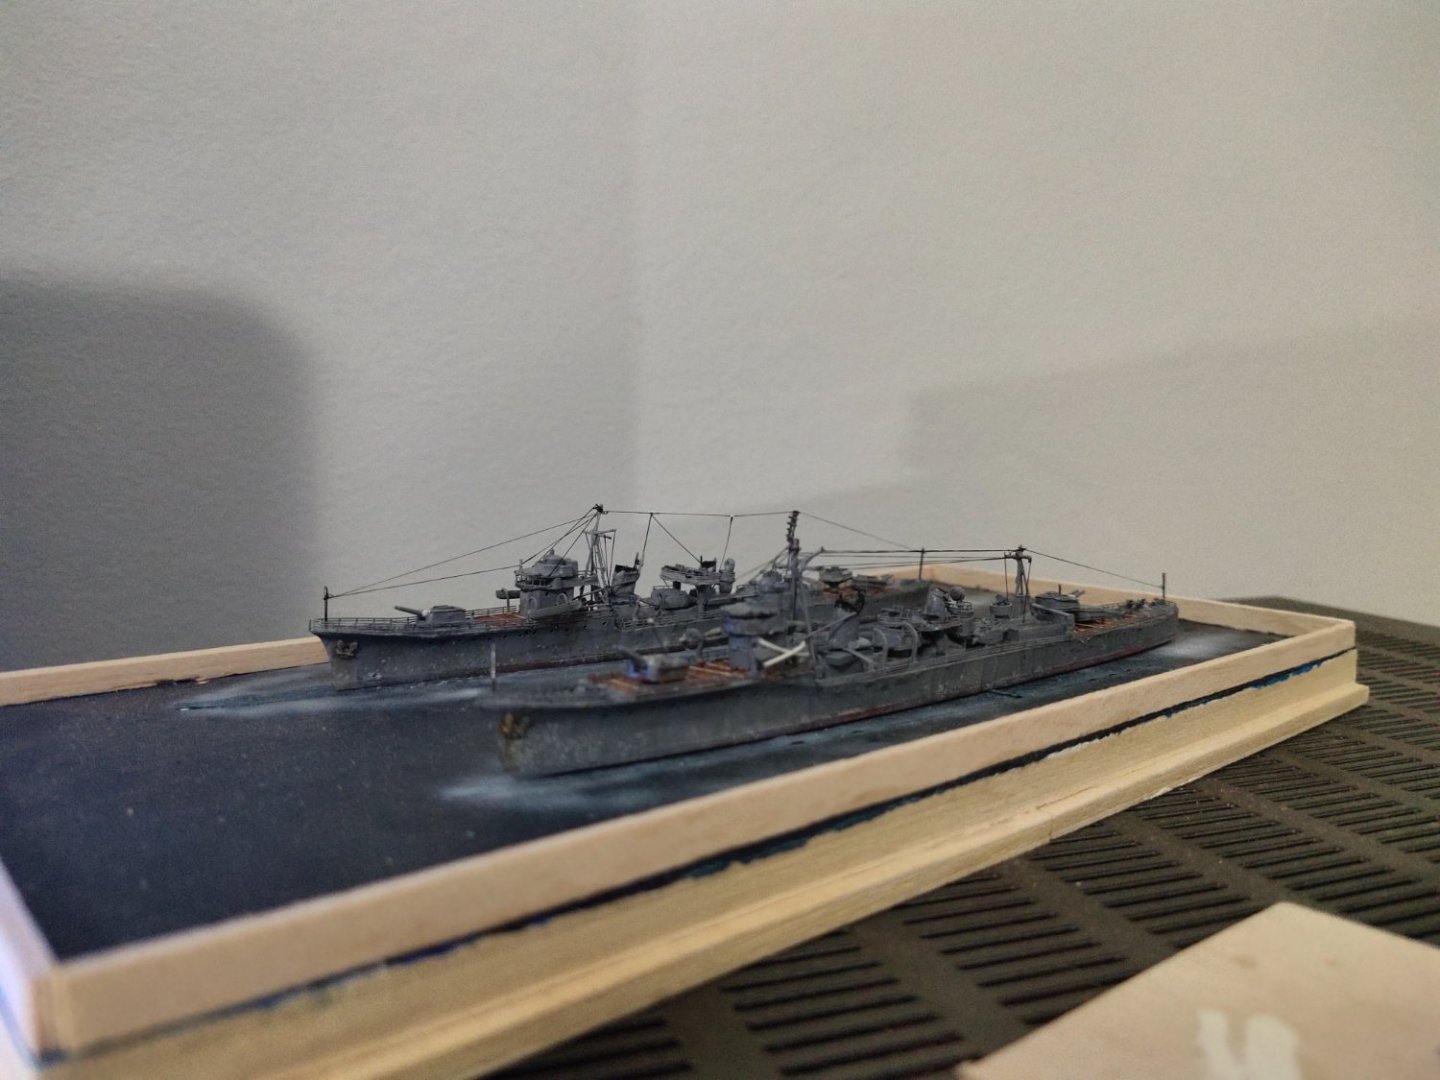
I finish detailing. Hatshusimo "slowed down" a bit. Did some work on paintwork on rear wakes but not successful as this should be done earlier.
I added some sylicon bits to give a crystal clear effect on waves then brushed them with alkyd varnish. I Painted the base, some resin could not removed totally in the easy way. I will varnish the base too before make the cover box

-
The person who designed my projects owns this site
It has a lot of free stuff to download. I have printed a couple of submarines model with great success. Those that are not free are still very reasonably priced. You can also donate as little as 2$. Its definately worth to visit it.
-
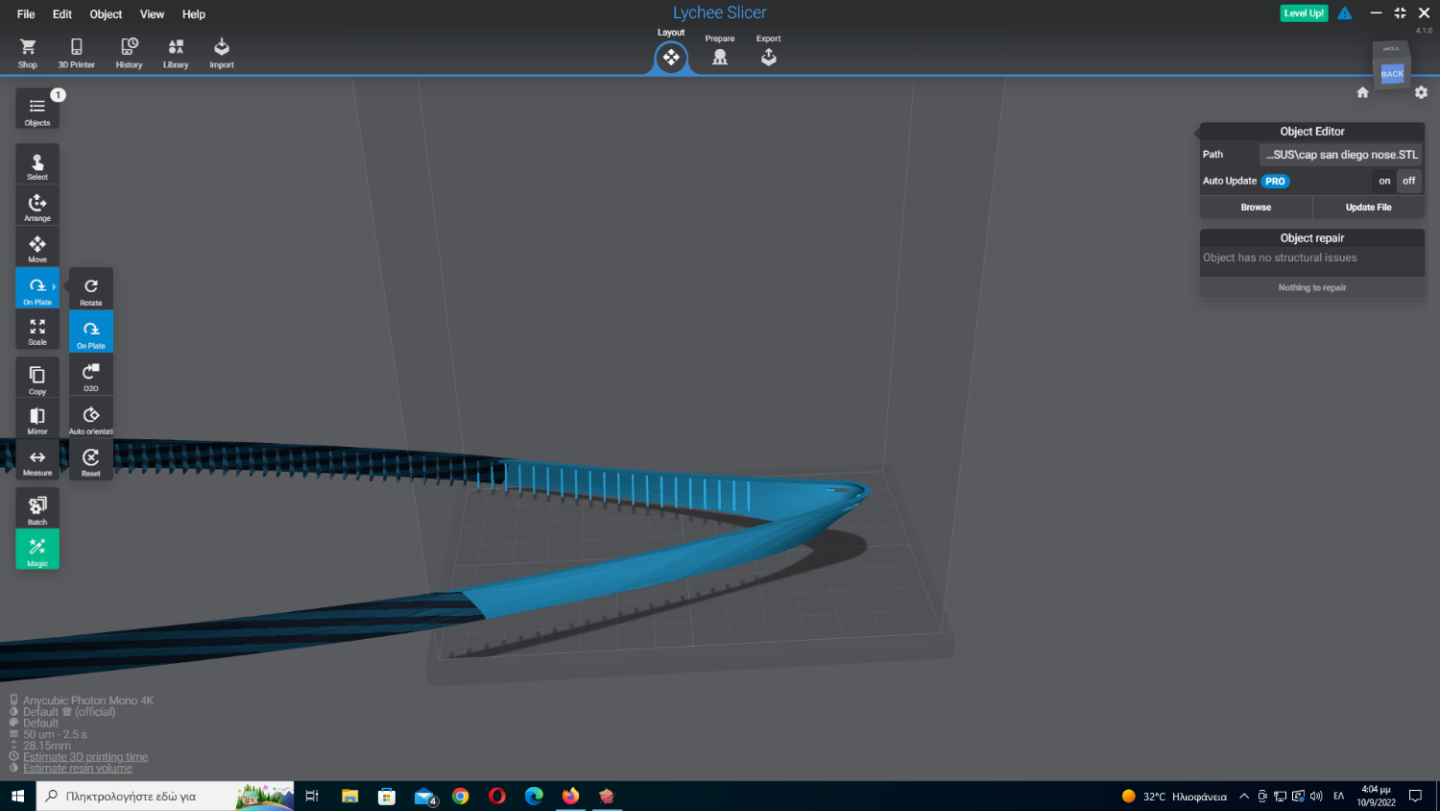
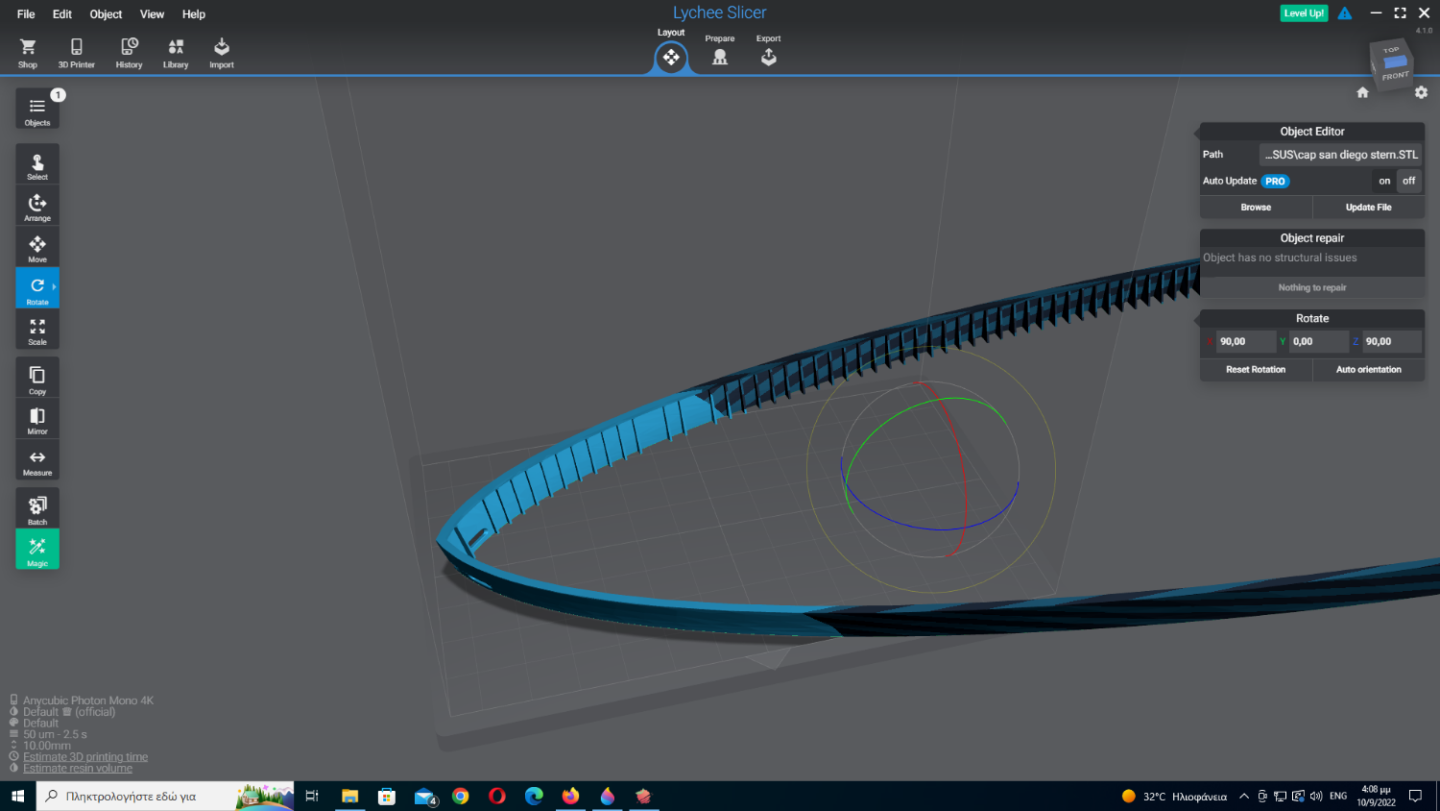
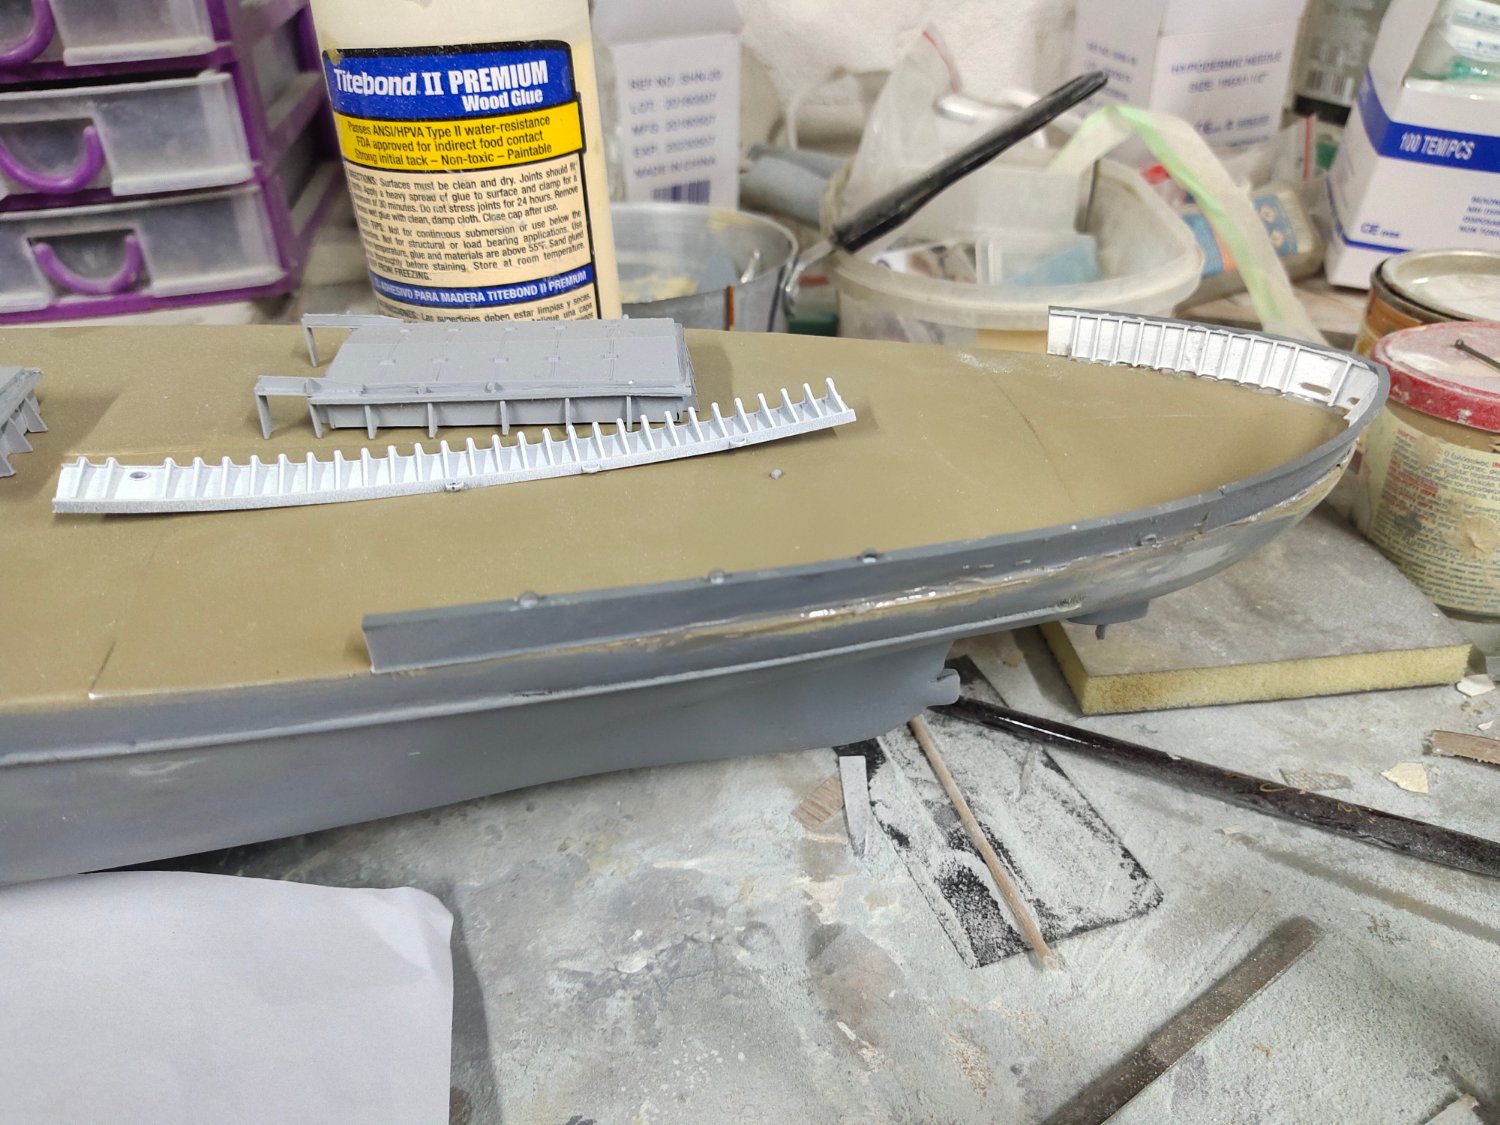
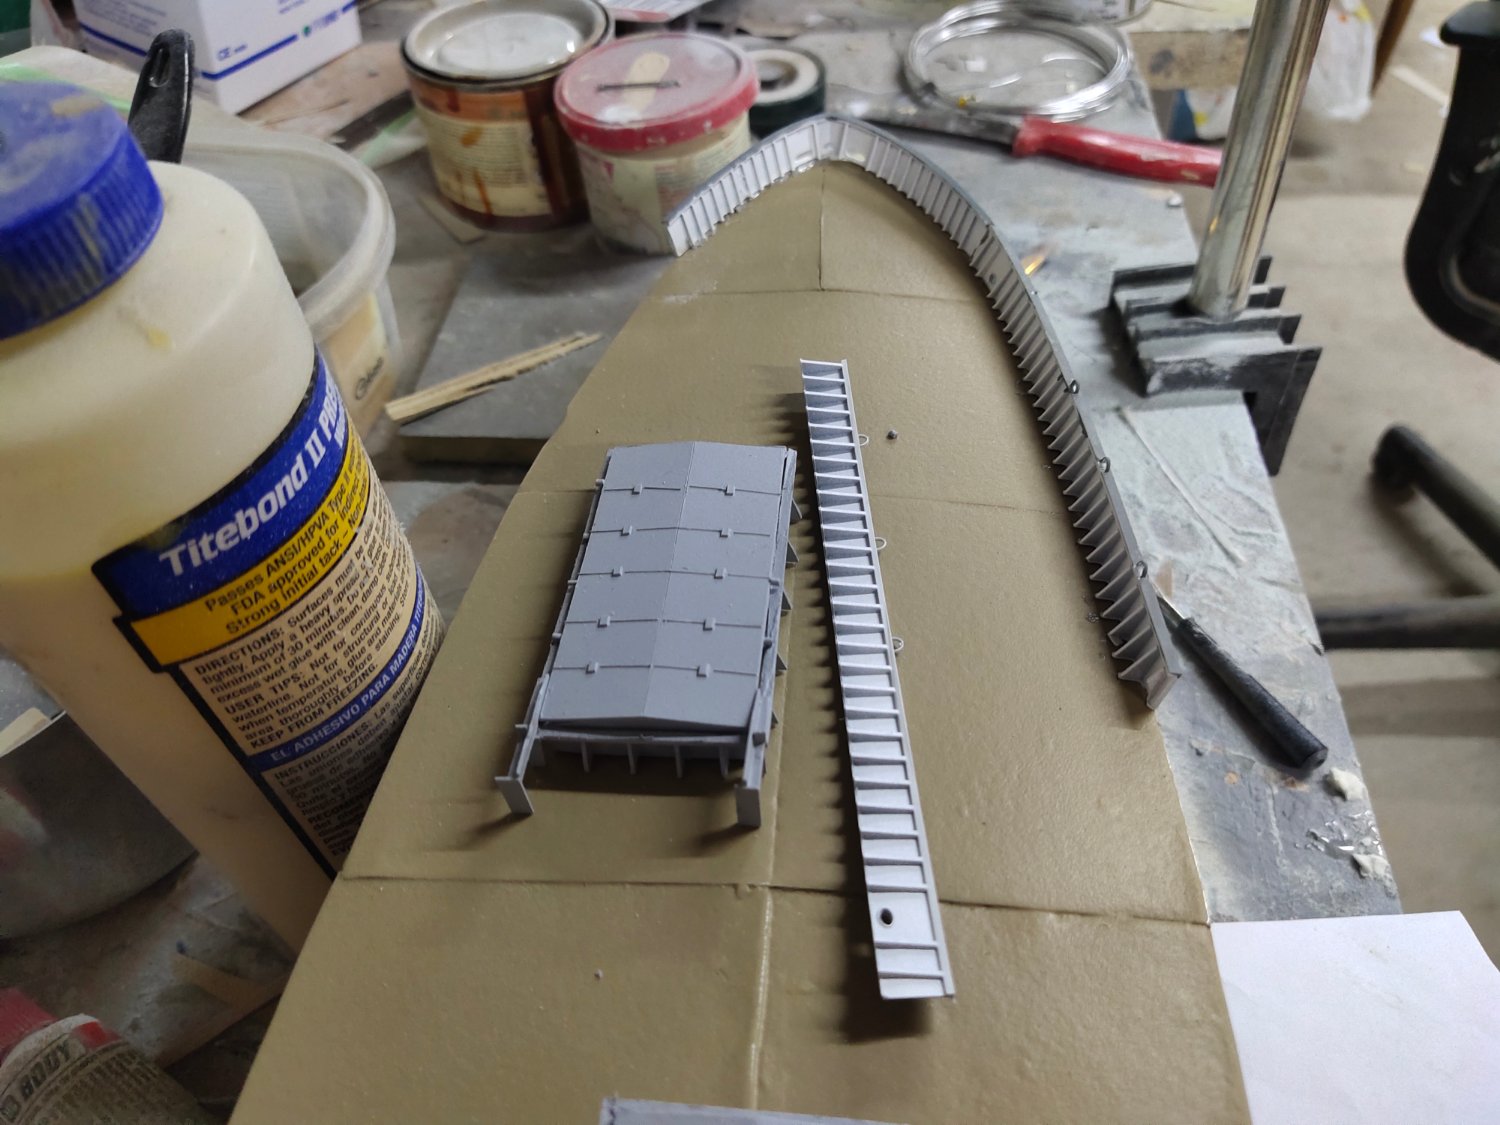
Progress must go on somehow. I found someone on FB who could design bulwarks ready to print for me. I will talk about it later
The bow desing came pretty close to model dimensions. With a heat gun i soften the resin pieces and added to the deck with epoxy putty/glue. Due to the size i had to cut the rear section in pieces. If you are interested in a resin printer i suggest to go for at least medium size. The 6" diagonal plate can be filled easily.


- KeithAug, GrandpaPhil, mtaylor and 1 other
-
 4
4
-
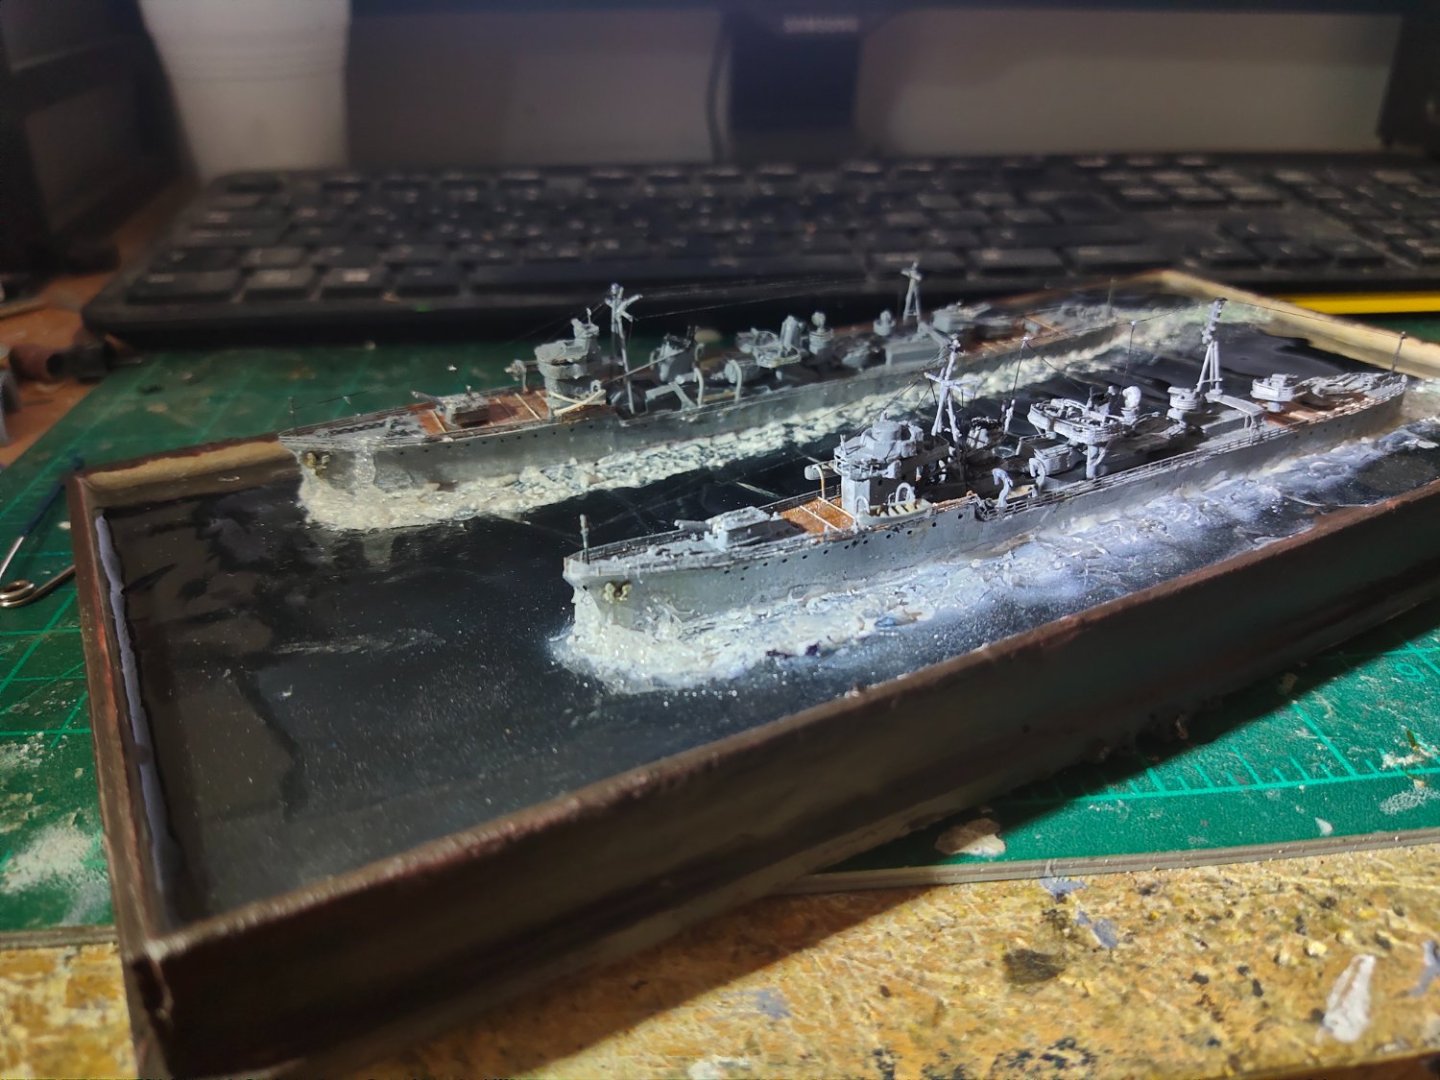
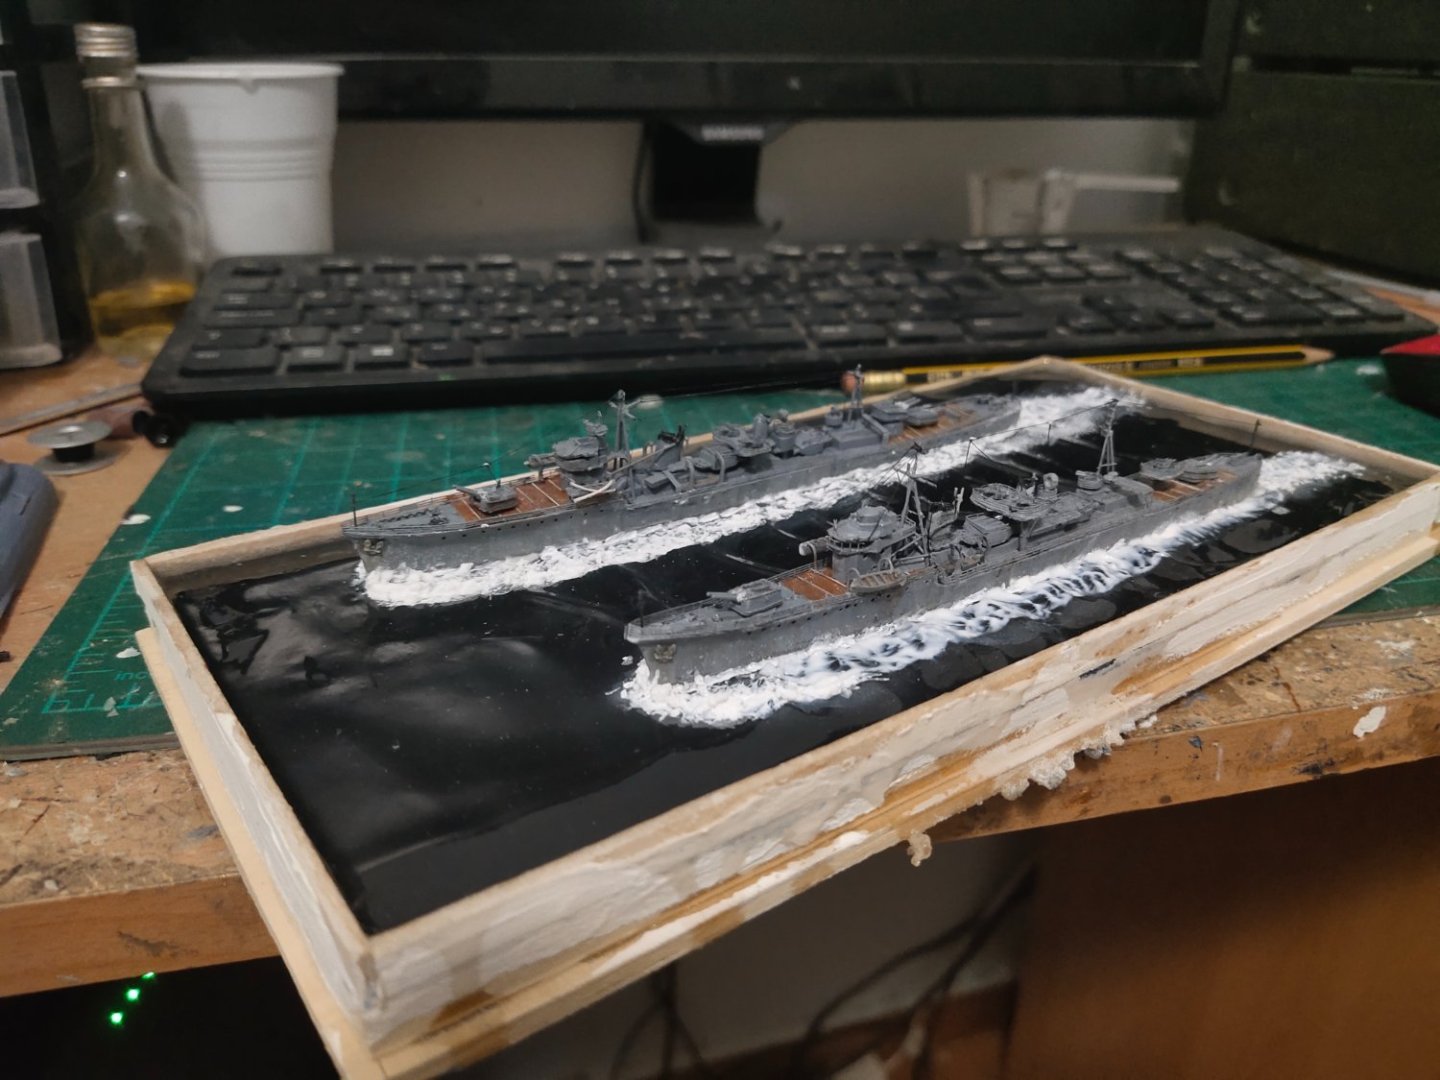
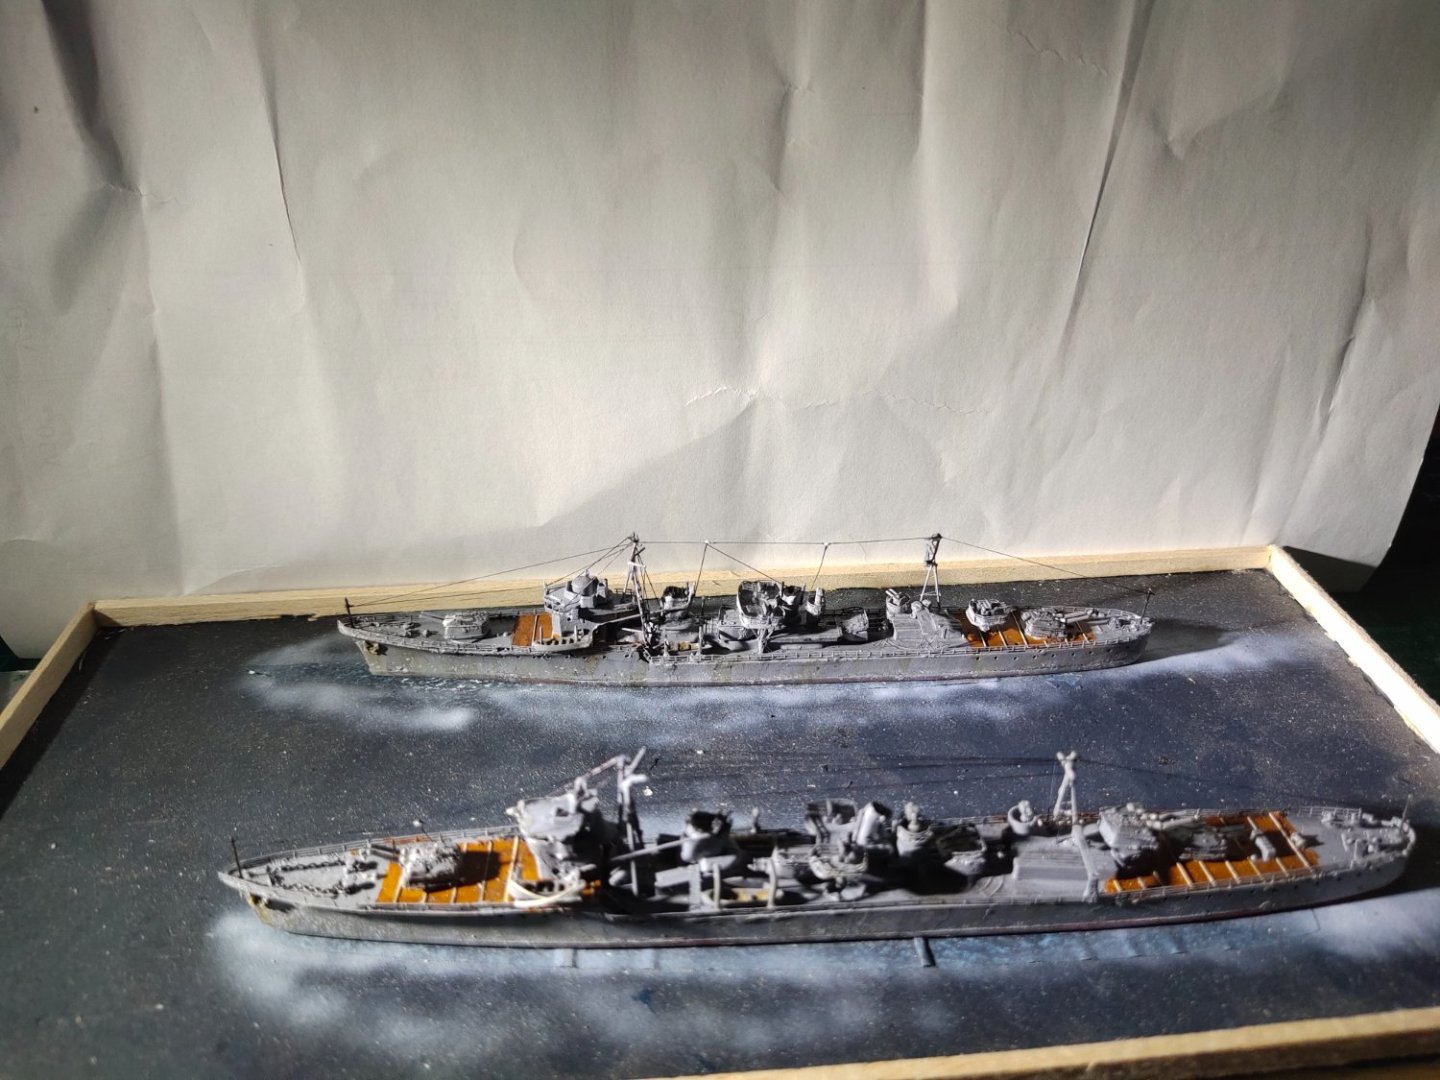
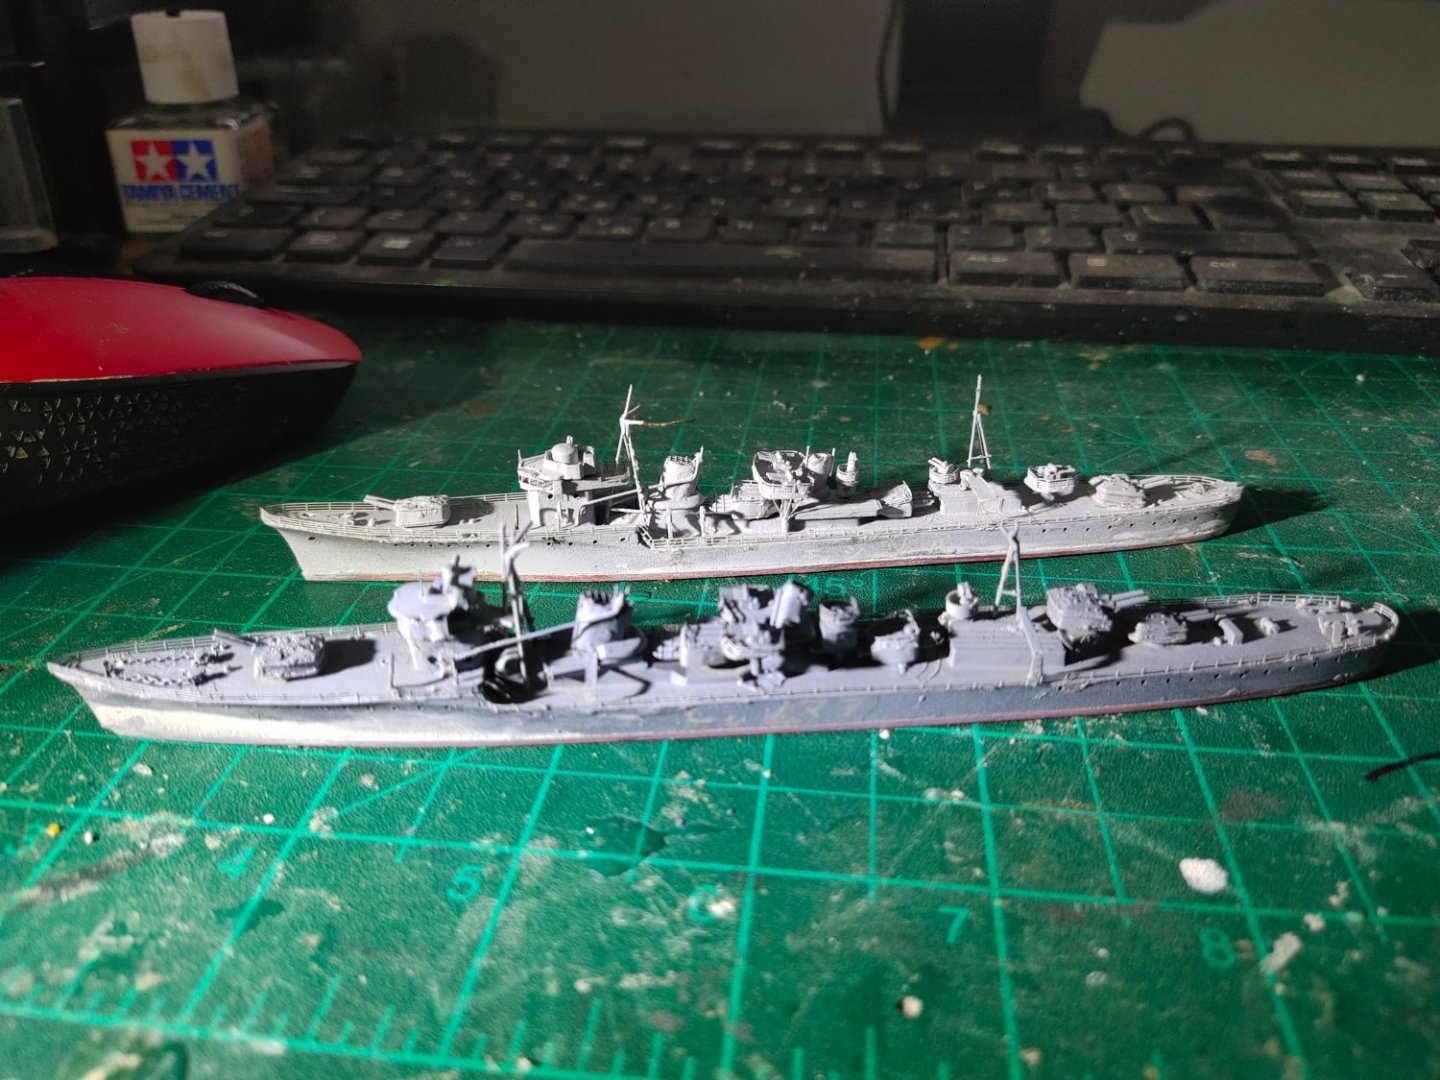
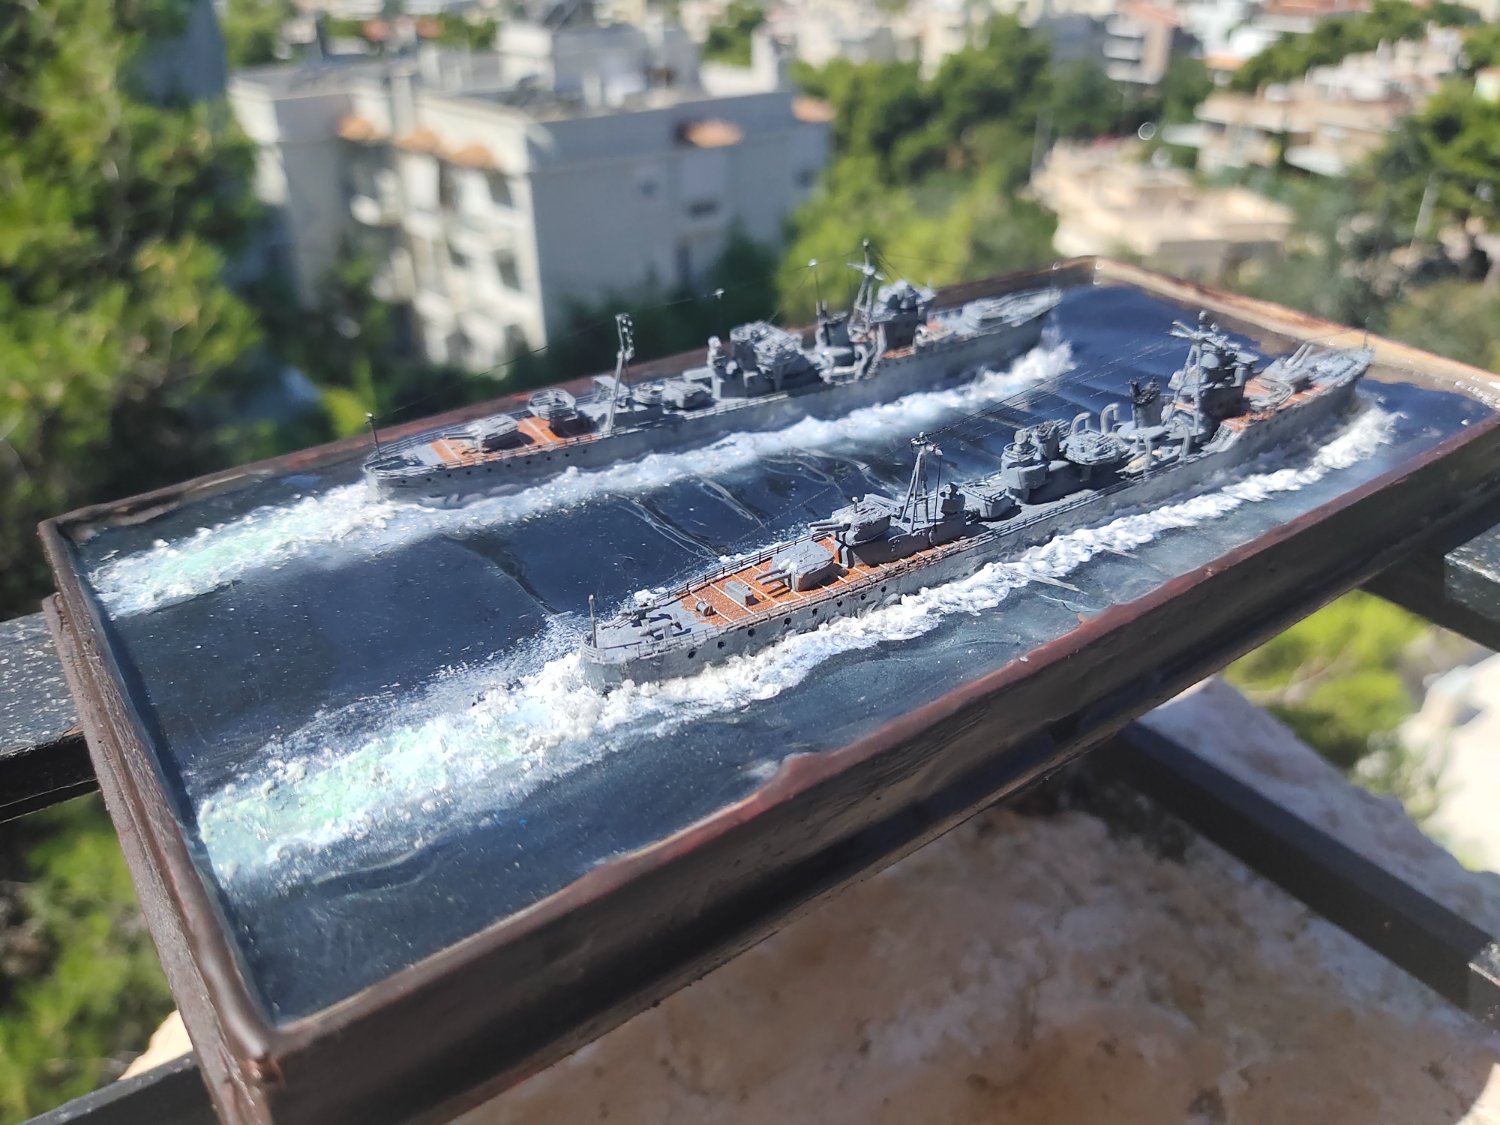
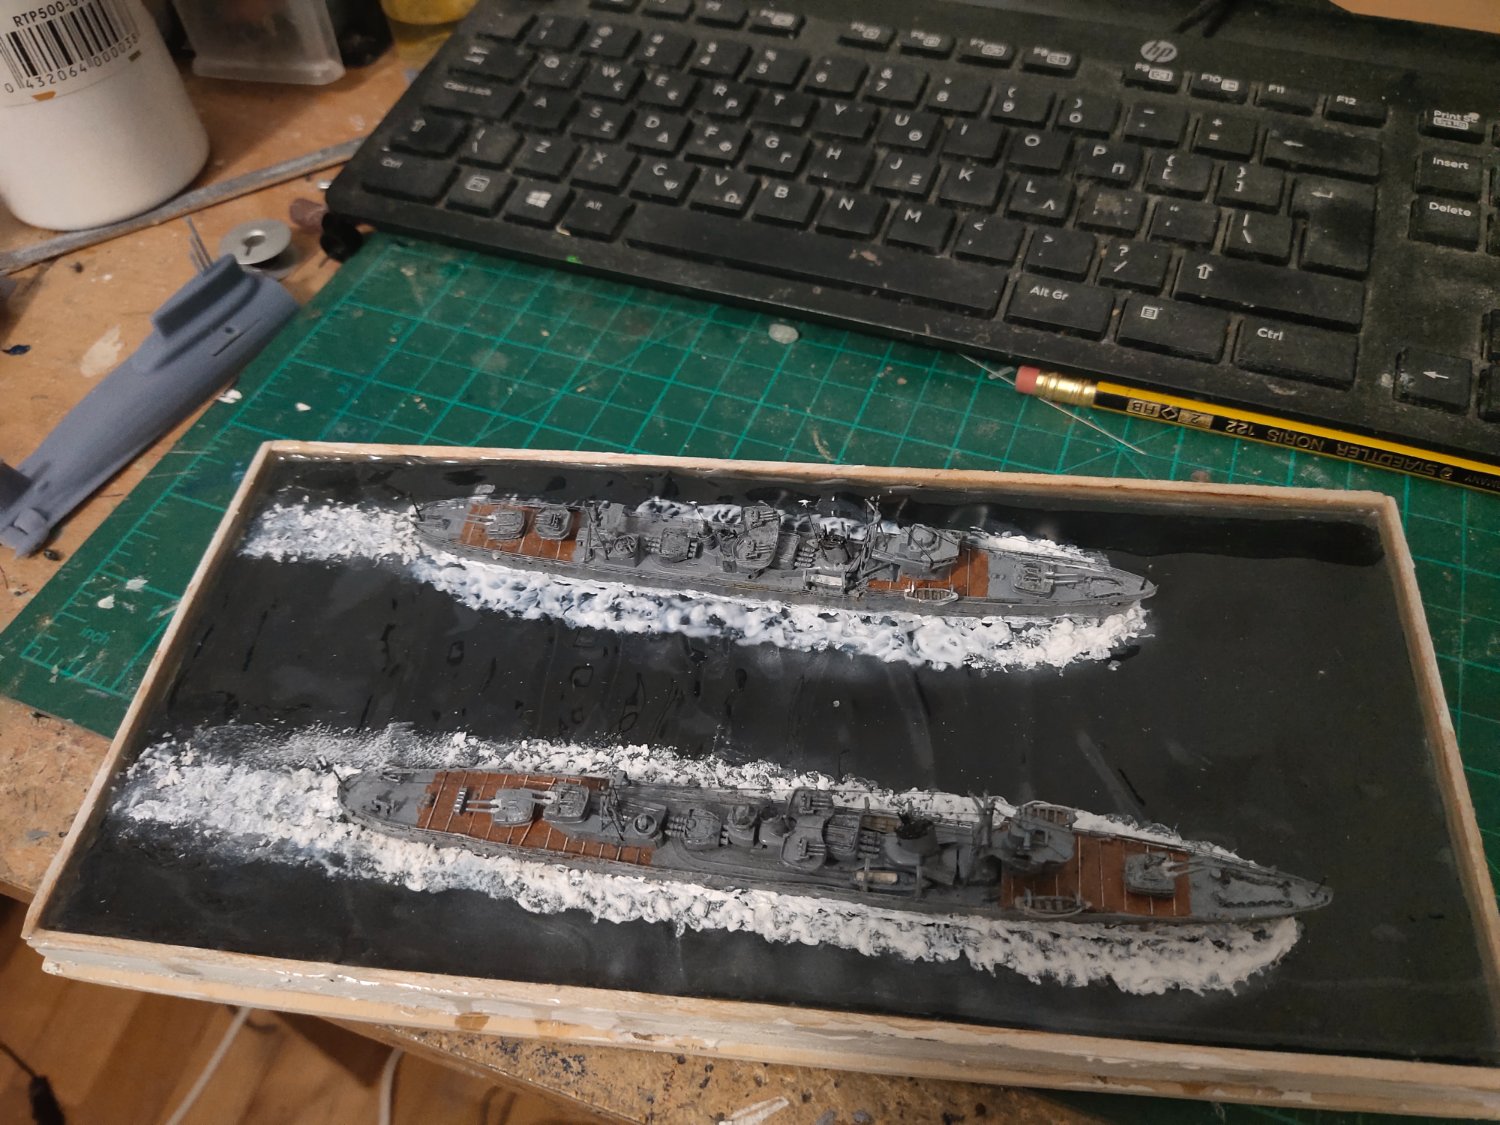
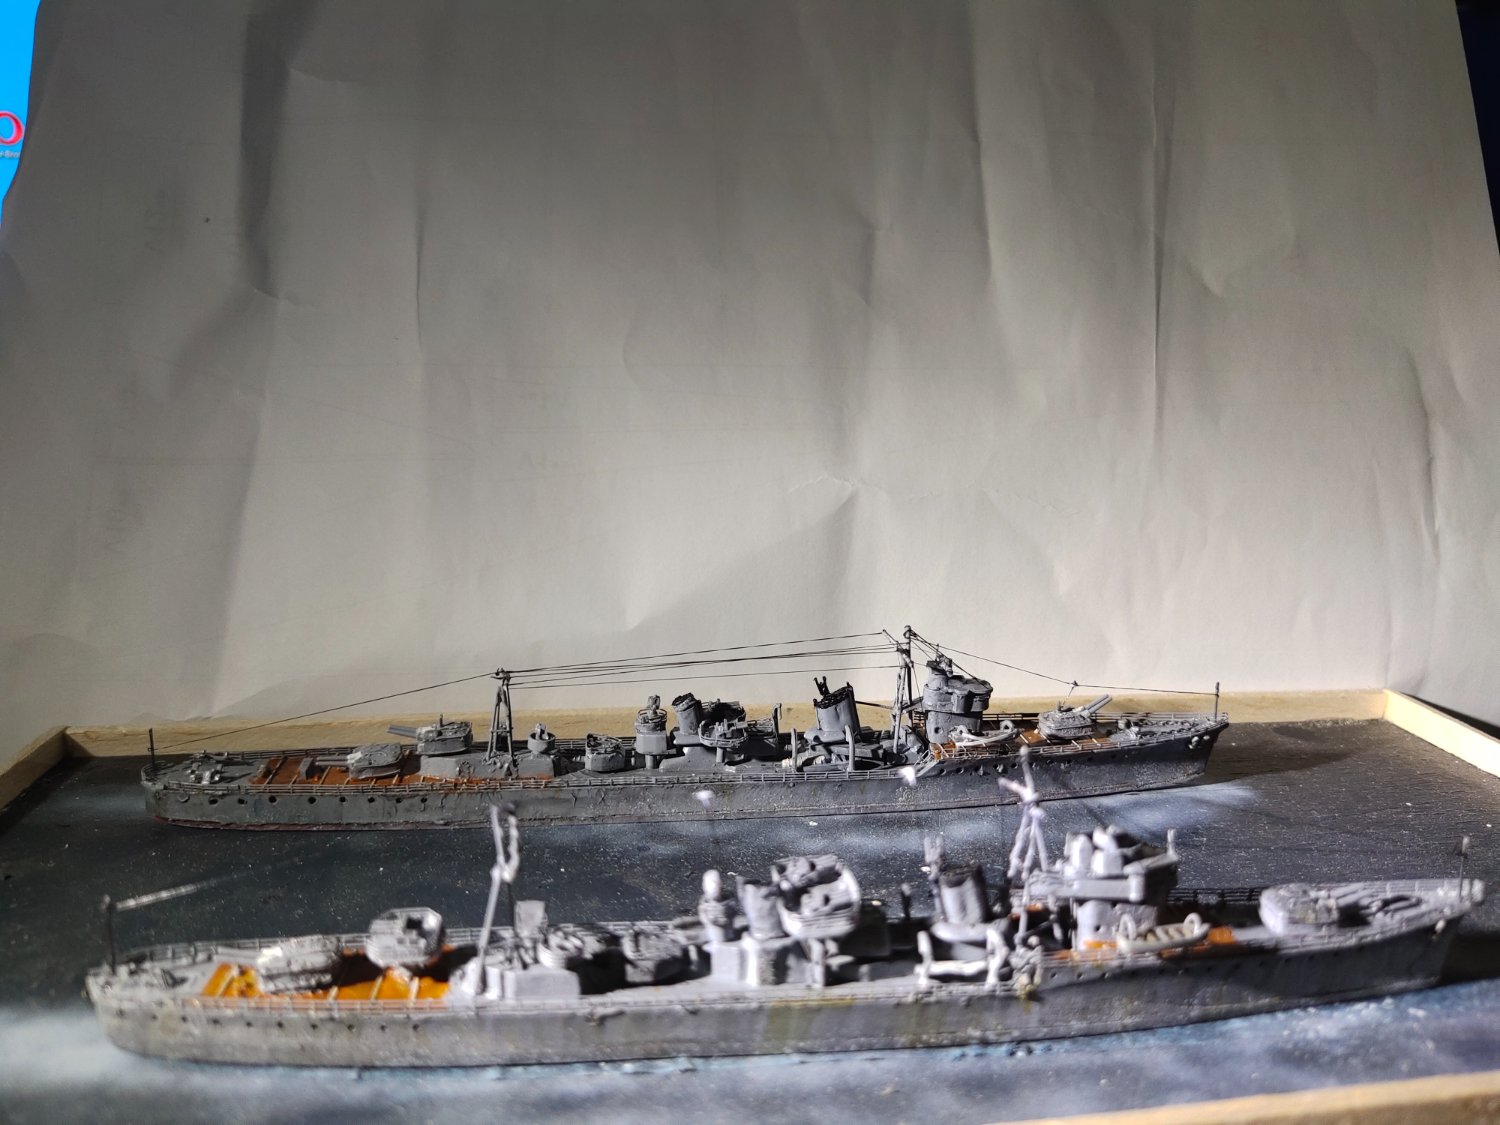
Two different approaches. For the bottom one I used home made snow effect for the waves. On the upper one same for the rear wakes only. For the sides I used gel medium. Tomorrow it will be transparent. I will attempt to paint it with 0000 brush and airbrush.
cotton + PVA was not preffered this time something more fluffy was desired therefore I used snow foam. Also I have noticed that cotton balls are not pure white and dont know how to paint them.
So when this is finish there will be two different results in the same base. The big success in this attempt was the wavy sea. But for the wakes I need to improve my airbrush skills I'm very clumsy on this, having destroyed 2 and just got a 3rd one.

-
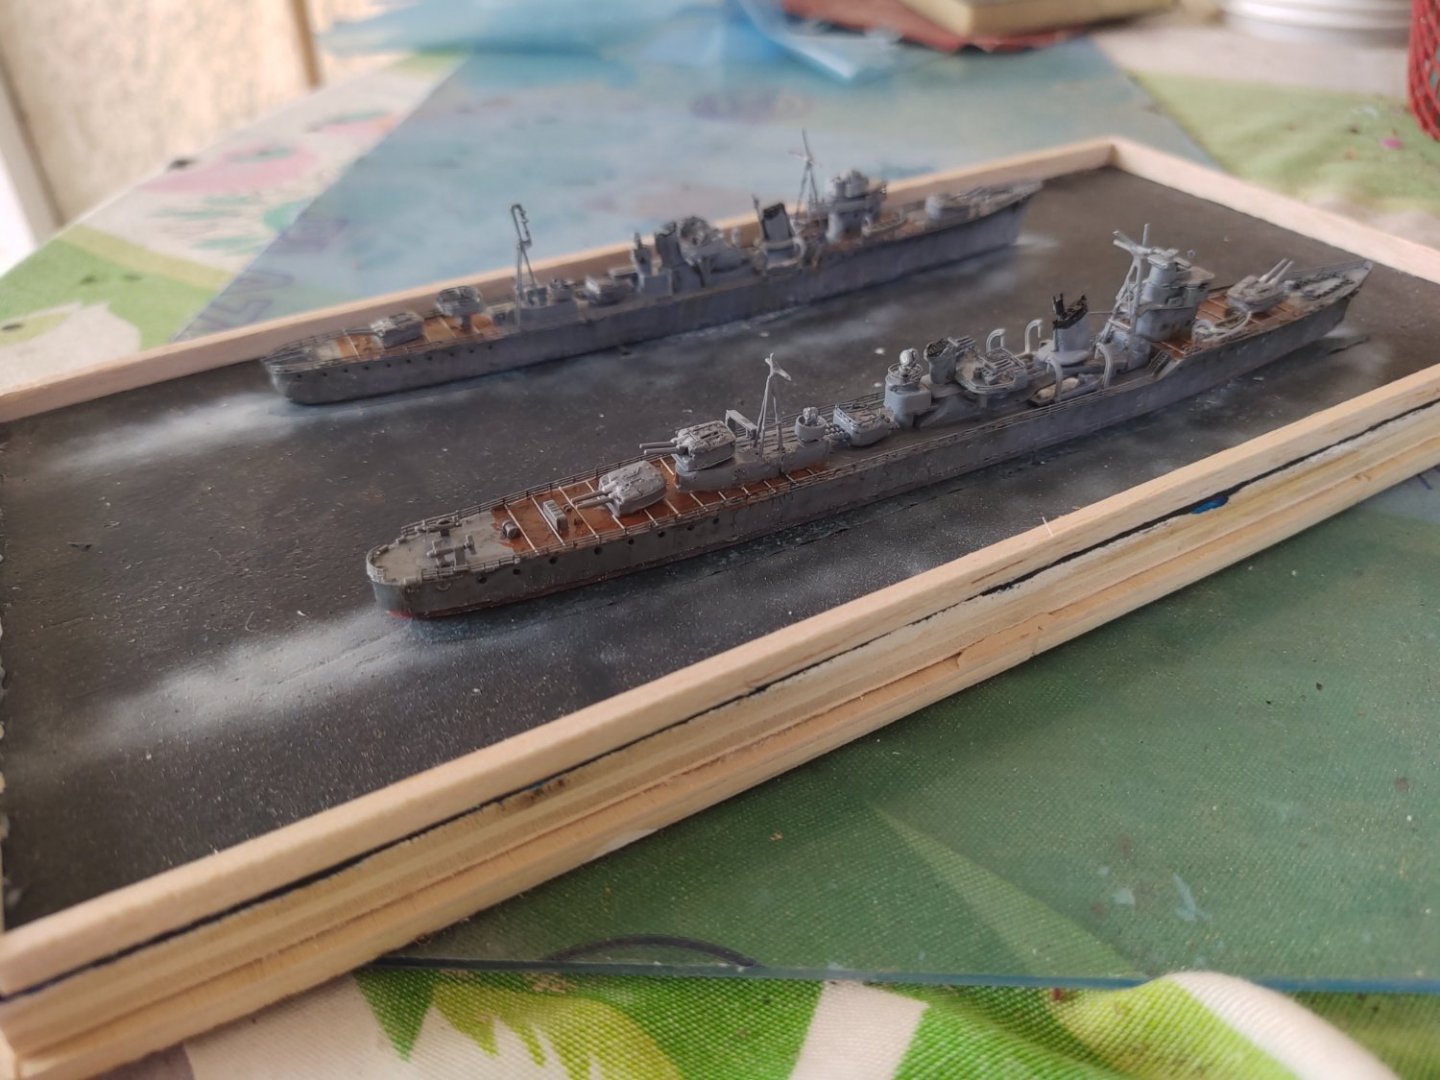
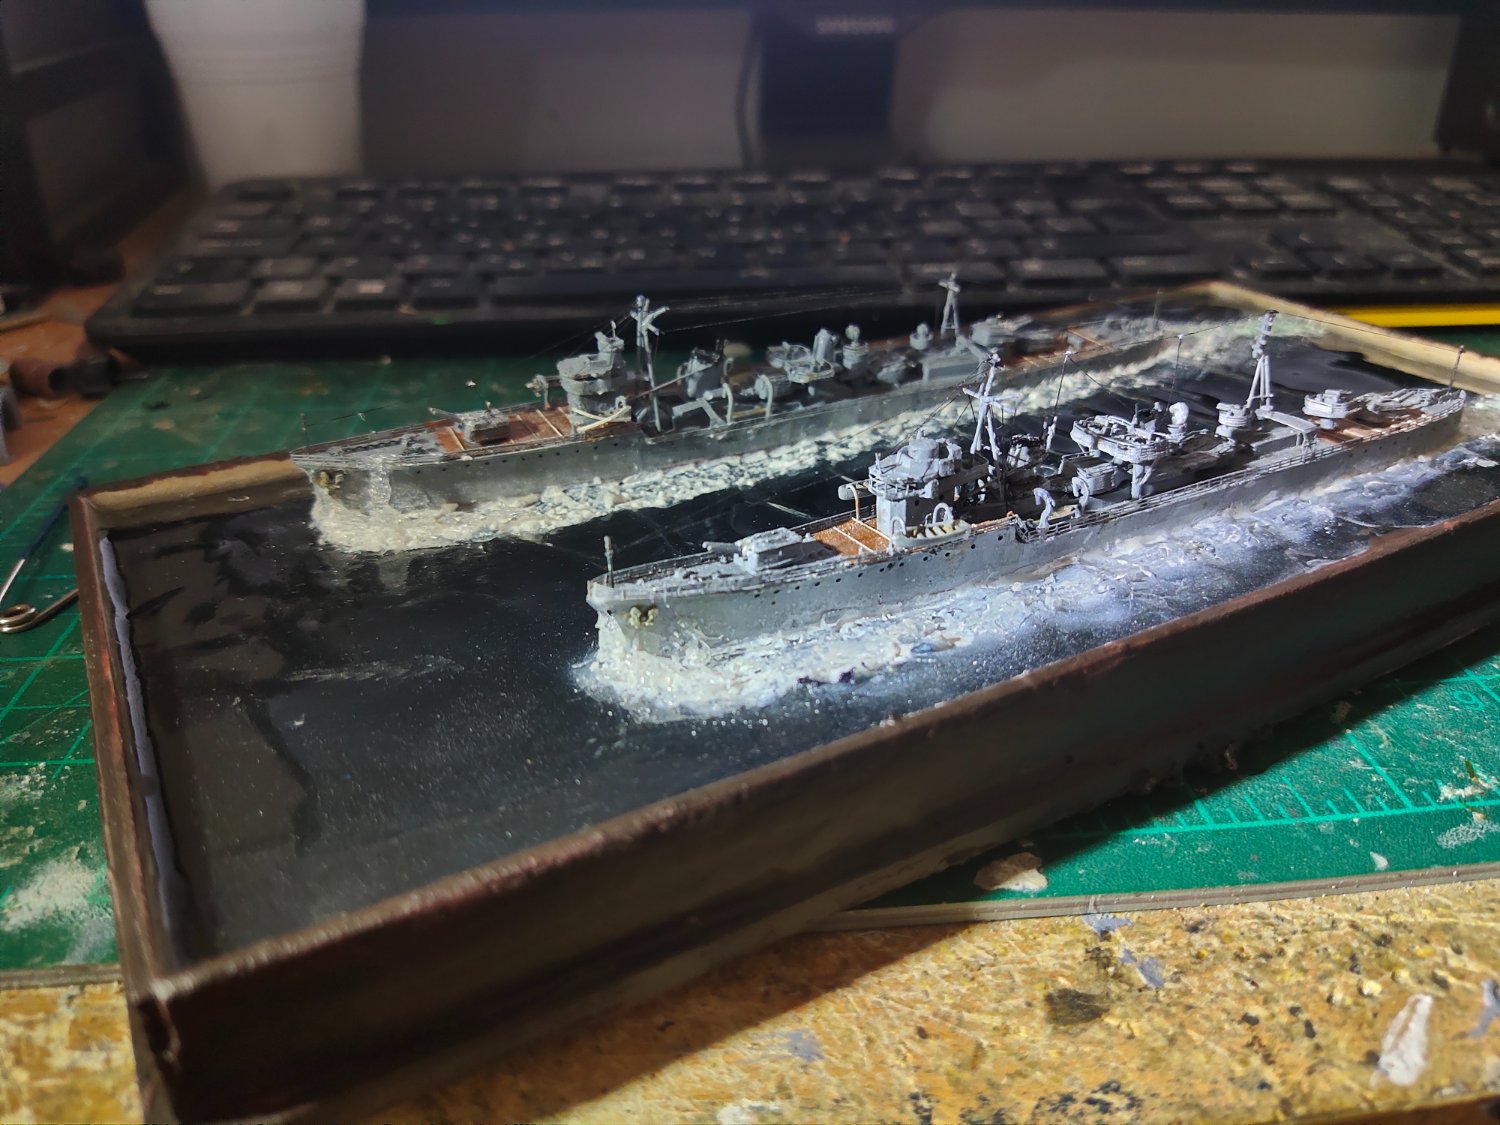
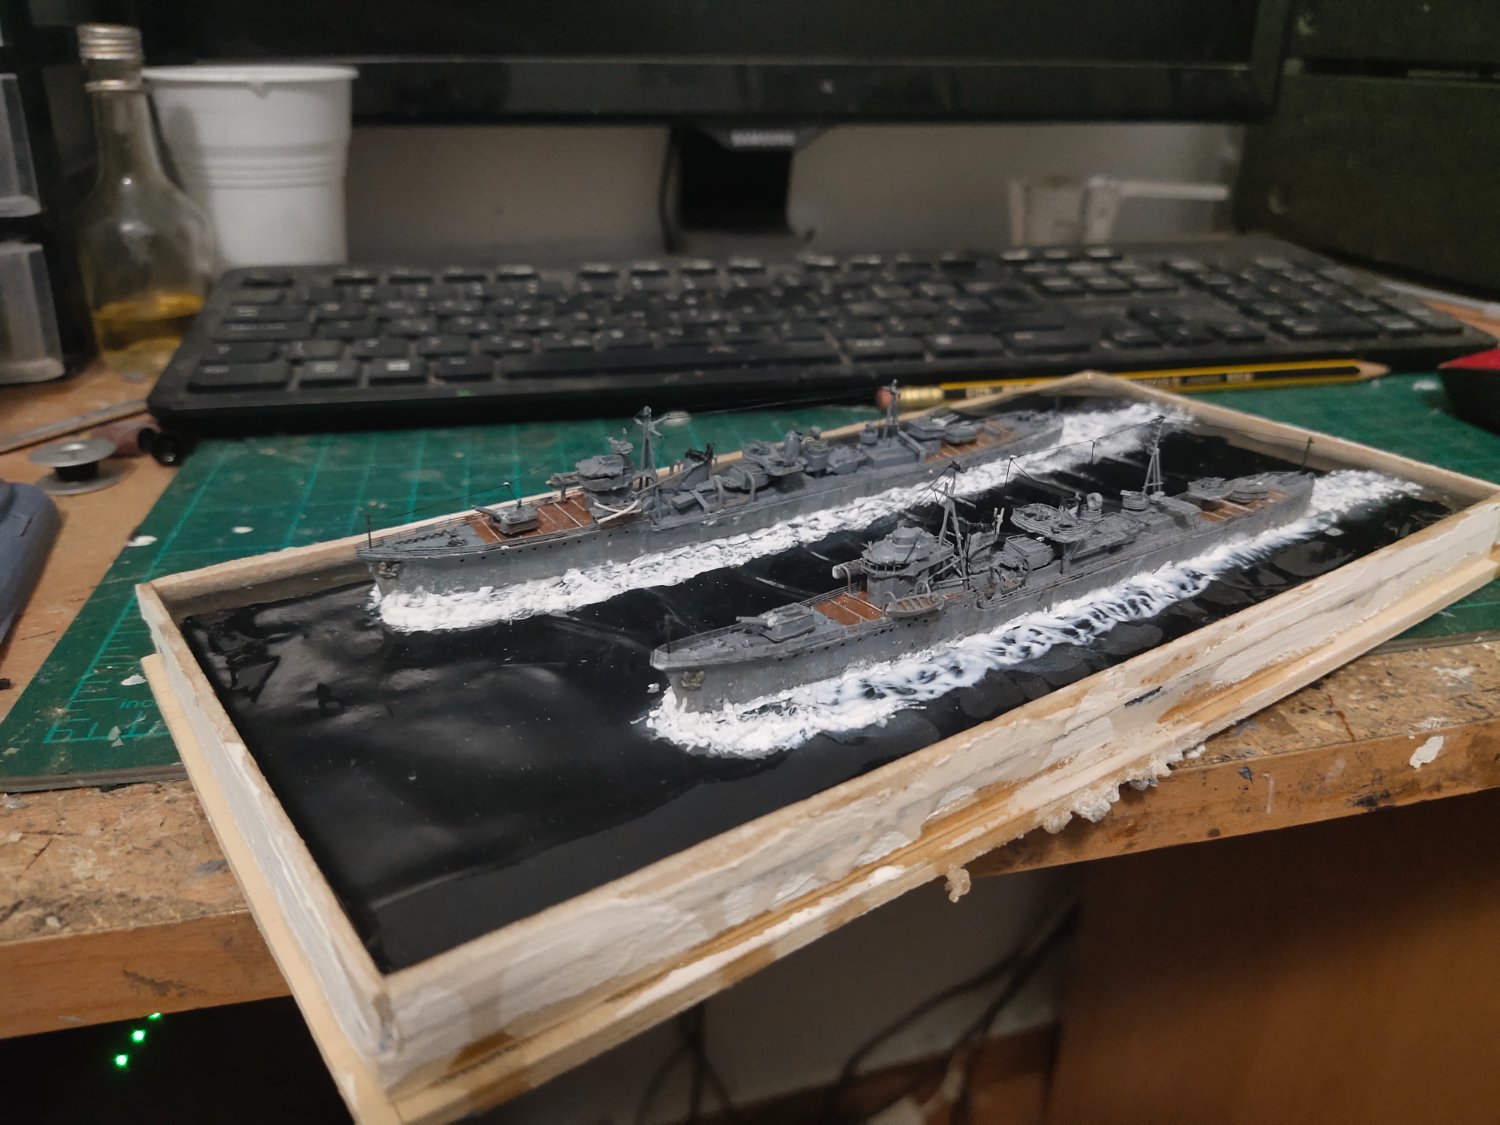
Sculpting the resin wasn't the best experience. Lots of dust and a constant fear that dremel tool might slip and damame the surface. Which happened in a few cases. But I think this will be covered by the wakes I guess.
Ships were put in place gap filled with acrylic putty and small gaps with thick paint.
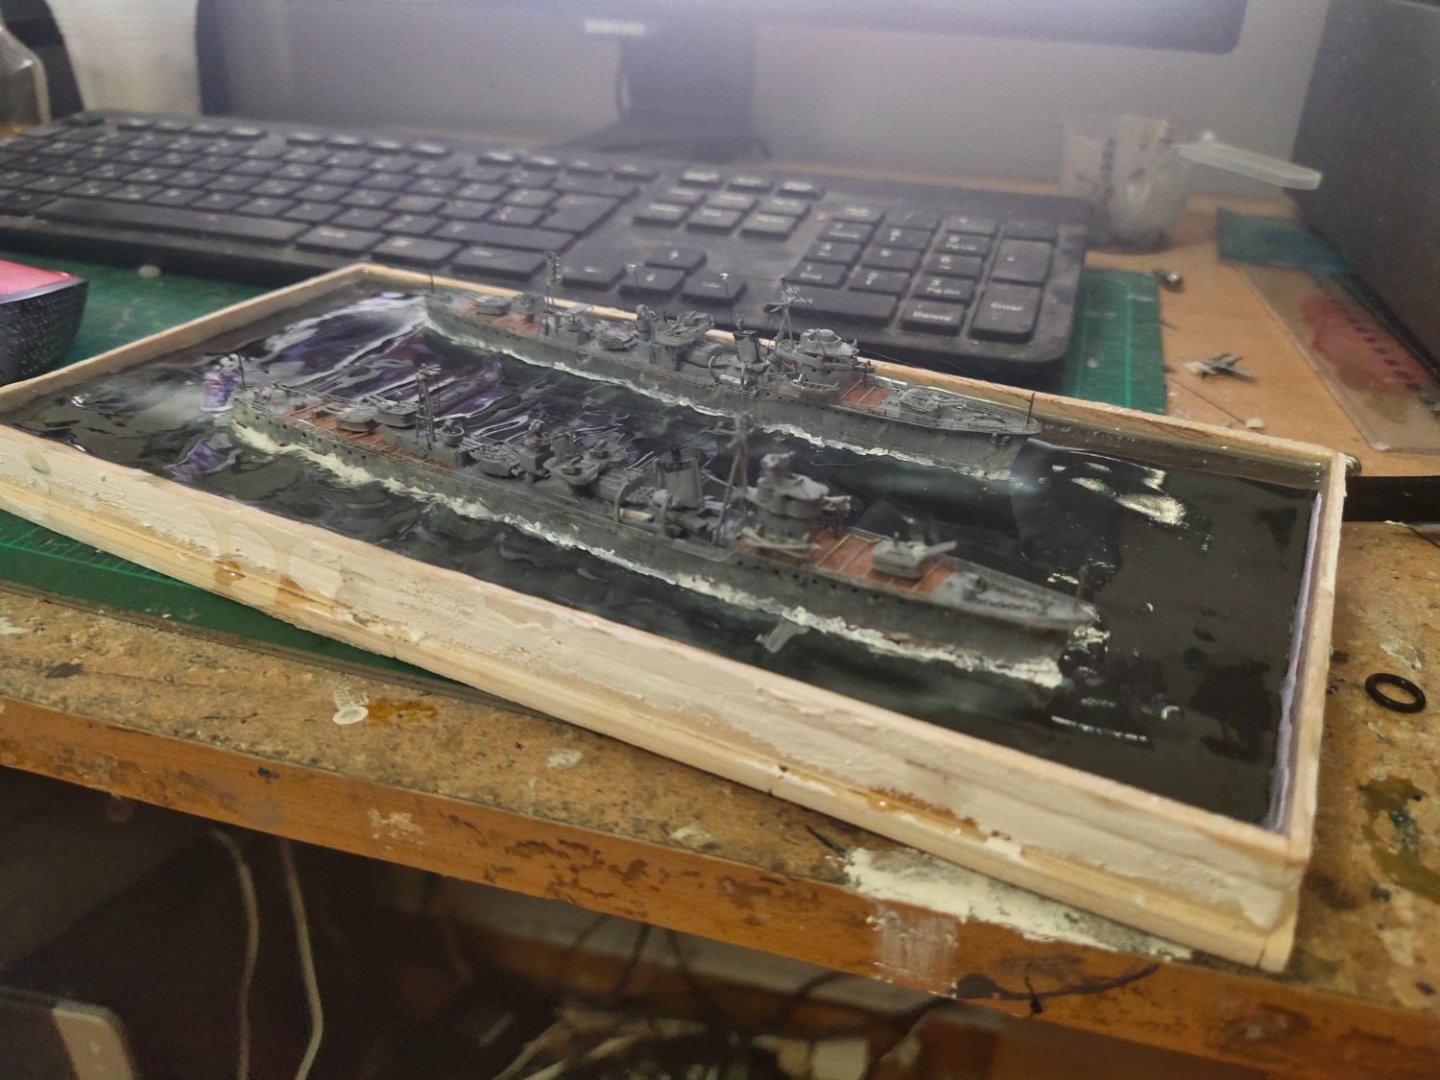
At the lower ship on the right side you can see a few thin scratches caused from my very thin tip of the tool. They look like splashes. Maybe set up a small experimental resin base in the future and see if I can draw some wave lines on it


- thibaultron, mtaylor, king derelict and 3 others
-
6
-
6 hours ago, king derelict said:
Mike
You make great seascapes. The waves look very convincing
Alan
Thanx.
I am giving a great effort on seascape so I can cover the imperfections than can't be corrected on these old models. So I can't get a satisfying result . Also I try every time to use a different approach. Next built will be entirely different with other materials
- mtaylor, Canute, king derelict and 2 others
-
5
-
Time for the seabase
First i used some wood putty to make sure that there will be no resin leak. My first wavy resin sea failed lets see now. This time i am using a fast drying resin, curing time aprox 40 min.
First i measured the volume, and filled 80% full about 80 ml. ,waited about 10-15 minutes. Then took a hair dryer while having a heat gun on my other hand. The dryer gave the desired wave shape while the heat gun provided extra heat for rapid drying.
At first resin was too liquid some spilling was inevitable. Later it dried and caused a sticky base. But far less than previous time. Heatgun was reduced to lower scale as on full scale smoked the resin a bit giving me a bath of cold sweat. But seemed that no damage has been done.
I continued working with both hands and as the mixture got thicker i reduced the blowing distance
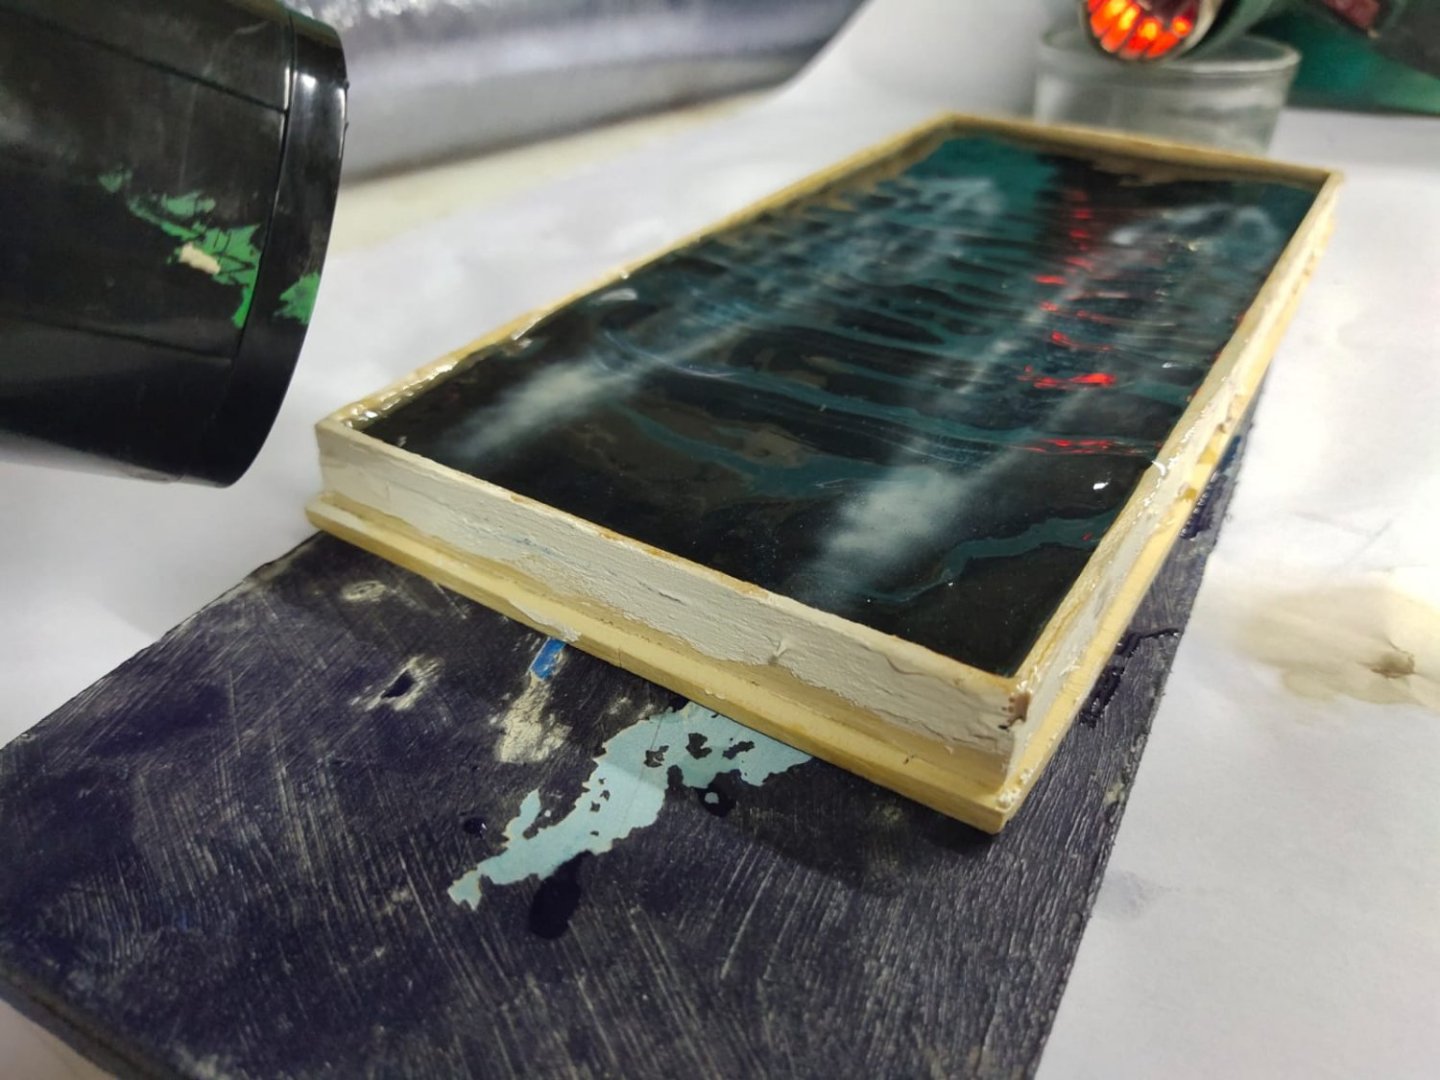
Not that at the moment that this photo was taken the black hairdryer on the left died from overheating. Its just present for demonstrating purpose. Fortunately started working again.
After almost an hour resin got thick but i still applied heat for another 30 minutes. This time with hairdryer only and with short brakes. I took it upstairs let it rest overnight and next day i inspected it
.thumb.jpeg.d4638f44aff5d36a6891af716f7d46fa.jpeg)
The wavy effect has been achieved and the uneven sea level is also welcomed. Some dust spots appeared remind me another rule. Everything around must be very clear during process as well as tools, cups, mixing spoons etc.
Now the other challenge is to level the surface so ships can sit properly. You see putting the models while curing the resin would have disastrous effects caused of the excess blowing and heating. The dremel tool seems to sand resin well, did some work, will do the rest tomorrow
- yvesvidal, thibaultron, Canute and 2 others
-
5
-
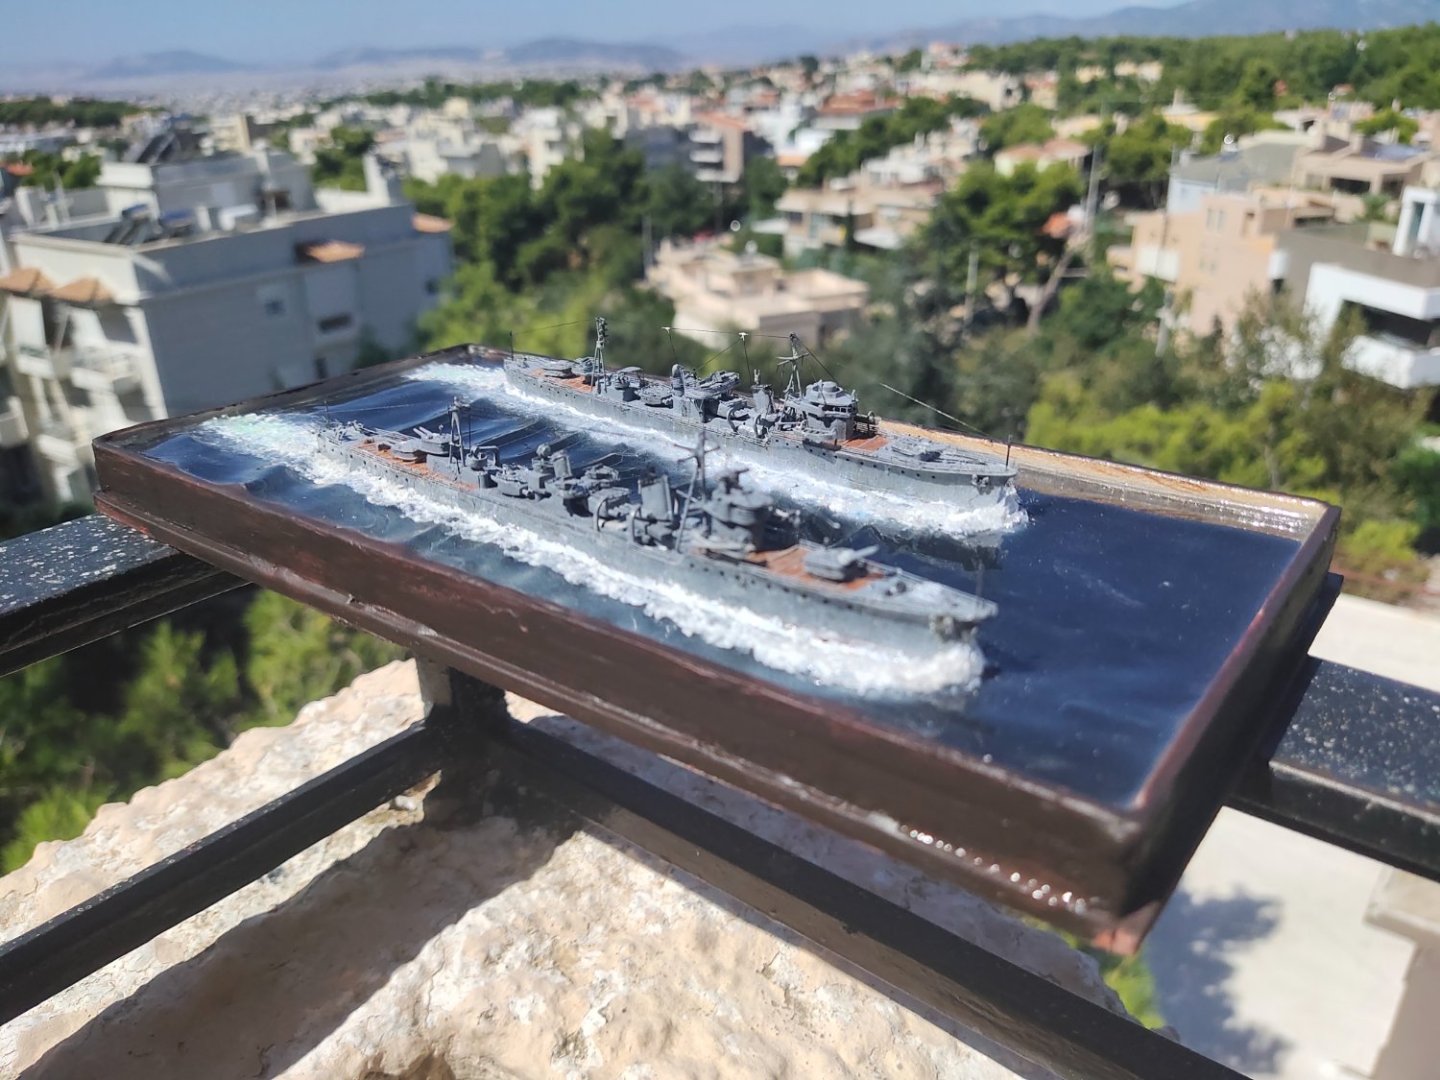
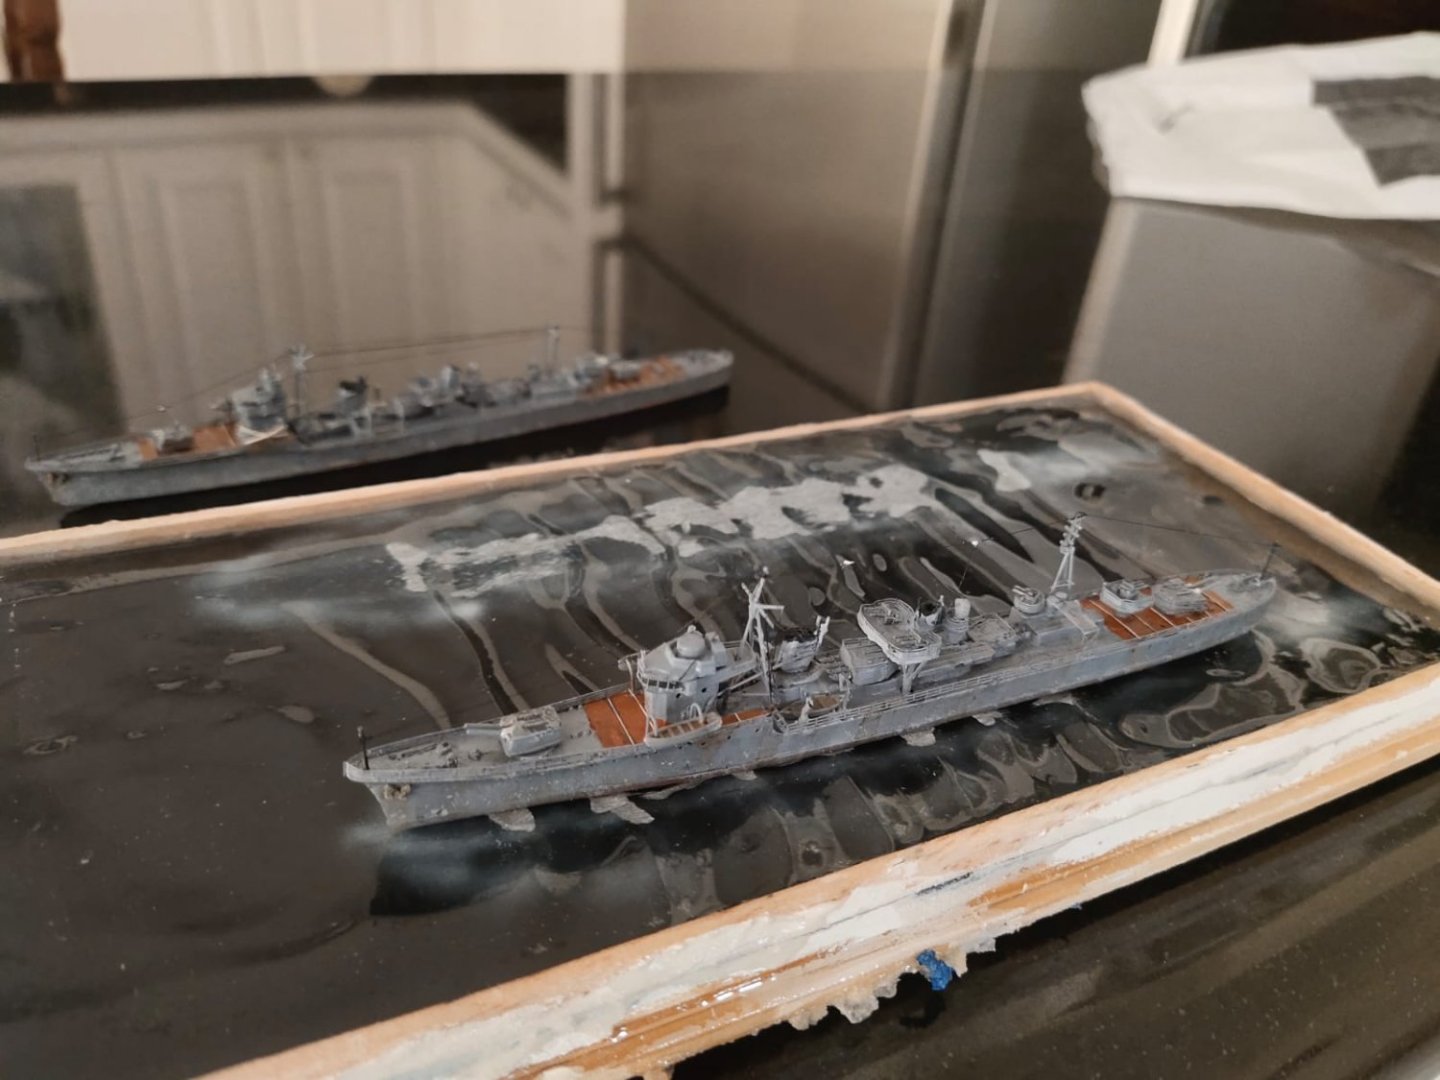
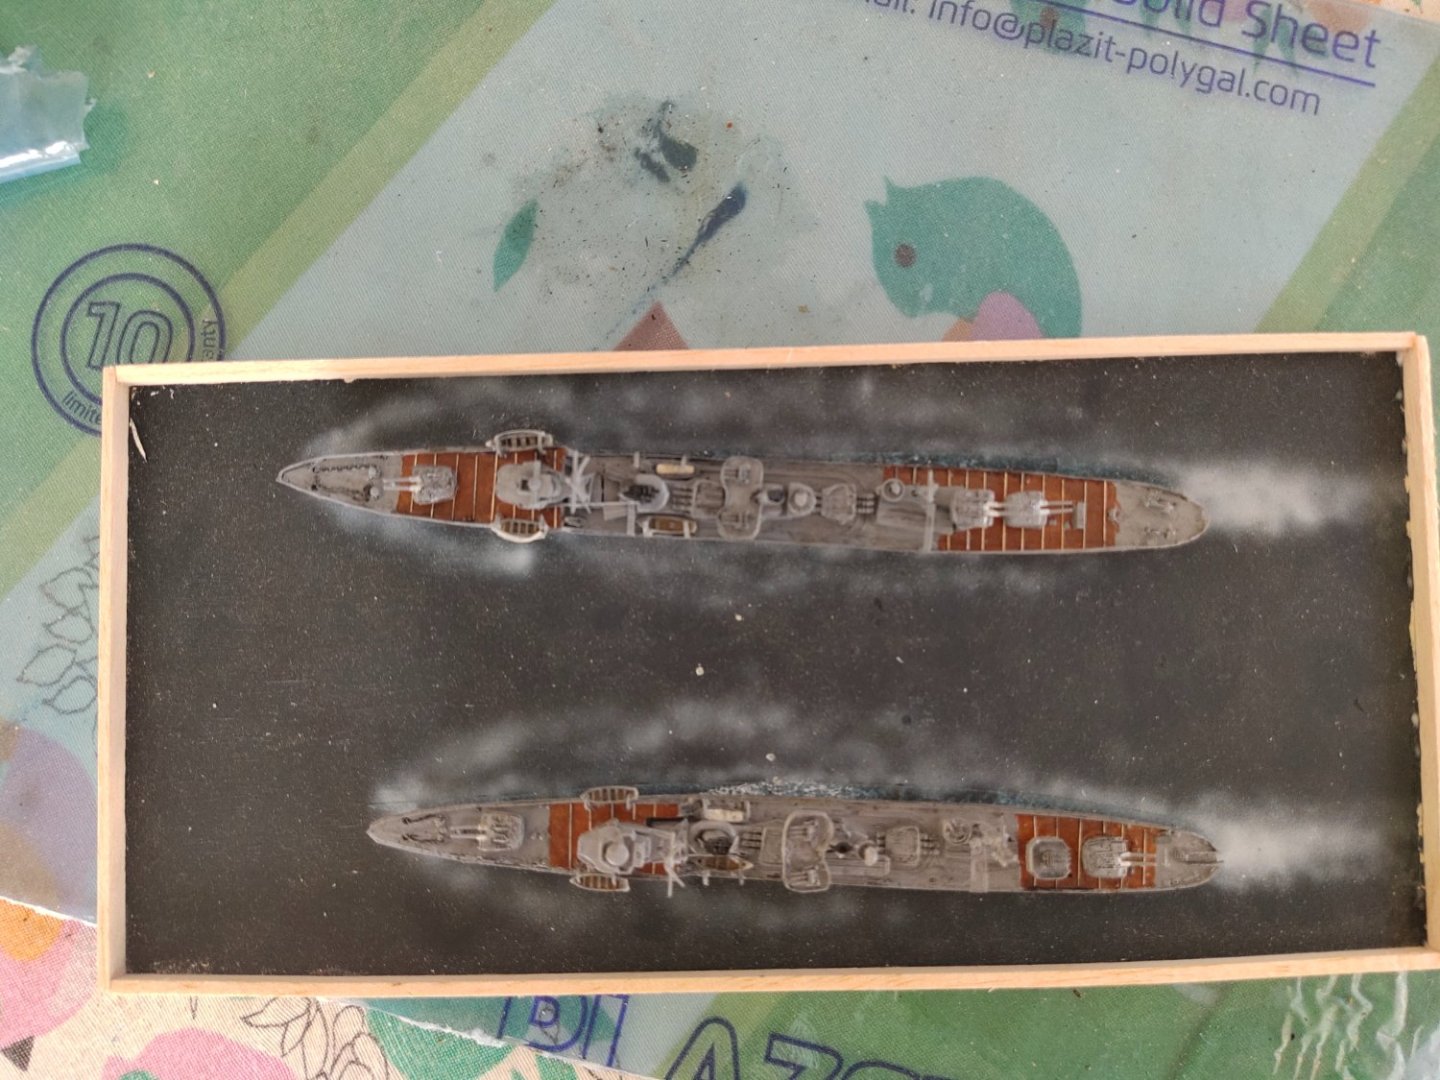
Rigging job is done. In IJN ships actually is never done but cause of the scale and the size of the models I stick with the basic work.
Took a pic with white background so it can be more visible. Taking good pics is another art. I even used the beauty mode, lol

- king derelict, Javlin, thibaultron and 4 others
-
7
-
the printing lines on the lifeboats is a great success
- Egilman, Old Collingwood, lmagna and 3 others
-
6
-
-
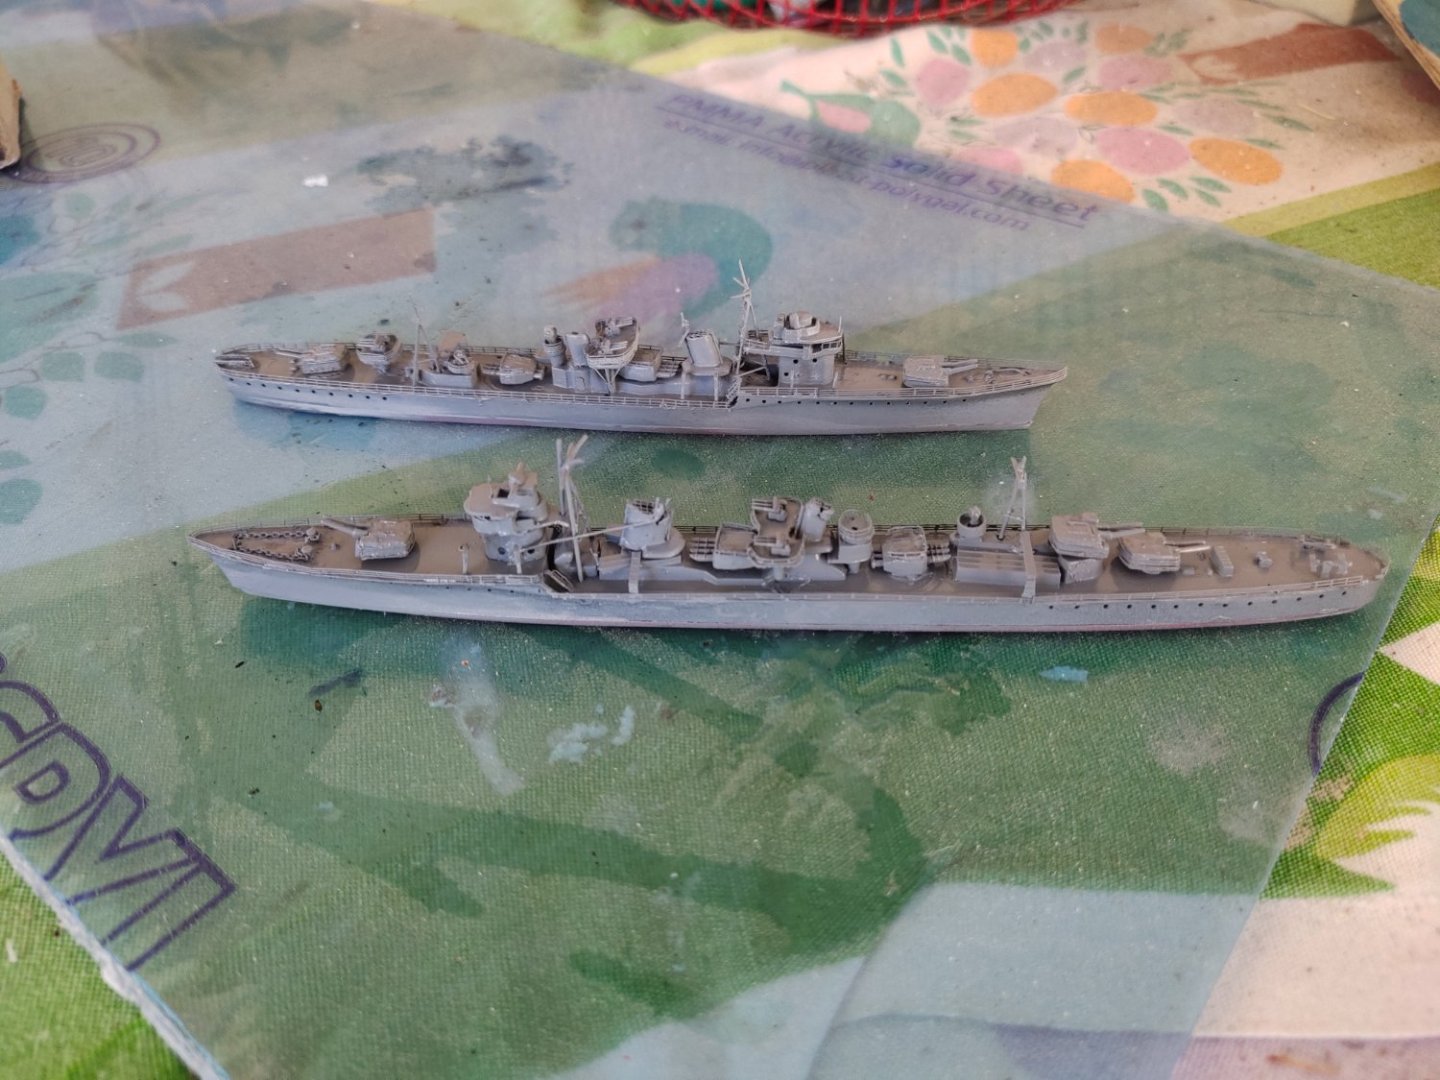
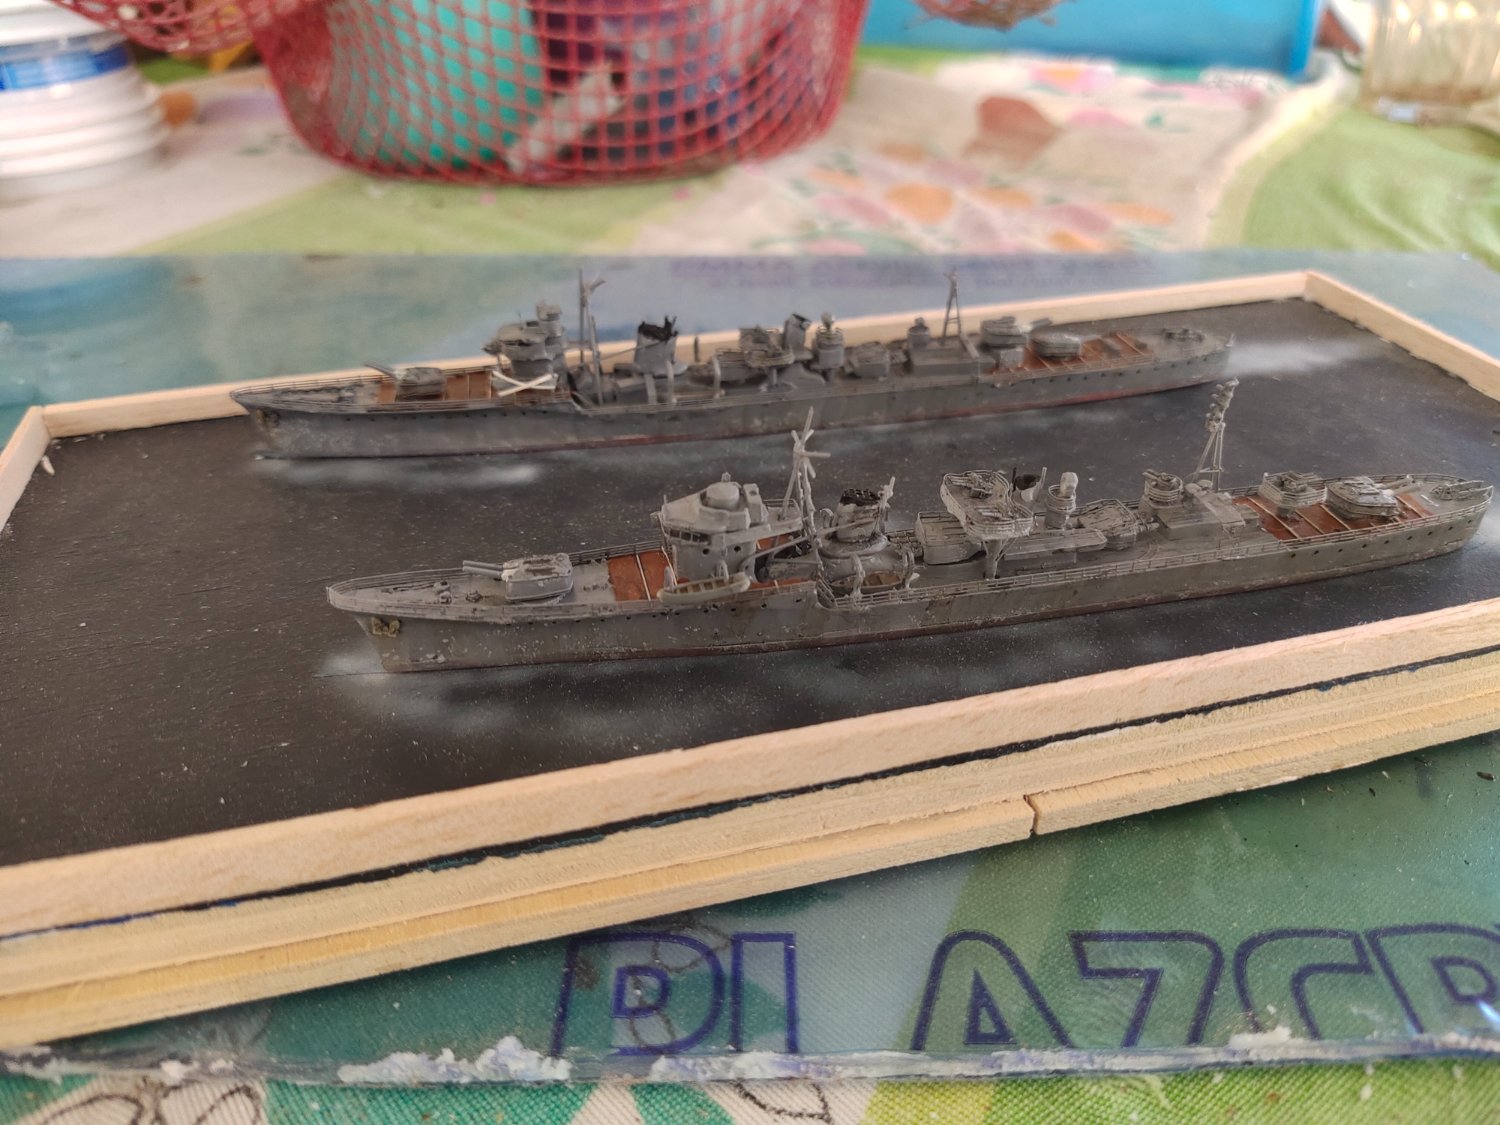
Both models are done. Weathering was light to moderate. Some black wash, light rust and some chipping. Ready for another painful season of rigging.

- thibaultron, Canute, king derelict and 3 others
-
6
-
-
Back to work
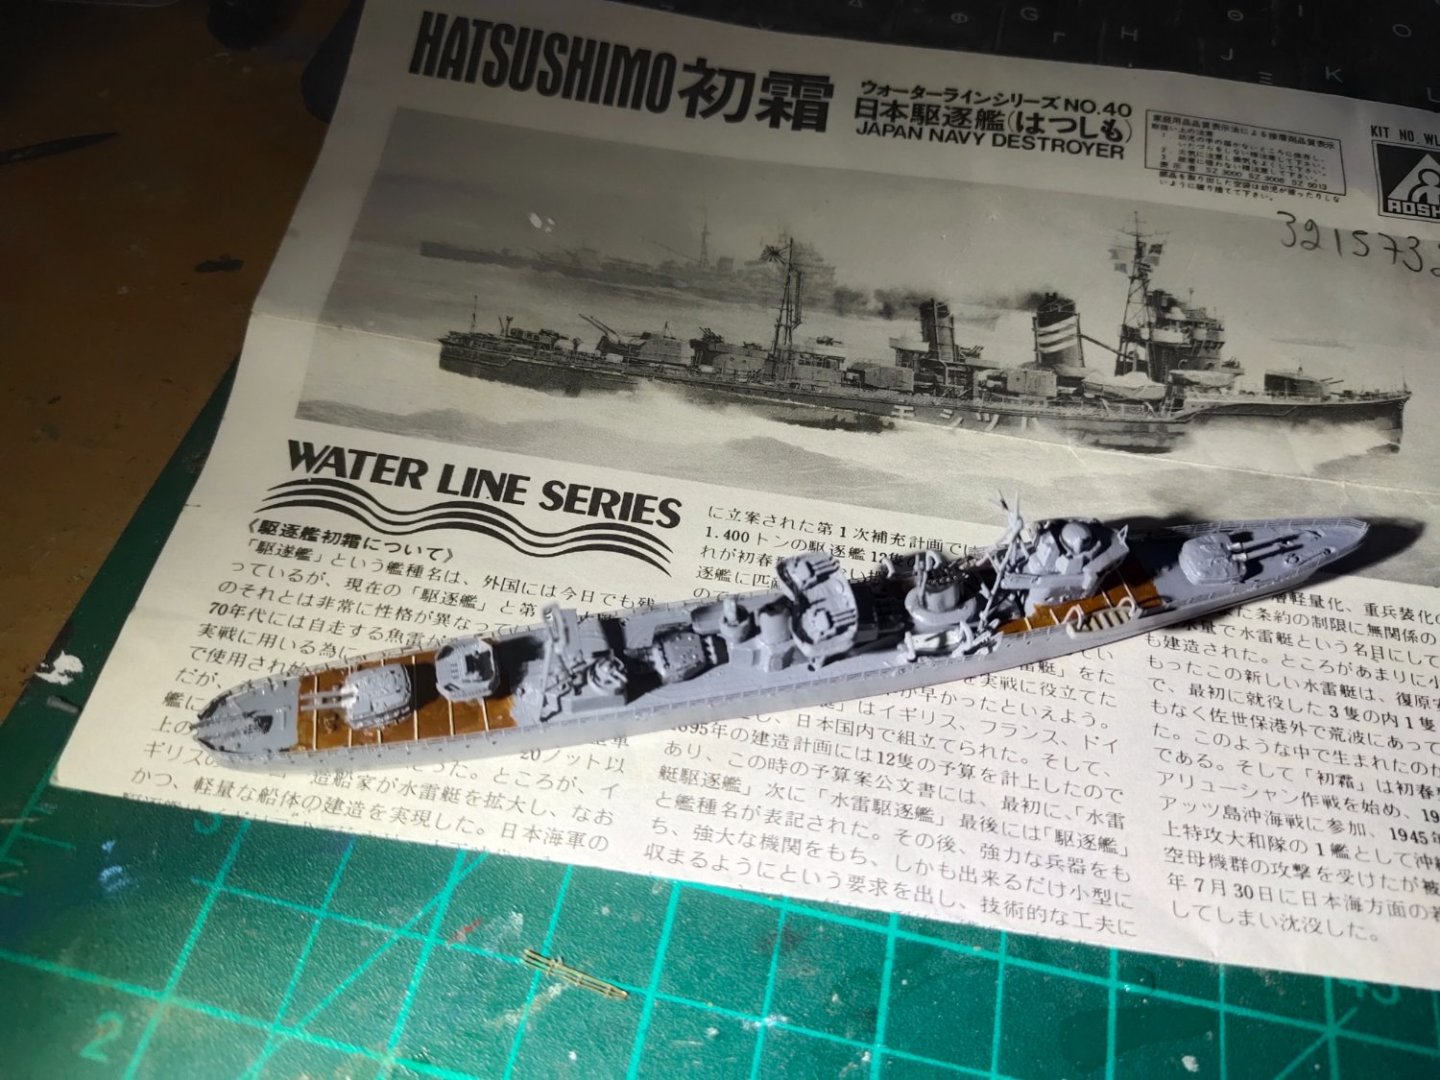
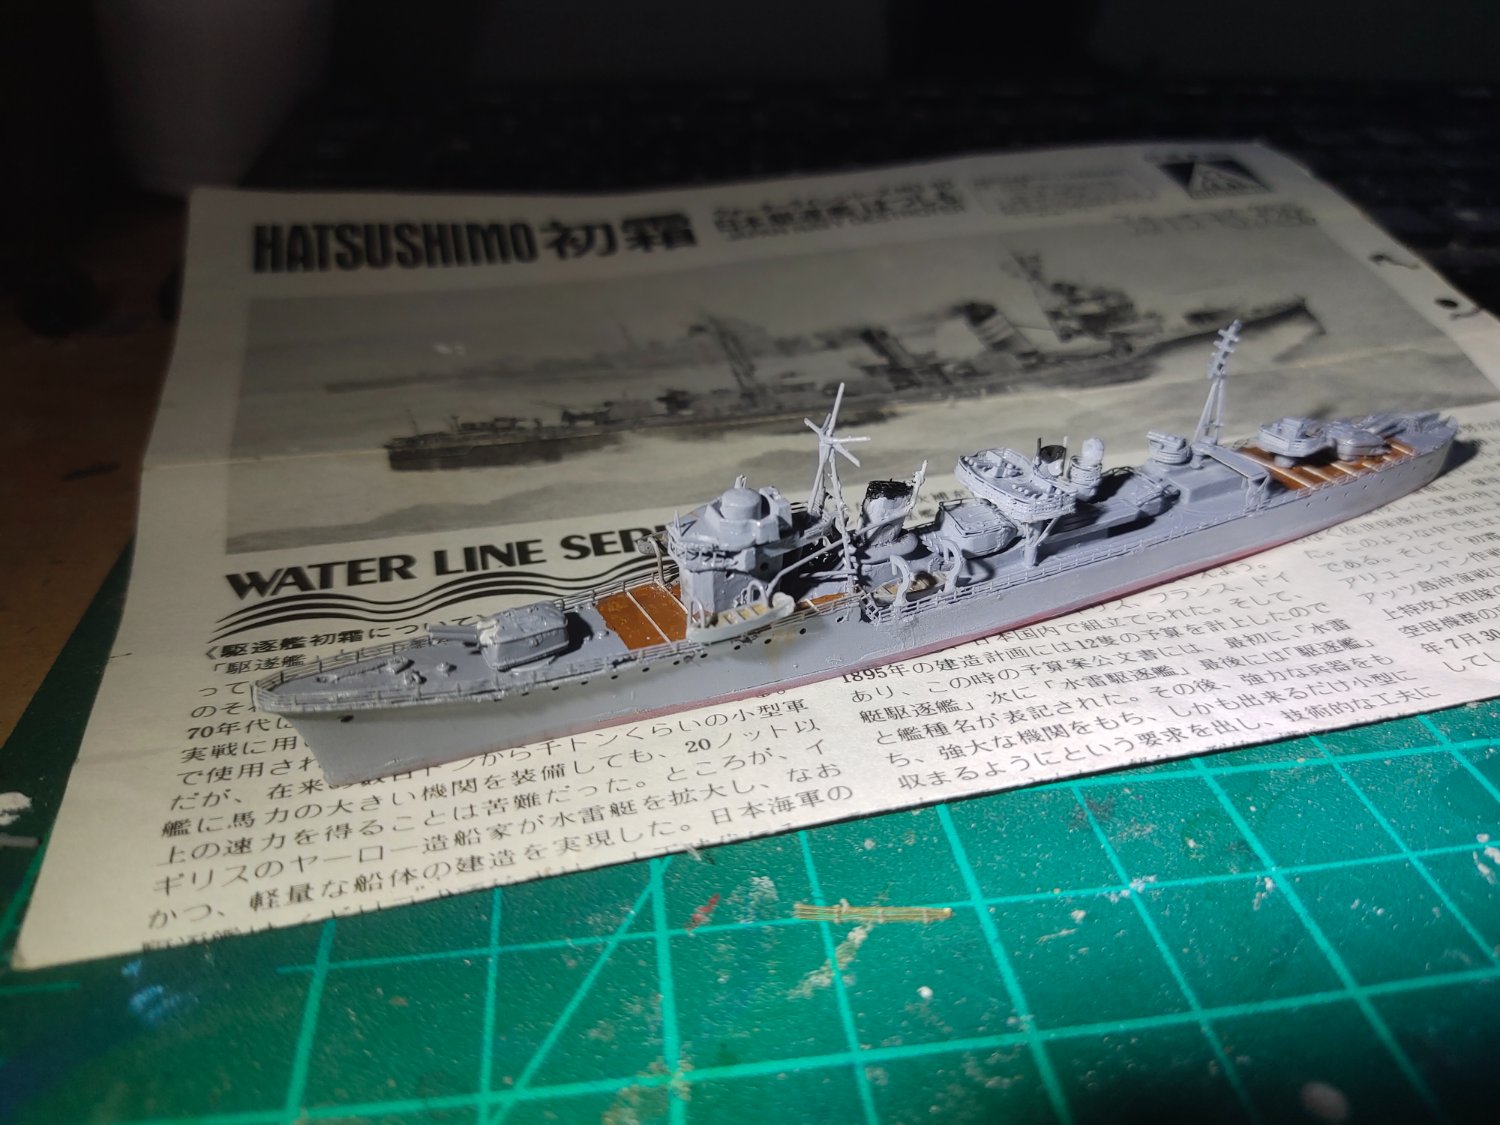
Project Hatsushimo is almost done, need rigging and weathering. It wasn't easy to paint the deck, used a 0000 paintbrush and a pin.
Will continue work on Amatsukaze now

- king derelict, yvesvidal, Baker and 6 others
-
9
-
a very beautiful model itself
- lmagna, Keith Black, Valeriy V and 1 other
-
4
-
-
-
On 8/12/2022 at 11:24 AM, chris watton said:
I am in very deep trouble when my wife gets home, it is way too big to hide anywhere!

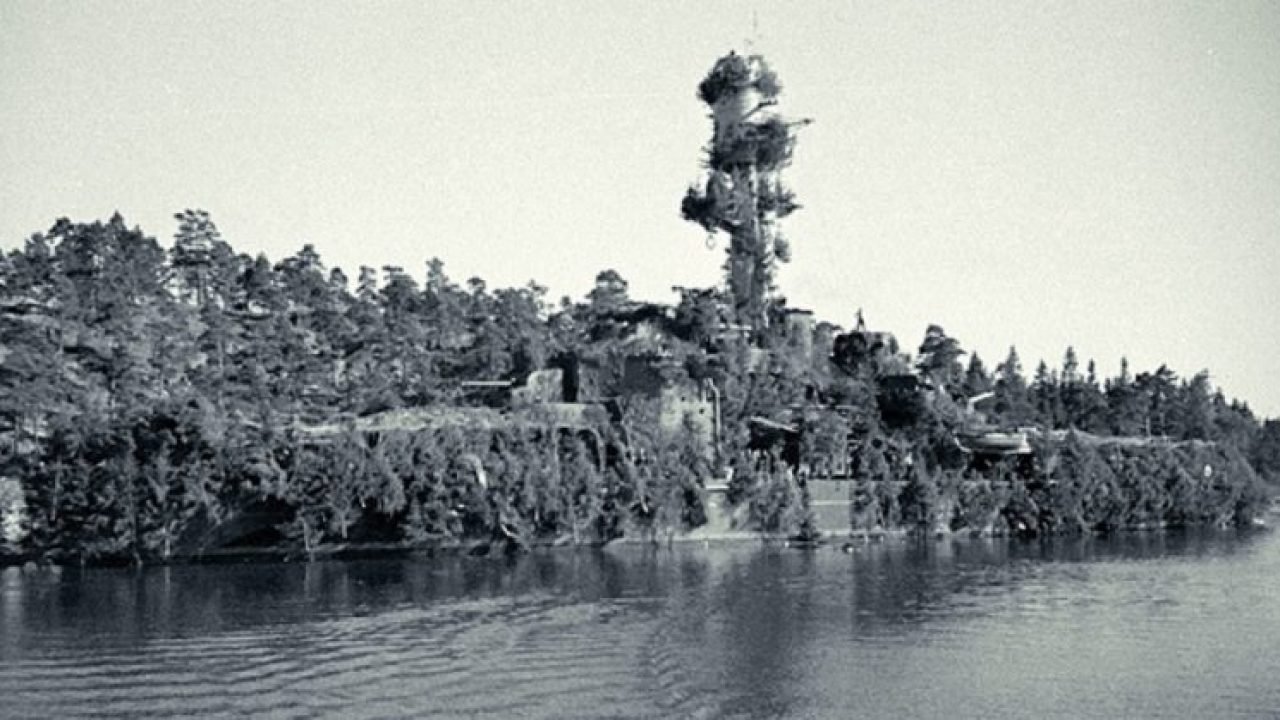
you can print out a pic of a Christmas tree and glue it over the box.
This is what i am going to do. And after completion i would do the same, like this
-
They remind me of hatches for missile tubes in modern submarines
- popeye the sailor, Canute, mtaylor and 1 other
-
4
-
On 8/6/2022 at 9:22 PM, Roger Pellett said:
I would start by making a former from a solid piece of wood- lumberyard pine. I would build the aft bulwarks over the former; with the former upside down. I would incorporate a very thin deck for rigidity. I had a similar problem with my Benjamin Noble (posts below). I used sheet brass. You could mold this with ultra light fiberglass. The molded assembly, removed from the former is then glued to the model.
Roger
The "flat" finish of your bulwarks is nice, i will probably need to do the same as there are some pulleys that need to be tied there. Not sure if i can present such detail in 1/160 but i will go for it.
- Roger Pellett, GrandpaPhil and mtaylor
-
3
-
8 hours ago, mtaylor said:
I find it interesting that they would store rafts on top of the turrets. Seems they would be more susceptible to damage there.
From what I can remember it seems that IJN didn't use many of these kind of rafts
- lmagna, Canute, popeye the sailor and 1 other
-
4
-
I done some detailing in Amatsukaze, same style. Added bridge windows, put new AA guns, railings, depth charges and paravanes on stern as I show on a 3d detailed model online. Then I sprayed them with IJN grey. I will paint again, add some minor details like boats then finish paint and weathering. But after o get back, in two weeks
-
8 minutes ago, KeithAug said:
If I am understanding correctly why not use 1/32" birch ply, glued in place with PVA glue. I have used this in the past for bulwark strengthening webs and it worked fine. I would steer away from balsa as it isn't very durable. Sorry if I have misunderstood.
I was thinking of balsa coated with gel coat for strengthening because its easier to work with. I do have some 0.6 and 1mm aviation plywood but I don't know if I can bend it. Note that the bulwark stands vertical to the deck and as it goes to stern it also twists somehow, so I need a flexible material.
- mtaylor and GrandpaPhil
-
2
-
i think the high angled AA gun are not that much an upgrade. Because they look as a single piece. I think those provided in the kit can look great with some extra work like adding blastbags, drilling etc.
Are these made of plastic or resin?
- mtaylor and Old Collingwood
-
2
-
11 hours ago, Roger Pellett said:
At least in the US Navy, the realities of combat put an end to on board luxuries. I recently read that when new ships arrived in the Pacific Theatre, crews were even put to work removing paint from all interior spaces. Interior paint was considered to be a contributing factor in the September 1942 loss of the aircraft carrier USS Wasp. Thrown into the Guadalcanal Campaign before her crew had time to completely strip her for combat, painted surfaces helped spread fire throughout the ship.
I wonder how much of this had been done to the Italian Cruisers when they were lost at Cape Matapan.
Roger
Nevertheless the living conditions in the US Navy ships remained fairly good. Even quite cramped is some cases, there was A/C in most ships and food was quite decent with servings ok cokes, ice cream, fresh bread making machines etc.
In IJN conditions were not that good especially in certain units like submarines. Some claim, that was an psychological factor which affected negatively crew's combat performance, although i believe Japanese sailors had great self discipline and control. However even today they are building merchant vessels with less comforts for crew, small cabins with low ceilings etc. On the other hand they offer high standards of automation so even a 300K DWT oiler can fully operate with less than 20 crew members
- mtaylor, popeye the sailor, Canute and 1 other
-
4


.jpeg.4d6930a2fdb0cc2962200021b0c529db.jpeg)


Greek bireme 460 BC
in Building, Framing, Planking and plating a ships hull and deck
Posted
Maybe this helps