.jpeg.9d9bab3fa66f4349cae83f4155046894.jpeg)
rkwz
-
Posts
241 -
Joined
-
Last visited
Content Type
Profiles
Forums
Gallery
Events
Everything posted by rkwz
-
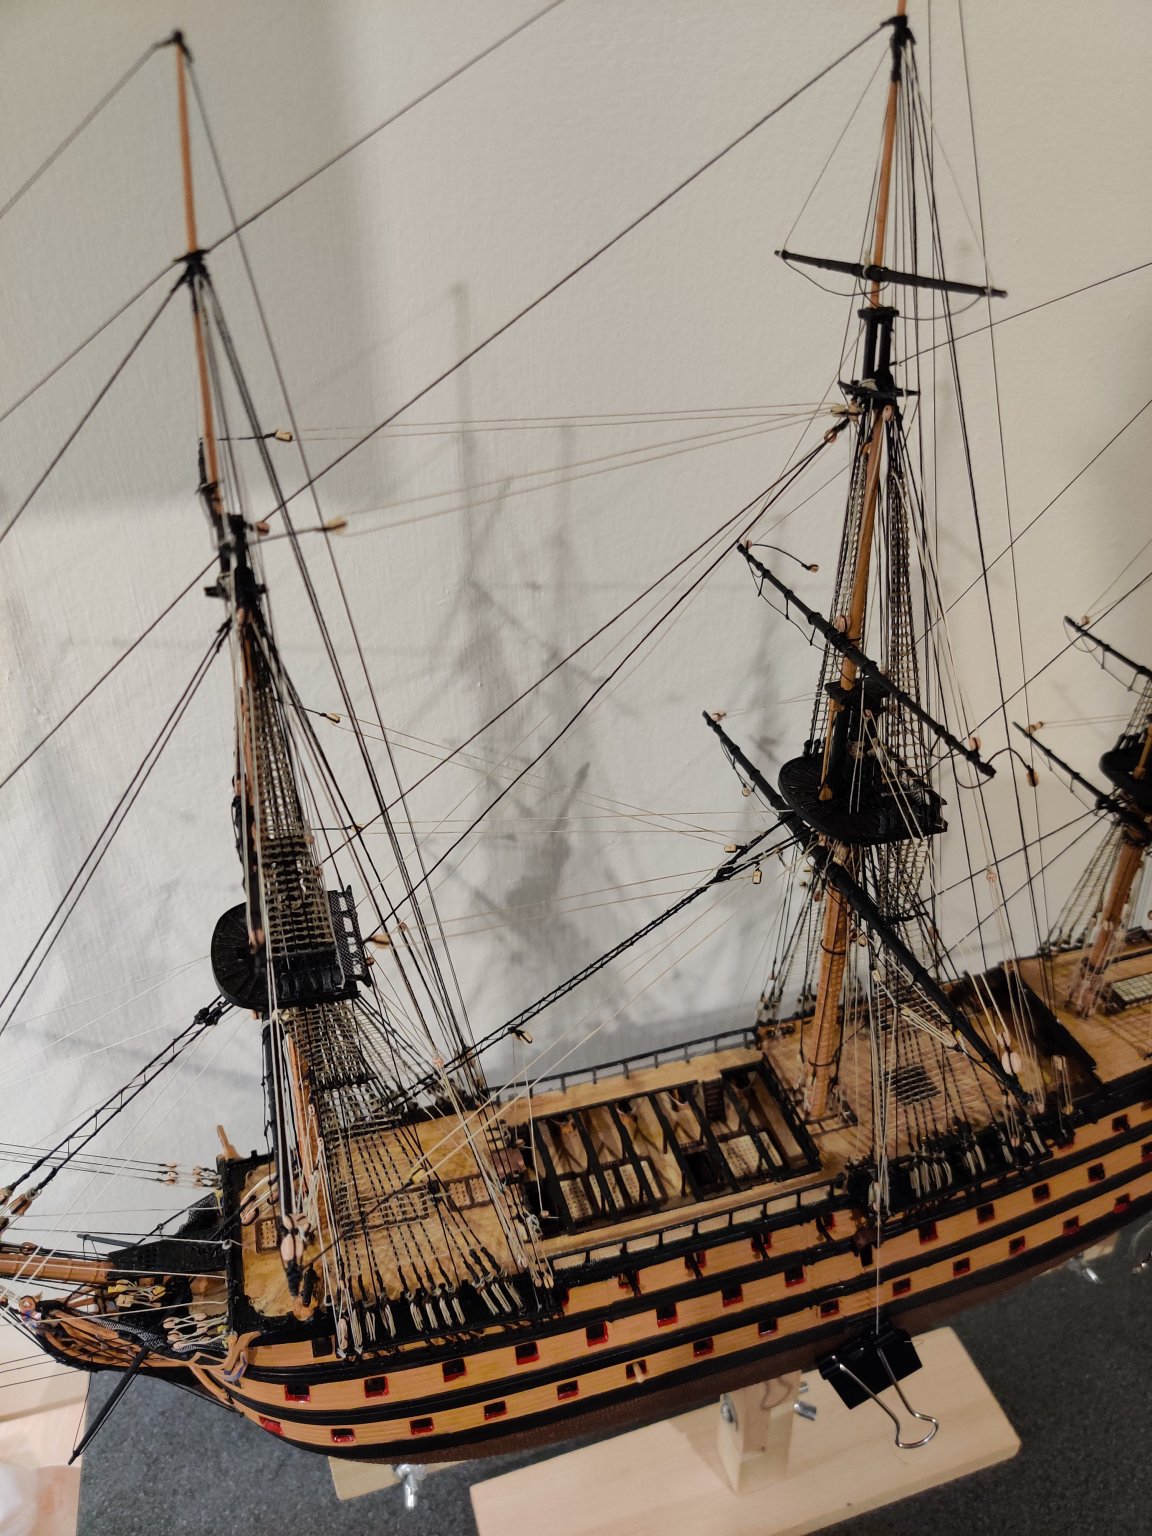
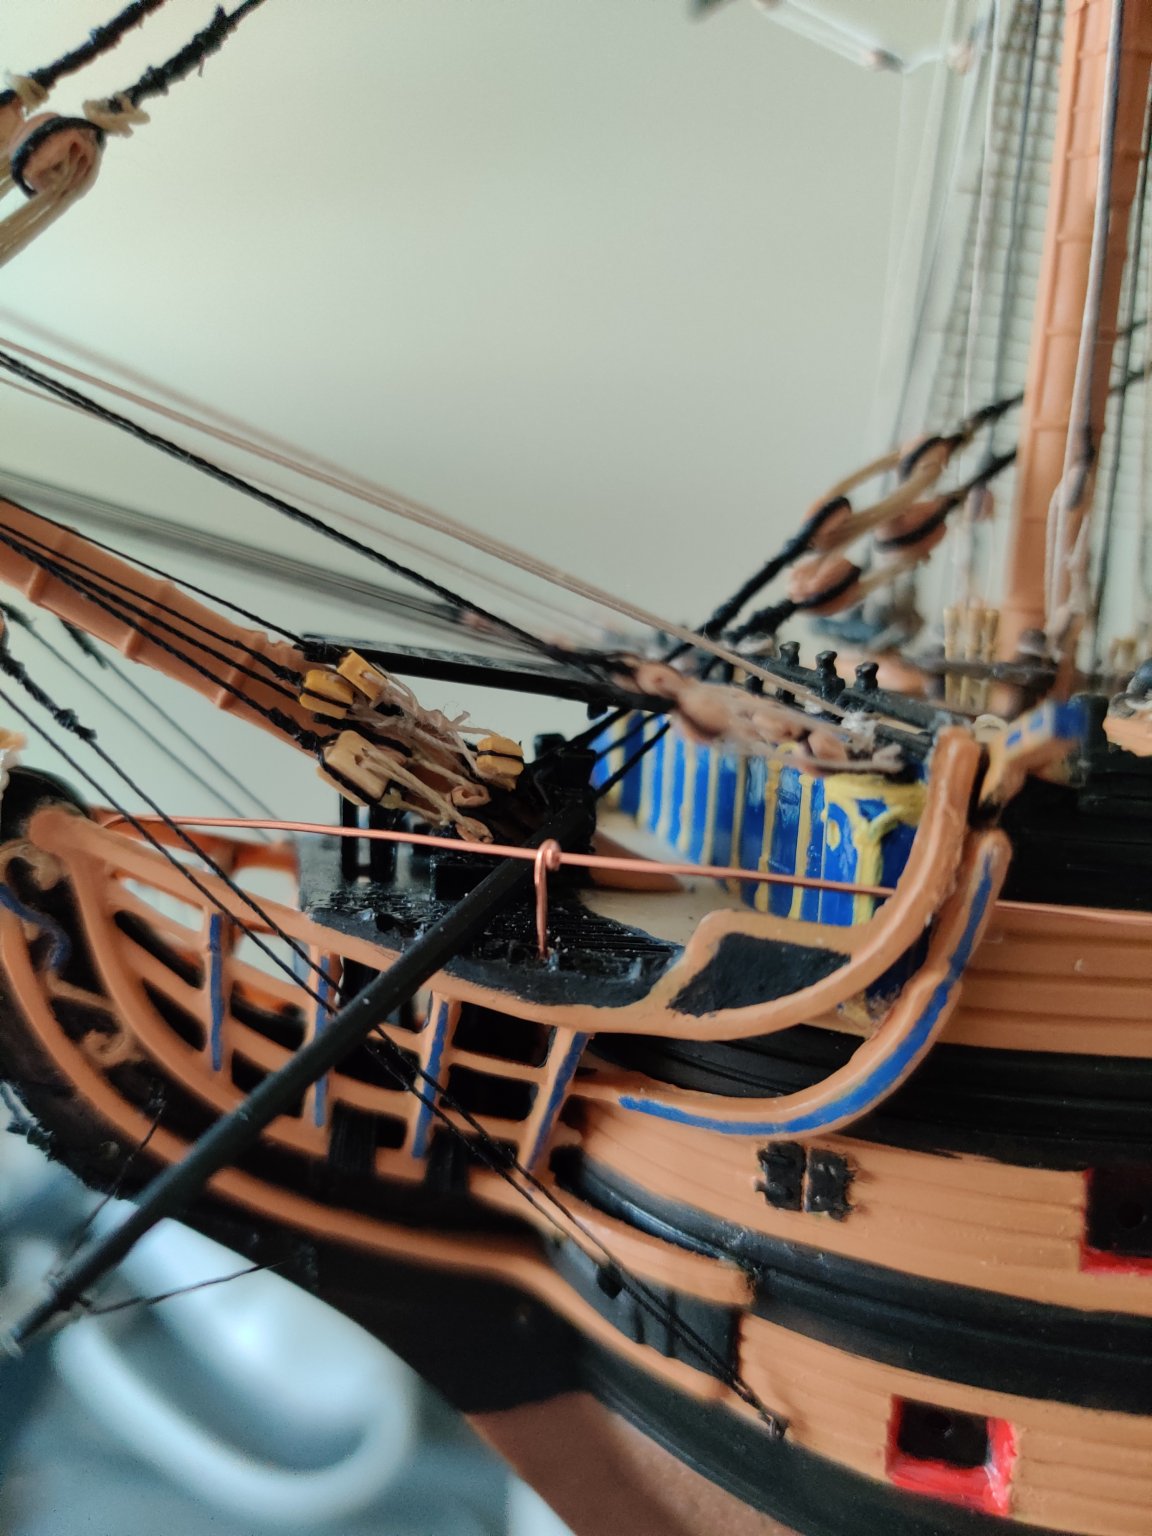
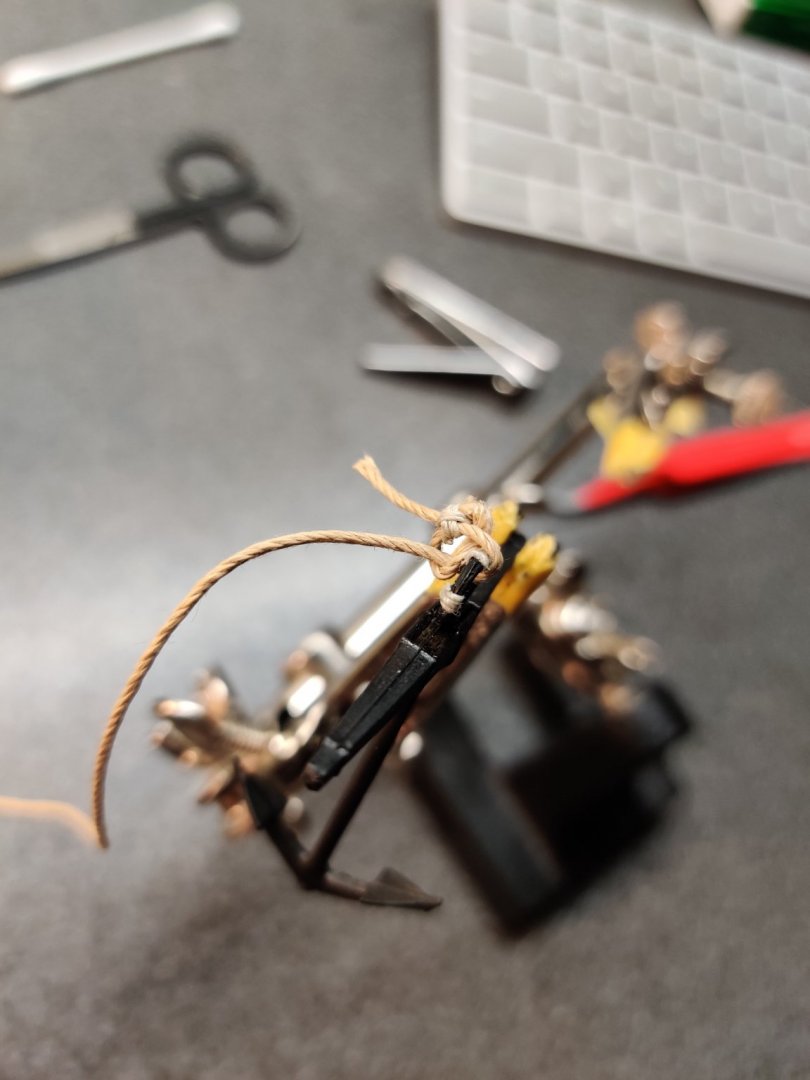
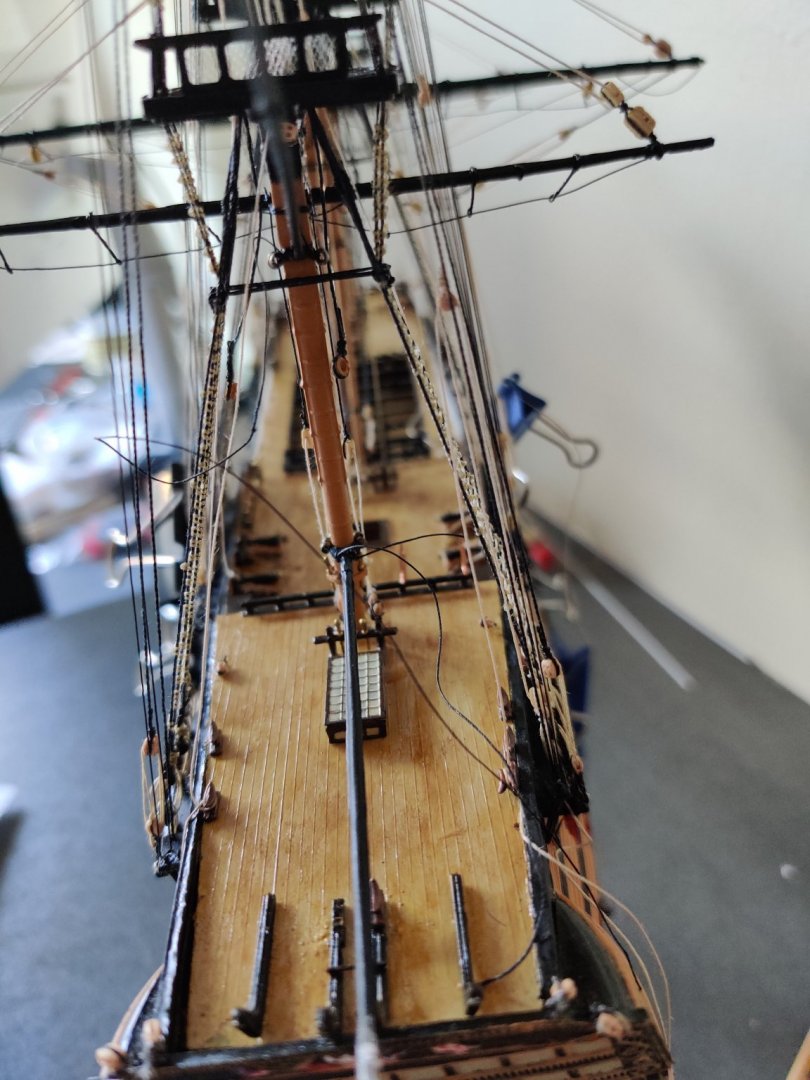
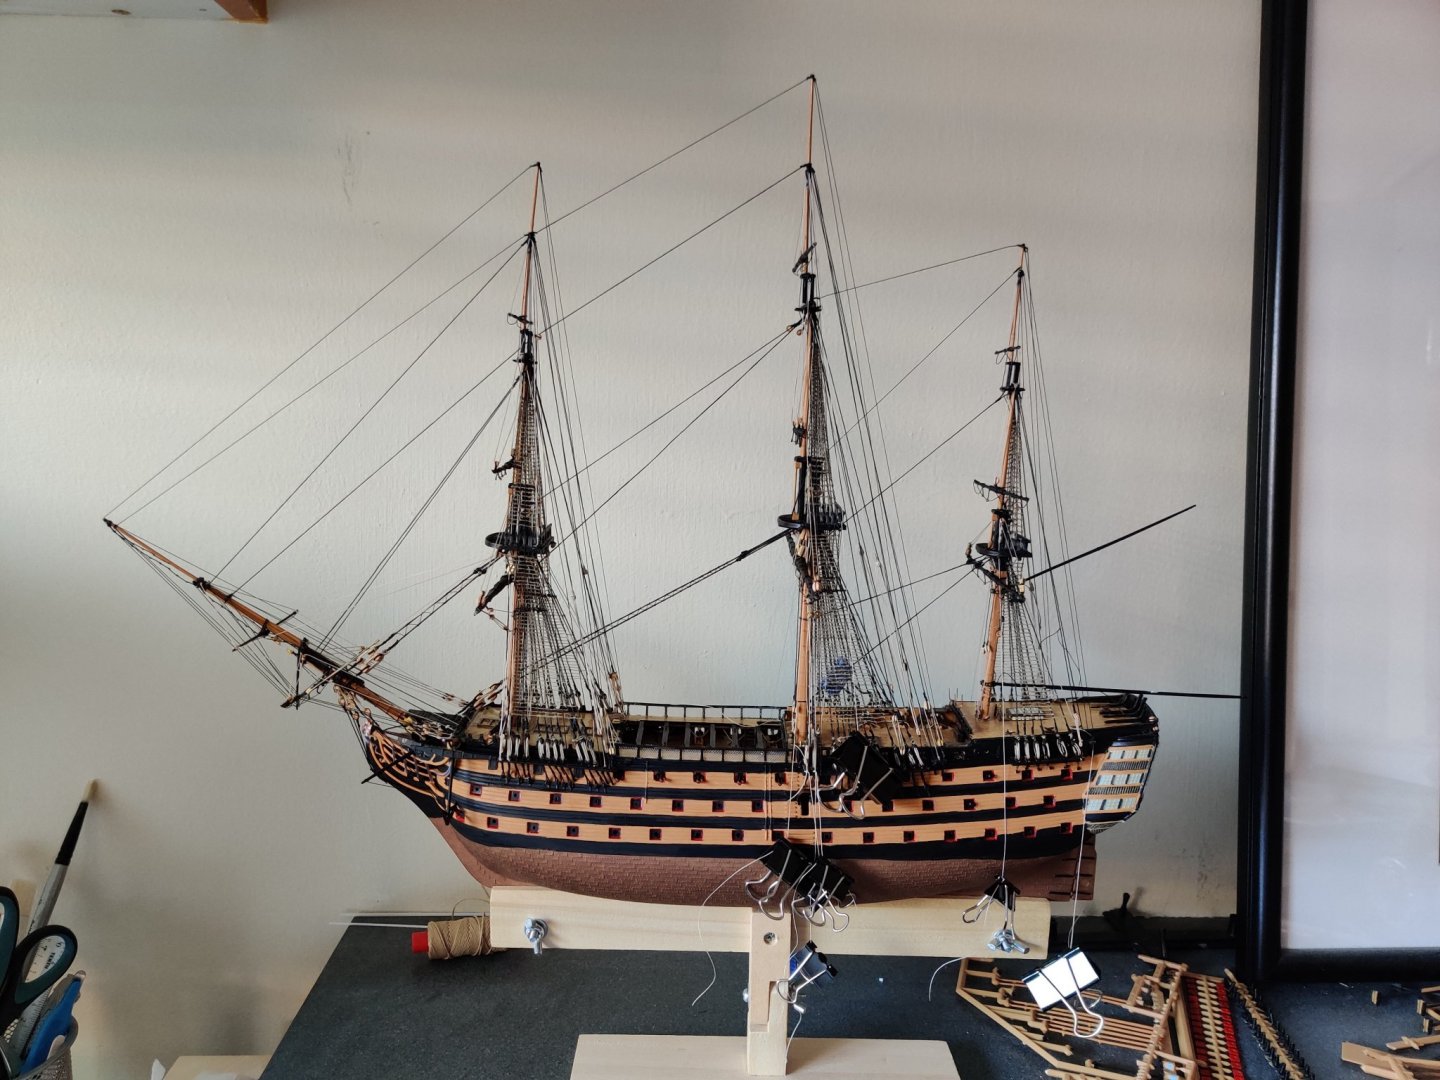
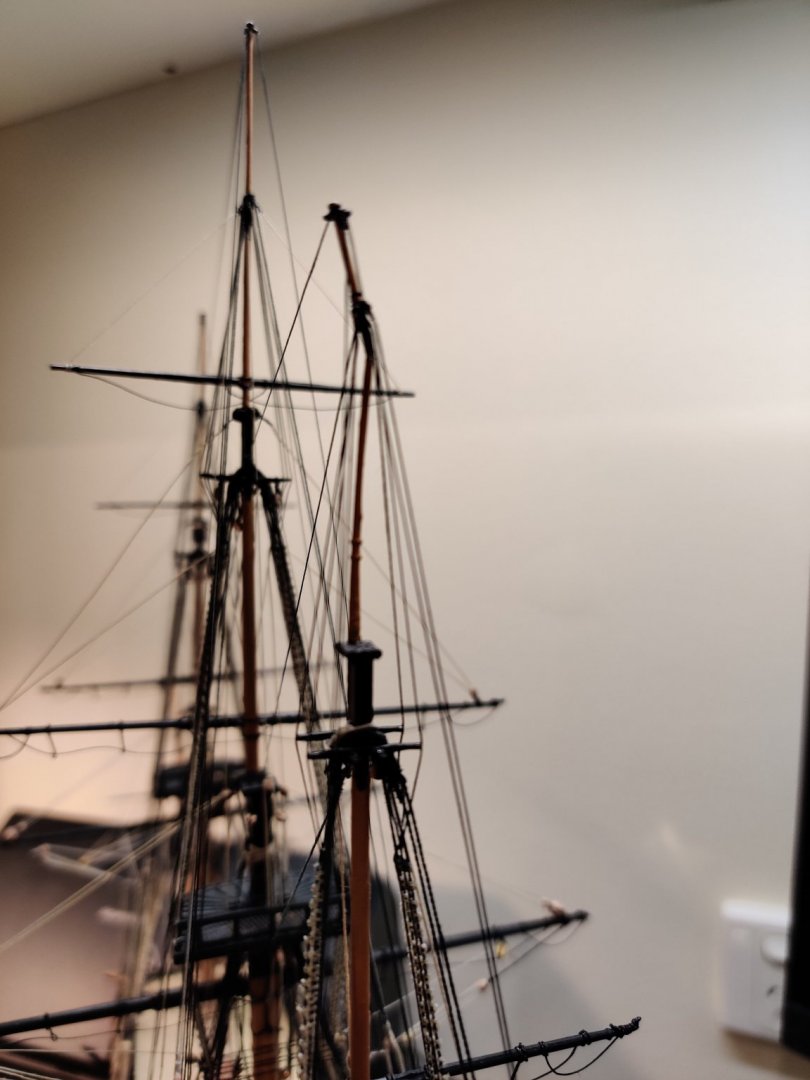
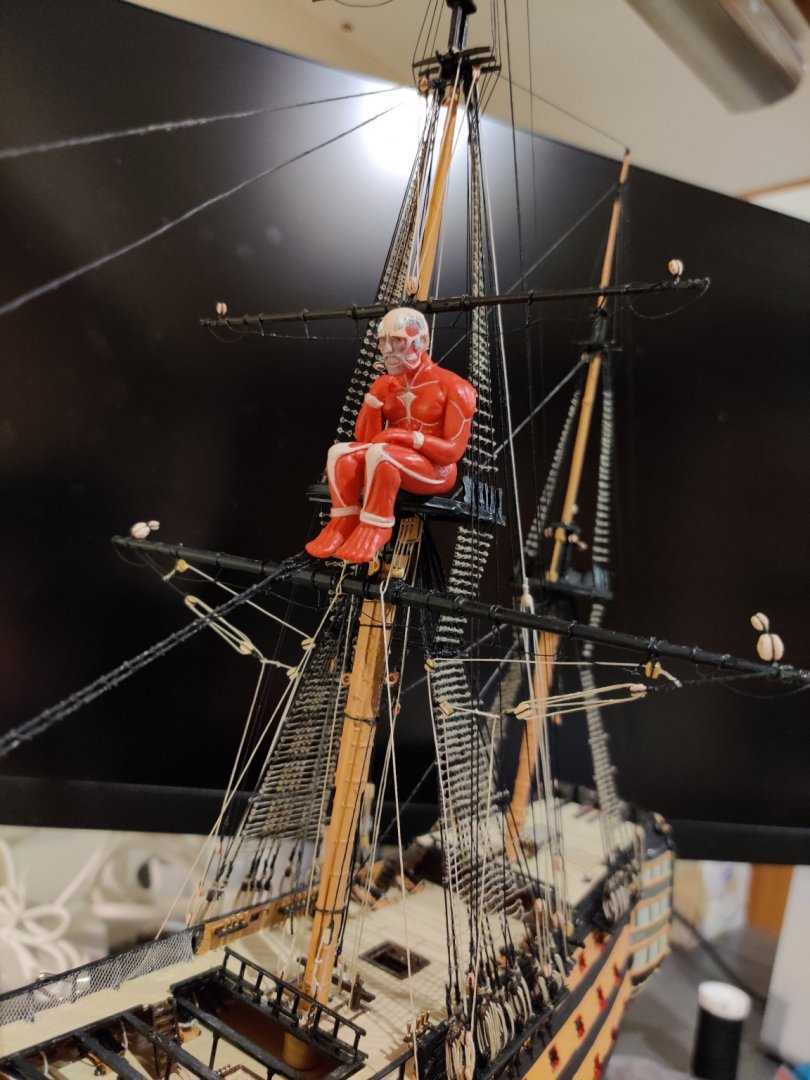
.thumb.jpeg.d239701c2f7247a100a3f432822c4eda.jpeg) After some thought and discussion with forum members in the rigging section of the site, I've opted not to do the crowsfeet for the Victory... Moved on to the fore braces, and definitely saved myself a lot of frustration leaving out the crowsfeet as access would have been a nightmare! Unfortunately the blocks on the yard arms for the braces are overscale (2mm when they should really be about 1mm). Since we are under another 5 weeks of lockdown over here in Melbourne, I turned my attention to the anchor rig. The anchor rope should have been placed in the hawse holes waaaaay back in the early stages of the build but impatient me pushed on ahead anyway which I now regret (also it took me some time to source the rope). Used 1.3mm natural rope for the anchors. Seized the rope (I know the seizing thread is also a bit overscale). Excess to be trimmed, unfortunately the rope frayed a little during the process. And now here I am pondering whether it is at all possible to rig a triple block to the cathead on the model? The diameter of the cathead is about 1.7mm... I may have to settle with a simple knot around it.
After some thought and discussion with forum members in the rigging section of the site, I've opted not to do the crowsfeet for the Victory... Moved on to the fore braces, and definitely saved myself a lot of frustration leaving out the crowsfeet as access would have been a nightmare! Unfortunately the blocks on the yard arms for the braces are overscale (2mm when they should really be about 1mm). Since we are under another 5 weeks of lockdown over here in Melbourne, I turned my attention to the anchor rig. The anchor rope should have been placed in the hawse holes waaaaay back in the early stages of the build but impatient me pushed on ahead anyway which I now regret (also it took me some time to source the rope). Used 1.3mm natural rope for the anchors. Seized the rope (I know the seizing thread is also a bit overscale). Excess to be trimmed, unfortunately the rope frayed a little during the process. And now here I am pondering whether it is at all possible to rig a triple block to the cathead on the model? The diameter of the cathead is about 1.7mm... I may have to settle with a simple knot around it.

-
Kinda reminds me of the Asterix comics from my childhood days... 😁 Although not very PC now with how certain characters were represented, but those were different times!
.jpeg.7ca1918daa0dcdf38fbe91bbd5479aab.jpeg)
- 756 replies
-
- 4
-

-
- galleon
- golden hind
- (and 2 more)
-
Thank you John and Gary for sharing your thoughts on this. Much appreciated!
-
I am in the middle of rigging the AIRFIX HMS Victory, referencing Noel Hackney's manual. One of the steps requires crowsfeet to be rigged for all 3 masts, but I couldn't find any reference to this in Longridge's The Anatomy of Nelson's Ships... Can anyone provide any suggestions whether I should go ahead and rig them or leave it as is? (Ideally would like my model to be a representation of its condition during the Battle of Trafalgar minus any damage 😁) Cheers,
-
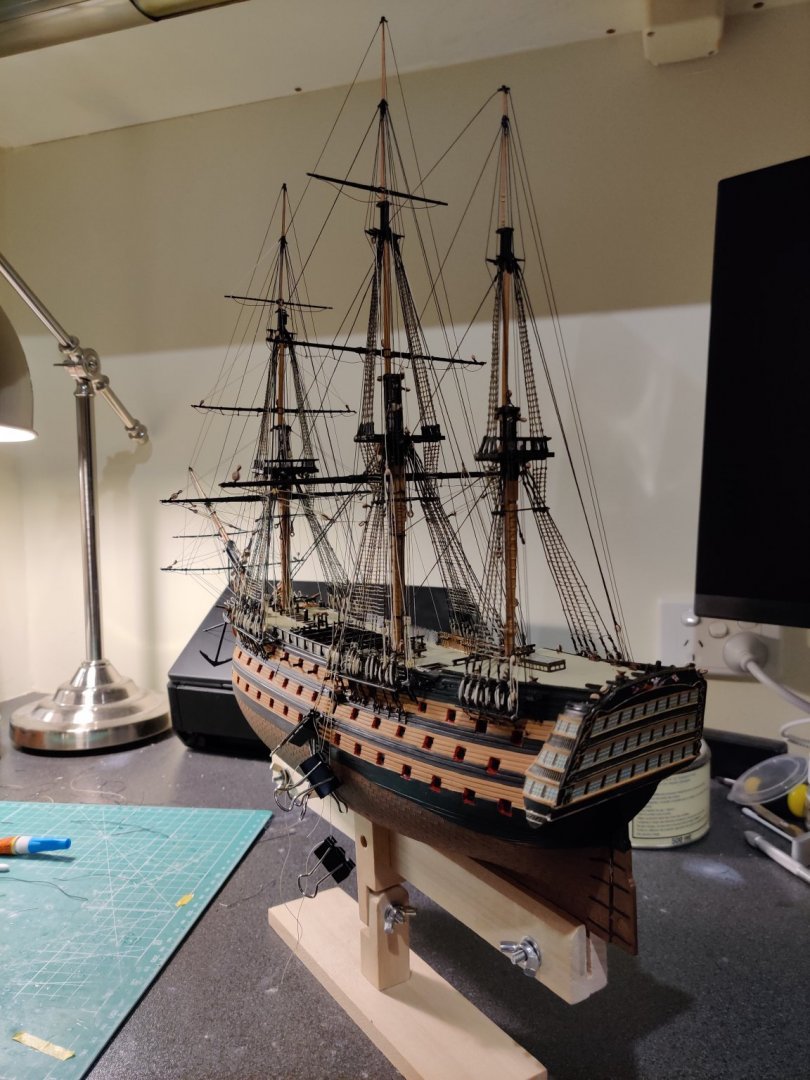
Driver boom and gaff mostly rigged. Hackney recommends 1/32 inch single blocks for the gaff "vangs" 🧛 (that's a 0.8mm block!) ... I've tried my best to avoid any shortcuts so far but this will be one I'm happy to skip and stick to a simple knot to represent this. Now to tackle the crows feet which I will refer to Patrick's (Backer) excellent method for his Bounty 😁. Although I am approaching the end of the running rig (more like 75%), I am beginning to feel a bittersweet mixture of satisfaction and sadness at the conclusion of each step. It has been a fun project so far to maintain my sanity during the pandemic...

-
My word that is impressive, Phil! How waterproof is it considering the material used to build the hull ?
-
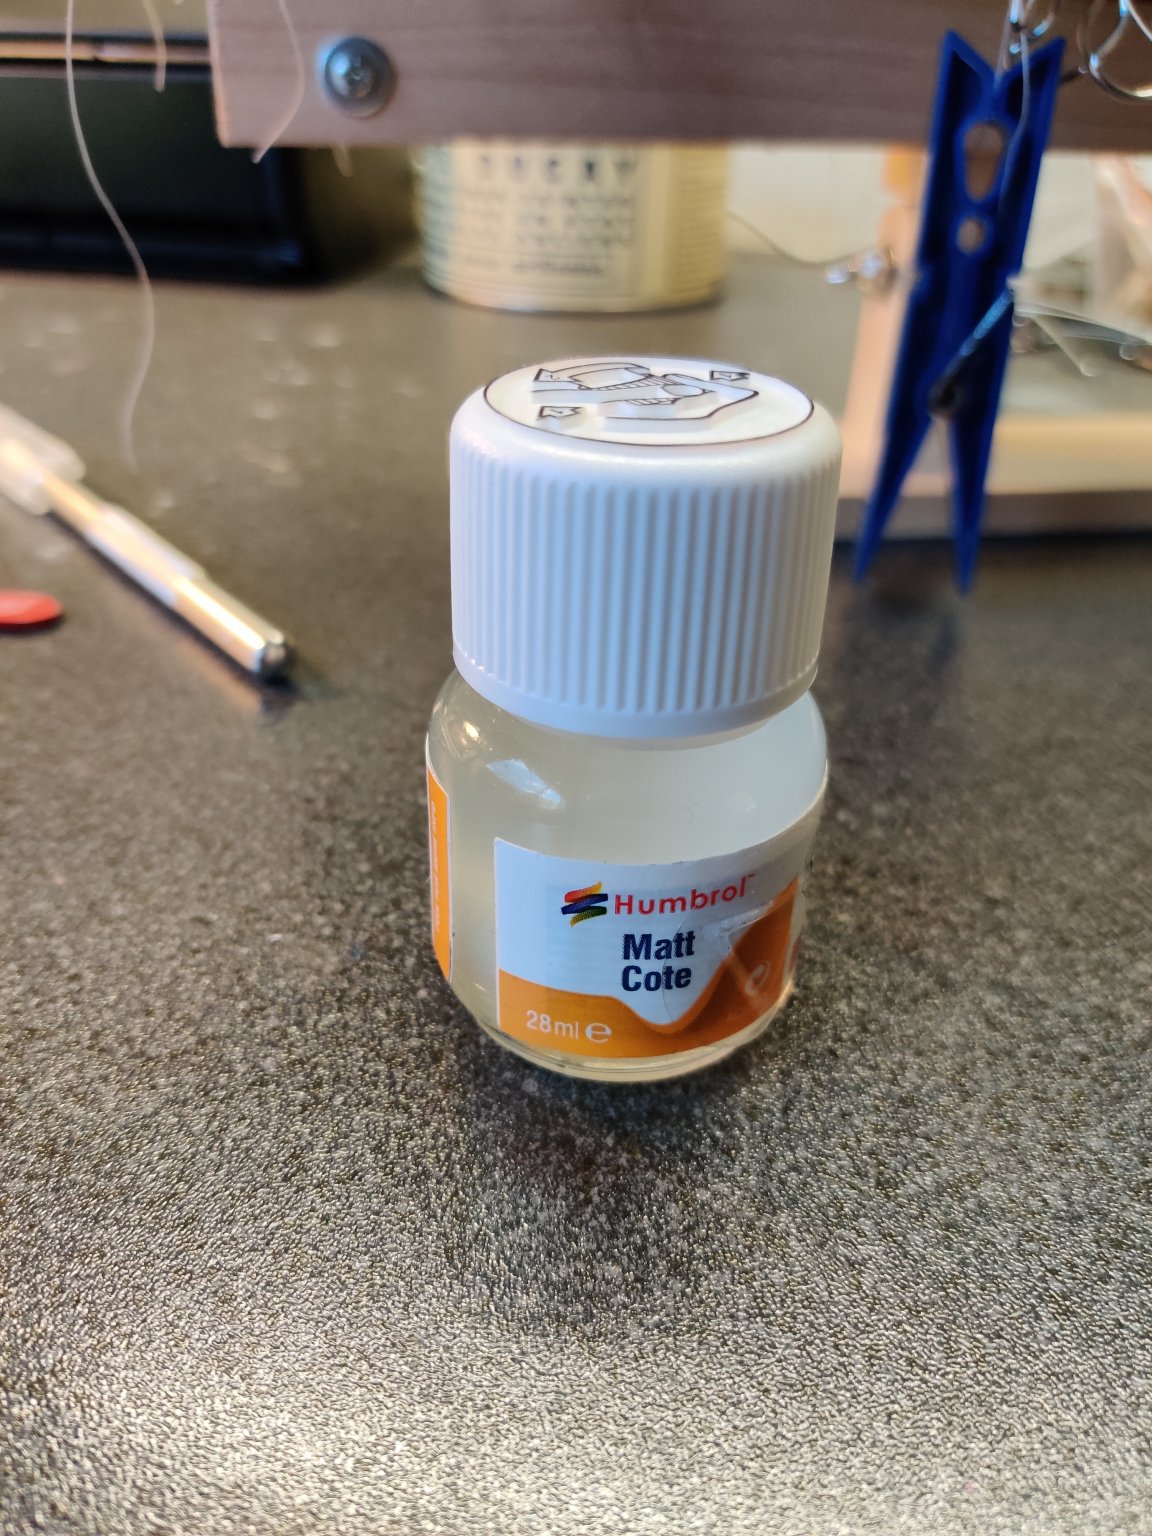
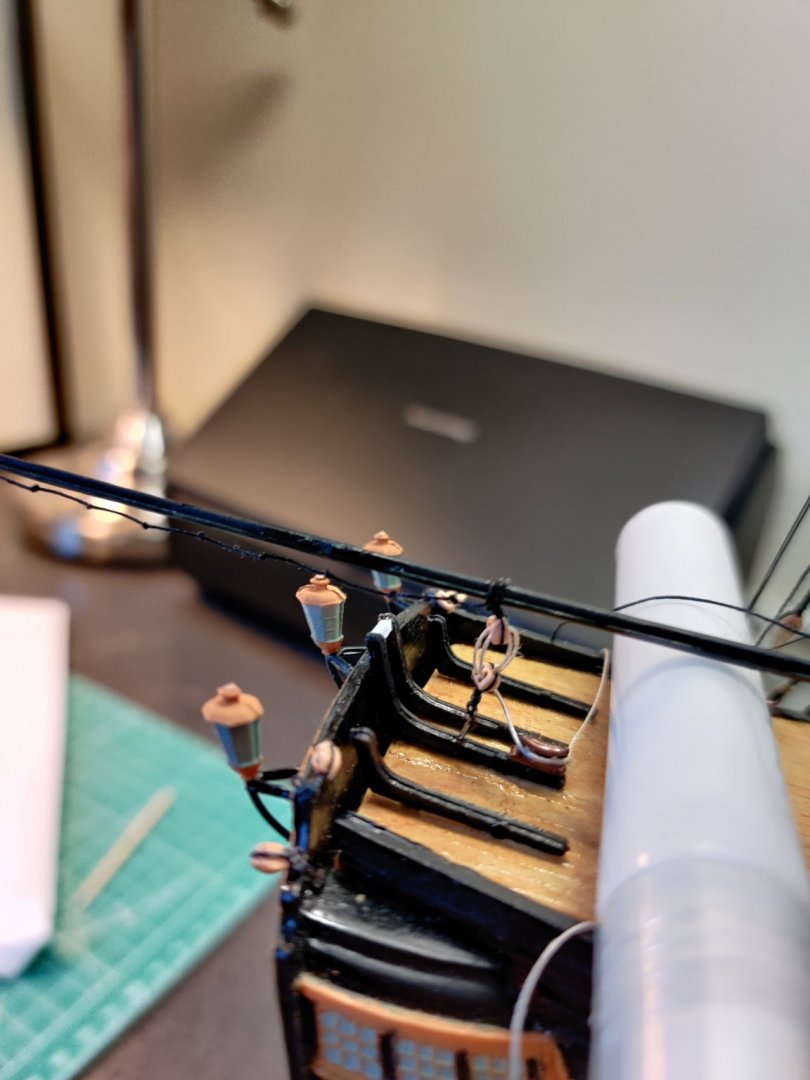
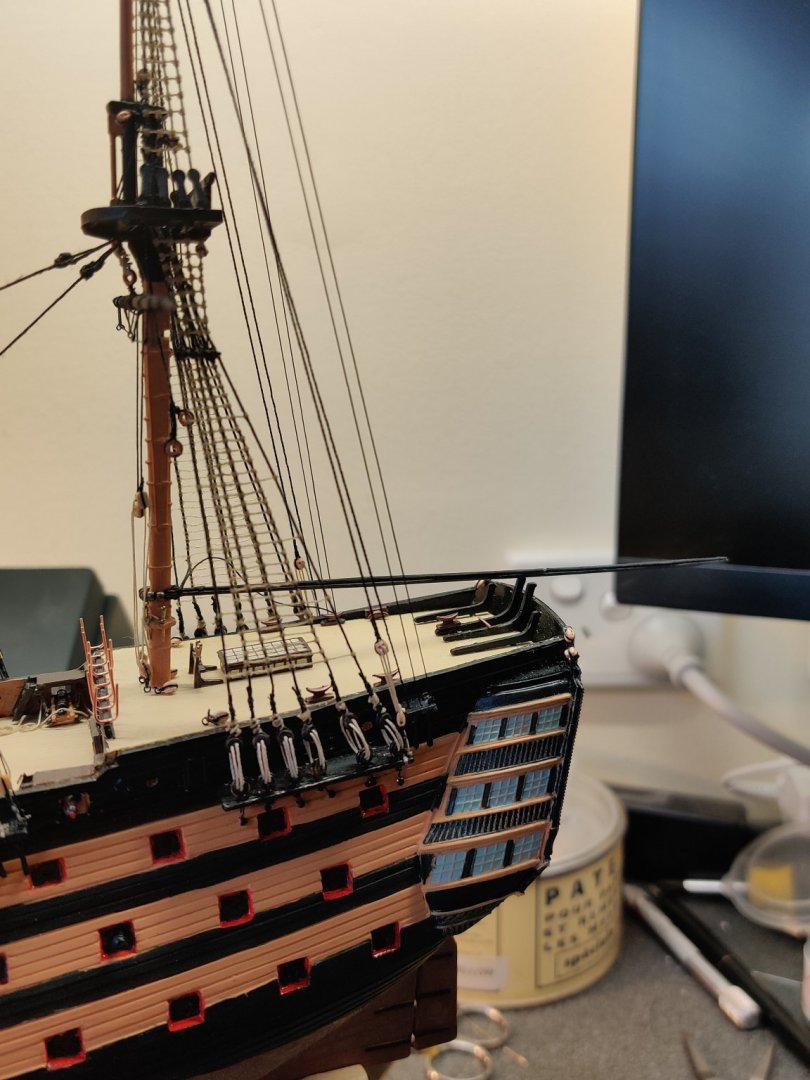
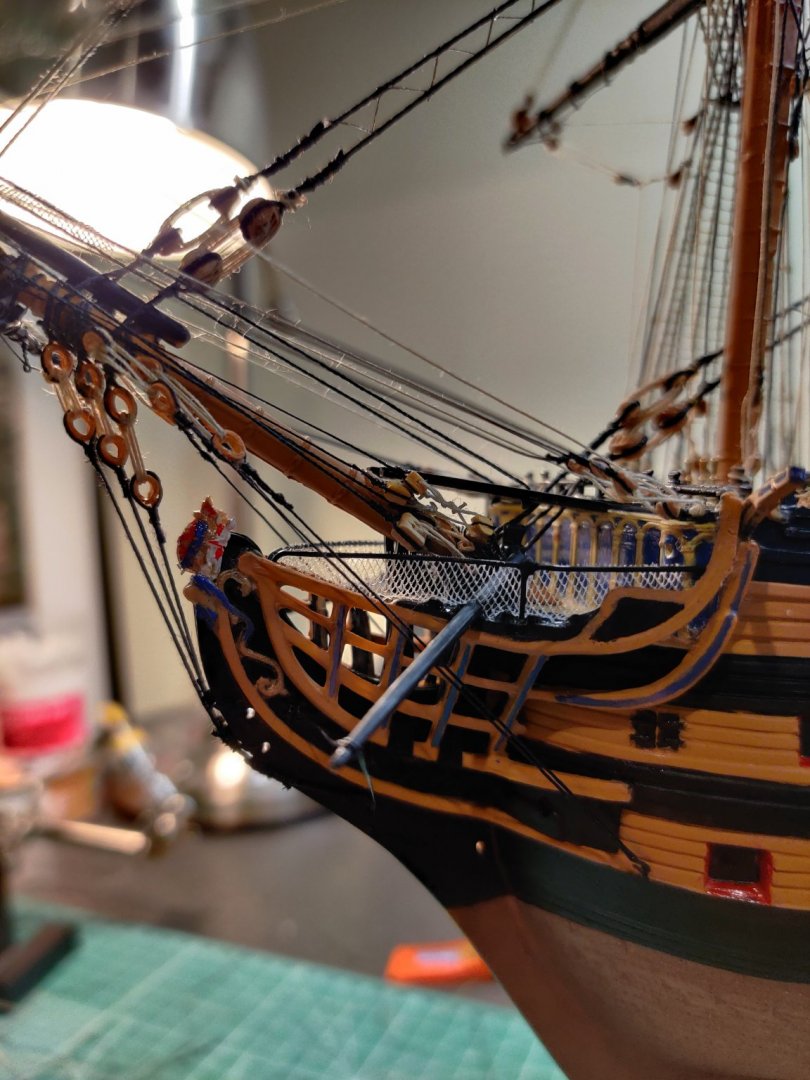
Work begins on the driver boom, but before rigging, the stern lanterns have to be installed (reluctantly - I can just see my fat fingers knocking them off very soon). Also square cross piece made of styrene installed across the centre pair of end standards to rest the jackstaff on later. Applied Humbrol Matt Cote to give a matte finish to the upper deck.... Evidently not the result I was expecting... am I doing something wrong here? So I guess I may have to do some more light dry brushing with enamel paint and pray it works this time.

-
😆 Dr Google reckons they look like this: Although in terms of period ships, this is probably more like it.... Just don't ask me to do a google search for a poop deck.
-
Thanks, Patrick. Time to revisit your Bounty log for inspiration Also, another head banging realisation... There are no flemish horses on the fore and main yards
-
Looking great and glad to see you have made a brave decision to rig the sails! You might find this thread about furling the sails useful... not sure how the other members tightened the sails on the yard ends with more slack near the mast in the middle but I think that would look fantastic on your model coming from someone who has never attempted it before.
-
Thank you for your informative posts as ever, Daniel. I really like the non-checkered look of the 1805 hull!
-
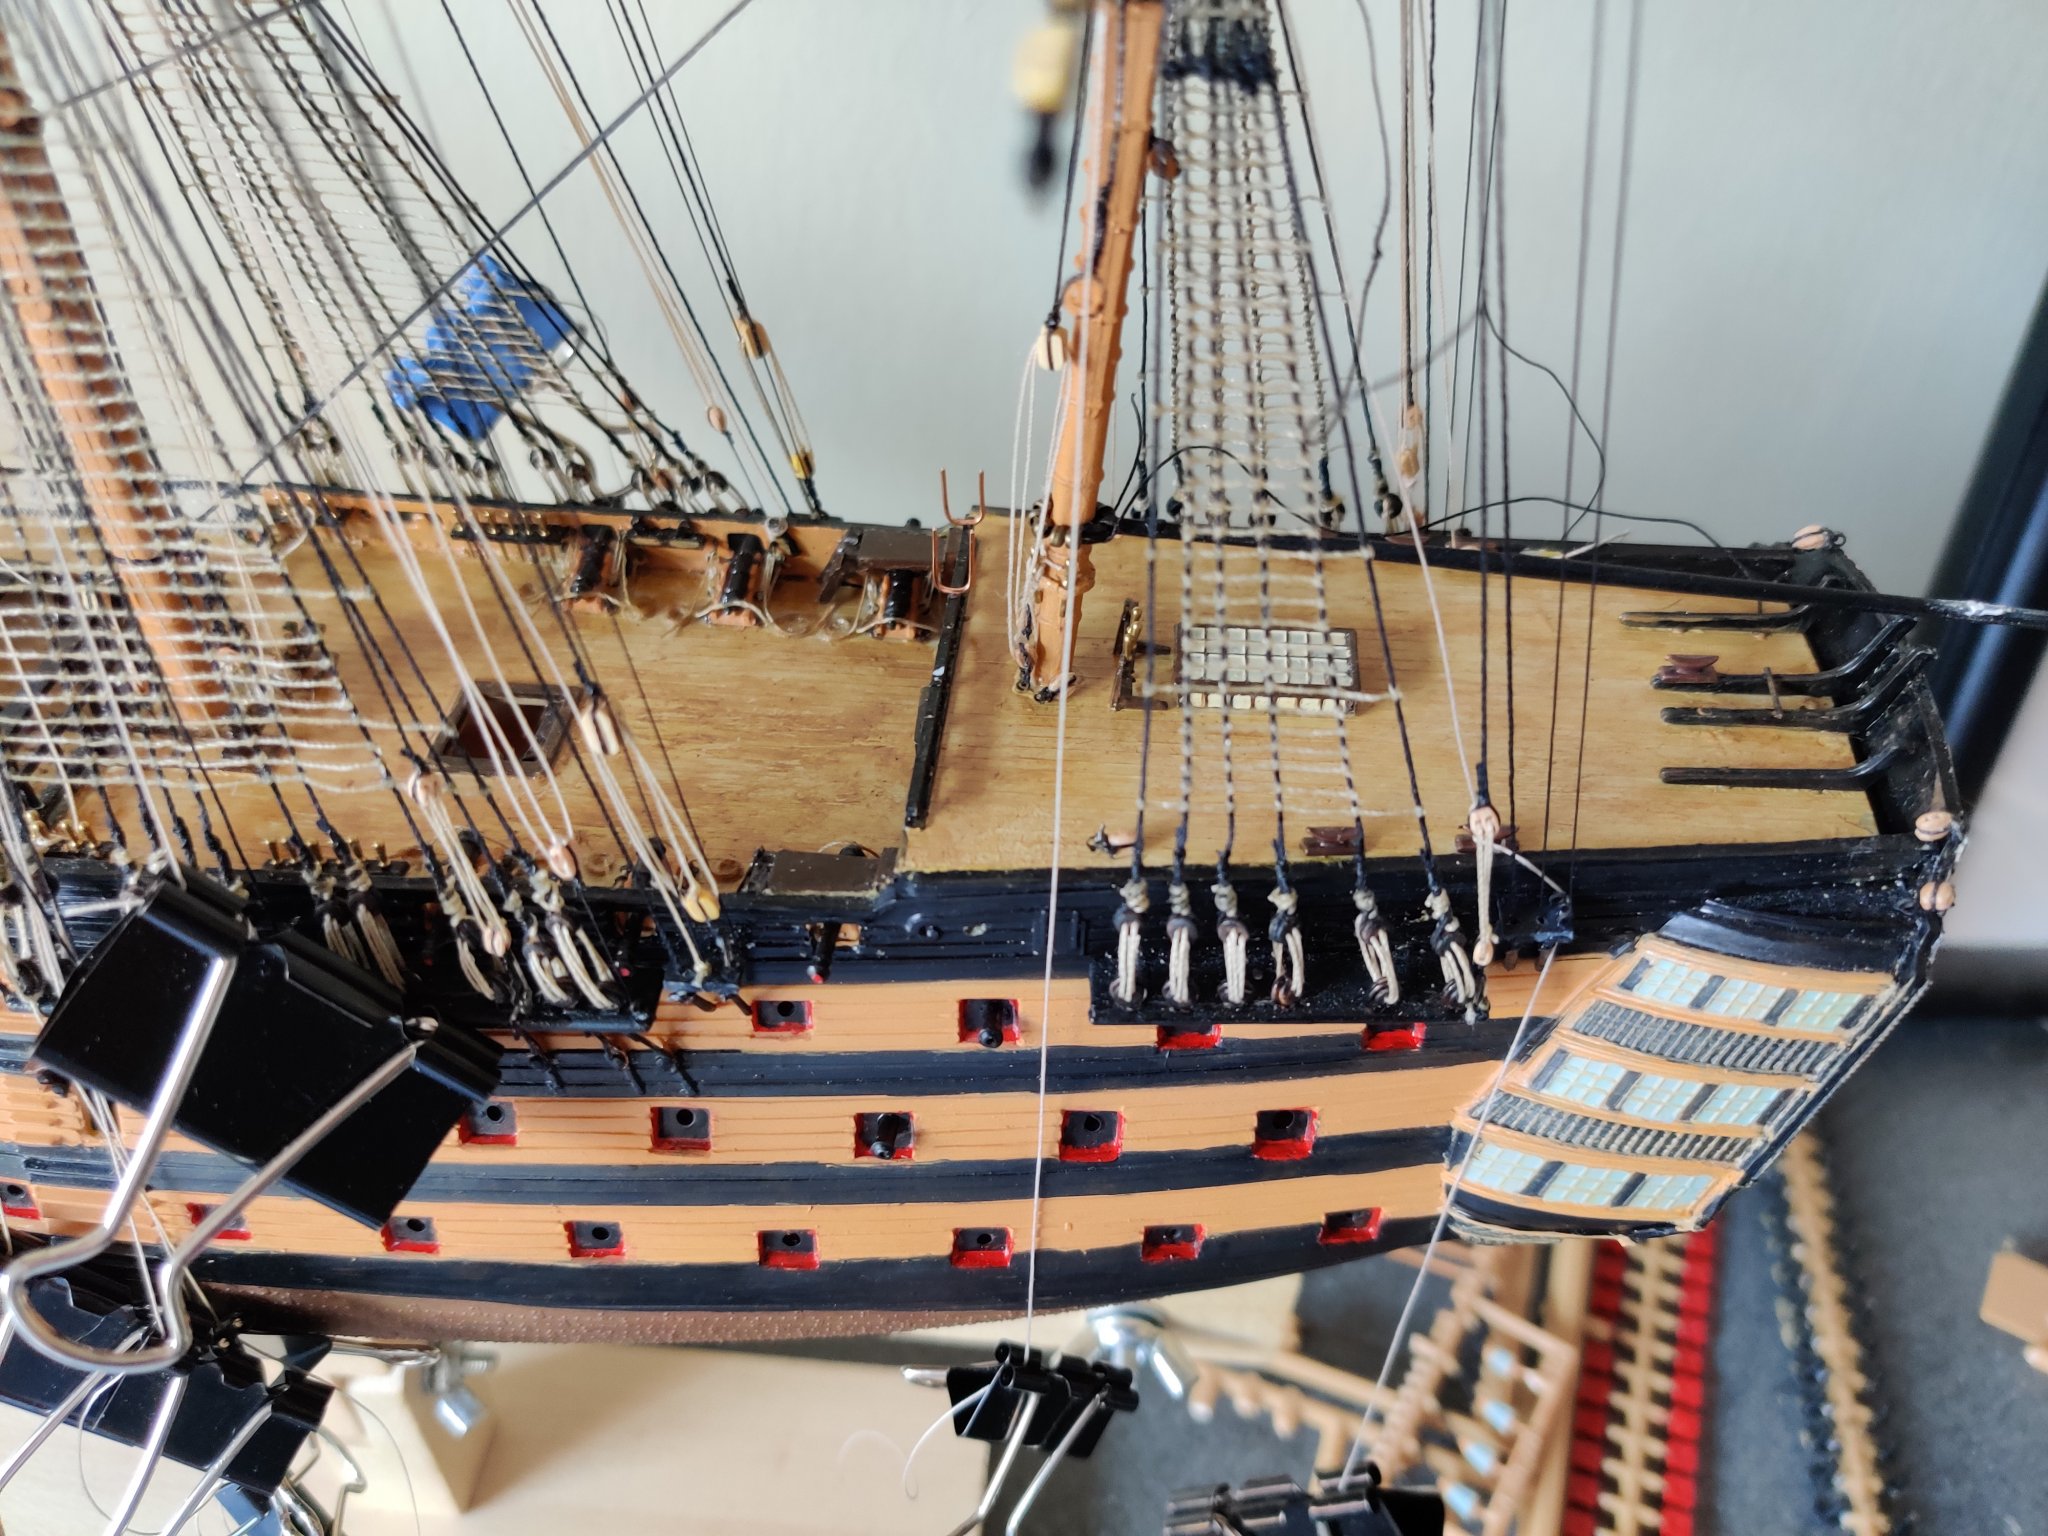
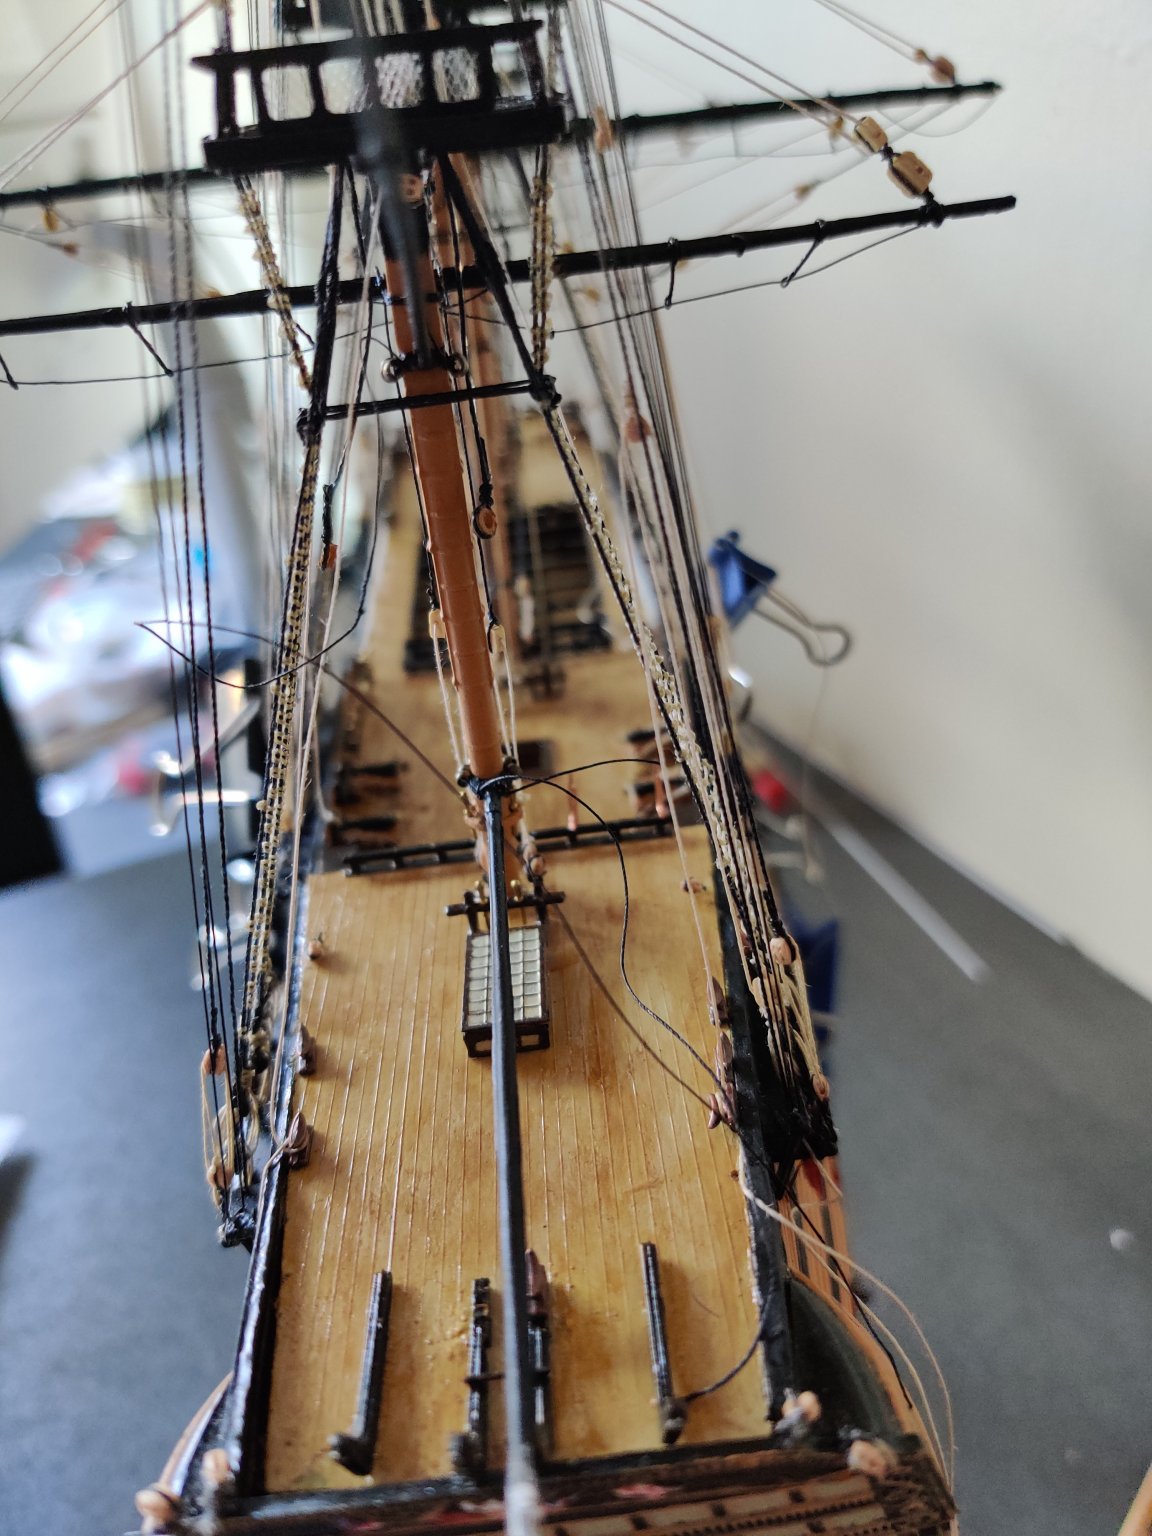
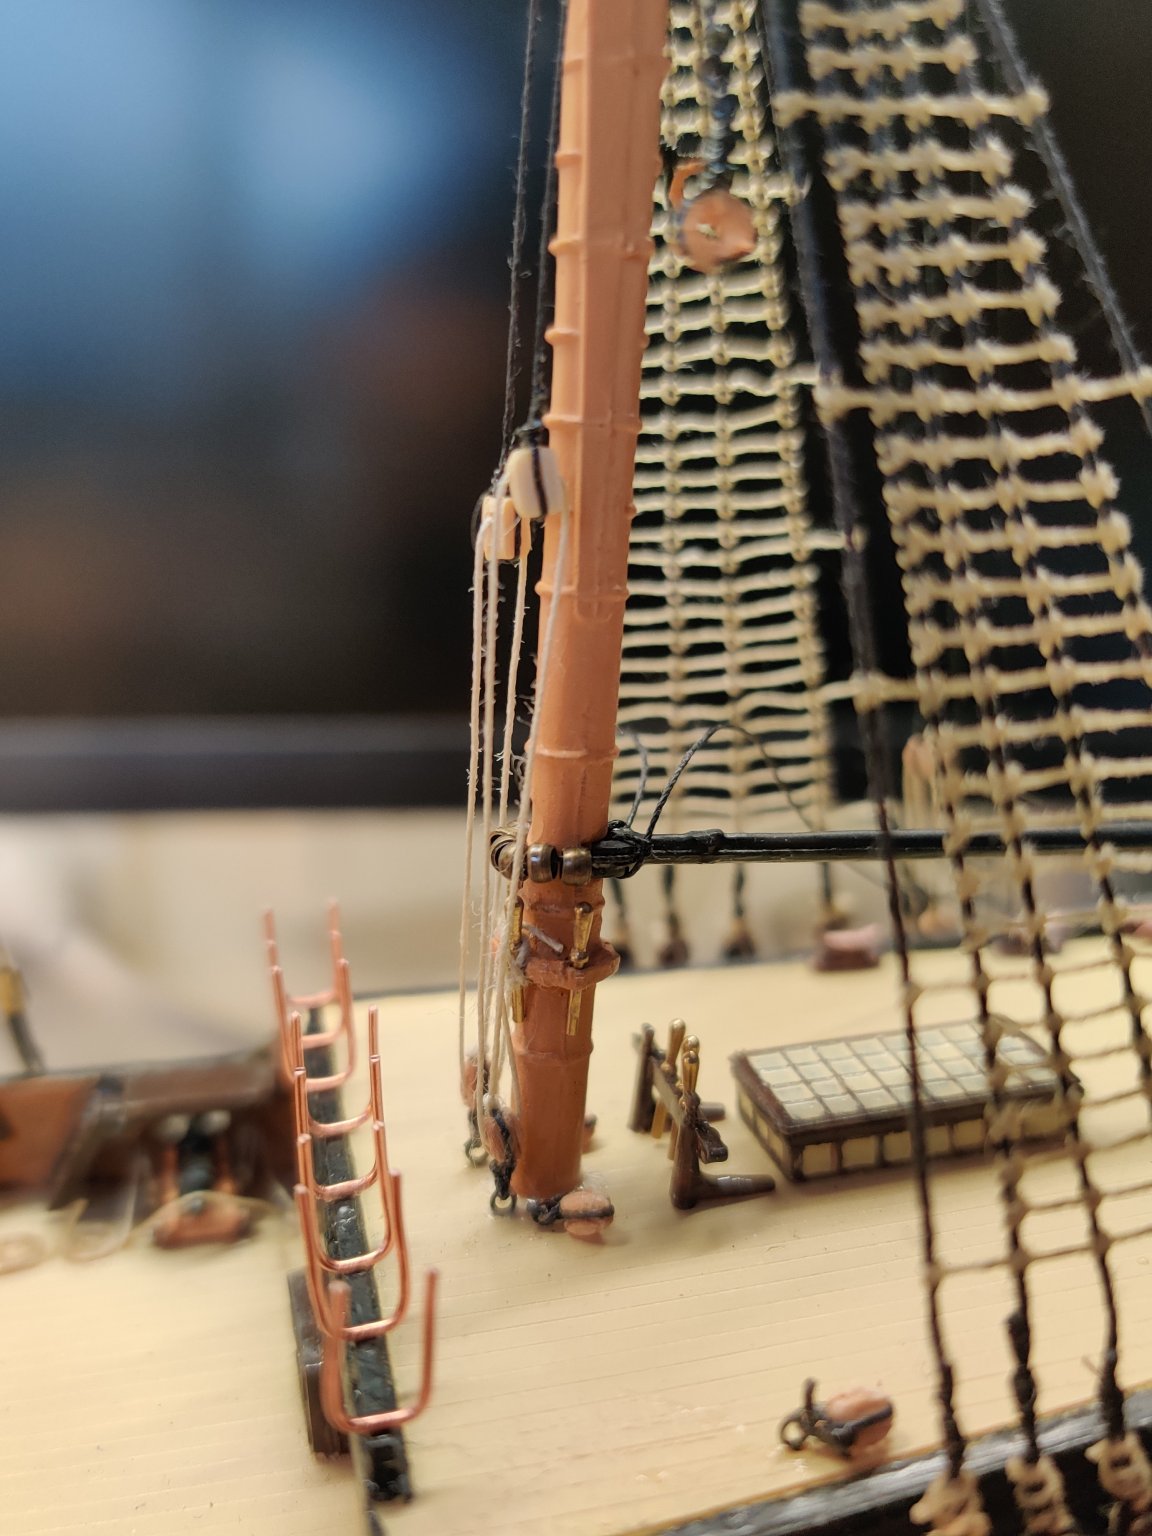
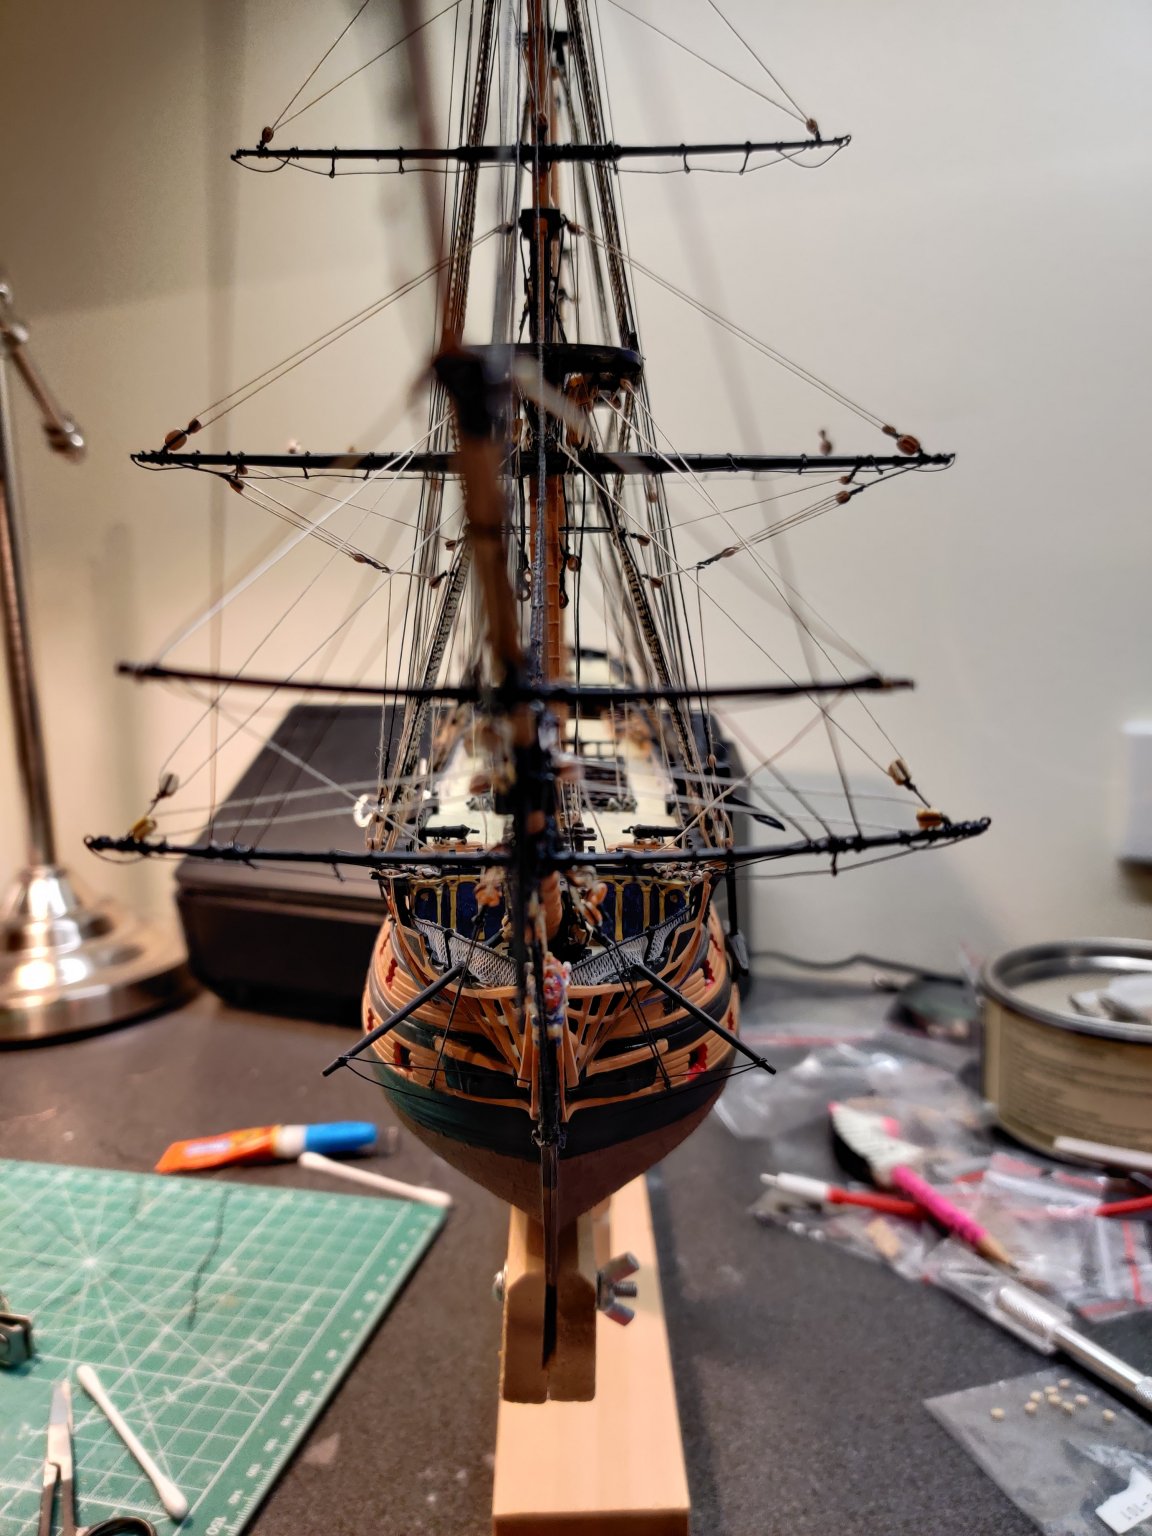
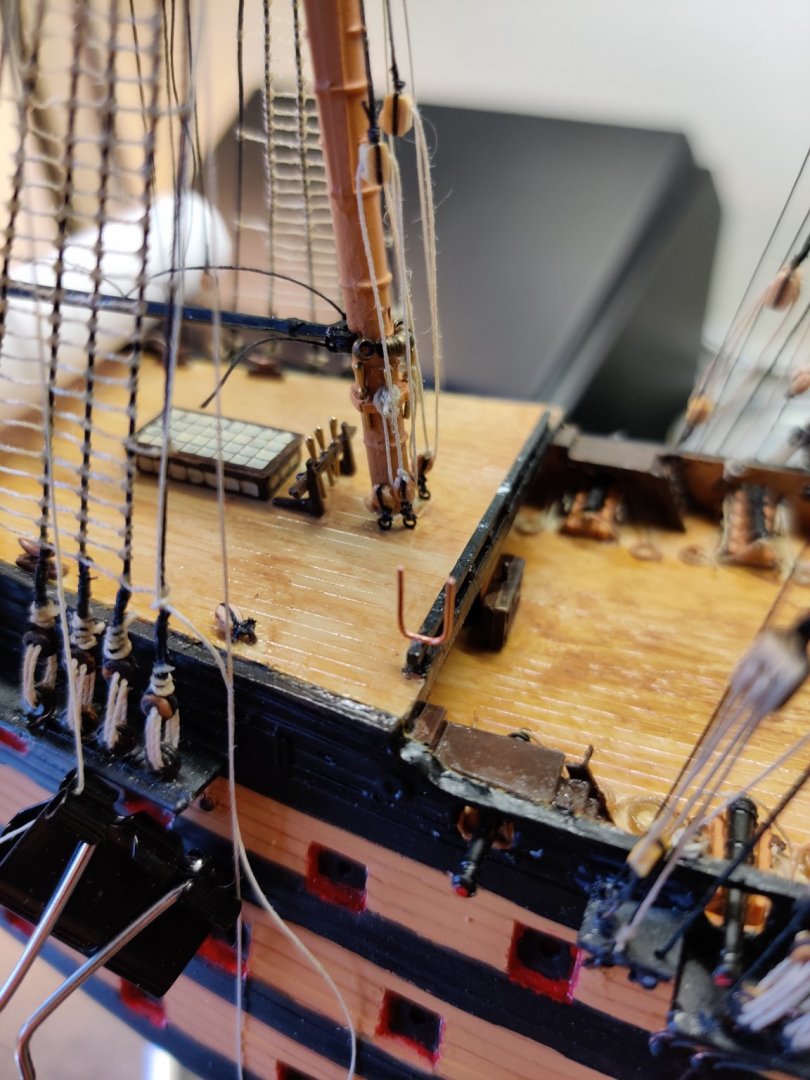
Finally attached all the yards on the mizzen mast although the yard lifts haven't yet been rigged. Snapped the mizzen topgallant mast (yet again) while rigging the yard tie. Again Gorilla glue came to my rescue... I wasn't happy with the deck colour (a little bland and unrealistic), so I decided to take the plunge and attempt to weather it to simulate wood on plastic. The hammock netting supports fell victim to the paintbrush. Lesson: Get the painting done right before rigging 😭 Still needs a Matte coat to bring down the glossiness. This is my first attempt at weathering so any advice would be helpful! I used 2 shades of brown acrylic paint as I figured they'd be easy to wash off with water if I stuffed something up. Maybe a little extra dry brushing of black to define the planking lines? Also temporarily added the driver gaff with parrels which is a few steps ahead of Hackney's guide but I didn't want all the tie offs from the running rigging to get in the way later. Cheers

-
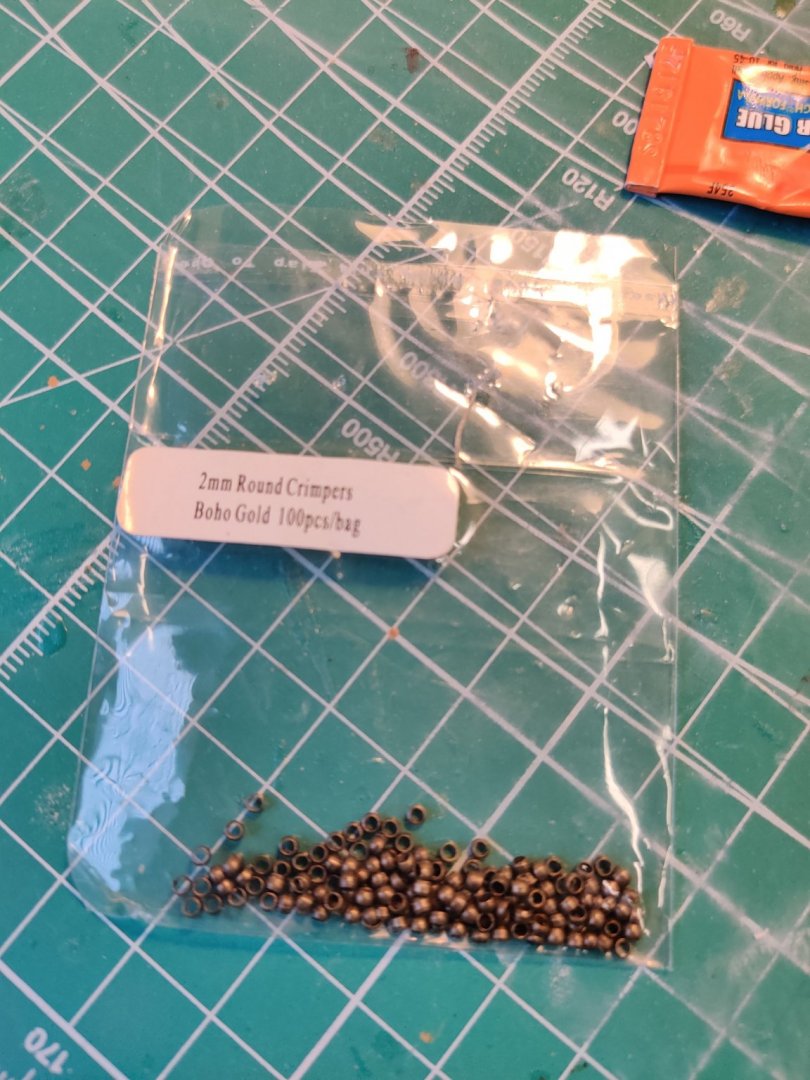
Did a little test of the Parrel beads for the driver boom. I sourced some 2mm beads (couldn't find anything smaller, 1mm would have been ideal) from the local craft store. Maybe tiny styrofoam balls could work better? Anyway, here goes... I felt it was too risky to drill into the boom so I opted for a simple overhead knot on both ends. One end cemented and the other left as is in case I need to remove it if I change my mind later.

-
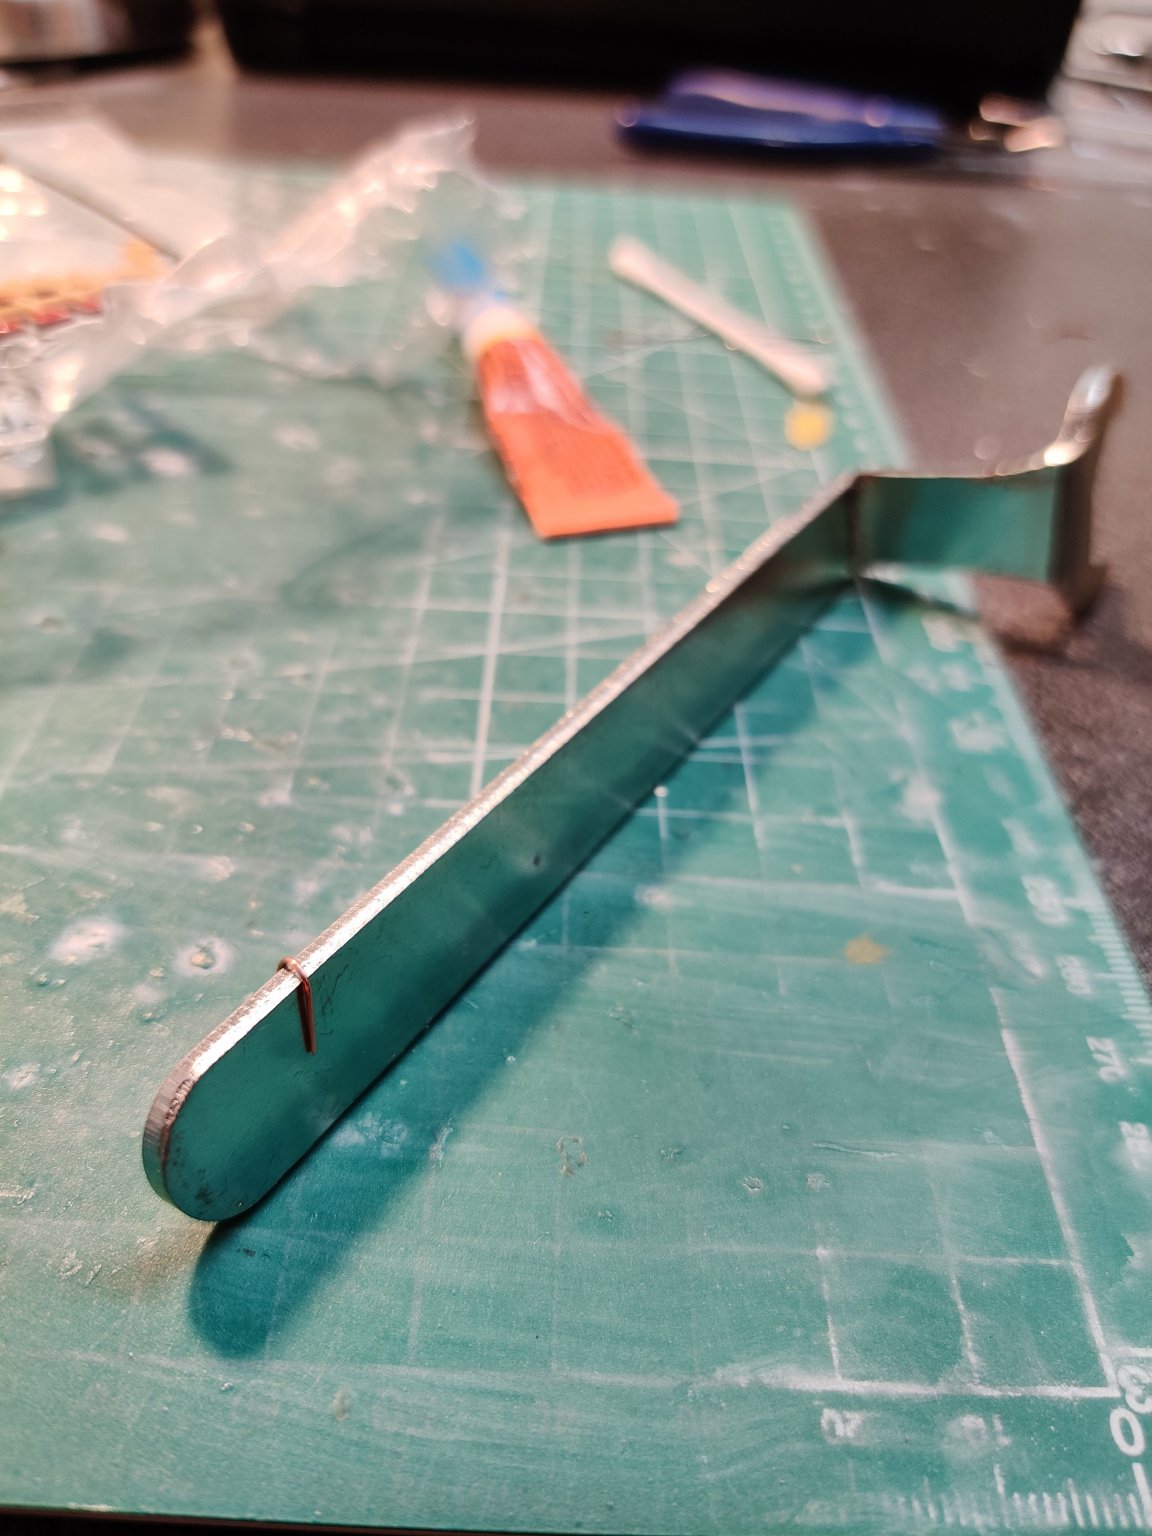
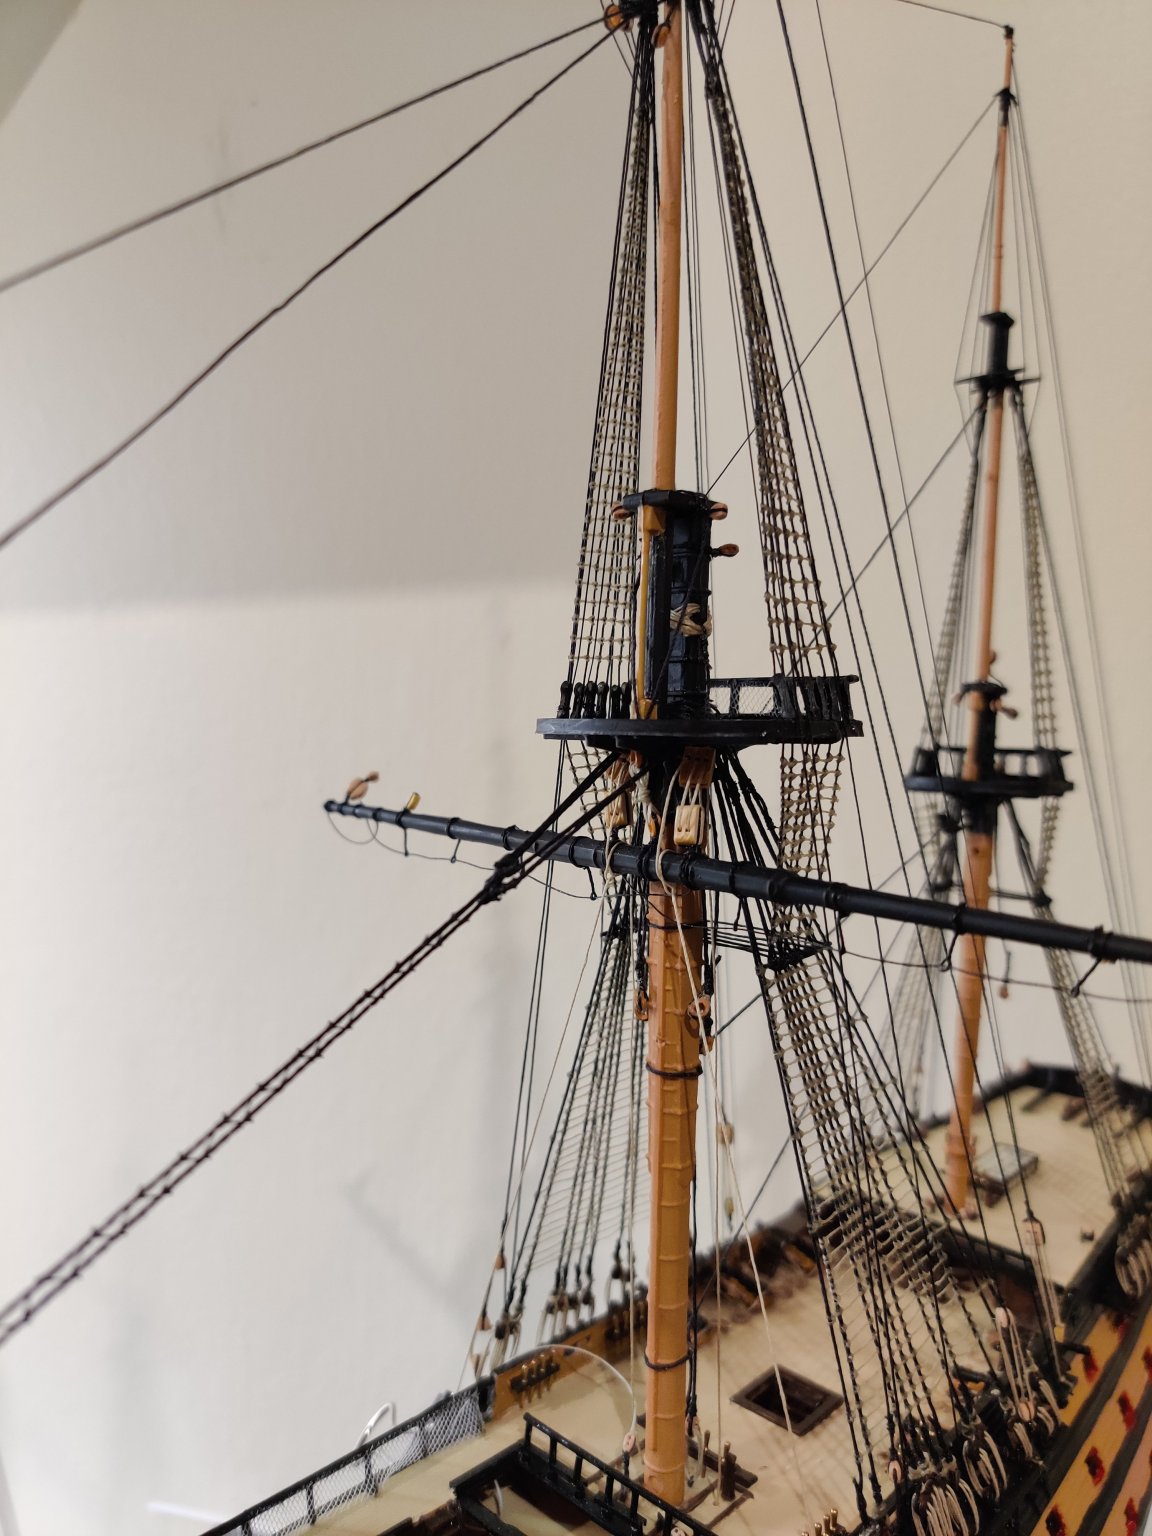
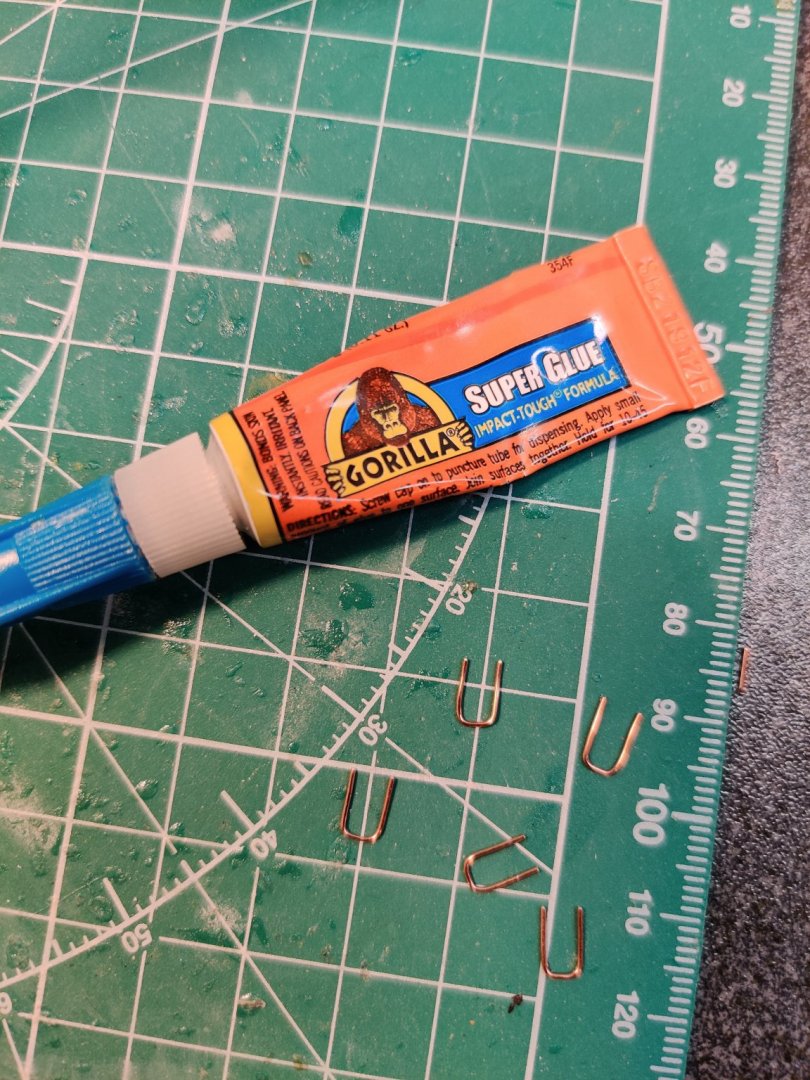
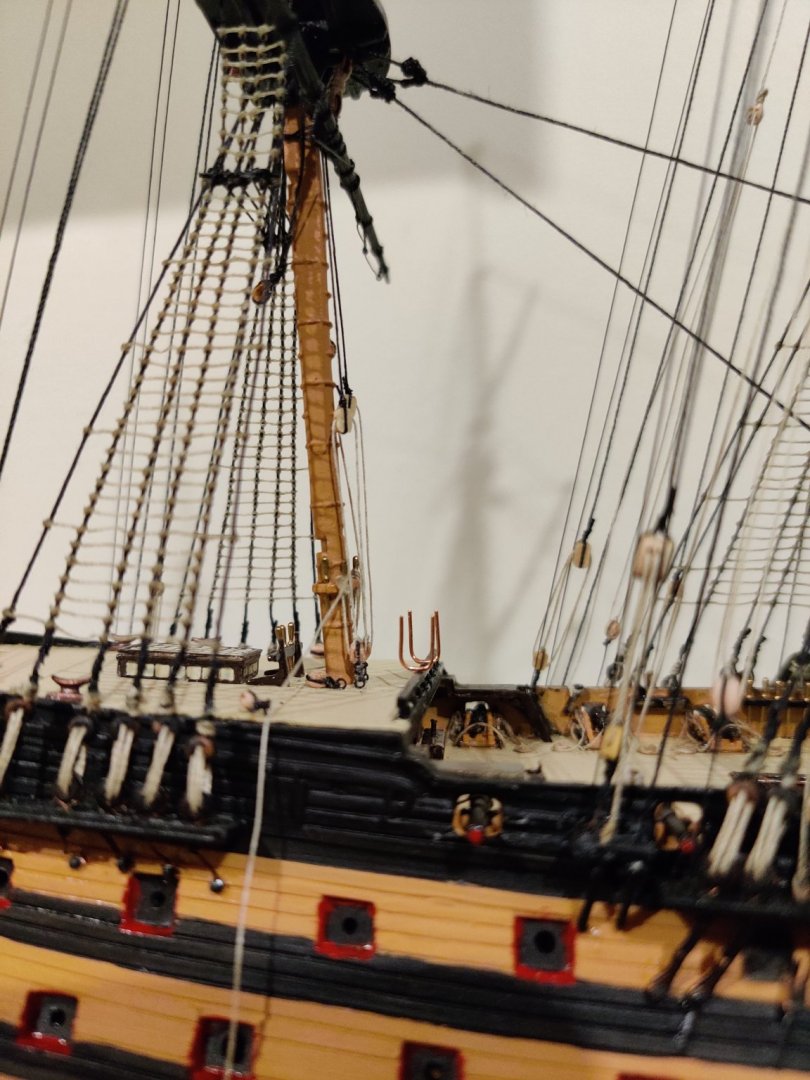
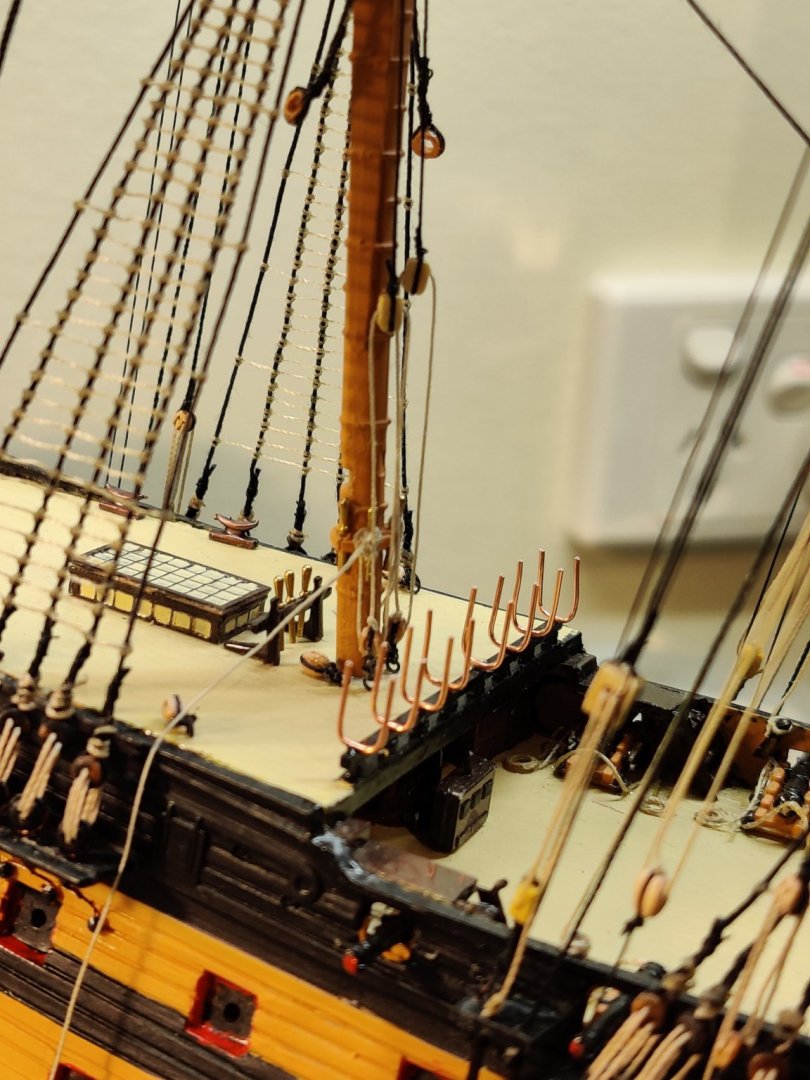
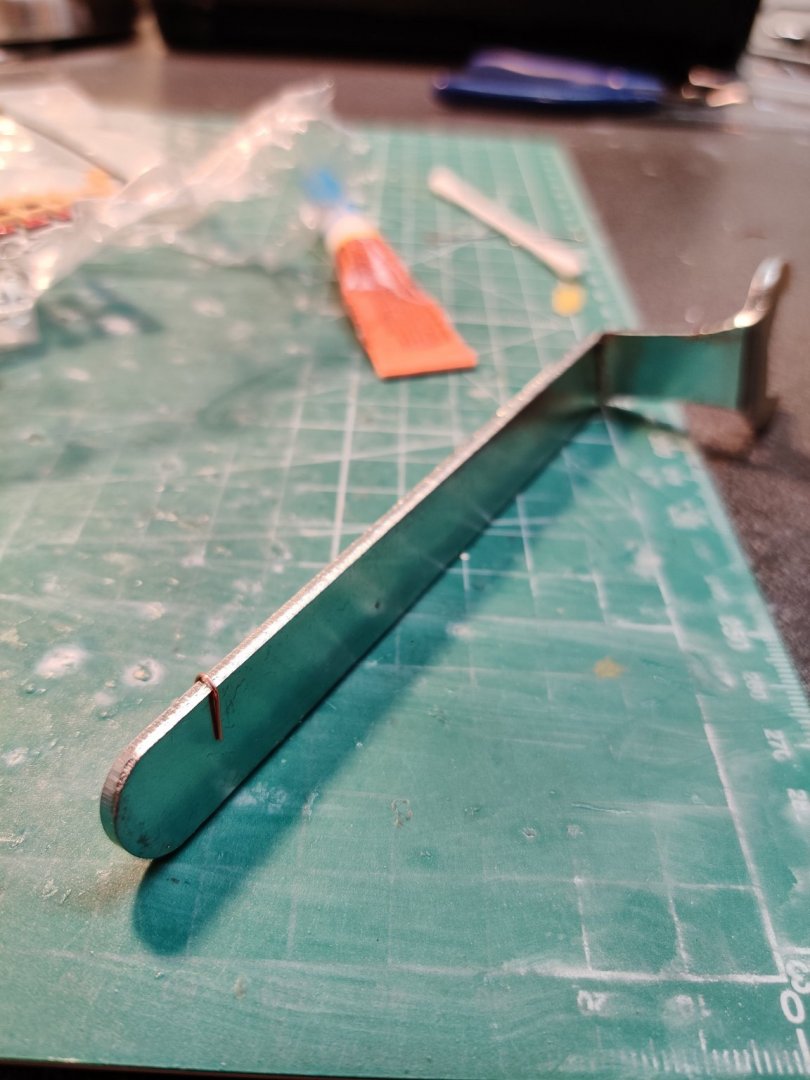
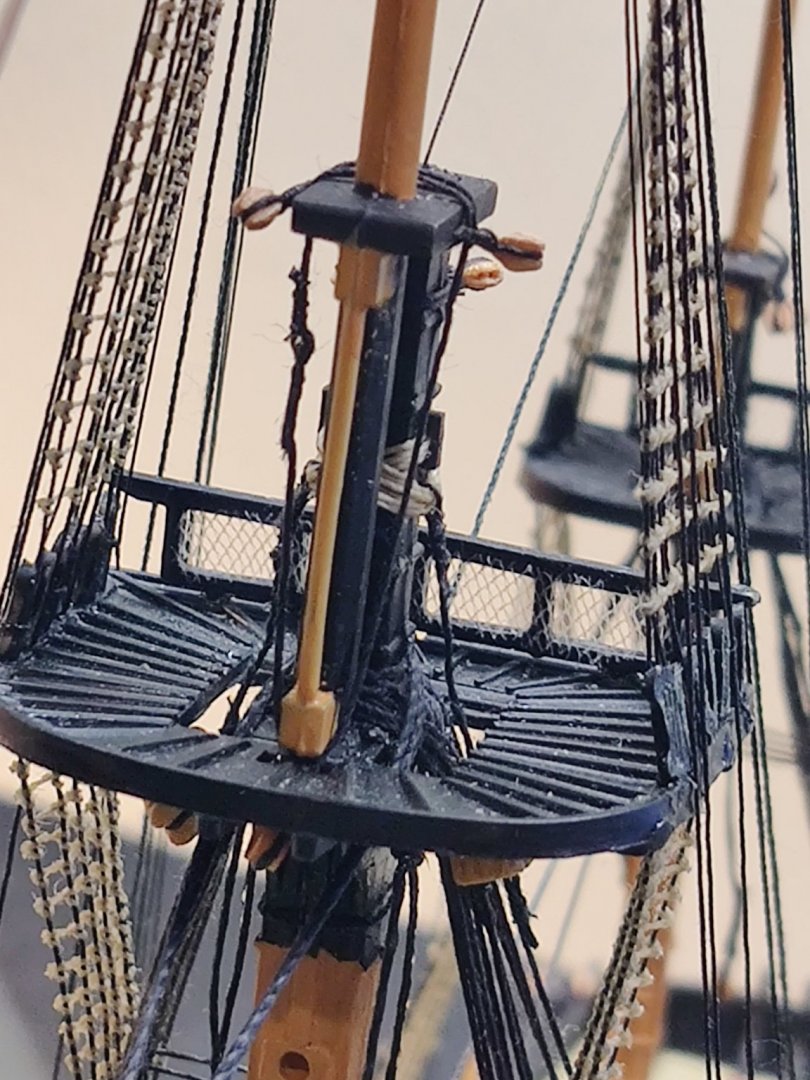
More lollipops made and some colour corrections for the mizzen topsail yard. While waiting for the paint to dry and nothing much else to do, I painted the rest of the gunport covers. Seems a little too glossy, but they'll be facing down so may not be too obvious. Now finding more work to do in between rigging the yards, I turned my attention to the netting. After much thought and based on my limited resources currently, I opted to try copper wire bent over a spanner, lightly hammered and squeezed with pliers to mold around the square edges Trimmed to shape. And now to test the product claims made by Gorilla Glue. Small drop of the CA and gingerly balancing them on the rails whilst waiting for it to set. I chose the poop deck rails to test this out, as they were the easiest to access. Success (?) The scale seems a bit off so will need a trim and adjustment. I decided to leave out the eyebolts on the ends for this step. Hopefully it won't be too noticeable when complete🤞


-
A thing of beauty, Phil! It keeps getting better and better. Will we also get to see the gun carriages made out of card? Cheers
-
(Part) fitted the rest of the yards on the main mast. Broke the mizzen topgallant mast again in the process but luckily was able to CA that back. The plastic kit spars are flimsy indeed... Deep in contemplation for the next couple of running rigging steps.
-
What kind of wood are you using for the deadeyes if I may ask, Patrick? Those triangular deadeyes look fantastic!
- 756 replies
-
- 1
-
-
- galleon
- golden hind
- (and 2 more)
-
She's really starting to take shape Phil. Amazing to see your progress using such an interesting material. Maybe you should compile a timelapse video or GIF when she's done? 😁
-
Thank you, shipman. That is high praise indeed, but there are many many superior builds out there which simply haven't been posted online yet . Hopefully others can learn to love the olde Airfix kit, learn from my mistakes and see what is possible from this blog. Hackney's manual breaks it all down so it is easy for a novice like me to build this ship. Also the fantastic support and advice from MSW members like you!
-
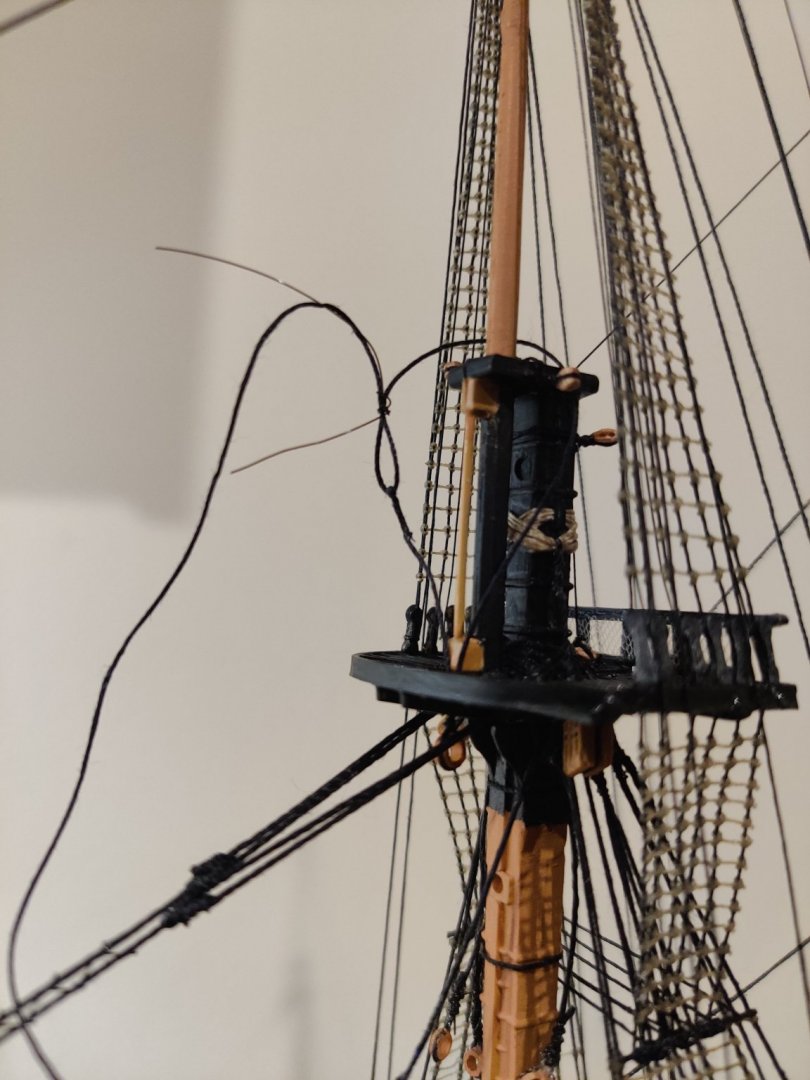
Netting test for the bow section. Looks a tad underscale and could do with a little dirtying wash, so I've left it as a removable piece in case I change my mind later.

-
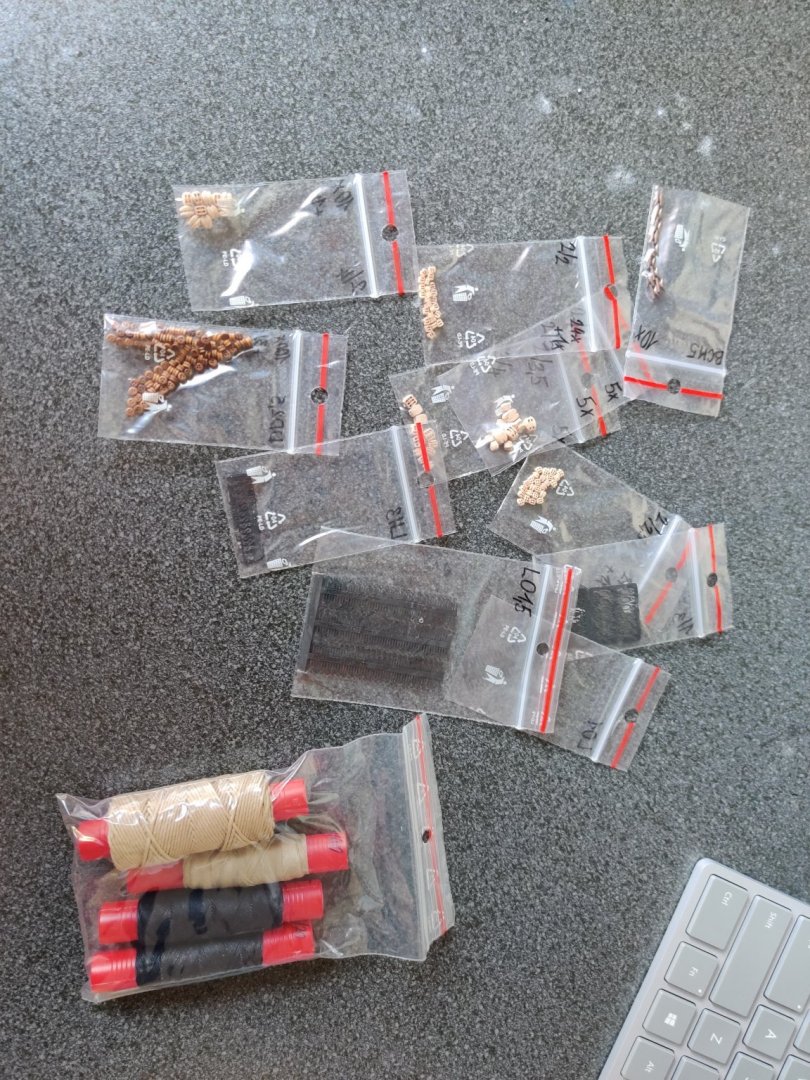
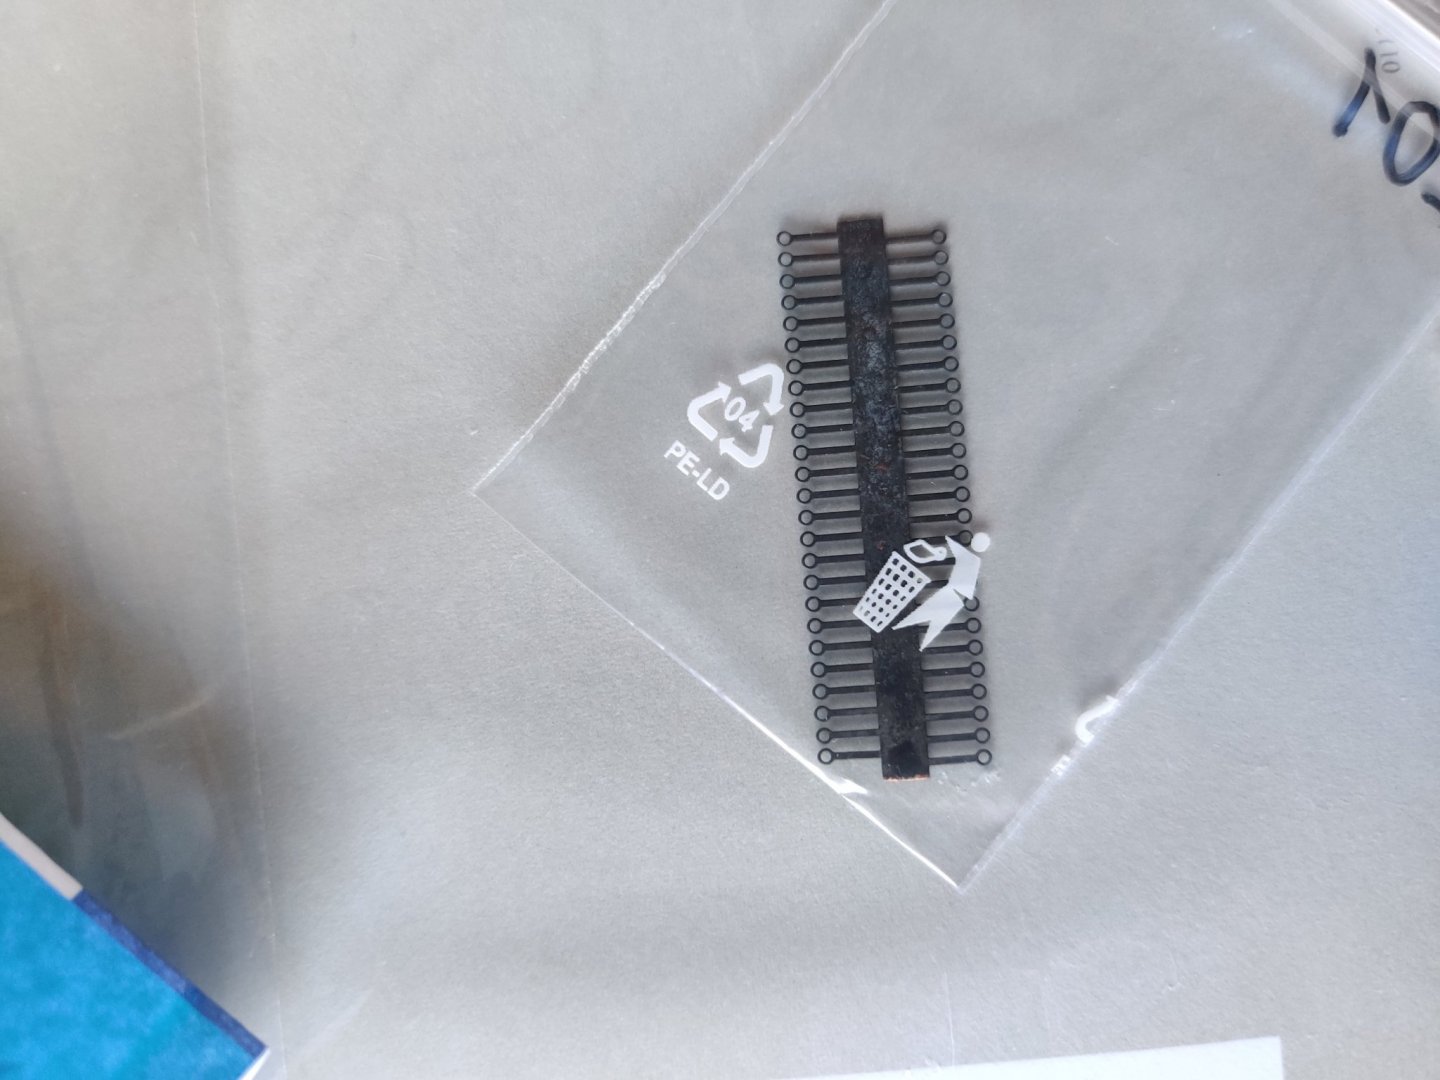
Wow. This order from Europe took about 3 months to arrive due to COVID-19! I'm glad I slowed down the build and now can be a little less stingy with materials like eyebolts and hooks. Although it seems I've under ordered the 1mm diameter eyebolts for the gunport covers. Can I afford to wait another 3 months? 🤔
-
That is a sexy shot. Looking amazing, Chris!
-
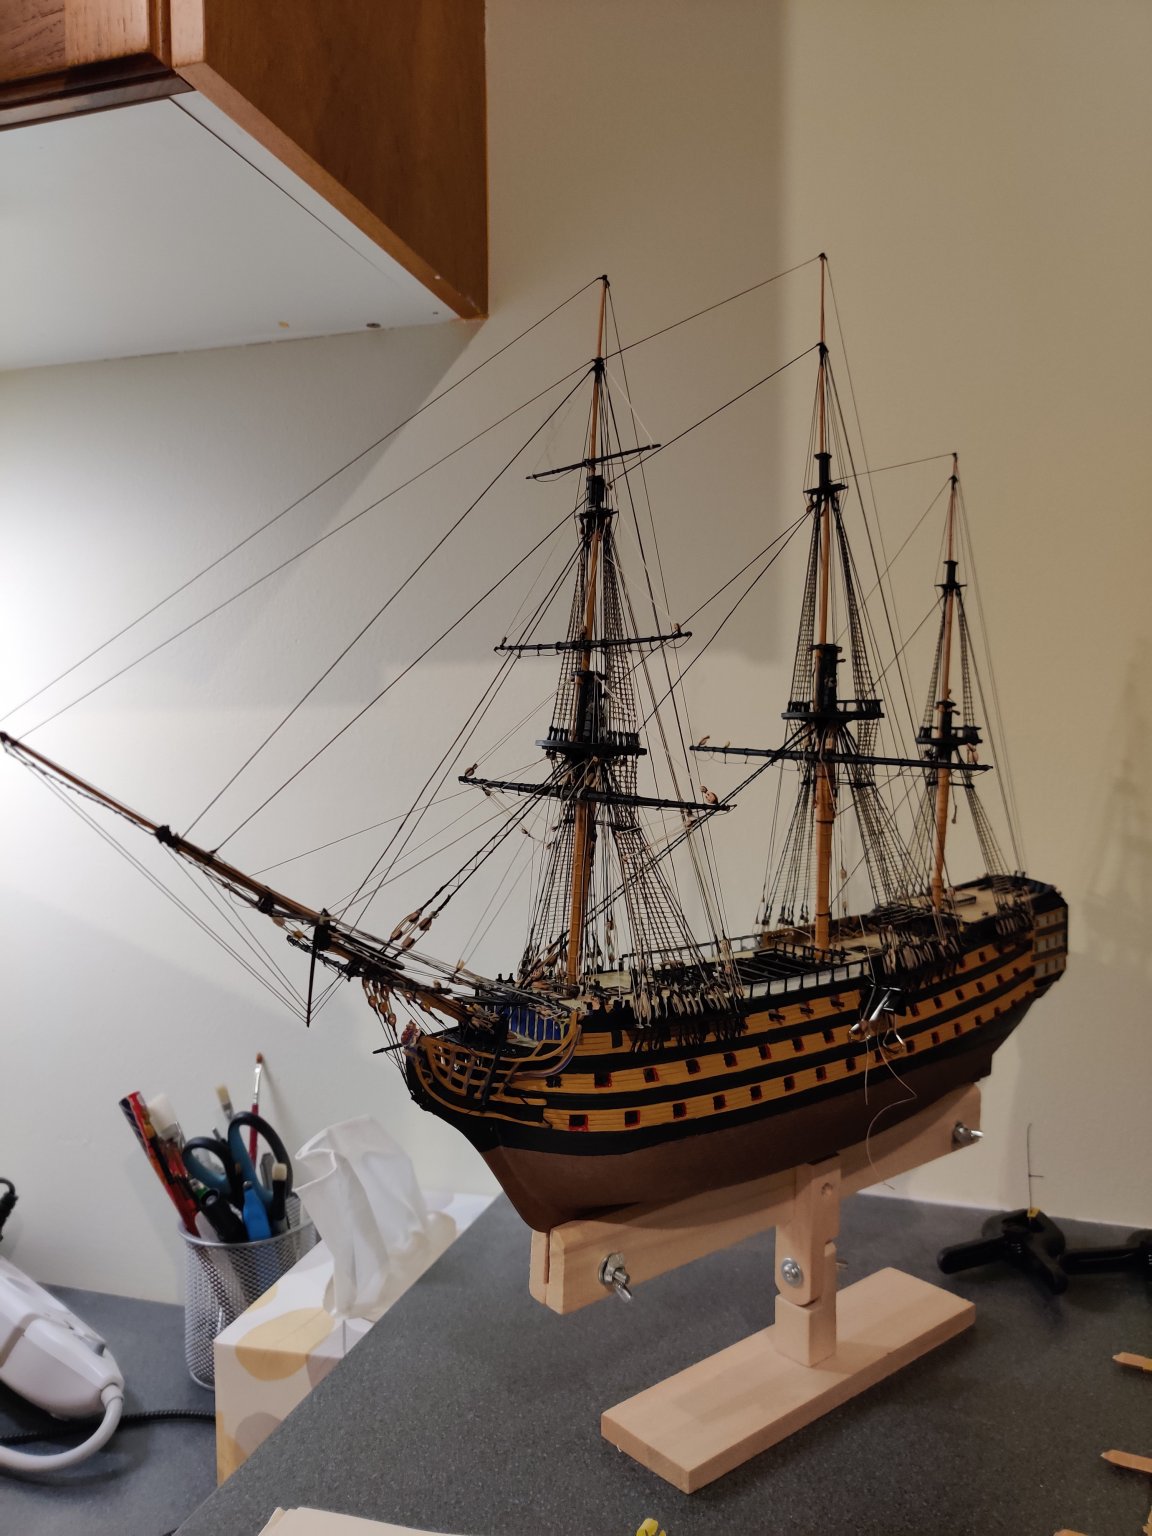
Thanks, Daniel. Not sure if my skills are up to that challenge, but definitely still playing out in my mind how this can be done. I've chickened out and opted to push on with the rigging first before doing the netting around the deck. Main yard partially installed and dangling haphazardly. Yard sling seized around the main mast. Manipulated some 0.5mm copper wire for the bow netting. Waiting for the paint to dry before cutting the tulle to fit. An overall progress pic. Cheers


-
In awe as always at the precision of your work! The weathering on the hull looks amazing too.