Mirabell61
-
Posts
7,418 -
Joined
-
Last visited
Content Type
Profiles
Forums
Gallery
Events
Everything posted by Mirabell61
-
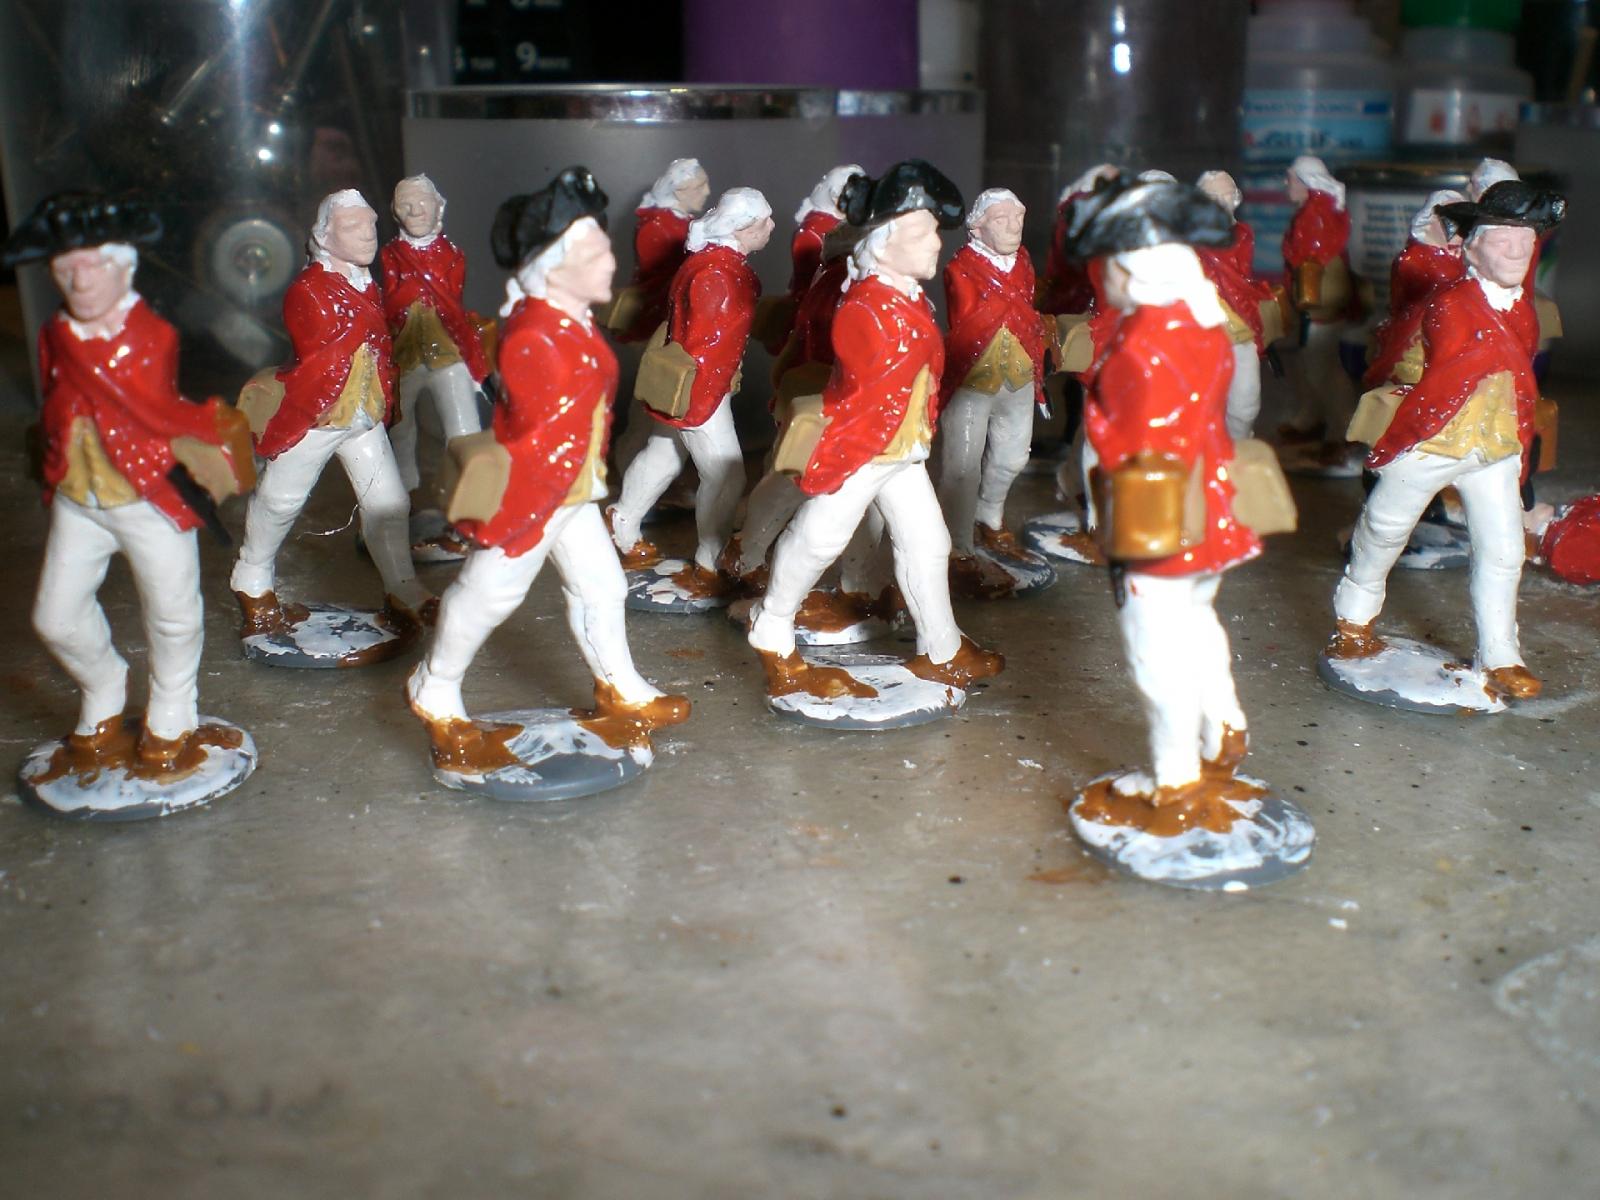
 Hello Peter, thanks for the welcome back, as you know, I`m a freind of figurines, so there is some painting to be done on a bunch of British naval soldiers in their gaiter trousers, that have been appointed with a mission (war of independence) down at the New England US coast. These are nicely molded exactly at scale 1:64, and will provide fine little color spots on the decks. In the moment the arms and fire-arms are still missing just like the belts that cross the chests over the red jackets. The standplates will be removed, before they go aboard. Can imagine putting a marksman up at the main top, some at the swivels, etc. Nils
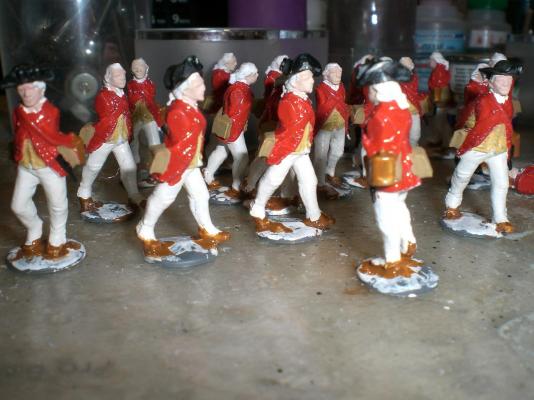
-
Hi Marc, The plan is giving a general (side view) overall sectional drawing and several decks in bird`s view. For building the model I enlarged the former file I borrowed from the web and made it large enough on paper to suit 1:1 model / plan, for the build in scale 1:144 Of course there has to be some design work for establishing the lines- and frameplan, like I described earlier in the build`s posts Nils
- 2,625 replies
-
- 6
-

-
- kaiser wilhelm der grosse
- passenger steamer
- (and 1 more)
-
Cutter Cheerful 1806 by rafine - FINISHED
Mirabell61 replied to rafine's topic in - Build logs for subjects built 1801 - 1850
beautiful deck planking Bob, the nailing Looks very neat and clean Nils- 525 replies
-
- 4
-
-
- cheerful
- Syren Ship Model Company
- (and 1 more)
-
Thanks Bob, I very much appreciate your nice words, Pegasus has been waiting quite some time, and for KWdG I Need to do some planing work also during the break Nils
-
Wunderbar Pete, another nice looking little gem in your fleet Nils
- 258 replies
-
- 3
-
-
- buzzards bay
- herreshoff
- (and 1 more)
-
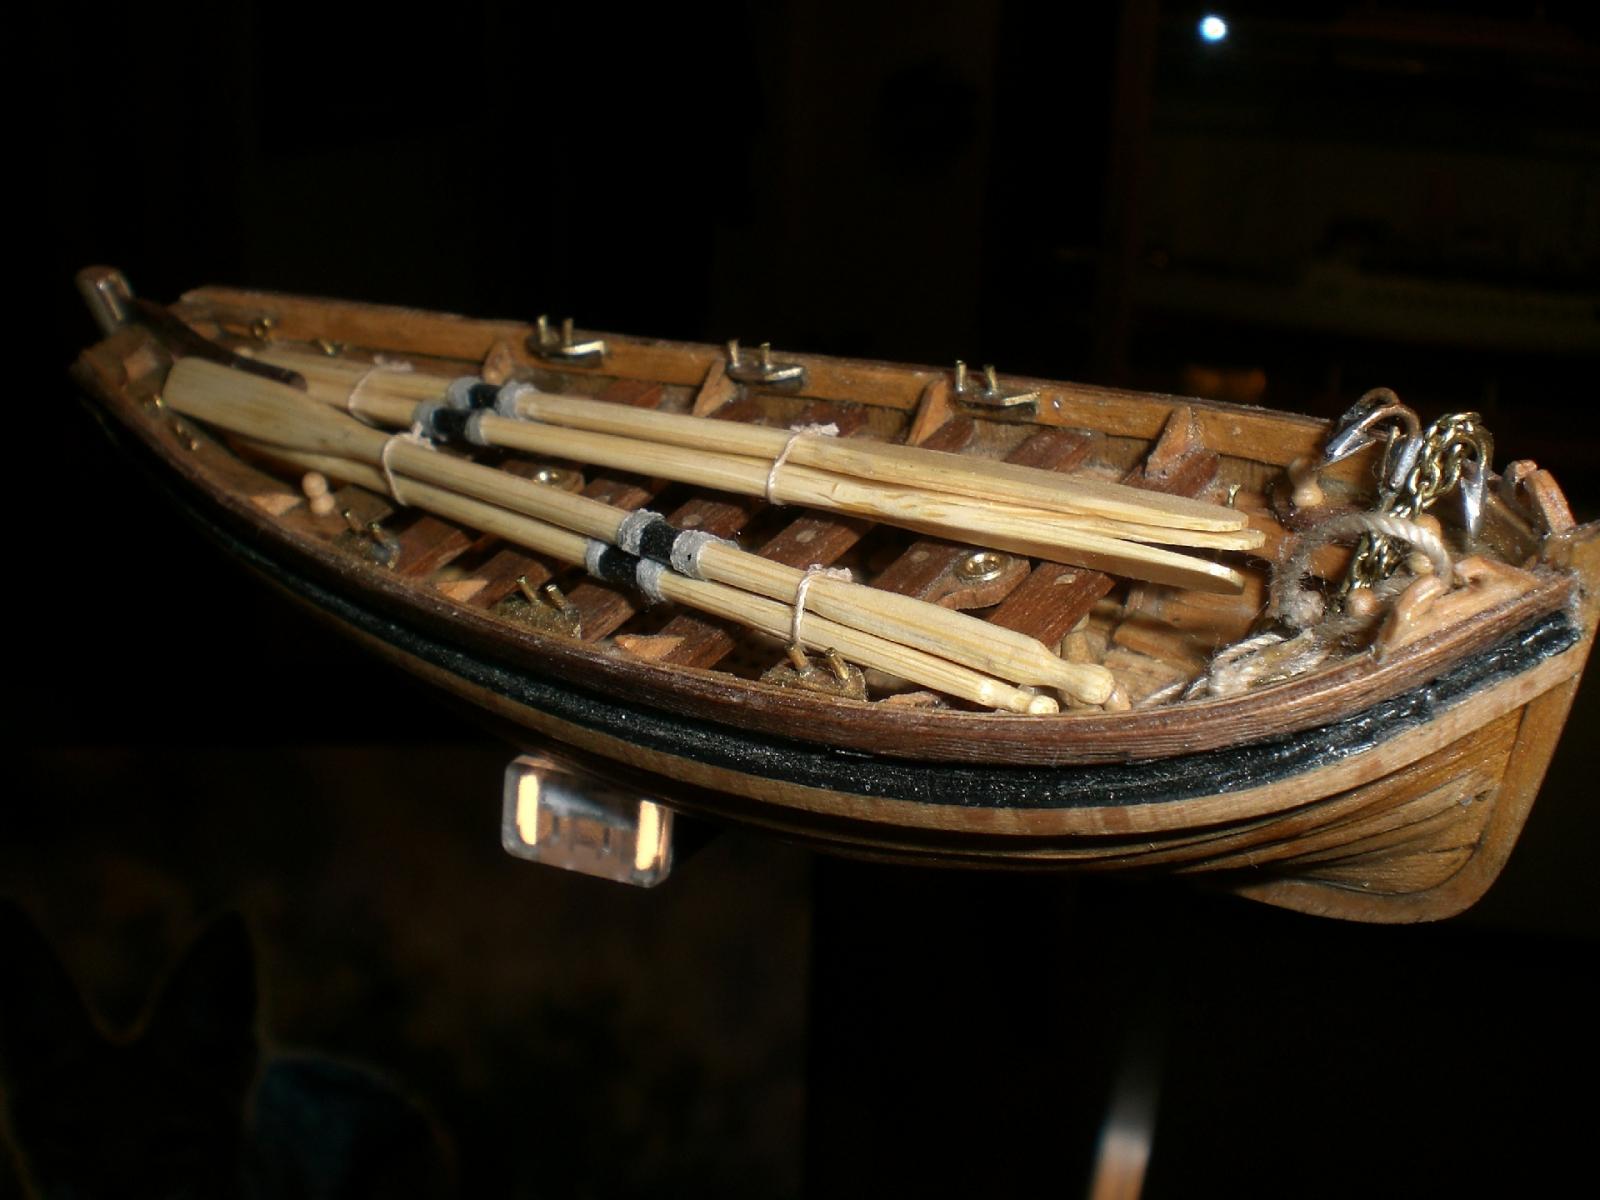
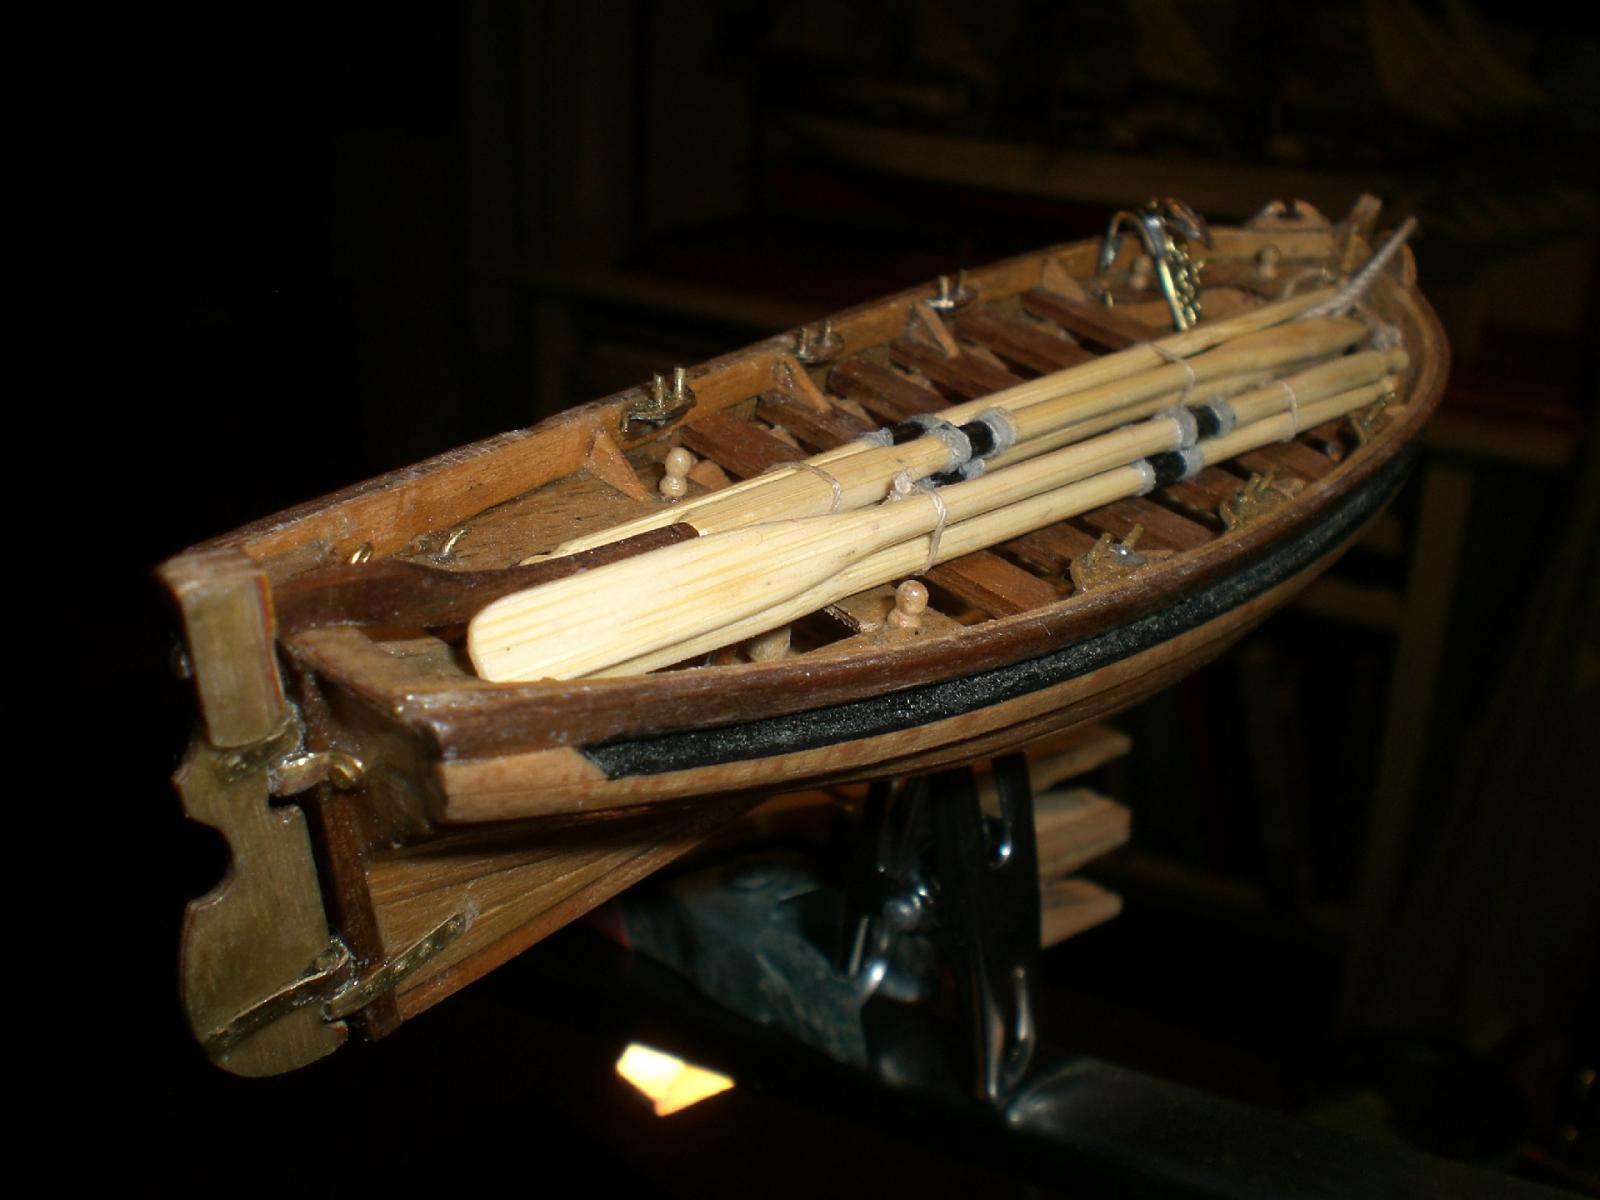
Thanks Bob, The Little gig fits nicely in between the main gallows and forecastle ballustrade, resting / lashed on the spare spars Nils
-
Congratulations Don, a very nice model of the "Gorch Fock 2" next to the the model itsself, the full set of sails is looking very good, will make an excellent Display object in it`s case Will you be going for another tallship ? What is your planing ? Nils Ammendment : Don, I`m very sorry to hear (your other post today) of your passed away freind and you taking over of his already started "Bluenose" project Wish you all the best with it and a good success in honour to your freind. That answers my forestanding questions by itsself Nils
-
Many thanks B.E. and Boyd, for your nice comments, and for the activated "likes" B.E., yes, I tried to use same wood tones. a little bit brass here and there, and scarcely a little black paint. I trust one can tell it`s from the the same yard.... Boyd, thanks for your word.... Nils
-
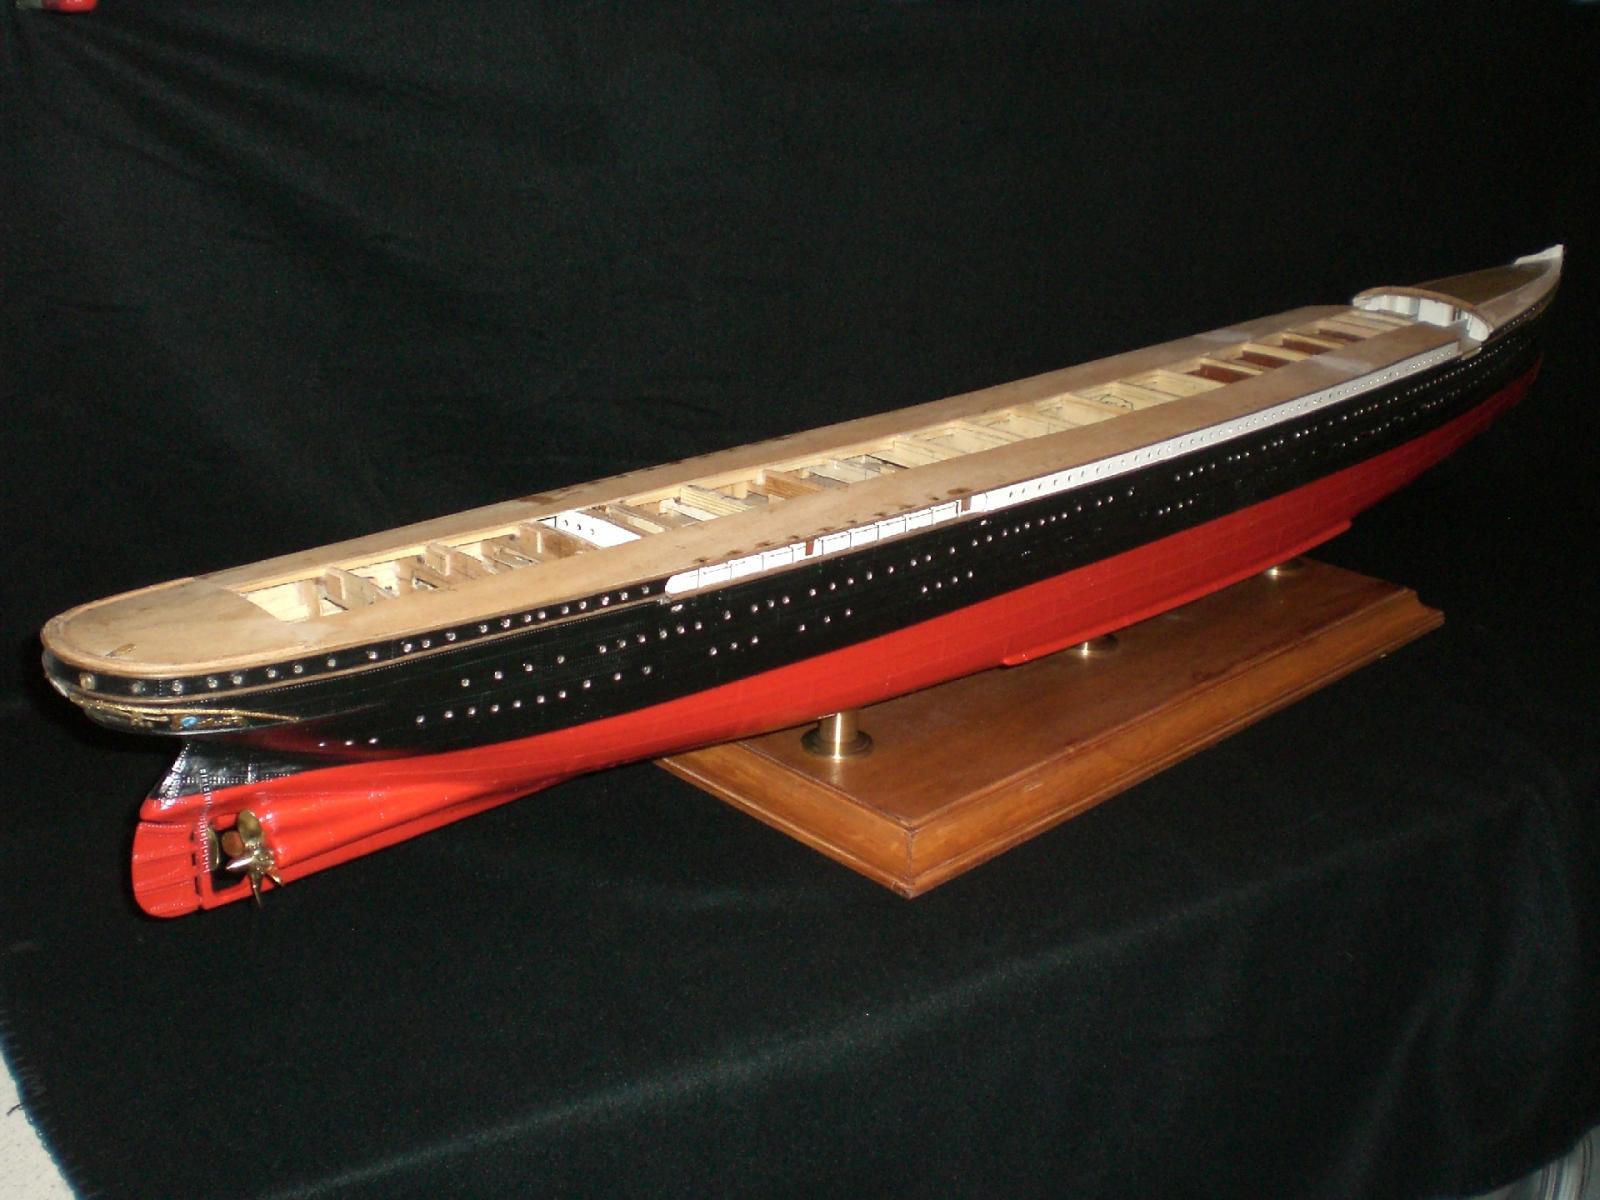
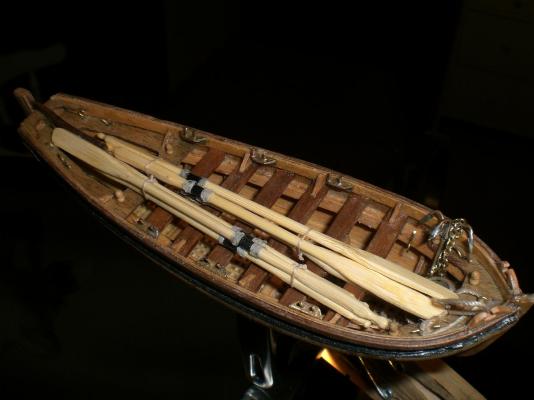
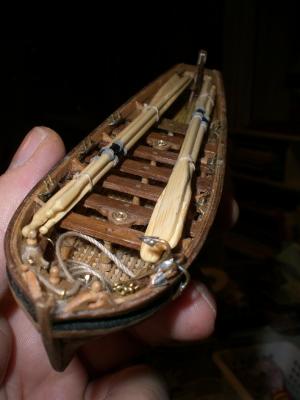
Build log part 90 Hello fellow builders, my last pics concerning the HMS Pegasus are from August 2015, now that the KWdG build is enjoying a break in the moment, I am sorting out where I`m standing with the "Swan Class" sloop. It is somewhere in the rigging, have to groove myself in again. Meantime here some pics of the ship`s boat, which is now ready for taking on board, although it has set on some dust over the months (black areas) Nils


-
Thank you Hartmut, for your Input on this.... Nils
- 2,625 replies
-
- 3
-
-
- kaiser wilhelm der grosse
- passenger steamer
- (and 1 more)
-
Martin and Crackers, thanks very much for your Kind and nice comments I like very much, they are well appreciated..... :) also for those that expressed their "likes" to this first Phase of the build Nils
- 2,625 replies
-
- 7
-
-
- kaiser wilhelm der grosse
- passenger steamer
- (and 1 more)
-
Hi Lucky Star, try Polyester thread in the appropriate diameters (no more saging, no more shrinking).... Nils
-
congrats for building this Beauty Thomas, all nice and clean, a delight to see.... (as per your to date Status) Nils
-
a lovely model Ray, your "HMS Diana" really masterly built ! Nils
- 536 replies
-
- 2
-
-
- diana
- caldercraft
- (and 1 more)
-
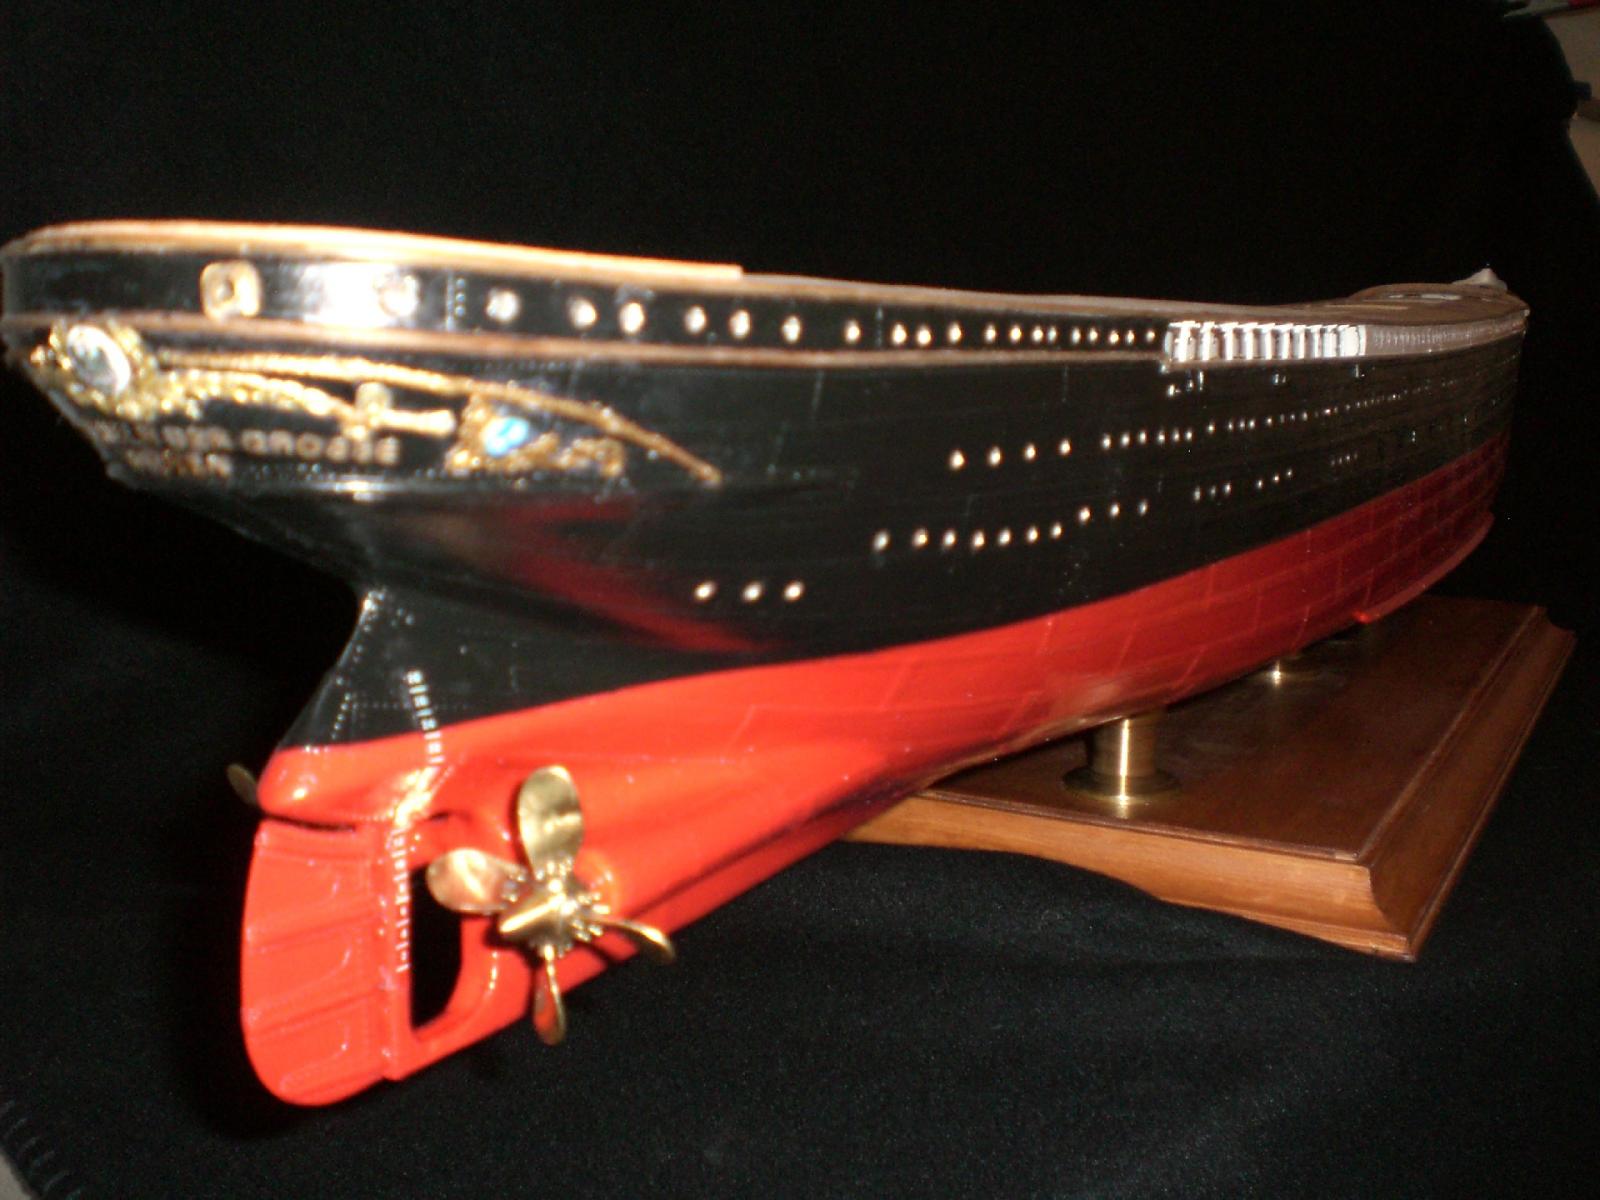
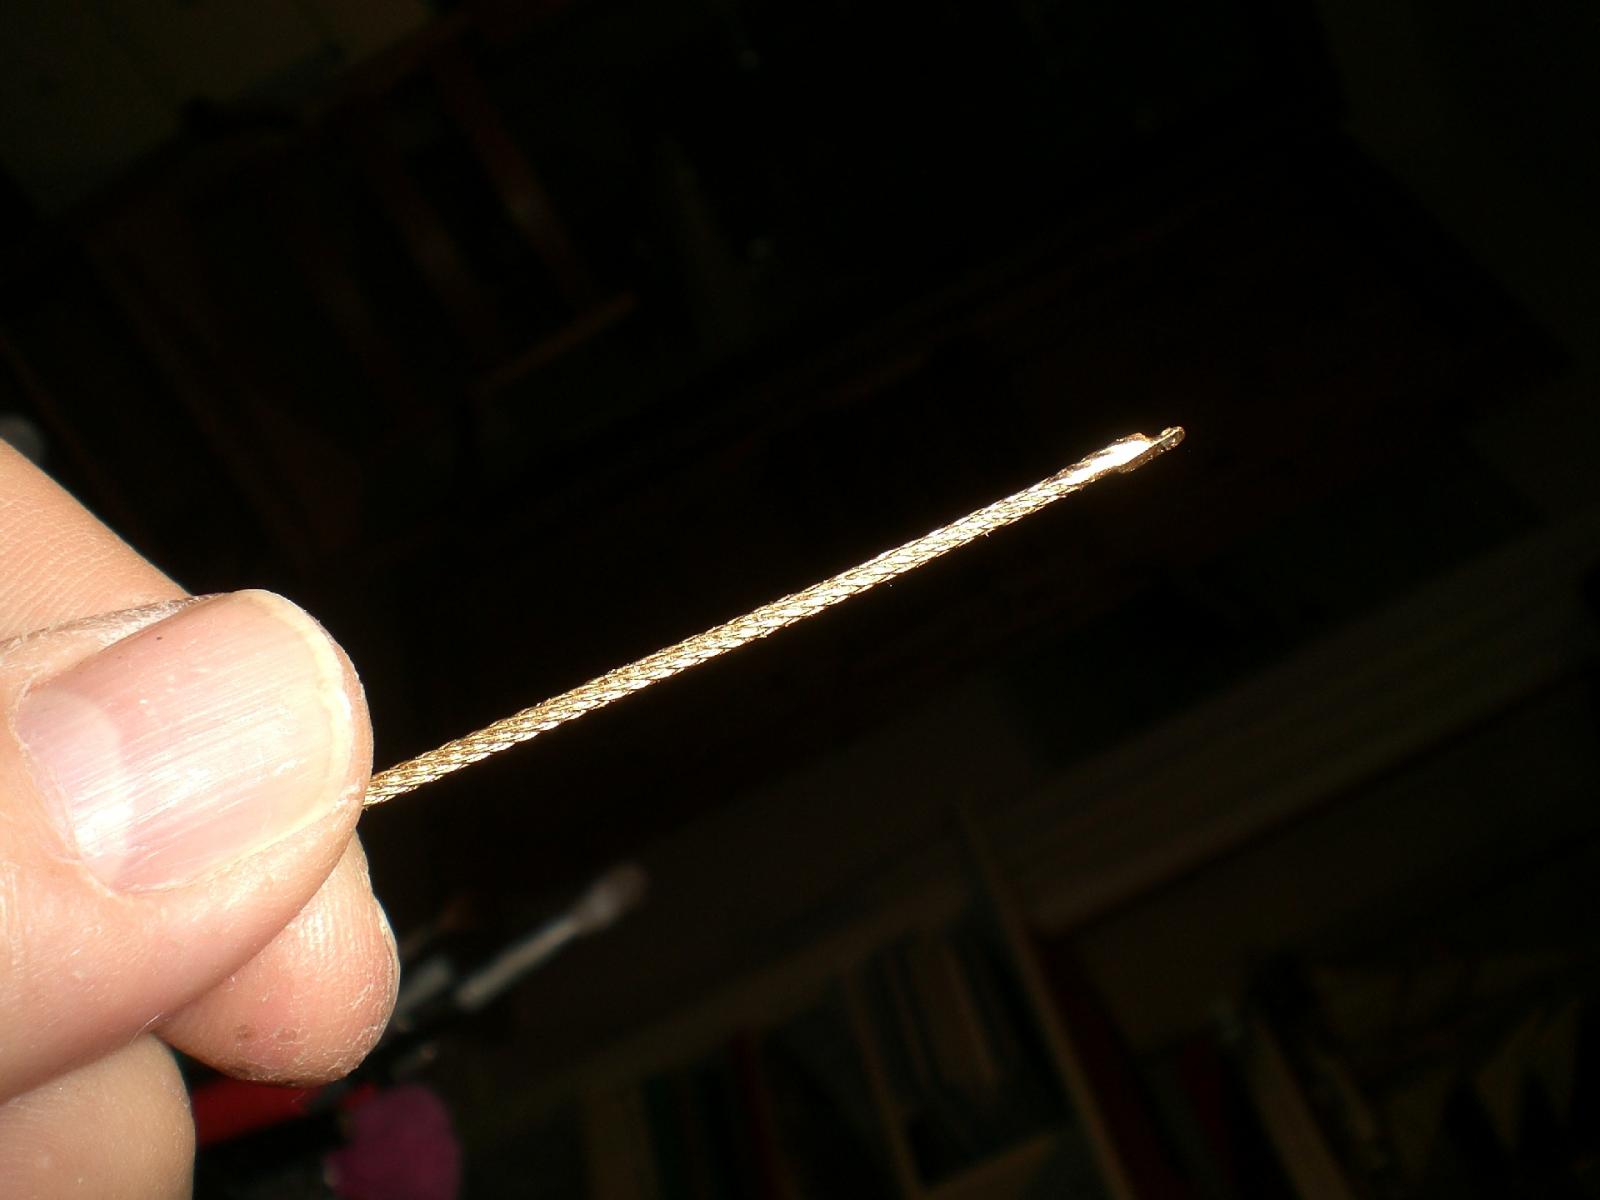
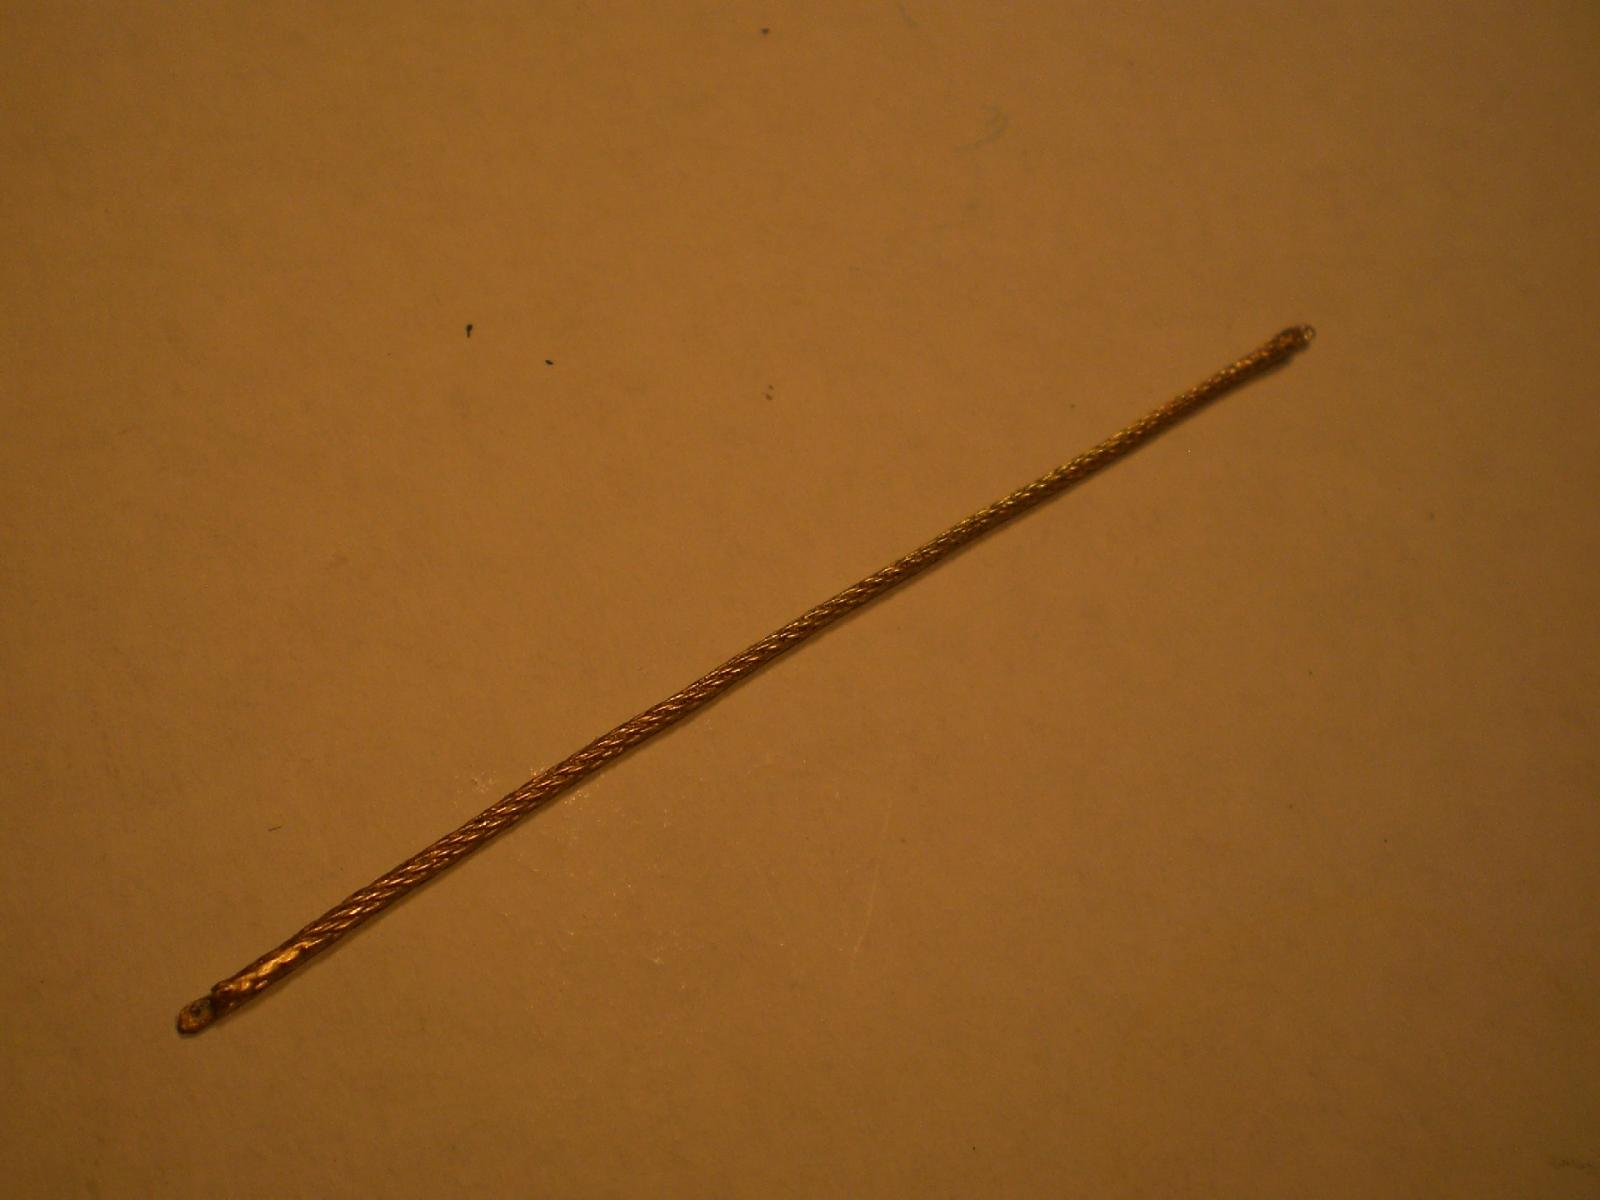
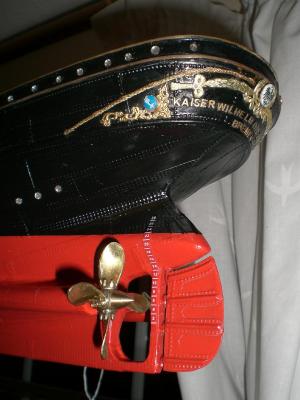
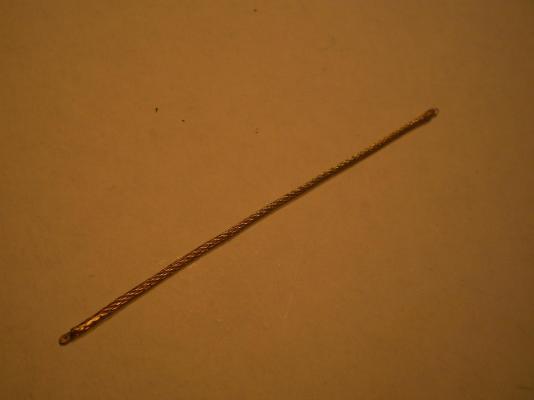
Hi Bob, thanks for your appreciation, yes, after pressing a thin sewing needle through the chord, I sharpened a 0,5 mm brass pin and presssed it through the chord and the plating into the hull, it works good and holds the decoration nicely in place Sorry there is an error with your "likes" button, is this same procedure with other logs ?, other members are coming through allright... BTW any Progress ready for posting on "Pequot" side ? Nils
- 2,625 replies
-
- 3
-
-
- kaiser wilhelm der grosse
- passenger steamer
- (and 1 more)
-
Hi Robbyn, nice to see you back and that your syren project is under wind again, also a very nice and neat working place you have. BTW I noticed that Little whaling ? boat on your desk, is there also a seperate log for that one ? Nils
-
beautiful work Heinz Nils
-
Cutty Sark by NenadM
Mirabell61 replied to NenadM's topic in - Build logs for subjects built 1851 - 1900
Good work, good ideas Nenad, and as you already mentioned.... it`s the fun we all have in Tackling tricky Solutions, and end of the day / week we can say, wow, quite satisfied with the results... Nils- 4,152 replies
-
- 6
-
-
- cutty sark
- tehnodidakta
- (and 1 more)
-
Dimitris, finest and much detailed Fitting out objects everywhere on the decks, there must a hundred or more.... Good work my freind... Nils
-
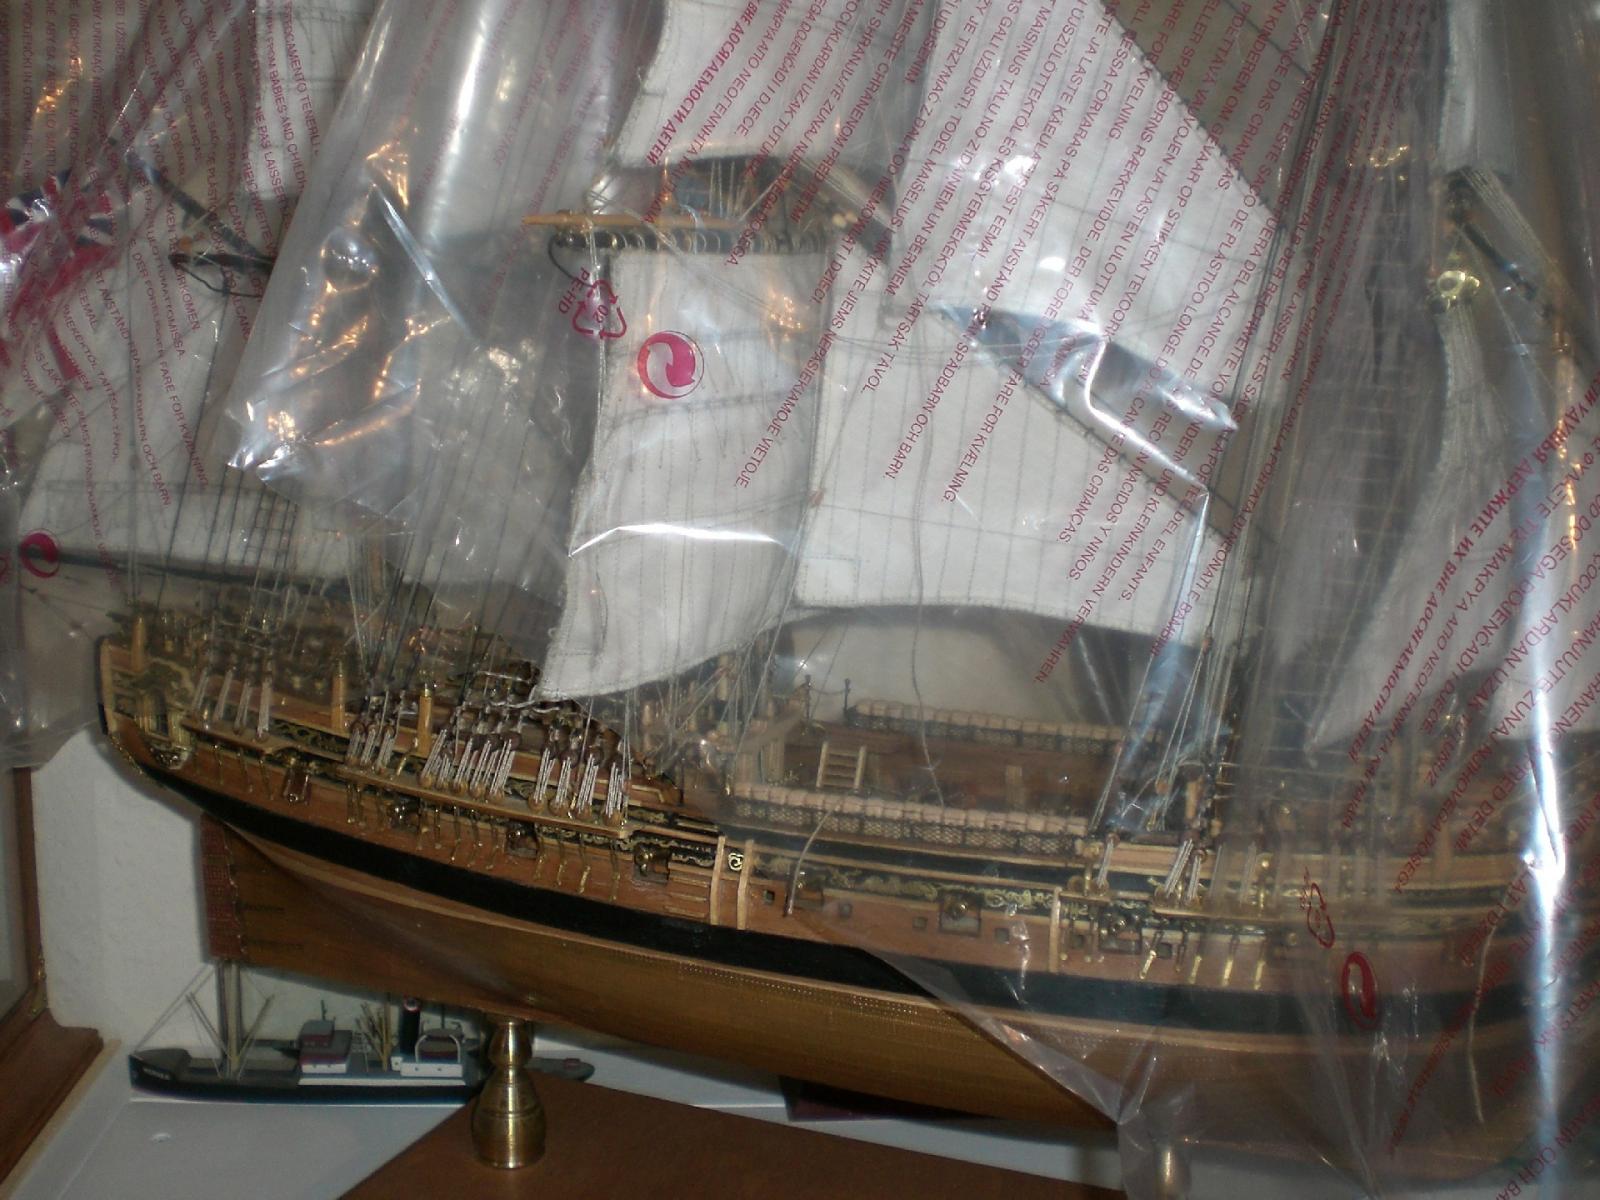
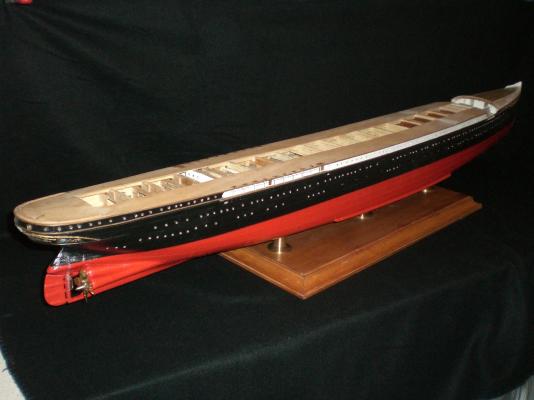
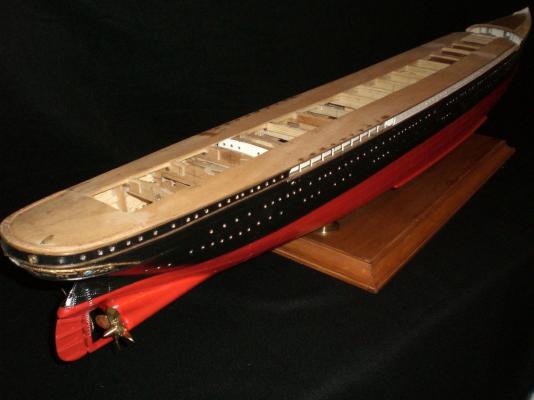
thank you so much - John - Dimitris - Don - Piet - Bob (Rafine) - Michael - David, for your Kind and nice words, comments and appreciations, that is very much appreciated also all those who expressed their "likes" by pressing the appropriate button I am now putting in a break with the KWdG build, before I begin with the top superstructure, railings, decks, etc, in order to proceed with my "HMS Pegasus" and get her out under the dust protection foil....... Nils


- 2,625 replies
-
- 36
-
-
- kaiser wilhelm der grosse
- passenger steamer
- (and 1 more)
-
Many thanks for your nice comments Crackers and Mark, They are much appreciated :) Nils
- 2,625 replies
-
- 3
-
-
- kaiser wilhelm der grosse
- passenger steamer
- (and 1 more)
-
beautiful work Toni, I like it that you are taking care of the necessary standing hight in the cabin Areas... Nils
-
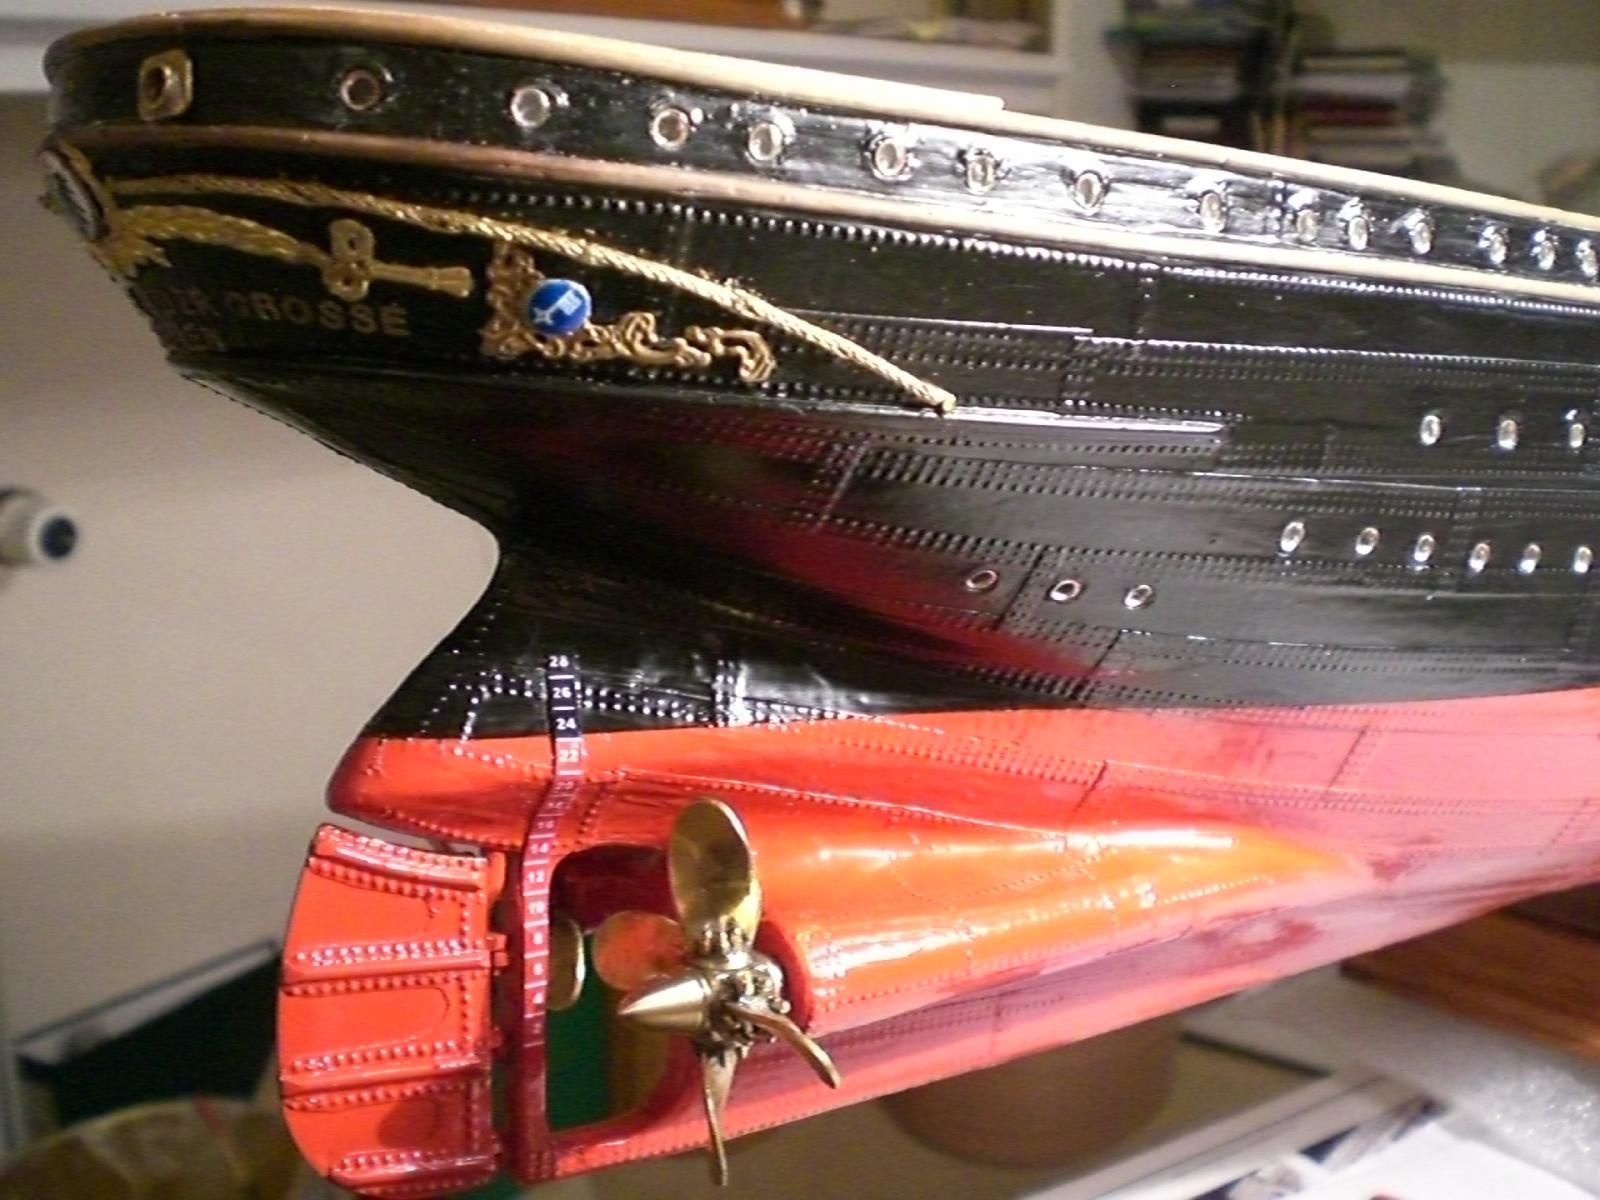
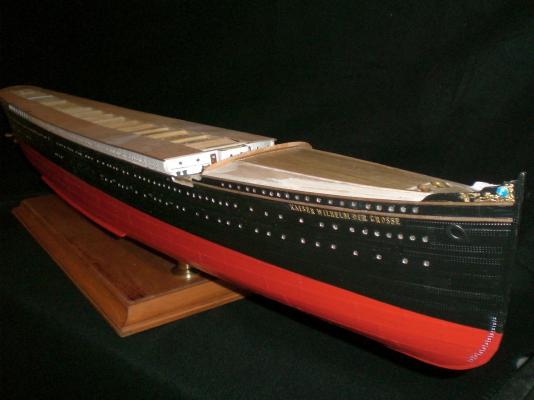
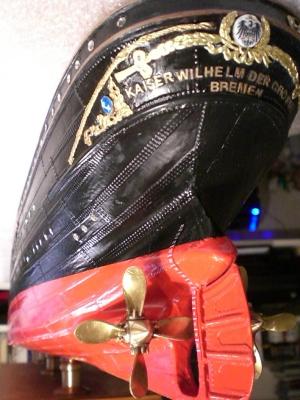
Update on stern decoration.... Thats about what I can do (decoration), it`s also getting too fiddely now, more would be too much... Early next week the stb-side can be done Nils the twisted wire chord left / right are fastened each with 7 pinpoints


- 2,625 replies
-
- 27
-
-
- kaiser wilhelm der grosse
- passenger steamer
- (and 1 more)
-
Thanks for sharing those pics Ed, nice work with the correct tools Nils
- 191 replies
-
- 3
-
-
- young america
- clipper
- (and 1 more)