HOLIDAY DONATION DRIVE - SUPPORT MSW - DO YOUR PART TO KEEP THIS GREAT FORUM GOING! (Only 13 donations so far - C'mon guys!)
×


Mirabell61
-
Posts
7,407 -
Joined
-
Last visited
Content Type
Profiles
Forums
Gallery
Events
Everything posted by Mirabell61
-
 Hi Larry, thanks for your explaination, I guess I`ll just have to try it out to get the feeling for the spokeshave.... Nils
- 2,625 replies
-
- 2
-

-
- kaiser wilhelm der grosse
- passenger steamer
- (and 1 more)
-
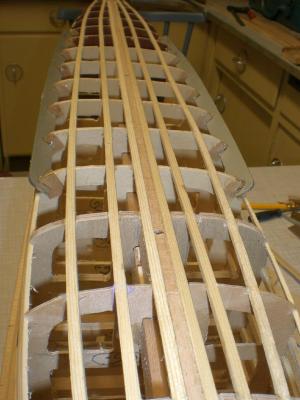
John and Bob, thank you very much for your kind appreciations... For the problematic area I`m using narrower planks, (before final shaping and trimming) to enable the curves better Nils

- 2,625 replies
-
- 19
-
-
- kaiser wilhelm der grosse
- passenger steamer
- (and 1 more)
-
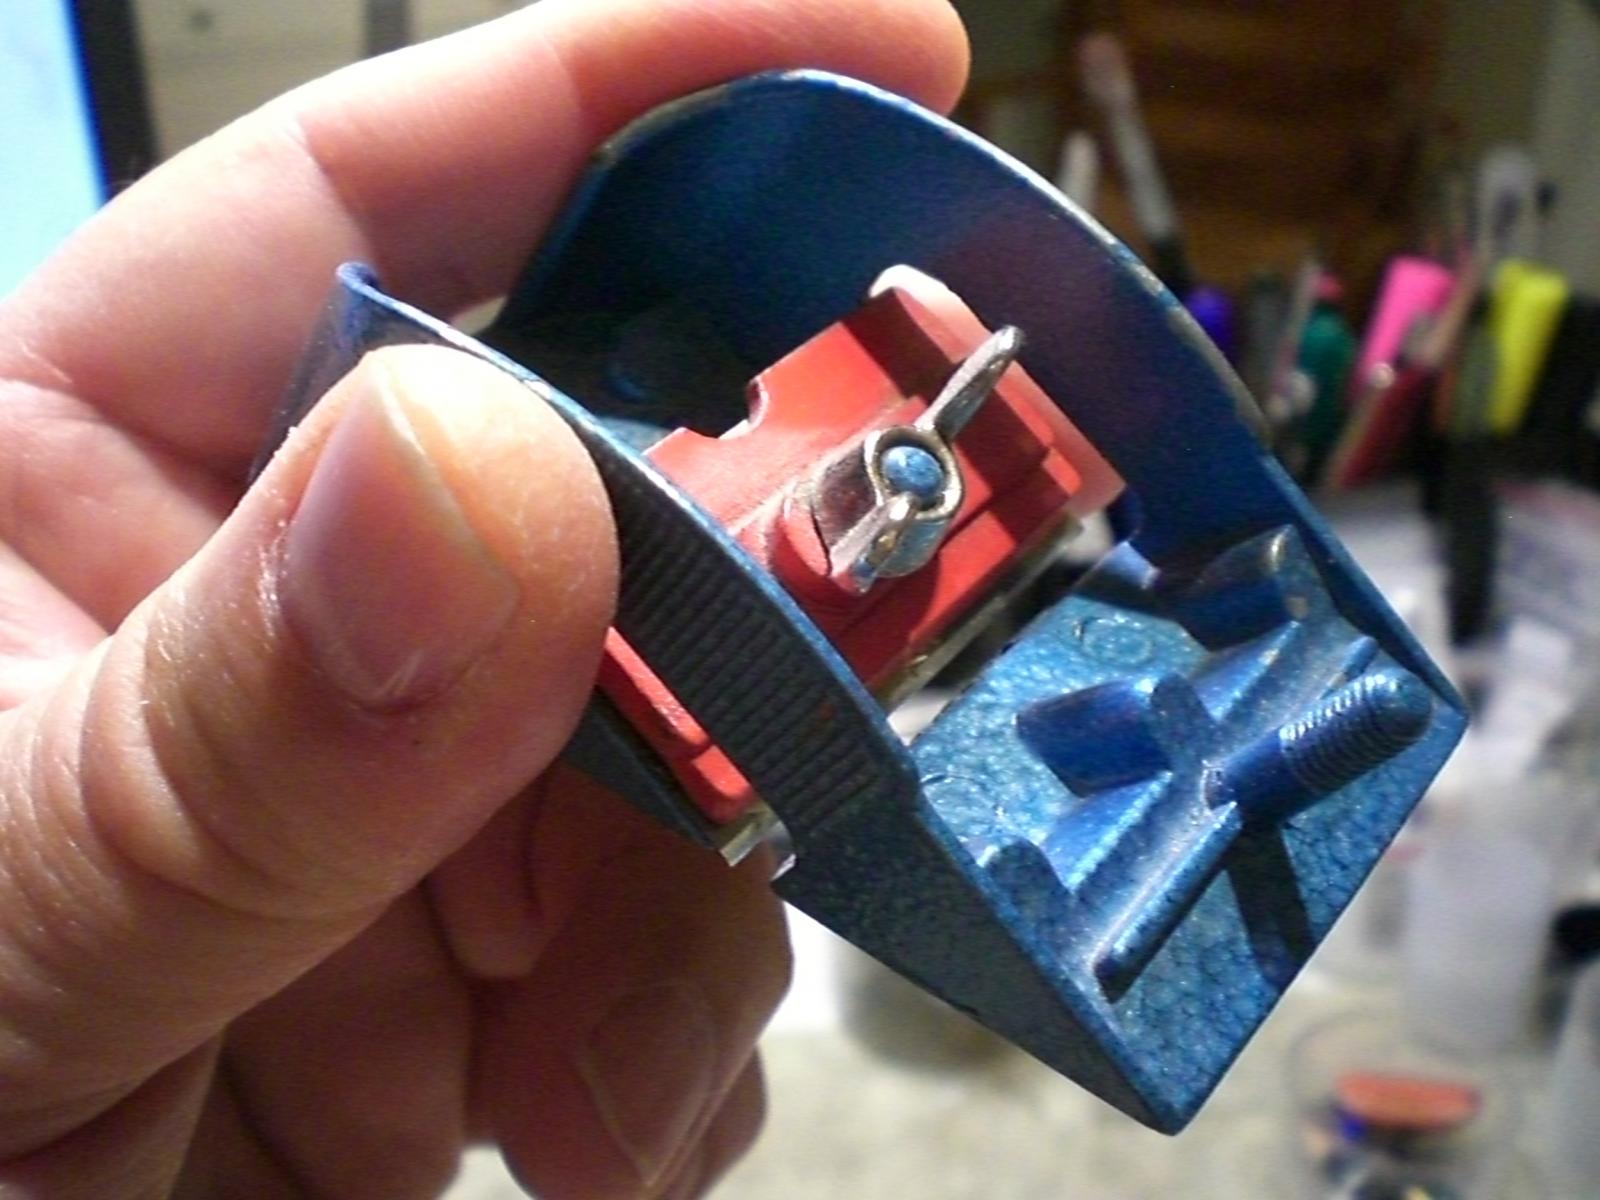
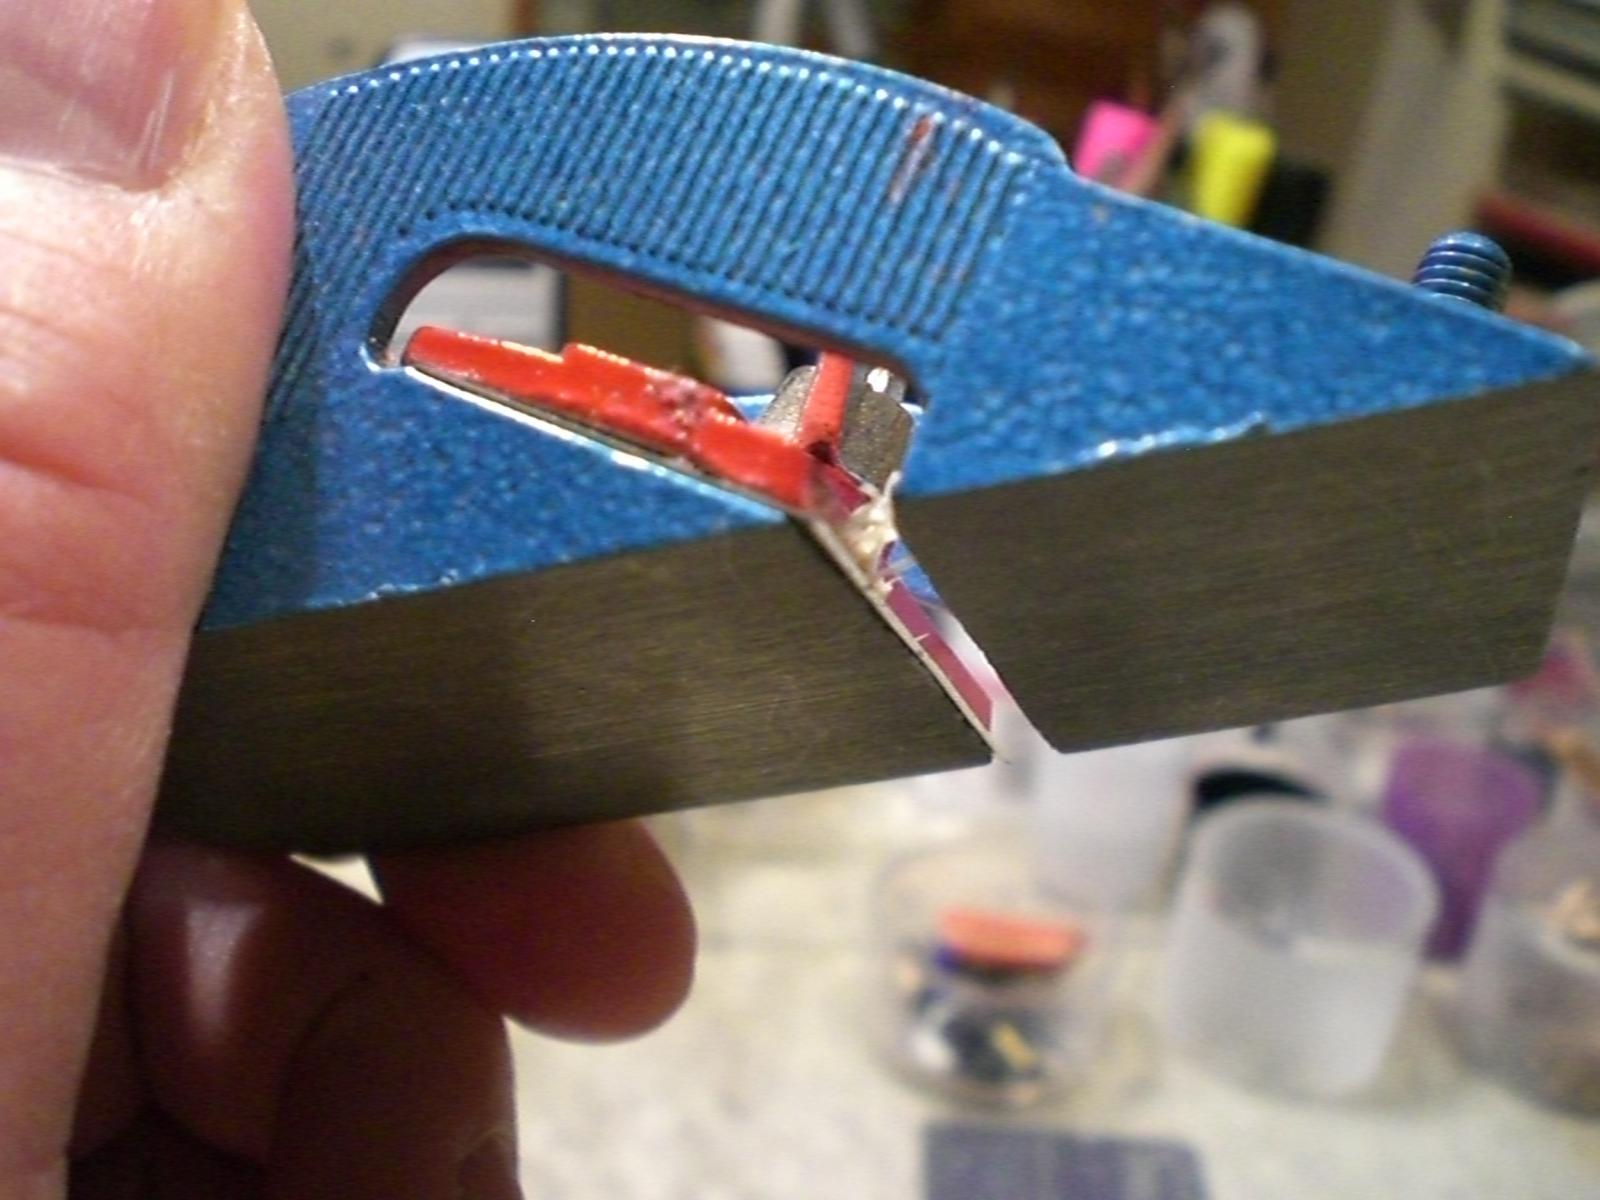
Hi Larry, I meanwhile had a look at the spokeshave function on U-tube. Trust it acts basicly as my little balsa hand plane does. I used this handplane for fairing the pine-planked hull of my "Heinrich Kaiser" steamship. Thanks again for your suggestion. There is a minor handicap when using either spokeshave or plane, its the possible opposite grain run of the wooden planks next to one another in longitudinal direction under the shaving blade. The grain run would have to be sorted to the same side before applying the planks, in order to get a pit-free surface. But I agree with you, the degree of dust in the air is terrible when sanding, it settles everywhere on everything in the room, and making curled chips on the floor can be sweeped up easily Here a pic of my balsa Plane, (for use of razor blades) I use for normal wood just as well..... Nils


- 2,625 replies
-
- 13
-
-
- kaiser wilhelm der grosse
- passenger steamer
- (and 1 more)
-
Boyd, lovely work, those Details are amazing and a joy to look at. I like those stairway balustrades and the Color giving, also that broken through cabin wall, providing sight to the interior with furniture in it is a wonderful idea of yours well done Nils
-
Hi Larry, welcome to this build, you made me curious about the spoke shave technique, I`ll have to look it up first, as I`m not familiar with it, but it sounds very interesting..... Thanks for you kind input, well appreciated Nils
- 2,625 replies
-
- 2
-
-
- kaiser wilhelm der grosse
- passenger steamer
- (and 1 more)
-
Hi Joe, wishing you a most enjoyable build with this famous "whaling mothership", shall watch this interesting log.... Nils
-
Hi Jason, on page 83, (Lennarth Peterson, Rigging Period Ship Models), it shows the clue block with a loop downwards that usualy goes around the eye in the topsail lower boltrope sail corner. The topsail sheet goes upwards with a large stopperknot at the end. This stopper knot can just as well go through the clue block`s loop, so you get the connection clue / sheet when there are no sails rigged. Nils
-
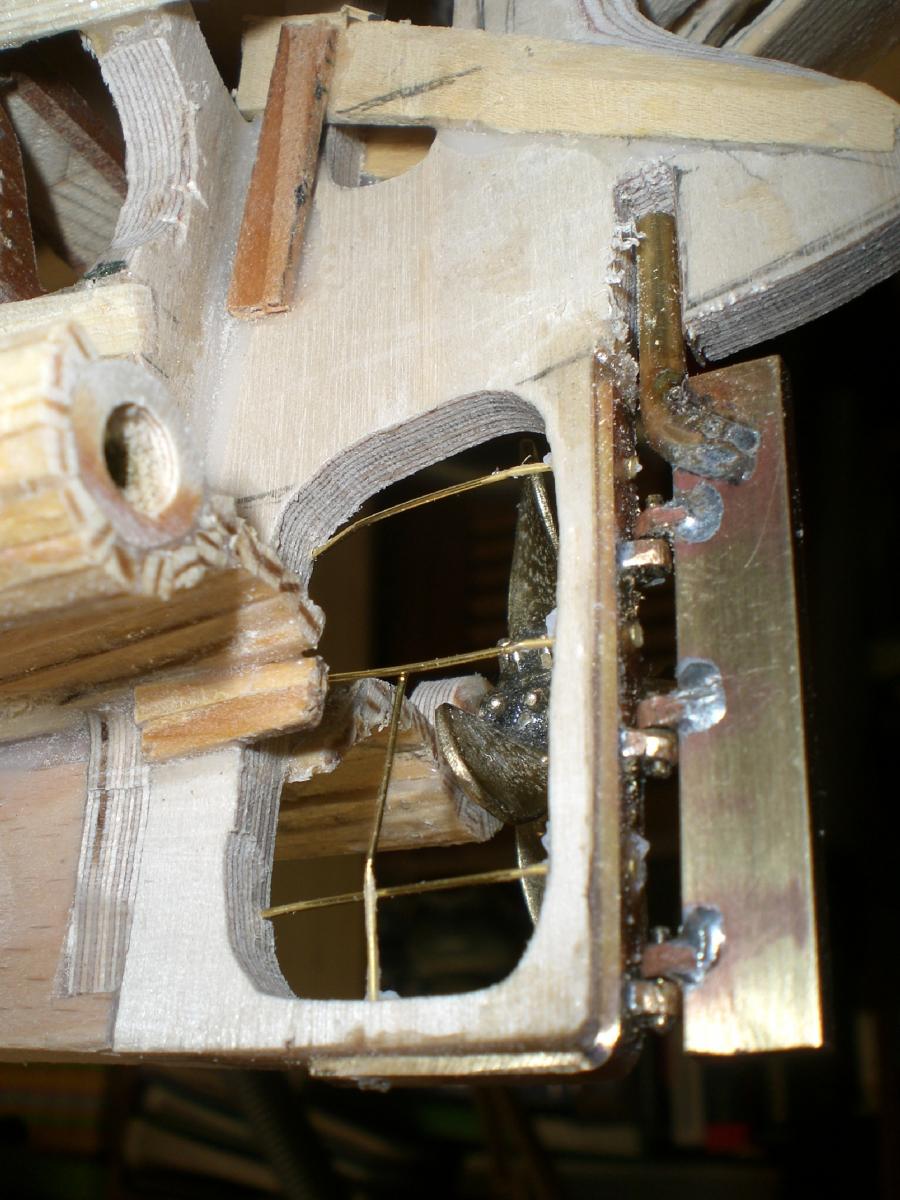
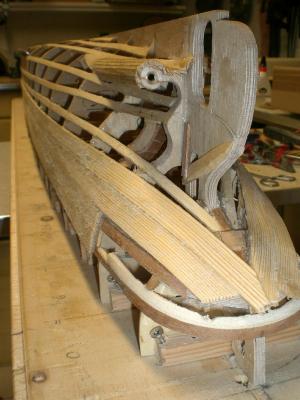
Mounting rudder to the keel heel..... Nils the brass reinforcement is glued in place with Epoxy 2 component glue, the 4 brass anchors are additionaly put on The long ends of the anchors will be clipped off inside the keel outcut

- 2,625 replies
-
- 21
-
-
- kaiser wilhelm der grosse
- passenger steamer
- (and 1 more)
-
I love those lines Keith, beautiful build, nice clean planking Job, it Looks great... Nils
-
Thank you very much - Peter - Pete - David, and all the "likes"... Peter, Thanks, I know, I`m not so happy with that Arrangement, therefore I take utmost concentration and care when operating it Pete, thanks for your remark, yes, I think the raw-hull will be done pretty fast. It will be faired and a nitro-Wood-bounder put on it, to get the Basic smooth surface for the metal plating Job later on David, I´m trying to get the hull the way it Looks like in those old dock photos Nils
- 2,625 replies
-
- 4
-
-
- kaiser wilhelm der grosse
- passenger steamer
- (and 1 more)
-
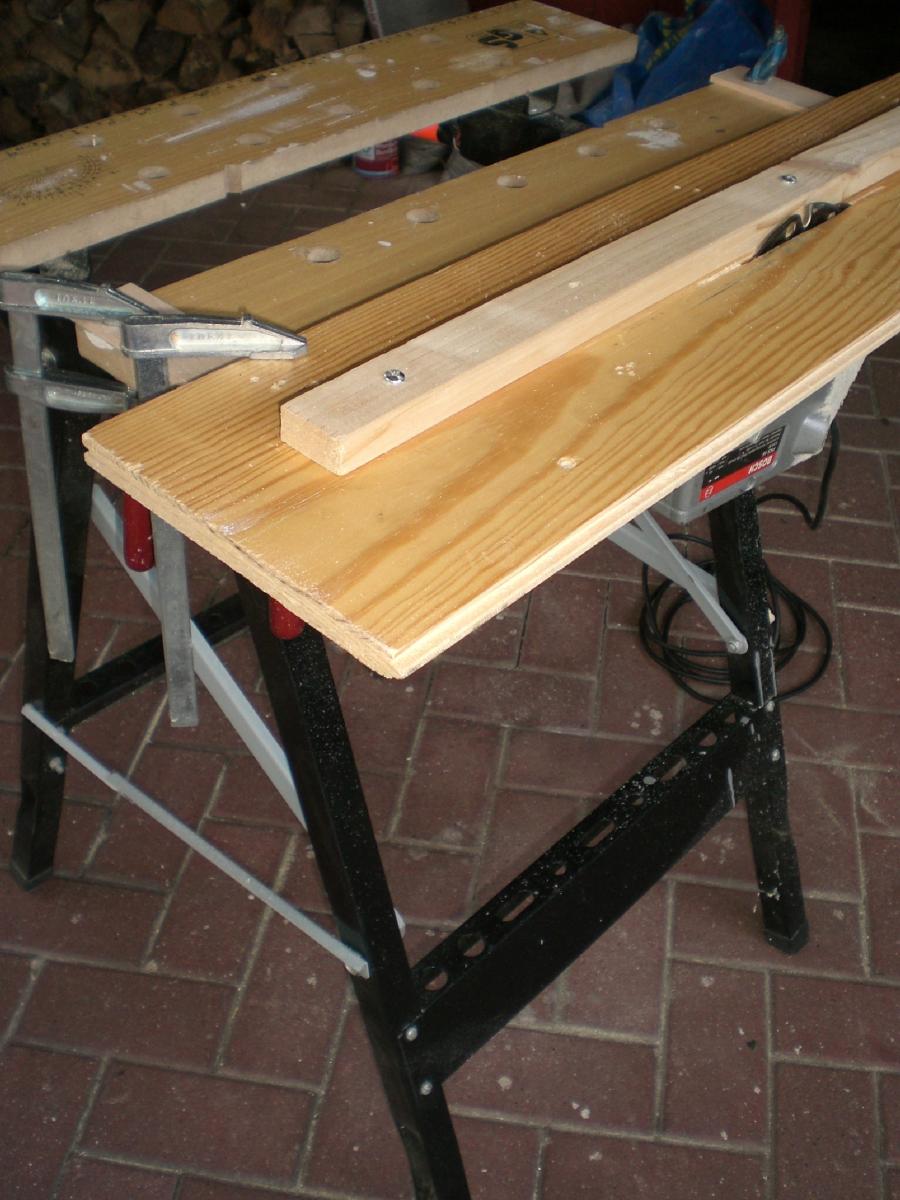
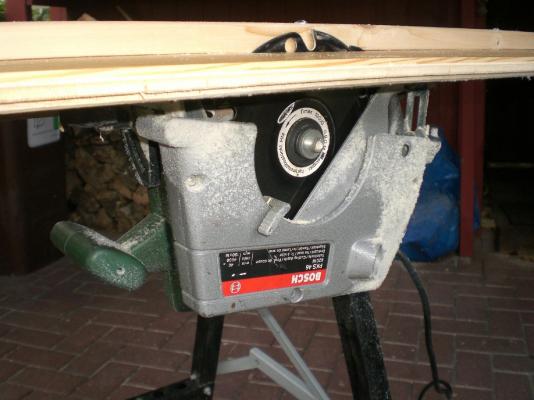
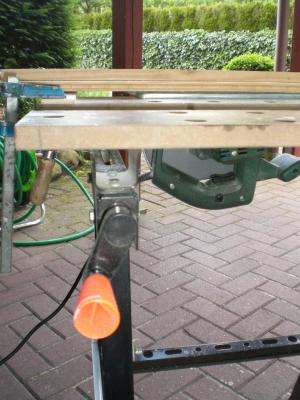
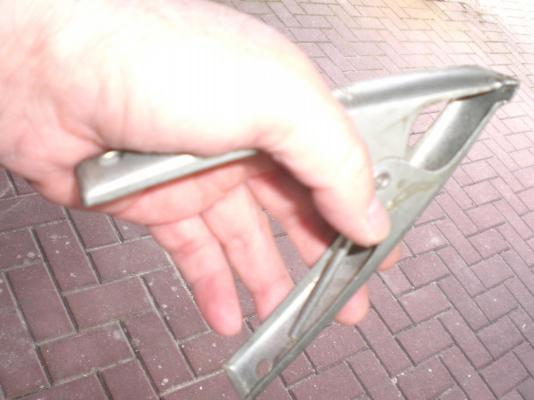
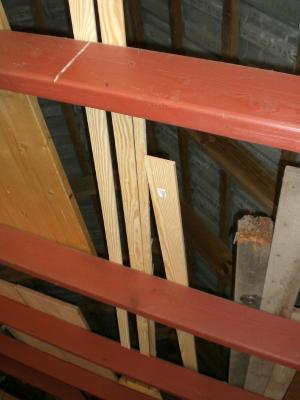
well Popeye, in that case you need some strong arguments, for saving money, and for making the planks in the dimensions you need (thickness, width, length, etc... added are some pics I shot under my carport, where I do the plank sawing now and then. The electric circular hand saw has a blade with tungsten teethtips, and I mount everthing on my mobil work bench. I`m taking in account, that the automatic shut-off is disabled when I "pull the trigger" with this big clamp-peg I put on it, when it runs. cheers, Nils the raw material for cutting the planks from are kept under my carport roof the handsaw "converted" to a table saw (mounted from underneath) The desired width of the planks is subject to the raw plank thickness chosen for cutting from to activate the trigger I have to reach under the workbench This clamp peg I put over the trigger in the saw`s handle (for safety reasons this ca`nt be recommended, utmost caution must be given during operation !! )

- 2,625 replies
-
- 11
-
-
- kaiser wilhelm der grosse
- passenger steamer
- (and 1 more)
-
thank you very much Patrick... Nils
- 2,625 replies
-
- 1
-
-
- kaiser wilhelm der grosse
- passenger steamer
- (and 1 more)
-
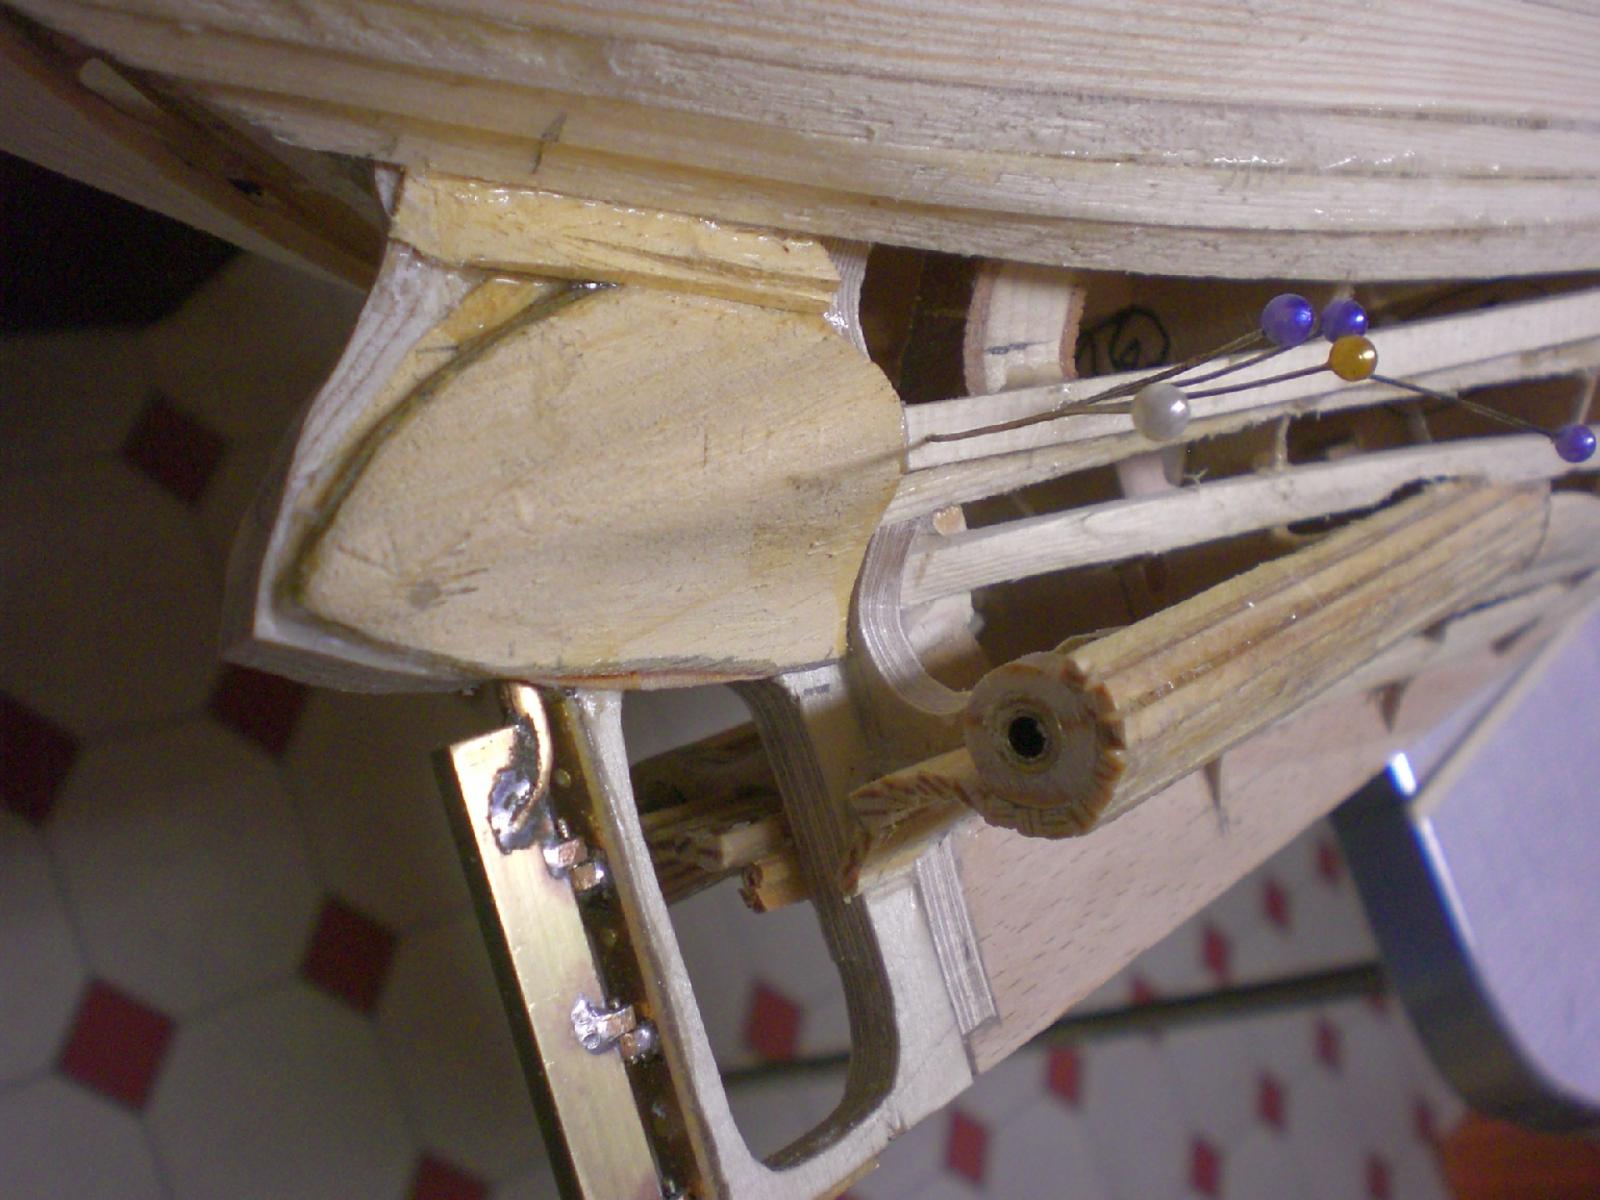
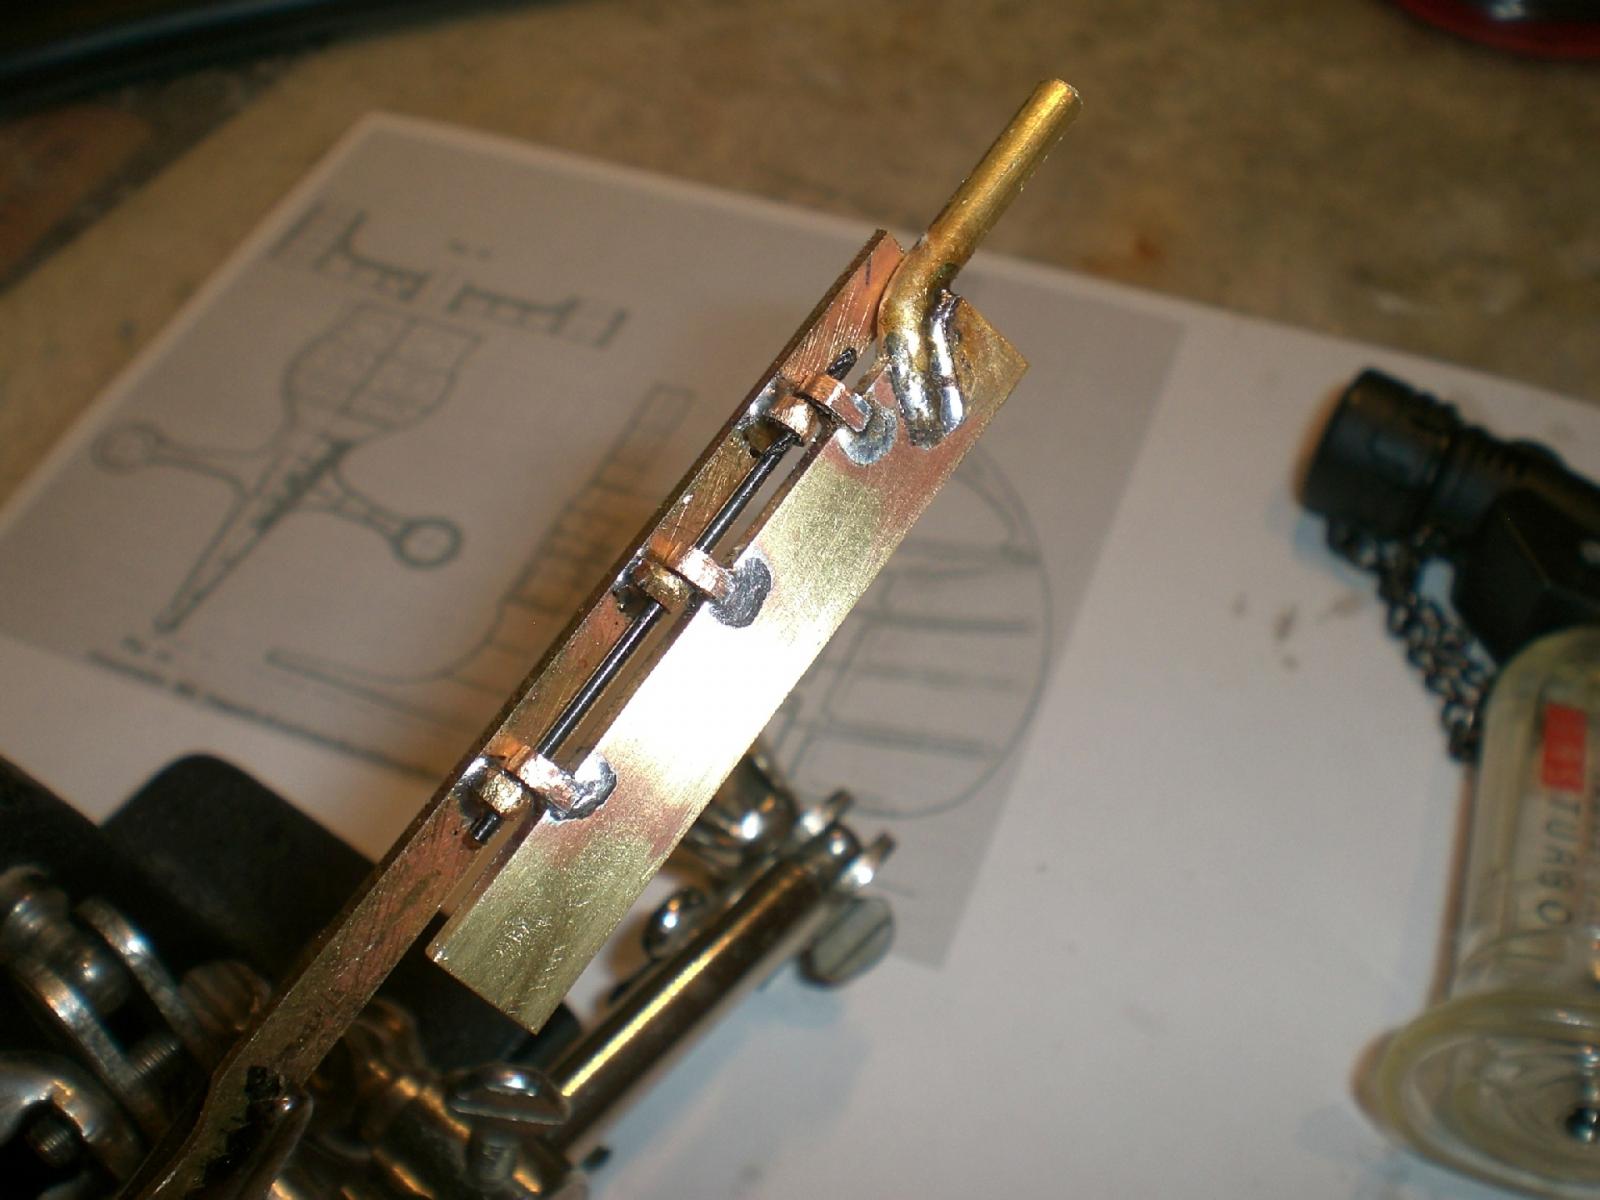
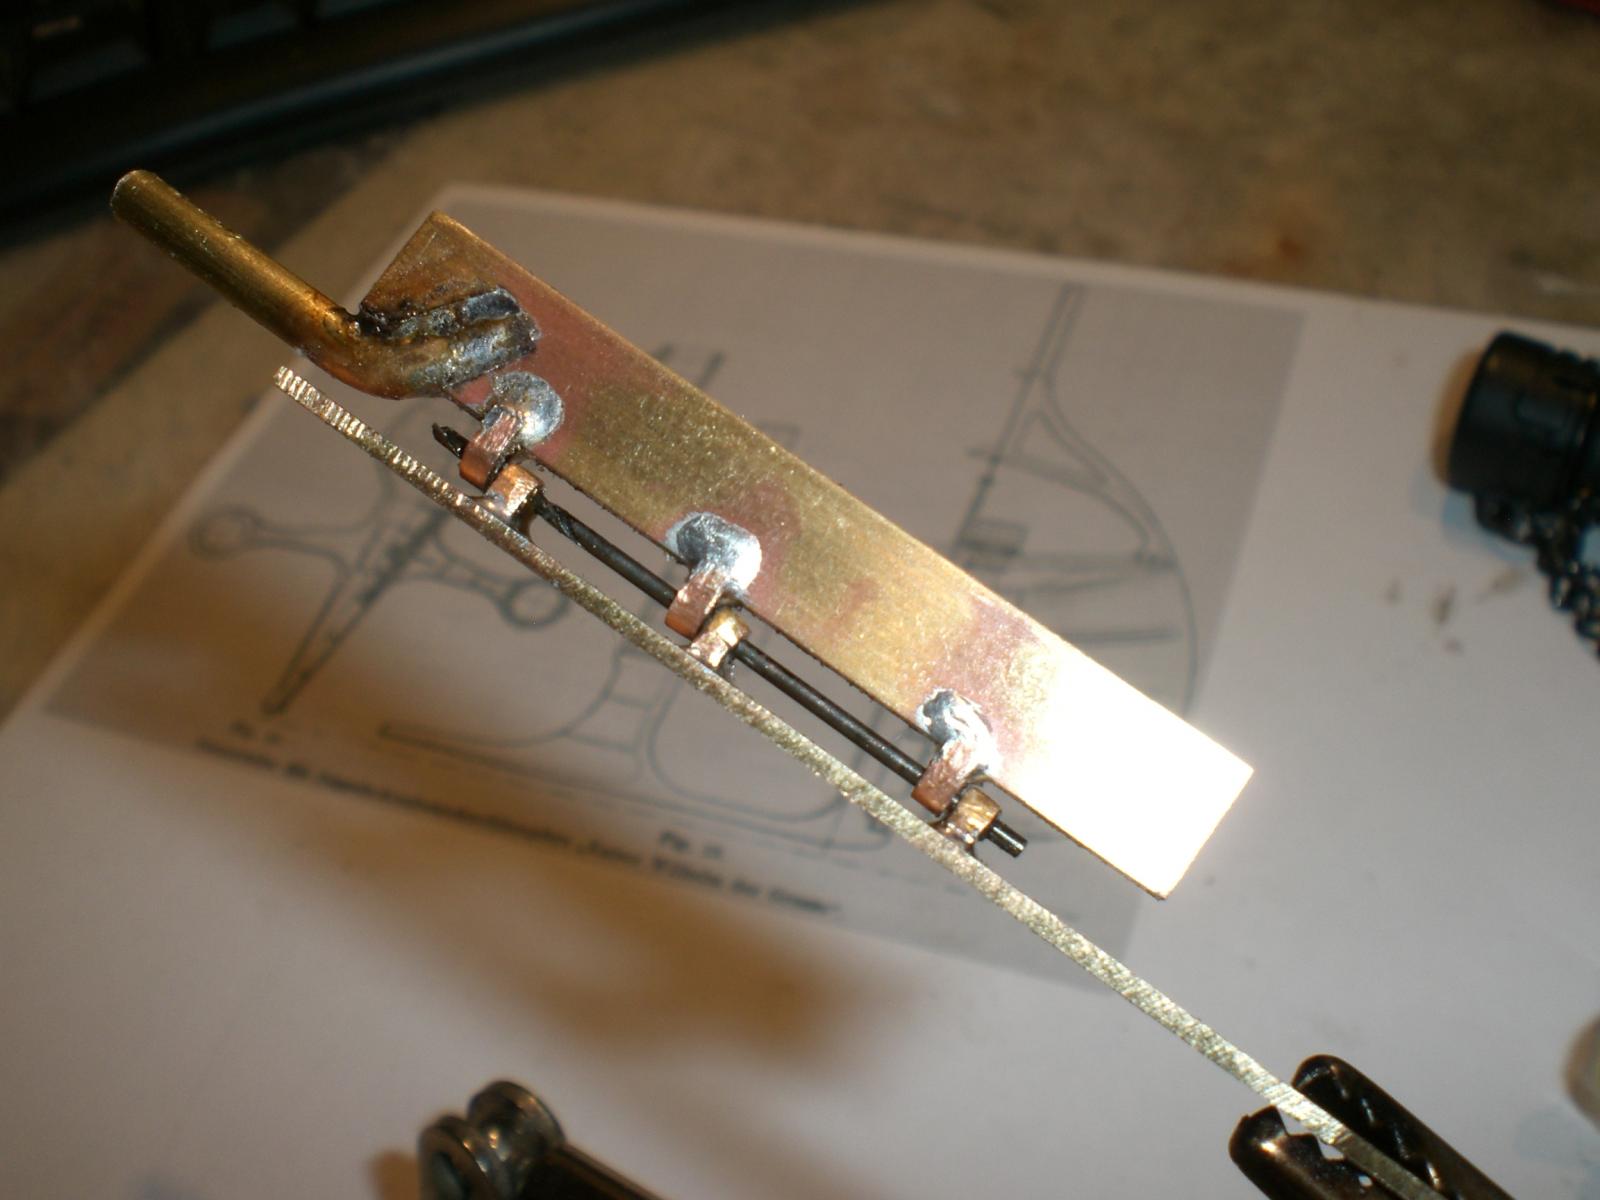
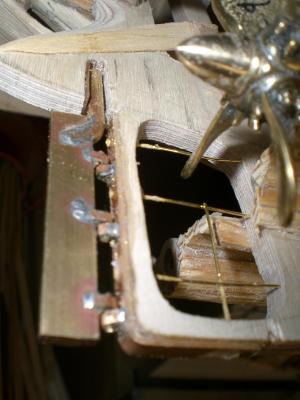
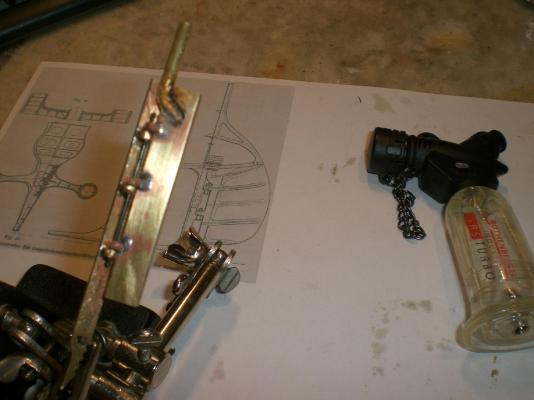
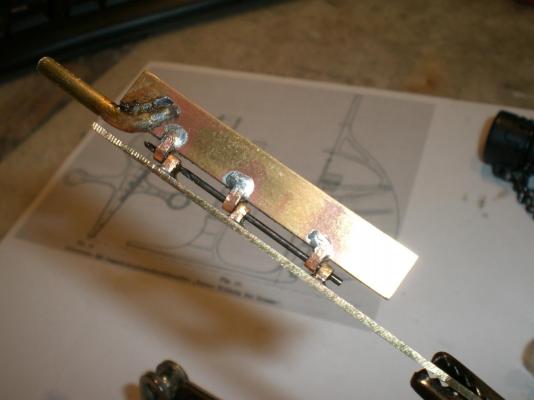
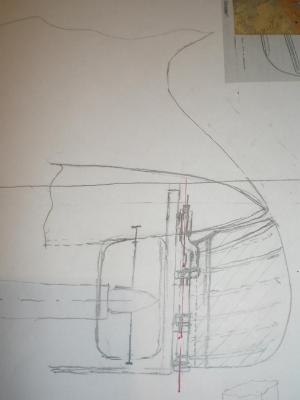
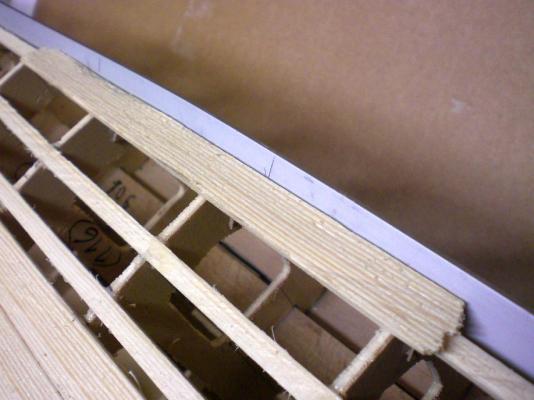
Build log part 8 starting with the geometry of the hinge mechanism of the underwater- rudder..... Nils first the obligatory handscetch.... the skeleton of the rudder bears the frame and will be sidewise cladded with brass sheet the other part (flat post) goes to the sternpost. Here I pushed a 1 mm drill in as preliminary pivot-pin The permanent fixed bilgekeels are mounted four 13 mm planks are put on each side will fit the raw, hinged rudder skeleton in place next, and then mount the tail cone filler pieces


- 2,625 replies
-
- 21
-
-
- kaiser wilhelm der grosse
- passenger steamer
- (and 1 more)
-
beautiful cutter for your "Vulture" Danny, very well done, and completed in a Swift pace that is realy amazing, a lovely litte boat.... Nils
-
Hi Martin, welcome to my new Project, its nice to have you on board, and many thanks for your Kind comments. In the Moment I`ll have to find a break to complete the "HMS Pegasus" as there is not so much to do on that Lady anymore, and of course the glass case for it. For the new ship I had so much drive, just because I wanted to see if it would turn out as it appeared in my mind, and because I had neighther proven build plan, nor intructions for doing it . You are quite right with your comment related to that "splash of Imagination", but I love to find Solutions that make me come nearer to my Imagination. Nils
- 2,625 replies
-
- 5
-
-
- kaiser wilhelm der grosse
- passenger steamer
- (and 1 more)
-
Thanks Johann, this will be my second coal-fired steam ship (in actual built and launched before 1900). I love These heritage steam ships Nils
- 2,625 replies
-
- 1
-
-
- kaiser wilhelm der grosse
- passenger steamer
- (and 1 more)
-
thank you Johann, for your kind appreciation, I`m glad you like the ship... Nils
- 222 replies
-
- 1
-
-
- gorch fock
- barque
- (and 2 more)
-
Patrick, thanks for the good words... Nils
- 2,625 replies
-
- 1
-
-
- kaiser wilhelm der grosse
- passenger steamer
- (and 1 more)
-
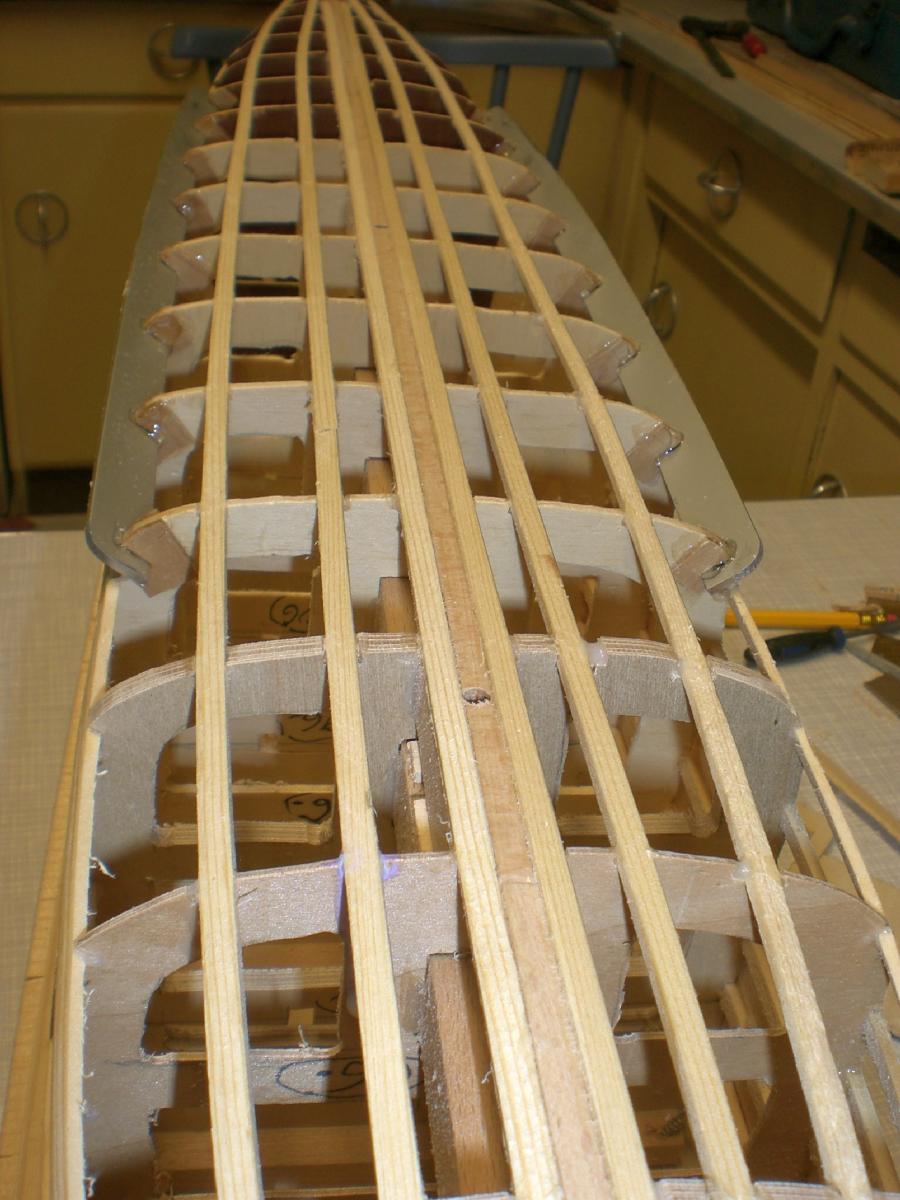
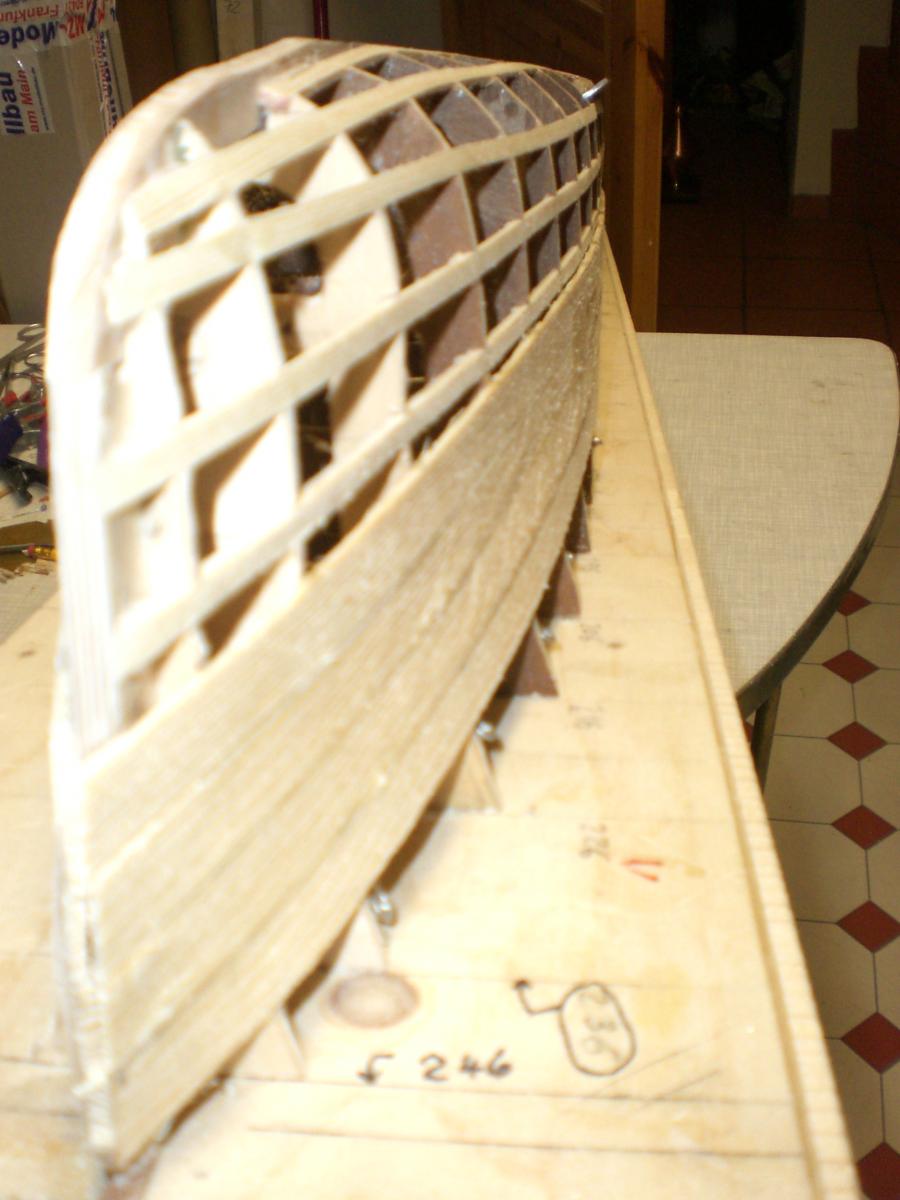
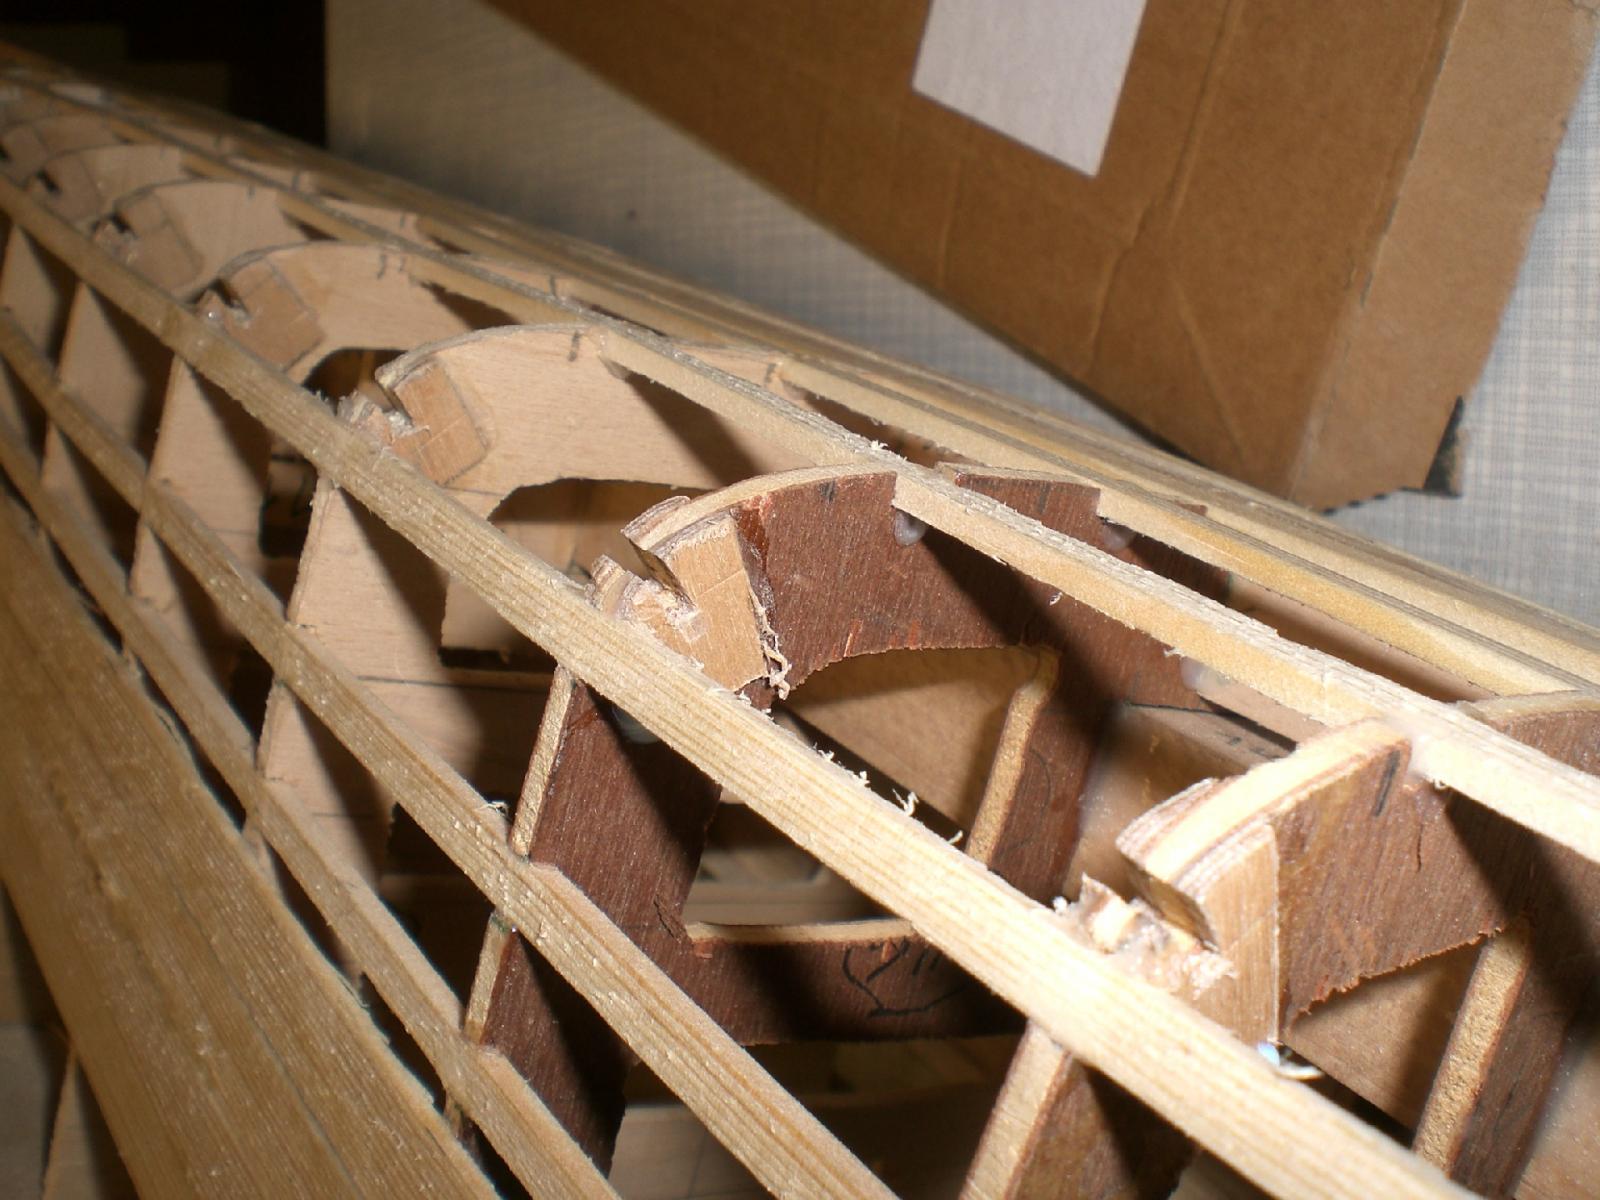
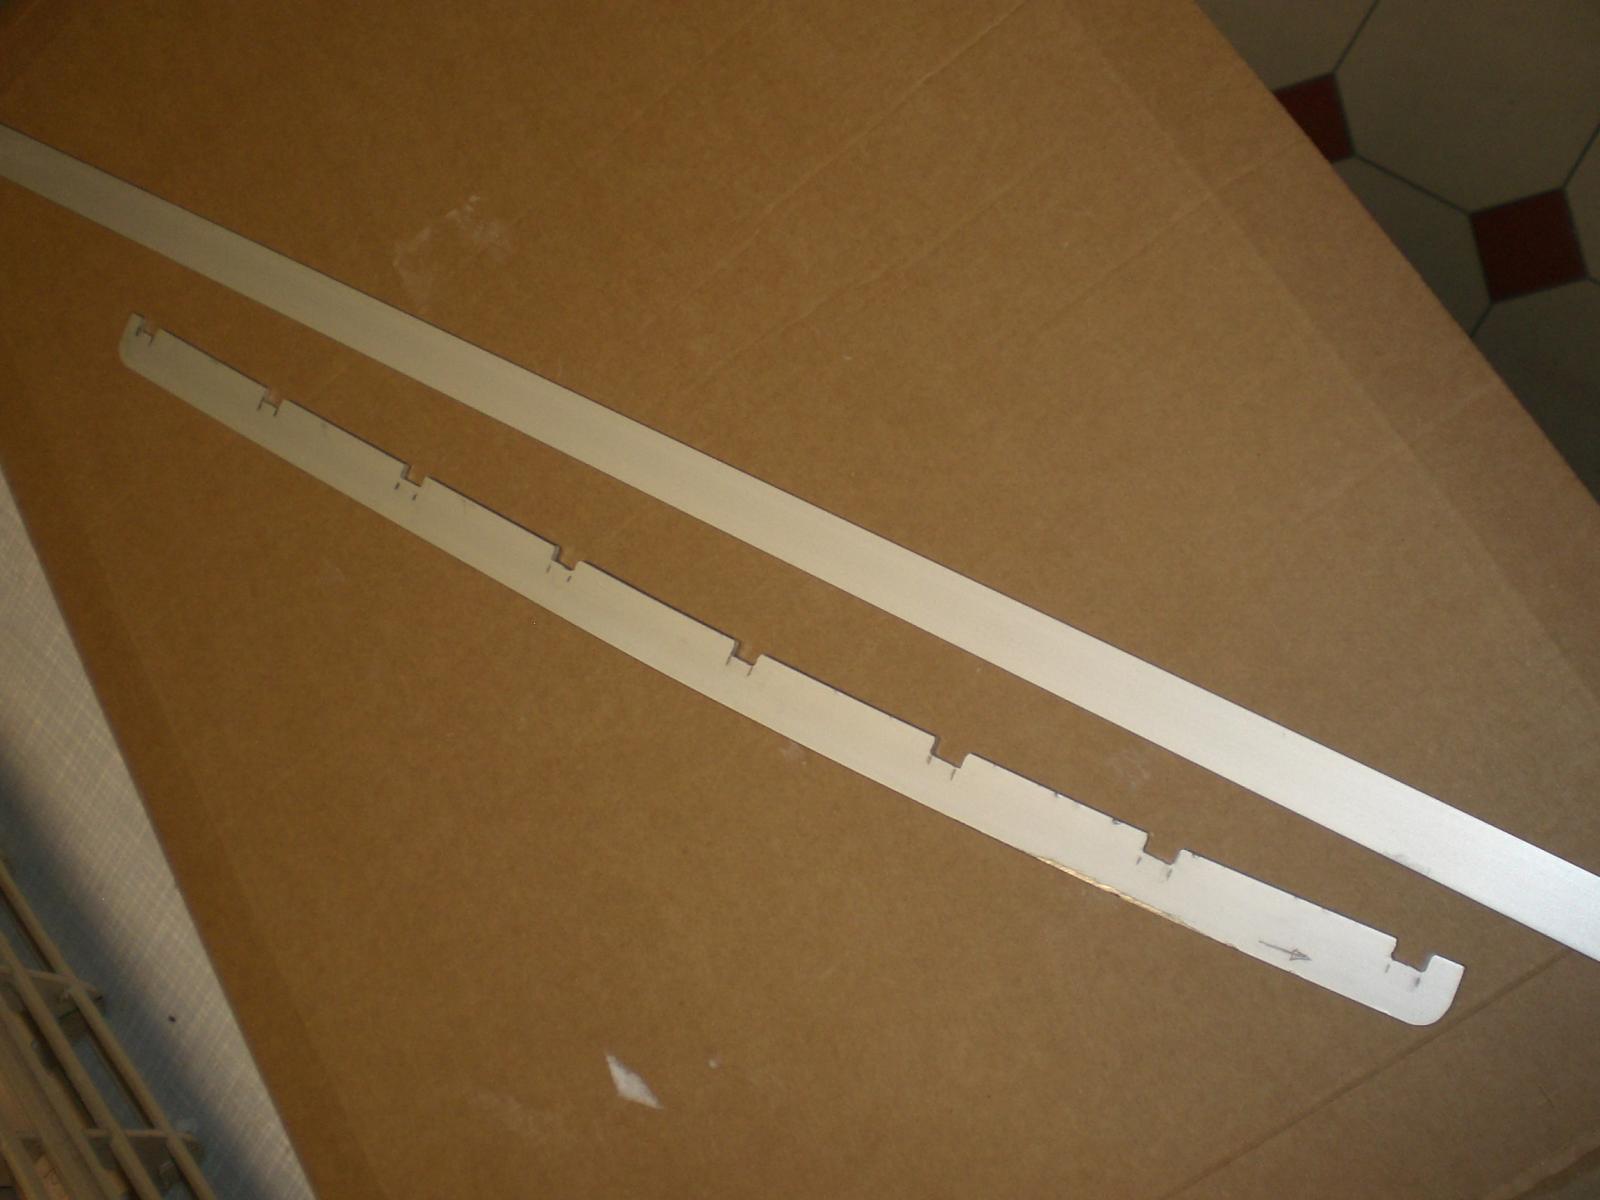
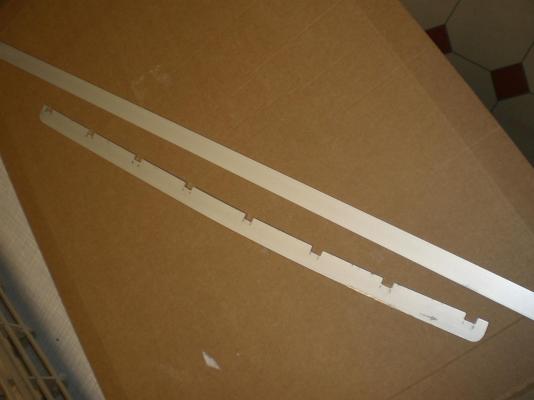
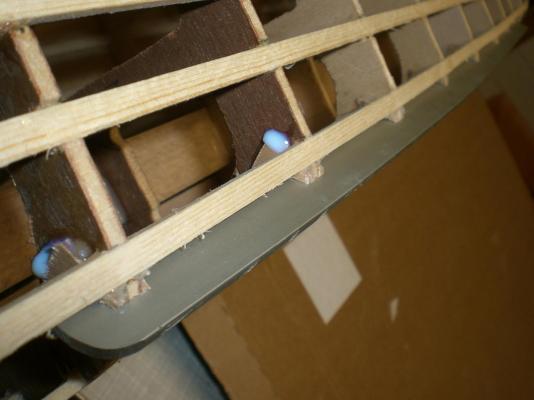
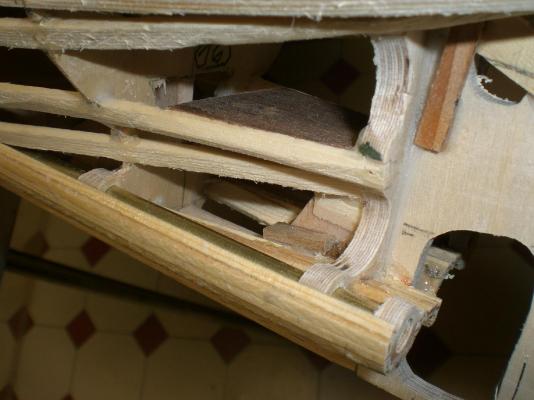
this will be the version for inserting the bilgekeels...... Nils reinforcement to the 8 frames concerned, and slotting with a metal-saw blade aluminium flat 2 x 15 mm, raw and bent over the high side, and slotted "bilge keel" the bilge keels and the frames bear slots that interlock, (will either glue-in with epoxy or high viscosity CA holding a scrap piece of plank against the bilge keel, to check the remaining standover outside the hull my "nasty" area, but I have to "face it like a man"....

- 2,625 replies
-
- 24
-
-
- kaiser wilhelm der grosse
- passenger steamer
- (and 1 more)
-
good Progress can be seen Popeye, what a lot of tiny bits and pieces, you`re doing a good Job with the painting... Nils
-
Cutter Cheerful 1806 by rafine - FINISHED
Mirabell61 replied to rafine's topic in - Build logs for subjects built 1801 - 1850
Good work Bob, clean, accurate, precise, as usual, a delight to see.... Nils- 525 replies
-
- 2
-
-
- cheerful
- Syren Ship Model Company
- (and 1 more)
-
Hi Marc, your deck-housings look superbe..... Also the mastings and the bowsprit look great Nils
- 525 replies
-
- 2
-
-
- cutty sark
- mantua
- (and 2 more)
-
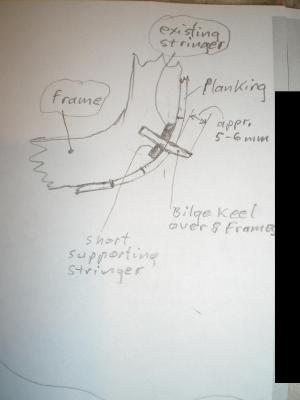
Thanks for your tip / suggestion Nigel, it is much appreciated.. I also thought about the commen way, but on the other hand these bilge keels being appr. 40 cm long will be made from flat aluminium strip, so the won`t brake off, if by accident (when handling the hull so many times during planking and later on metal-plating) the hull knocks agaist anything I wanted a safe anchoring into the 8 concerned Hull frames and do the outside planking around then. Fortunately there will not be much fairing necessary, plse. refer to enclosed handscetch... cheers Nils
- 2,625 replies
-
- 11
-
-
- kaiser wilhelm der grosse
- passenger steamer
- (and 1 more)
-
Thank you very much Patrick and Rob, and the "likes" Patrick, for the bilge keels I cut off some of the Aluminium Strip width, but when mounting and considering the planking thickness, I should have left the Strip in its original width, in order to get a good hold in the hull. So get a new Strip back to start Position and do it over... Rob, welcome on board, ist nice to have you viewing the log, I hope you will further like the Progress, and thanks for your complement Nils
- 2,625 replies
-
- 1
-
-
- kaiser wilhelm der grosse
- passenger steamer
- (and 1 more)