HOLIDAY DONATION DRIVE - SUPPORT MSW - DO YOUR PART TO KEEP THIS GREAT FORUM GOING! (89 donations so far out of 49,000 members - C'mon guys!)
×


Mirabell61
-
Posts
7,409 -
Joined
-
Last visited
Content Type
Profiles
Forums
Gallery
Events
Everything posted by Mirabell61
-
 If this is your first kit Richard, you are definately on the right way. The Story goes.... learn by doing..., am waiting for the build log to continue, The scale you are challenging (1:124) is not easy but you`re doing well, Keep the good work up ! Nils
- 52 replies
-
- 1
-

-
- thermopylae
- sergal
- (and 1 more)
-
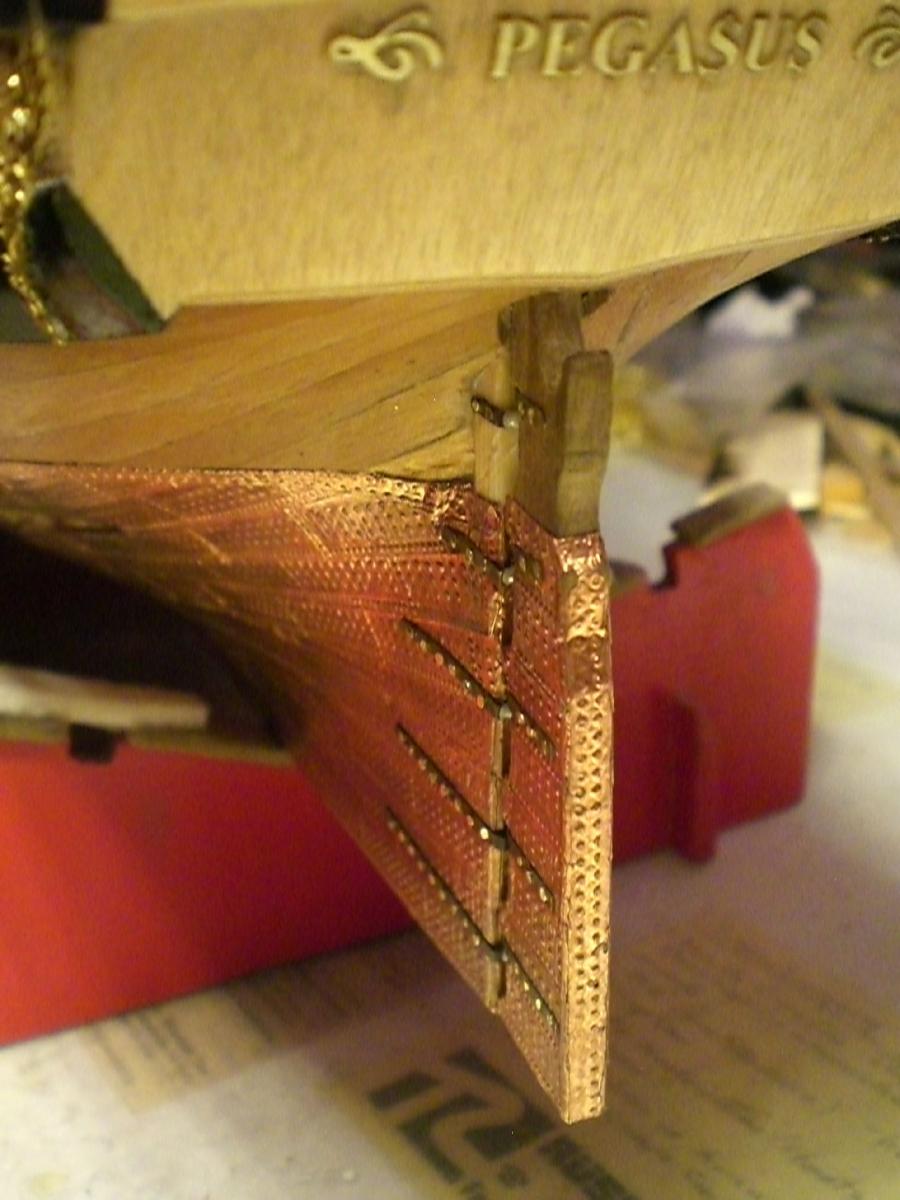
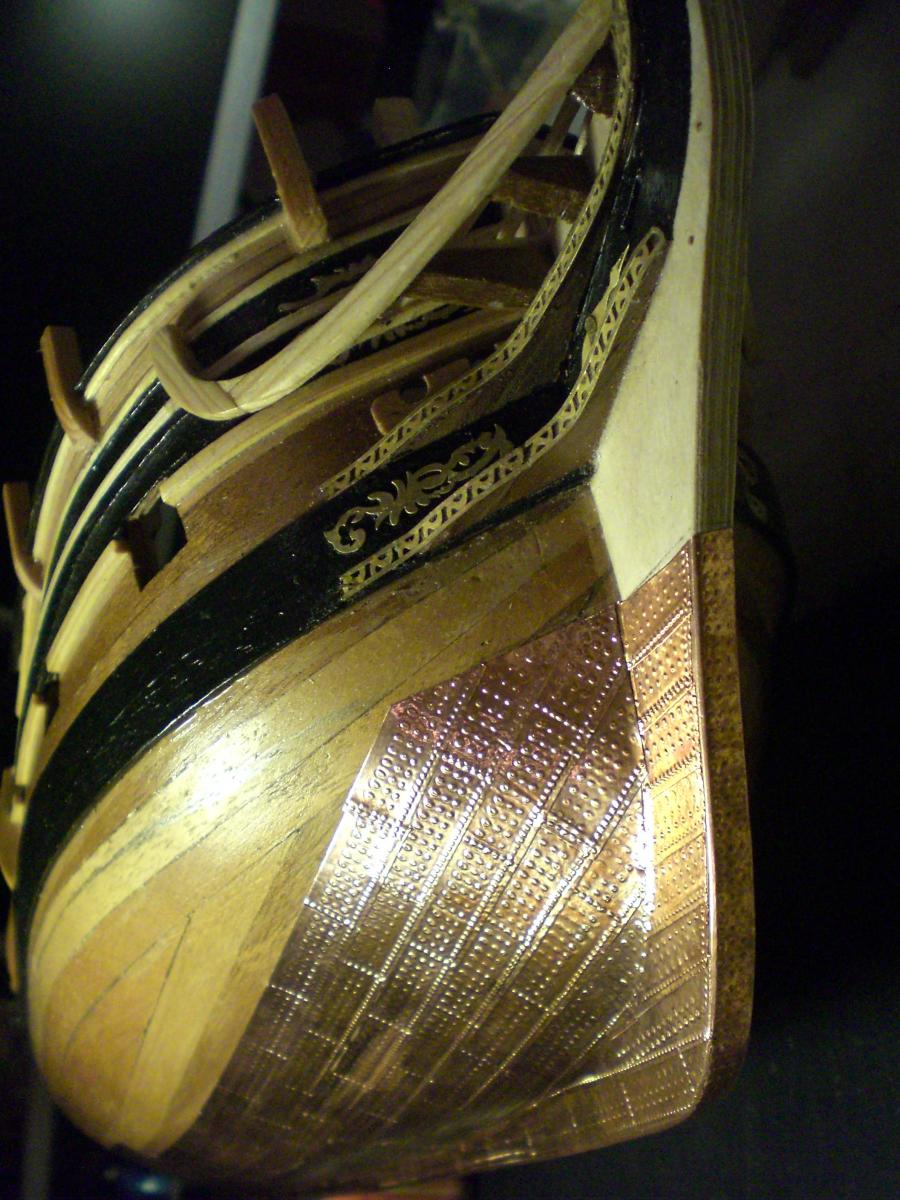
Hi Danny, just a Little Feedback as to your reminder (thanks again) advice with the time of rudder mounting. Have meantime mounted the rudder but did coppering for Rudder and hull first in order to to do hinge strappings on the copper. Had no Trouble with handling the hull, not even any broken off 0,5mm drill for all those mini holes in the straps. Nils
-
Outstanding model Nick wonderfull build and superb Details, I also liked your Network (link) but what an effort !.... you sure know what it takes to produce eyecandy... Nils
-
HMS Royal William by kay
Mirabell61 replied to kay's topic in - Build logs for subjects built 1501 - 1750
Hi Kay, thanks for reply, what you are doing is utmost interesting, I can`t wait to see more as you go along. The carvings in Wood are stunning and allmost unbeleavable if I would`nt have read your comments, well done Kay... !! Nils -
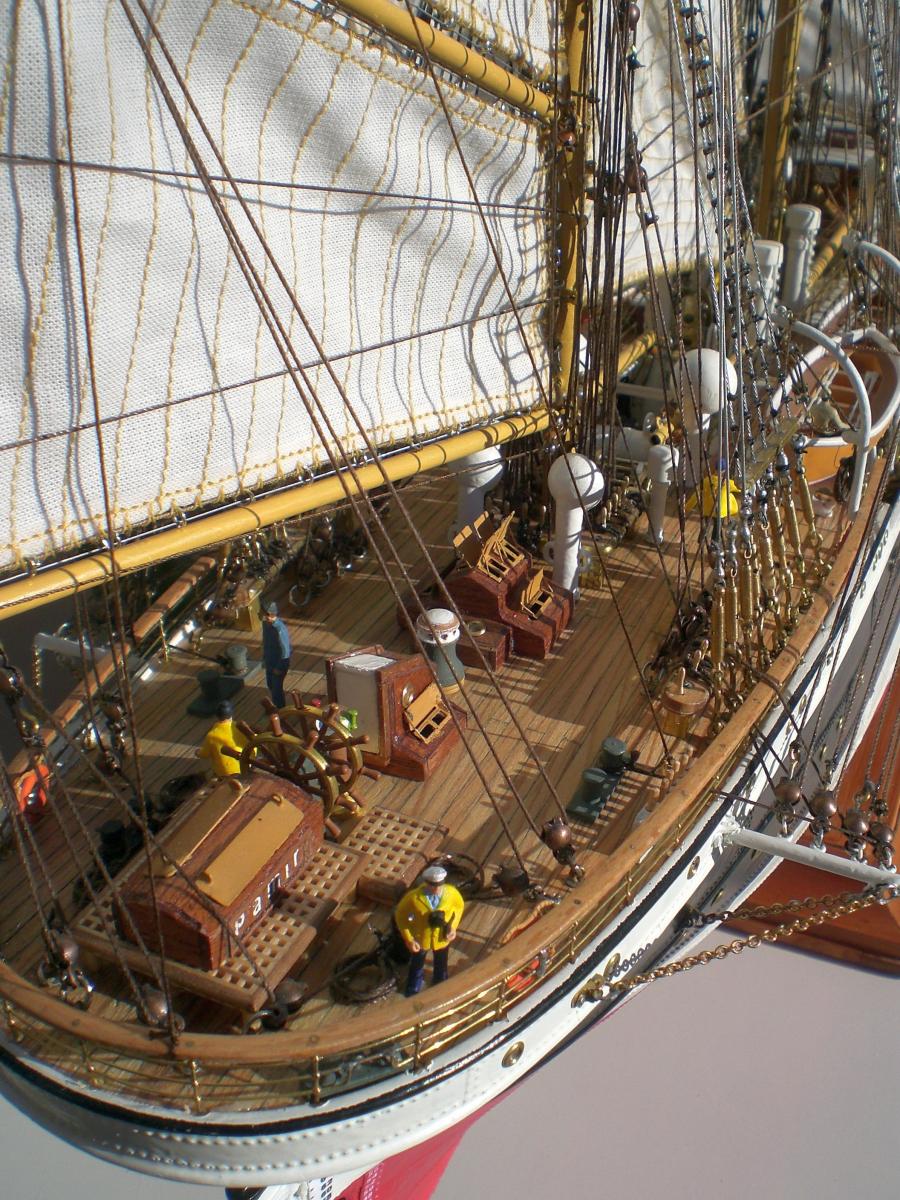
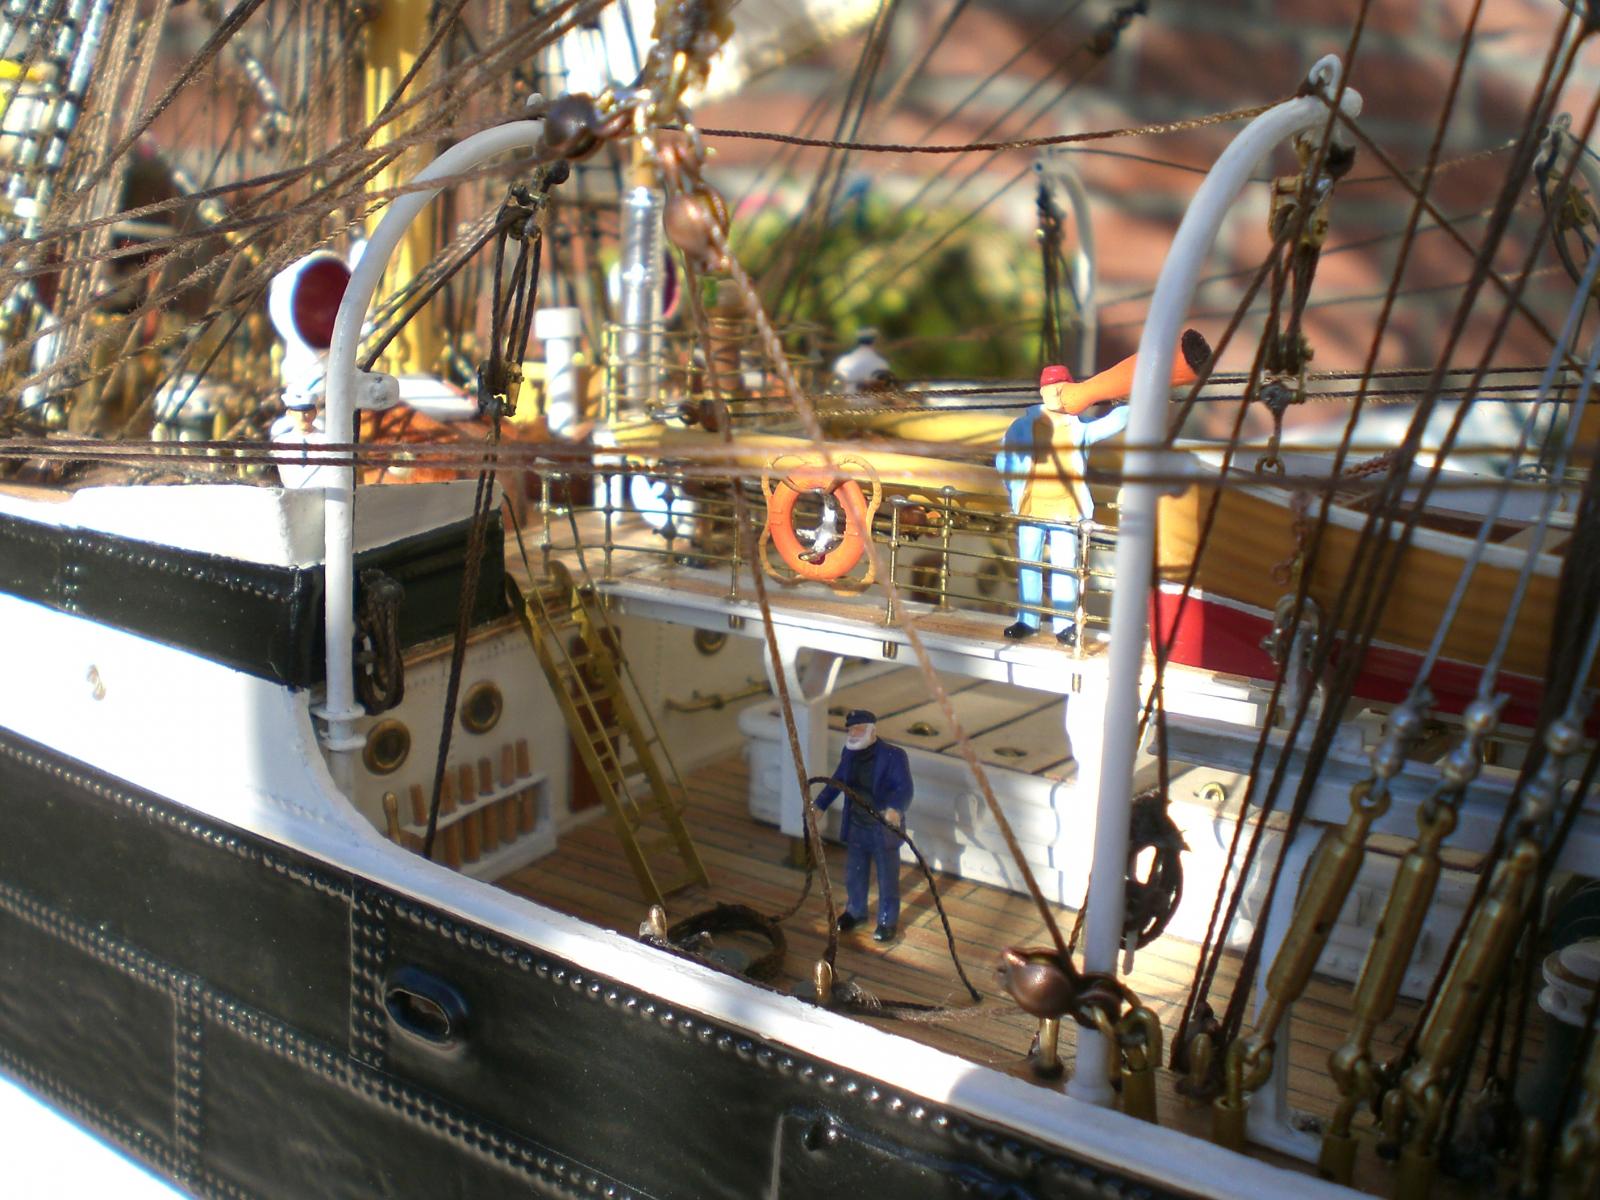
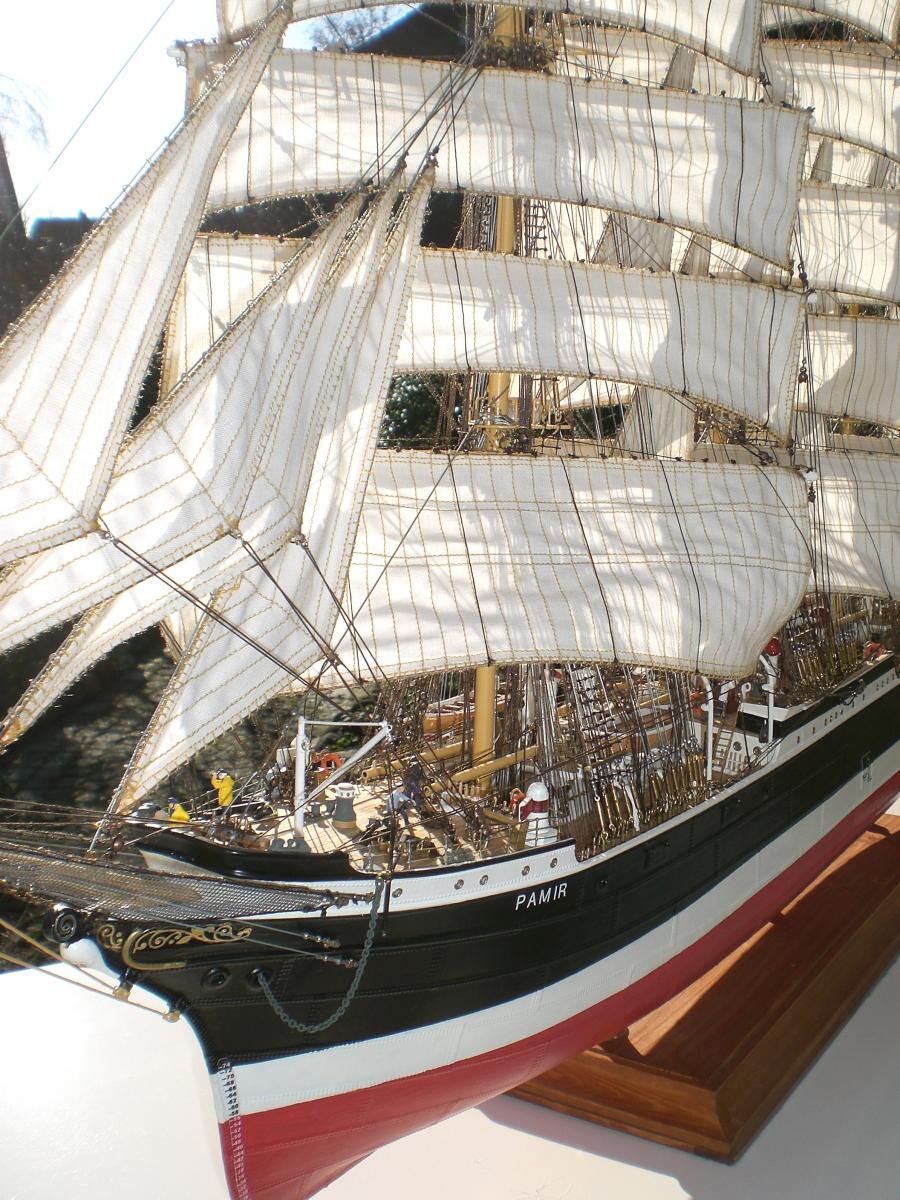
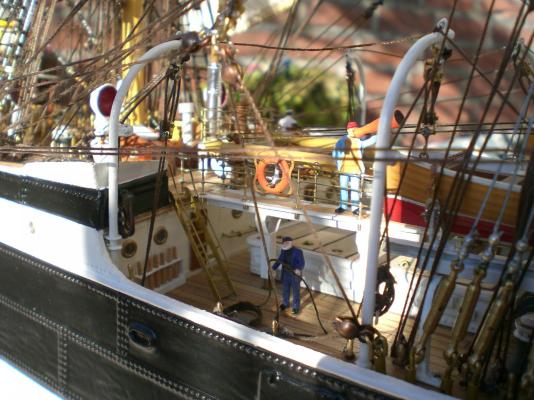
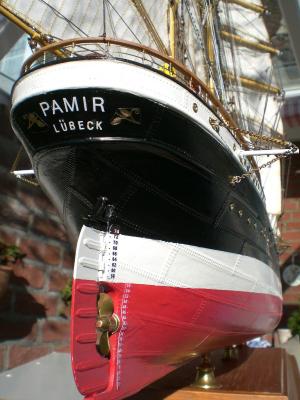
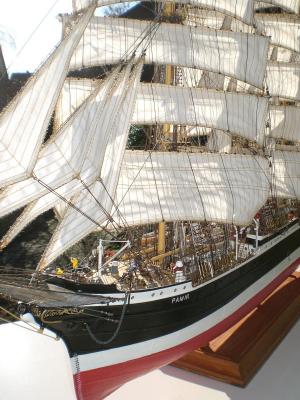
Hello Michael. I found myself in the same Situation 2 years ago, searching for Input, plans, Pictures, etc. of the Pamir. It was my aim to do a scratch build Version (not a kit) of this 4 mast barque in exact the Version in wich she foundered with a tragic loss in lives way back in 1957. I have to date a complete model in scale 1:96, plank on Frames with resembled riveted metal plating, full rigging, full sails "braced to the shrouds". feel free to contact me, if you should be interested in Pictures of the build Nils

-
HMS Royal William by kay
Mirabell61 replied to kay's topic in - Build logs for subjects built 1501 - 1750
Very nice Kay ! did you do the carving decorations on your own or do they come along with the kit ? I like it very much. A bit unusual but interesting way of doing the first planking between the bulkheads, it saves you thickness of the total planking build up on the Frames and provides a more true outside Skin. well done, and Keep the Pictures coming in..... Nils -
Hi Andy great build so far, I like the comments you give as to better Access when rigging the lower shrouds,etc, pls. do`nt hesitate to further comment your thoughts as you go along, I`ll Keep tuned with great interest Nils
-
Jean-Pierre, very nice the way you tune the kit to adopt all your improvements. It Looks very good, Keep those Pictures coming in, an not so popular shipmodel, but it is the one of the many "spices in the Fleet" presented by MSW Nils
-
Jean-Pierre, I unfortunately can`t help with the dutch Name, but it`s a very interesting and nice built ship you are showing, would like to see more Nils
-
beautifull rig Michael, I can`t wait to see more.... Nils
-
Hi Max, perhaps you did`nt recognize, but your better half is planing a surprize to sew for you the set of sails on your next model with the new machine..... So it`s well invested Money Nils
-
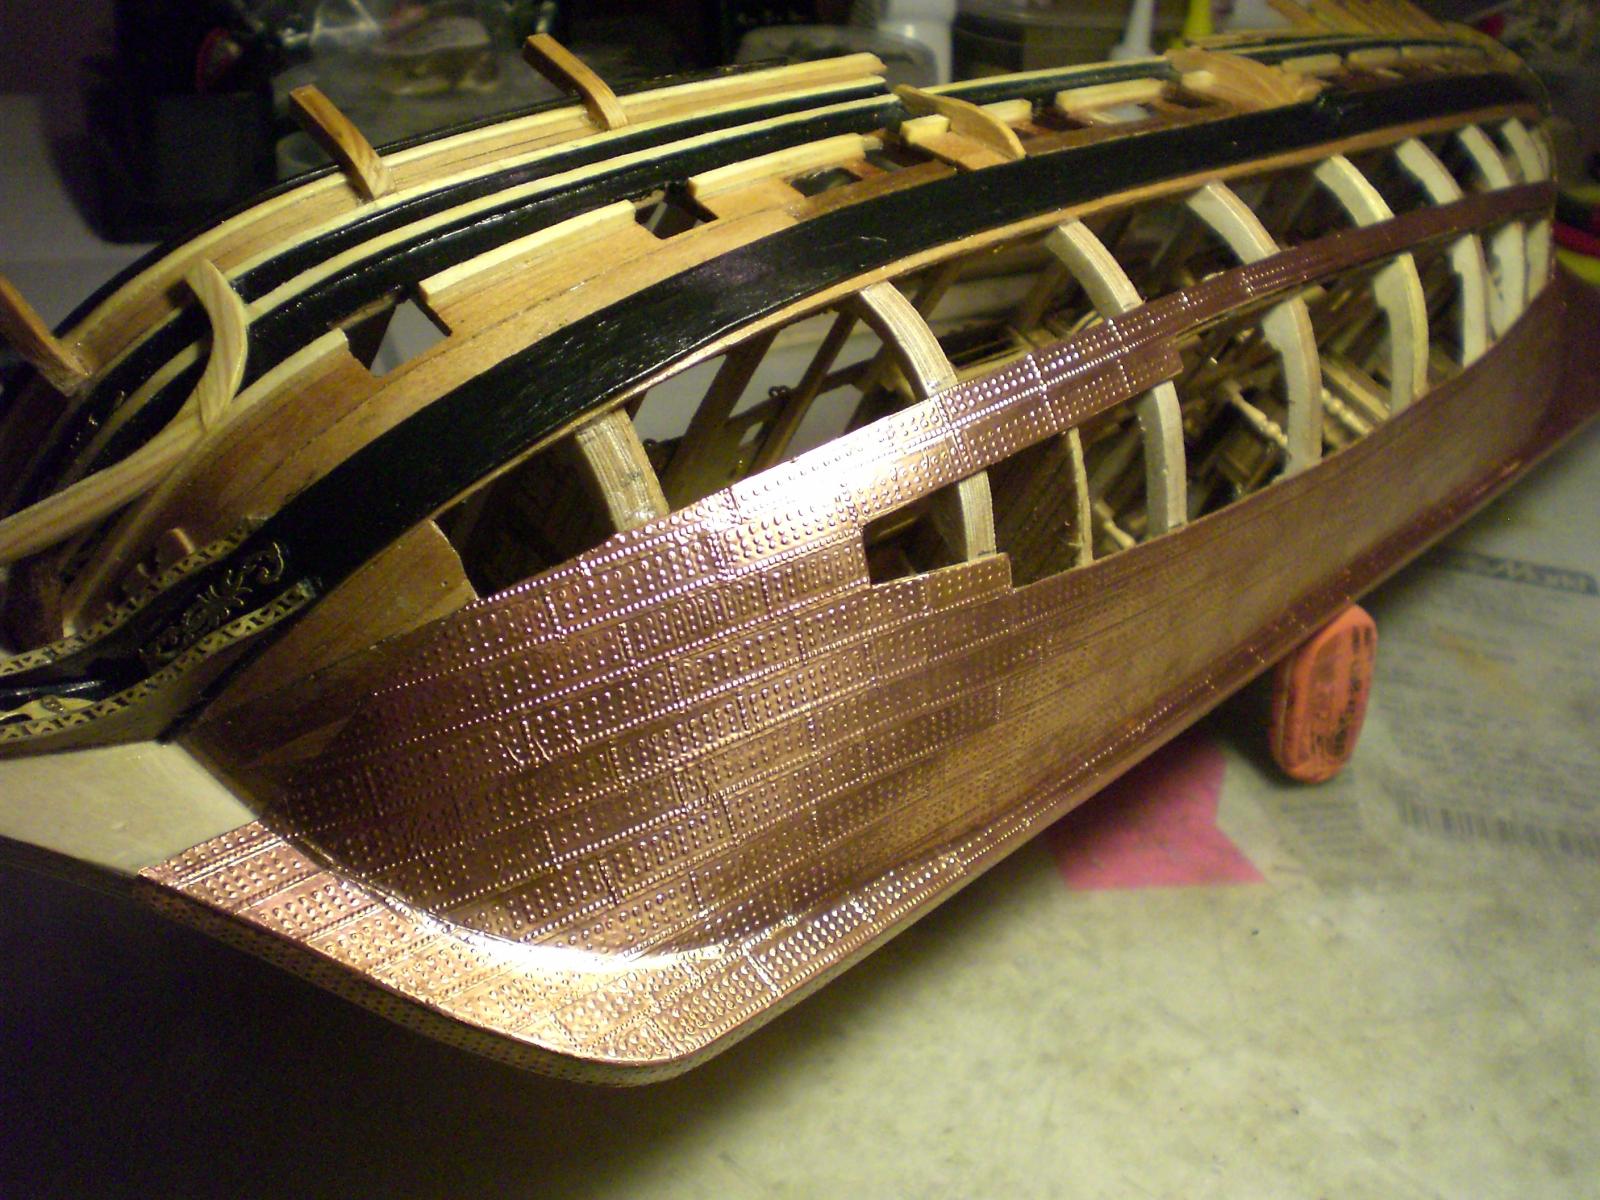
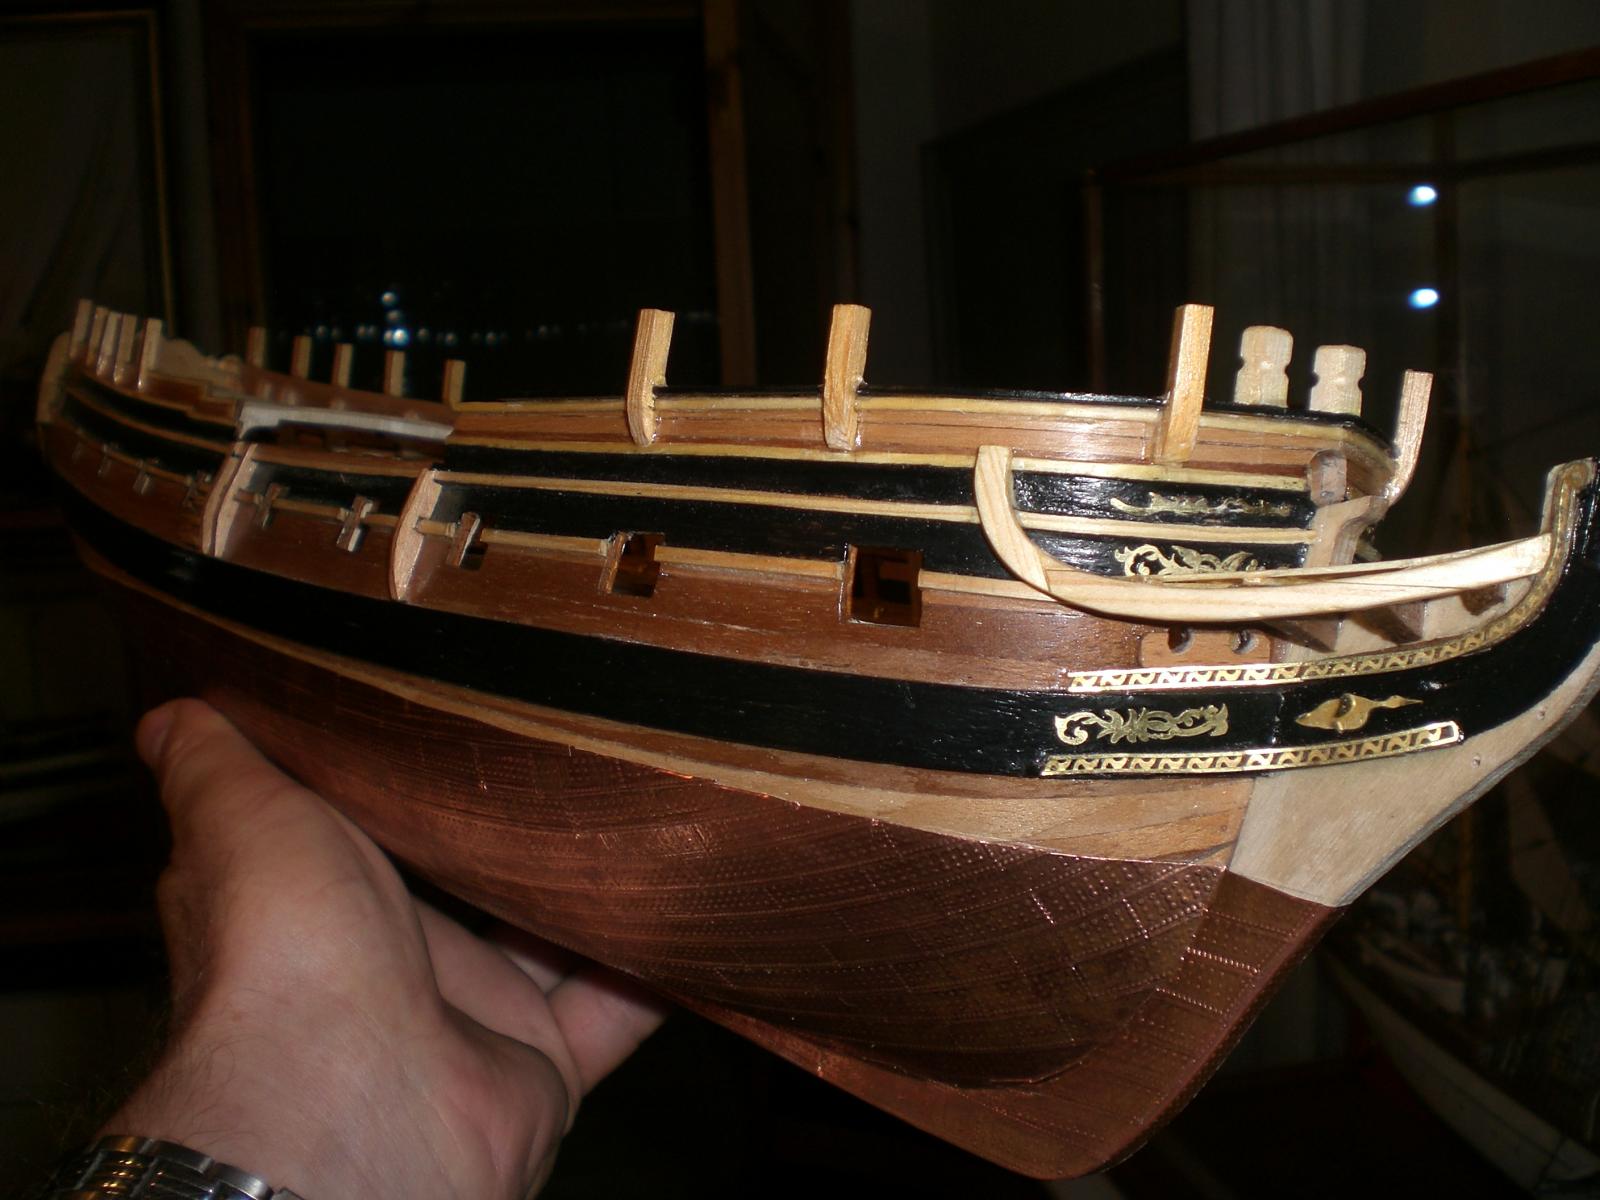
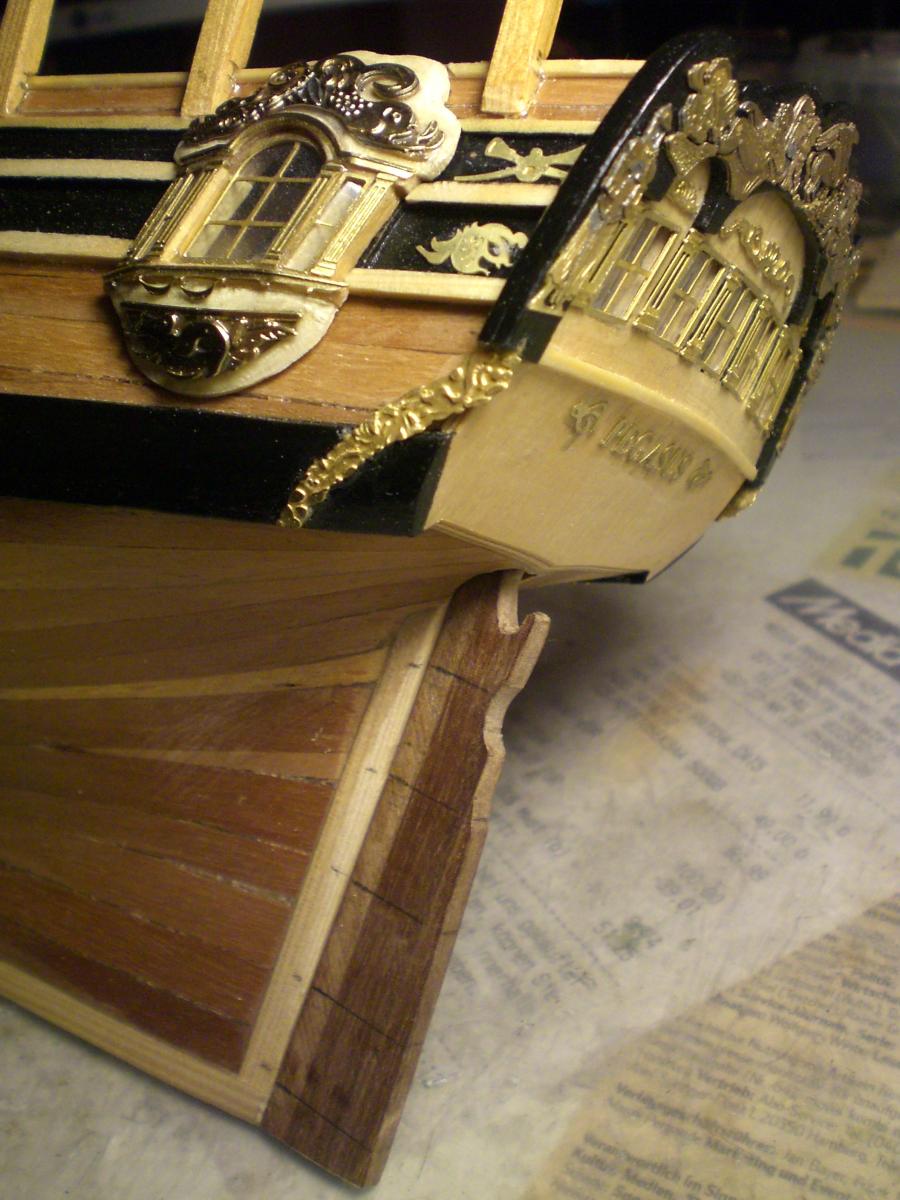
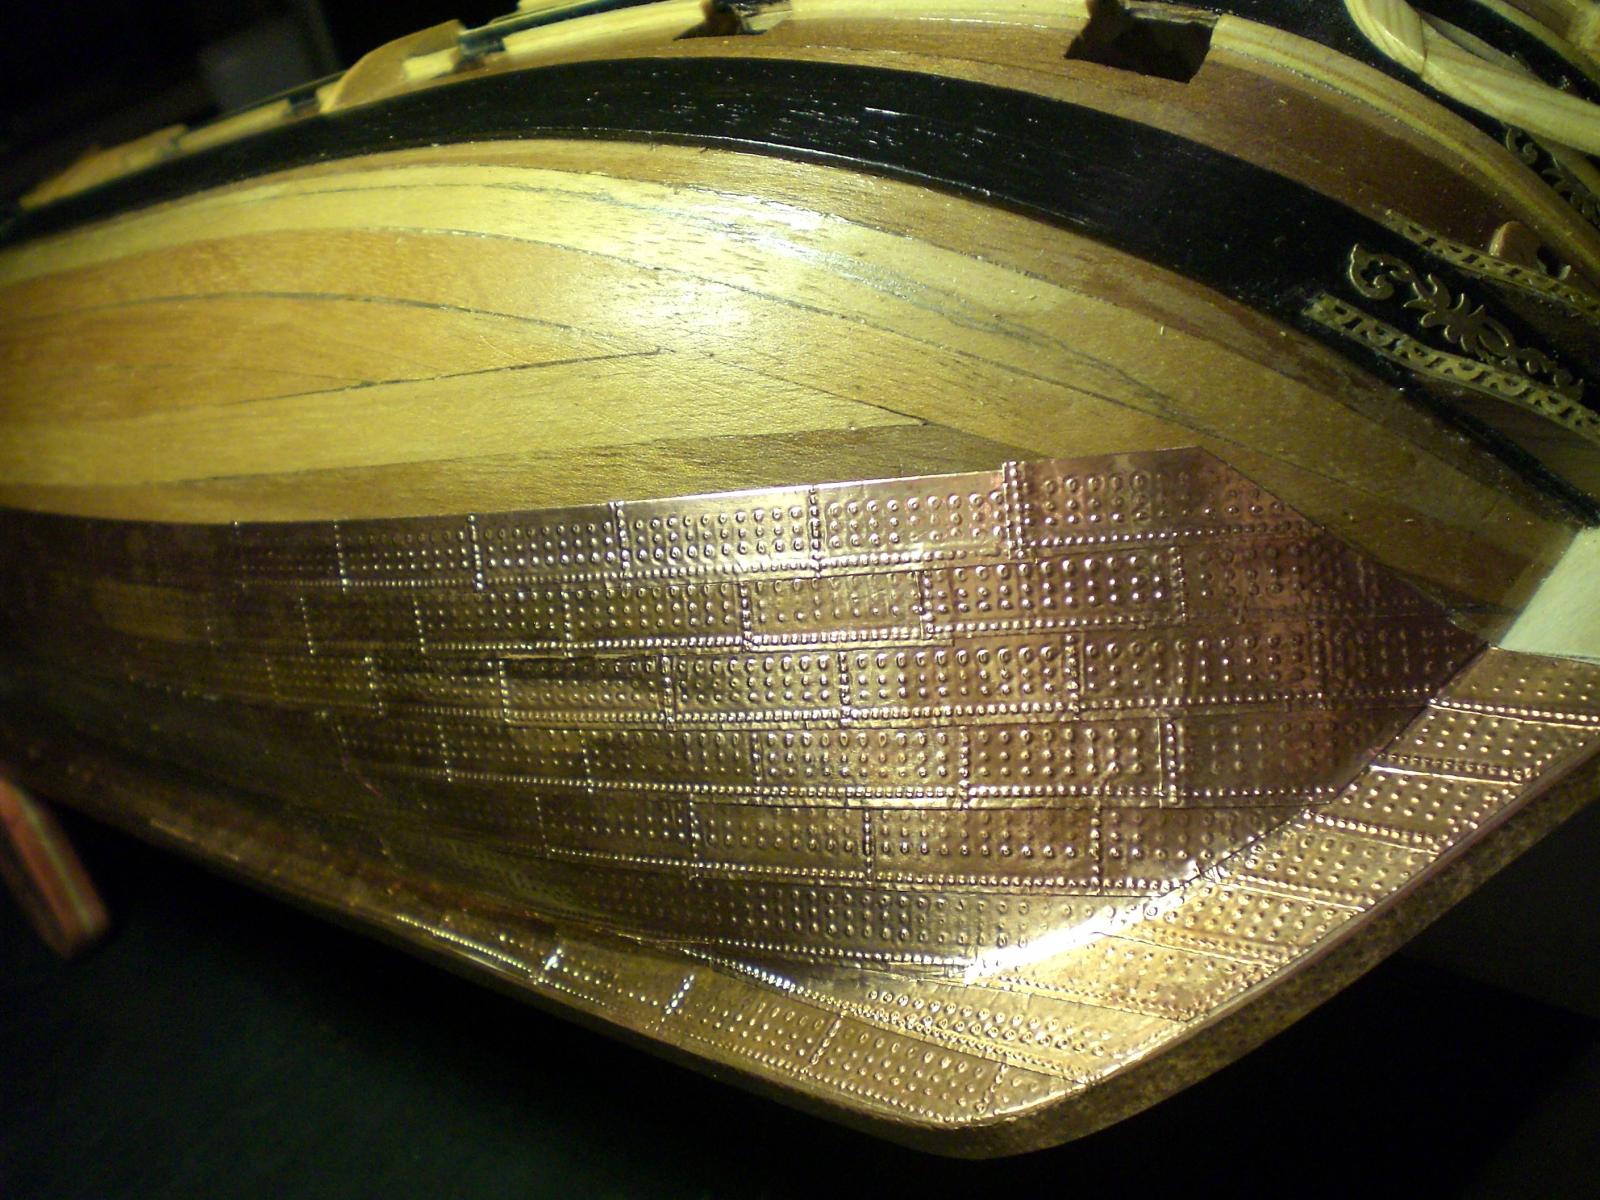
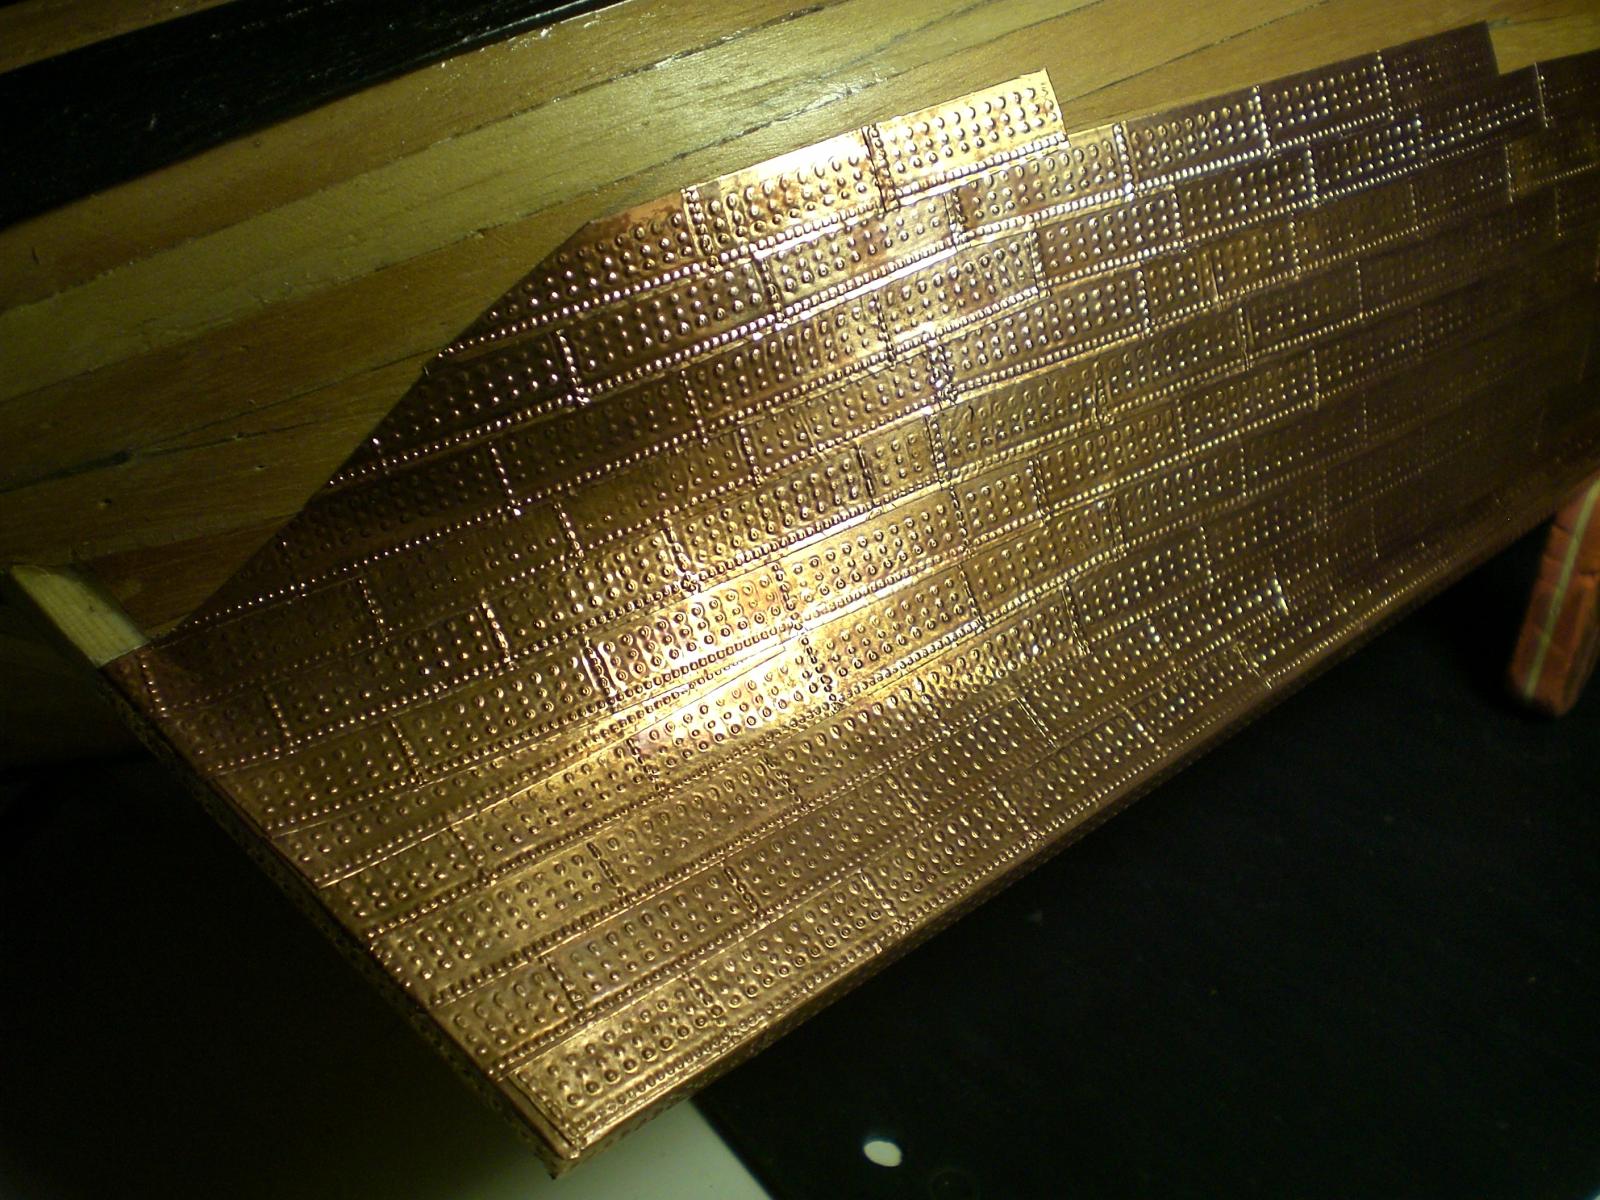
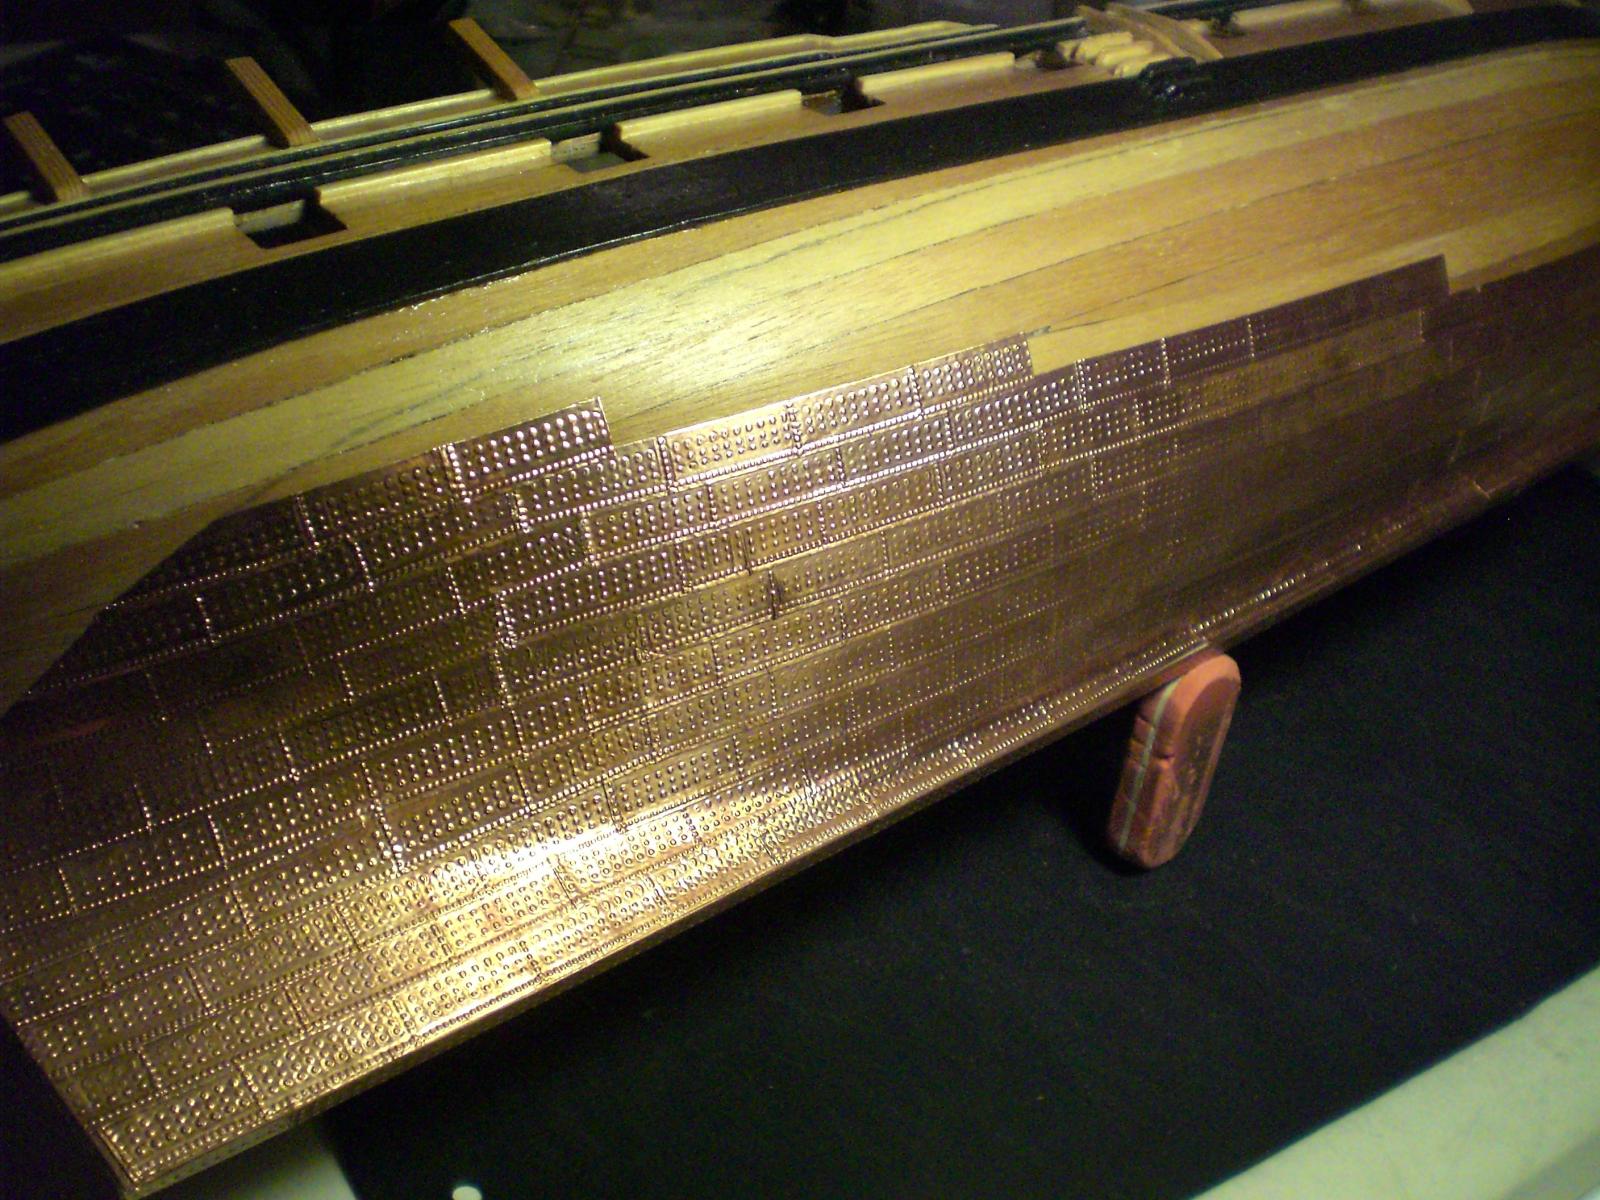
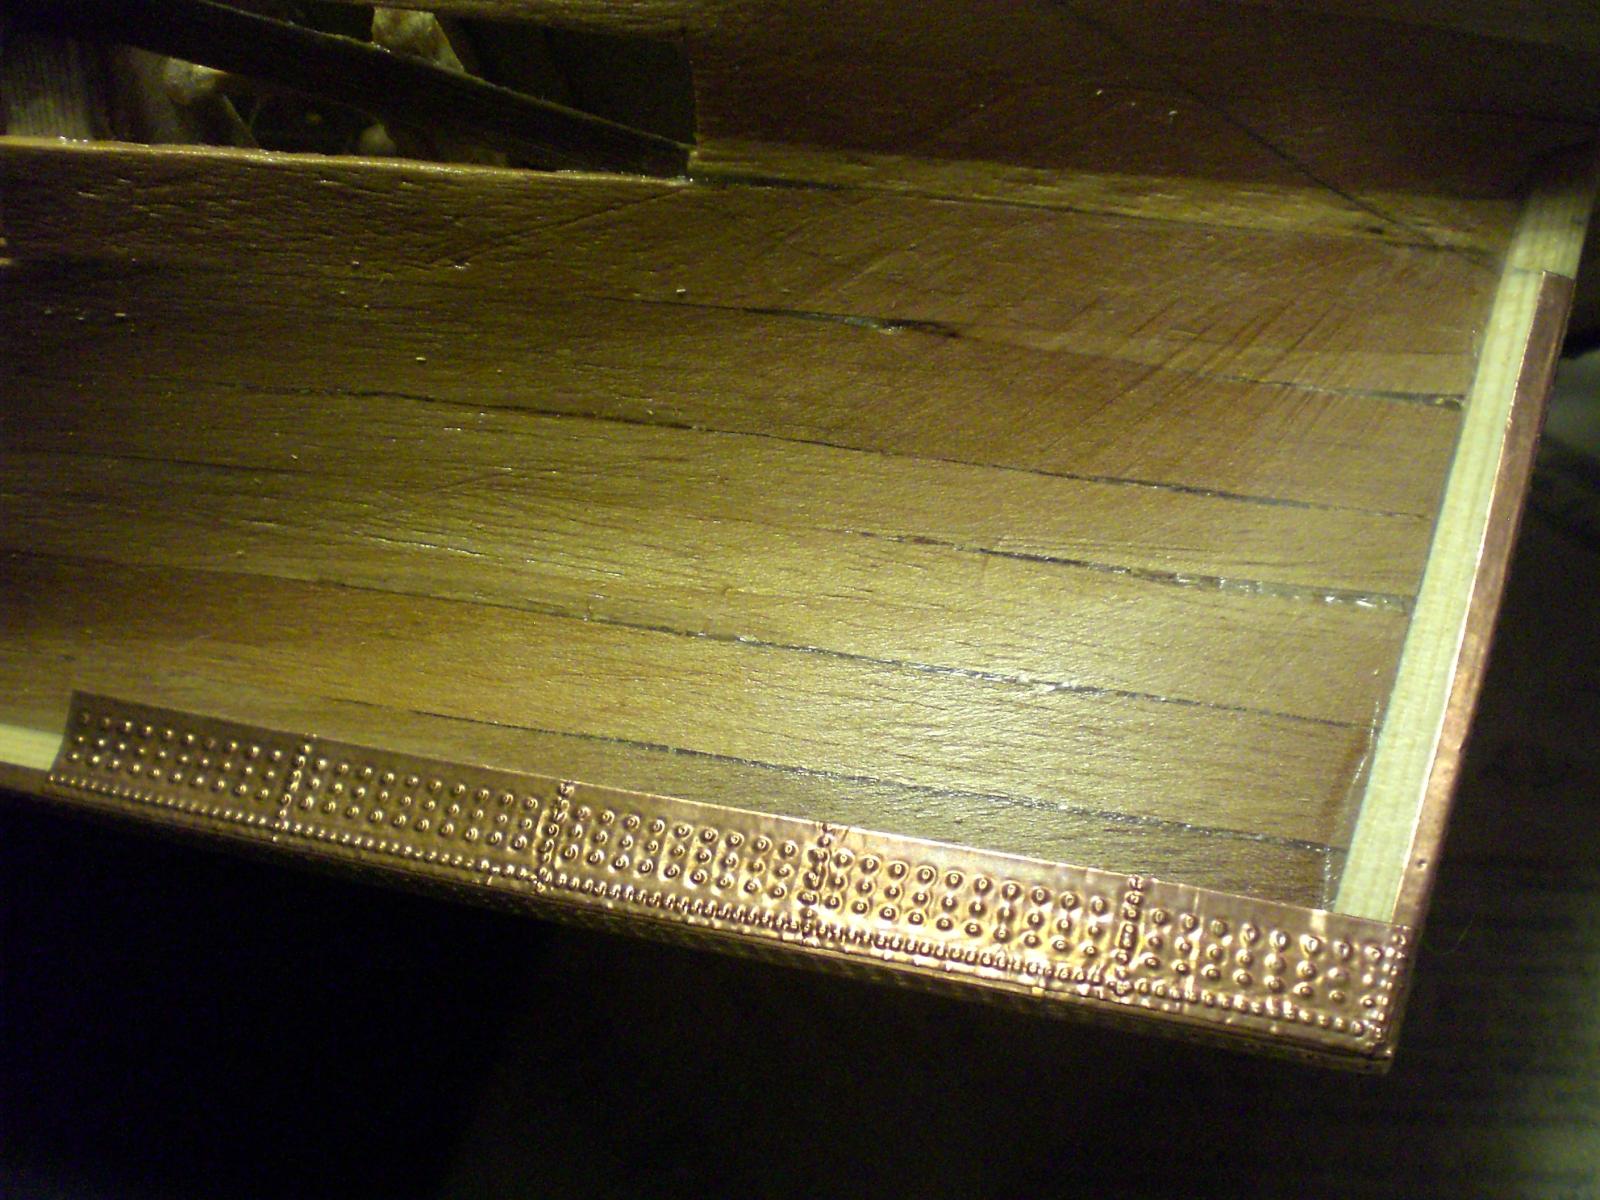
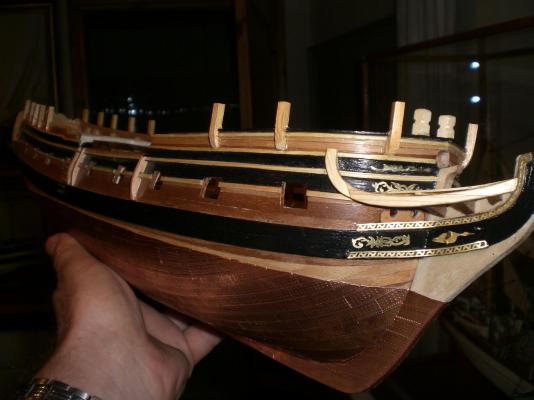
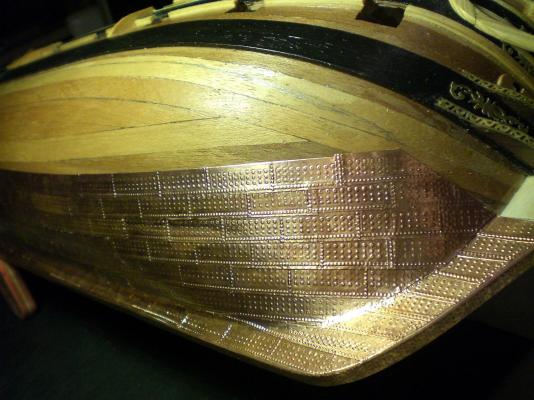
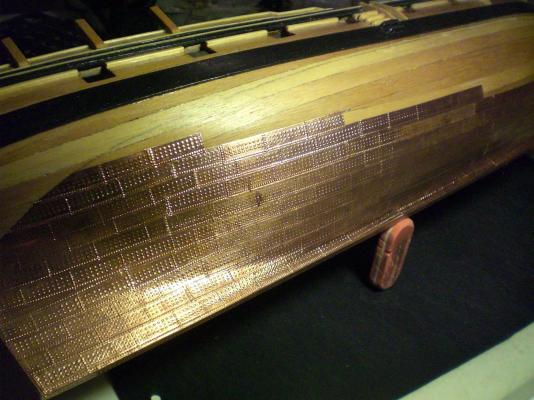
Peter, you may be right, but there are still so many fine Details to be done. Next to the rigging sometime this year I would also intend to make a full suit of sails of which I have no plans yet. But in the meantime there Needs to be a lot more work on the hull. Regarding to the coppering, which I completed today I shall go for the rudder now (a double nail capline on the copperline is not attached yet) to provide a neat horizontal finish to the coppering. It went so well, doing the "plates" from tape, actually 4-5 in row at a time, I could hardly believe the Speed myself. Also I have a prototype of a brass Investment casting of the figurehead under way, am expecting it curiously next week, if it works out well. Nils

-
Robin, I very much like your build, nice ship, good kooking rigging and nicely made sails, in all well done !! Nils
-
spectacular model building Ilhan, the love you bring into every single Detail, the ambituion to produce Details by your self, your skill Level and your knowledge, wonderfull ! I enjoy this build very much Nils
-
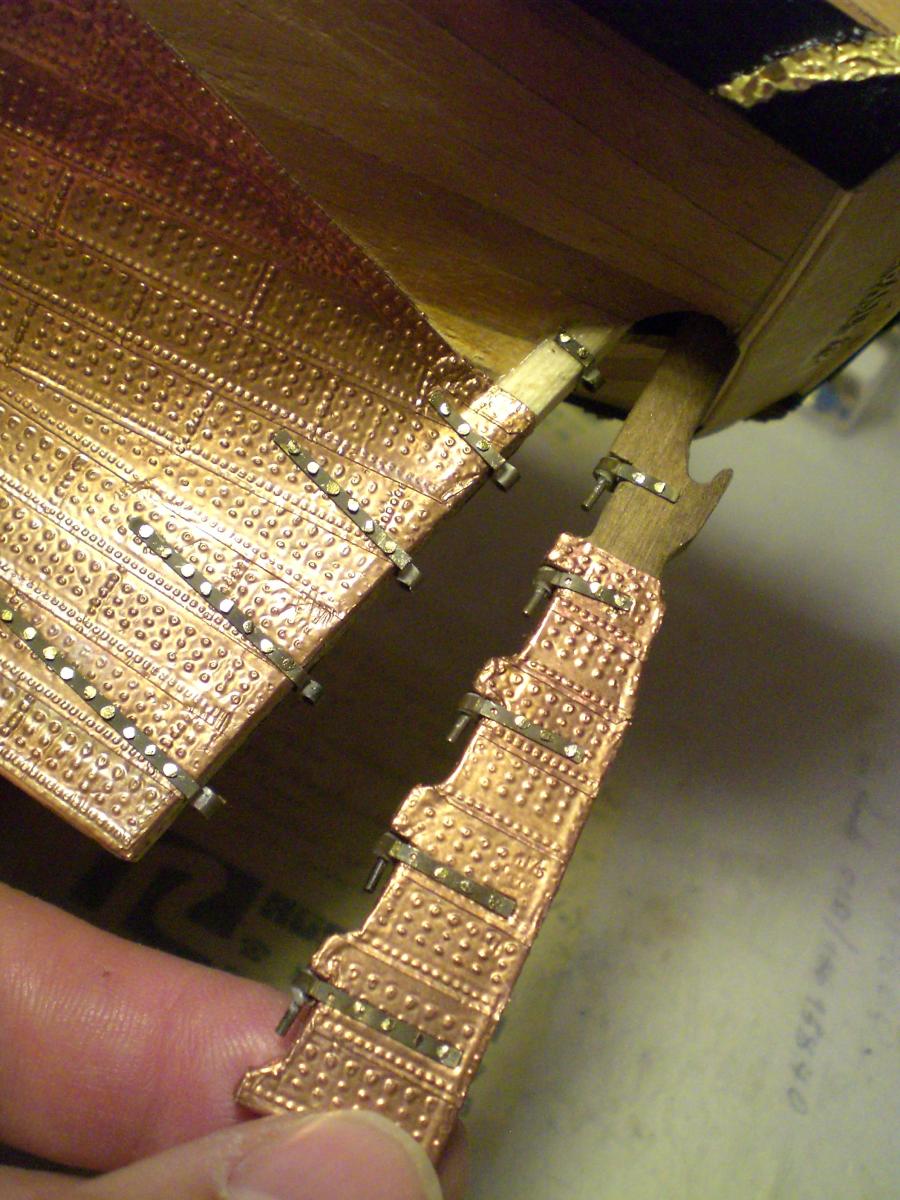
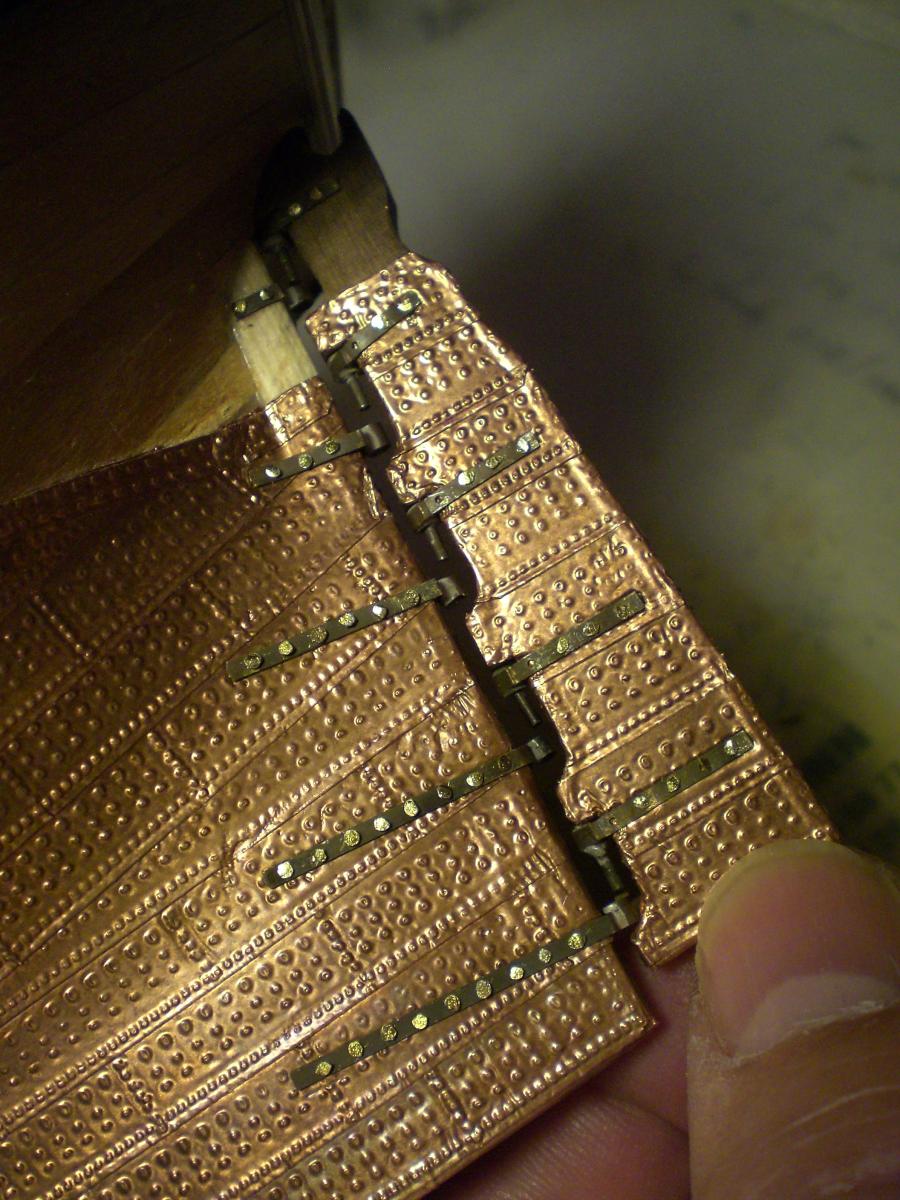
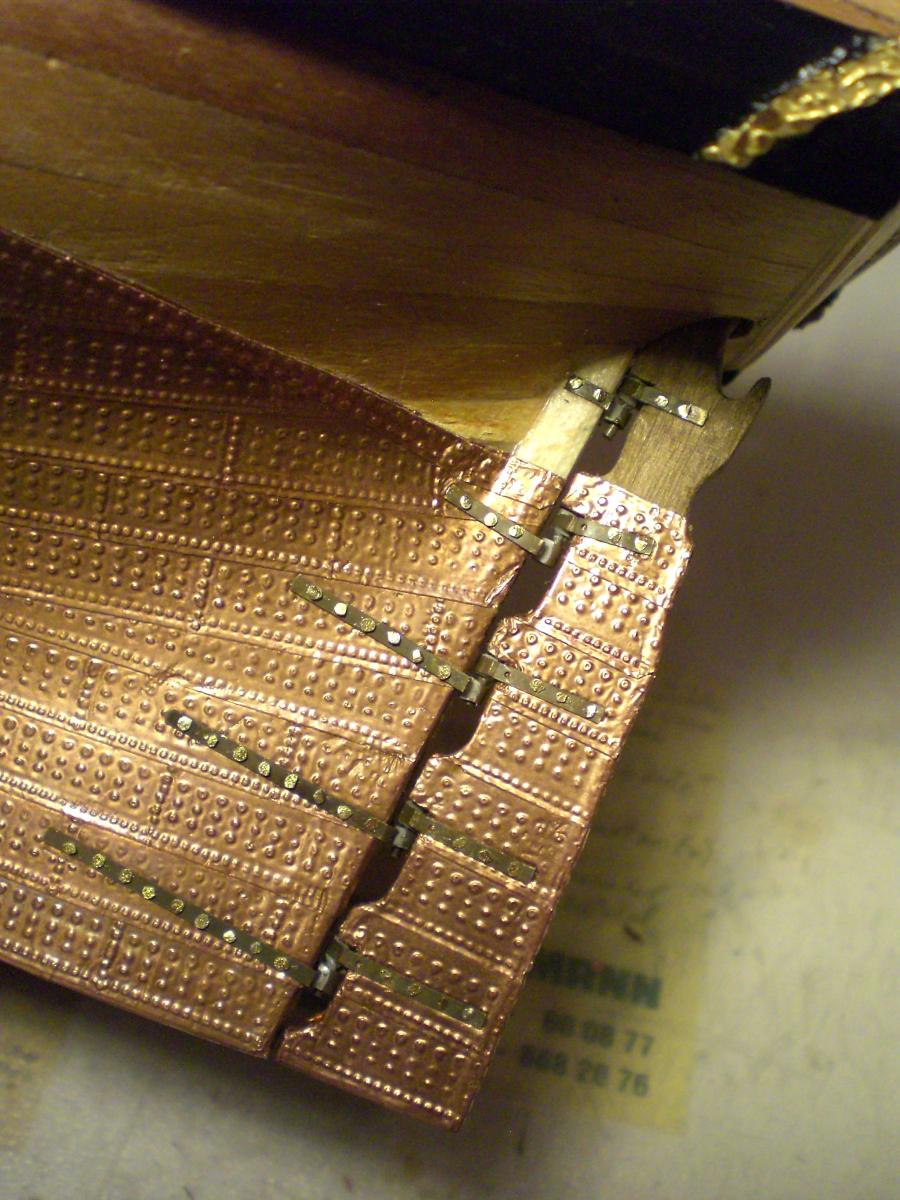
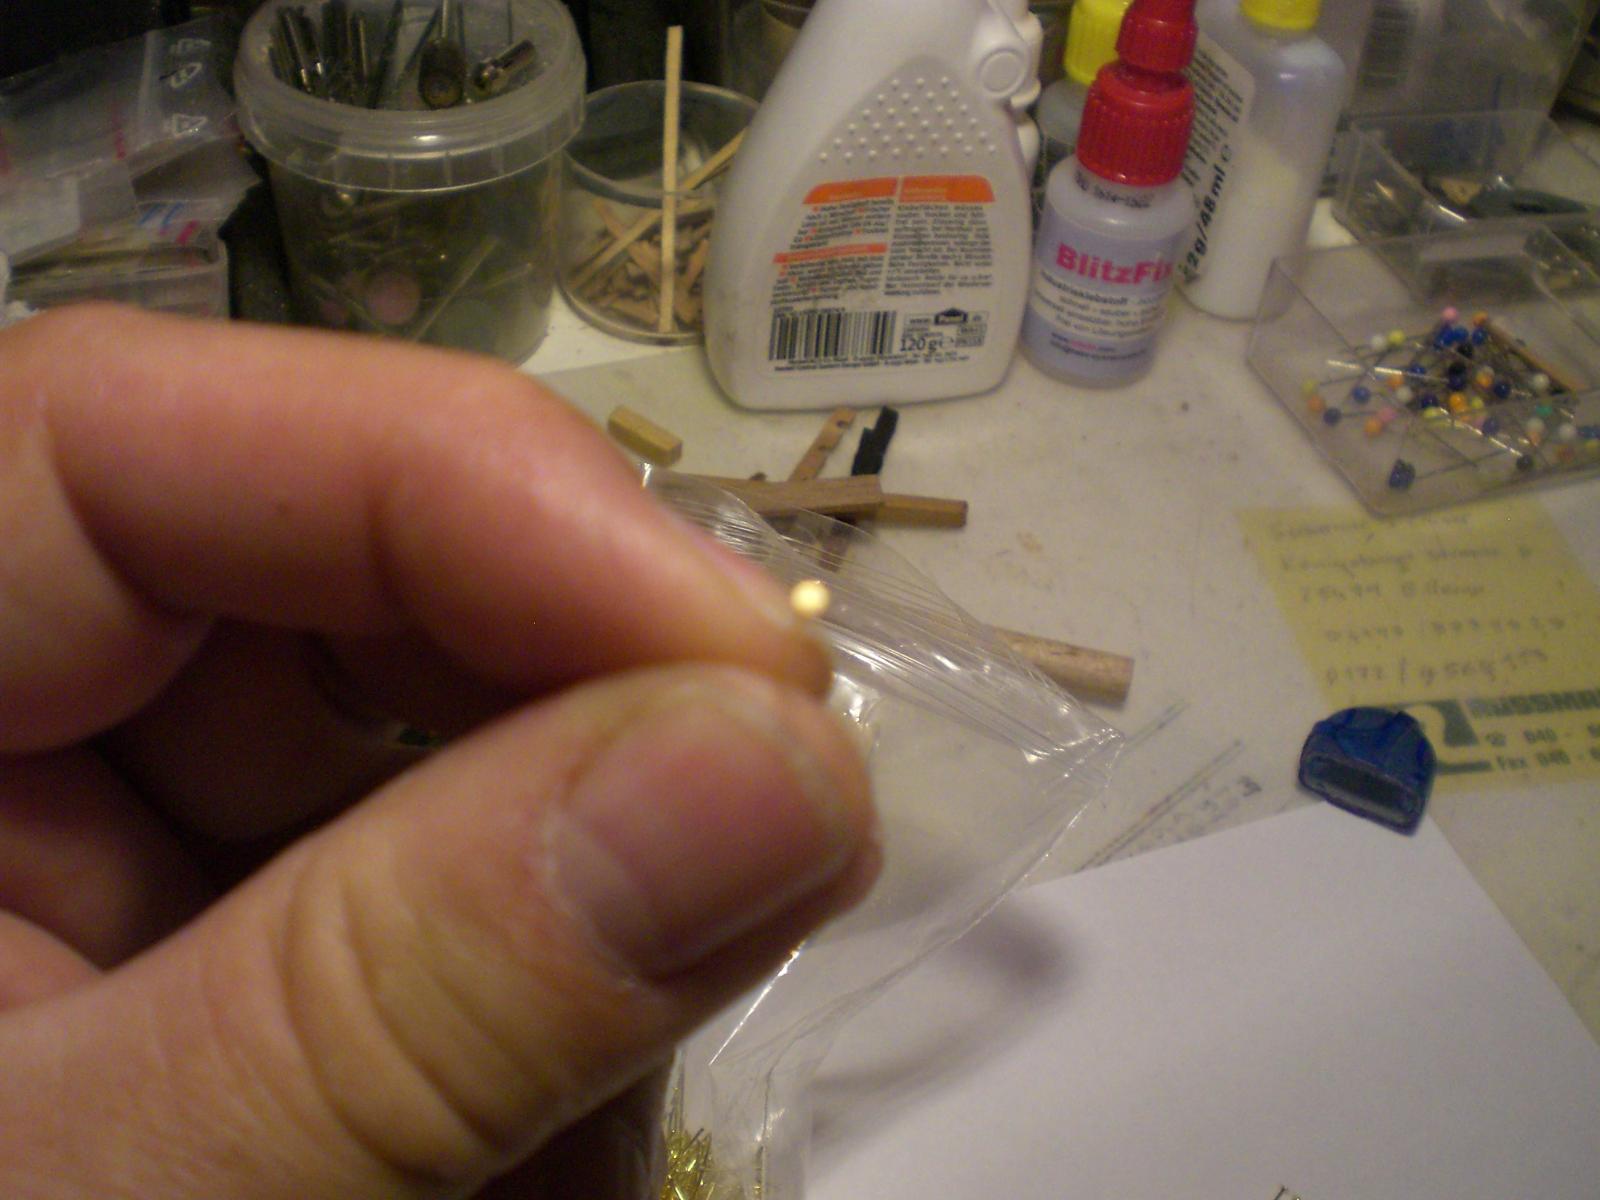
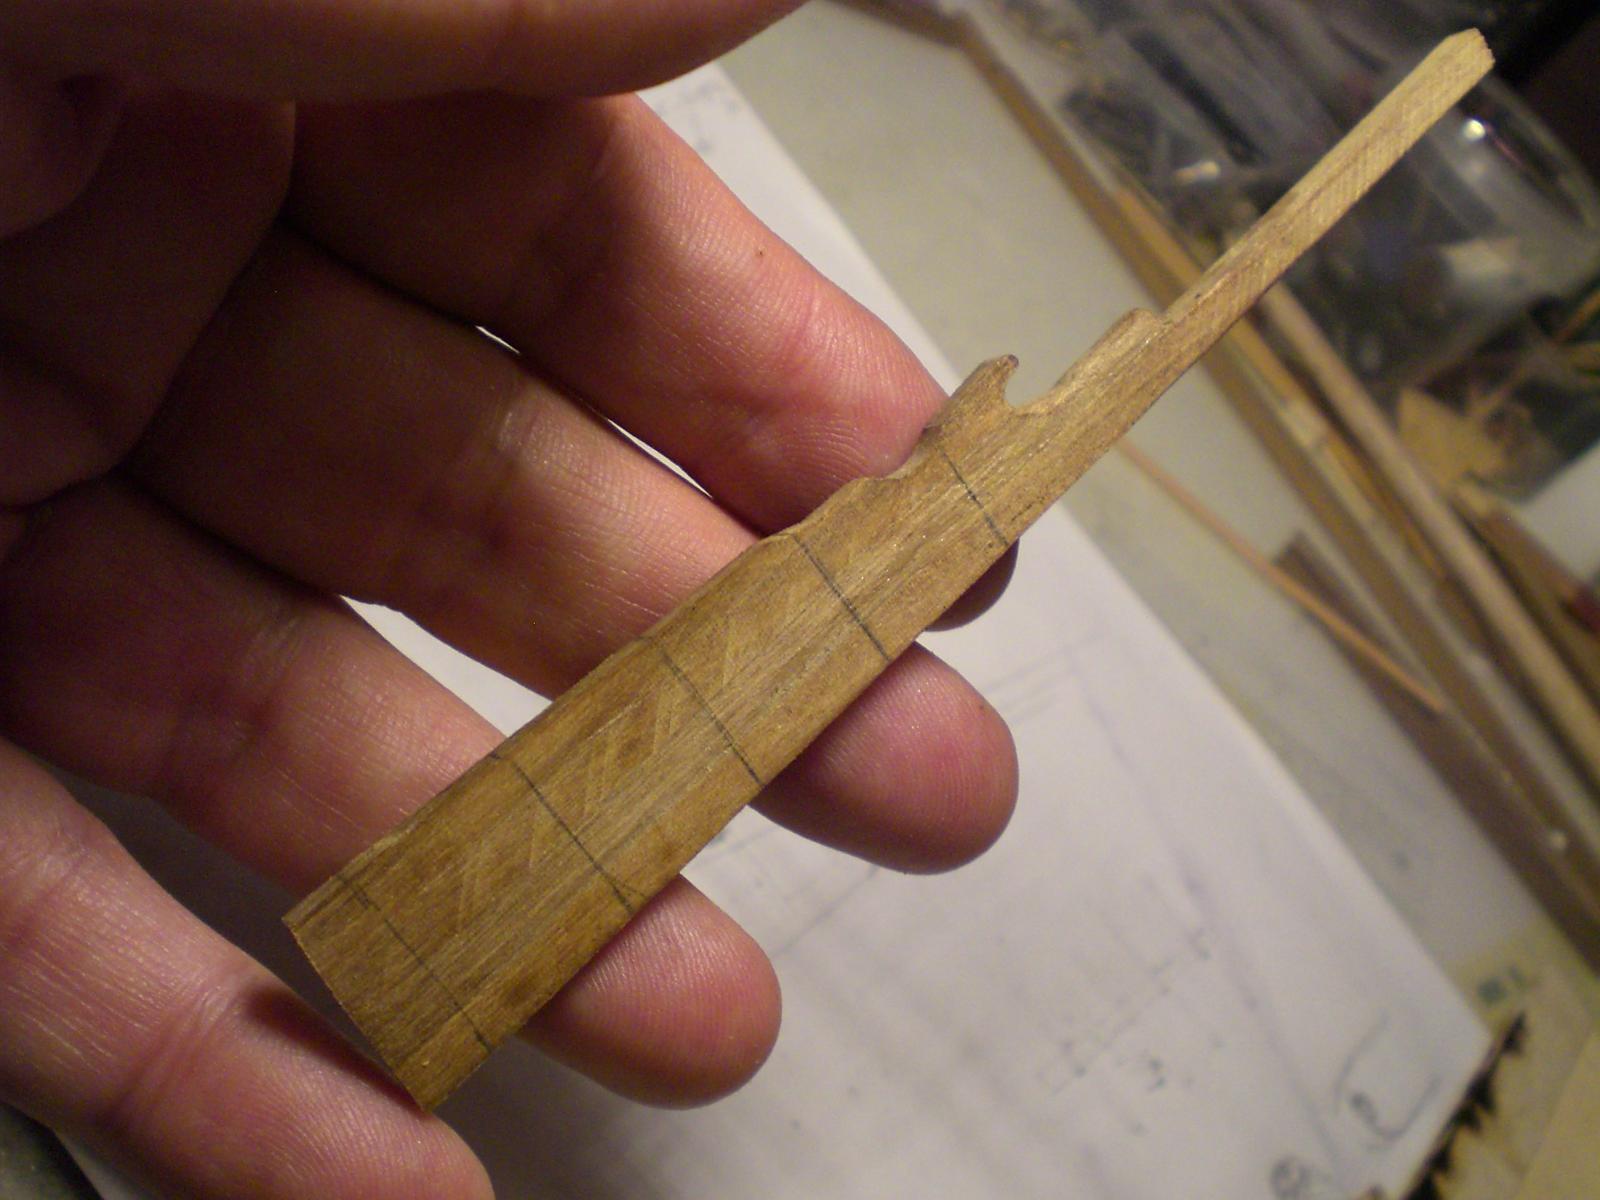
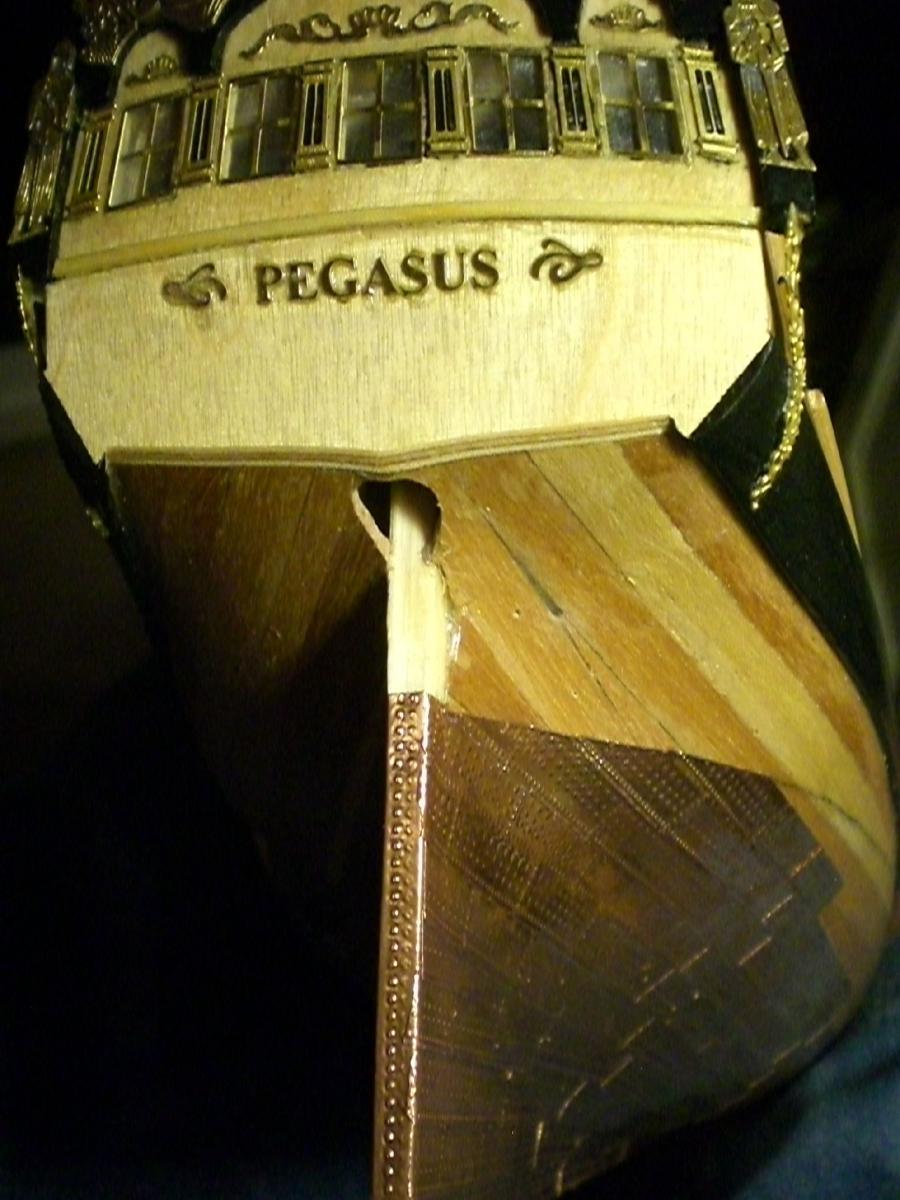
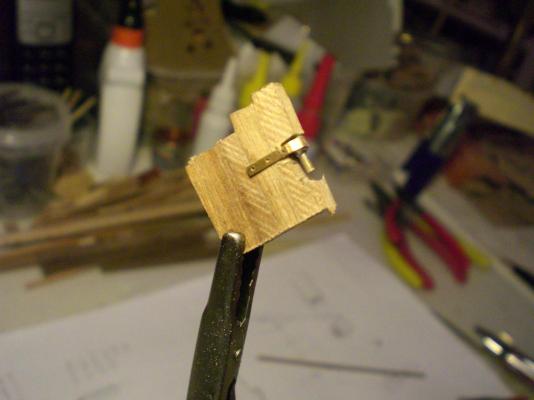
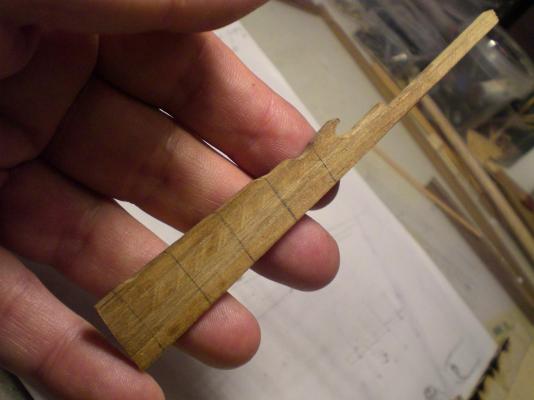
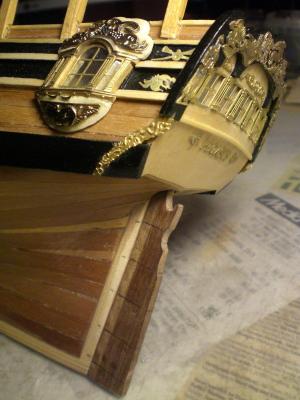
Pegasus, build log Picture lot 19 Beginning with the rudder System.... started with a Trial sample on the rudderblade hinges, the rudder was made from 4 bars 4,5 x 4,5mm, fitted after coppering the rudder These hinge parts will be cut off, they go to the hull, after coppering the ruddershaft goes through all the decks self explaining

-
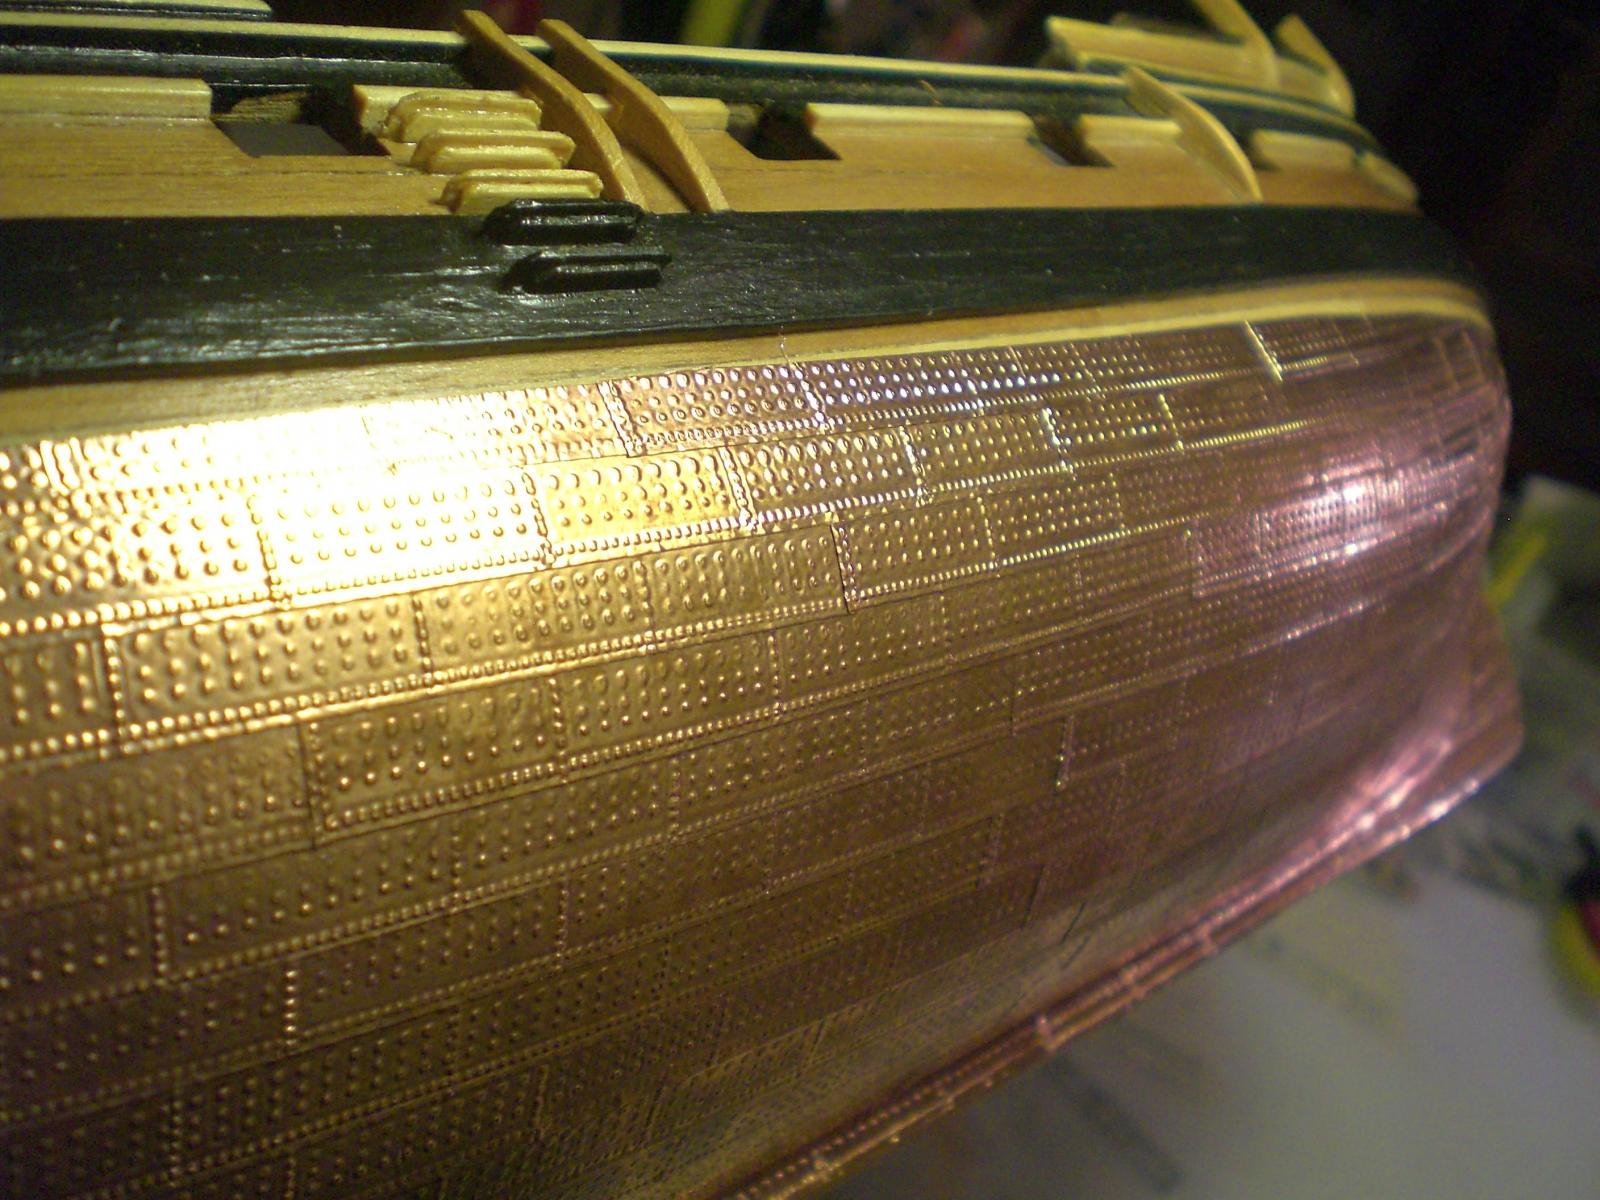
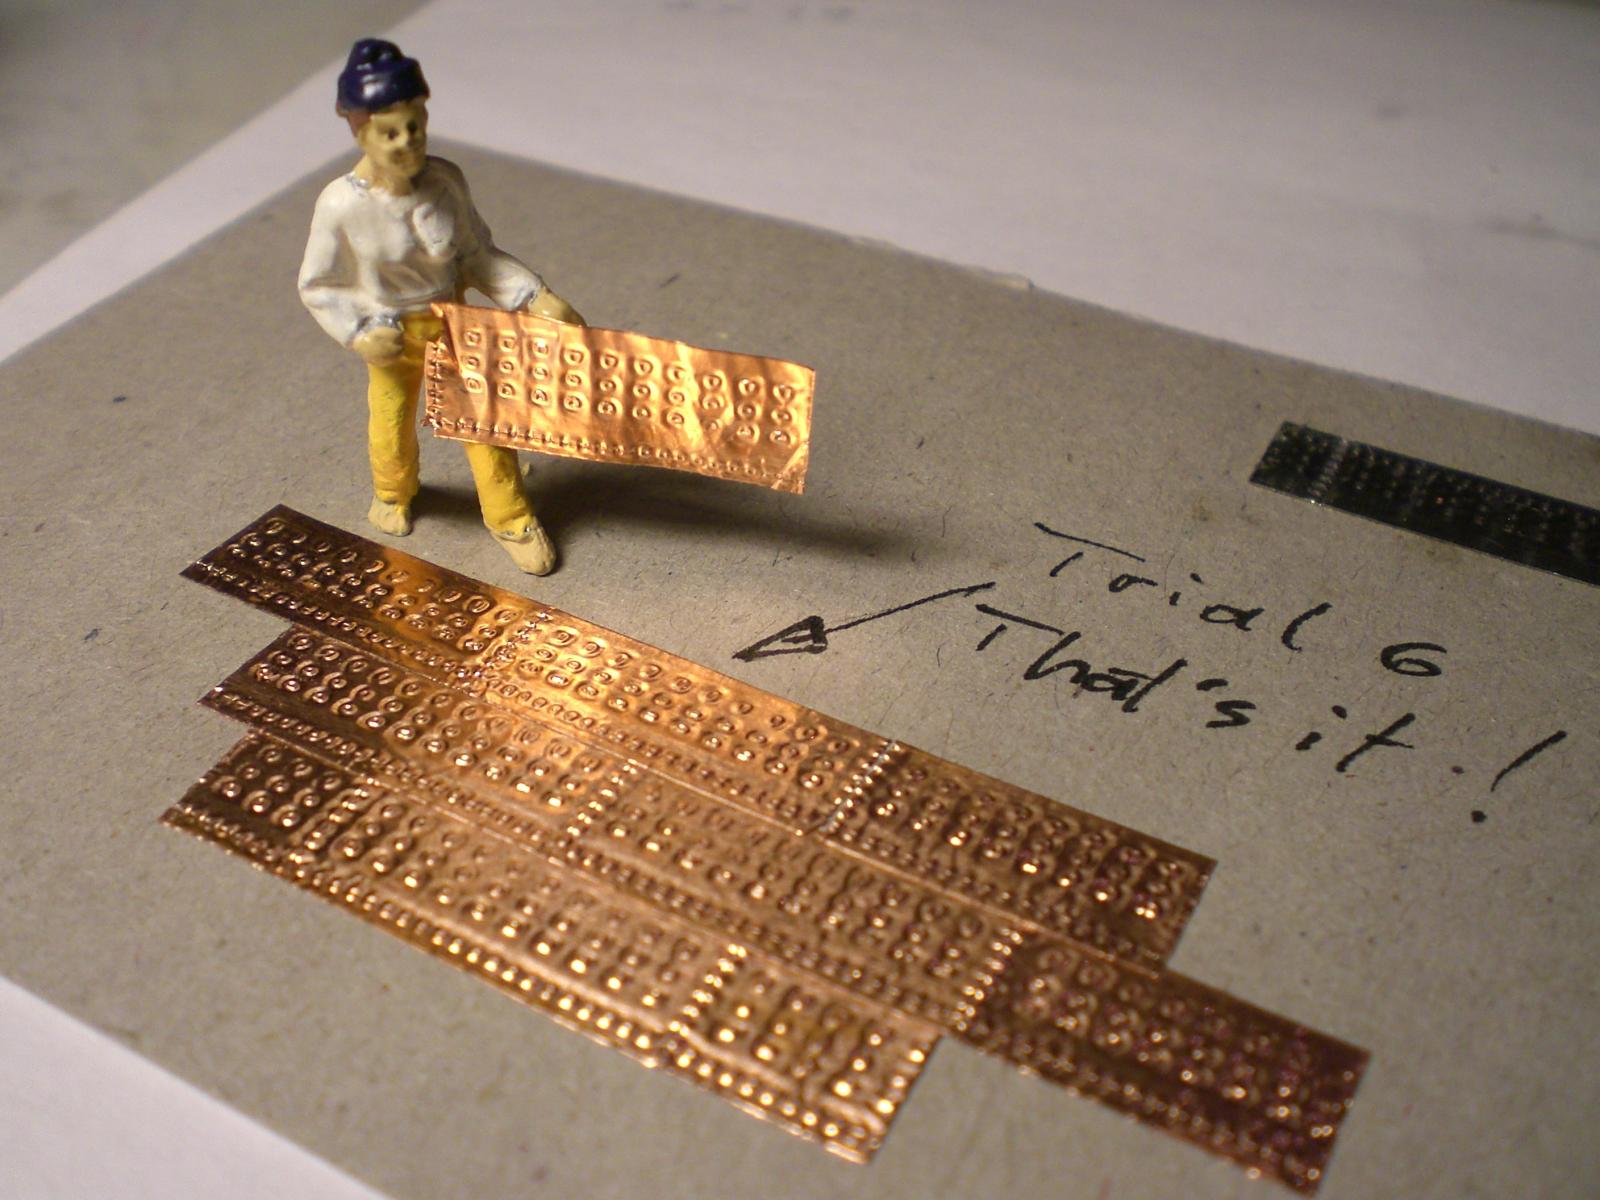
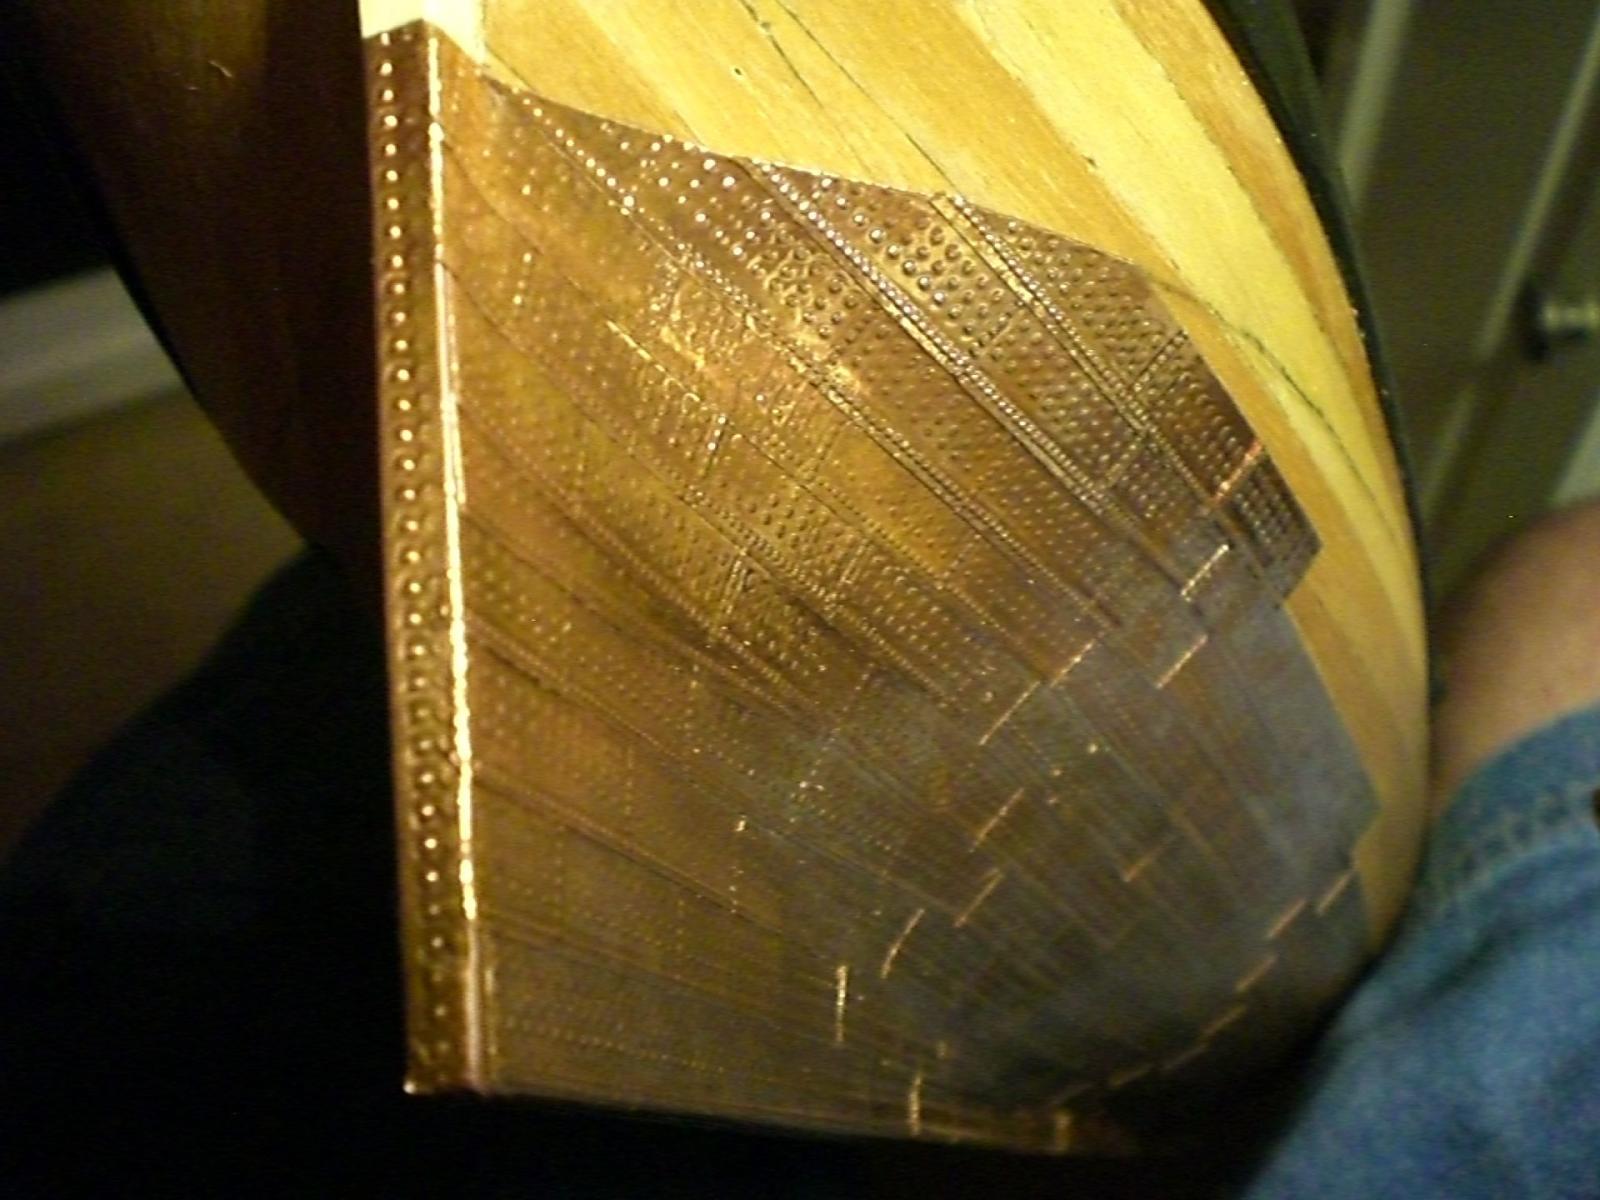
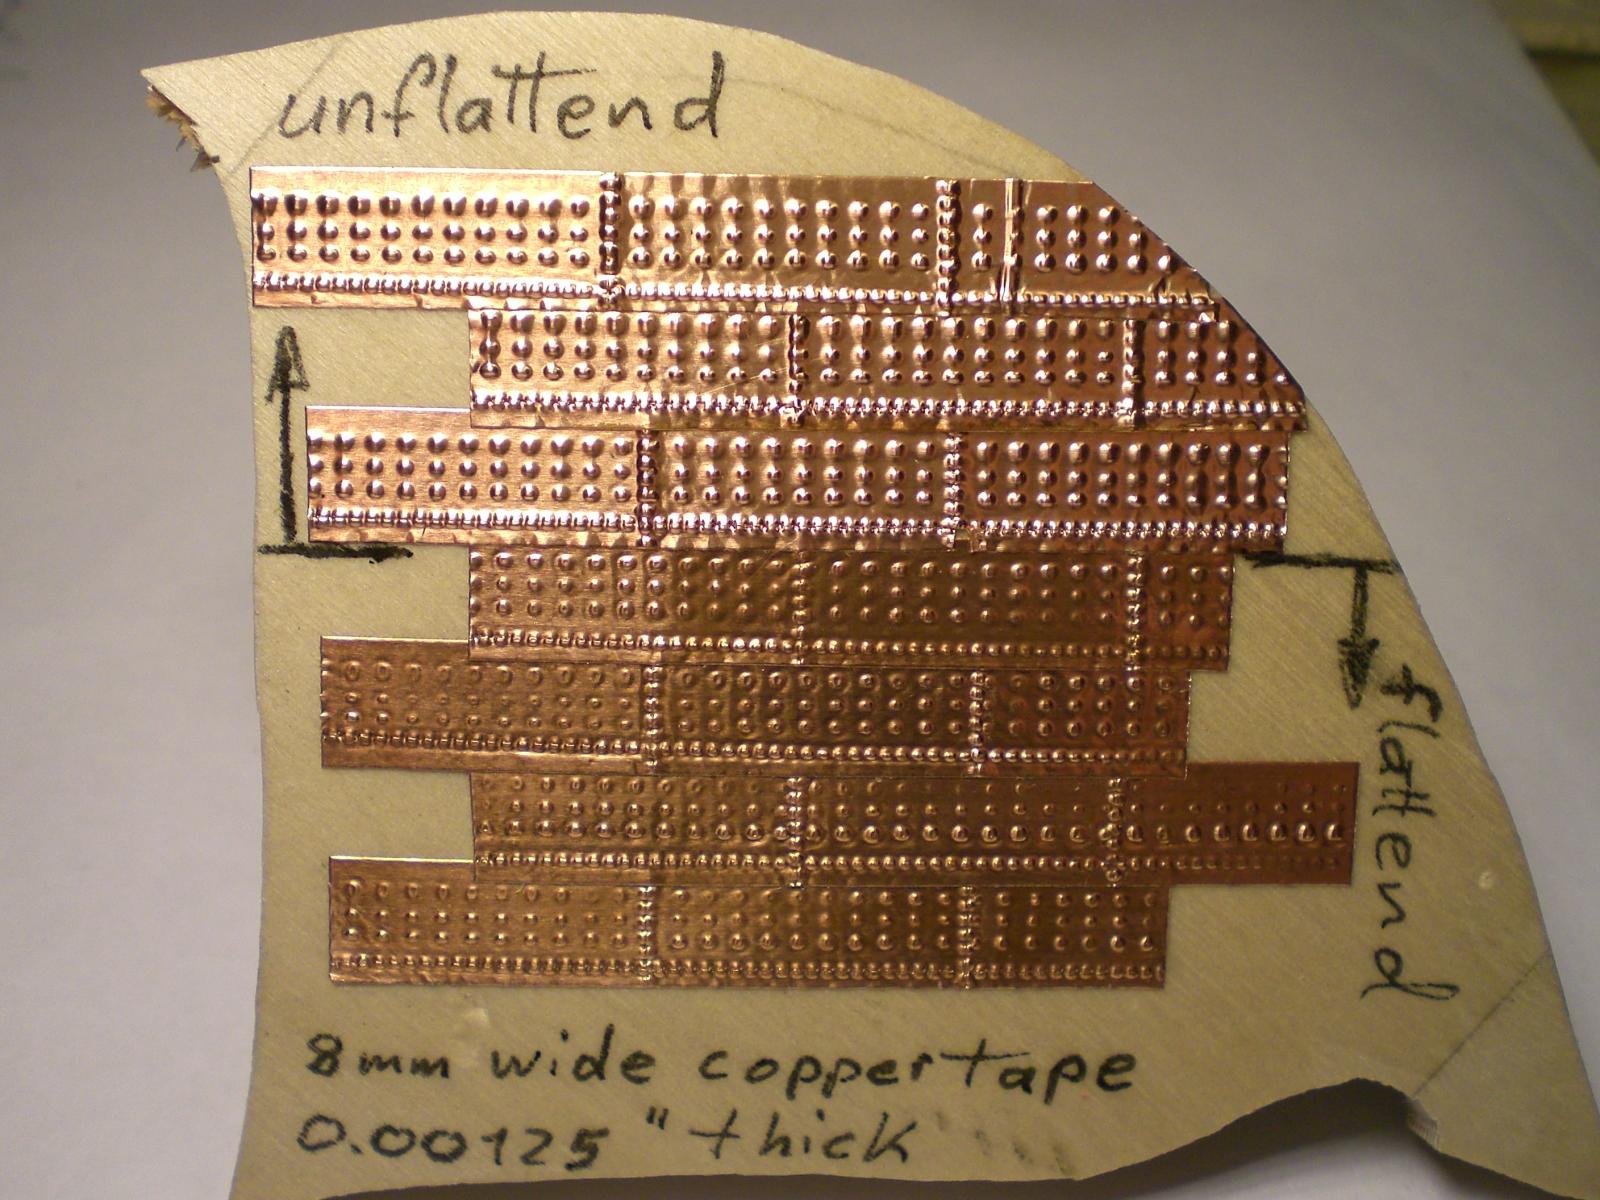
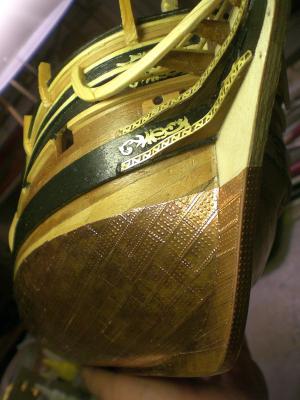
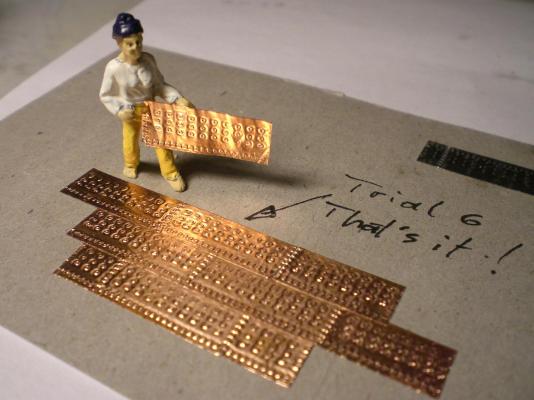
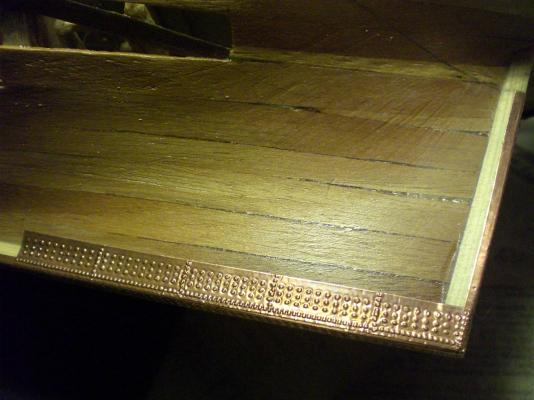
Trials for coppering now completed, started with coppering yesterday (pic. lot 18), simultaniously started with the ruddersystem (pic. lot 19), because that shall be fitted when the coppering is finished Nils Lot 18 shall probably follow the flattend verion after 6 Trials made up my mind.... beginning with starboard side not so accurate, as industrial made plates, but therefore selfmade the copperline was drawn with a soft pencil it turned out best results when following the planking pattern... i am pleased in not using CA glue, that allways messes up the fingertips Startpreparation bottom Stern on port side the sternpost is 4,5 mm wide, the rudder will be 4mm (would be 256 mm on actual ship) view from aft


-
Thanks Popeye, thanks Peter it gives me a better Feeling if in General the sample is not disliked by my fellow builders. I shall try a Little improvement and am meanwhile happy that this copper tape for tiffany glass work is self adhesive, (good sticking !) priceworthy, good suitable for embossing work and easy to handle because it has a protection foil on the backside, that can be left on until the final Moment for attachment Comes. I`ll see what can be done about getting the hedgehog a better shave (smile) Nils
-
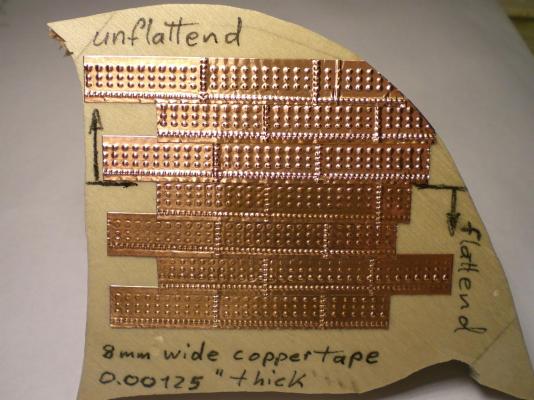
coppering Trials... here for comparing.... the upper Portion of this Trial sample Shows unflattend "nailheads" but I think that appearence would be too much dominating the nails Nils

-
Hi Ferit, I very much like your Build, and shall stay tuned to your log as you go along,.....well done ! Nils
-
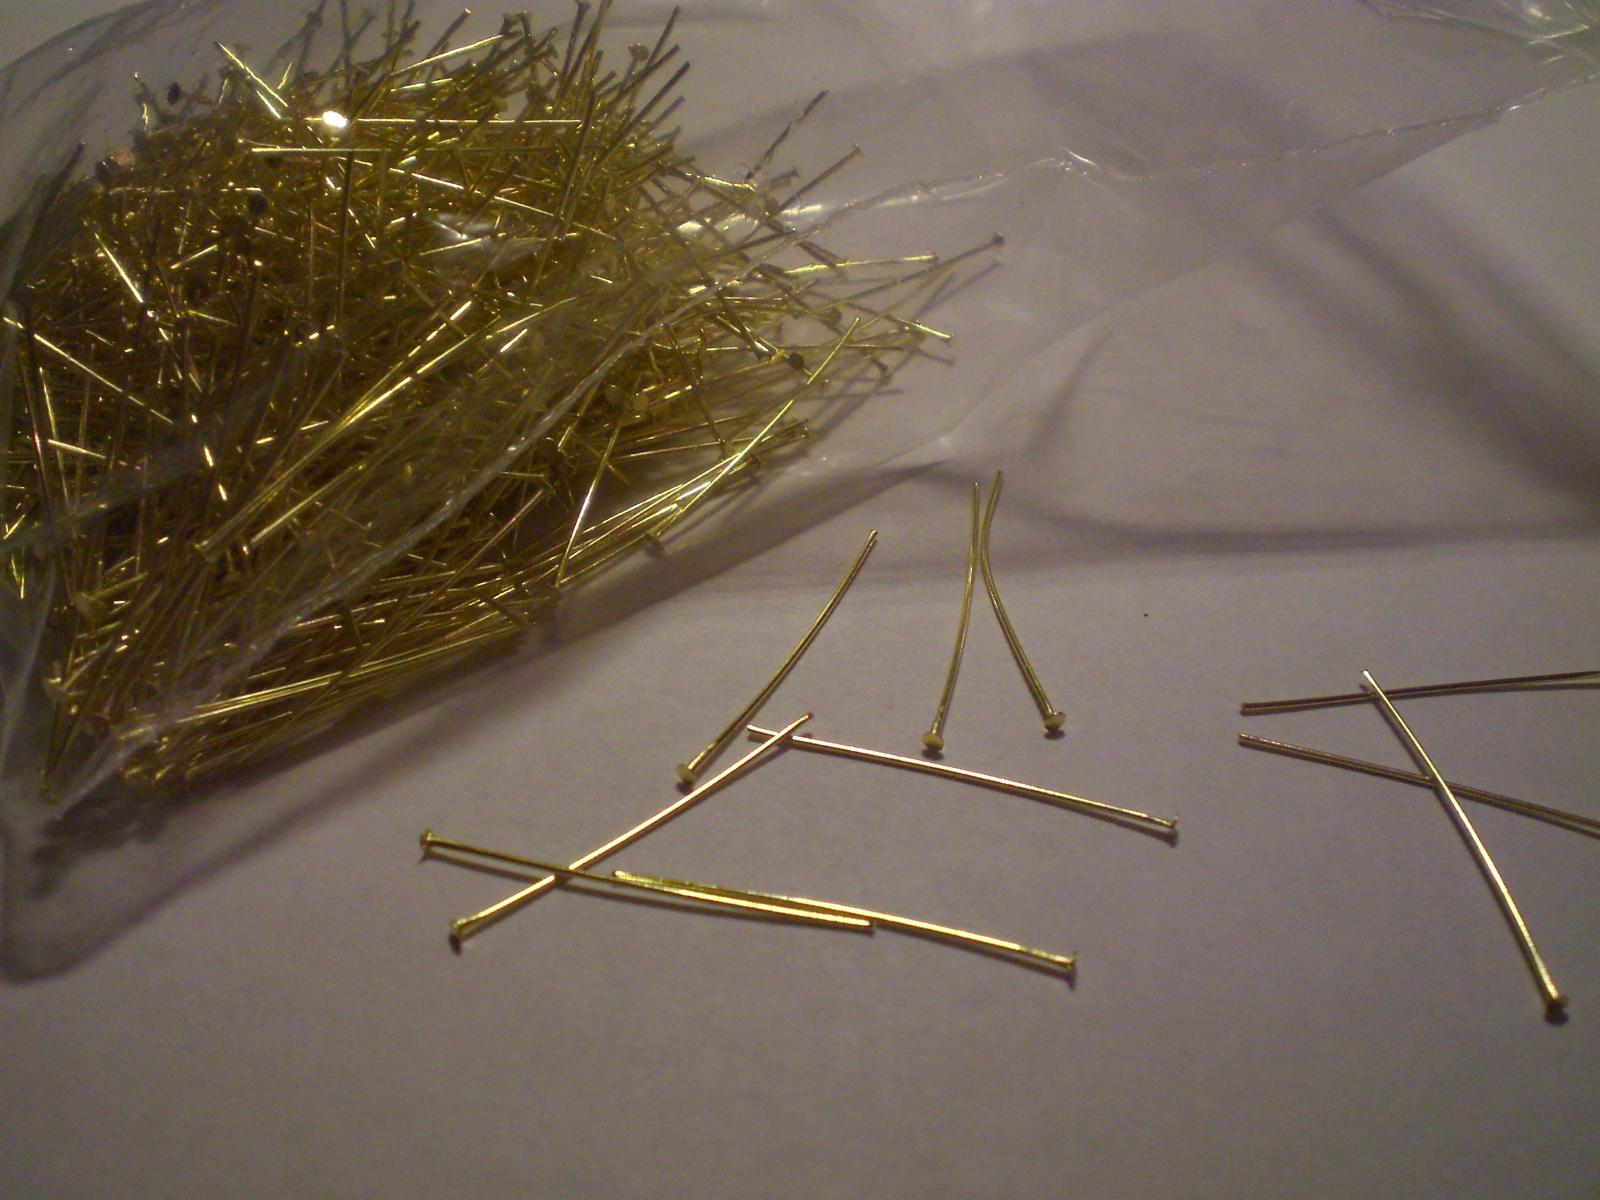
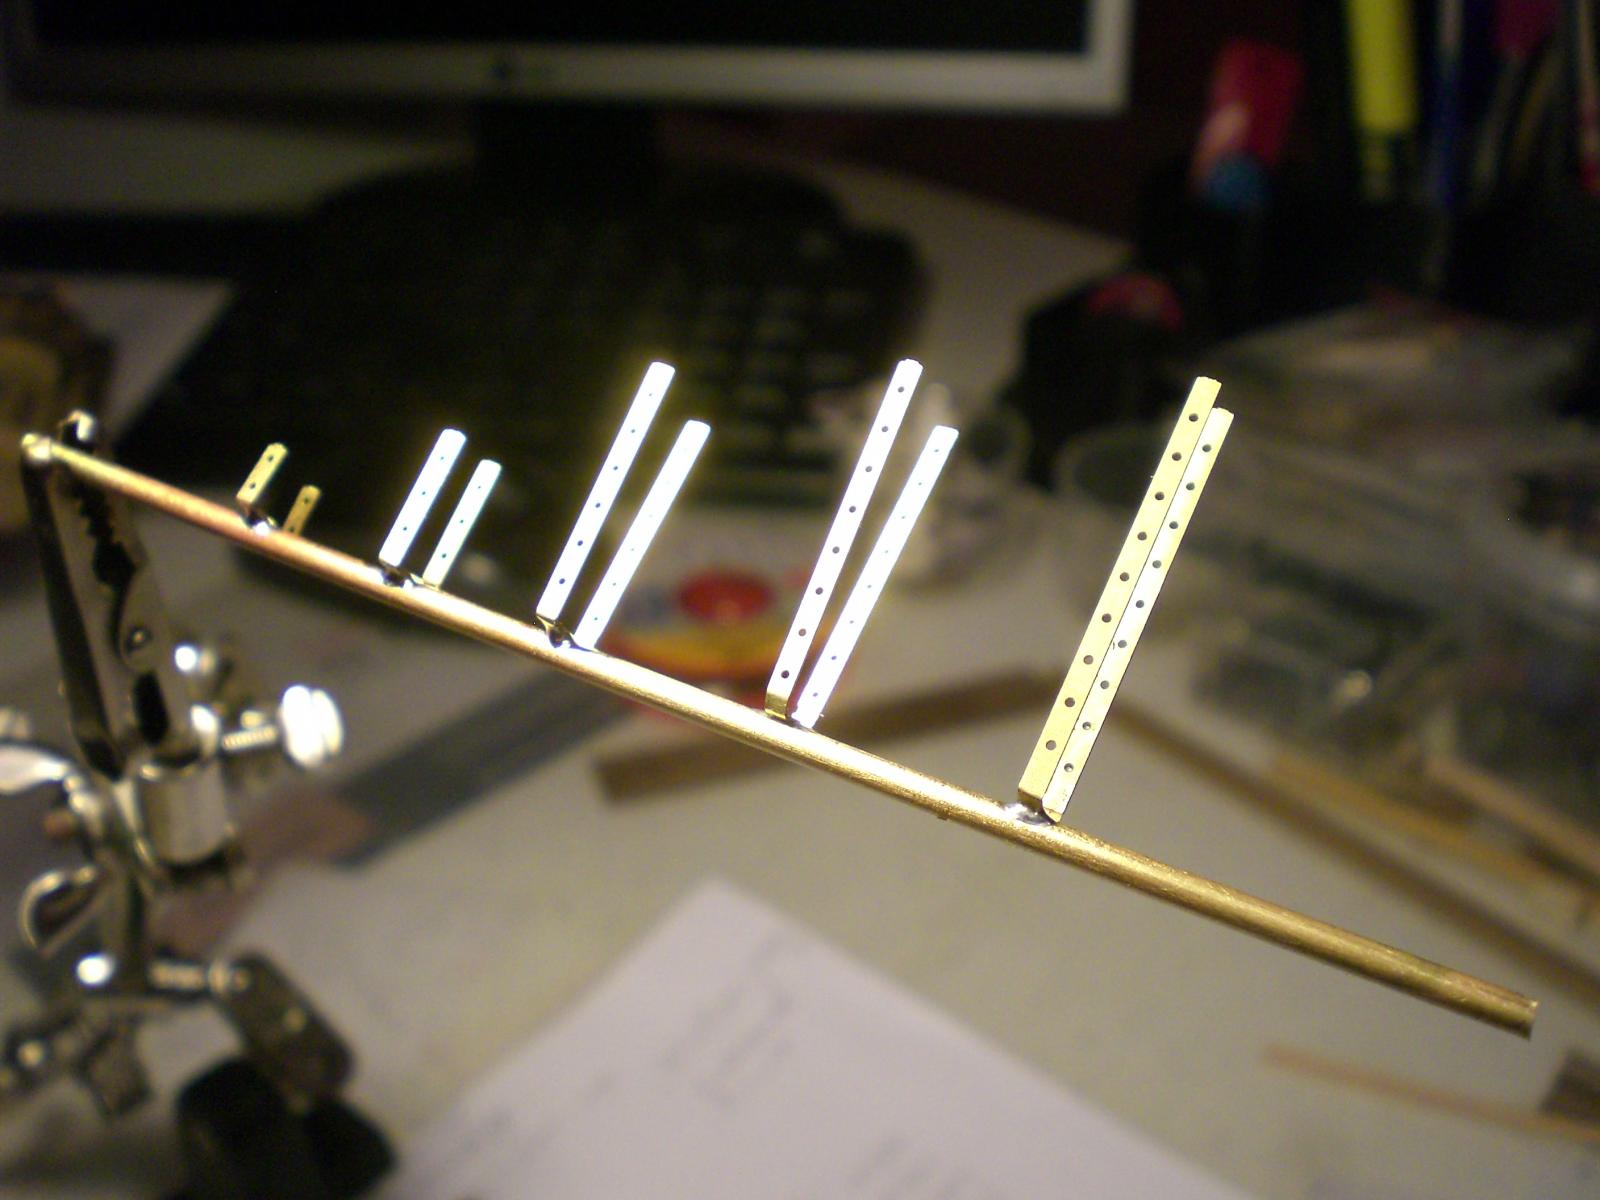
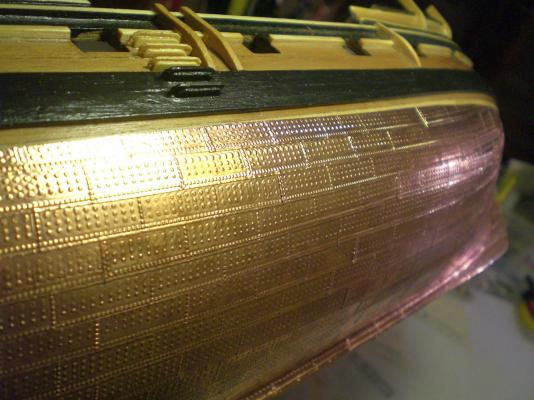
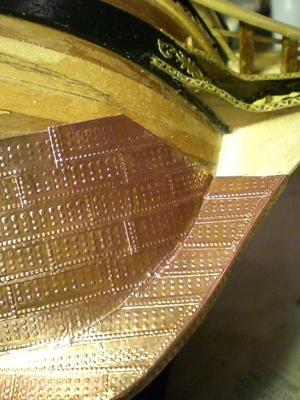
Coppering Trials, continued..... my first Trials have been for the bin, but I would`t like to give up so easily. Yesterday Dirk posted a very helpfull link out of that "mini sail Switzerland" assotiation relating to coppering. Together with B.E.`s Prior Input I started a new Trial with real adhesive copper tape. It would in scale size 1:64 be necessary to place 88 to 125 nails per plate of size 6 x 19 mm. After some Trials I managed to place 88 nails, flattening the surface afterwards, and having the overlapping plates borderline-nails placed at half distances compared with the the main field. Unfortunetely the staggering of the nail lines in the centerfield is beyond my possibilities in this scale. The reproduceabilty is given due to the embossing Tools I made. Nils self adhesive 0,00125" thick copper tape 5/16 " wide (8mm) leaving appr. 6 x 19mm uncovered, after overlapping

-
Dirk I see I would have been wise to sight the build of your Phantom first, most of my questions with the Alert`s presentation got answered, never the less an admireable model, beautifull lines, and an ambitious scale you have Chosen. It shall be a pleasure to watch the coming build sequences Nils
-
Hi Peter, agree...... thanks for your explaining words on the deck hights, this allready provides some necessary Information to look out for the correct cast figure sizes, I have switched to 25mm figures now. ( providing and claiming 28mm tall figures by the sellers as 1:64 is inadequate and should be avoided) Nils
-
Hi Kostas, do you have some examples (pics) of your carvings in 1:64 for this Topic. I never tried it myself allthough I wish I could do such as well, but I trust it takes a natural Talent to do carvings in wood and I allways thought scale 1:64 would not allow such fine working Nils
-
Hi Anja beautifull ship, I like your build of the Halfmoon very well, Keep those pics coming in..... Nils