


HardeeHarHar
-
Posts
610 -
Joined
-
Last visited
Content Type
Profiles
Forums
Gallery
Events
Posts posted by HardeeHarHar
-
-
4 minutes ago, AJohnson said:
Made to Measure by acrylicdisplaycases.co.uk, 3mm case on black ash base with black velvet inner. Nice but not cheap, delivered it is almost as expensive as the basic Nisha Kit was when I bought it!
A very wise man (Ron @hollowneck) once taught me that if you throw all the receipts away, this hobby is not expensive at all!
- hollowneck, AJohnson and dunnock
-
 3
3
-
Are you using nails only when you need them? Also, did you leave all the char on and remove it once the keel and its parts were complete? I have the Sphinx on my table and am watching your build with great interest 😃
-
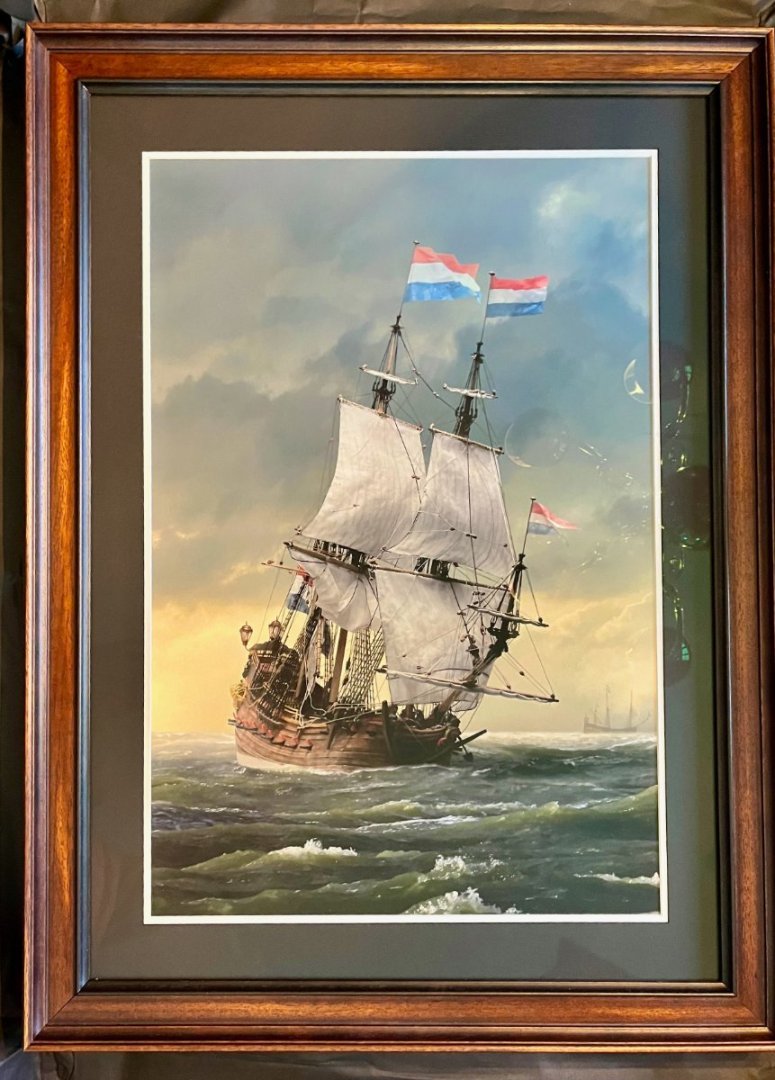
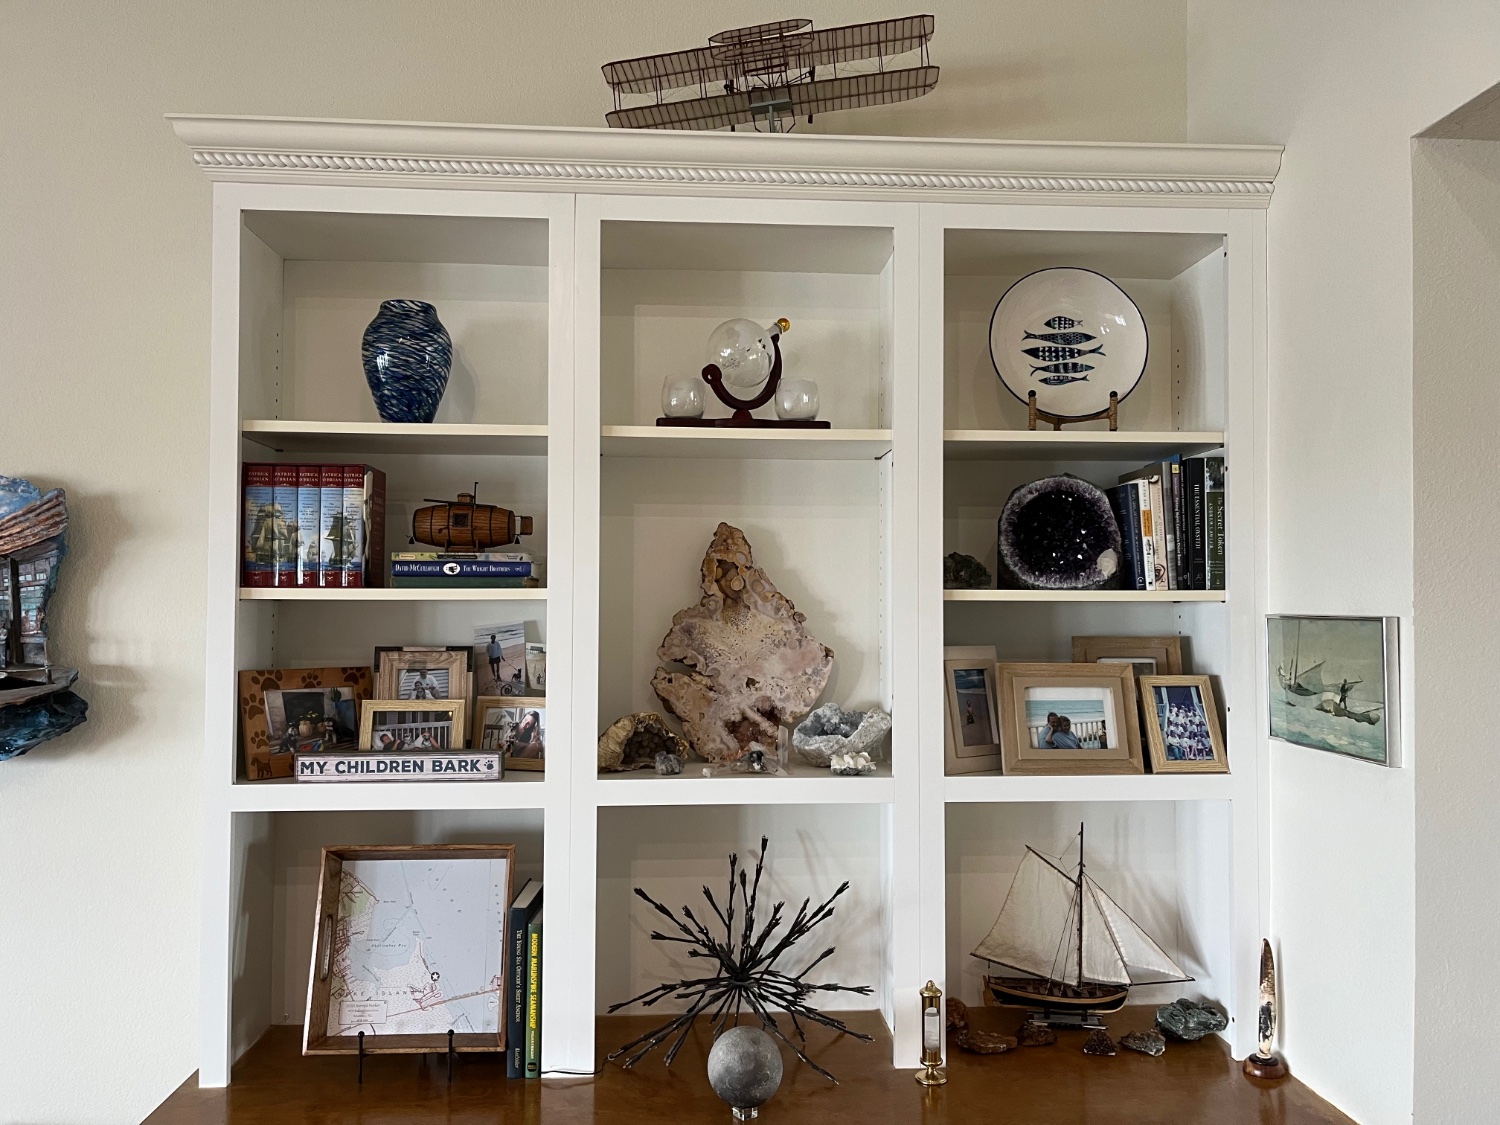
Our latest (2nd) addition in framed artwork using images from @Ab Hoving and Son. It is an image of a pinas, the standard ship of the Dutch merchant fleet in the 17th century, and is cropped from the image entitled "A Ship Off the Coast". The pinas was the standard ship of the Dutch merchant fleet in the 17th century, and the plate is inspired by a painting by Willem van de Velde the Younger. I apologize that there is a reflection of a light fixture in the image, I will take better pictures as time permits, but I think it looks pretty nice and will look great hanging on the wall across from our other masterpiece from Ab and Son.
- hollowneck, Ryland Craze, mtaylor and 1 other
-
 1
1
-
 3
3
-
-
-
-
Welcome to Model Ship World Al, the virtual motherlode of knowledge and guidance with respect to ship models. That is one interesting project you have on hand. It sounds like some reference material is available for you to mine for information. Please start a build log if you endeavor to proceed with the restoration so we can learn more about the history of this interesting vessel.
Best regards!
-
5 minutes ago, tlevine said:
I went to your build log and have the impression that you want to drill holes into the hull with the drill press. If so, that is absolutely the wrong tool for the job. If your hands are shaky, your best bet is to make a dimple impression with a punch or pin and use that dimple to guide your hand. Whether you use a Dremel or a pin vise, this will keep you in the correct spot. I do own a Proxxon drill press and find it useful for parts that do not need to be or cannot be secured in a vise.
It’s more to stop breaking bits in the wood when doing it by hand. My Dremel starts at a high speed at first and wobbles to much to be of much use…
-
4 minutes ago, Roger Pellett said:
This is the umteenth time that I have posted about drill presses. You can find lots of discussion here on the forum. Use the search function.
In a nutshell, I see no reason for buying a hobby sized drill press, Proxxon or otherwise. While Kurt is right, you can lengthen the column, you cannot change the other critical dimension, the horizontal distance from the quill to the column.
Understood, and will do.
- mtaylor, Canute and Roger Pellett
-
3
-
-
19 minutes ago, kurtvd19 said:
I suggest that you check the diameter of the column and see what a piece of longer stock costs from a supply house near you. That's what a good friend of mine did. The excess height is not an issue when doing individual parts and it can allow one to raise the chuck a long way from the base. It wasn't much to purchase.
Kurt
I was wondering if that was an option on the Proxxon.
-
-
Looking very good Roberto!
- Keith Black, Knocklouder, Dave_E and 1 other
-
3
-
 1
1
-
Thanks to everyone for the advice and comments!! I *REALLY* appreciate all the sage input I have received. I originally purchased my pin vise and drill bits from Amazon (see link below). They say the PCB bits are tungstun carbide, which might explain the high failure rate leaving the bit embedded in the wood and resulting in shooting pain in temples and emission of random swear words. I must note that the pinvise holds the broken end quite securely. I will listen to the suggestion of @VTHokiEE and try the McMaster-Carr bits. I just put in an order for a range of bit sizes, with several of each side just in case. Fingers crossed these uncoated HSS do the trick, I have so many holes to drill. One other note, I will also likely buy the drill press, but it does seem like there is not sufficient room provided on the Proxxon drill press to slide the hull of the Granado into place. What do all you kind people think? Am I correct in this conclusion?
Thanks again for all the assistance!
-
Hey Gang,
Sorry to shout out "HELP!", but I am going through micro drill bits at an alarming pace, and when they break in the wood, it is often a minor disaster. I have questioned whether there are just a lot of cheap drill bits out there, and that I have inadvertently purchased poor quality bits. I haven't really shopped around, and I don't know that much about what makes a high quality, durable drill bit. However, I just was looking on Amazon at 0.5 mm drill bits, and saw that GUHRING sells some kind of special 0.5 mm drill bits at a cost of $305/ for a pack of 10 ( https://www.amazon.com/GUHRING-9006600005000-Precision-Reinforced-Diameter/dp/B0102UZVUQ ). That made me think perhaps that these bits are somehow better than the ones I have been using, but spending $300 dollars on a pack of 10 0.5 mm bits seems a wee bit excessive. So, here are some specific questions:
1) How are most people making lots of 0.5 mm holes?
2) What drill bit manufacturers sell quality bits?
3) Is a drill press the solution, and if so, isn't the Proxxon drill press to limited in space to be able to slide a ship into place? It says the column is only 11 inches long!
4) Am i breaking a lot of bits because I am using a pin-vise by hand, and should I try an electric cordless drill like a dremel. I already have a dremel, but when you turn it on, it starts at a medium speed which makes it an engraver, and not a drill (if you know what I mean). It also has a lot of wobble/precision that makes it fairly hard to use.
5. What in your expert opinion is the best solution for my drilling needs, as I need to drill holes for channels and chain plates in my boxwood framed, and danish oil finished, hull of the Granado?
Any assistance would be greatly appreciated, and would save me a lot of frustration and swearing. If I could pay you for consultation services I would consider it.
Best regards,
Brian
-
-
Rail and stern looks great!! Nice work. I see you put the lids on your sweep ports too!
- Knocklouder and Vane
-
2
-
On 2/16/2023 at 4:03 PM, Craigie65 said:
I was lucky - it was early in the build and only a cracked stem and a few stern supports.
Did you elect not to mount all the swivel guns. I just noticed some appear to be missing…I need to do those too, so I think I’ll be doing some of that work today….
-
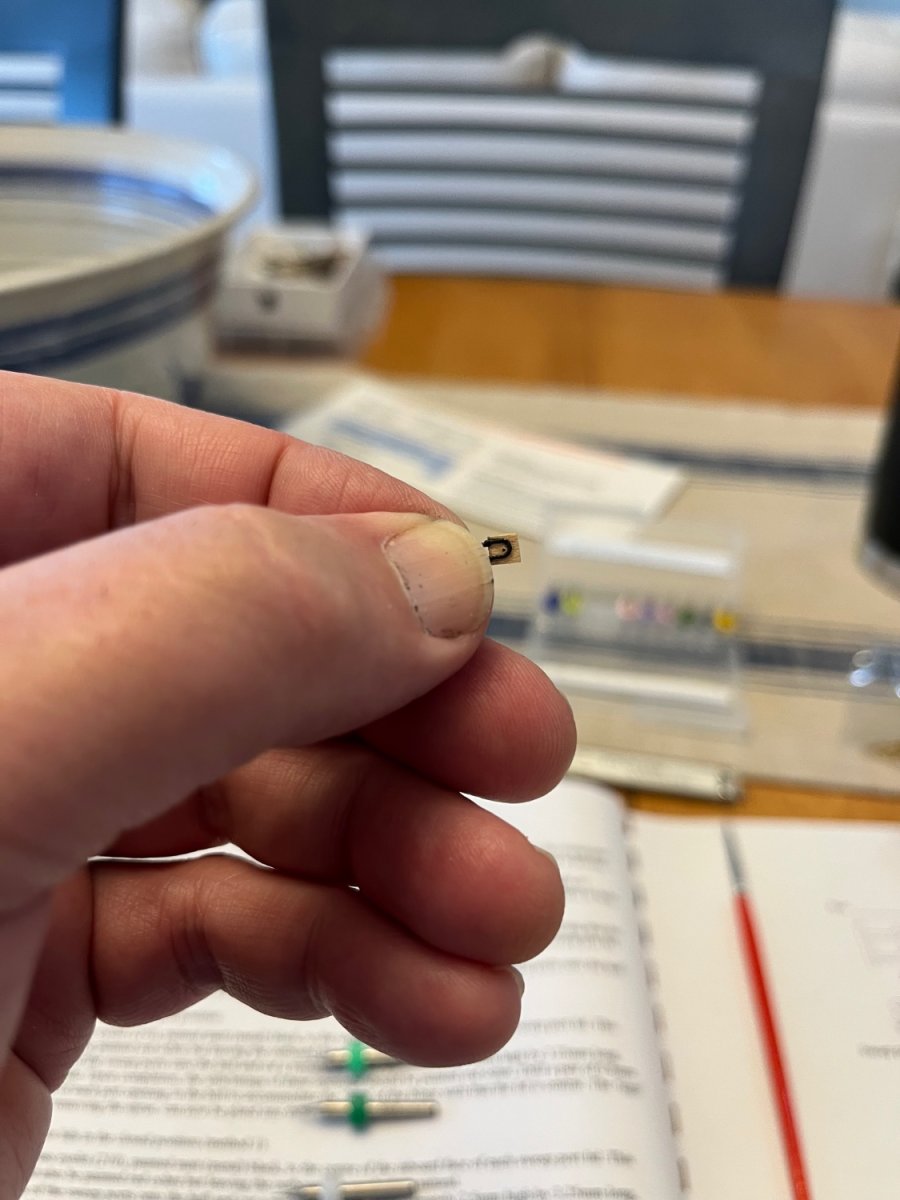
Hey Kev et al., I made an executive decision, and I am going to delay installation of sweep port lids until I have finished everything else. I made one sweep port lid to the best of my ability, and it came out perfectly fine (see below) But drilling 36 0.5mm holes in the side to firmly install them is toooooo much and tooooo many holes in my opinion. I don’t have a drill press (yet), and the Dremel wobbles, etc. I will hand drill 0.7 mm holes for the pins on the channels and see how that goes, because I HAVE TO DO THAT. But I like the look of the open sweep ports, so when all is done, I will simply glue the sweep port lids in the open position, without drilling any holes, and handle with extreme care. Or not attach them. I don’t want to close all those sweep ports I so carefully cut out of the boxwood hull planking. Had I thought of it when I was cutting them out, I would have drilled the holes then, before doing all the installation of deck pumps, quarterdeck rails, cannons, etc.
For perspective:hinge side

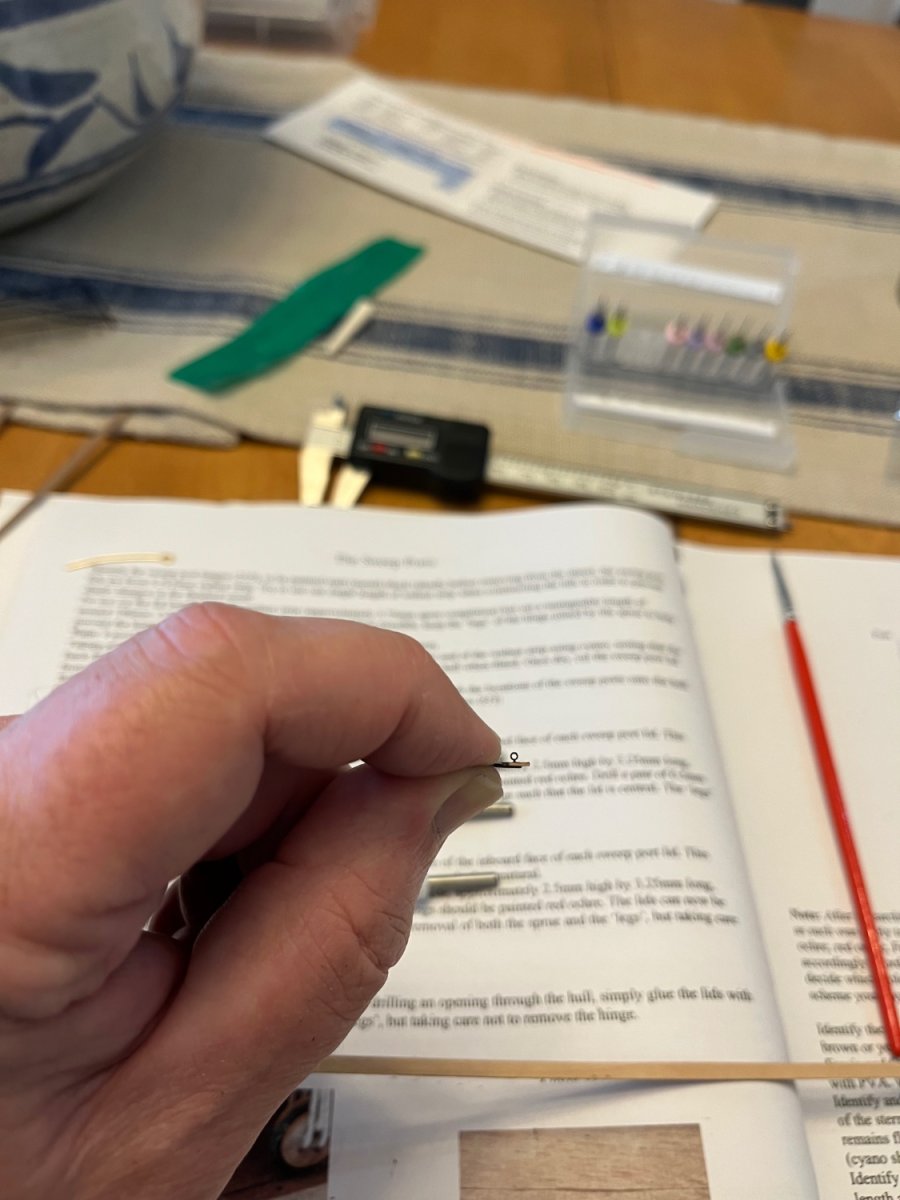
Eye bolt on other side…

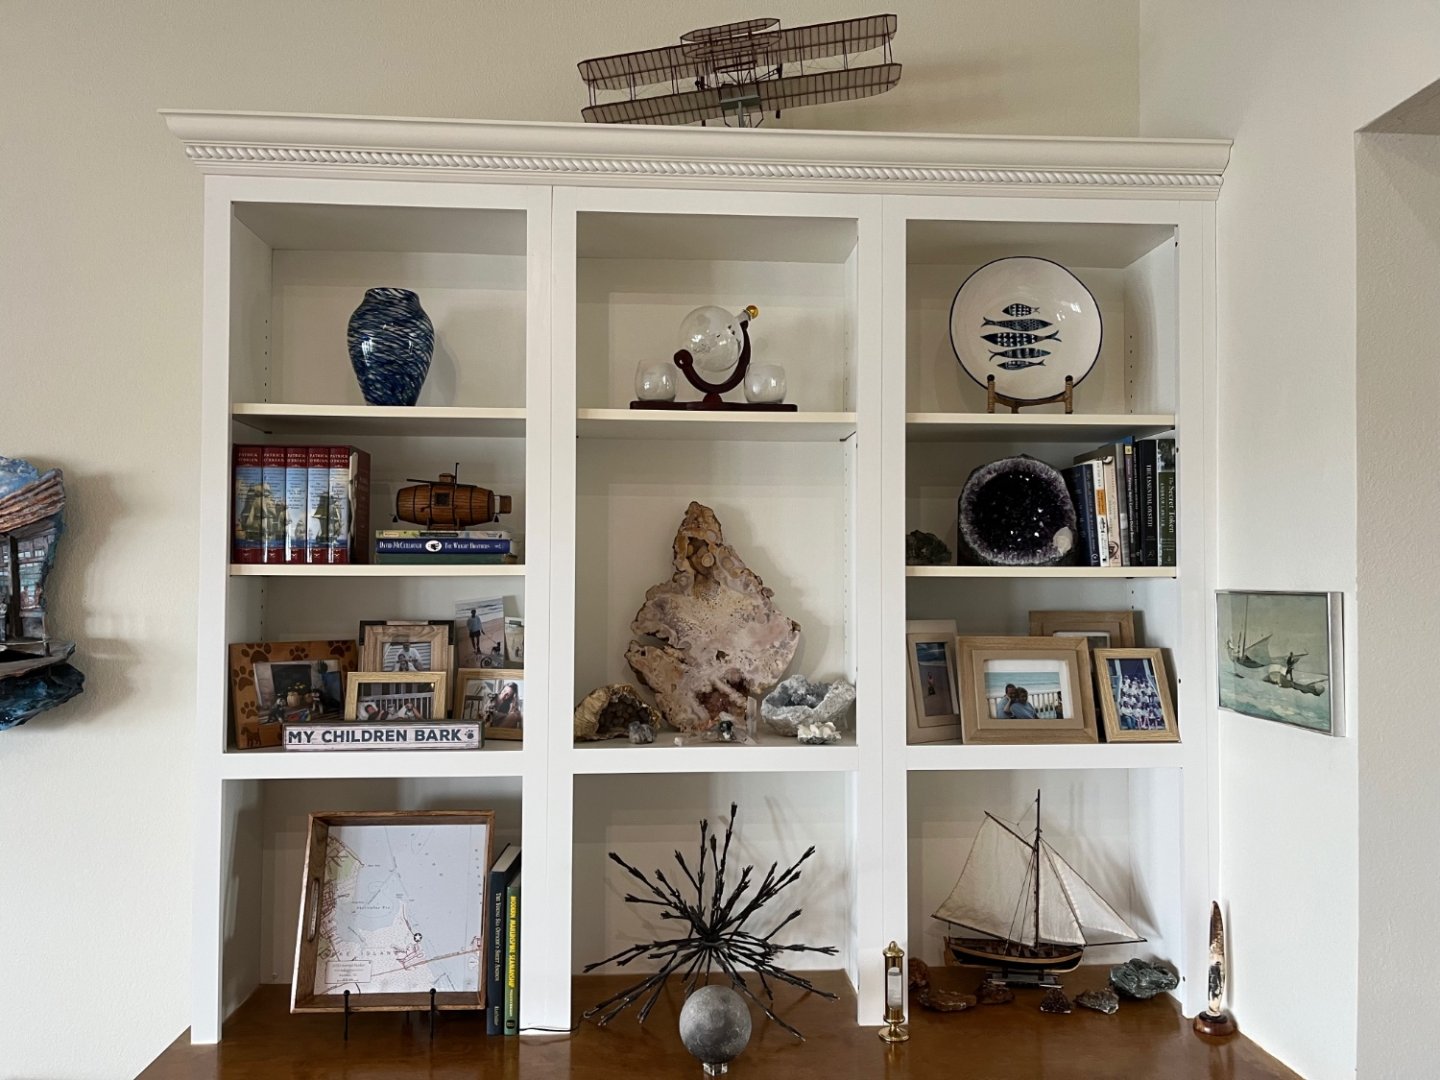
And a picture or two of the Secret Vessel in its berth on Roanoke Island.
- Knocklouder, Peanut6, Prowler901 and 5 others
-
8
-
-
9 minutes ago, Craigie65 said:
A bit dusty and in need of a wee bit of maintenance
It’s fantastic!!!
- Knocklouder and AJohnson
-
2
-
20 hours ago, Craigie65 said:
Good luck with those ports, Brian.
The hinge is very fine from memory. I took the easy way out and kept them closed. You can obviously see the ports from inboard.
Thanks for the support Craig / @Craigie65, I'm not looking forward to making a lot of work, but will take a look at one or two tacked in place to see if the appearance makes it worth the extra sweat equity. I looked at your Granado build log but it ends abruptly =(, would love to see some pictures of the finished model (I can't believe you dropped it down some stairs, but I believe someone else also dropped their Granado down stairs and it survived!).
Best regards to all!
Brian
-
I might be a bit biased, but I really like the cut out. You did a great job KL!!!
- Knocklouder, mtaylor and Keith Black
-
2
-
1
-
1 hour ago, OllieS said:
The actual wood won't be fragile because it's blocky enough (like snapping a half matchstick say), and the 'real' hinges is the strongest fixing available I would think. So I suppose it comes down to whether you think it's worth the trouble.
I have a 'that'll do' moment at every stage of my build. And that will do
")
I like your attitude @OllieS! I believe I am going to build one lid with the hinge and give it further examination for ease of installation and appearance using bluetak. It's an interesting question to me because the gun ports on the Granado don't appear to have lids, but the bow chase ports have doors, and the sweep ports and cabin lights have lids. At least I think that is right, I will go look at the AotS reference book to make sure...


Gday from Australia
in New member Introductions
Posted
Gday Alex, glad to have another OZie on board! Sydney is a beautiful place.