AnobiumPunctatum
-
Posts
1,230 -
Joined
-
Last visited
Content Type
Profiles
Forums
Gallery
Events
Everything posted by AnobiumPunctatum
-
Sorry to say, but this is definitly wrong. Suldelev I and III were found in the beginning of the sixtieth and the drawings of these ships were available. Also if you can not read the book, the drawings are very well researched.
-
Hi, there is a really nice book and planset about this kind of ships: Werner Zimmermann "Nef de Cinque Ports". Another good information is the drawing in Landström.
-
All parallel frames and fore cant frames are finished. In the moment I am busy to draw the after cant frames. Then the hawse pieces and transoms will follow. I hope that I continue with model building next year. But all planning is dependent from my job.
-
You only need to scan the body plan. Measure the length between the first and last station line in the sheer plan. Then measure the distance between the station lines to check and correct the first measurment. With this information you can draw the station lines in your cad-system. The offset between the station lines is the same. If you have scanned the body plan you can add it to your sheer plan and then the funny part can start. These are the steps I started my Triton drawing
-
You can use horizontal lines or a combination with horizontal and buttock lines. If these lines are not in the plan set, you can create these with the body plan.
-
Congrats for finishing this beautyful model. It's looking really wonderful.
- 433 replies
-
- 4
-

-
- open boat
- small boat
- (and 1 more)
-
Looks really nice. For lot's of modelers I think the milled parts are a goed starting point. I don't think that it is necessary to prebuild parts of the model
-
I am a fan of the "Wappen von Hamburg", since I was a child. I read the book of Wolfgang Quinger in the 70th of the last century. I think the kit is a good representation of the ship, based on the older Höckel drawings.
-
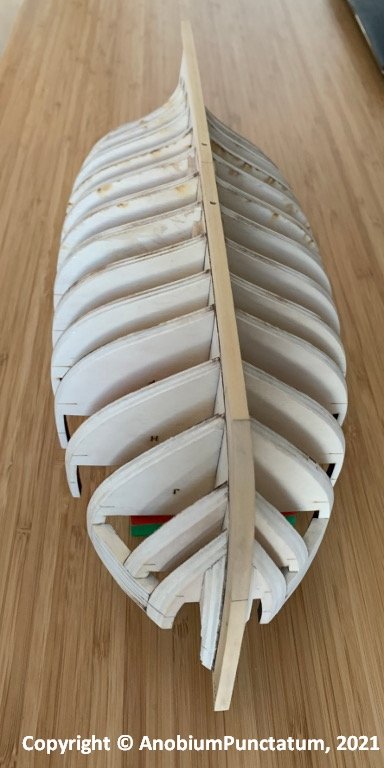
I am further busy with sanding the hull. The starbordside is finished. At the port side some further sanding at the stern is necessary. It's a lttle bit difficult to get this really smooth with stem glueded in place.
-
Really nice progress
-
Glenn, thanks for the really nice descriptions. This is very helpful for me.
- 776 replies
-
- 1
-
-
- cheerful
- Syren Ship Model Company
- (and 1 more)
-
Hoi Jan, hartelijk welkomen in onze groep en veel plezier bij het bouw van deze mooie model. (welkom in our group and a lot fun building this fine model)
-
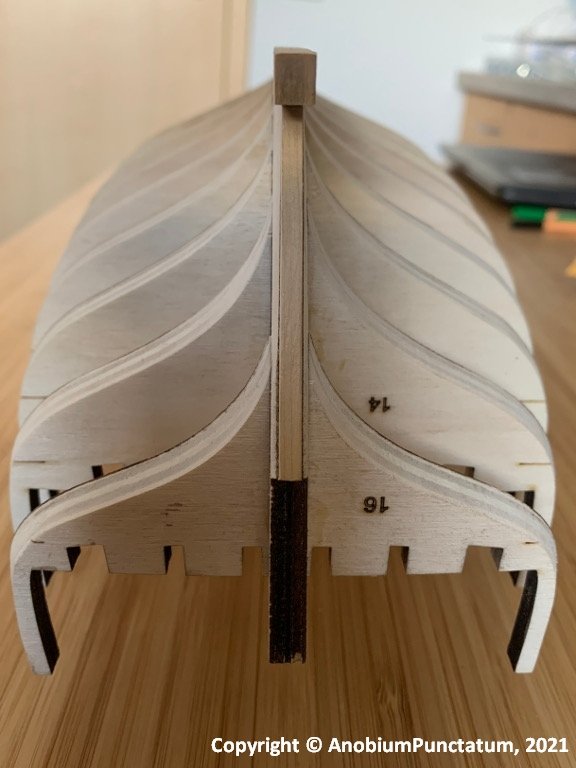
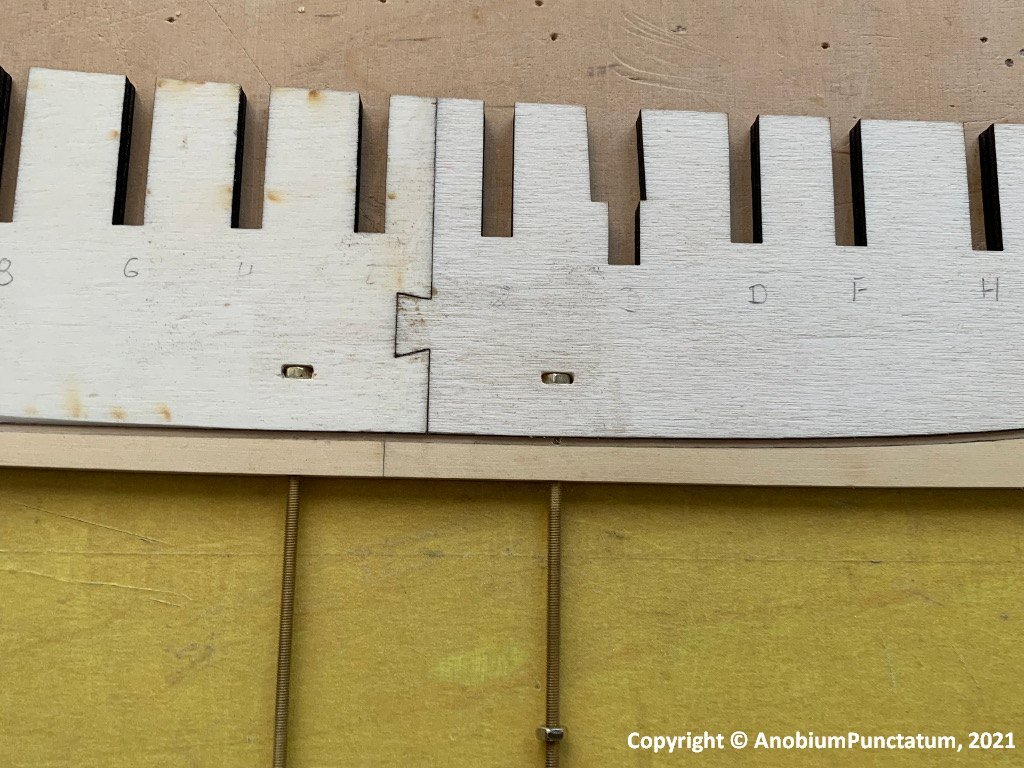
Thanks for the hint, Glenn. So position for frame 13 is fine.
-
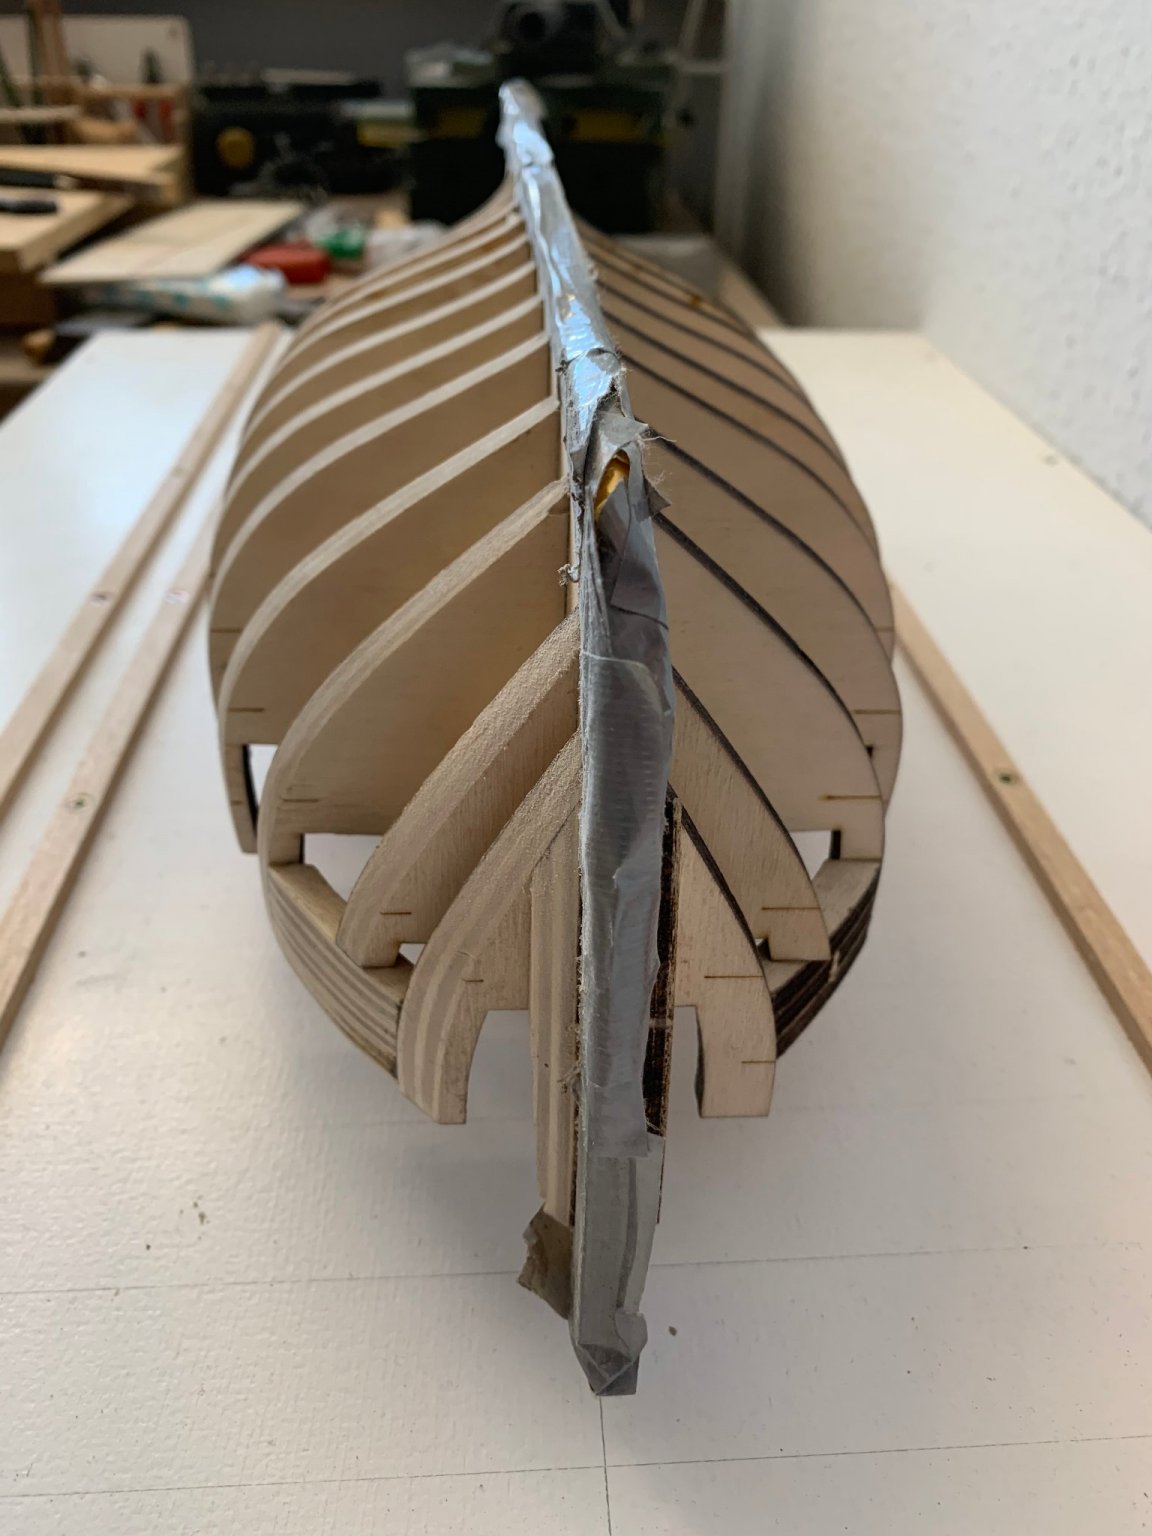
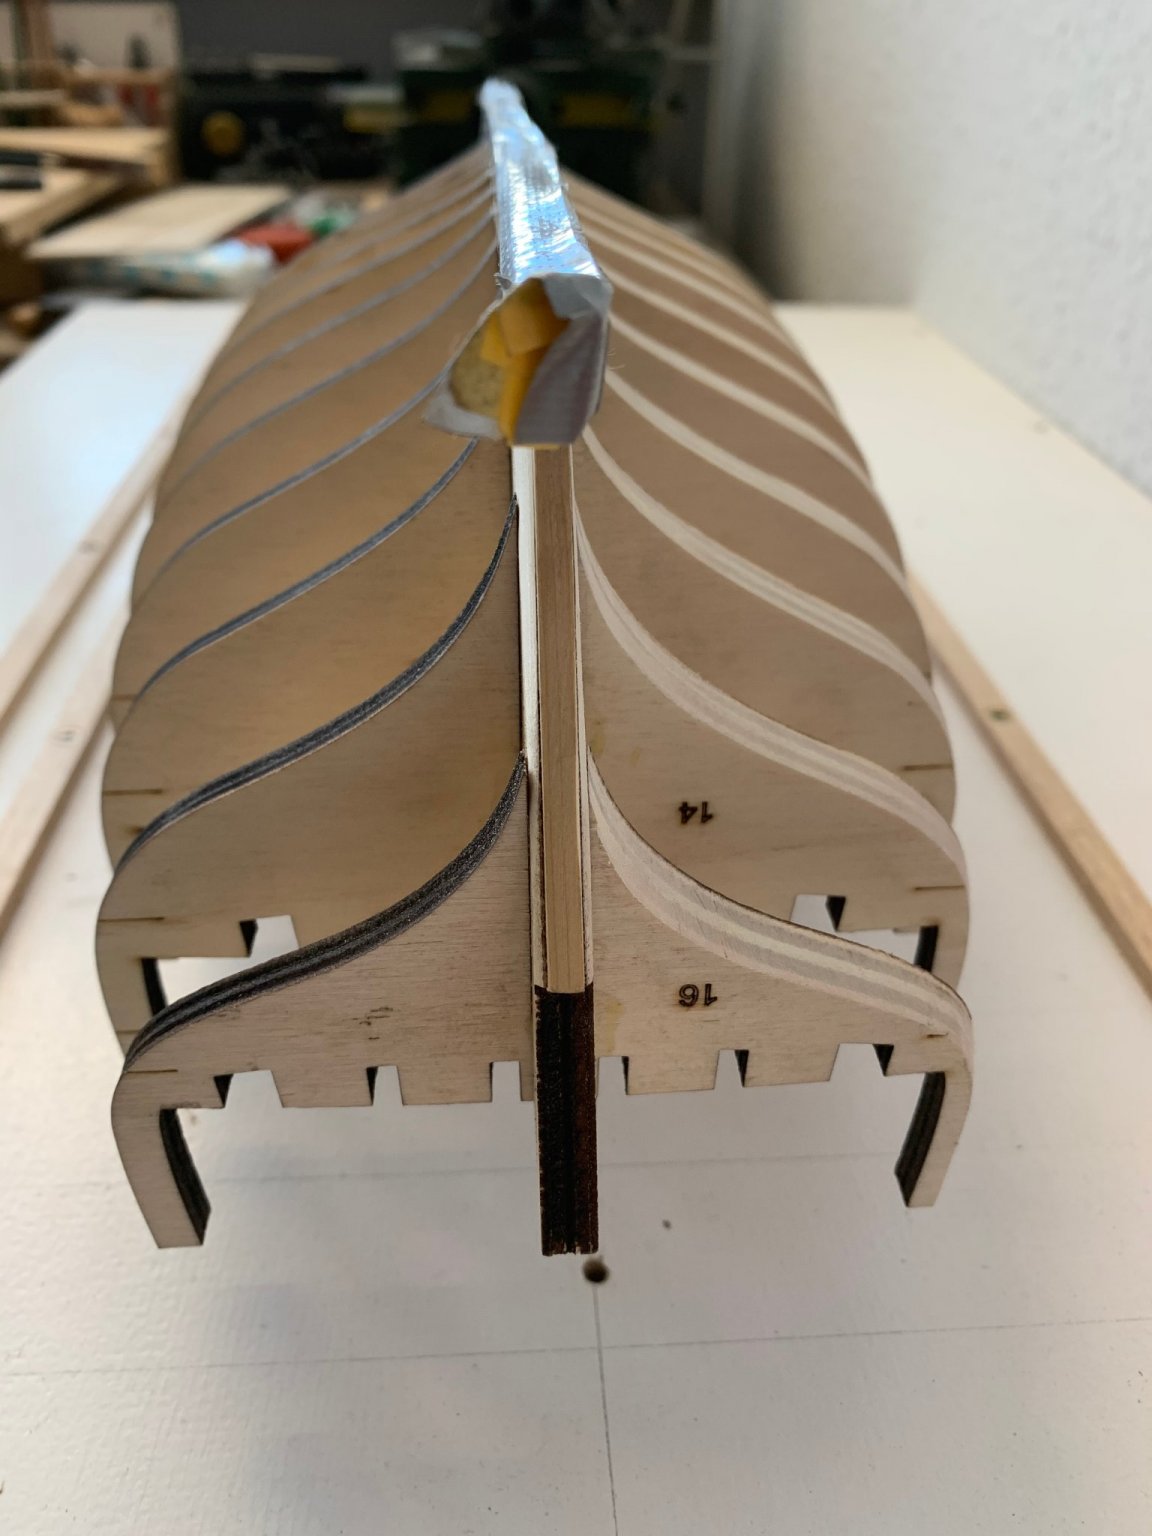
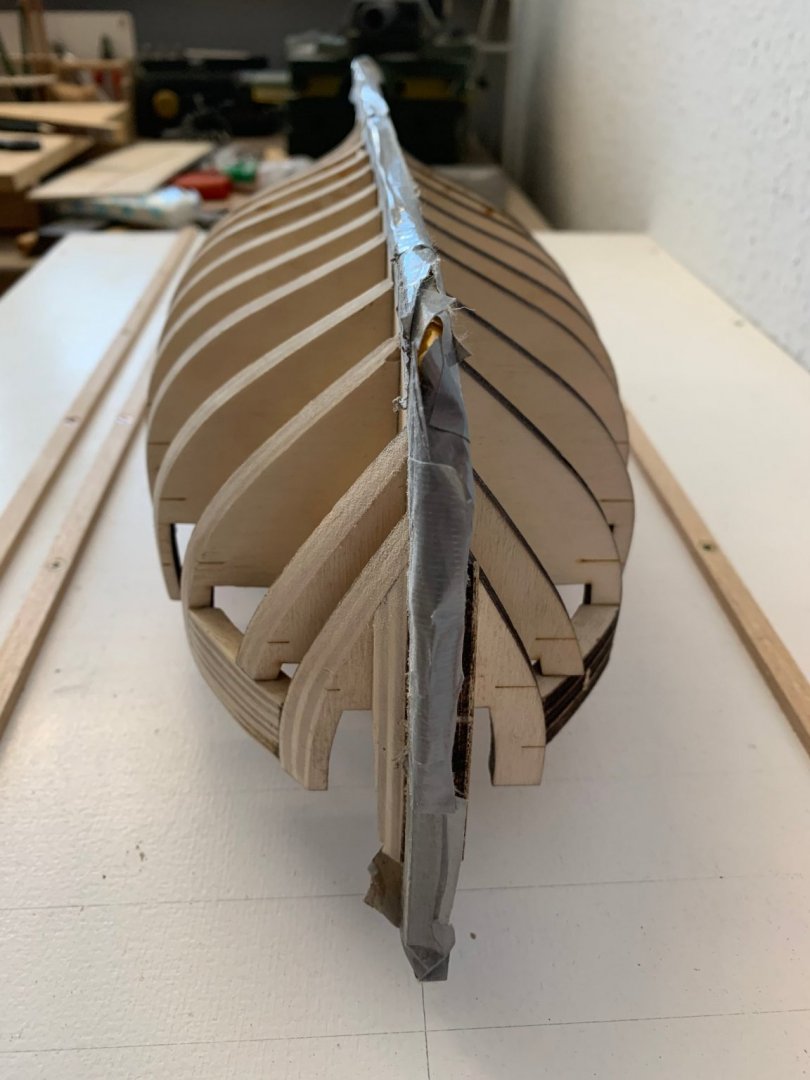
Today I found time to sand the first half of the hull. After removing the adhesive tape at the keel I have to sand a little bit at the stem. Those who can read have a clear advantage. 😉 If you see, I didn't follow Chucks advise, I simply overread this. So I copied the marks on the other side of the frames.

-
The planking is looking great. Do not to much work on one side. An old modeller told me that it is better to work symmetrical on both side to avoid torsion of the hull.
-
Welcome on the shipyards. It will be nice if you can share some bigger photos.
-
Wow, the cannons are looking great. I like the natural carriage. It will be a nice contrast to the hull color.
- 1,784 replies
-
- 1
-
-
- winchelsea
- Syren Ship Model Company
- (and 1 more)
-
Really nice progress. The color of the ivory looks fantastic.
-
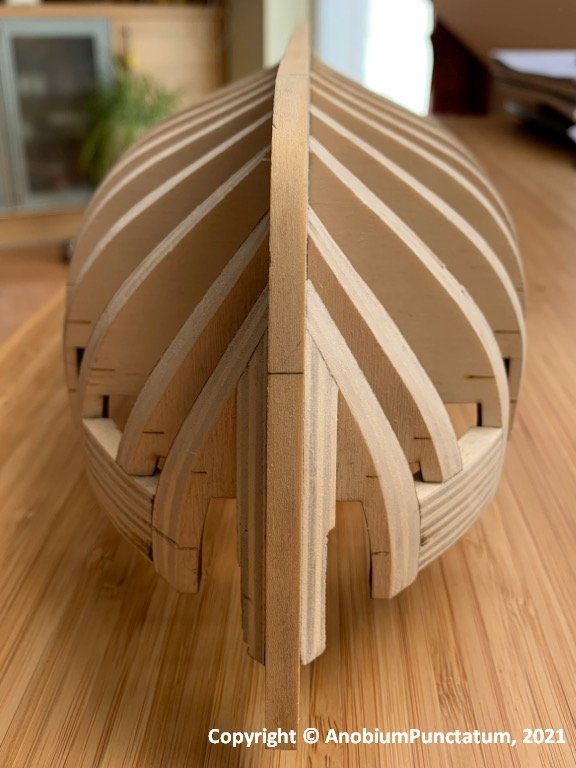
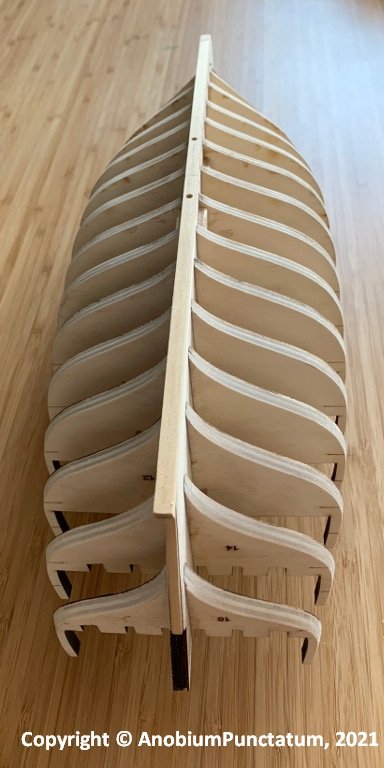
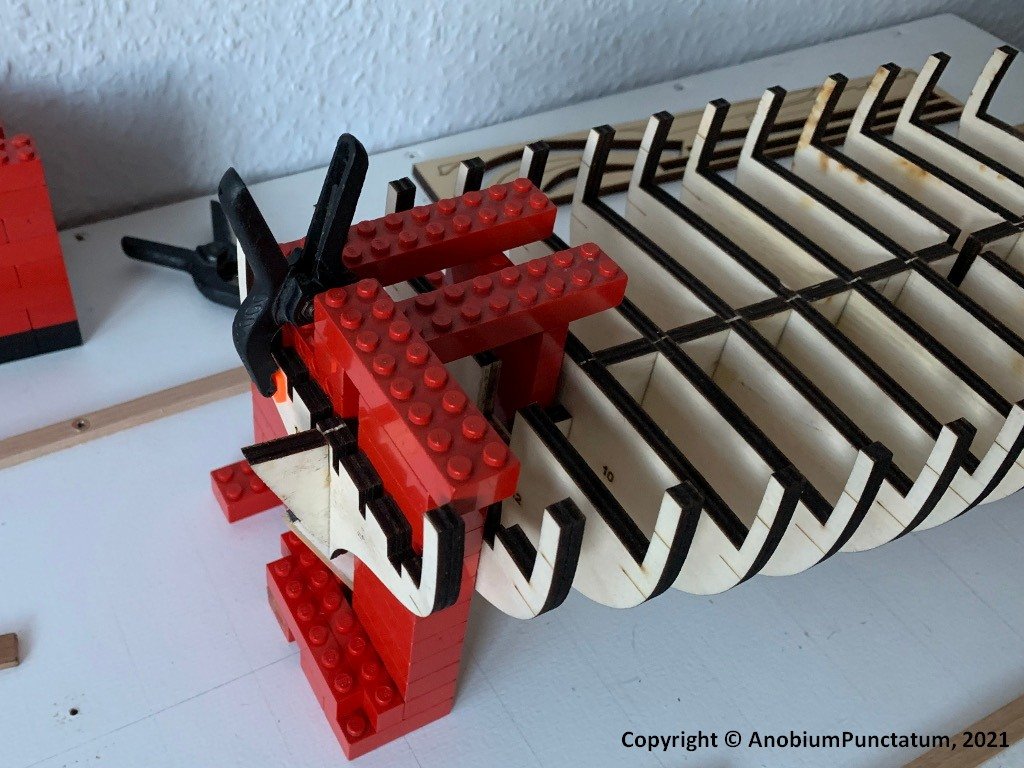
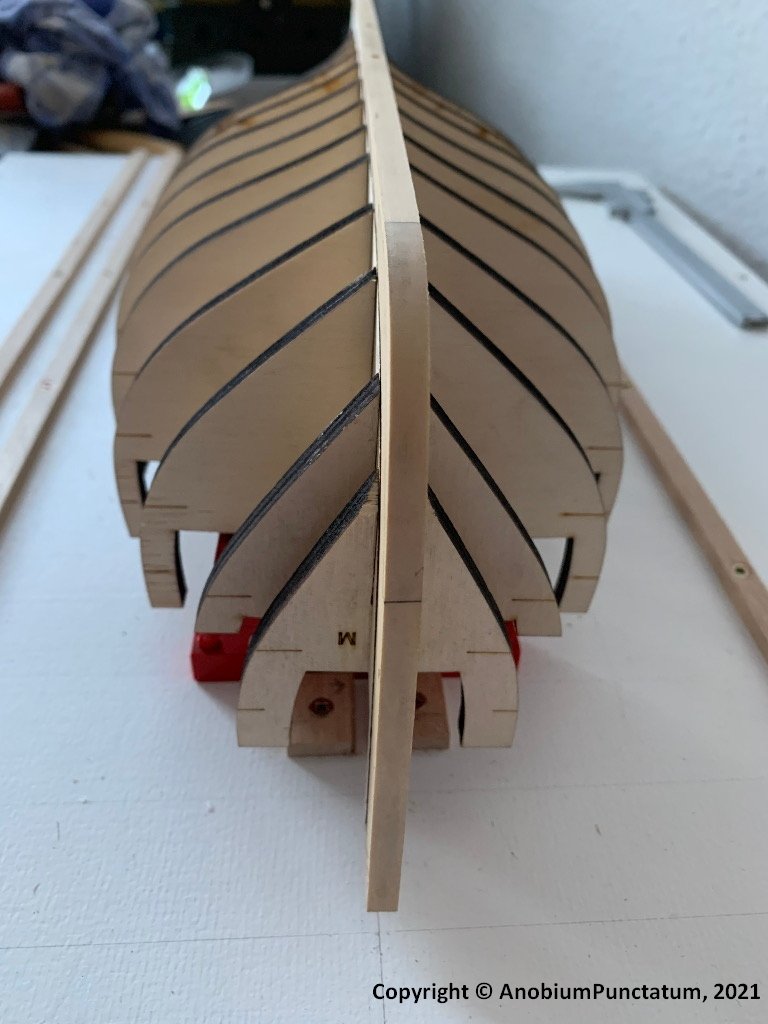
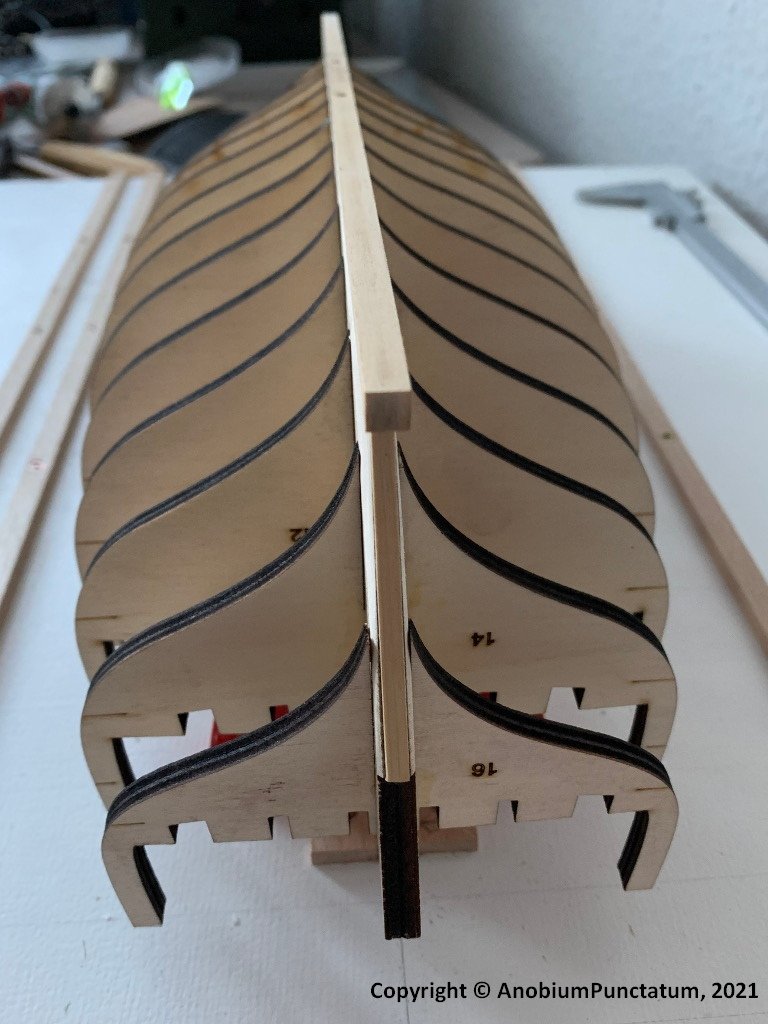
In order to be able to securely fasten the model to the stand, two recesses for nuts were milled into the keel board and two holes were drilled for M3 threaded rods. Today I glued the ribs into the prepared keel board. For the right-angled alignment I built small auxiliary constructions out of Lego bricks.
-
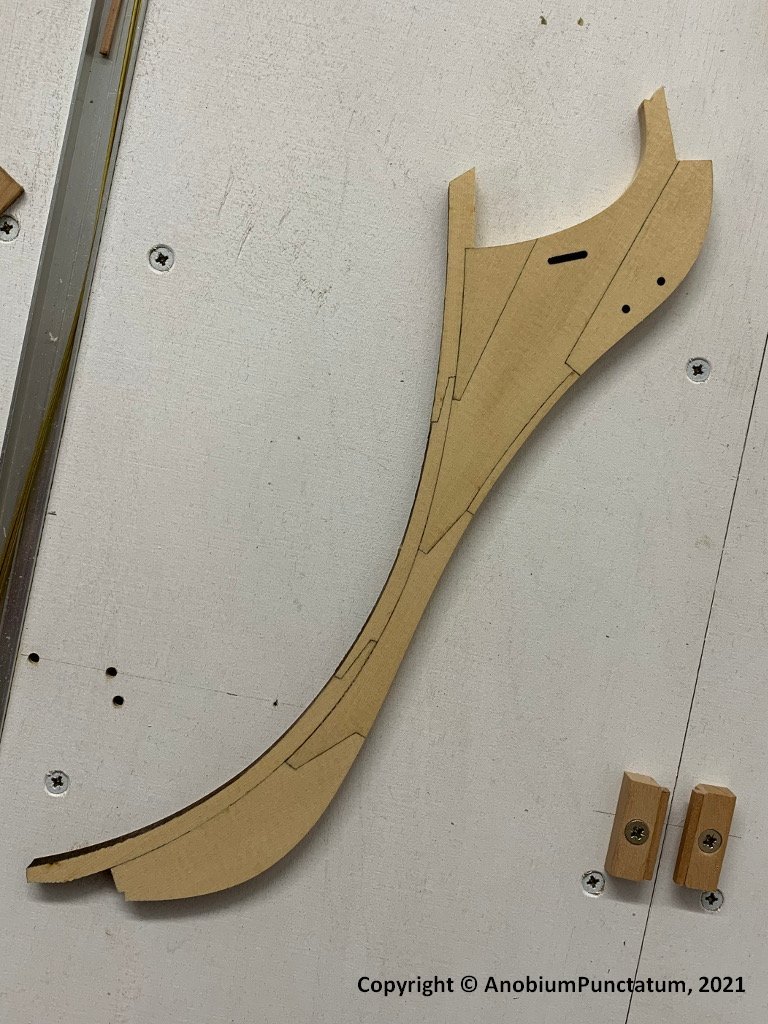
What you see, comes mostly from the laser. It doesn't cut perpendicular to the wood. After a little bit of sanding the outside is looking fine. This is the stem of my model build with the parts, Chuck provides.
-
Die Kogge Von Bremen by kentyler
AnobiumPunctatum replied to kentyler's topic in - Subjects built Up to and including 1500 AD
The planks at the bottom of the hull are krawel planked. So I think it is a good idea, to add some real frames to your shell. -
Die Kogge Von Bremen by kentyler
AnobiumPunctatum replied to kentyler's topic in - Subjects built Up to and including 1500 AD
With the plans from Werner Lahm, you have the best source you can find for the Bremer cog. I Will follow your build with great interest. The plans are also the basis for the replica's in Germany. I've published a pert of the foto's I did from the original ship at Modellmarine.de.