HOLIDAY DONATION DRIVE - SUPPORT MSW - DO YOUR PART TO KEEP THIS GREAT FORUM GOING! (Only 24 donations so far out of 49,000 members - C'mon guys!)
×


DocBlake
-
Posts
1,811 -
Joined
-
Last visited
Content Type
Profiles
Forums
Gallery
Events
Everything posted by DocBlake
-
 Thanks, guys!
 -
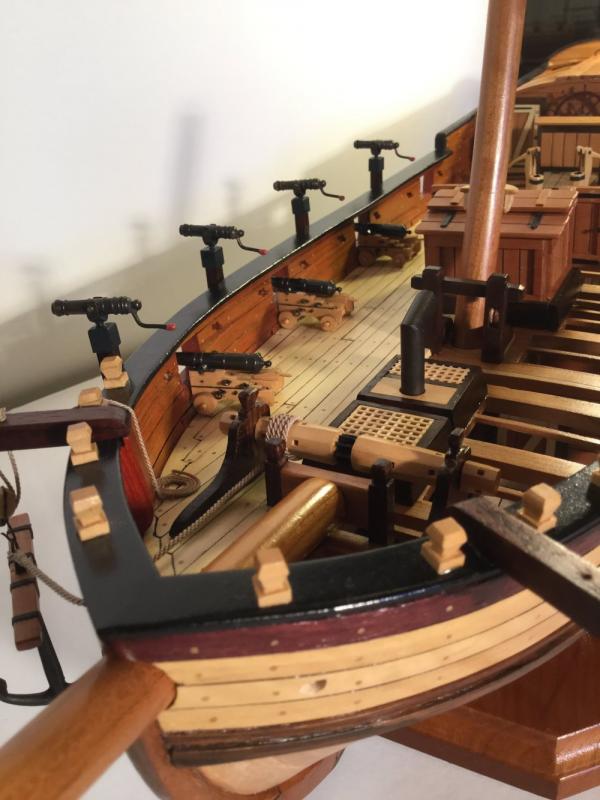
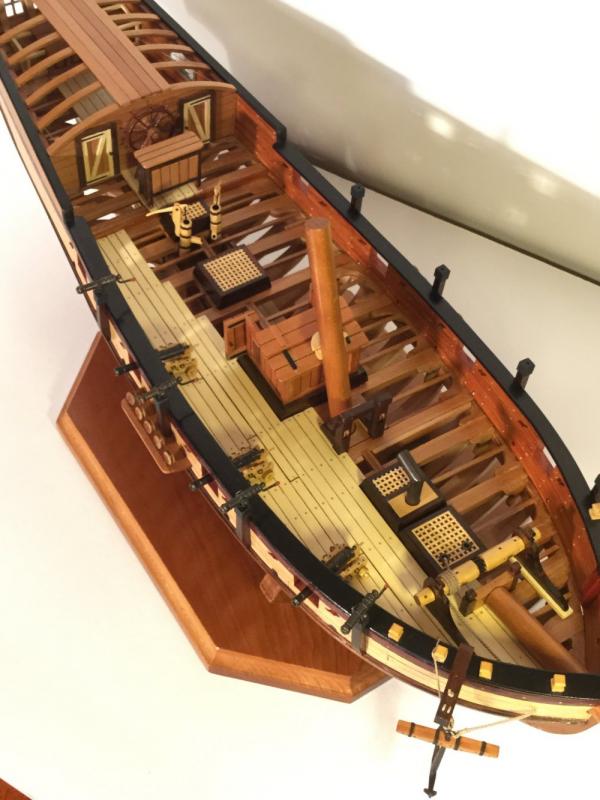
Back at it with Christmas now past. Not much to see, but I completed the glue-up of all the frames. Next is sanding the inboard edges, matching each frame to the plans and either shimming or trimming so they fit exactly, and then prepare the notches which hold the frame to the keel. More photos after a little more progress.
-
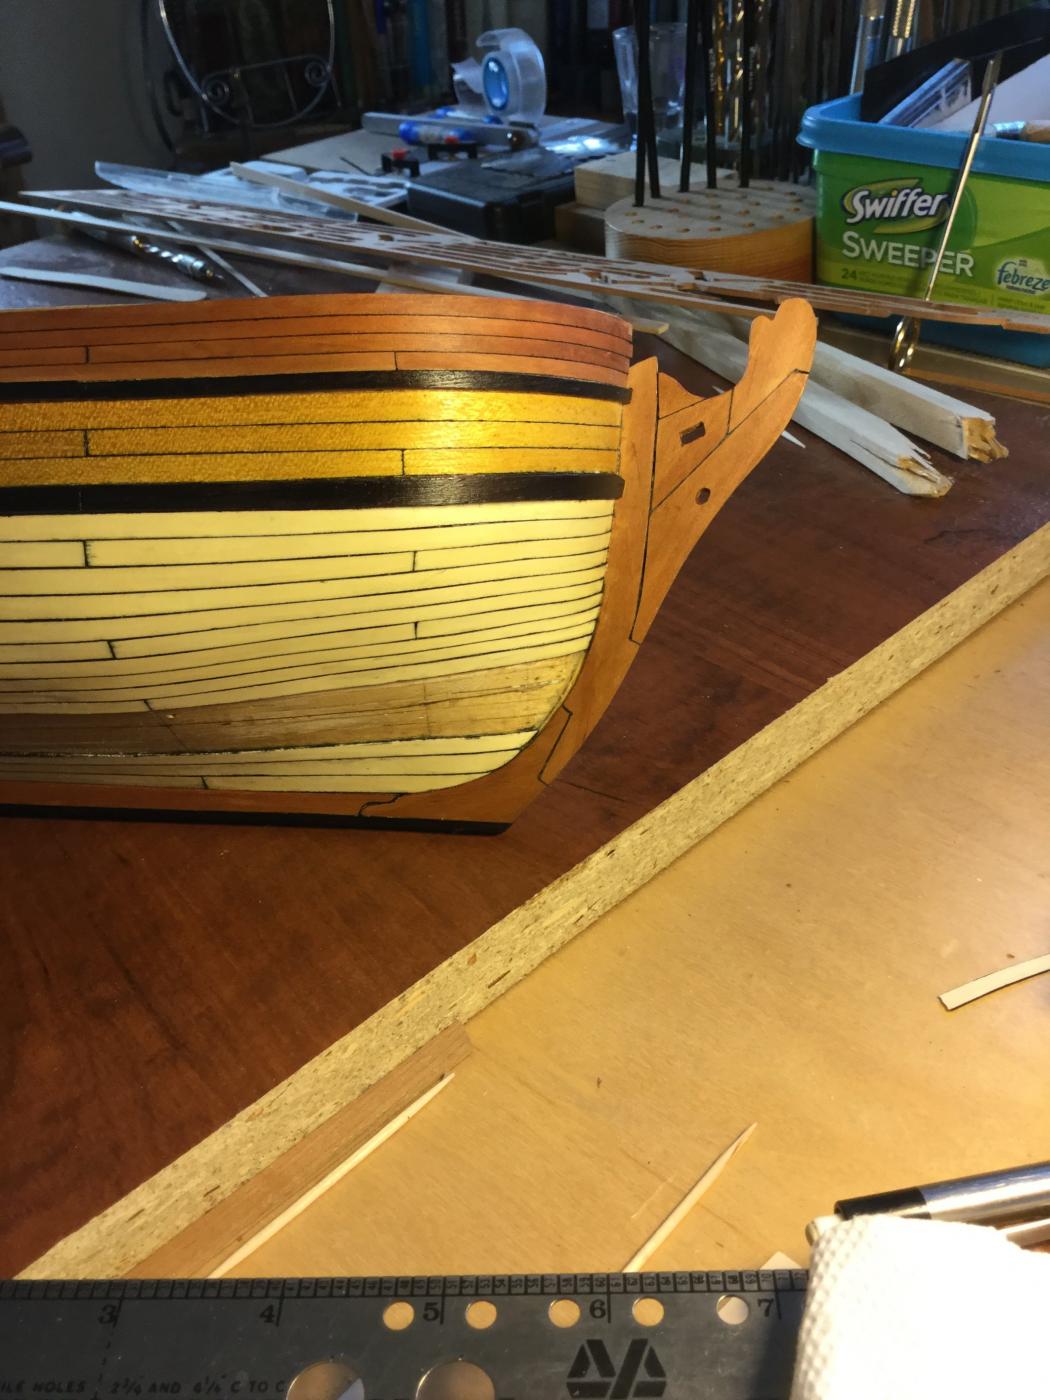
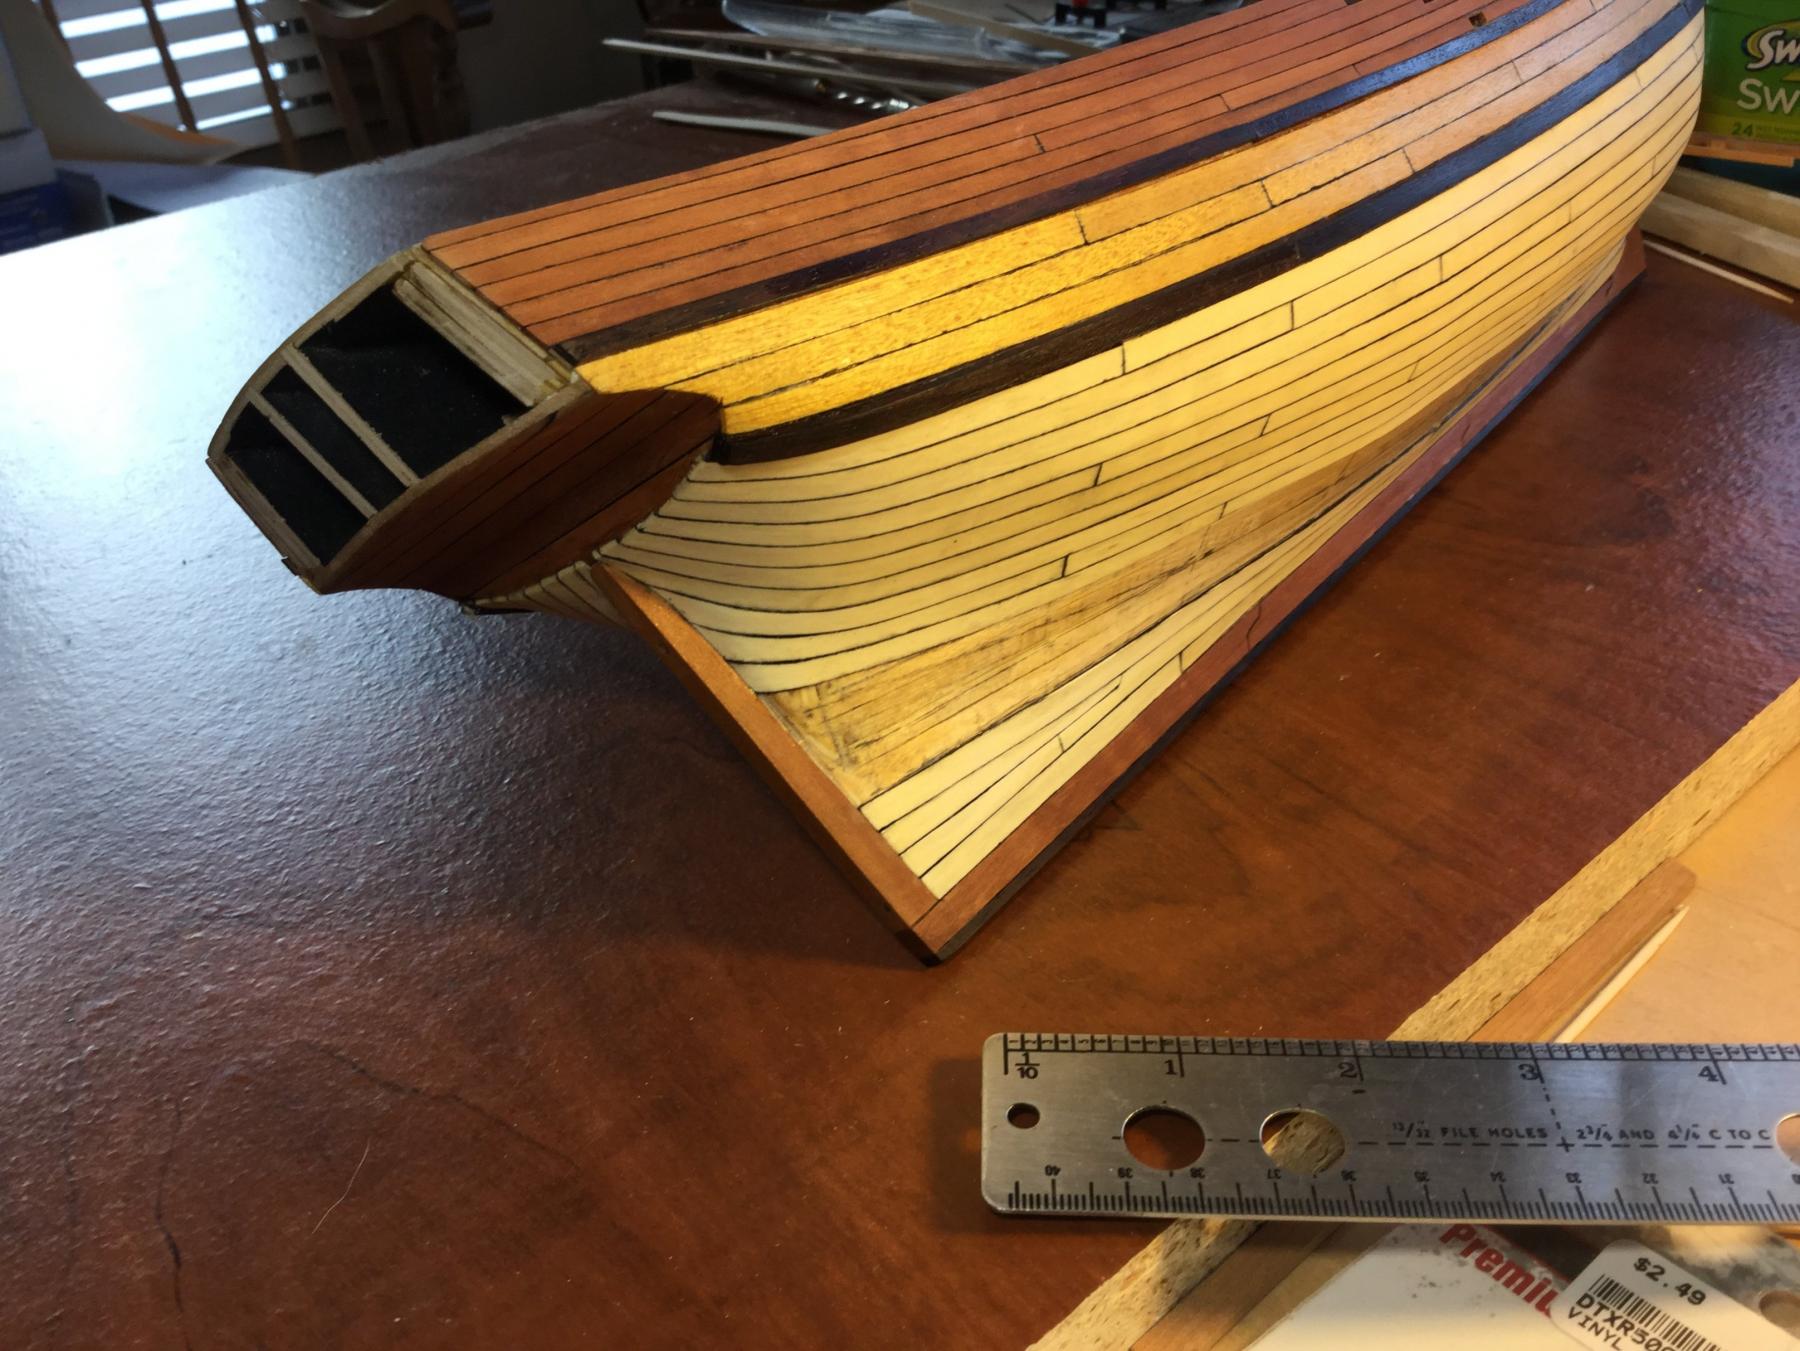
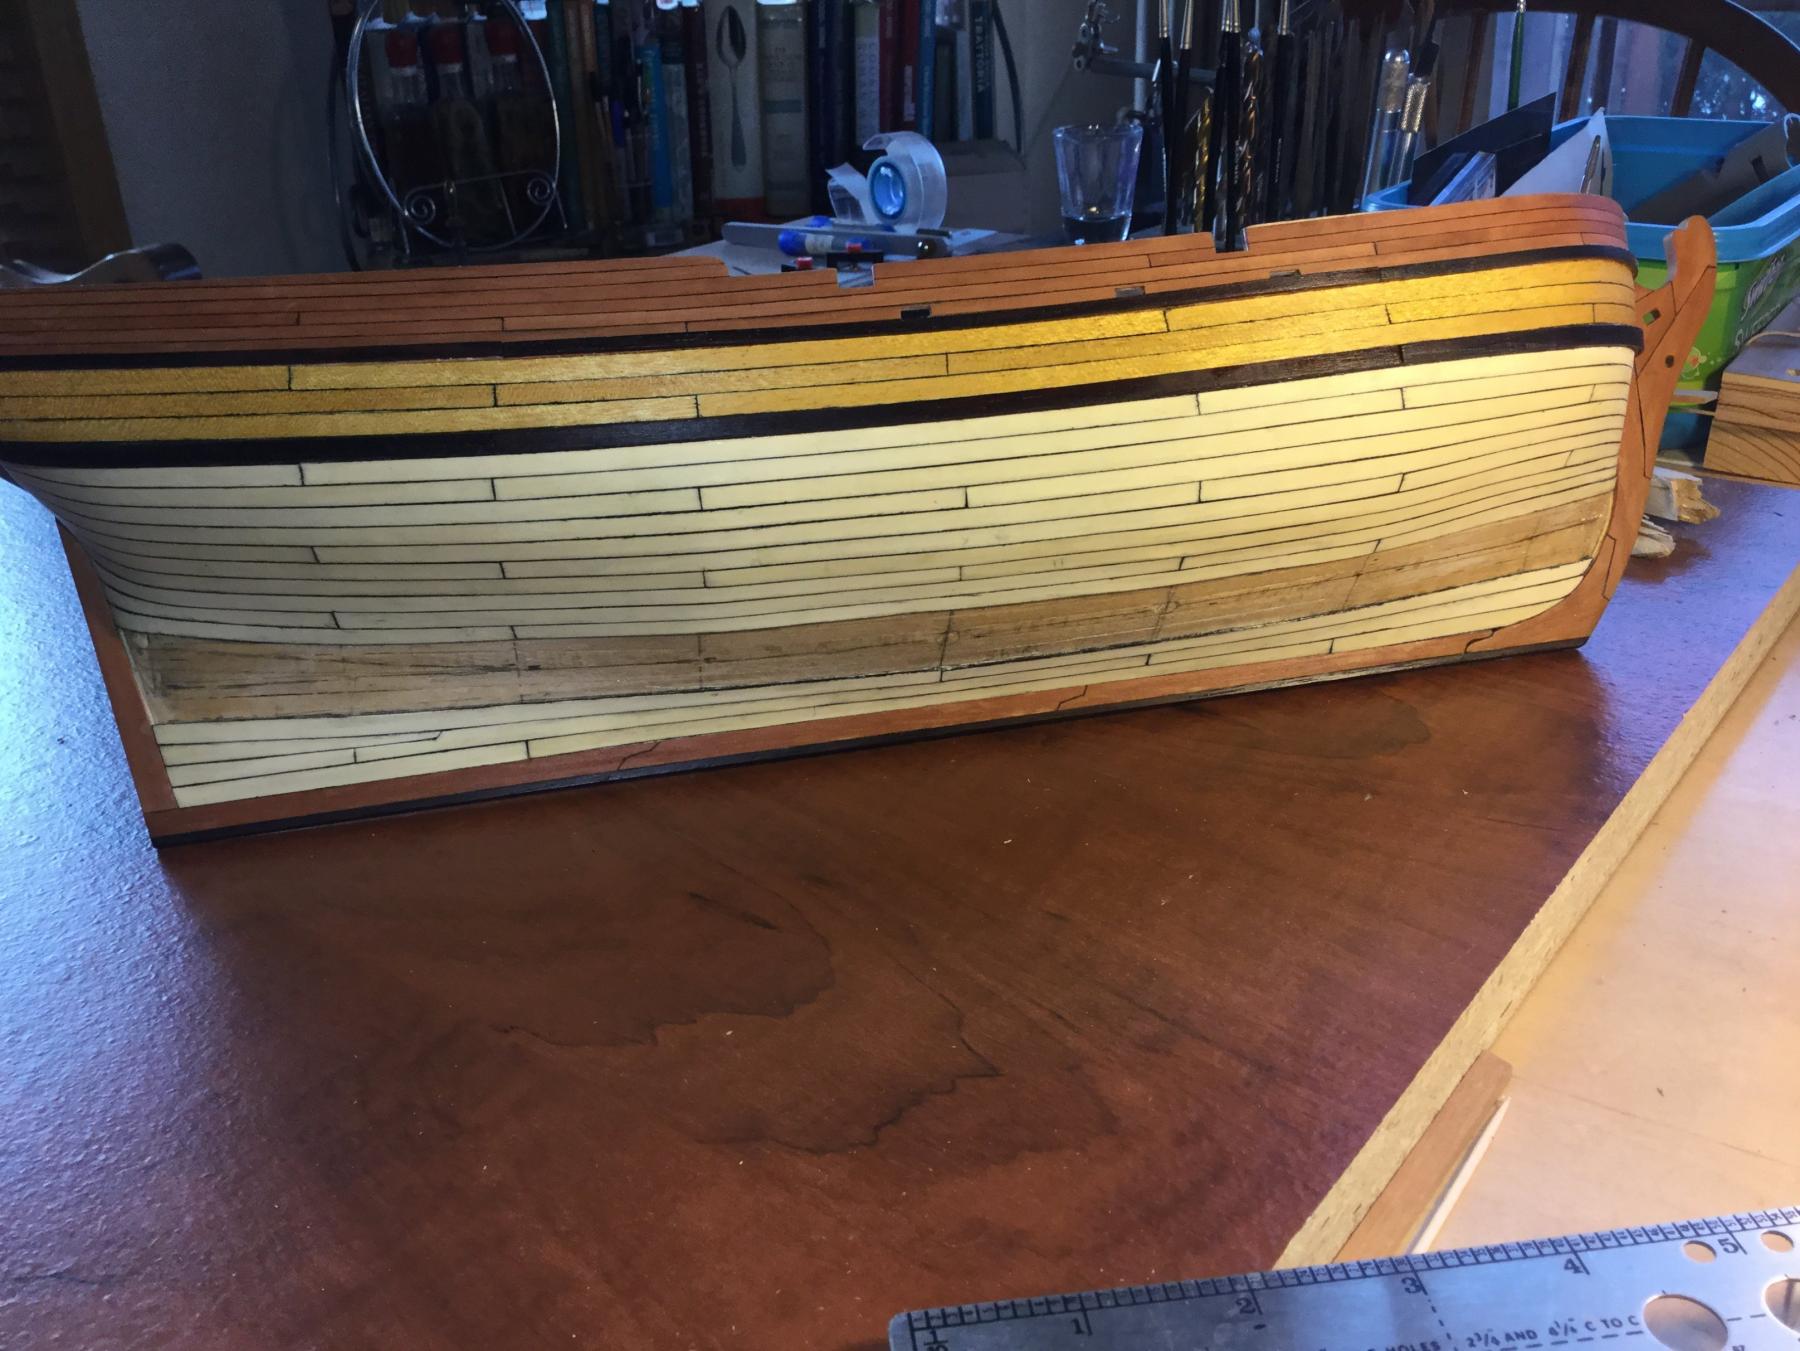
With the Christmas holiday past, I'm back planking the hull. The shape is really weird, and is requiring some very interesting custom planks. At the stern, I'll need another stealer, or a plank that "widens" at the end of it's run to get the stern planked properly. The final strake will be custom fit, and I'm going to try to arrange it so that it's made up of three planks, not just two. The fitting will be easier that way.


-
Very nice, Don! It's up to your usual standard of excellence.
- 653 replies
-
- 5
-

-
- trabakul
- marisstella
- (and 1 more)
-
Try this CD. It has plans and instructions for rigging the FA as well info for building the AVS and a third vessel. Worth the money. http://www.seaways.com/CAFCD.html
-
Jud: A much more articulate explanation of what I was trying to say!
-
The long feet on the supports oppose the weight of the anchor, so they face forward, toward the bow. To raise a yard, a smaller windlass would be proper, oriented with the feet pointing to the load. The windlass in your pictures have feet pointing in both directions!
-
Thanks, Bouke! Zalig Kerstfeest to you and your family
-
Here is the proper orientation of the windlass. Hope this helps!
-
Status report: This build is on hold until after the Christmas holiday. I'm imprisoned in my workshop trying to finish Christmas presents for my two kids on time. That's taking priority!
-
Status report: This build is on hold until after the Christmas holiday. I'm imprisoned in my workshop trying to finish Christmas presents for my two kids on time. That's taking priority!
-
The shrouds and ratlines look great! My Rattlesnake (Mamoli) is on hold because of problems at the transom. I do have the MS kit, and your build is tempting me to start over with the MS kit, Bob Hunt's kit-bashing practicum and your mods outlined in this log to guide me in a heavily modified Rattlesnake build! Great job so far!
- 481 replies
-
- 2
-
-
- rattlesnake
- model shipways
- (and 1 more)
-
I think I'll pull up a chair, also. The final planking for the deck will cover a lot of sins, depending on thickness. If the supplied planking for the deck is too thin, you can swap it out for thicker and sand the deck smooth once planked. I'm too lazy to run upstairs and look in my Mamoli kit box for the deck planking!
-
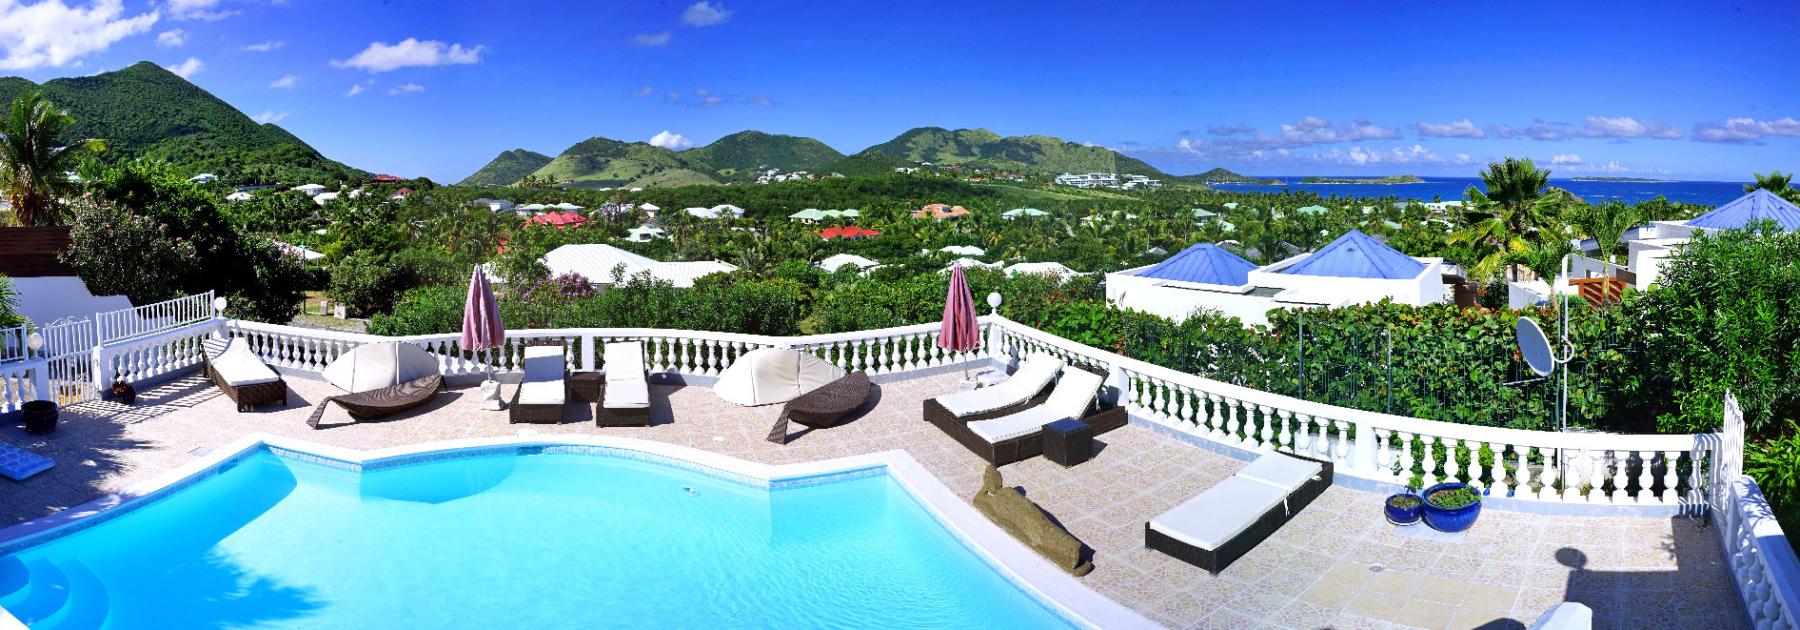
Leaving paradise to return to cold Wisconsin. Ready to restart my modeling after a 2 week break. Here's a view from the villa on St. Martin, FWI we rented for the family. It's good to be retired!

-
Excellent job with the wheel, Don. Now you can use the same technique to make belaying pins in the proper scale (most are cartoonishly oversized.). If you did that for, say, an HMS Victory model It might take you 40 years to finish!
- 653 replies
-
- 7
-
-
- trabakul
- marisstella
- (and 1 more)
-
Great work Don, you are becoming a zen master of these builds! Keep up the outstanding work.
- 653 replies
-
- 6
-
-
- trabakul
- marisstella
- (and 1 more)
-
Hi Tim! Yes, I think so. There is nothing in the model that screams "Mid-Cenury", except maybe the windlass, which might not be used earlier. Otherwise, OK.
- 306 replies
-
- 4
-
-
- armed virginia sloop
- Patrick Henry
- (and 2 more)
-
You are right, Don. It really speeds up the process. Zoran: We are vacationing on St. Martin F.W.I. In a small fishing village called Grand Case, there is a beautiful little Catholic Church located by the water's edge.. The name? "Maria Maris Stella" - "Mary, Star of the Sea"
- 653 replies
-
- 6
-
-
- trabakul
- marisstella
- (and 1 more)