Glen McGuire
-
Posts
1,976 -
Joined
-
Last visited
Content Type
Profiles
Forums
Gallery
Events
Everything posted by Glen McGuire
-
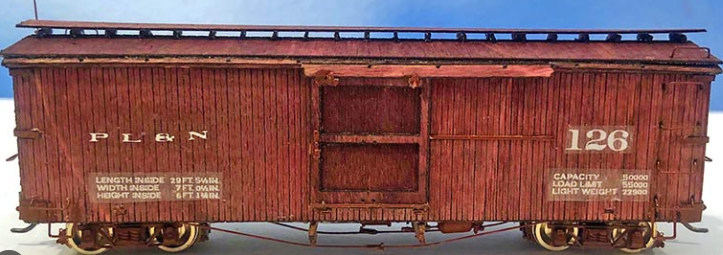
 I think the burnt sienna is too brown if you are trying for boxcar red. I envision it more red than brown like the pics below. I would do a base of a reddish-brown (a bit more more red than brown) and add some weathering techniques.
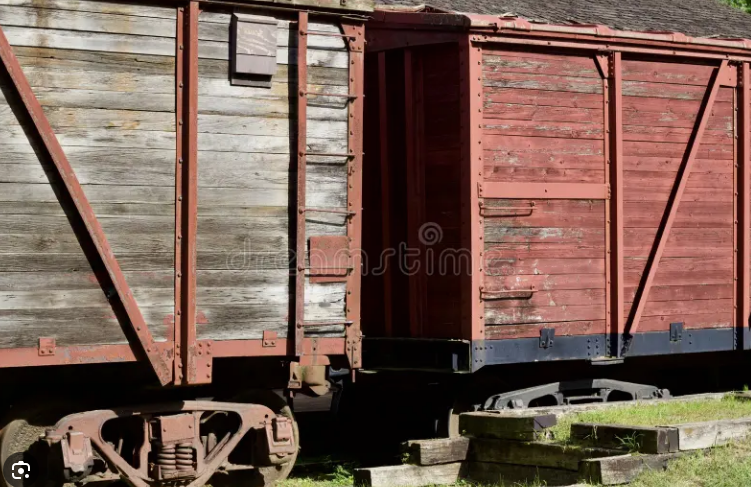
-
Hey Bob. You've overcome things that are a whole lot tougher than a piece of upside down photo-etch! I doubt anyone would have noticed had you not pointed it out.
- 207 replies
-
- 2
-

-
- vanguard models
- Duchess of Kingston
- (and 1 more)
-
I just discovered this build log and got caught up on it. You really are a master with paint. I have learned so much from you. Also, the landing gear build was superlative. Well, done, Mike!
-
Beautiful work, Peter! Very impressive!!
- 55 replies
-
- 2
-

-
-
- miniature
- Brandenburg State Yacht
- (and 1 more)
-
She is looking grand, Bob. Full speed ahead! BTW, does PFC Pile have his cousin Goober hiding in the shop somewhere?
- 207 replies
-
- 1
-
-
- vanguard models
- Duchess of Kingston
- (and 1 more)
-
That bare hull is a work of art!
-
Nope. You got me on that one, Keith.
-
That's a nice job carving out that transom design, Chris!
- 146 replies
-
- 6
-
-
- Speeljacht
- Seahorse
- (and 2 more)
-
Same here! I think a bottle project would be a great way to keep the momentum going!
-
I remember a comment from someone when I first joined this forum regarding screwups. I don't remember the exact words nor who it was that made the comment, but the gist of it was, "Don't spend too much time worrying about your mistakes. It's wood. It can be fixed." And yours is just the latest example. Keep your head up and keep moving forward, Bob!
- 207 replies
-
- 3
-
-
- vanguard models
- Duchess of Kingston
- (and 1 more)
-
Wonderful work on that keel bow curve! Looks superb.
-
Just like your Tennessee - very clean and crisp build. Looks great, Keith!
-
Gunboat Philadelphia 1776 by tmj
Glen McGuire replied to tmj's topic in - Build logs for subjects built 1751 - 1800
That is awesome! -
Your cat needs to get busy and clear the workshop of all those Canadian rats!
- 207 replies
-
- 3
-

-
- vanguard models
- Duchess of Kingston
- (and 1 more)
-
The picture in the previous post definitely look like a bracket of some type. And the pole in the above looks like its attached at the same point. But I don't know what the usage would be.
-
Looks like there is paint rubbed off of it. Maybe a rubbing knob in addition to the rubbing strip that rest just beneath??
-
Thanks, Gary! And yes, I bowed to the pressure you put on me with your "Smoke, eh?" comment a while back. So I blame you for the additional gray hairs that effort gave me! 😃
- 235 replies
-
- 5
-
-
-
- Banshee II
- Bottle
- (and 1 more)
-
I just boarded, ready for the adventure. Let er rip, Peter!!
- 55 replies
-
- 2
-
-
-
- miniature
- Brandenburg State Yacht
- (and 1 more)
-
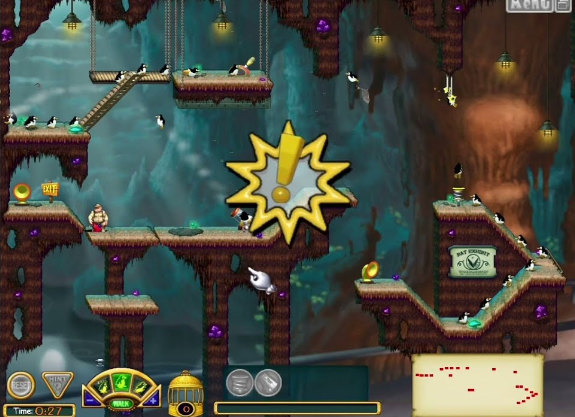
Oh you will love this even more, Keith. You've also reminded me of one of my son's favorite computer games back around the same time. It was called . . . wait for it . . . He had to guide a group of waddling penguins successfully through a maze of obstacles and past a zookeeper, leading them to safety. Here's a screenshot from one of the game maps. I may have to reorder that game!
- 235 replies
-
- 6
-
-
- Banshee II
- Bottle
- (and 1 more)
-
Thanks, berhard! I hope you start your SIB soon and I hope you will treat us to a build log for it. Please let me know when you do!
- 235 replies
-
- 4
-
-
- Banshee II
- Bottle
- (and 1 more)
-
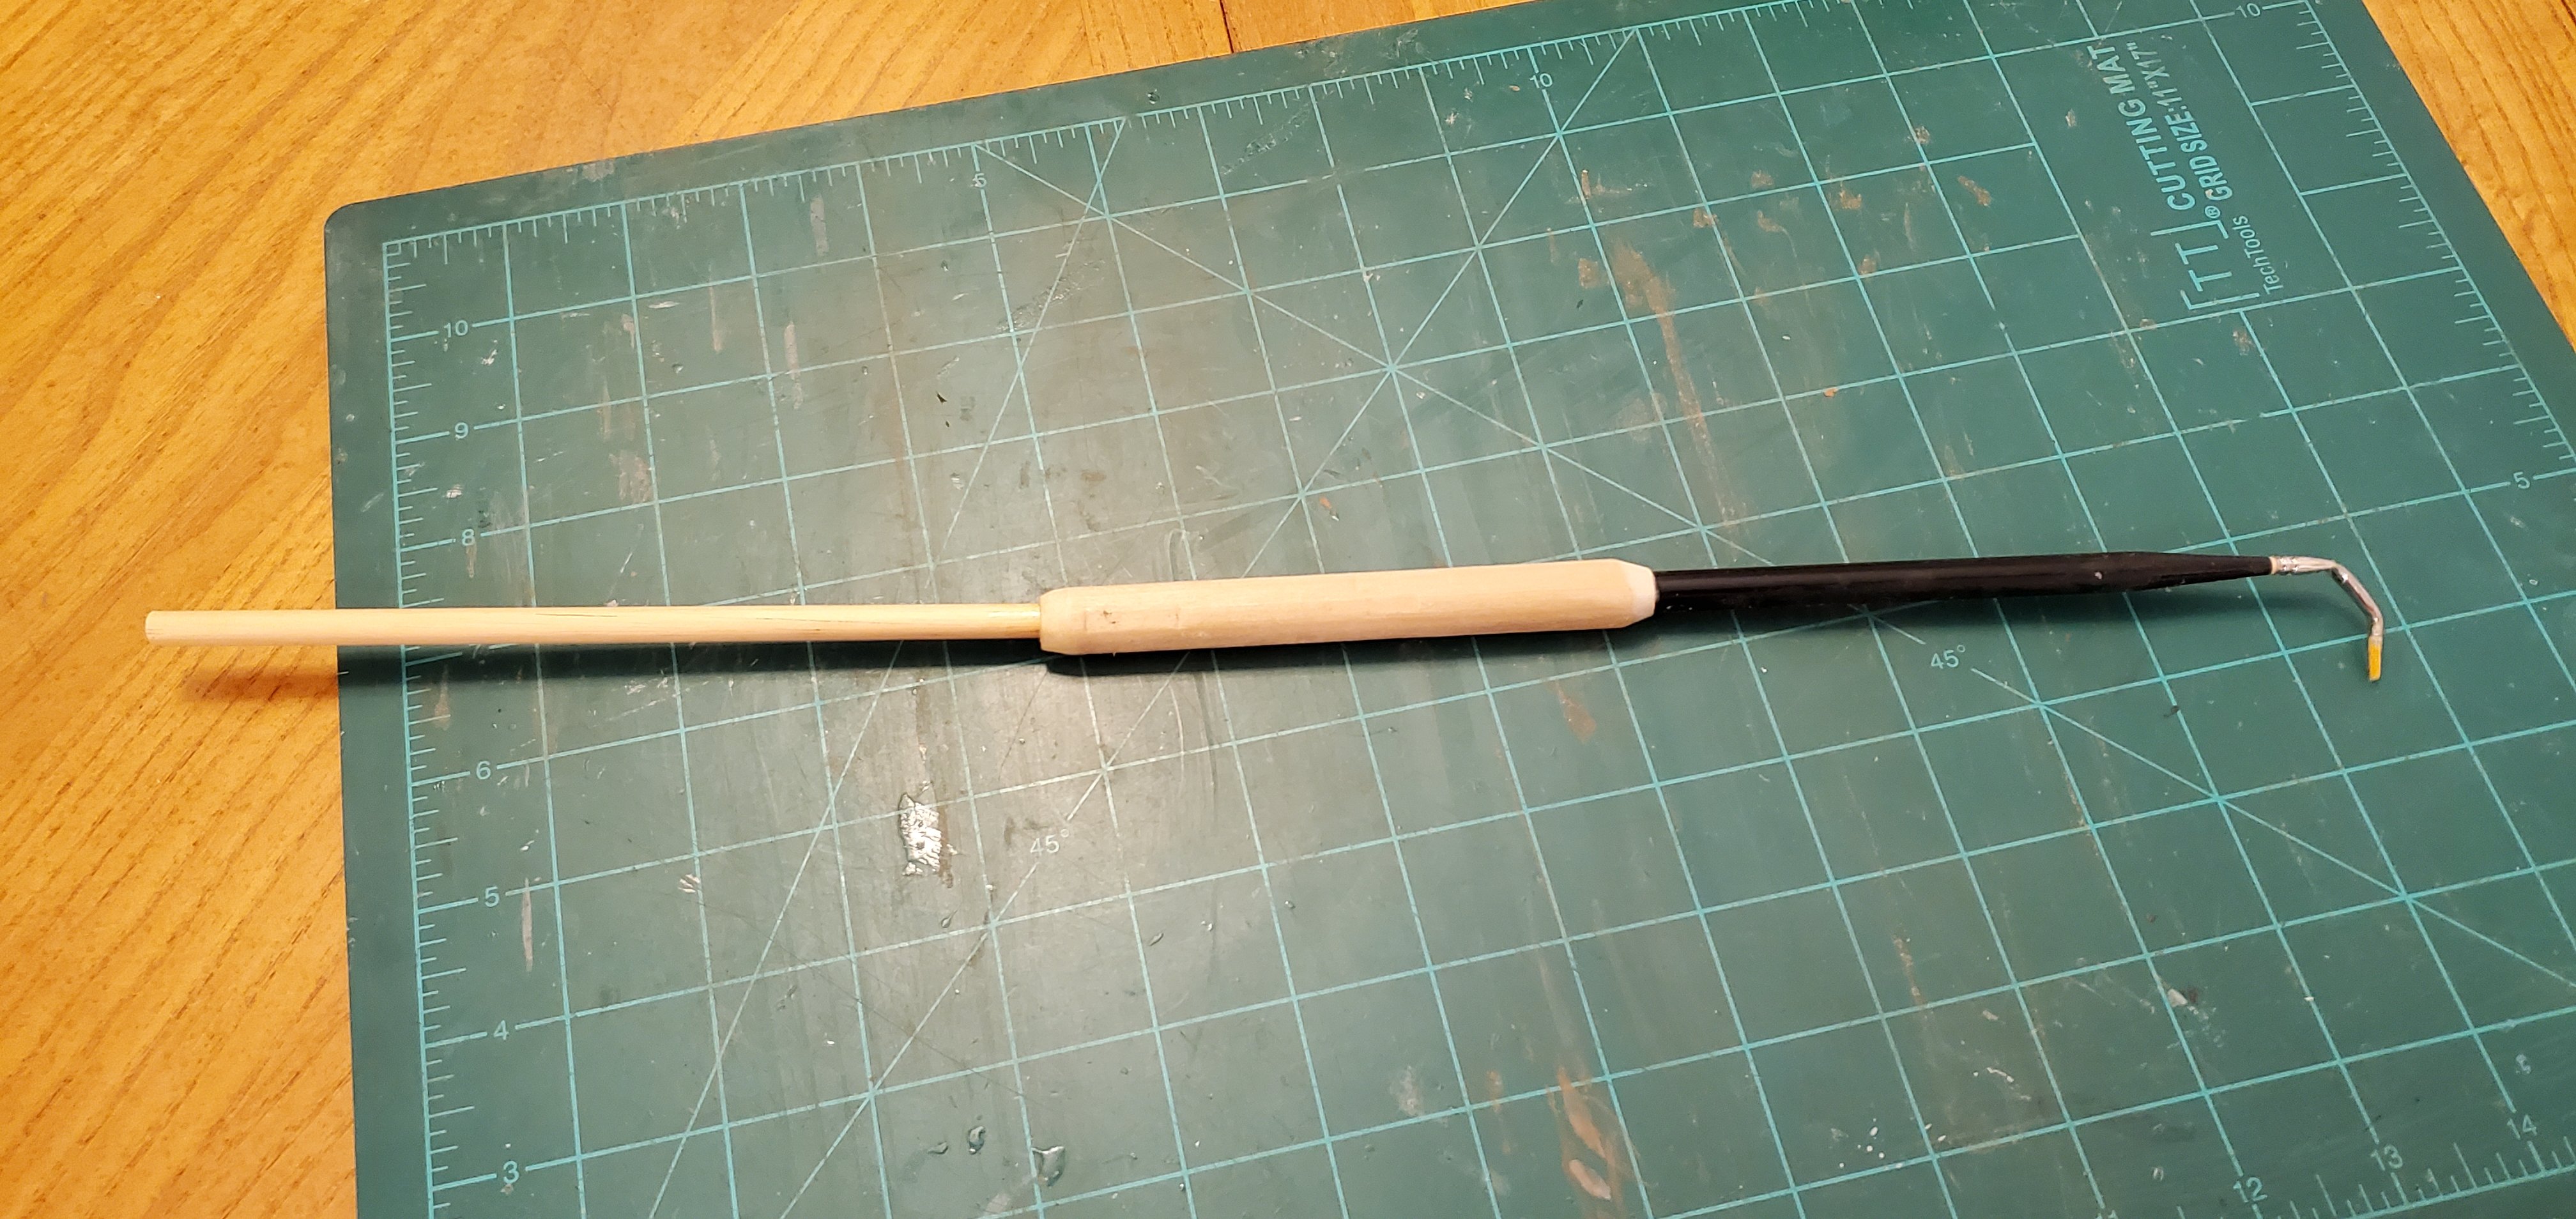
Huge thank you to everyone for all the kind comments. Pat, (@BANYAN) says I earned a tot with this one. I wish I could buy a tot and share it with each of you for all your help and adding so much fun to the process! Thank you SOOOO much for noticing that, Ian! That was one of the trickiest things I've tried to do. I had to glue a fine paint brush into the end of a dowel rod just to reach that far into the bottle. The I had to bend the metal ferrule of the brush a couple of times to get the right angle to be able to reach behind the wheels. Then I had to have my steadiest hands ever not to swipe paint on the wheels or bottle. Then I celebrated with several tots! Thank you, Paul. And you are right, she loves how it all turned out. I am very happy to see that you promoted Gnomer from Private to Private First Class! He has definitely earned it! Thanks, Grant. At some point I'll put my new bi-lingual skills to use and visit your place or maybe Norfolk Island! Thank you for that comment, Roel. I've got an artist friend that tries to help me see beyond the straight lines and right angles that I normally see the world with. I'm working on it. @Keith Black - Club Penguin!! LOL! I haven't thought of that in ages!! My son used to be a Club Penguin member when he was 10 years old. Maybe this penguin thing has been in my subconscious all along!!

- 235 replies
-
- 9
-
-
- Banshee II
- Bottle
- (and 1 more)
-
The piping work amazes me every time I look at it. The only difference between the pictures of your model and pictures of the real thing is that the real thing is a bit grungy. Incredible job, Roel!
-
Looking for Assistance Completing Model
Glen McGuire replied to Robert in Austin's topic in New member Introductions
Hey Robert, I was just forwarded your post a little while ago. Not sure if you are still looking for help on this, but I am also in Austin and I would be interested in taking a look. I don't know if you can bring the model to Austin or not, but I also visit the Dallas area fairly often (my dad lives in Coppell) so I could possibly go up there and see it. Let me know where you are at on this.