AJohnson
-
Posts
2,054 -
Joined
-
Last visited
Content Type
Profiles
Forums
Gallery
Events
Everything posted by AJohnson
-
 Love all the details coming together on deck, yours @DB789 and @ECK builds are great ‘lead’ examples for us to follow. A great looking and interesting vessel, hope it has sold well so far for VM.
 -
That looks really smart Bill. And thanks for starting this thread, loads of great conversations and tips I am going to try on future builds.
-
Well done Dan, looking forward to seeing the finishing touches.
- 146 replies
-
- 2
-

-
- Adder
- Vanguard Models
- (and 1 more)
-
That copper looks very good David, really interesting to see you do that and the nice clean effect it provides. I agree it looks a lot better than the dimpled plates Caldercraft provides, I wish I hadn’t put them on my Bounty. But will try tape on Sparkler(Adder) when I have finished Trial.
- 114 replies
-
- 1
-
-
- Vanguard Models
- Speedy
- (and 1 more)
-
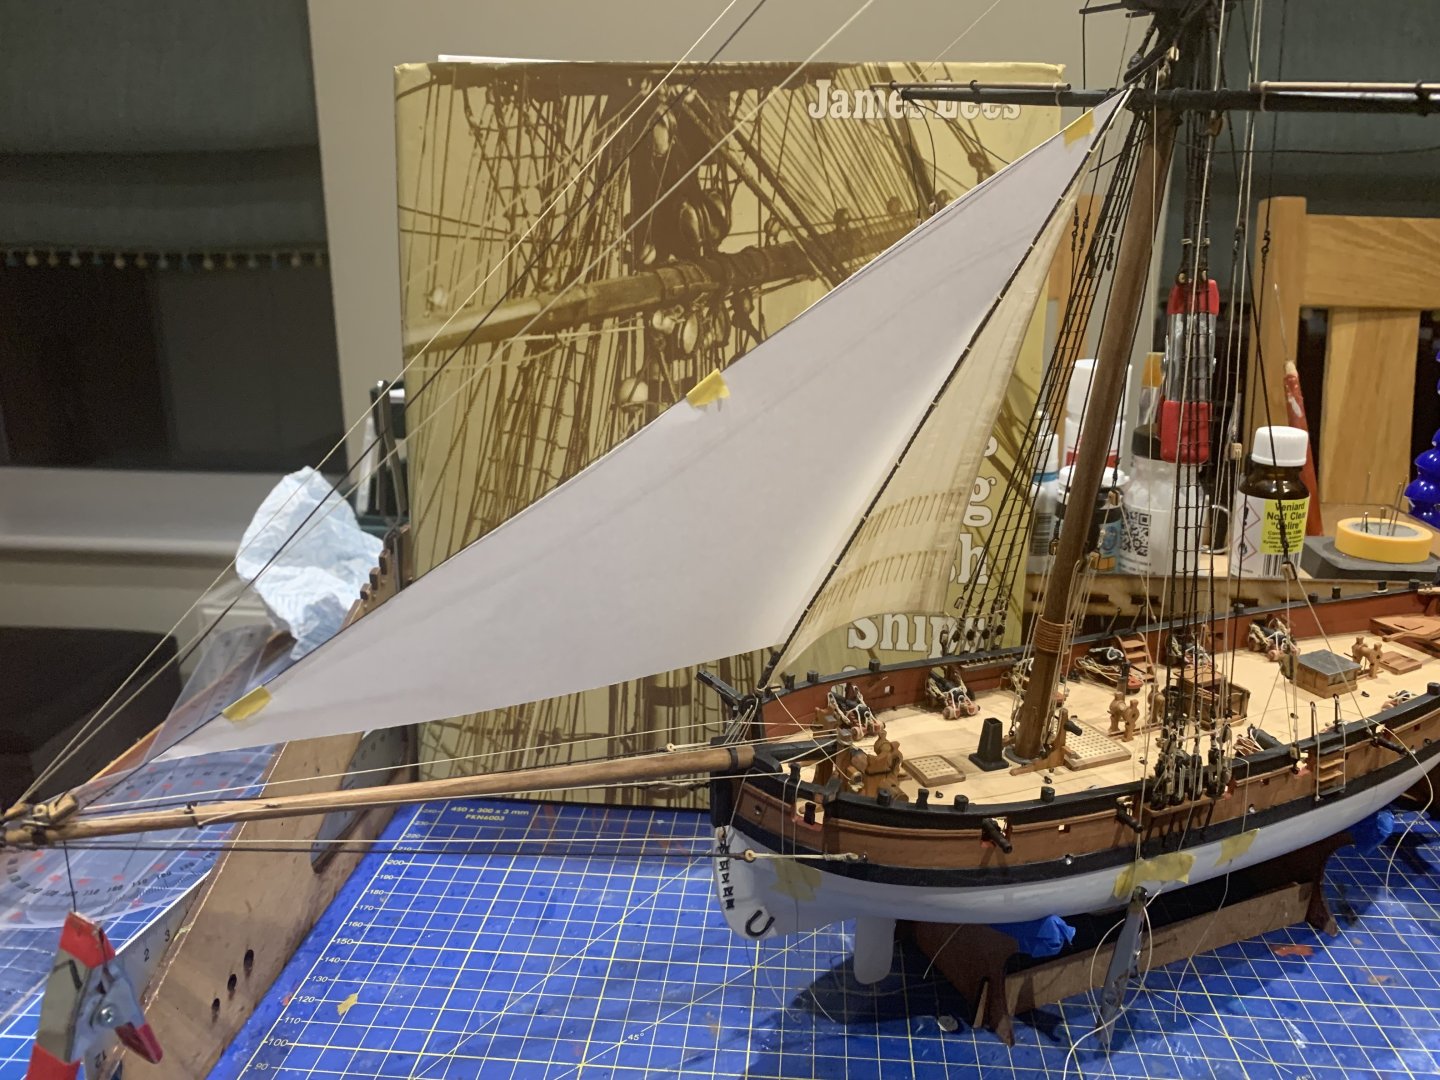
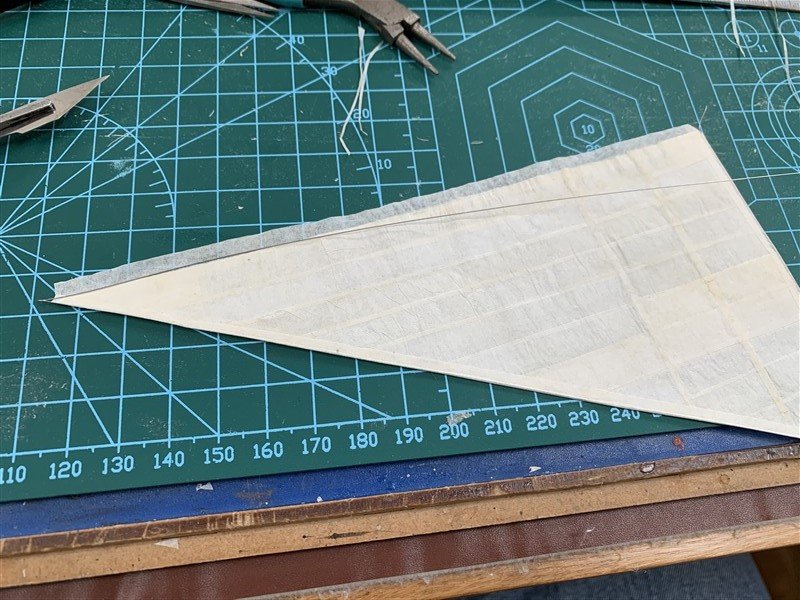
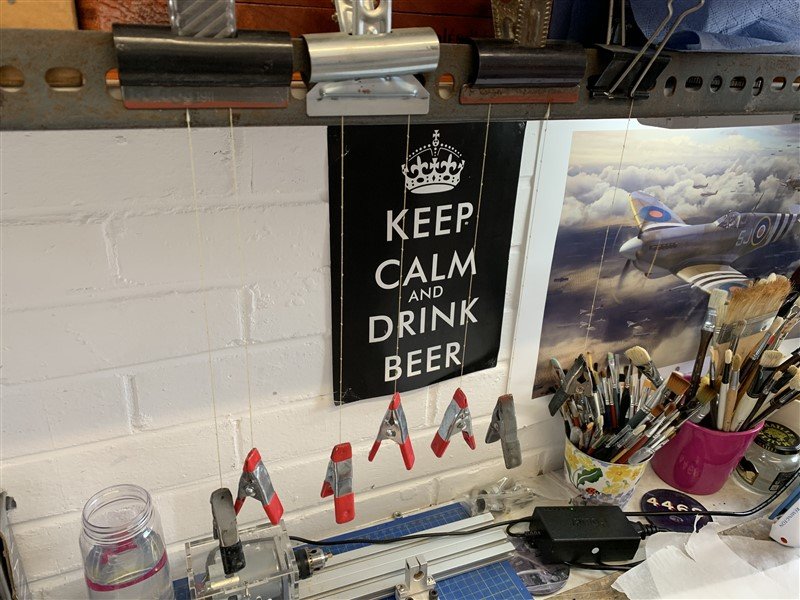
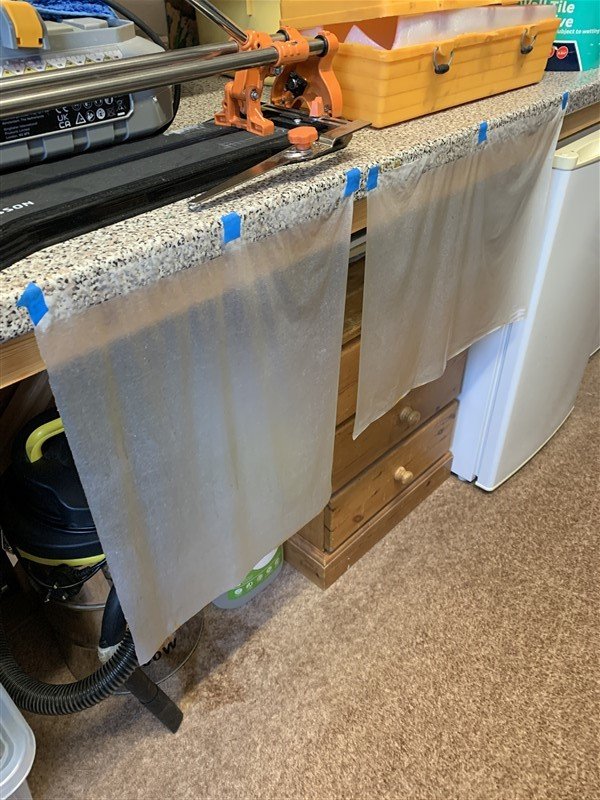
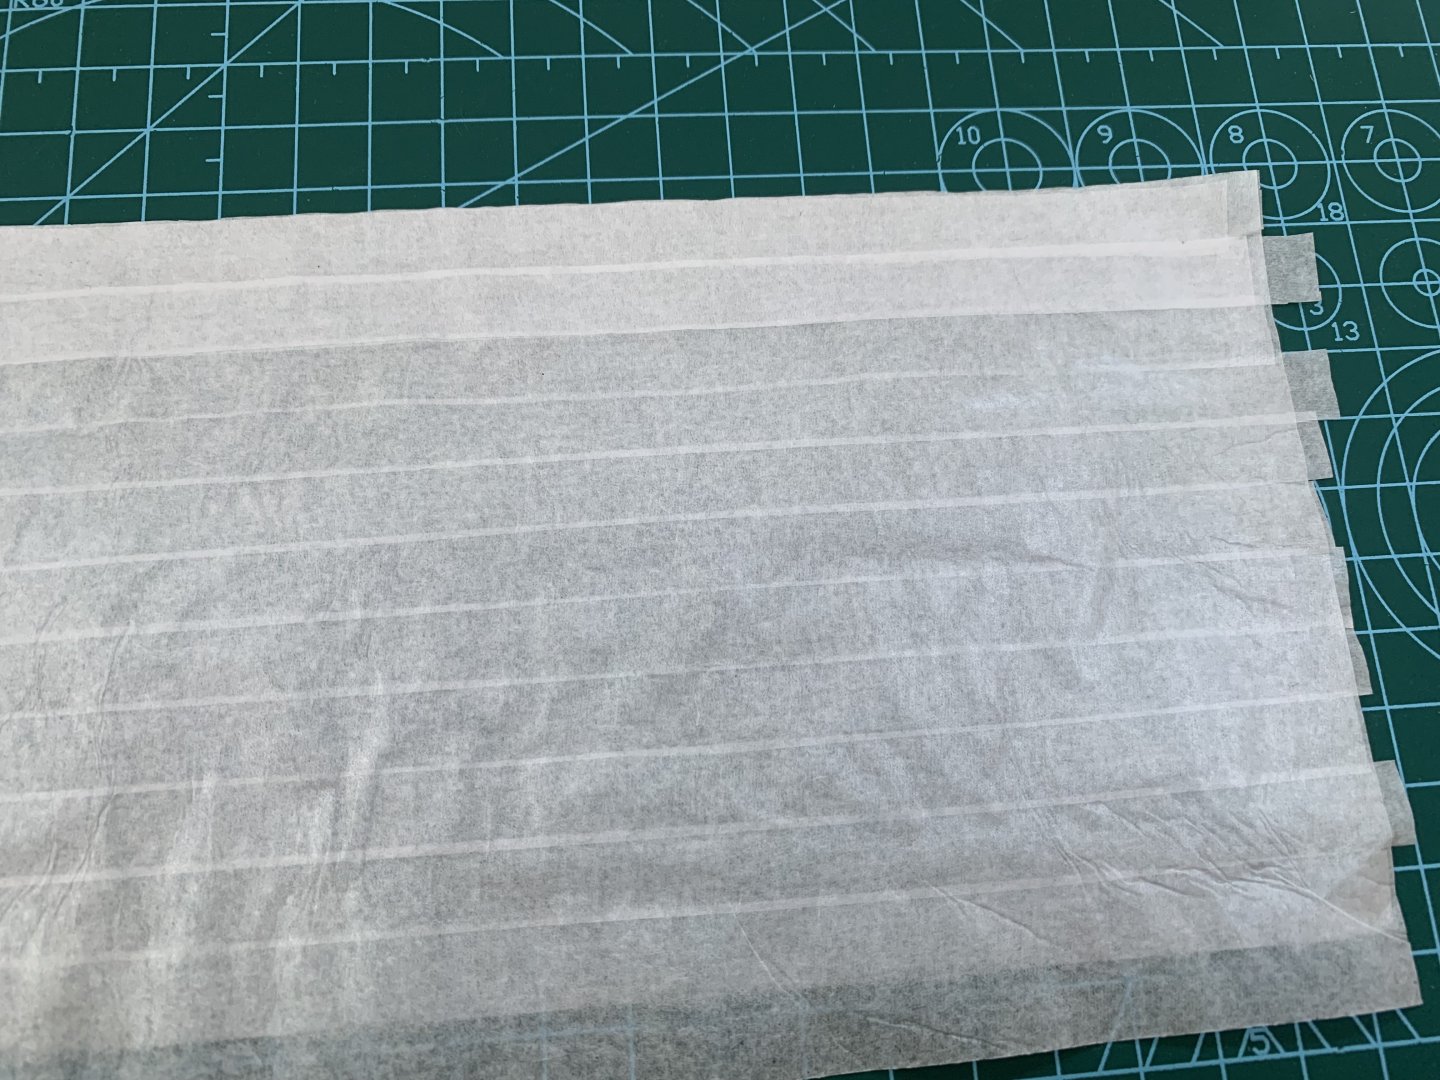
Hi Bill, the tissue paper is coloured with the acrylic wash first (the pictures show the sheets drying in the garage, before being cut up to use.). Sorry for not being clear. As to the thickness, even at the seems where it is five layers, or around the perimeter where it is seven, it is still as thin as copier paper; I am currently playing with a copier paper template for the jib sail, so the two are side by side and there is no difference between them. Picture attached. I’m using traditional tissue paper, I have not come across silkspan, assume something you have access to across the pond.
- 207 replies
-
- 11
-
-
Thank you for the kind words, sorry if not clear, yes the reinforcement strip is another one added at the perimeter to the already cut sail. As the tissue is so thin I didn't think it would matter to have one more layer. As they are, they are a bit fragile! 😬 I shall have to move with glacial speed around the build from now on..... 🤞
-
I love all these innovations on each new kit. Harpy has very nice lines, well done Chris and Jim!
- 76 replies
-
- 5
-
-
- Harpy
- Vanguard Models
- (and 1 more)
-
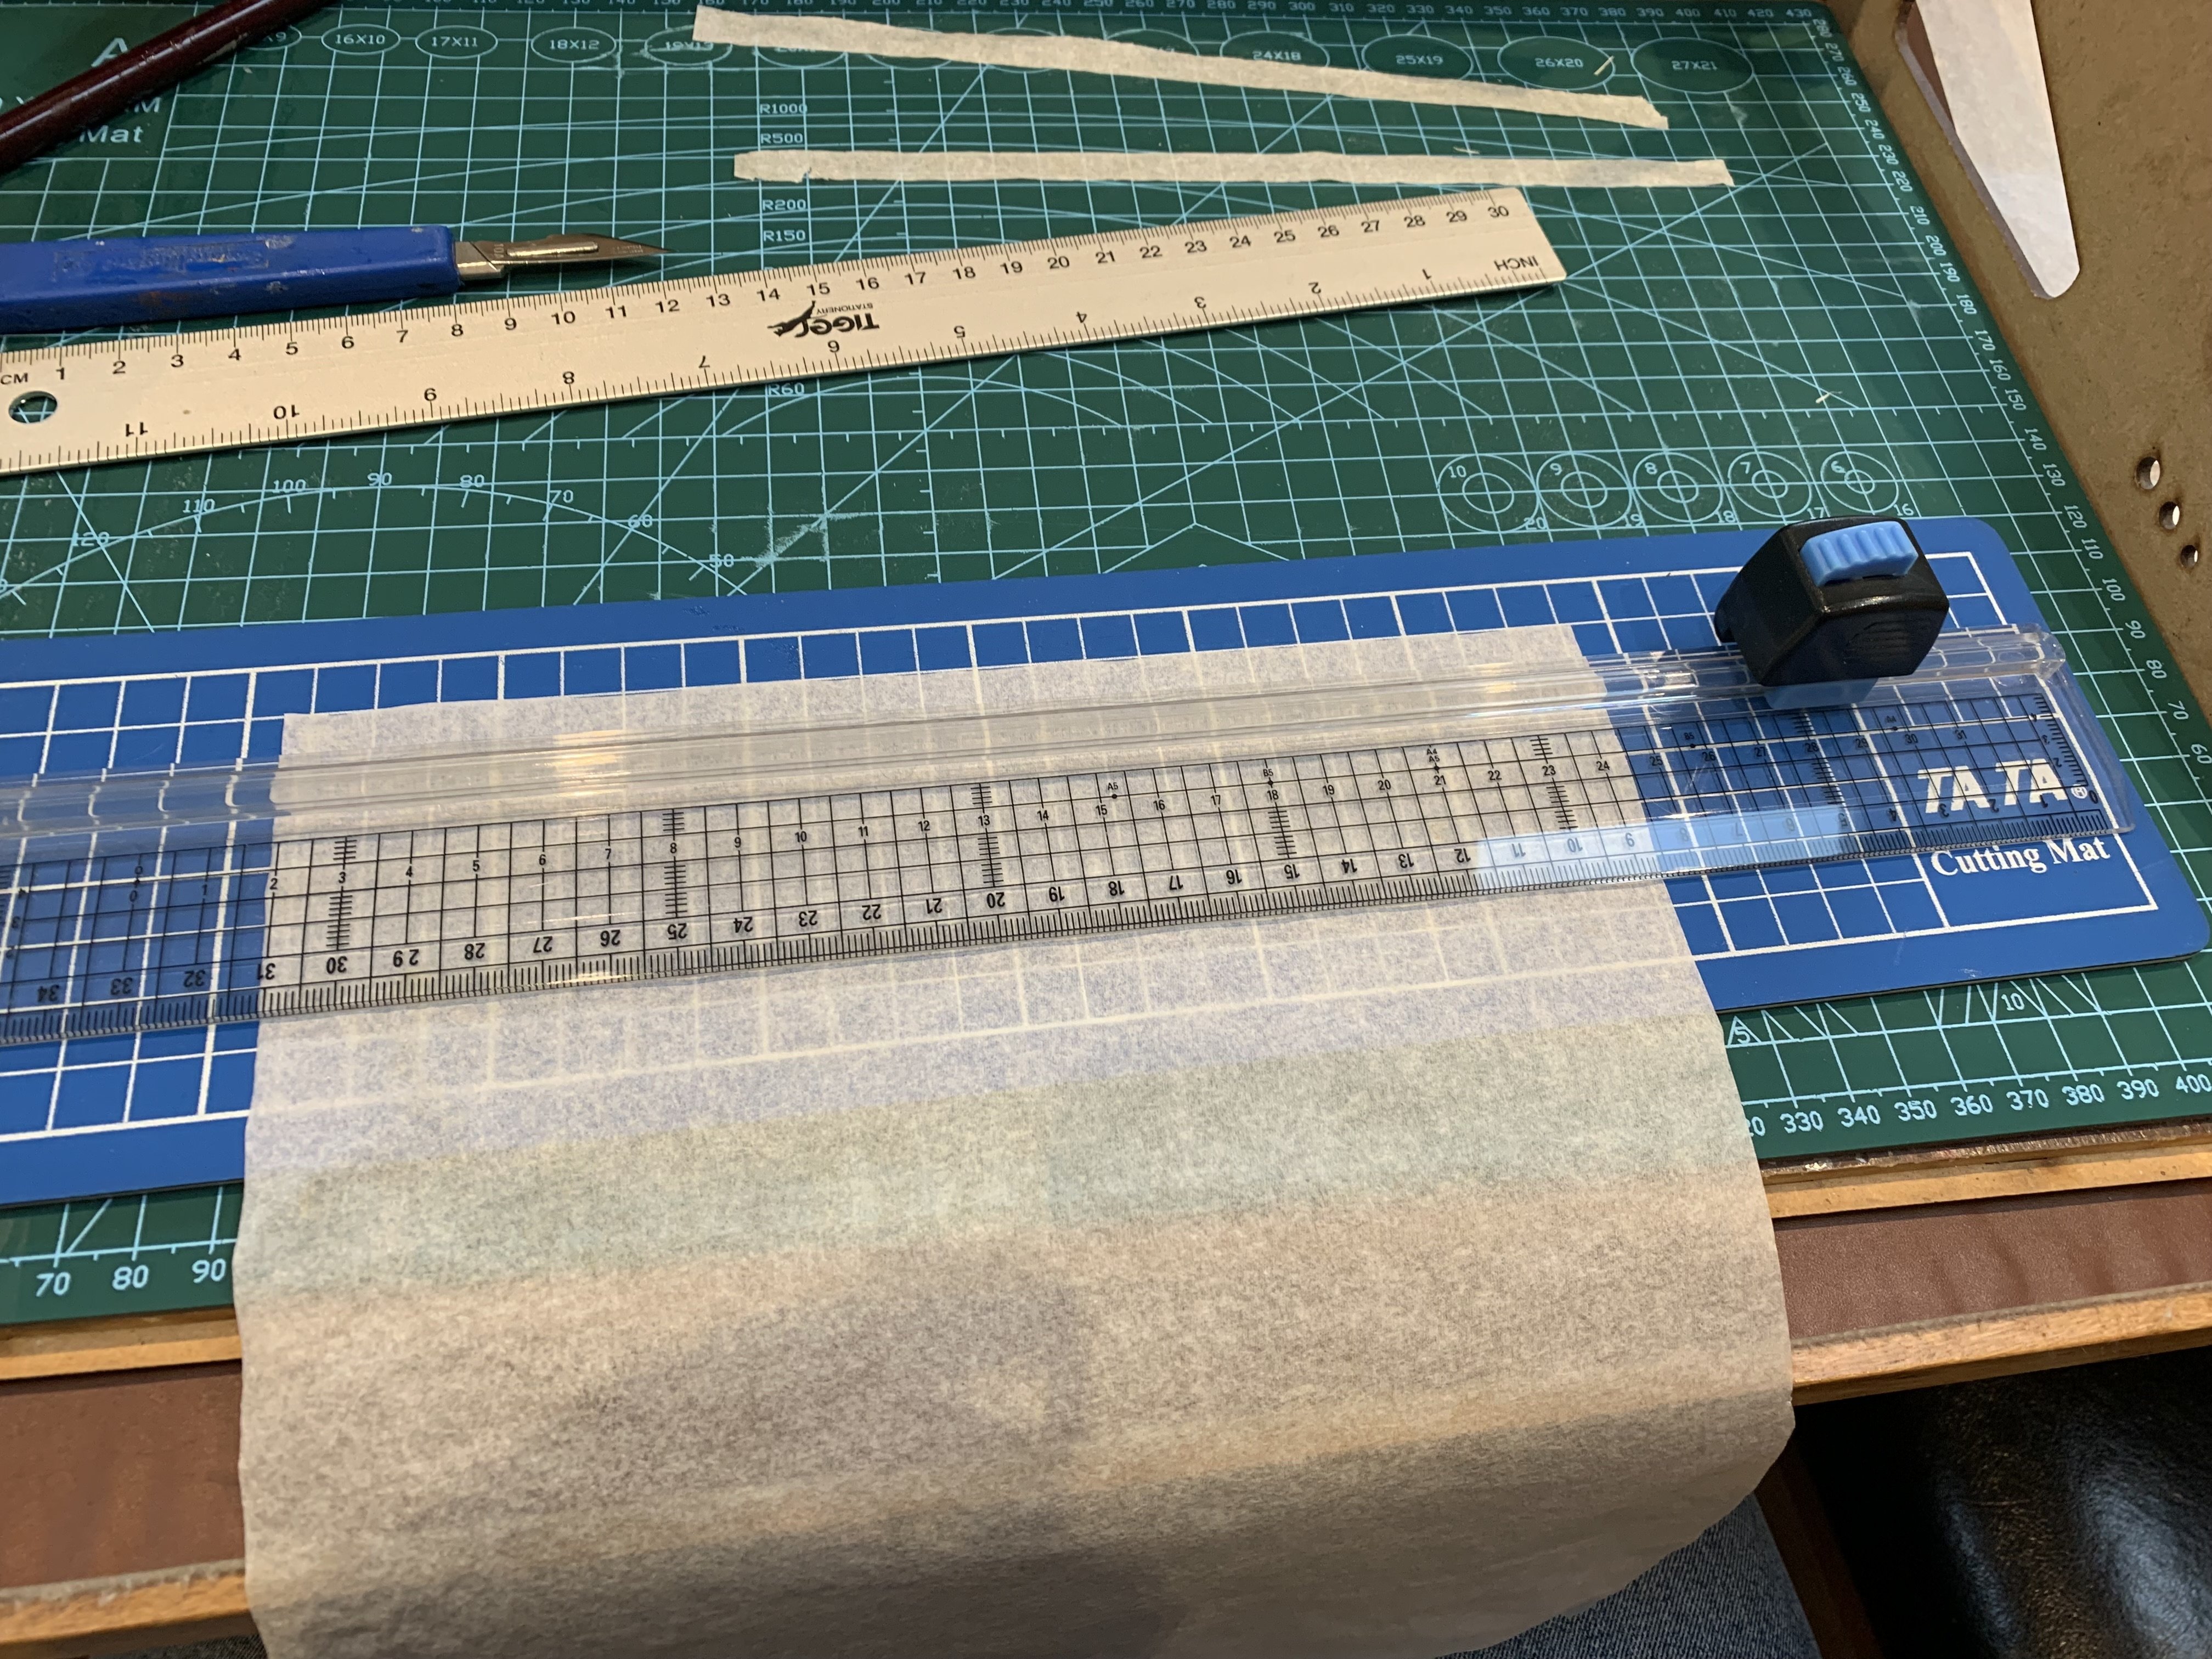
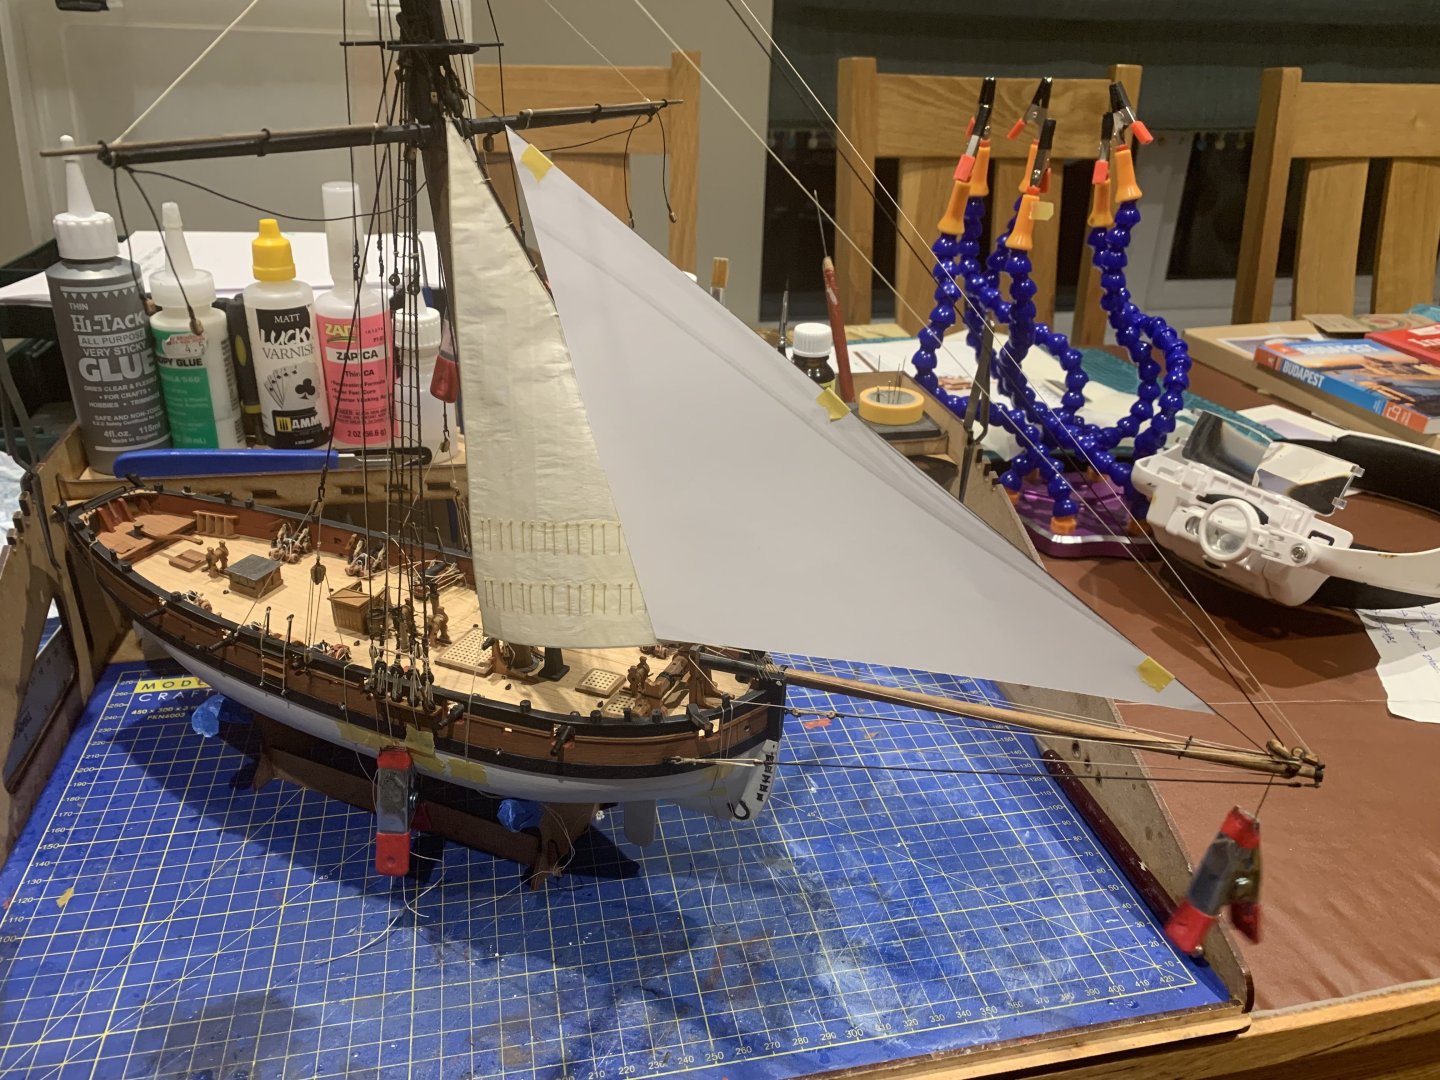
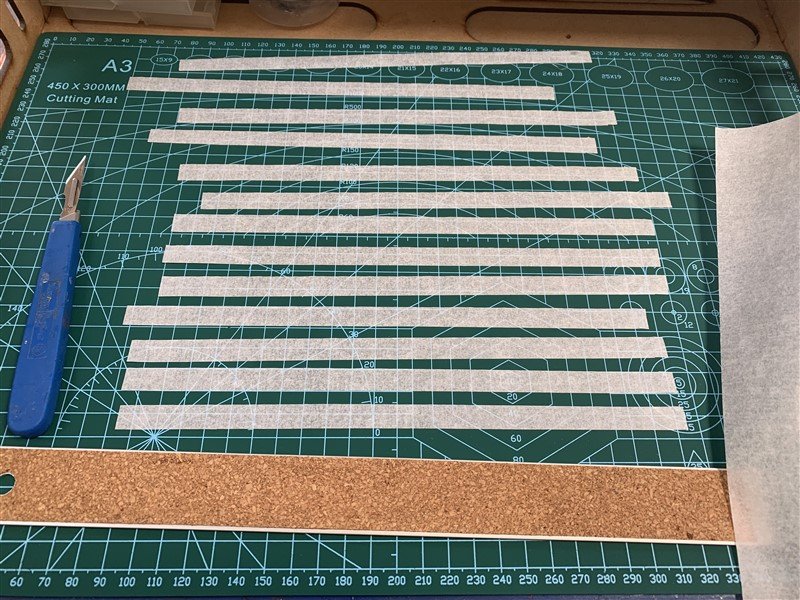
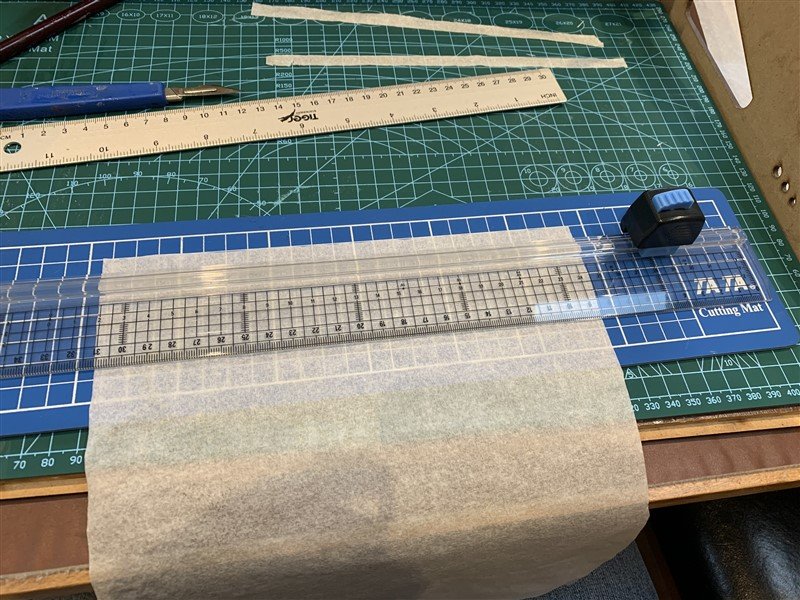
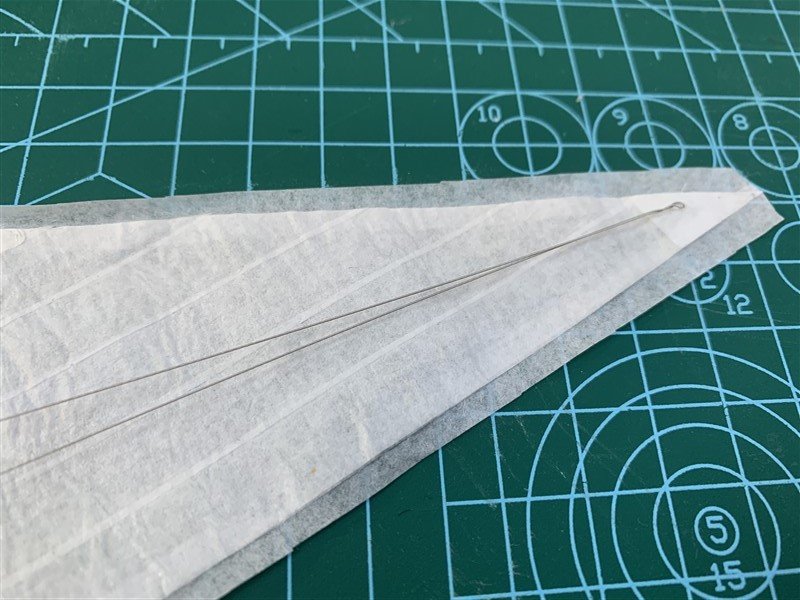
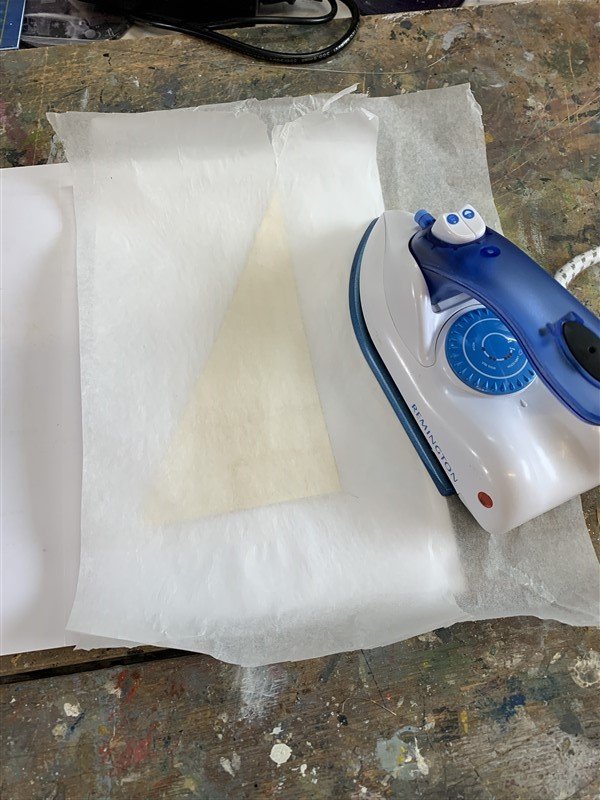
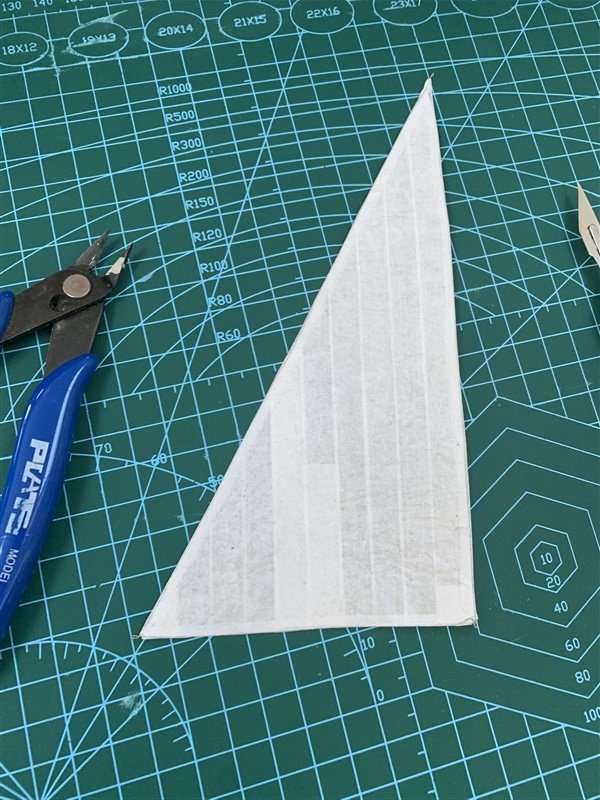
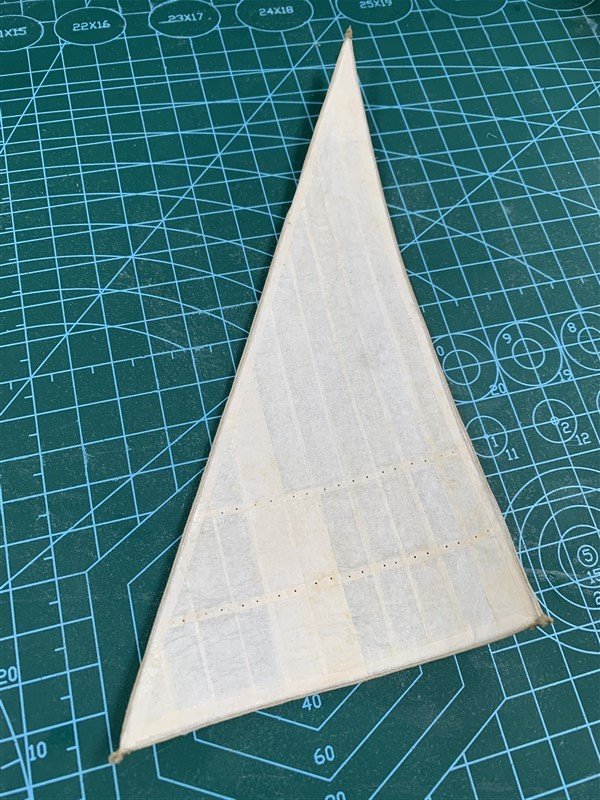
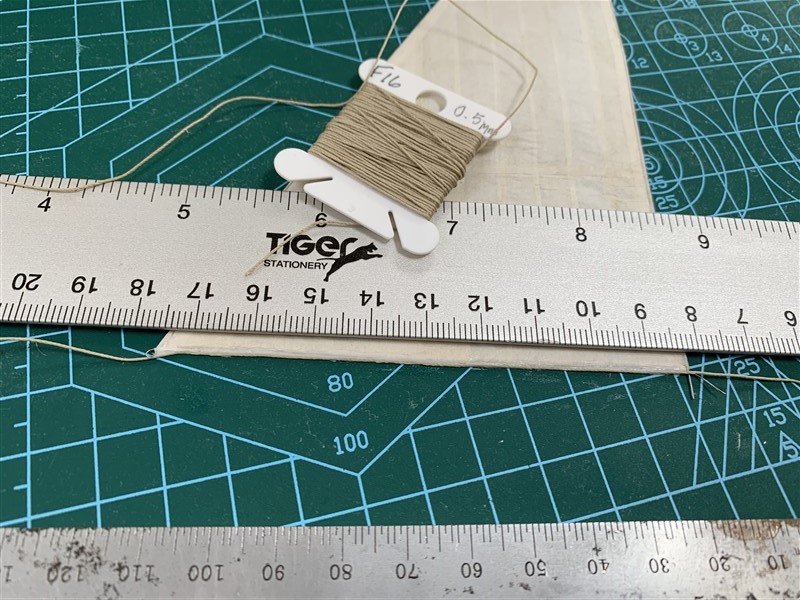
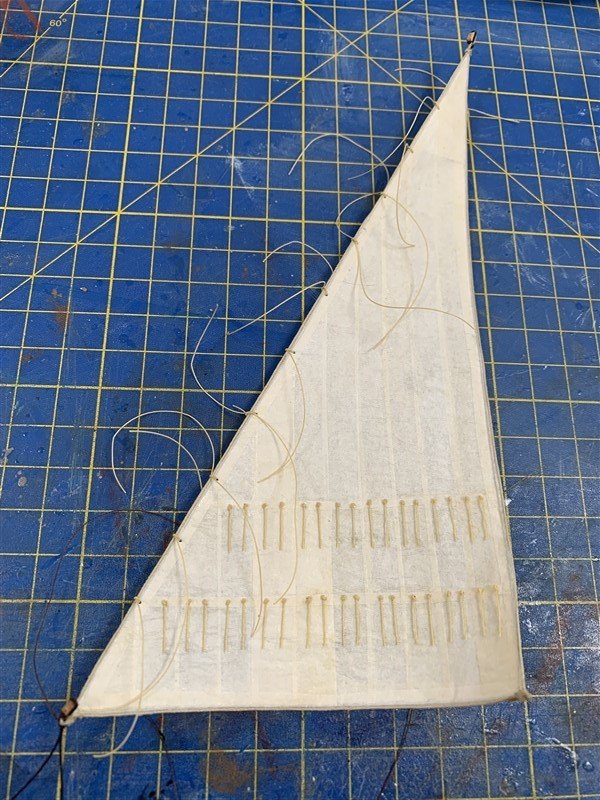
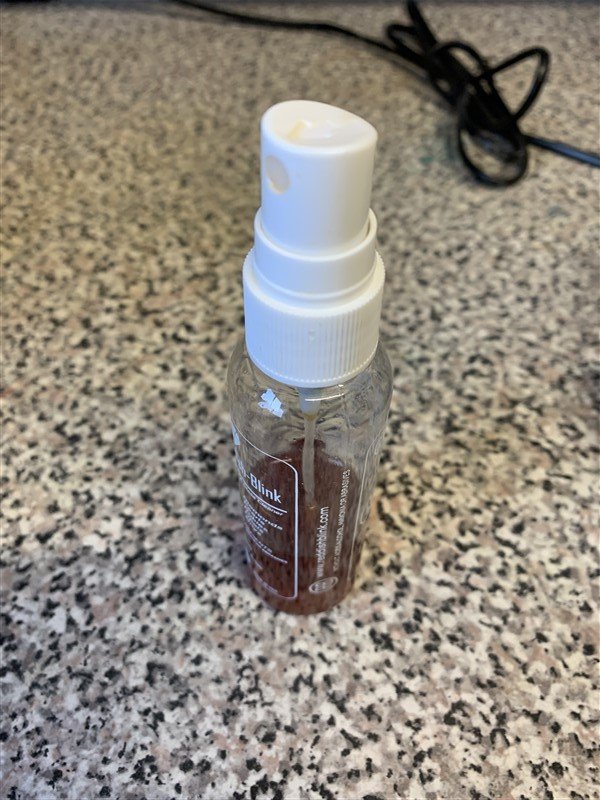
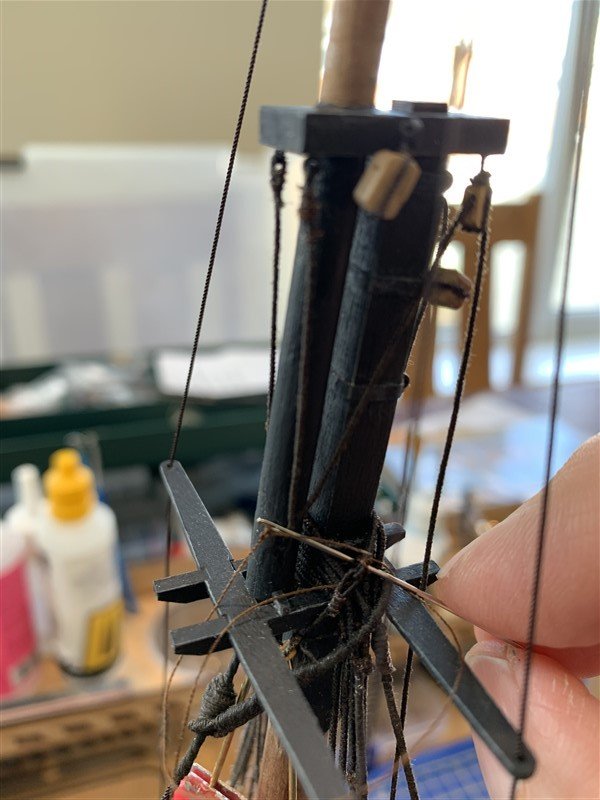
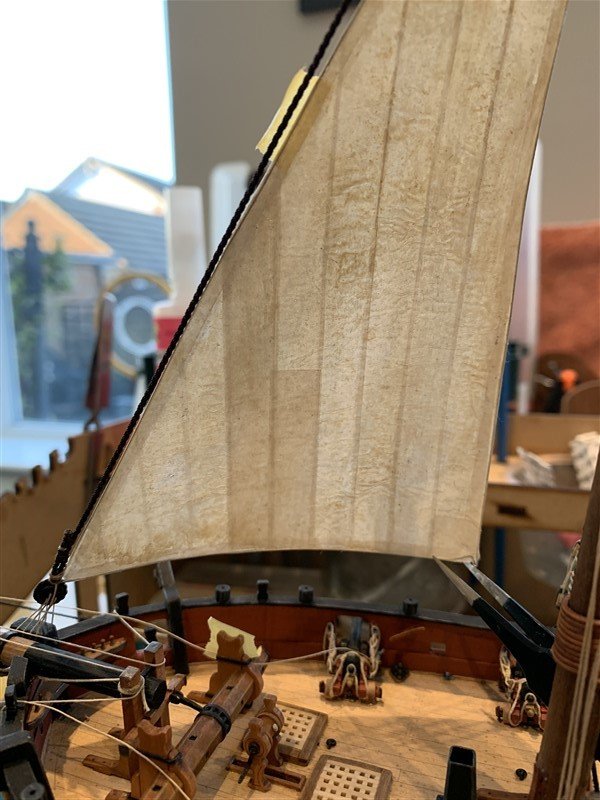
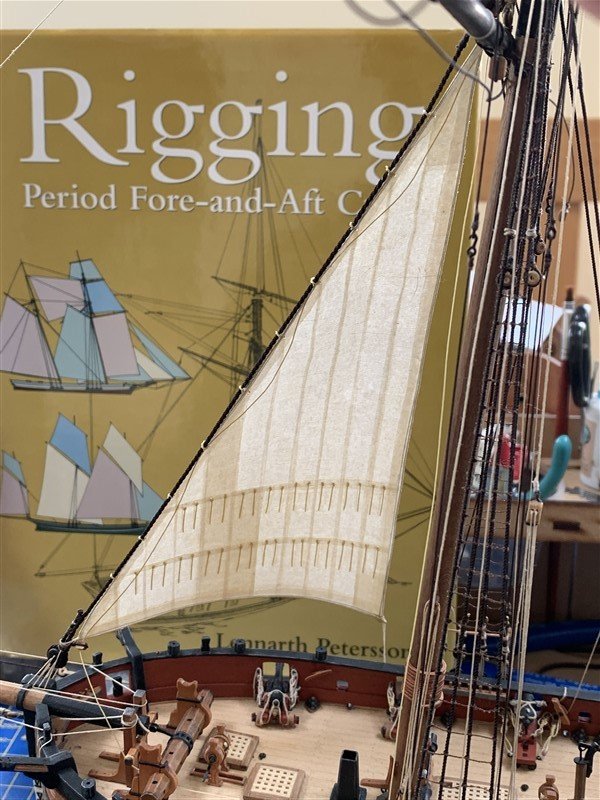
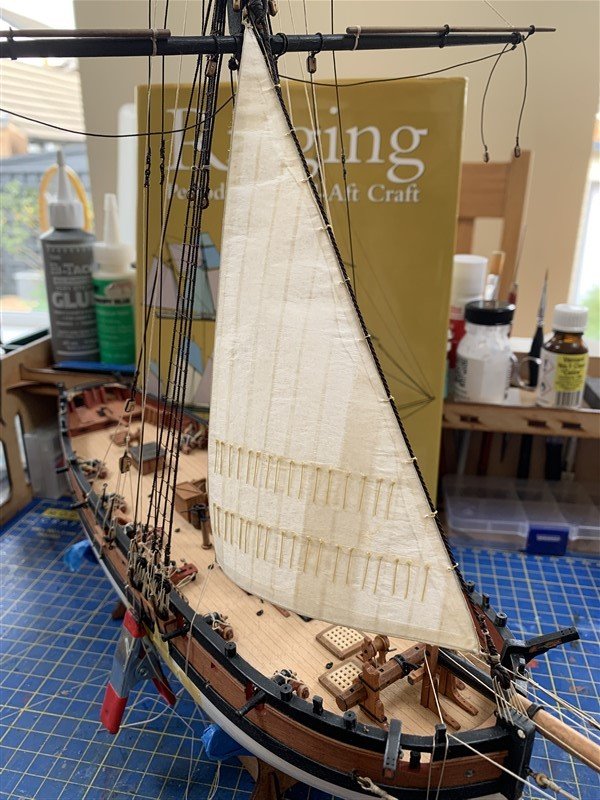
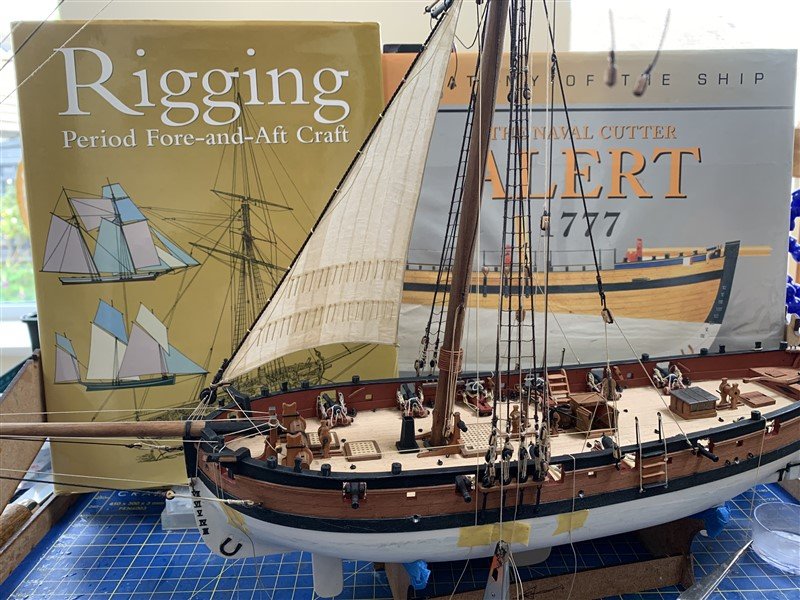
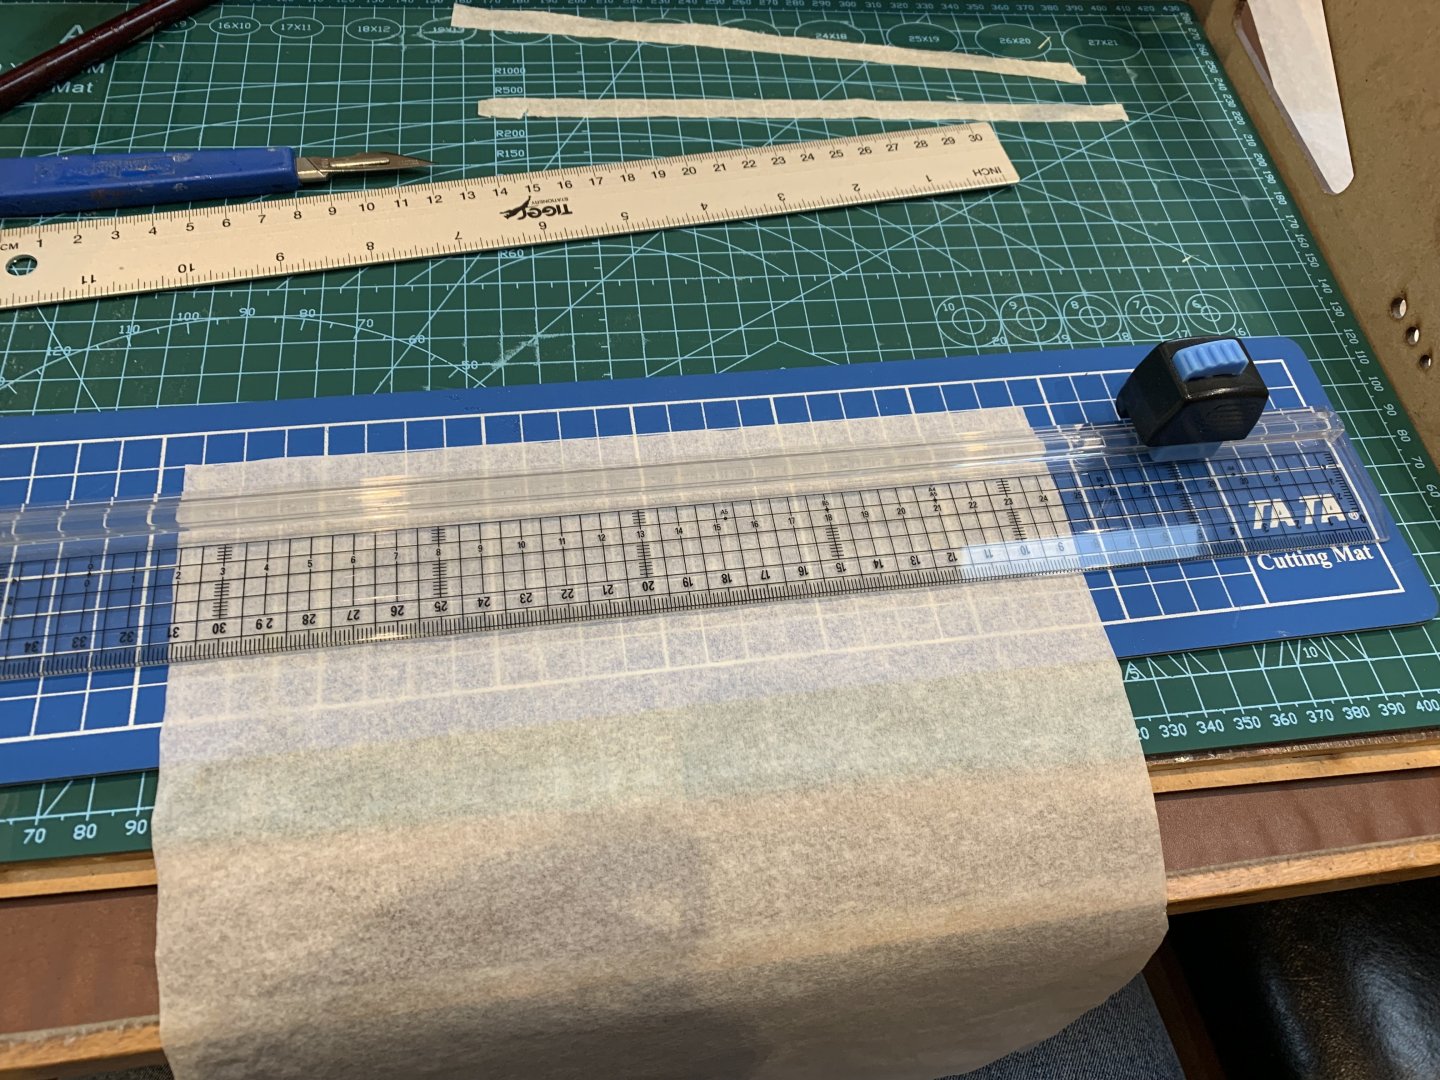
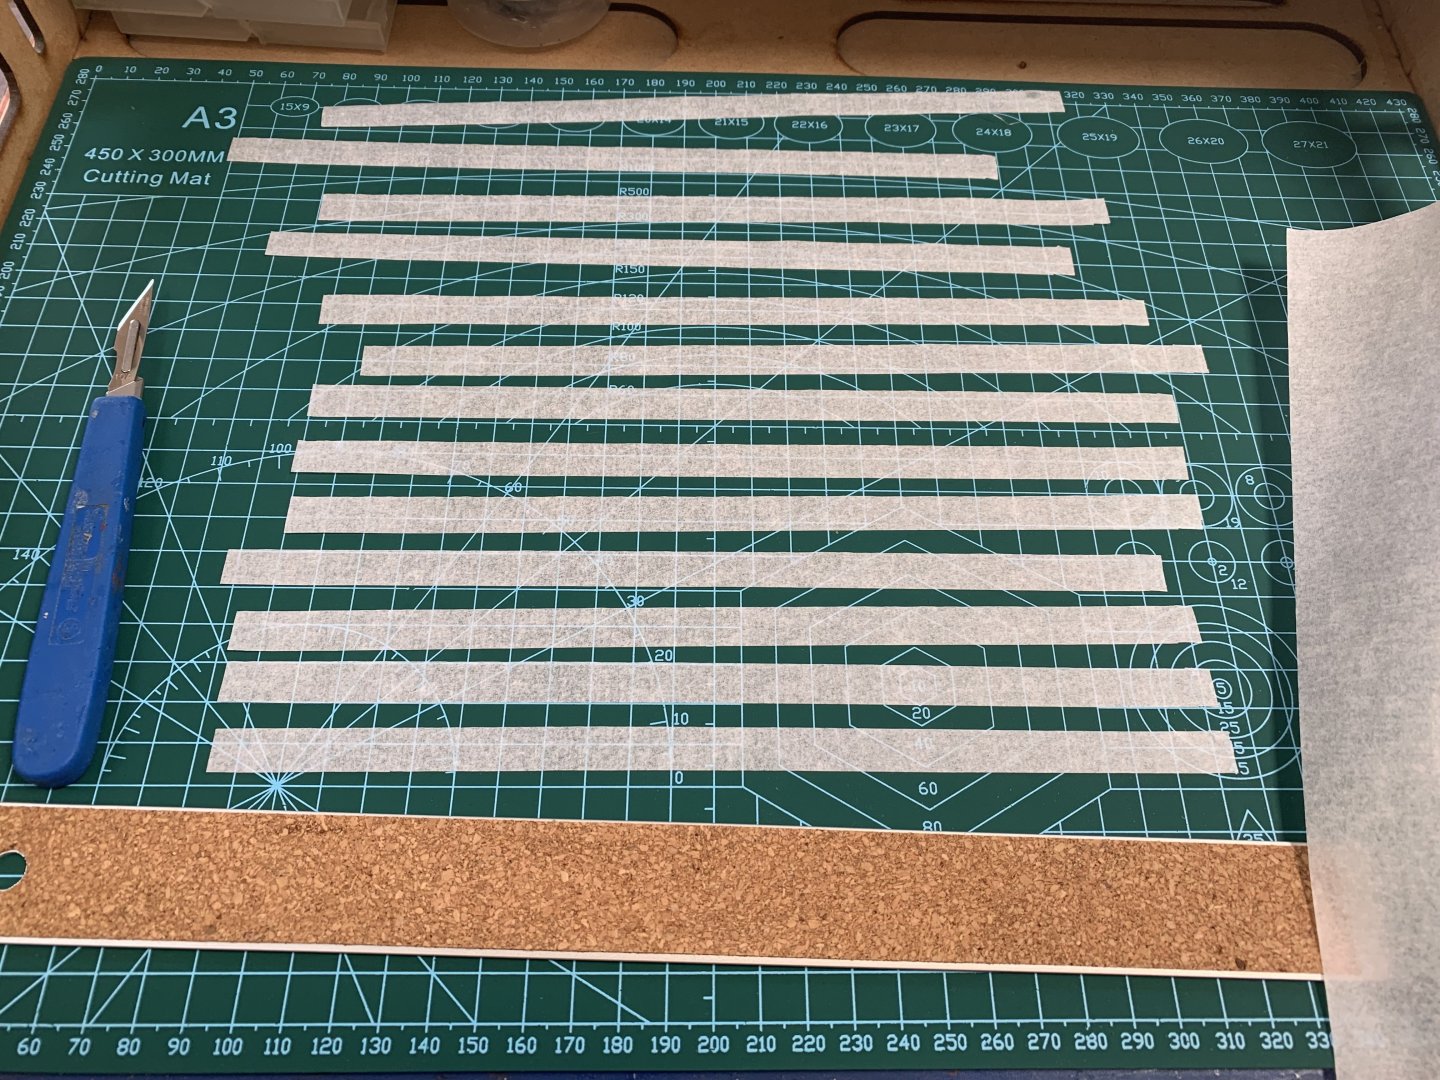
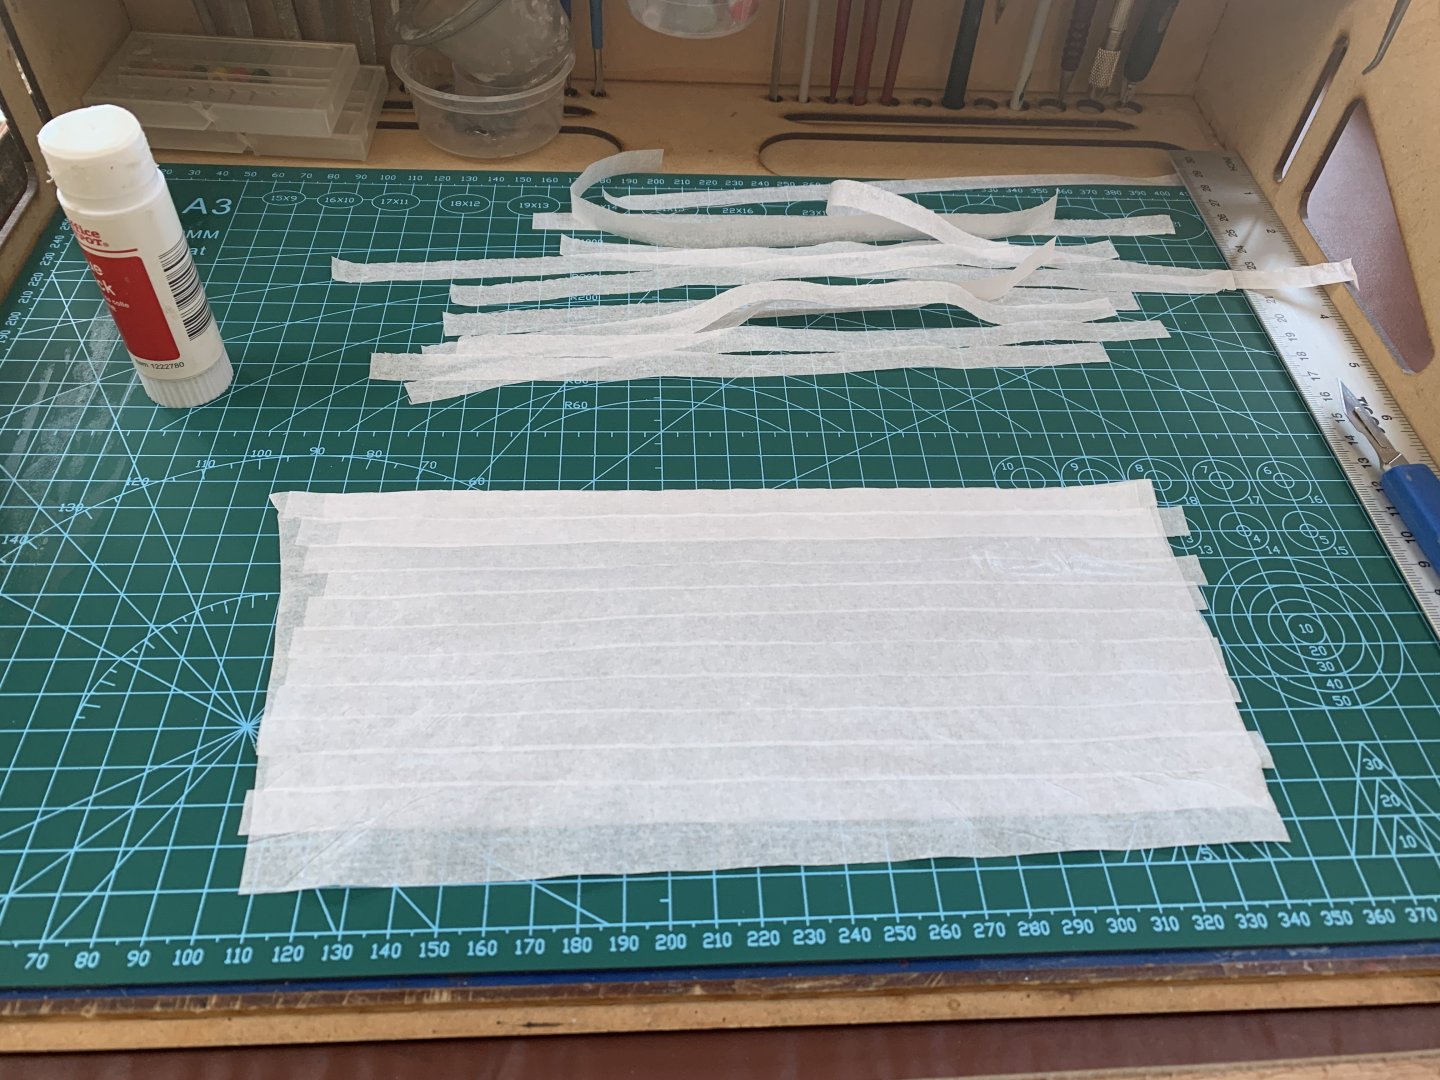
Hello all, been over a week since the last update, but I have been busy working away on Trial. Experimenting with an iteration of the sails that I added to my Nisha build. This time I have used tissue paper throughout, rather than a thicker middle layer, to try and provide some scale looking translucency to the sail. Some discussion has already been taking place on this excellent thread:- But for completeness this is what I did for my first sail (foresail) on Trial. Initially I cut out loads of strips to a scale 2 foot wide, including plenty of spares - correctly anticipating plenty of redo's! This I did with a steel rule and a scalpel initially, but the blades did not last that long, but I then remembered that we had in the cupboard a rotary cutter rule, so I tried that out and it worked a dream, no more torn strips caused by a blunt blades dragging the tissue. They were then glued on to a centre carrier sheet of the same tissue paper, using - wait for it! - a glue stick! I raided the kids craft stores! 😆 I tried this out hoping that the dry glue wouldn't wrinkle the paper too much, which it didn't, however you have to be careful to get good coverage and constantly clean/wash your work surface to mop up the residue, this could stick your strips to the surface and the strips rip trying to peel them off - I know that from multiple times it happened to me.... This layer, when dried, was repeated on the other side, so the thickness was three ply and five at the seems. The sail was then cut to shape from this blank. The next step was to add some reinforcement patches at the corners and a couple of repair patches just to add "interest" so the sail didn't look too pristine. I want to make the sails look like they have some wind in them, I know that this is frowned on by luminaries like David Antscherl, but as I am also adding crew members, I might as well go the full Heretic and be made to walk the plank for good reason! So at the perimeter I added stainless steel 0.2mm wire, this was spun in a drill to straighten and stiffen it, this will allow the sail to retain a shape when curved. This was trapped in place with the luff-leech-foot reinforcement. The head and tack had wire loops (painted cream to hide them a bit) for me to add the running rigging to, the clew, not having as much tension on it was the corner I used to tie off the wire at. The whole assembly was then ironed between two sheets of grease-proof paper, so that if any glue softened it wouldn't stick to the iron of the under surface - and on the whole that worked - phew! Some seems did need a touch-up with dilute fabric glue to hold them, but not too many, so overall, for the ease and lack of wrinkles, I would recommend dry glue sticks for making sails like this. Additional details then added was the bolt rope, glued the the perimeter and reef points, both added with fabric glue. I followed steel and added two per panel, so that made for plenty of little knots and trimming! Regarding making the sail look like canvas and not tissue paper I did try painting the sails using an airbrush, but this looked a bit too "grubby" to me (the first two picture of a sail attached to the fore stay). So I tried pre misting the tissue with acrylic wash (oak colour in my case). I did have a close brush with disaster by trying Tea, but @druxey saved the day and warned me that this would make the sails brittle, so in time my Trial would look like a forlorn Egyptian Mummy.... The sail was finally mounted with down haul lines and tackle; following the diagrams in Petersson, all knots sealed with matt varnish and trimmed, the halliard just temporarily taped to the side of the hull until I tie it off later. This whole process has taken me a week to do one sail (the final one was my fourth attempt!) So I am really hoping, having learnt a few tricks, the next three will be quicker - Jib sail next update! Thanks for all the kind comments and following along. 😁


- 207 replies
-
- 21
-
-

-
Well done Alan, I like the mount and street plan base, very clever.
-
So you should be Glenn, looks great!
-
These 3D printed blocks are a revelation Chuck, I can see these rapidly making all “mass” produce wood blocks redundant. I know the traditionalist’s might not like that they are not wood, but hell they look so good!
-
The sail is three sheets thick (five at the overlaps), I put strips on both sides. It is five sheets thick where I add reinforcement or repair patches and the perimeter edge strip, this nicely changes the translucency of those panels which adds interest and stops the sail looking too uniform. Hope that helps. One other thing I have learned in the last day or so cutting strips is you need new scalpel blades on a regular basis as the strips start to rip pretty quick. Then I remembered we have a rotary rule & cutter and that is much easier and quicker! With no tears due to dragging a slightly blunt blade. 😀
-
Hi Bill, the glue sticks are good in that they don’t get the tissue paper too wet so the wrinkles are not as bad as liquid glue. But I do use dilute fabric glue on some seams (gently brushed on with a small brush) that don’t hold if I haven’t got a good coverage with the glue stick. Yes I agree the hardest bit is keeping the strips straight, that tests my hand-eye coordination and my my patience! 😀
-
I glued them on the backing sheet with a glue stick! Those ones that you twist to extend, sorry, I know I should leave the kids craft stuff alone. 😂

- 50 replies
-
- 11
-
-

-
I didn’t actually mark the tissue paper with pencil, I just lined the panels up by eye, so no cleanup of pencil marks needed. I am waiting on the stained sheets (using tea) to dry before making another sail for comparison then decide on which I prefer.
-
I’m also experimenting with tissue paper sails on my current build, using similar methods to those detailed above. The only change I’m working on is simulating the sails panels with strips cut to scale and glued to both sides of a carrier sheet also of the same tissue paper. Currently testing out staining the tissue first verses painting the sails afterwards. The picture is of the painted version. I will update progress on my Trial log when I get time.

- 50 replies
-
- 15
-
-
That is an interesting bit of info about gun brigs not having a boat. I wonder if this is to do with them being designed to be rowed inshore anyway? Like the smaller mortar vessels Convulsion & Destruction. You any plans in your files for a little Mortar vessel one day? 😁
-
They look great Chris, what is the smallest boat you plan on doing? Just thinking for the likes of Adder & Trial etc?
-
The inside walls “Bulwarks” are red as you say. The outside is a really nice Pear wood that a Chris provides in the kit, so best left natural, just Danish oil or wipe on poly is good. No stain needed. If you wanted to paint then Pale Yellow Ochre or pale bright yellow would be historical accurate. Main thing is to take time carefully masking everything you what to preserve as bare wood. You are doing great, wish this version of Sherbourne was available when I did it as my first build.
- 177 replies
-
- 2
-
-
- Sherbourne
- vanguard models
- (and 3 more)
-
I think they look great and will be a fine addition for any of your models with cabins, a great pleasure for viewers finding partially “hidden” details when looking over a model. 😁
-
Also just seen this and love the work you have done and the lovely lines of this vessel.
-
Welcome to MSW Olli
-
Welcome to MSW.