


AJohnson
-
Posts
2,028 -
Joined
-
Last visited
Content Type
Profiles
Forums
Gallery
Events
Everything posted by AJohnson
-
 I’m not on sure ground here, but I have read somewhere that the larger spruce “gates” I think they are called, are down to manufacturers using alloy instead of steel moulds that wear quicker so they need to use lower pressures to prolong production runs. Therefore they need bigger gates/connections to the part mould sections for the lower pressure plastic to get into. Could be talking a load of old Croc there, but I have that from somewhere. I will do an update soon but there seems to be loads more pin ejector marks in the parts also, maybe this is also a by-product of this lower pressure mould technique?
 -
I wouldn’t miss seeing another of @ccoyles converts become irredeemably lost for ever. 🤣👍 Card modelling makes resisting the Borg look a piece of cake! ”Resistance is futile”
- 93 replies
-
- 12
-

-

-
Martin B-26B Marauder by CDW - FINISHED - Airfix - 1:72 Scale
AJohnson replied to CDW's topic in Non-ship/categorised builds
Great job 👏 I hope it doesn’t get relegated to the top shelf too soon! Deserves to be in the limelight until you need the space! -
Martin B-26B Marauder by CDW - FINISHED - Airfix - 1:72 Scale
AJohnson replied to CDW's topic in Non-ship/categorised builds
Airfix did an A-26 also, but it was not released often and I have never seen one, but I can’t imagine it being any different in quality to the B-26 you are grappling with now. -
Martin B-26B Marauder by CDW - FINISHED - Airfix - 1:72 Scale
AJohnson replied to CDW's topic in Non-ship/categorised builds
Agreed a very nice finish, who knew an old Airfix could scrub up so well! 👏 -
Bar stool pulled up, beer 🍺 pouring!
-
Fokker D.VII by RGL - Eduard - 1/72 - PLASTIC
AJohnson replied to RGL's topic in Completed non-ship models
Very nice 👏 Blink and we nearly missed that one! Although I did spot it in the background of some of your U-boat pictures. As they are the same scale you could do a diorama of the U-boat rescuing a ditched Fokker! 🤣 -
Plenty of water there Brian, now do you need a Pickup or a Canoe to get about from your place? I can see a white van there, but it looks like you had a deluge not long before that lovely picture was taken!
-
You won't survive in Skye long without Scotch in your blood! 🥃
- 88 replies
-
- 2
-
-
-
- Erycina
- Vanguard Models
- (and 2 more)
-
Oh you tease Brian! I saw your update on the "At a glance" thread and expected "pages" of updates here! 😆 She is looking good, love to see your updates here on your log when you have time my friend! 👍
-
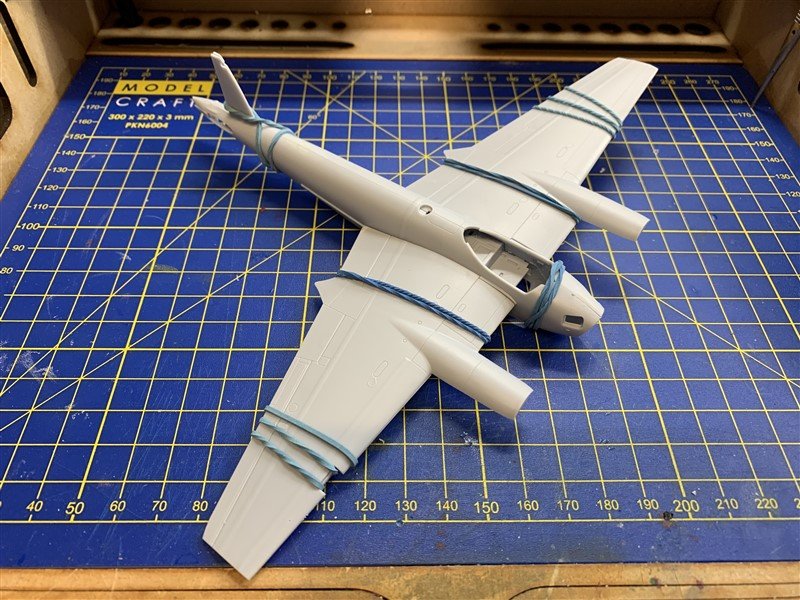
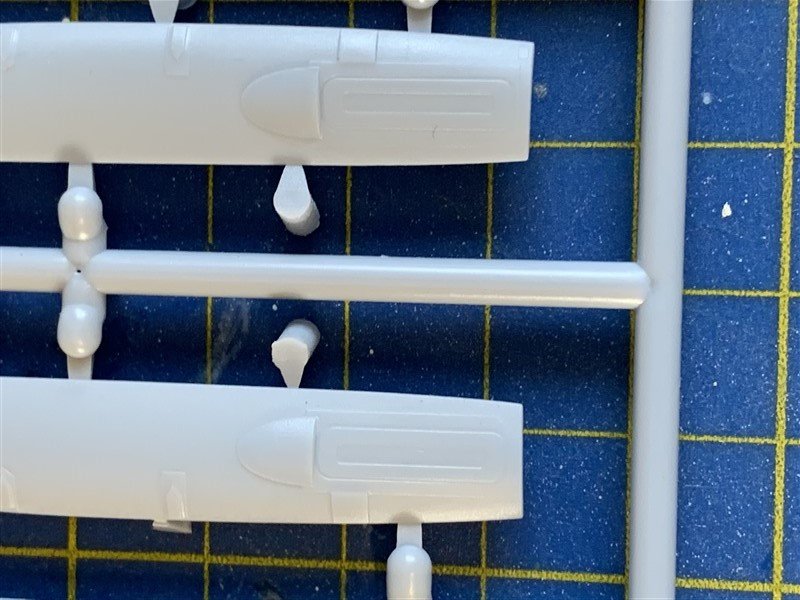
Evening all, I've not had too much time on this yet, hope this coming week might fix that, on holiday/vacation! 🙂 I've just been dry fitting the main parts and all seems good so far. The only minor bug bear with this kit (and to be fair most recent Airfix kits) is the massive sprue connections to the parts. They dwarf some of the parts! Also the designers have got some sprue connections on to the trailing edges of the wings or control surfaces, you have to be real careful snipping them free and cleaning up. But all done and only two very small holes to fix on the wing leading edges with a bit of putty. Just for variety I painted and decaled the control panel. I'm going to have to take it steady, now I have had a good old snoop about the parts and instructions, I think this could easily go together in a few sessions and be done before you know it! Most of the parts are "interior green" or alloy/silverish, so plenty of pre assembly before painting can be done.

- 50 replies
-
- 15
-
-
Did the de-bonder leave any marks? Looking good! 👍
-
Martin B-26B Marauder by CDW - FINISHED - Airfix - 1:72 Scale
AJohnson replied to CDW's topic in Non-ship/categorised builds
That’s the issue isn’t it, with so many more “deserving” kits out there and limited time to do them, a balance must be found in time/result/enjoyment equation. Glad you preserved so far with it. Hole punch and string at the ready! 😉- 97 replies
-
- 11
-
-
-
That is very true, I have 1/24 P47 (Razorback) a Hellcat and the 109 on my shelf, the 109 almost looks as though it’s a different scale model in between those two beasts! Outstanding work again Chris! 👏
- 165 replies
-
- 11
-
-
Martin B-26B Marauder by CDW - FINISHED - Airfix - 1:72 Scale
AJohnson replied to CDW's topic in Non-ship/categorised builds
Oh yes and shooting them with air rifles, even launched a few fighters on firework rockets! 🚀 🤣 -
Martin B-26B Marauder by CDW - FINISHED - Airfix - 1:72 Scale
AJohnson replied to CDW's topic in Non-ship/categorised builds
Well back in the 1970/80s I would of said that was pretty dammed close. ! 🤣 Yep, needs a good clamp, and you just to need to channel your inner 1970’s child “couldn’t give a f@“&” attitude and go for it ! -
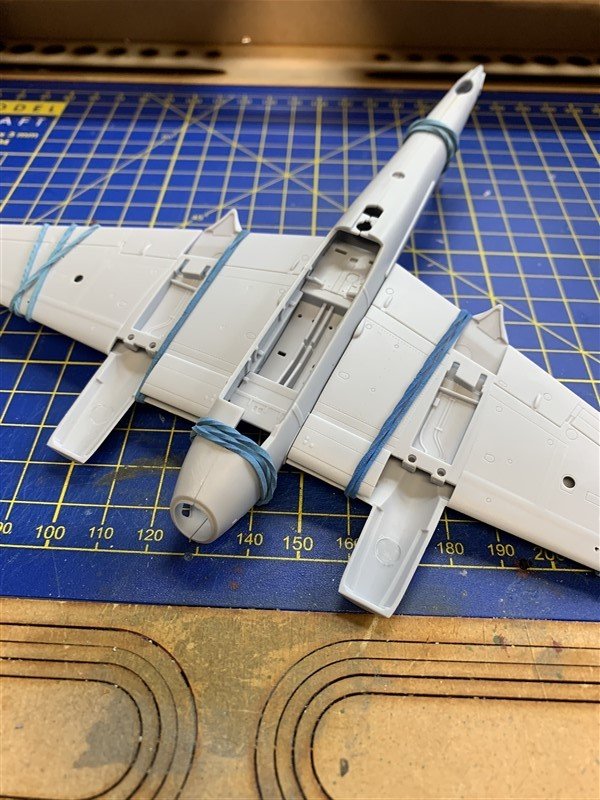
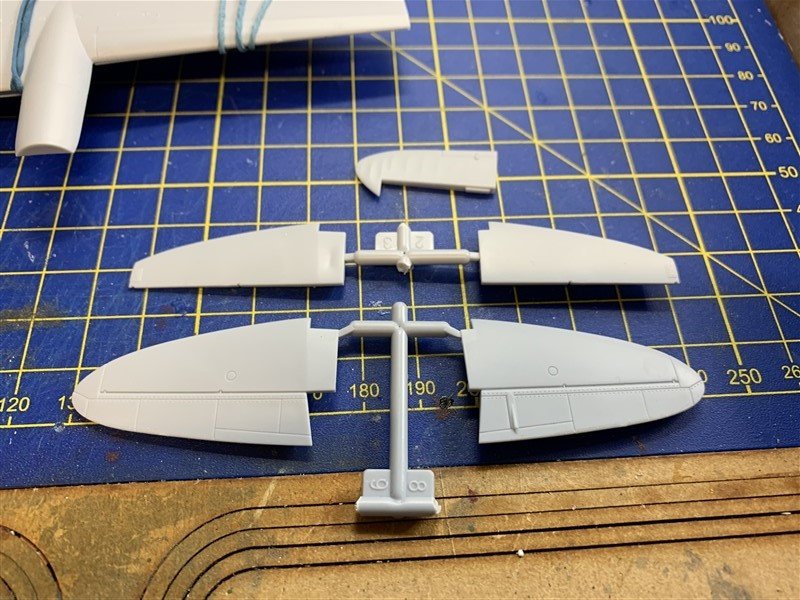
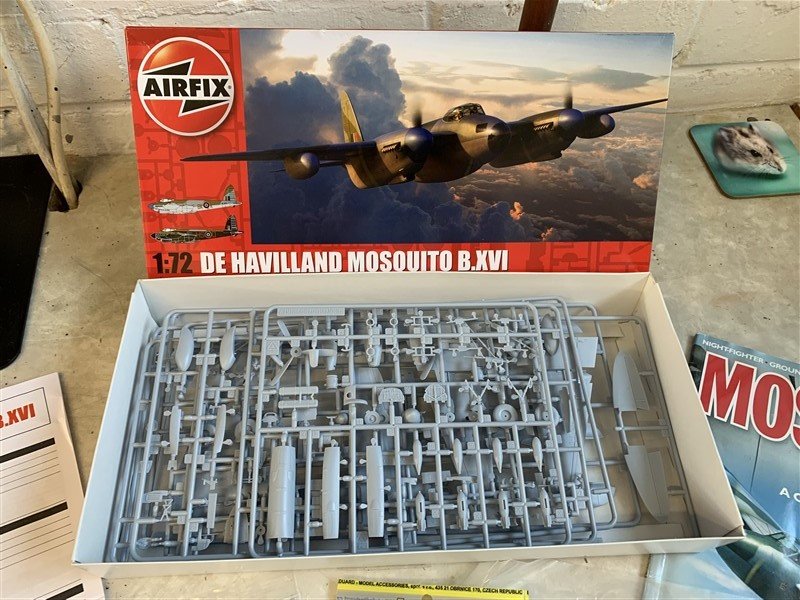
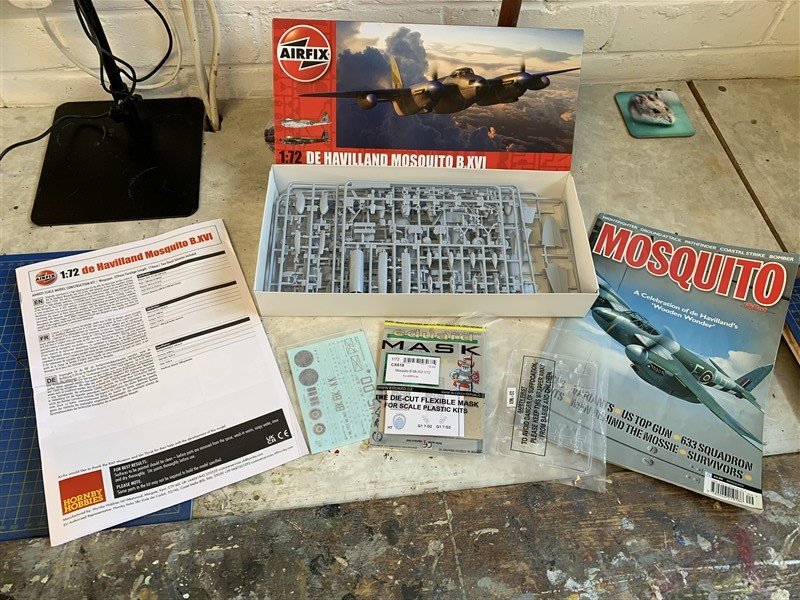
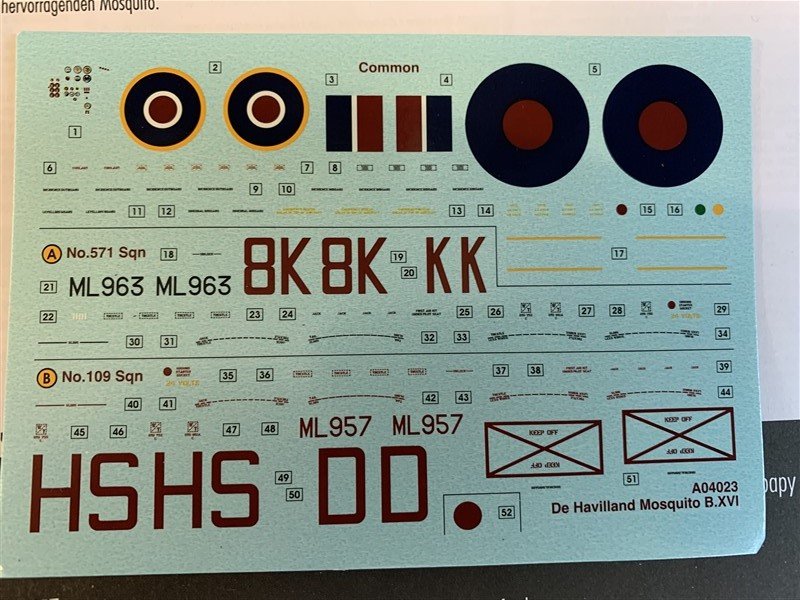
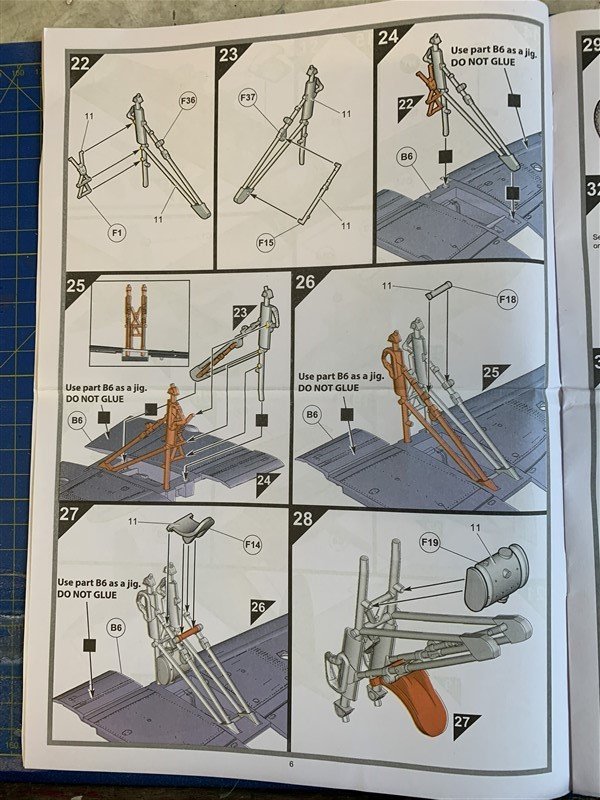
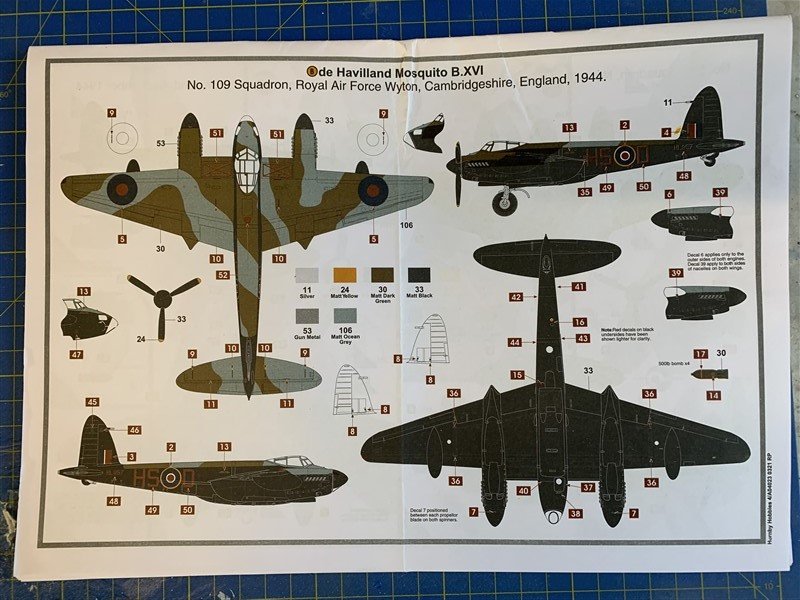
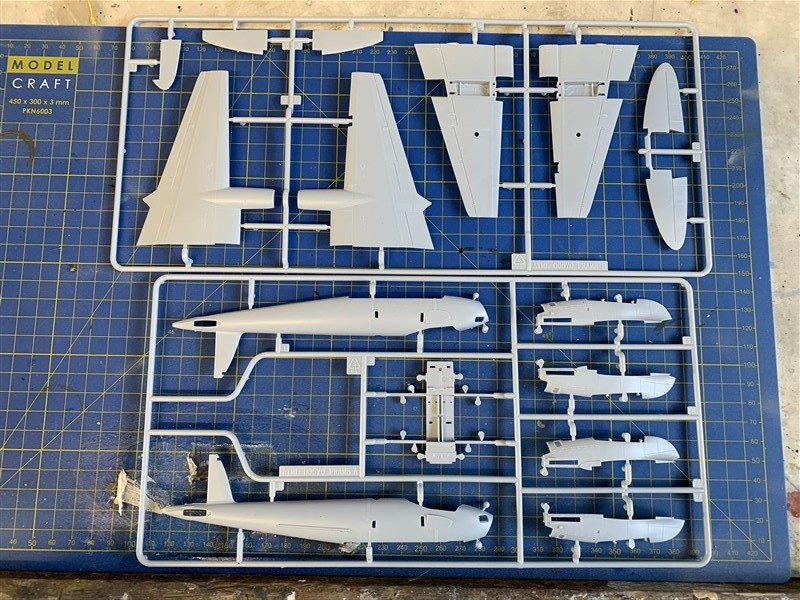
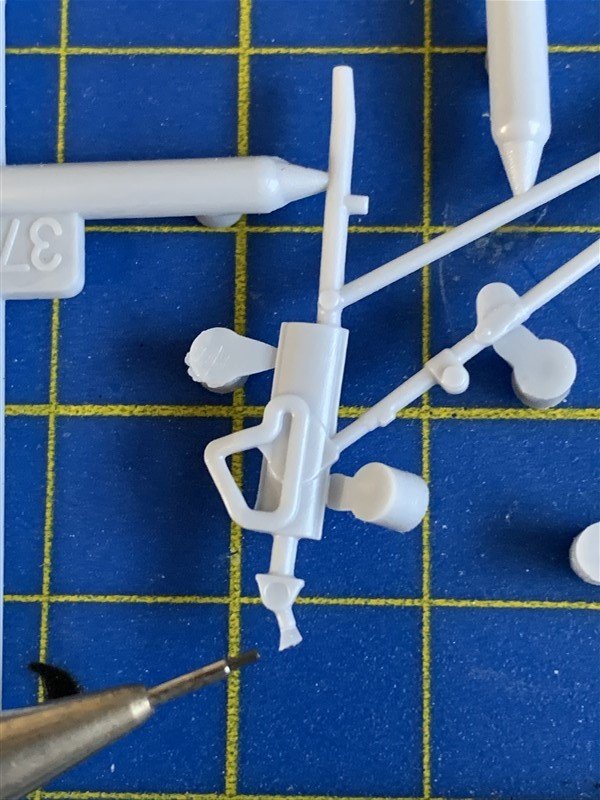
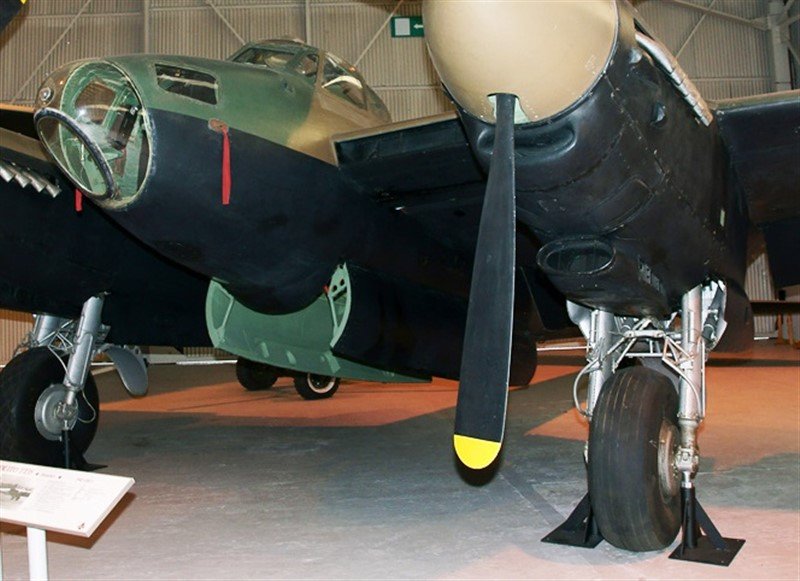
Hi there "Mossie"/"Wooden Wonder" fans, here is a starter post for my build log, following on from my Beaufort, I'm on a bit of a plastic roll atm. This is Airfix's new release 1/72 Mosquito and if the Beaufort is anything to go by then it ought to go together without any major issues. A few pictures of what you get and a few at the end highlighting the already much debated (on other forums) "mould issues" with the kit. Tackling these straight off, the problem has occurred in that for their kit, Airfix used the TT.35 at RAF Cosford for the basis of the kit and very faithfully LIDAR scanned it (as is the way with kit design these days) and faithfully reproduced every detail. The word "every" being the key one here... The TT.35 was the Target Tug version of the B.XVI and had a few differences in the bomb bay doors and rear fairing to accommodate the targets they towed. The other thing the scanning crew captured was the modern undercarriage support struts, which for some reason the kit designers overlooked and reproduced in the kit! (see last two pictures) Now from reading the furore on other forums you would have thought that a comet was about to crash into the Earth or something! 😲 But hopefully; although perplexing that a major kit manufacture might make these kind of "School boy" errors, you will all agree it is not the end of the World and nothing a bit of sanding/filling won't fix. There off my soap box now... I think I'm set on doing the 109 Squadron version in the Night camo.
- 50 replies
-
- 12
-
-
Martin B-26B Marauder by CDW - FINISHED - Airfix - 1:72 Scale
AJohnson replied to CDW's topic in Non-ship/categorised builds
Very close, one of my Catalogues has the prices written beside each model. For the series fours like the B-26 they were 85p in the mid 1970s. -
Until you pointed that out I was oblivious. I’m going to dirty up the deck on my “Nisha” a bit when I get back to it (soon!). These were hard working boats so doubt the decks were scrubbed and clean like holystoned warships decks.
-
Martin B-26B Marauder by CDW - FINISHED - Airfix - 1:72 Scale
AJohnson replied to CDW's topic in Non-ship/categorised builds
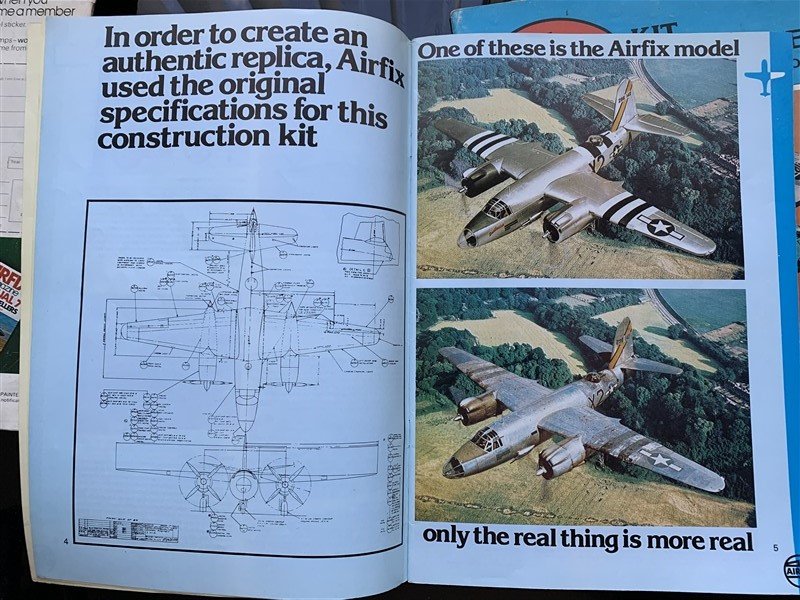
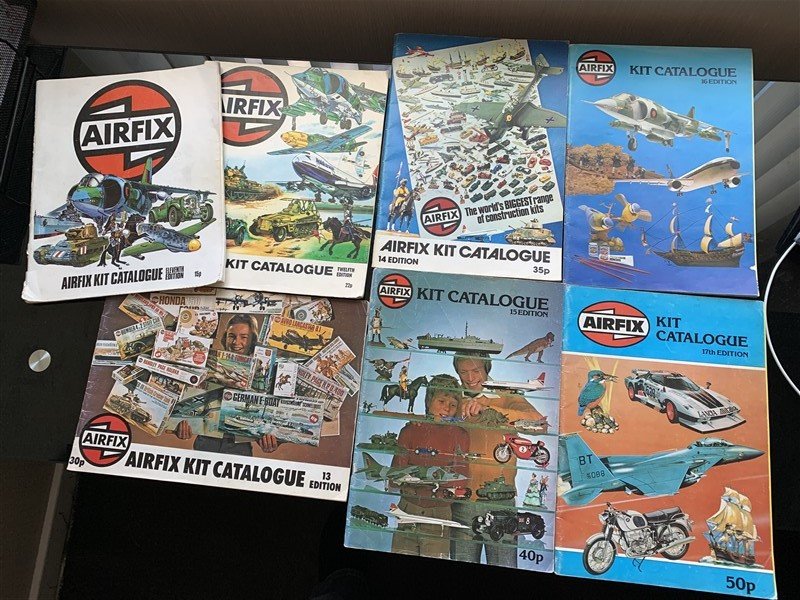
Hope you don't mind, I have dug out some old Airfix Catalogues (all from my main model making years as kid) and looked up some of the original blurb on your B-26 kit. Released in 1973 - gosh, that mould will be 50 soon! It was heralded as being a kit with "new levels of detail"; in their 16th Edition catalogue (1979) they were inviting readers to spot the kit from the real thing! 😆 - Now there's bravado for you! Sorry for butting in, lets see how my Rose tinted glasses 👓 fair up against your 2022 build of her, pulling up a chair... 🍿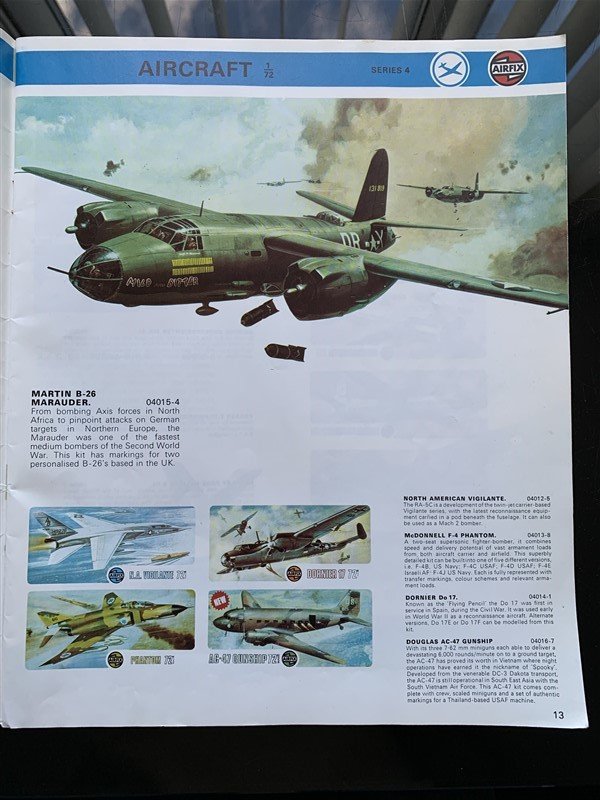
- 97 replies
-
- 13
-
-

-
Martin B-26B Marauder by CDW - FINISHED - Airfix - 1:72 Scale
AJohnson replied to CDW's topic in Non-ship/categorised builds
I’m in, that’s a recent re-boxing of the old 1970s mould. Airfix’s new moulds are good but they still have the cheek to re-box the old stuff and call them Classic Vintage, or something like that! 🤣 From memory the B-26 was quite detailed for its time; with internal bomb bay details. But not sure how the “fit” will be. Plus it has “raised” surface details and may be covered in rivets big enough to grace an ironclad battleship! Looking forward to seeing how my memory matches to the reality nearly 40 years later! 🫣- 97 replies
-
- 10
-
-
A very neat build. Now found your log will be following along! 👍
-
Now that would make a spectacular presentation for one of the Vanguard RN. models 😁
- 88 replies
-
- 1
-

-
- Erycina
- Vanguard Models
- (and 2 more)
-
Bristol Beaufort by AJohnson - FINISHED - Airfix - 1:72
AJohnson replied to AJohnson's topic in Non-ship/categorised builds
Thanks Mark. Okay guys you have twisted my arm, but I might not get chance to start the log for a few days yet. It is Airfix's new mould (but not without some very well documented errors - more of that later!)