HOLIDAY DONATION DRIVE - SUPPORT MSW - DO YOUR PART TO KEEP THIS GREAT FORUM GOING! (Only 13 donations so far - C'mon guys!)
×


Barbossa
-
Posts
509 -
Joined
-
Last visited
Content Type
Profiles
Forums
Gallery
Events
Everything posted by Barbossa
-
 And thanks for all the "likes" ! Now back to work ( not necesseraly shipbuilding )
 -
Hi, thanks Ulises, Mark & Mort : I can assure you , it feels good to be back. Regarding the life boats ; I started with the 32 ft pinnace using what was supplied in the kit and the result wasn't that bad at all. ( I'll post a pic this WE) But I really felt the urge to move on with this project and I also was seduced by the extra fittings supplied in the mini Caldercraft kits ( oars,...) Besides, I want to use the woods and stuctures of those little boats (supplied with the original Diana kit ) for another project in the future that is related to my next kit ( HMS Pegasus).
-
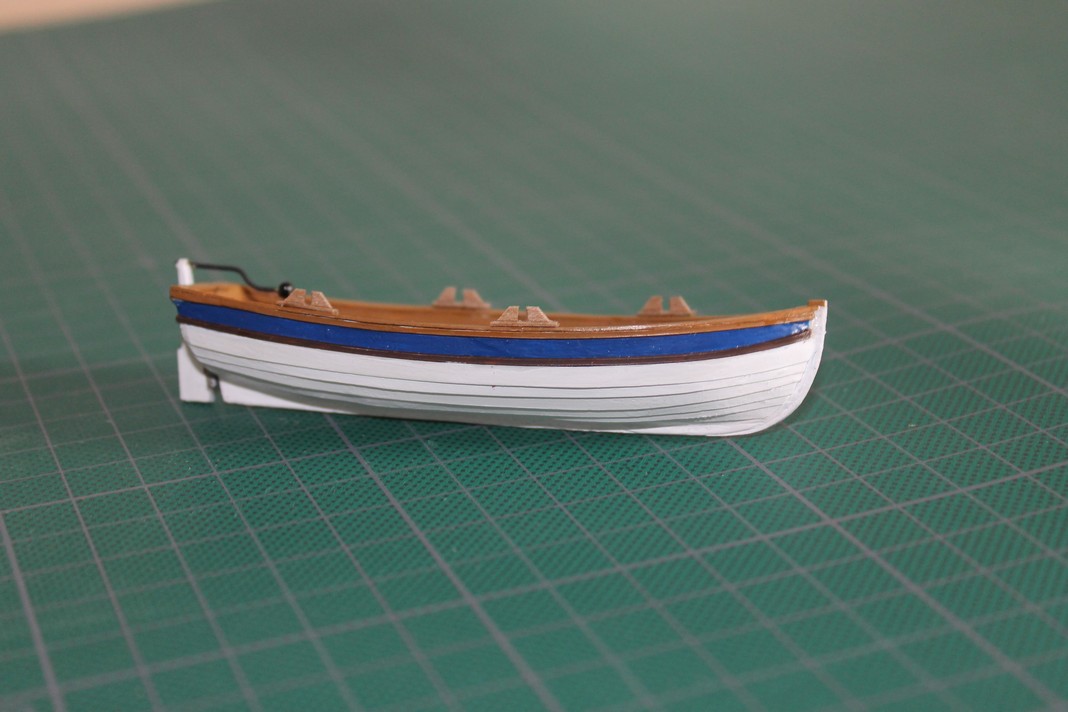
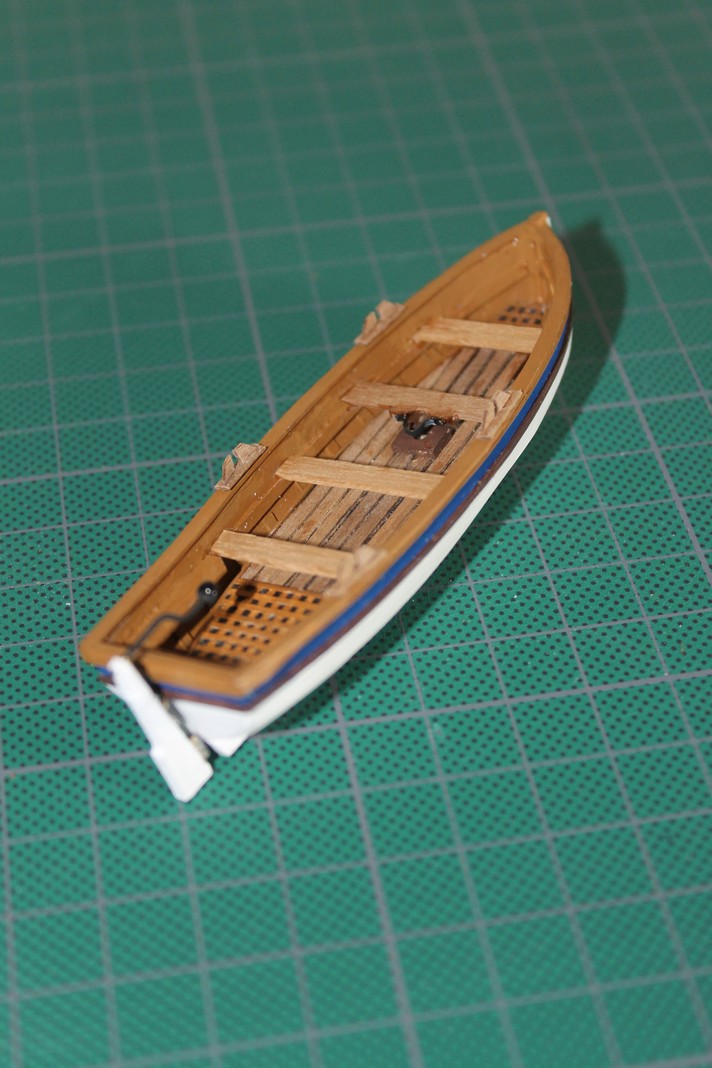
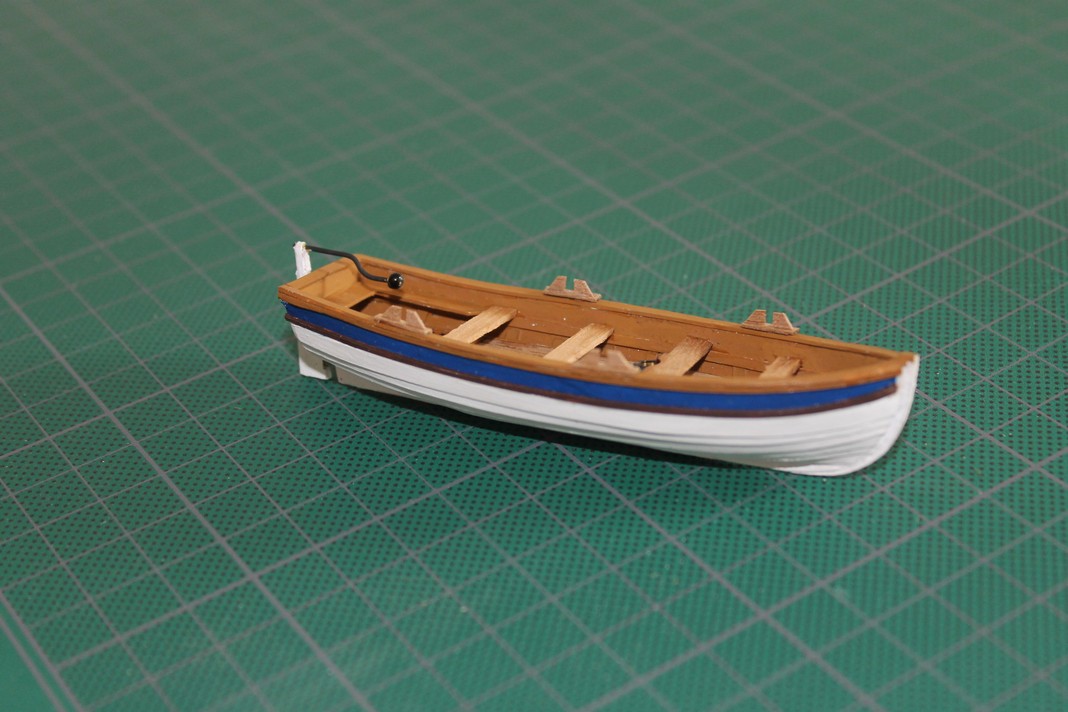
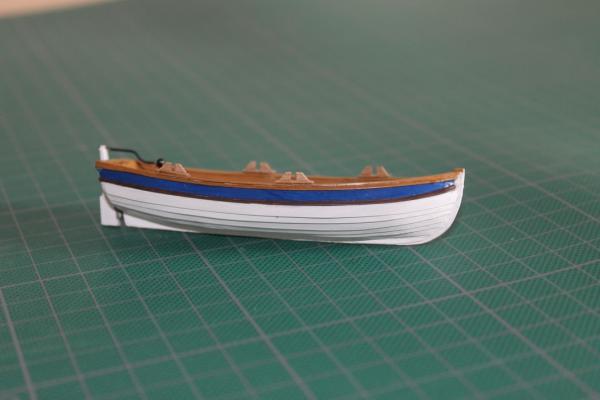
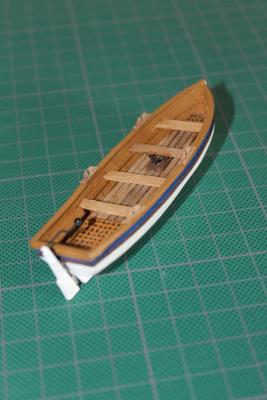
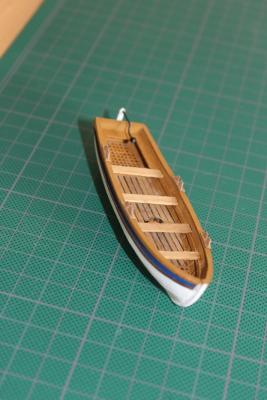
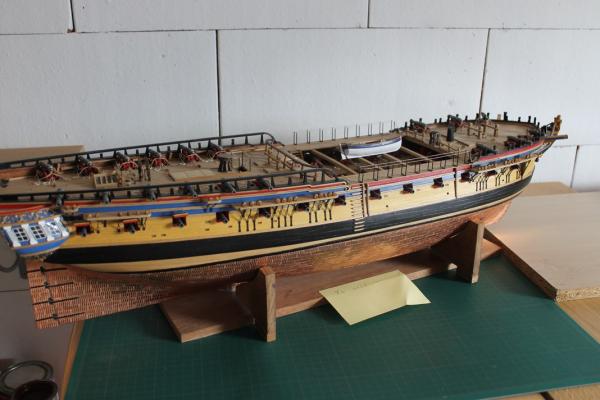
Hi All, It's been a while. So here's lifeboat n°1 ( the smallest one - 18ft. cutter ). I went for the clinckerplank-effect, which succeeded-more or less. The strips are styrene-made, due to the annoying behaviour of planks lifting upwards in the bow section, I've found it quite impossible to cut walnut strips following a suitable curve. Aside from the floor elements & thwarts, there's little wood involved. The hull is made out of cast resin and supplied together with interesting parts such as oars, hooks,...in a Caldercraft mini kit. I know : this is cheating, for which I pledge guilty, Your Honour. Another point : the "gratings" are as fake as can be : just paper strips over a black cartridge paper and I preferred external rowlocks rather than cutting & filing the hull But after all, I'm quite satisfied with the end result One done, 3 more to go

-
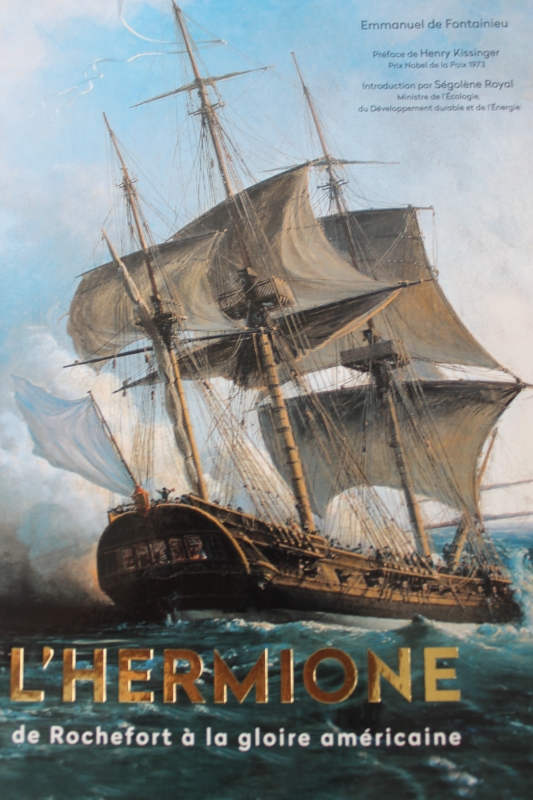
Hi , For the interested, I spent some days in France (Lyon) and bought myself a copy. The topic is the (French)frigate L'Hermione that took part in the American revolutionary war (1775-1783) and is introduced by Herni Kissinger himself. It's a new release as it contains several pics related to its journey from Europe to the USA last summer. The first part desribes the historical context and the second part depicts how the frigate was rebuild ( techiniques, tools, timber,shipyard,...) I have no knowledge regarding the availability of an English translation.Anyway here's the ISBN : 978-2-916231-36-5. I purchased it in a FNAC-store in Lyon (price 37 Euro) .

-
Hi Ray, resuming of my shipbuilding activities is scheduled for next autumn. Meanwhile my Diana is begging for accomplishment. So when I'll tackle the lifeboats and the rigging I'll simply follow your inspiring example. (Sometimes) life can be easy... Superb job
- 536 replies
-
- 2
-

-
- diana
- caldercraft
- (and 1 more)
-
Hi Lukas, Nice work and very pleasing indeed as finding blocks or even faking them at 1/150 scale is quite challenging, I'm afraid. If I were in your place ( but you' re the captain ) why not use a smaller caliber of thread/wire ? As far as you can prevent the thread from twisting, of course.
-
Hi Bob (instead of hitting the "like button" ) sincere congrats, truly outstanding work !
-
Excellent work Ray The more I see your progress, the more it itches me to resume my shipbuilding activites. I'm really looking forward to this as the move to our new house is scheduled the next months
- 536 replies
-
- 1
-
-
- diana
- caldercraft
- (and 1 more)
-
Hello Anja, hope this helps : when you activate the link, somewhere in the right corner inside the tumblr-screen, there's a search option. There you can fill in the following term : diana1794. By doing so, you'll (hopefully) have access to the pics Thanks for showing interest. About the house : everyone who moves knows the feeling, I guess. What huge amounts of useless stuff we all gather in our cellars and atticks ! It's just horrible :D Kind regards to you both (You & Sjors of course)
-
Hi All, Here's an attempt to recover some missing pics : www.tumblr.com/blog/diana1794 For the rest : very little progress, or dare I say no progress at all. But I have great expectations for the future. I've made my mind up. In our fututre home, the attic wil suit just fine : plenty of space ; some 20 square meters !!
-
Hi Mort, Many thanks. I hope to resume shipbuilding activities as soon as possible, but life is getting a bit in the way, lately. But there's (always) a positive aspect : Soon I'll post in the "general discussion-area" a pic of the room specially dedicated to shipbuilding. : 10 square meters and and not many tools yet, but I'll have to start somewhere.
-
Hi Ulises, I second all congrats hereabove. The added sails & treenals on the hull add even more value to your masterpiece.
-
Hi WBlakeny, what a nice project You can count me in too. I'm also curious regarding the tools you have at your disposal.
-
That is high praise, Doris As many MSW - members , I sincerely wish I had a half of your talent. Then I would be a twice as happy shipbuilder !
-
Hi Ulises, I'll try to resolve the photoproblem this week-end Related to your flags question, well here's the story : I used hairspray. It was very easy to find as my mother was a hairdresser. So I wrapped the flags in the most suited form and sprinkled them. So it's better to procede outside and yes, it was a bit "messy" on my fingers. Anyway my Vasa flags -especially the one on the stern- kept this "windblowing" shape ever since. Hope this helps you
-
You're welcome (as always), Sjors This might take a while. In the worst case I can still post some pics representing it's present status. Hope you don't mind
-
Hallo Klaas, I'm afraid, you had to dig rather deep to come across my log as it's been a while since my last update. It is a worn out cliché but life is getting a bit in the way as Mrs and Mr Barbossa's bulding project is reaching it's final stage. As a consequence : some painting work, installation of a kitchen and of course a move is laying ahead of us, therefore very little time for shipbuilding and when it occurs...well, for the time being I'm struggling a bit with the lifeboats. It is not really my cup of tea but it's just another of those essential details and this project does not increase the size of the whole ship as it is and I wish to avoid any accident while moving from our old house to our new build. Regarding the pics : lately, I noticed other members experienced the same. The more is : I visited my own log a just few weeks ago and then everything seemed OK. Strange.... However : Congrats with your Aggy : this is really huge and your doing a fantastic job !
-
HMS AGAMEMNON by PMG - Caldercraft
Barbossa replied to PMG's topic in - Kit build logs for subjects built from 1751 - 1800
Hi Pierre, To mention mobbsie, it's good you're back in the shipbuilding business. I sincerely wish I could do the same. It is a good thing to emphasize on the complexity of the stern & quarterdeck galleries. All these parts are related one to another. Being just a frigate, I've suffered enough on my Diana... -
Nice work Sjors. How did you proceed for ther treenails ?
- 1,616 replies
-
- 1
-
-
- caldercraft
- agamemnon
- (and 1 more)
-
ROYAL CAROLINE 1749 by Doris - 1:40 - CARD
Barbossa replied to DORIS's topic in - Build logs for subjects built 1501 - 1750
Hi Doris, I can only second all the comments hereabove : your work is inspiring and motivating. Thanks for sharing.- 883 replies
-
- 1
-
-
- royal caroline
- ship of the line
- (and 1 more)
-
Hi Mark Sad news indeed. However as you mentioned it is still a hobby. Perhaps -only for a while- take some distance from it and depending from your persoonal taste enjoy a few good beers or a glass of wine, make a stroll,.... and very soon we'll be following the Licorne version 2.0 buildlog. Take care !
-
Hi Aldo It is only now I came across your buildlog, my sincere congrats and admiration for your first attempt to join what is called the "dark side". When, I don't know, but by following your buildlog , hopefully I'll find the courage to join you over there. Keep up the good work !
-
Montanes by ricardo - OcCre
Barbossa replied to qaz_666's topic in - Kit build logs for subjects built from 1751 - 1800
Great Job and nice photo's. Many thanks for sharing -
Montanes by ricardo - OcCre
Barbossa replied to qaz_666's topic in - Kit build logs for subjects built from 1751 - 1800
Hi, I'm sure you'll recover this. A very nice ship and I like the color scheme. I must admit I'm a bit jalous : I wish I had such a nice & clean workspace -
Nice to hear from you. Together with the rigging are you planning to add (furled) sails ?