-
Posts
496 -
Joined
-
Last visited
Content Type
Profiles
Forums
Gallery
Events
Everything posted by Oldsalt1950
-
All the bulkheads with the exception of 1 and 16 have been attached to the frame. I have been going over notes and other build logs before i start my modifications to the kit. one must remember that the kit is based on a model and not actual ships blueprints. There are a number of issues to overcome with the model itself, and there are some interesting notes that will be reflected in my build. To compound the issue, the rigging on the model and the rigging for the kit are different. My interpretation of Fair American will be a little different from those you have seen so far. I can't let the cat out of the bag yet, but if all goes according to plan it will be an interesting model. Pete Jaquith's build gave me some interesting little changes. Stay tuned for future updates. Jim
-
Watching you build the diorama reminds me of fond days with my father working on HO railroad scenery. Back then it was crumpled newspaper, screening and Plaster of Paris. The Woodland Sceneic's material is great. Looking forward to seeing the rest of the diorama progress.
- 542 replies
-
- Sphinx
- Vanguard Models
-
(and 3 more)
Tagged with:
-
Bulkhead to frame fitting today. Lots of sanding and filing to get things to fit. !2 of the 16 bulkheads will need some shimming as they do not reach the bearding line. Once that is established then the initial beveling of the bulkheads. Due to the nature of how I am building the FA, bulkhead 16 is in need of some serious modifications. For those of you who were wondering what it is I found missing from the plans, there is no "Charlie Noble" on this ship. Jim
-
I was just going over the plans and instruction manual for FA. as I jot down notes for changes that need to be made, when i discovered there is something missing. It isn't the ships boat, but it is an important little feature that is not on the plans or in the manual. I haven't seen it in any pictures of completed builds either. Every ship has one, but this model doesn't. I'll let everyone think on this for a while.
-
Keel. Stem and Stern Post are next on the list. This is followed by the Bulkheads and beveling of them, then the filler blocks. The Keel is a known issue and I cut a new one to the proper length. They will not be attached to the frame until all the bulkhead and filler block work is completed. It will be much easier establishing the shape of the bow filler block without the stem and keel attacked to the frame. Time to make some more saw dust. Jim
-
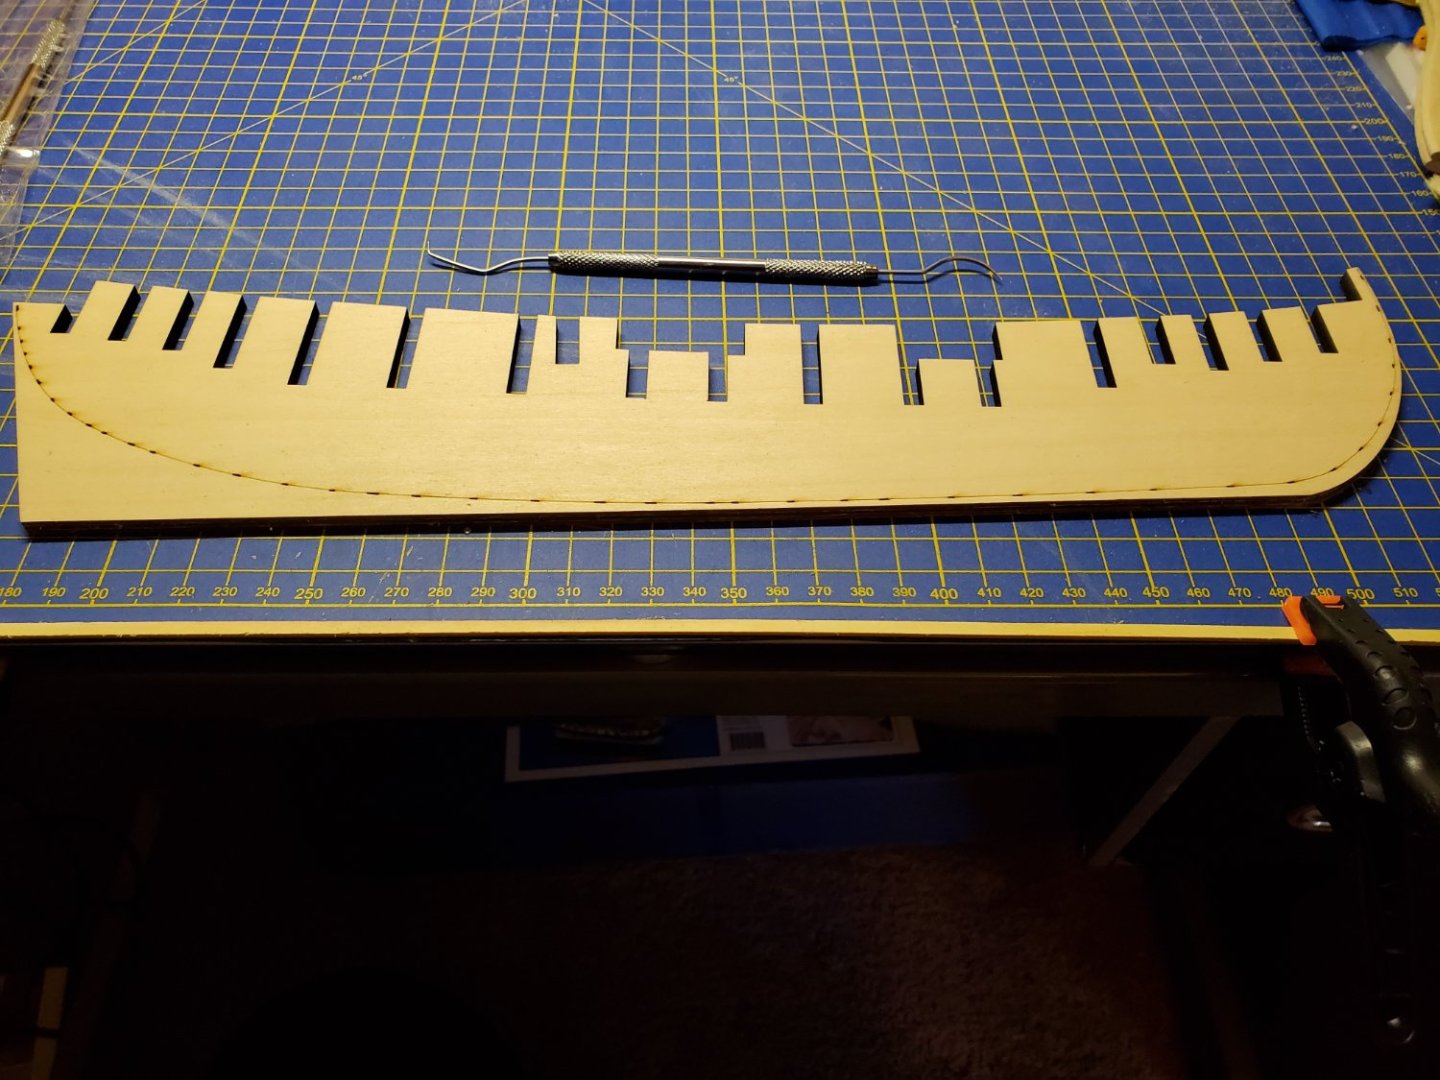
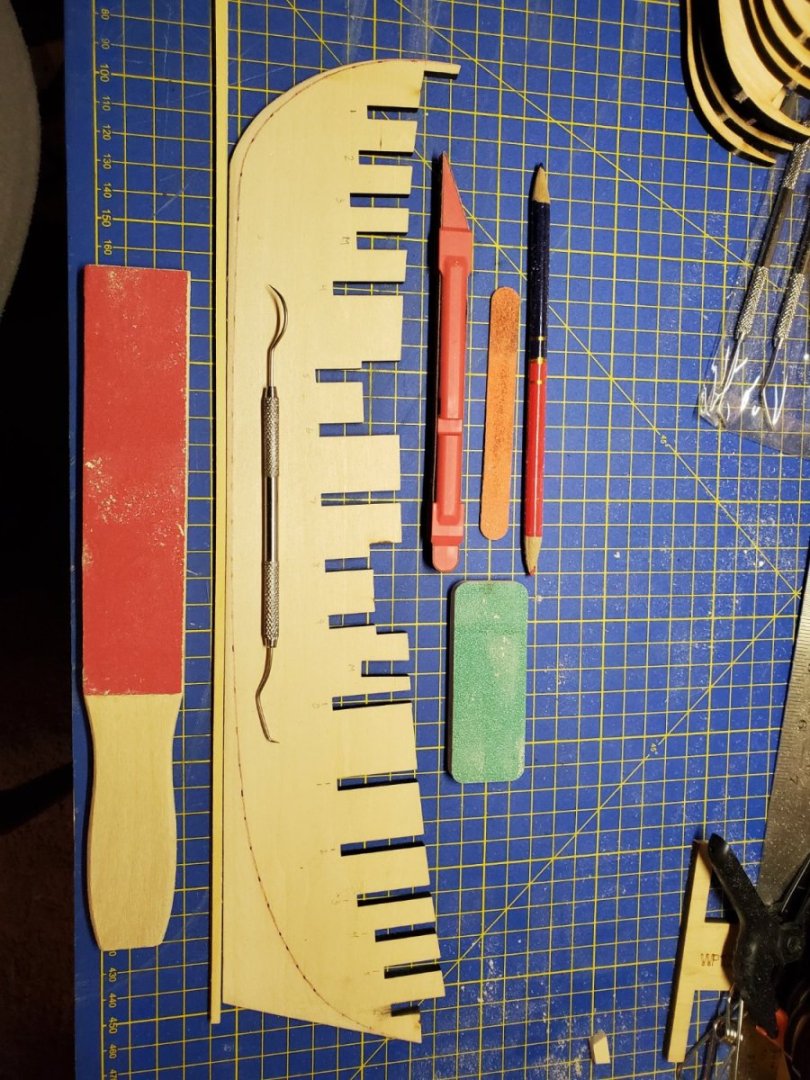
First thing to do is create a bearding line on the hull frame. In the case of the FA, a series of small laser marks established the bearding line on both sides of the frame, so it was only a matter of connecting the marks. The next step is to cut a rabbet for the hull planks. The manual calls for a rabbet 1/16 deep. The hull frame is 3/16 thick so using a scribe and a piece of 1/16 lumber I scribed a line on one side of the edge of the frame , flipped it over and repeated the process. I sand my rabbets; some may use a dremel or carve theirs. The depth of the rabbet was checked using (2) 1/16 pieces of lumber stacked on each other. When the required depth was reached, the frame was flipped over and the process repeated for the other side. Be careful about the very tip of the frame near the bow as it is easy to snap off.
-
About to start the "Fair American". Those familiar with the ship know the model is based upon a model. There are a few known issues with the kit build, among them the height of the quarterdeck bulkhead and door, and also its placement in relation to the last cannons on the main deck. There have been a number of different work arounds that have been implemented to solve these issues if you have read the numerous build logs. The rigging of the ship is also different on the kit then the model, the rigging plan for the kit is based on "Rattlesnake's" rigging plan. I would advise anyone contemplating building FA to read the build logs, and then read the construction manual, paying close attention to the notes therein. Get some post-it notes. and write down the areas that need to be addressed before you start any of the construction process. The kit comes with 4 full size plan sheets, and 2 smaller sheets which spars and masts, and belaying pin and cleat tie offs. In the documentation you will see various general warnings with references to other material to explain them. I highly recommend you take them to heart for a successful build. I would also say that this kit is not for the first time/first builder. You will also find that to complete the build you will have to order parts not included in the kit. This is also noted in the building manual. Tomorrow we start making saw dust! Jim
-
You have just discovered the hydroscopic properties of wood. The Isopropyl removed what moisture it could from the wood = shrinkage. Water bath, rehydrated = swelling. The wood needs more moisture. Think of it like a boat, out of water the hull dries out a bit and some seams will if not properly calked open up. Put the boat back in the water and the seams leak until they swell up. If not enough water can be absorbed by the wood, you keep bailing the boat out. Thus, ends today's physical science lecture this information is testable!!!!
-
Ed you are progressing just fine. You, as most of us who are building or built Rattlesnake are finding out that just about everything need to be worked on a bit one way or another. Due to the properties of wood, it expands or contract due to humidity, warping is also a factor depending on thickness and grain pattern. It is the nature of the beast. I hit a wall for a while in my build and decide to take a break in construction. There are areas that will give you headaches trying to get just right. Concerning the quarterdeck, instead of "level" as it slopes p/s and aft/forward, think plumb as in all the bulkheads are the same height. Check your alignment carefully.
-
Mark, glad you are on the mend. I went through the stent thing myself about 2 years ago, and of course there is that eyesight thing that comes with age. Just take your time, after all this is just a hobby. Jim
- 505 replies
-
- vanguard models
- Sphinx
-
(and 1 more)
Tagged with:
-
Now that is an entry statement!!!!! Jim
- 542 replies
-
- Sphinx
- Vanguard Models
-
(and 3 more)
Tagged with:
-
Welcome back Dan. Ask all the questions you'd like, there are no dumb questions. Looking forward to seeing your build log. Jim
About us
Modelshipworld - Advancing Ship Modeling through Research
SSL Secured
Your security is important for us so this Website is SSL-Secured
NRG Mailing Address
Nautical Research Guild
237 South Lincoln Street
Westmont IL, 60559-1917
Model Ship World ® and the MSW logo are Registered Trademarks, and belong to the Nautical Research Guild (United States Patent and Trademark Office: No. 6,929,264 & No. 6,929,274, registered Dec. 20, 2022)
Helpful Links
About the NRG
If you enjoy building ship models that are historically accurate as well as beautiful, then The Nautical Research Guild (NRG) is just right for you.
The Guild is a non-profit educational organization whose mission is to “Advance Ship Modeling Through Research”. We provide support to our members in their efforts to raise the quality of their model ships.
The Nautical Research Guild has published our world-renowned quarterly magazine, The Nautical Research Journal, since 1955. The pages of the Journal are full of articles by accomplished ship modelers who show you how they create those exquisite details on their models, and by maritime historians who show you the correct details to build. The Journal is available in both print and digital editions. Go to the NRG web site (www.thenrg.org) to download a complimentary digital copy of the Journal. The NRG also publishes plan sets, books and compilations of back issues of the Journal and the former Ships in Scale and Model Ship Builder magazines.


