
HOLIDAY DONATION DRIVE - SUPPORT MSW - DO YOUR PART TO KEEP THIS GREAT FORUM GOING! (Only 13 donations so far - C'mon guys!)
×


Oldsalt1950
-
Posts
496 -
Joined
-
Last visited
Content Type
Profiles
Forums
Gallery
Events
Everything posted by Oldsalt1950
-
Go with Caldercraft. If you want really good quality and clear instructions, then you want to look at Vanguard and Syren. The down side is they cost more, but you get the best of the best with them.
-
 If your kit came with thin walnut pieces for a second planking, you can use that. Either that or visit a local hobby store and pick up a thin sheet of bass wood.
 -
Glad you are enjoying your down time. The cliff walk is great. I used to live a block from the "Breakers" in what used to be the carriage house for it. It is a very impressive house. Hope you got to tour it.
-
Very nicely done Edward
-
The sails could have probably stood a little ironing. For the barrels, put a small eyelet into each side of the racks they are laying in and then tie them down. Nothing will be on the deck for anyone to trip over. Just lash the line around the barrels and through the eyelets and tie them off. For the anchors you could add two additional large cleats attached to the false ribs on the forward bulkheads and tie them up to them. I'd go with hanks of rope not coils. Pilot boats were usually very busy.
- 111 replies
-
- 2
-

-
- Swift
- Artesania Latina
- (and 3 more)
-
The first thing I would do is mark the center of the piece while it is laid over its position on the plans to determine if both sides are off, if the slot for attaching to the center frame is also not off. Then take a measurement of how much you need to add to the piece. Usually there is some thin scrap you will have from taking pieces out of the laser cut sheets they are in, use this to make your shim if it is a little too thick that is okay as you will be removing some of the material when you fair the hull before planking. Glue the shim on with either wood glue or CA(super glue) and let the glue cure .
-
A little heads-up to anyone about to build or thinking of building Ms's Rattlesnake. If you have read any of the build logs you know about all of us breaking the cross timbers on the forward and aft bulkheads. Decide ahead of time if you are going to install and rig cannons in all the gun ports. If not then place a piece of scrap across the knock outs in the aft bulkheads except for the most forward one. That knock out will be used for what would be the removable bulkhead. That bulkhead also needs to be built up and detailed and installed prior to planking the upper bulwarks or it is going to be difficult to put in place. With a little work, you can use the knock out for the removable bulkhead, but take into account the deck planking and waterway as you shape it.
-
The Dremmel comes in handy for shaping filler blocks. It is not intended for doing delicate work.
-
Looks like just the right amount of character for a ships deck.👍
-
It is designed for beveling, but a small plane used at an angle would be much more effective and easier to use.
-
Will you be staining the deck or just applying and clear coat over the finished deck?
-
My First Kit Pick Ups.... Beginners Kit Recommendation?
Oldsalt1950 replied to DeHammer's topic in Wood ship model kits
Welcome DeHammer. You got an excellent deal on the Bluenose kit. As Mark stated above, someone, namely me will suggest Model Expo. You might want to look at the Model Shipways Shipwright 3 Kit Combo Series. You'll get a lot of practice and some decent instructions with the kits. 3 boats, 3 stands, some so-so tools, paint, glue and not feel overwhelmed at the start. The current price is about $170 which works out to less than $60 per kit. The other nice thing with Model Expo is that if you break, lose, or screw up a part they will replace it for you at no cost. If the bug really hits you after you have assembled your kit(s) then look into some of the best kits out there namely Vanguard and Syren Ship Models. Both designers are members here. If and when you find a kit that sparks your interest, look at the building logs for that kit and see what problems or issues the builders had and also what they did to add additional detail. Above all though have fun, and ask questions we are a friendly lot. Jim -
It would be best to start in the middle and work out in both directions. This way you don't compound any errors in alignment. no matter how small.
- 389 replies
-
- 1
-
-
- winchelsea
- Syren Ship Model Company
- (and 1 more)
-
Very nice work. Are you going to treenail the deck?
-
Looks real sharp. Hull profile is very nice. Good call on eliminating the two "outhouses" .
-
I have always terminated mine at the side, tappering the stern end slightly to match the stern transom.
-
Put the WOP on before you remove the char, otherwise you will have an issue attaching the stem to the frame. Glue does not hold well on finished surfaces.
- 389 replies
-
- 2
-
-
- winchelsea
- Syren Ship Model Company
- (and 1 more)
-
Looking really sharp. I like the little bit of discoloration in the sails.
- 111 replies
-
- 2
-
-

-
- Swift
- Artesania Latina
- (and 3 more)
-
Devin, you are doing great and have taken some very good work practices to heart. Making perfectly square ends when cutting stock to length is hard but if you mark the piece and clamp it in the miter box it won't move or flex, this should help. It took me awhile to realize that that was what was happening. Don't worry about how much time you are committing to a job. This isn't a race, enjoy the time you spend working on each phase and you will be rewarded in the end.
-
You could try Minwax Polycrylic topcoat. They make a clear that is ultra flat. I have some works well, Amazon carries it if you can't find it at a hardware store.
-
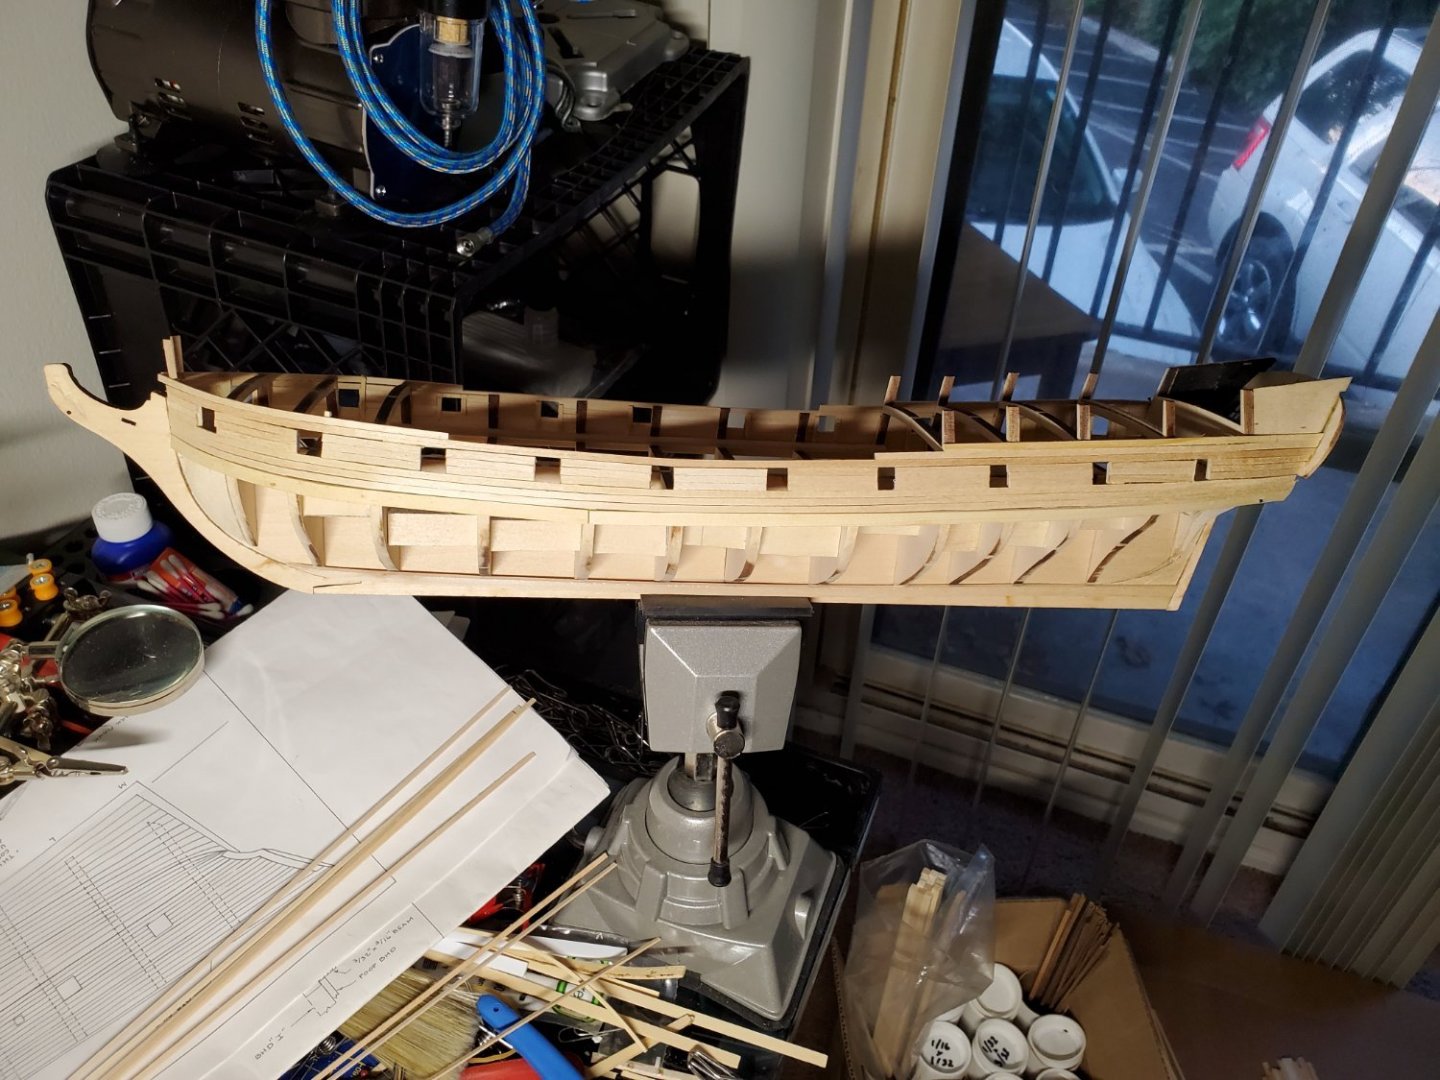
Finally something to show. The exterior gunwale planking is almost completed. Will then add the cut outs for the sweep ports and sheaves, drill the holes for the scuppers and mark out the aft quarter light which is replacing the Britannia quarter light fitting. Attempted making the fancy molding ends, not happy with them, but may have a work around that will be easier. considering you have to round off a piece that is only 5/32nds square. Perhaps a dowel considering it is getting painted any way. Once the interior bulkhead is planked I'll be adding some color just to see what the ship is starting to look like. The current assembly has a bit of weight to it.
-
When you wind up sleeping on the couch or in the car you'll find out, Gary ! I think I'll pull up a chair and watch this build.
- 389 replies
-
- 2
-

-
- winchelsea
- Syren Ship Model Company
- (and 1 more)
