


moreplovac
-
Posts
697 -
Joined
-
Last visited
Content Type
Profiles
Forums
Gallery
Events
Posts posted by moreplovac
-
-
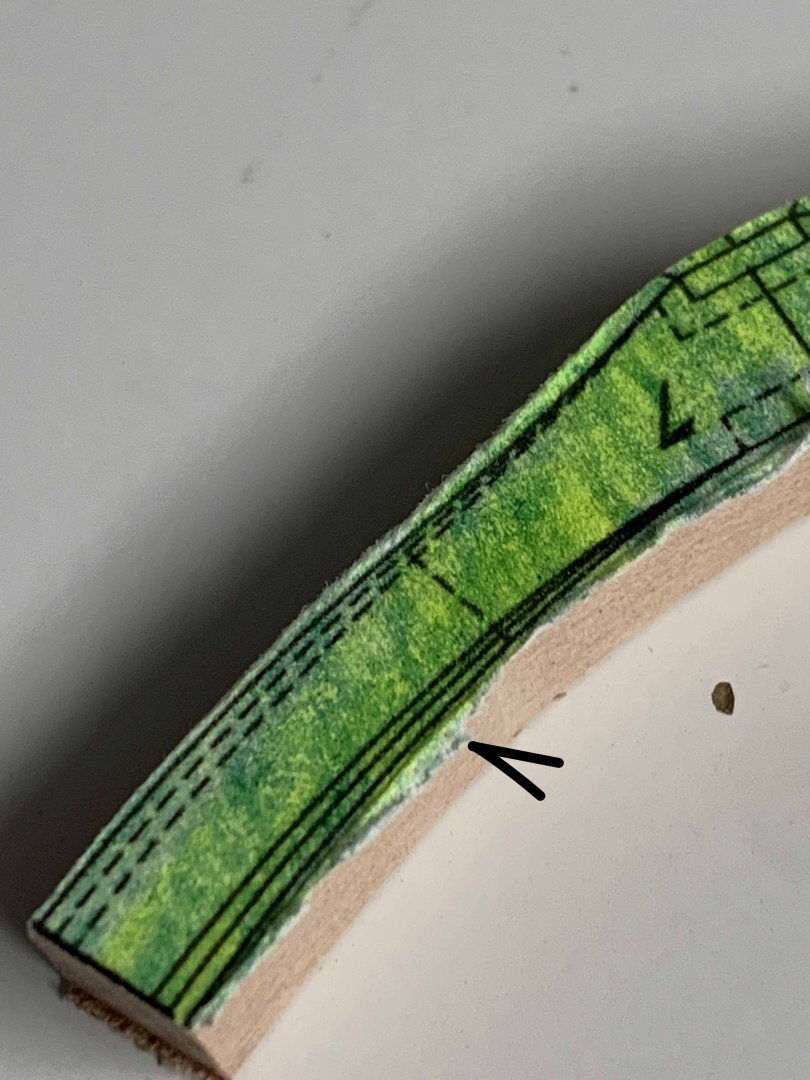
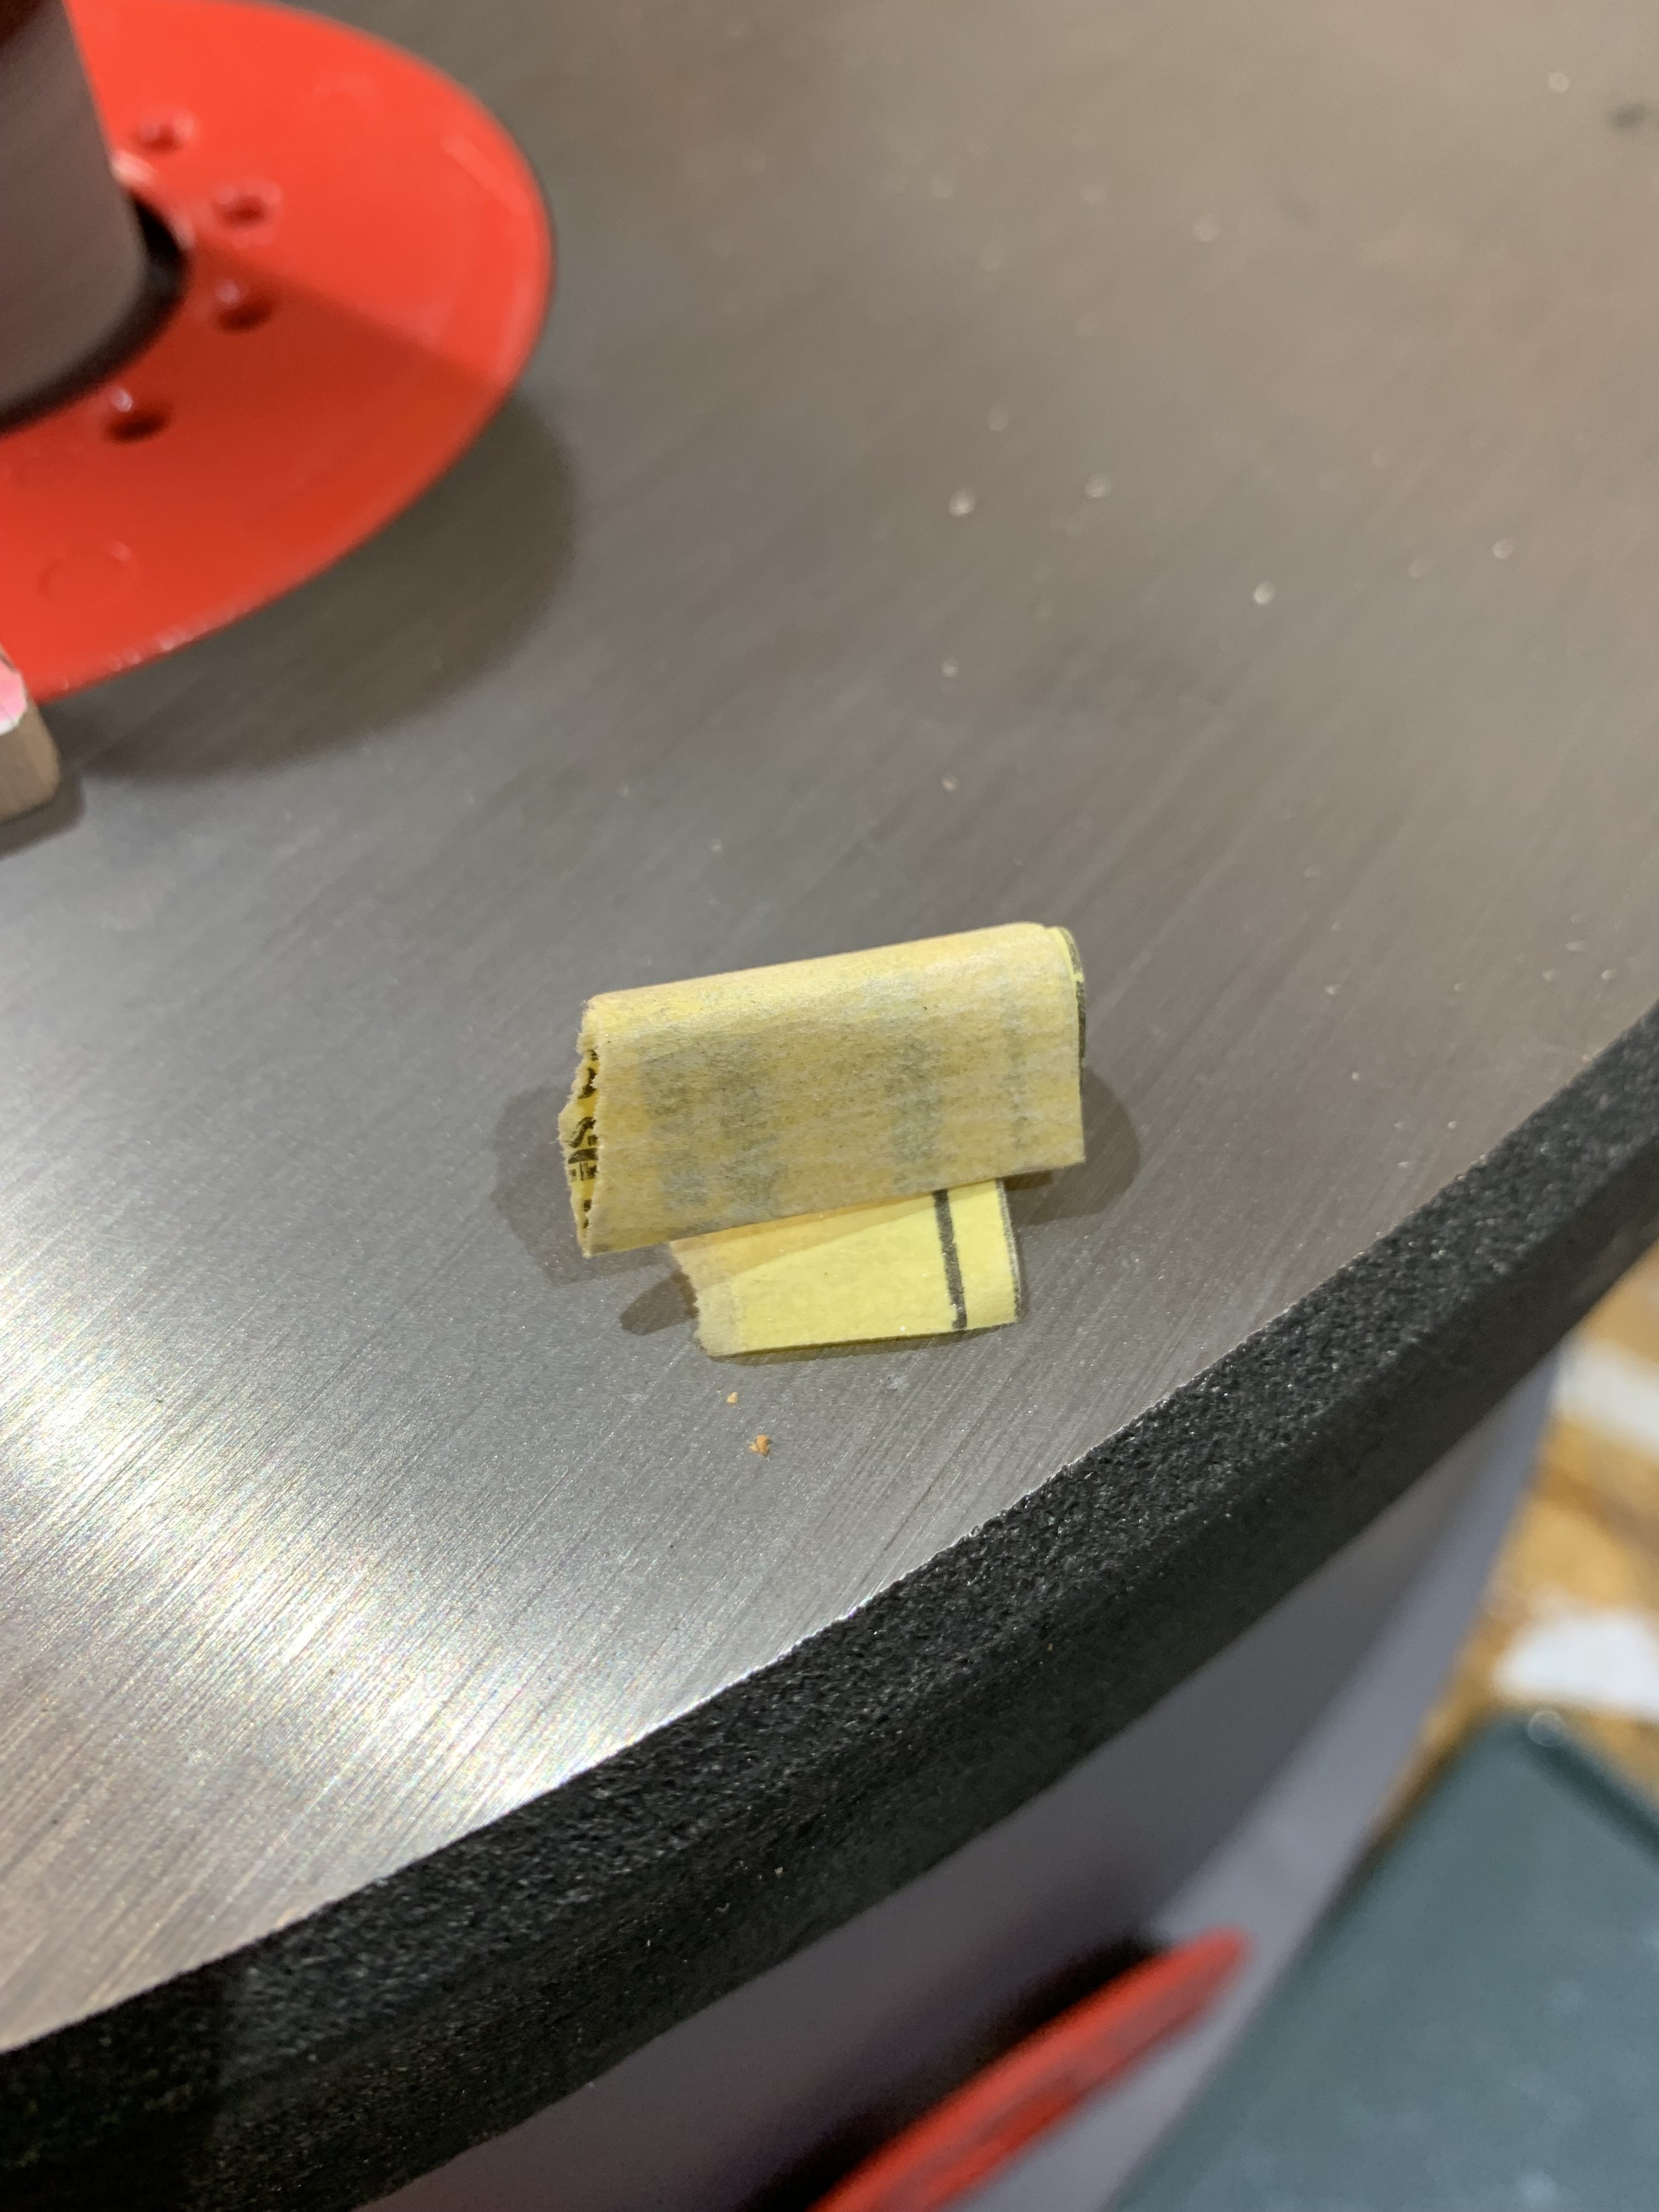
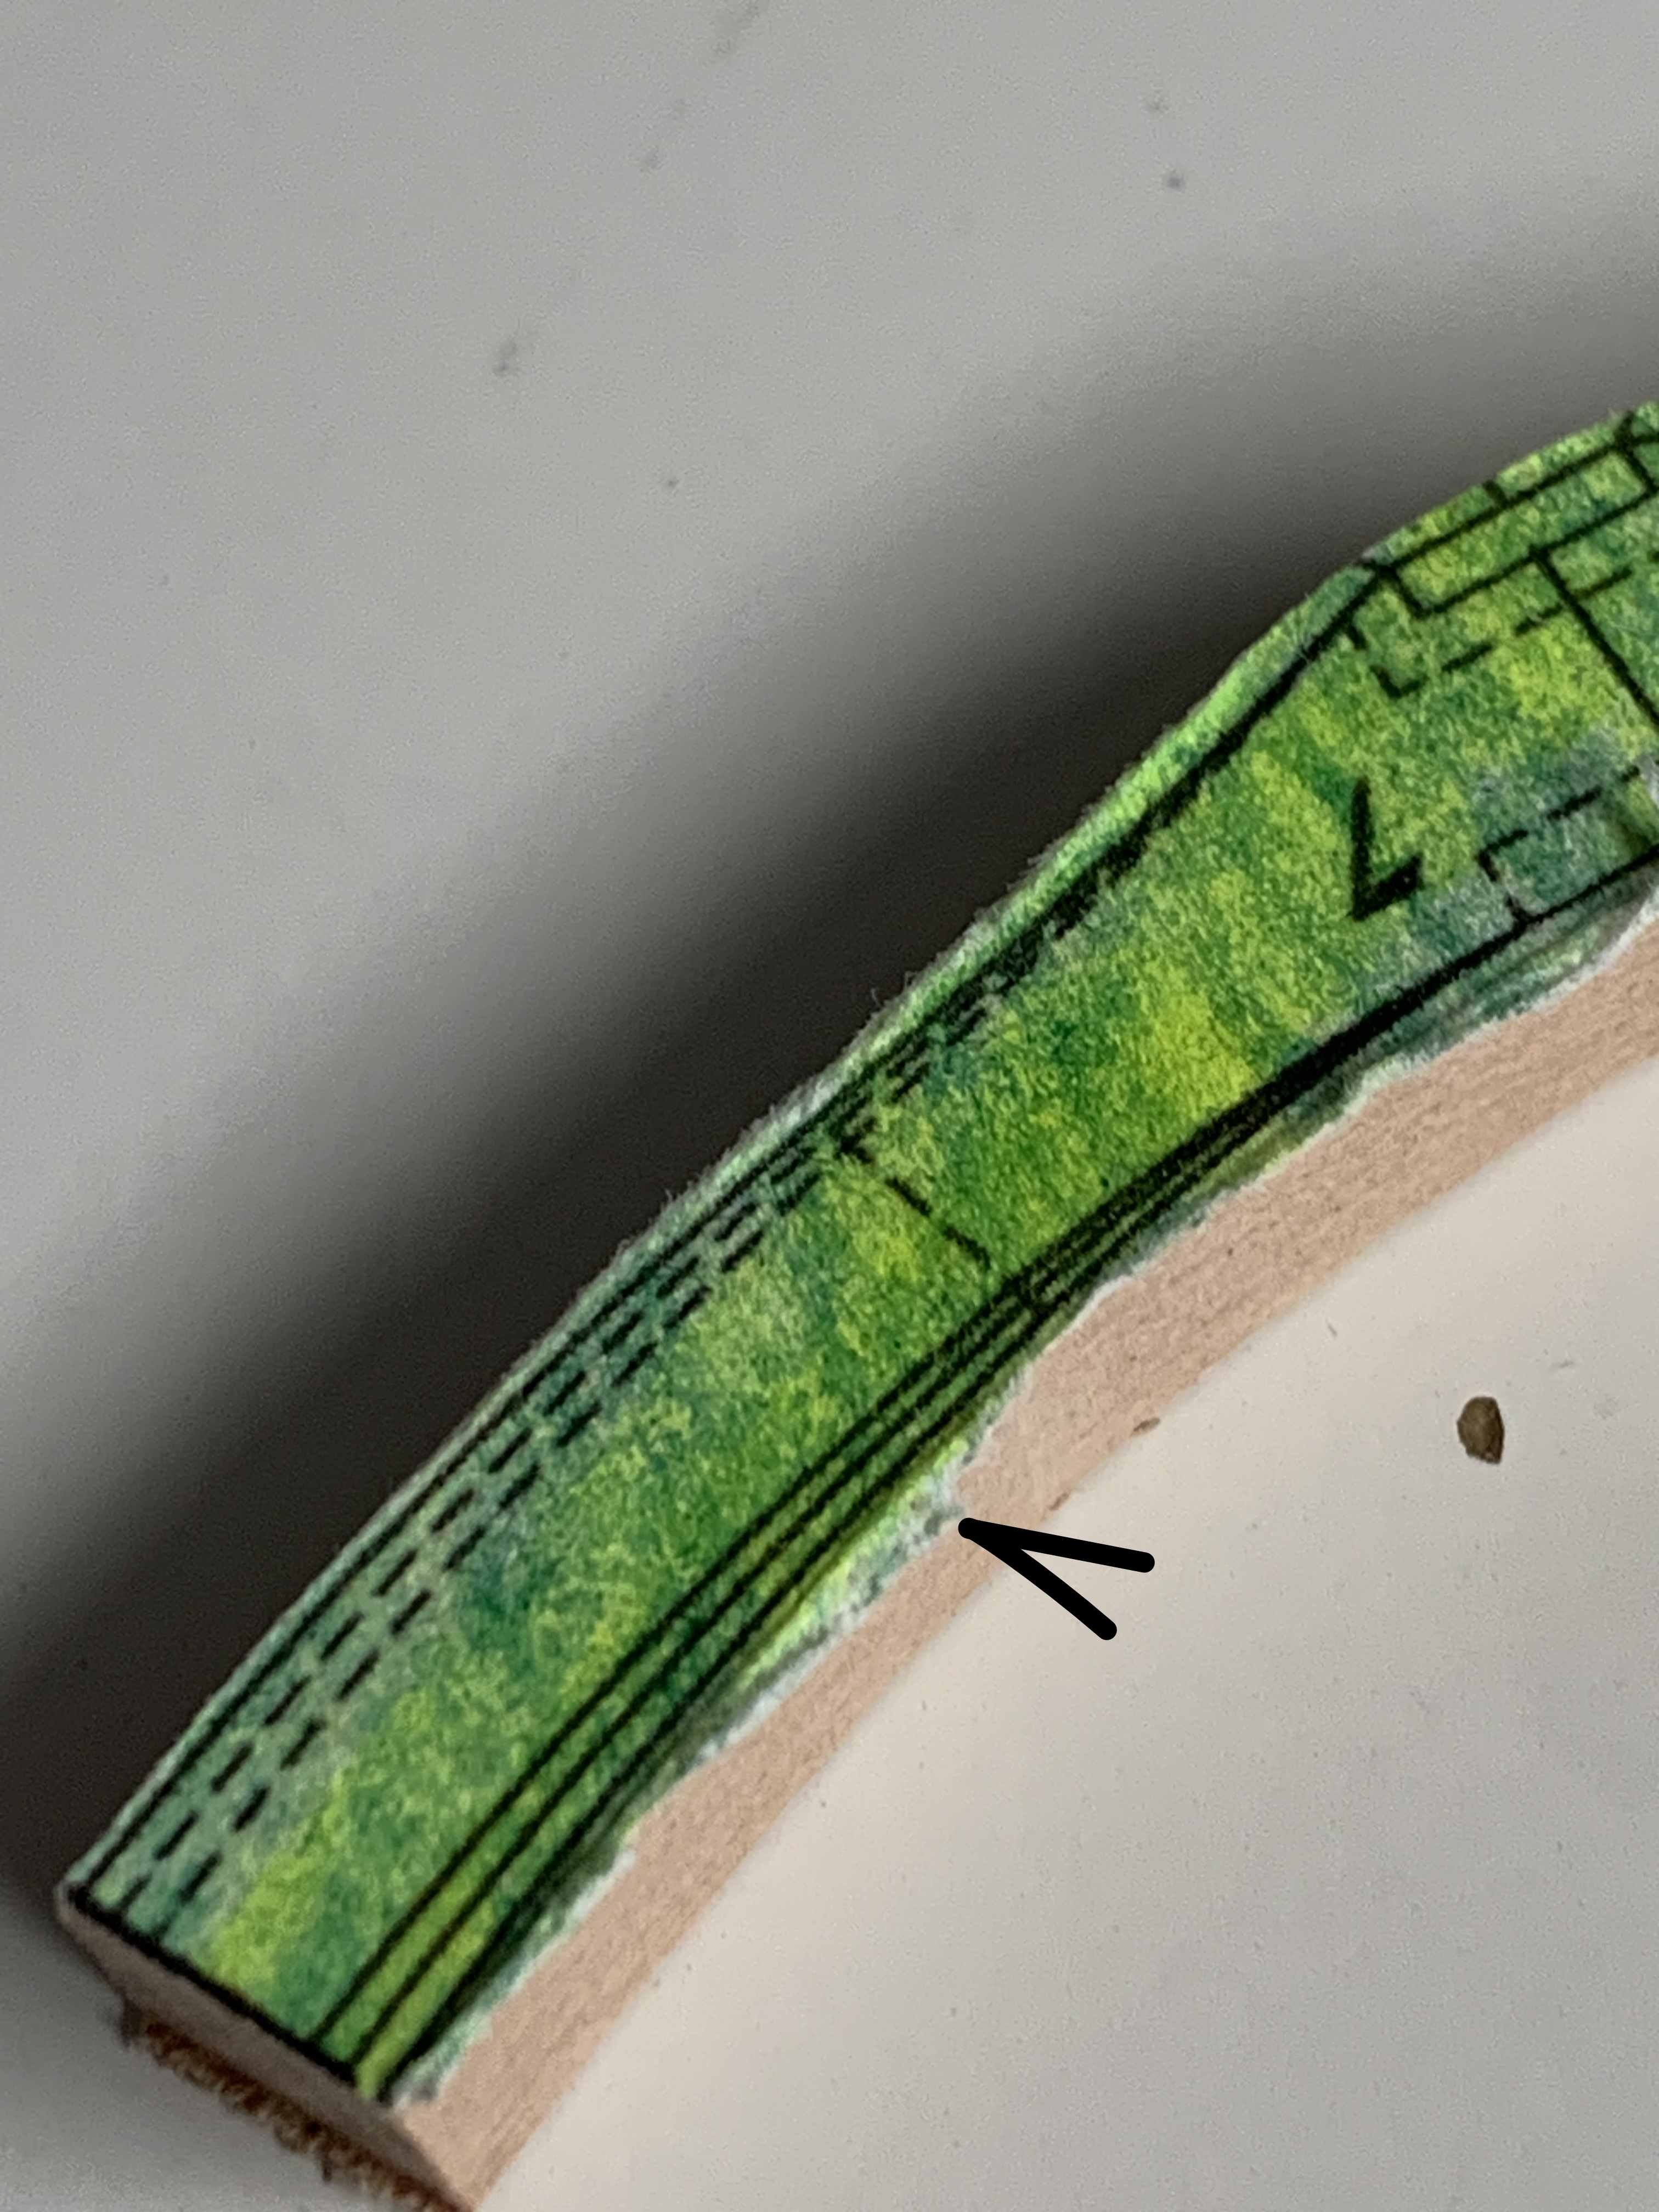
Some inner sanding was done for few frames using oscillating sander and paper burr was removed with a small piece of sander paper. Result is very nice and acceptable. This is rough sanding, still leaving some meat close to the line for final sanding..
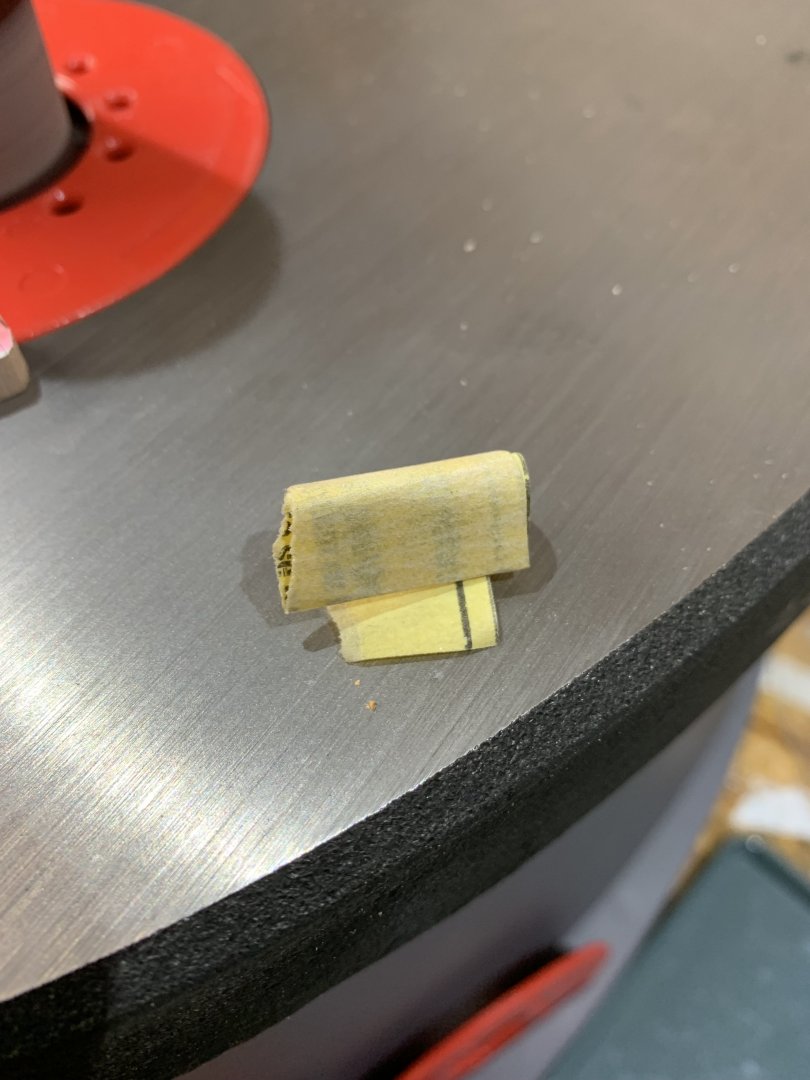
Happy modelling..
-
-
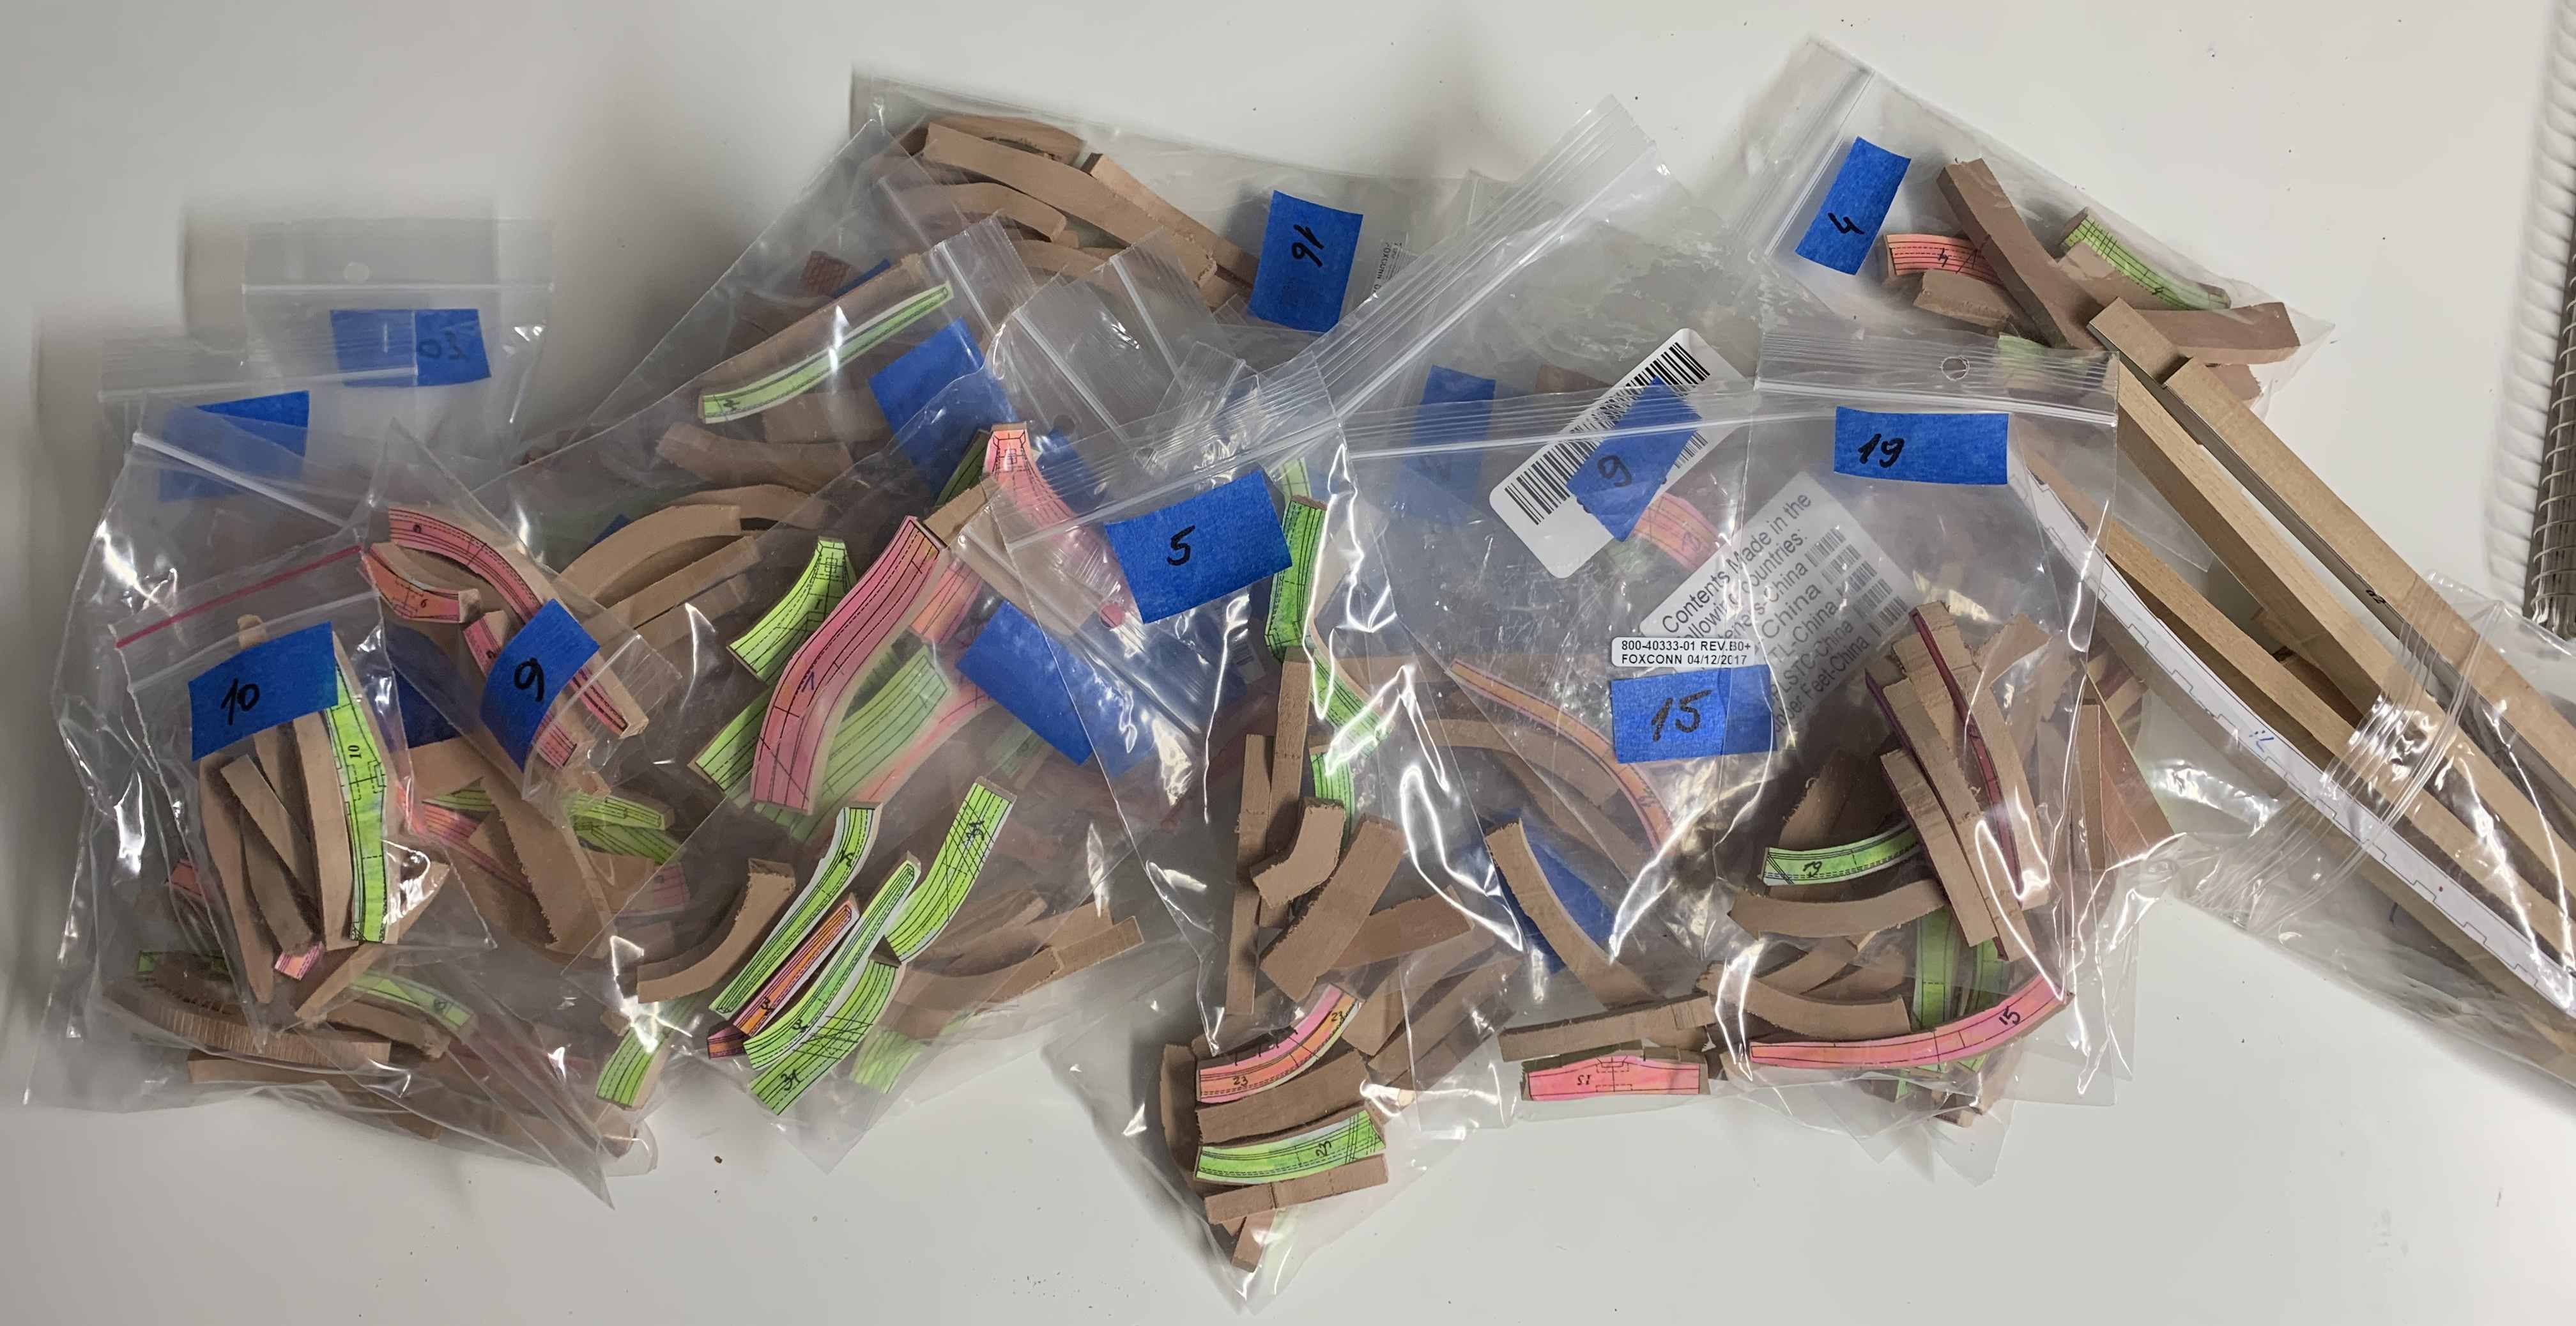
All frame parts were cut and rough sanding will be the next step.

Few pieces will need replacement.. some glued to close to each other, for some cuts were damaging the part...

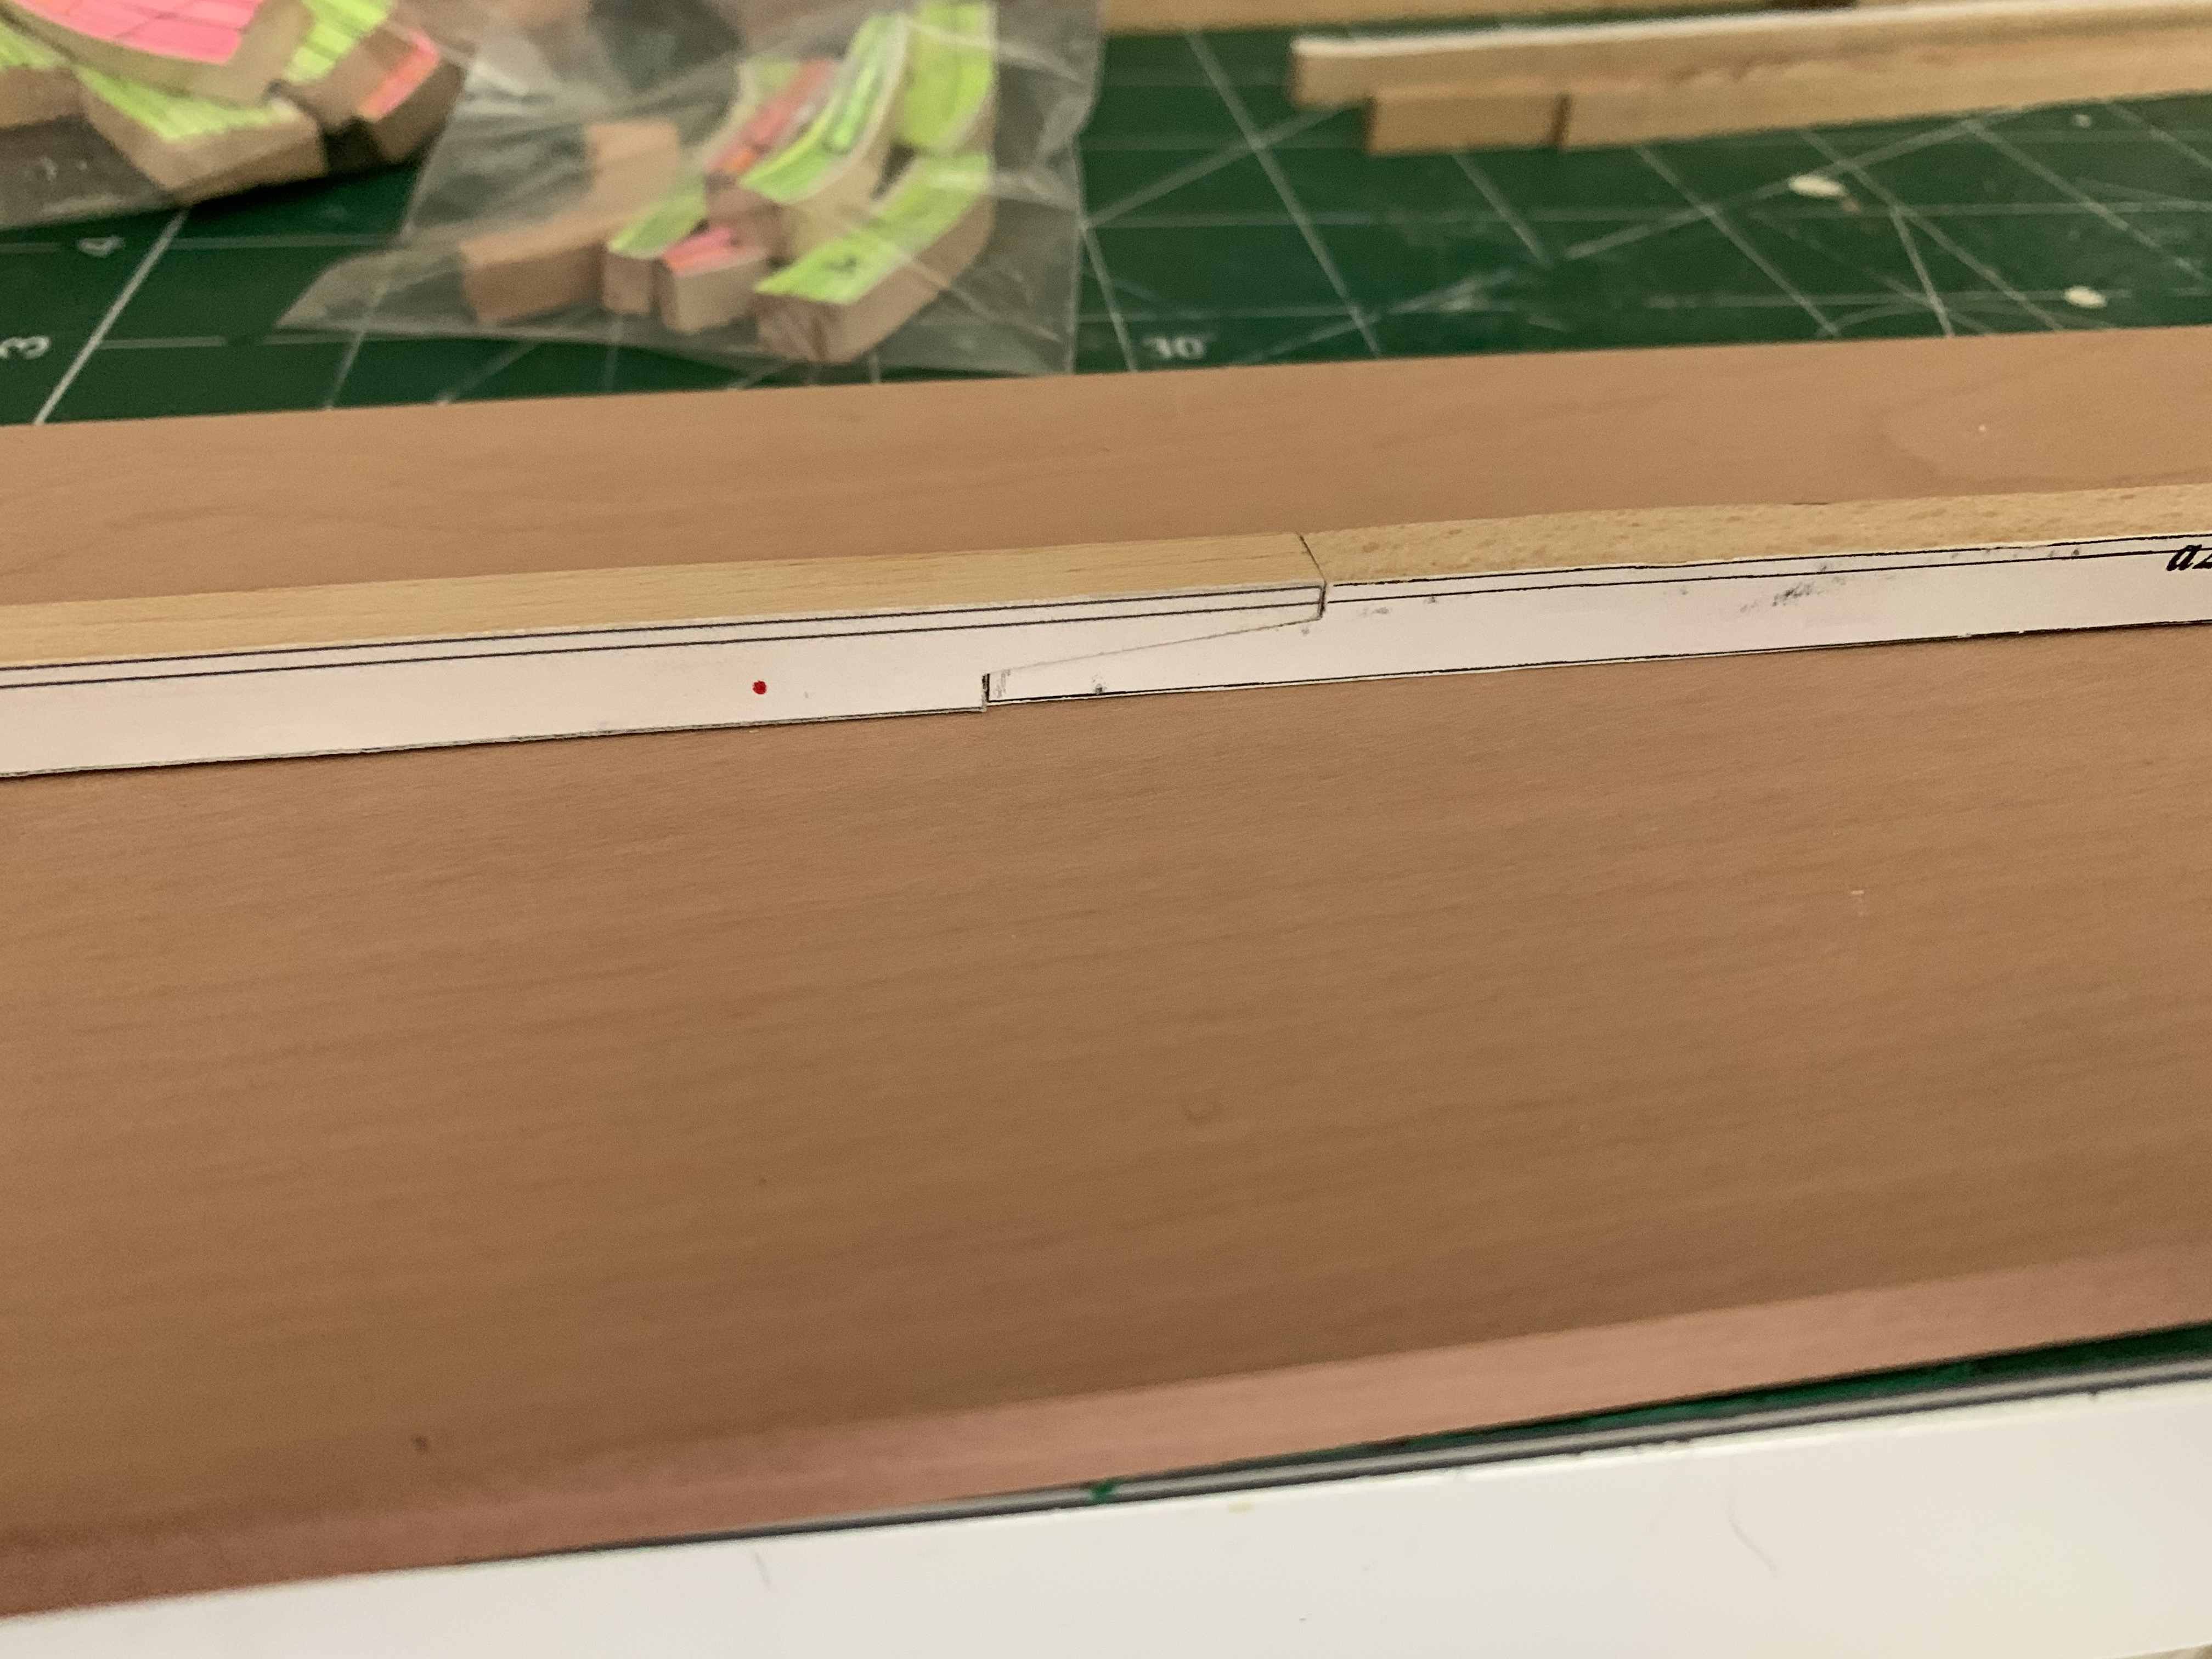
Here is my test keel; I was testing the process and tools I might be using and this is end result. I was more concerned about those parts connecting to each outer, making sure the lines matching correctly... still need to do a bit sanding on the top of these two pieces but I will be ready to cut the "real" keel parts next.

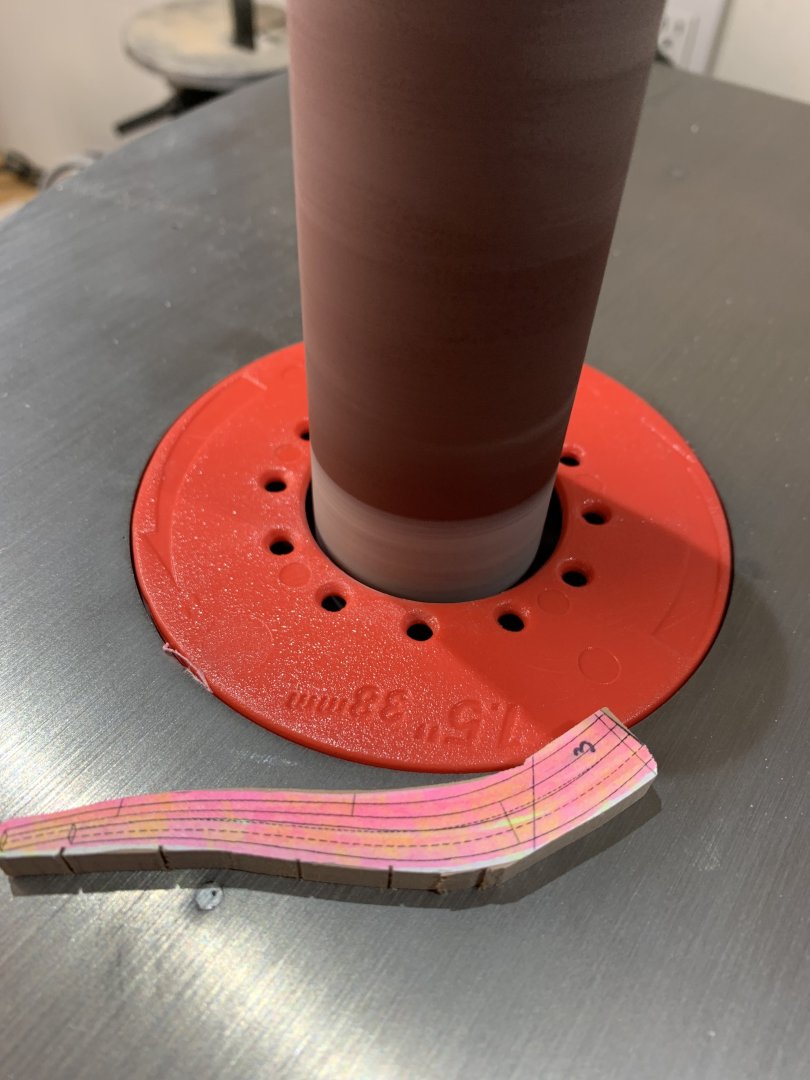
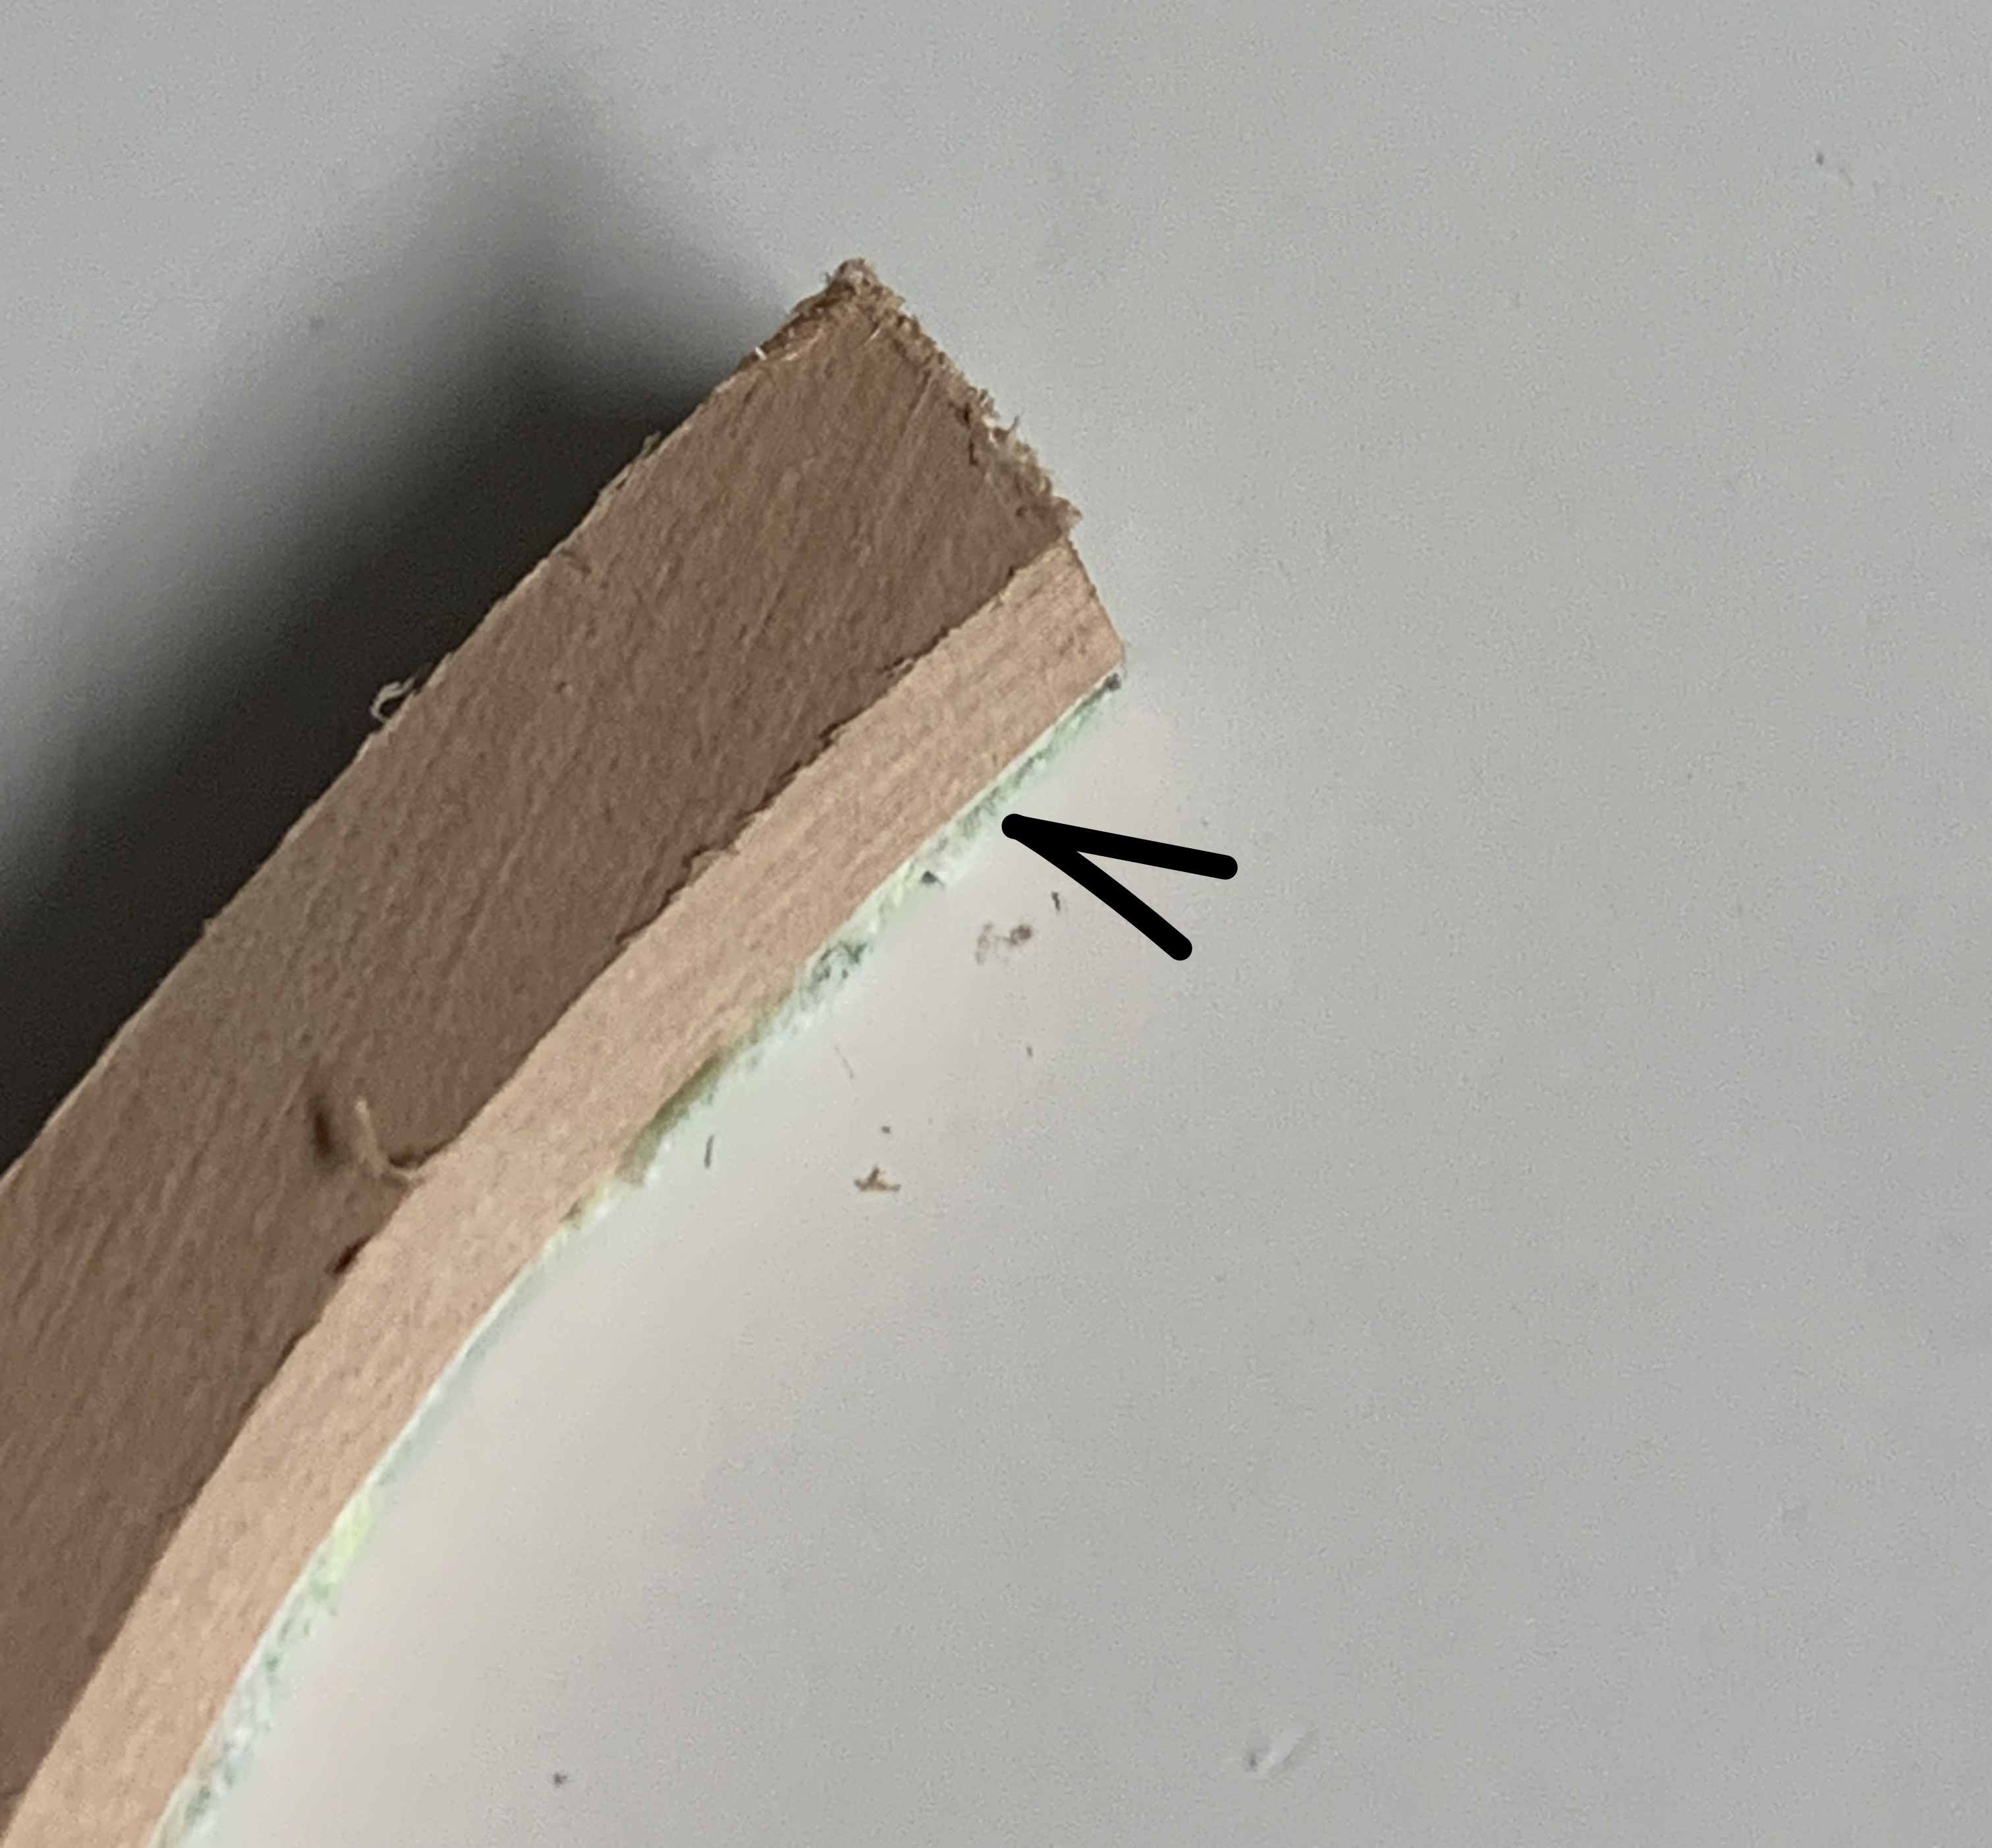
Question for you guys: I noted when using oscillating sander for inner parts of the frame, it leaves a bit of a paper burr at edges, most likely due to the sander motion (up, down).. How you guys are dealing with this? I can certainly remove burr afterwards but piling up paper during sanding prevents from clearly see the line.. Outside edges of a frame are OK since I am using disk sander rotating counterclockwise and pushing the paper down on its rotation cycle..
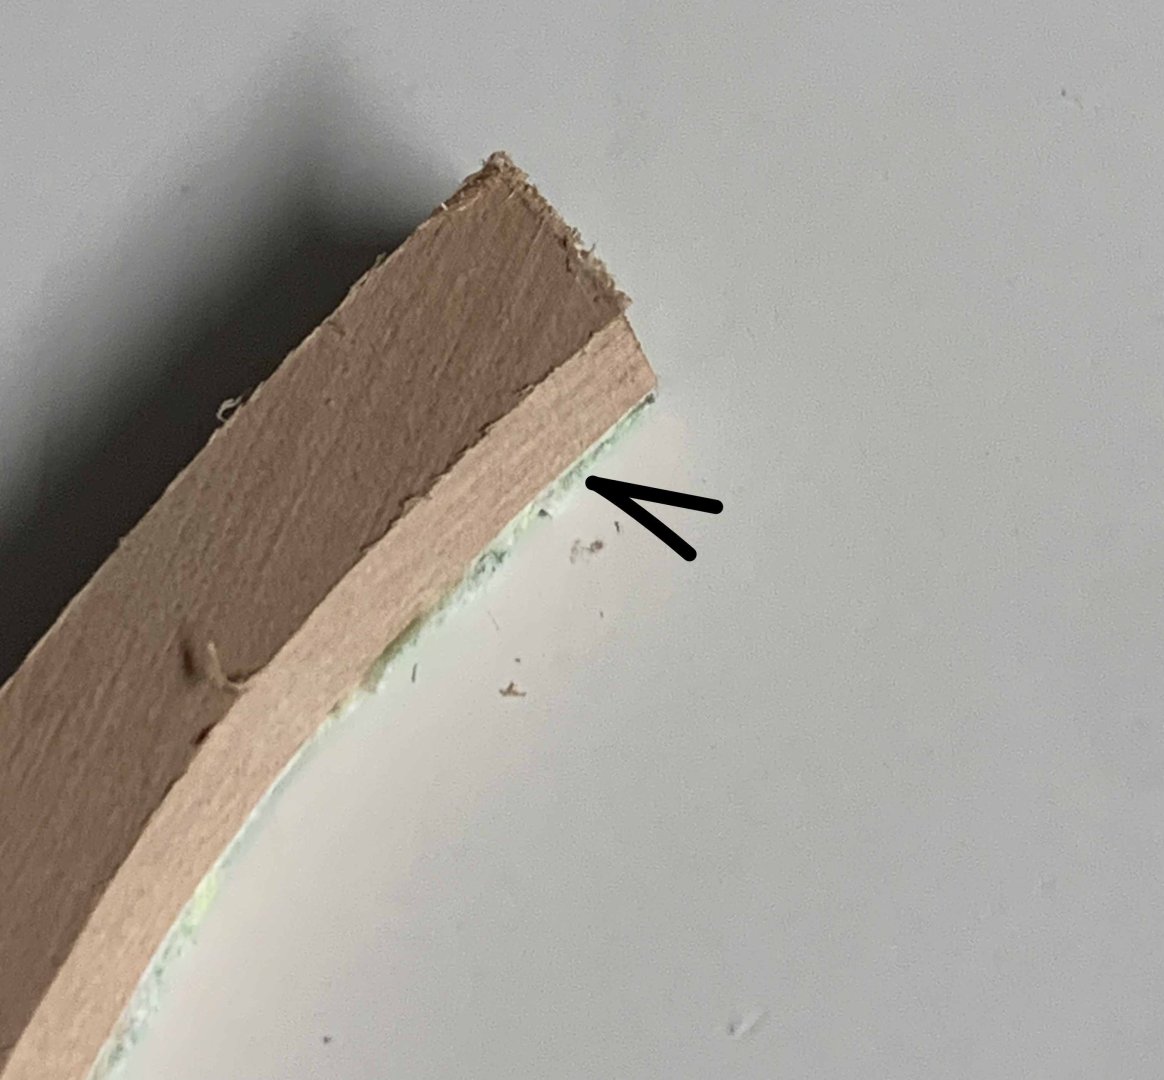
Happy modelling..
- mtaylor, GrandpaPhil and JpR62
-
 3
3
-
My test cuts are done and now it is time to sand them all correctly; some parts are already sanded to the lines.
Since the wood is ticker that needed and once all parts are sanded (or before, will need to decide), wood need to be run thru the table saw or band saw to reduce the thickness to correct dimension.
These steps might looks too much but need to test the process and tools required and "repetitio est mater studiorum".
Happy modelling..
- GrandpaPhil, dvm27, druxey and 8 others
-
11
-
Did you guys find it extremely hard working in a shop while the weather is nice and sunny? I don't have an option to open shop doors so have to make a choice...
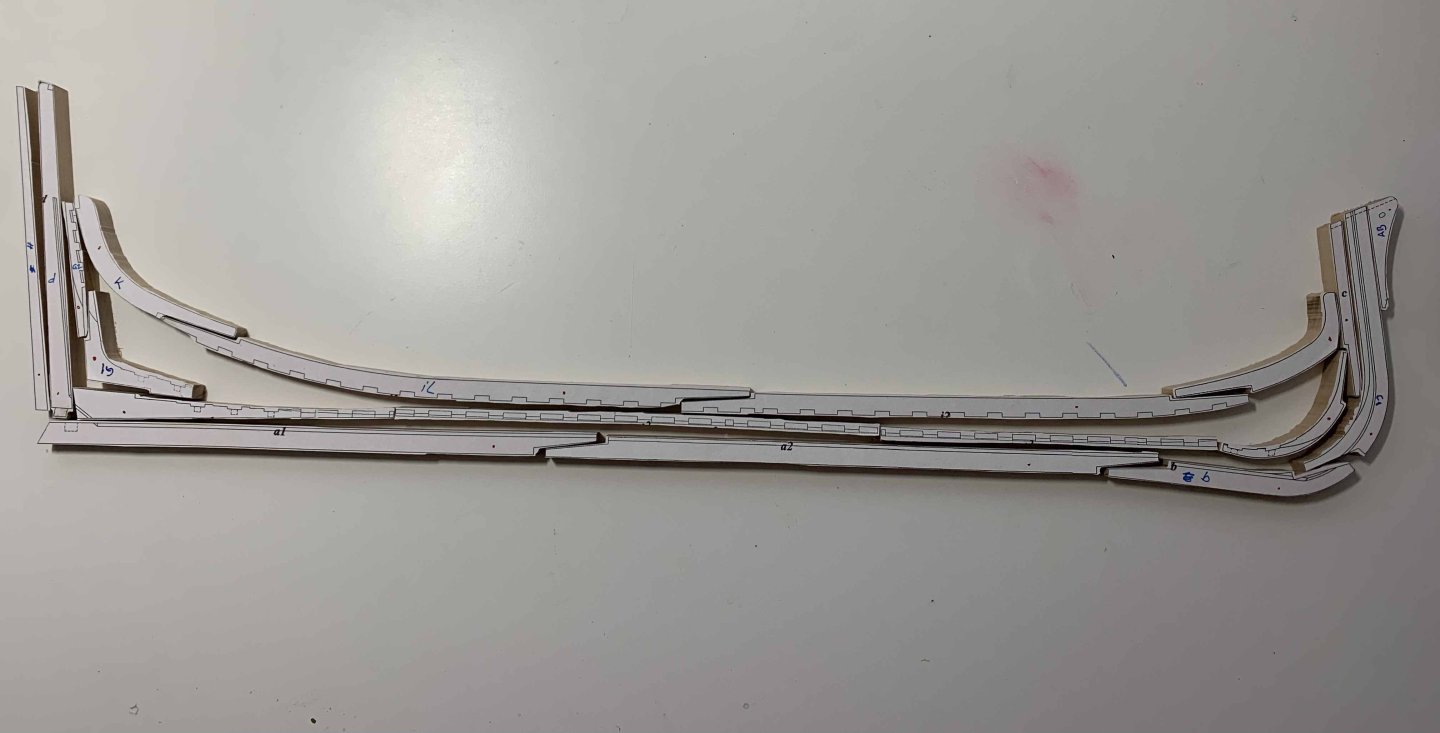
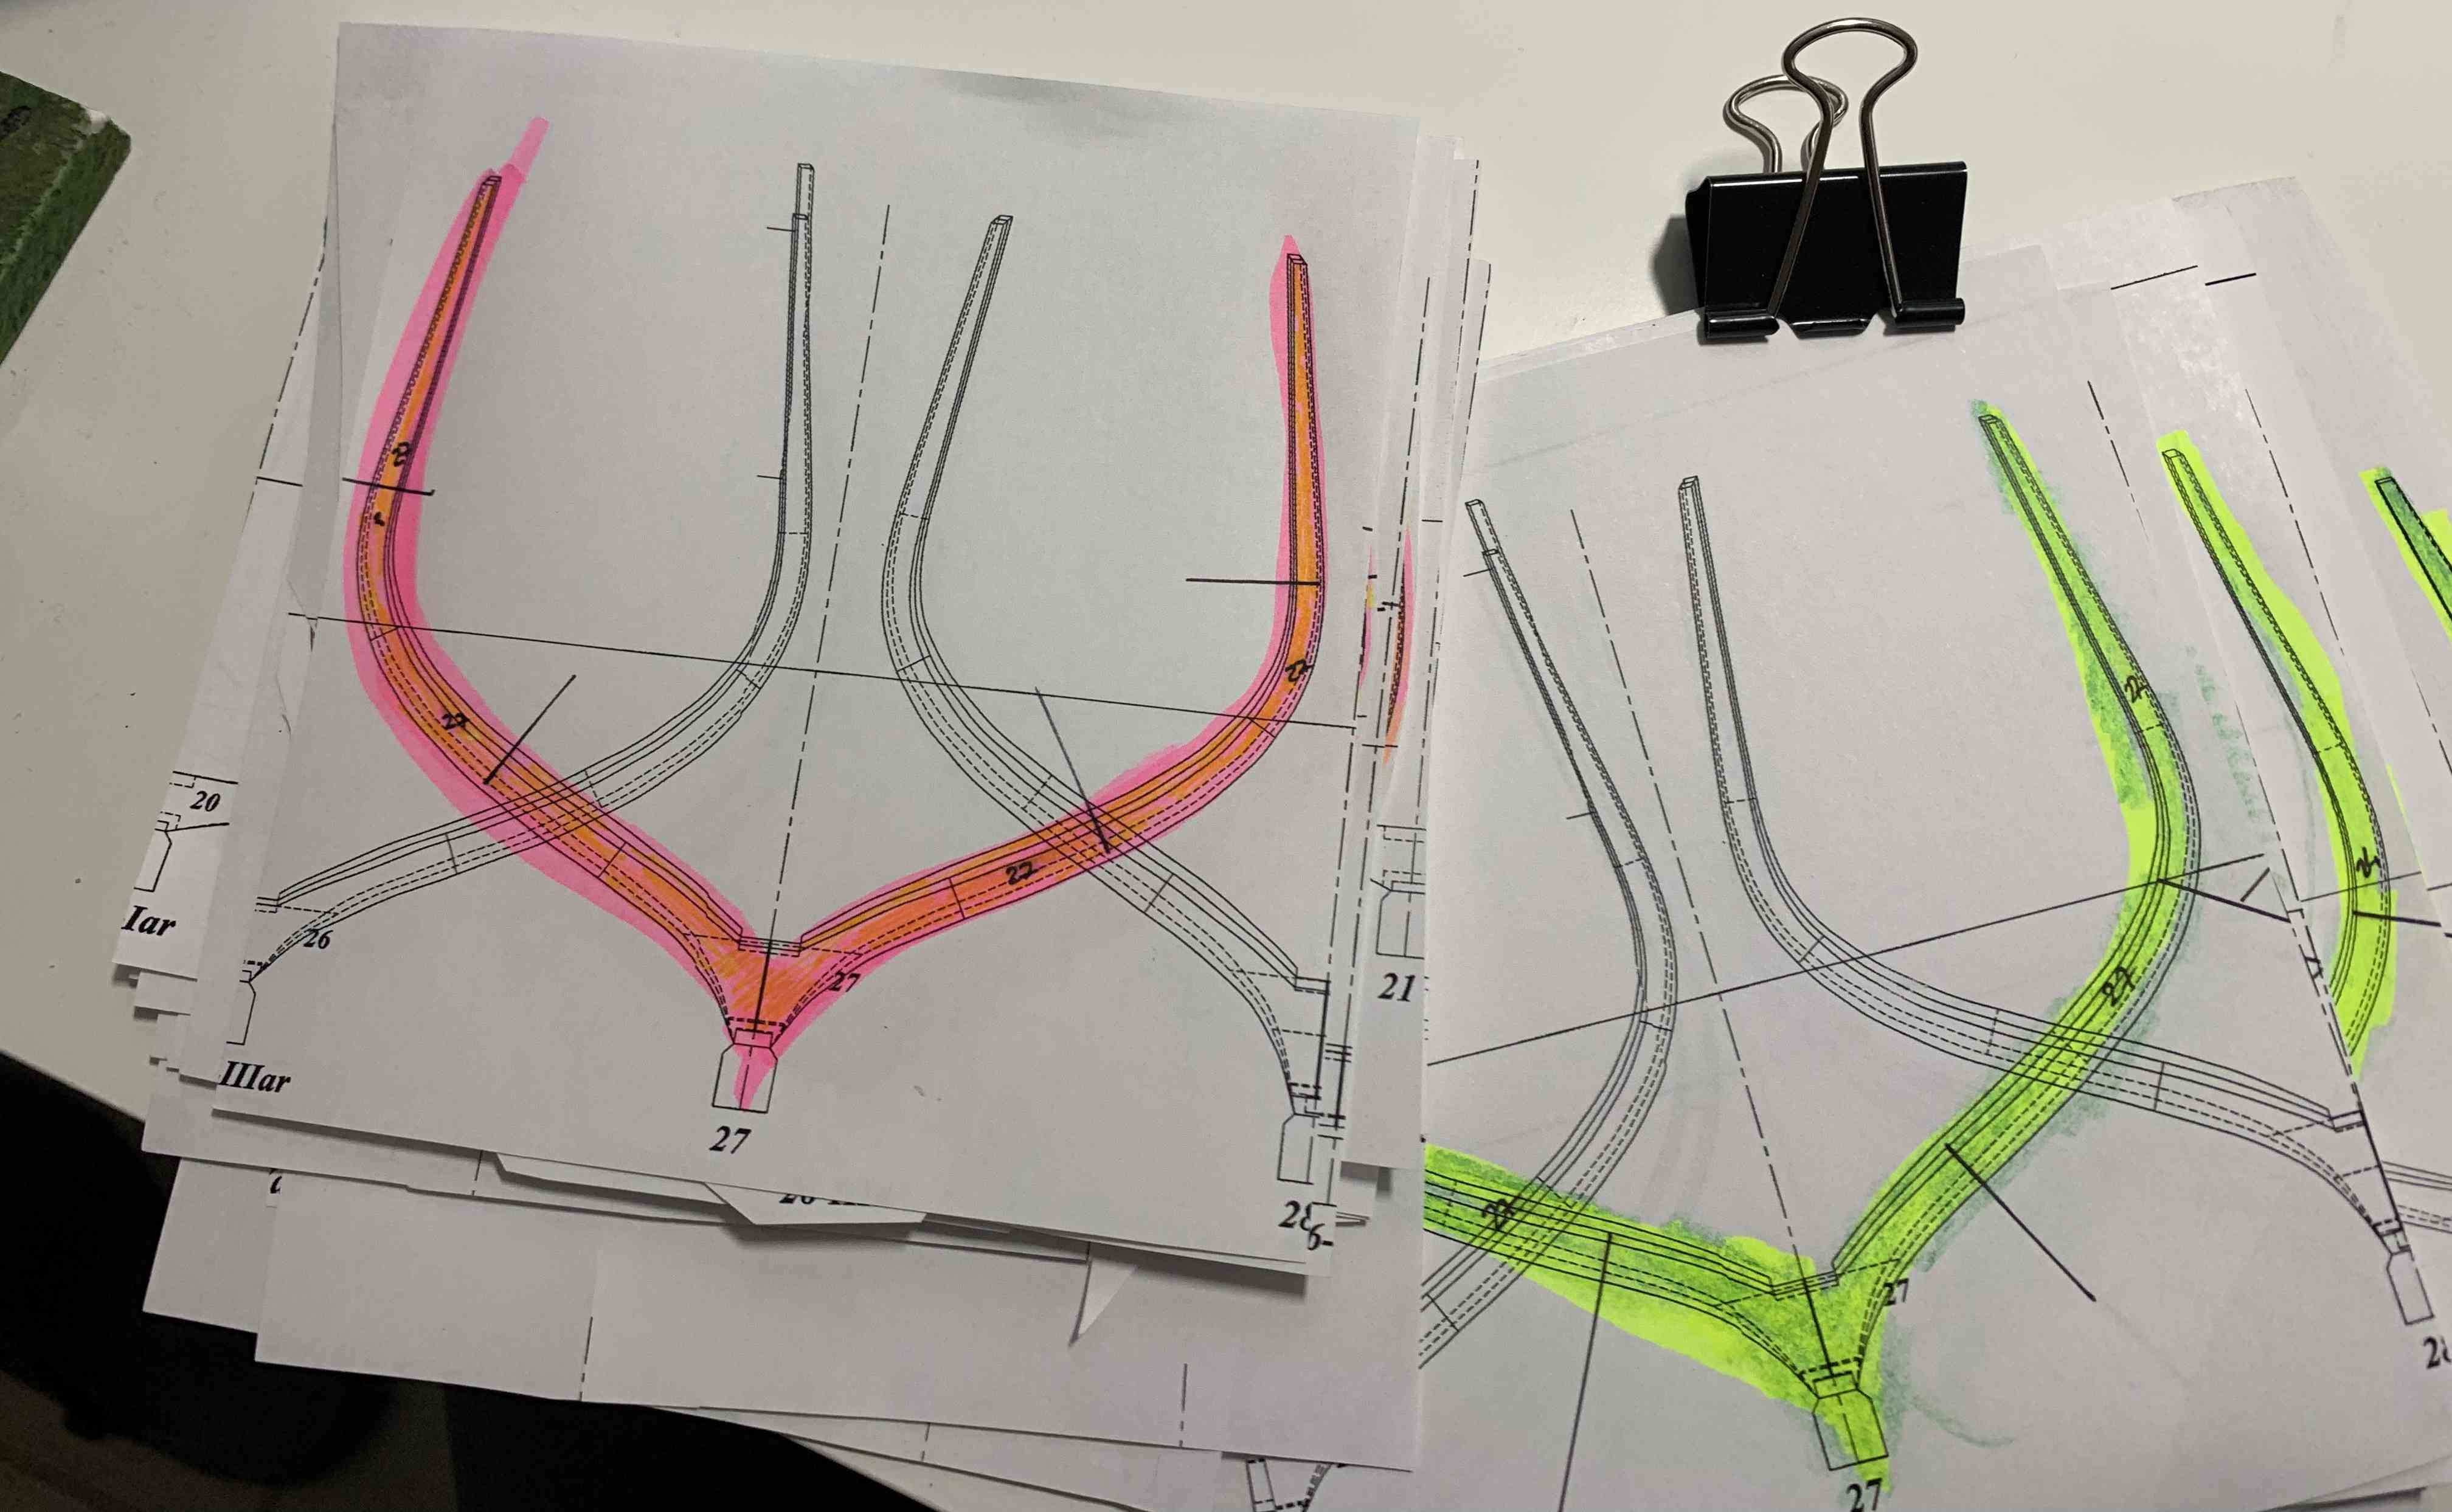
A bit of a progress... corrected position of few keel parts to follow the wood grans as best as possible.. still don't like G1 position...will make another copy of that part and glue it differently, then will cut both parts and see how they work..

Few frames were glued to the board.... first adding glue to the paper frame part and put them on the board, second picture is adding a small amount of glue to the board first, then arranging frames...
Since I am testing, no harm to see what ending up results will be ..
Happy modelling..
-
-
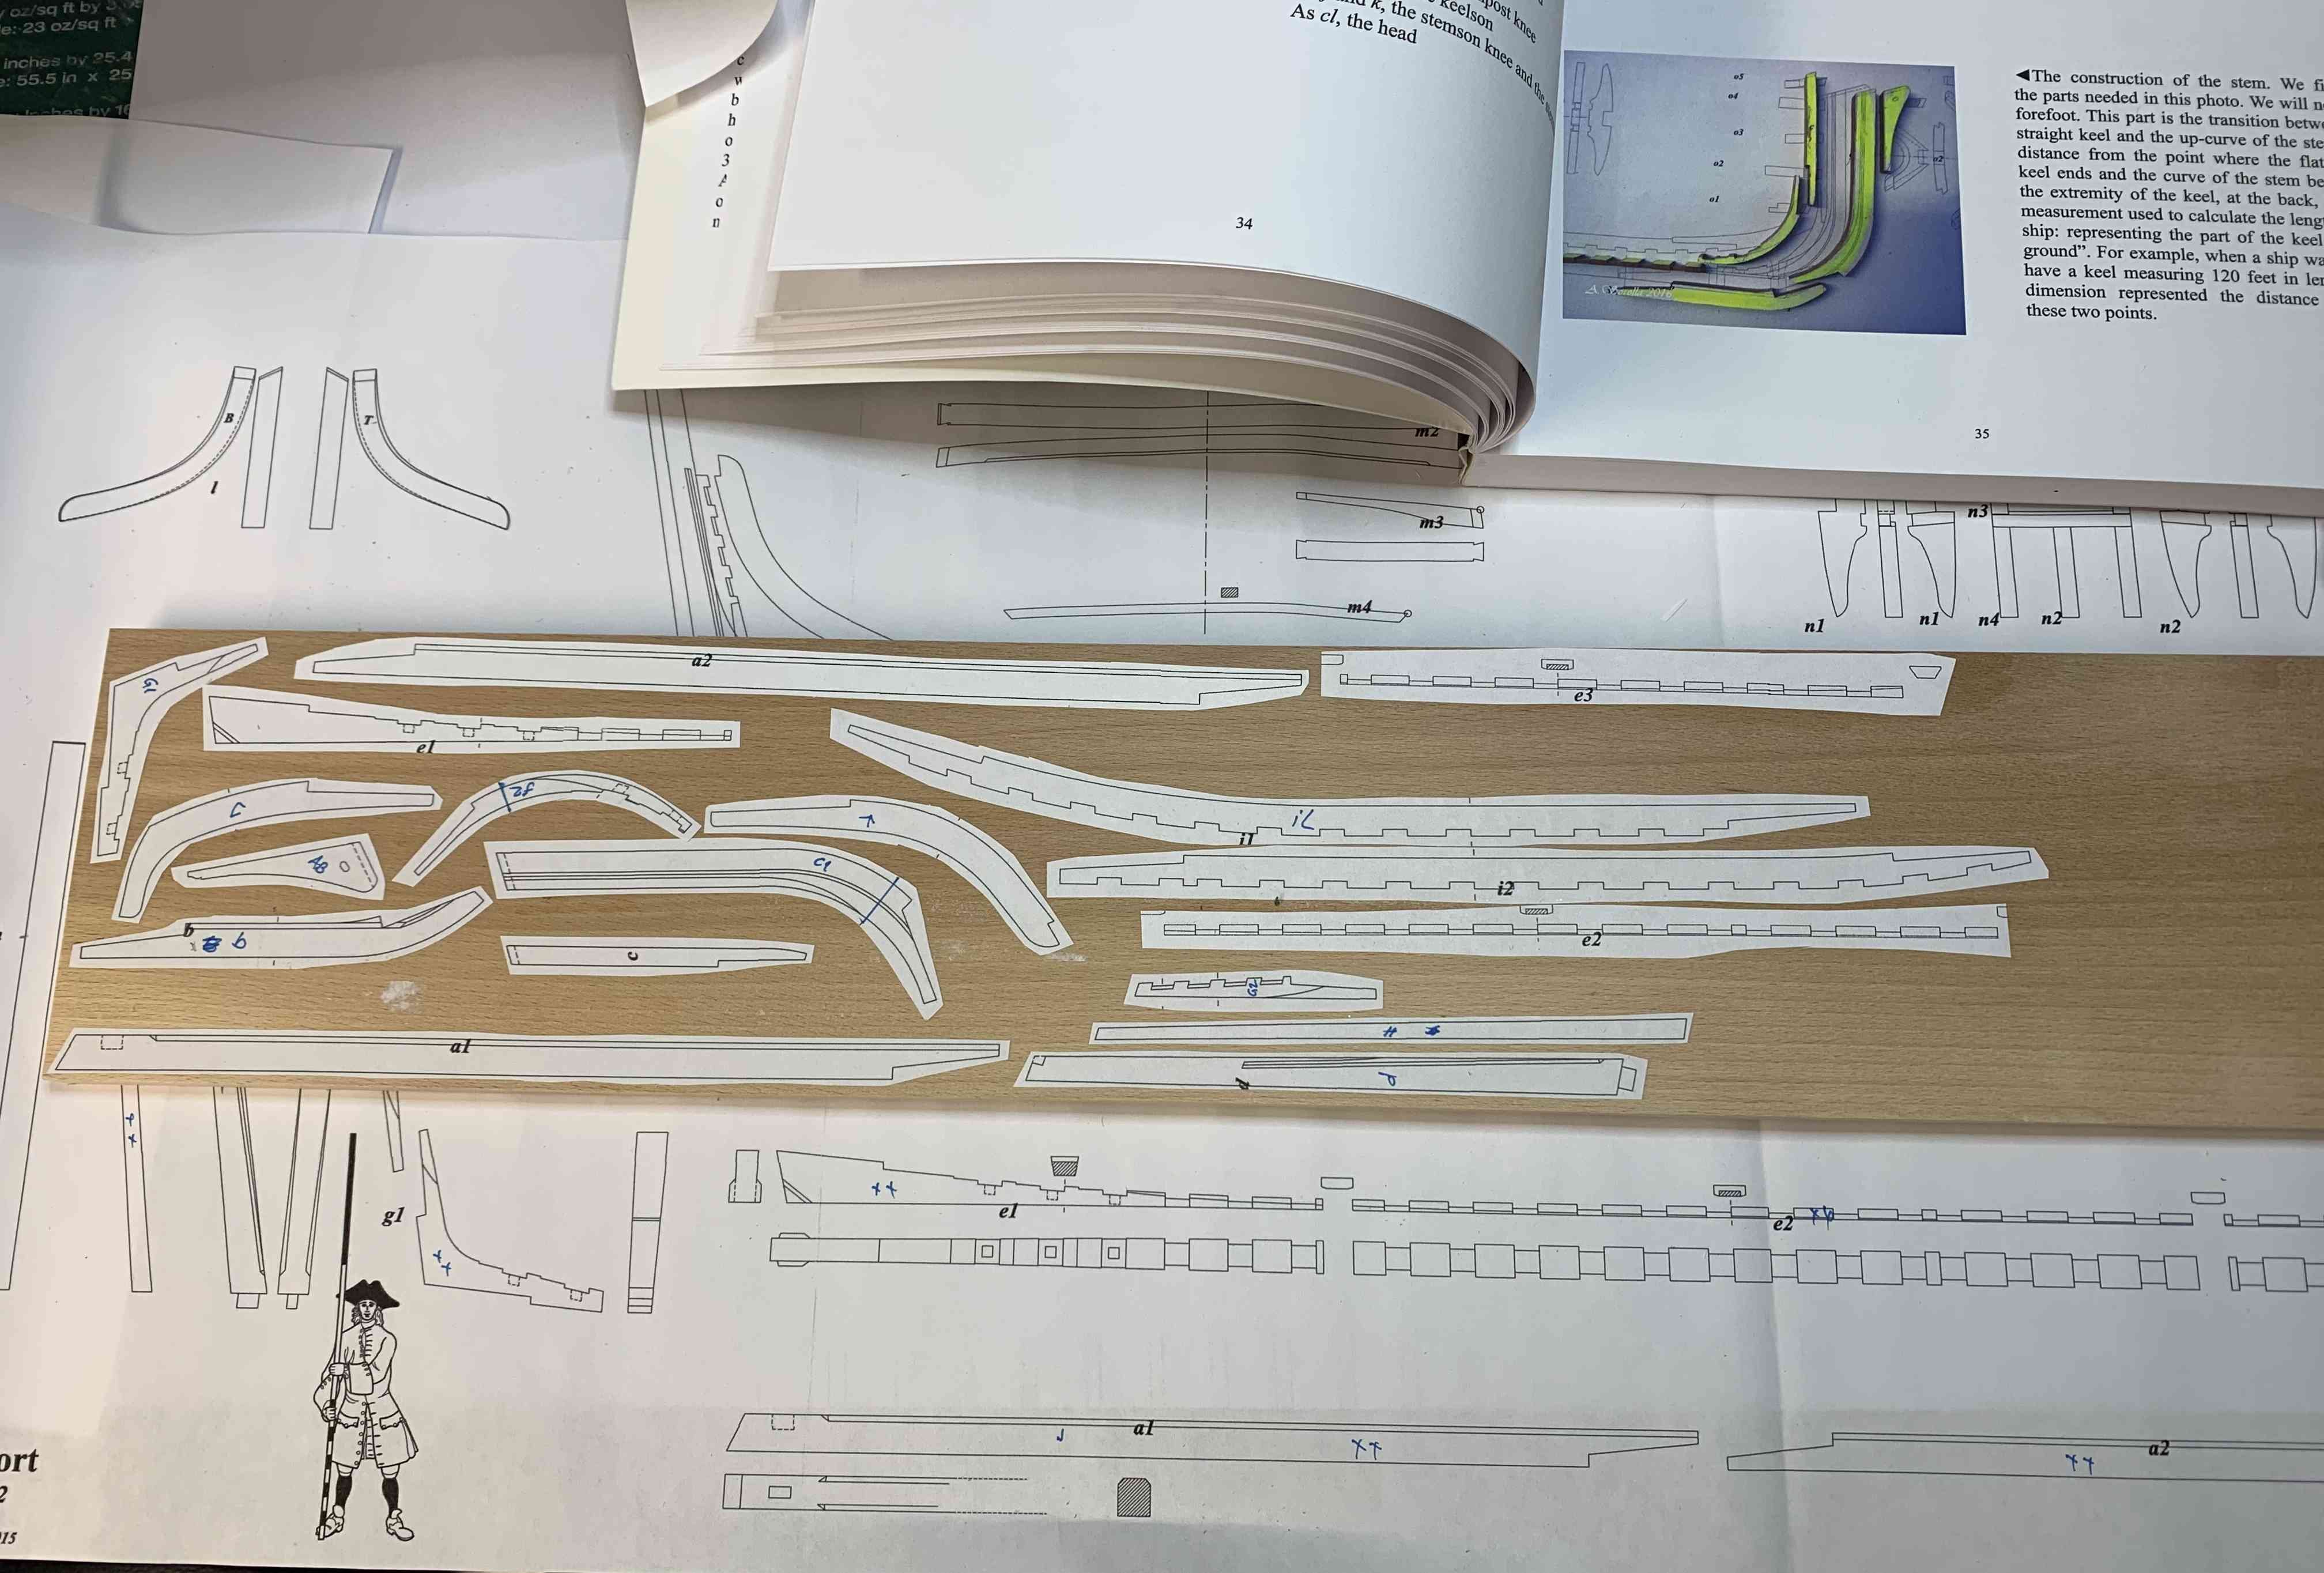
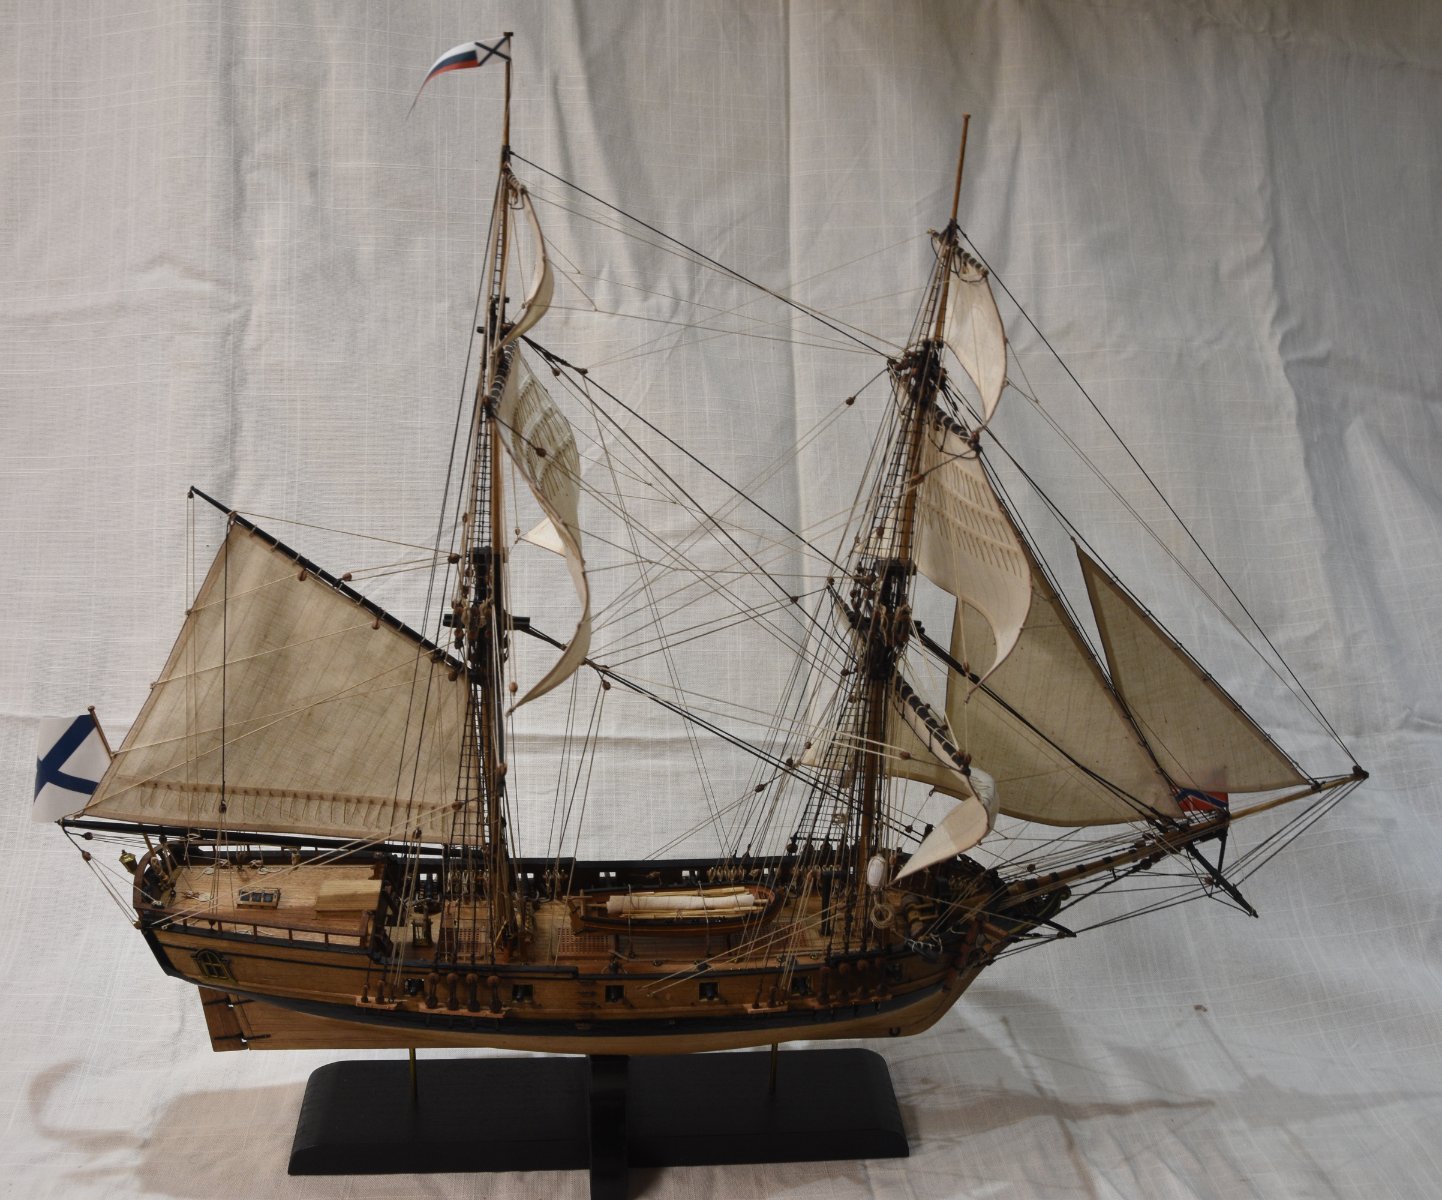
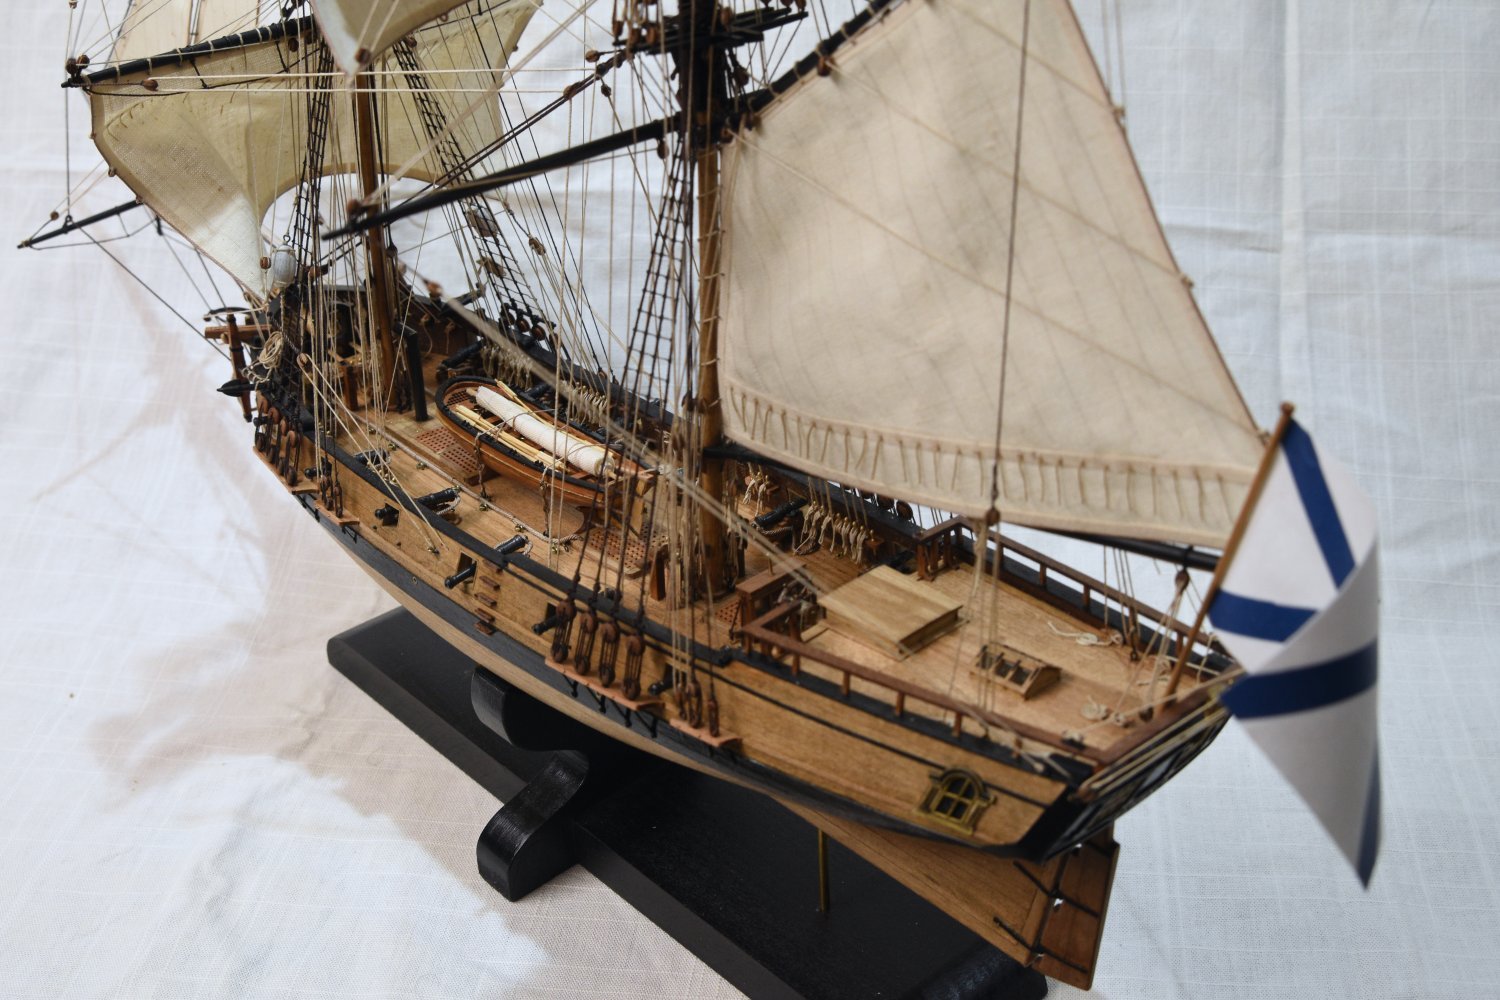
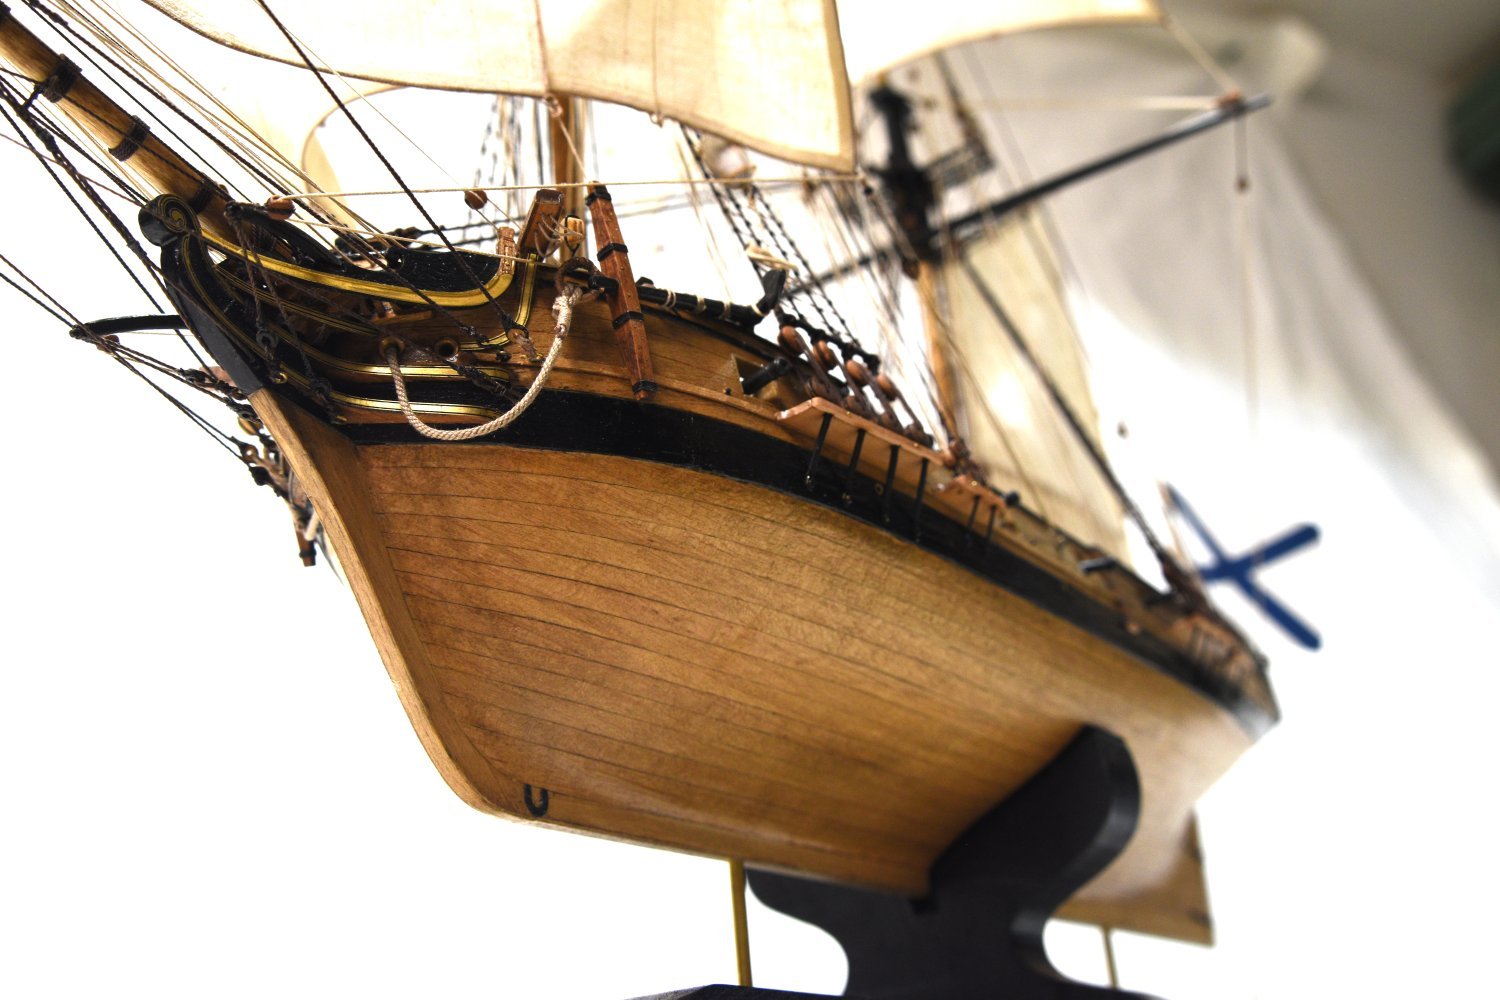
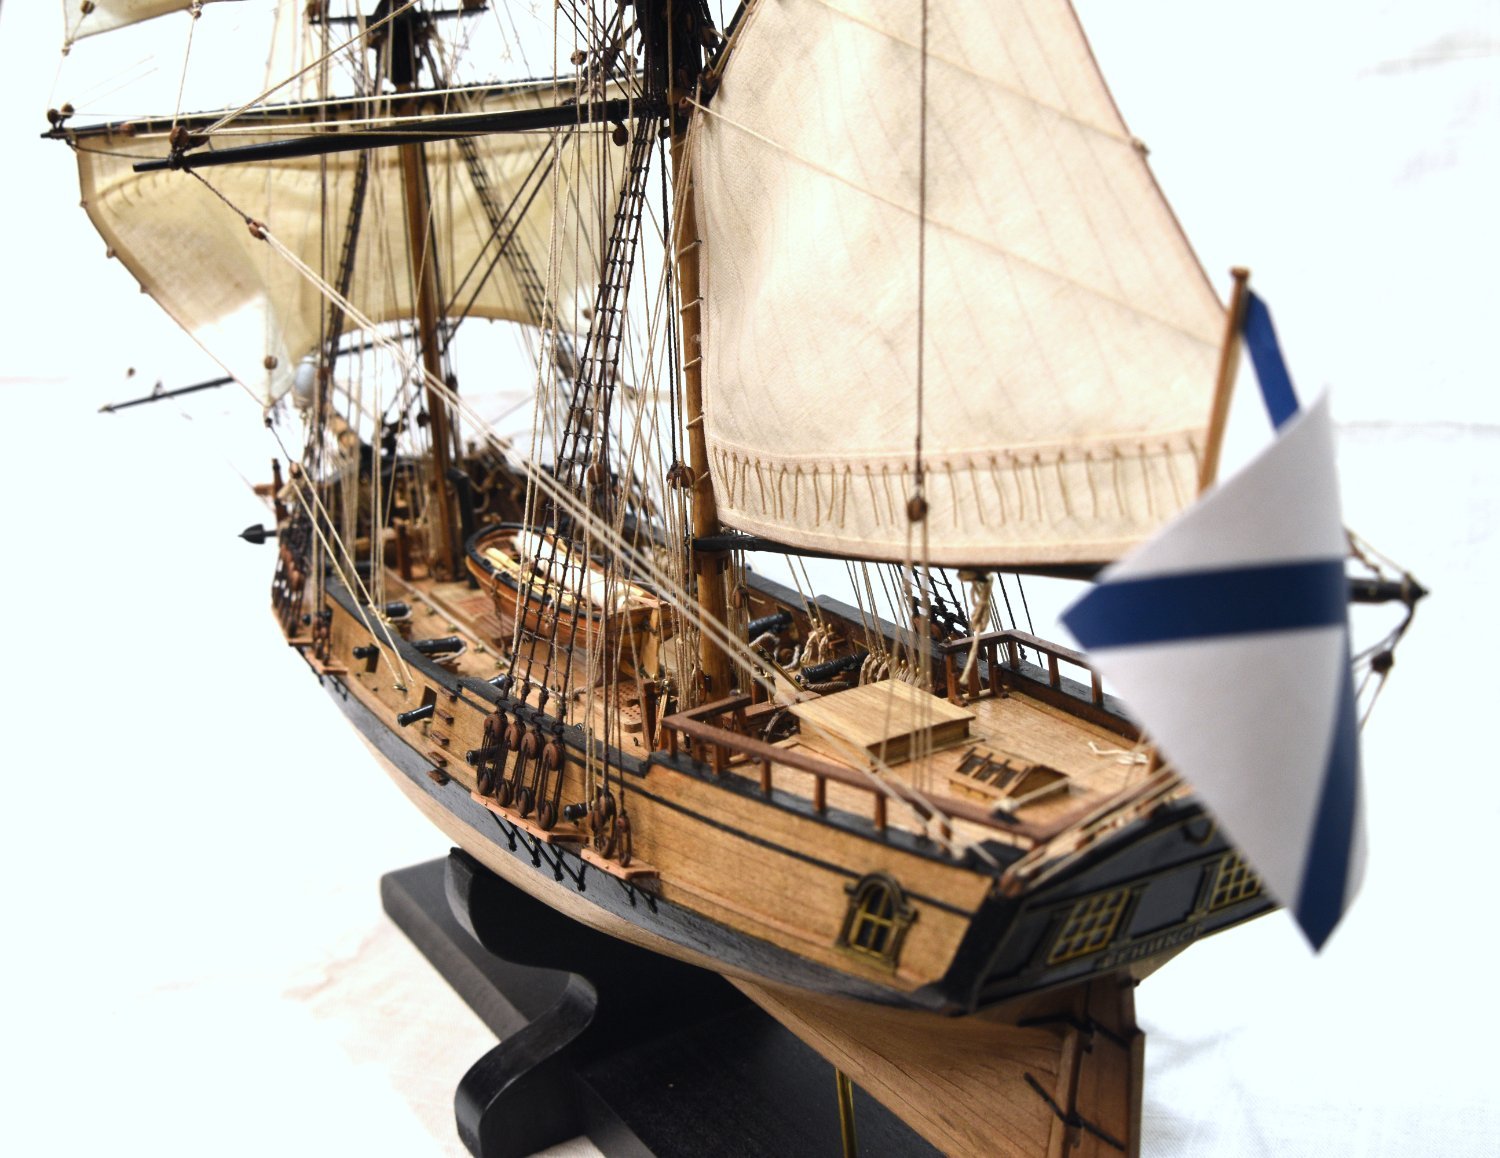
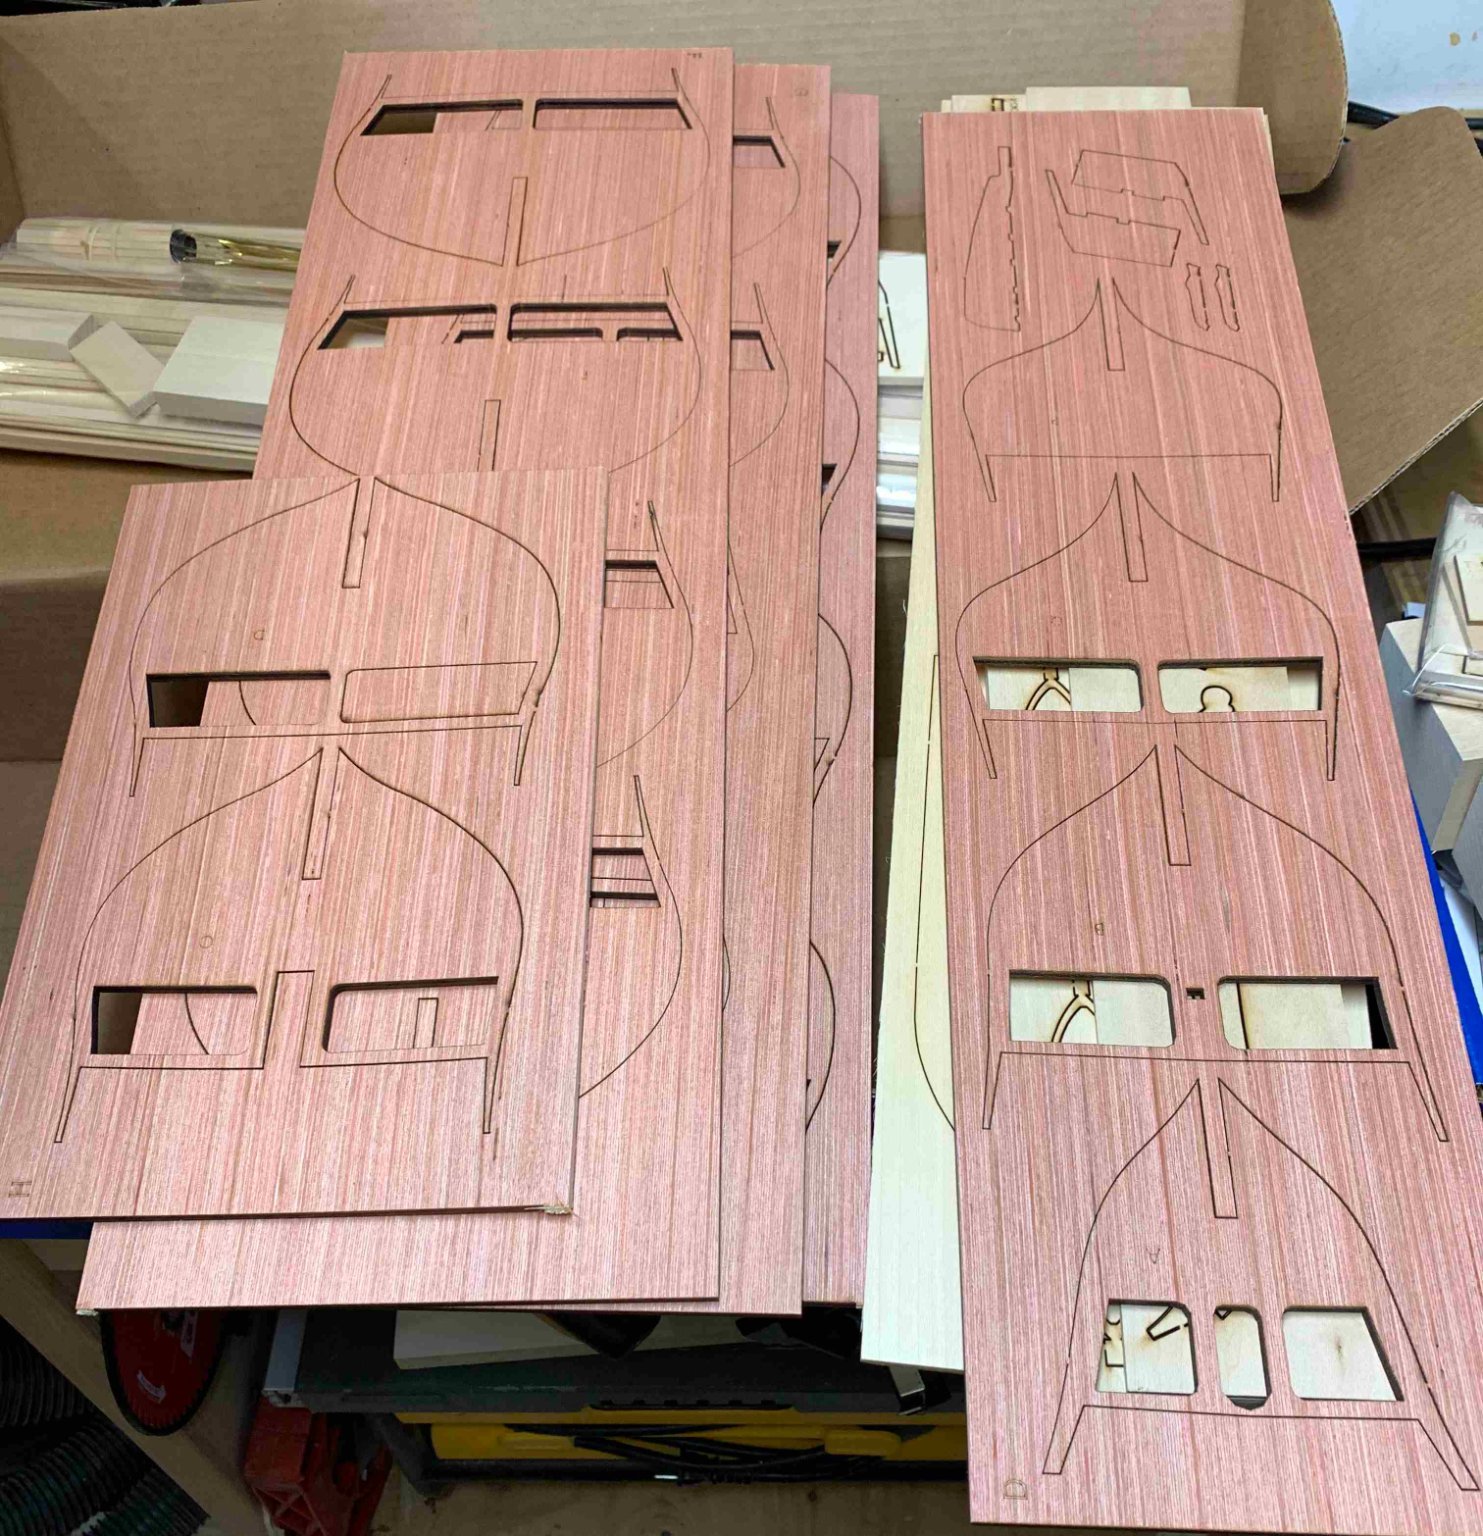
Well, it is that time again, this time I decided to step into a new zone, for me not that familiar but to see how things will go... For the first time I will be working on La Rochefort, a port yacht from 1787. Here is brief description/history of the ship (from the internet):
Created by Colbert in 1666, the city of Rochefort is unusually located since its harbor-arsenal, built on the Charente river, is about twelve miles away from the sea following the river. Although this exceptional distance from the sea protected the harbor from enemy fleets for centuries it caused problems, however, that were unsuspected at the time of its creation. Indeed, in the XVIIth and XVIIIth centuries, the depth of the Charente river made it impossible for large vessels to sail up and down the river without first unloading their equipment, arms and ammunition. The Navy thus created a flotilla to assist and equip the vessels that had to remain anchored in the Aix roadstead while waiting to be fitted out or laid up.
This flotilla consisted of several kinds of small vessels: lighters, yachts, transport-ships or brigs from the harbor. As an illustration of these types of ship we chose the yacht, inherited from from Dutch workers who came to drain the swamps of the Charente during the 17th century.
This small elegant craft is of a simple construction with basic rigging, since only fitted with one mast and three sails.
I will be following Ancre plan and an introduction to model ship building "Dockyard style" by Adrian Sorolla, hopefully making some interesting model. Ancre book includes a booklet and a set of 16 plates of drawings. In the booklet, a chapter describes the creation of Rochefort and the reasons that led to the constitution of the flotilla. The construction and laying out of the Le Rochefort are detailed in instructions abundantly illustrated with 3D figures, followed by a commentary on the plates including a precise description of the rigging.
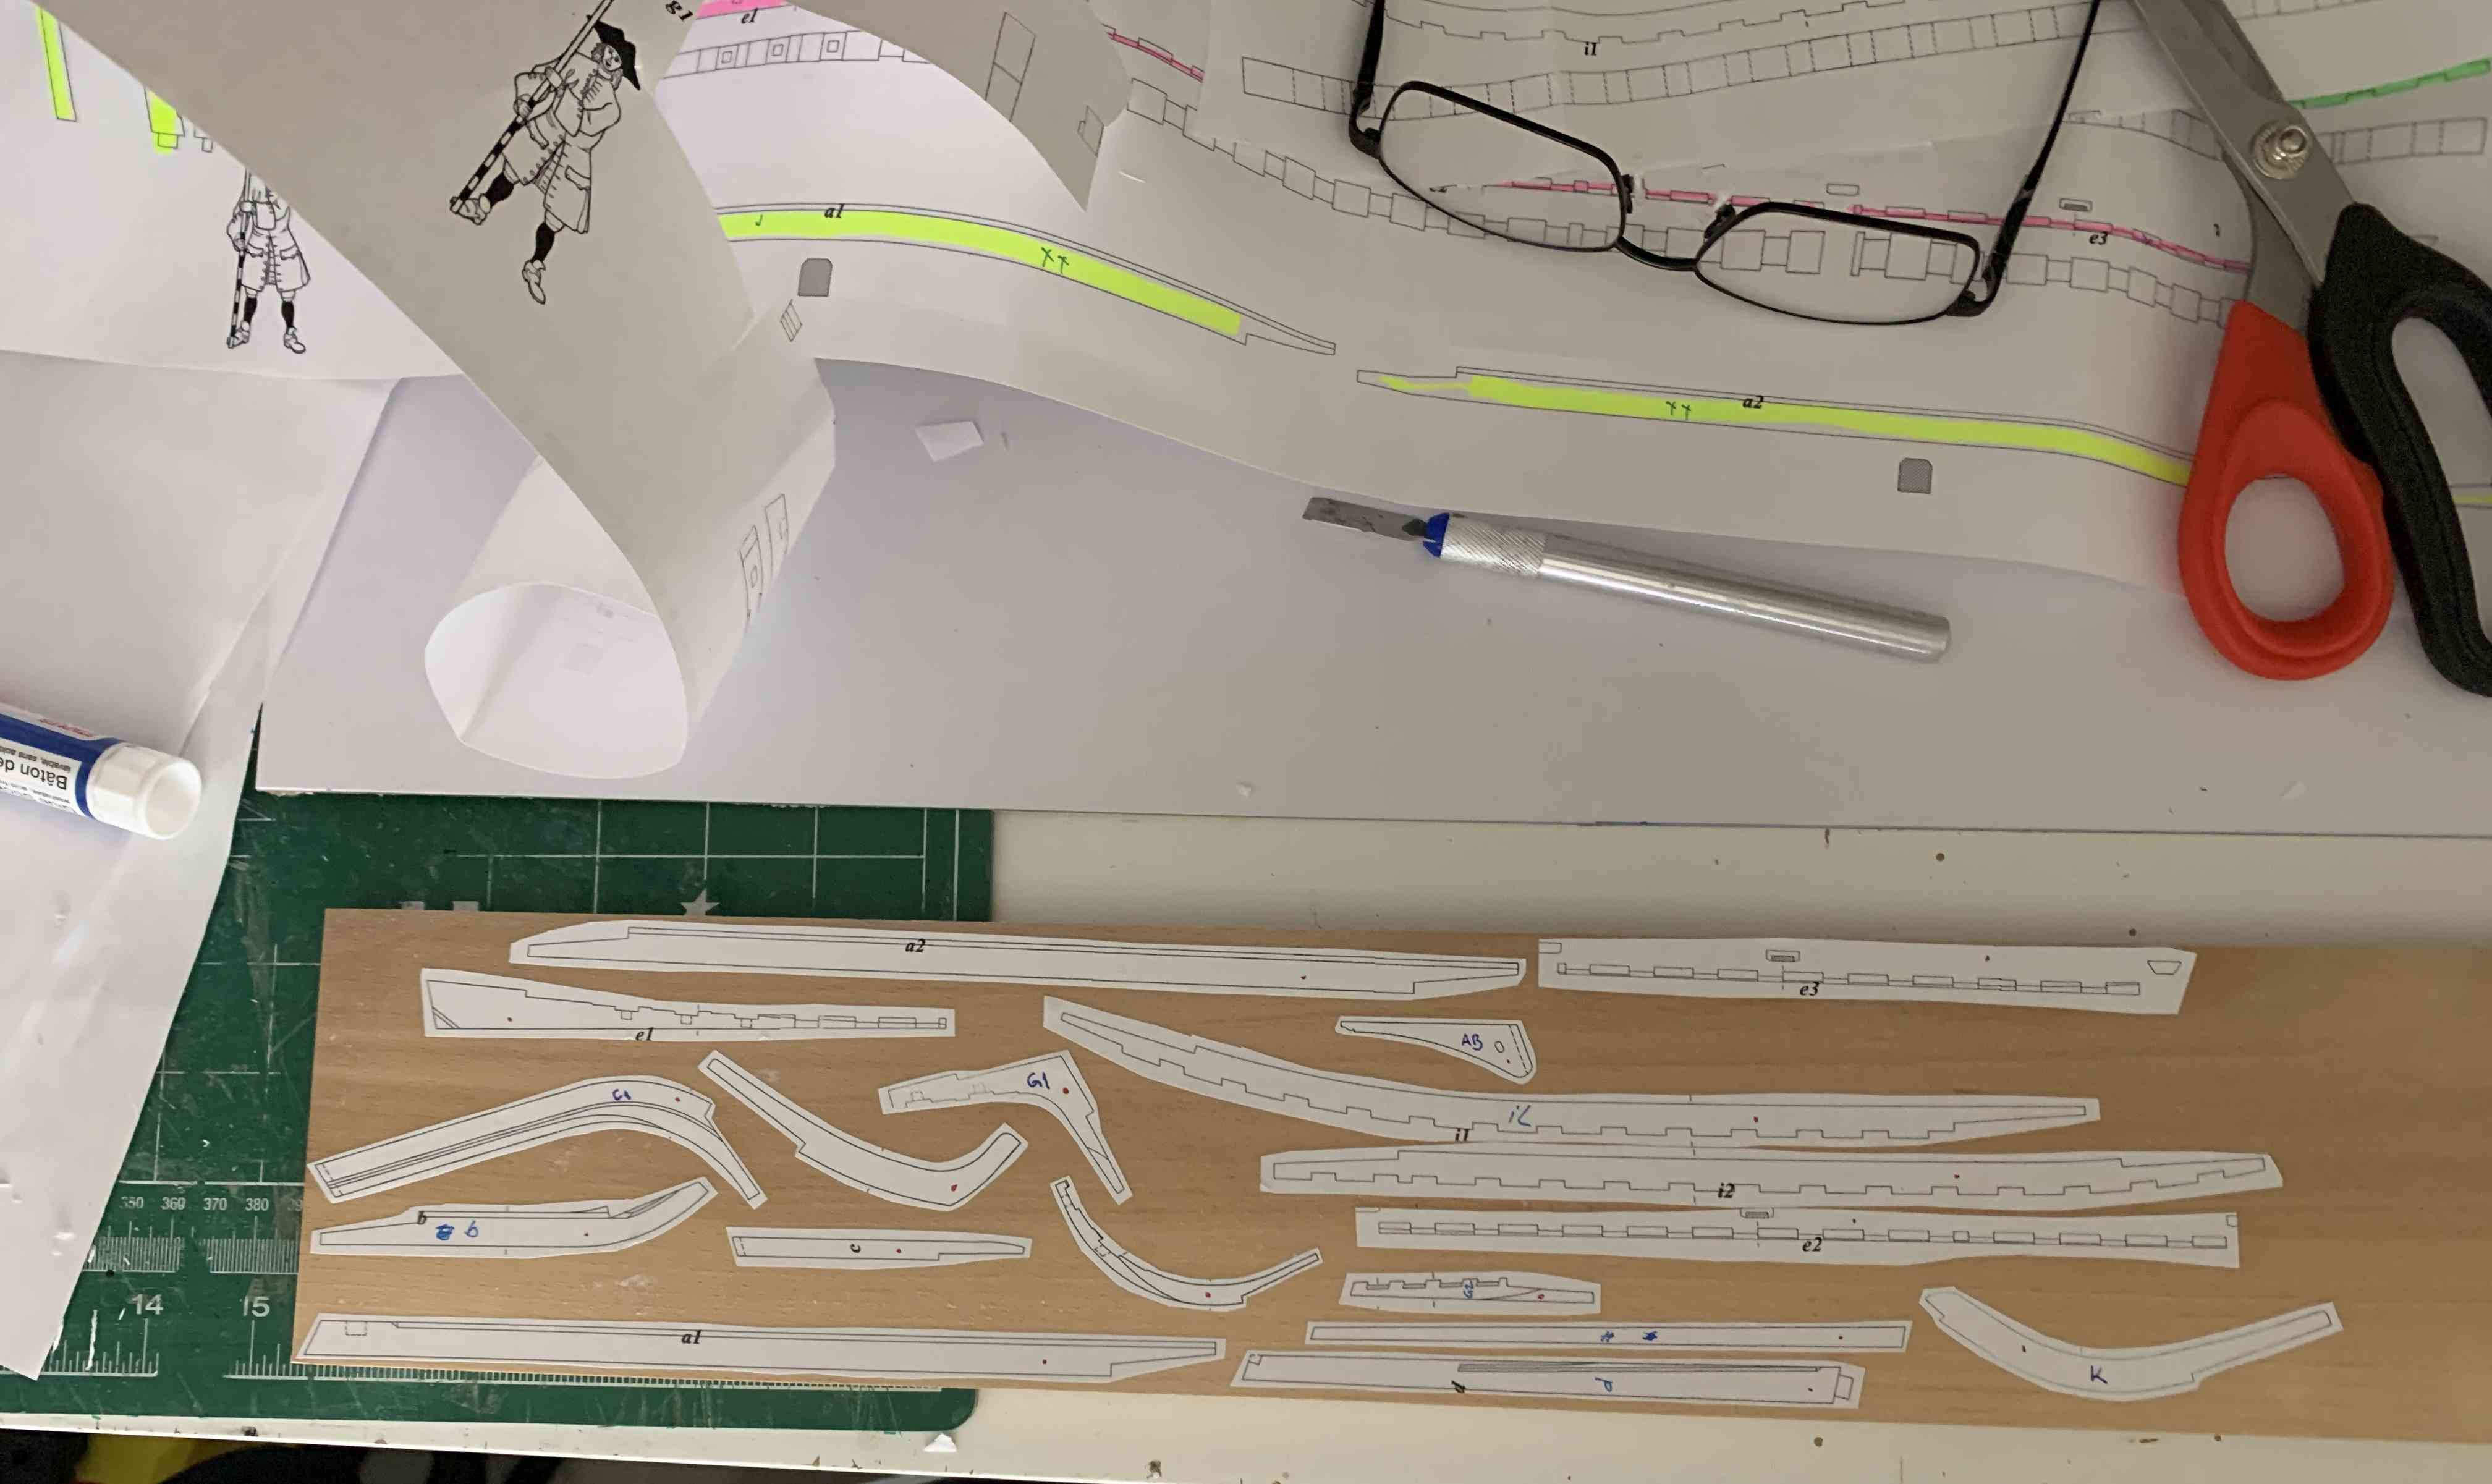
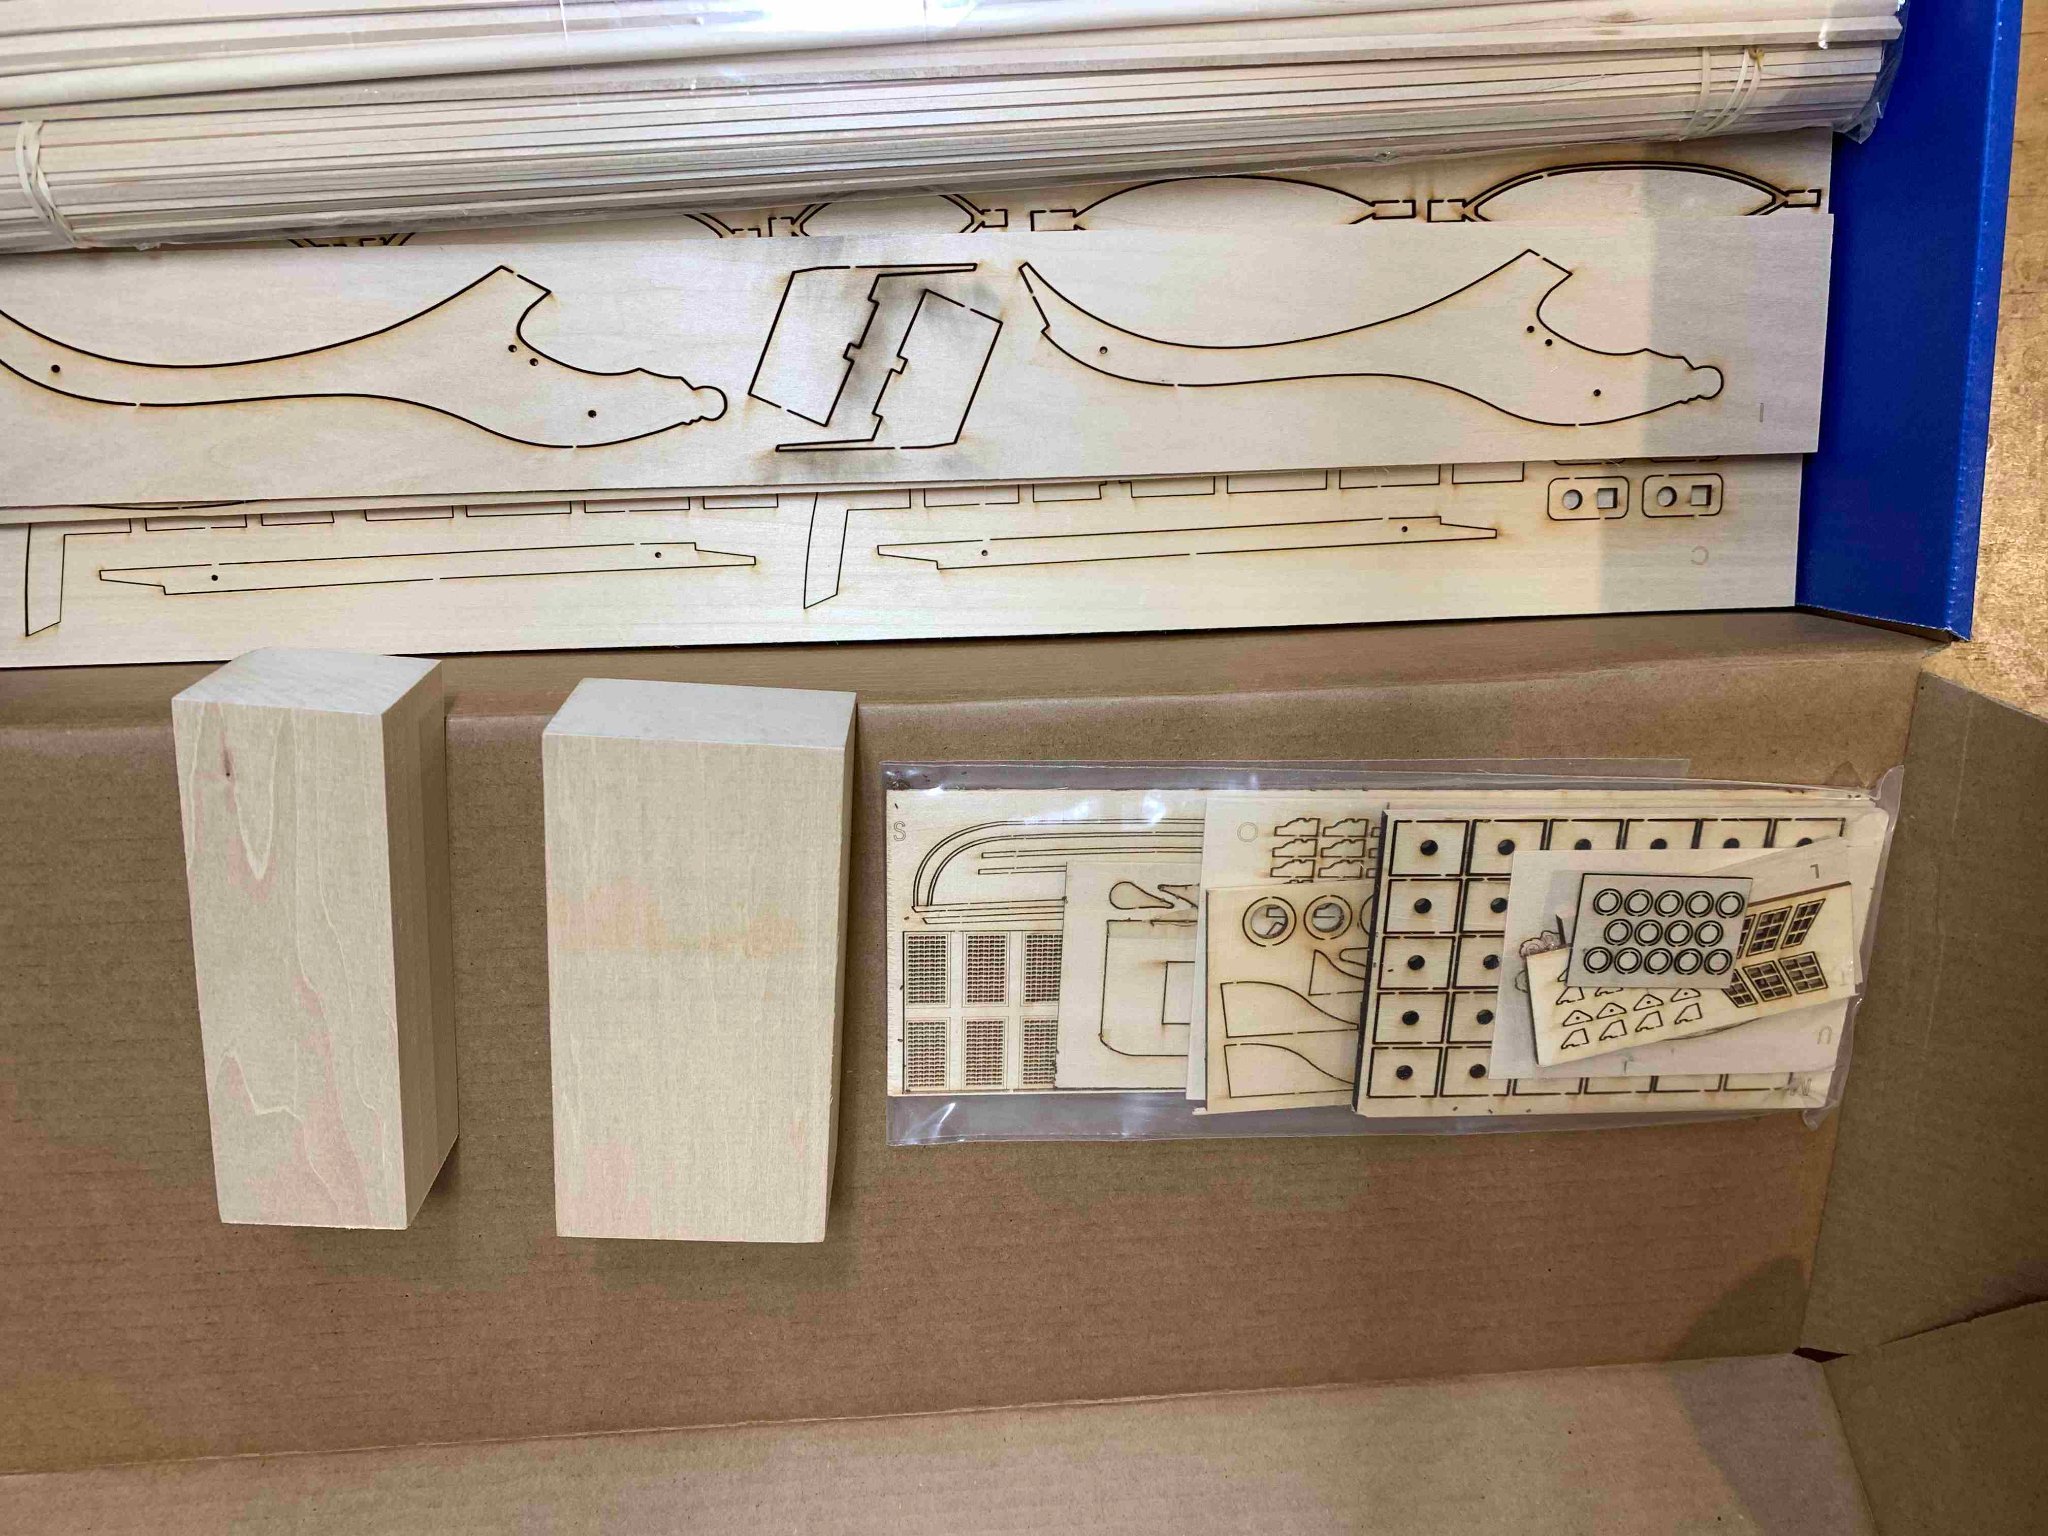
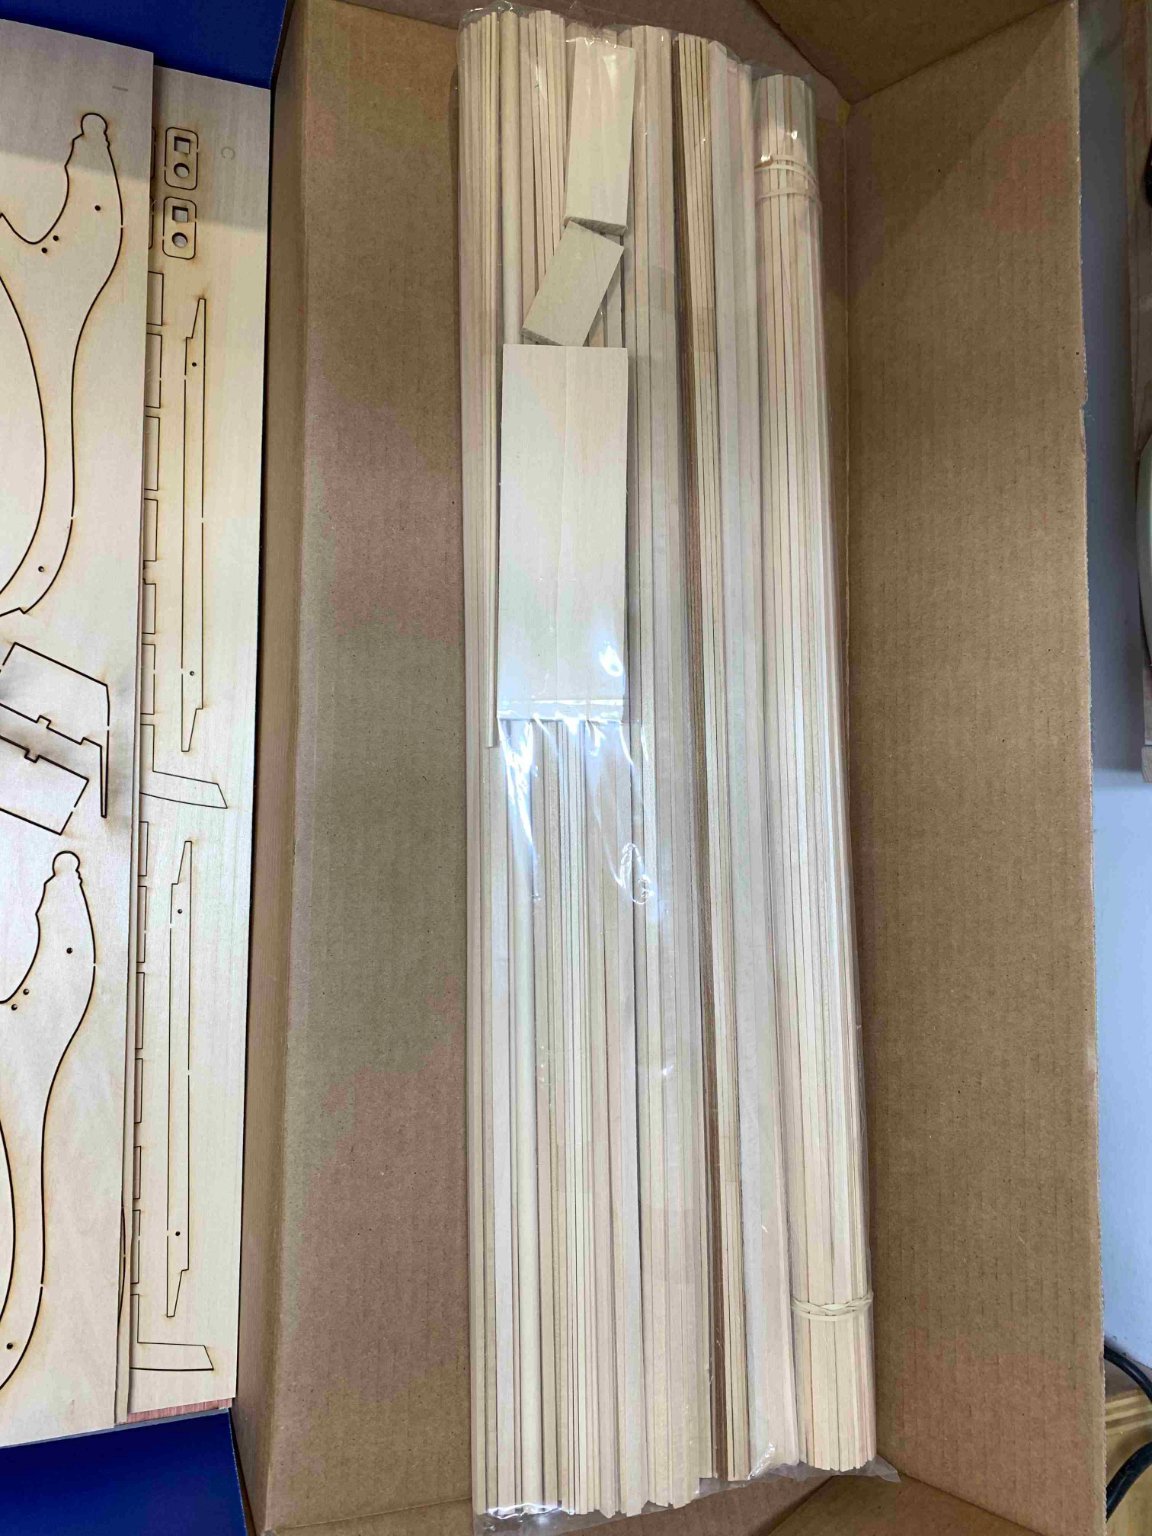
The plans were copied multiple times as I am planning to do a bit of a testing before cutting the real wood. For frame and keel parts I will go with pear wood that arrived from Germany. For other parts I will not purchase any wood at this time and will work on once I reach that point. I do have some other boards I am planning to use for testing, etc..
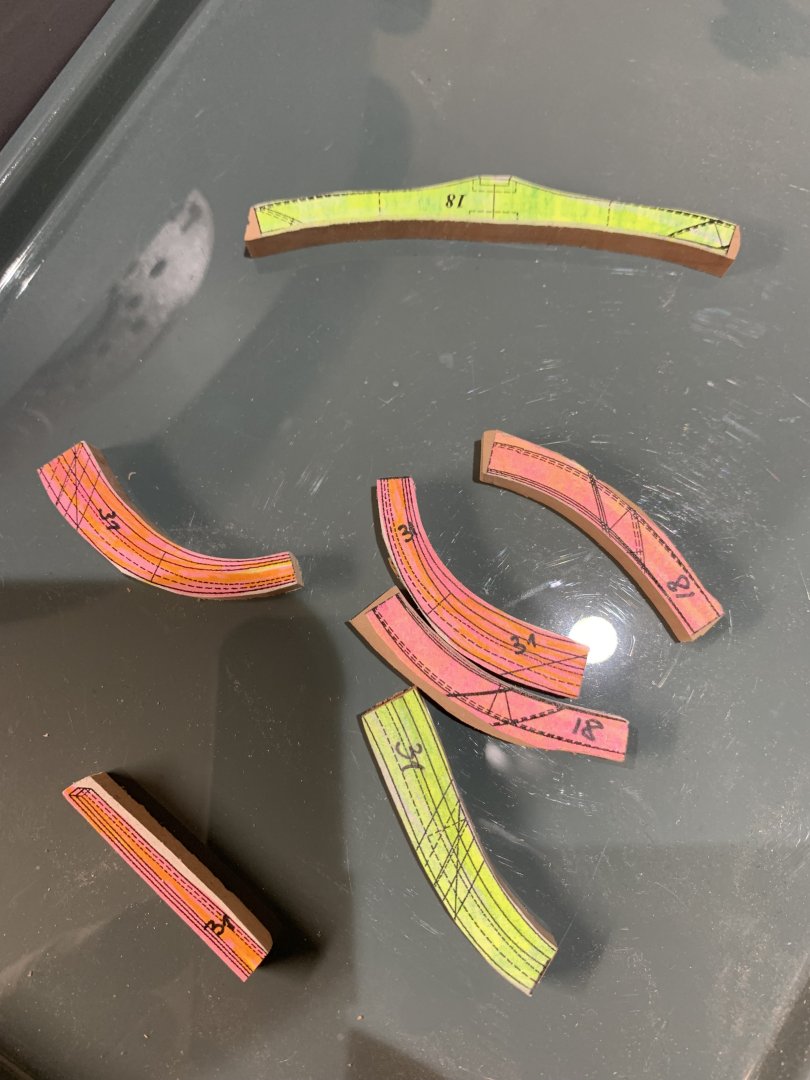
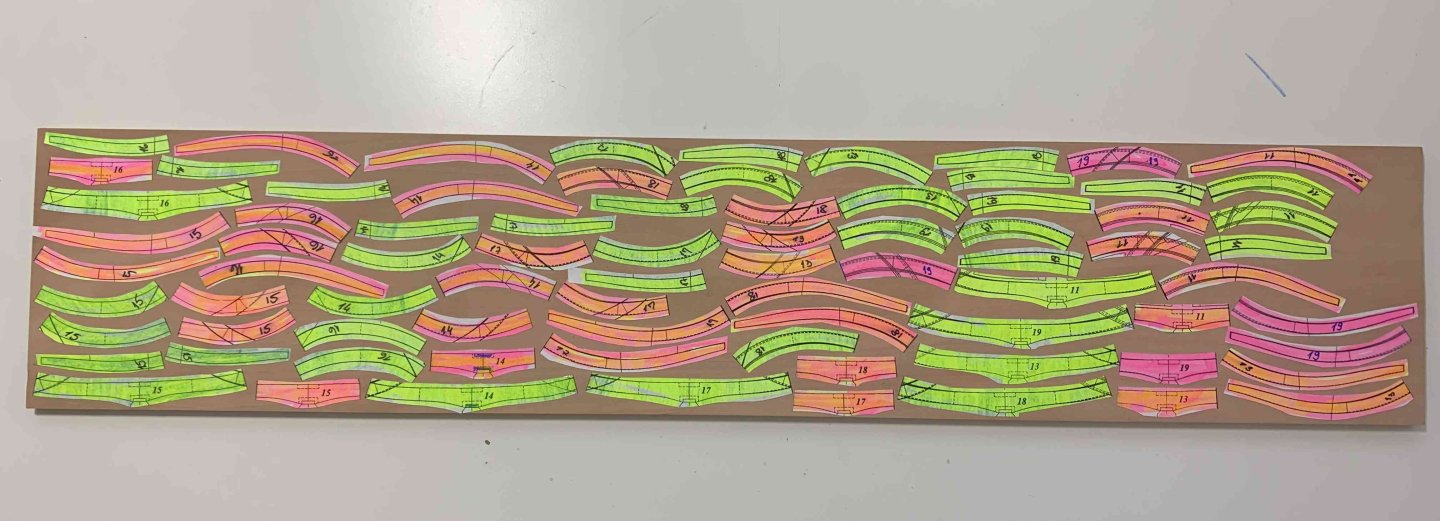
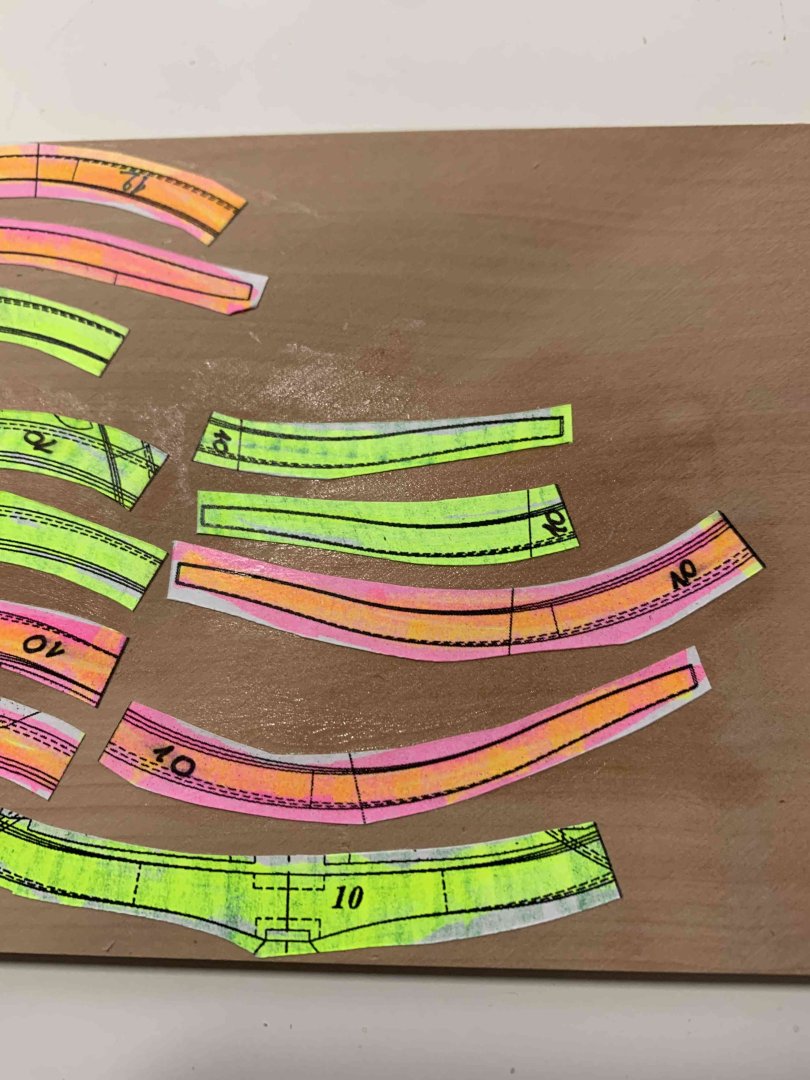
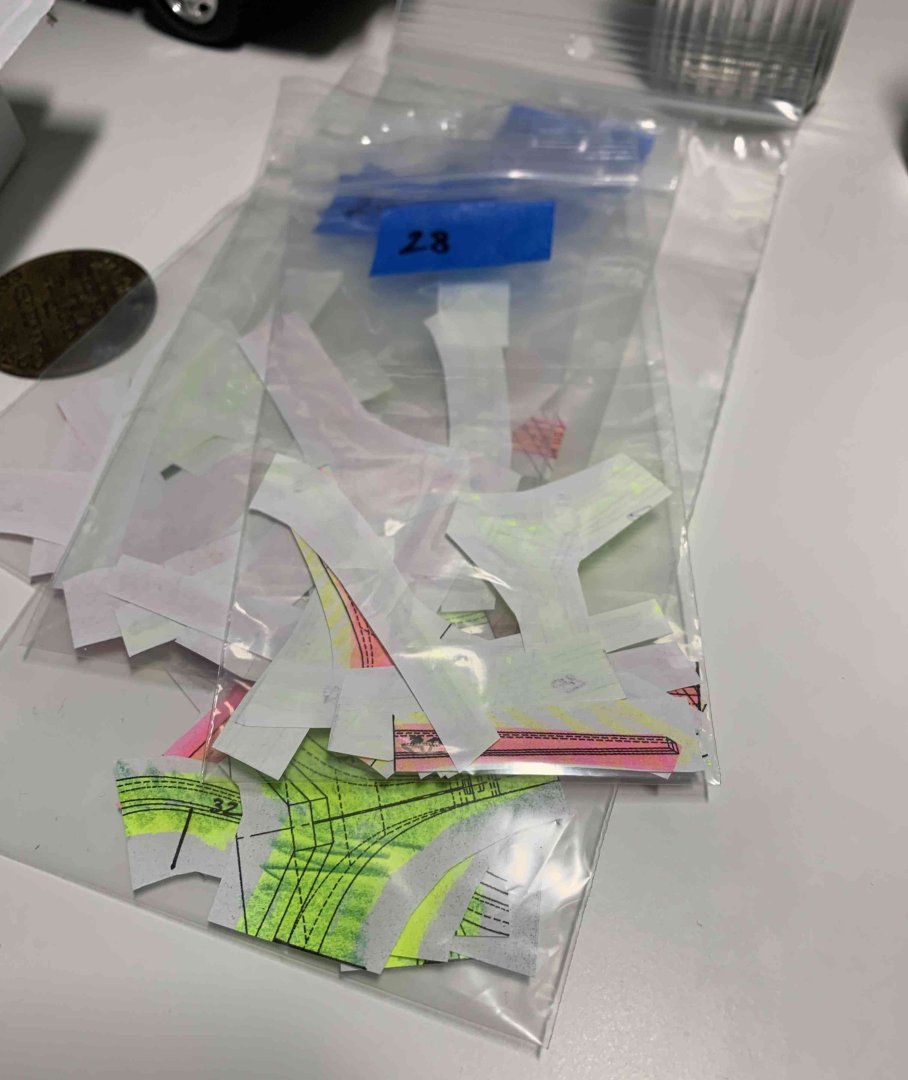
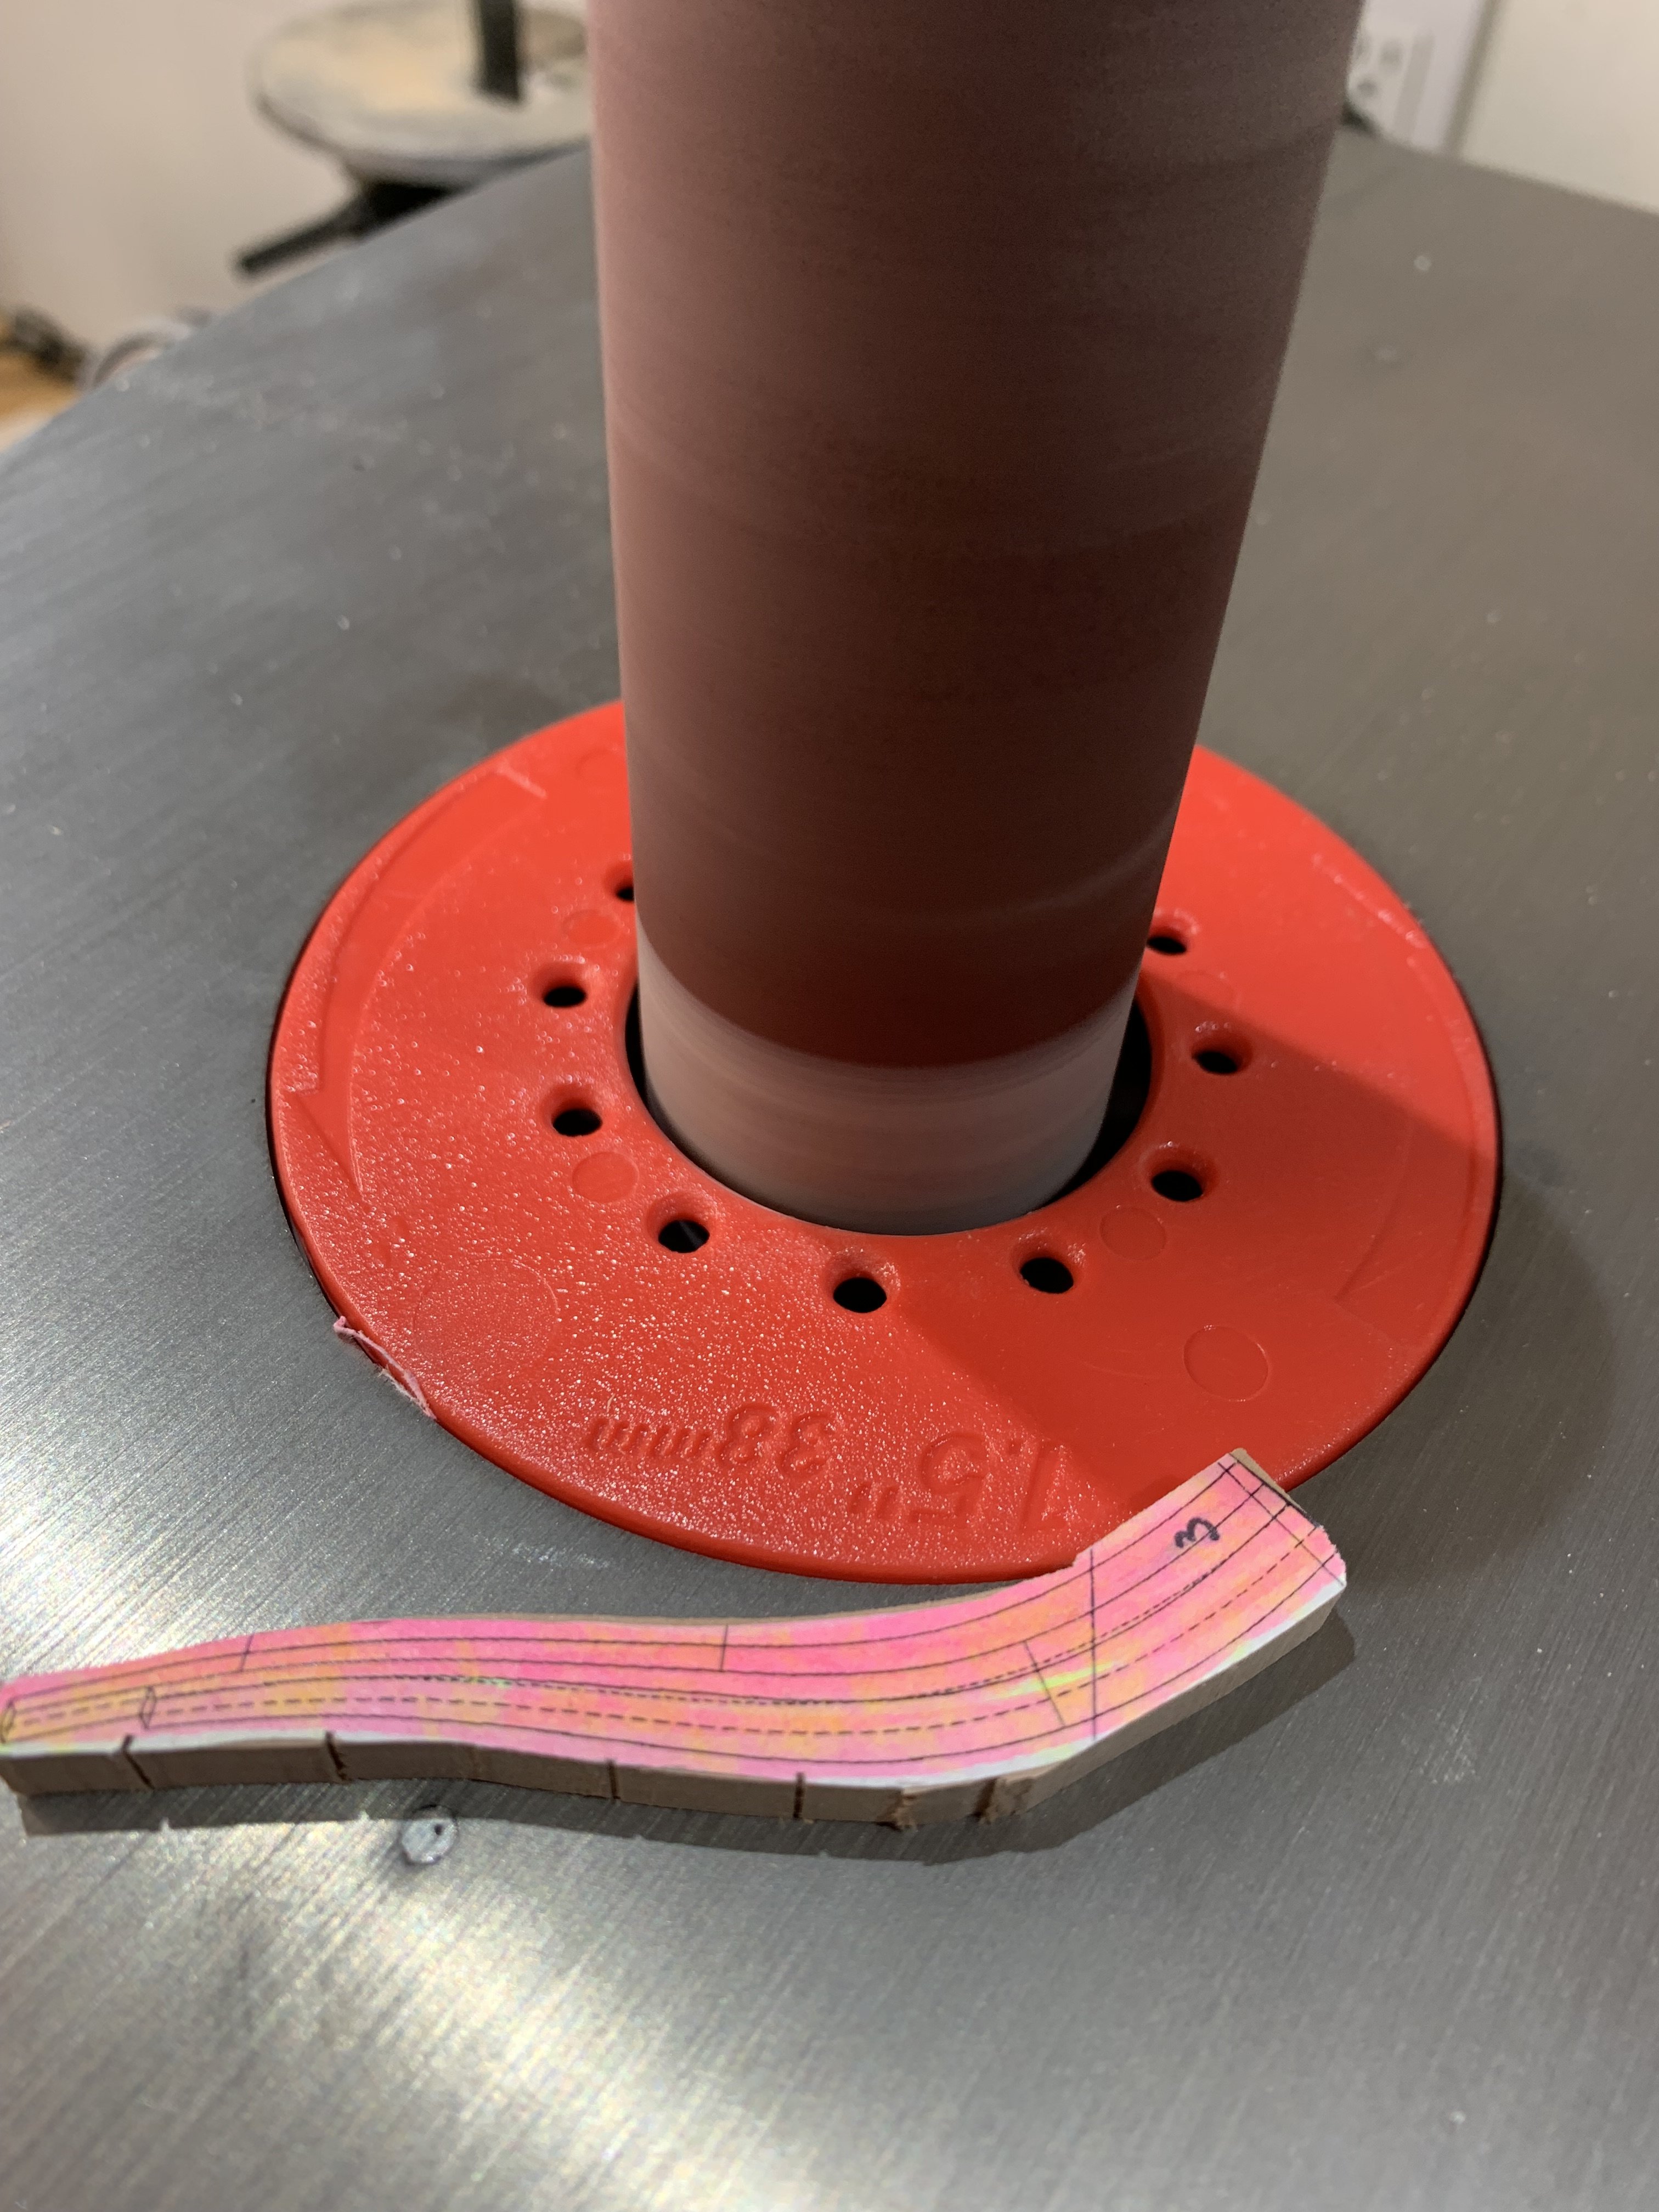
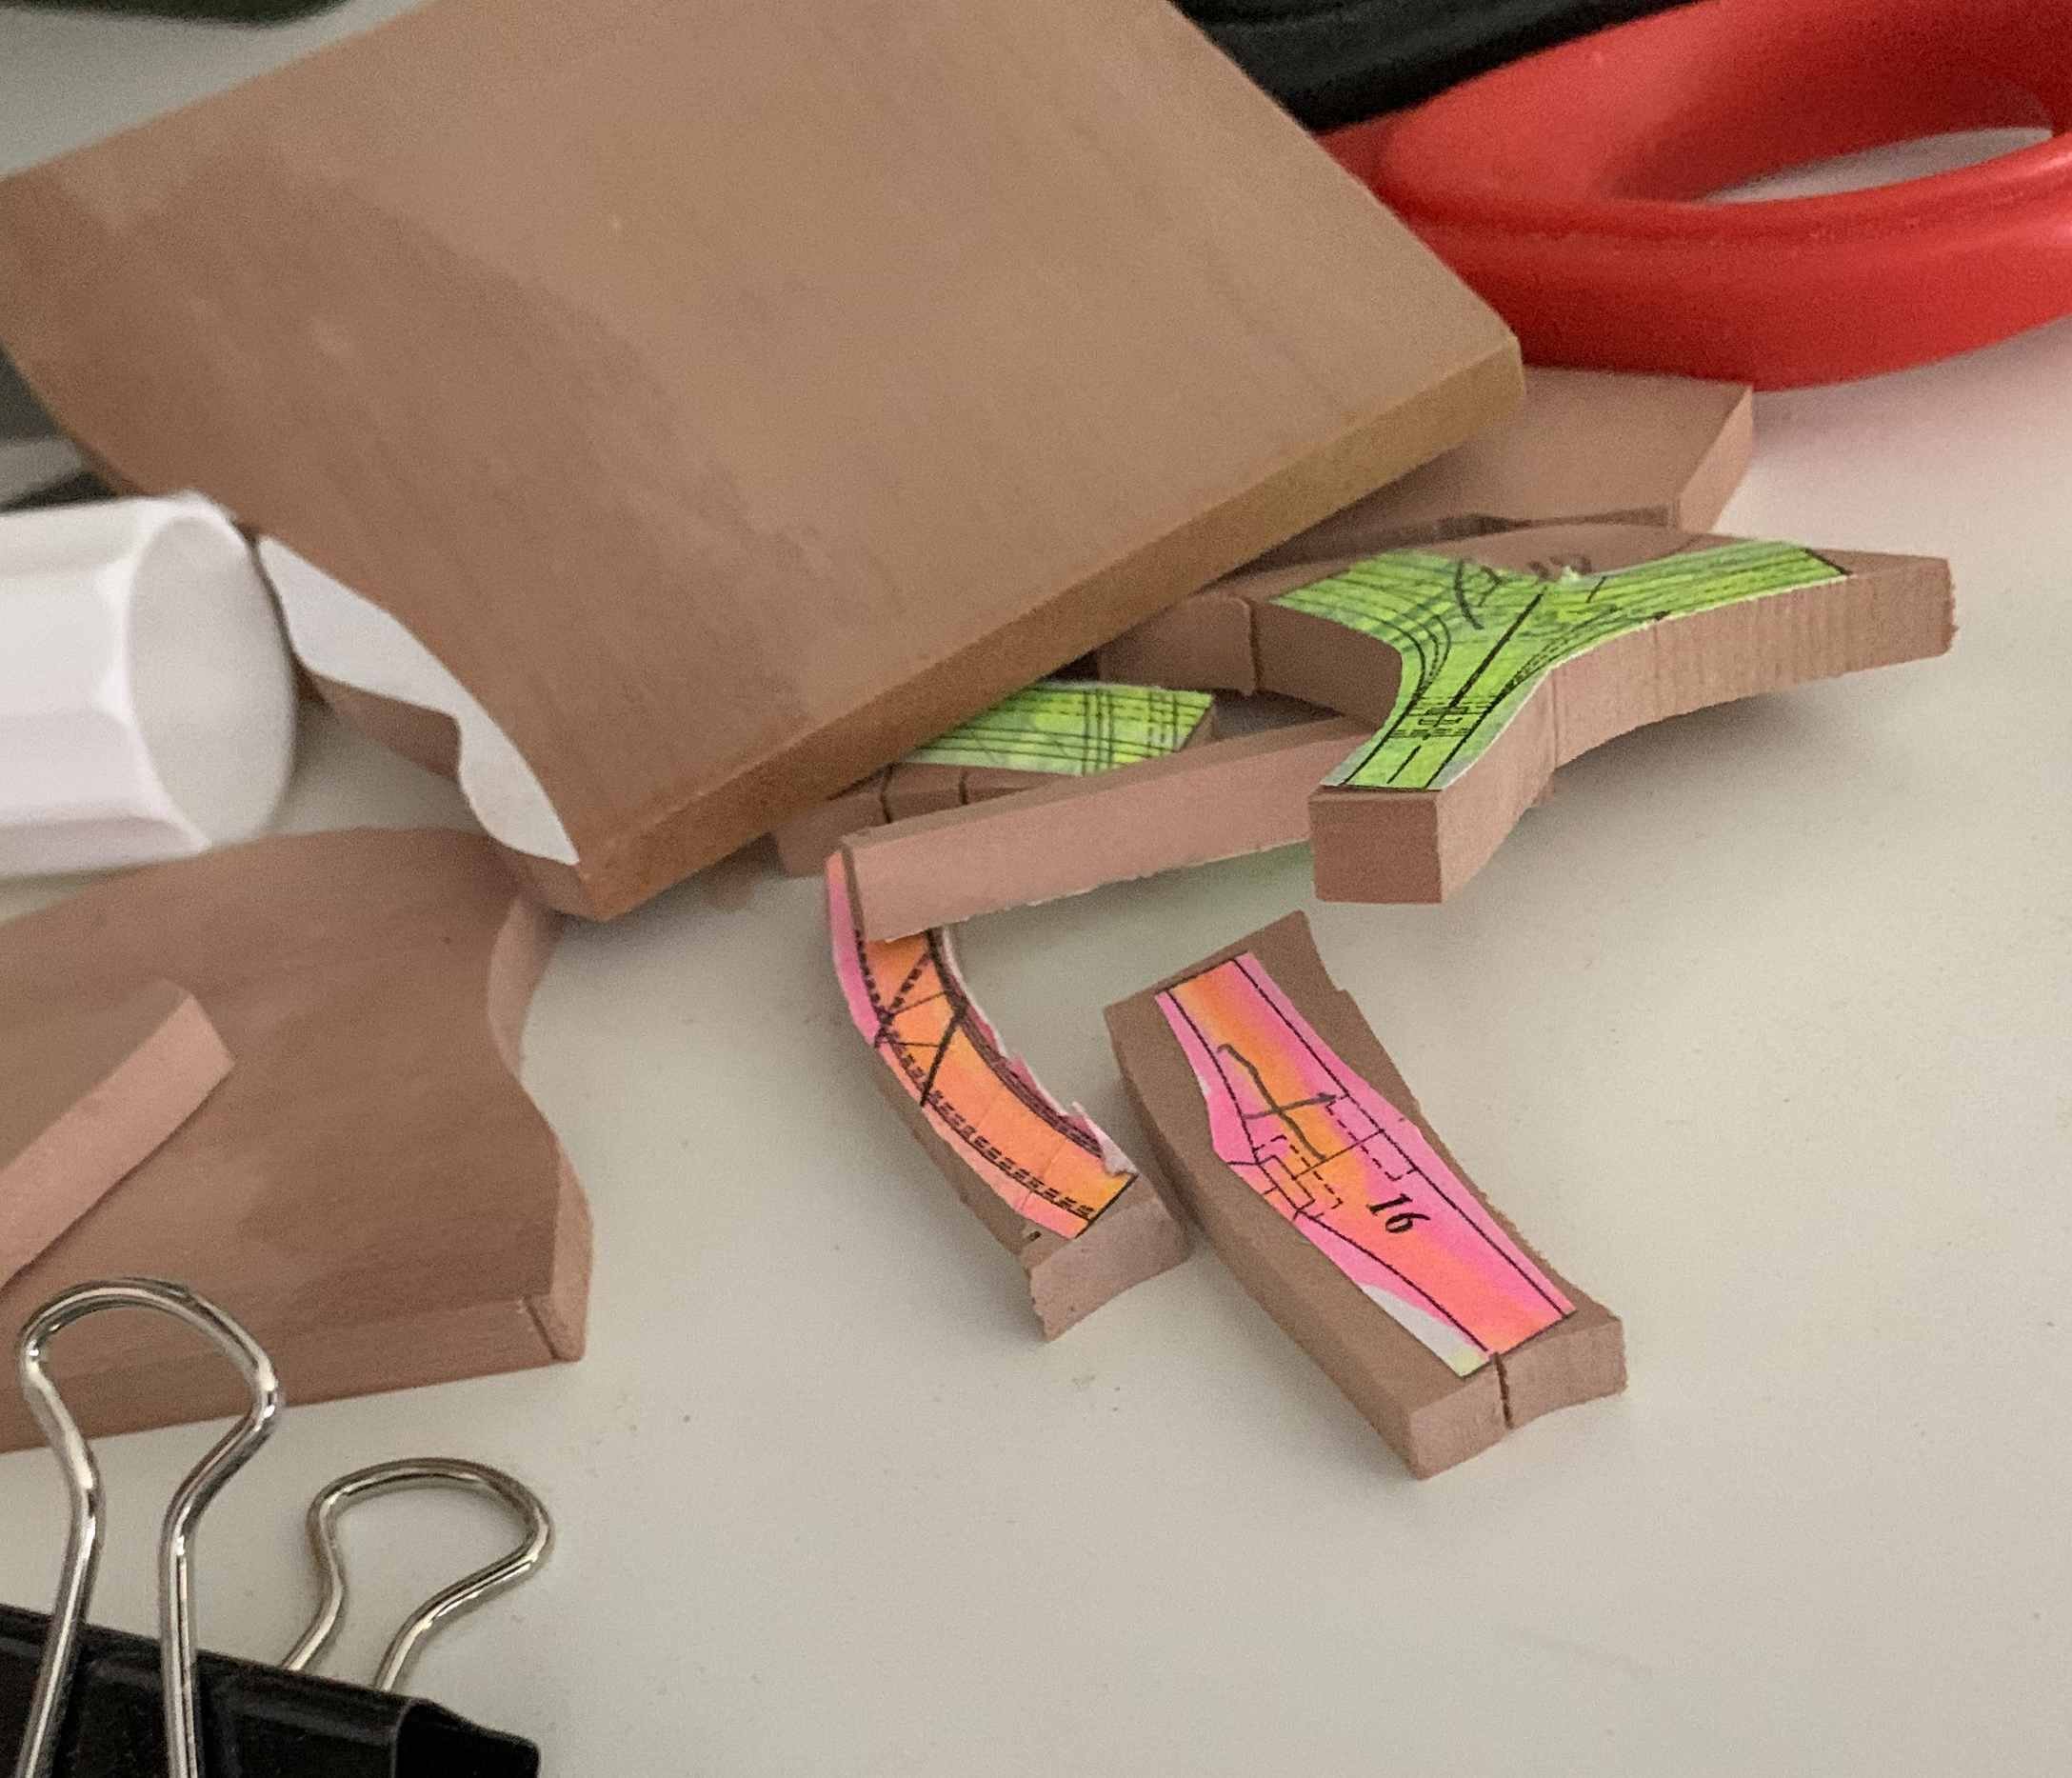
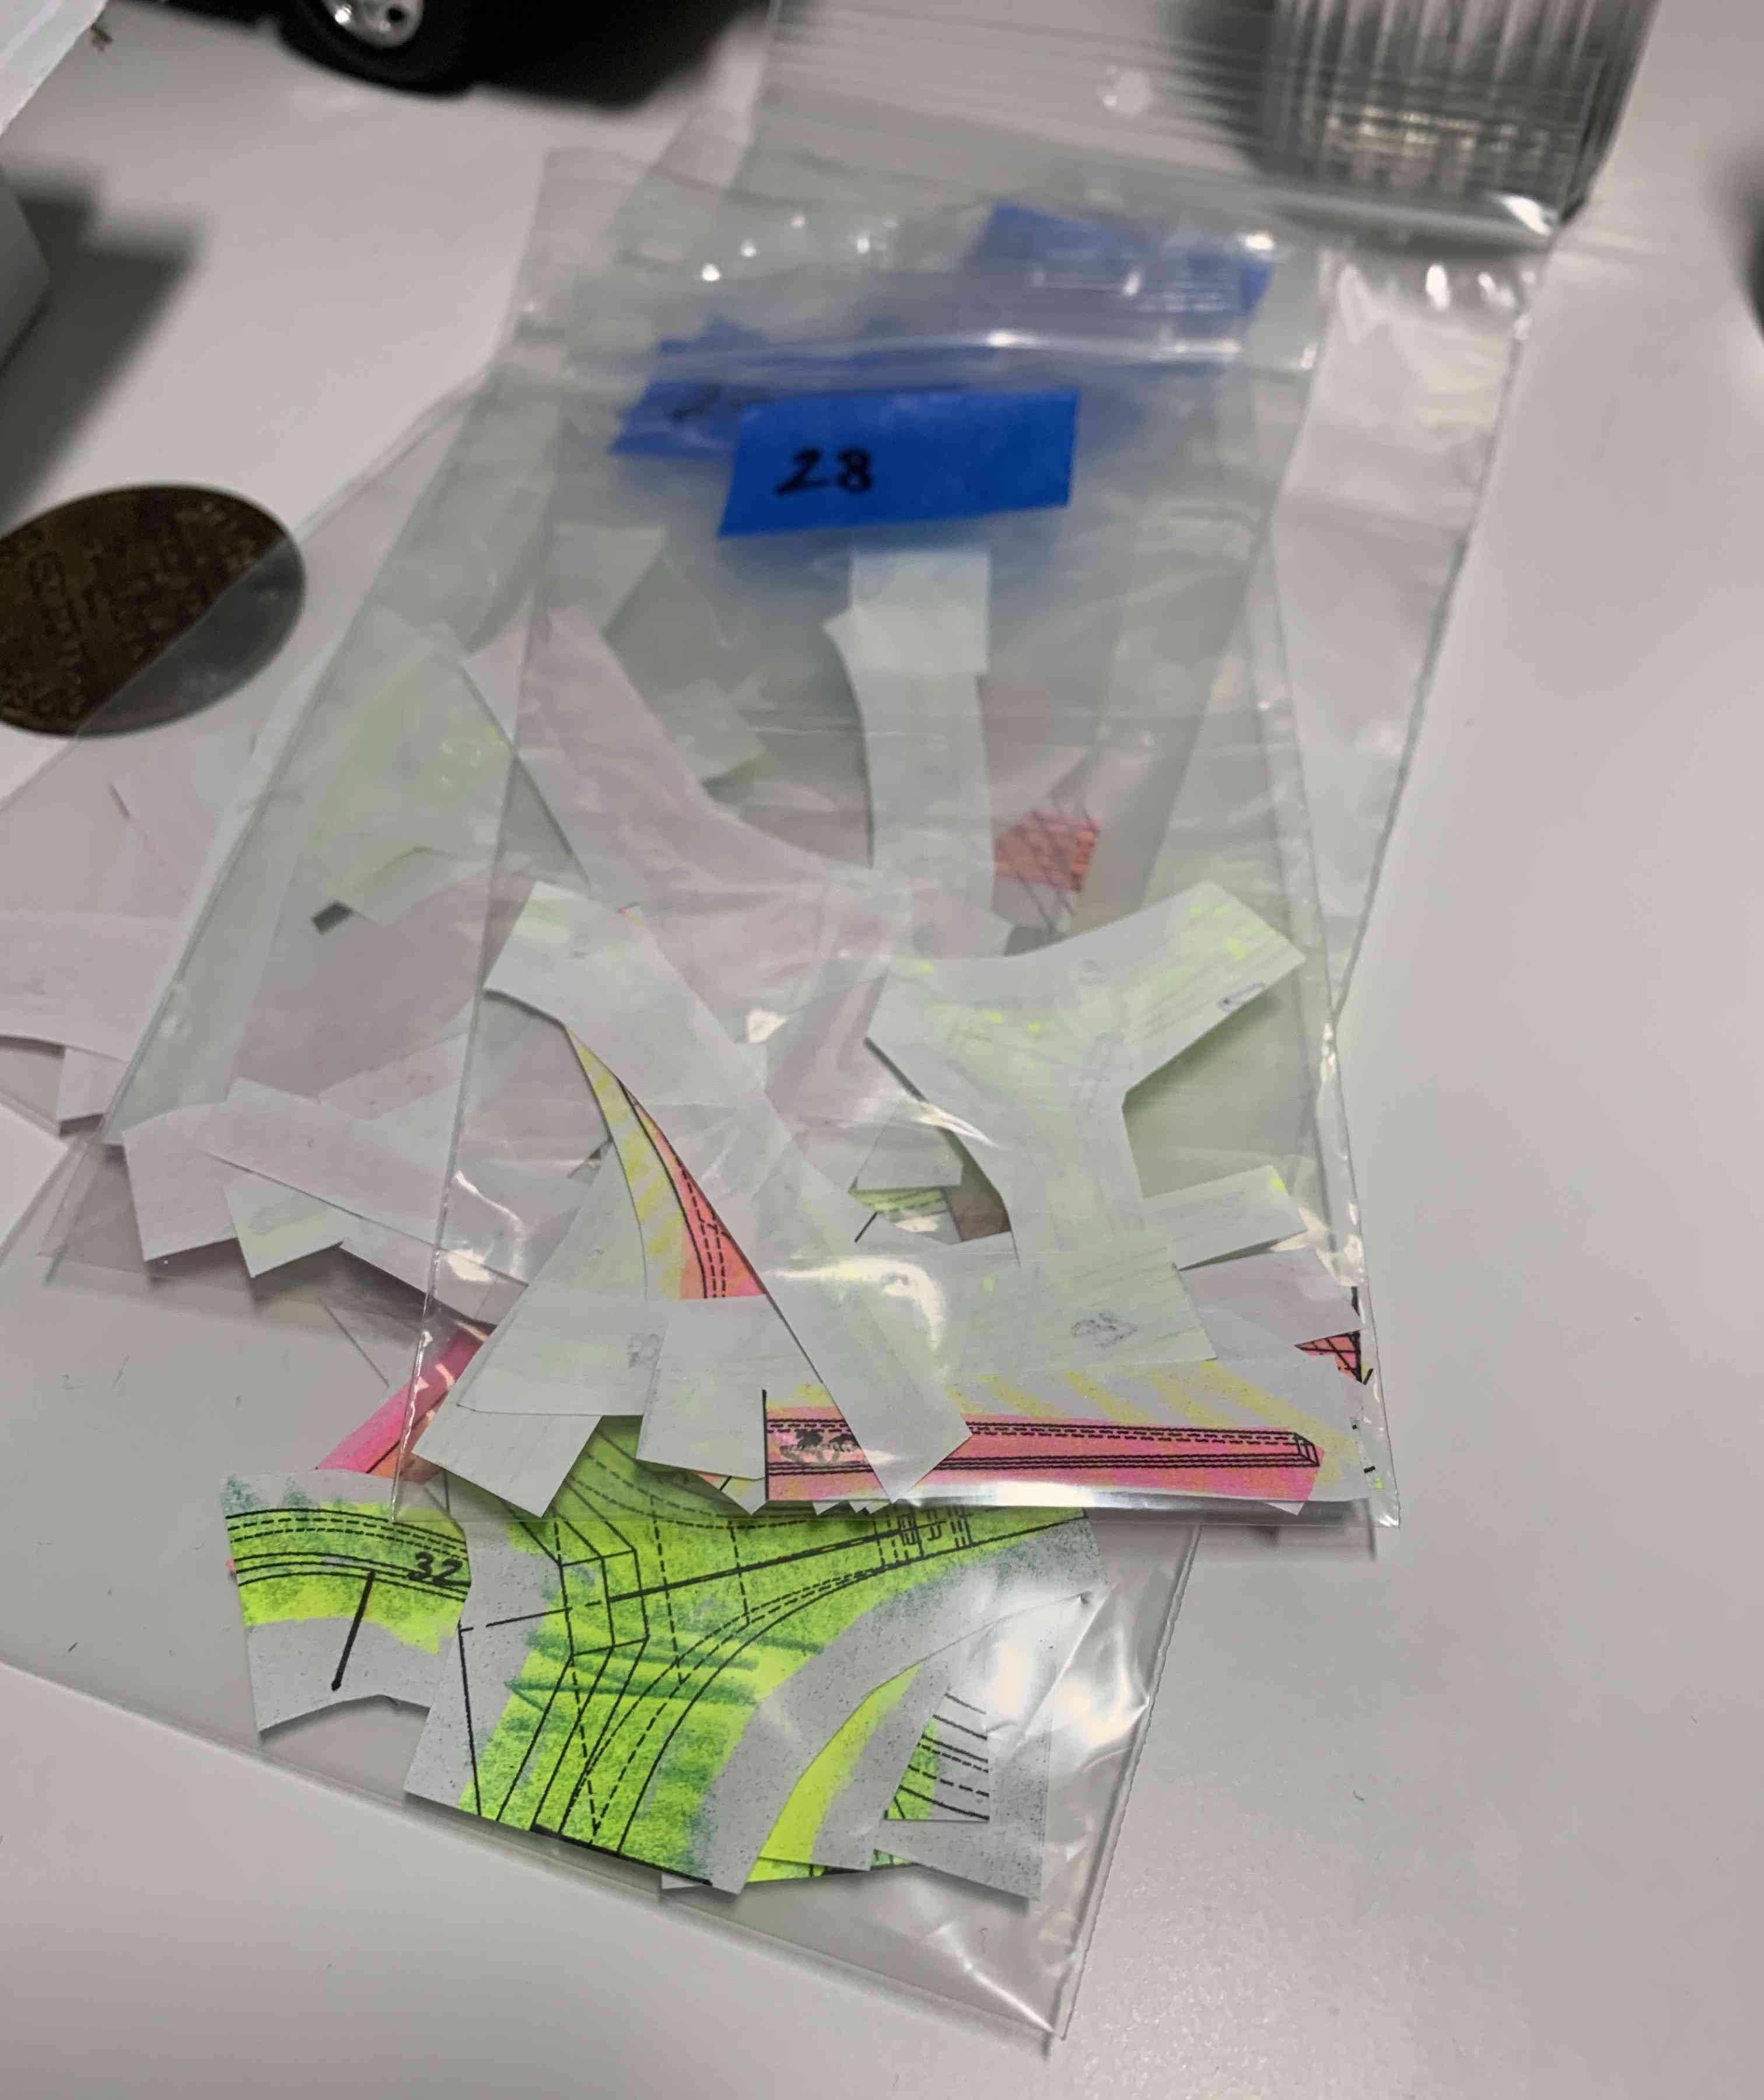
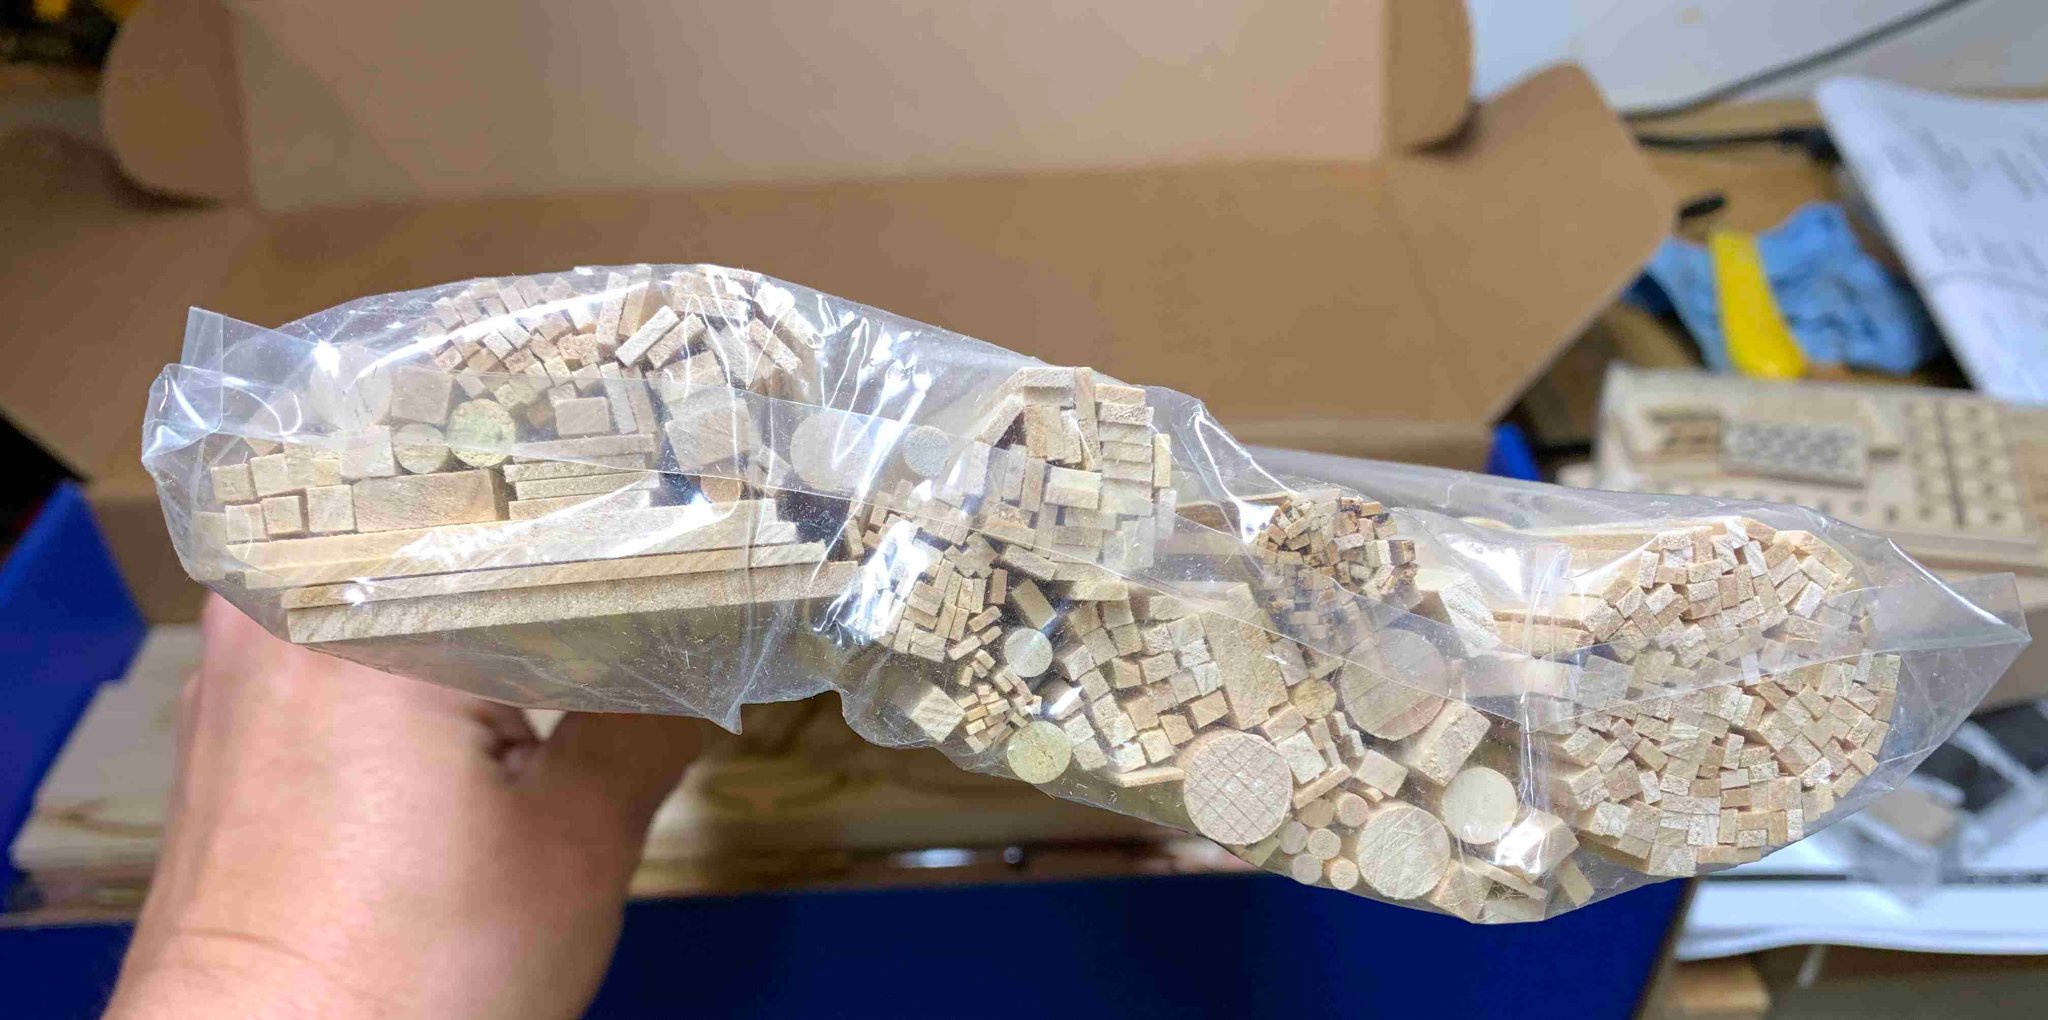
This time I marked all frames on the plan, and cut them into individual pieces. Then all pieces for one frame are put in a bag, where I will be keeping cut parts for the same frame. Or I can just use rubber bands...

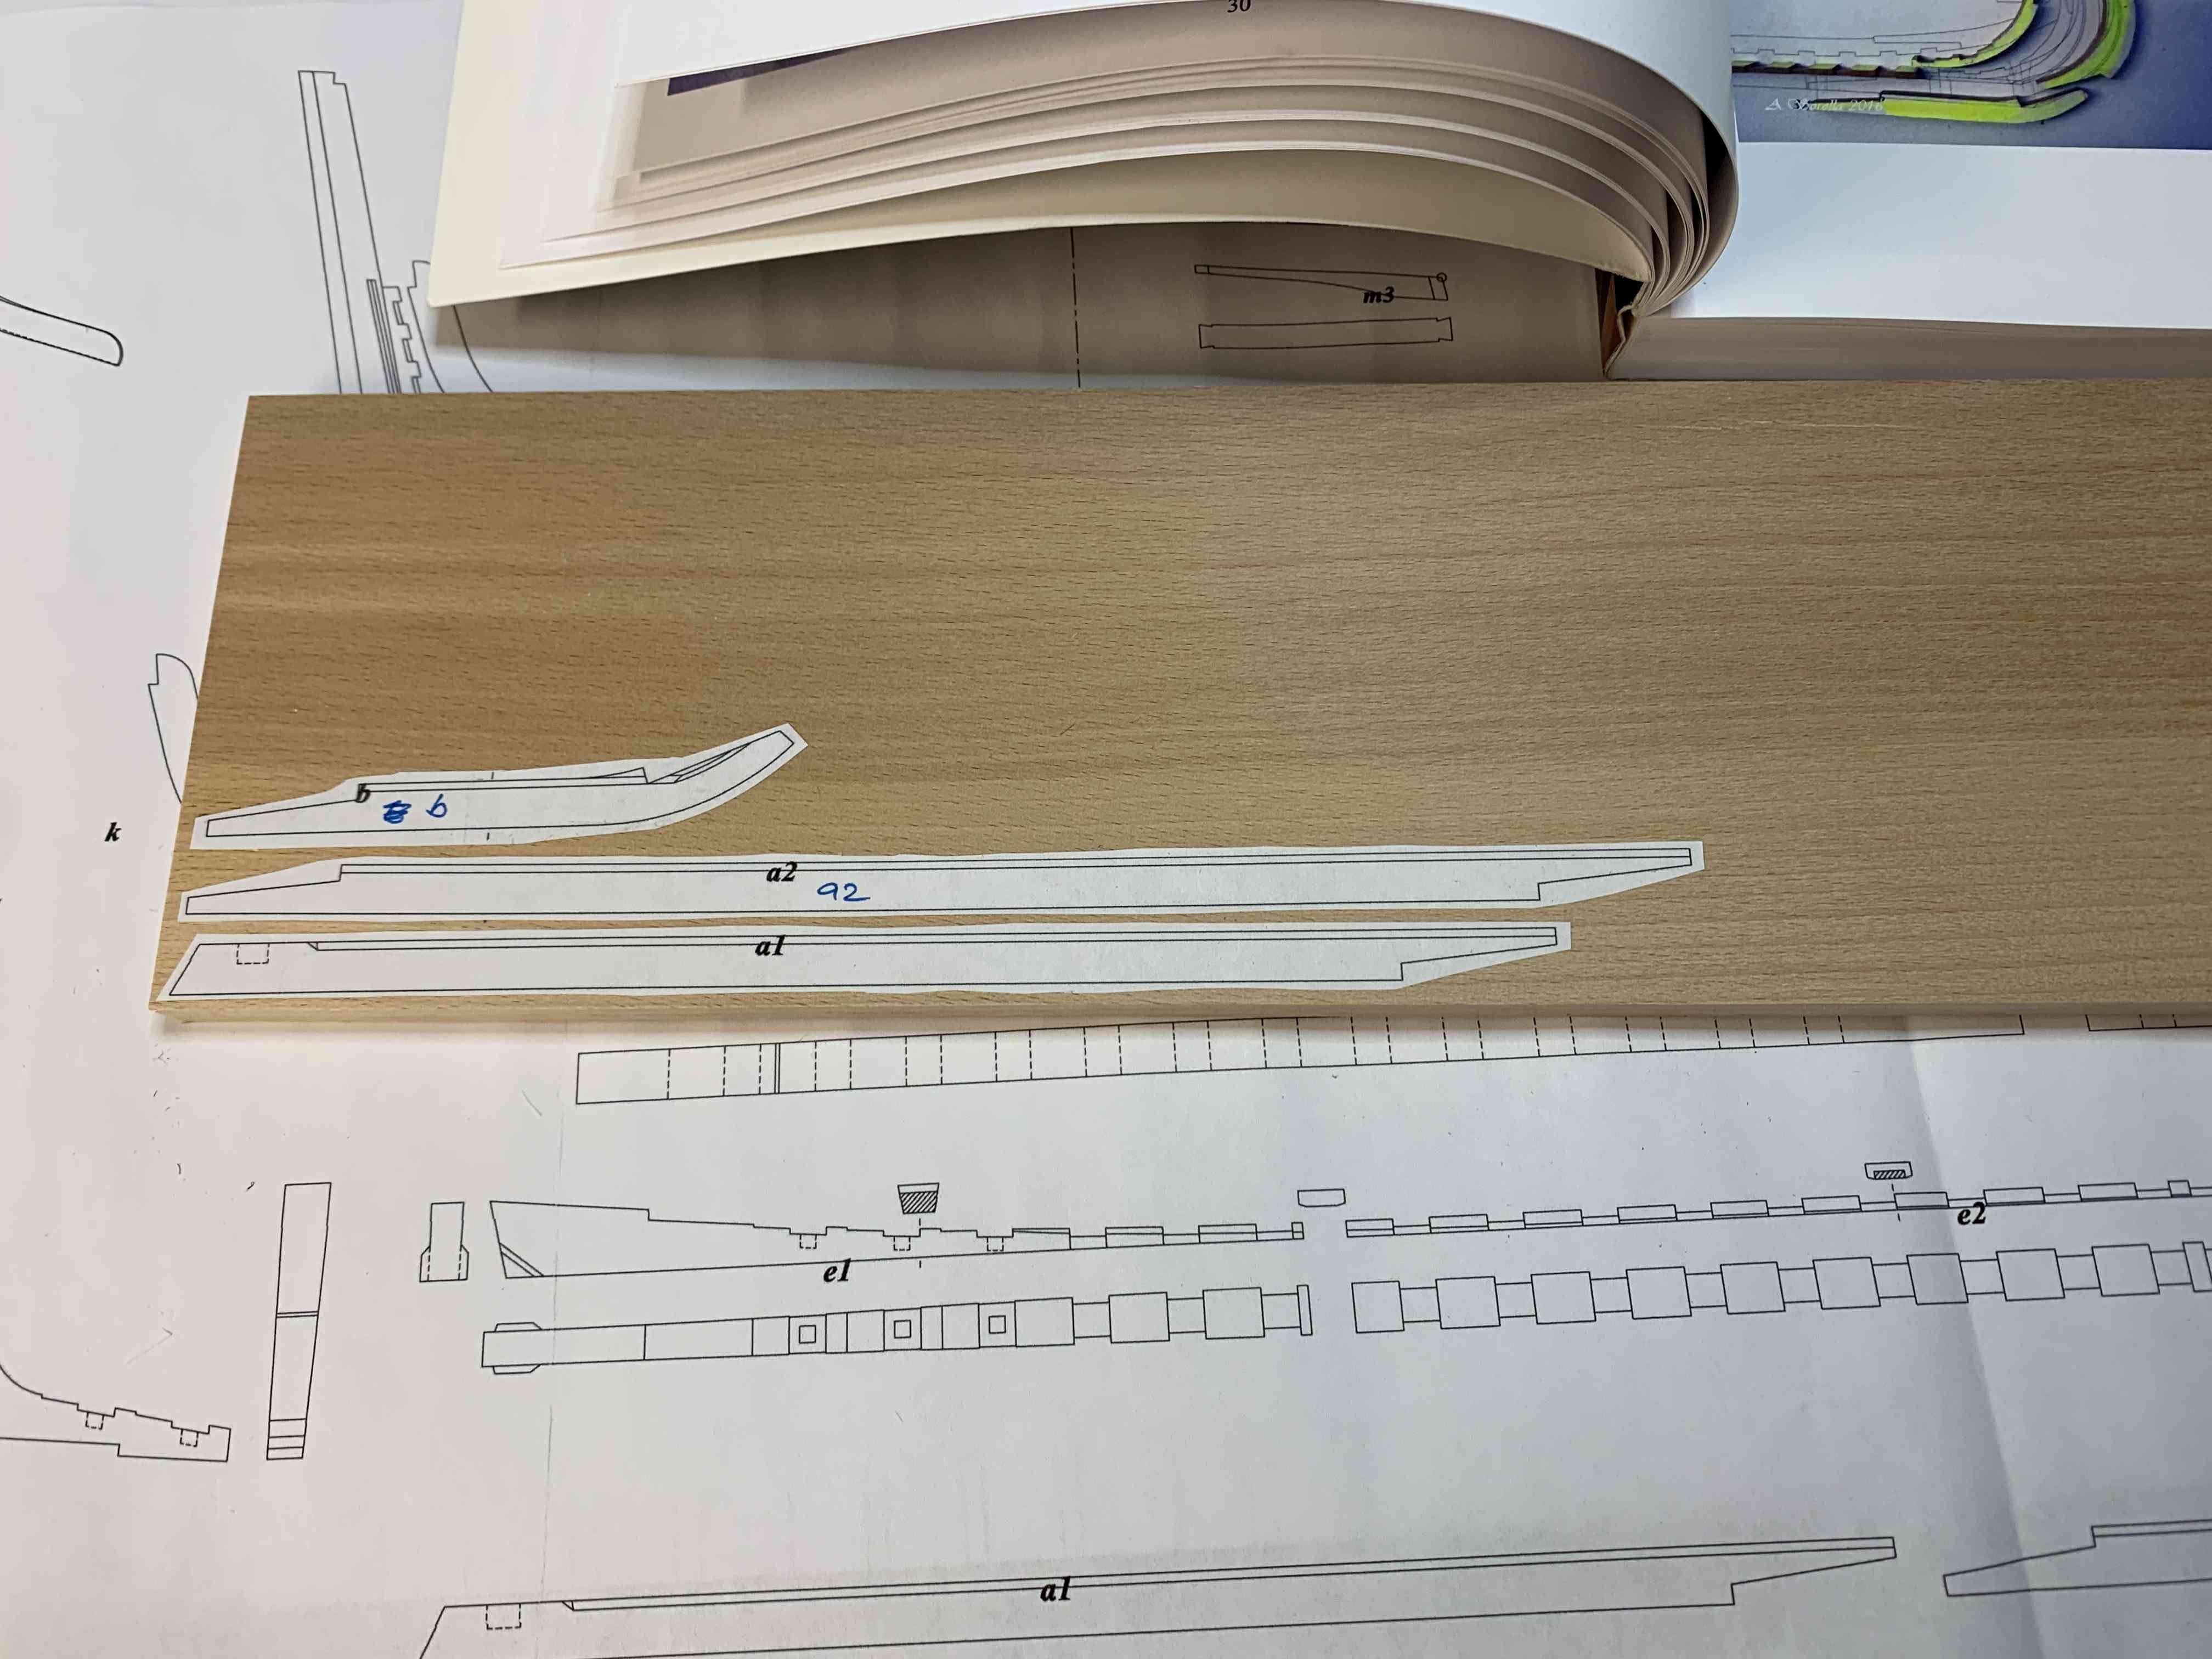
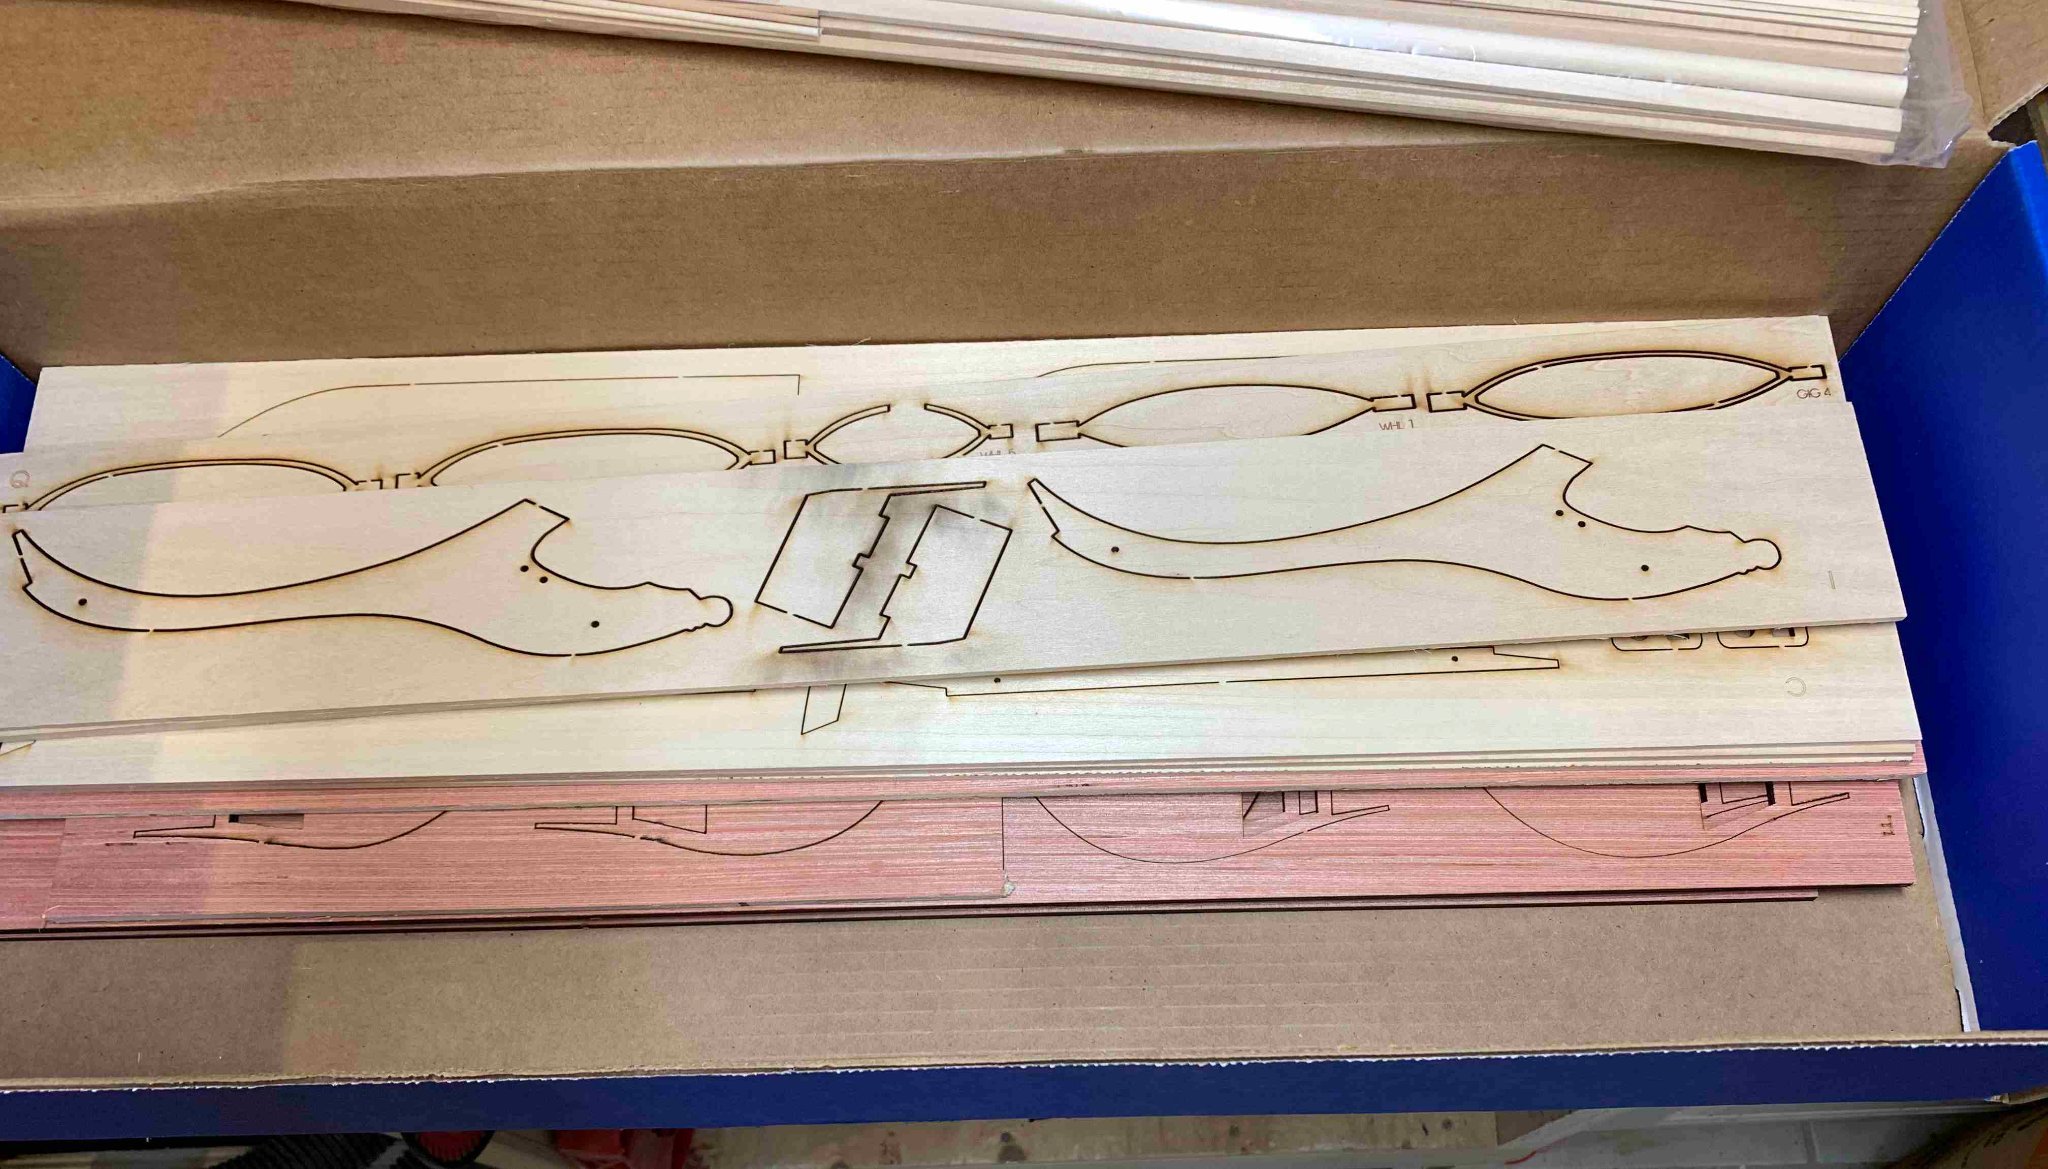
Then I put all keel/keelsen parts on one piece of wood, this time I am testing alder wood. These will not be on the model, for model I do have purchased pear for keel as well. Testing will allow me to see how things are done in real life, what glue to use for glueing on the board, making sure I check cut pieces for level once they are on the board, position of templates on the board to utilize the most of the board, what cutting tool to use, etc... pretty much the whole process. Maybe a bit overkill but being my first build of such type... next scratch build model will be a breeze...

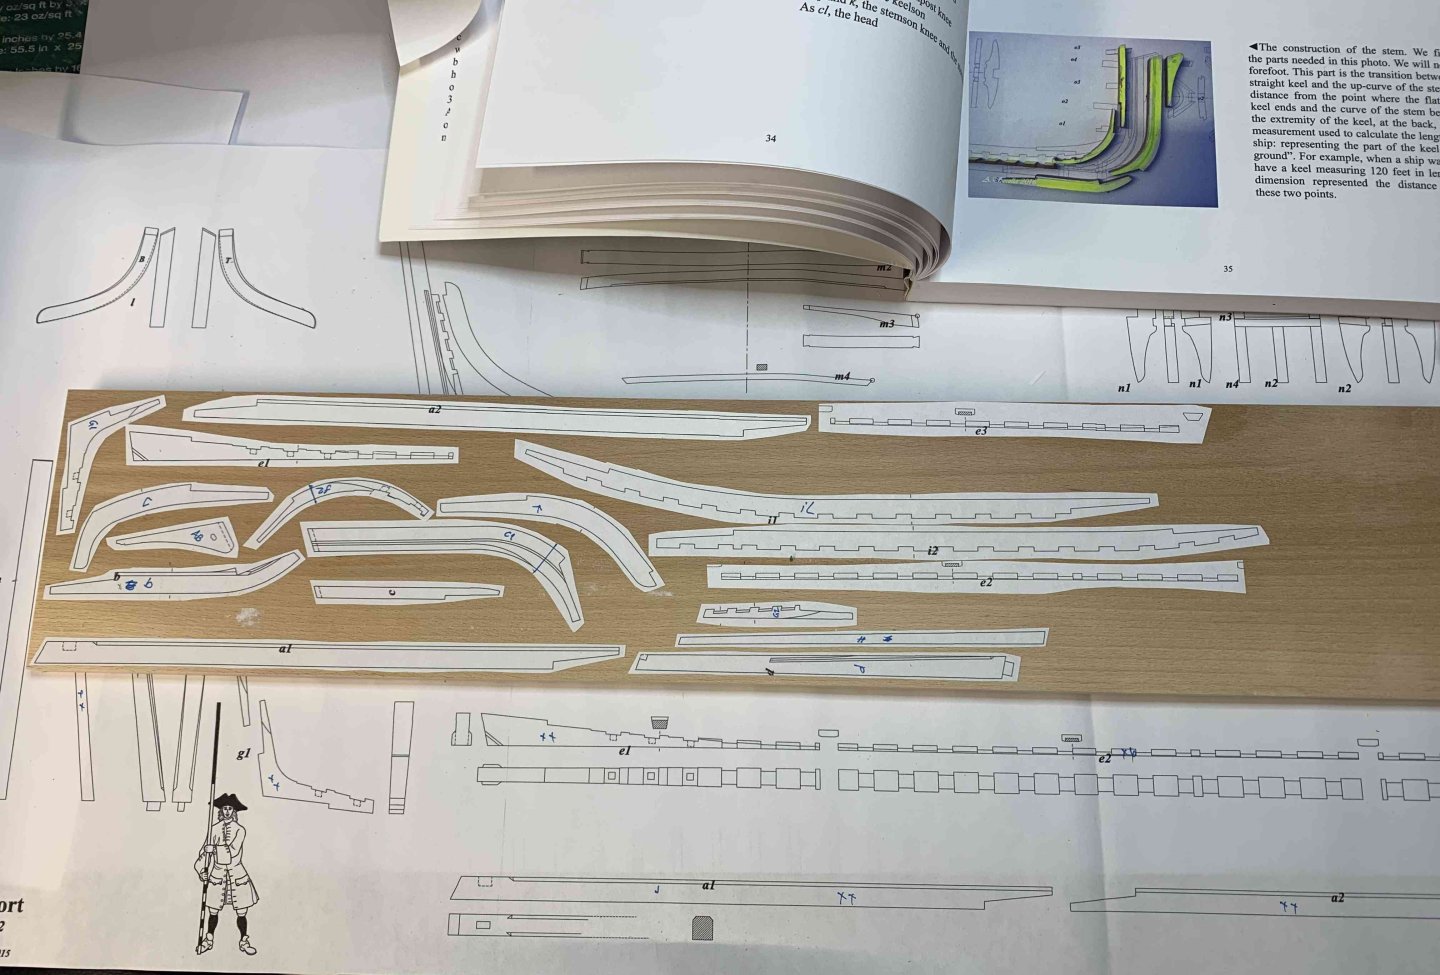
I might reposition some keel parts a bit better to utilize wood gran flow.. good advice from fellow modeller..
Happy modelling..
-
Amazing and inspiring work.
Much appreciated all effort put in providing a very useful build log and how-to guide.
Cheers
- Forlani daniel, mtaylor and druxey
-
3
-
Absolutely, that is a must; I already have La Rochefort from the same source for my other project.
- Forlani daniel and mtaylor
-
2
-
-
-
It is never late for a shopping.
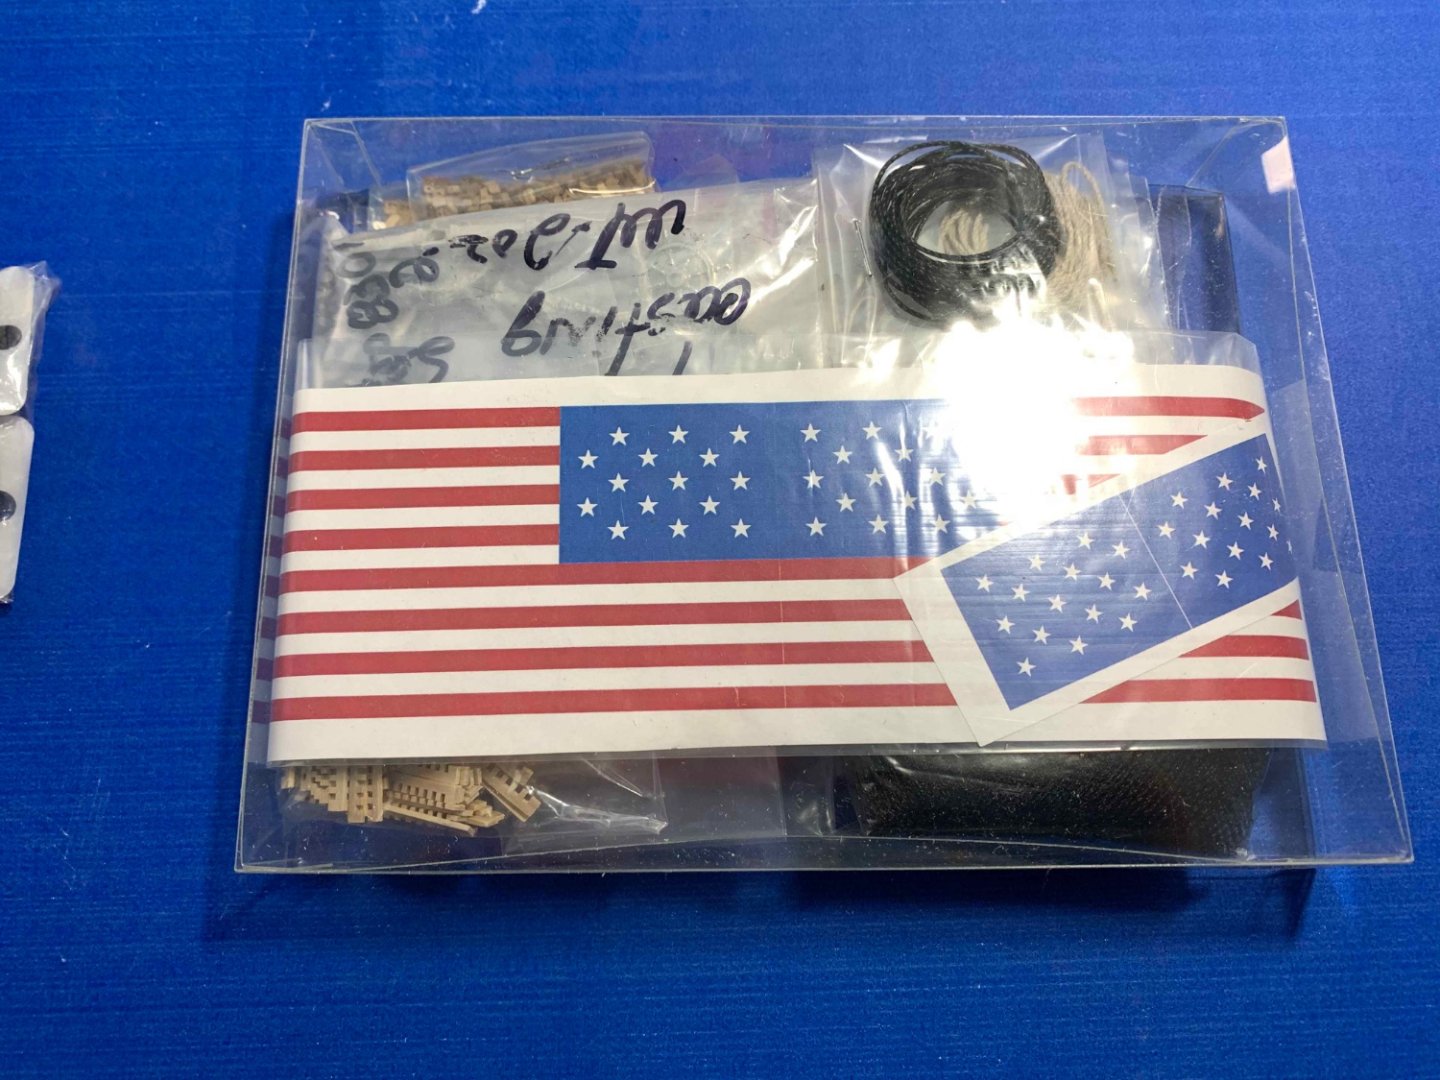
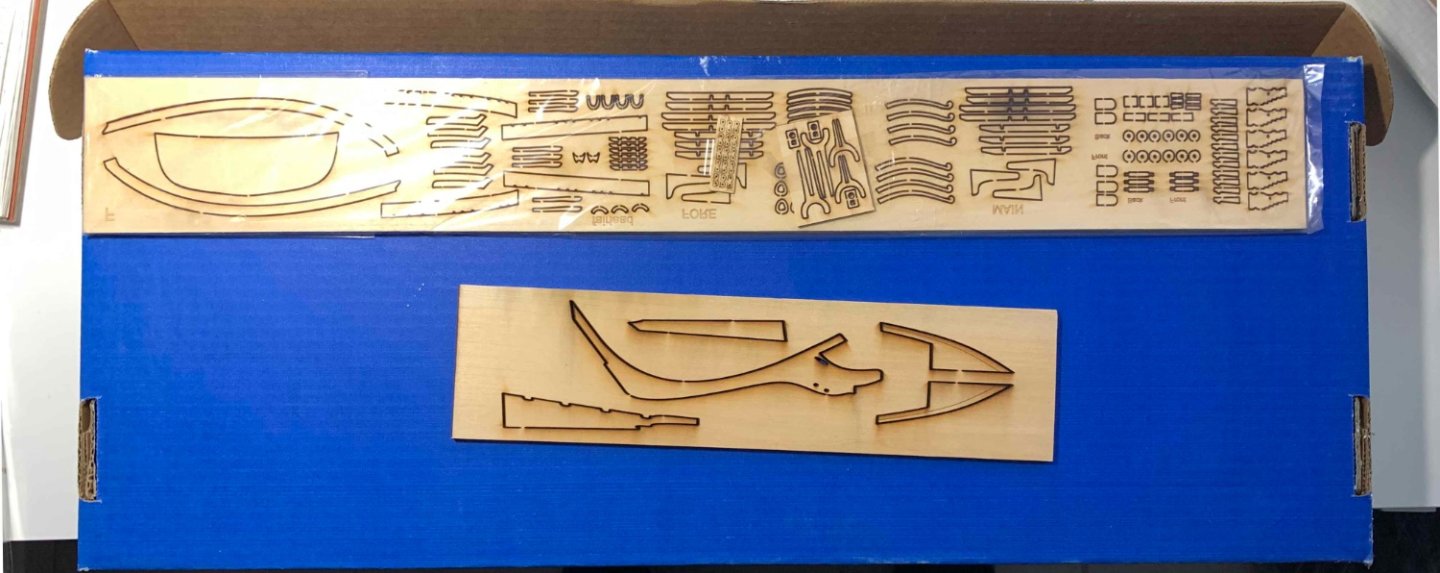
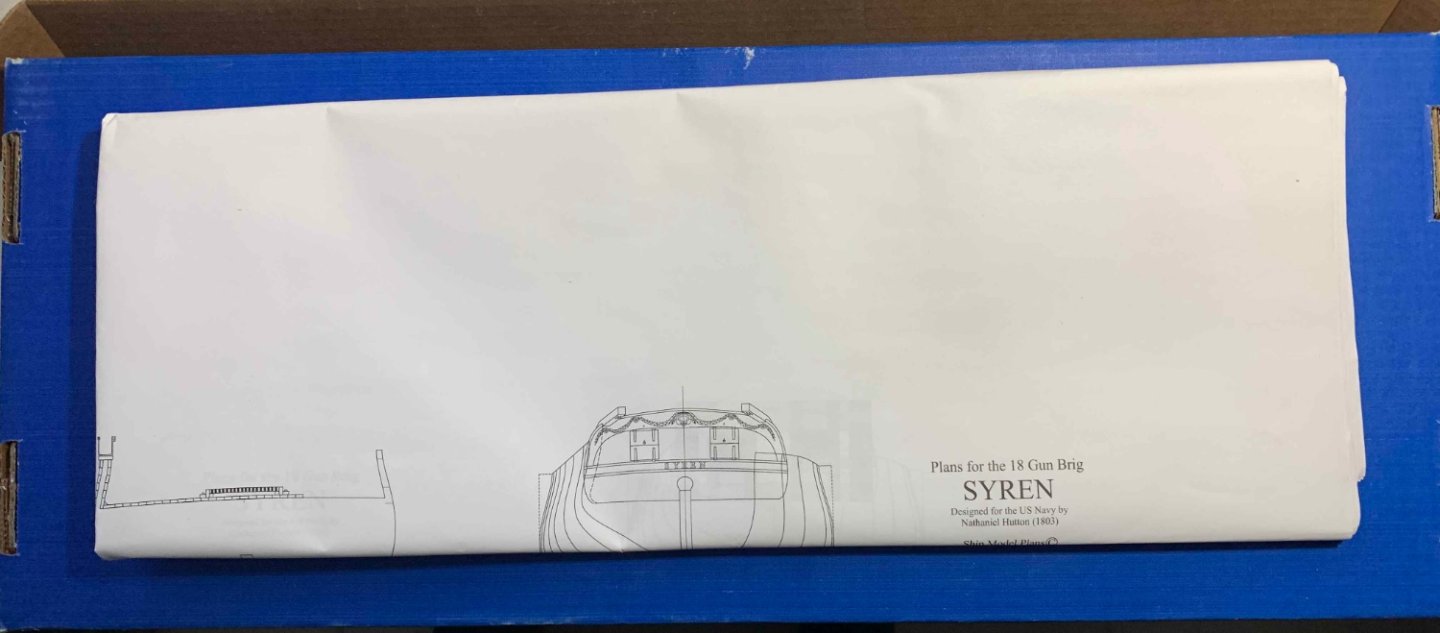
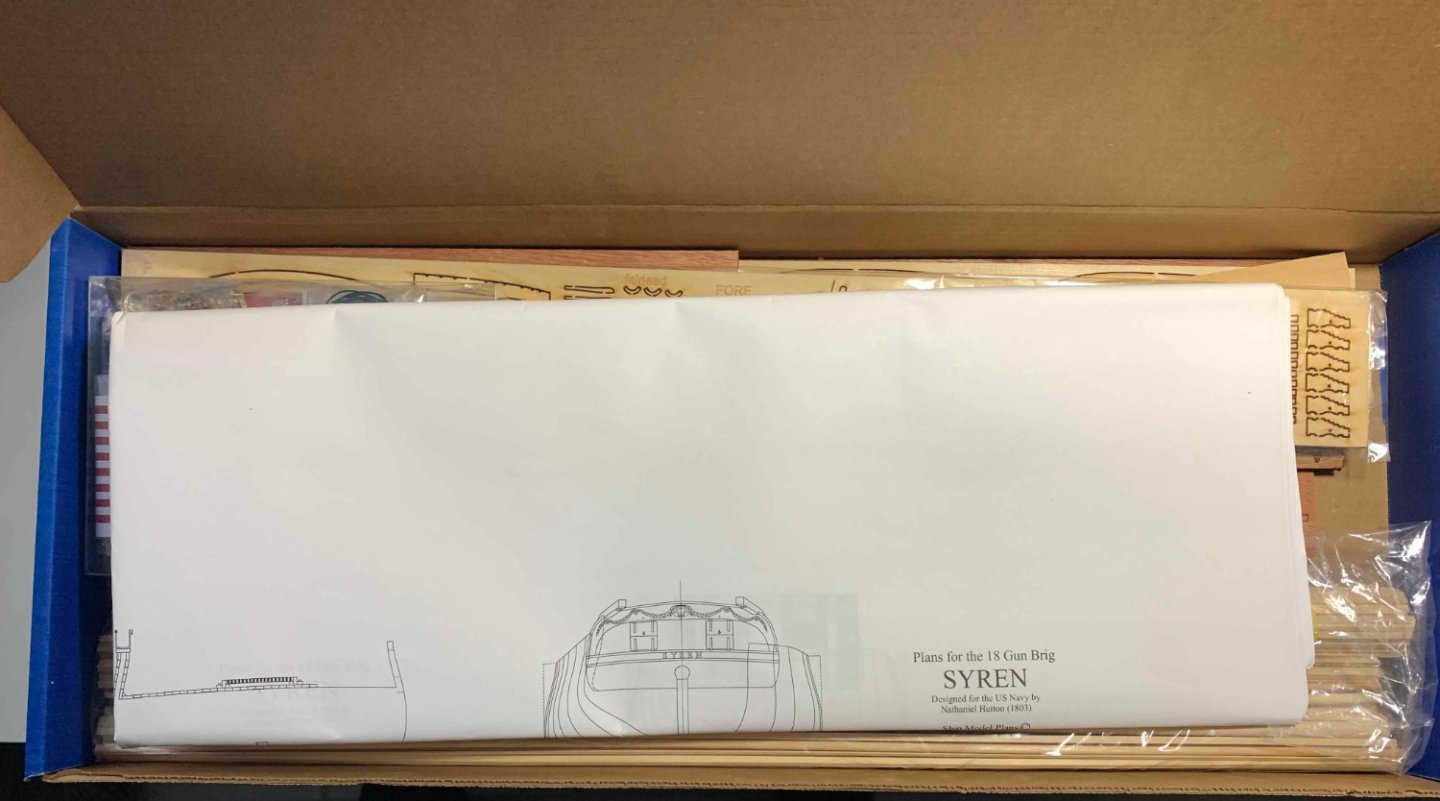
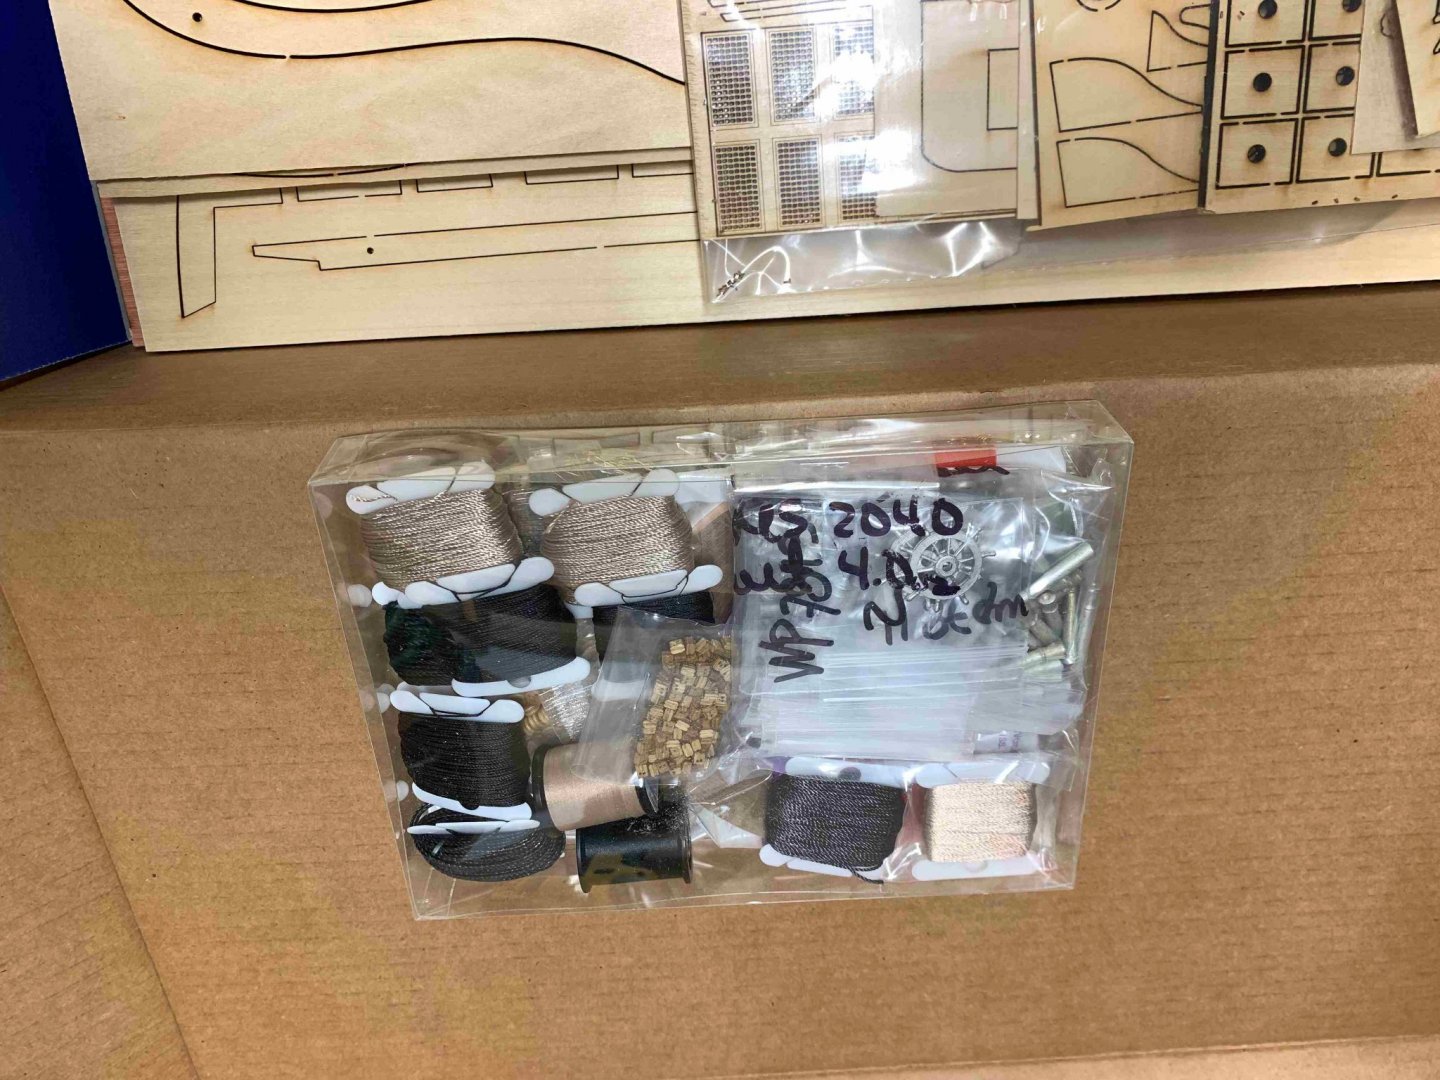
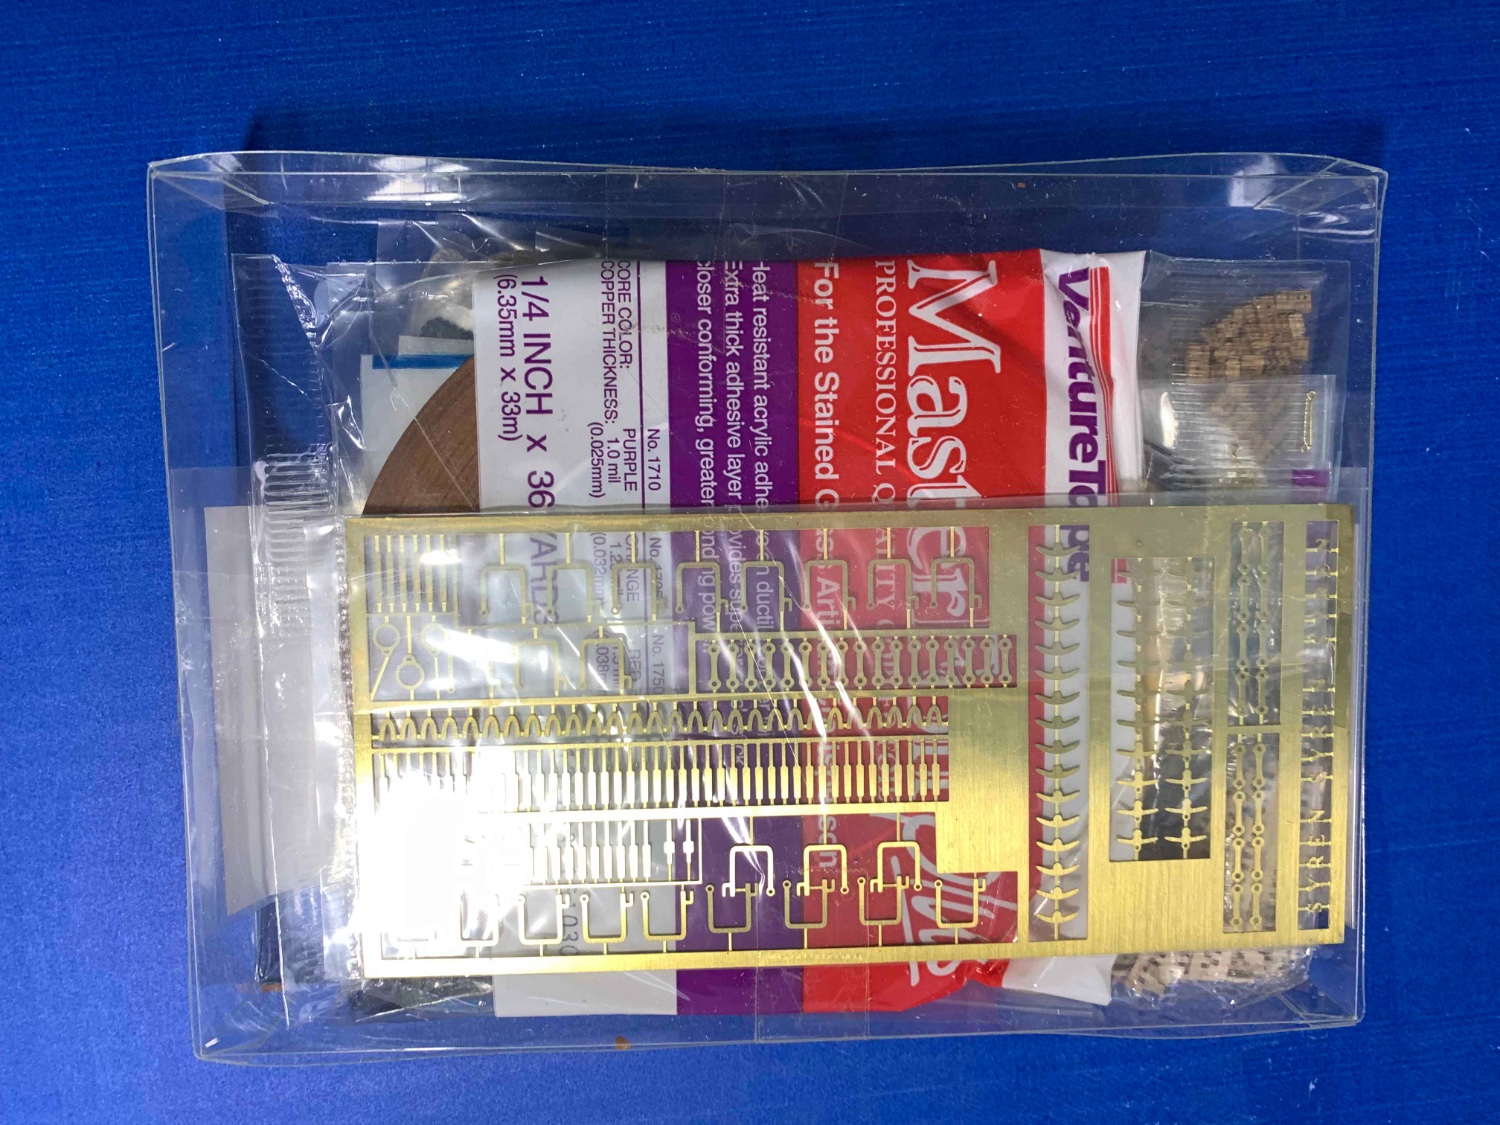
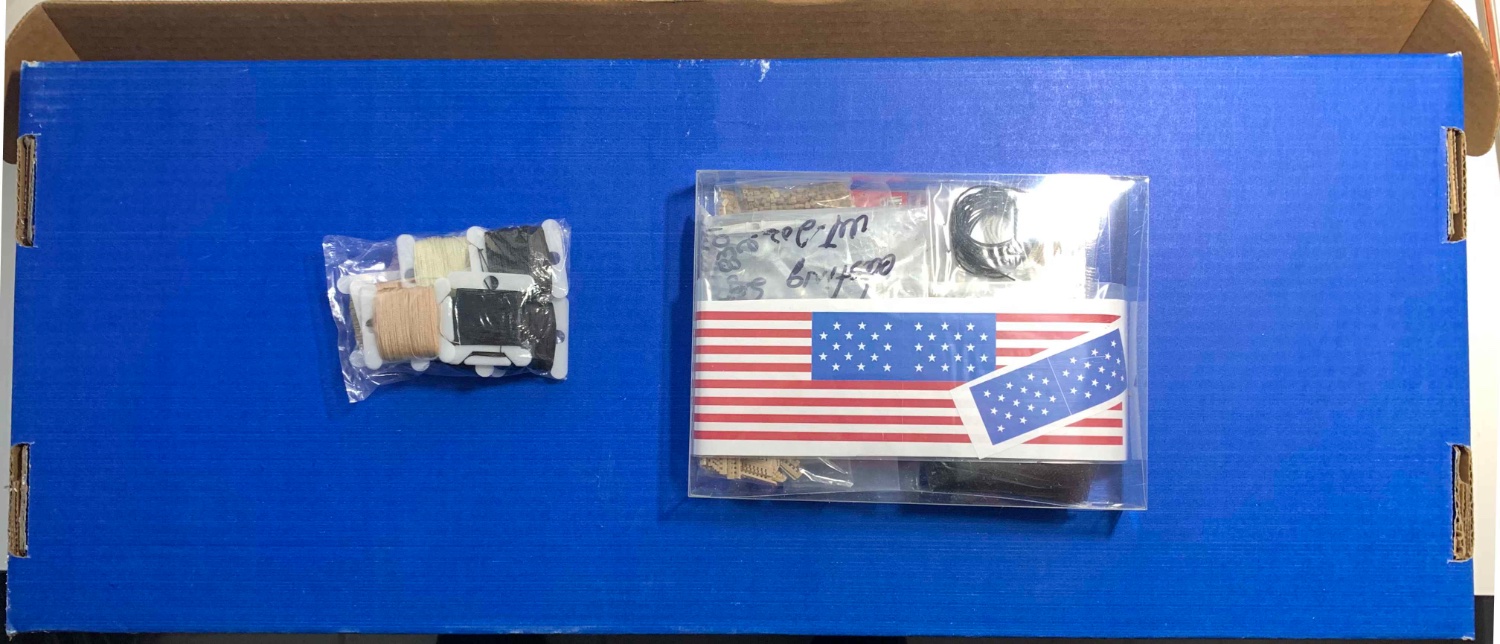
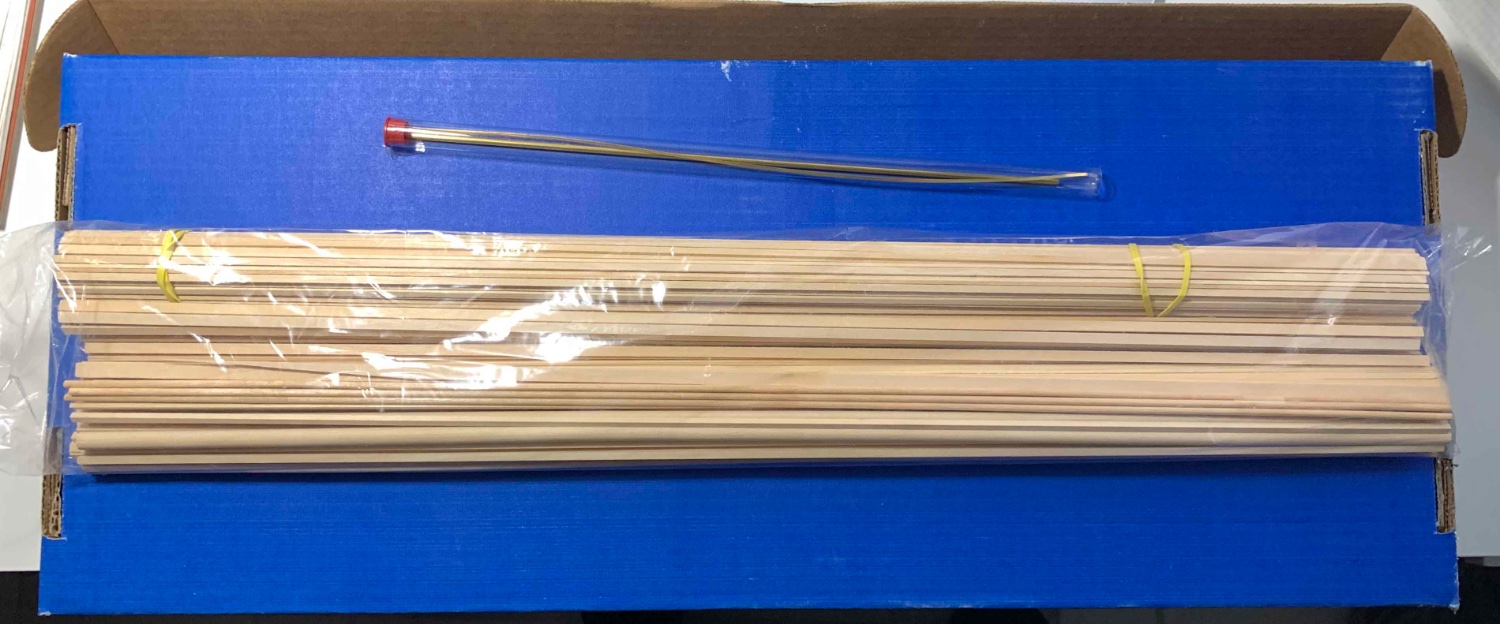
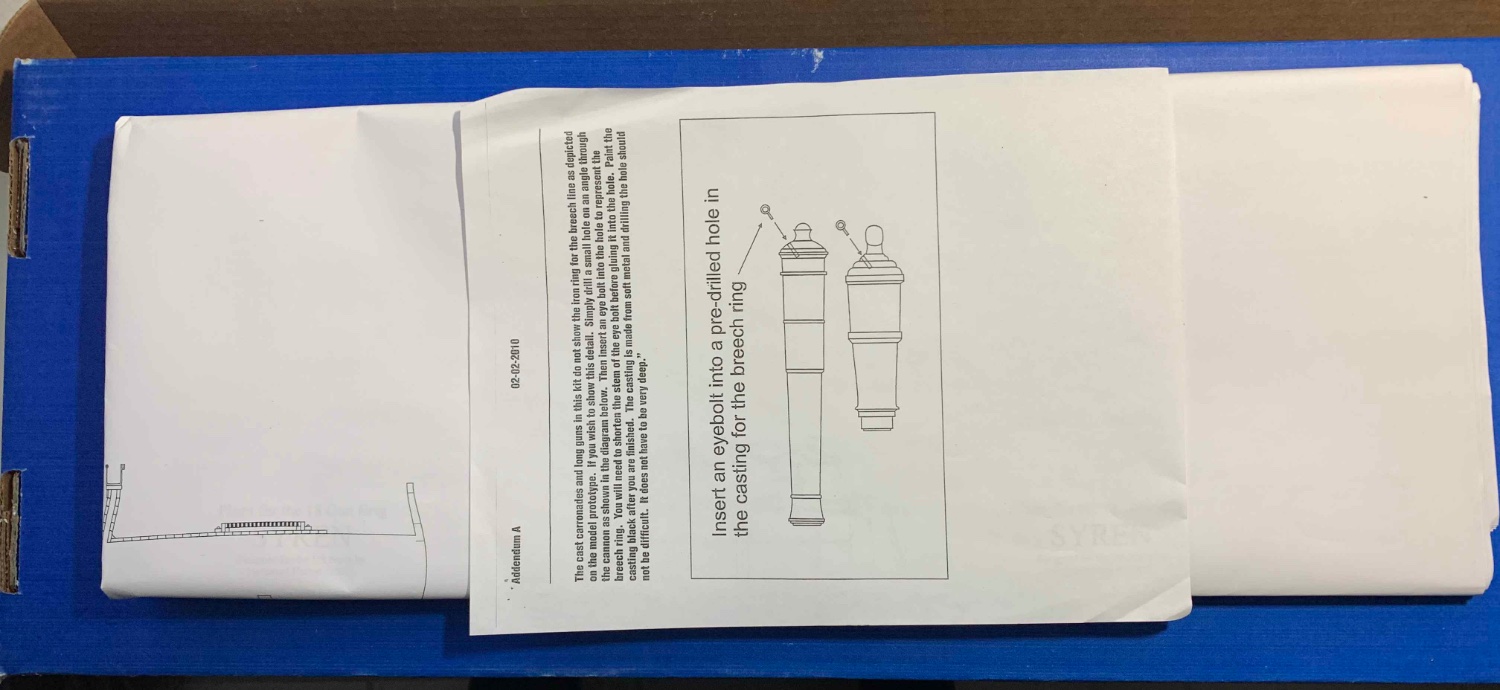
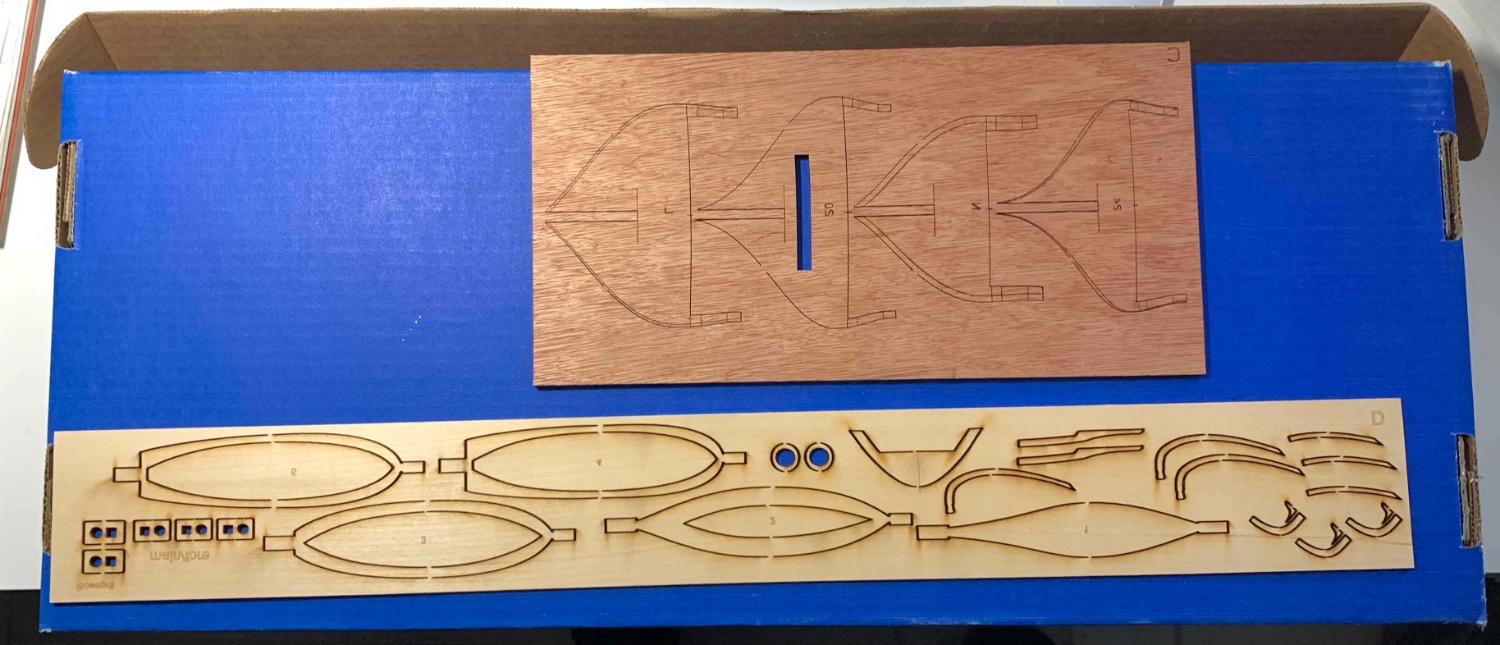
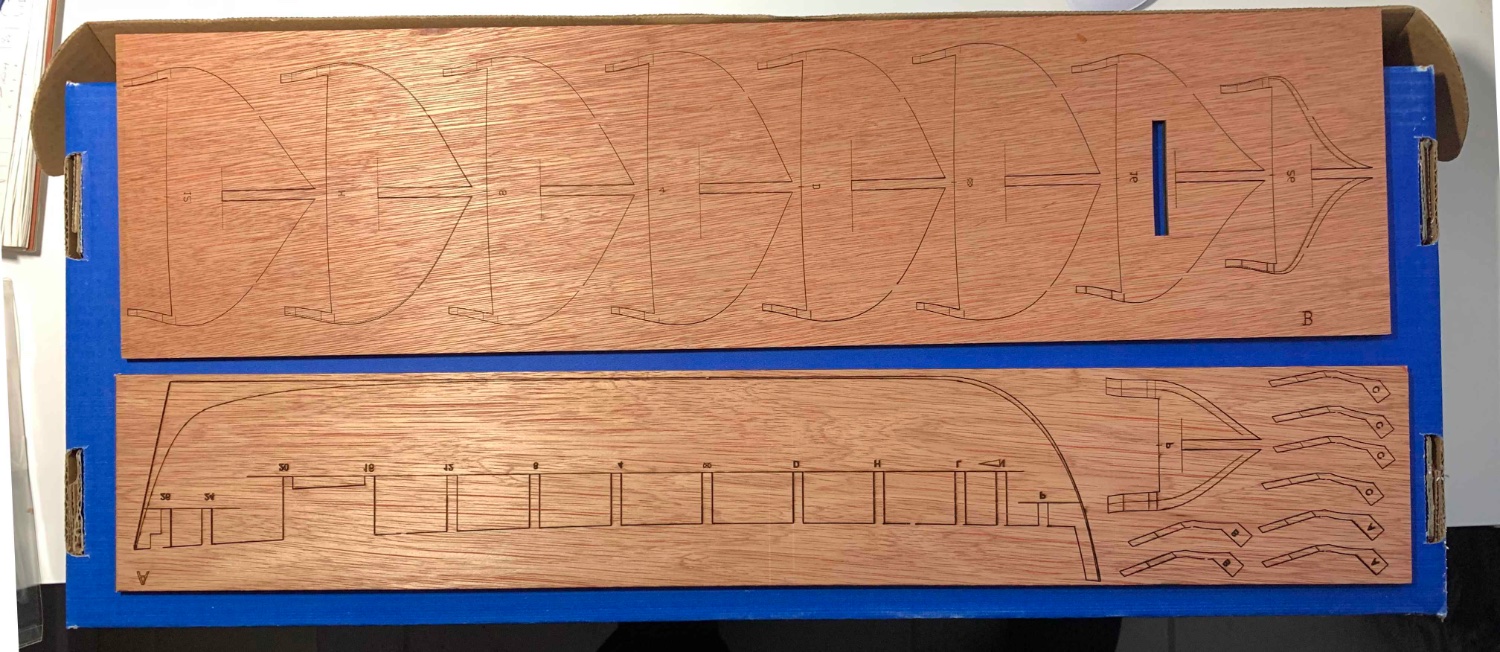
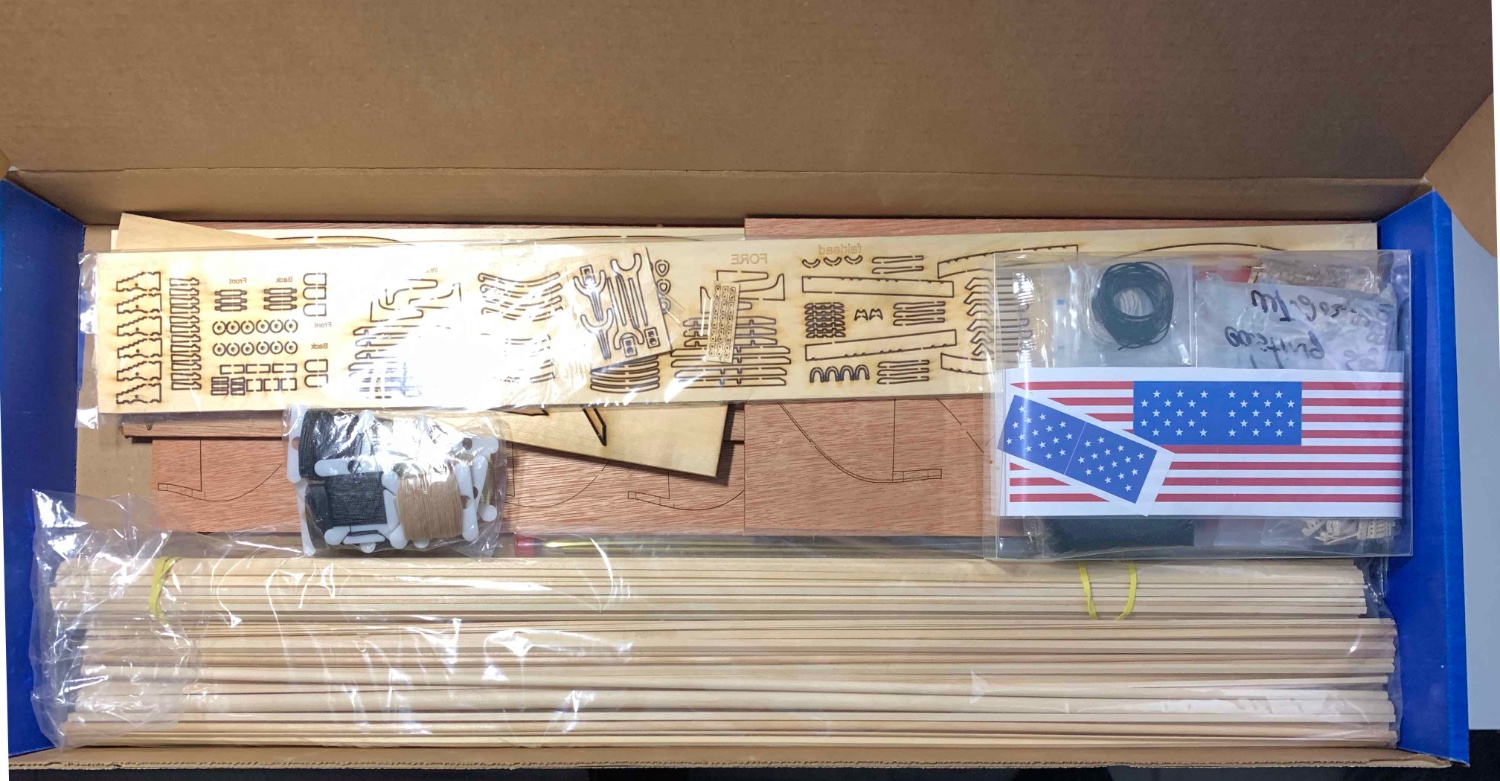
I am selling brand new kit, opened to take a picture of what is inside. Here is description of a model, taken from the manufacturer' web site:
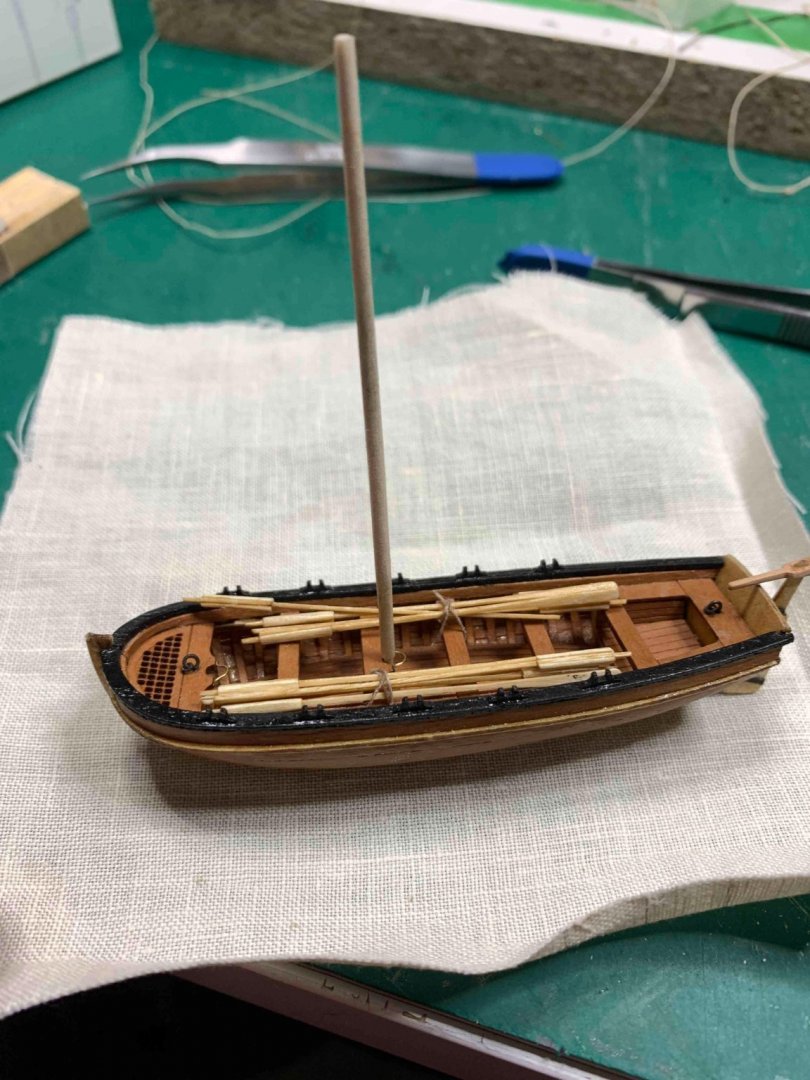
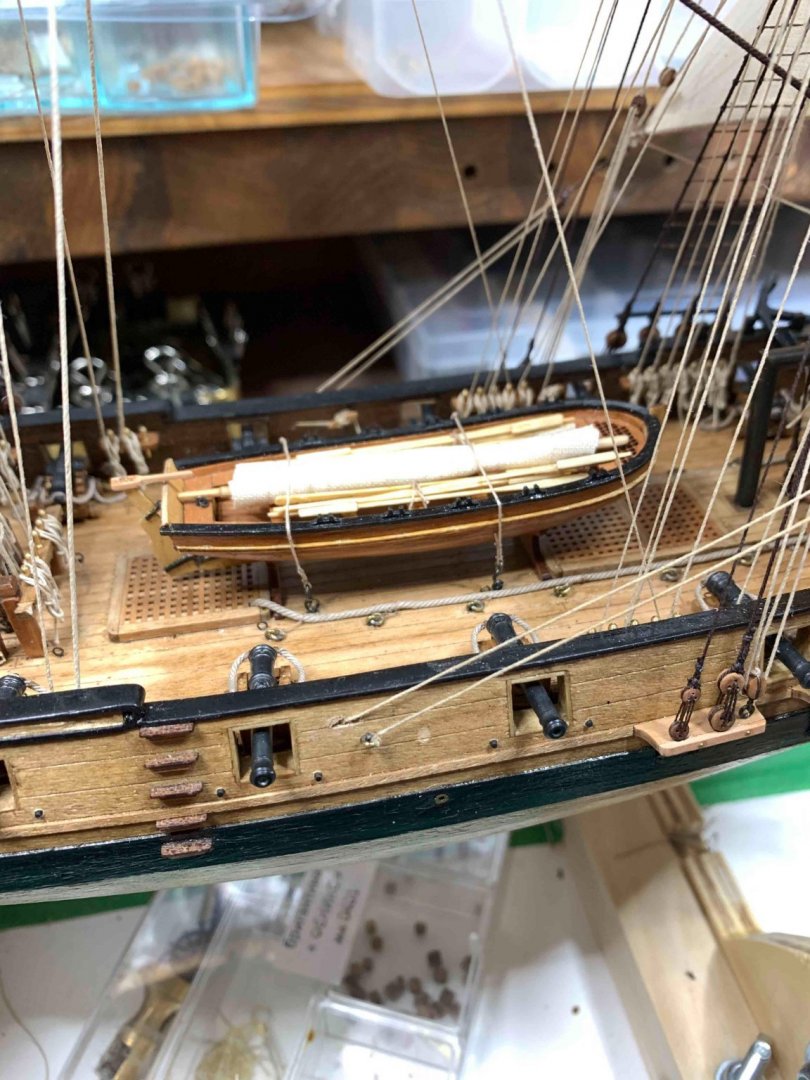
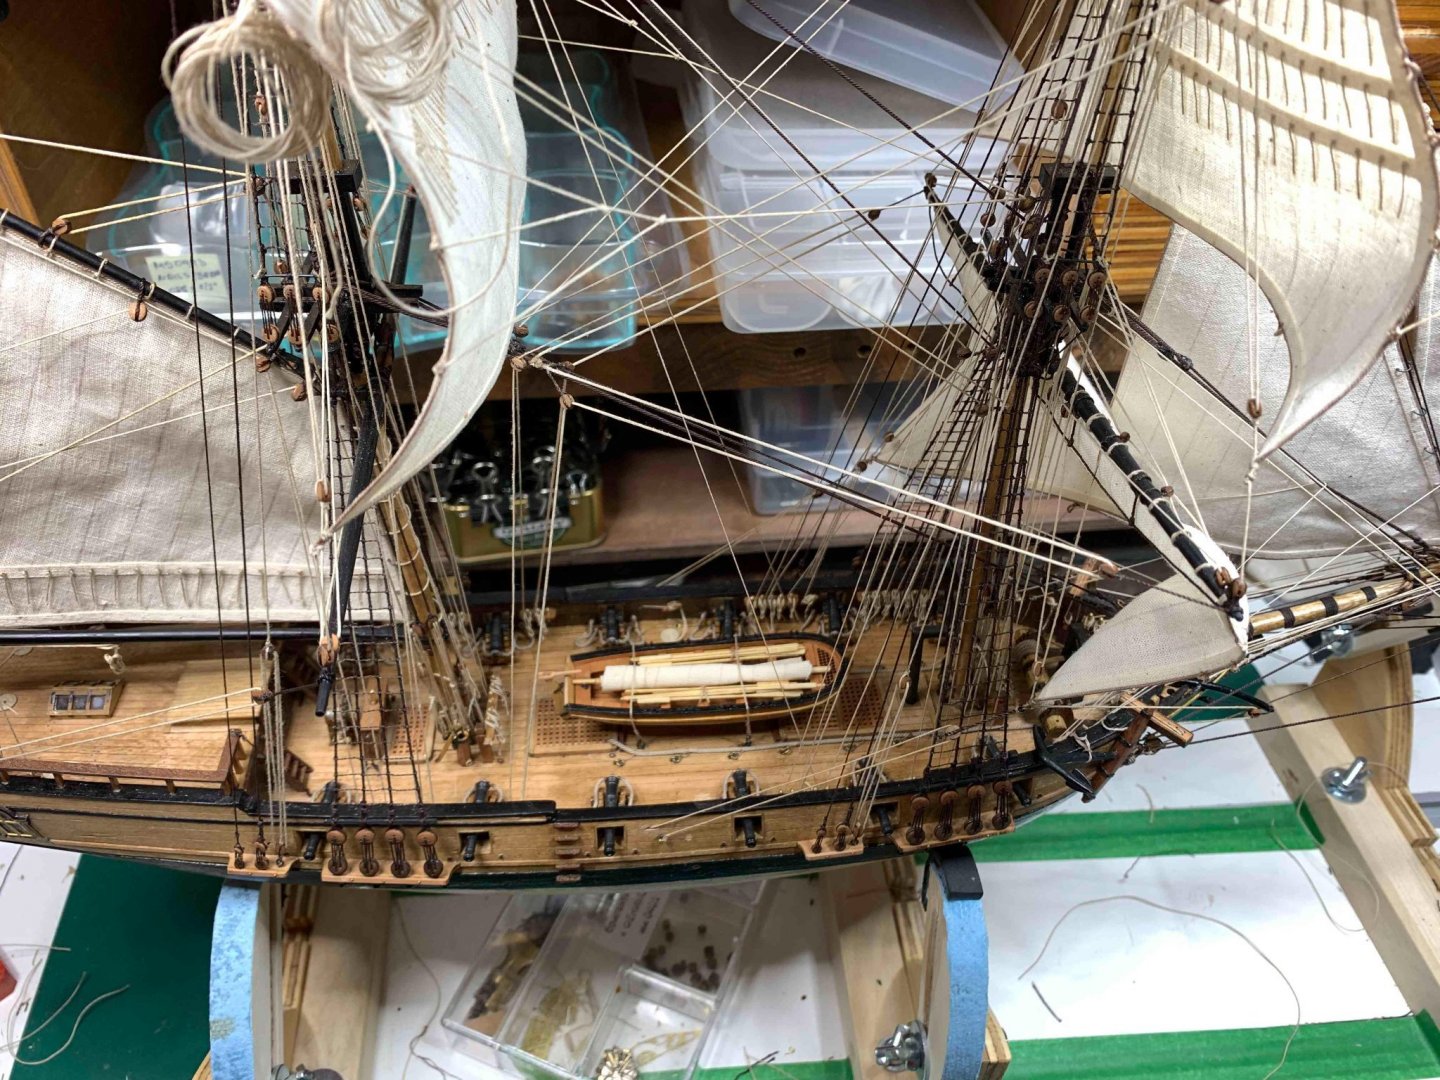
USS Syren, a 240-ton brig, was built by Nathaniel Hutton at Philadelphia in 1803. On September 27th, she set sail for Gibraltar under the command of Lt. Charles Stewart. Syren cruised the Mediterranean during the spring and summer of 1804 and participated in the attacks on Tripoli. She remained there for almost a year after the peace treaty with Tripoli was signed on June 10, 1805. Departing Gibraltar on May 28 of 1806, she reached the Washington Navy Yard in early August, where she was laid up until her reactivation in 1807. During her service in the War of 1812, she was captured by the 74-gun HMS Medway after an 11-hour chase.
Designed by master modeler Chuck Passaro, Model Shipways' kit is authentic to the last detail. Basswood keel and bulkheads are laser cut foreasy assembly, and framing templates help you build a perfect hull.
We supply several sizes of basswood strips for deck and hull planking, plus self-adhesive copper tape for plating the hull below the waterline. An abundant fittings package includes photo-etched brass detailing, brass eyebolts, Belaying Pins, nails, gudgeons and pintles, over 200 wooden blocks and deadeyes, gratings, plus dowels for masts and spars. Several sizes of tan and black rigging line, netting, printed flags and grating are supplied as well. Armament consists of 16 precision-cast Britannia metal carronades and two long guns on wooden trucks. The model carries a ship's longboat that's a mini-kit in itself. Actual sized plans are on 8 sheets, and 140-page spiral bound instruction manual shows all stages of construction.KIT FEATURESHistorically accurate and perfectly scaledPlank-on-bulkhead constructionTrue-to-scale wood, brass and Britannia metal fittingsShip's longboat that's a mini-kit in itself8 full size plan sheets130-page illustrated assembly manualMODEL SPECIFICATIONSLength: 33"Height: 27"Scale: 3/16" = 1 ft.The price is US $299.00.Shipping will be calculated depending on the destination, desired shipping options and will be added to the kit price. If you are close to Vancouver, BC, we can arrange pickup.Thank you.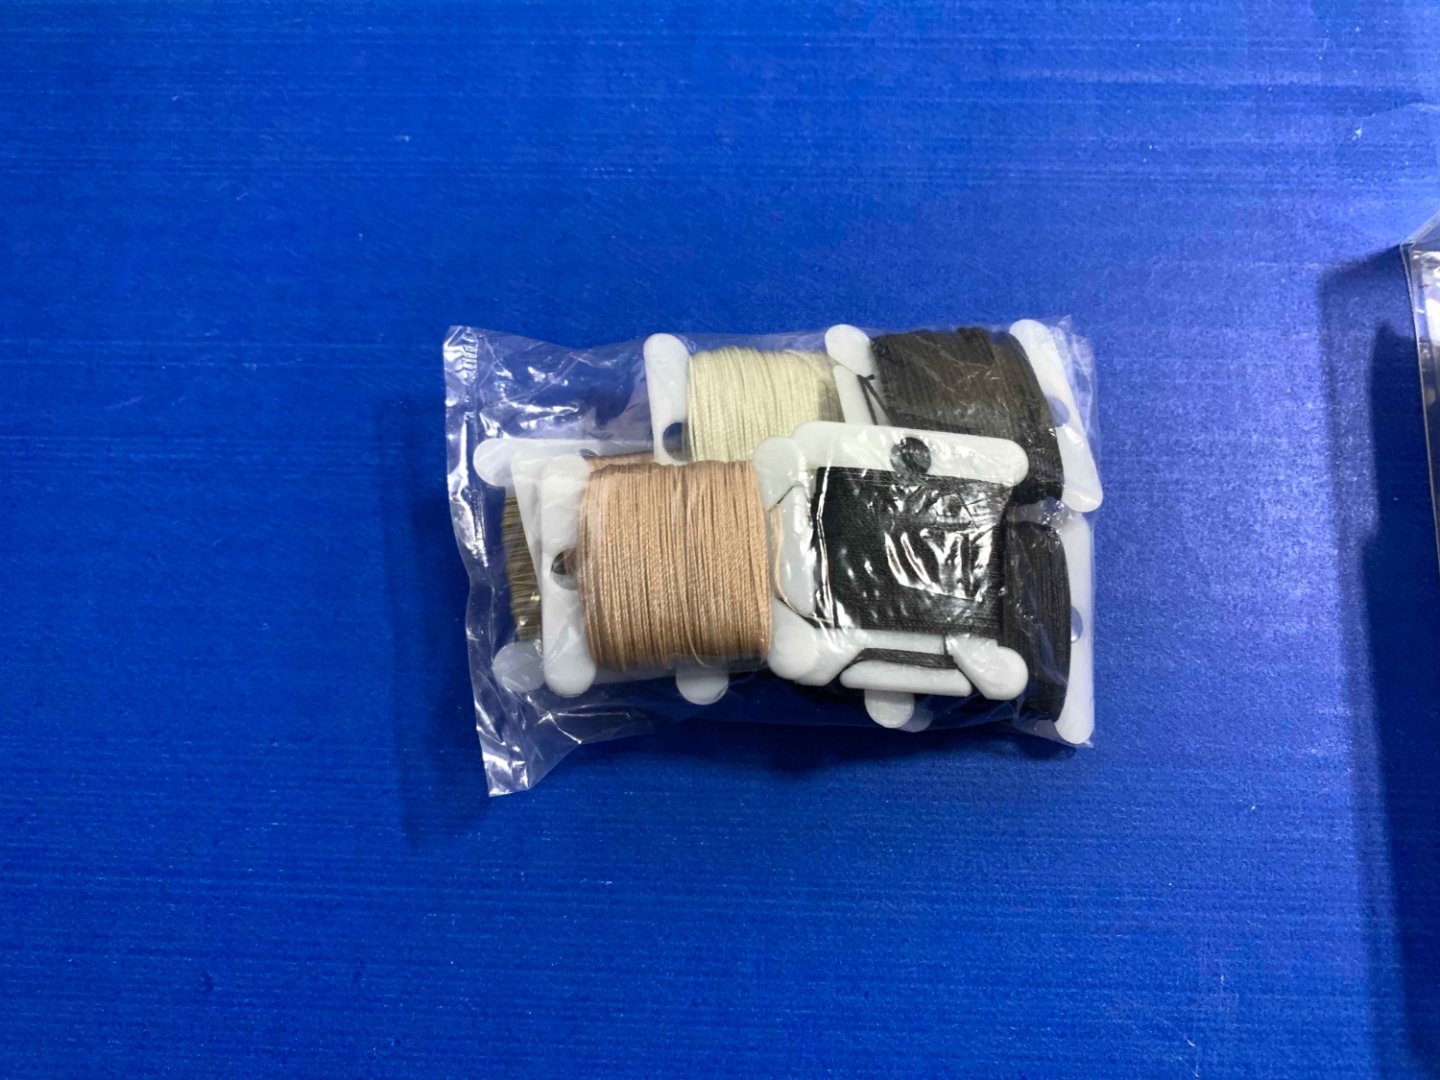


-
-
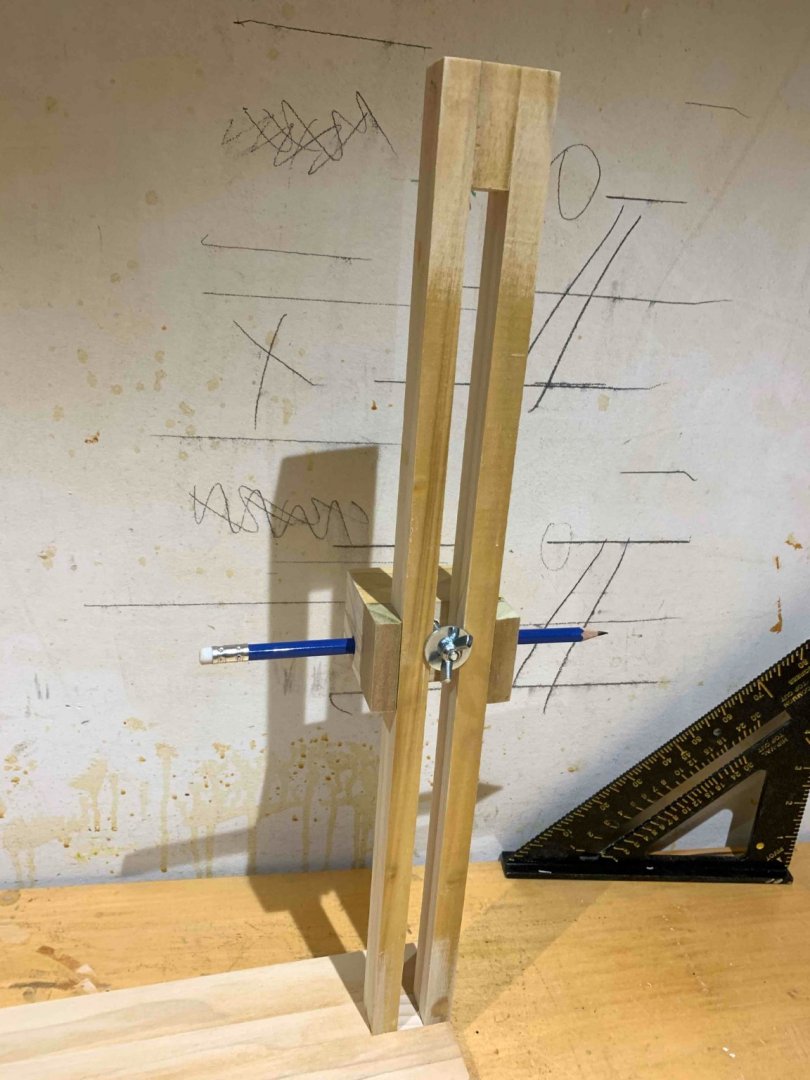
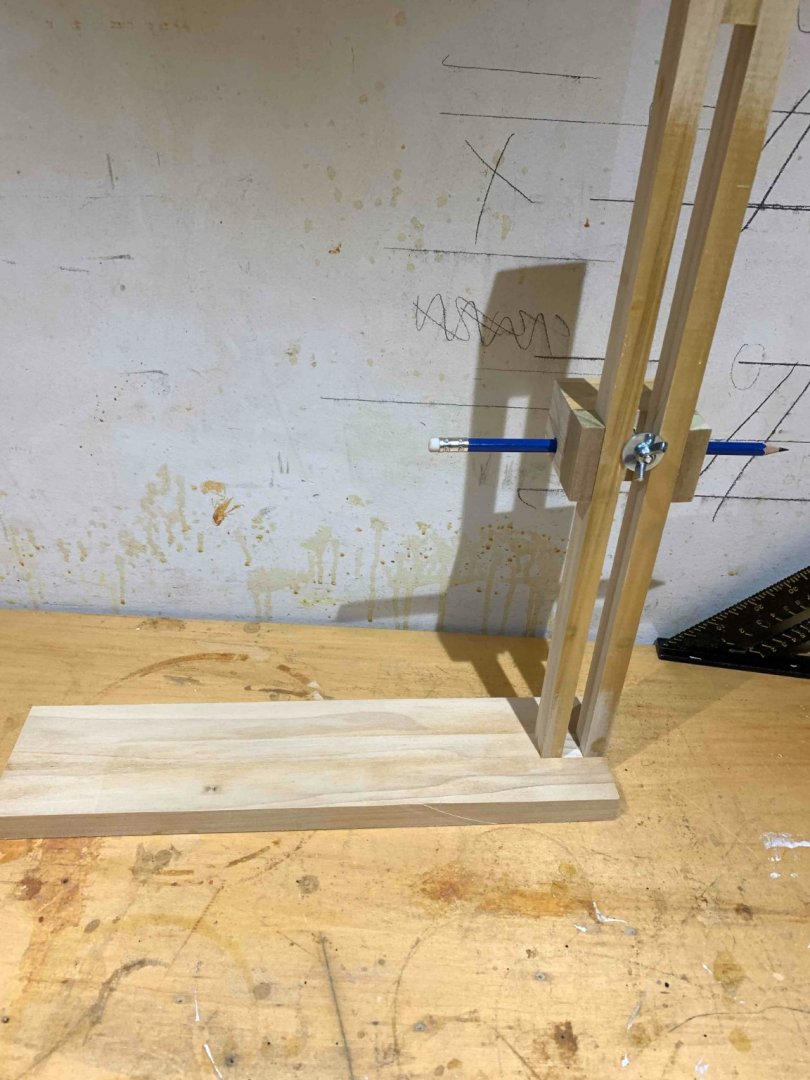
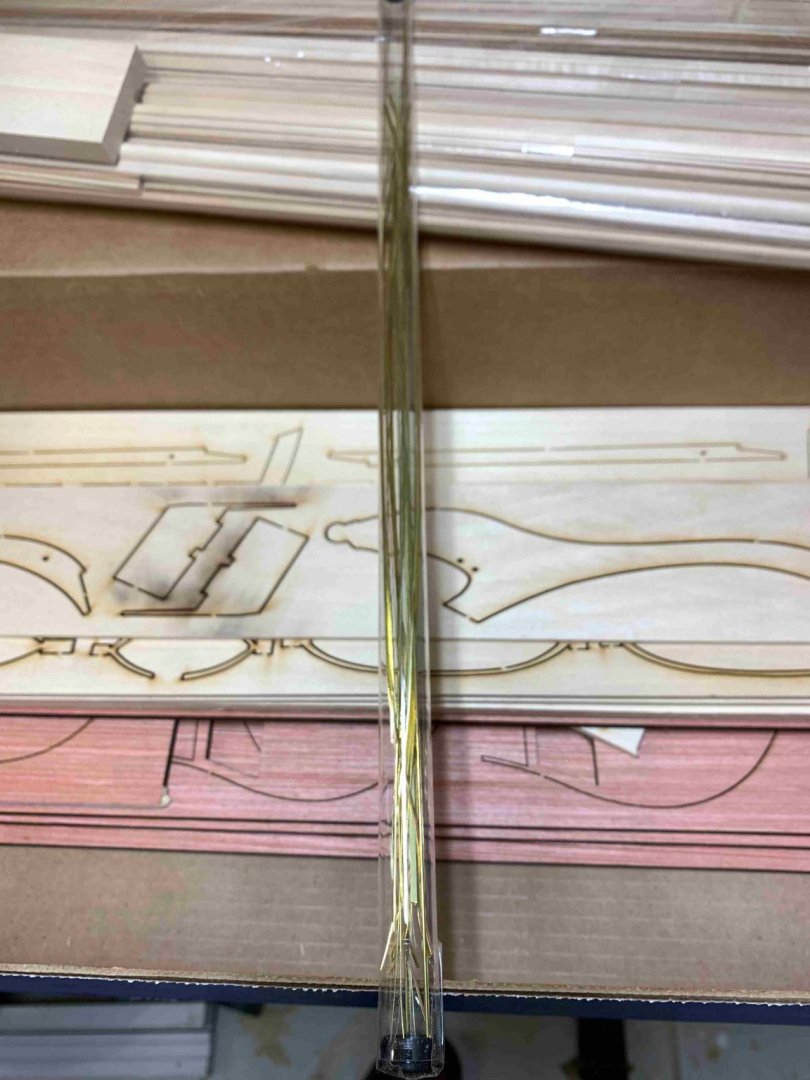
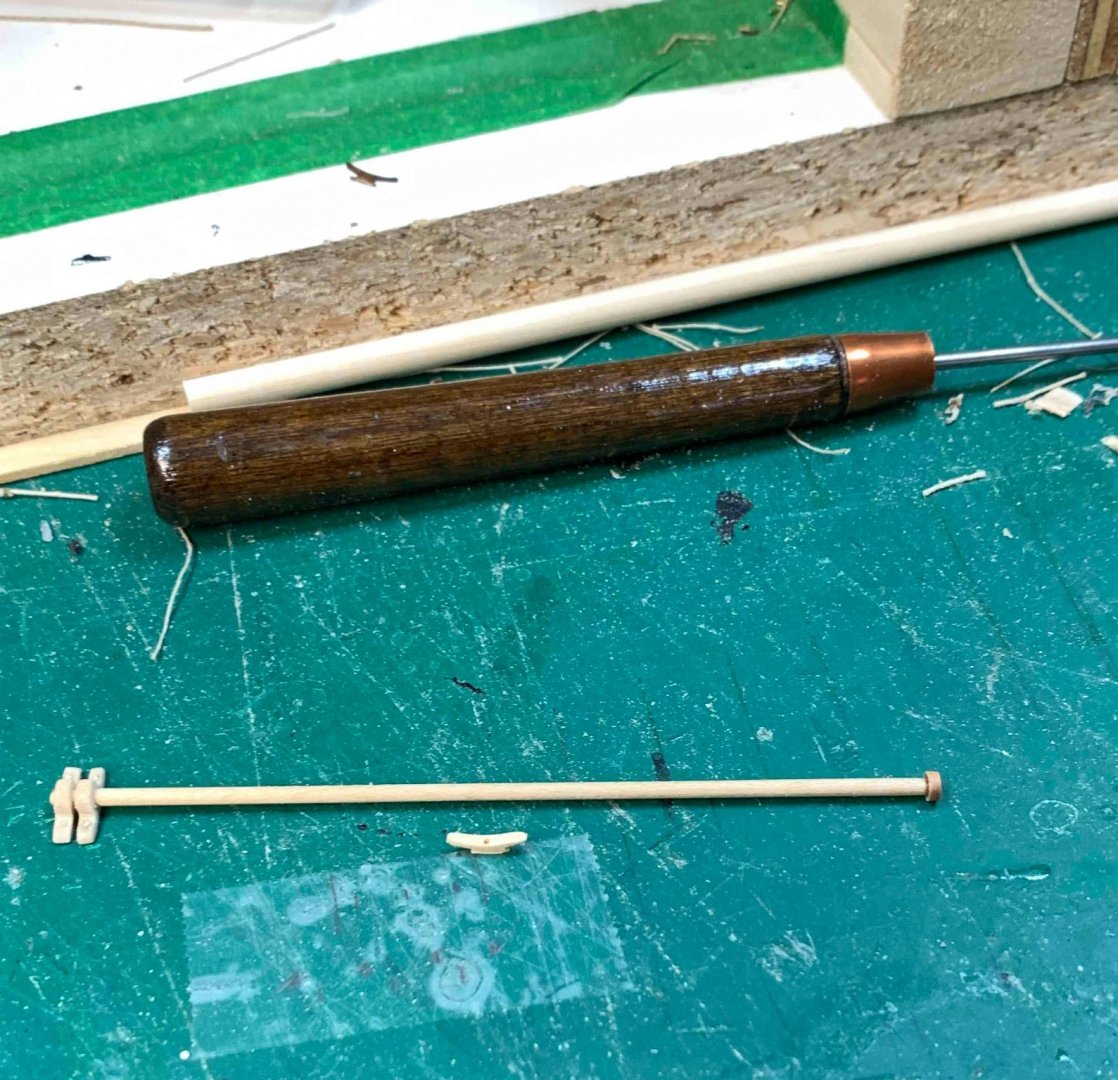
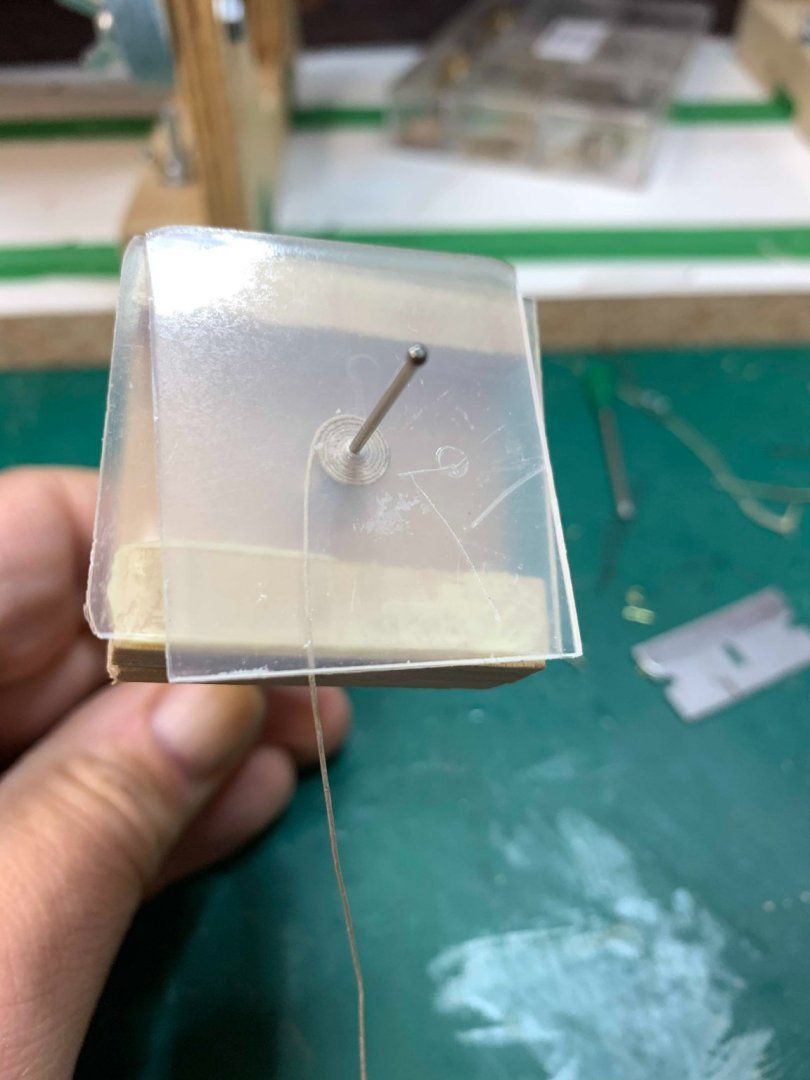
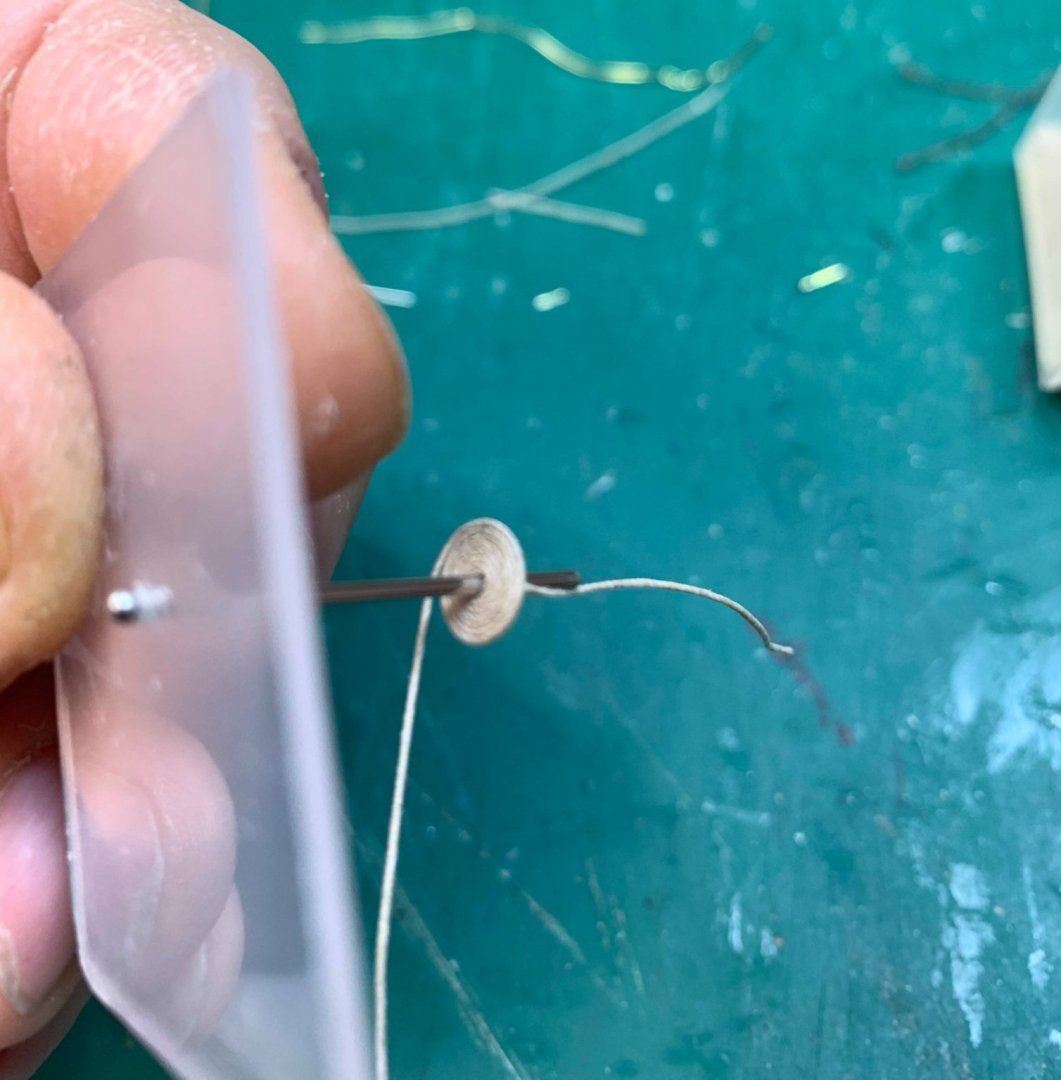
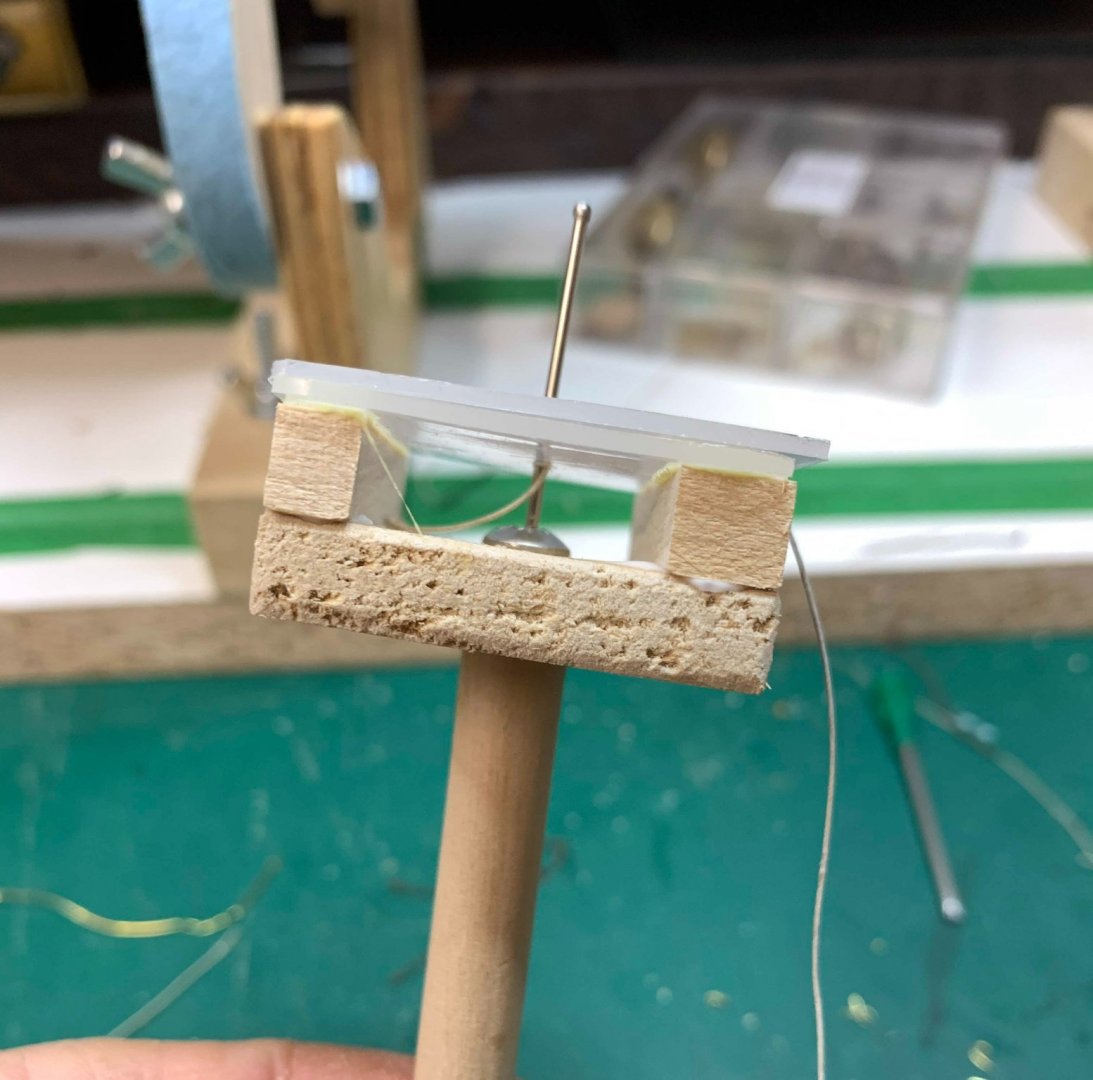
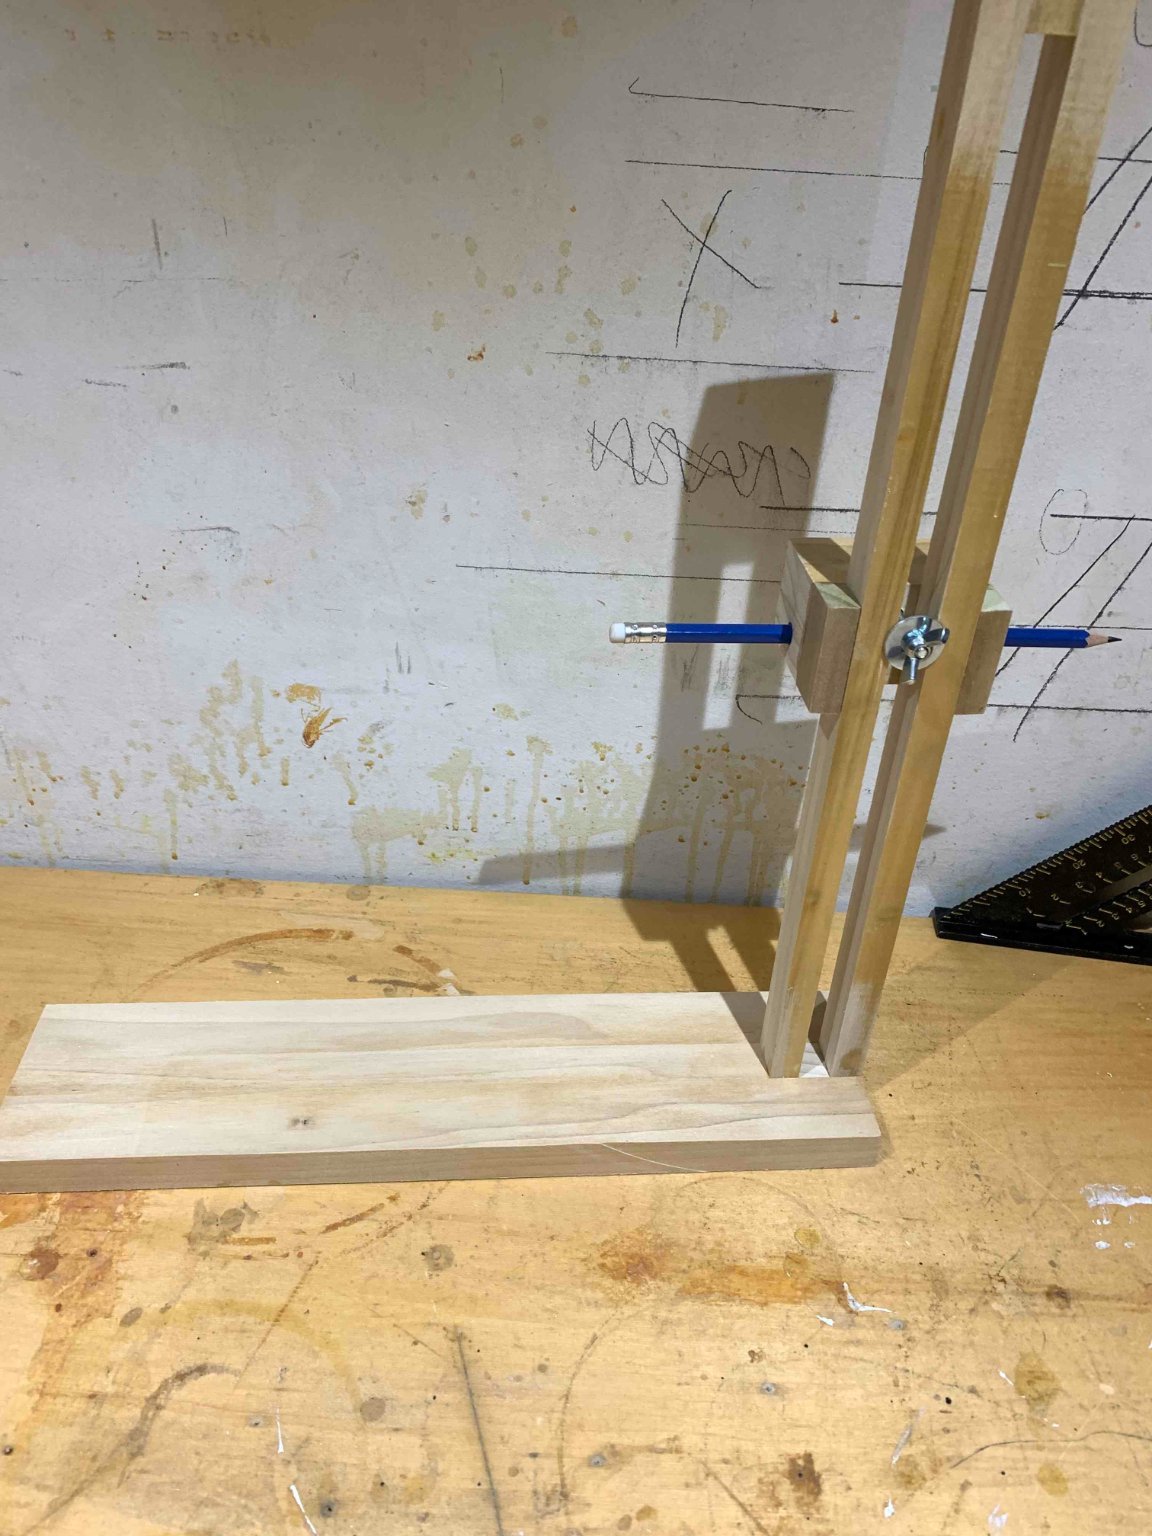
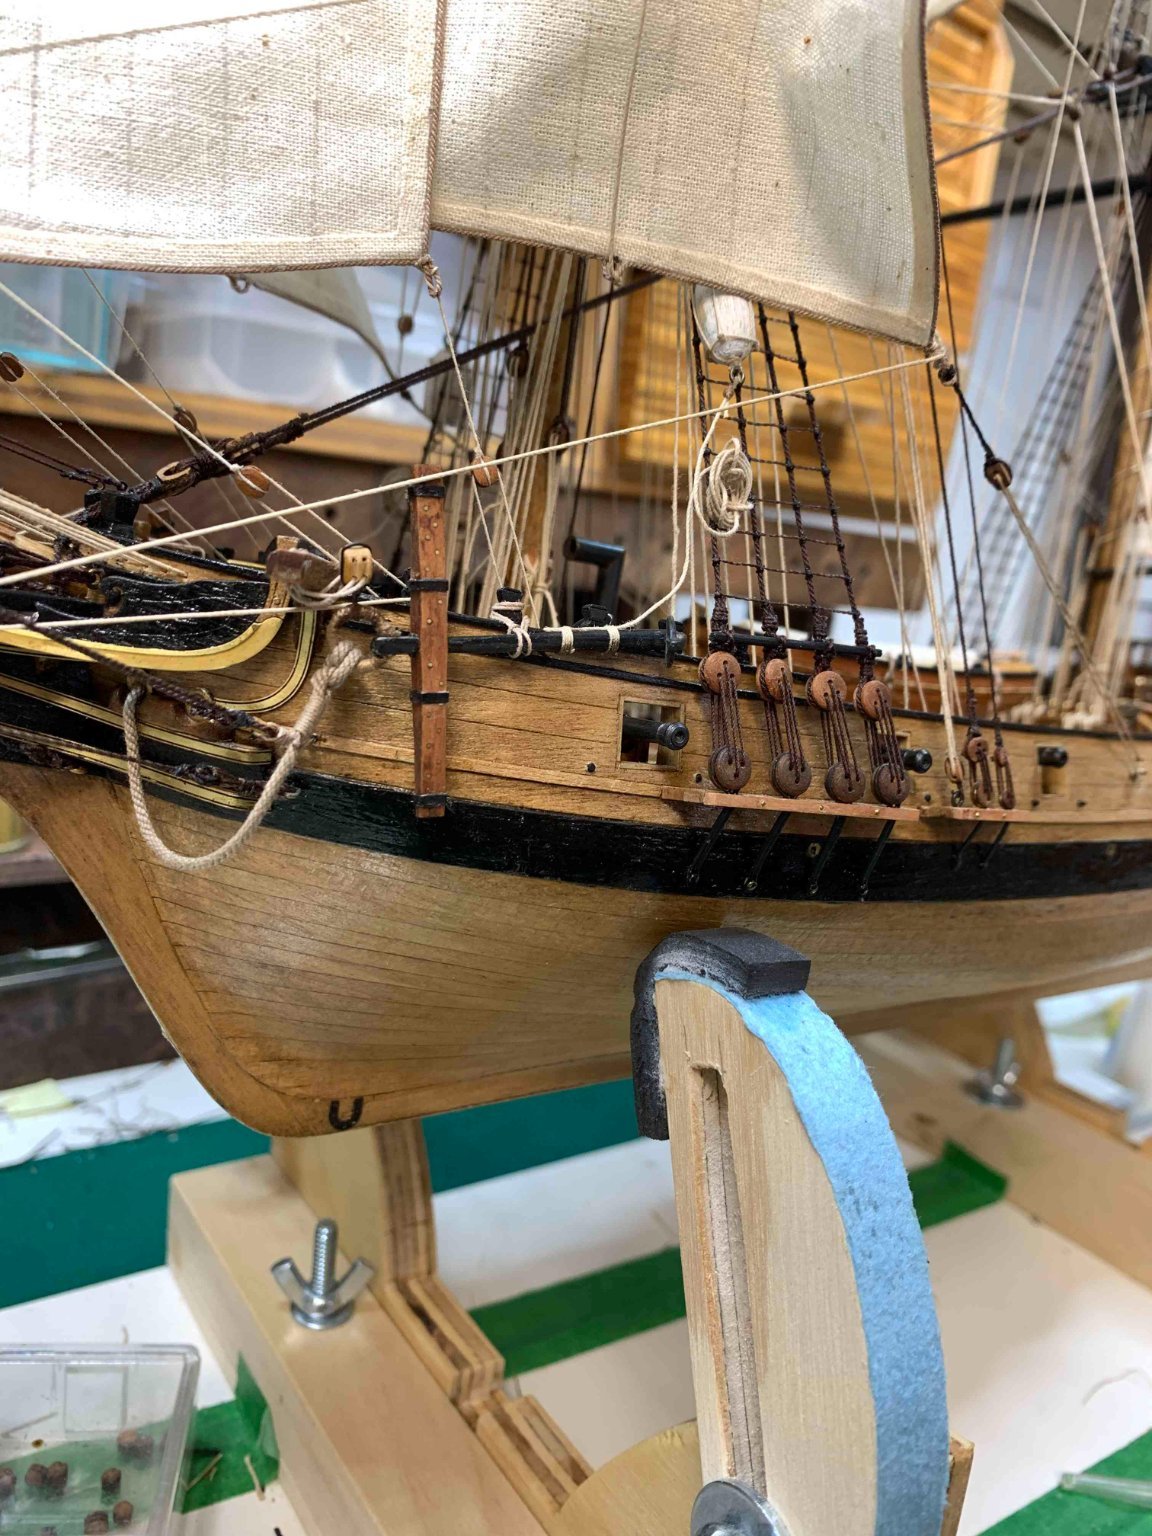
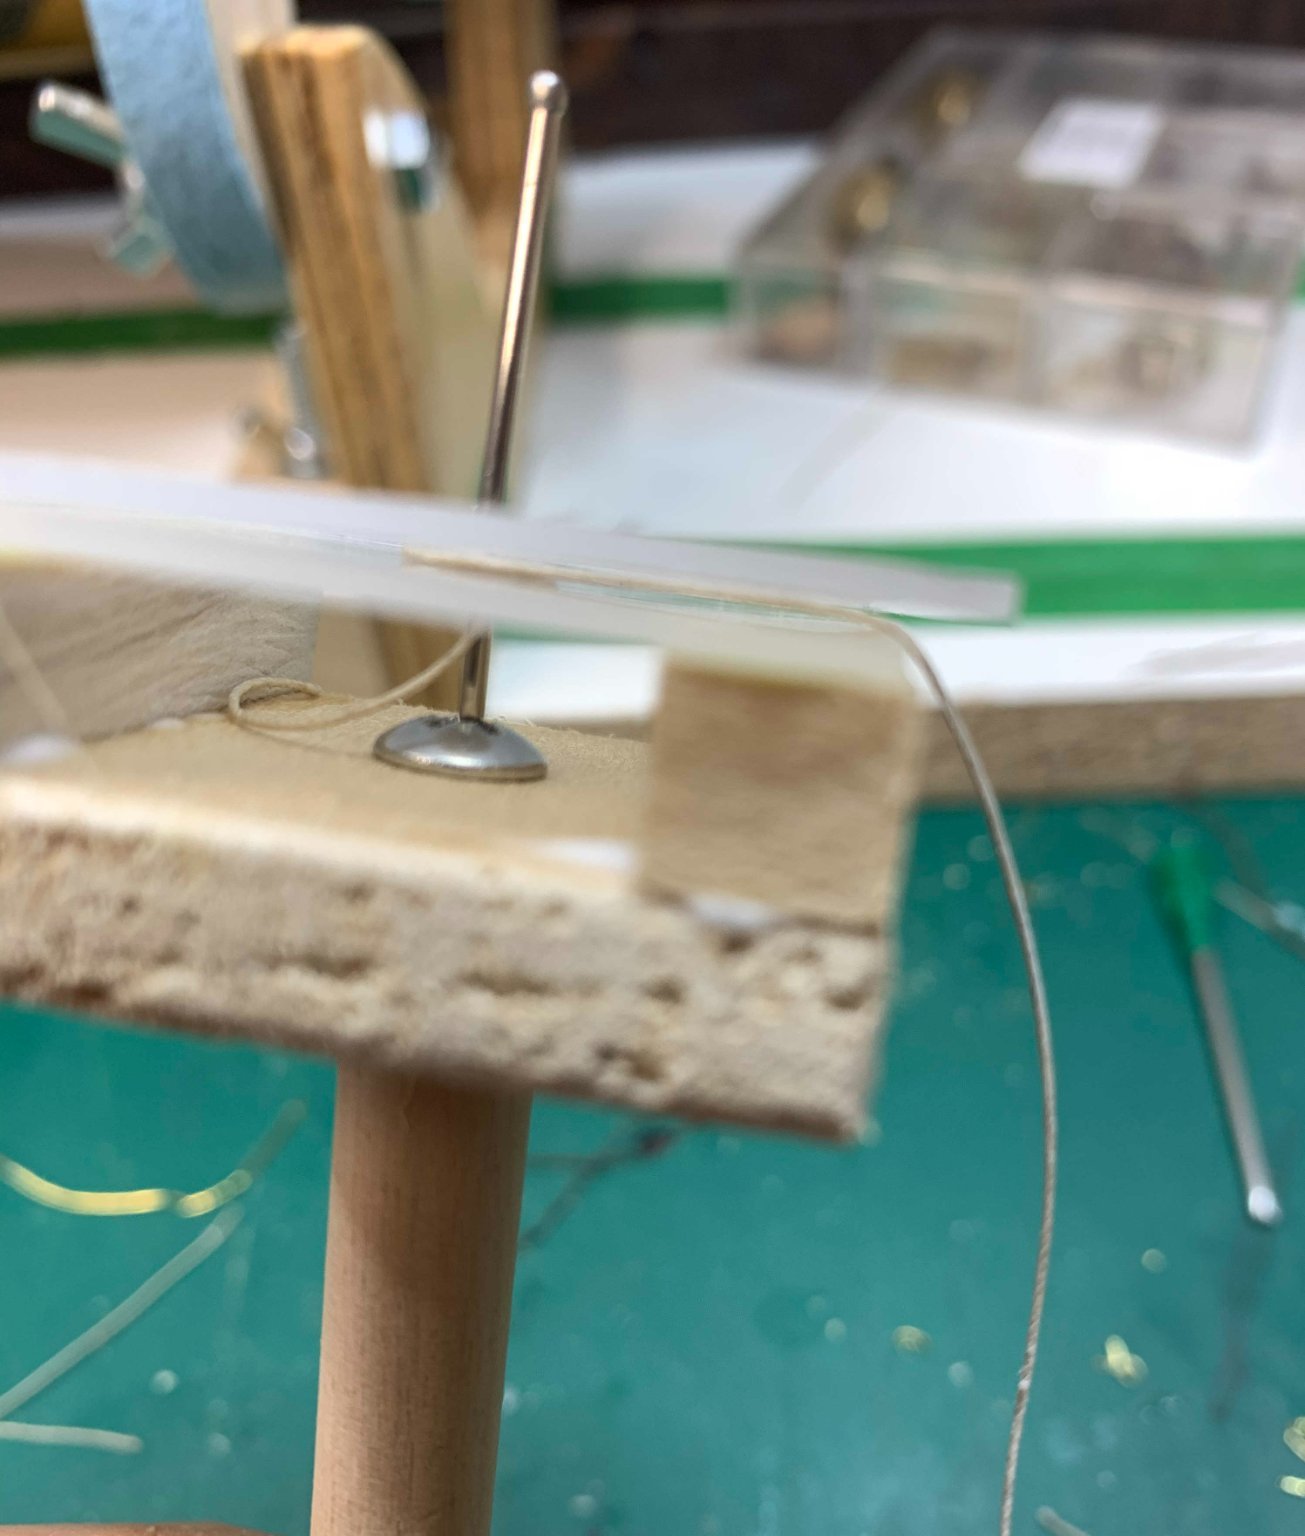
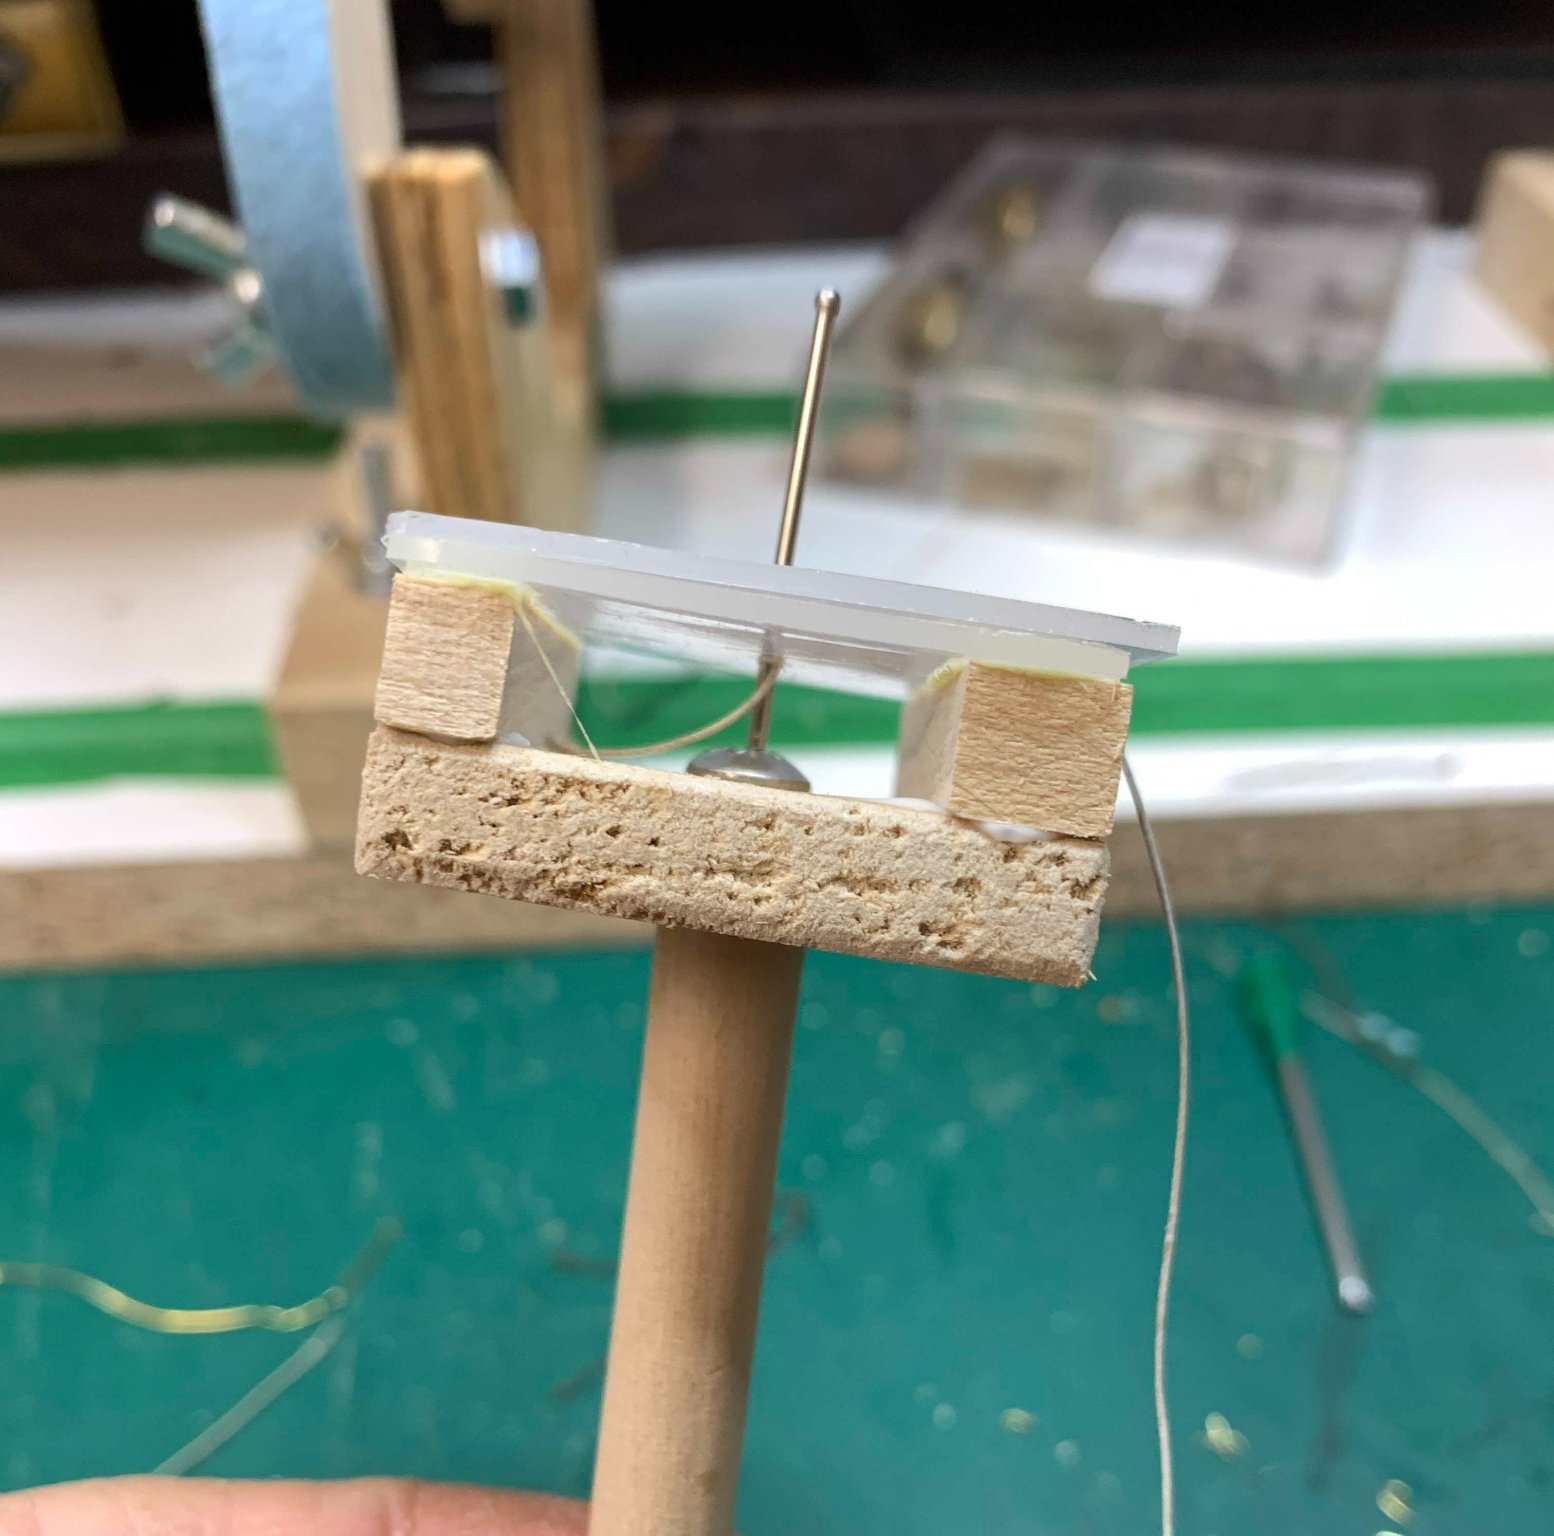
While waiting for a plexiglass to arrive (it will be used for ship protection), made waterline tool...
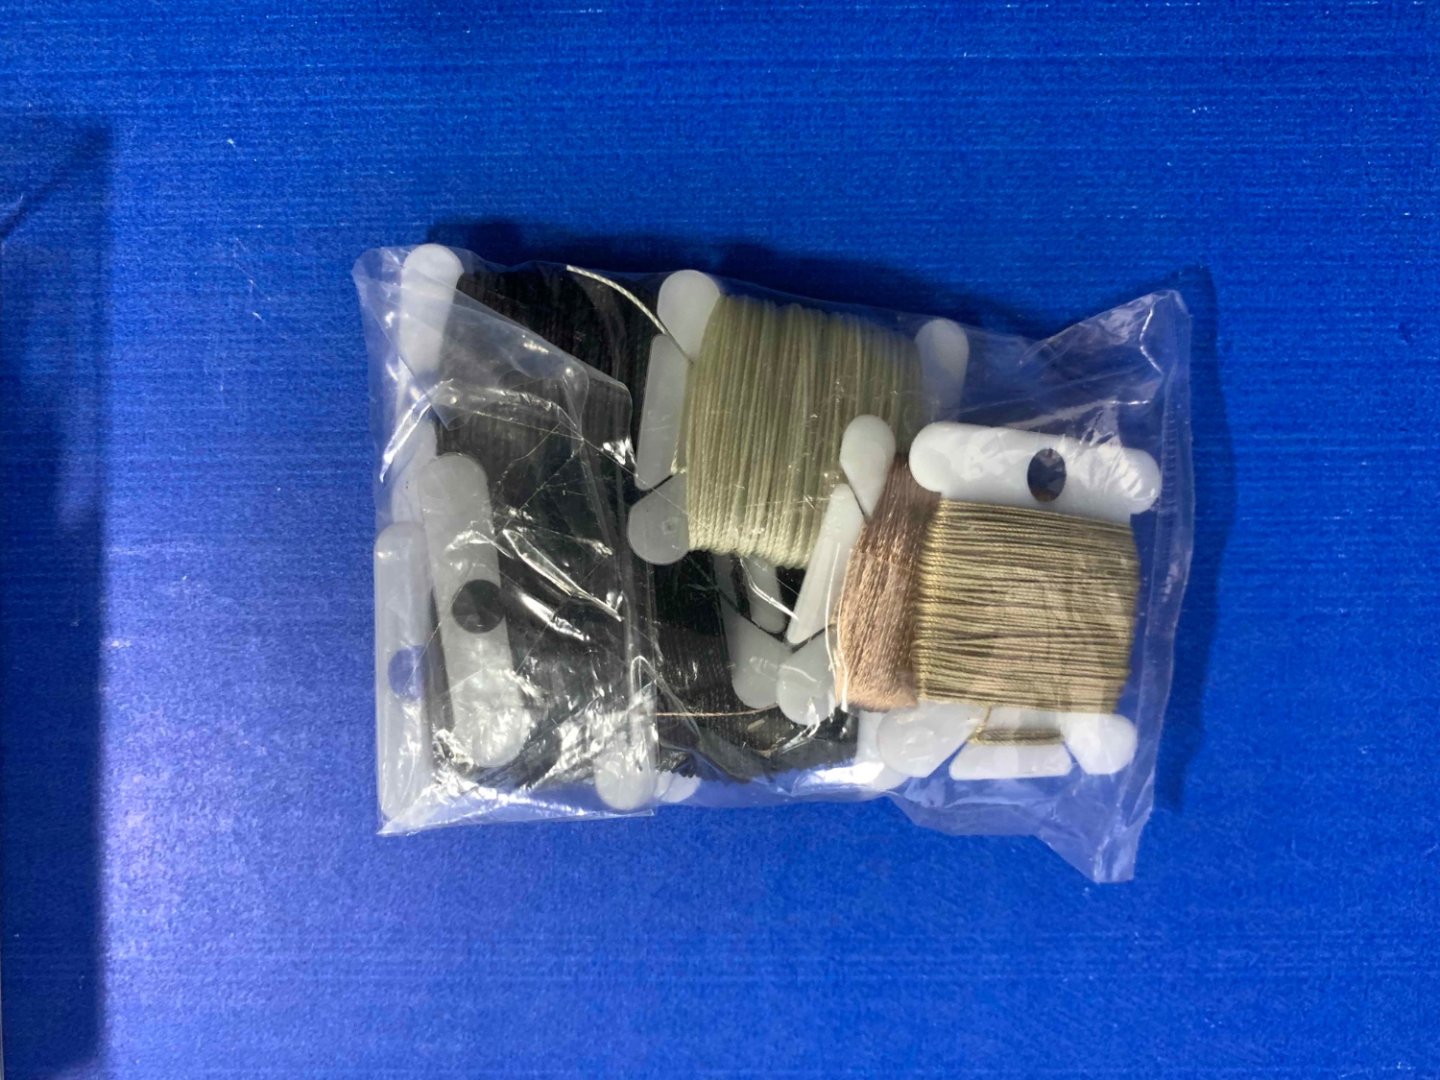
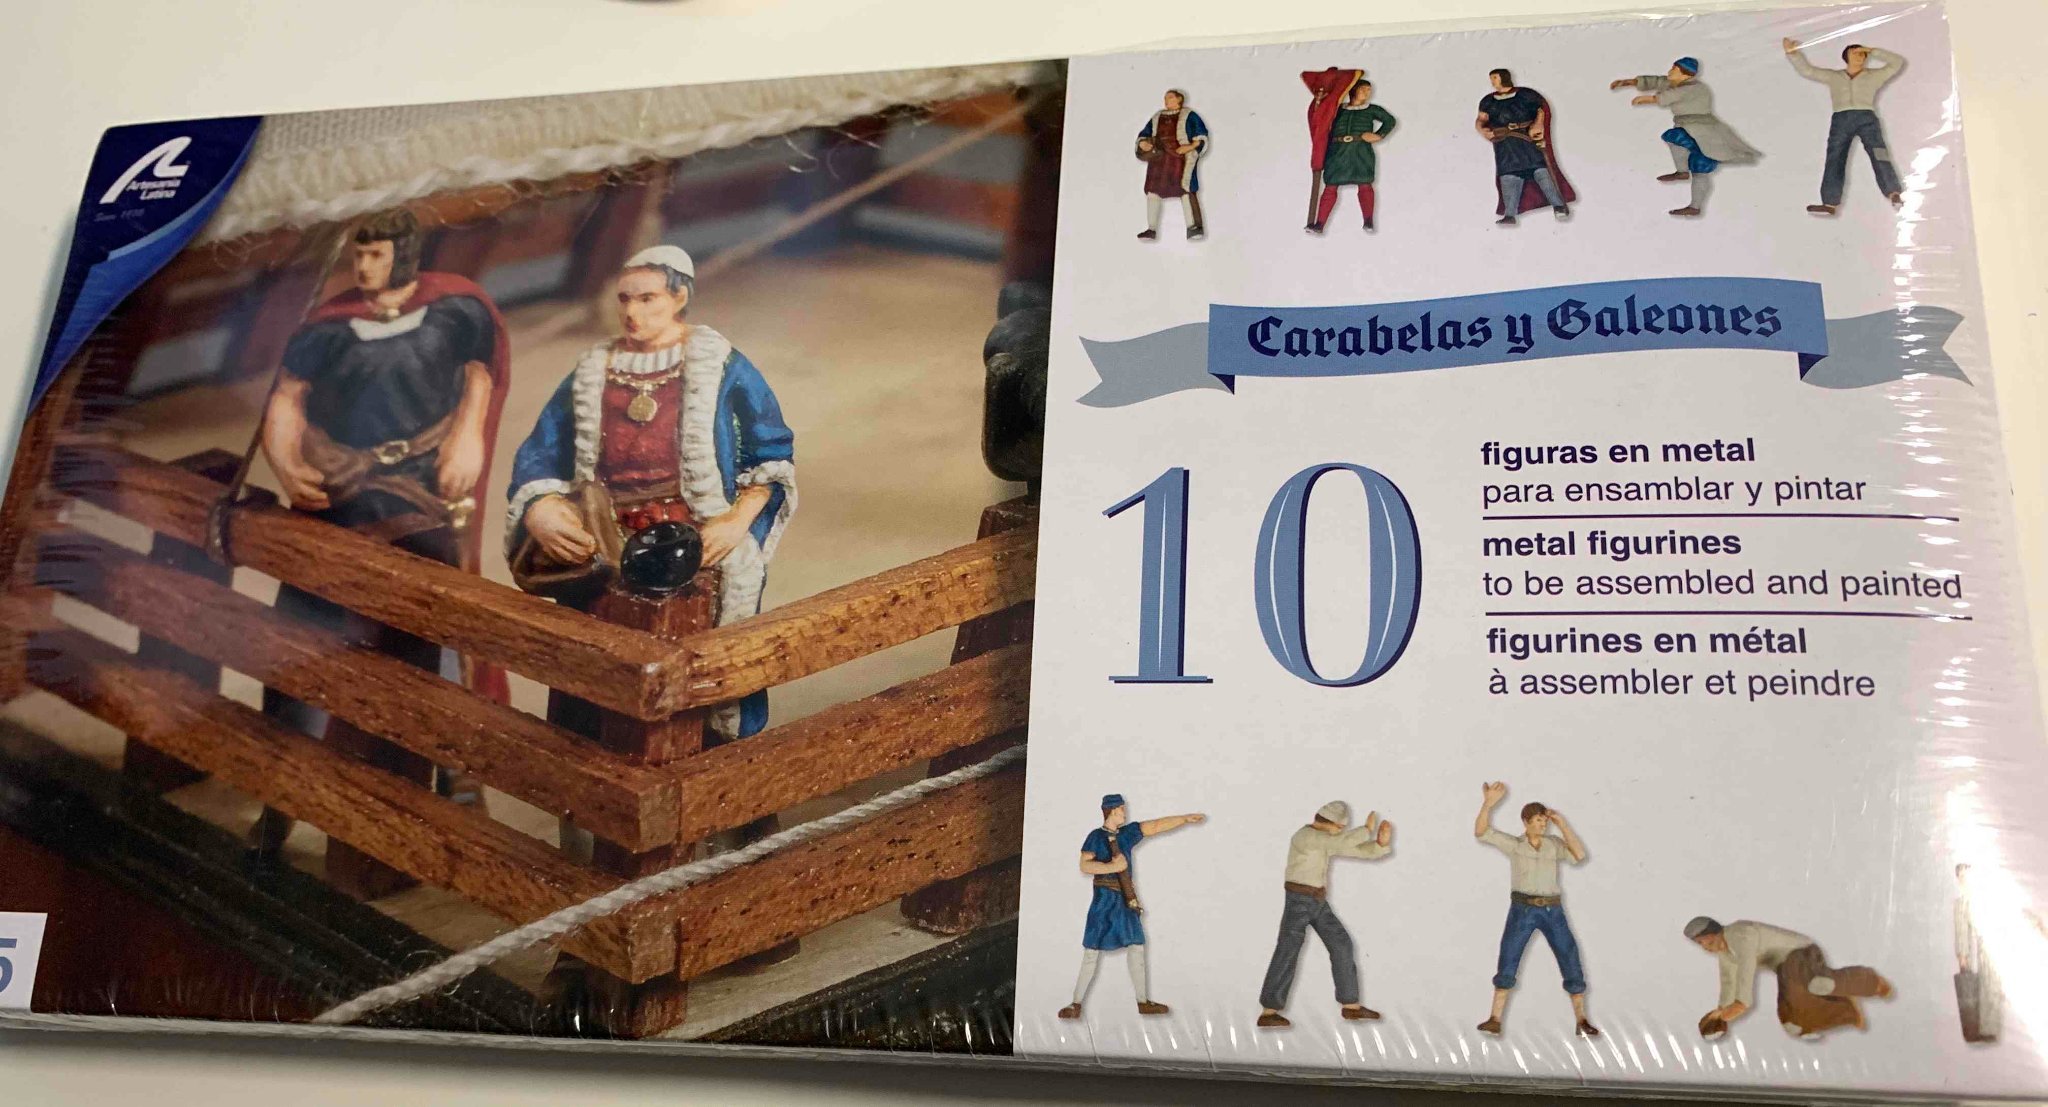
And new little friends arrived...

Happy modelling..- JpR62, ccoyle and GrandpaPhil
-
3
-
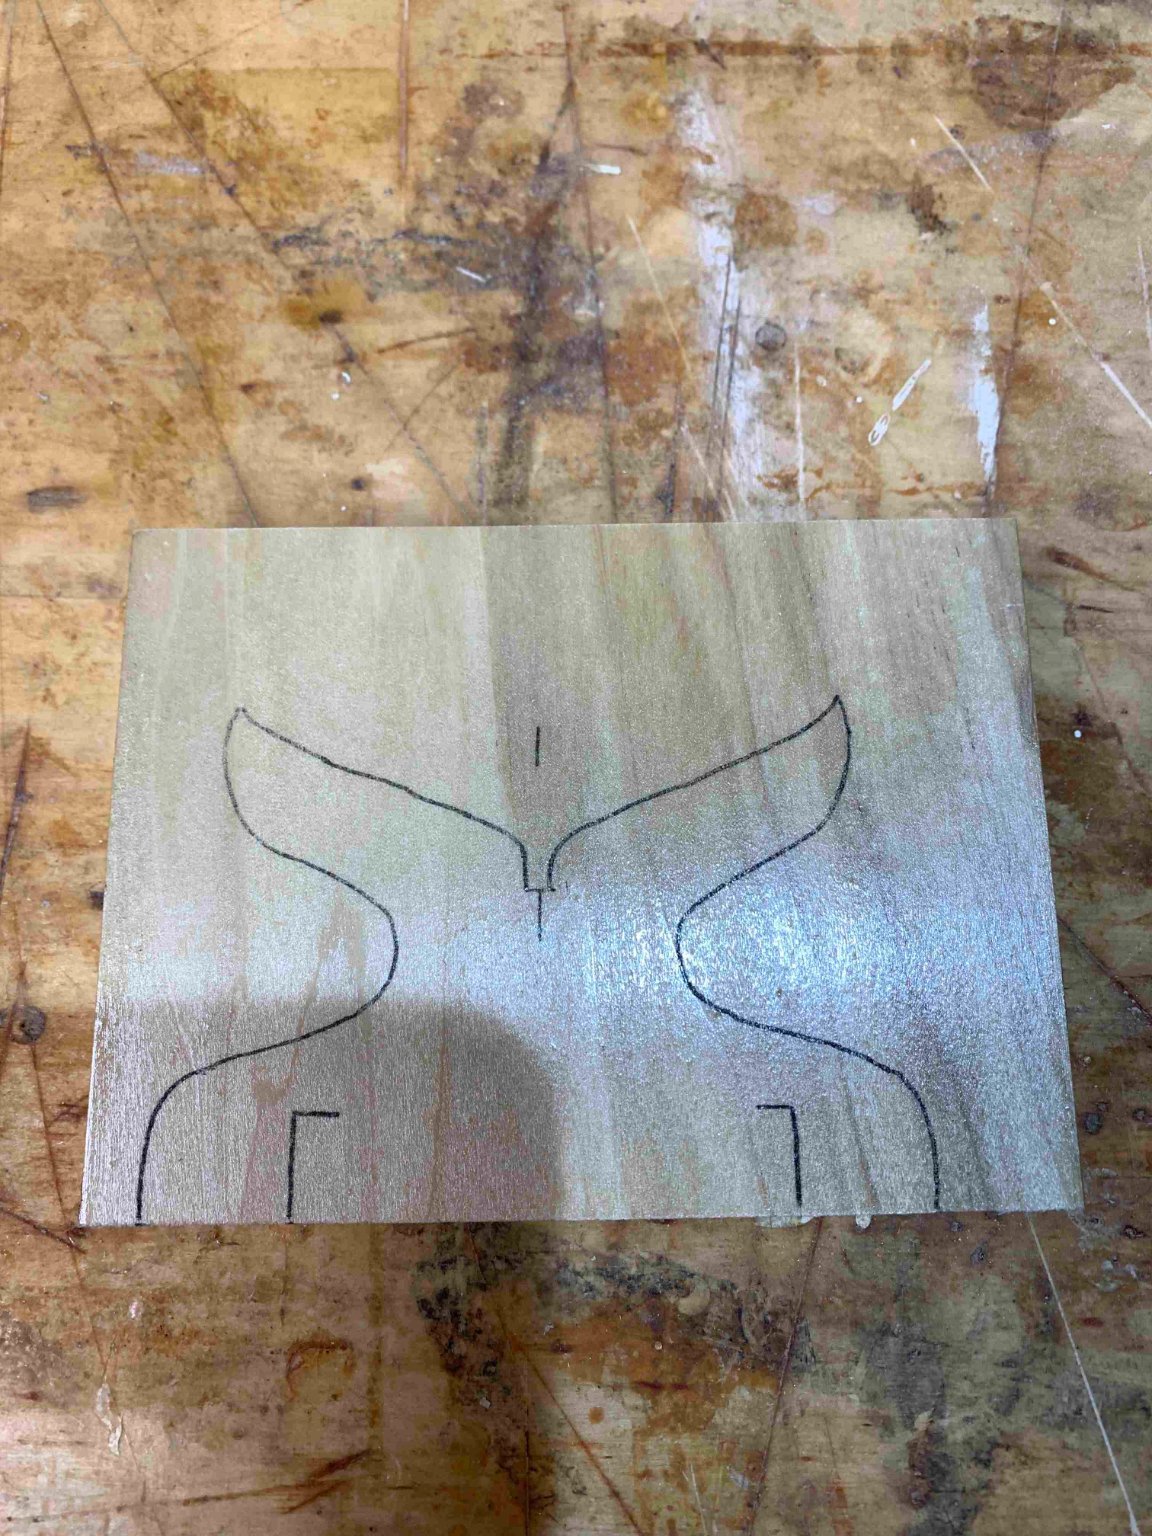
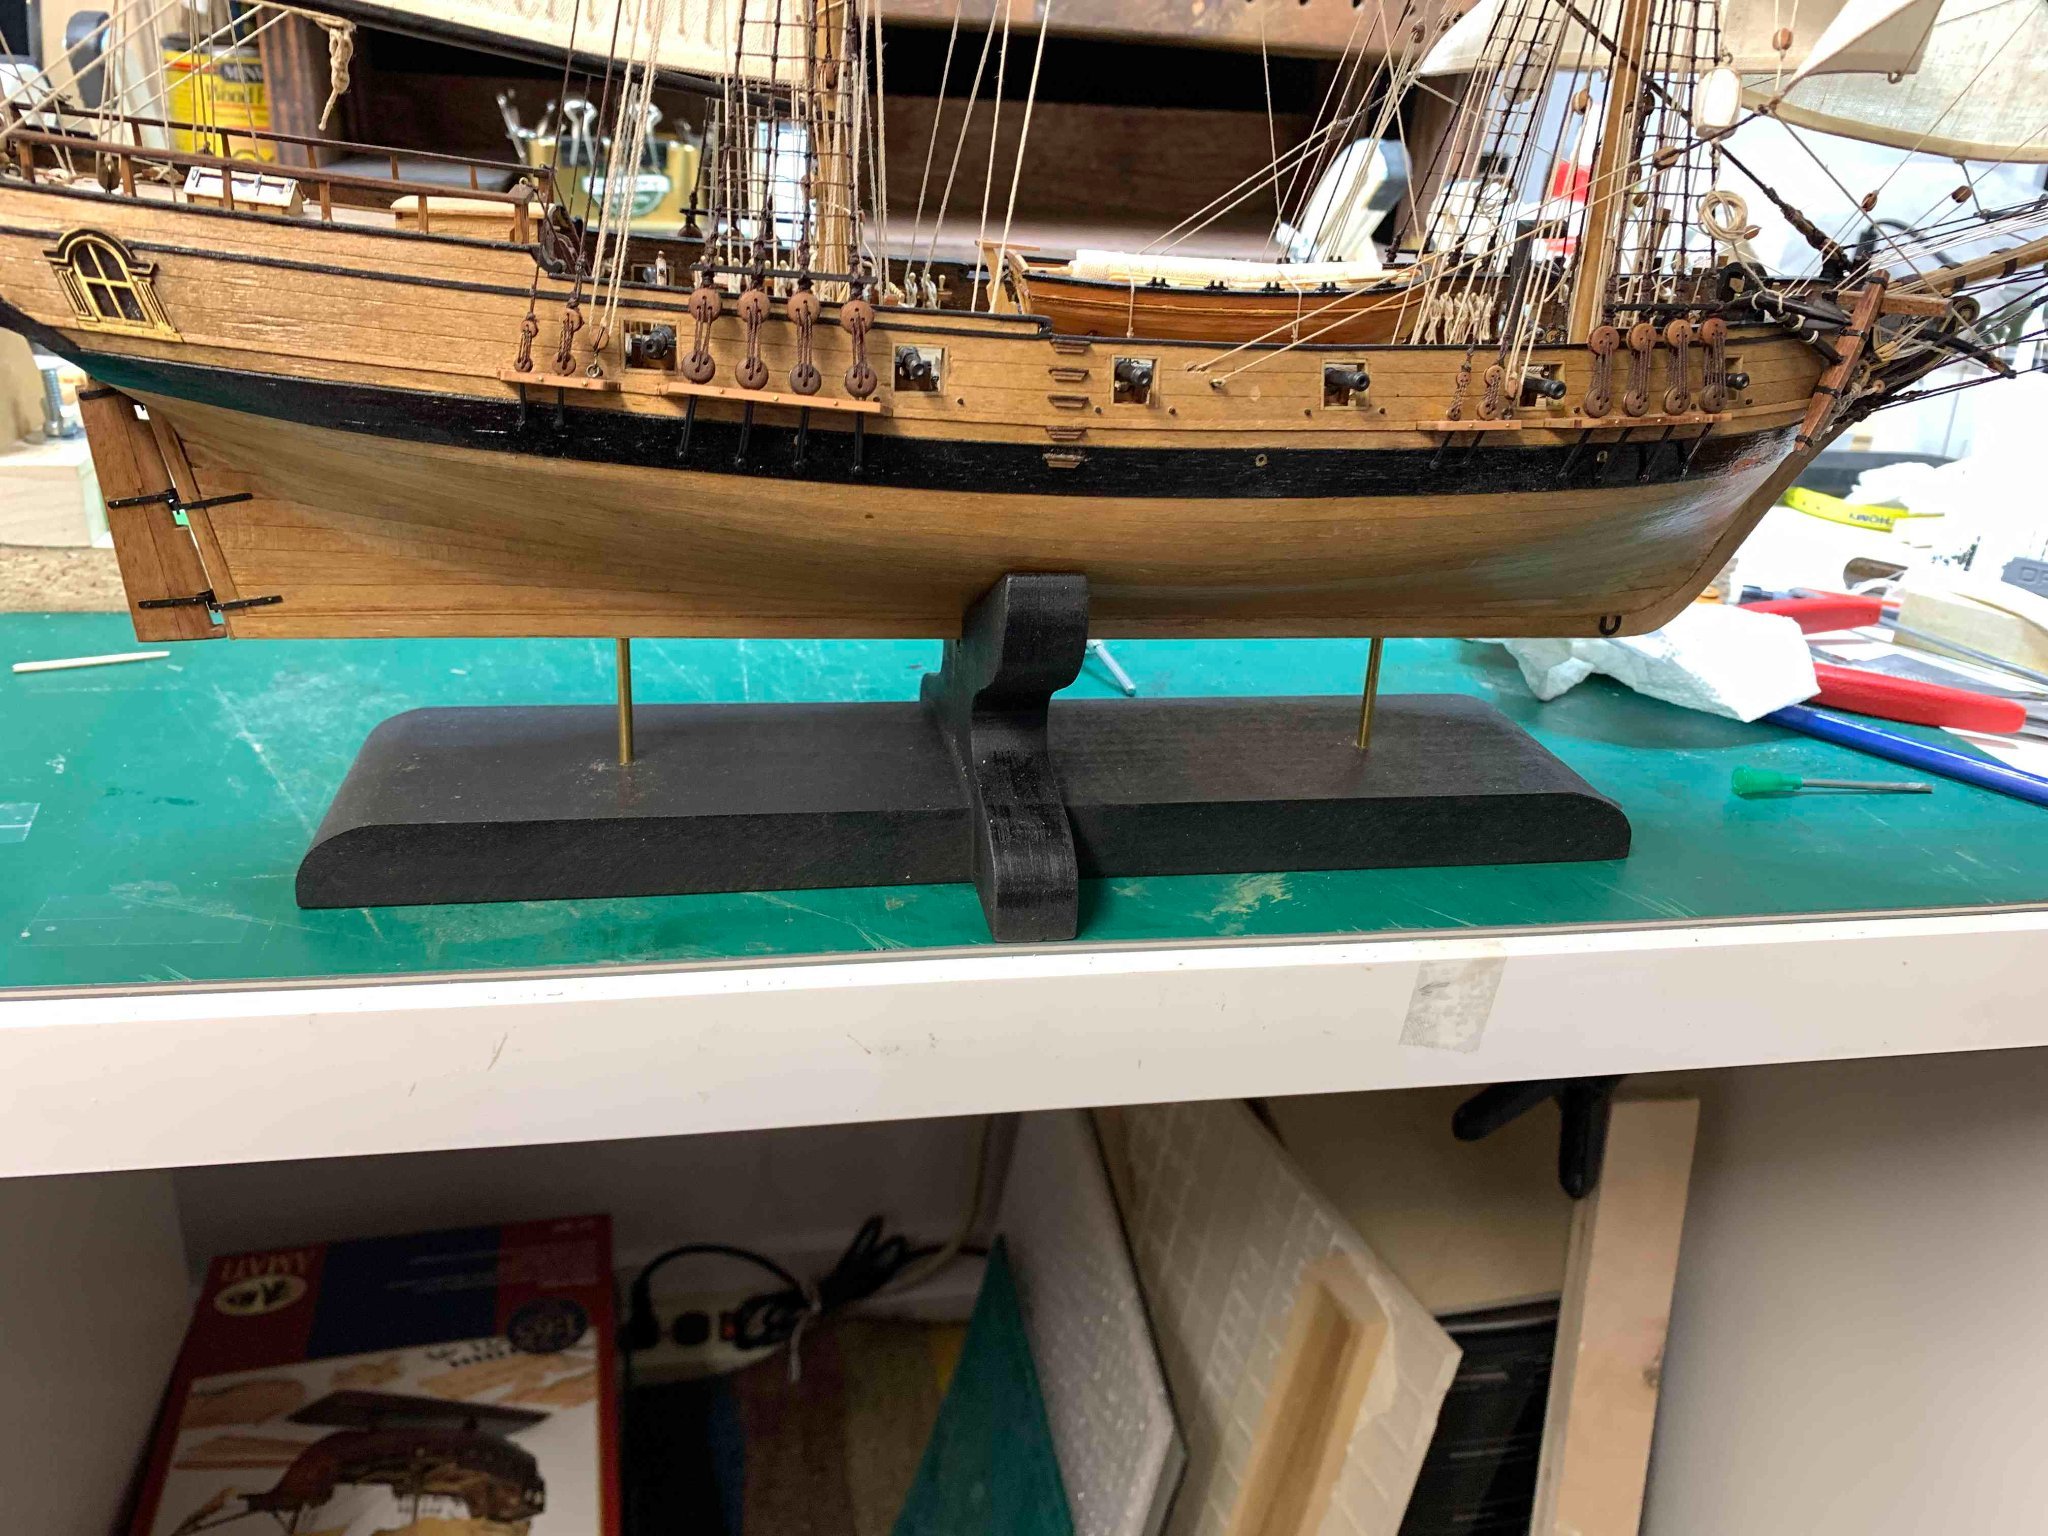
The stand is made out of some scrap poplar located in my workshop...
traced the hull ...

and transferred on the wood. Then cut the shape with a saw, run the bottom board thru planner few times and ...
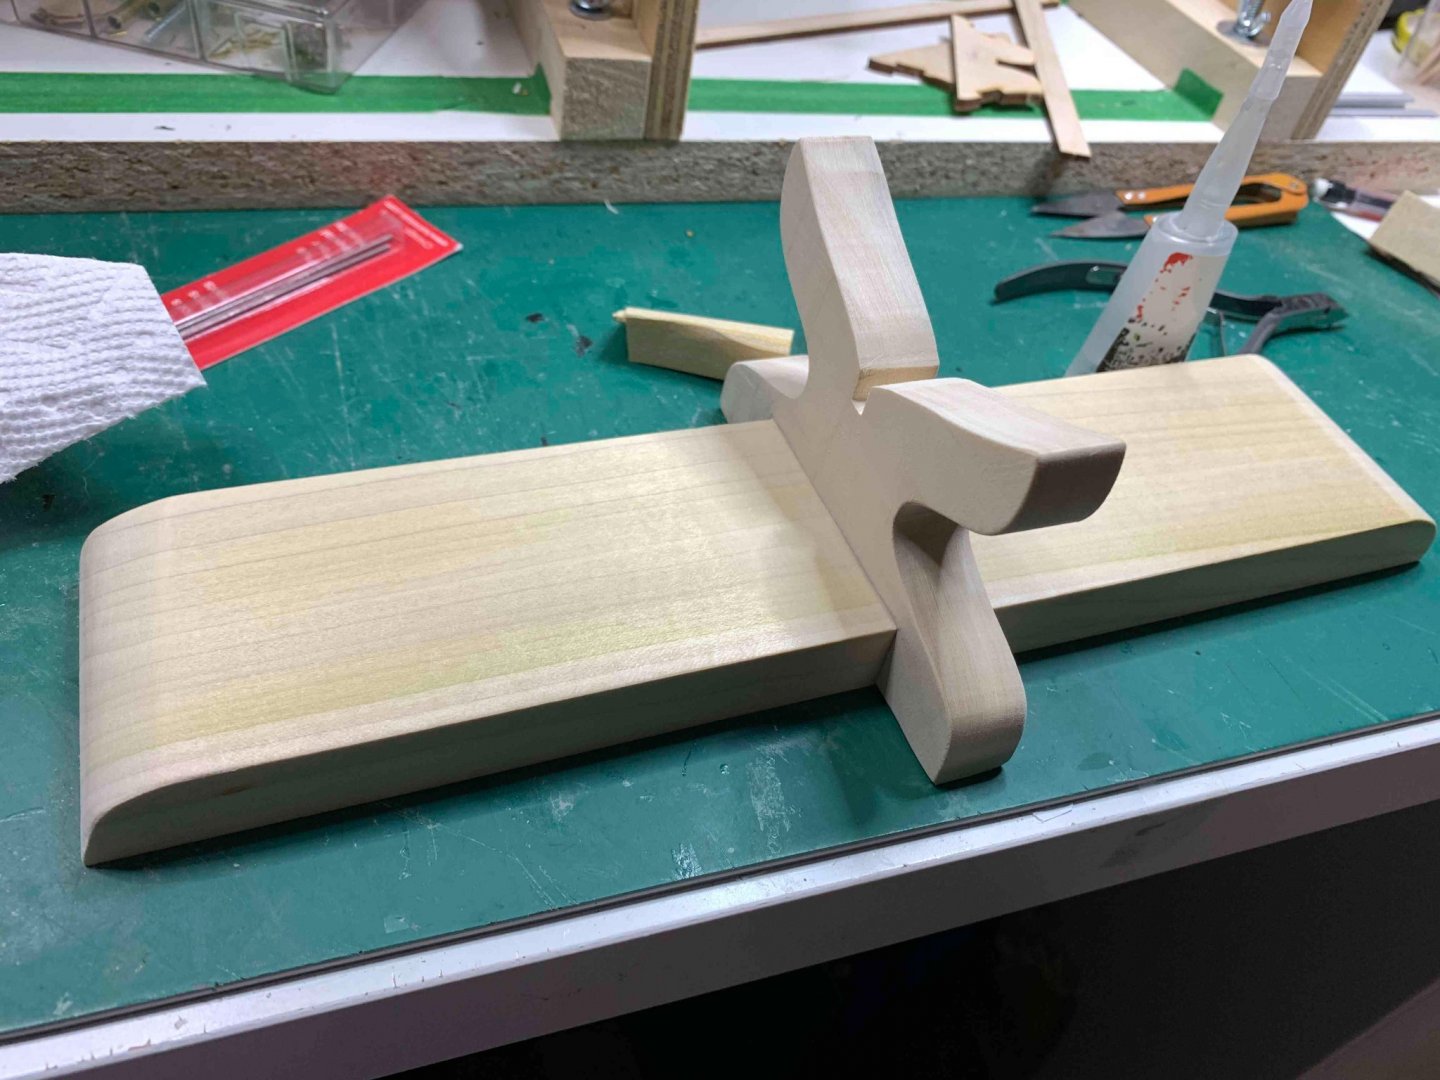
Then i put a coat of oak stain but did not like the end result and finished with a matt black layer.
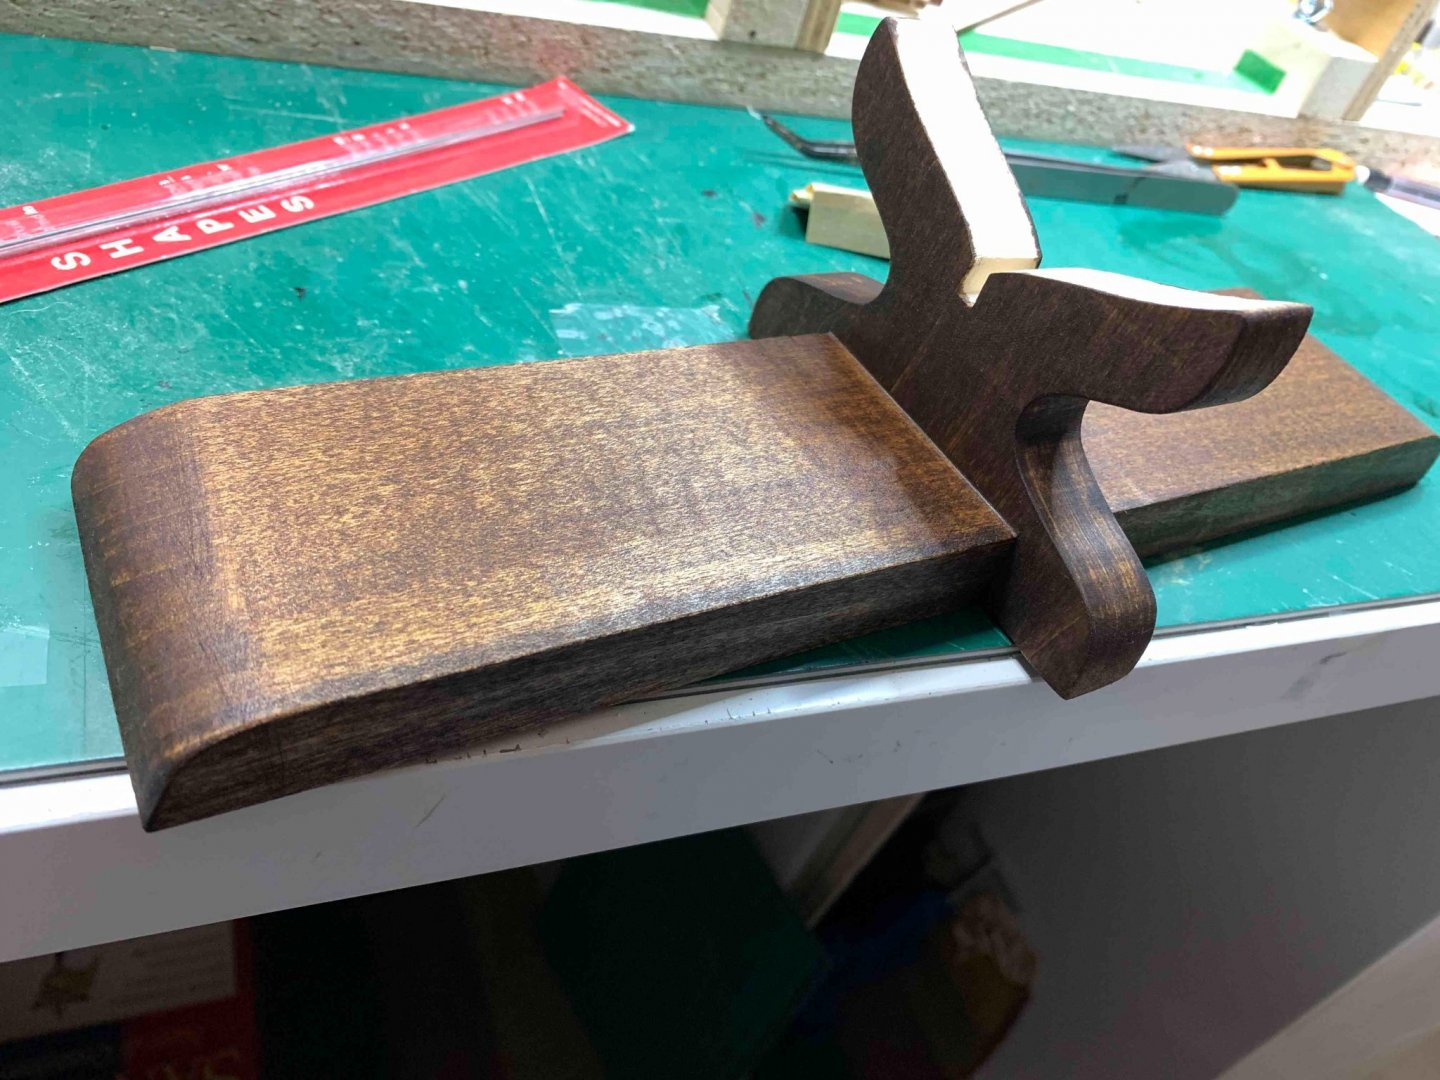
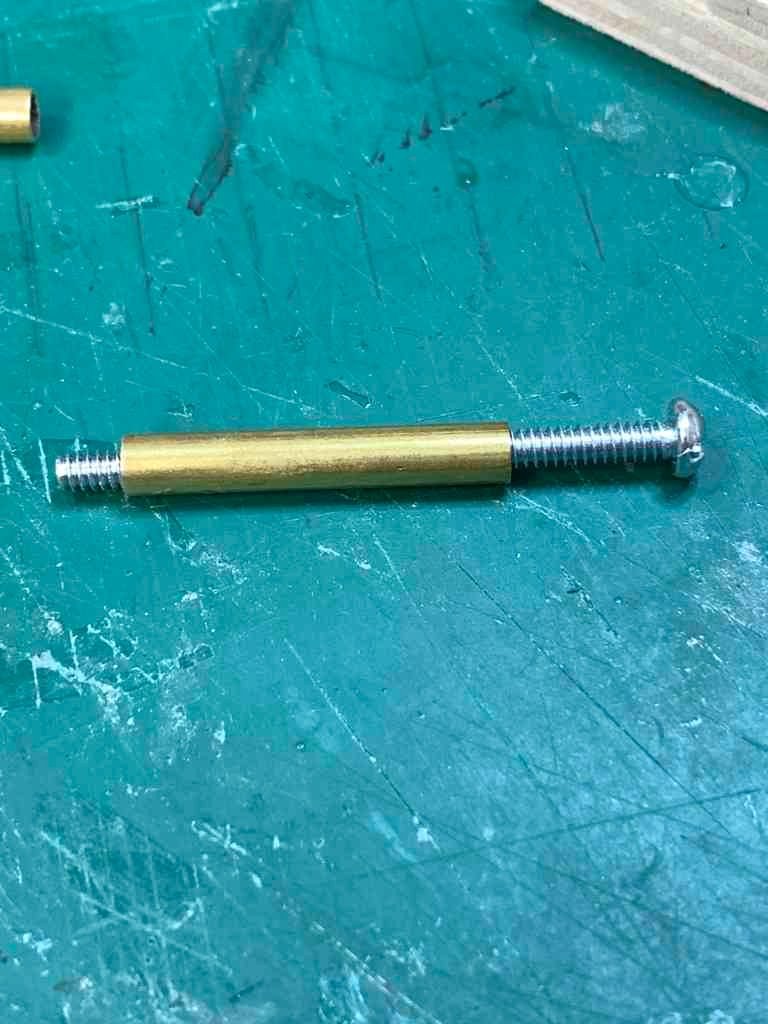
Extra holding parts are made out of brass tube and a 2mm steel rod which replaced the screw on the picture.


Happy modelling..
-
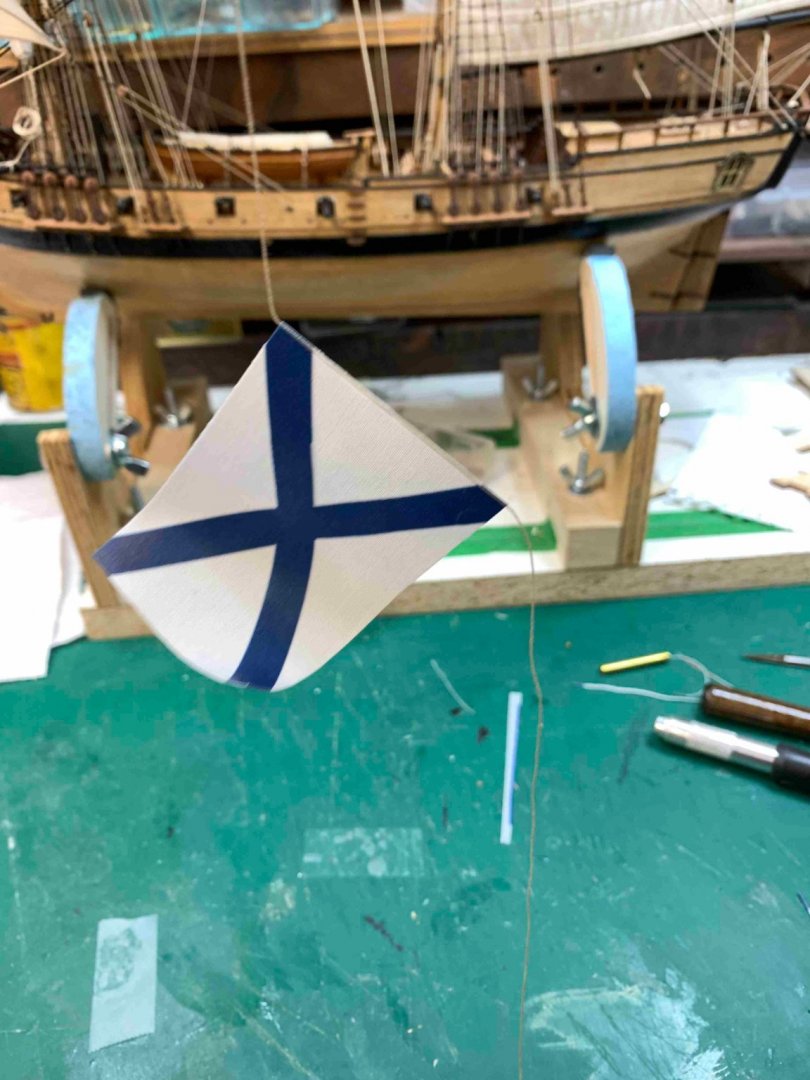
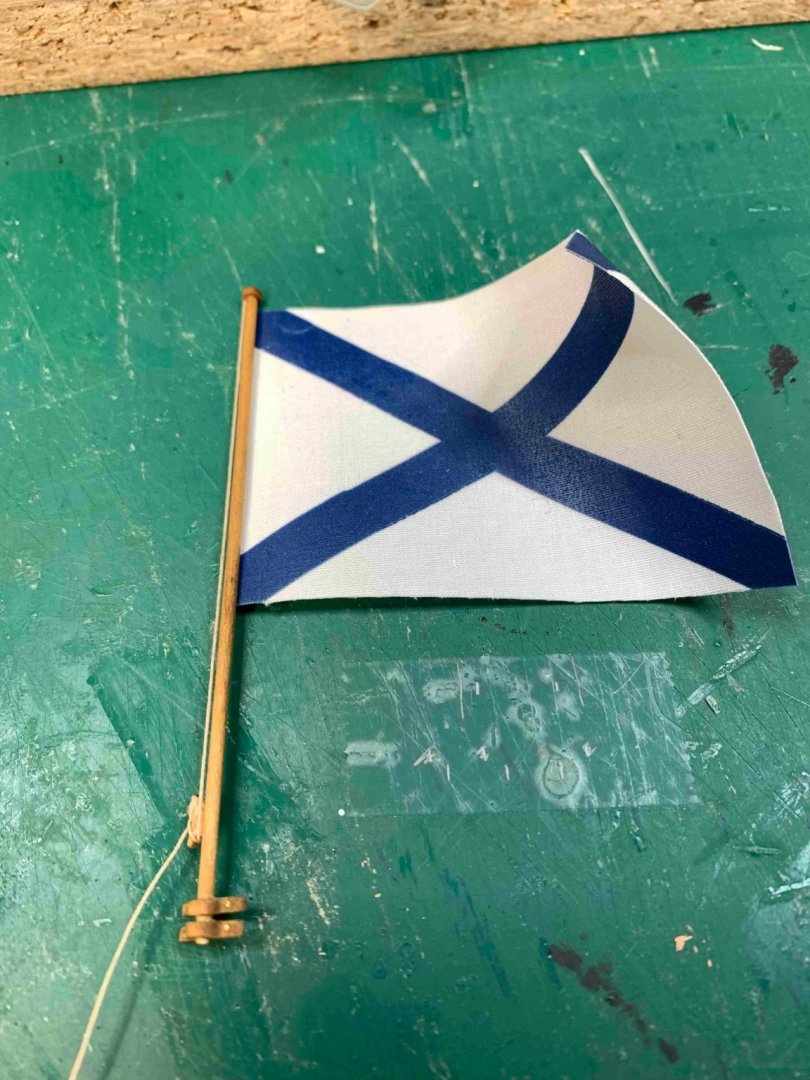
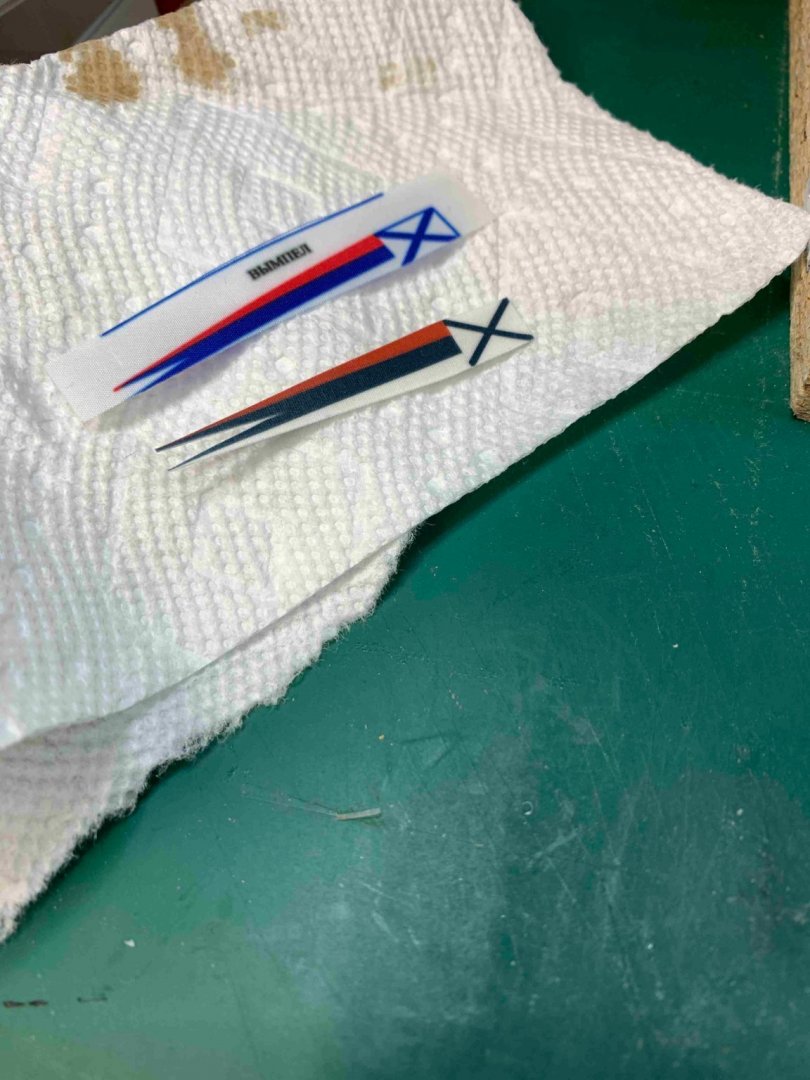
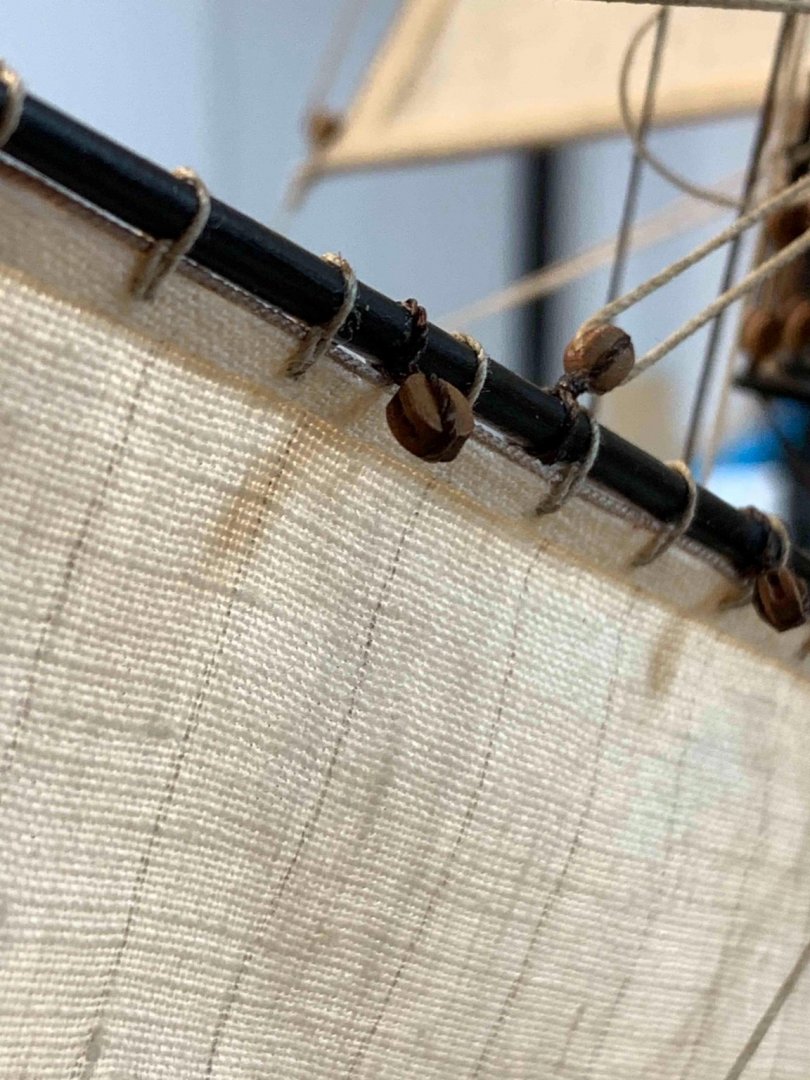
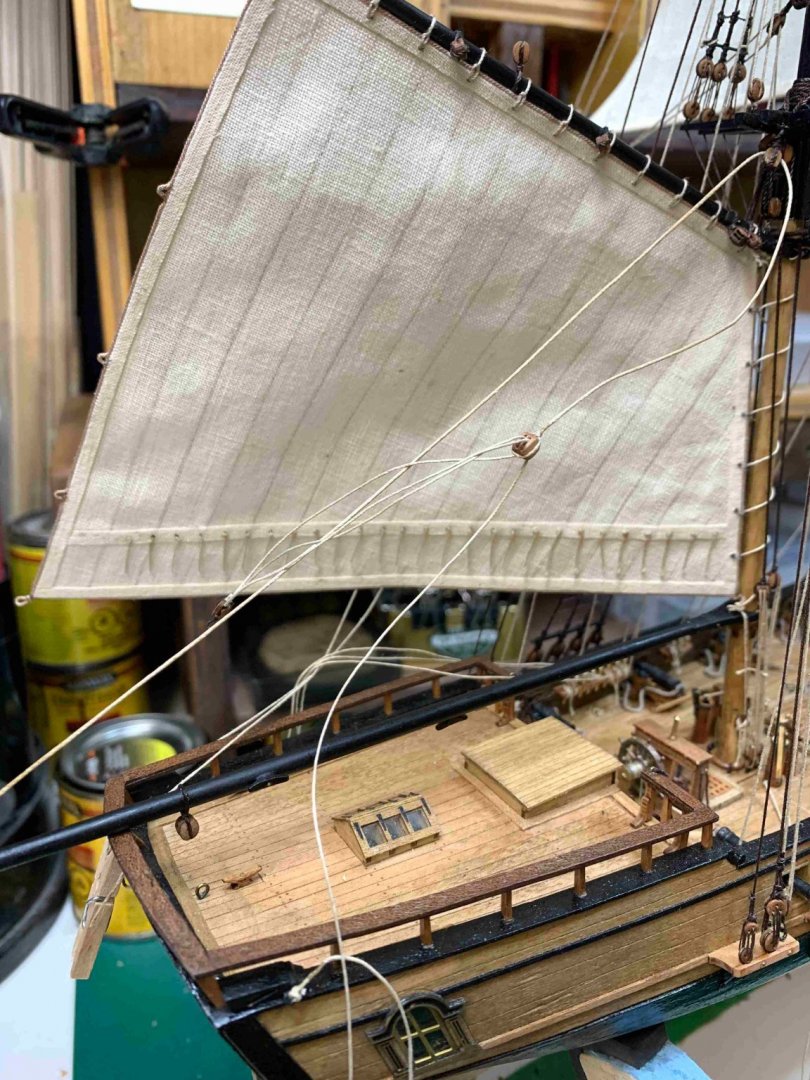
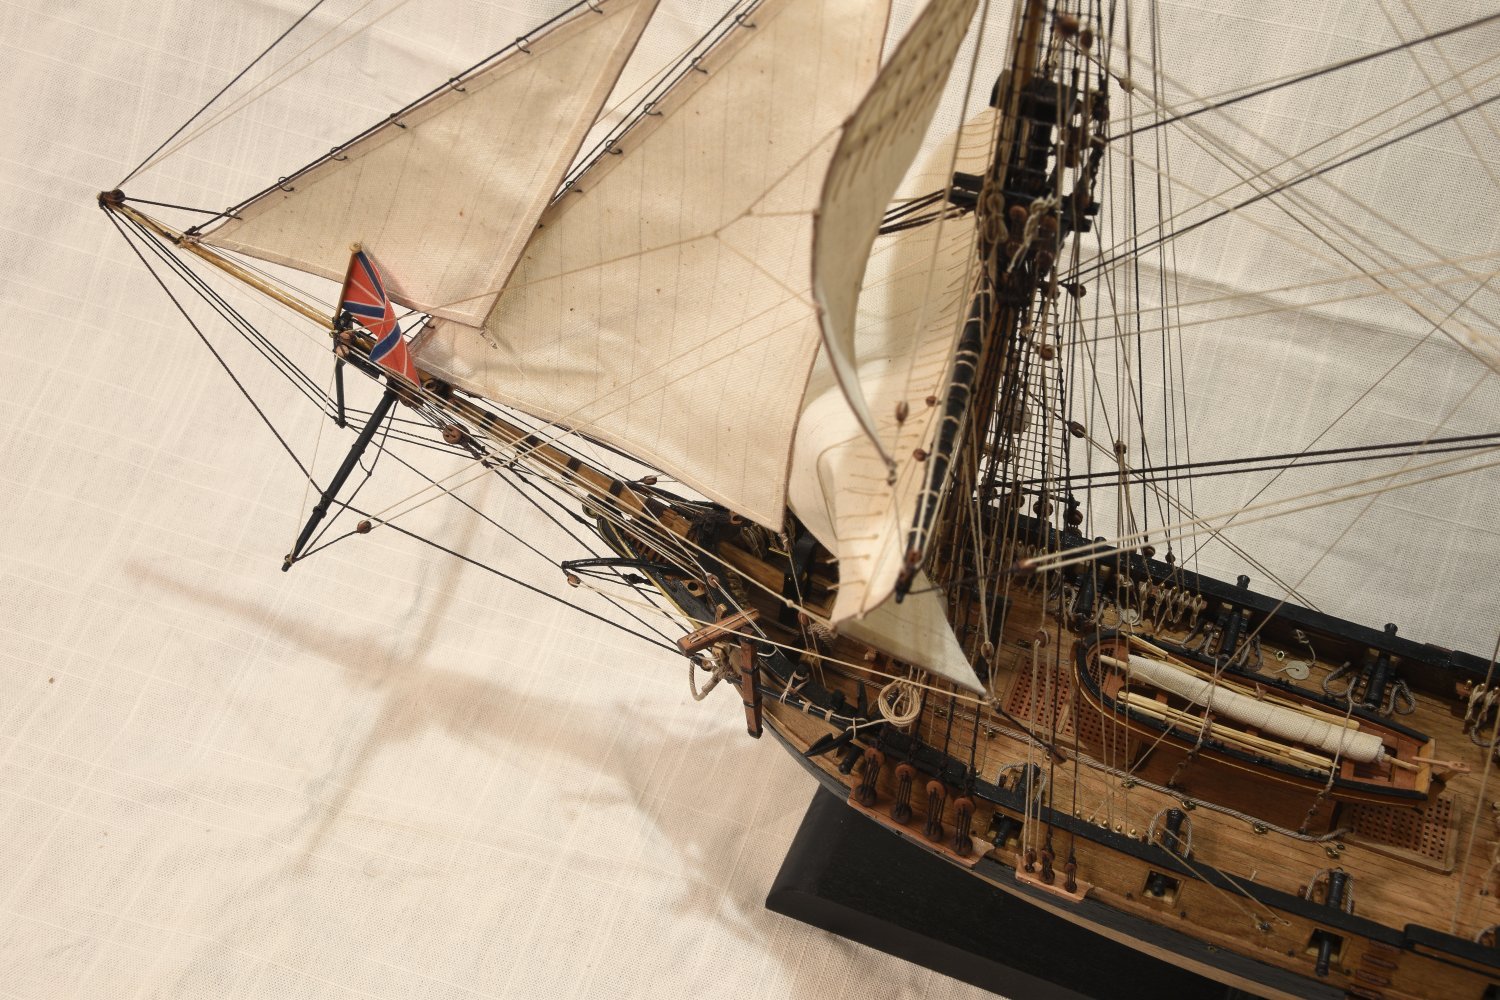
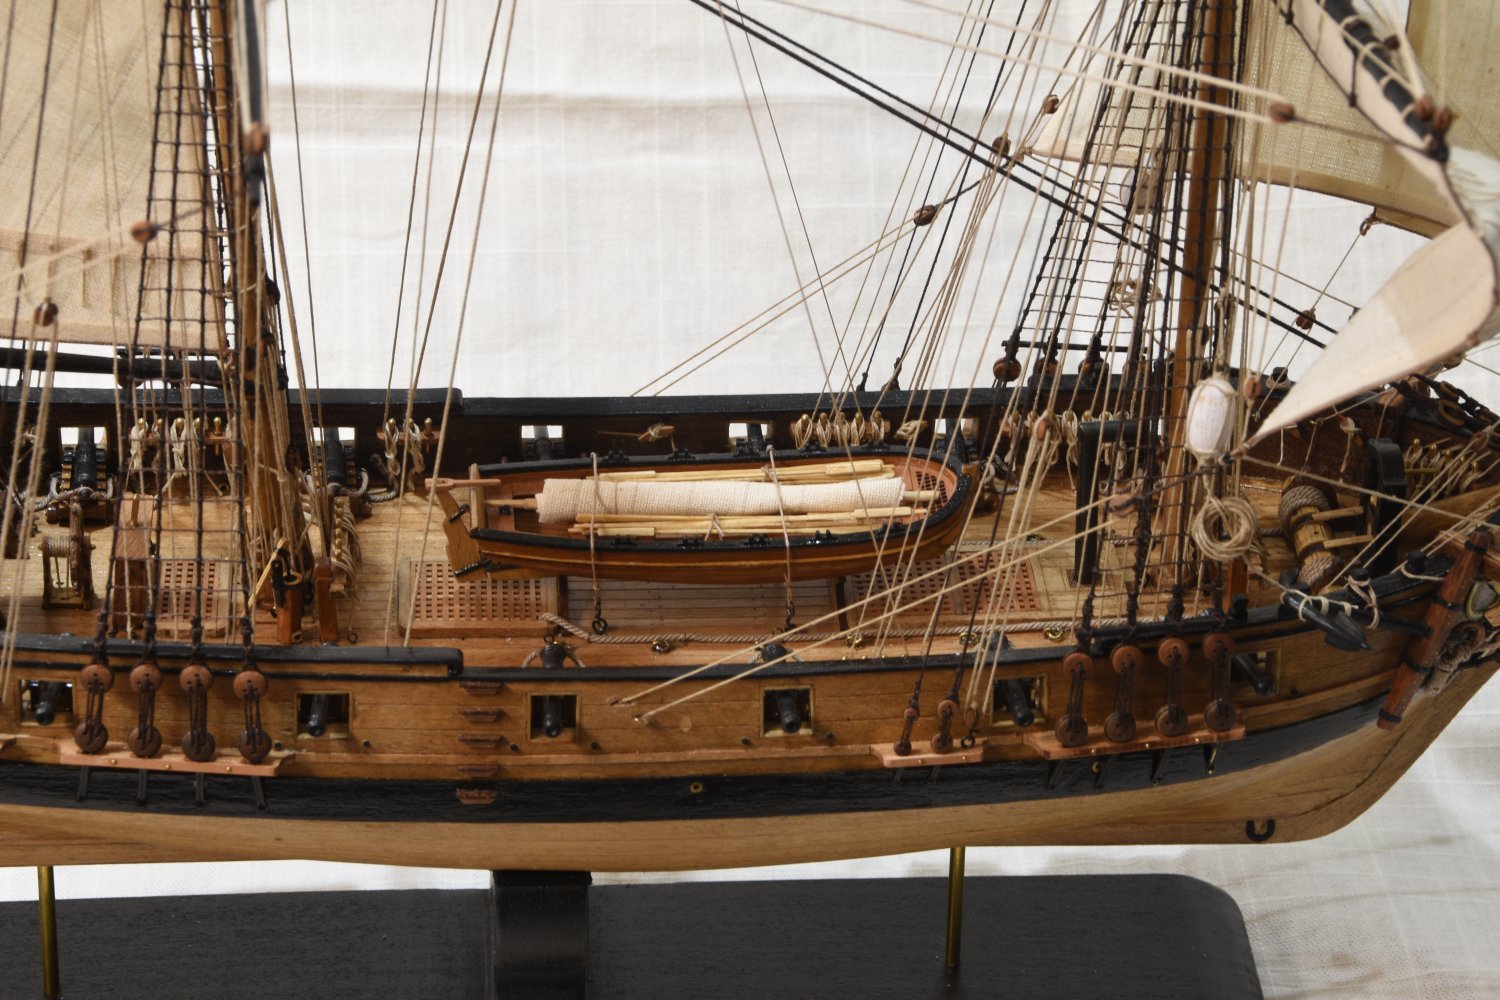
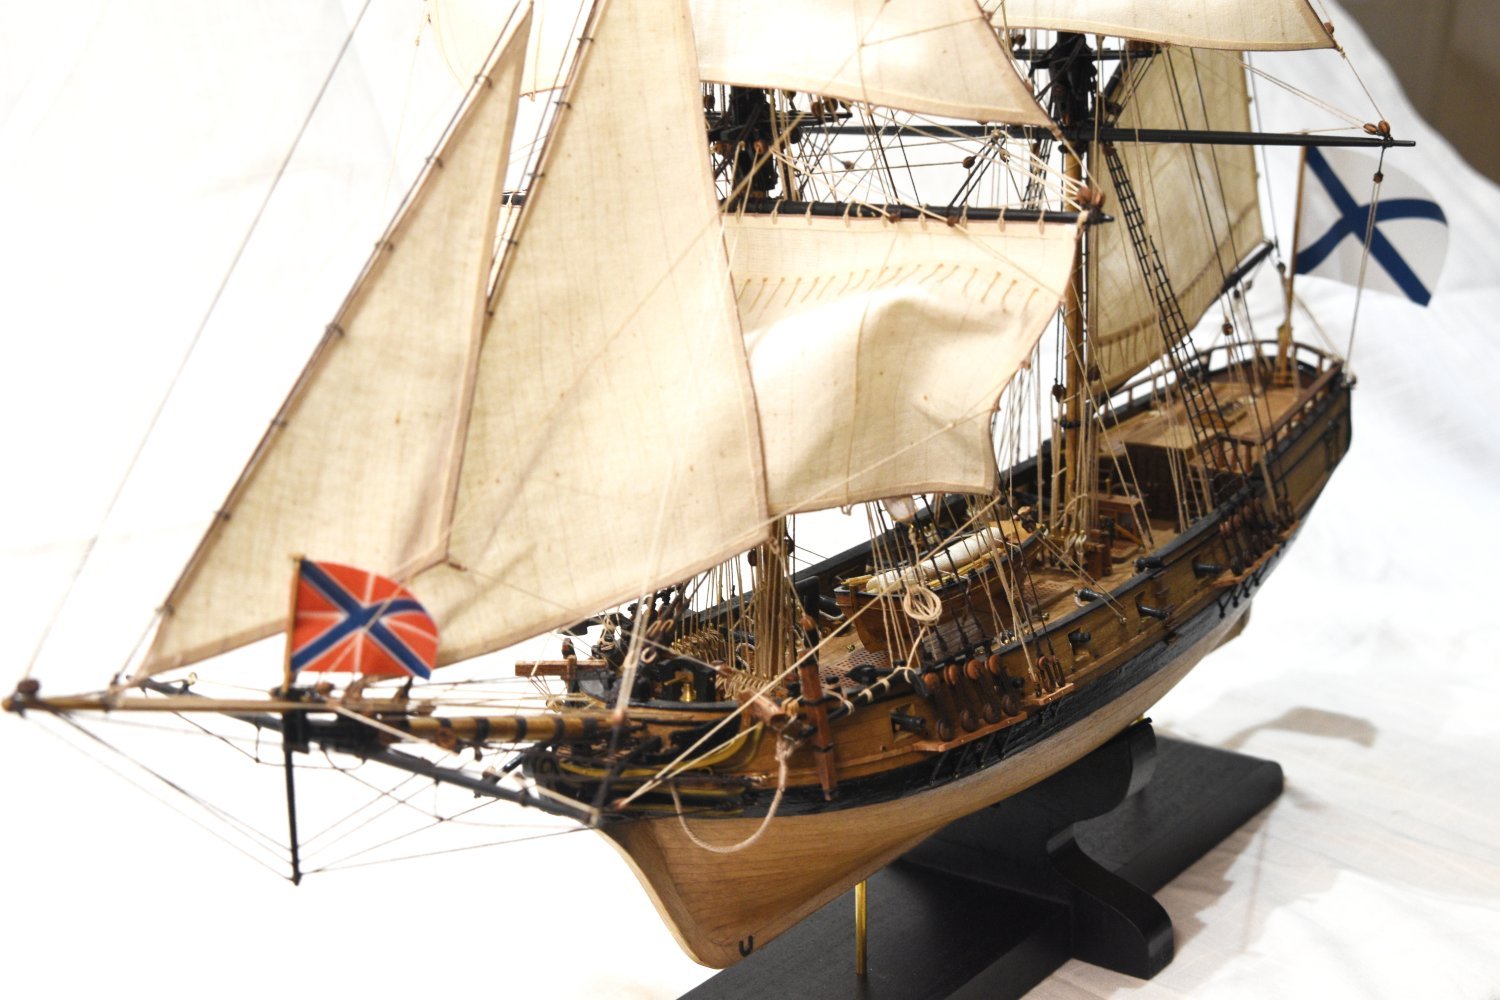
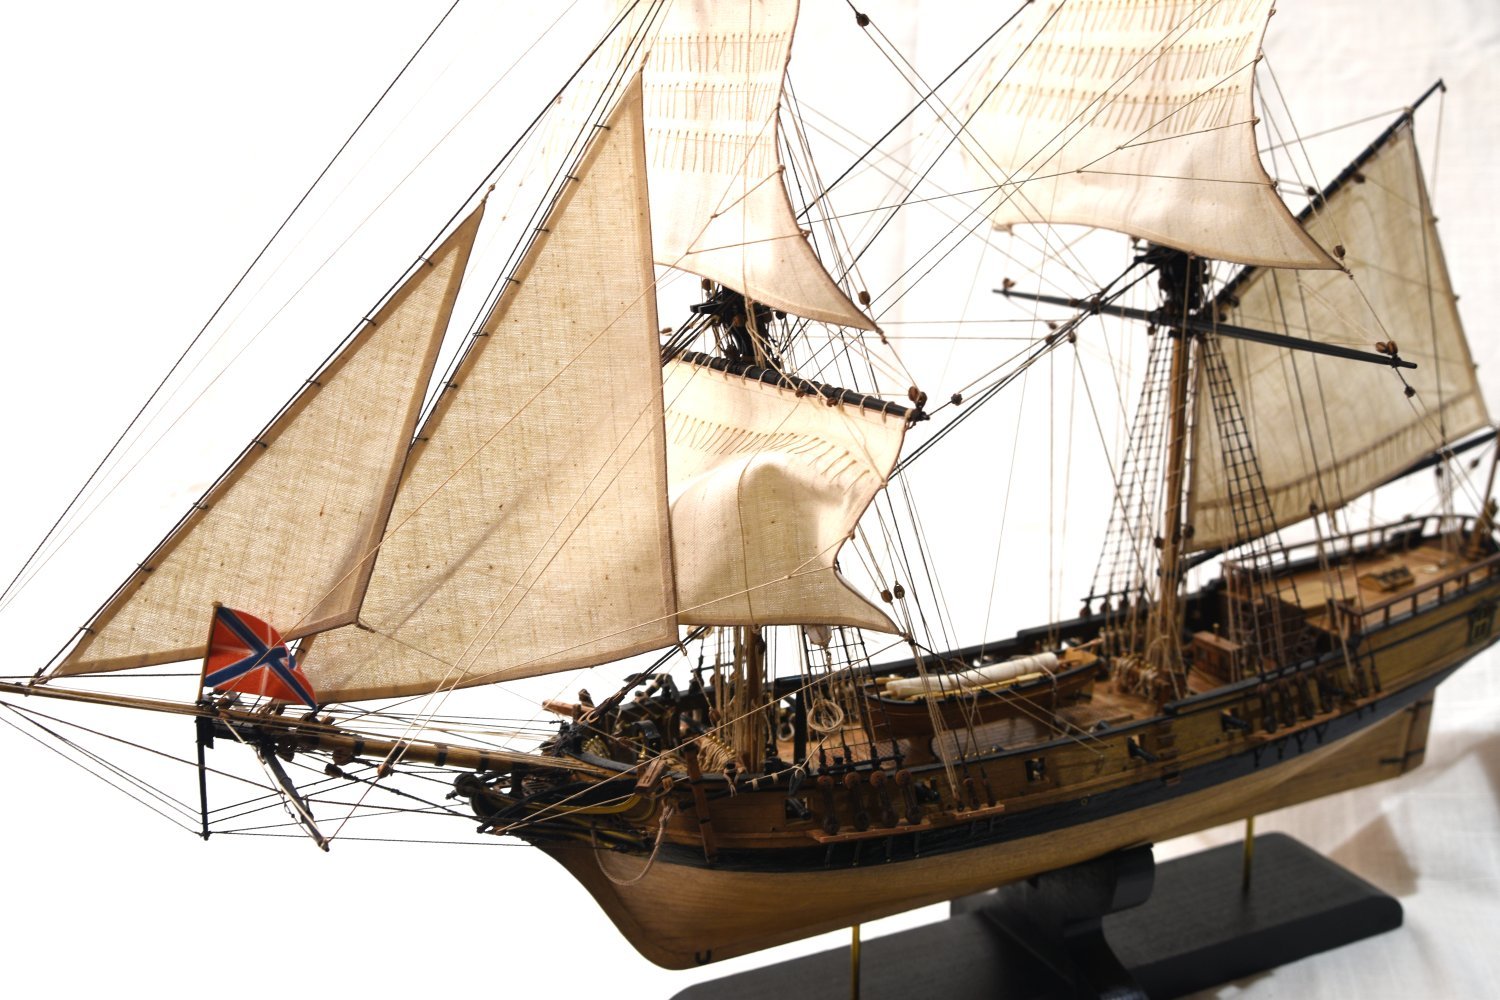
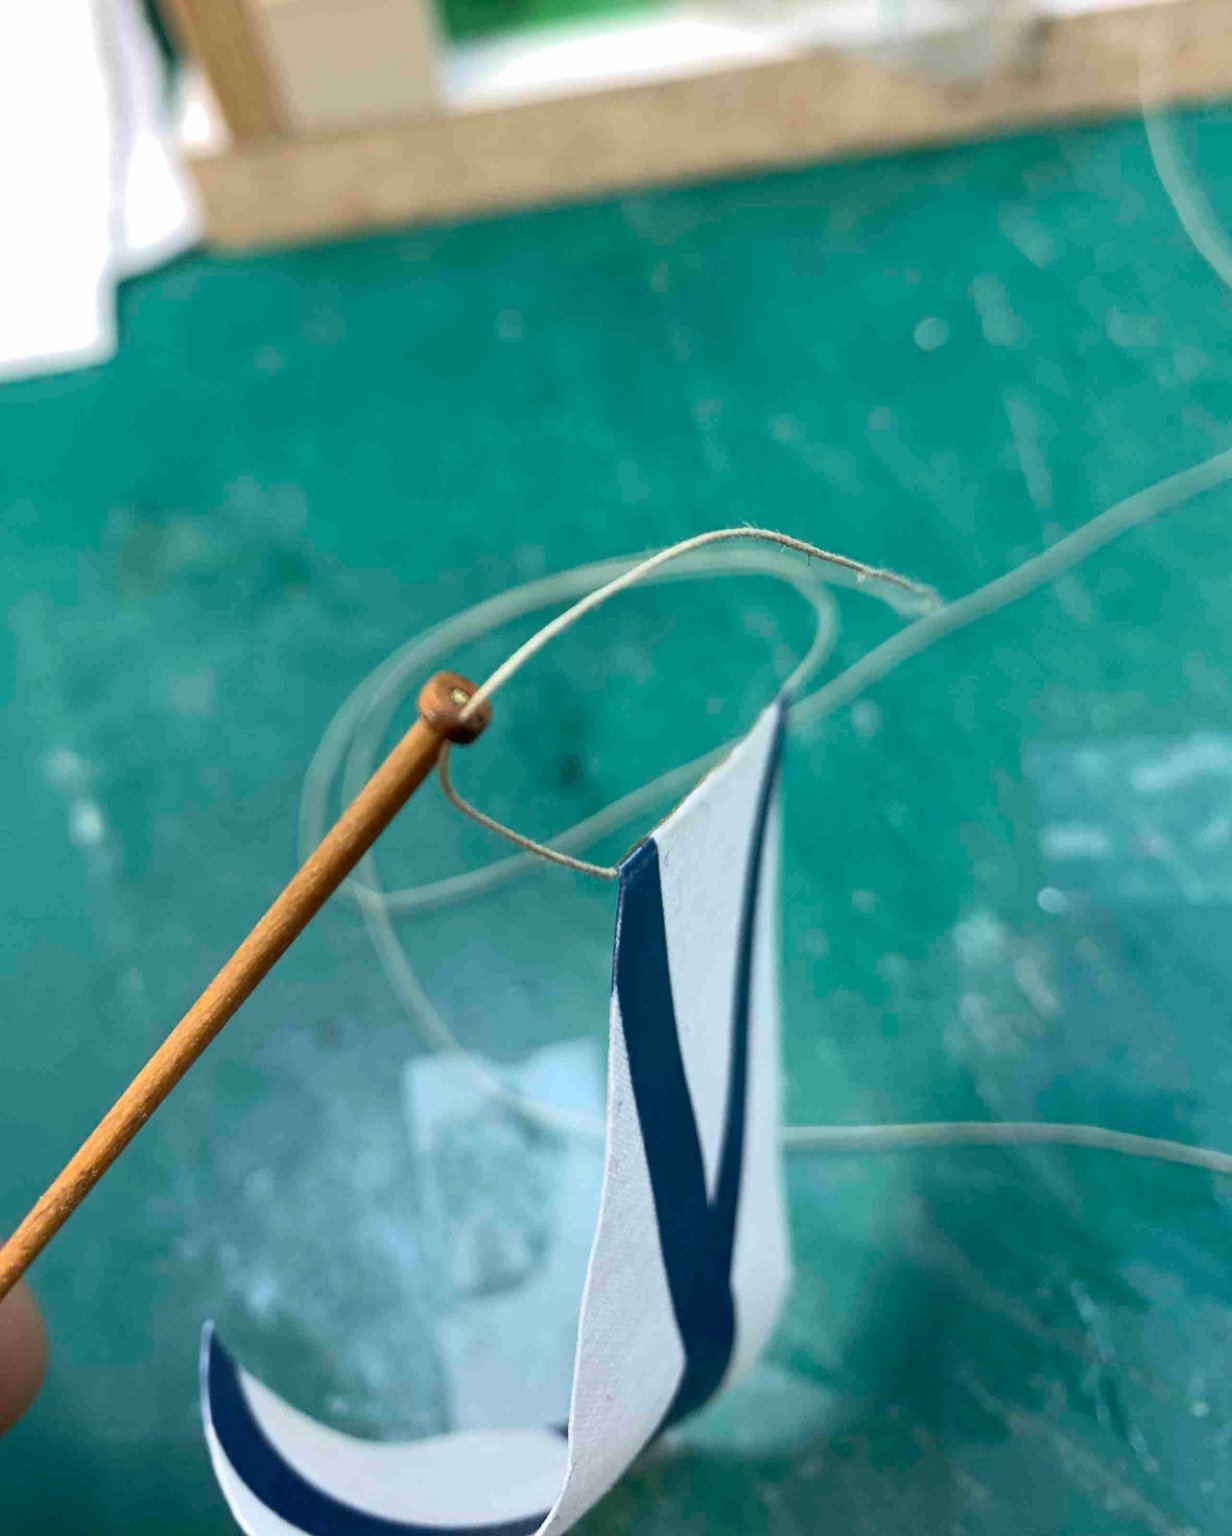
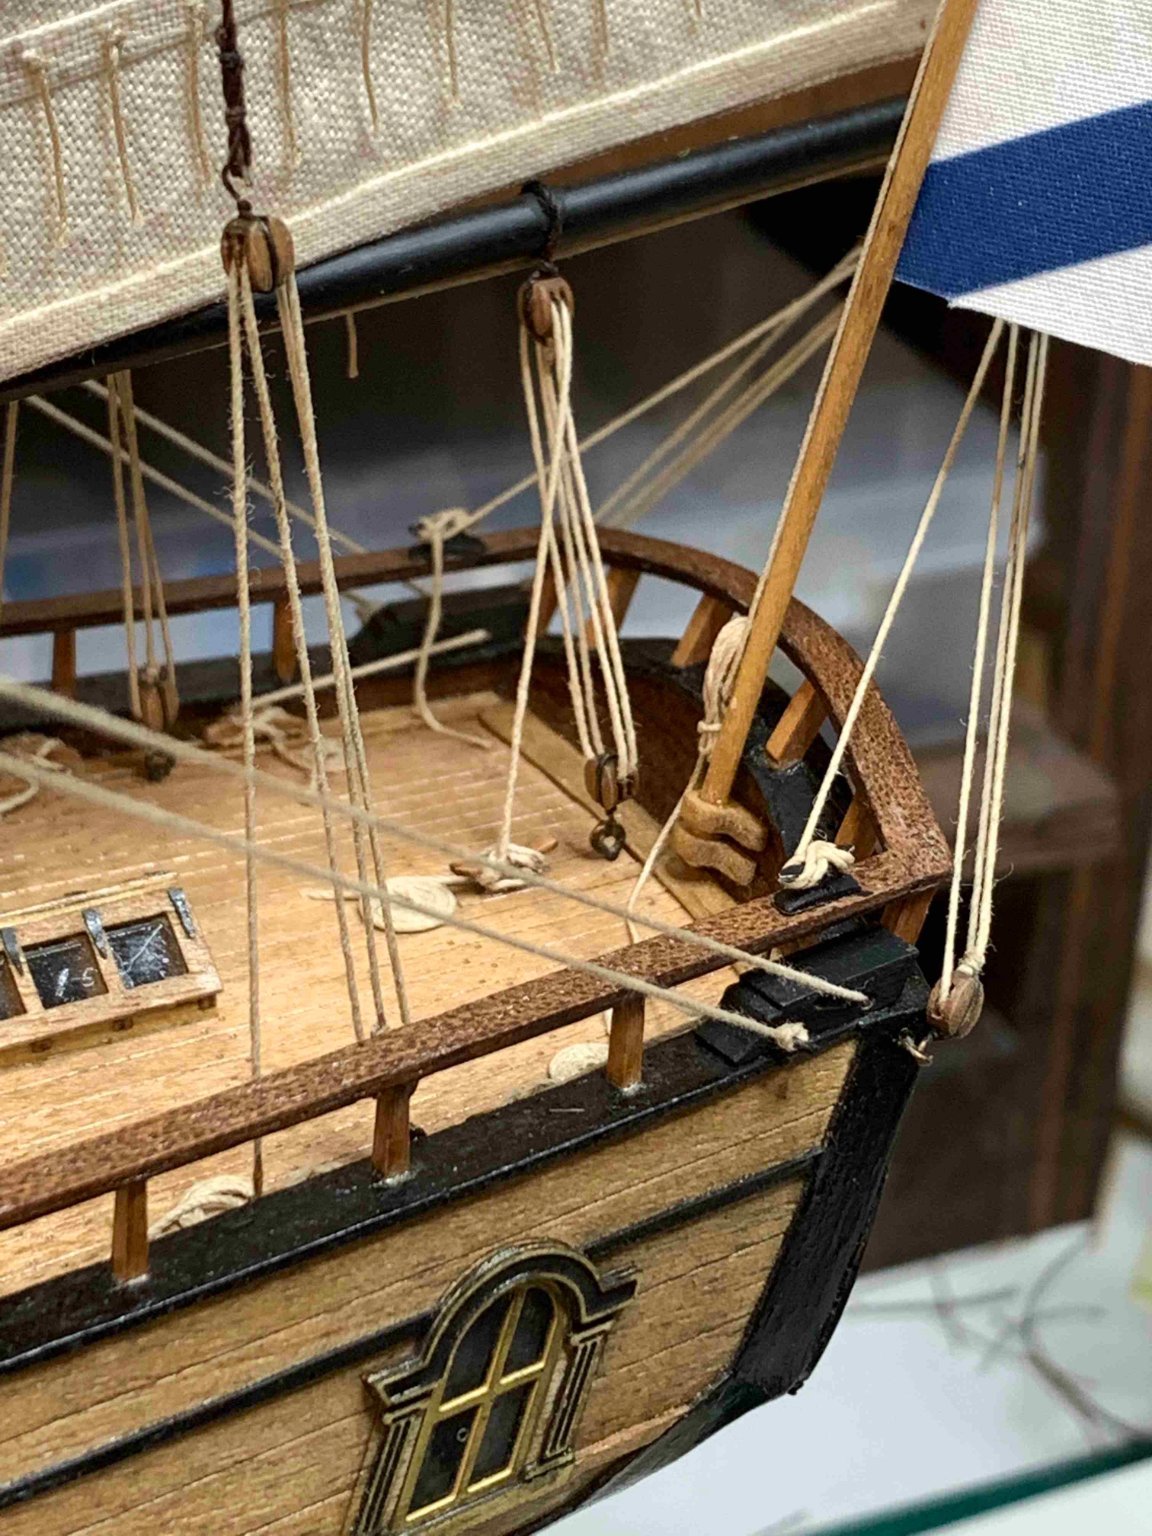
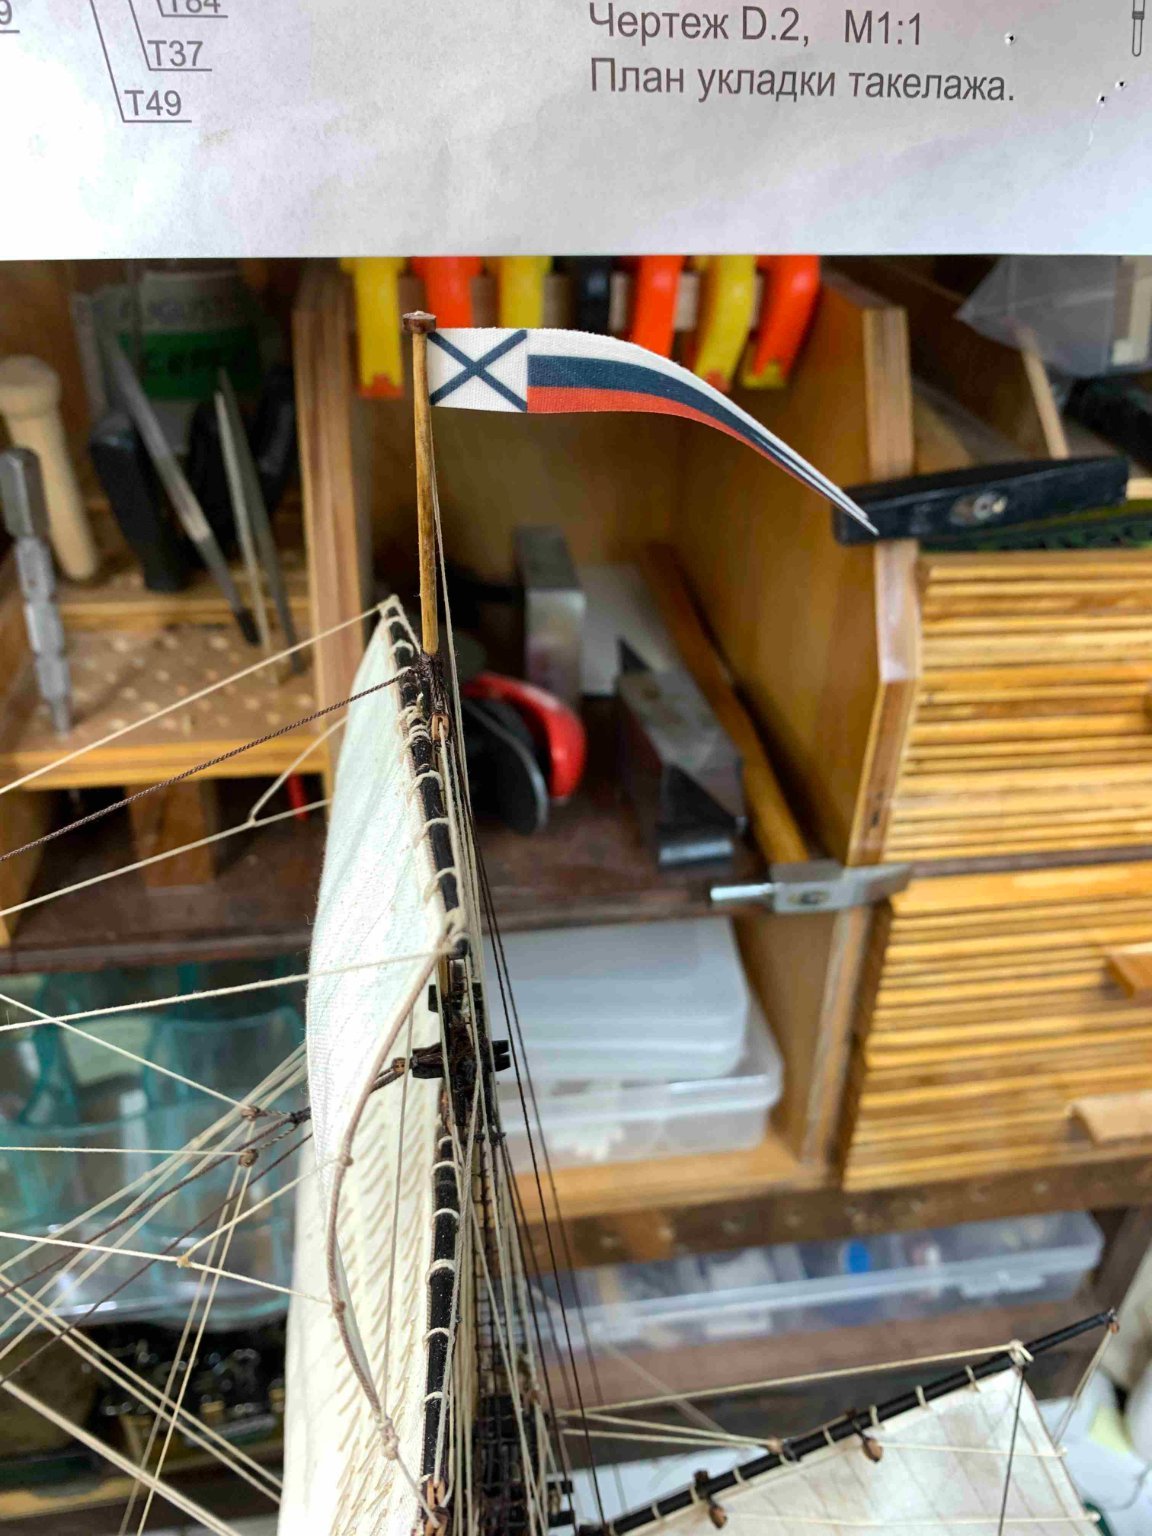
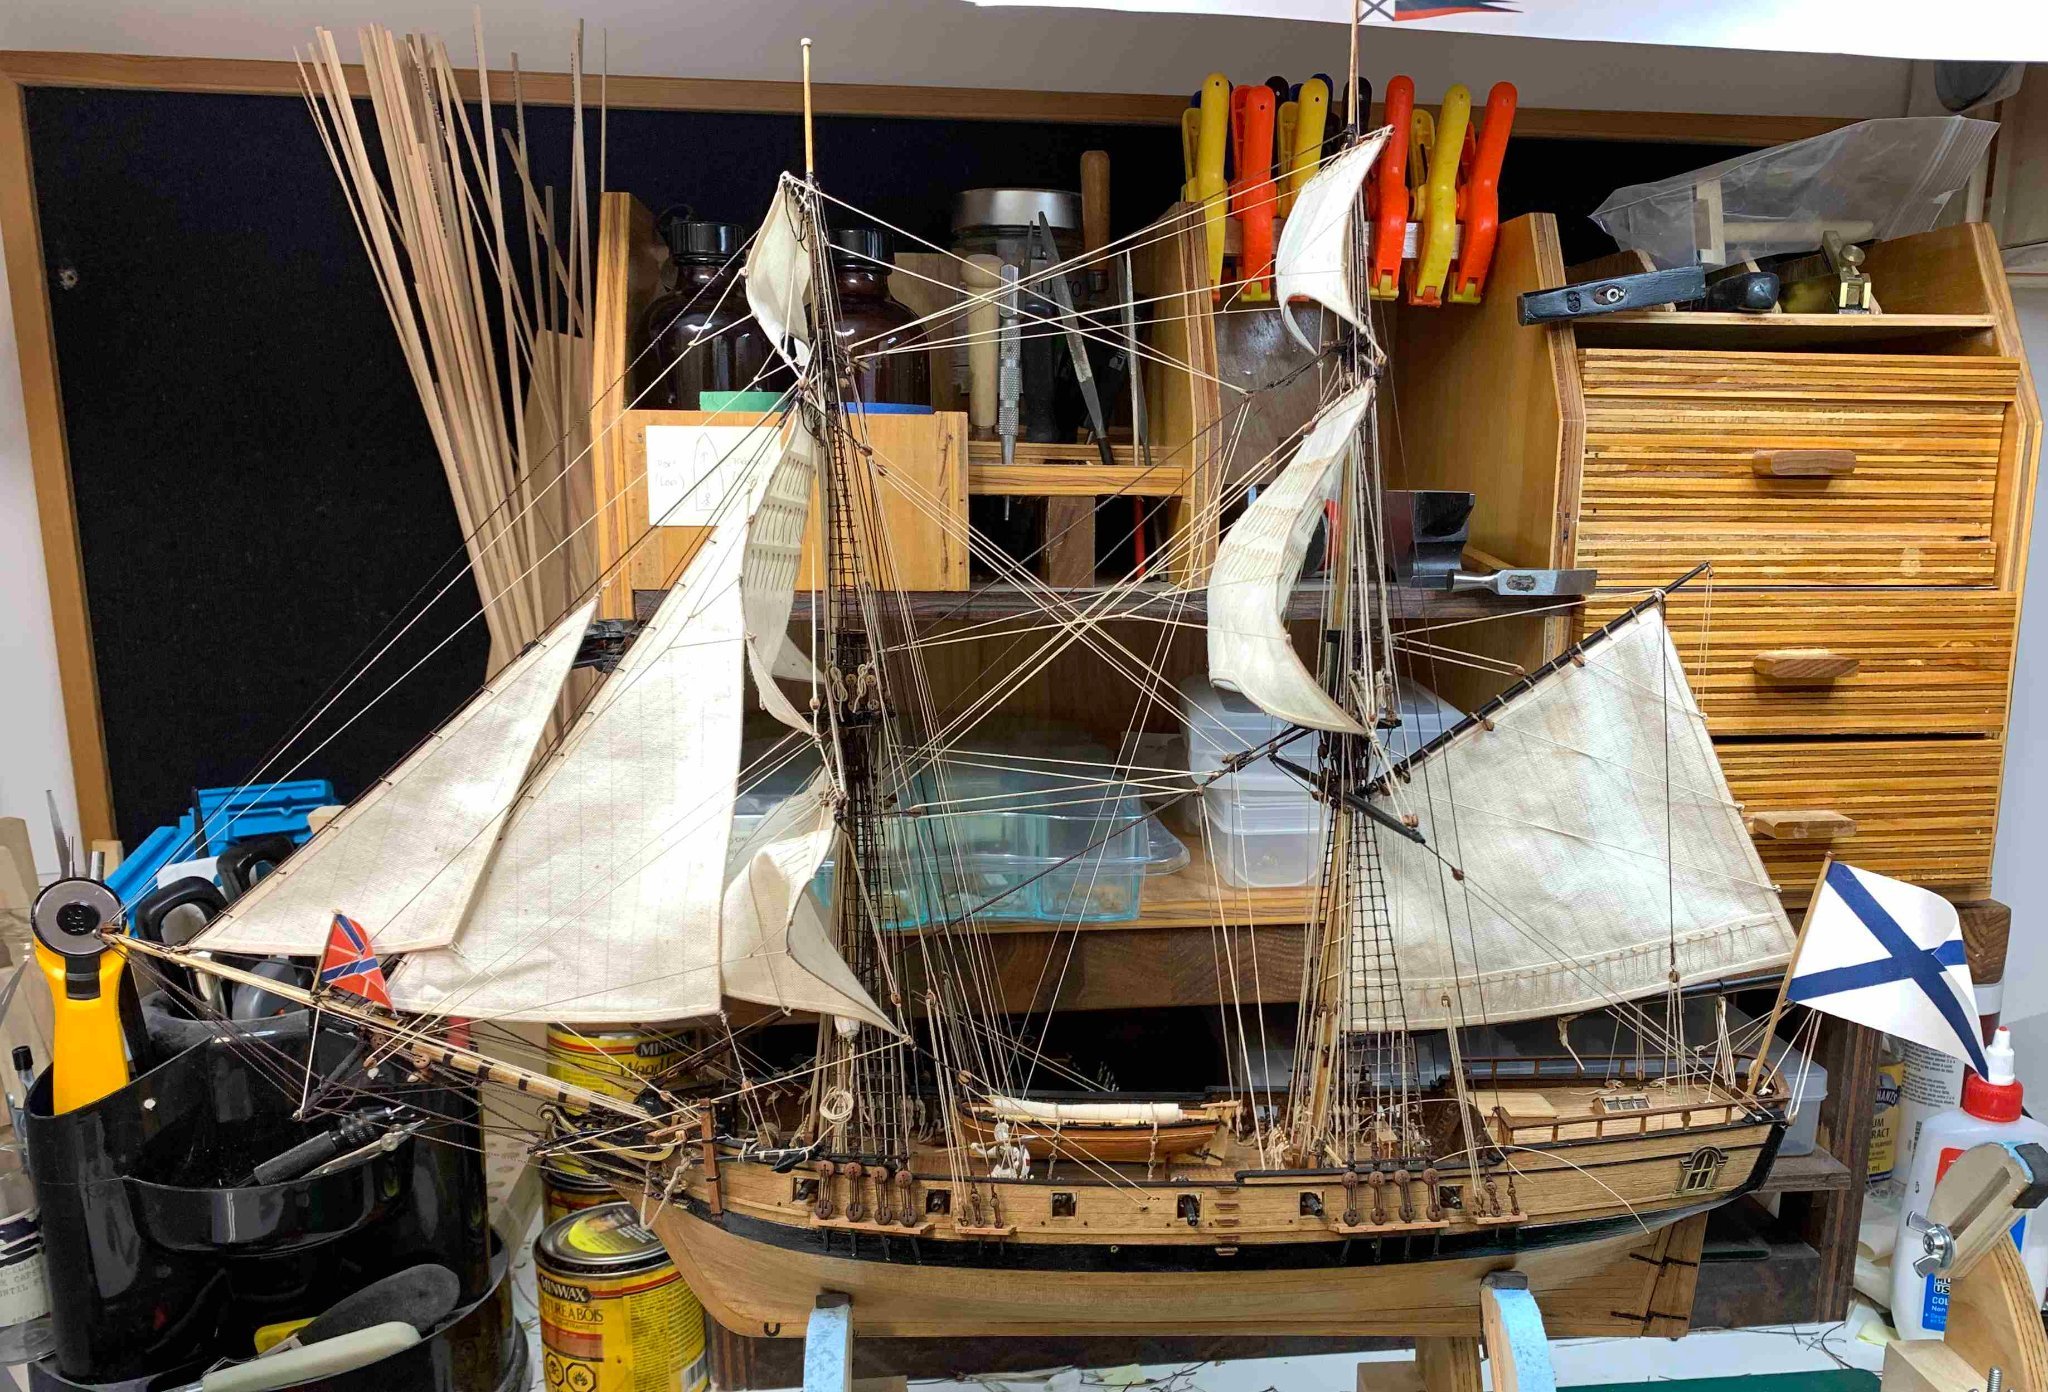
Ship flags are next. I decided to make my own flags even dough kit provided flags are good. This was just a test for making technology... I used software to make the flag, printed on the transfer paper and used iron to transfer picture to the material. It took me few attempts to find out correct material, correct layout and temperature as well as the way to line up both ends of the flag. For this task, i actually sandwich the material between two printouts, and with just one iron pass the pictures will transfer on both sides of the material.
I have tried several different material thickness as well as a paper and ended up with white shirt cotton.
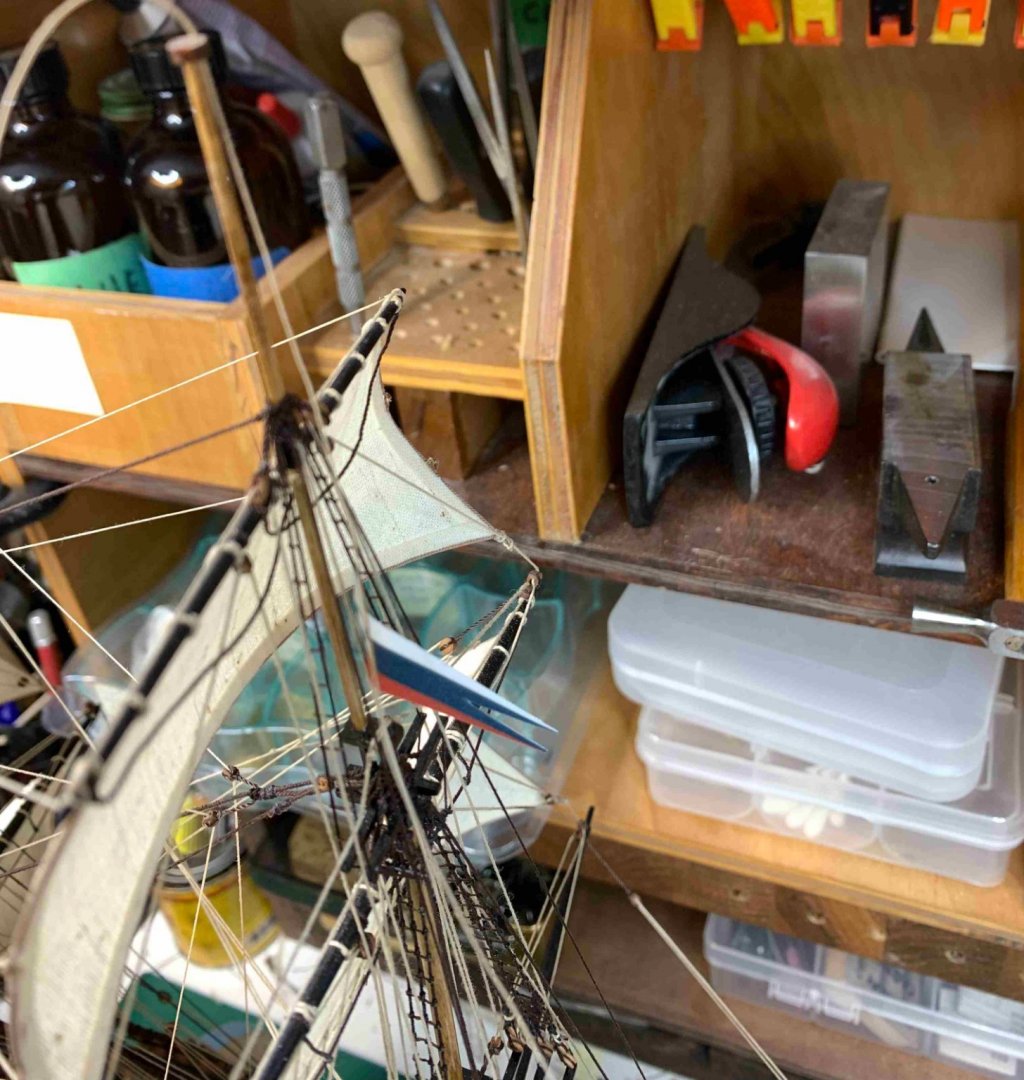
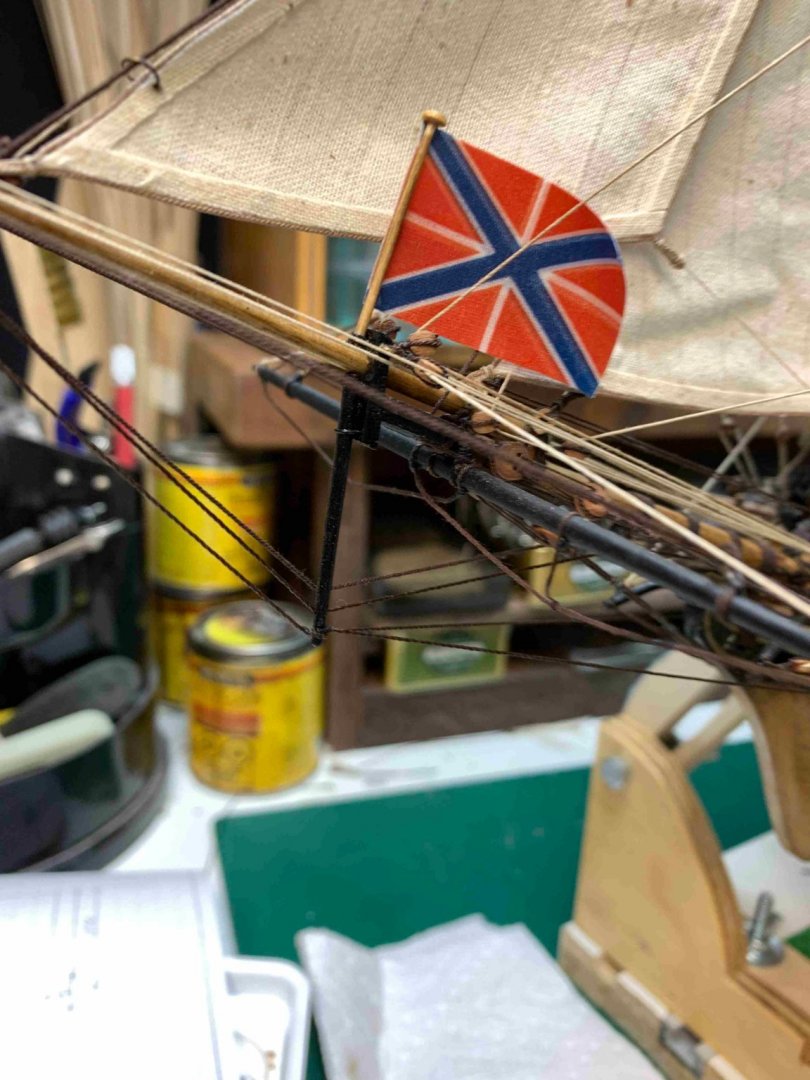
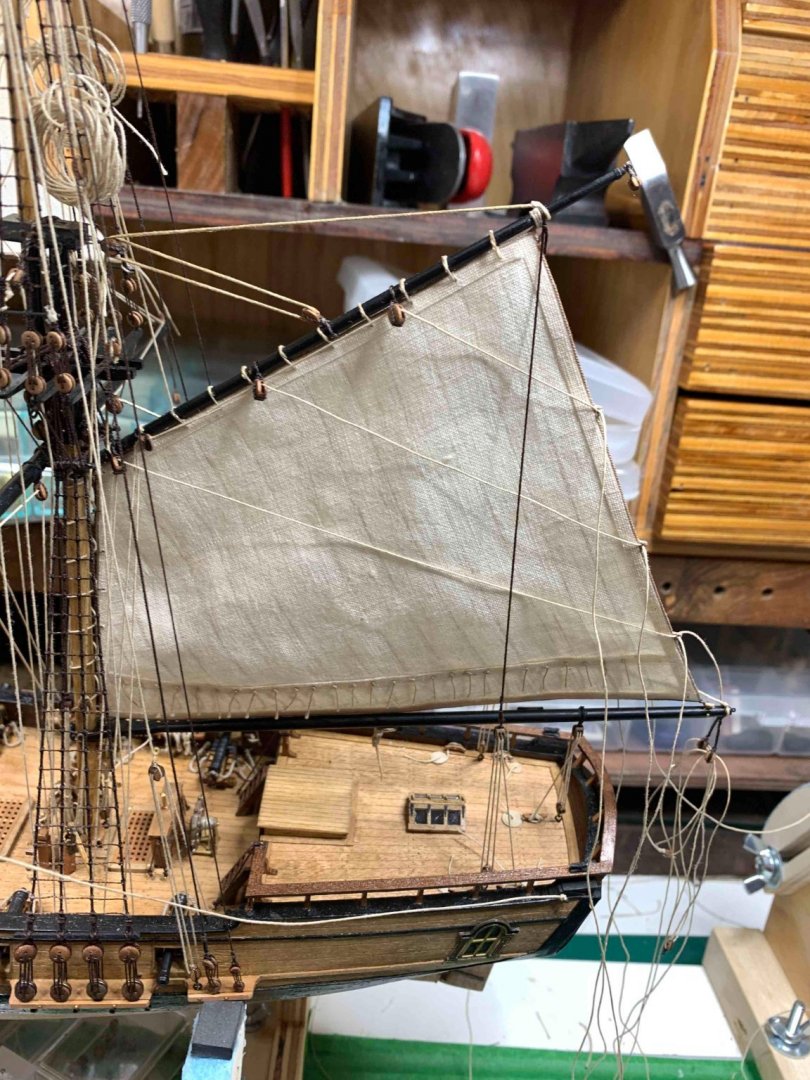
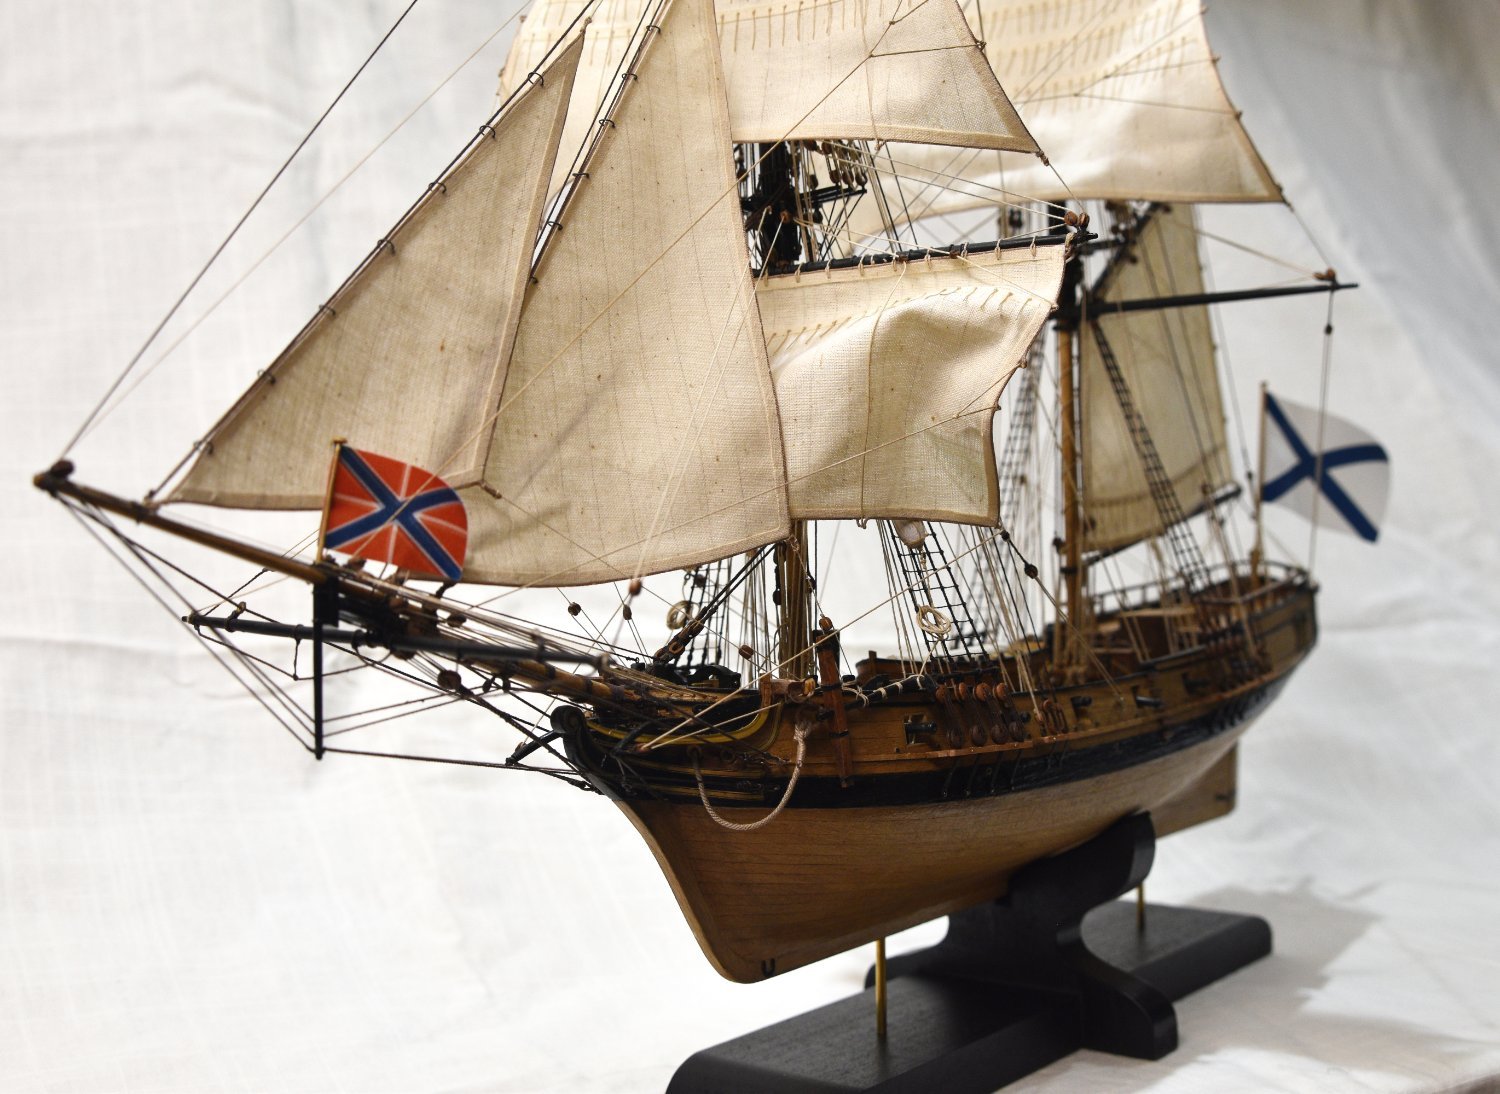
After all flags are made, i started mounting them..
The flag is glued to the line...
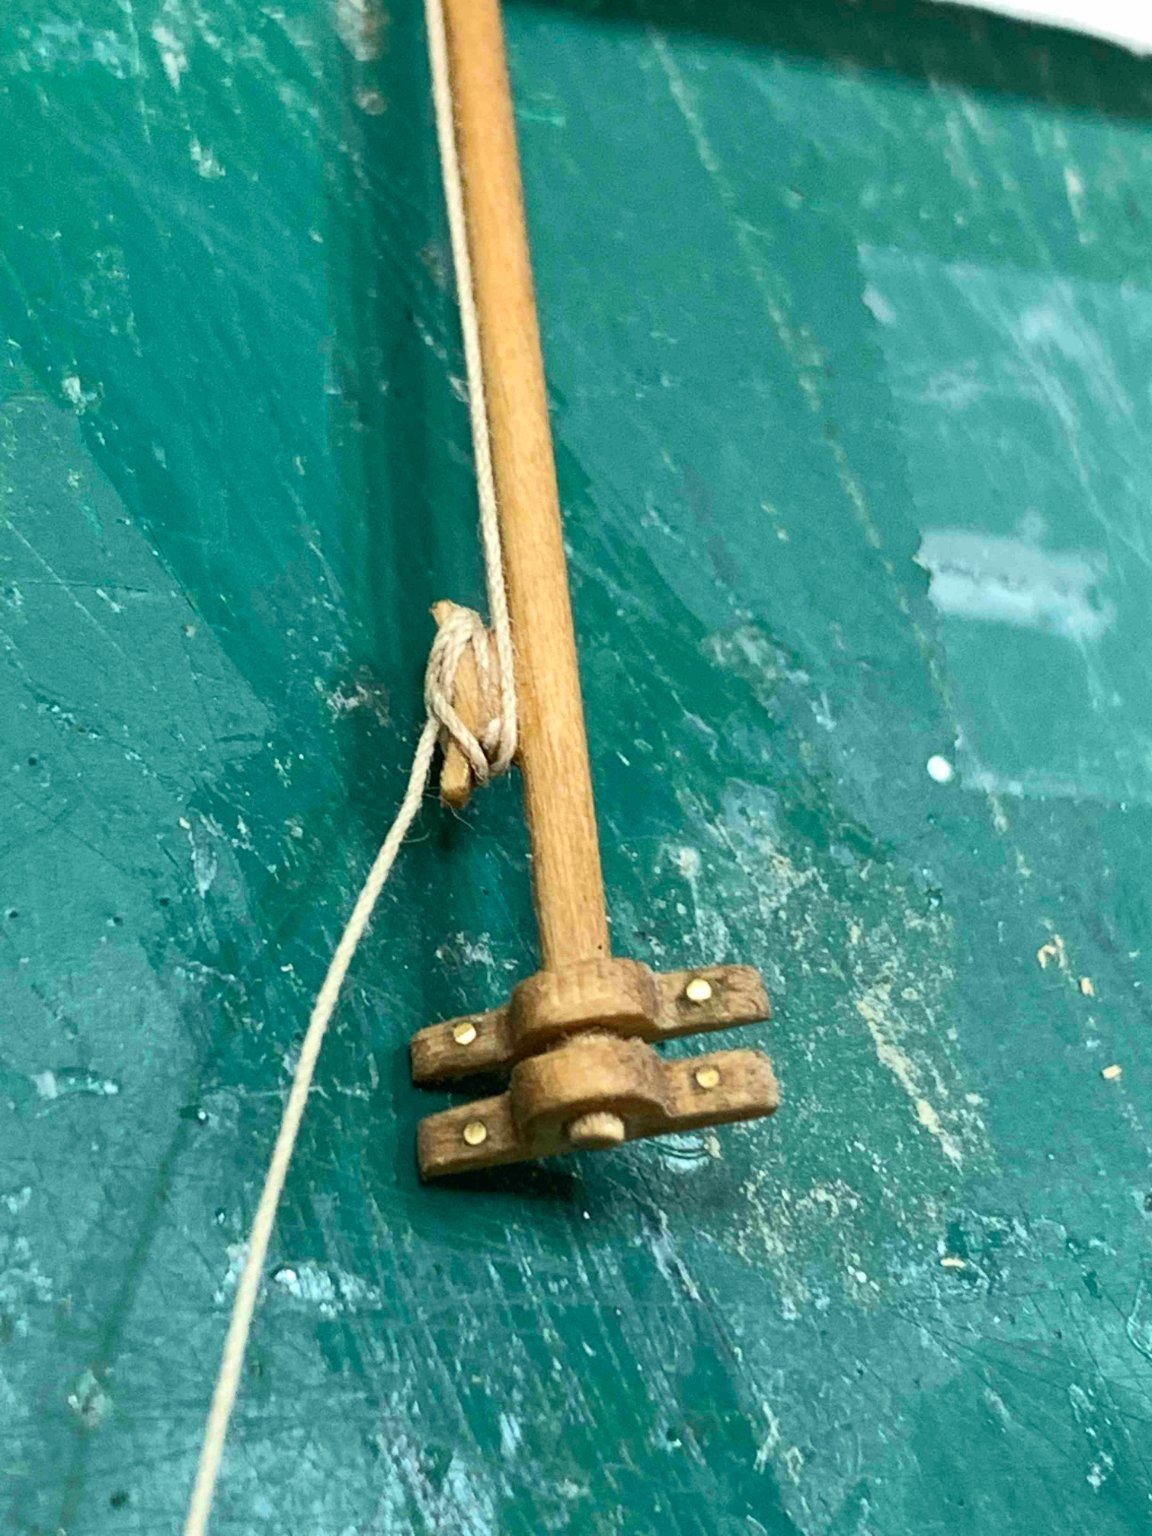
The line is positioned on flag poll...

And the rope was tighten to the poll as well...

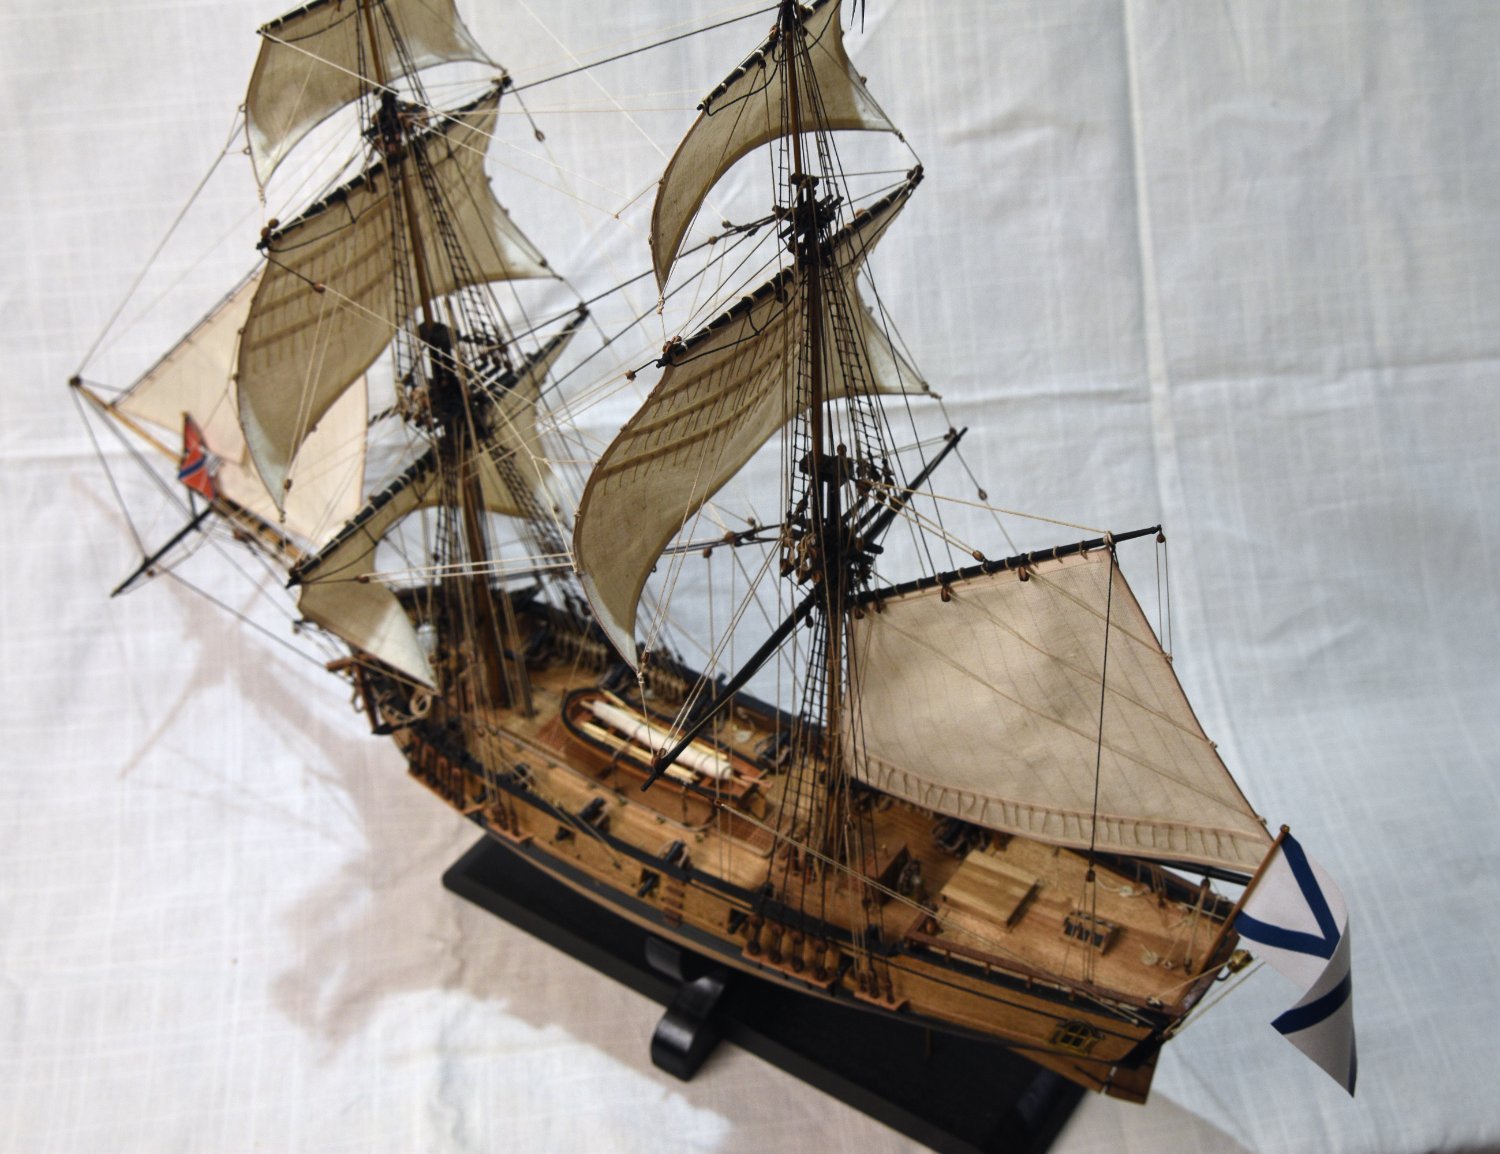
The whole assembly was glued to the ship..
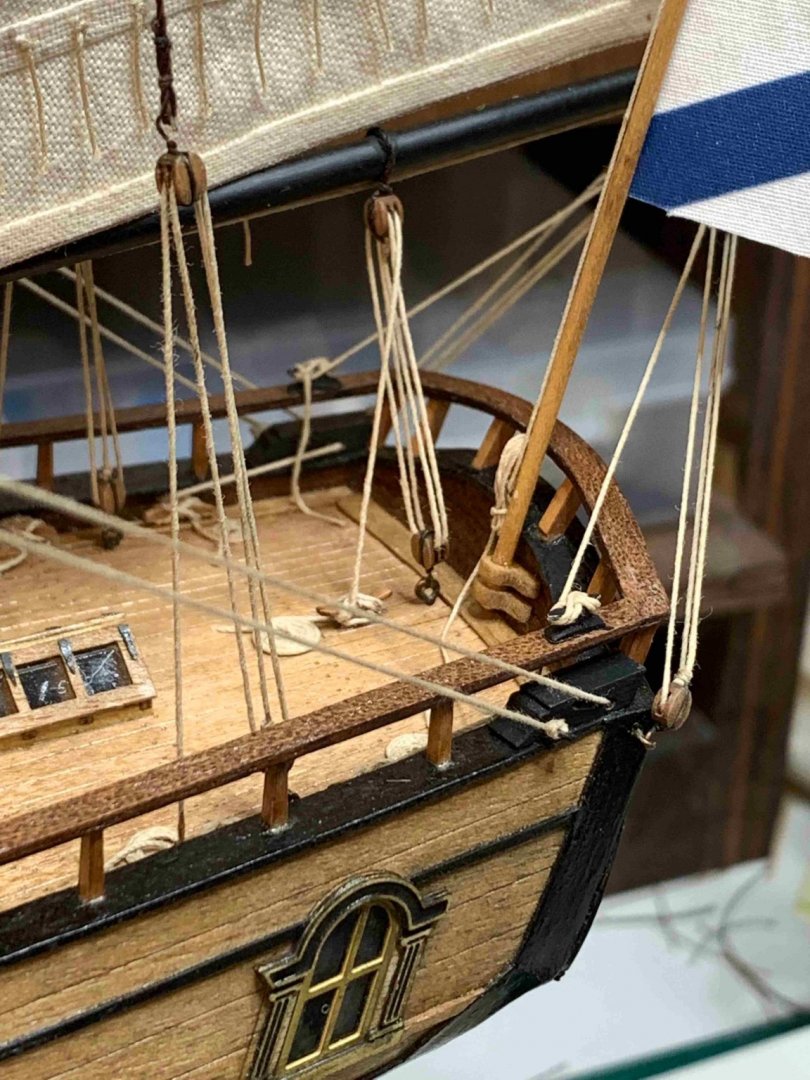

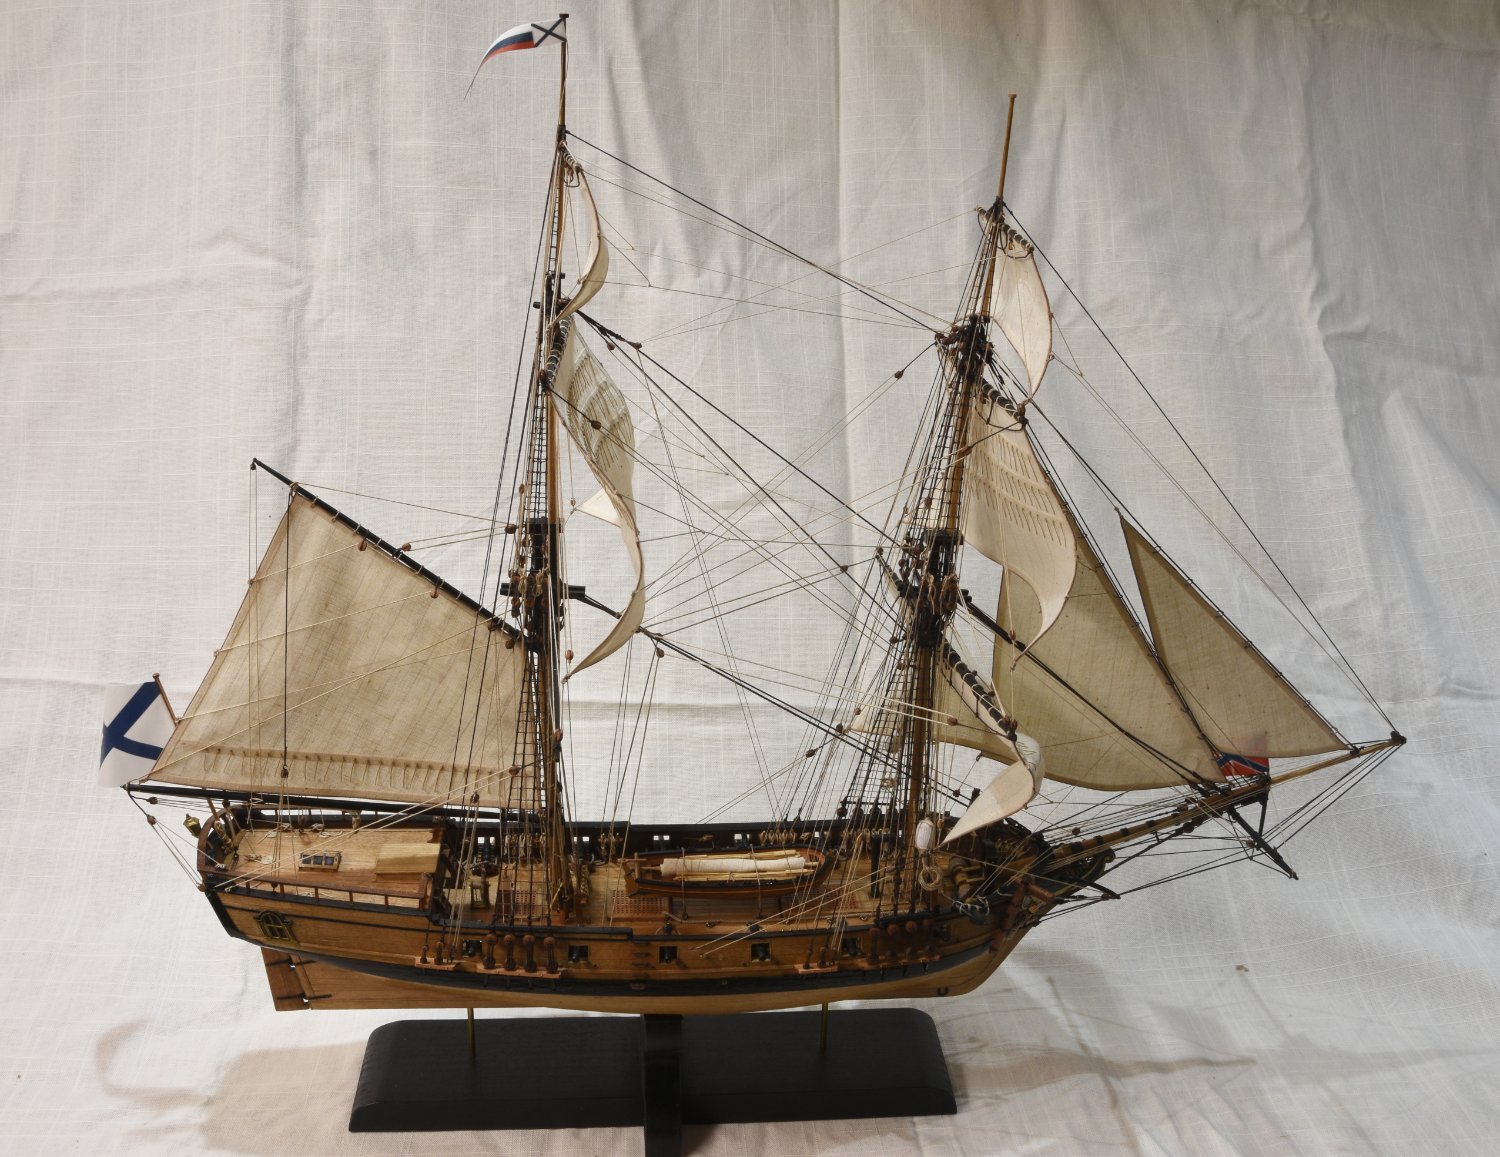
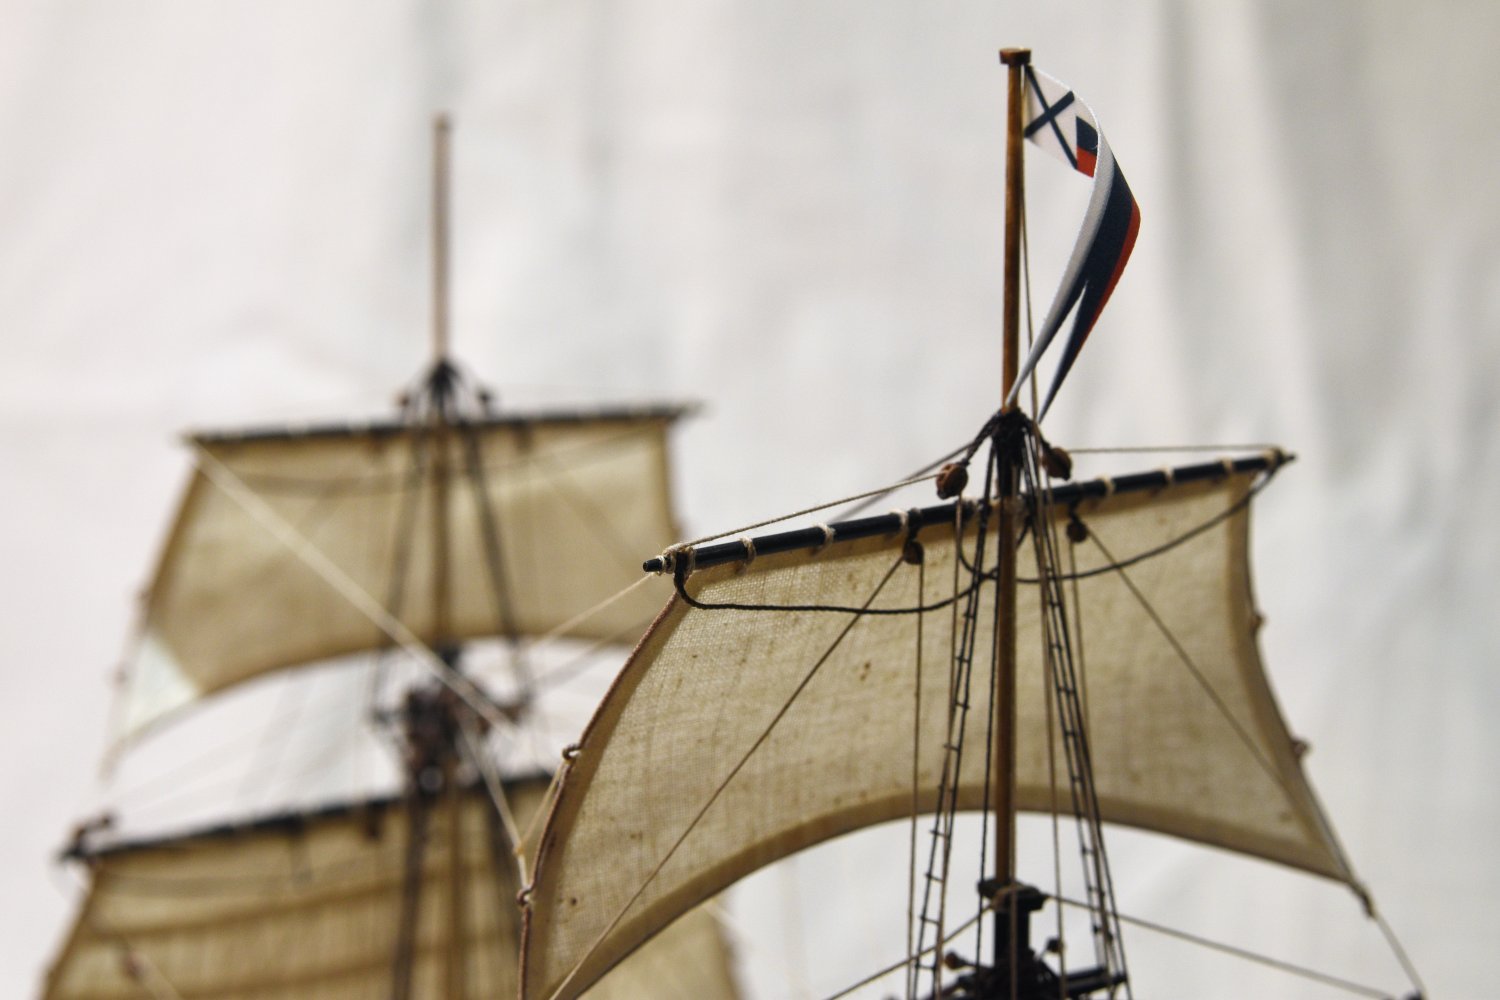
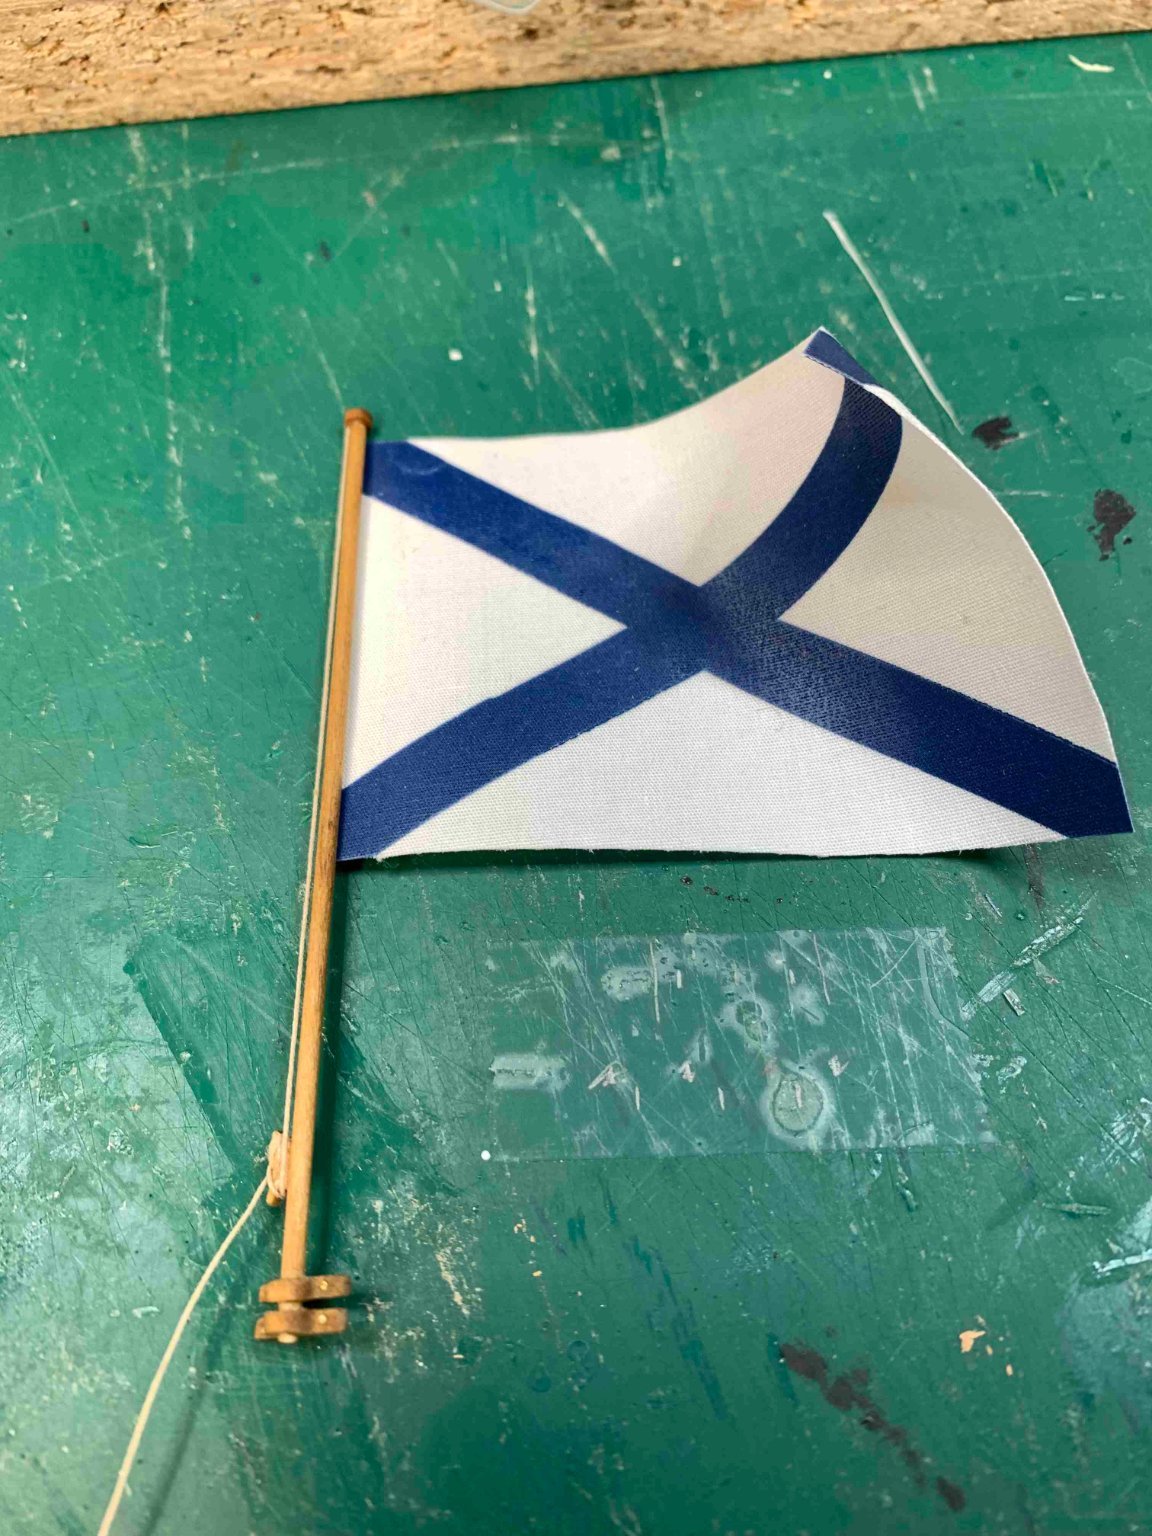
Second flag is proudly up...
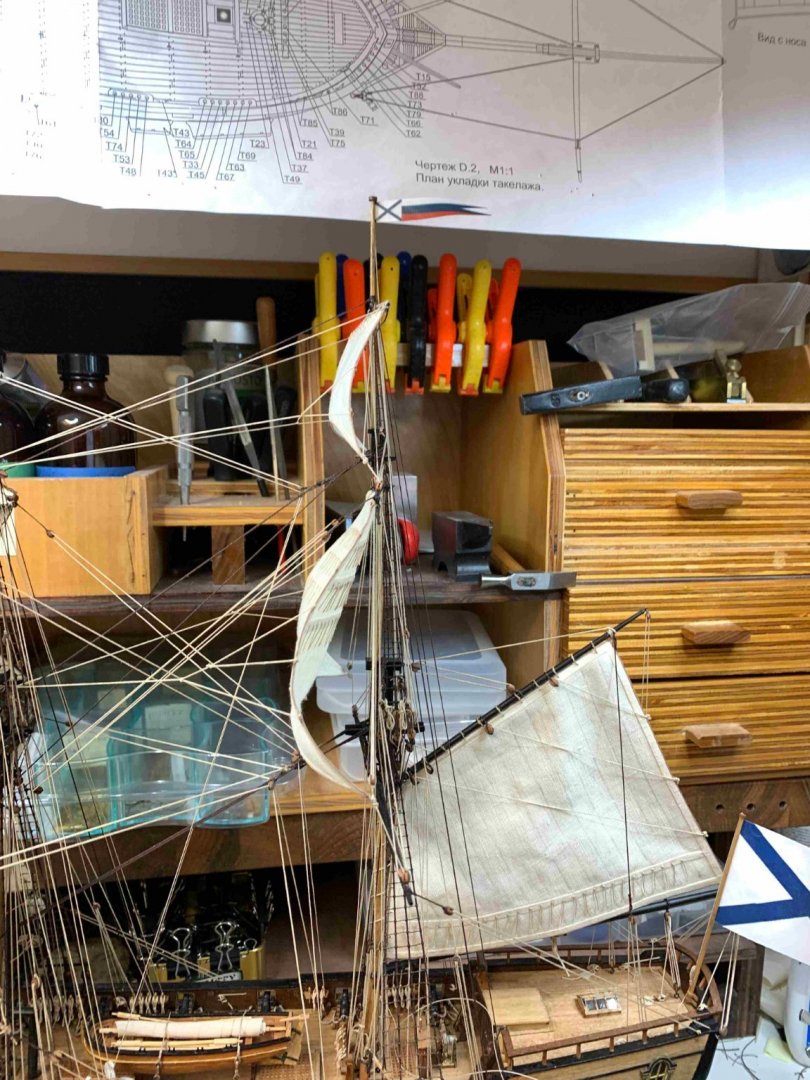
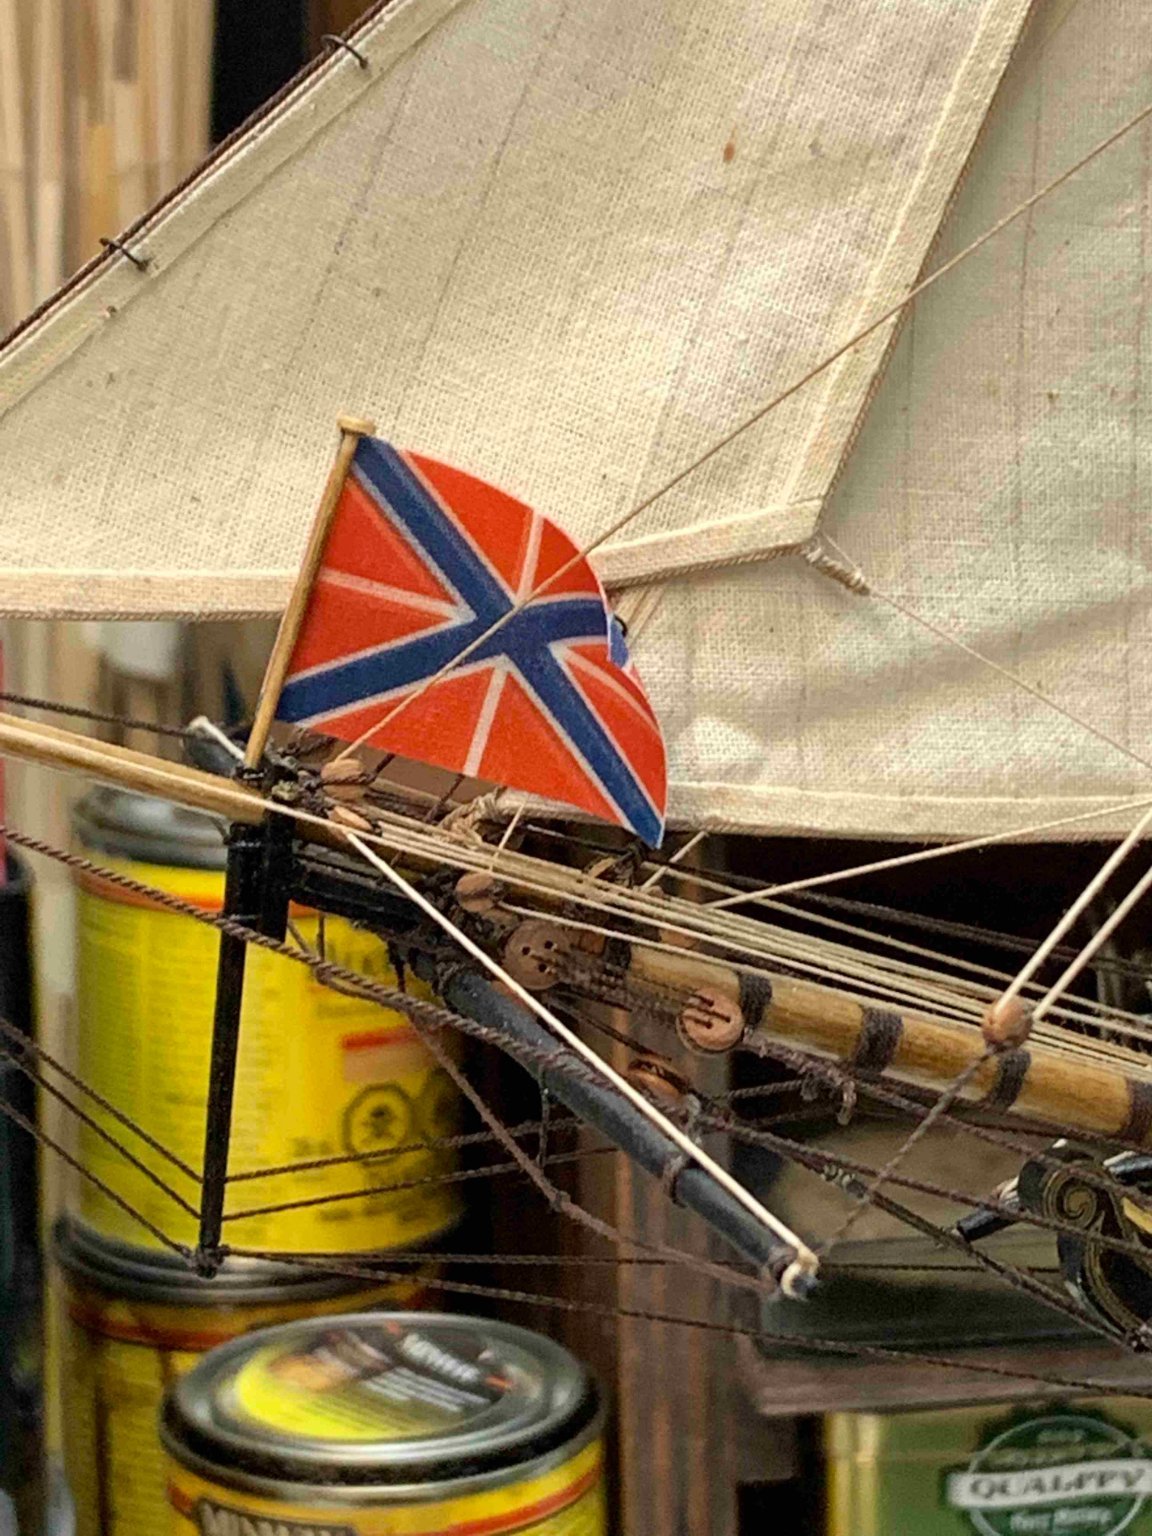
This one was slightly twisted around small brush...
Here is comparison between kit provided and home-made...
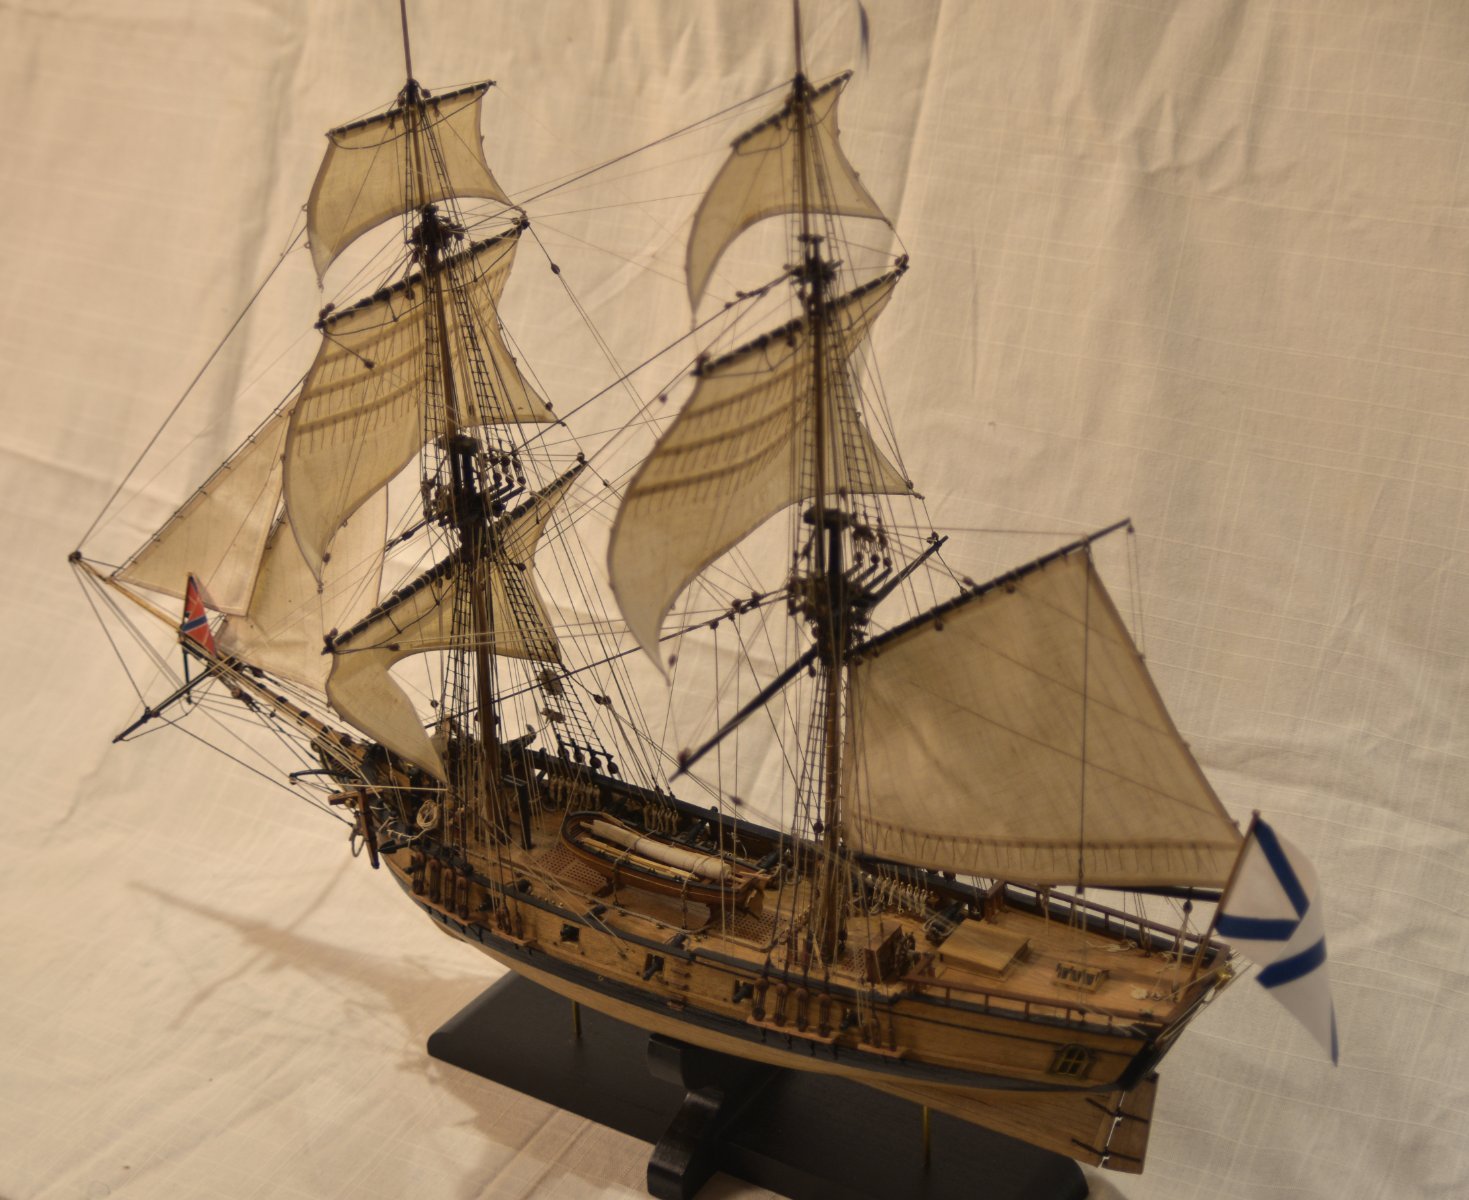
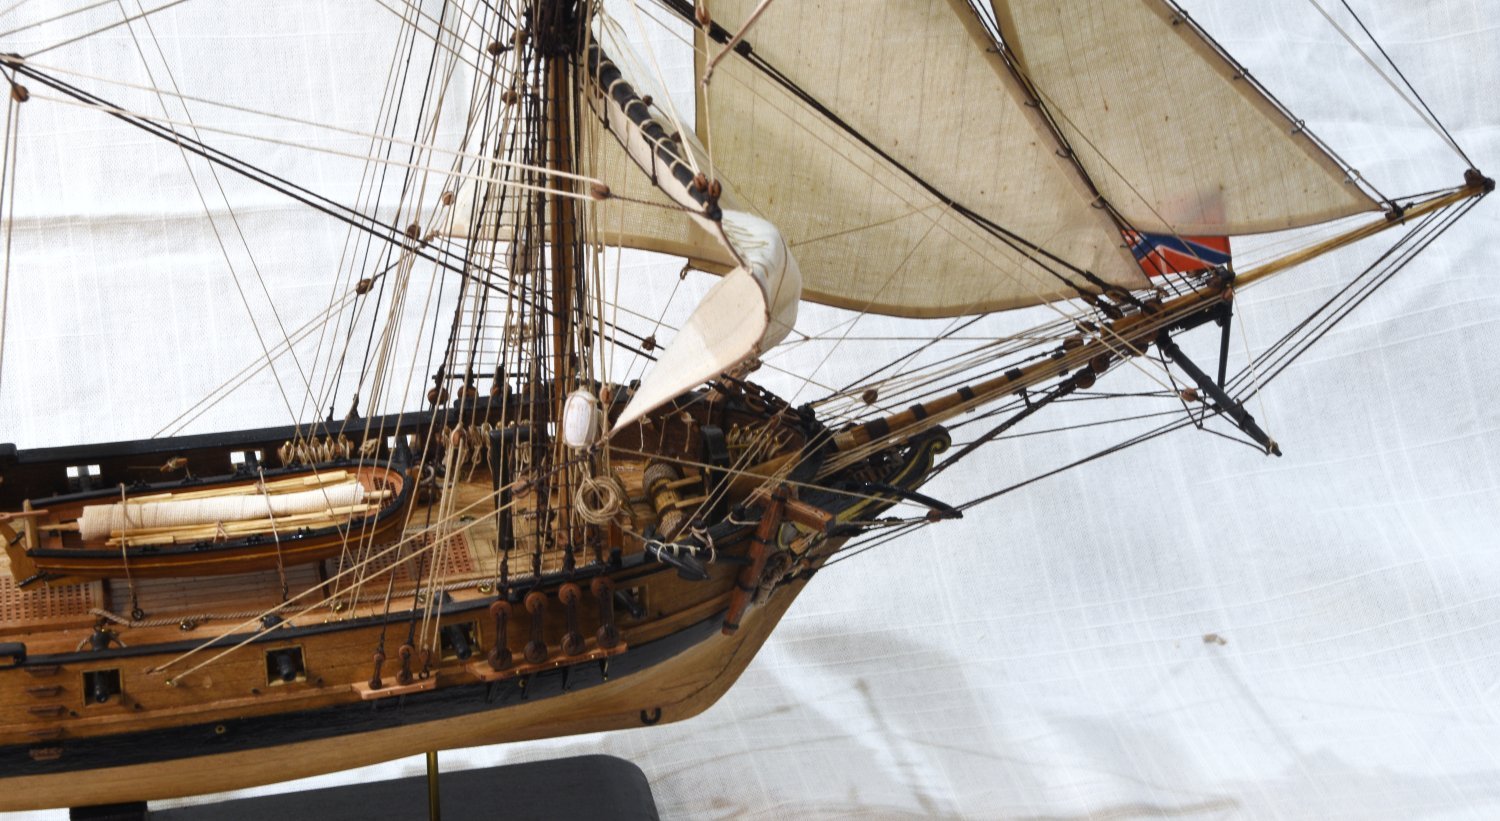
The flag was also glued to the line and mounted on the ship...On the way up..

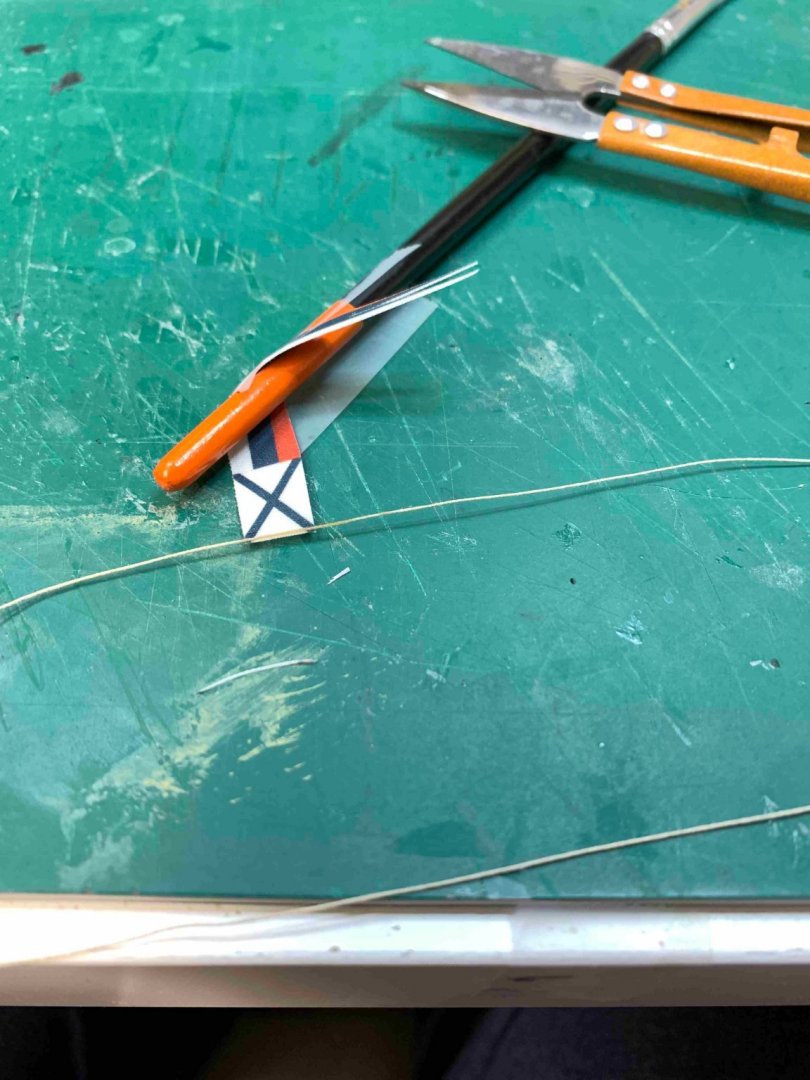
And the last one, same process, this time without the line..

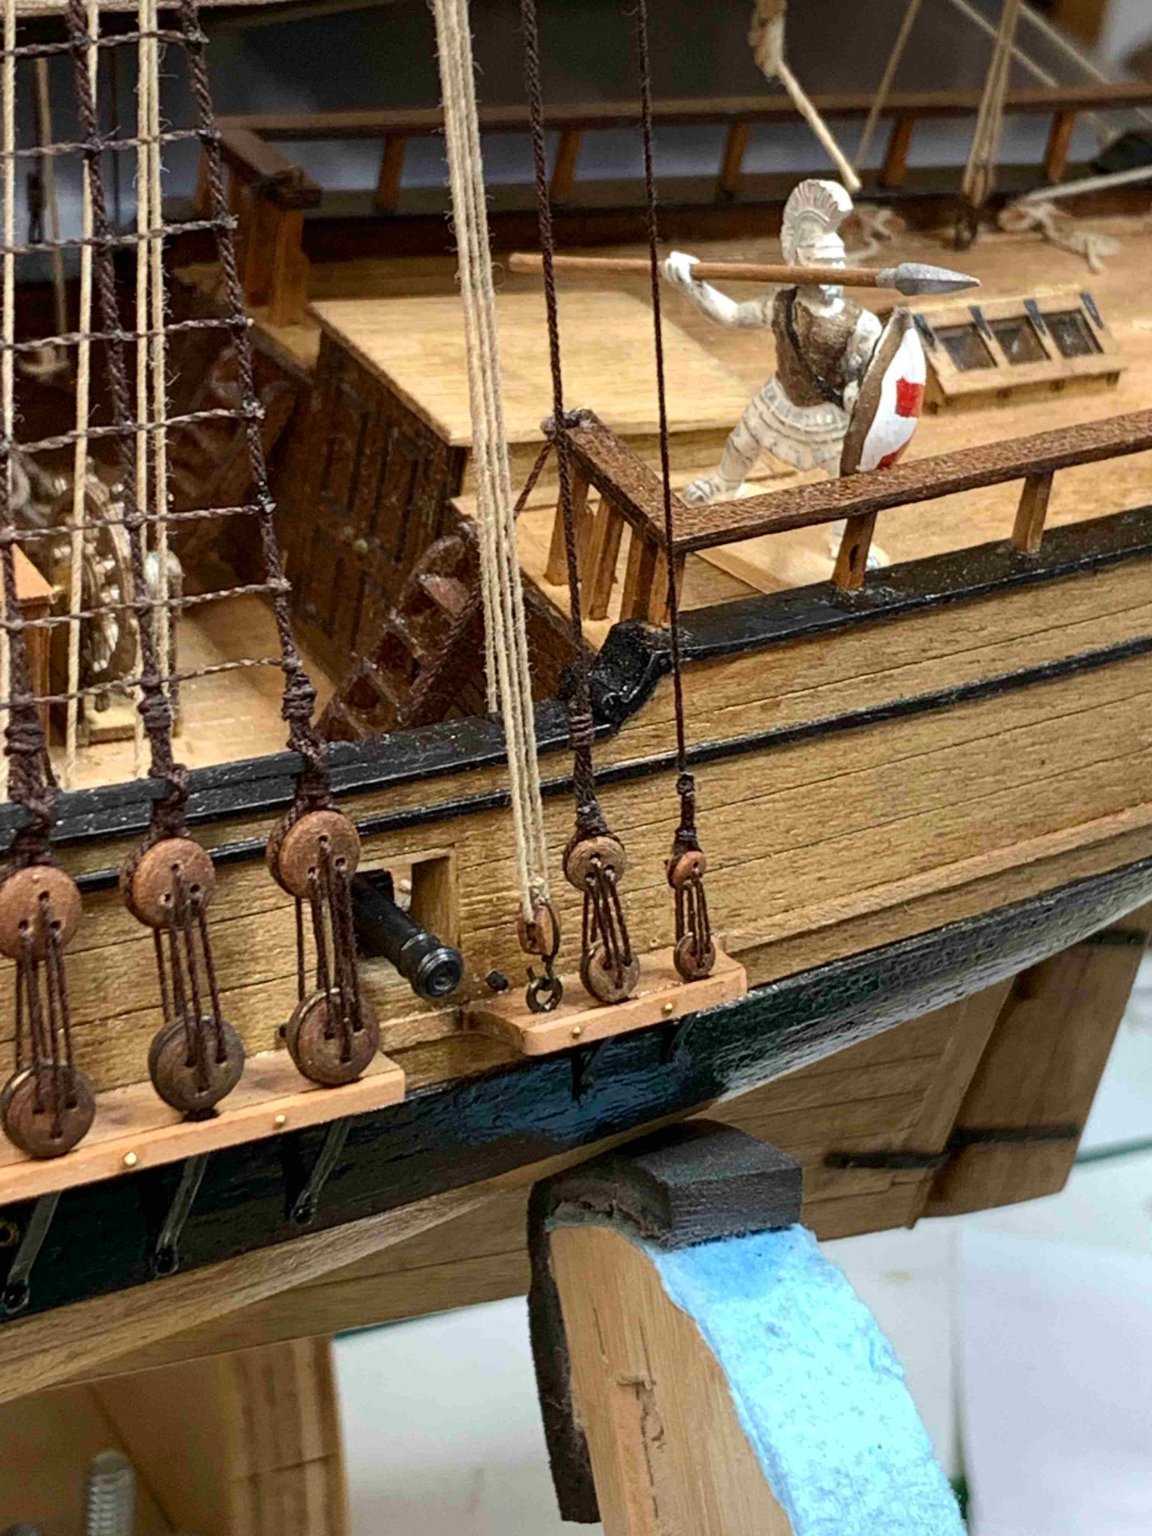
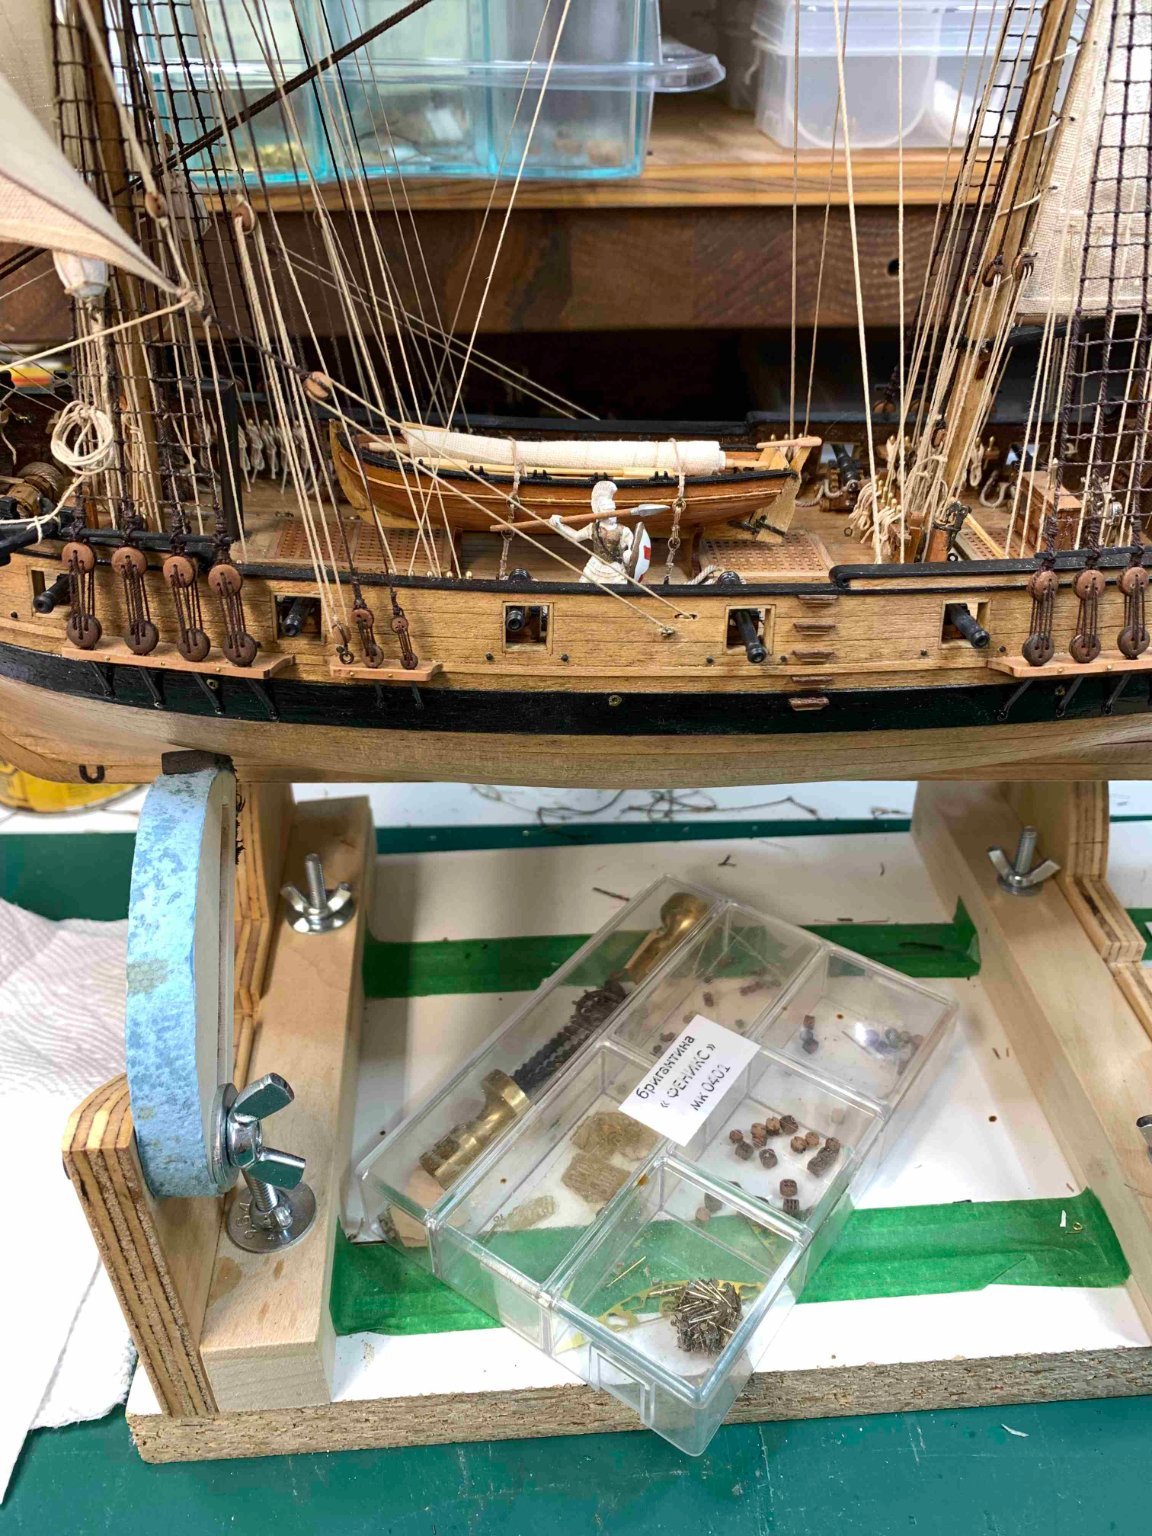
As always, the mighty greek warrior arrived to check the progress. He usually comes at the end of the work, waiting to take control of the ship, suggesting that THAT IT IS... I can call it a finished project.


The next i will work on pedestal, acrylic cover and some final pictures...
Happy modelling..- ccoyle and Ryland Craze
-
2
-
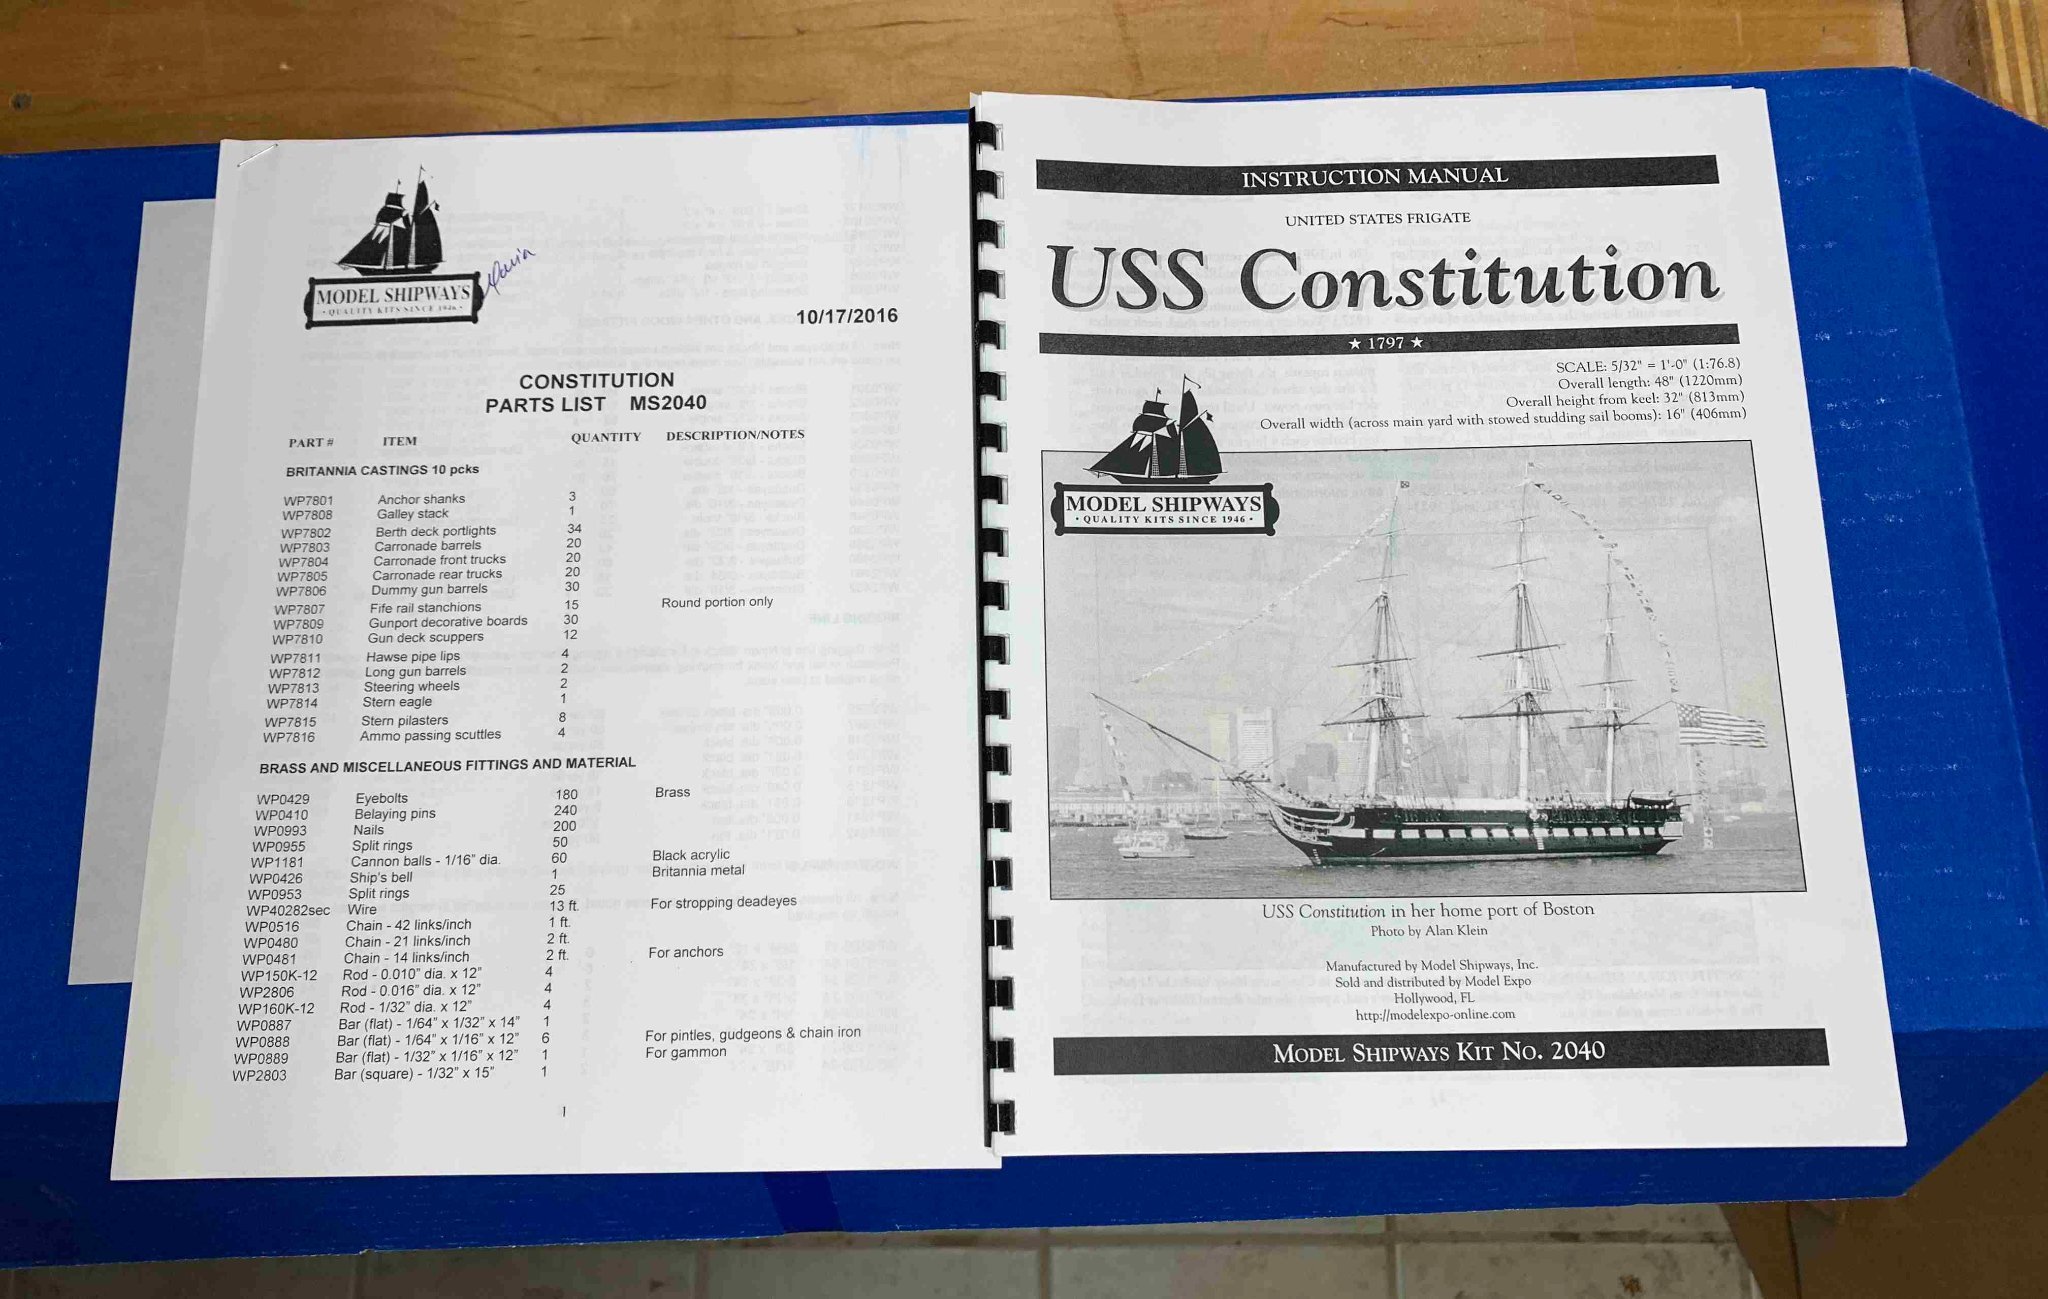
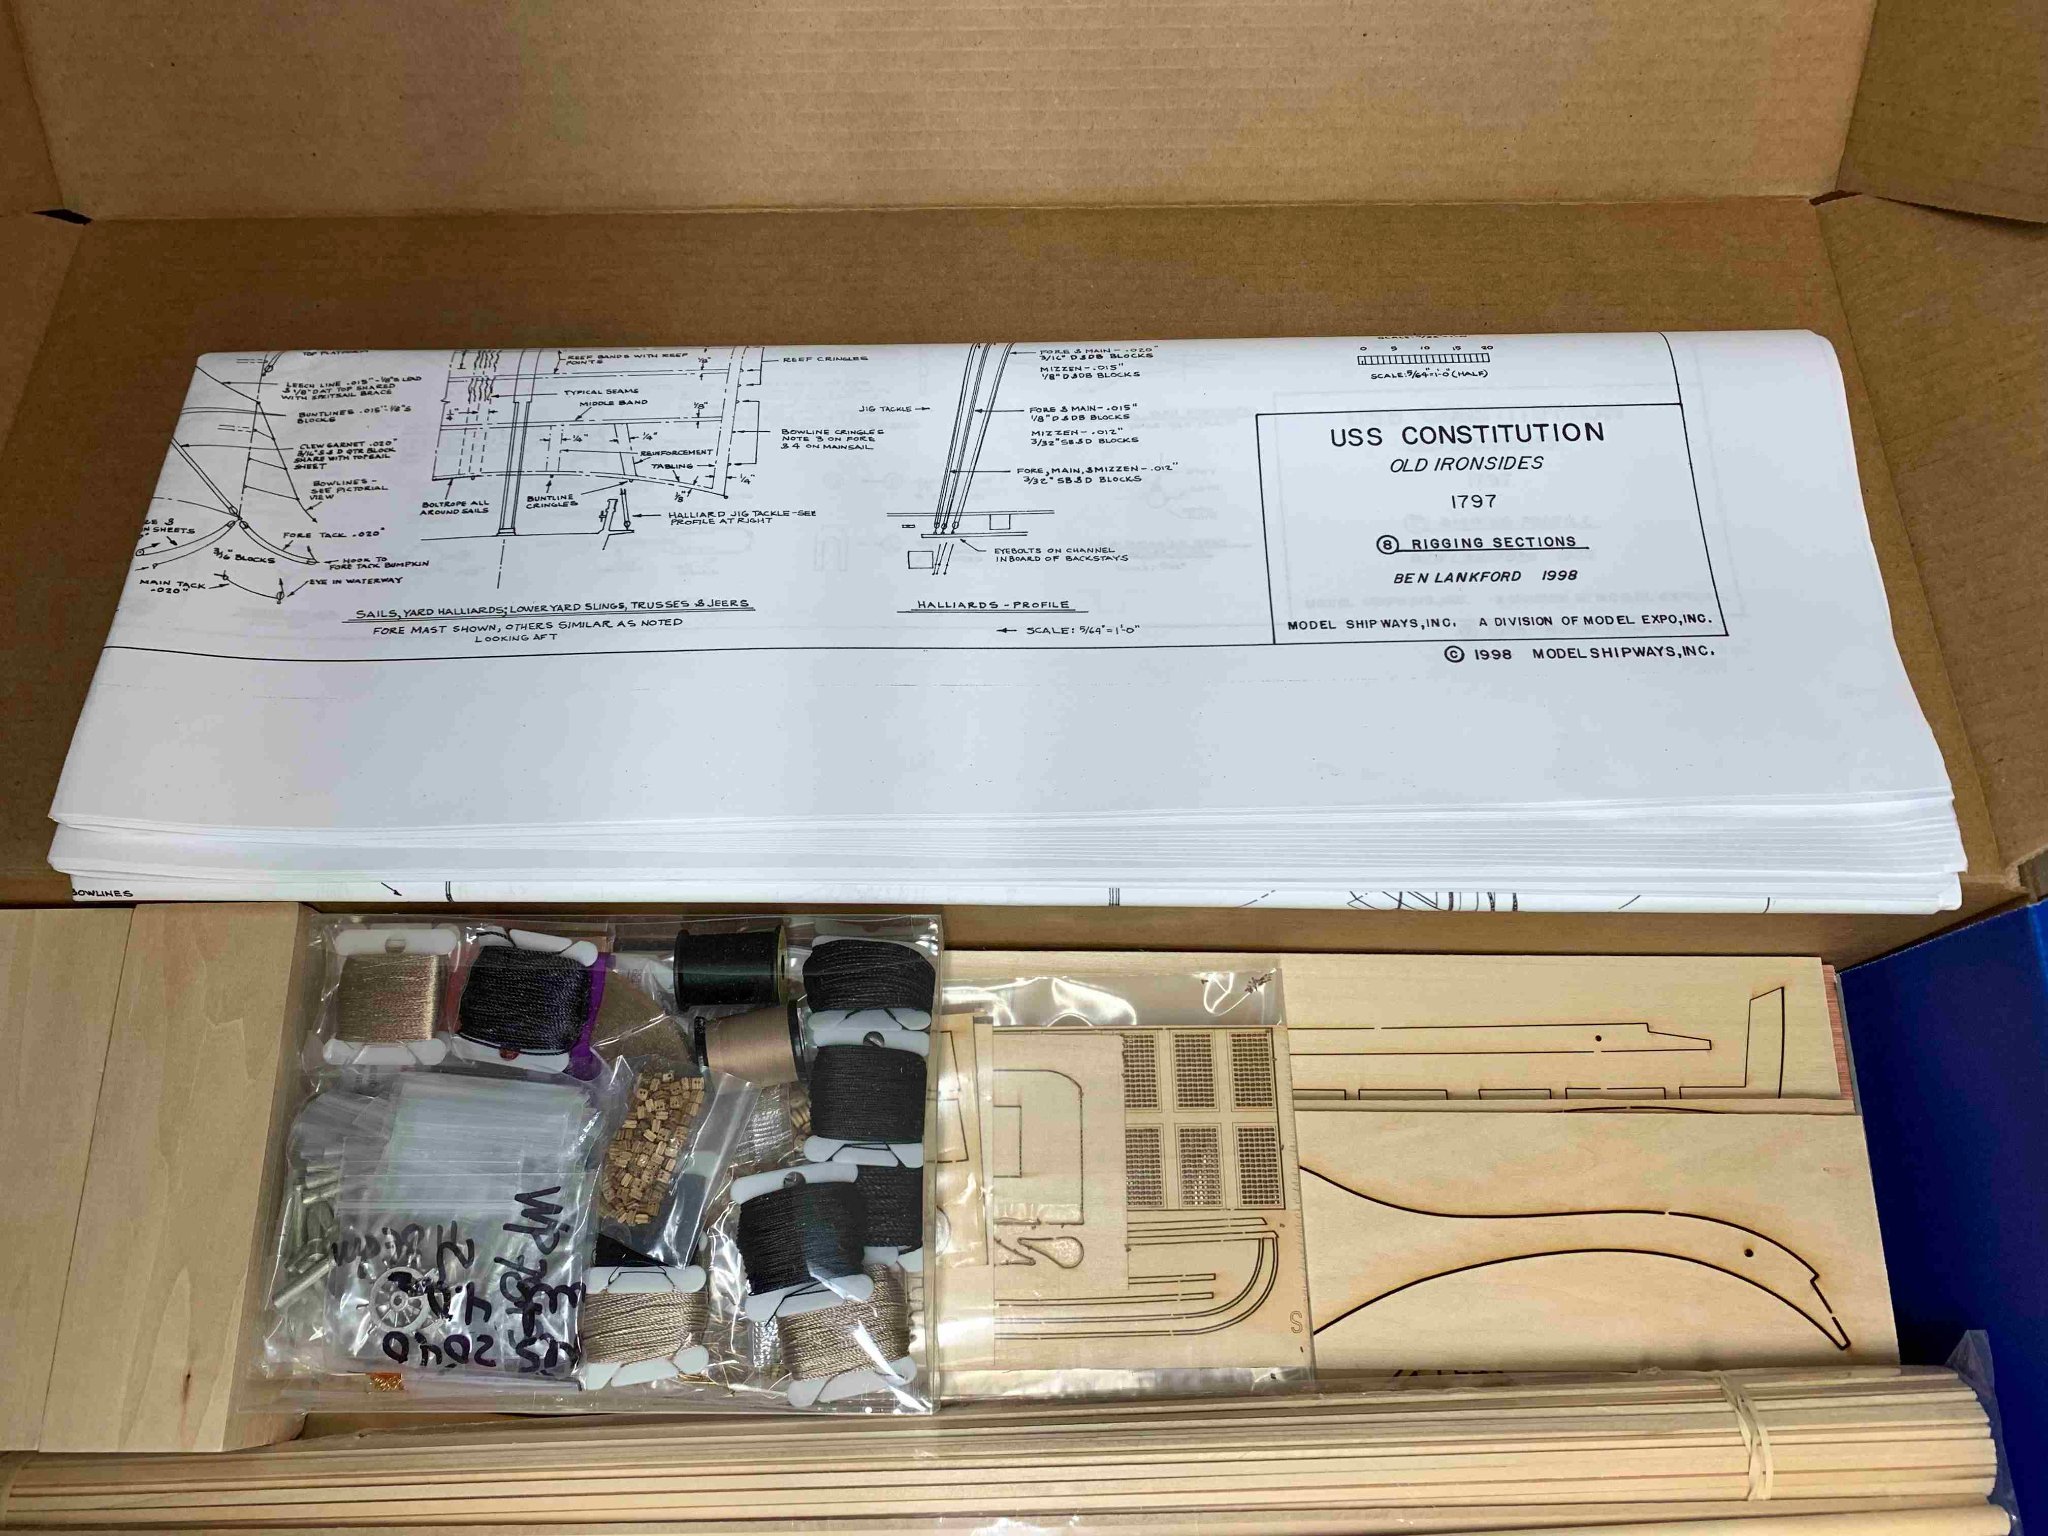
Right on time for a holiday season, i am selling M2040, USS Constitution model kit, a real treat for any ship model enthusiast..
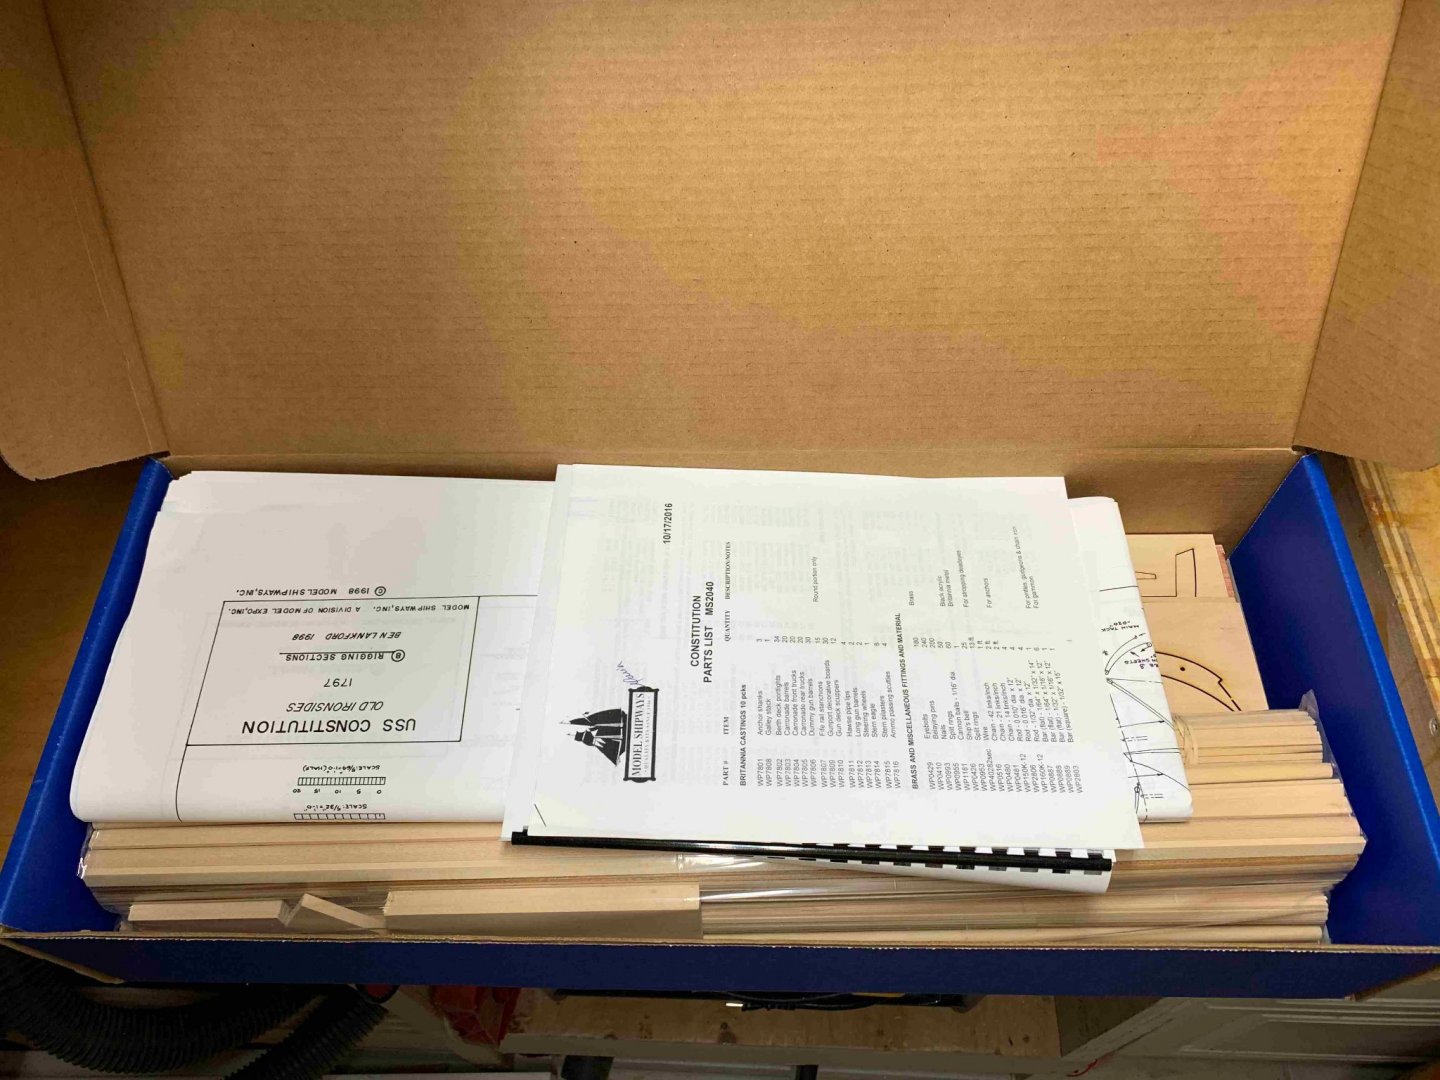
The kit is brand new, purchased three years ago, opened only to take pictures. For last year holidays, i got the same kit from my family so ended up with two kits.
One is for sale now, priced very good for a modeller to enjoy package opening on the Christmas day or New Year's day..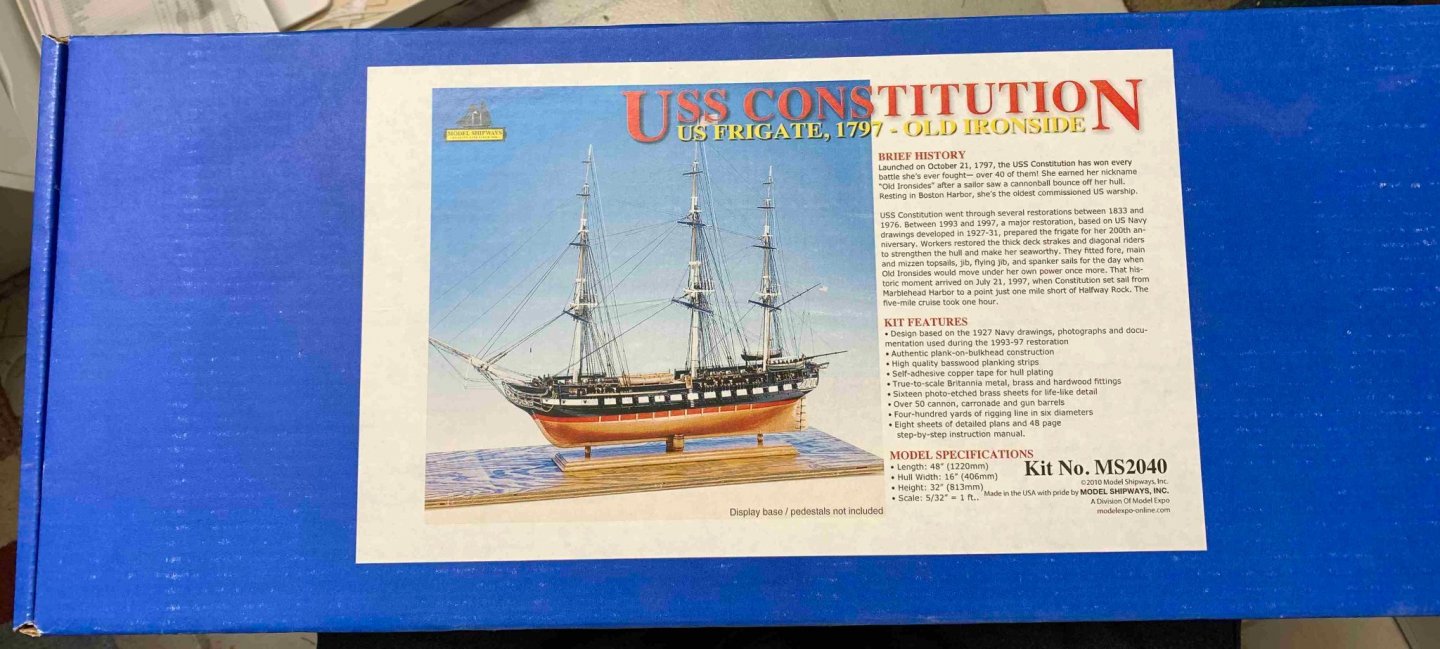
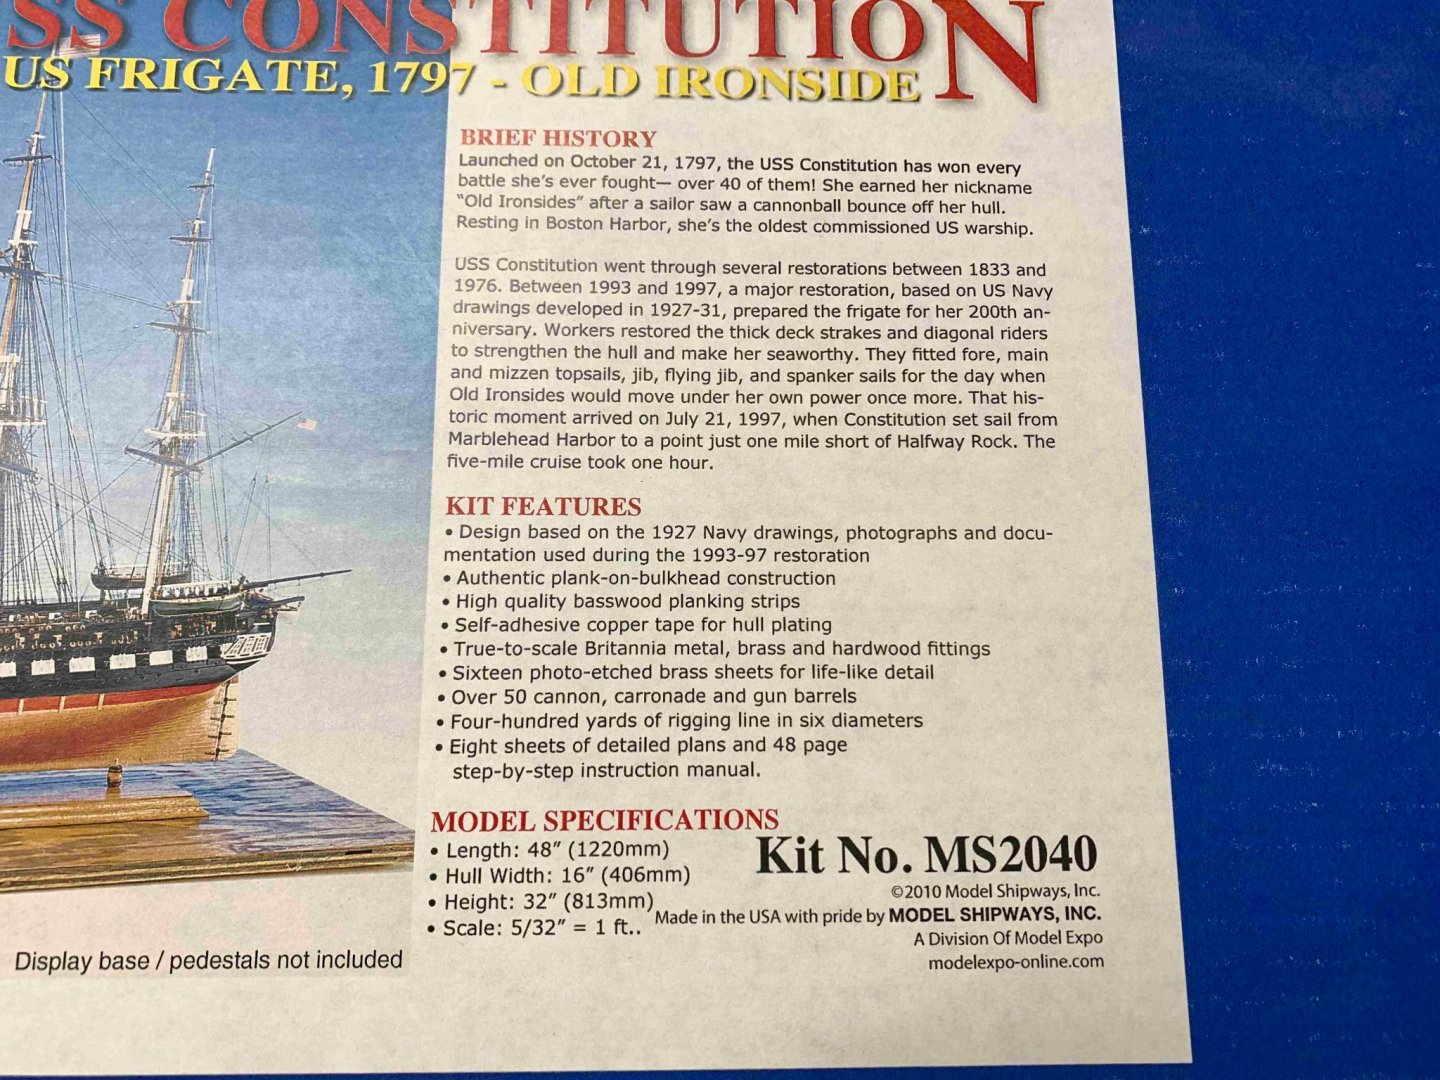


Kit description from the manufacturer's web site.. https://modelexpo-online.com/Model-Shipways-USS-CONSTITUTION-48-LONG-176-SCALE_p_1013.html==================================================
Model Shipways is proud to produce the best and most accurate USS Constitution available. Our kit is based on the 1927 Navy drawings, photographs and documentation used during the 1993-97 restoration. It is so complete and highly detailed that shipping weight is an incredible 12 pounds!
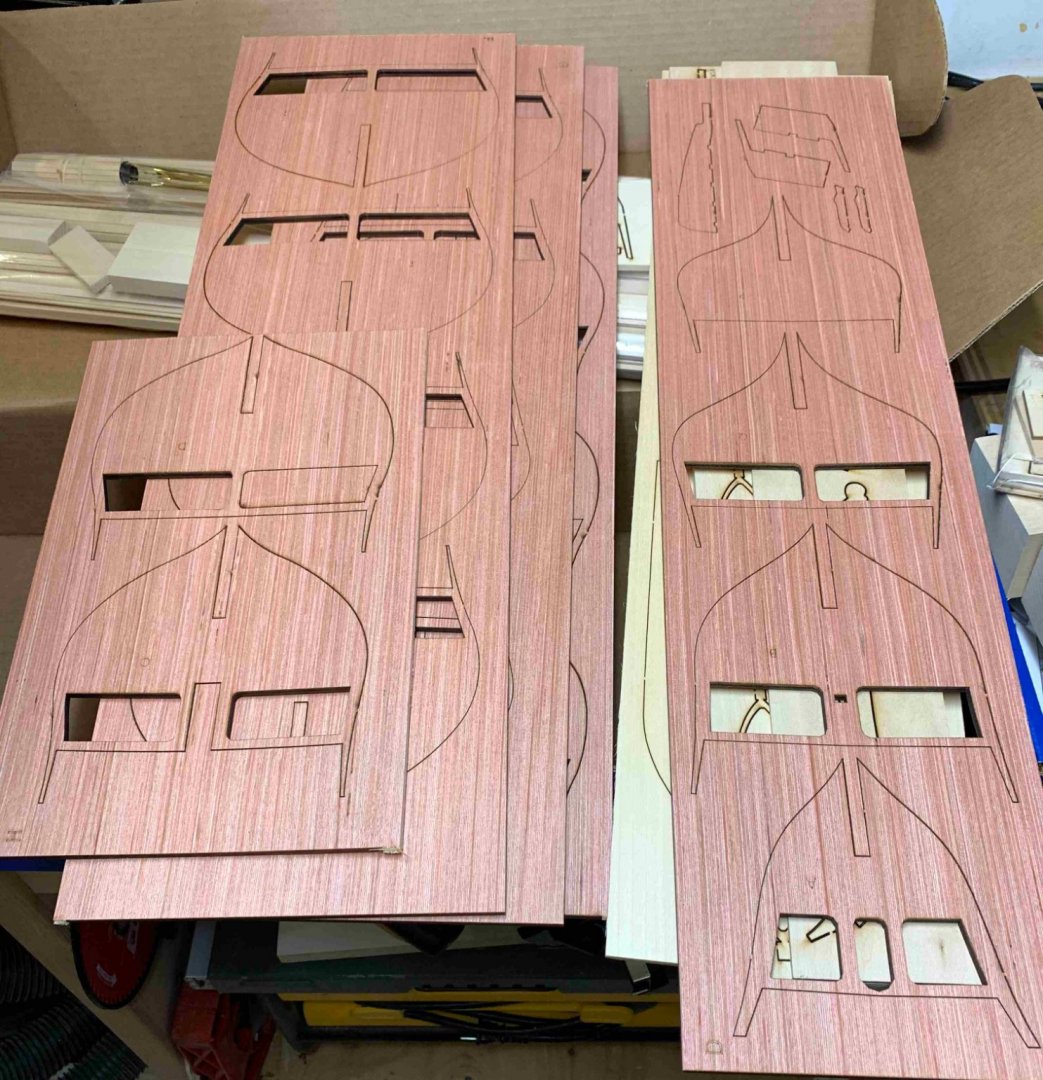
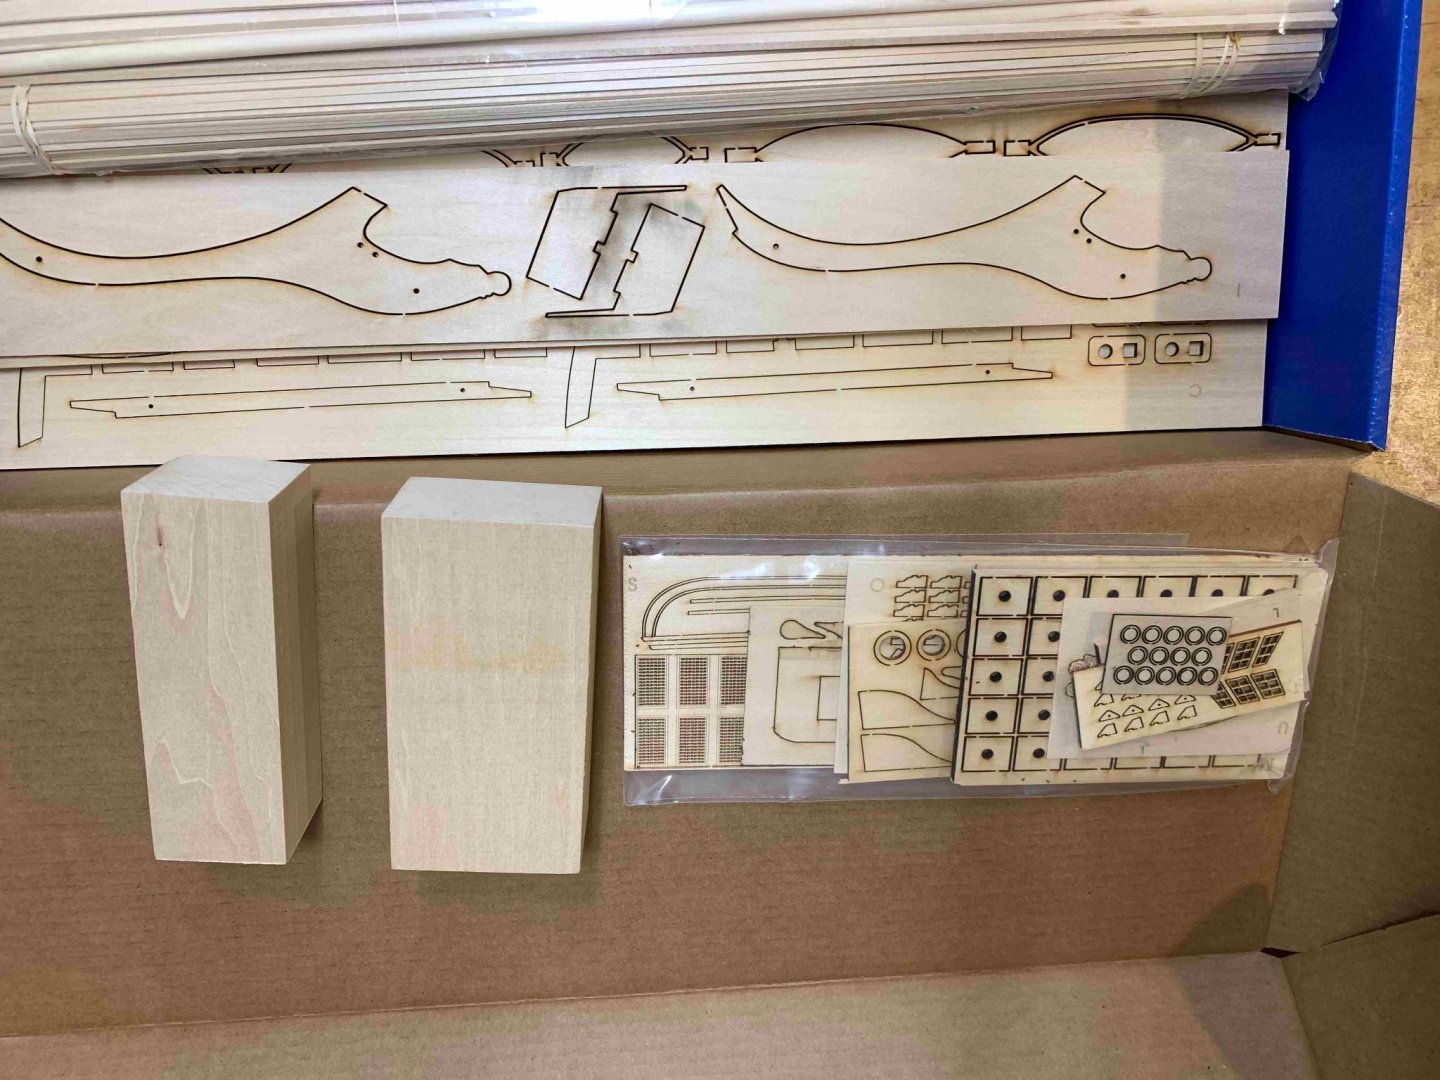
Plank-on-bulkhead construction features laser cut wooden parts. High quality basswood planking strips cover the hull and we include self-adhesive copper tape for hull plating. True-to-scale Britannia metal, brass and hardwood fittings and 16 photo-etched brass sheets provide life-like detail. Over 50 cannon, carronade and gun Model Shipways Barrels duplicate original armament. Extra touches include laser cut gratings and engraved scrollwork. Four-hundred yards of rigging line in six diameters is also supplied.
Model Shipways kit includes eight sheets of detailed plans and 48 page step-by-step instruction manual by Ben Lankford uncover the secrets of building a museum quality replica. (Display base and pedestals not included.)
Launched on October 21, 1797, the USS Constitution has won every battle she's ever fought - over 40 of them! She earned her nickname Old Ironsides after a sailor saw a cannonball bounce off her hull. Resting in Boston Harbor, she's the oldest commissioned US warship. USS Constitution went through several restorations during her career. A major restoration between 1993 and 1997 prepared the frigate for her 200th anniversary. Workers restored the thick deck strakes and diagonal riders to strengthen the hull and make her seaworthy. They fitted fore, main and mizzen topsails, jib, flying jib, and spanker sails for the day when "Old Ironsides" would move under her own power once more. That historic moment arrived on July 21, 1997, when Constitution set sail from Marblehead Harbor to a point just one mile short of Halfway Rock. The five-mile cruise took one hour.
Model Expo No. MS2040
Length 48" / Height 32" / Width 16" / Scale 5/32" = 1 ft. (1:76 Scale)
Previous modelling experience helpful.======================================================
The price for this kit is 580.00 Canadian dollars plus shipping and if you are close to Vancouver, British Columbia, we can arrange deliver as well.
I am accepting PayPal payments.
If you are interested, pls PM me and we can discuss it further.
Happy modelling.
-
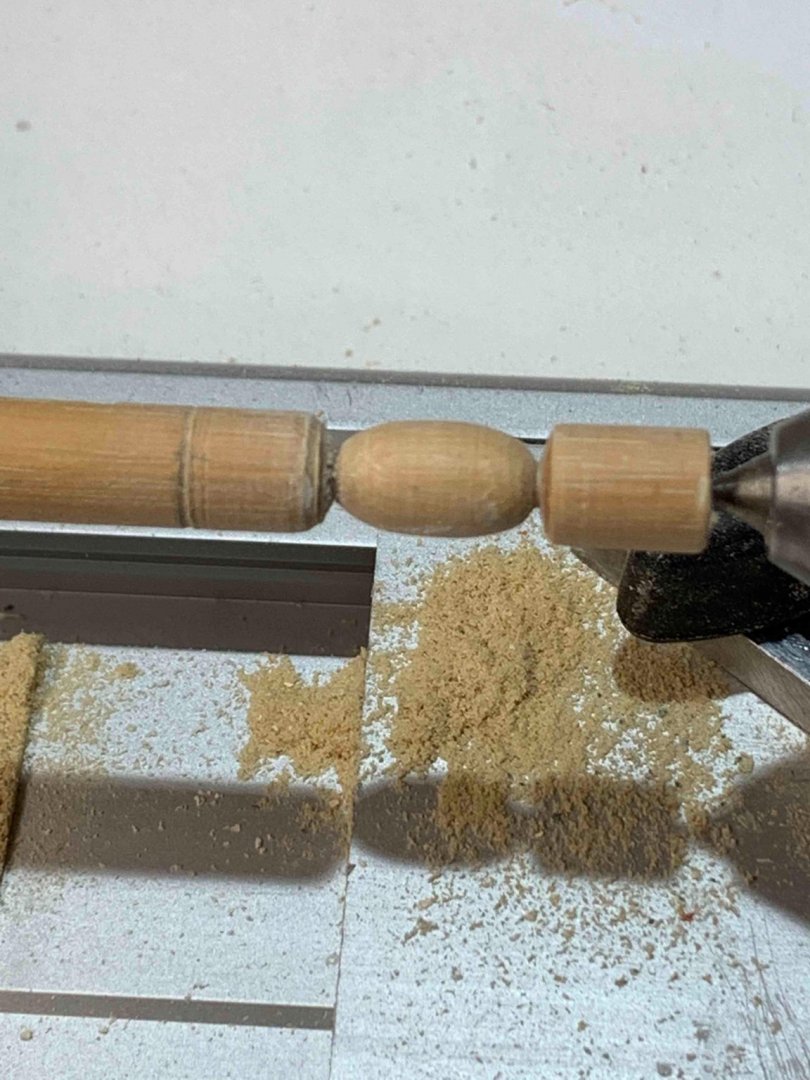
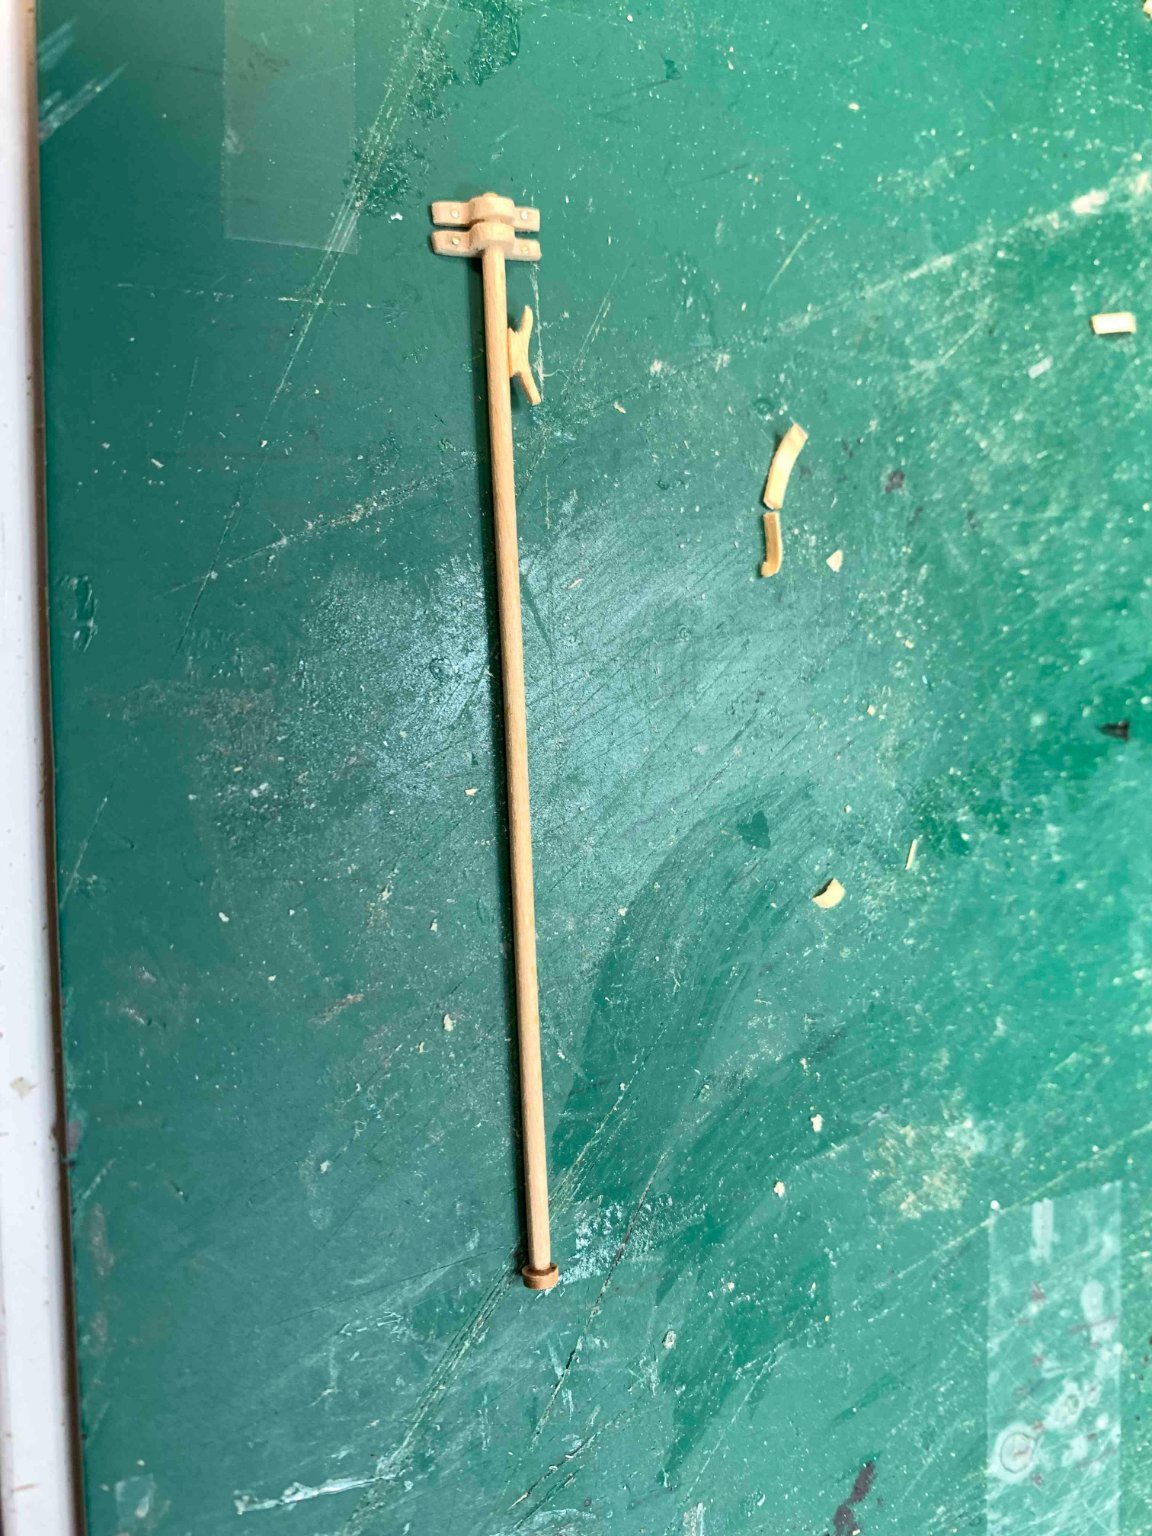
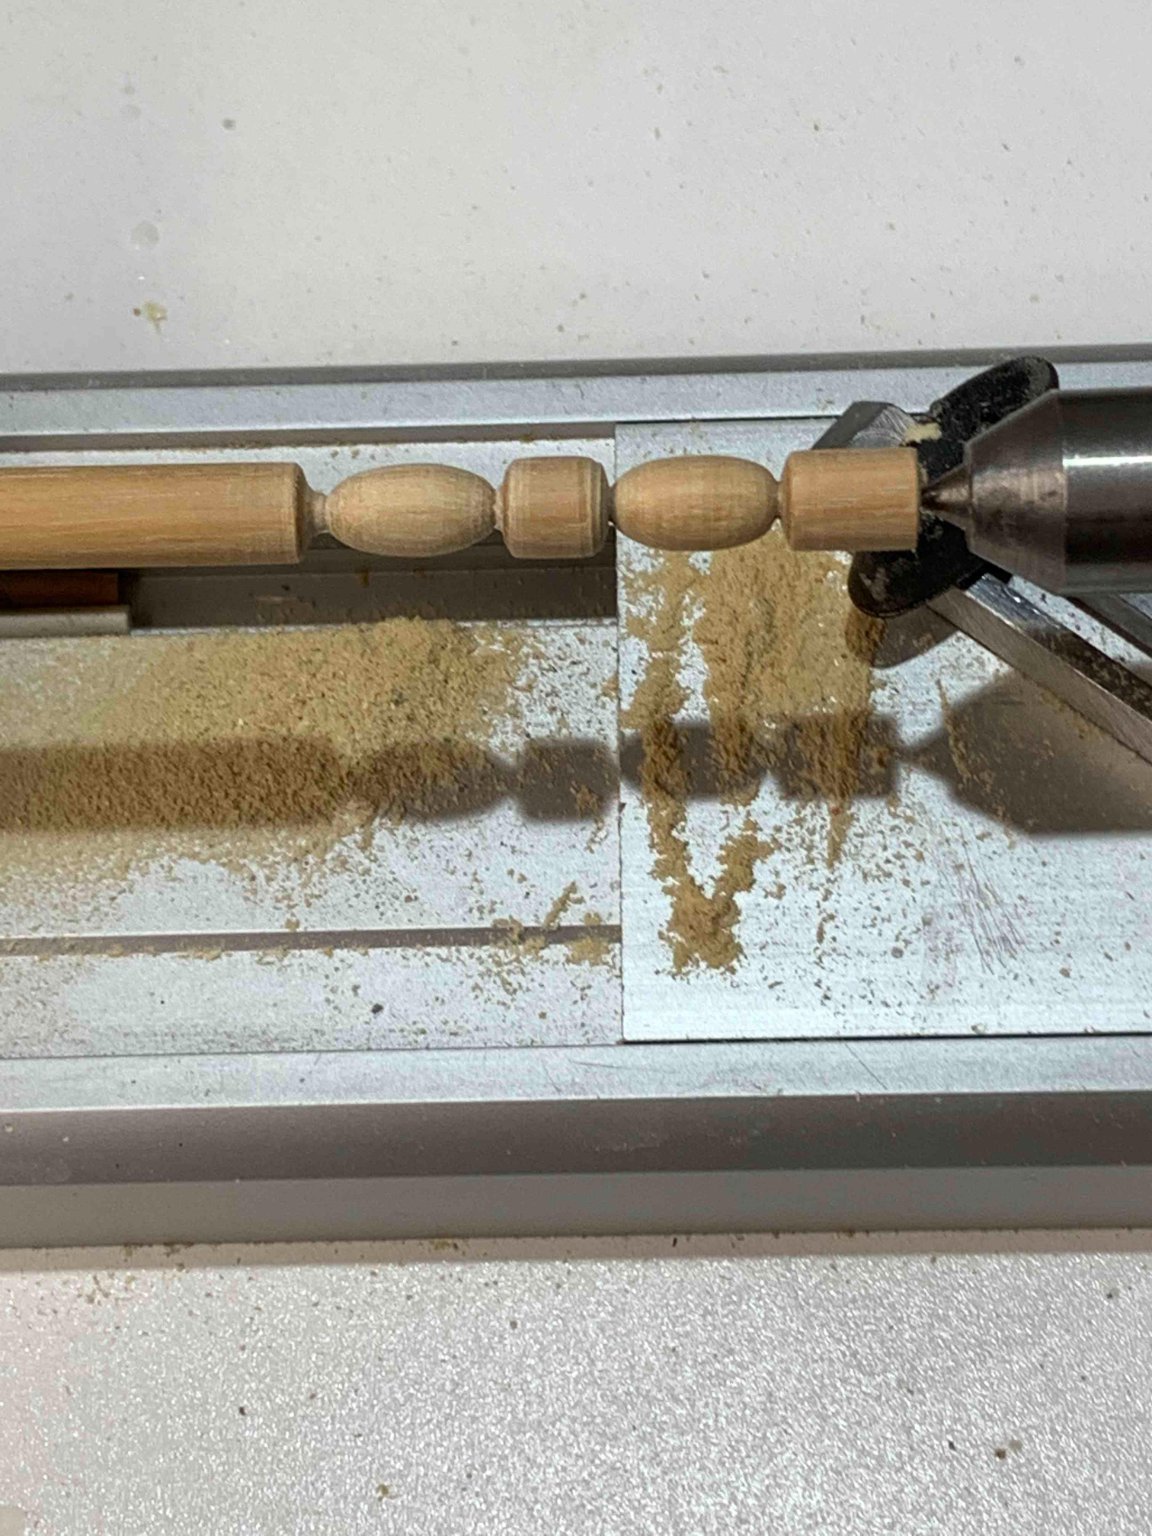
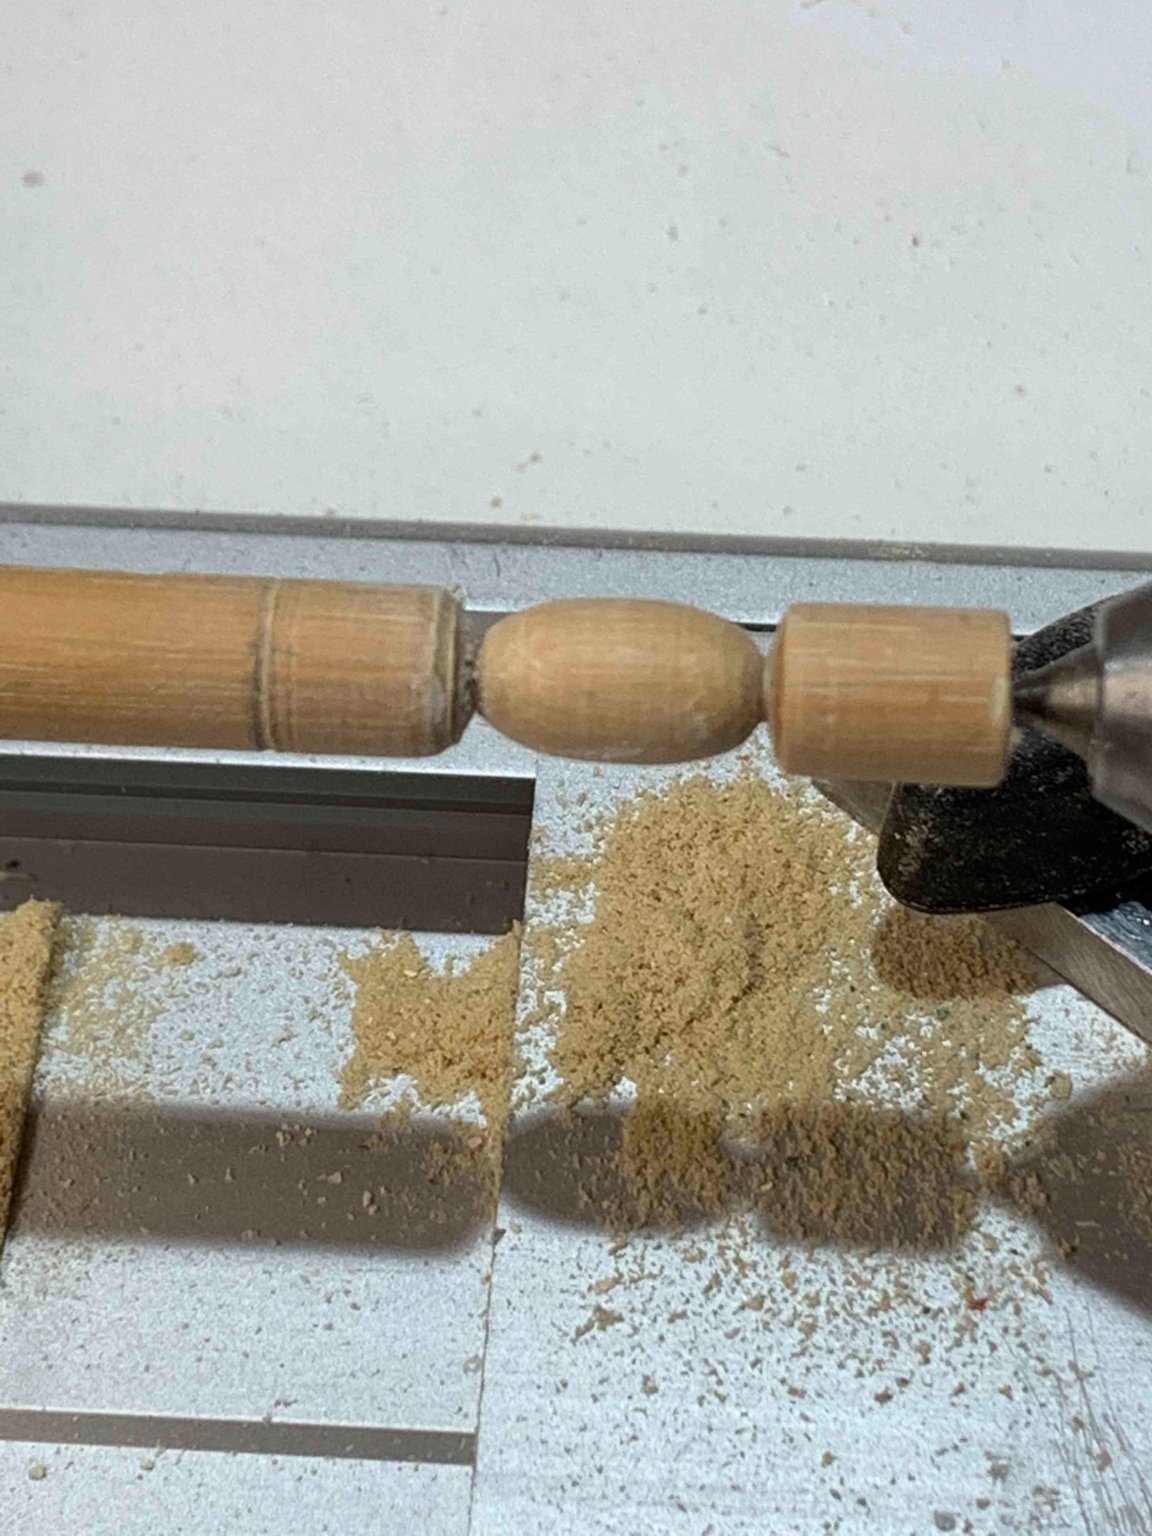
Worked on a stern flagpole; here is completed pole:

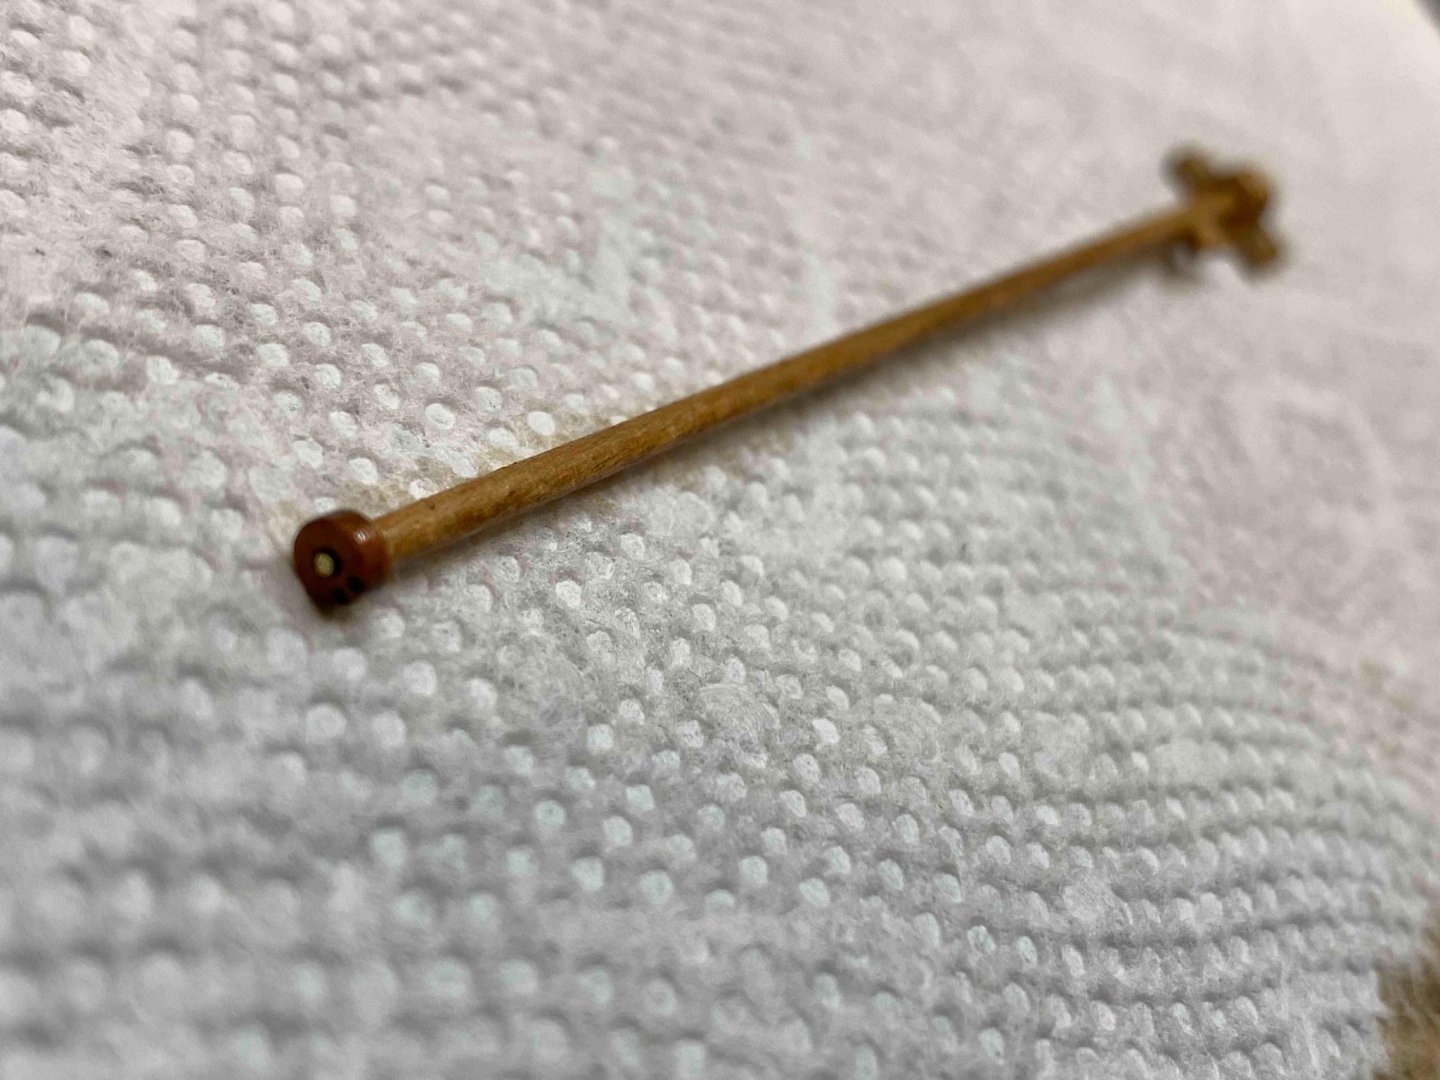
And the process of sanding and shaping...


Cut in half...
Adding pins for details..

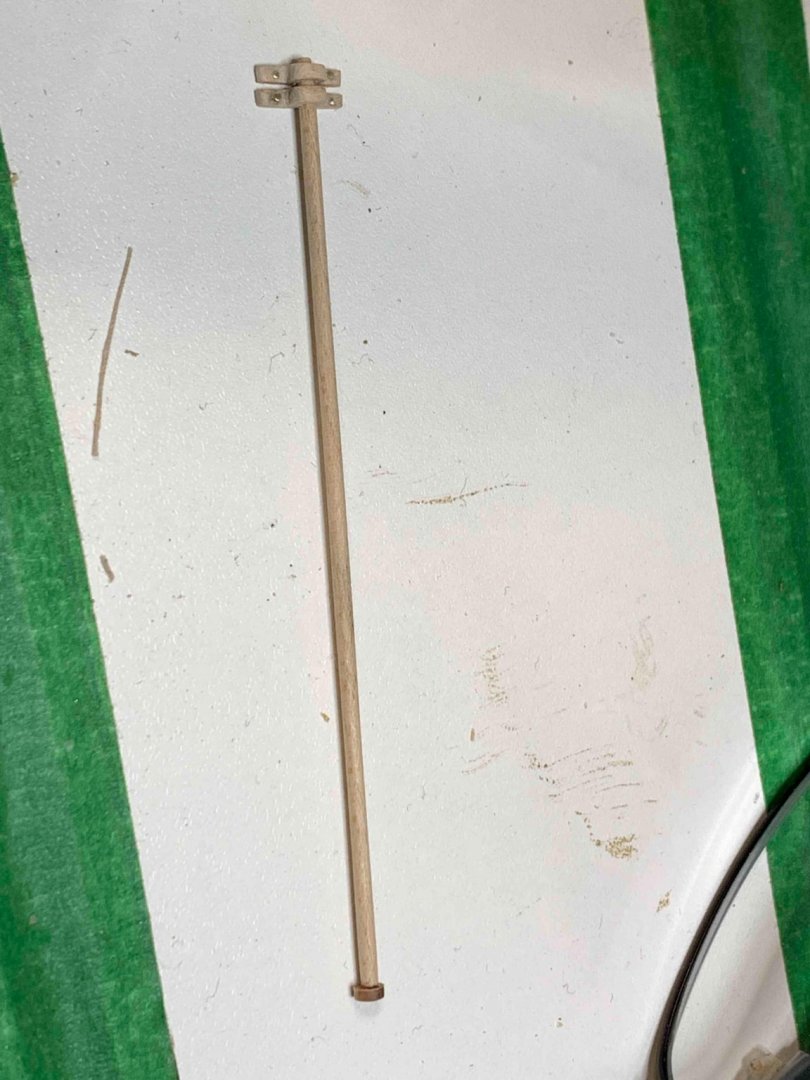

Now i am working on flags; even dough the kit provided flags are decent, i will try to make my own, just to test the process and will decide which set to use.
Happy modelling..- Wahka_est and GrandpaPhil
-
2
-
-
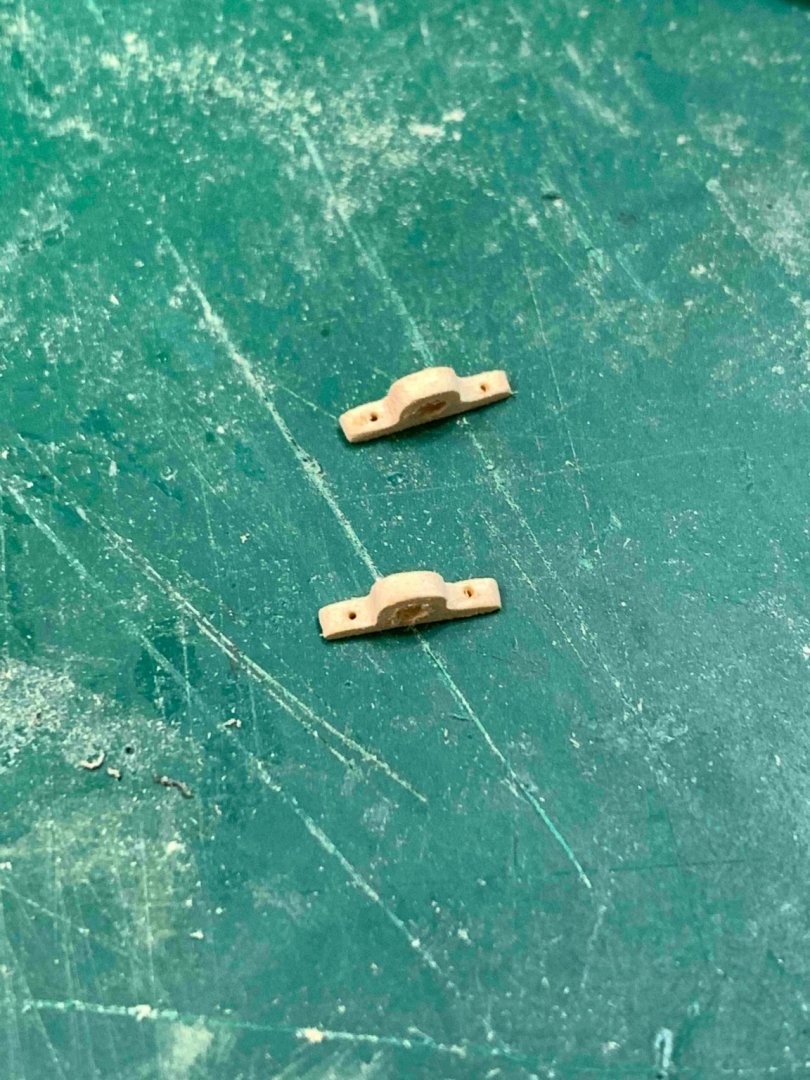
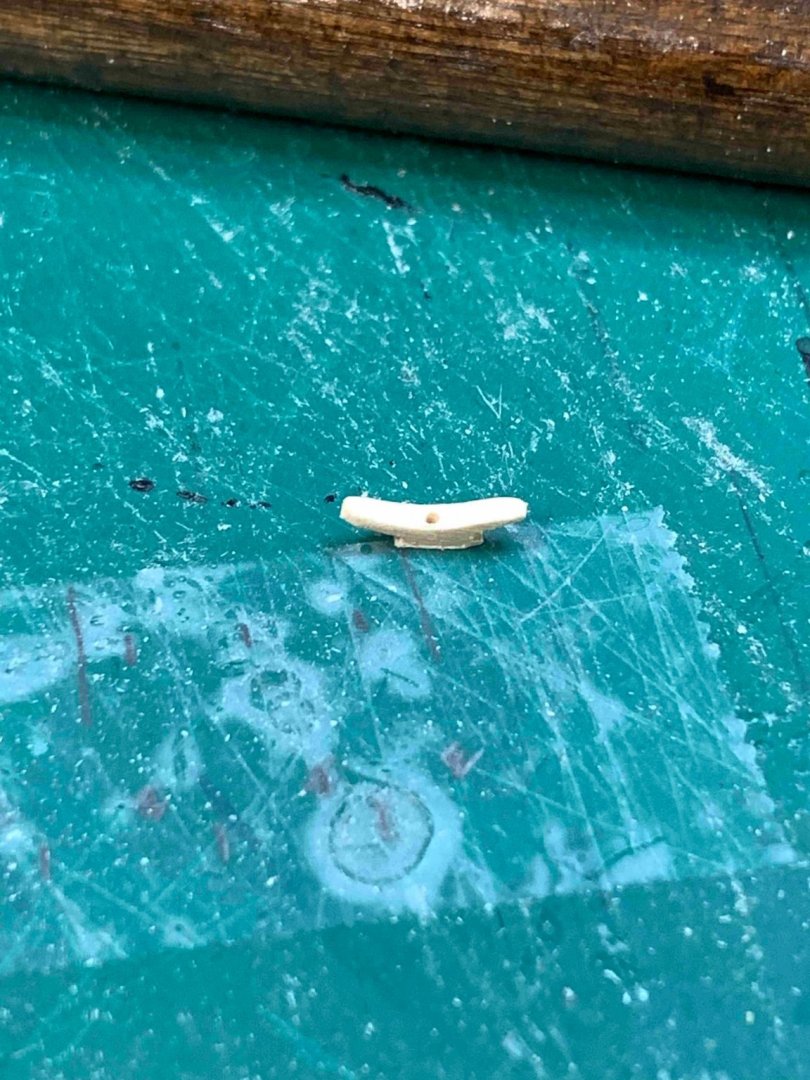
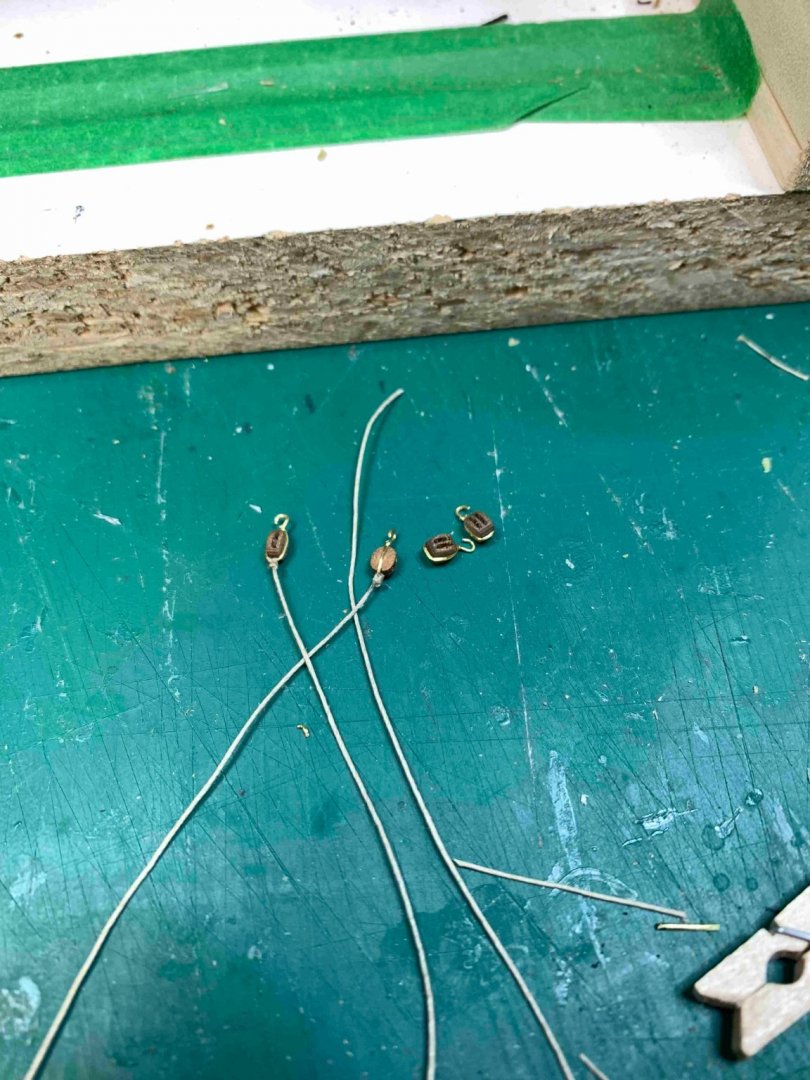
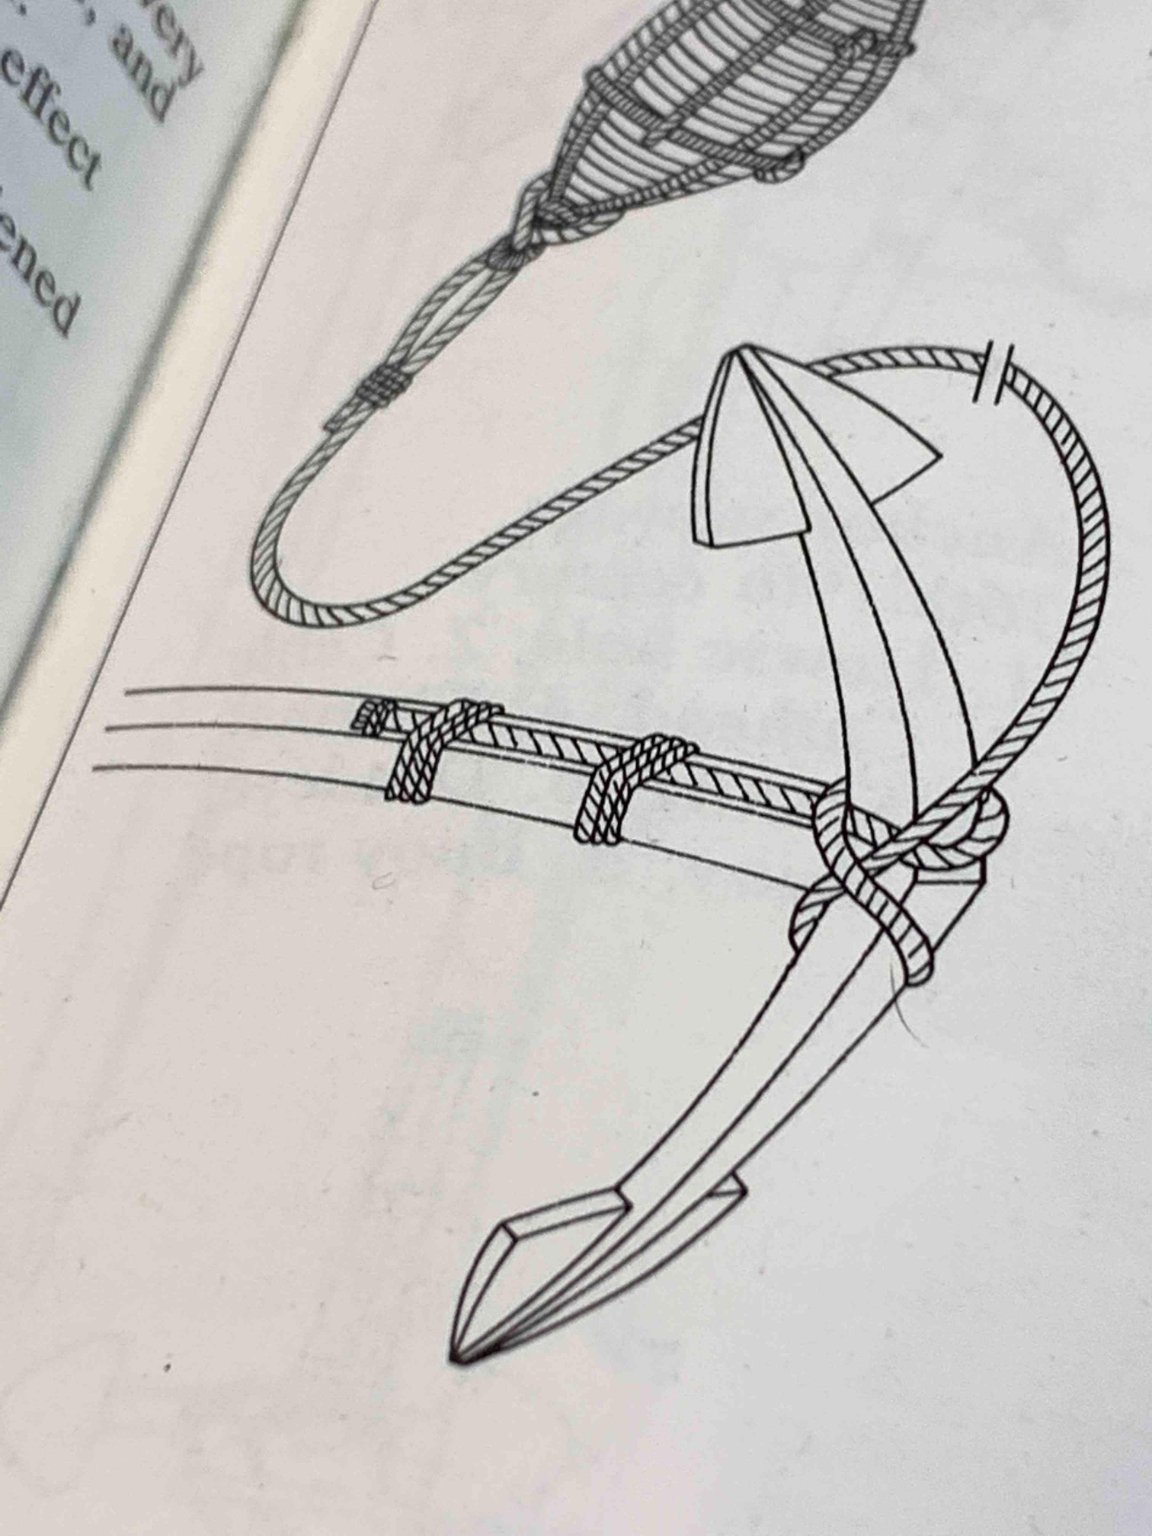
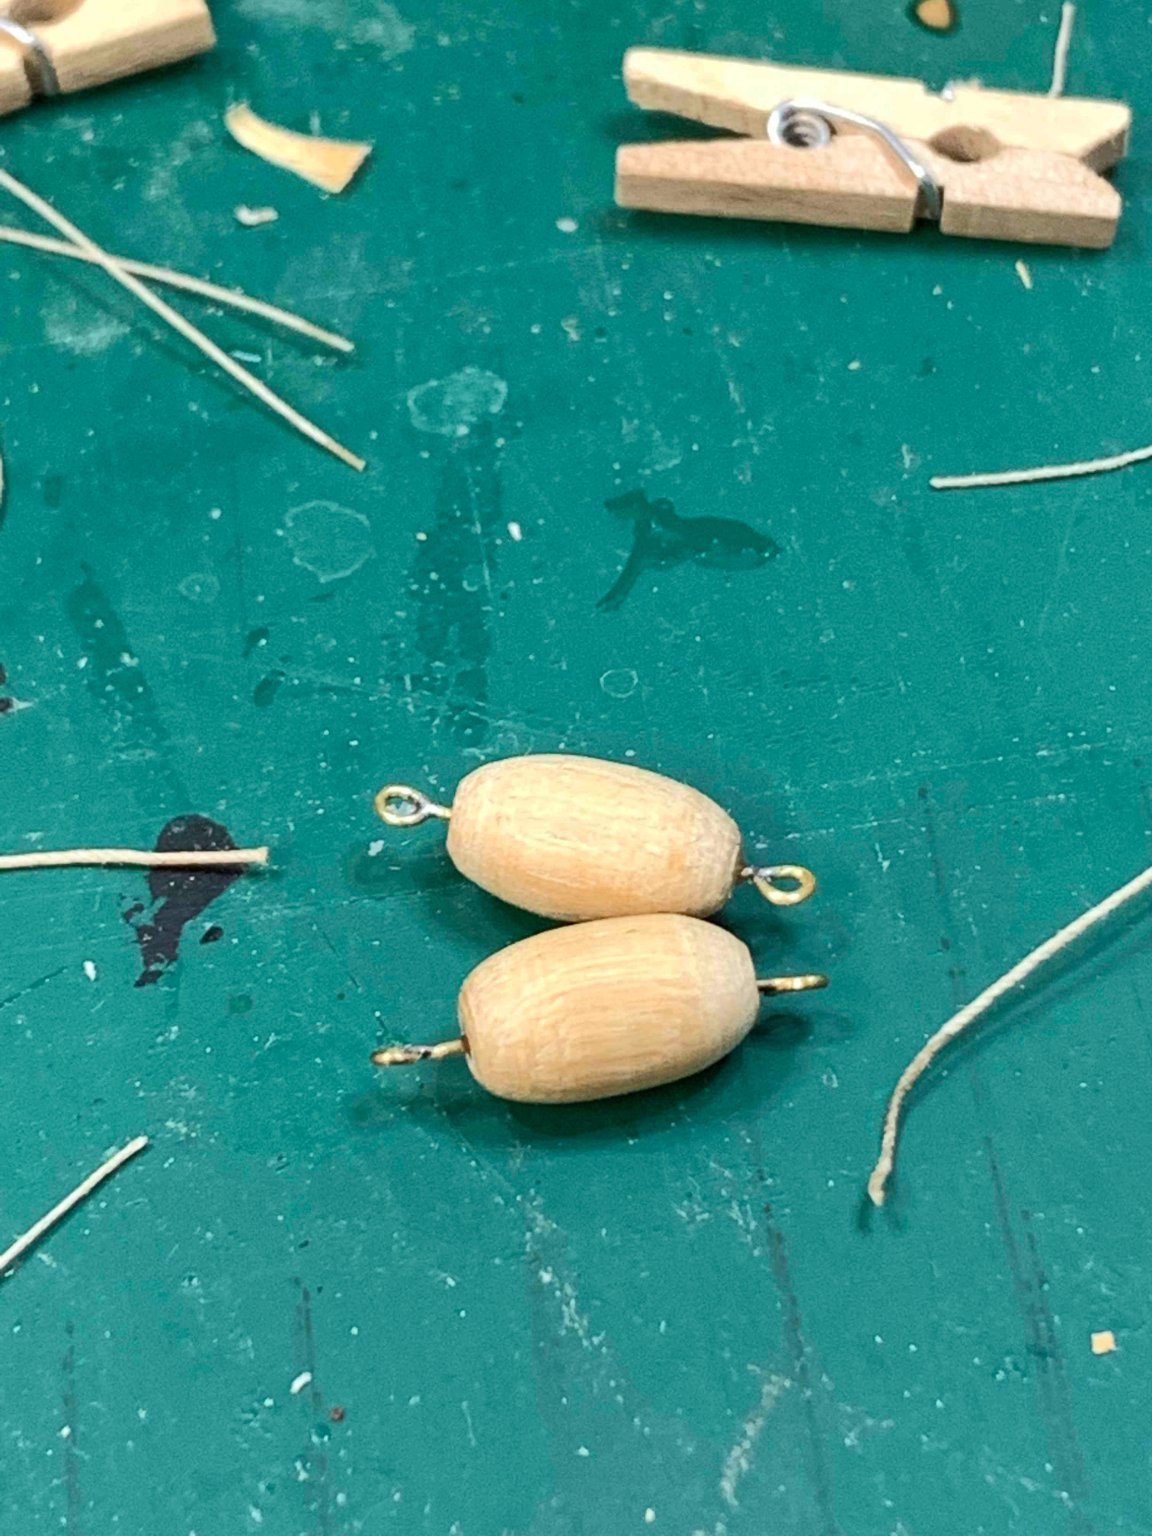
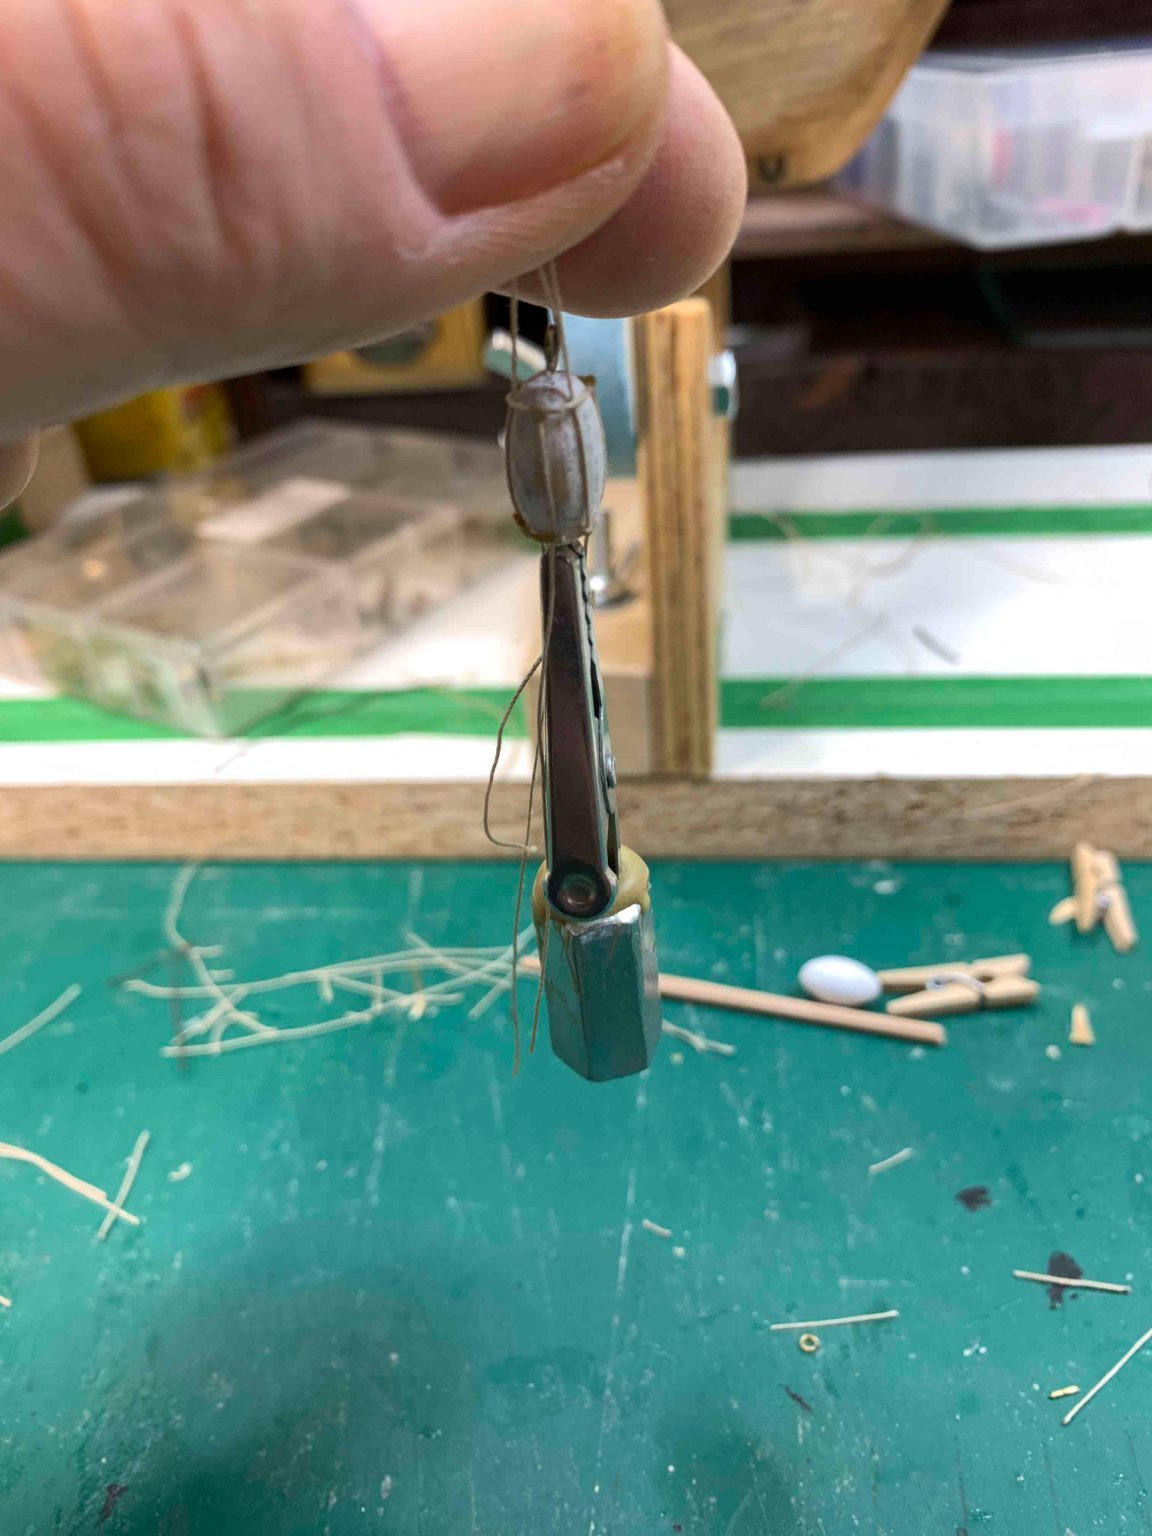
The anchors' buoys are next.
First started with carving them... Last time in my Sultana build, i used sculpey to make buoys, this time tried a different approach.

In below picture are two buoy prototypes, i carved without a lathe..

Then pilot holes are drilled and two hooks per buoy are made and inserted, not all the way thru to leave a bit room for seizing.. The buoys were painted in white.

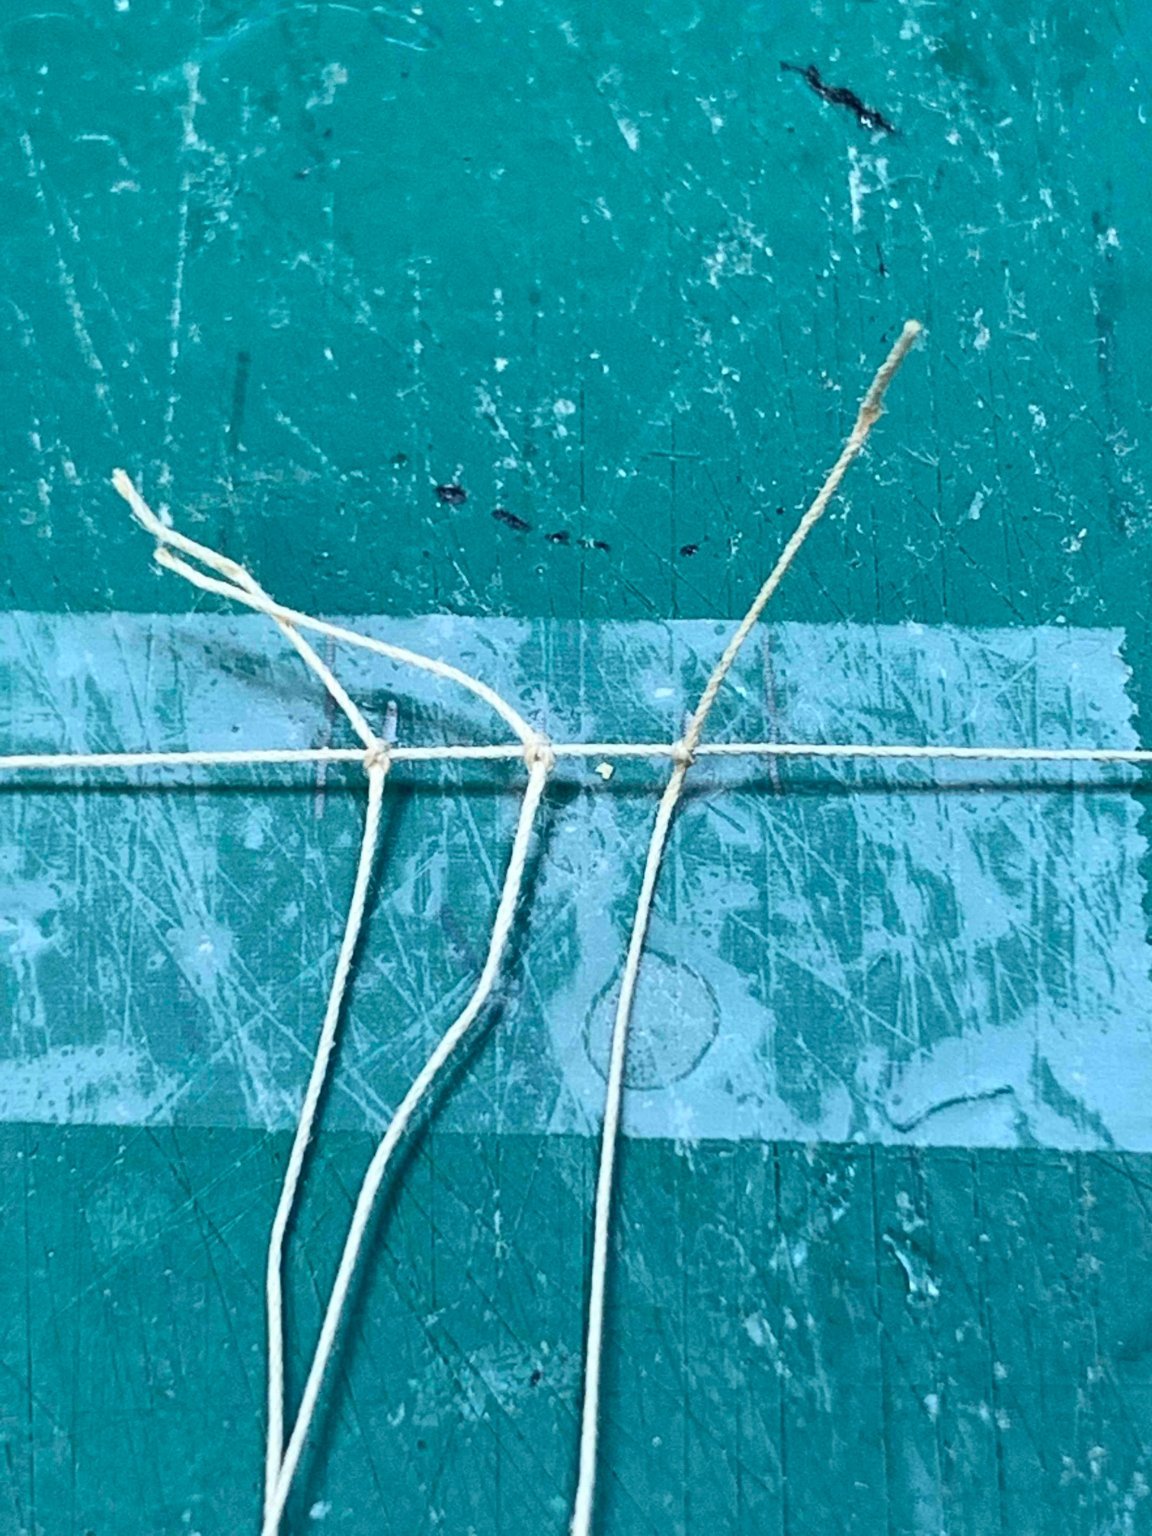
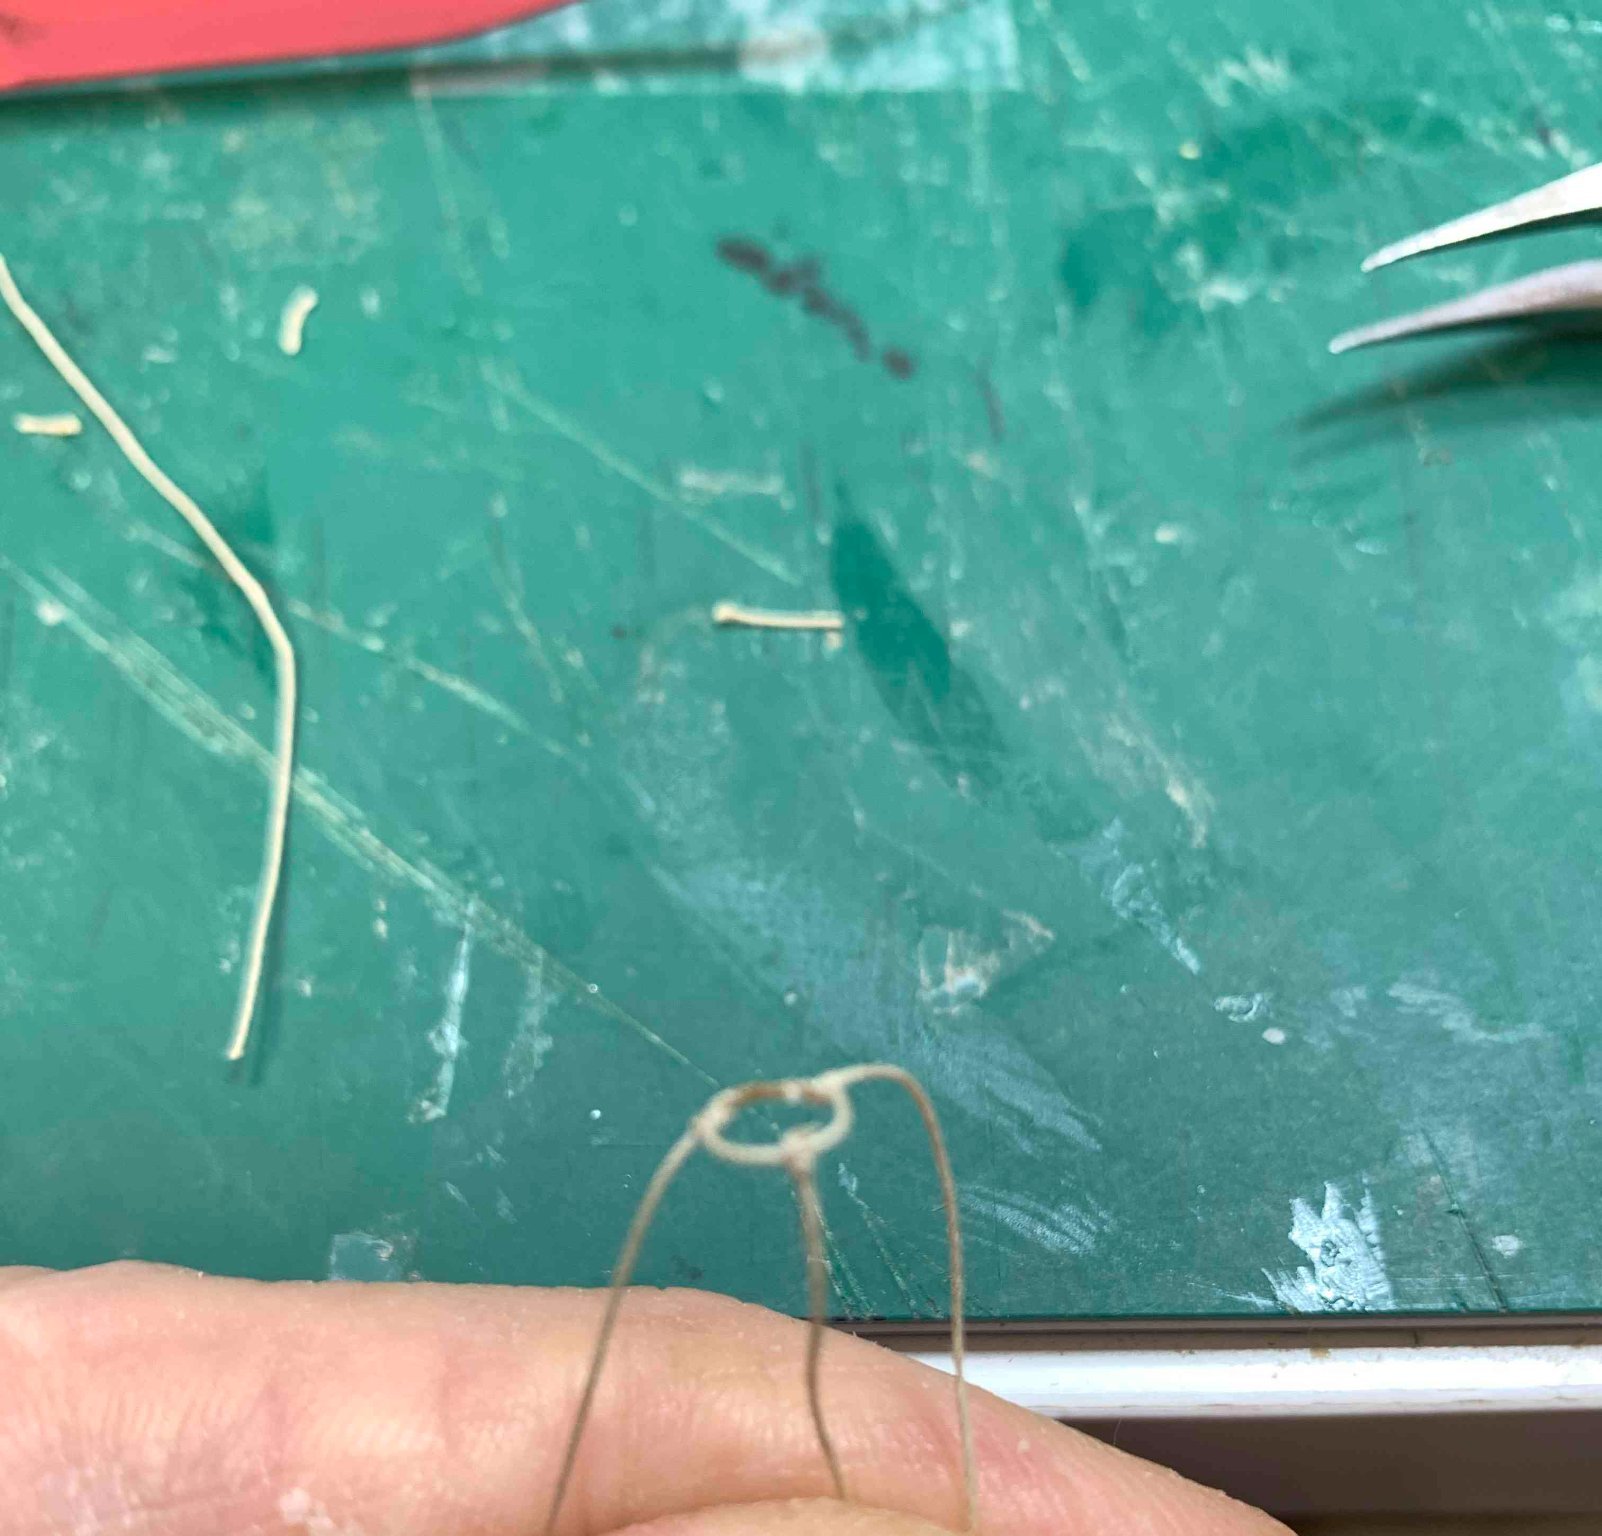
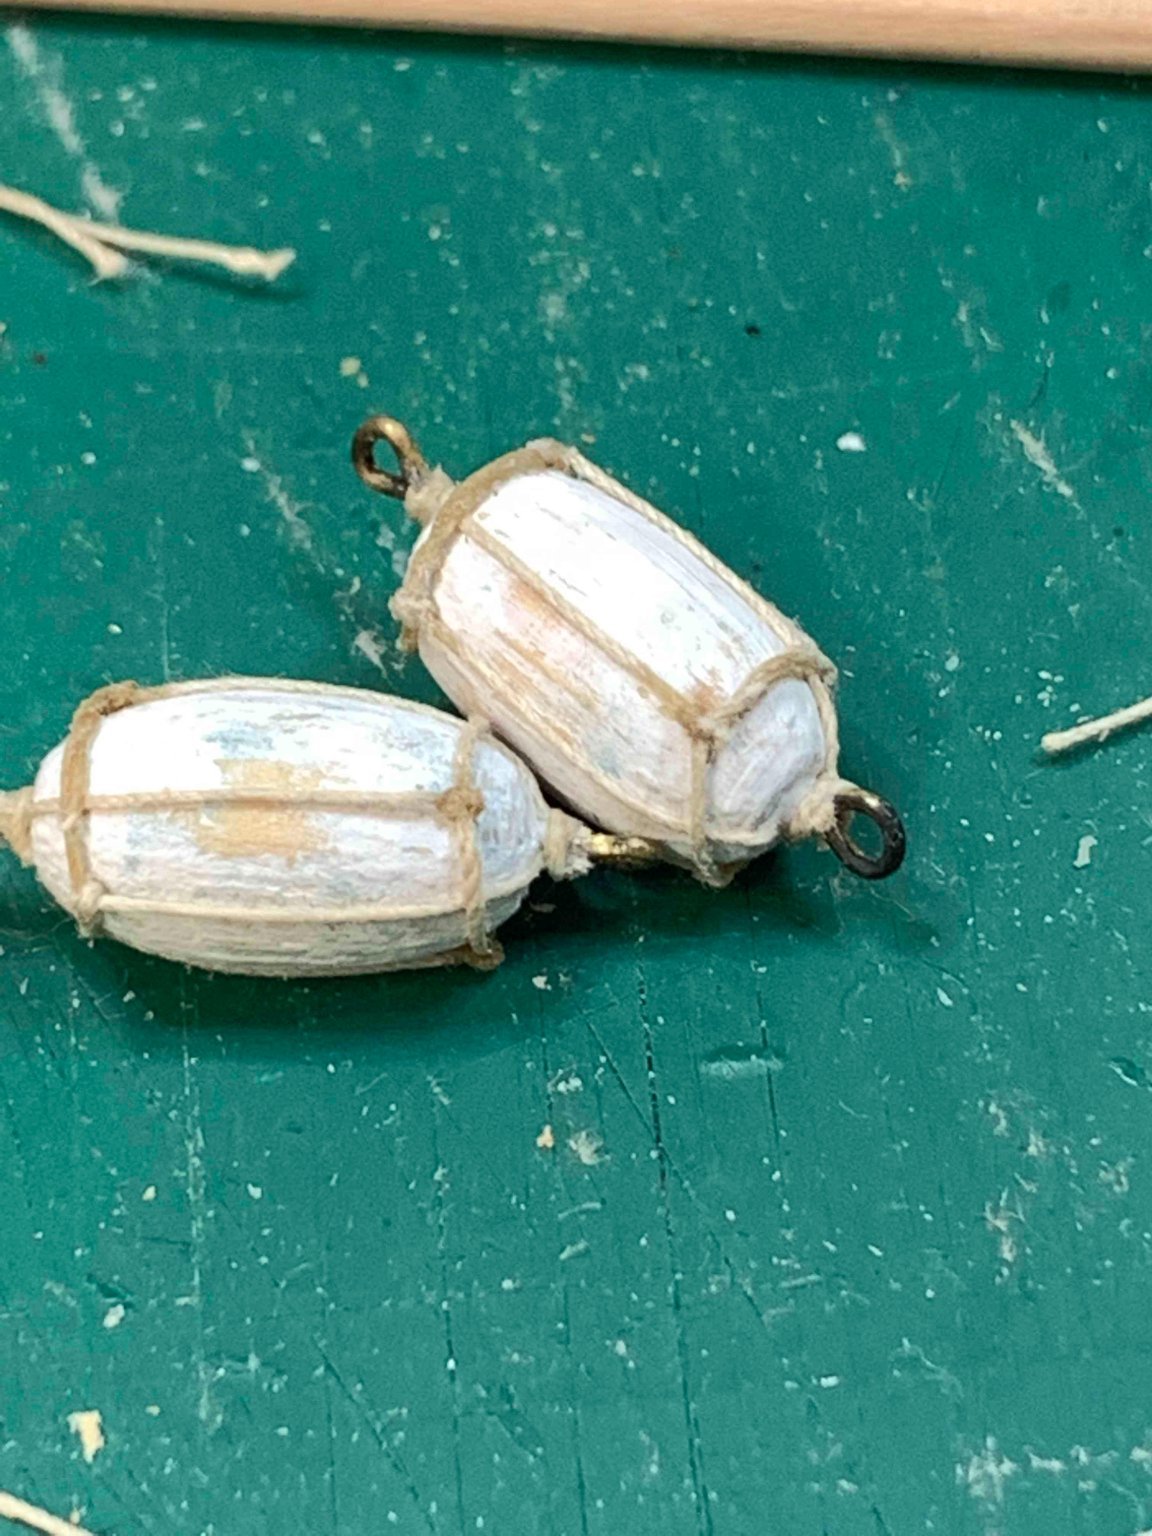
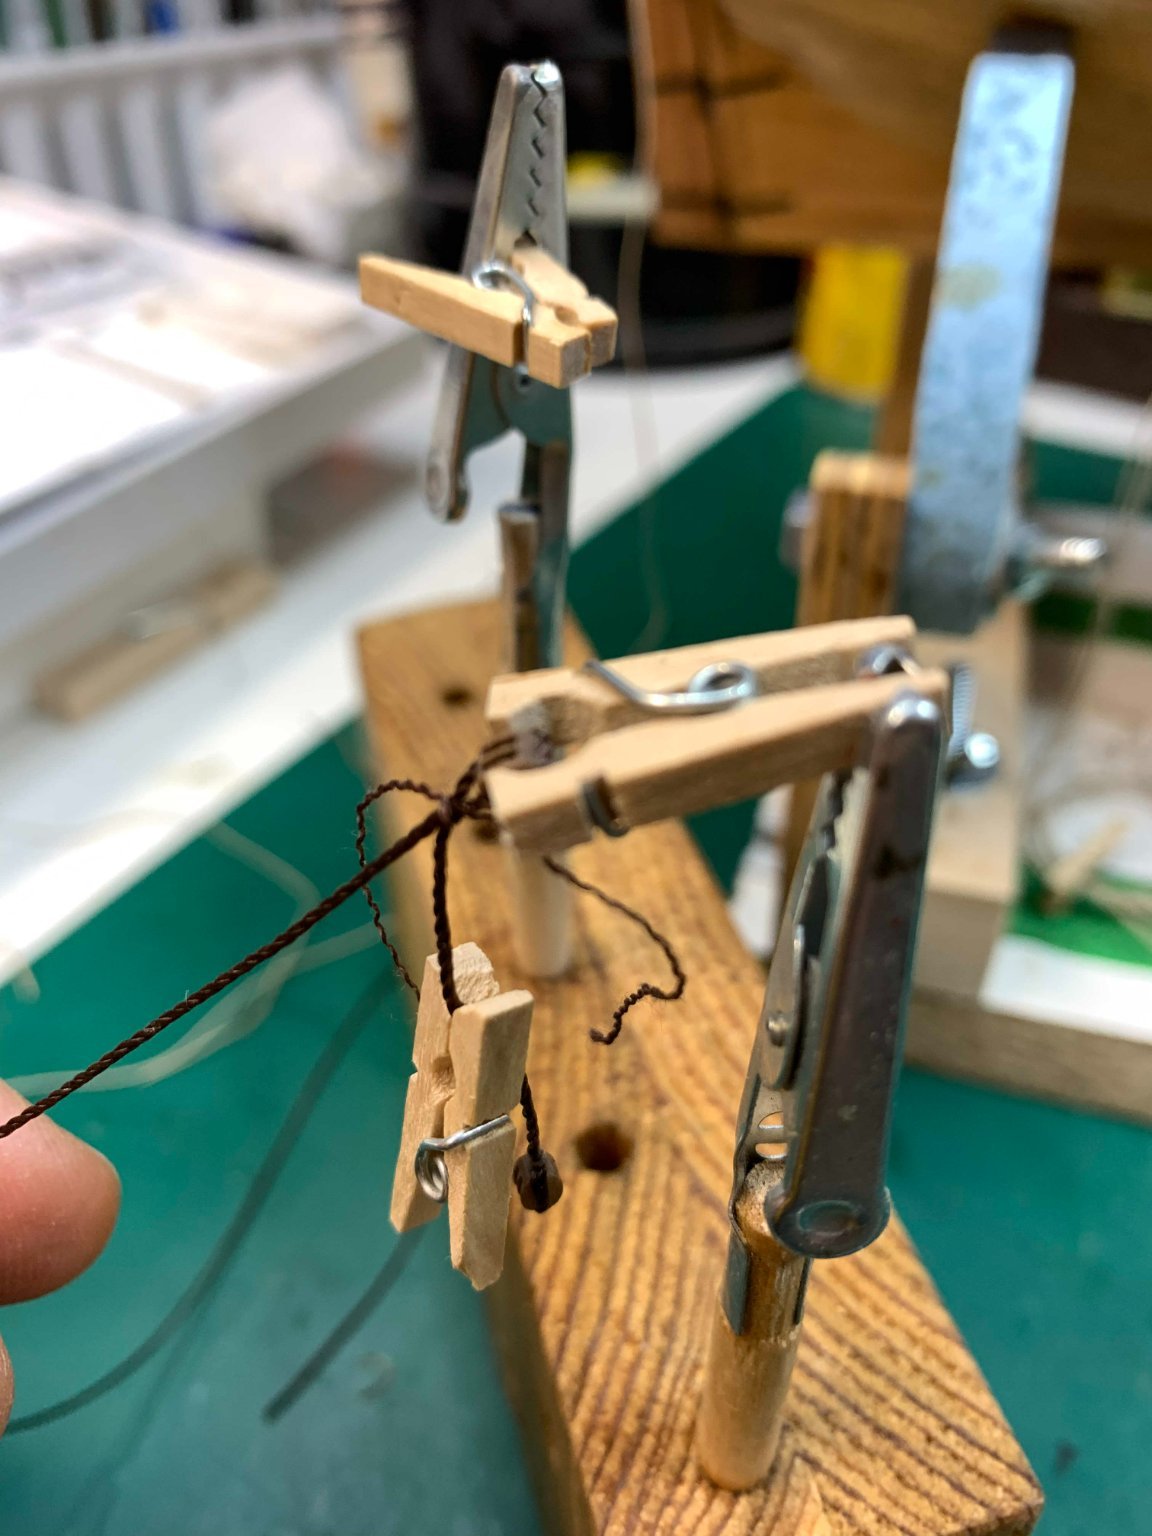
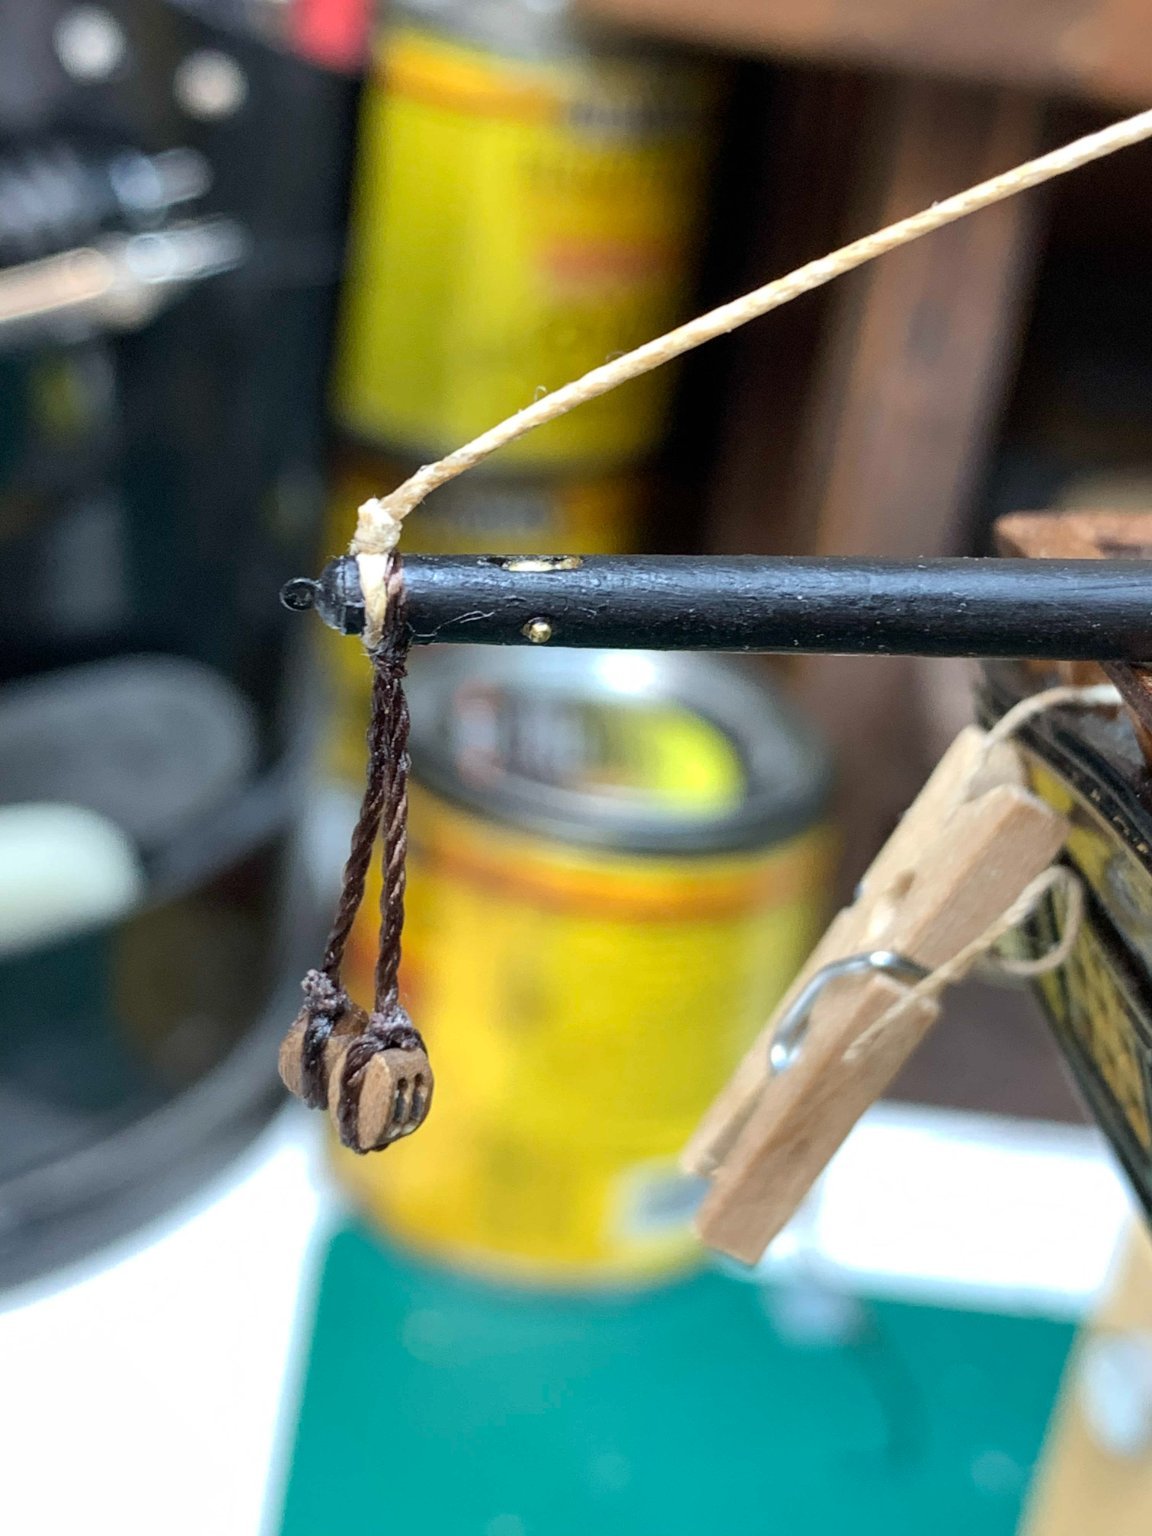
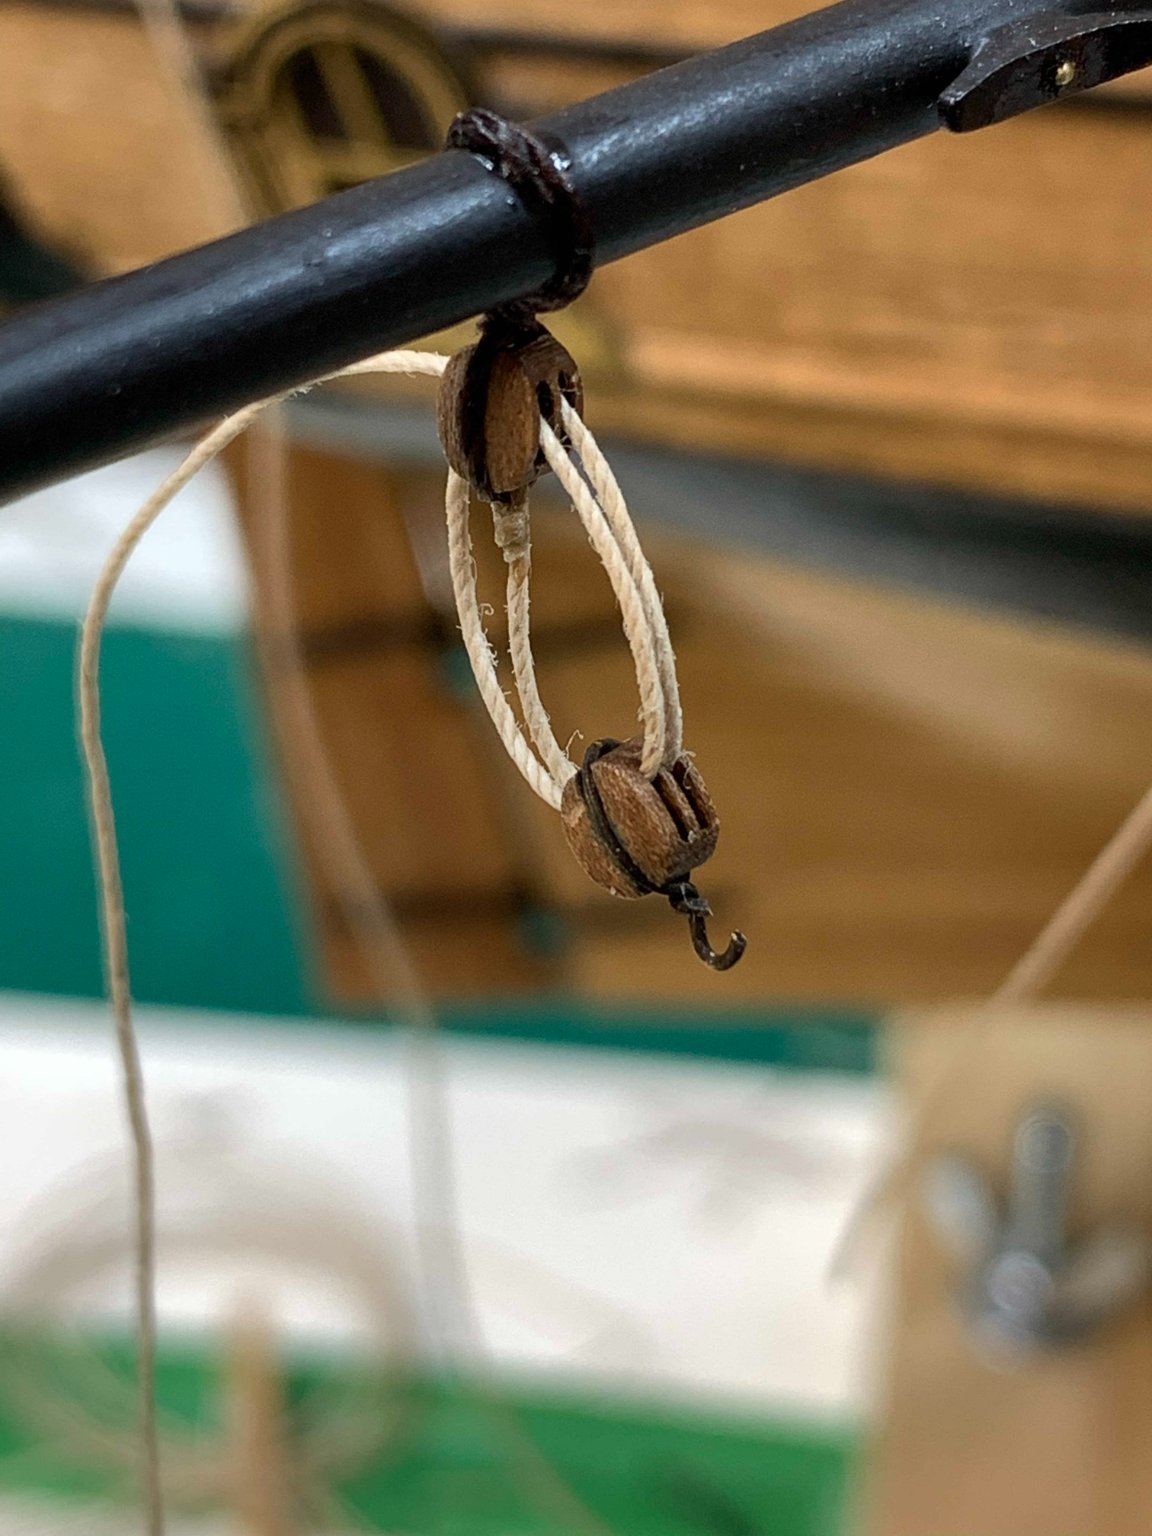
Then harness for each buoy are made, two per buoy. Three lines were knotted along another rigging line. Spacing between the lines was appr 6mm.
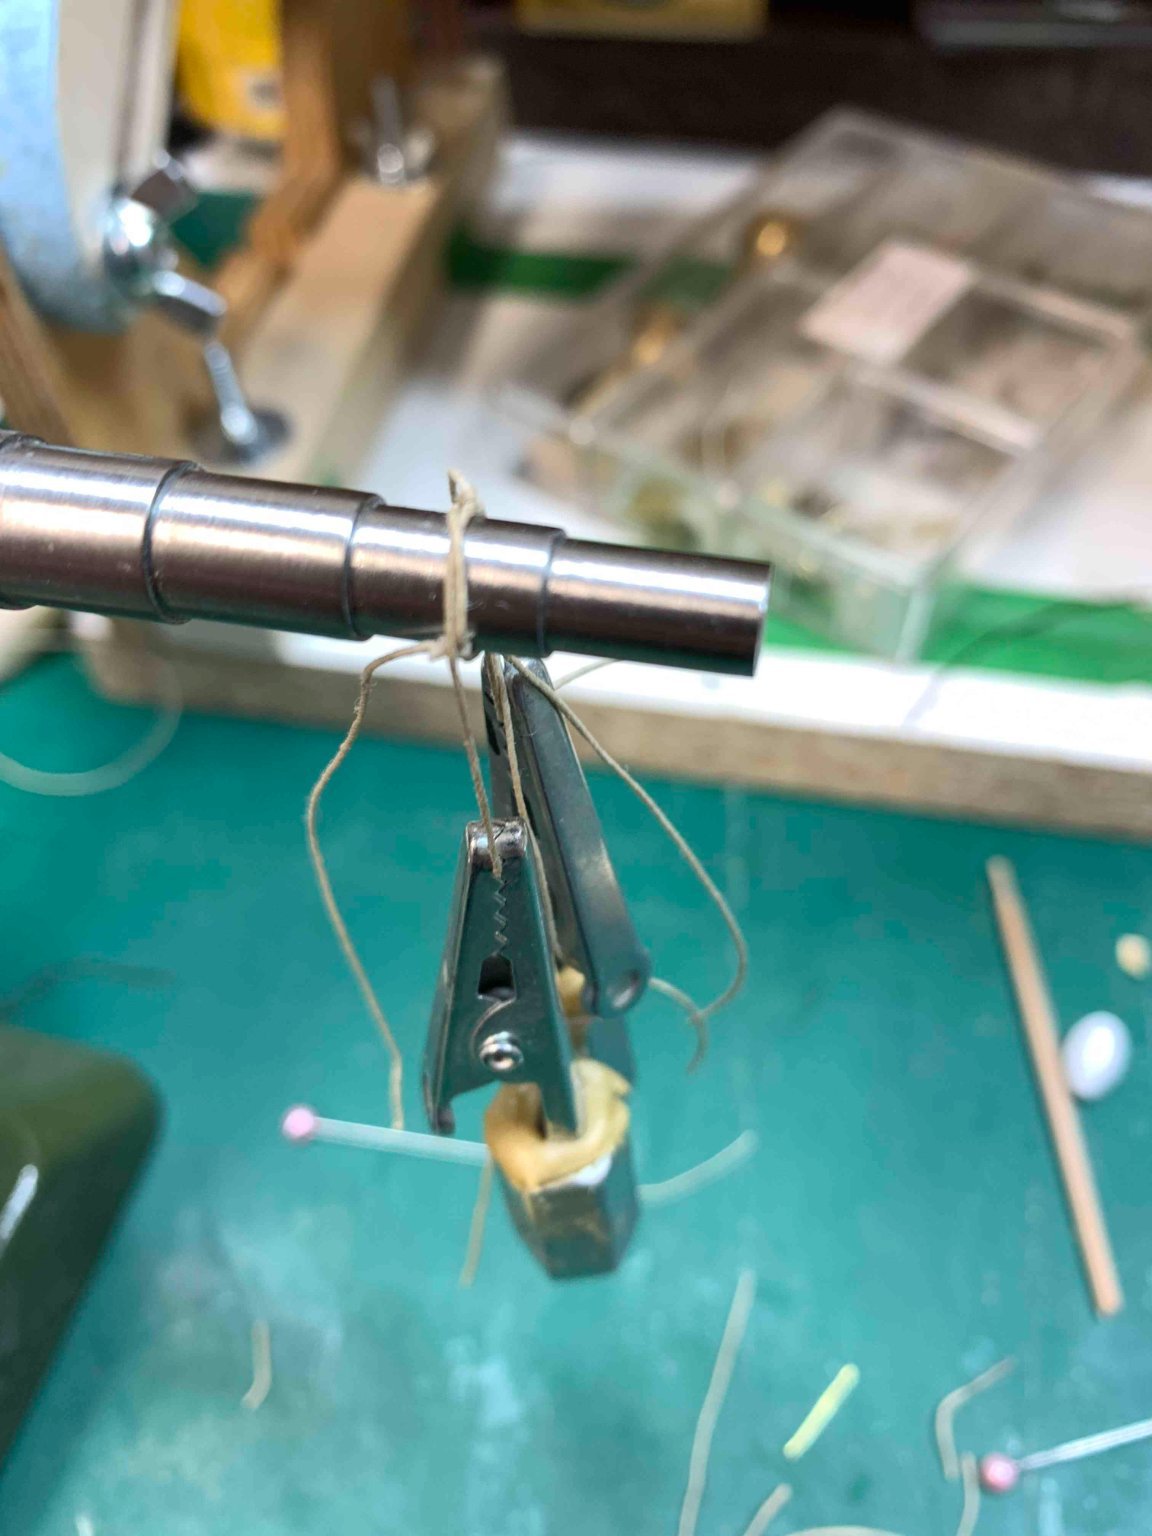
Then the harness were wrapped around the rod, knotted and glued.


The harness was wrapped around the buoy and glued with super glue.
The second harness was attached as well. This part was a a bit tricky, since three lines of the second harness have to be run under the existing harness before being seized but with little help this was done OK.

The seizing was done around the hook, on both ends of buoy.
And completed. With this all work, the buoys were weathered a bit which ended up to be a nice detail..

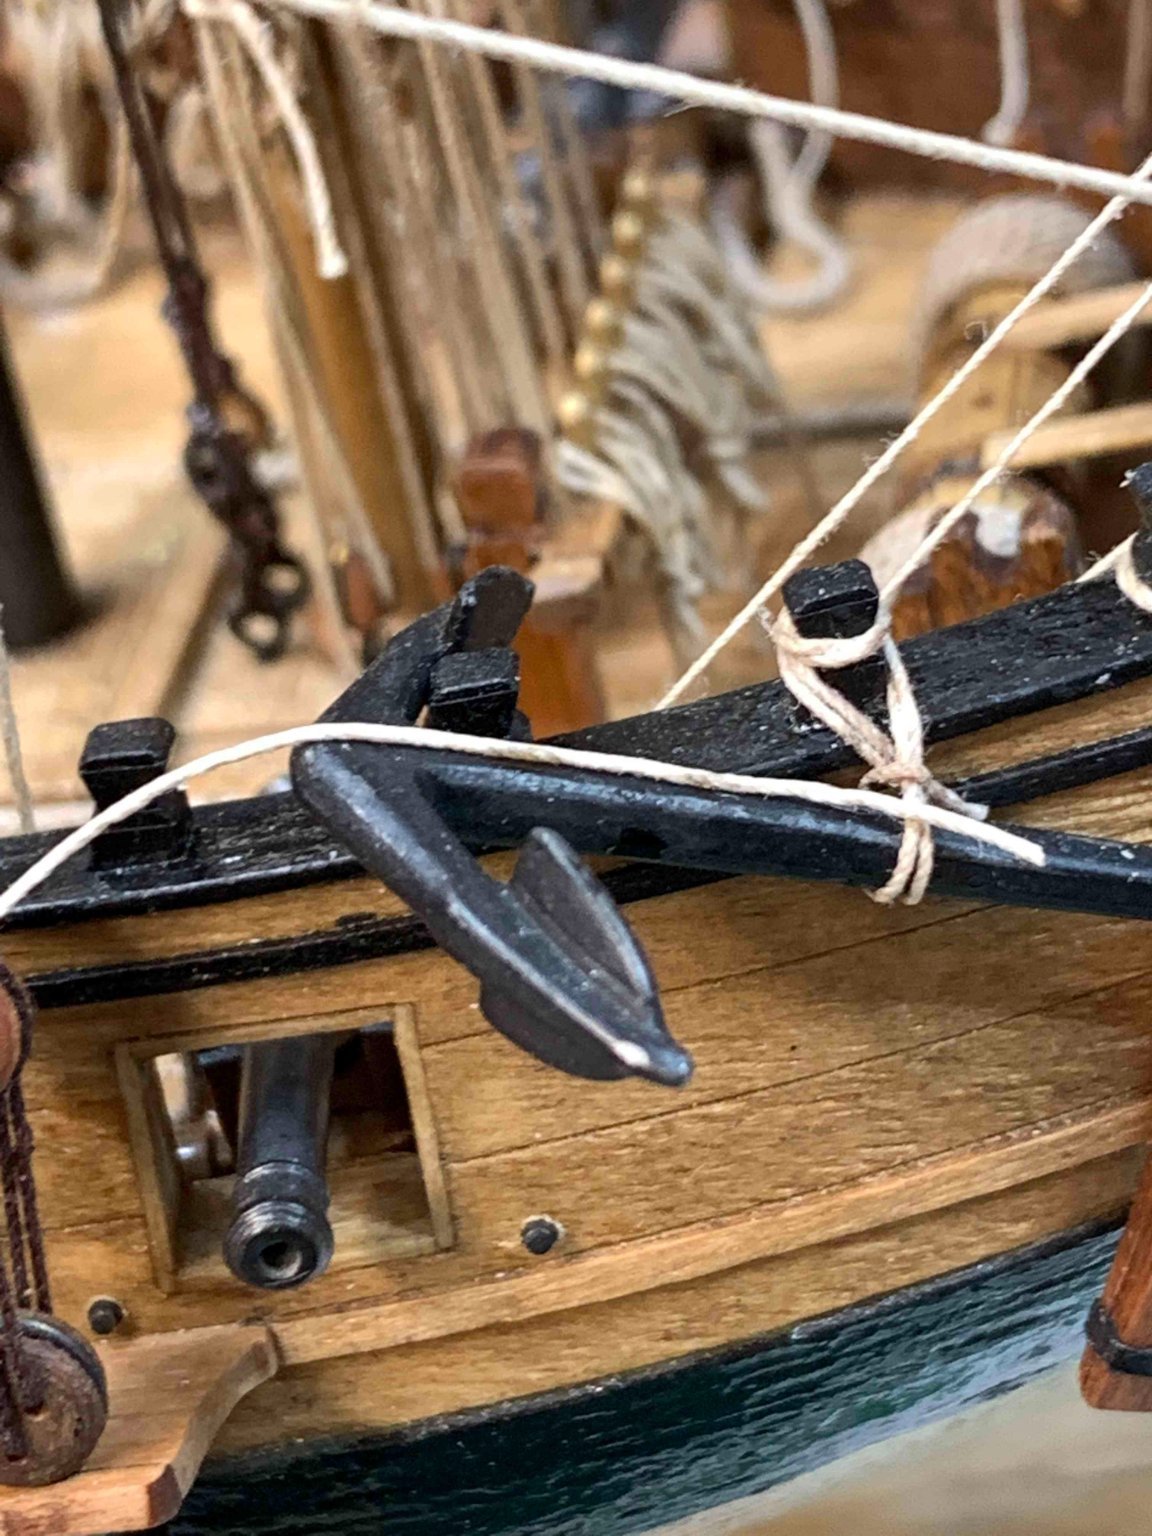
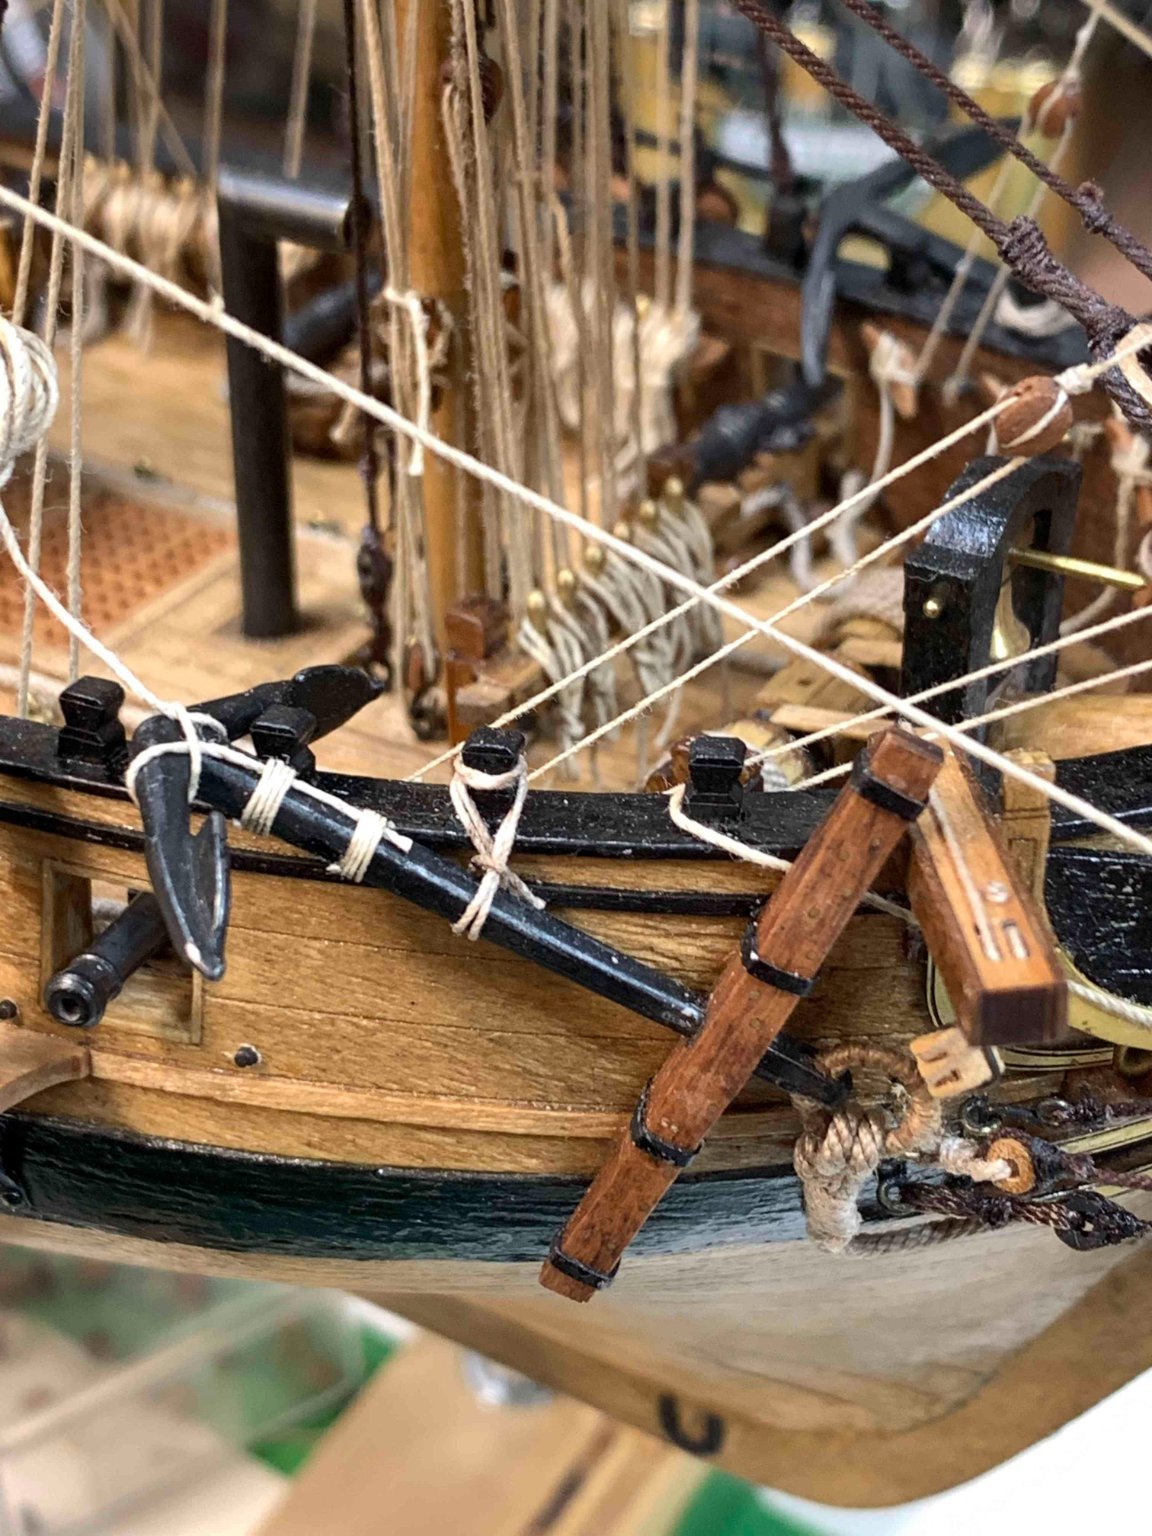
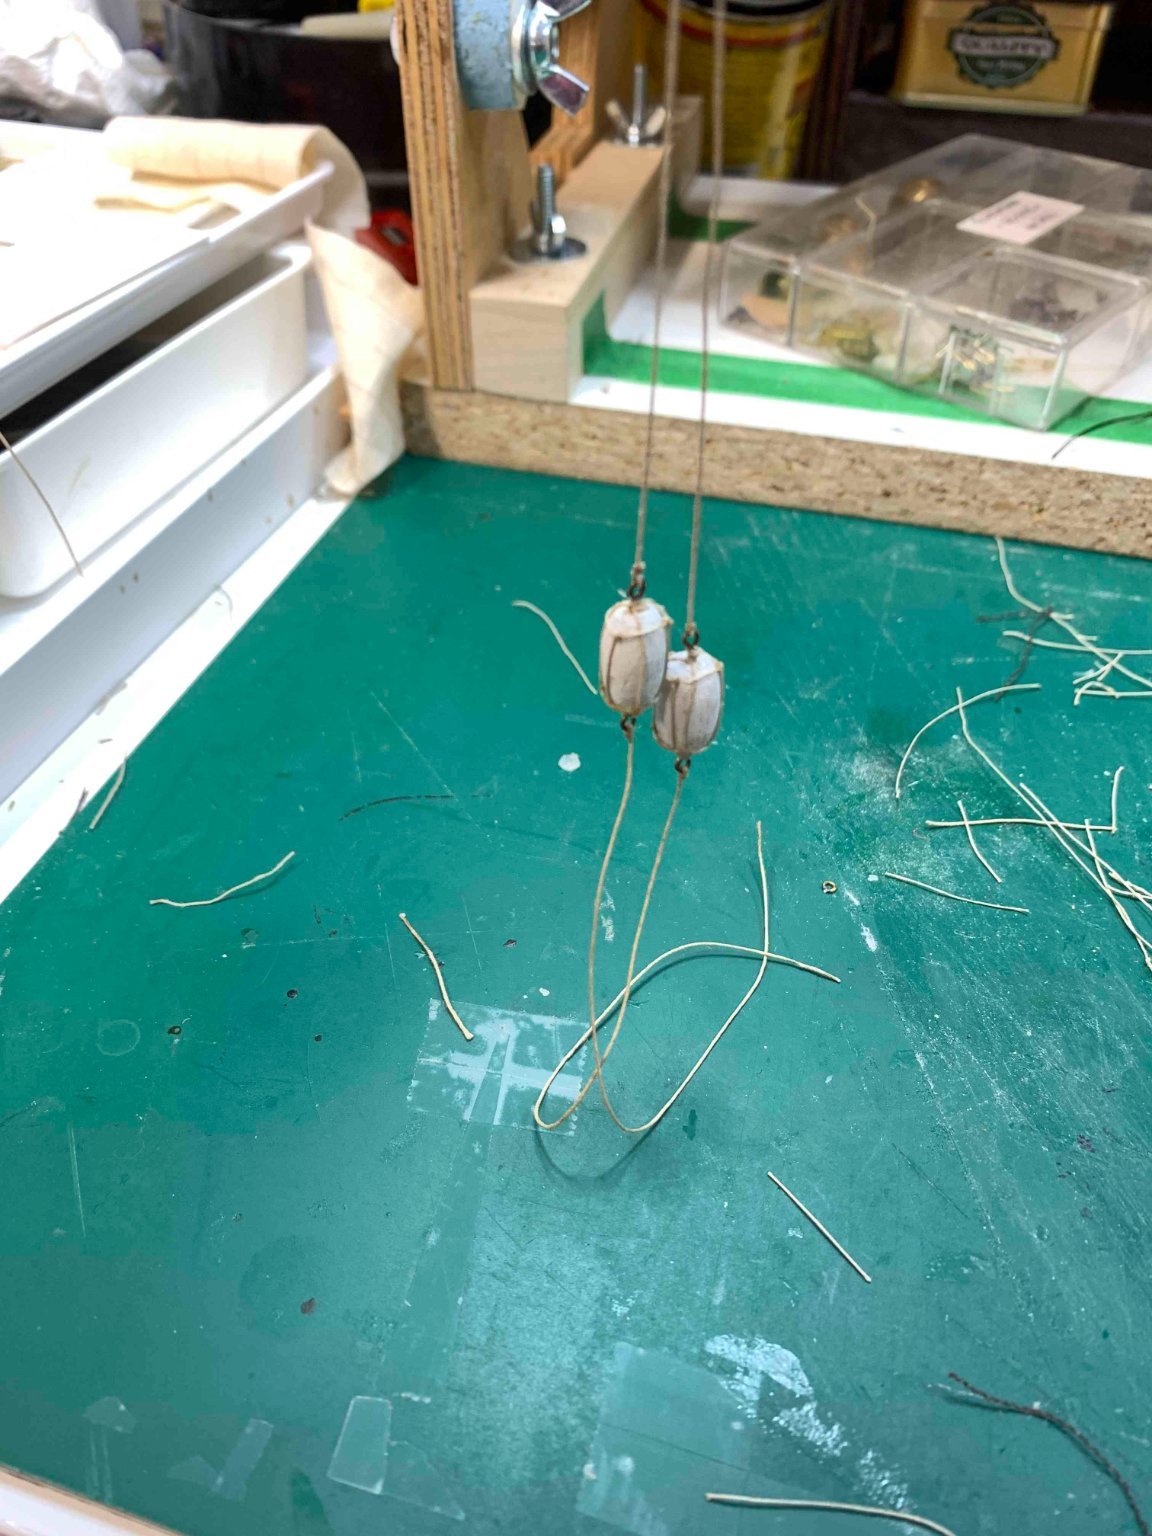
Ready for anchors..

Happy modelling.. -
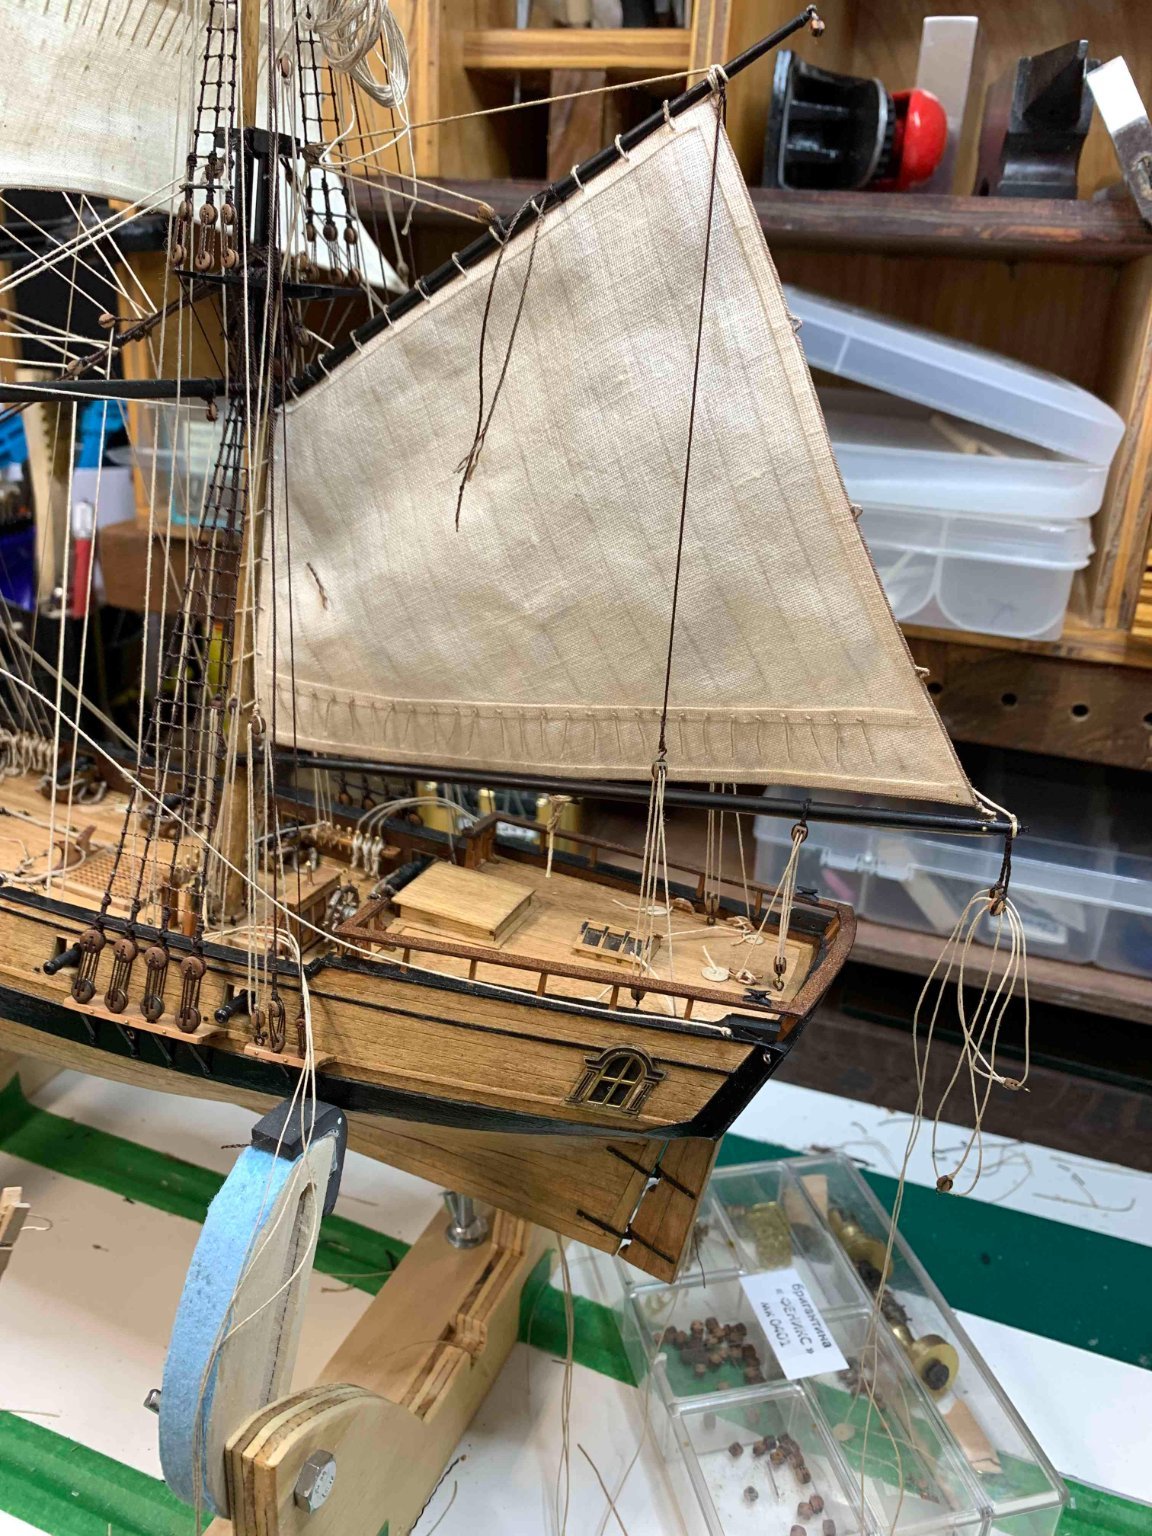
In case there is a storm on the voyage...
Happy modelling...- GrandpaPhil and BenD
-
2
-
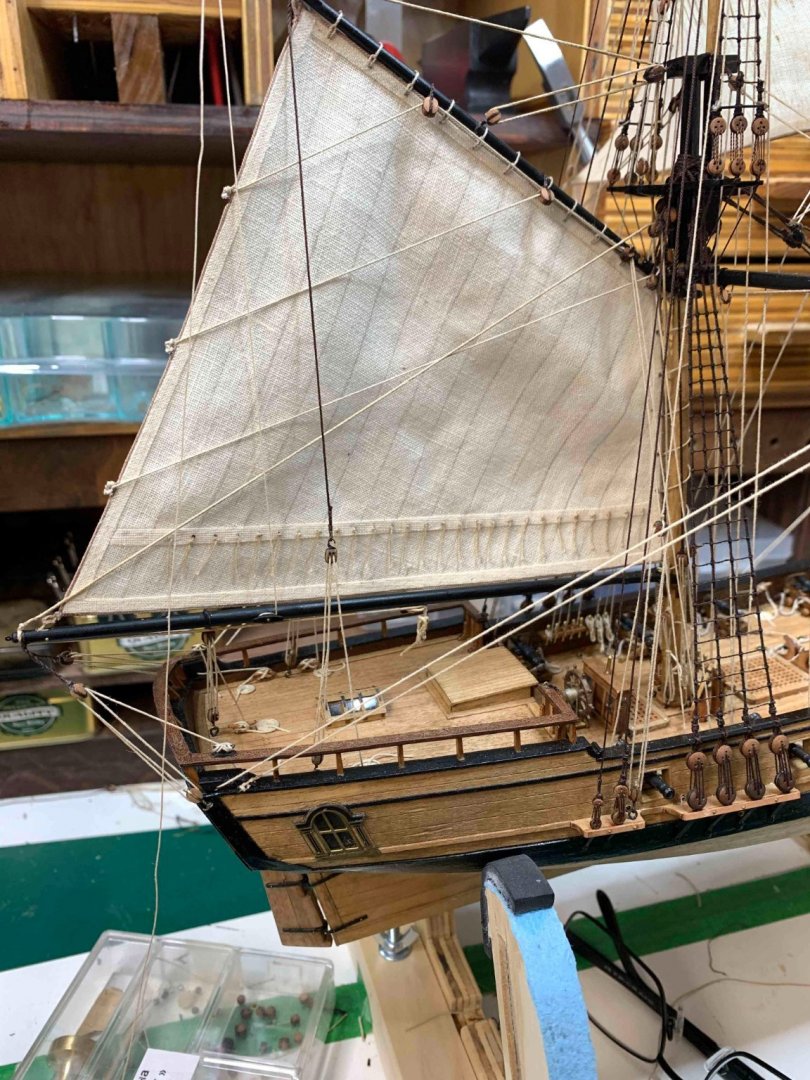
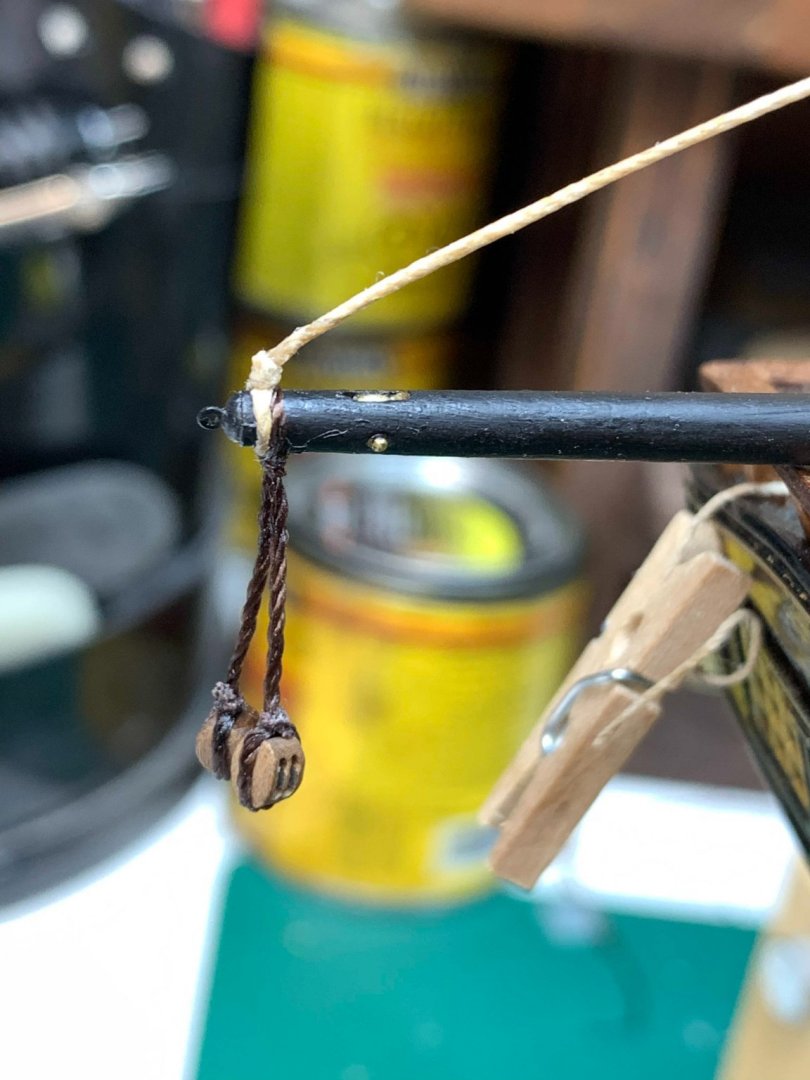
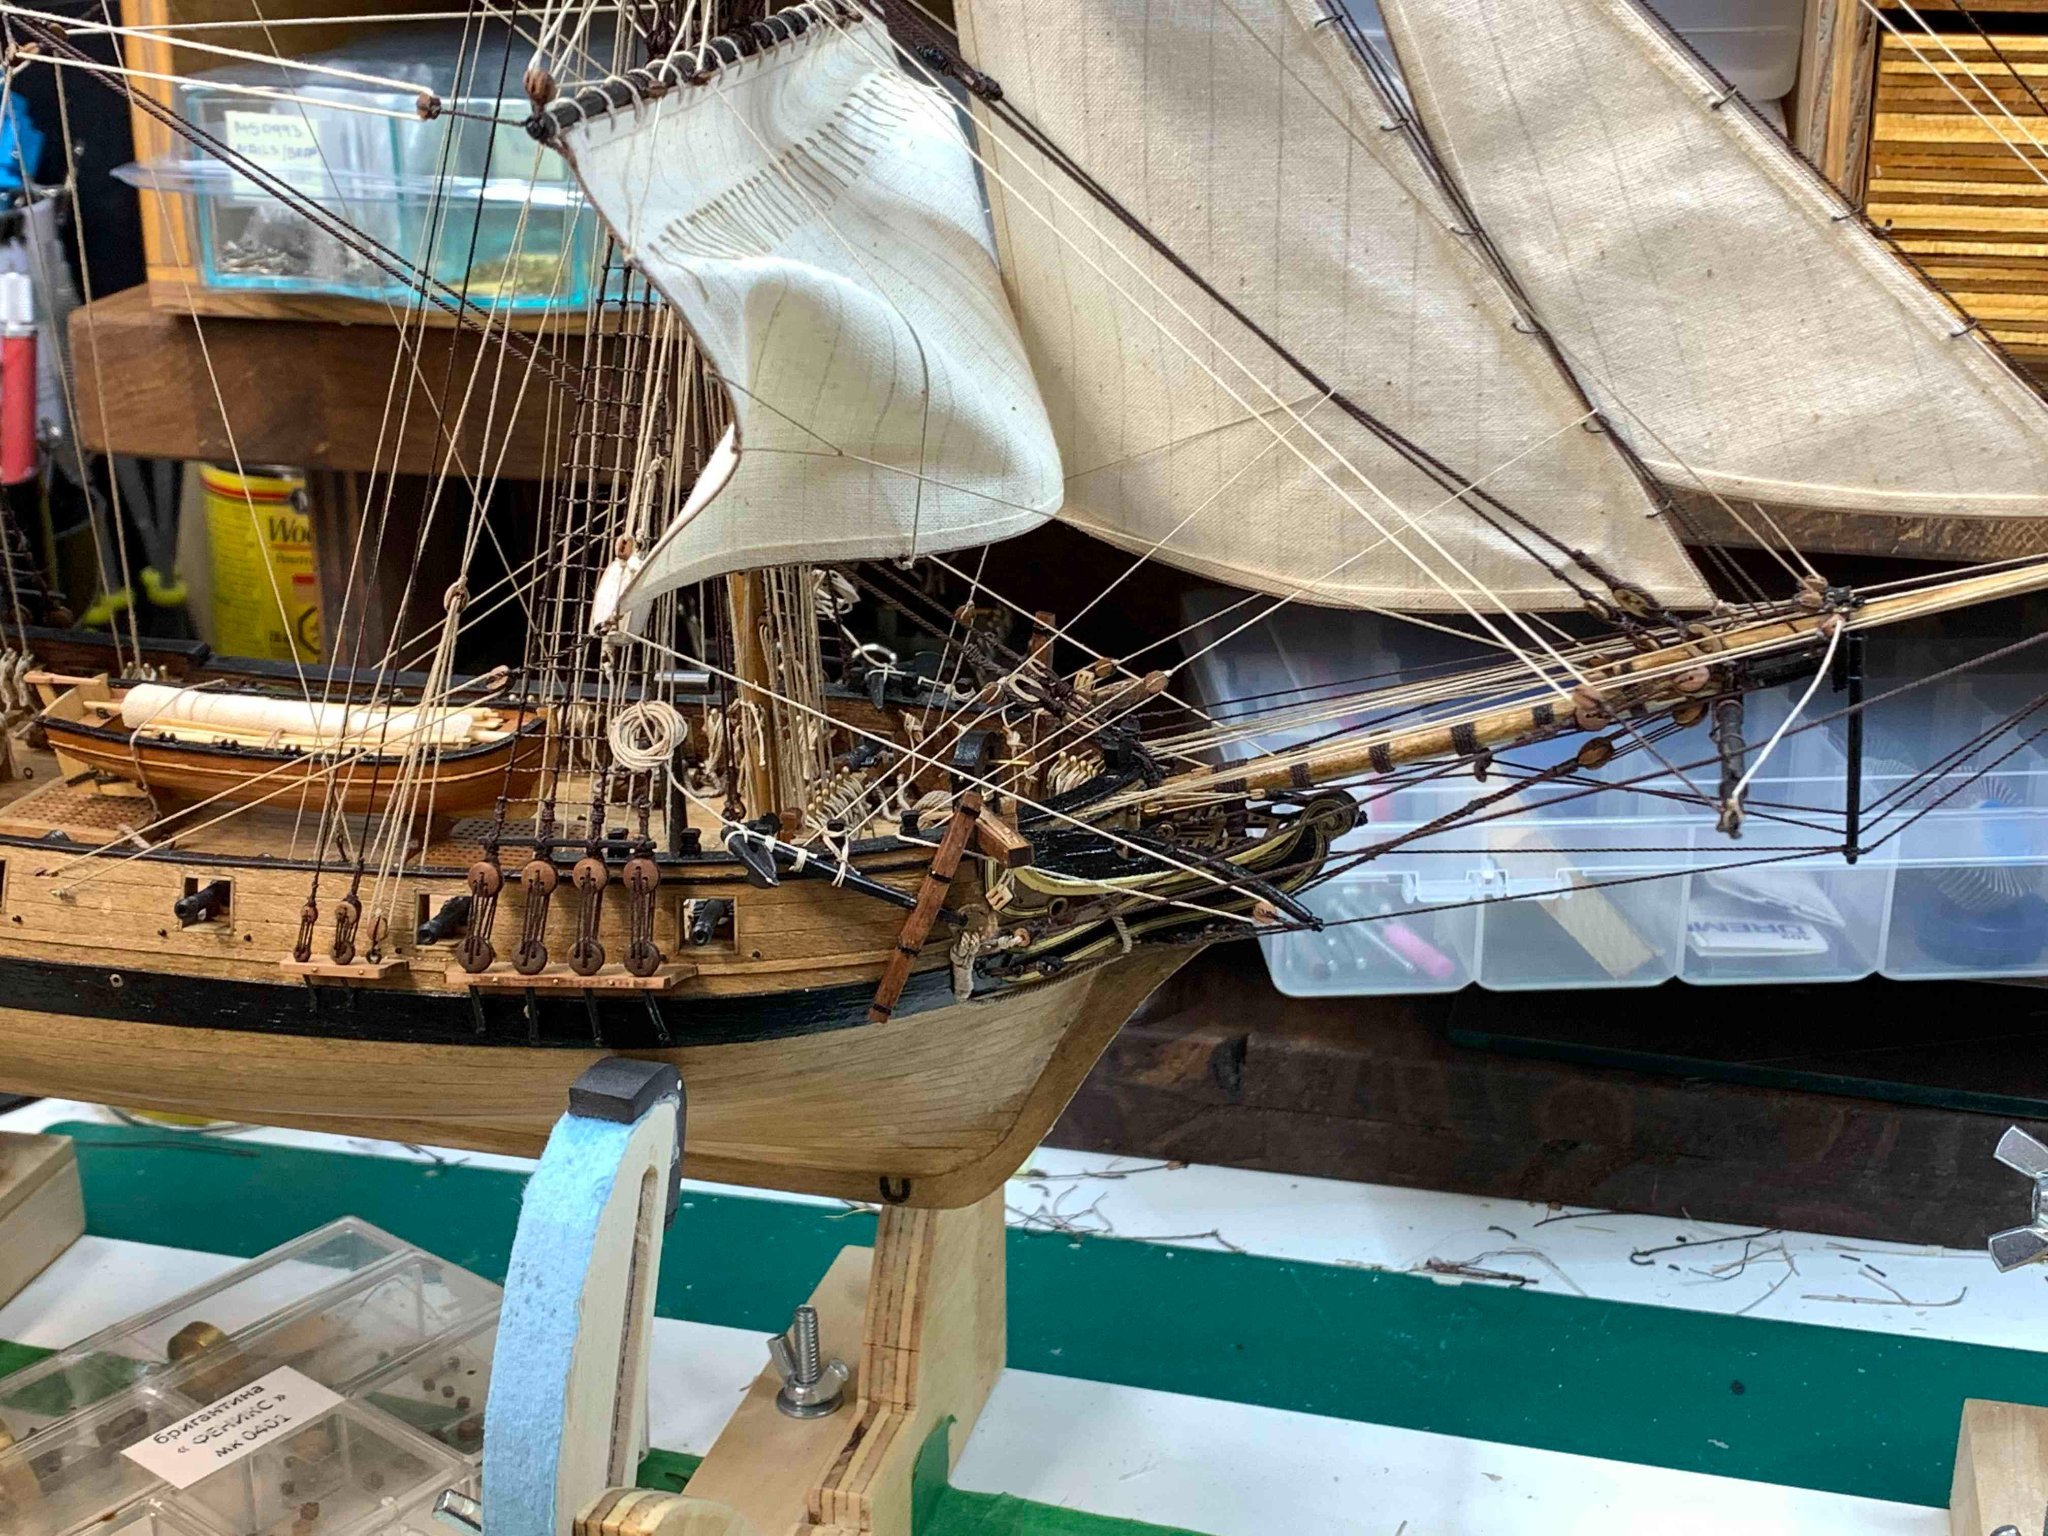
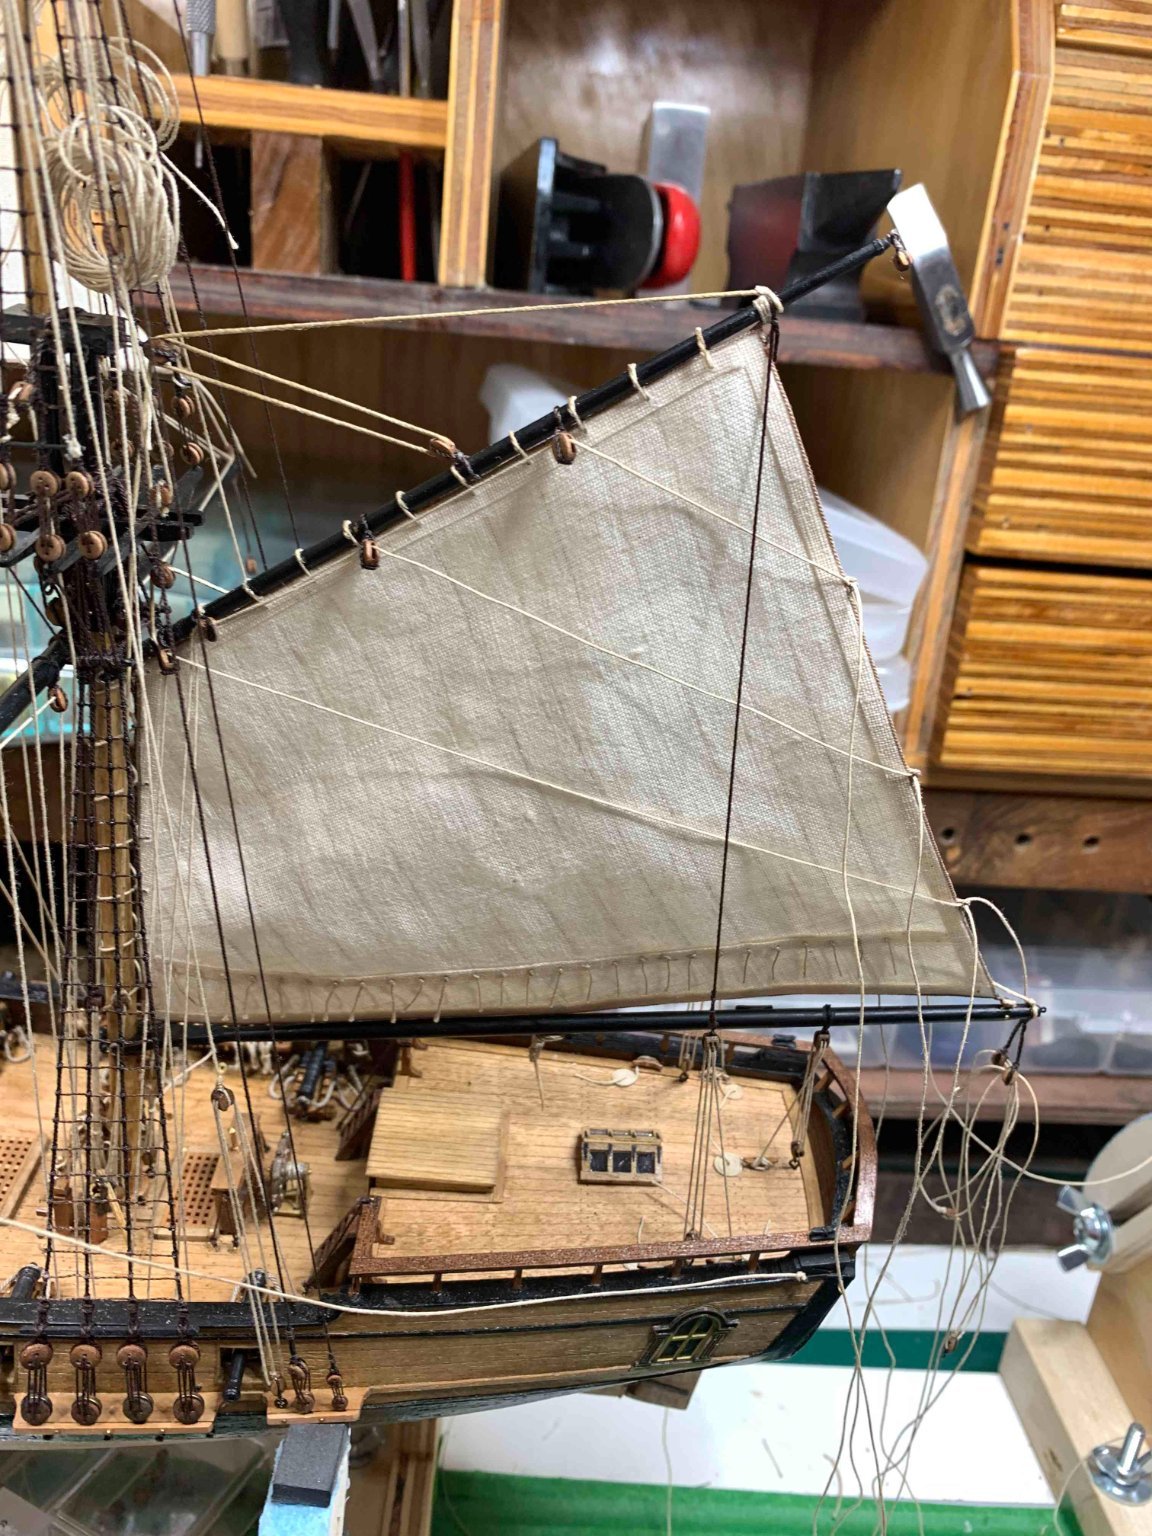
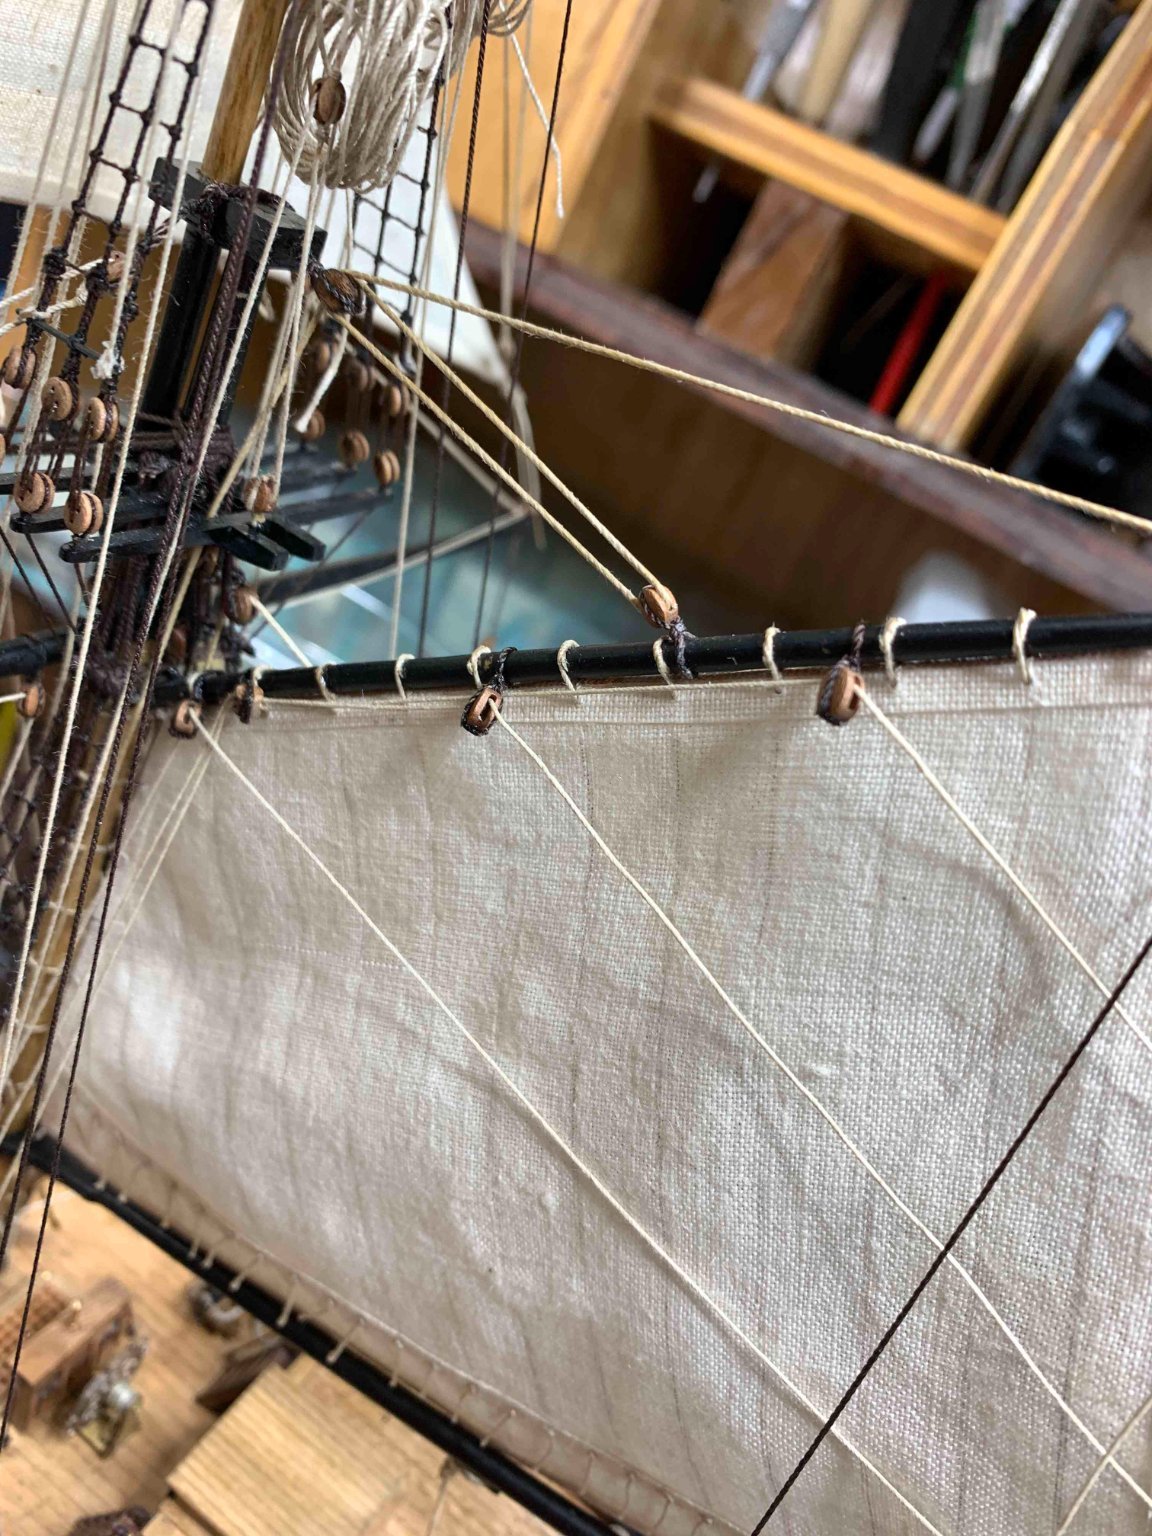
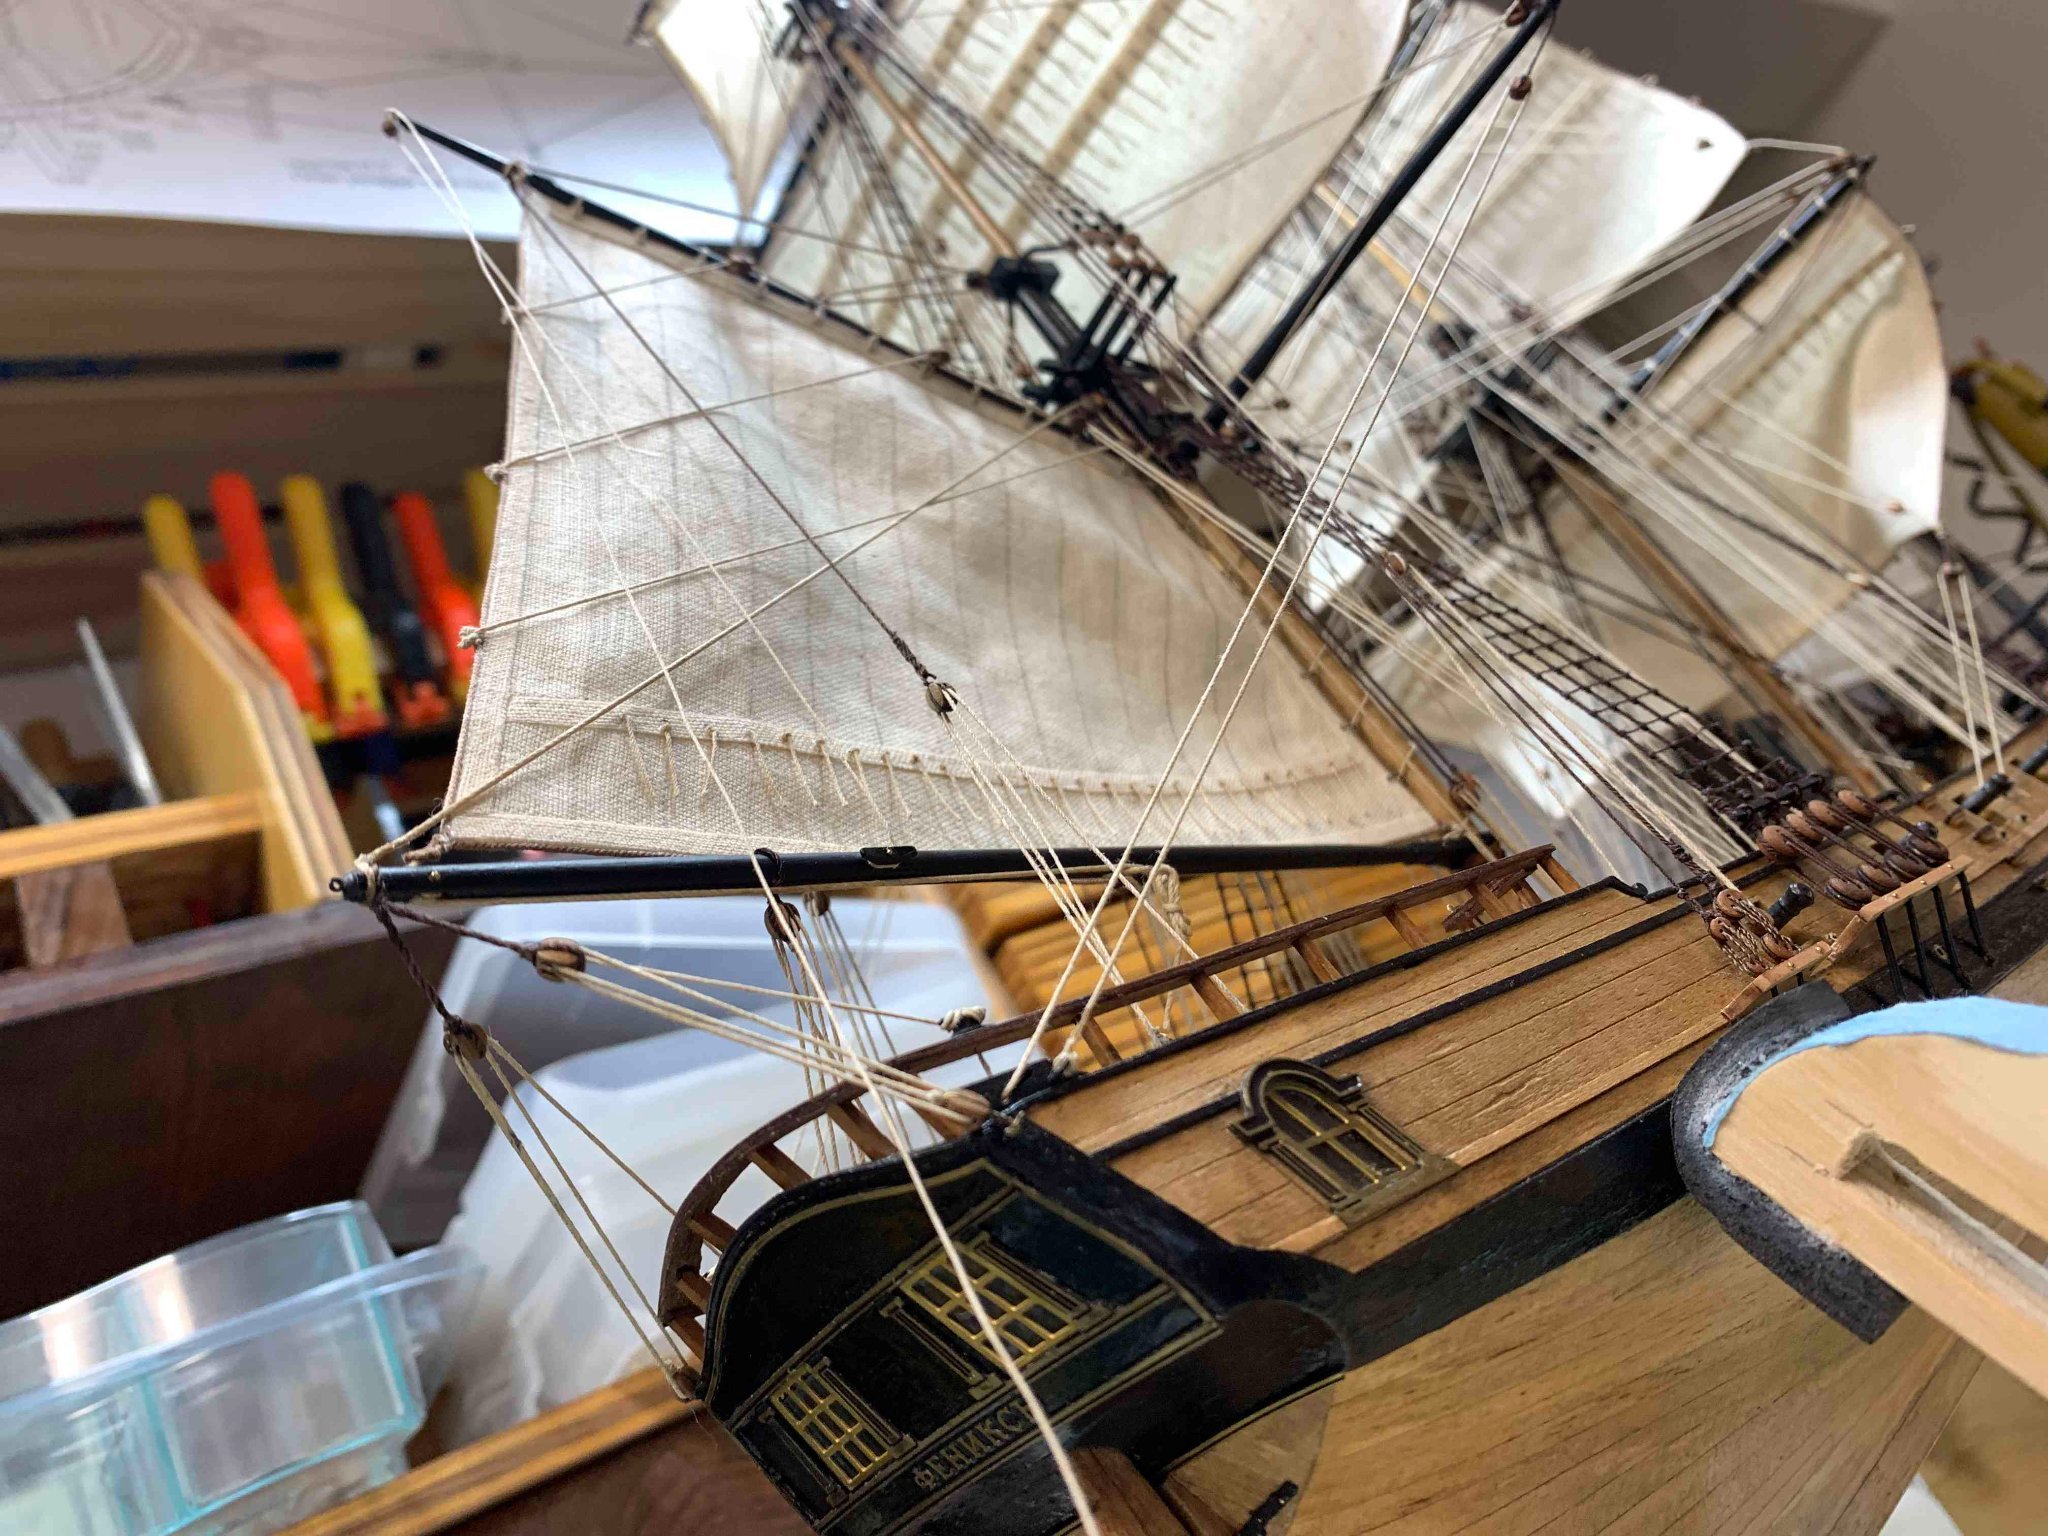
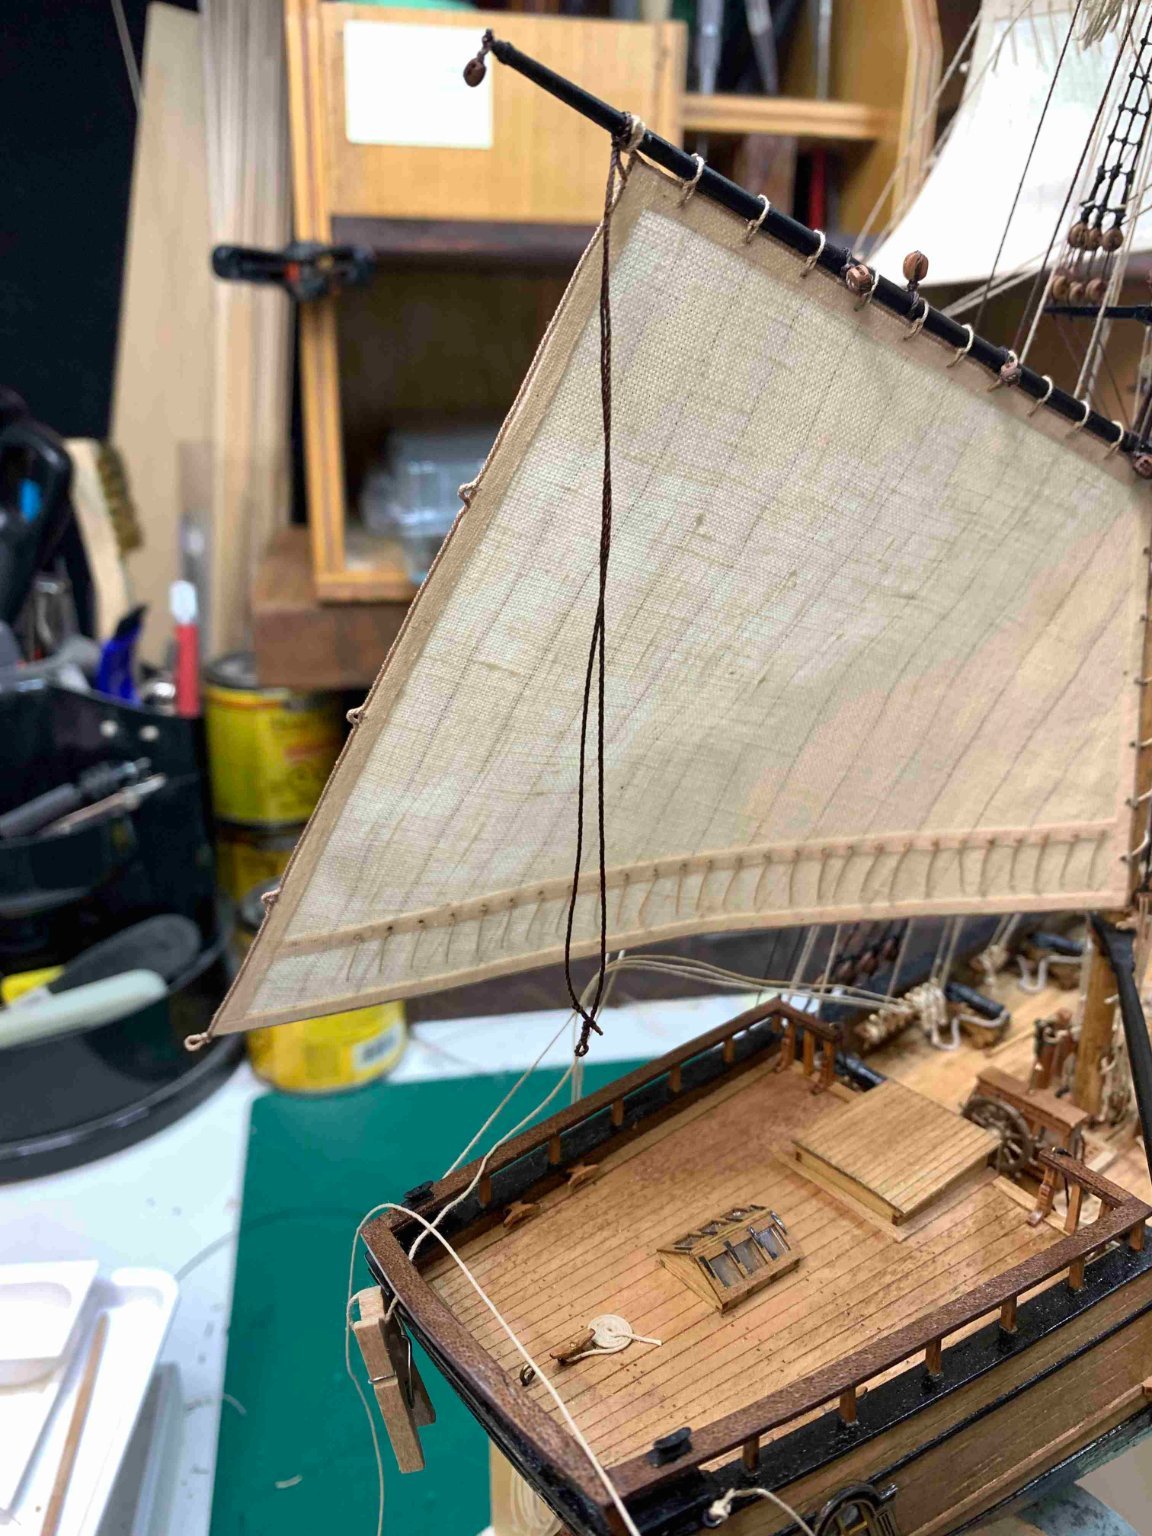
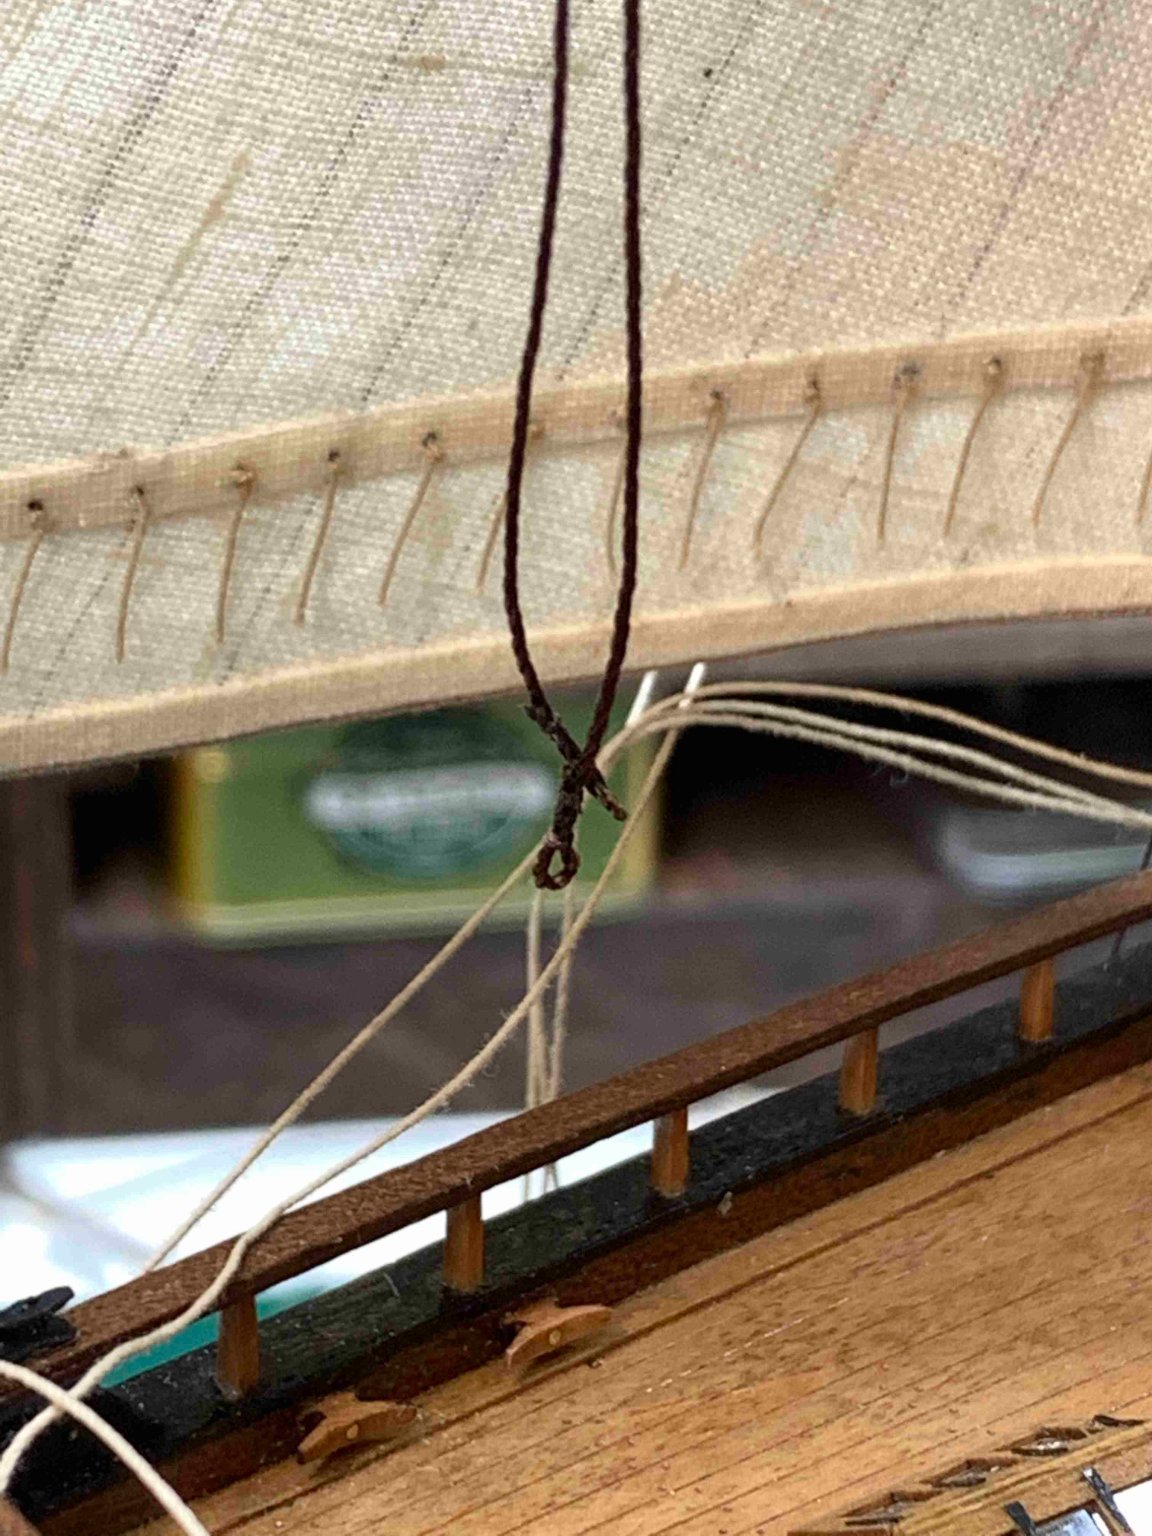
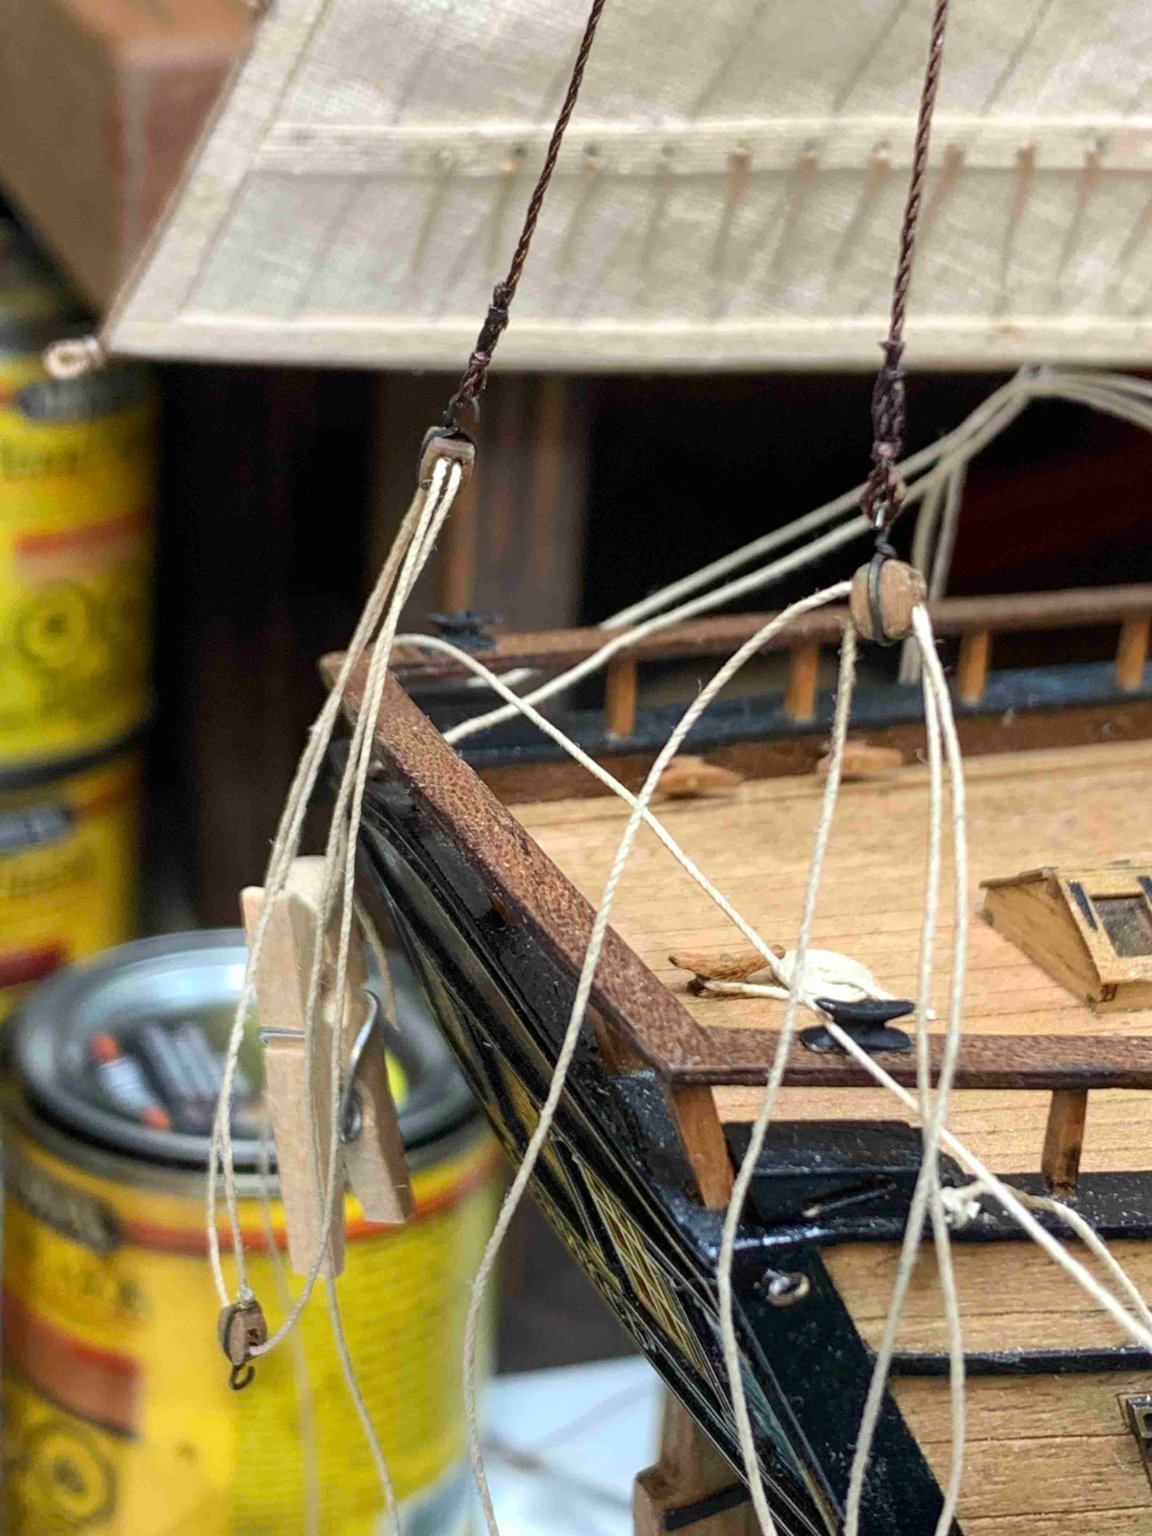
Wrapping it up slowly...
Forgot to put blocks on both side of the yard and now it is time for a re-do...
Continue with rigging...


Getting busy...


Happy modelling... -
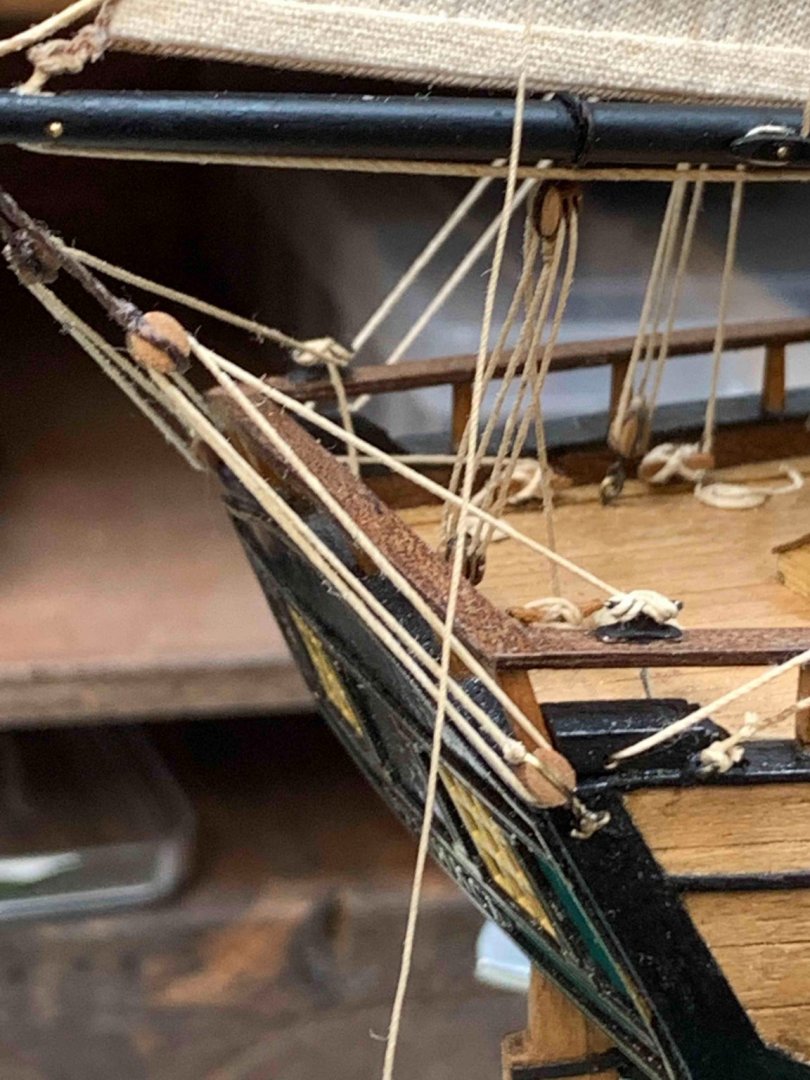
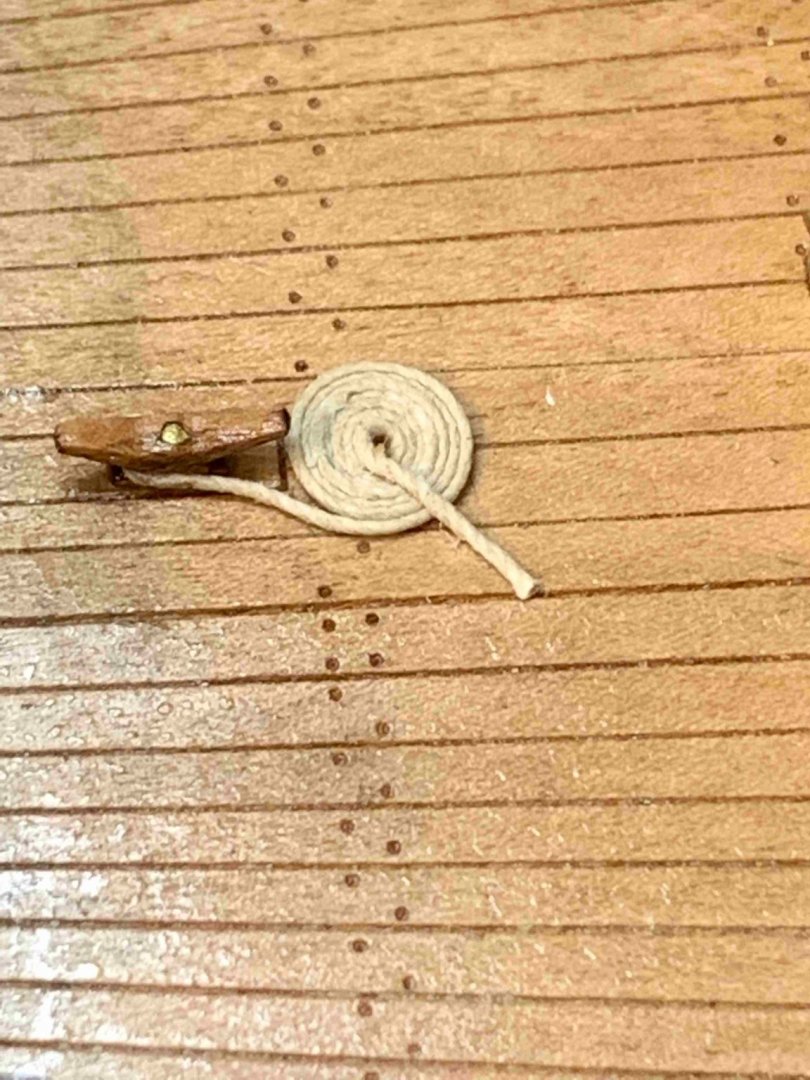
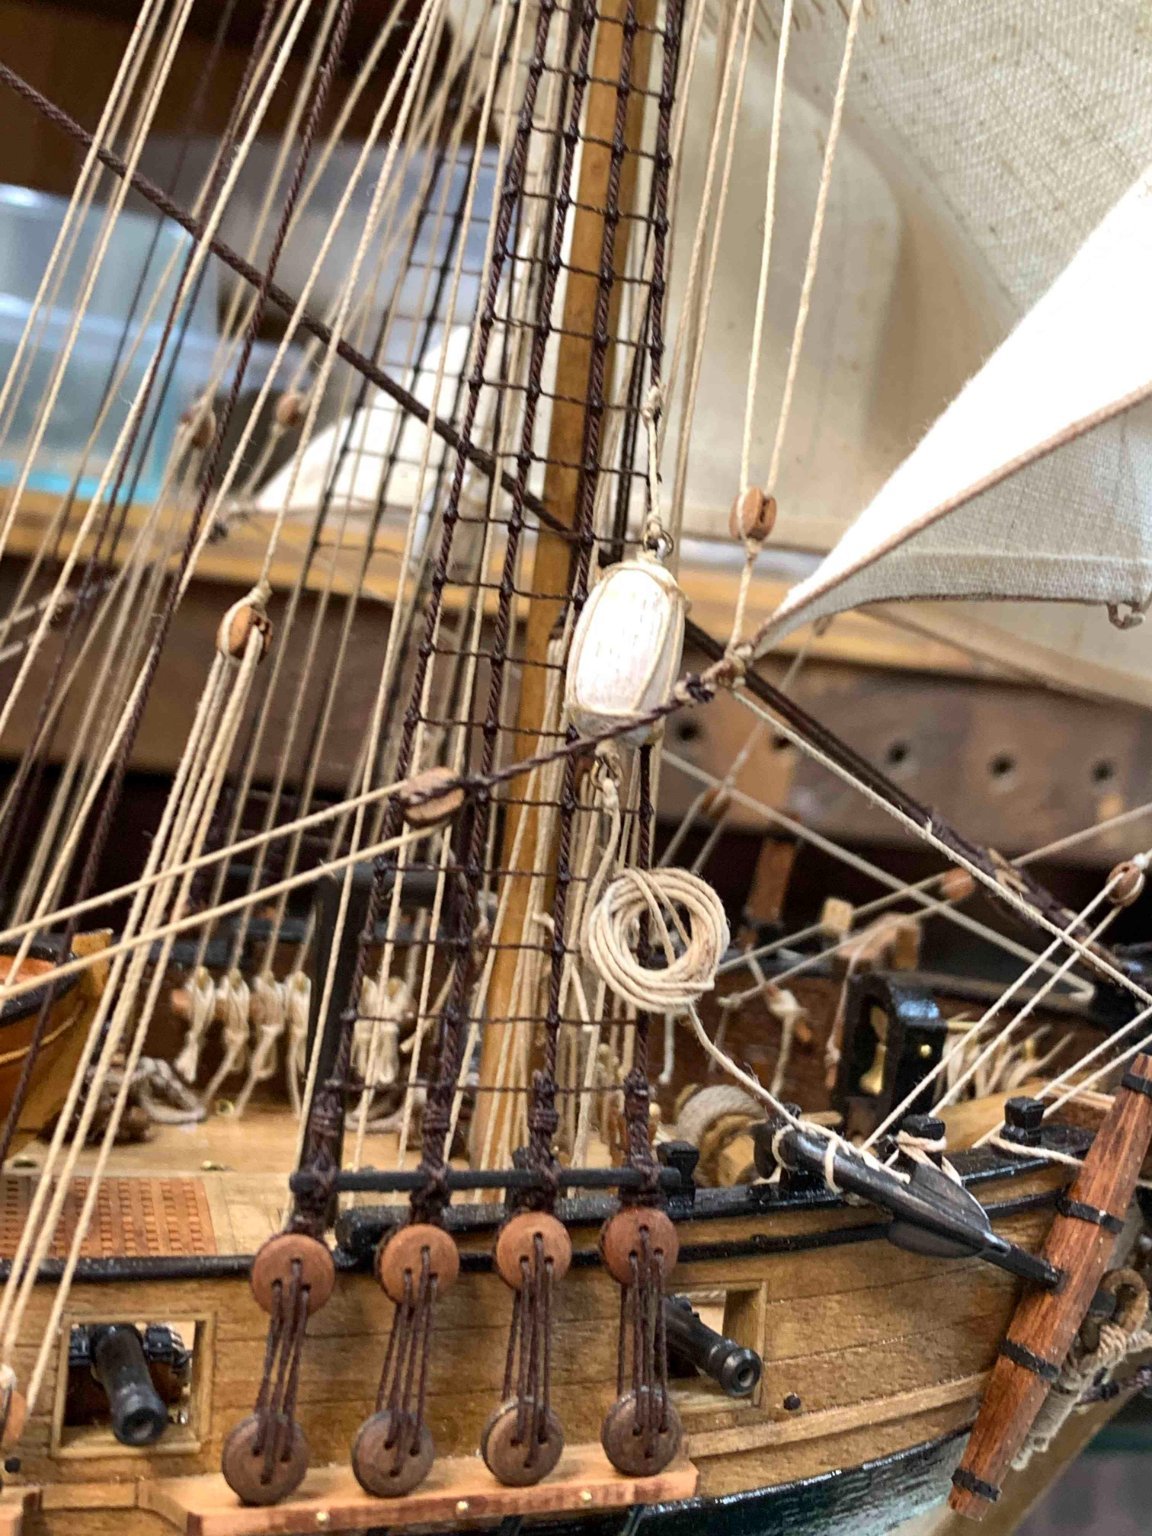
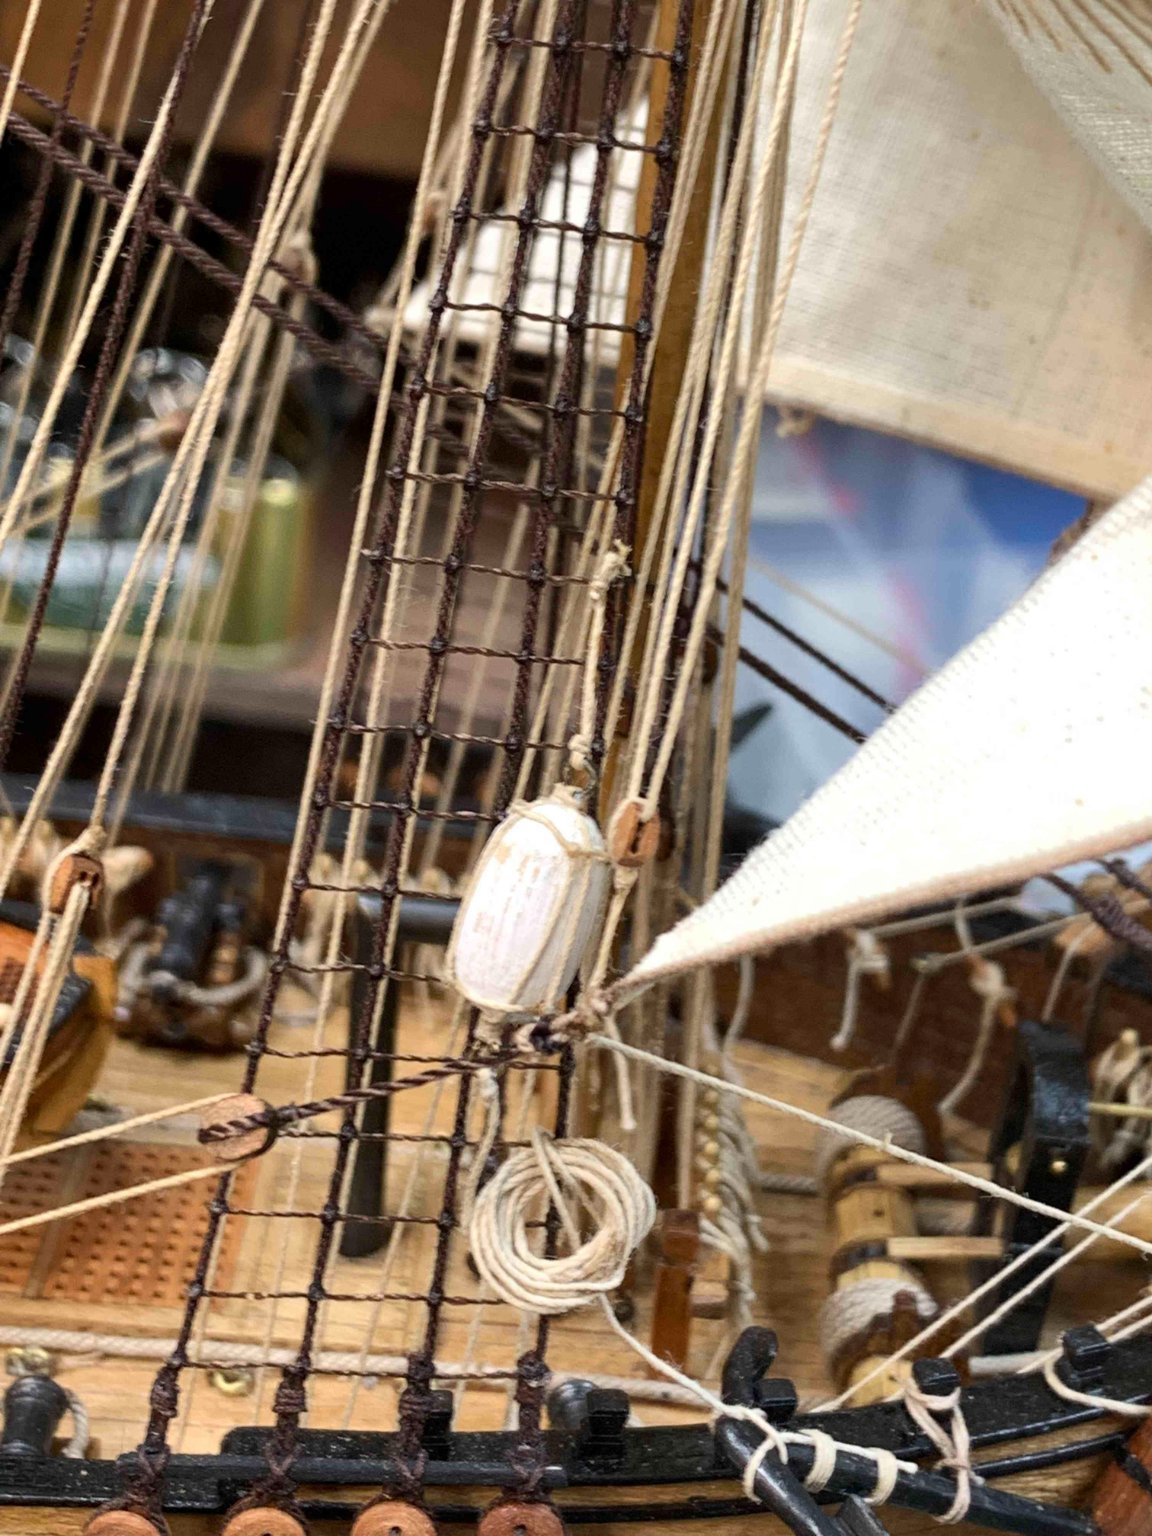
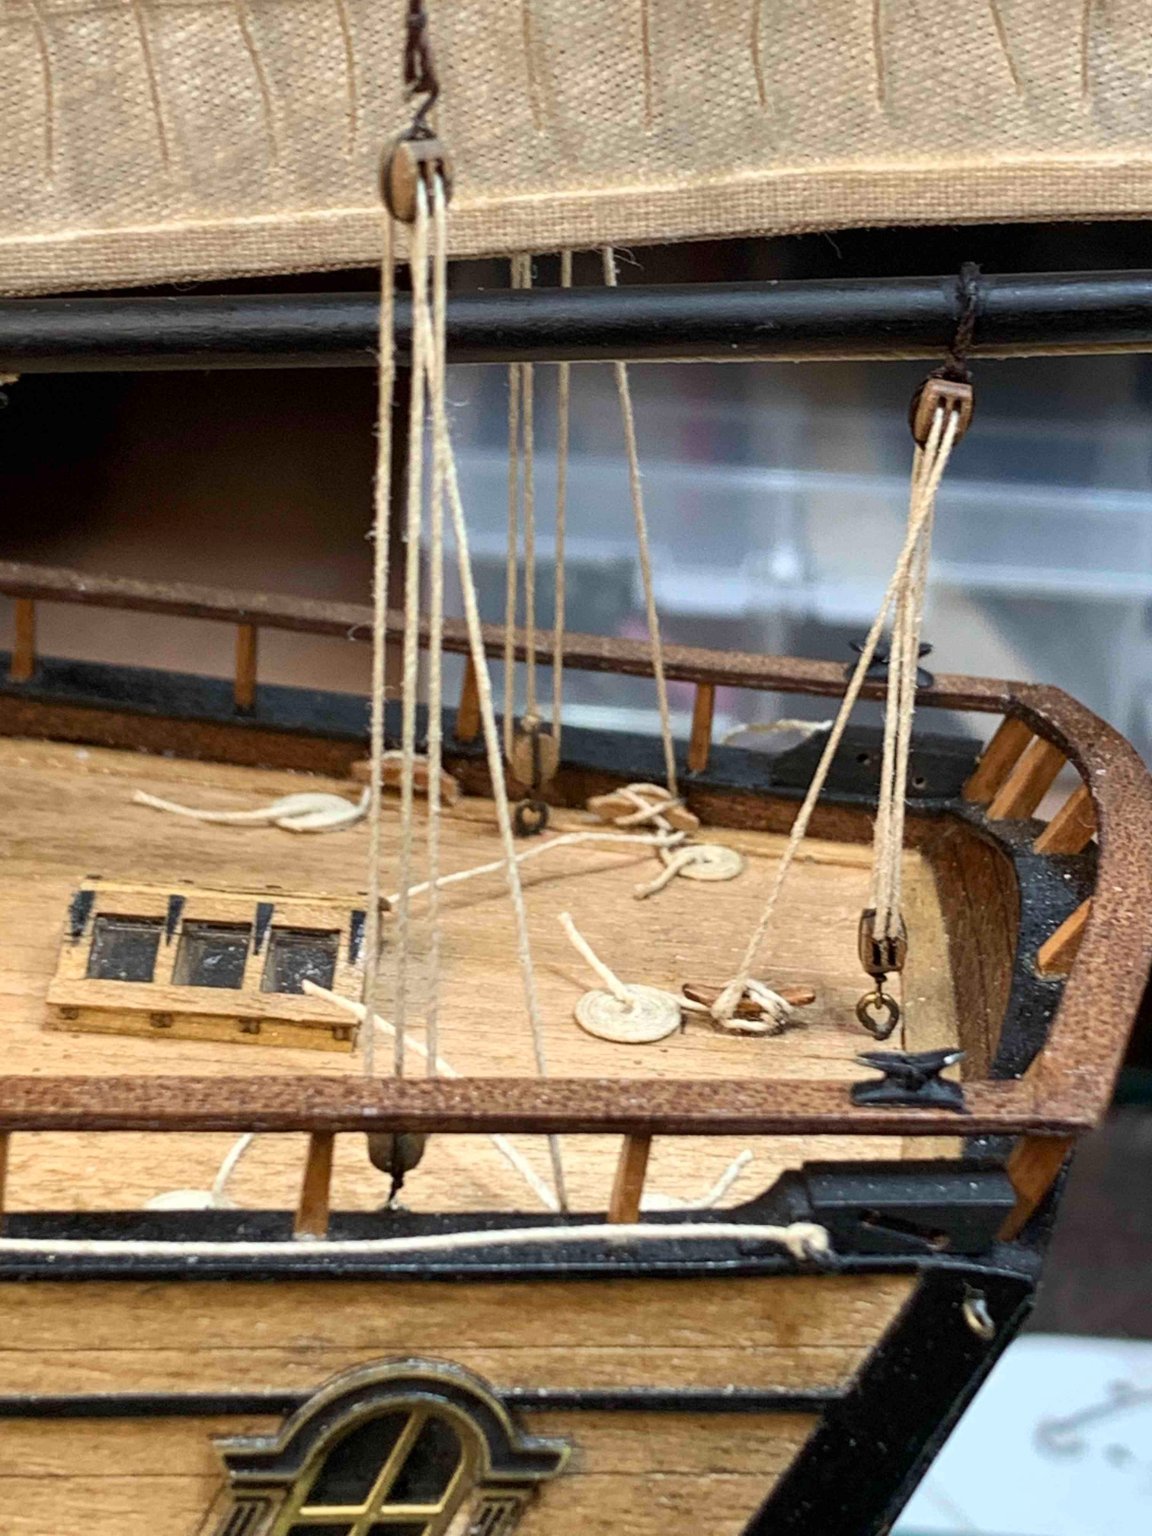
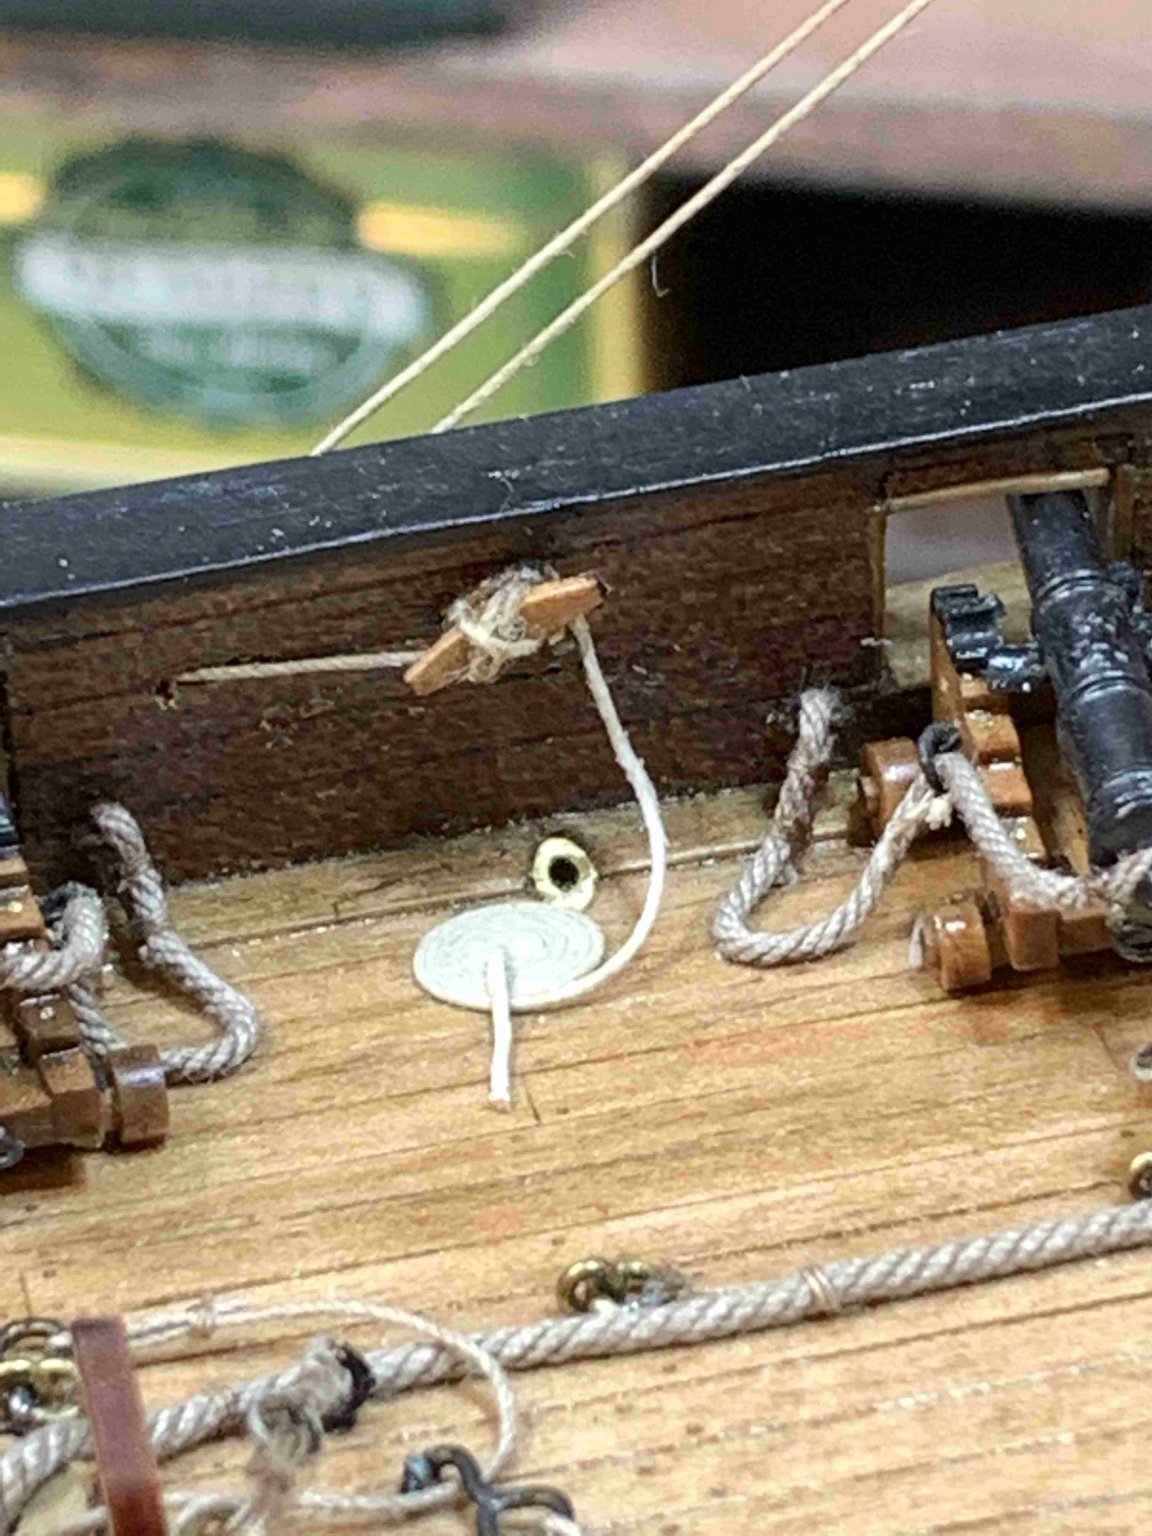
Continue with rope coils installation; mental note for a future builds: do this task when deck is free of other items....
The coil is fixed on the deck with a touch of white glue, non diluted.
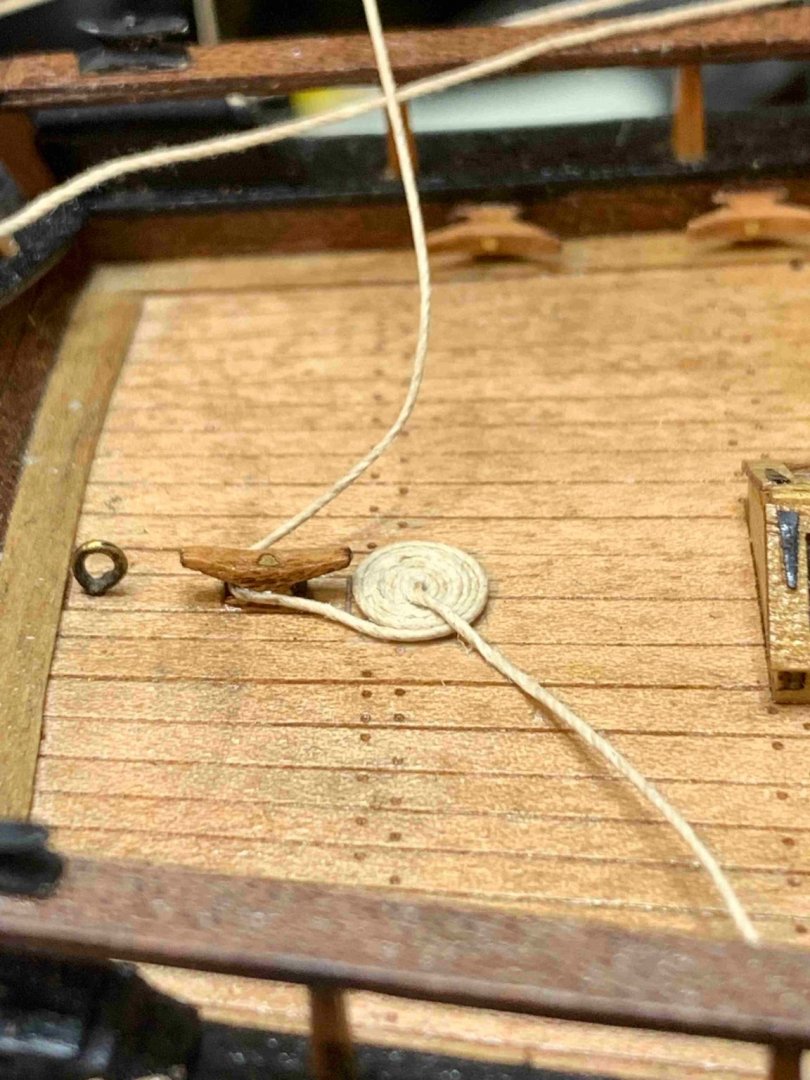
After drying, the excess rope is cut...
Few more installed...
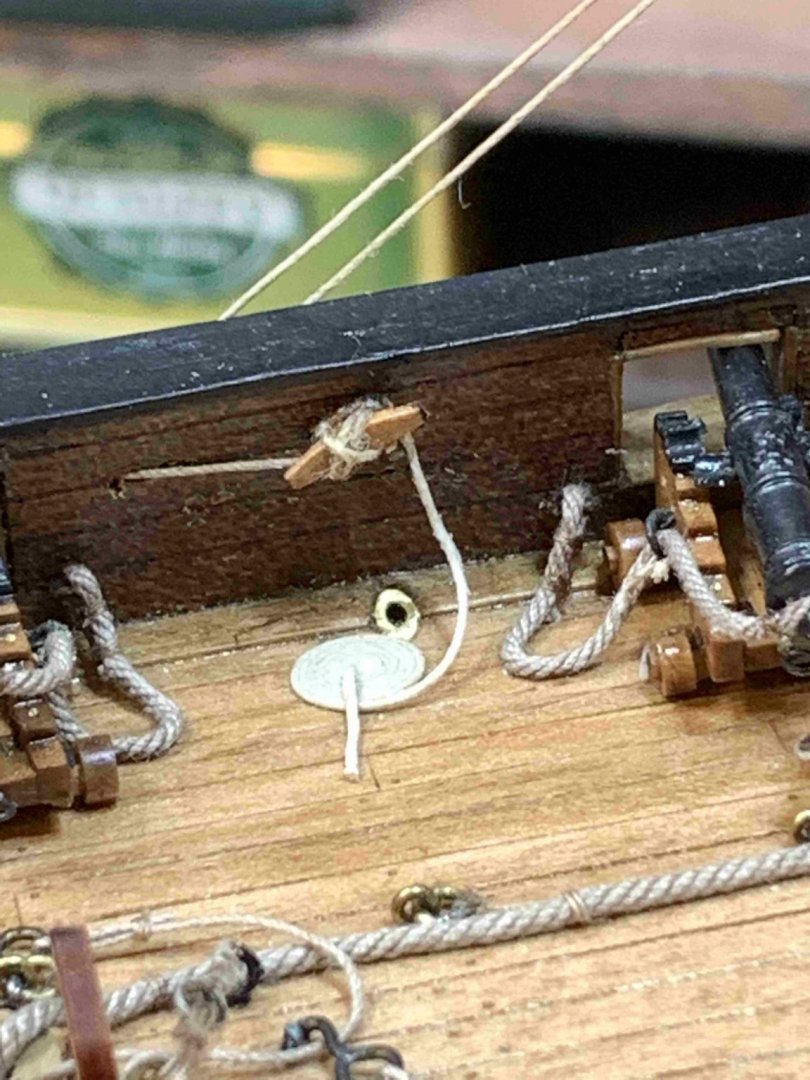
Next one was particularly challenging because of its location...

The reason more to do these ahead of time is no need to use CA glue which is discolouring the rope. Tried with PVA but was just not holding the place..
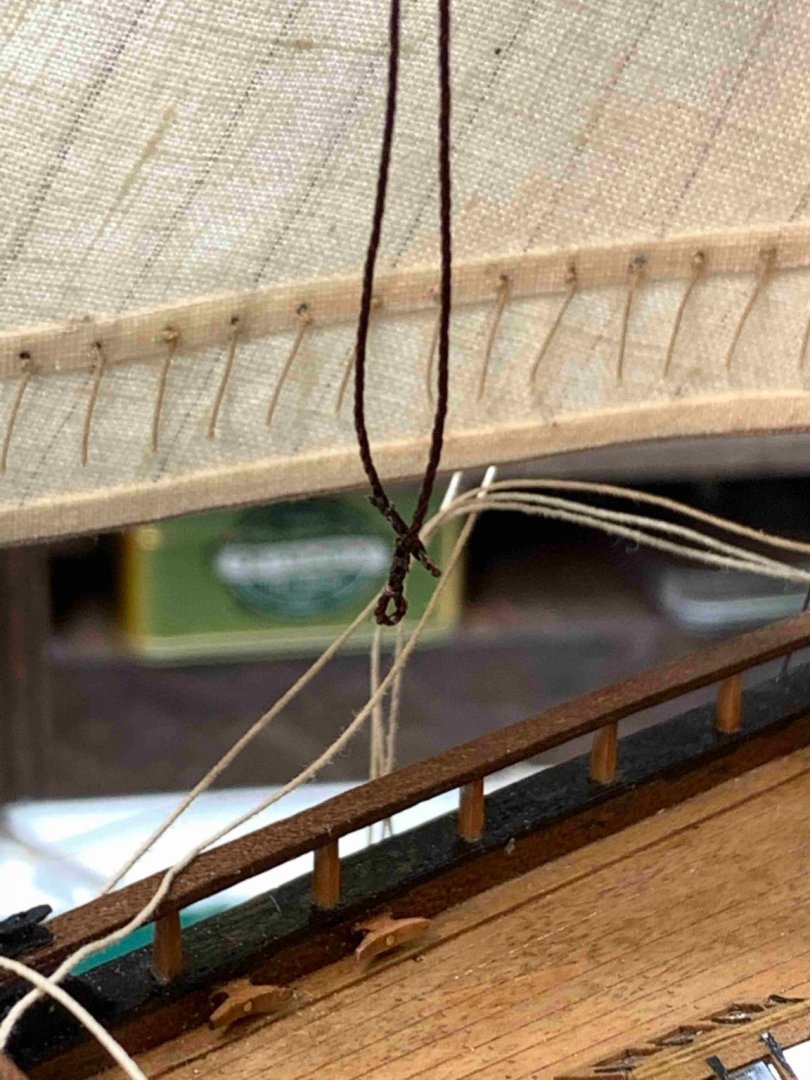
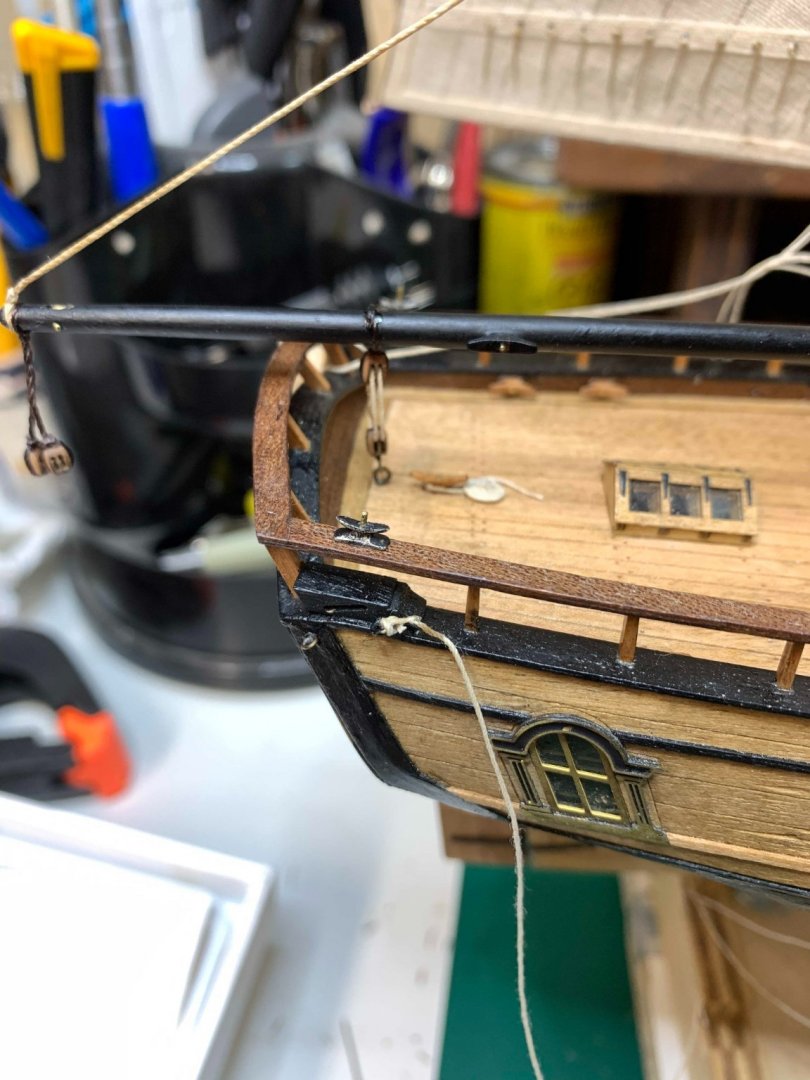
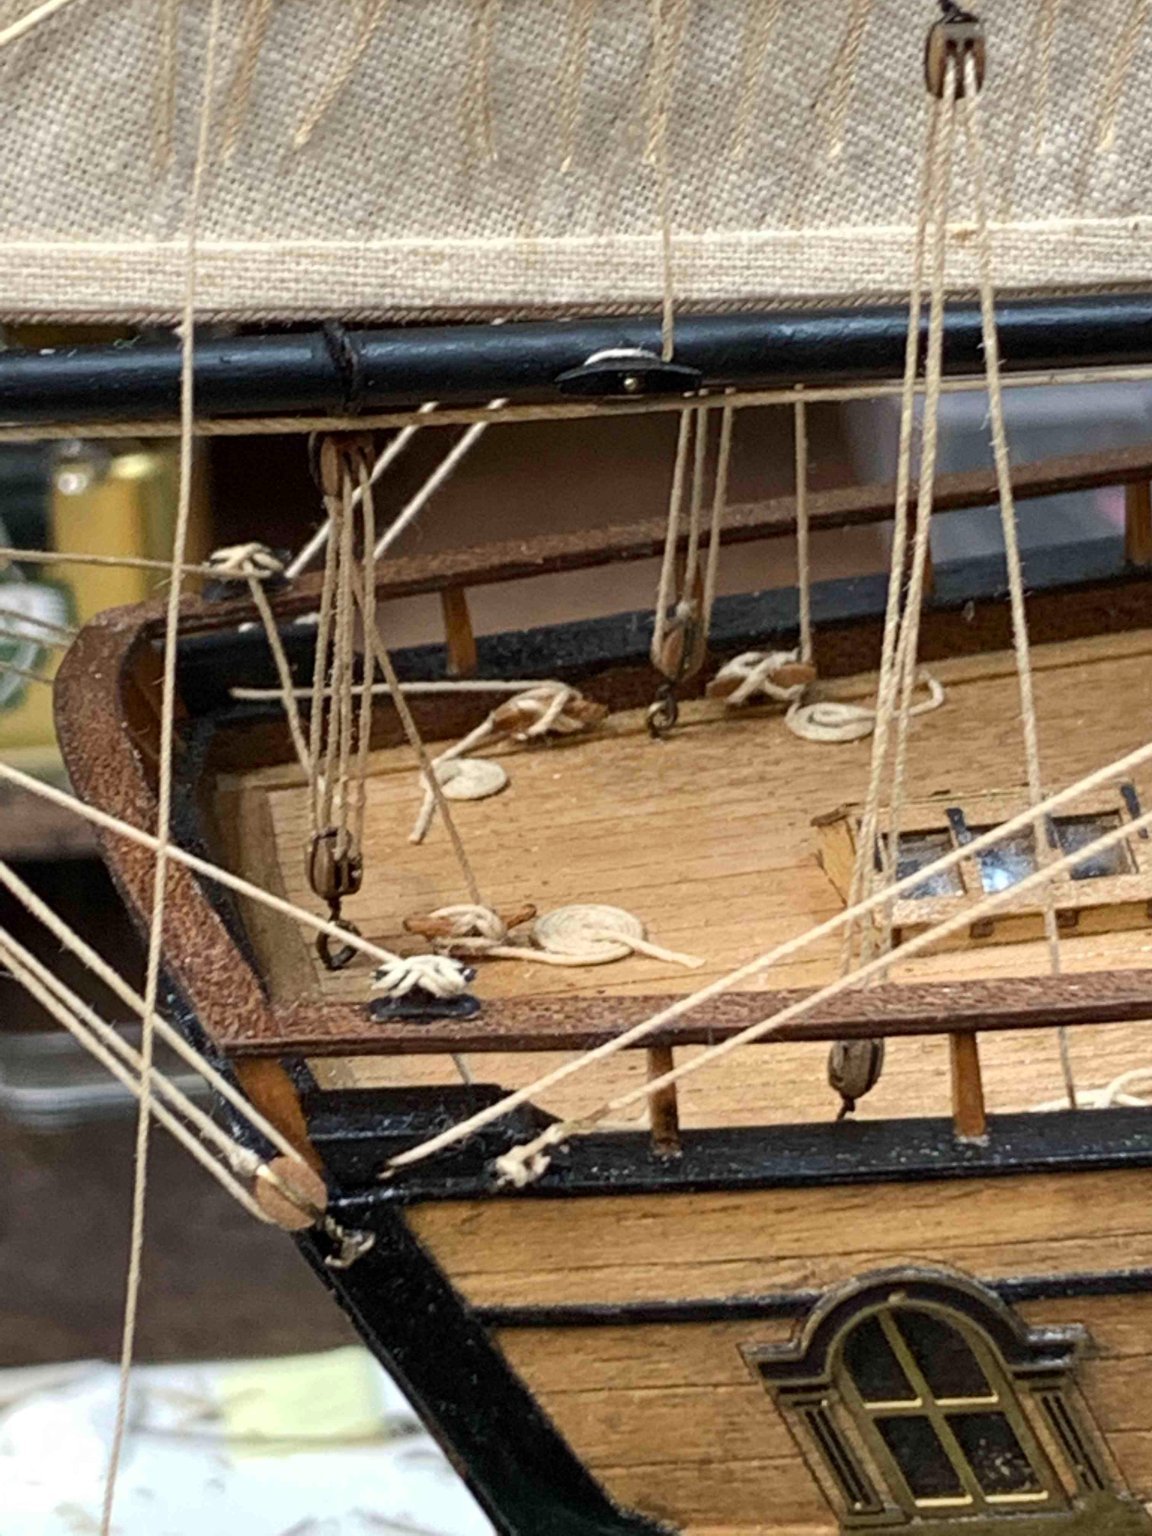
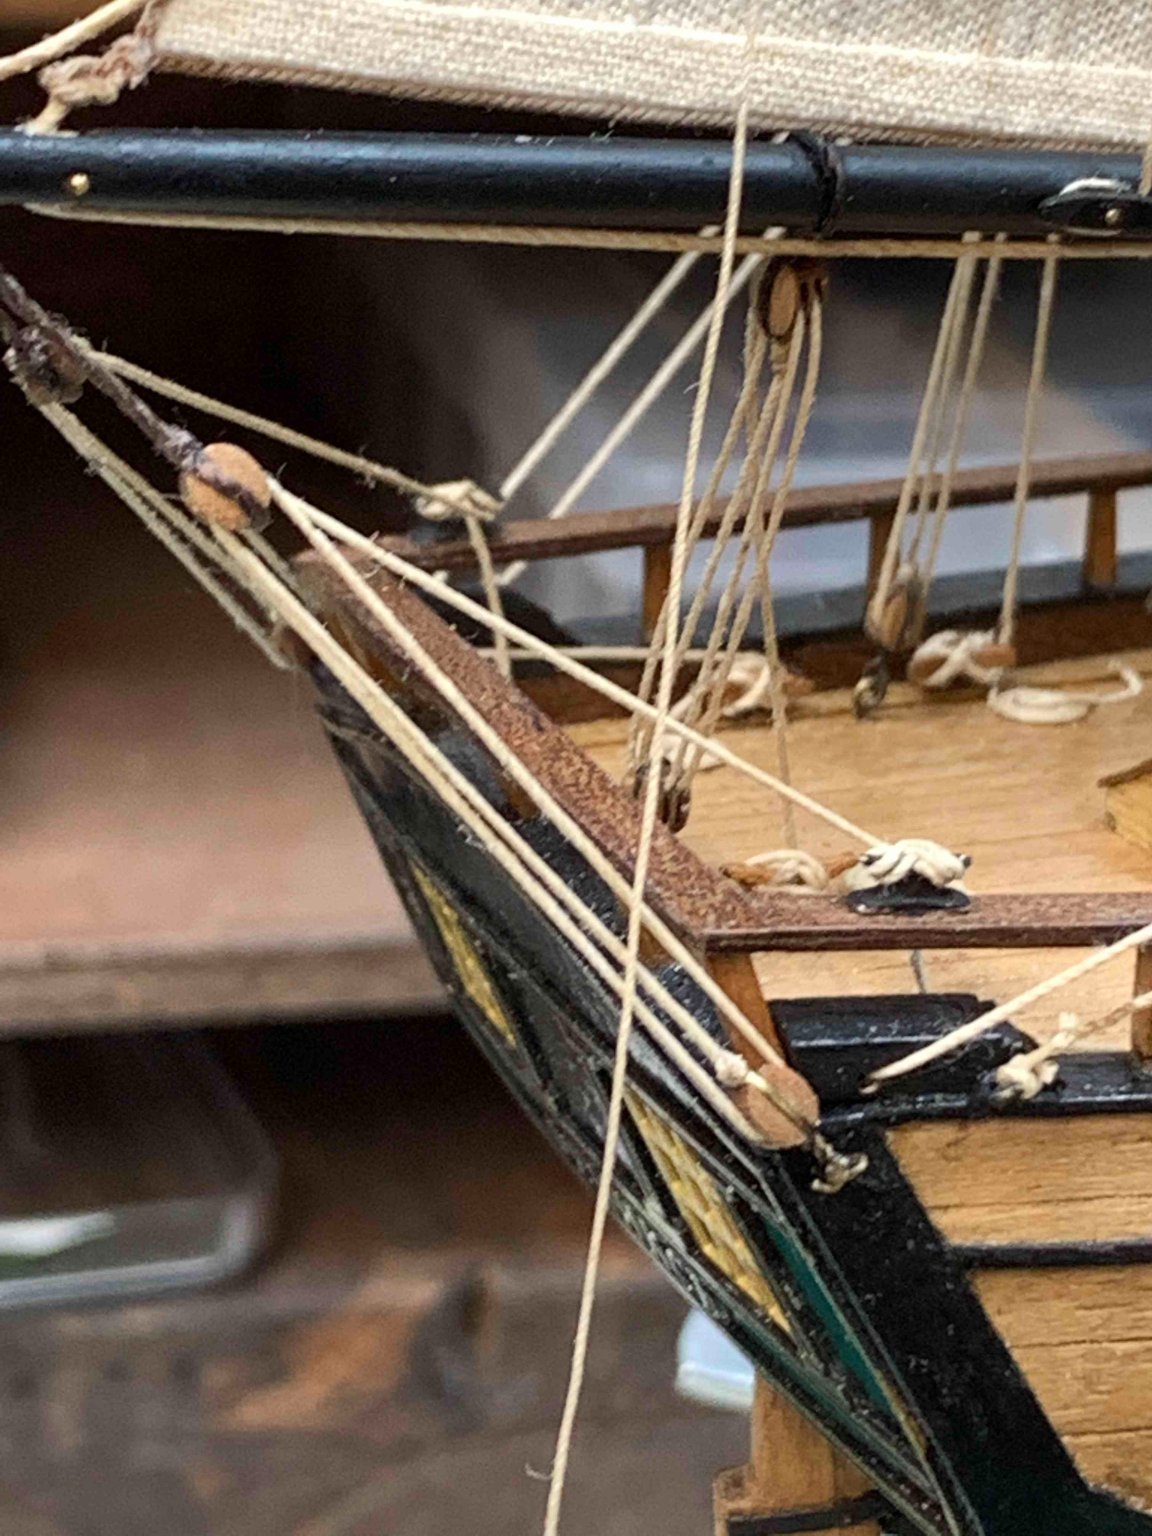
Then was working on guy rope...


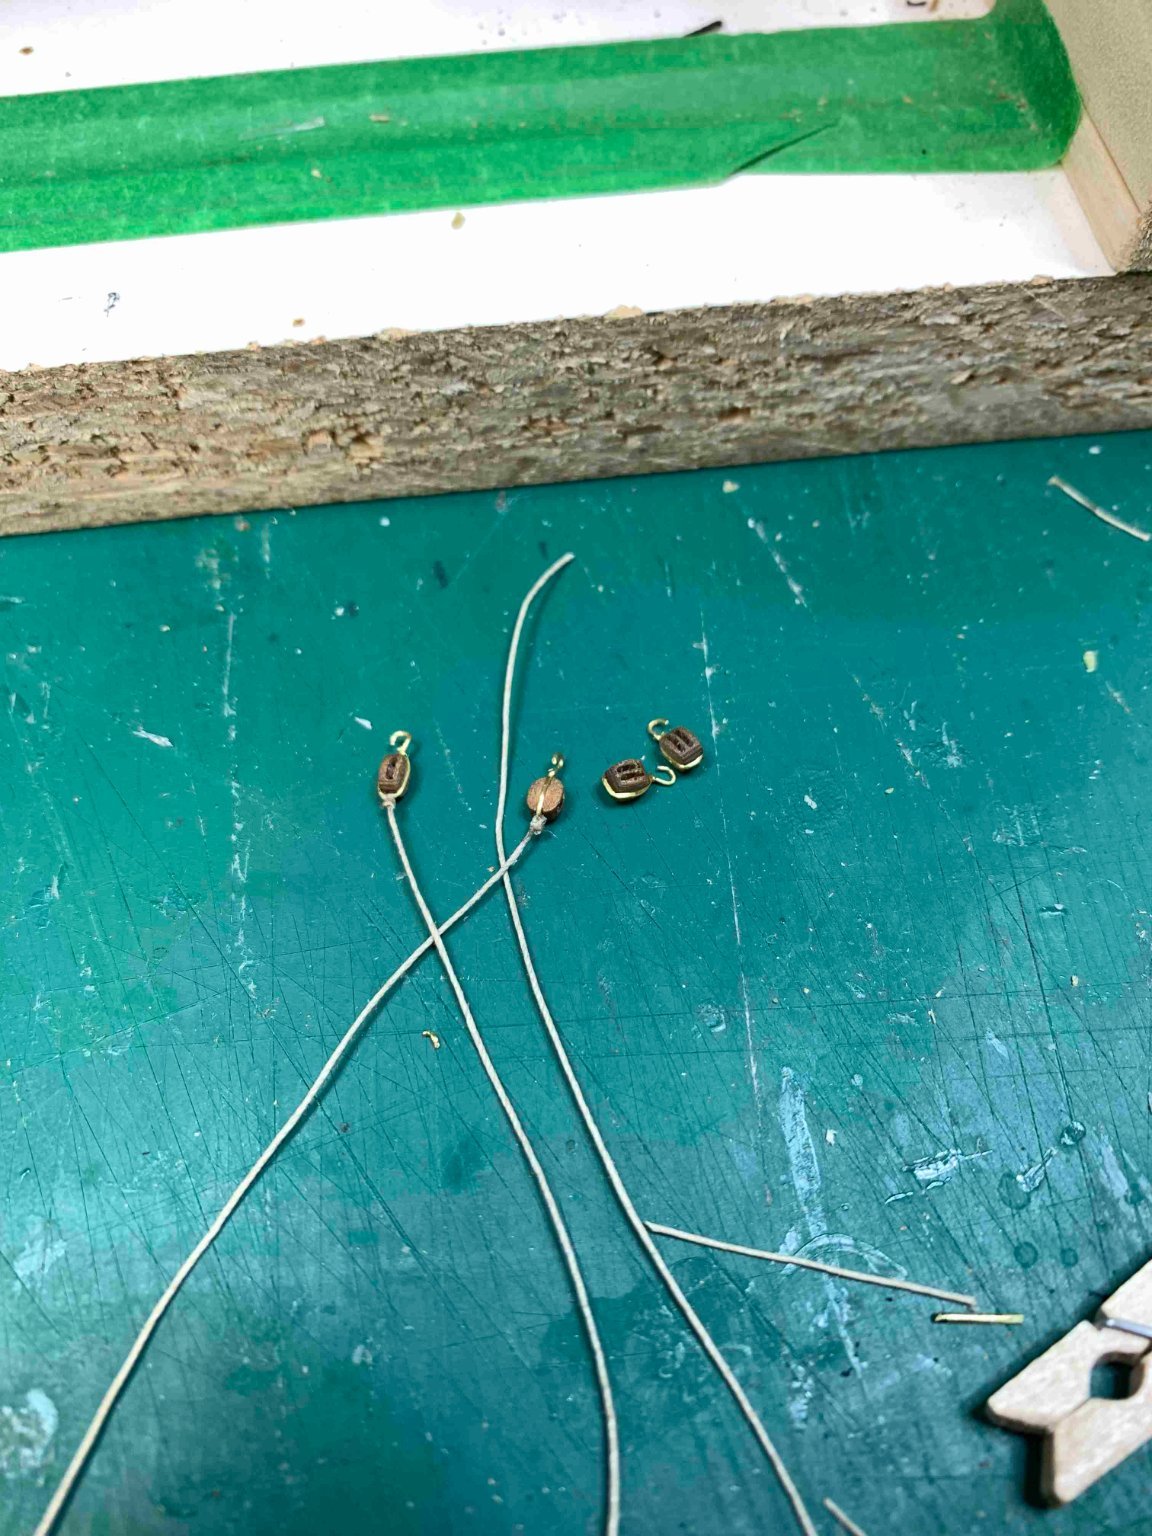
During my build process, i lost several blocks. Very likely i will be able to find them walking barefooted but i decided to order few sets online... and here they are, brand new, with attached hooks...
And mounted, temporary...


Happy modelling...- BenD and GrandpaPhil
-
2
-
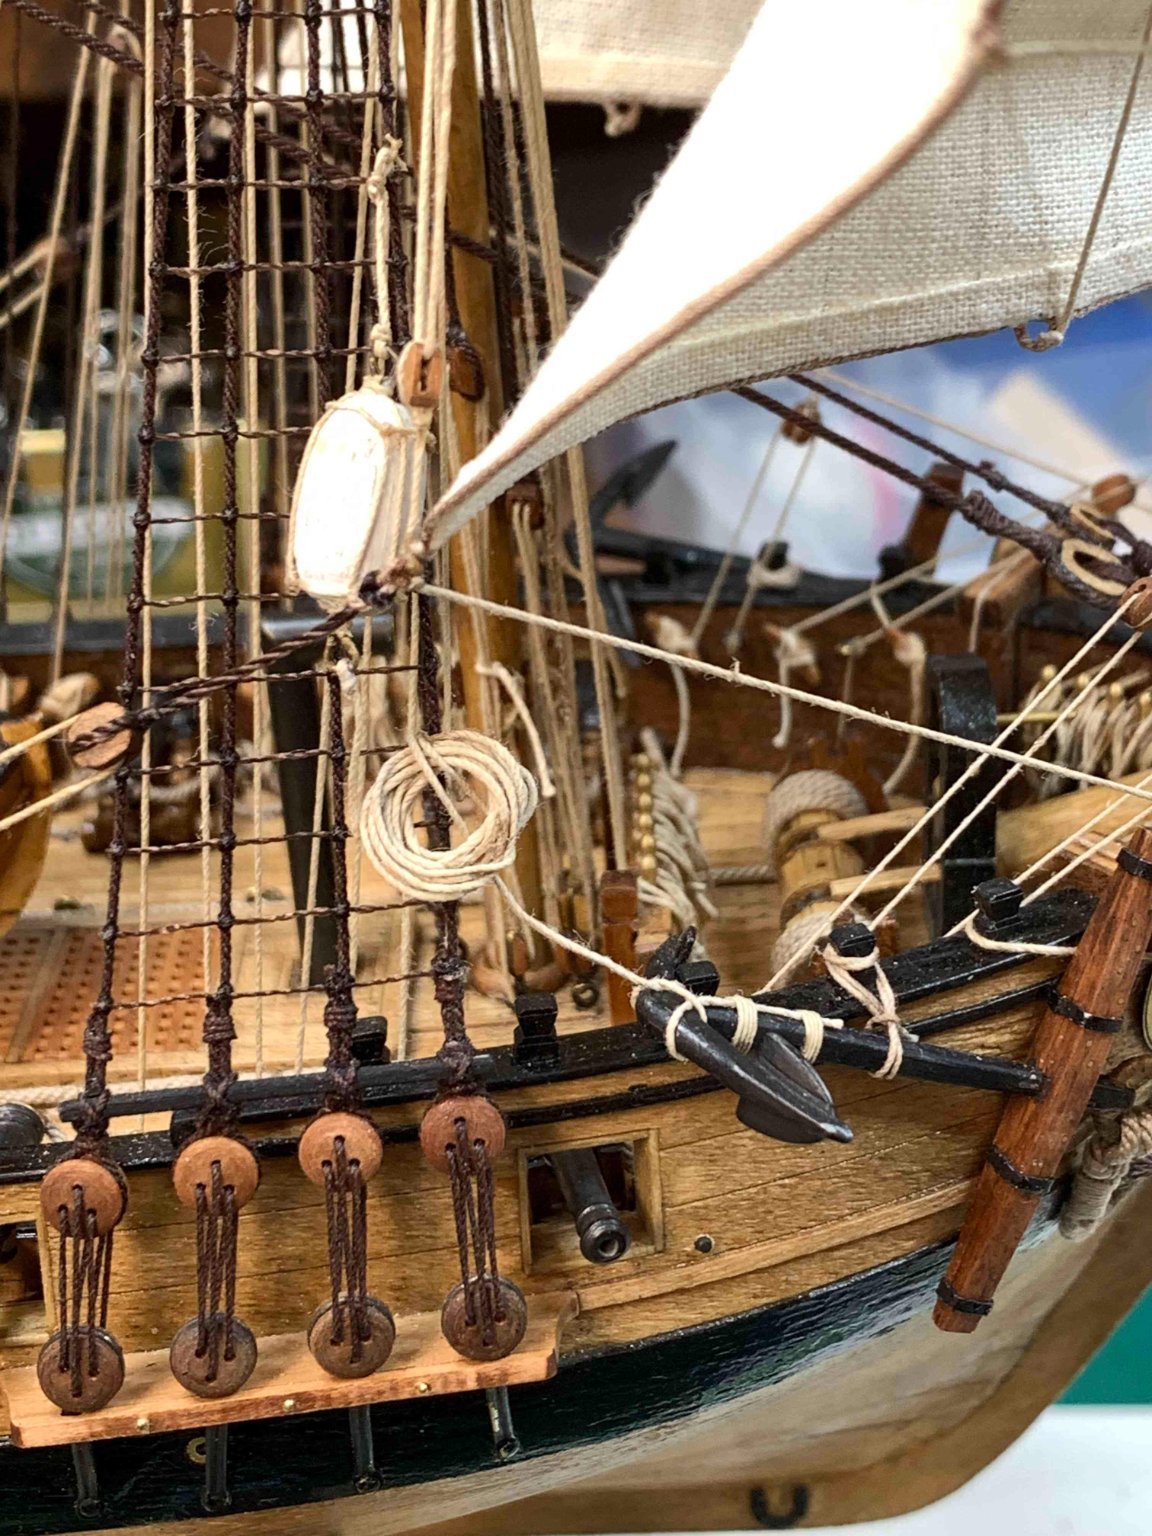
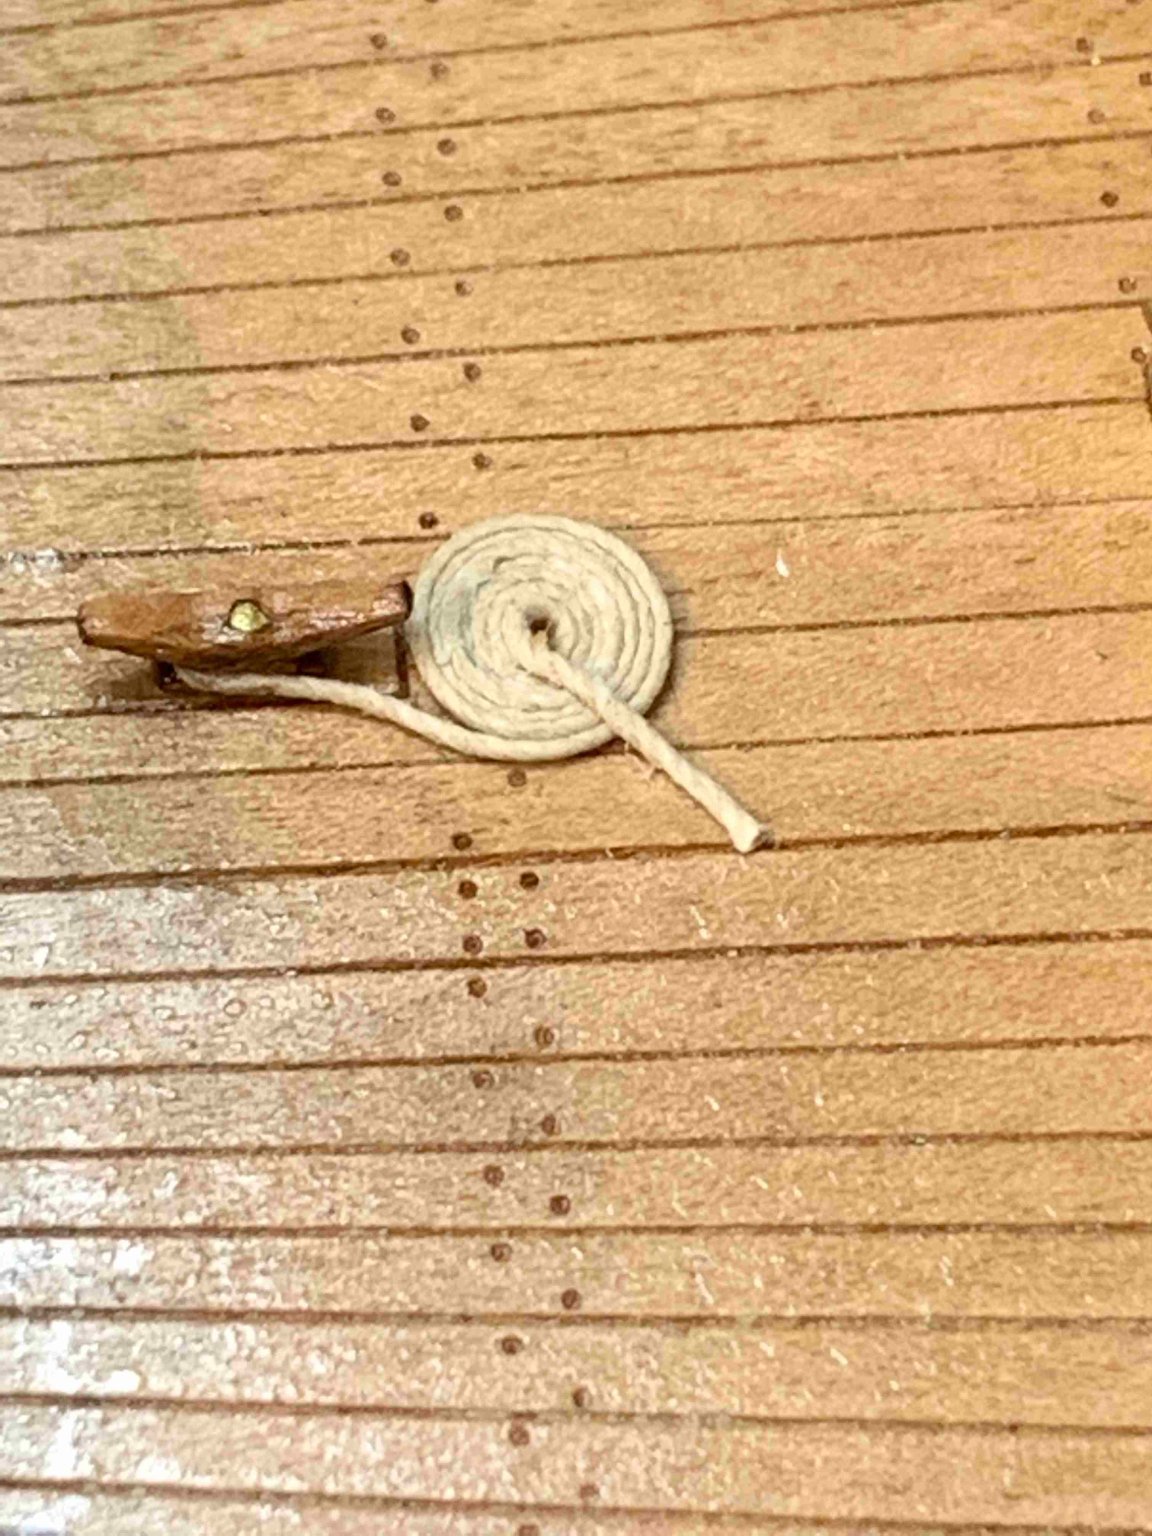
Deck coil time.... With a help of small jig, it is working like a charm...

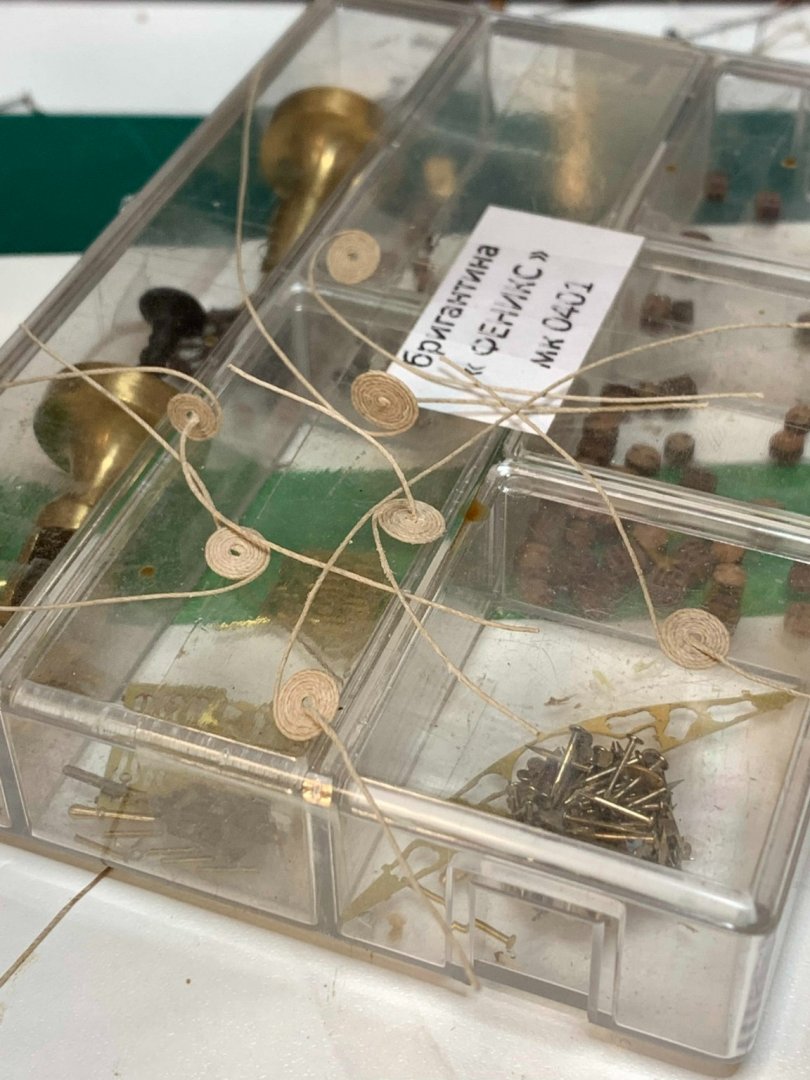
And installed on the ship..
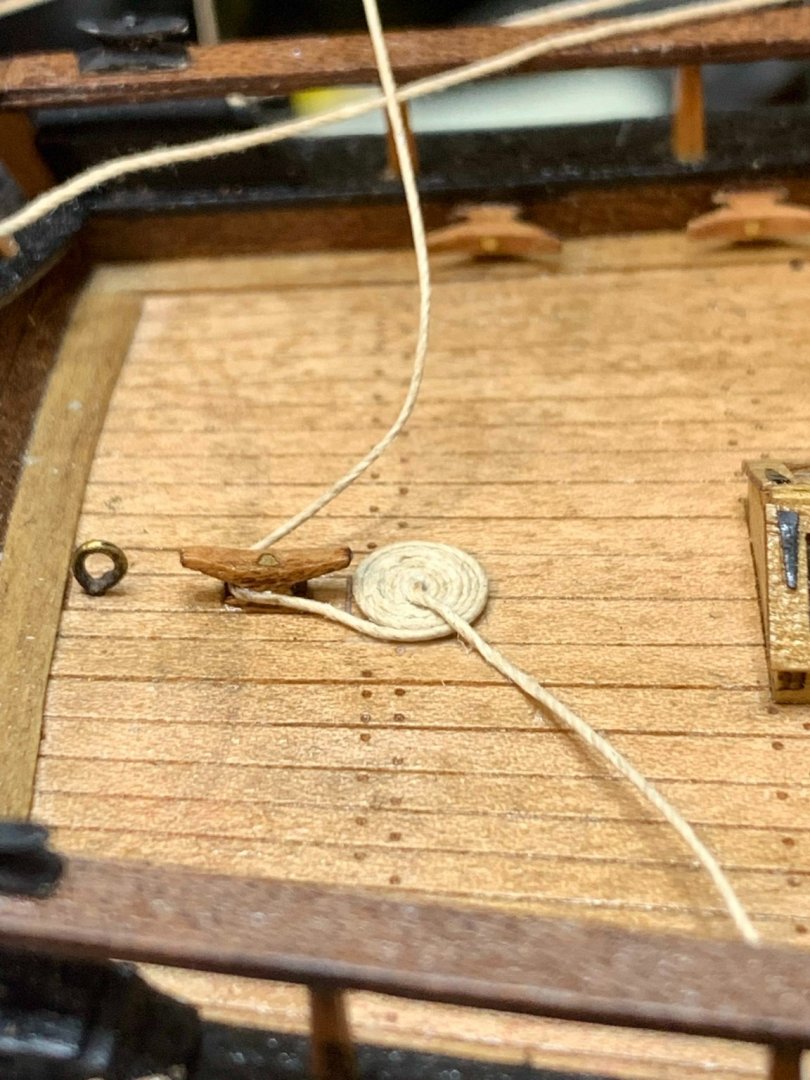
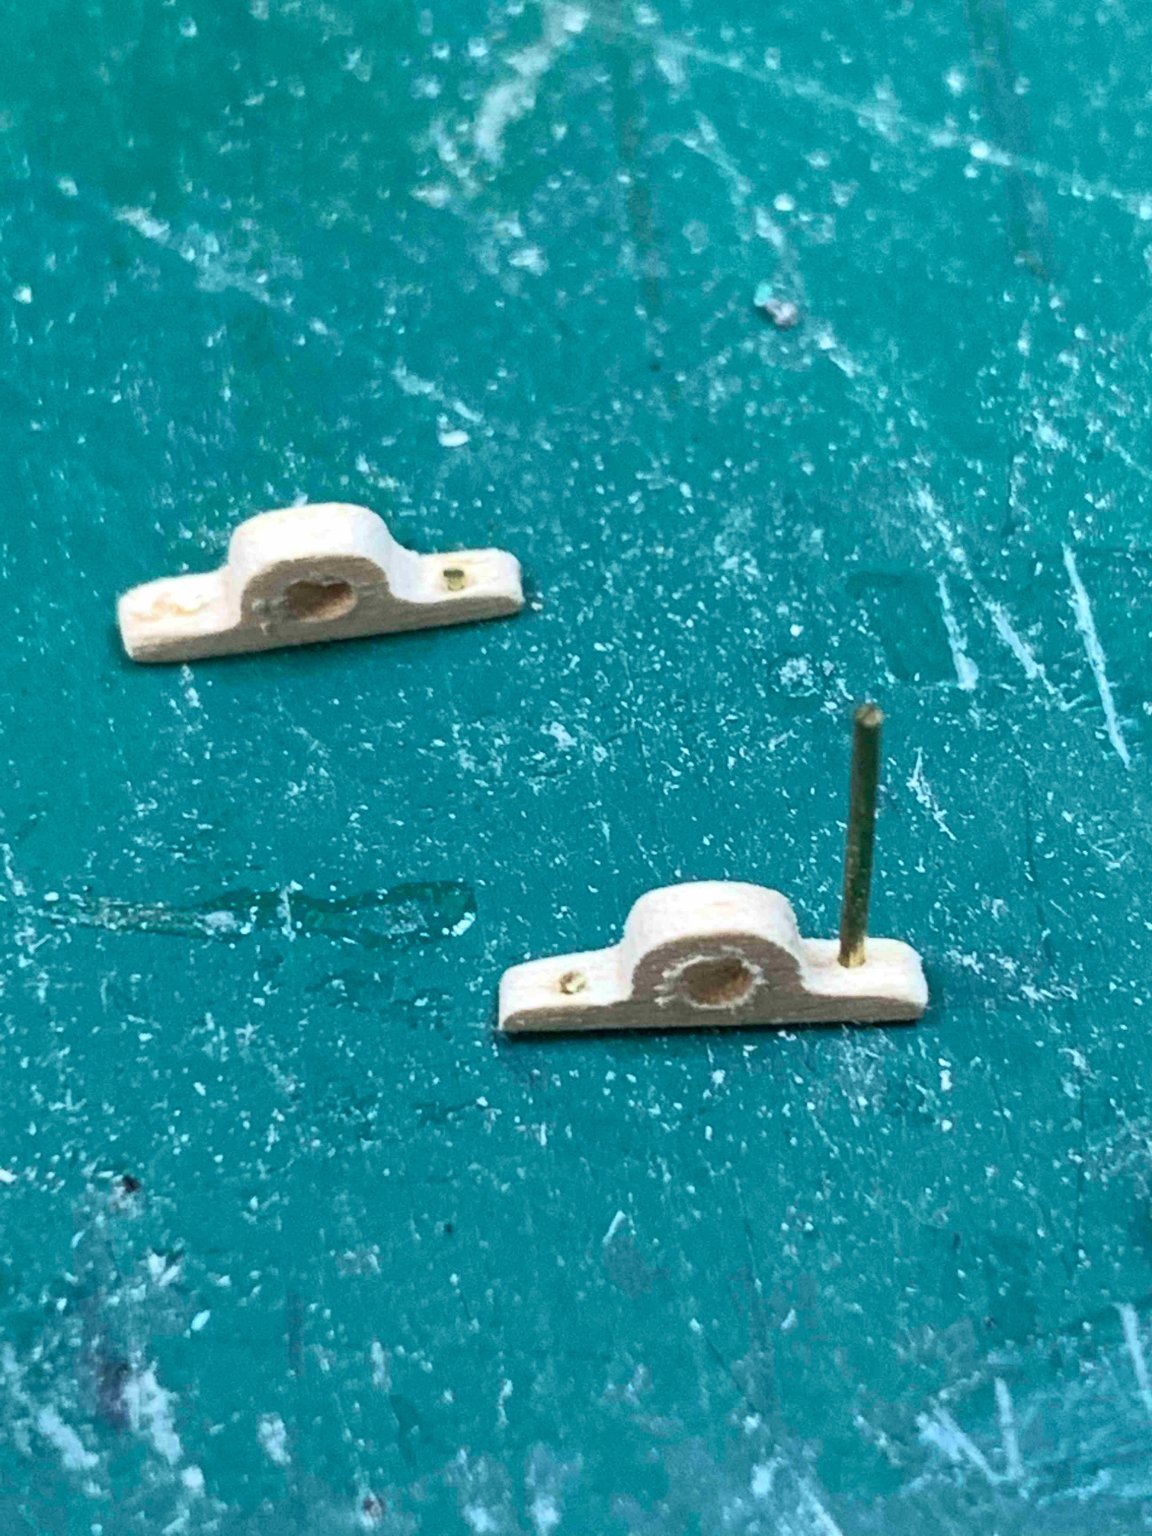
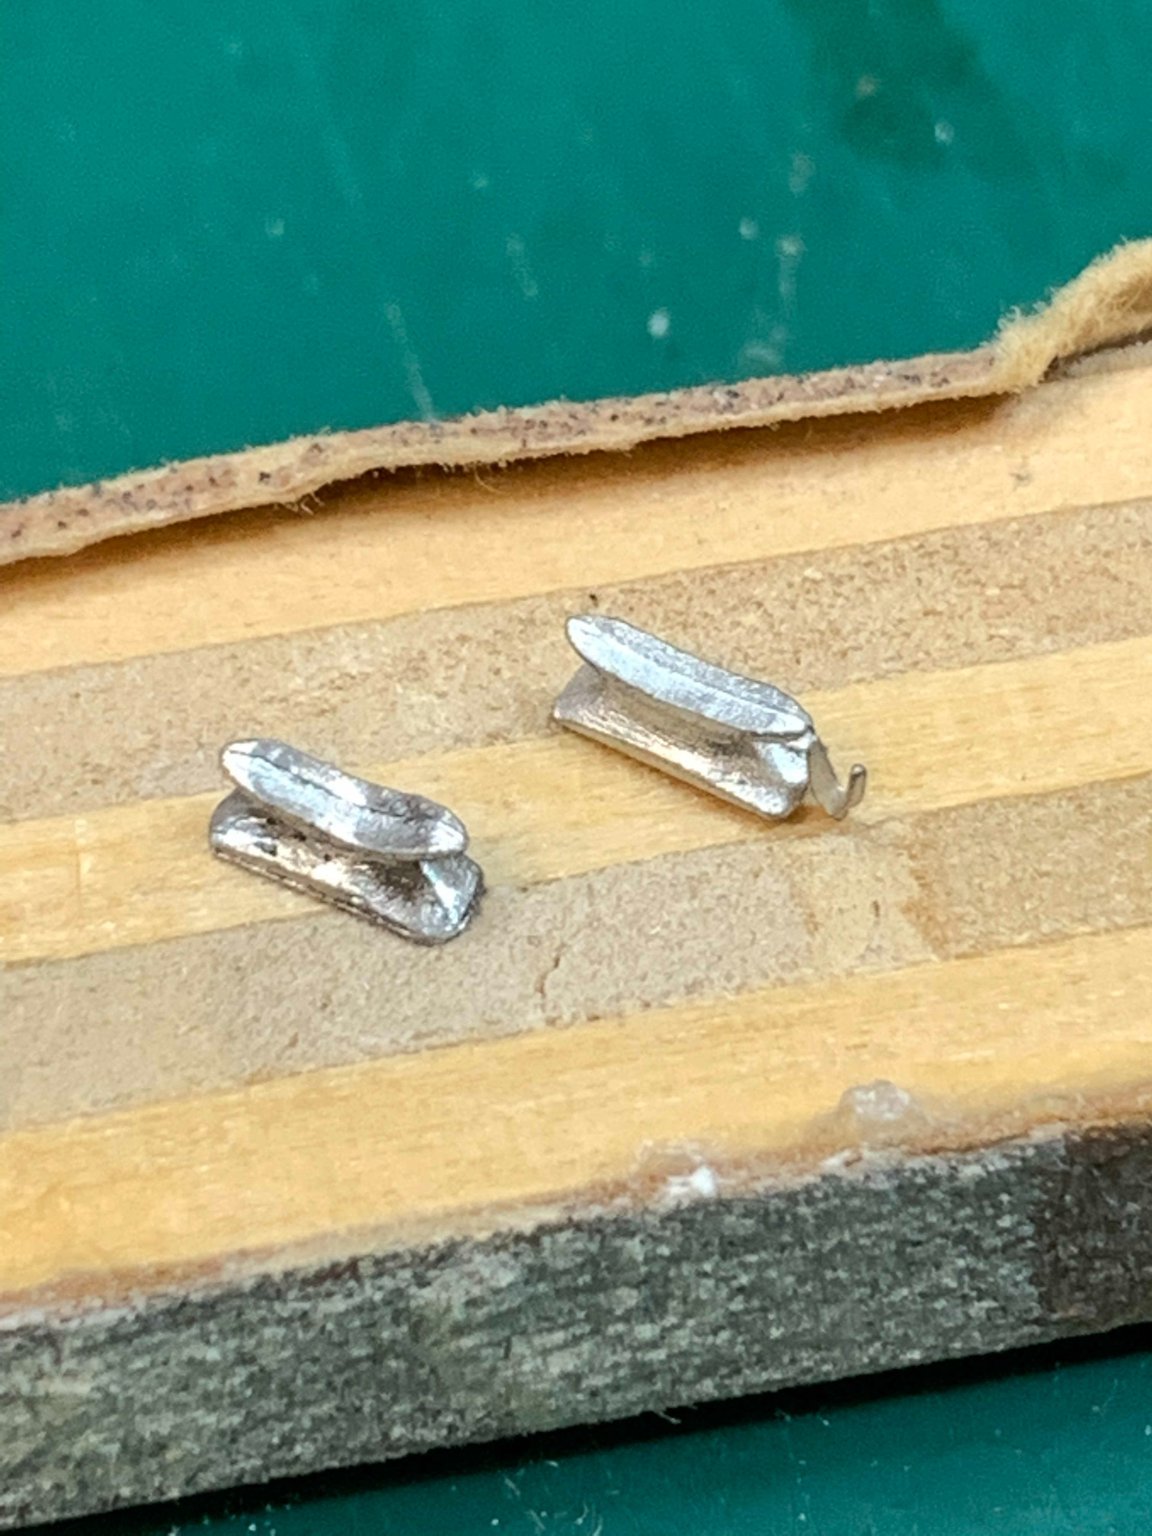
I also added two cleats.... from aluminium, cleaned, drilled a hole for a wire and mounted on the ship...

Will finish them later...
Continue with blocks and rigging...


Happy modelling...- chris watton and GrandpaPhil
-
2


Lе Rochefort 1787 by moreplovac - scale 1/36 - port yacht
in - Build logs for subjects built 1751 - 1800
Posted
1/3 of all frames rough sanded and ready for assembly... there are few that needs to be made again, just to much pressure on the sander caused more removed wood that needed...