


allanyed
-
Posts
8,149 -
Joined
-
Last visited
Content Type
Profiles
Forums
Gallery
Events
Posts posted by allanyed
-
-
I don't care what type ship or era one is considering building, this log is worth its weight in gold just on techniques that can be learned. Super job Ed, and please accept another thank you for sharing so much.
Allan
- AON, Landlocked123, EdT and 6 others
-
 9
9
-
Eric
Thank you for your treatise. What paper did you use? I was skeptical at first as I was thinking the paper would deteriorate in color and strength relatively quickly so did a quick check on commonly available paper. It appears that high quality alkaline paper will last 1000 years and average grades about 500 years. Acid papers will turn in color and become brittle much more quickly.
All in all, a very interesting alternative to cloth or silkspan.
Allan
- Altduck, FrankWouts, mtaylor and 9 others
-
12
-
Hi Scott,
As the father of a son who is about to retire from the US Army after 21 years in Army Aviation and who did five deployments to Iraq and Afghanistan I really appreciate what you have done and cannot thank you enough for your service. I hope that I can be one of this great group of ours to thank you in some small way by helping you along in your new found venture in ship modeling. Welcome to the fray!!
Allan
- Anja, thibaultron, EJ_L and 6 others
-
9
-
Moxis I have attached my write up that we used in the Euryalus books. Hope it helps.
Allan
- mtaylor, Canute, thibaultron and 1 other
-
4
-
Les,
The shrouds are usually in pairs that go around the mast, not individual lines. If there are an odd number of shrouds the foremost is cut spliced to make a port and starboard shroud. It is served its entire length. This would go on first, then the pairs would follow starting with the port pair. The section of each shroud pair that goes around the mast is served at the upper portion as well. Volume IV of David Antscher's TFFM series explains this in great detail and would really serve you well in the rigging of your Syren. I concur with most of those above, the loom is useless.
Allan
-
Moxis
I have used a similar method with great success and I too add the trunnions separately. I do leave a slight indentation in the master so the casting has the exact same drill spot on each piece, slight off the center line. Drilling without the indentation tends to make the drill want to wander or skip a bit. I also include the cascable and cascable loop where appropriate, but it takes some cleaning up and yes, there is the occasional air pocket to be filled. The main reason I did not include the trunnion is that I used a single piece mold so there is no seam and removing the barrel from a single piece mold is easy if there are no trunnions to grab at the rubber and tear it on the way out of the mold. The seams were always a pain in the neck to clean up so the single piece mold eliminated the problem totally.
Allan
- mtaylor, flying_dutchman2, Moxis and 3 others
-
6
-
-
Samuel
Thanks for sharing the photos of your build. Starting with a cross section is a great learning experience. Per Bill's post, I am also curious as to what ship(s) this is based on? Taking the time to make the top and butt planking as you have done is a home run. You do show things I have never seen before, and have me curious such as the wale being parallel to the gun ports especially as it runs aft, the extremely deep keel, and as mentioned above, the aligned ports.
Allan
-
Frank. I'm traveling this week with no access to the photo file as I am working from my IPad. Please email me as a reminder and I will send when I return next wee. Kevin. Did you already email me about these? I will get these to both of you as soon as I can
Allan
- mtaylor, KevinR and thibaultron
-
3
-
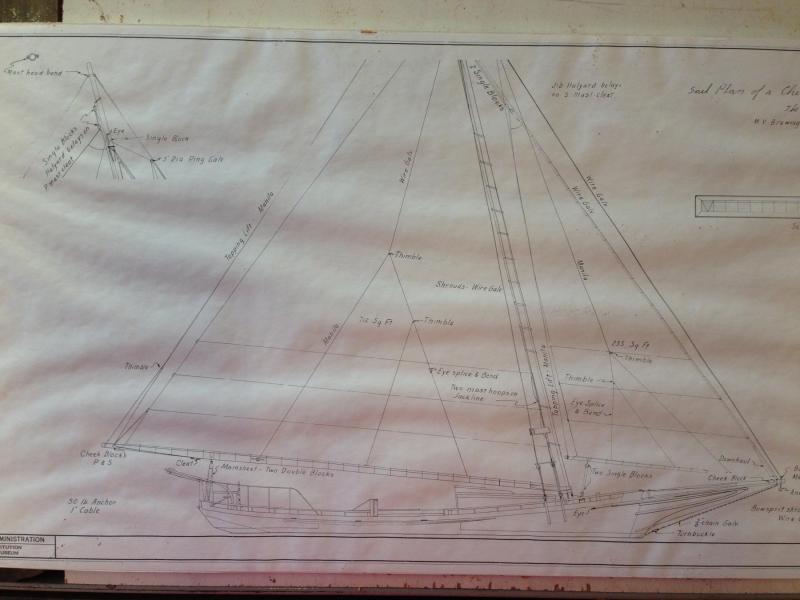
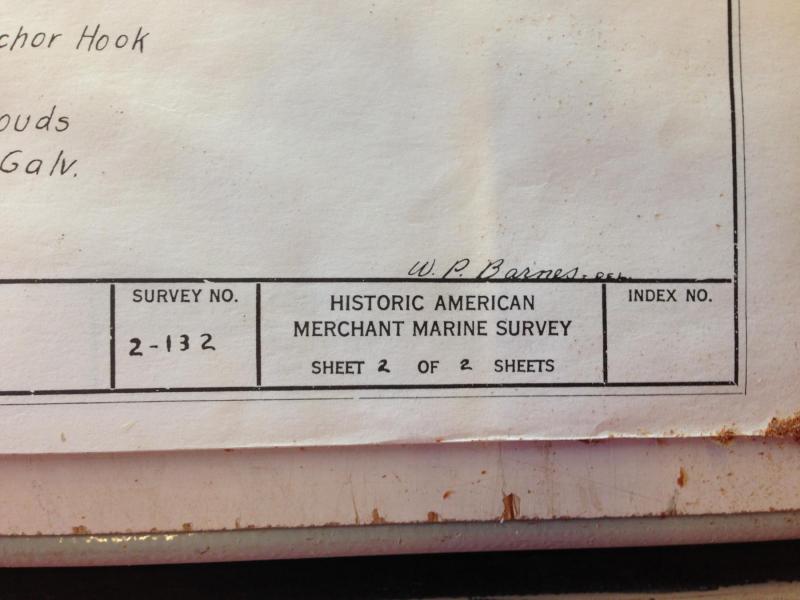
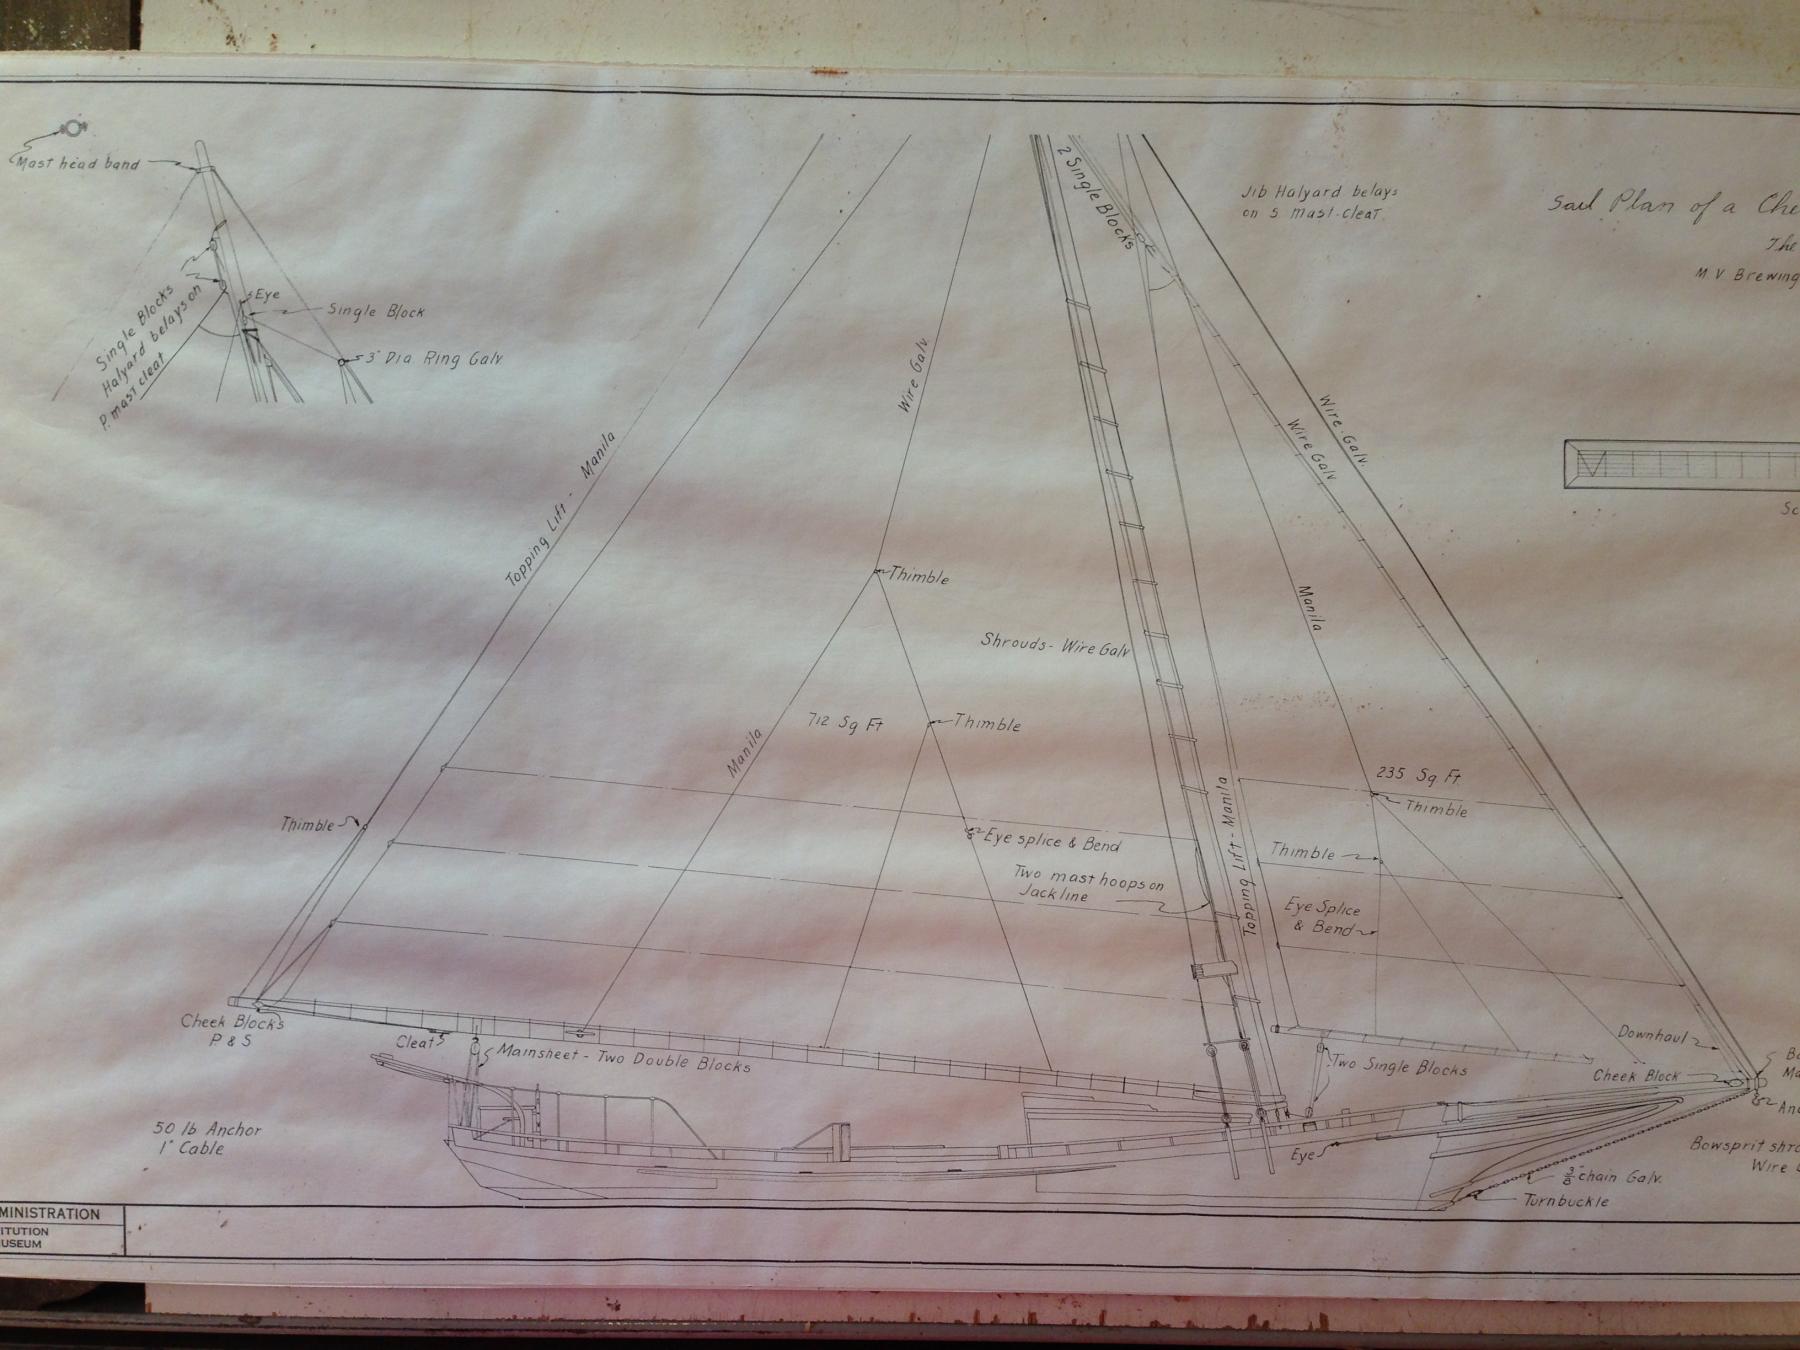
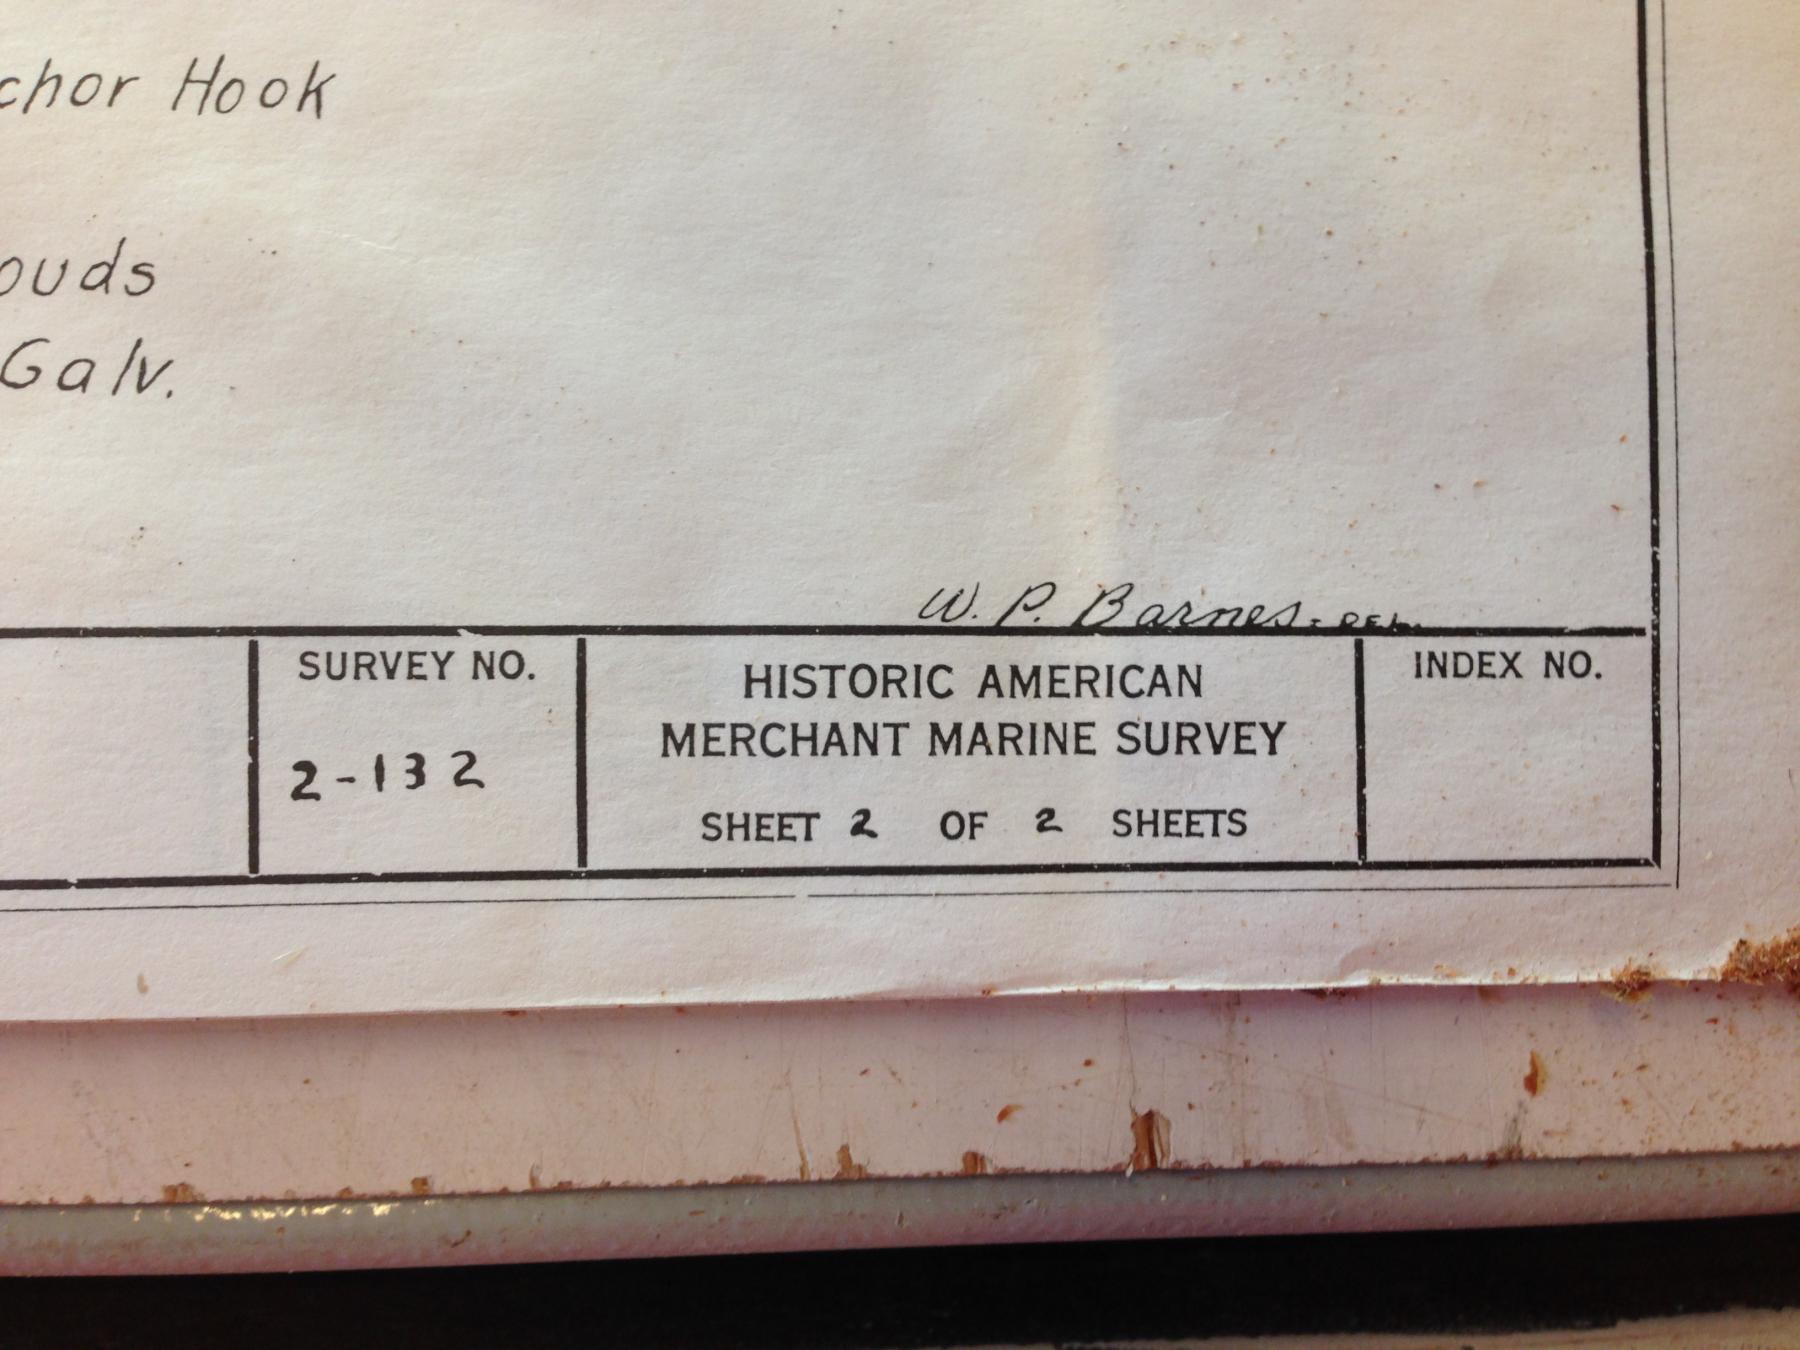
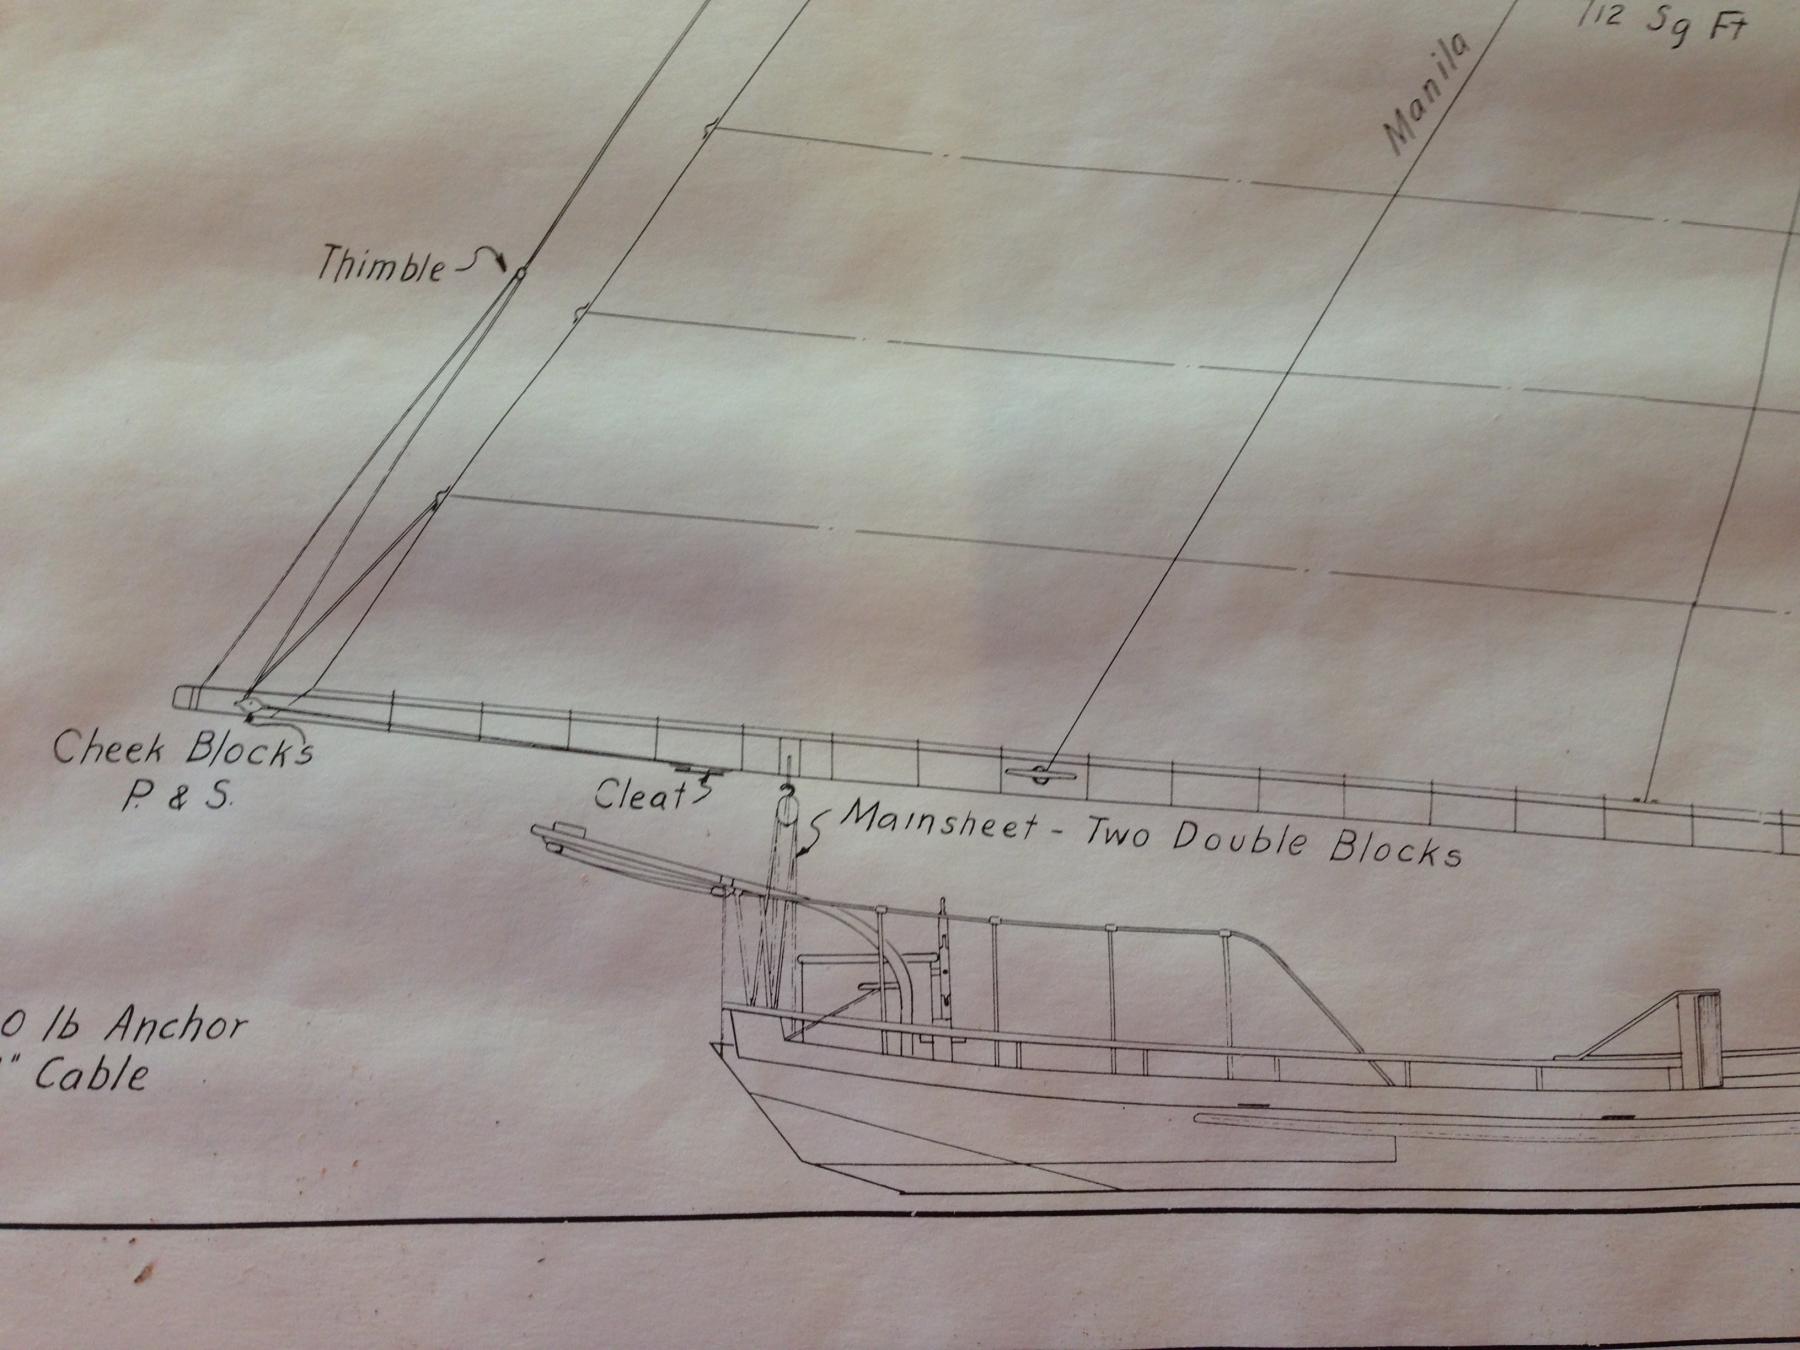
I received a note from Christopher Rowsom, Executive Director of Historical Ships in Baltimore along with Smithsonian drawings of skipjack rigging. If anyone is interested I can forward the drawings (they are photographs in sections of the two pages from the Smithsonian) and/or pass on Chris' contact information. A couple examples of the pieces of the puzzle follow
Allan

-
A square is a parallelogram as well as being a rhombus and rectangle or so that old geometry teacher taught us
 The angle at the corners can be anything, including 90 degrees. As long as the opposing sides are parallel to each other and of equal length and the opposing angles are of equal measure it is a parallelogram. Is this stuff useful? Sure, but did I enjoy the classes? Not as much as history and geography!
Allan -
Welcome Jim,
There are several "starter" projects right here in the MSW forums with cross section builds. Only the simplest of tools are needed and would give you a little experience not only in ship modeling, but on the dark side, scratch building as well.
Enjoy your time here, it's a ton of fun, being an E ticket ride (I show my age) in all respects.
Allan
-
-
I agree with Frankie regarding including sails on schooners. I do not like sails on square rigged models, but I have always had sails on schooner models. I was not in favor of it the first time I built one, but I was given no choice so included them and have no regrets and have included sails on schooners ever since.
Just one more opinion
Allan
-
Doug
In the first diagram, the lines are made fast to the masts with an eye splice and what appear to be eye bolts so would not be one continuous line. I think they should actually be rigged to a bail or crane or wye, not to an eye bolt.
In the second drawing the two blocks you show probably are rigged to a second block which would be secured to the clew of a sail, be it a gaff topsail, or some other. One of the two could be for the halyard. Hard to tell, but this drawing appears to be a simplified rigging plan. If you have a copy of Chappelle's Fishing Schooner book, it shows details of the various styles of rigging in the areas your are asking about.
Allan
-
Bruce,
First and foremost, welcome. Let it be known that you are one of over 26,000 members that are probably confused at one time or another with our builds, so you are far from being alone in that regard.
I am sure you will get a lot of responses regarding kit recommendations.
Allan.
-
Keith
You continue to impress. After seeing your newest post I had to go back to the beginning and start over. Sort of like re-reading a favorite novel a second or third time or watching a favorite movie like the Godfather for the umpteenth time, just never gets old.
Allan
-
-
Ray
Have you gone to St. Michaels or Deal Island to speak with the ship yard folks? WAY back when I was building a skipjack for a friend I traveled there to take photos and they let me take piece of an original pine keel that was being replaced. I used some the wood for some of the model build. If nothing else, it may help to contact the Last Skipjacks Project people to make contact with someone that is truly in the know. You can Google their website for contact information. The Chesapeake Maritime Museum folks may also have someone to help you.
Allan
- KevinR, mtaylor and thibaultron
-
3
-
Pete
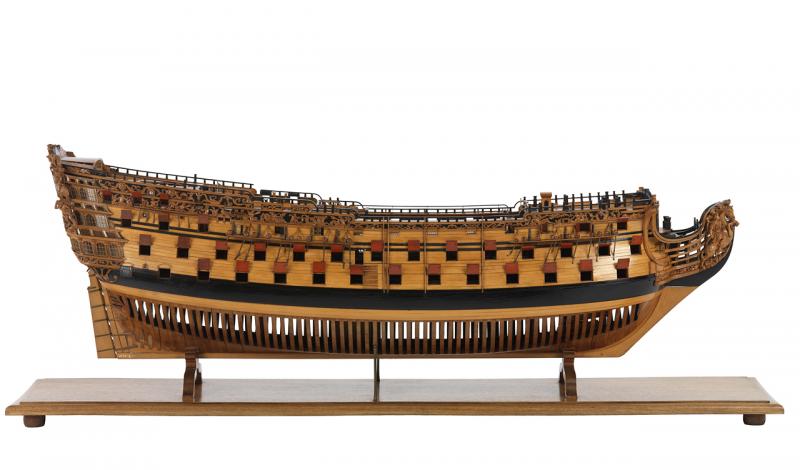
The below is a model of the RW built about 1719 so about the same time as the rebuild of the RW itself. Considering the model and ship are of about the same year, the accuracy of the model may be pretty close.
The 1719 Establishment scantlings refer to the wales (5' 2" from the upper to the lower edge and 10" thick for a 100 gun ship), as well as Channel Wales (2' 9" from the upper edge to the lower edge and 5 1/2" thick) for a 100 gun ship. The strakes below and above the channel wales were to be 4" thick. There are also scantlings for the sheer which was to be in two strakes 2'3" broad and 4" thick. The strakes above and below this sheer were 3" thick. The double channel wales in the model seem to contradict what is written in the Establishment, so may be a transition style before the 1719 Establishment was implemented in all the building yards.
Allan
- CaptainSteve, mtaylor, thibaultron and 1 other
-
4
-
Poochie,
A couple pieces of 1 inch PVC pipe in different lengths and an end cap on each works well to soak wood and saves water and abuse from the admiral if using the bath tub or anything else in the bathroom or kitchen.
Allan
- CaptainSteve, Canute, Mark P and 1 other
-
4
-
Fmartins
According to Goodwin, for British ships, the lining planks were the same width as the planking in that area, and the thickness was equal to the difference between the normal planking and the thickness of the wales which make it flush with the wales, just as you suggest.
Allan
-
-
Many thanks Wayne.
These are all very interesting and I see a lot of reading ahead of me. Of particular note in Kenchington's piece is the comment regarding the sketch on page 10 about the lack of contact between most futtocks. There is an obvious gap between at each end of each floor and each futtock on the sketch. Goodwin shows scarphs, not gaps. Ensor's drawing in the Restoration Warship of the Lenox 70, (1678) shows chocks. (Thanks Druxey, I did have this book and forgot all about it - getting old I guess) Is this a pick your poison or would there be variations between shipyards? I have no idea which is right or if all three methods were used. The first futtocks end before reaching the keel in both this sketch and the drawing in Goodwin so I am of the opinion that the frames with floors were first raised and ribbands and or planking put in place, then the frames between floor frames were installed and did not reach the keel. A big difference for Lenox before her first rebuild in 1704 and other ships before 1706 is that the ornamentation was drastically reduced starting about 1706. The galleries by 1706 for example are much closer in appearance to the galleries for the entire 18th century than those of the late 17th century.
I took a photo of the cross section of the Lenox (1678) as shown in Restoration Warship and inserted it into my initial drawing that has as the body plan of the Elizabeth from the NMM Collections. The Lenox is 27.75" less in breadth than Elizabeth (1706) but scaling it up it is a near perfect match in shape to the Elizabeth. Next is checking deck framing and planking details between the sources to see if they are at least similar.
Progress is being made thanks to all your help.
Allan

Nautical Fiction Writers
in Book, Monograph and Magazine reviews and Downloads. Questions and Discussions for Books and Pubs
Posted
Thanks to Larry Van Es for his post. I downloaded book one of the Kydd series on my Kindle and so far it is extremely good. Caution though for us modelers. If you have built an English frigate or ship of the line from a kit, the details in the book will be interesting but may be meaningless at times without doing a bit of research. For those that are well read on these ships and/or have scratch built a fully framed plank on frame model, you will be able to picture the details as if you were there. If you rigged a large English warship model you will feel like you are part of the crew, be it in the tops, reeving a line through a block or serving and stropping a new block. Incredible detail to be found in this first book so far. The more you know going in, the more the book will be enjoyed. In reading a bit of Julian Stockwin's CV, he has the creds to make me believe his details are quite accurate regarding some of the things that he describes that were new to me. If there is a down side, his character development leaves a bit to be desired, at least so far.
Allan