HOLIDAY DONATION DRIVE - SUPPORT MSW - DO YOUR PART TO KEEP THIS GREAT FORUM GOING! (83 donations so far out of 49,000 members - C'mon guys!)
×


Rustyj
-
Posts
2,530 -
Joined
-
Last visited
Content Type
Profiles
Forums
Gallery
Events
Everything posted by Rustyj
-
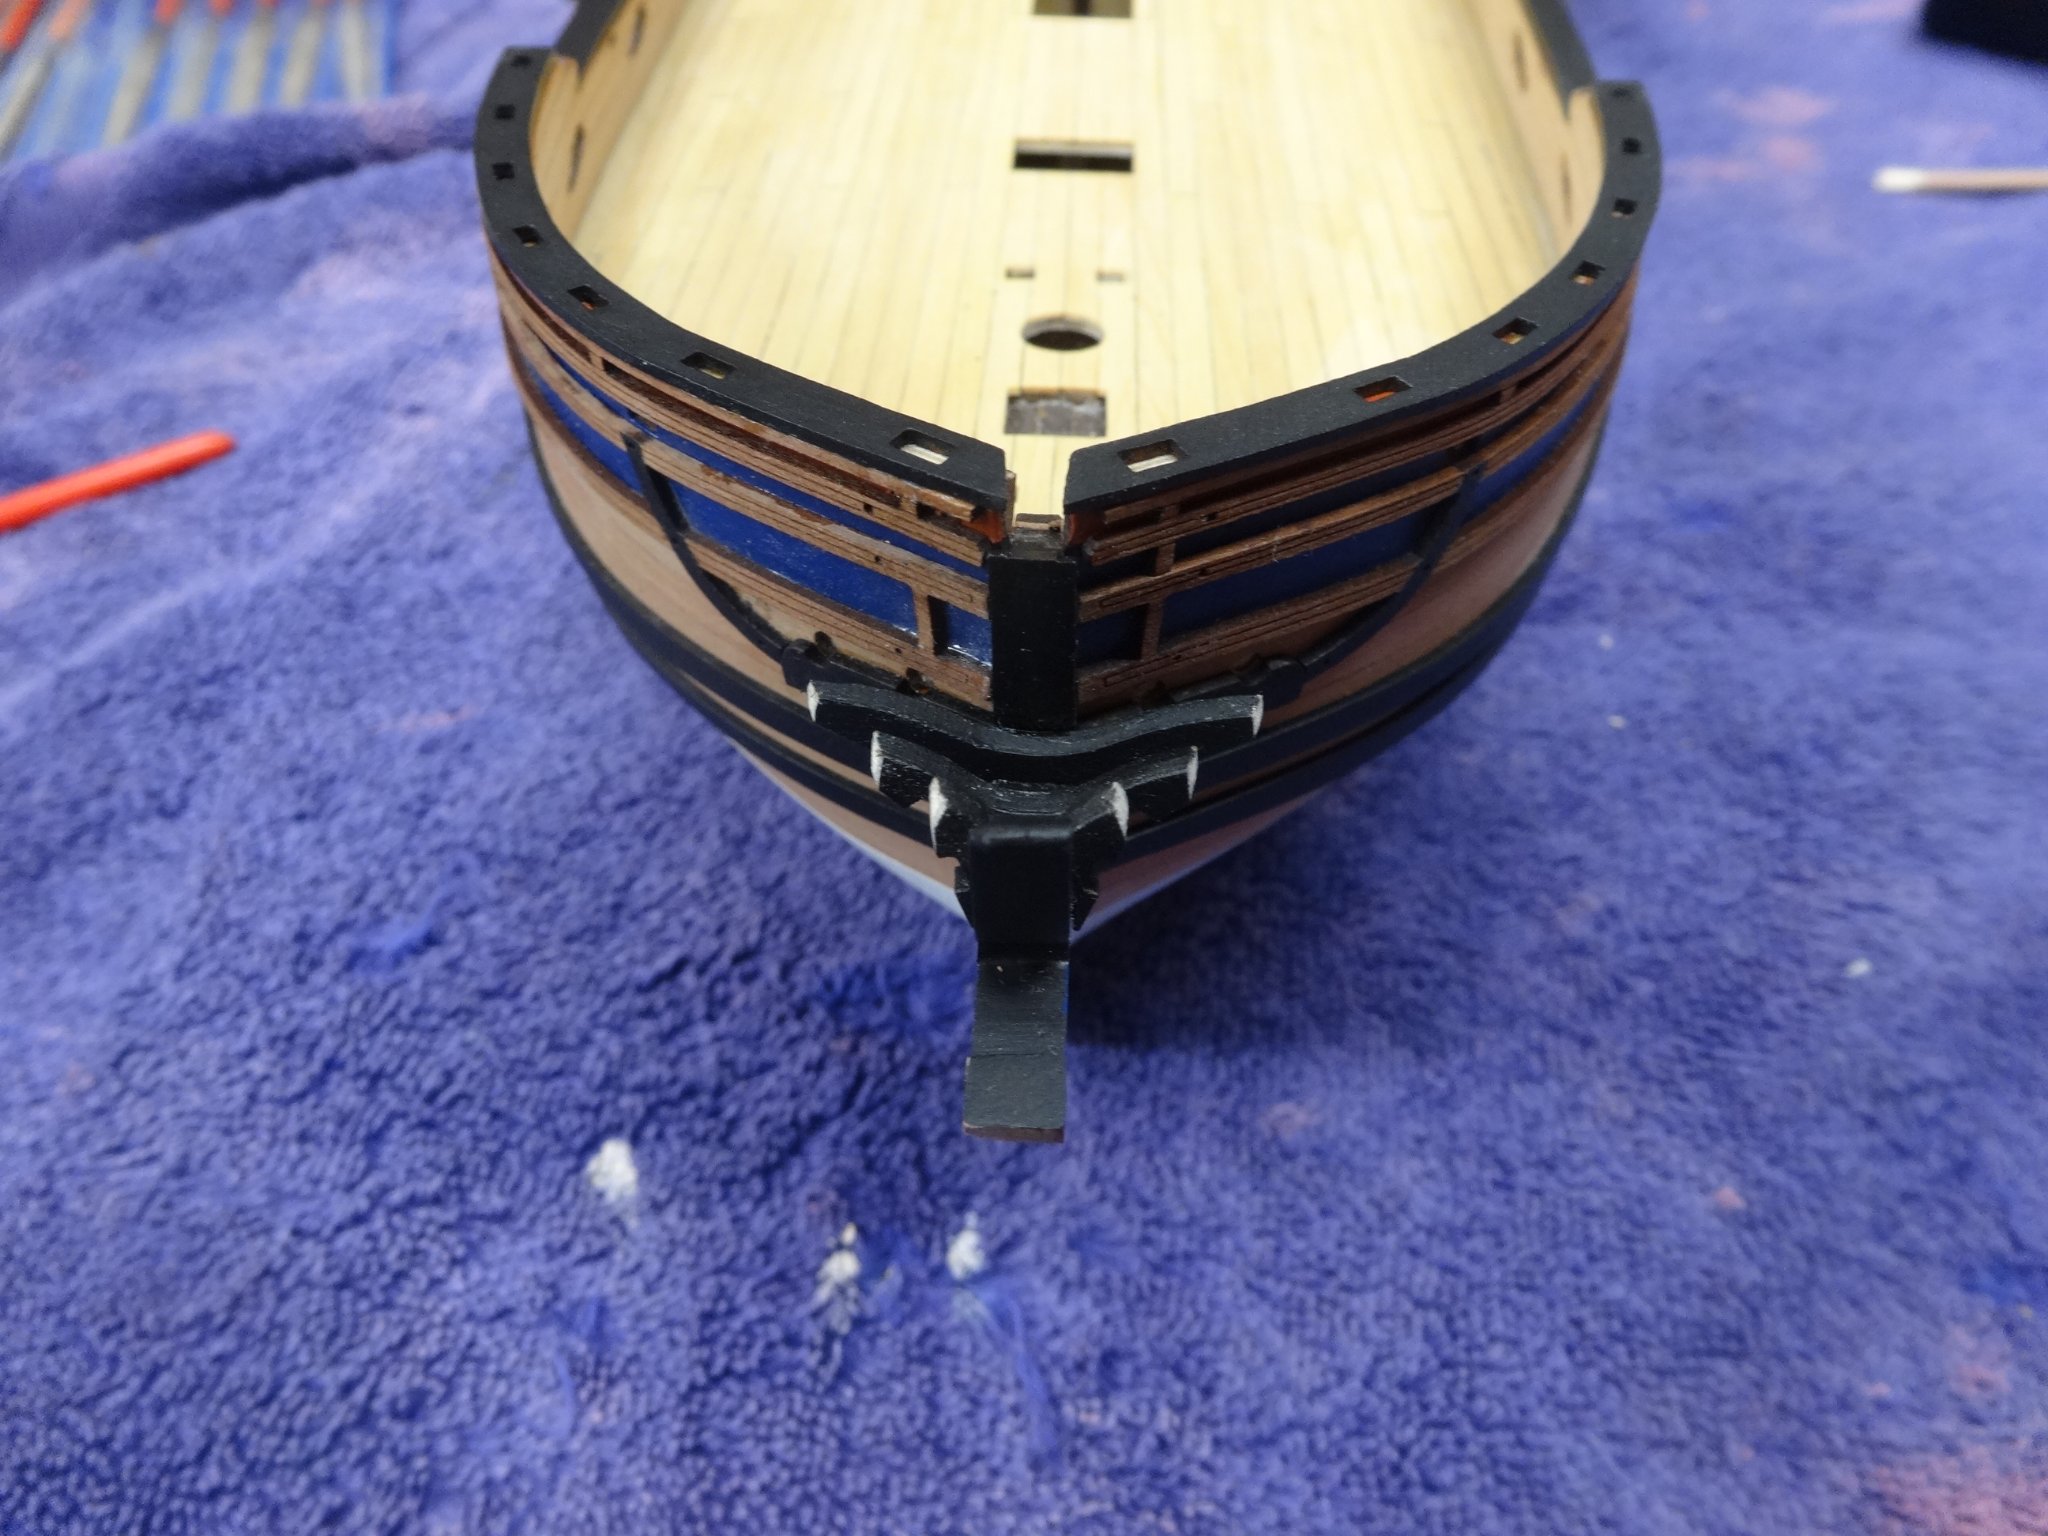
 While various parts are drying I assembled the mid deck bulkhead. Everything fit perfectly.
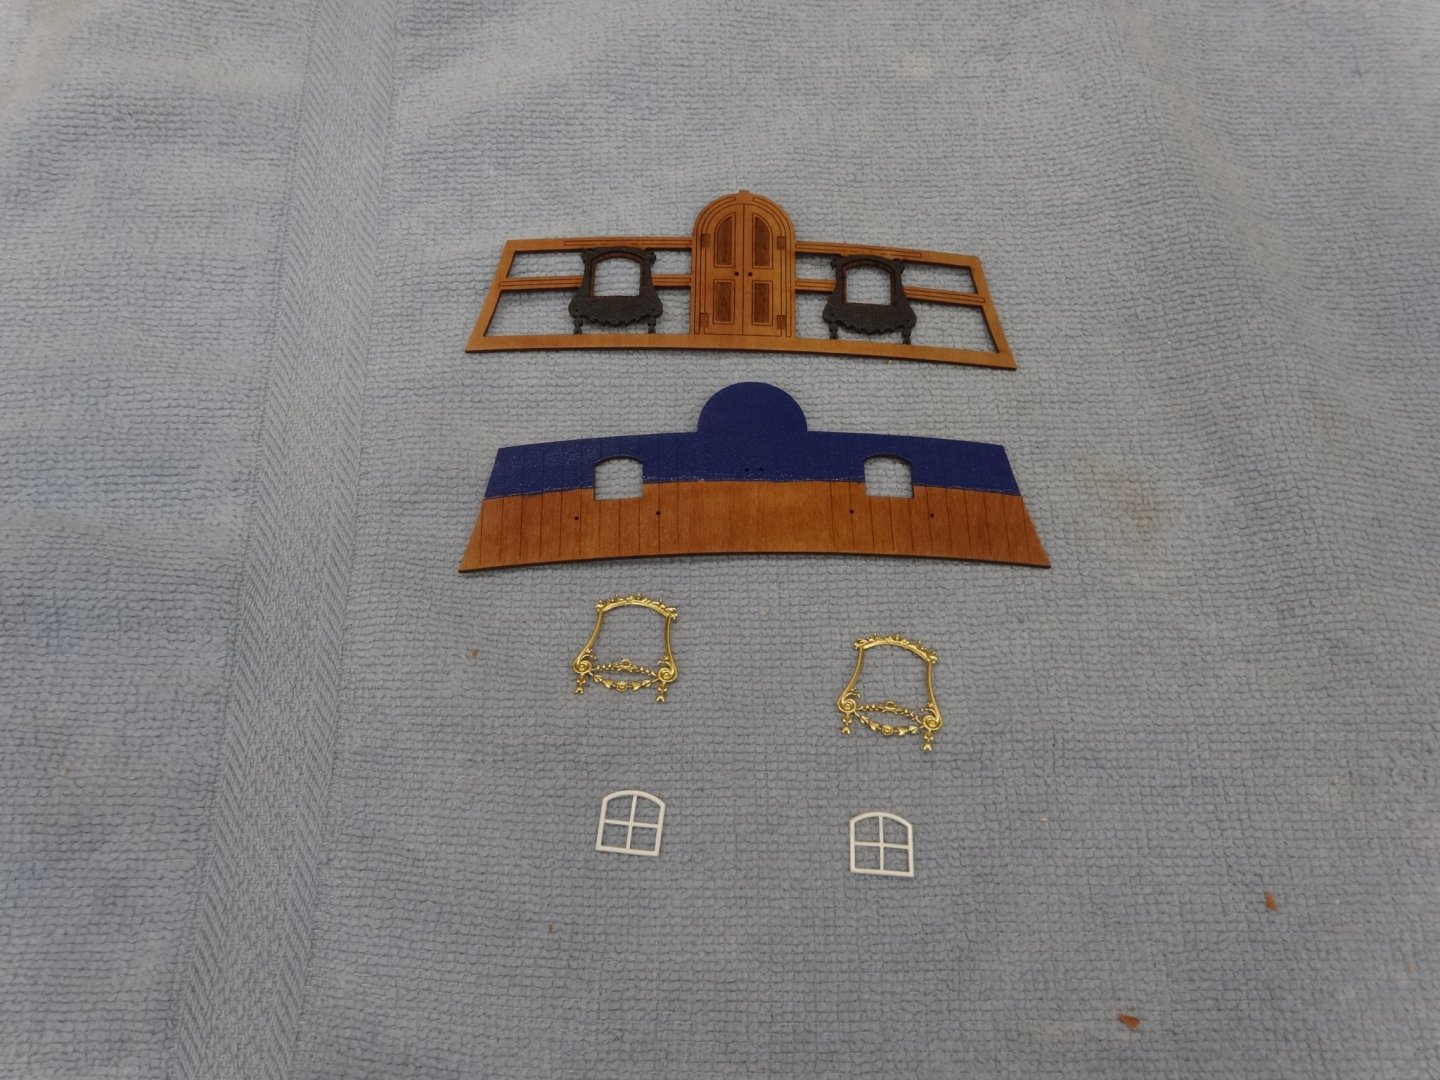
- 201 replies
-
- 18
-

-
- Duchess of Kingston
- Vanguard Models
- (and 1 more)
-
Hi Bob. Looks real nice. I too painted as seen in the instructions not the plans. It's your ship so whatever is your paint scheme it's right.
-
She's coming along very nicely Glenn.
- 382 replies
-
- 1
-

-
- Vanguard Models
- Duchess of Kingston
- (and 1 more)
-
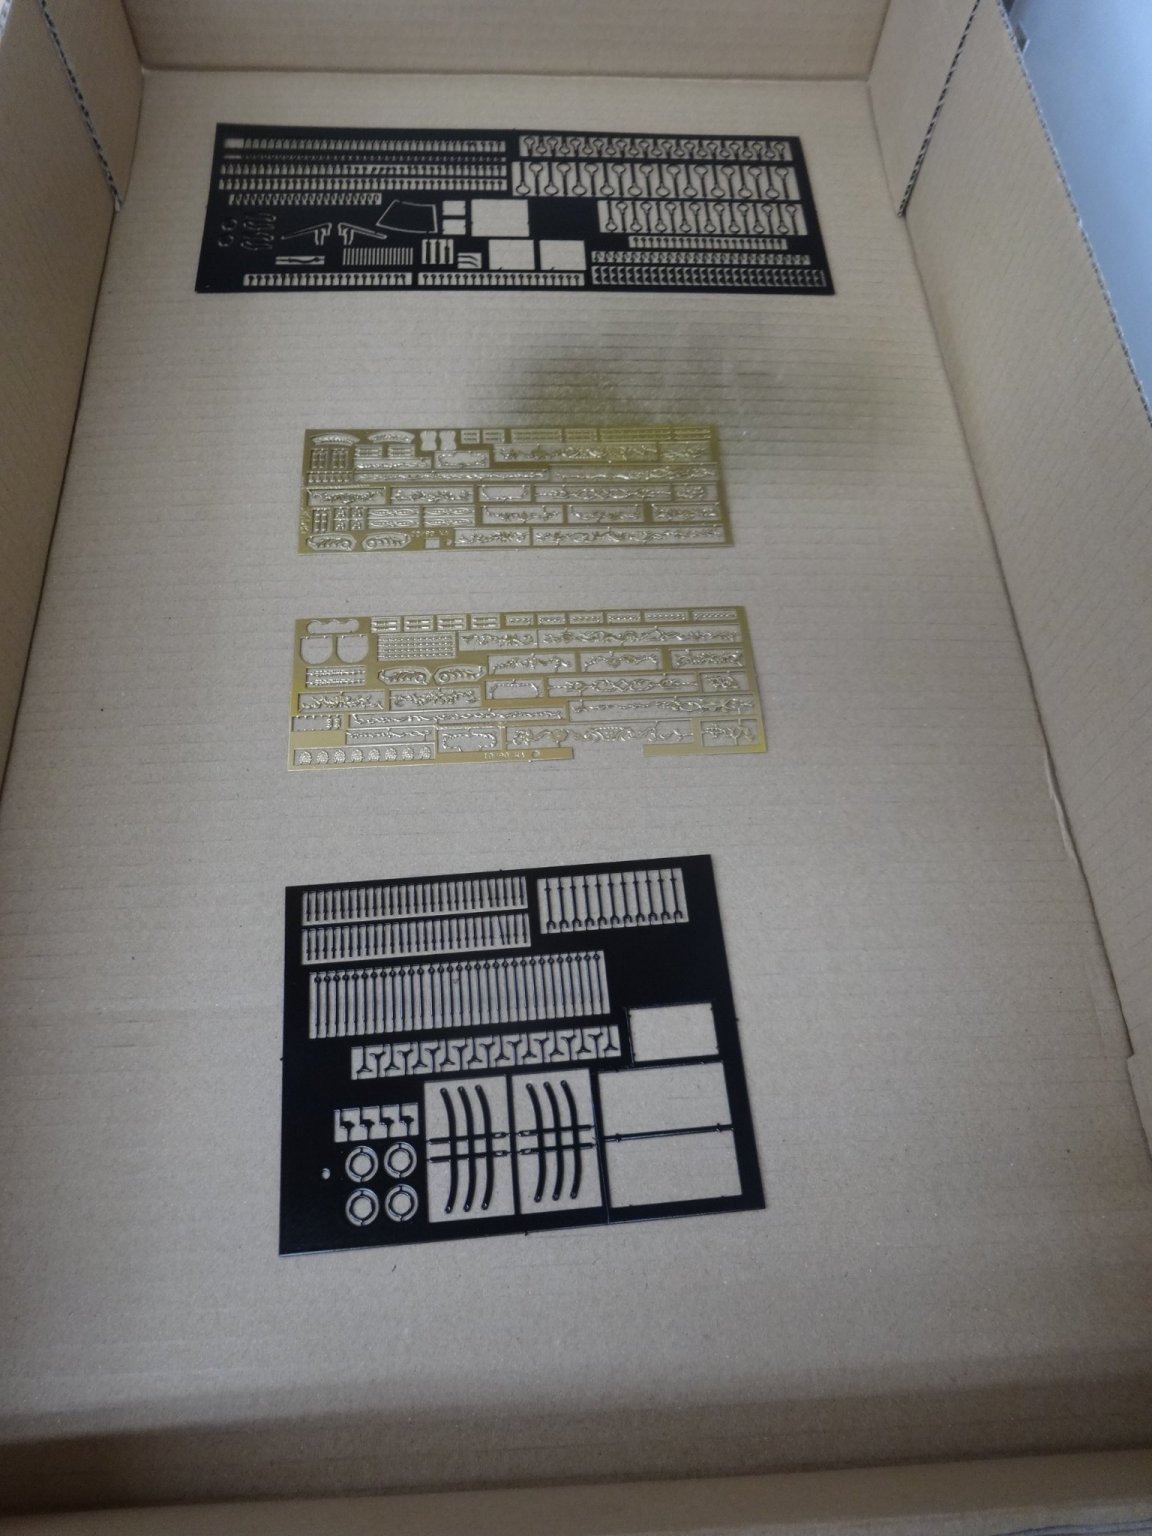
Thank you Glenn and Matt. Much appreciated. Also all the likes too. Speaking of painting, PE is being painted. I used rattle can primer then gold and black matt spray paint.

- 201 replies
-
- 8
-
-
- Duchess of Kingston
- Vanguard Models
- (and 1 more)
-
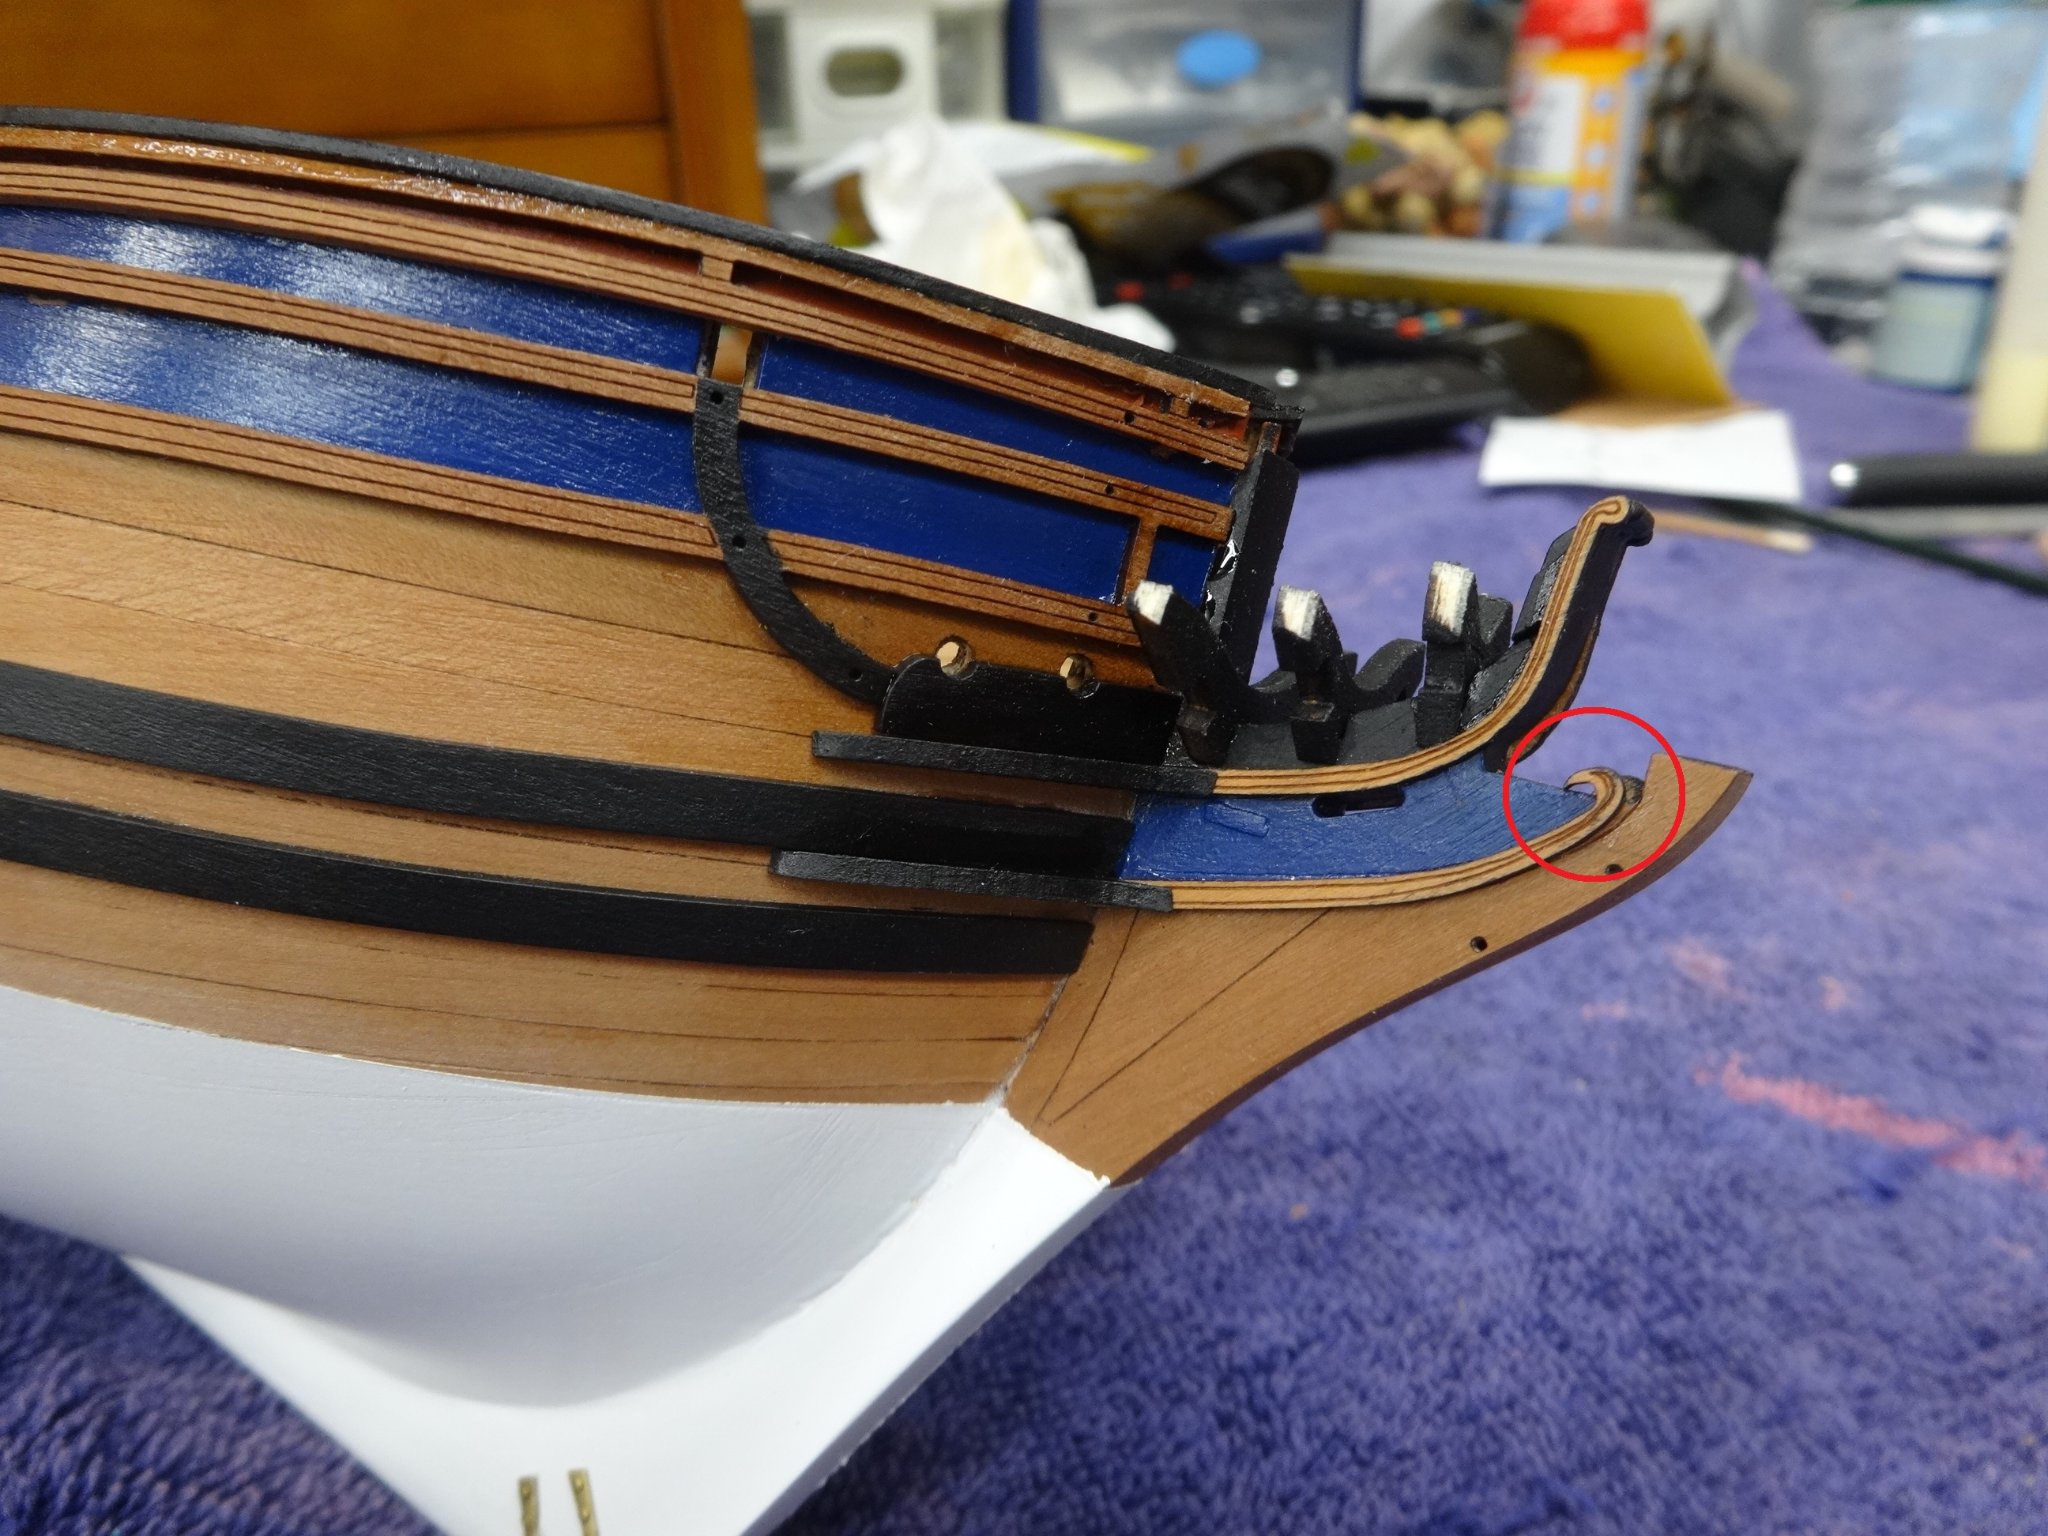
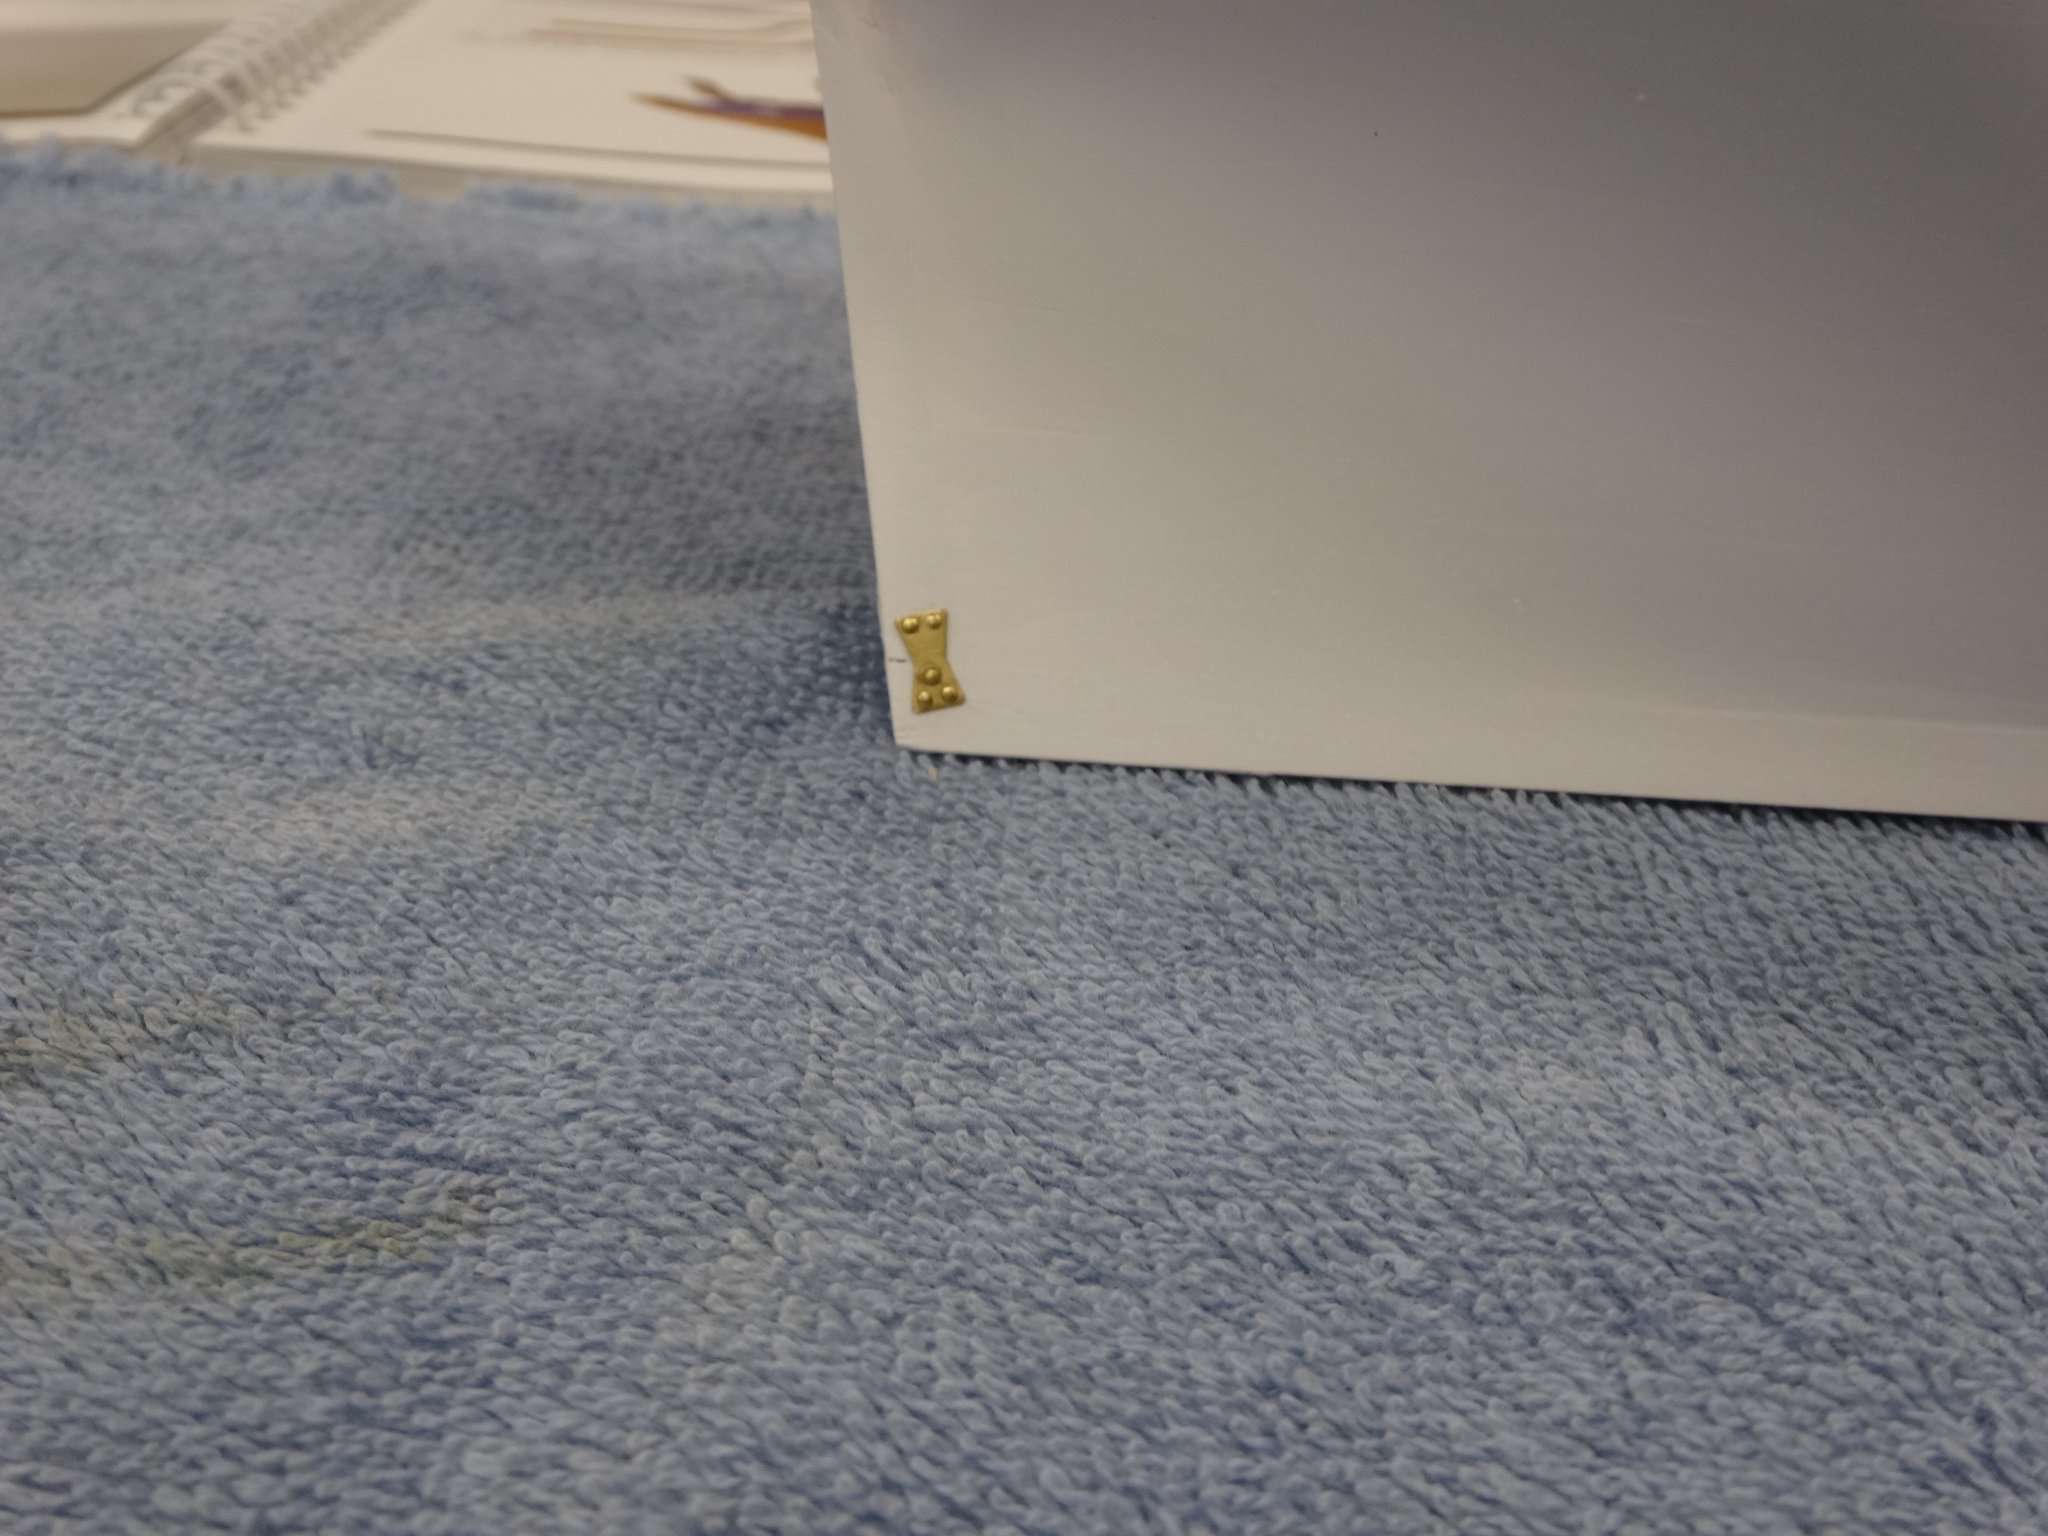
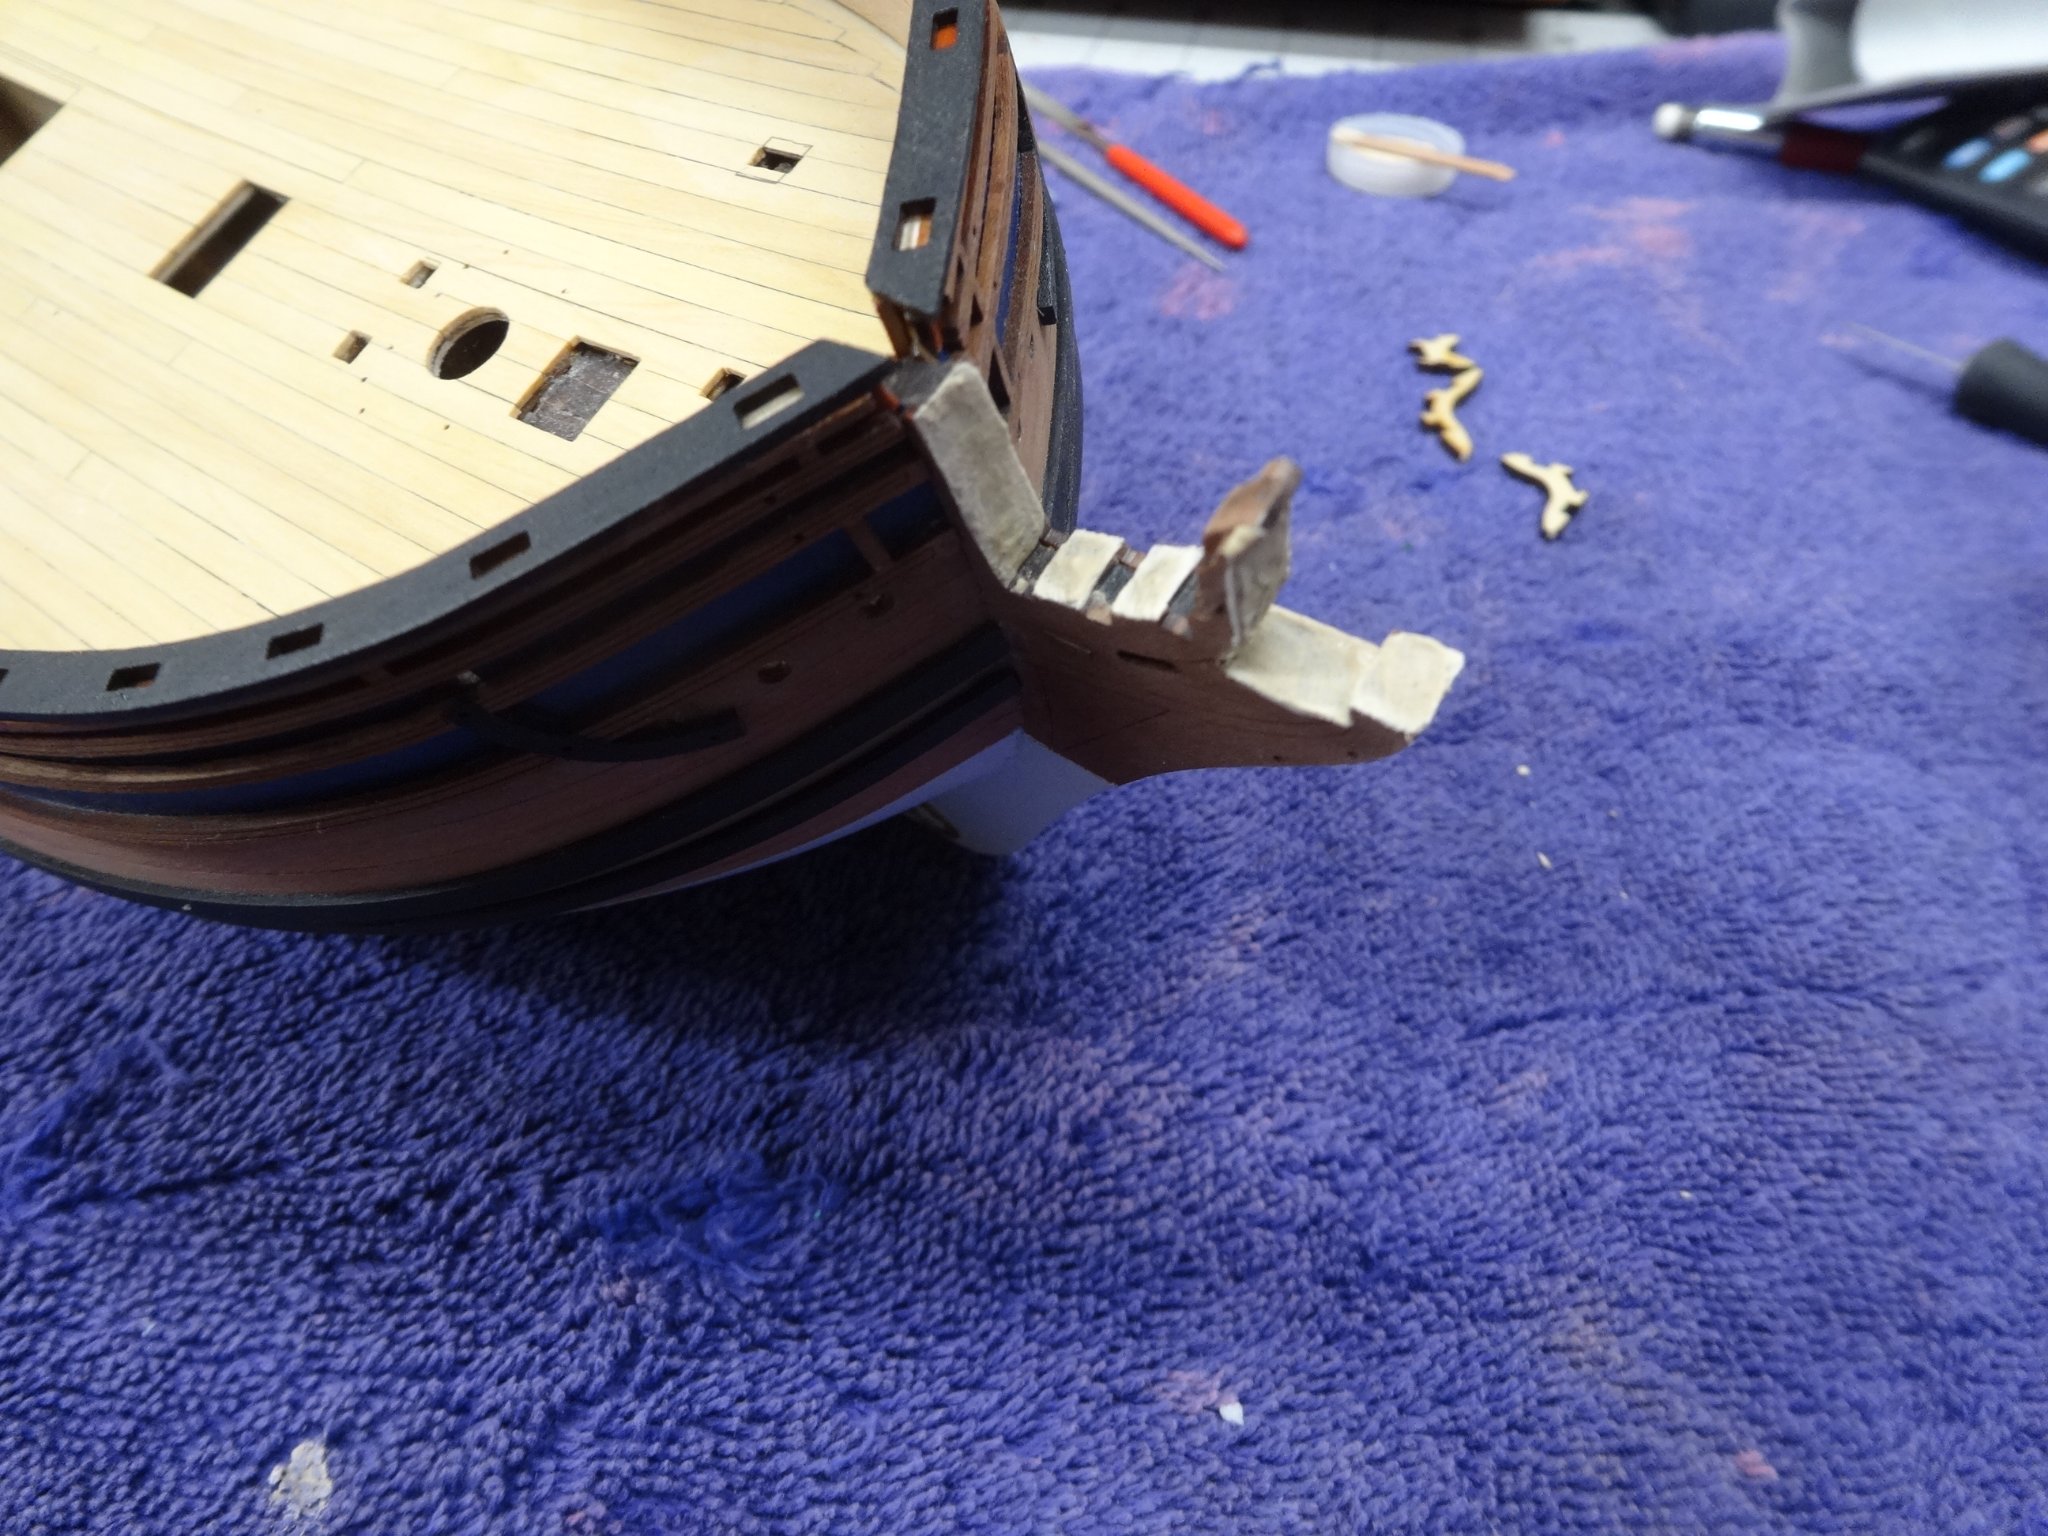
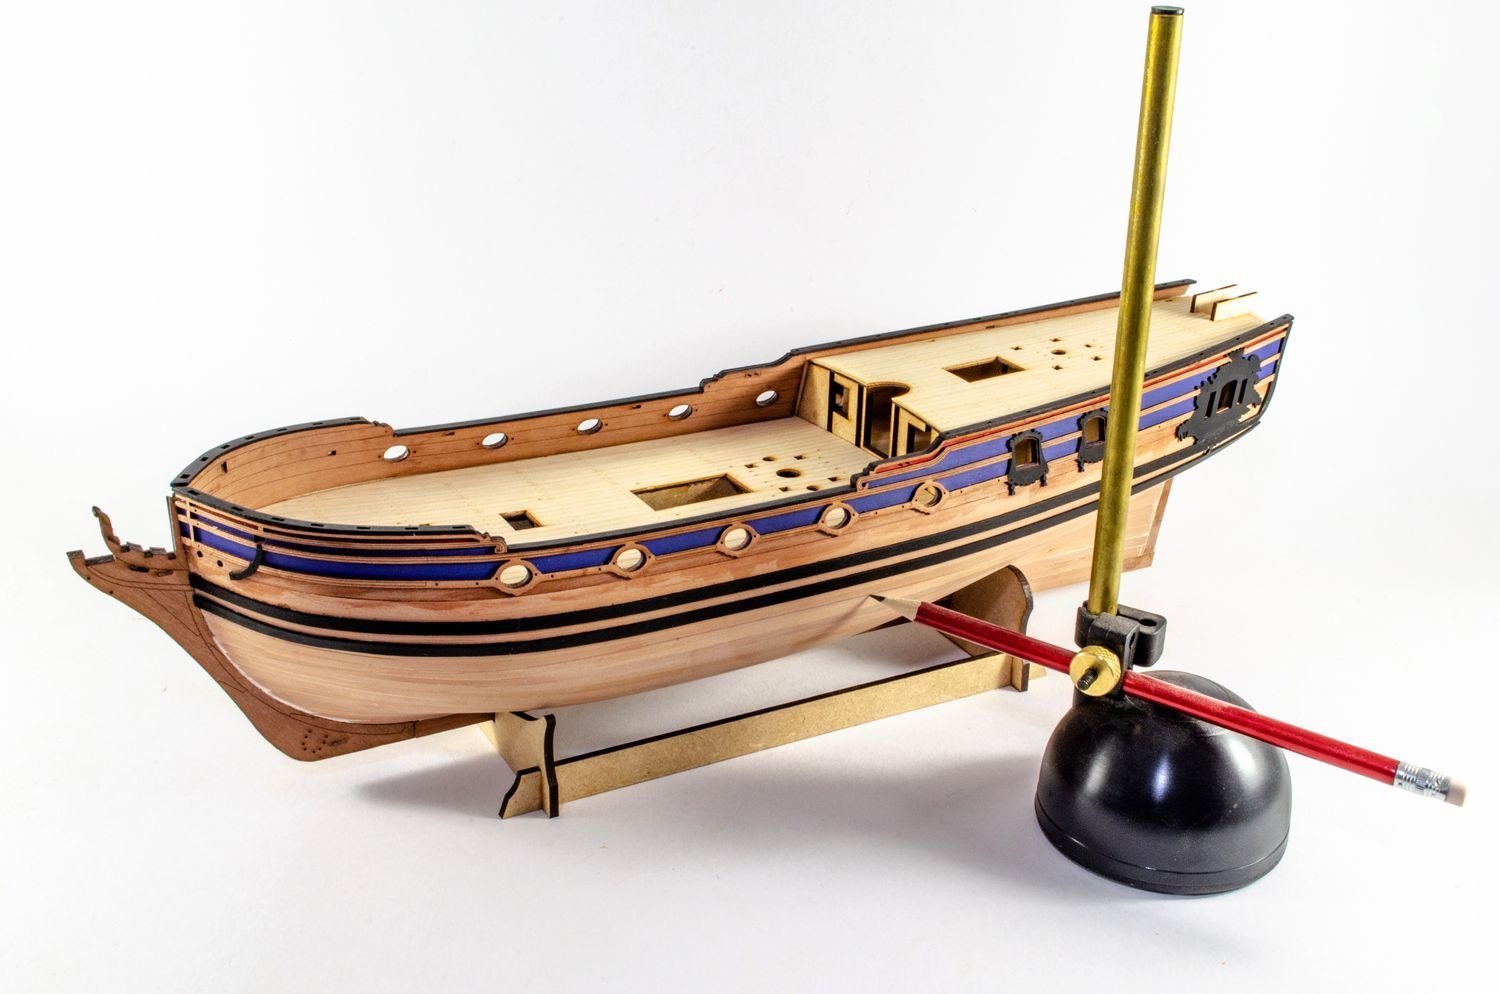
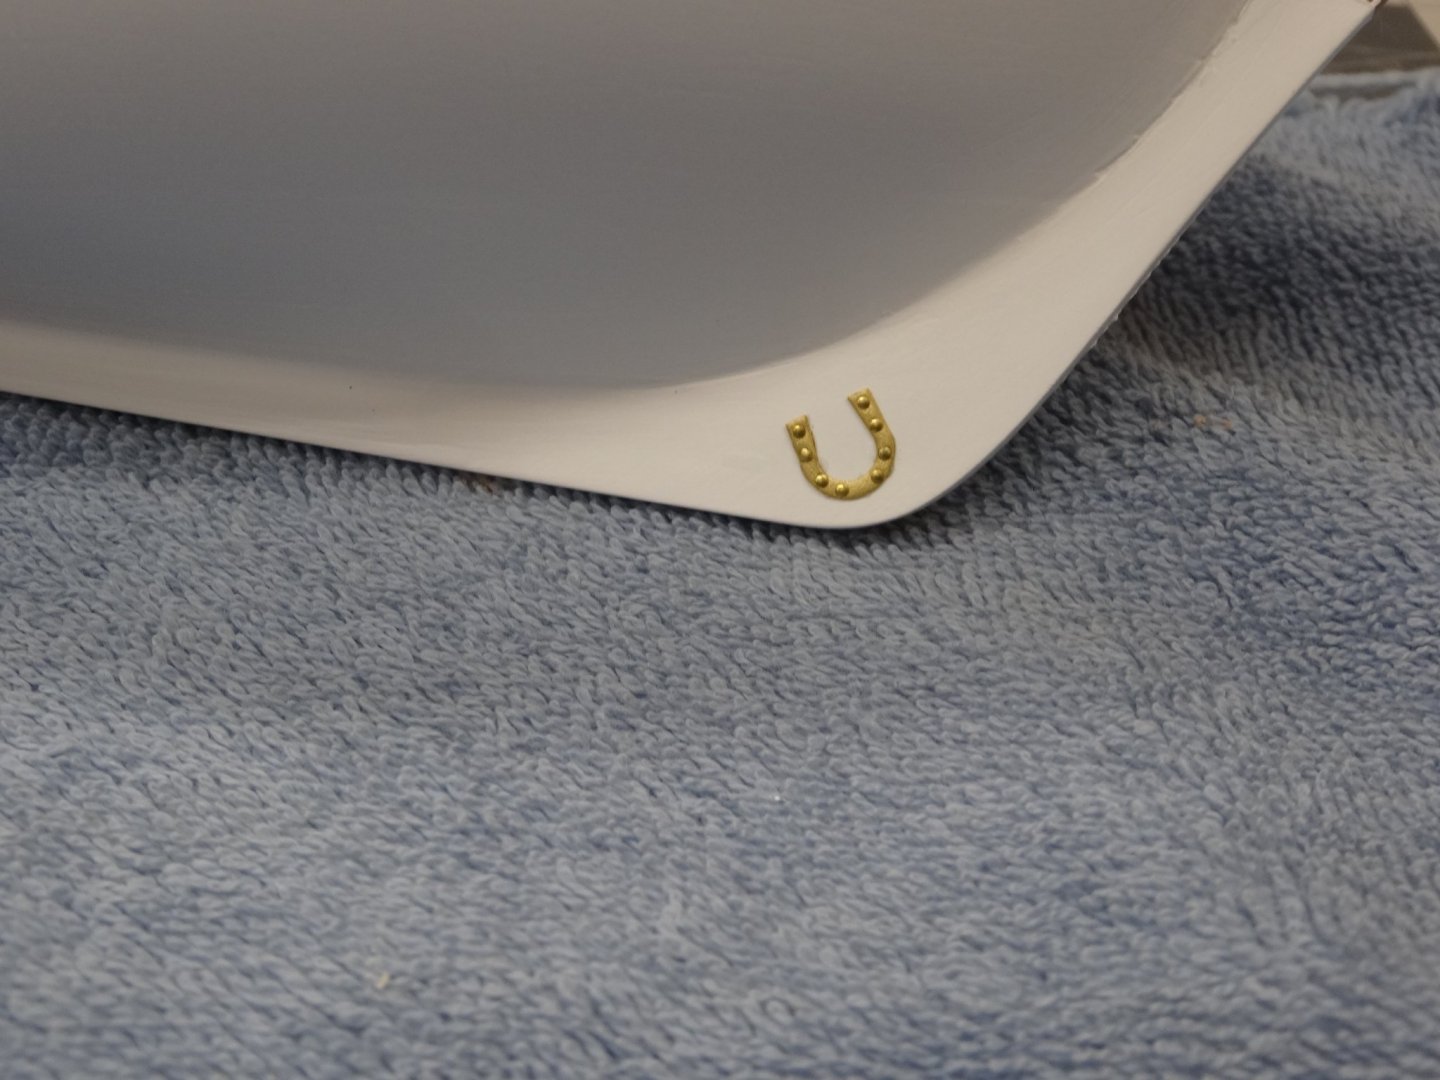
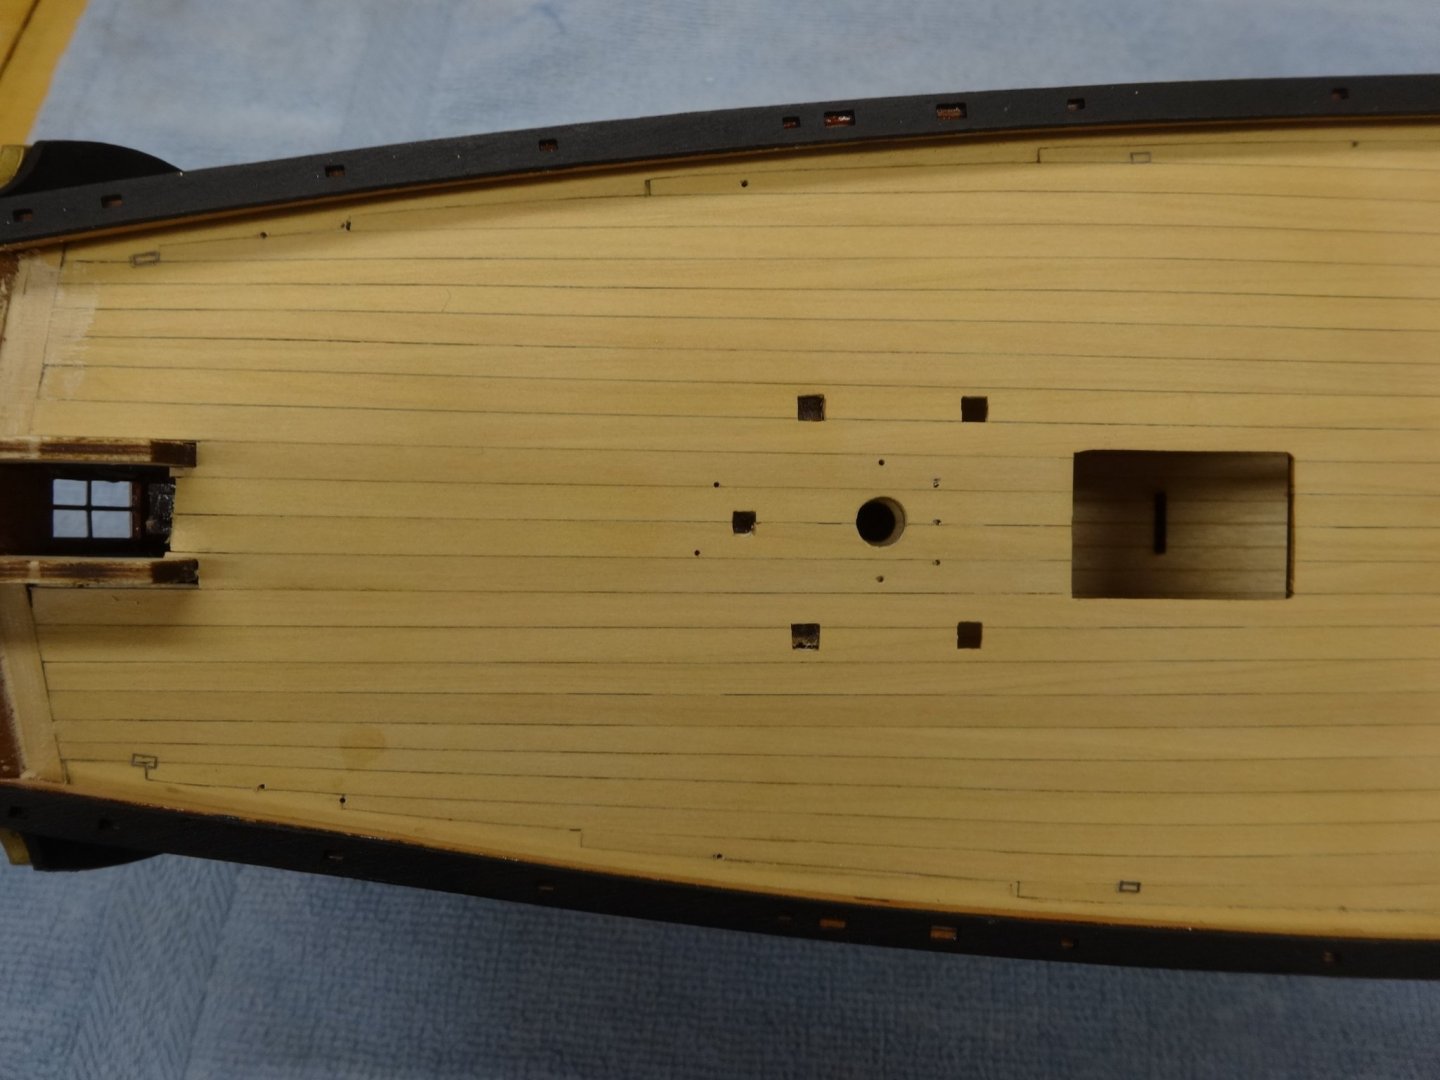
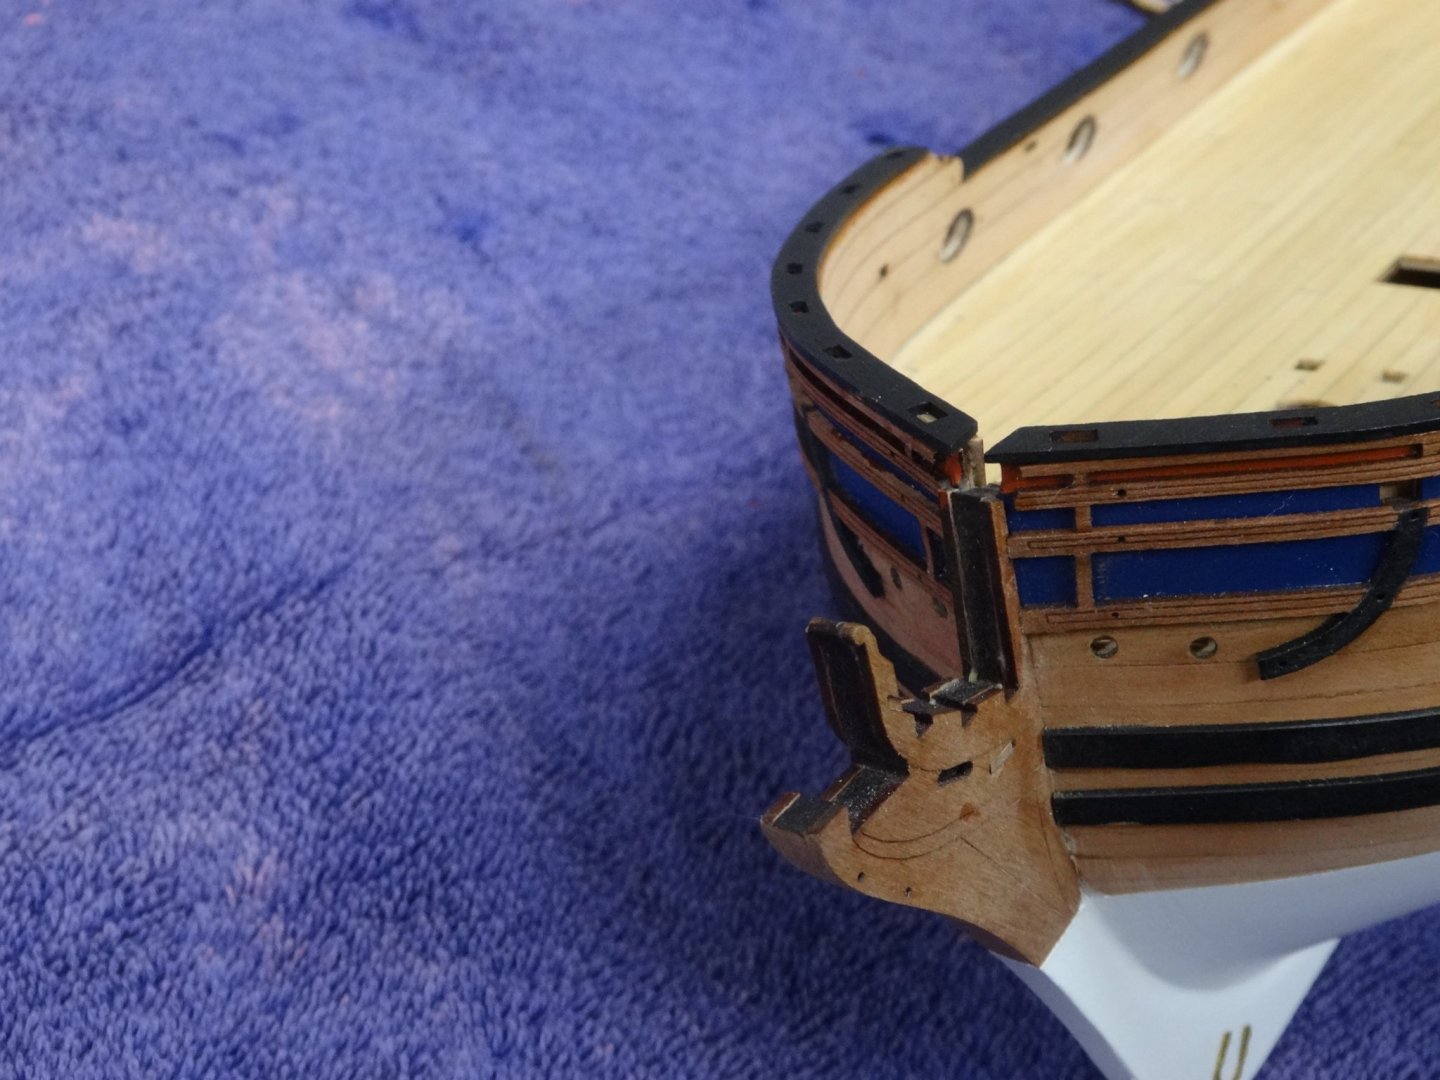
The horse shoe and fish plates are in place. I took the laser etched deck and placed it over my deck and marked off and drilled the holes where indicated. At the stem the three pieces laminated together left minor seams. I sanded these areas and applied a thinned down coat of wood filler. I sanded that down and painted it and affixed the bow "V" frames. I then started gluing on the upper and lower Cheek Rail, bow brackets and hawse bolsters. After installing the rails I noticed that the tip of the upper rail ends up above the part of the stem where the figurehead sits. I tested attempting to place the figurehead with the cheek rail in place and I could not do it. At least for me I'll remove the upper cheek to place the figurehead once it's painted and ready to be installed.


- 201 replies
-
- 17
-
-
- Duchess of Kingston
- Vanguard Models
- (and 1 more)
-
That's what I did with the Zulu, Lady Isabella. This kit is great and I don't foresee making many, if any more changes.
-
Looking really nice Bob!
-
Doris I am so sorry to hear of the loss of your loved one! I hope that every time you gaze at your splendid model it gives you some comfort and fond memories. My very best to you.
- 1,035 replies
-
- 3
-
-
-
- royal katherine
- ship of the line
- (and 1 more)
-
Looking great. I like the switch to the 1mm thick limewood.
-
Thanks Glenn. I did not soak it as I thought the resin wouldn't get warm enough. I instead clamped it to the stern and then warmed it with a hair dryer. There was a little spring back but not enough to effect the gluing. Thanks Bob. I purchased a very fine tipped paint brush just for the stern painting. Thank you Derek, I find the shorter pieces works better for me. The ends are flushed with a sanding stick and checked and adjusted as needed. For me the longer strips are the disadvantage. Thanks everyone for stopping by and all the likes.
- 201 replies
-
- 5
-
-
- Duchess of Kingston
- Vanguard Models
- (and 1 more)
-
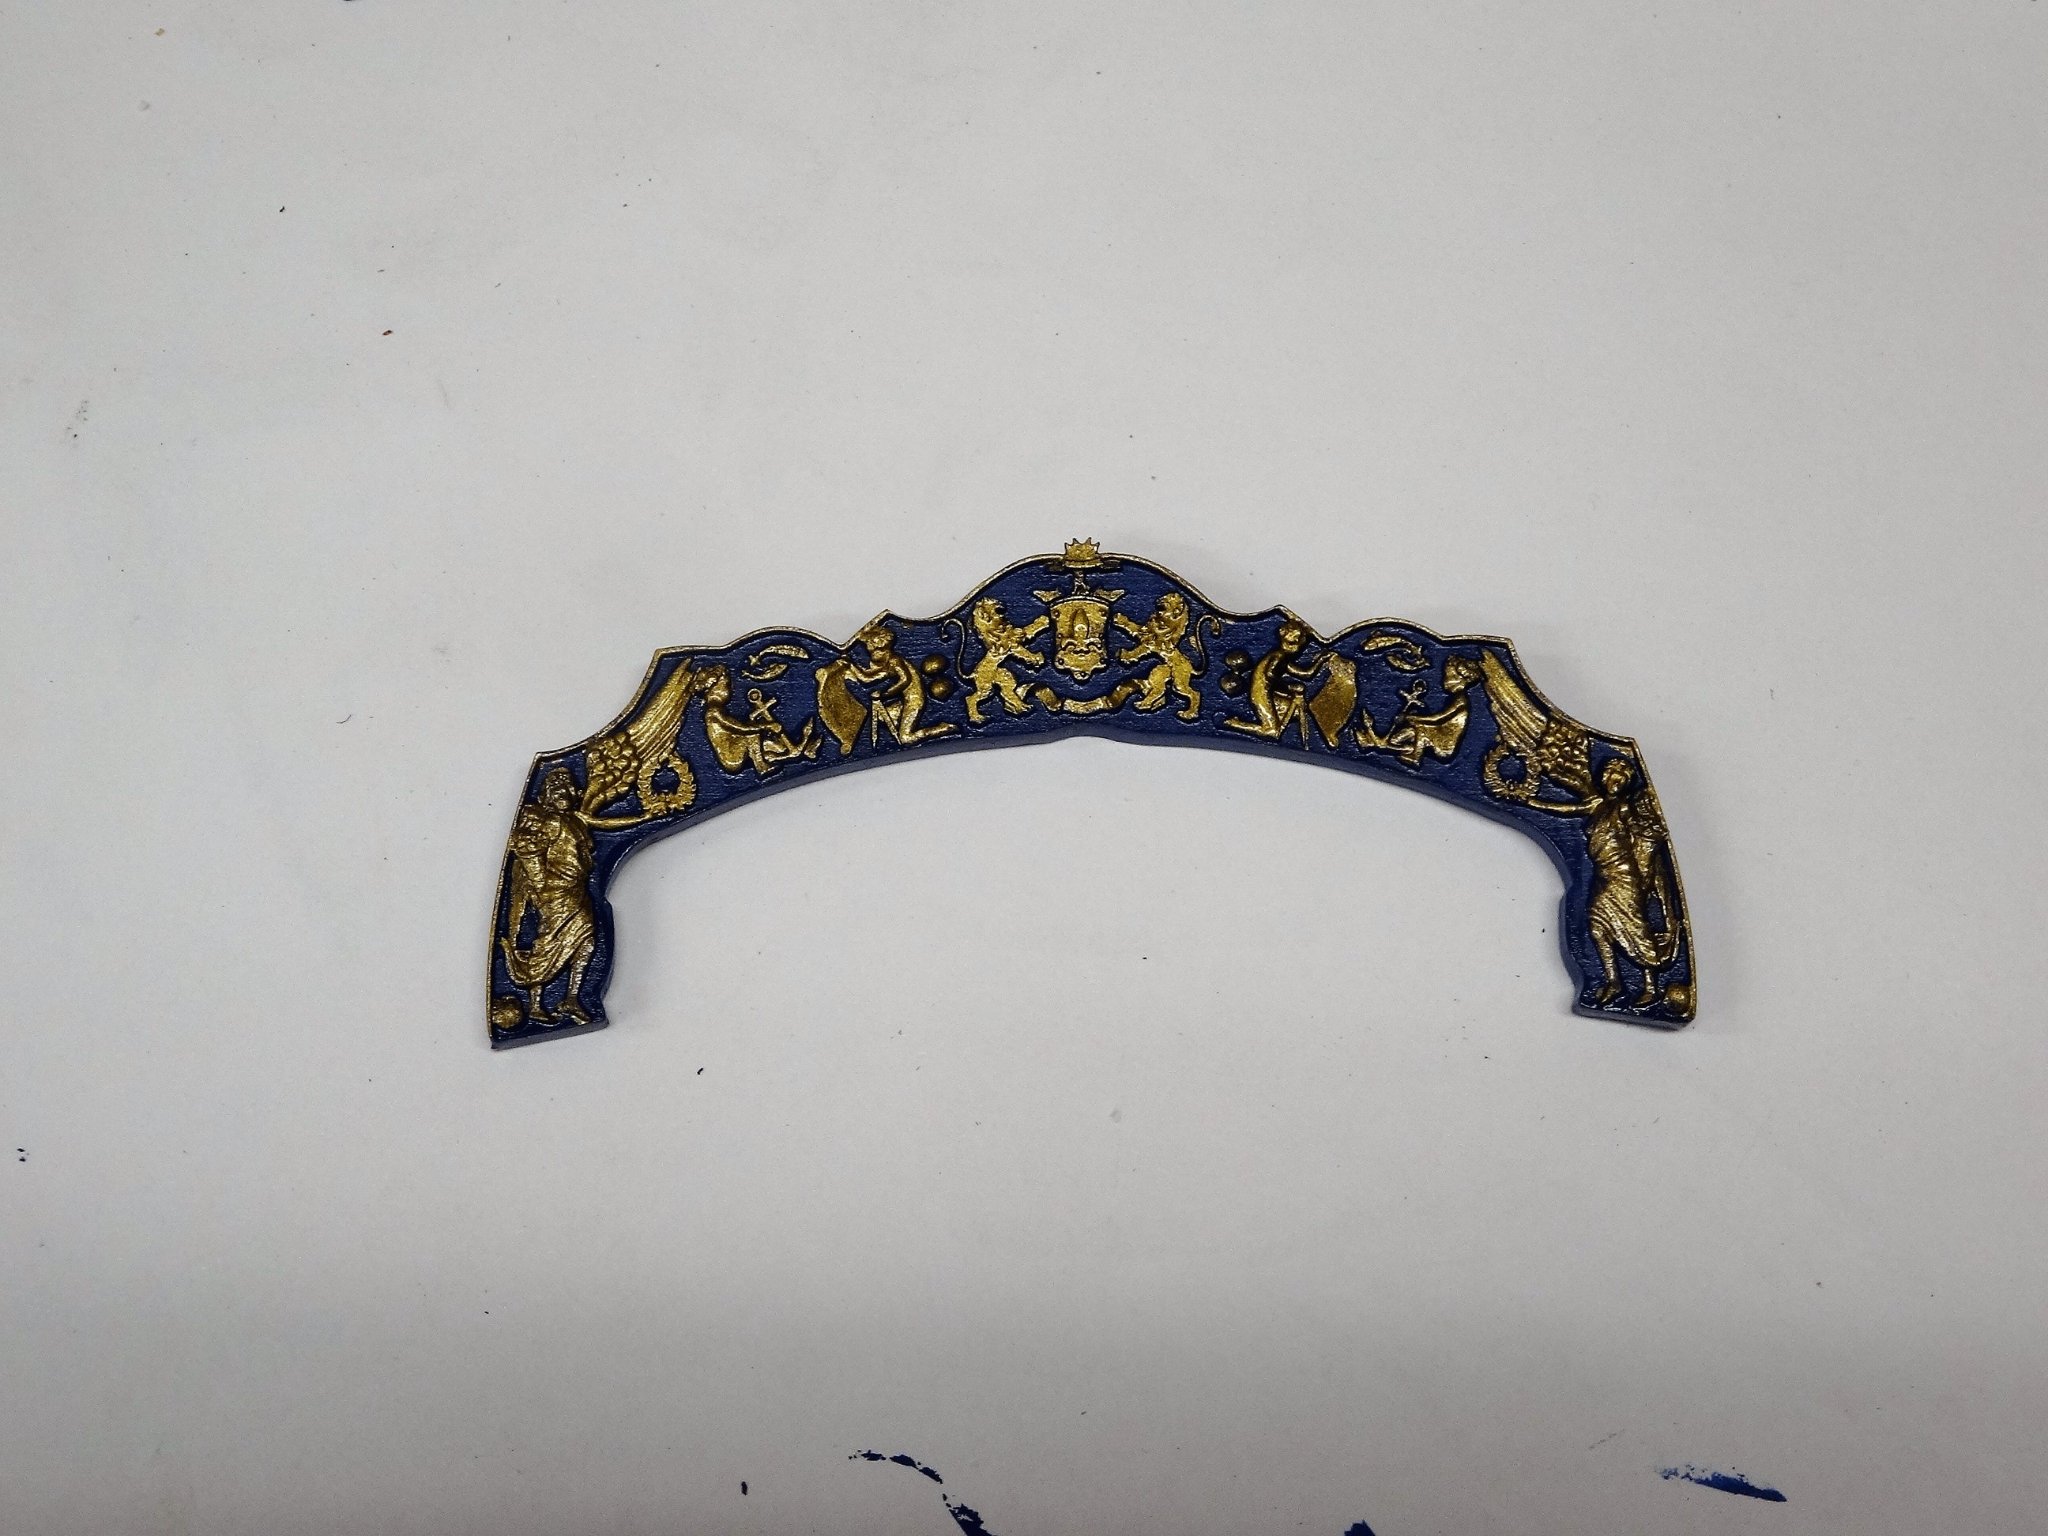
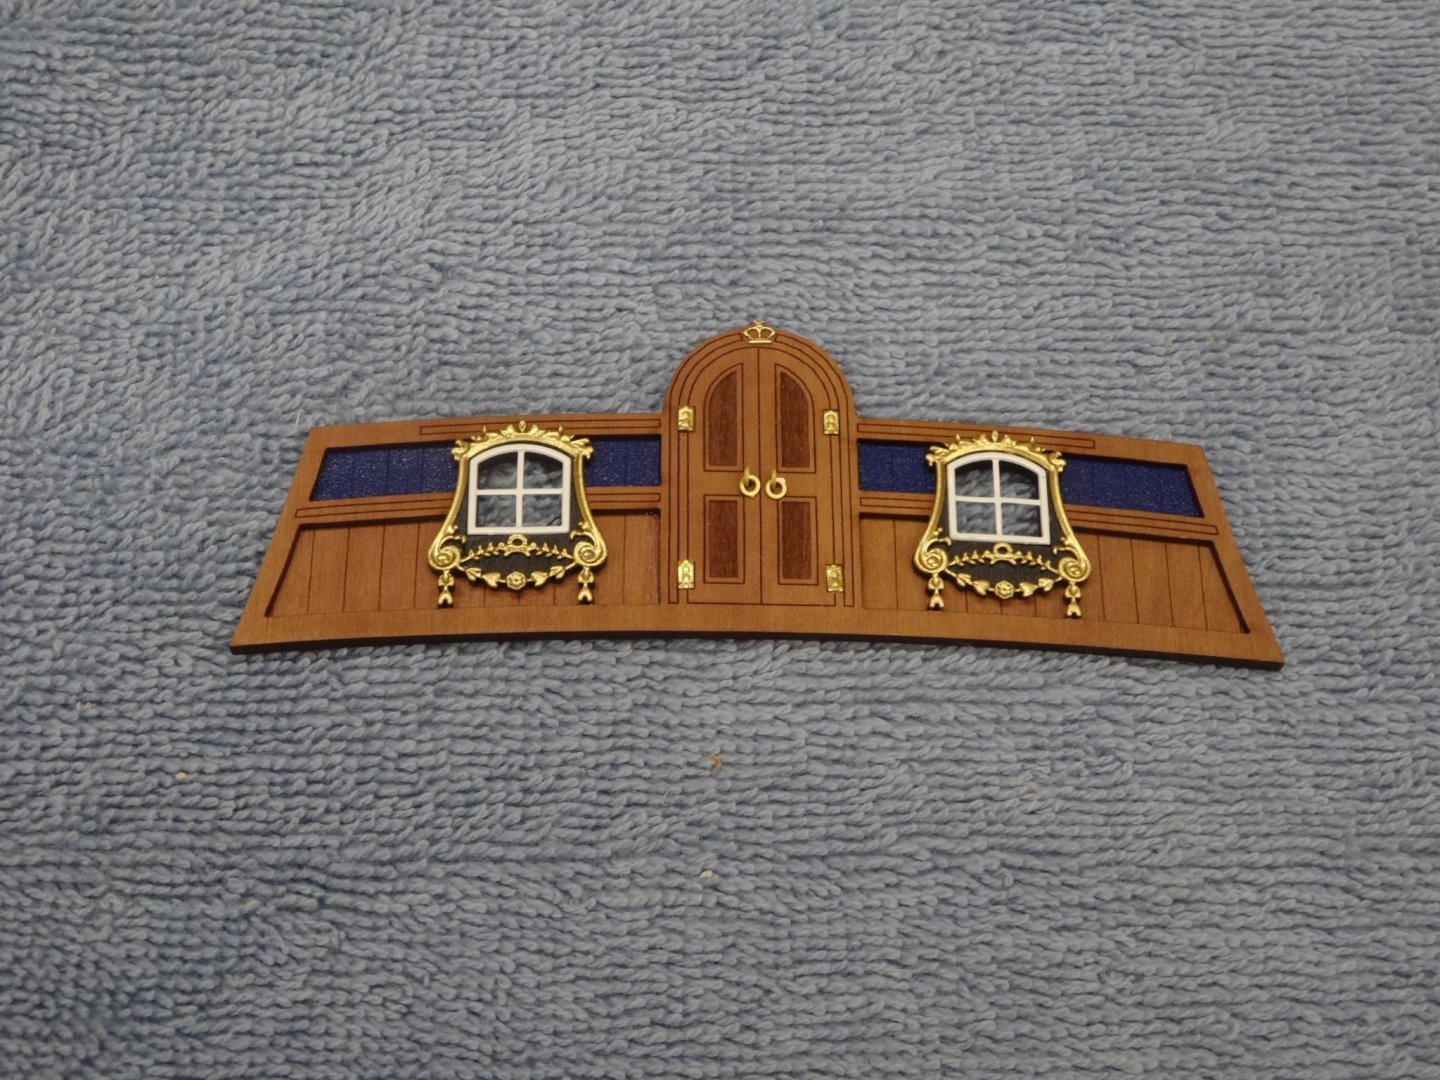
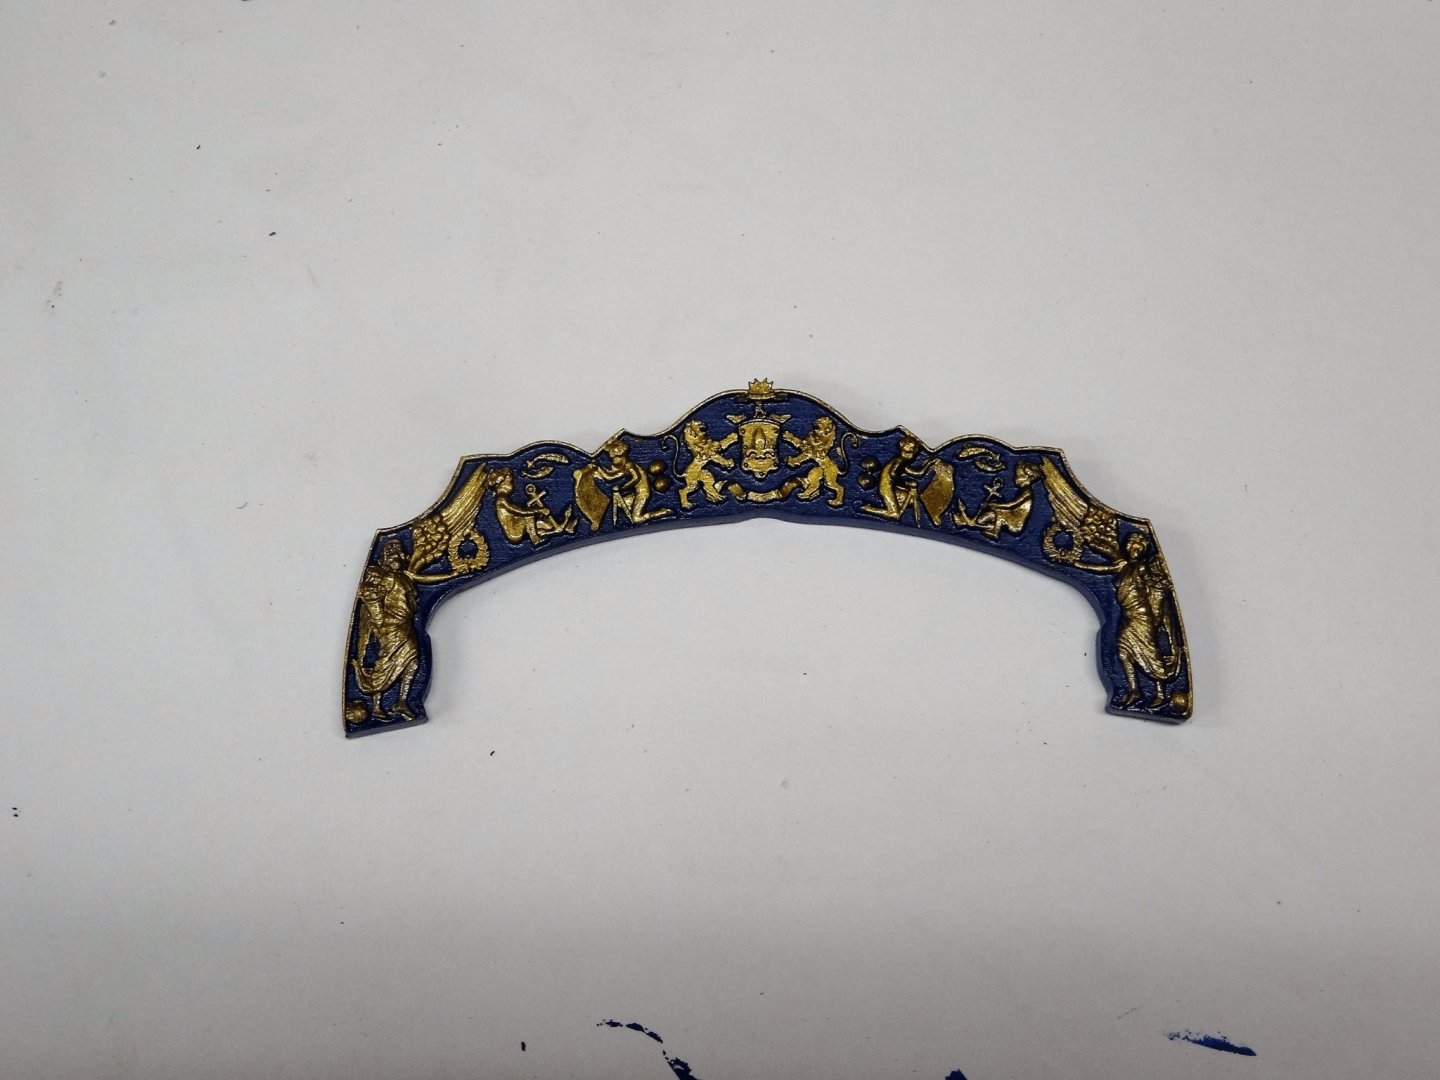
Yes it does Glenn so there was a lot of touching up.I Hi Bob. Yes I painted the blue first then the gold, touched up the blue, touched up the gold, repeat!
- 201 replies
-
- 4
-
-
- Duchess of Kingston
- Vanguard Models
- (and 1 more)
-
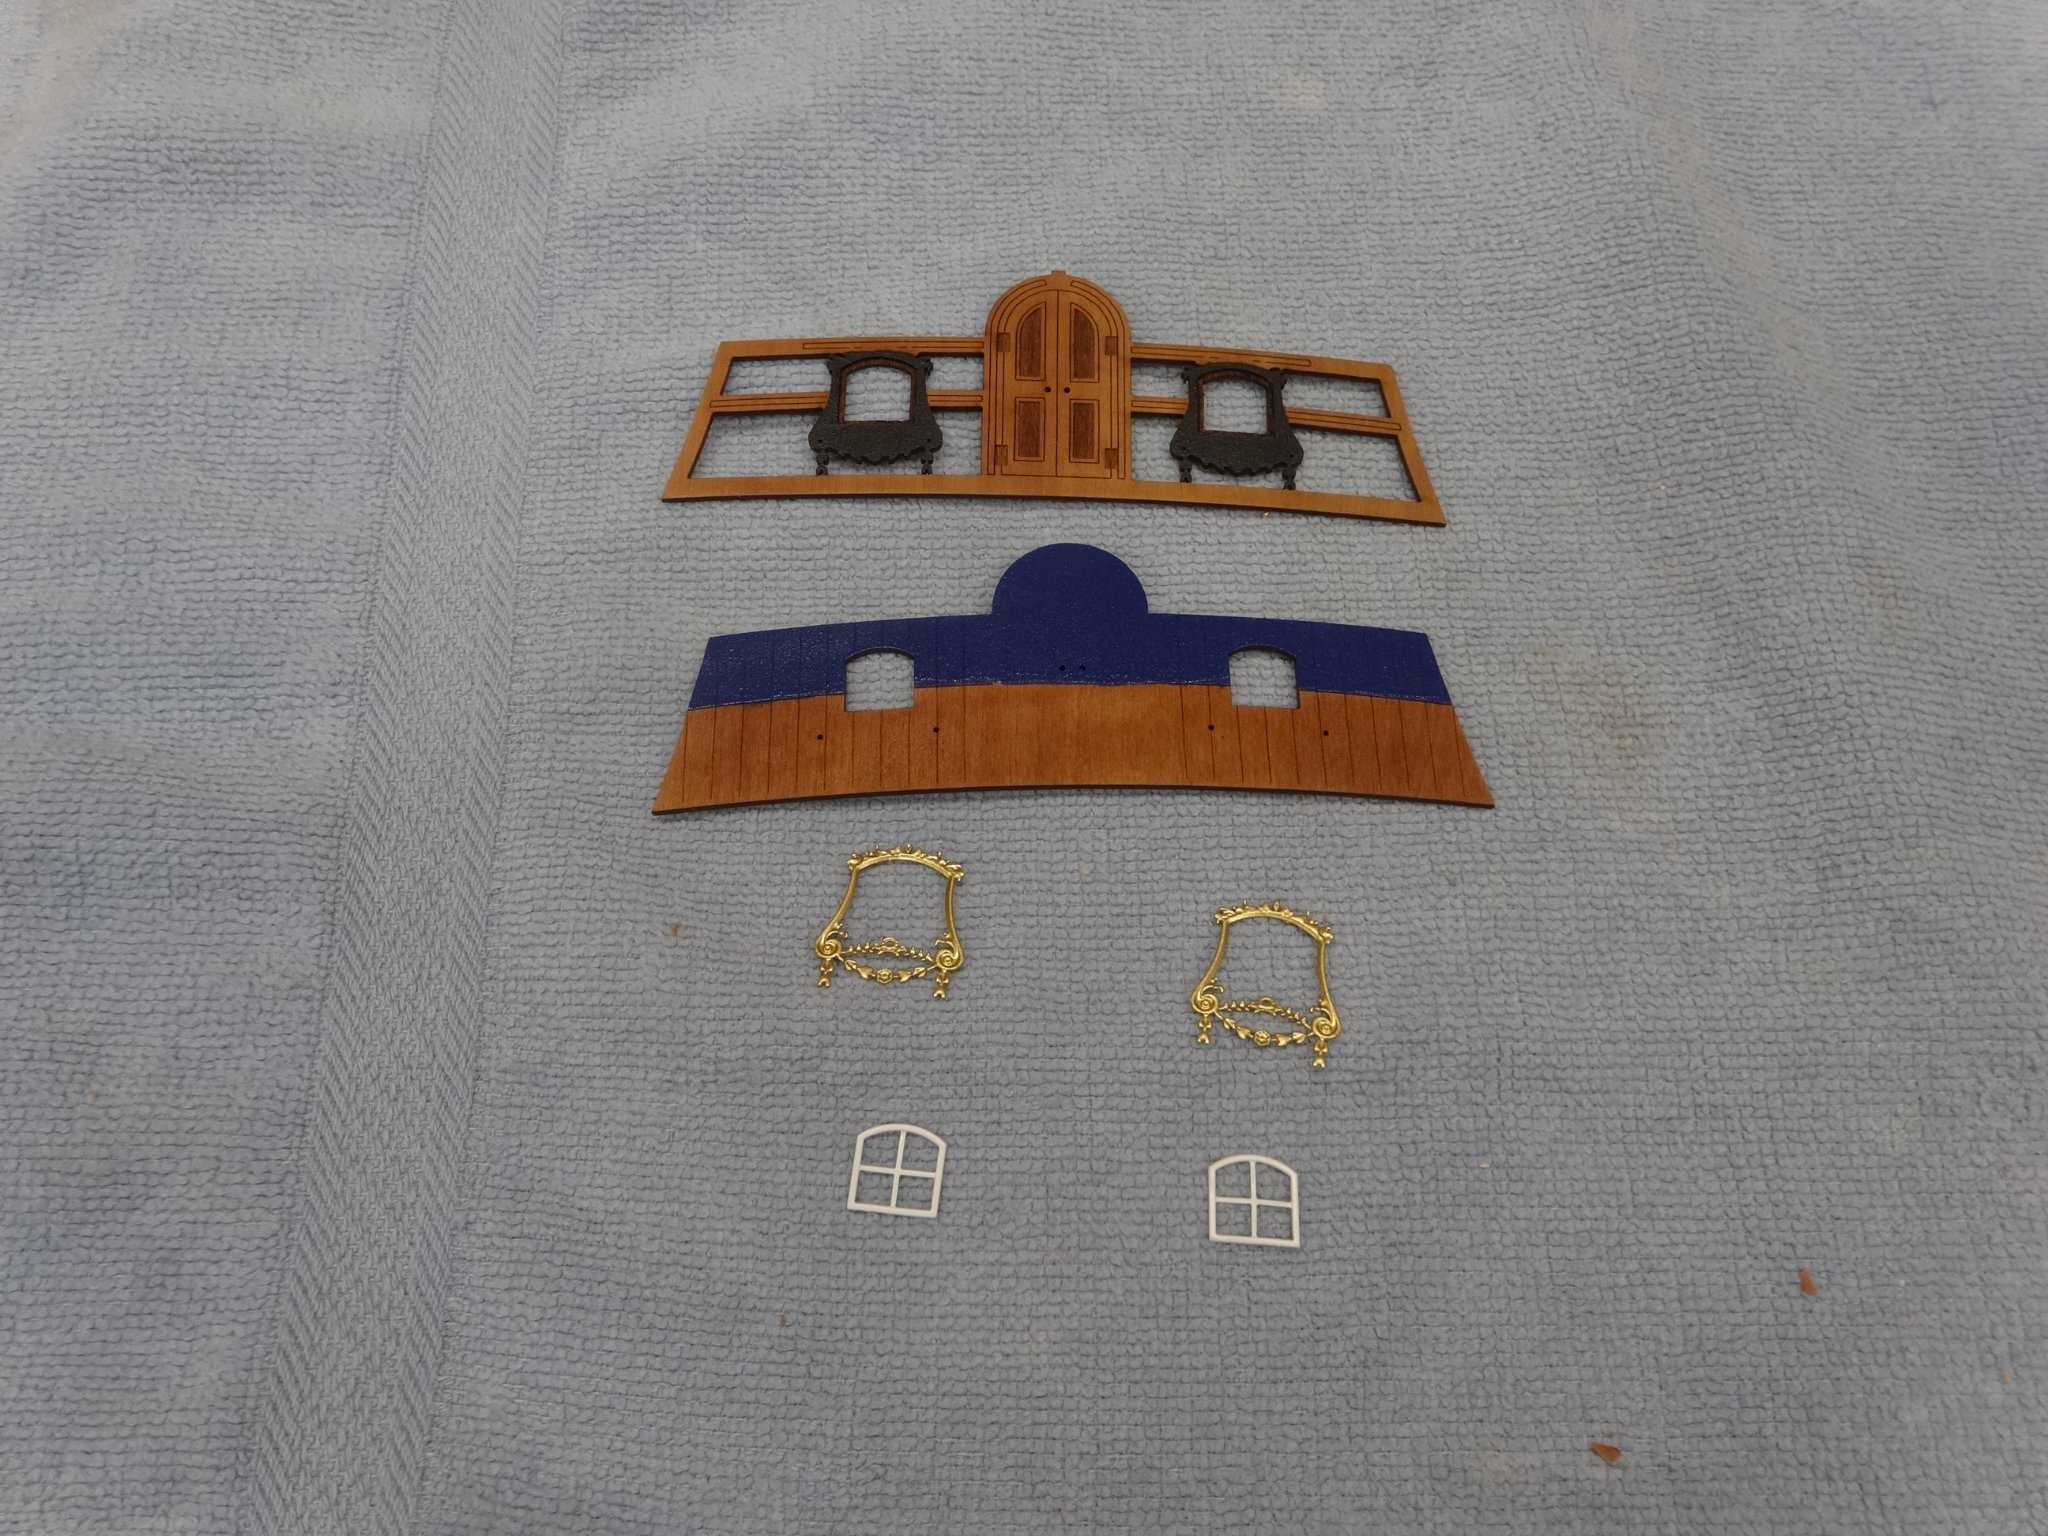
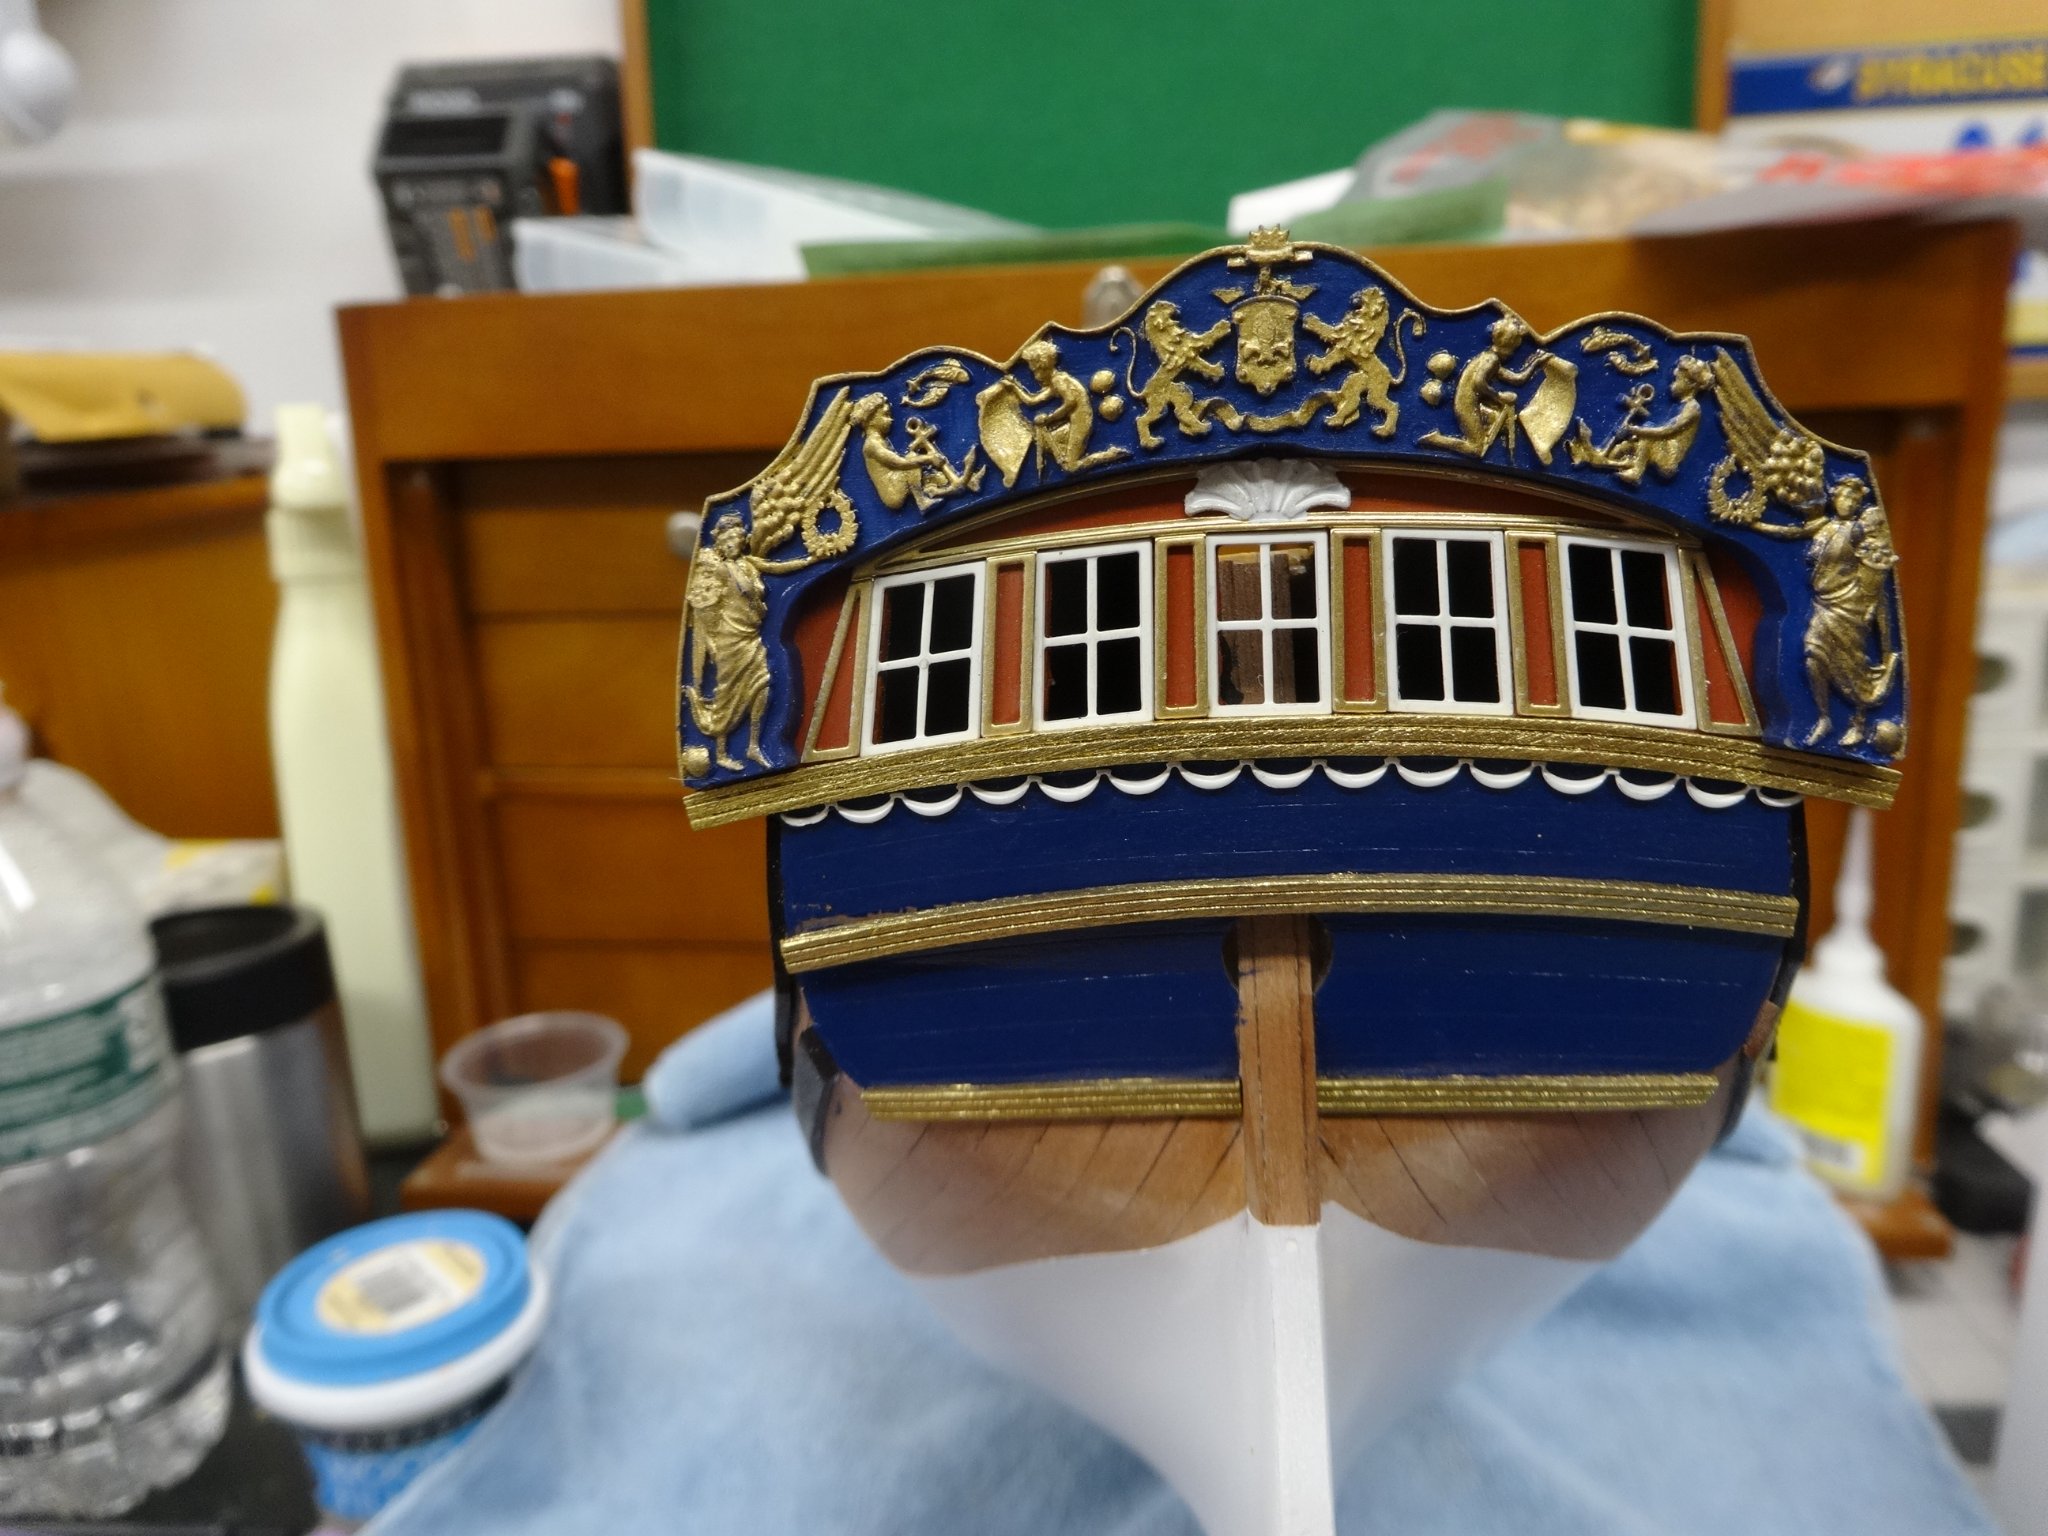
I've completed working on the stern. The stern decoration has been painted as per the instructions as well as the PE stern paneling decoration and the upper and lower counter rail parts. Everything fit really well!

- 201 replies
-
- 16
-
-
- Duchess of Kingston
- Vanguard Models
- (and 1 more)
-
Looking real nice Jeff.
-
Hi Frank and to want to welcome you to the group. It's a great model and a fantastic group of modelers to build with.
-
Outstanding model B.E. It was a real joy watching and leading from your builds.
- 261 replies
-
- 1
-
-
- muirneag
- vanguard models
- (and 2 more)
-
Very nice! They look so good in place.
- 1,784 replies
-
- 1
-
-
- winchelsea
- Syren Ship Model Company
- (and 1 more)
-
Excellent workmanship and description Glenn. So very nice!
- 778 replies
-
- 3
-
-
- cheerful
- Syren Ship Model Company
- (and 1 more)
-
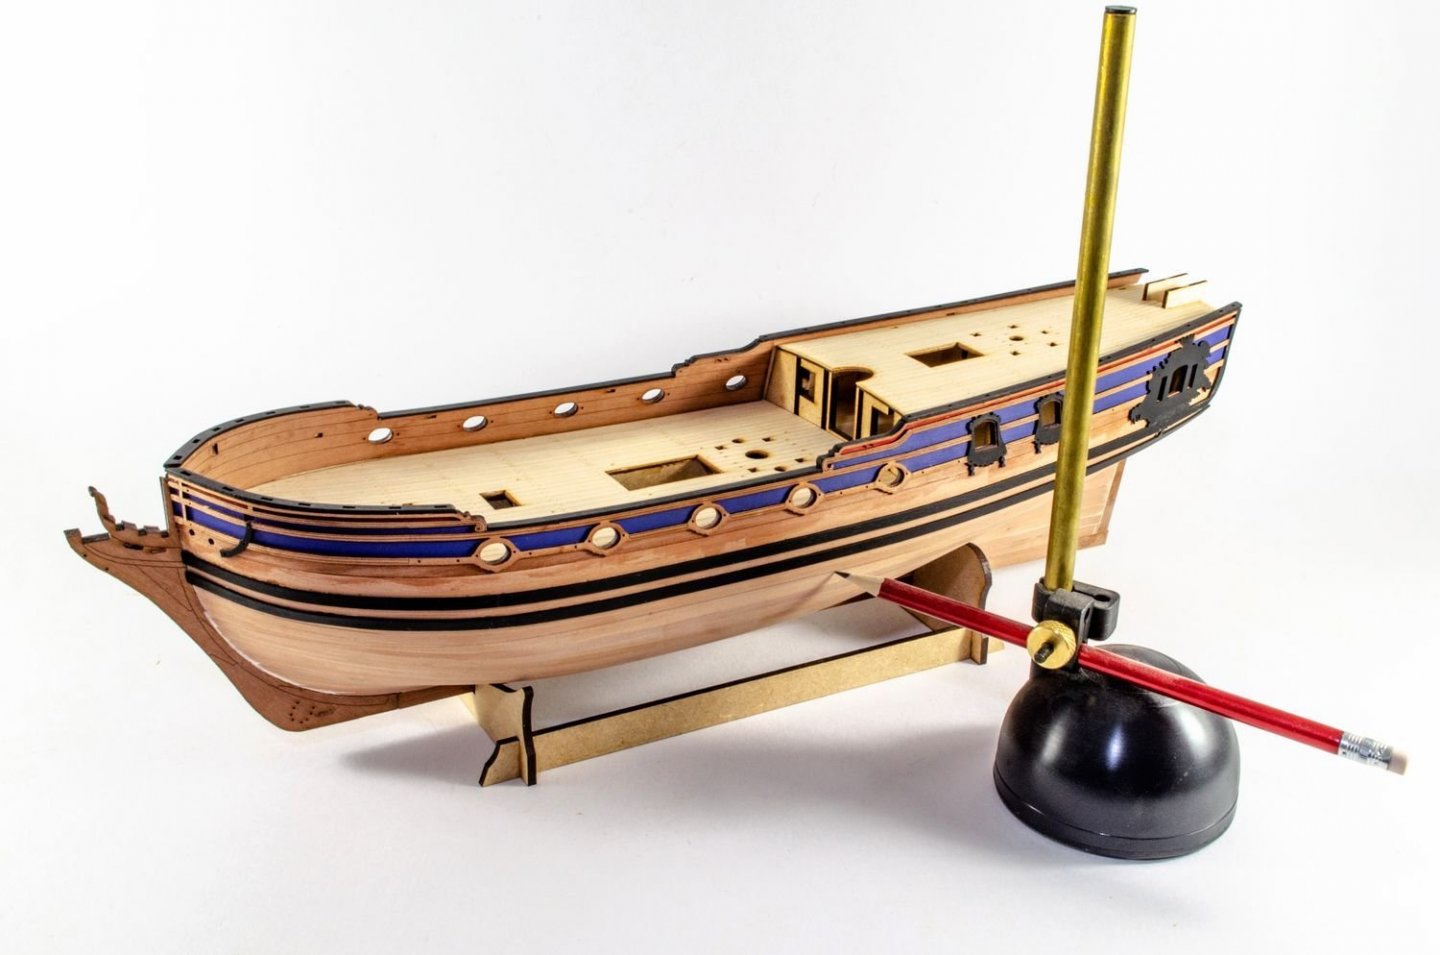
Thanks Matt, I used a marker similar to the one Jim used in the picture below. I took waterline height at mid ship from the plans, set the water line marker at that correct height and marked the hull. I then ran my tape to match the marked line. Checked the run from multiple angles and tweaked it as necessary to get a good looking flow.
- 201 replies
-
- 6
-
-
- Duchess of Kingston
- Vanguard Models
- (and 1 more)
-
Thanks Jim. I did a google search and it's now called Pledge Revive It Gloss Finish and you can get it at places like Walmart, Kmart etc. There are a couple of modeler related topics on how modelers use it. https://ilovewood001.tripod.com/modeling/future.html http://www.swannysmodels.com/TheCompleteFuture.html Also thanks for the tip on the Tesa Tape. When I use up the Tamiya. Looks like a visit to Walmart is in my future!
- 201 replies
-
- 4
-
-
- Duchess of Kingston
- Vanguard Models
- (and 1 more)
-
Thank you, Joe, Glenn, JJ and Wyz. Glenn by the time I get the ninth additional port lid done there will many many more in the bin!
- 642 replies
-
- 3
-
-
- winchelsea
- Syren Ship Model Company
- (and 1 more)
-
Sorry but I really don't know where you can find it now. I only have a little left from what I bought many years ago. Enjoy the Medway. It's a great choice. Thanks Don, You really can't go wrong choosing this model. It's great fun and a good learning experience!
- 310 replies
-
- 3
-
-
- cheerful
- Syren Ship Model Company
- (and 1 more)
-
😂. Thanks Jim. One question. When you attached the PE details to the out side of the hull what did you use? It's so clean and no glue marks. Thanks Glenn, Yes I used Tamiya tape and then regular painters tape over that. Thanks for all the likes too!
- 201 replies
-
- 3
-
-
- Duchess of Kingston
- Vanguard Models
- (and 1 more)