Rustyj
-
Posts
2,540 -
Joined
-
Last visited
Content Type
Profiles
Forums
Gallery
Events
Everything posted by Rustyj
-
 Hi Grant, Thanks for confirming my math. Now I have to try and figure out what size treenail to use. One down and one to go.
 -
Hi all. I've been looking ahead and they don't show treenails for the inboard planking and my feeble mind is trying to figure out the correct size a treenail should be at this scale. Now if 1/2 inch = 1foot then would 1/16" treenails be 1 1/2" @ scale? Then if that's correct would 1 1/2" treenails be the right size? Help!!!!!!!! and thanks
-
Well I made it back last night and I popped on for a quick look see and man has everyone been prolific while I was gone. I'll have to take a couple of days off from work just to catch up on all the posts. I want to thank you all for stopping by and for you kind words and interest in this build. Work, yeah like it’s work , will resume tonight.
- 421 replies
-
- 1
-

-
- granado
- bomb ketch
- (and 2 more)
-
Ohhhhhh having flash backs!!!!! Even nice wood like box can still bite you in the butt once in a while. My scrap box got so big I had to scrap the scrap box. Nice work and the good news is I know that, if possible, the second will be even better than the first!
-
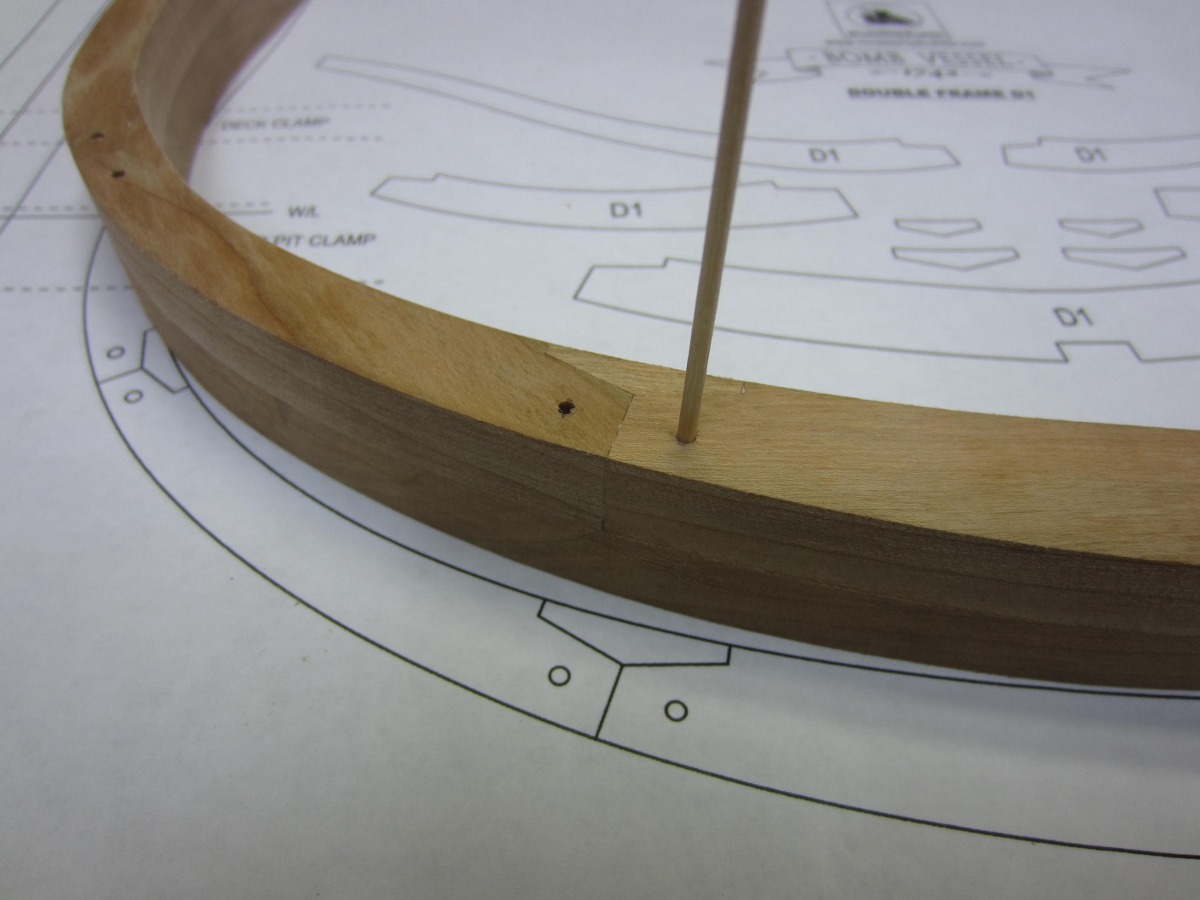
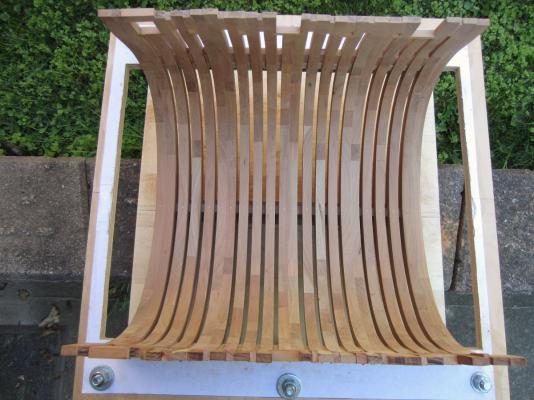
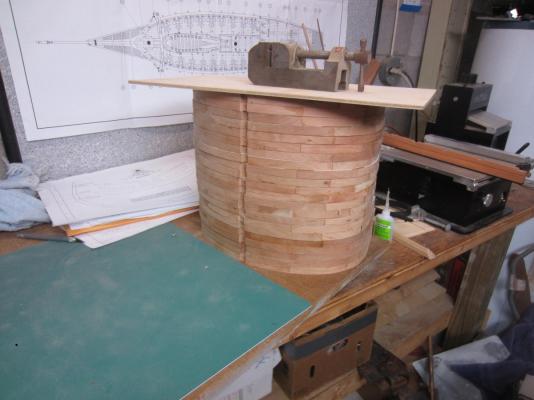
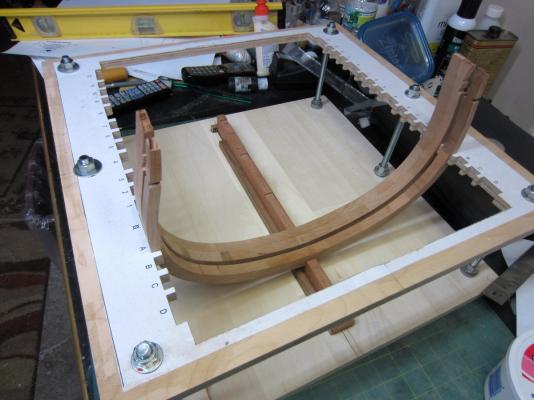
Thank you Rob. Well I’ve installed all of the frames. After fine tuning them so they sat correctly it was just a matter of gluing one in place, waiting for the glue to set then repeat. To strengthen the frames for when I remove the cross section from the framing jig I glued blocks between the frames at the area of the wales and then at the tops of the frames. I also thought about installing blocks between the frames at the keel but instead I drilled through the frames into the keel and glued in a dowel. Now those frames aren’t going anywhere. Next up will be a lot of sanding the frames to fair it up. I’ll start with the inboard while it’s still in the framing jig and install some of the interior framing and clamps to strengthen it even more. Well I’m off on a short vacation so I’ll be away from a computer. Hopefully the withdrawal pains won’t be too severe!


- 421 replies
-
- 11
-
-

-
- granado
- bomb ketch
- (and 2 more)
-
Hi Terry and a hearty welcome back. Minimal explanations on the old pictures are fine. I vaguely remember what I did on a current build let alone one so long ago. Great to see you are back and I look forward to another scratch Syren.
-
Hi Remco, I'm glad to be able to sit back and watch you work again. Very inspiring.
-
Suggestions for an admiralty style model please
Rustyj replied to Shazmira's topic in Wood ship model kits
Hi Robbyn, Having built the Confederacy I wholeheartedly agree with Augie. She’s big, challenging yet fun to work on and you don’t get better instruction than Chuck’s. Also should you get the desire the plans are great and you can scratch some of the parts but beware it can start a pull to the dark side! -
Hi Greg and Grant, thanks for stopping by. Starting to put frames in place!
-
Hi John and Harvey, Thanks for your interest and kind words.
-
Hi Len, You have done a wonderful job! I love it.
-
Thanks all, Very observant. Those plans have shown up in many a picture over the years. The plans are for the OcCre Cazador Xebec which I have been tinkering with on and off over the last three years. The hull and deck are planked. I figure at the rate I’m going it will be done sometime in 2016! Hi Chris, Well it’s too early to tell. One thing I know is you don’t have to worry as much about snapping a frame when they are ½” thick and I swear you could stand on them. Cutting joints and chocks were a lot easier too but the scroll saw work to cut them out took three times as long and I went through a whole lot more blades. Another thing is if you make a mistake in a joint it is compounded by the size. What would be a paper thin gap on the Echo could be very wide on this build. I can see why people would like the larger scale though. We shall see.
- 421 replies
-
- 1
-
-
- granado
- bomb ketch
- (and 2 more)
-
Hi Augie, It's funny you mentioned that. I just received several rolls from Tower Hobbies and have some the Great Planes hand sanders. Never built a plane but they work great on my ship models. Looking forward to more progress and pictures!
- 2,191 replies
-
- 1
-
-
- confederacy
- Model Shipways
- (and 1 more)
-
Hey thanks to all of you for your interest and support. Yeah Ben, Gregs methods were a big help. Big Frames, Big treenails, Big piles of saw dust! Oh yeah and a big pile of frames too!
- 421 replies
-
- 10
-
-
- granado
- bomb ketch
- (and 2 more)
-
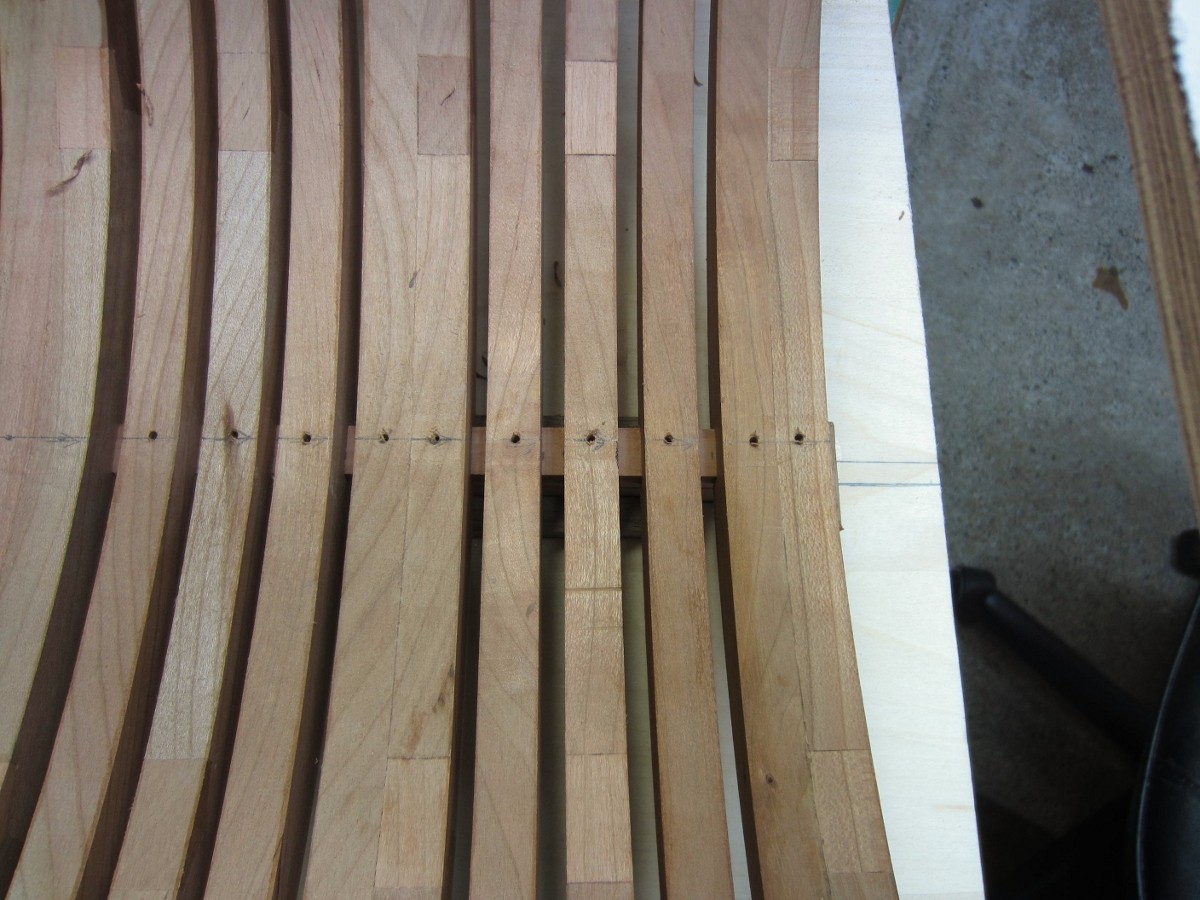
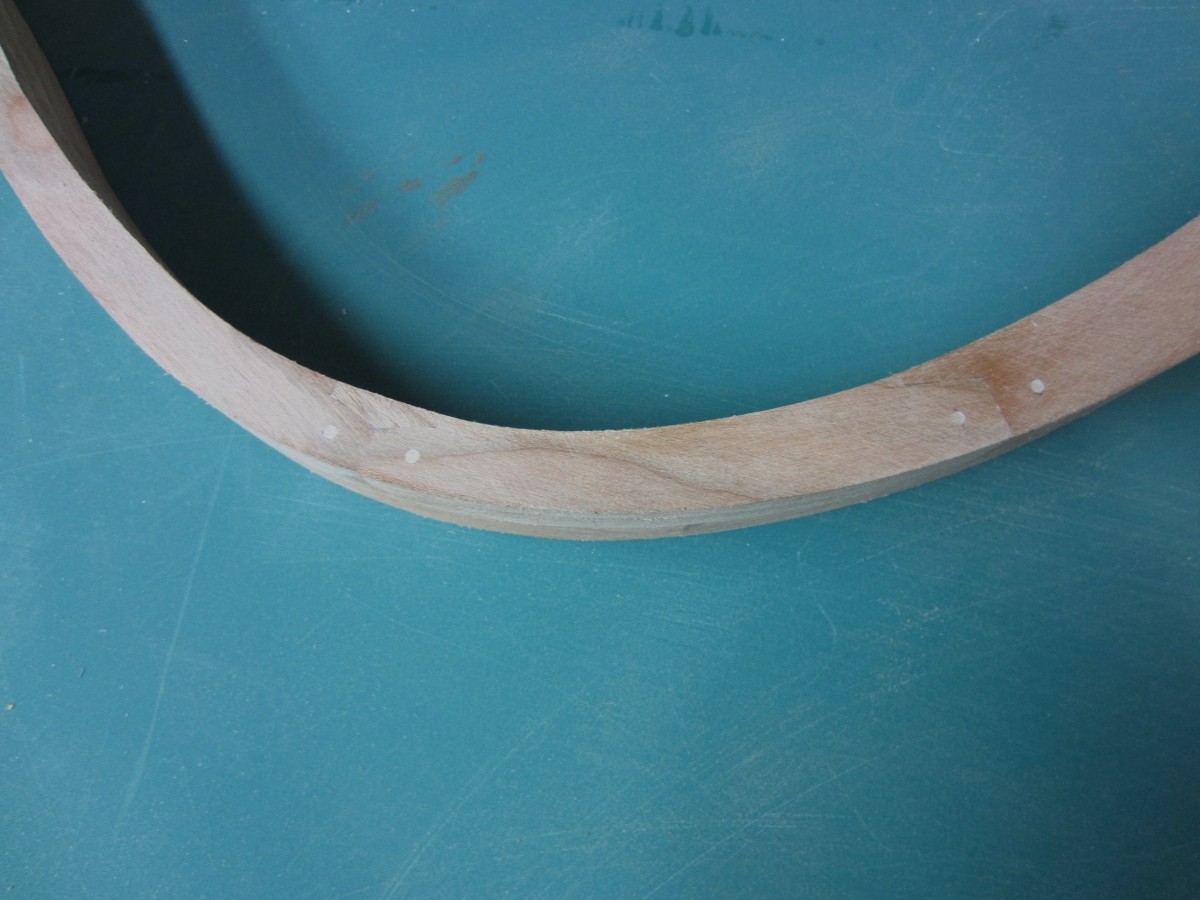
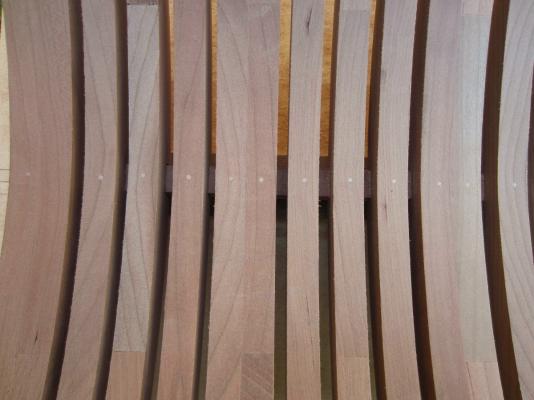
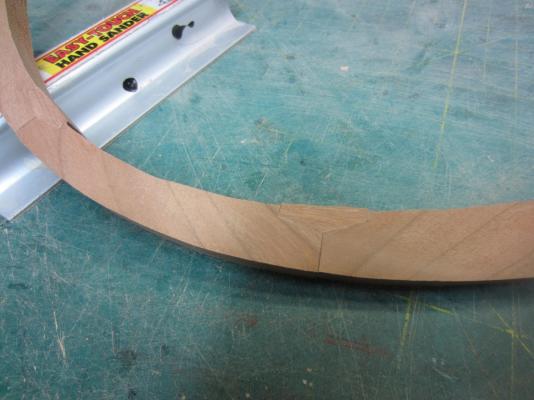
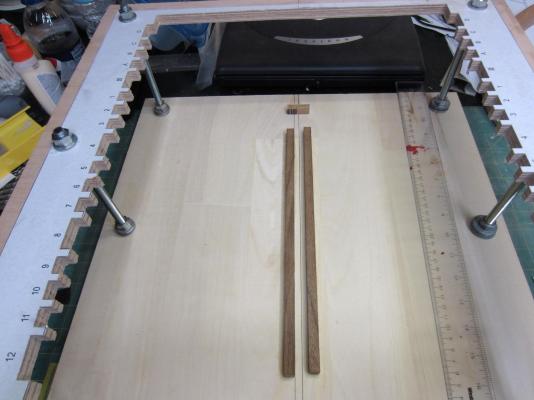
Thanks druxey. When making the double frames the plans show a single treenail on each side of the joint at the chocks. The size came very close to 3/32”. I used a standard dowel that I had at that size for the treenail. And no I don’t have a drawplate that size. Almost done making frames!


- 421 replies
-
- 8
-
-
- granado
- bomb ketch
- (and 2 more)
-
It looks like you are doing very well there Augie. The stern can be a pain if you don't take your time and double check. Well done! Bob, You can always order a Confederacy and build it with Augie while they straighten out the Essex.
- 2,191 replies
-
- 1
-
-
- confederacy
- Model Shipways
- (and 1 more)
-
Thanks Daniel. A crane might not be a bad idea. I think I may get a hernia when it come to taking it out of the framing jig. Still plugging along here finishing and fitting frames.
-
Well done Augie. I really like the depth of the color. Very nice!
- 2,191 replies
-
- 1
-
-
- confederacy
- Model Shipways
- (and 1 more)
-
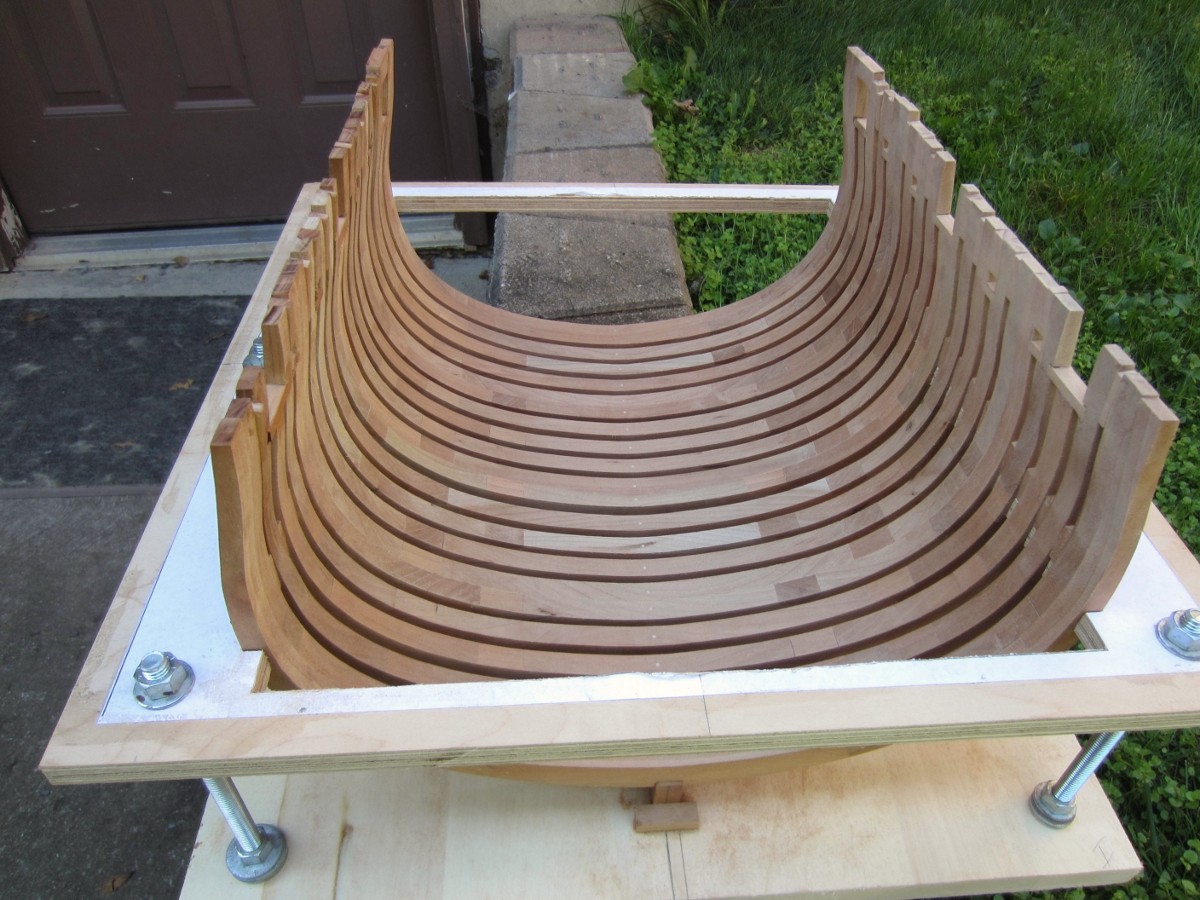
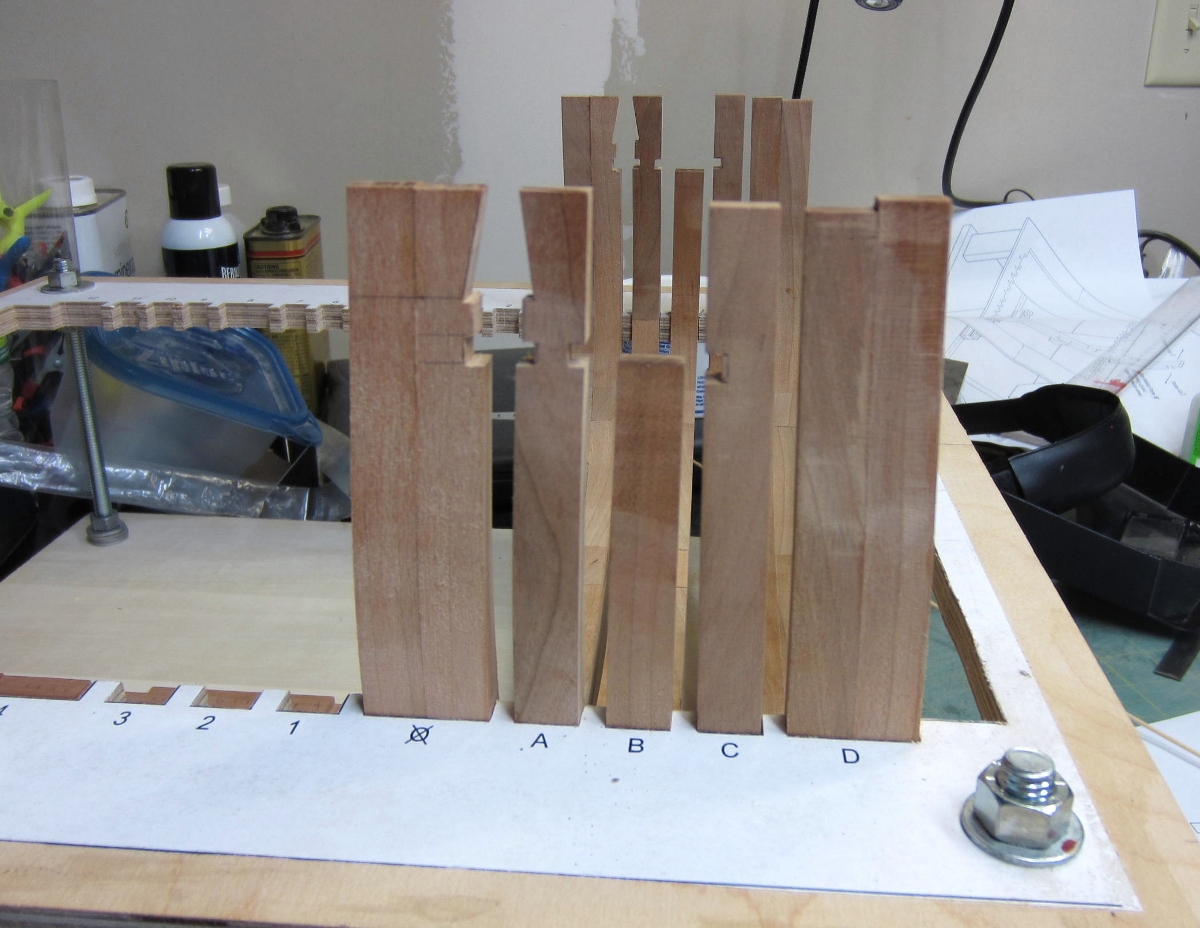
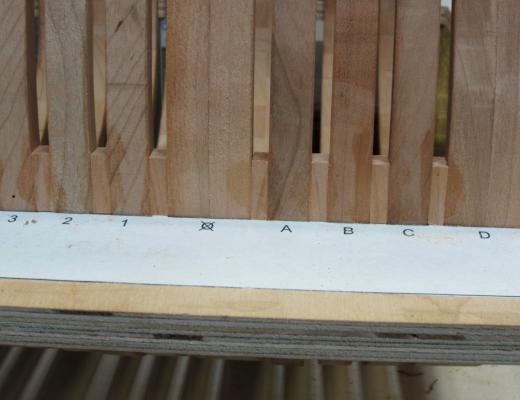
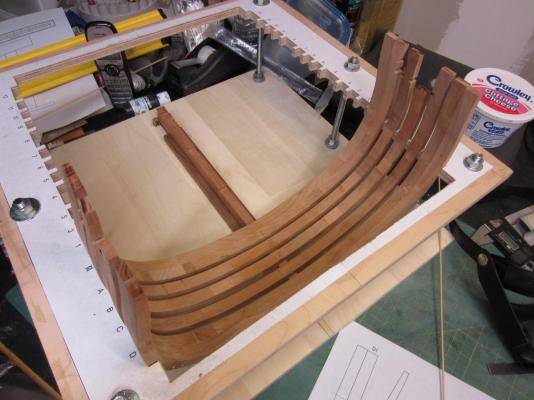
I’m still chugging along with assembling the frames. Slow but steady she goes. Here are a few more done and test fitted to the keel and framing jig.

- 421 replies
-
- 10
-
-
- granado
- bomb ketch
- (and 2 more)
-
Hi Chris, Great job and I want it! I want It! I want it!
-
Hi Augie, Things are looking real good. I can't say anything more than Chuck and the others did so I'll just sit back and enjoy for now.
- 2,191 replies
-
- 1
-
-
- confederacy
- Model Shipways
- (and 1 more)
-
I use it all the time too and love it. It's also great for converting back and forth from metric to US. You should be able to find multi packs of batteries at a craft store and they are much cheaper.
-
Hi Ben, Thanks and it's great to hear you are back from your vacation.
-
Hi Ben and welcome back! I look foward to seeing your updates.
-
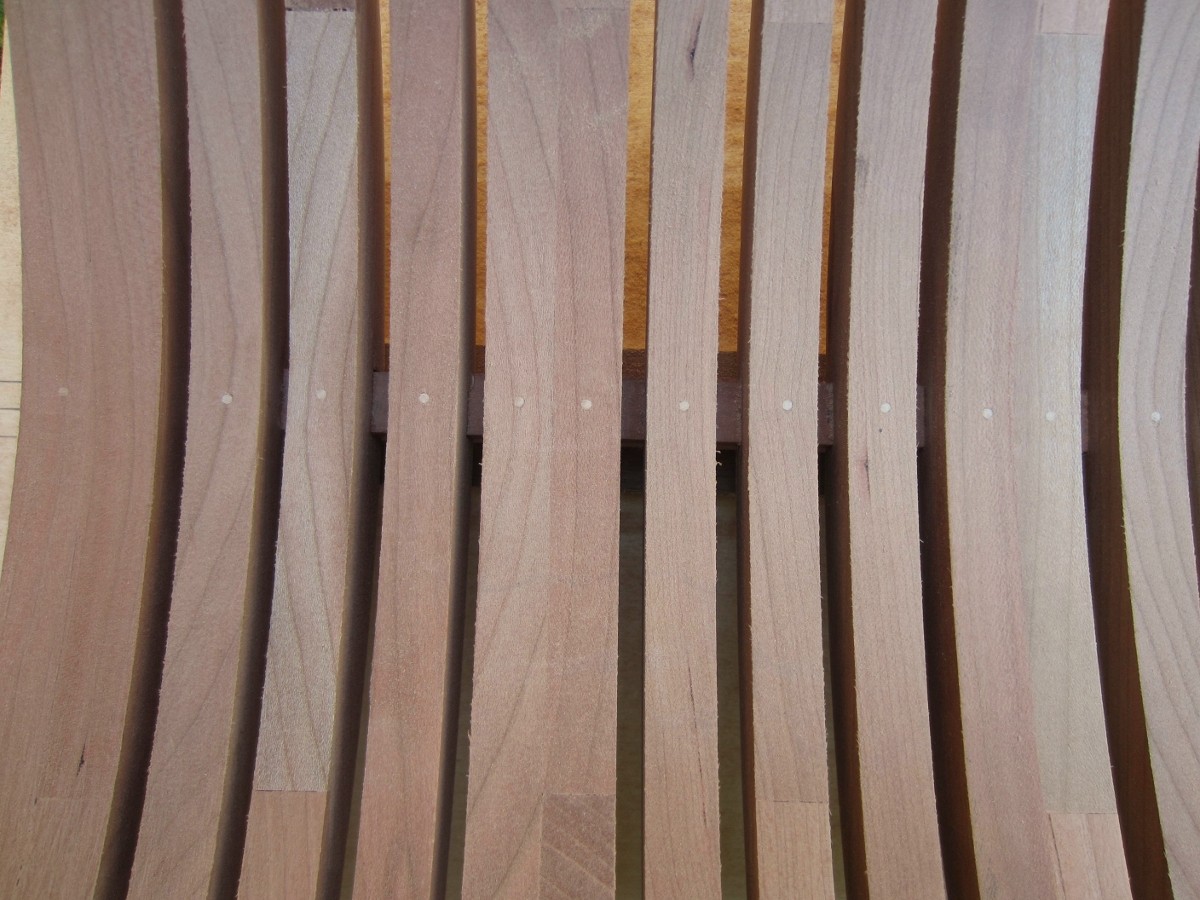
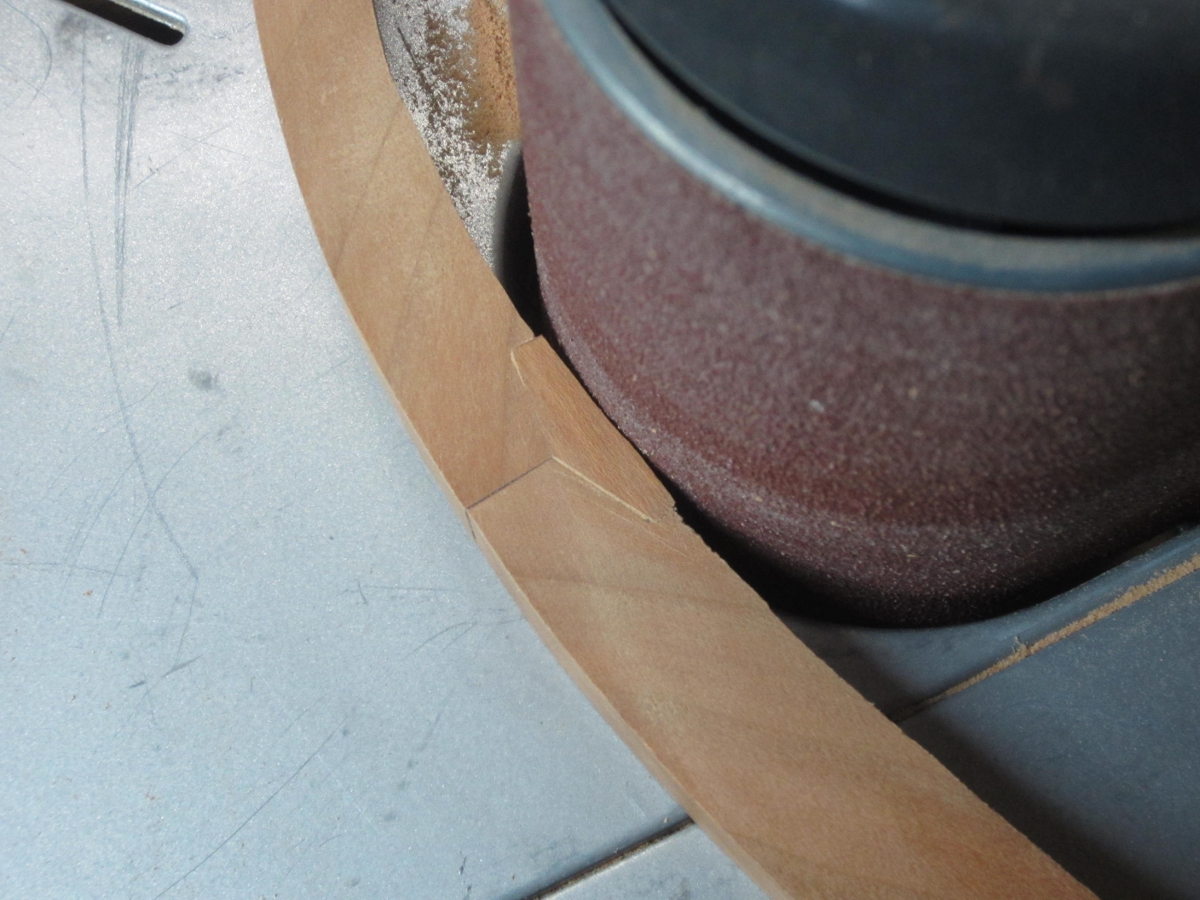
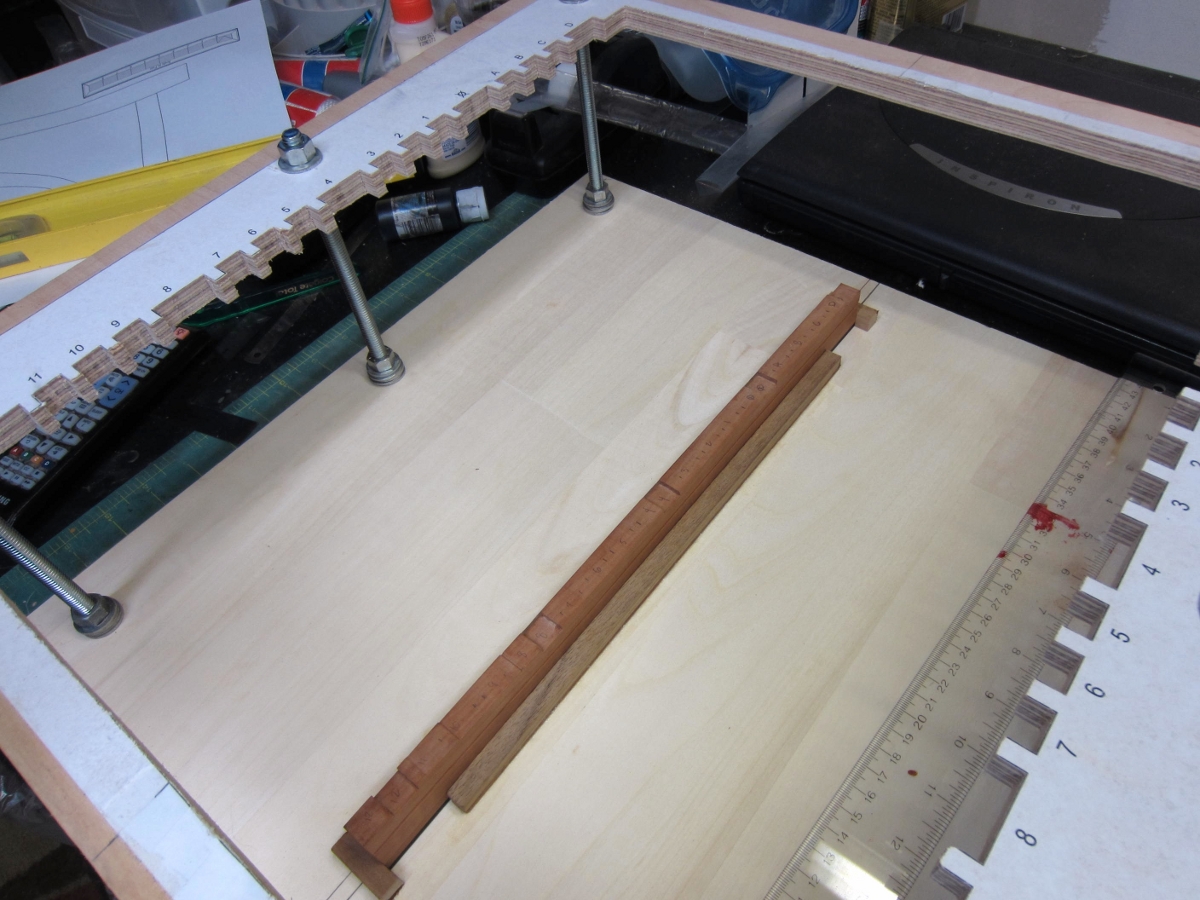
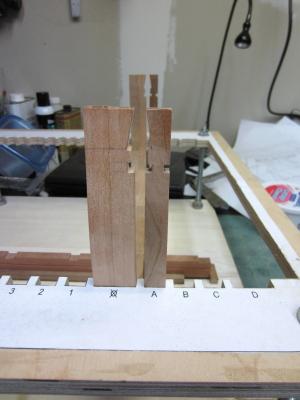
Moving on making frames here and I forgot to mention that when I added the chocks to the frames I left them a little proud. After that I used a spindle sander to clean them up. Here I’ve placed the bracing around the keel on the building board to hold it in place while I test fit the first of the frames. Here are the first two frames set temporarily on the keel in the jig.


- 421 replies
-
- 9
-
-
- granado
- bomb ketch
- (and 2 more)