


yvesvidal
-
Posts
3,550 -
Joined
-
Last visited
Content Type
Profiles
Forums
Gallery
Events
Posts posted by yvesvidal
-
-
What a collection !!! You are the king of 3D printing.
Yves
-
Beautiful and realistic davits. You are an expert at soldering and bending brass tubes.
Yves
- Keith Black, MAGIC's Craig and AON
-
 3
3
-
You should try printing a 1/200 scale model to fit with most military ships. That would be immense but quite spectacular.
Yves
-
Chris, this is superb. And what a treat to not have to paint: I find that to be the most difficult (for me) in building a model.
I truly love the look and proportions of that Vindicator, done in an era where planes were designed to really fly and not just be a cockpit pushed by big engines (basically a rock when the engine shut down).
Yves
-
I just bought that kit on Da-Bay a few weeks ago. Always wanted to build that monster and ominous beast.
Following your build will be very helpful. I have purchased the metal landing gears from Valiant Enterprises ($20). It may be a better fit for this large and heavy plane and perhaps you should consider it, too.
Yves
- Dave_E, Canute and Old Collingwood
-
3
-
-
It is a big bird, for sure. Superb construction as always.
Yves
- king derelict, ccoyle, Dave_E and 5 others
-
8
-
That is a very nice model in my favorite scale. I will be following your progress.
Yves
-
-
-
The good stuff about these "barcos" is that they are usually fully painted. Therefore, caulking the hull and sanding it will never be a problem.
Yves
-
Just now, ccoyle said:
I took the liberty of editing your title for you, since no respectable Bay Area residents I know of call a San Francisco streetcar a trolley -- they are cable cars. 😉
That is so true. And the cable is running below the surface of the pavement and rails. A very clever and advanced design.
Yves
-
Another OCCRE project. I will be following.
Yves
-
-
Fantastic model. I am in awe with the mechanism of the Hydro-foils.....that is a feast of engineering and must be quite impressive to watch (and feel) when it deploys at speed.
Yves
- Old Collingwood, Canute and modeller_masa
-
2
-
 1
1
-
4 hours ago, Ronald-V said:
Nice work! What kind of material are the figure sculptures made of?
Ronald,
The sculptures are made of CNC carved boxwood.
Yves
- Ronald-V, Keith Black and cotrecerf
-
2
-
1
-
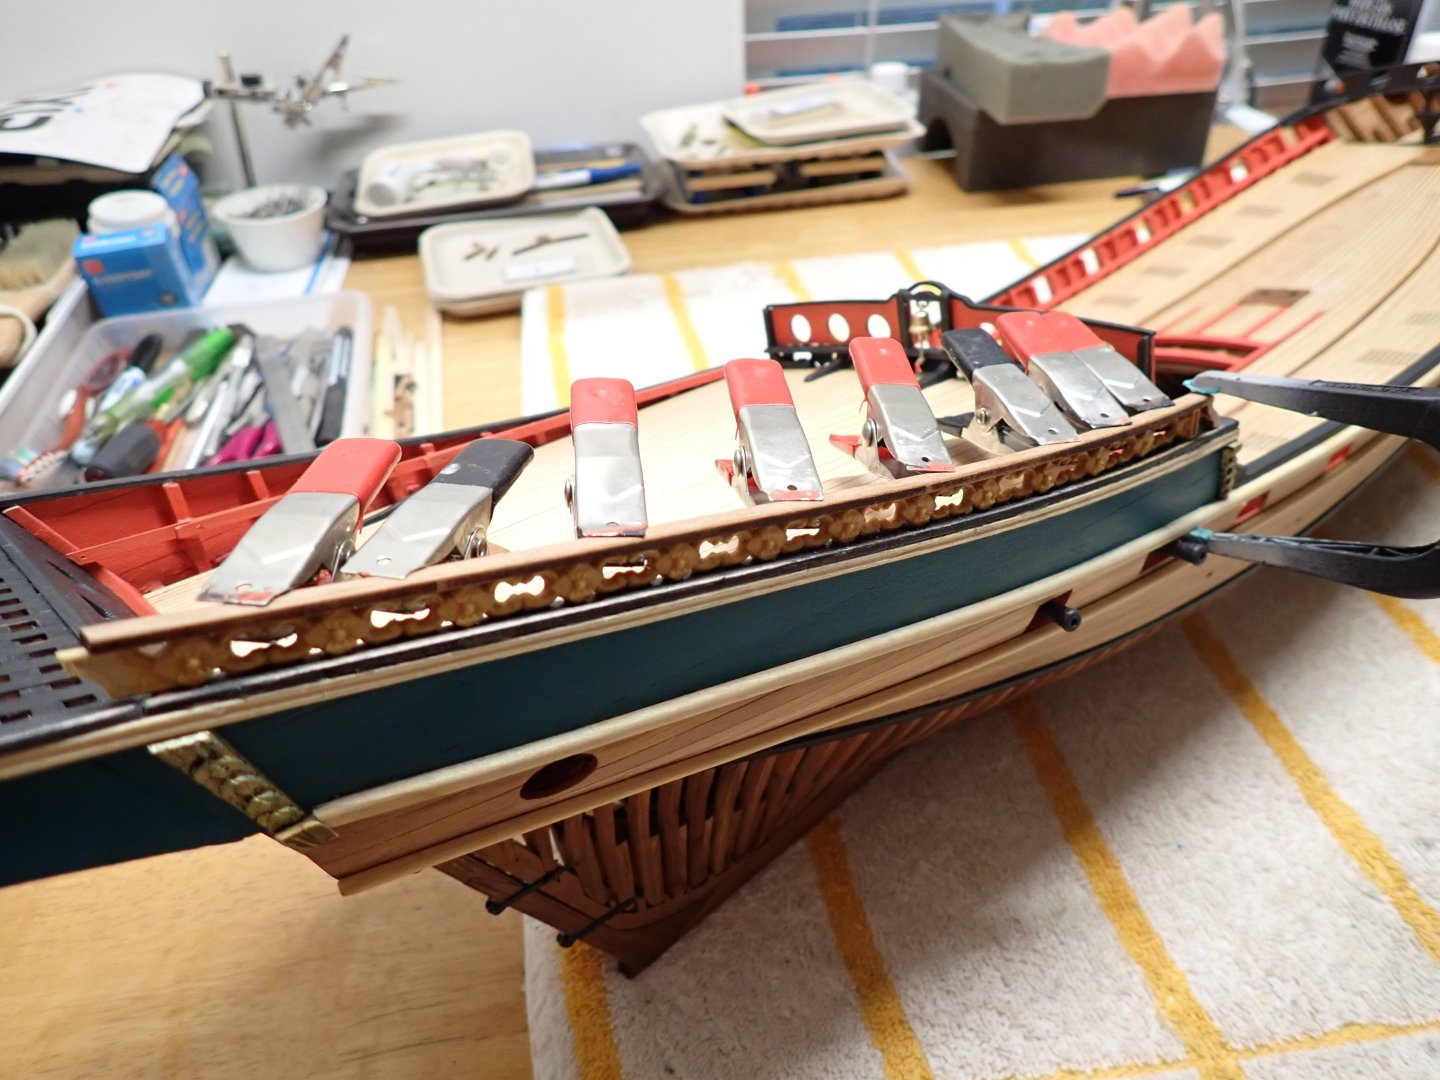
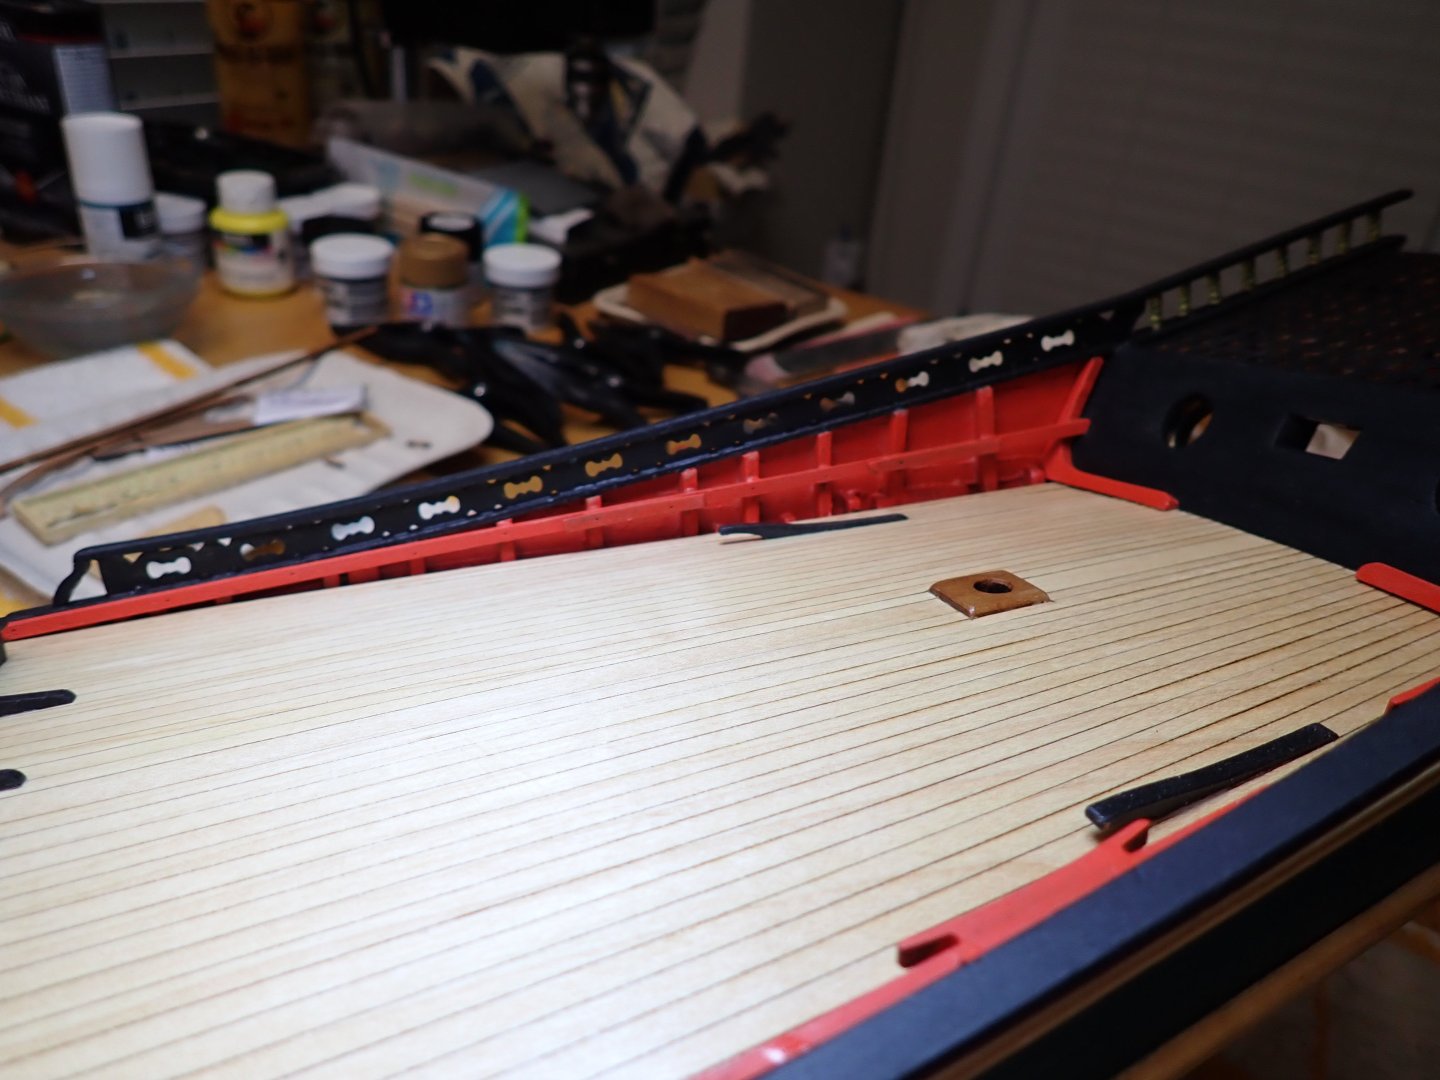
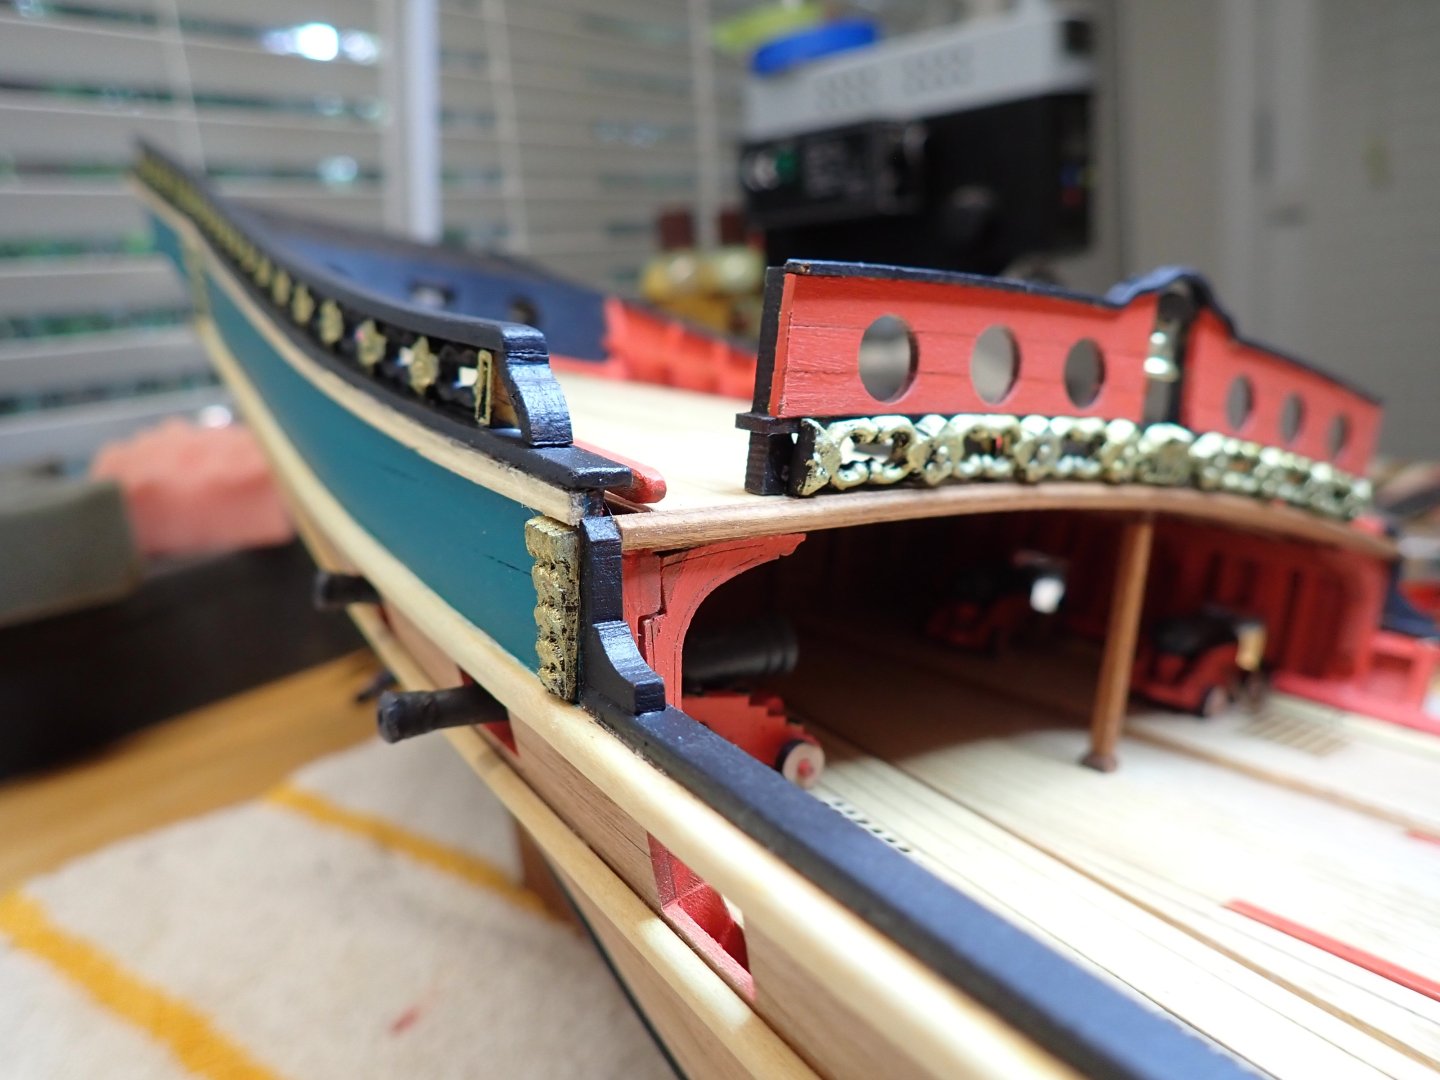
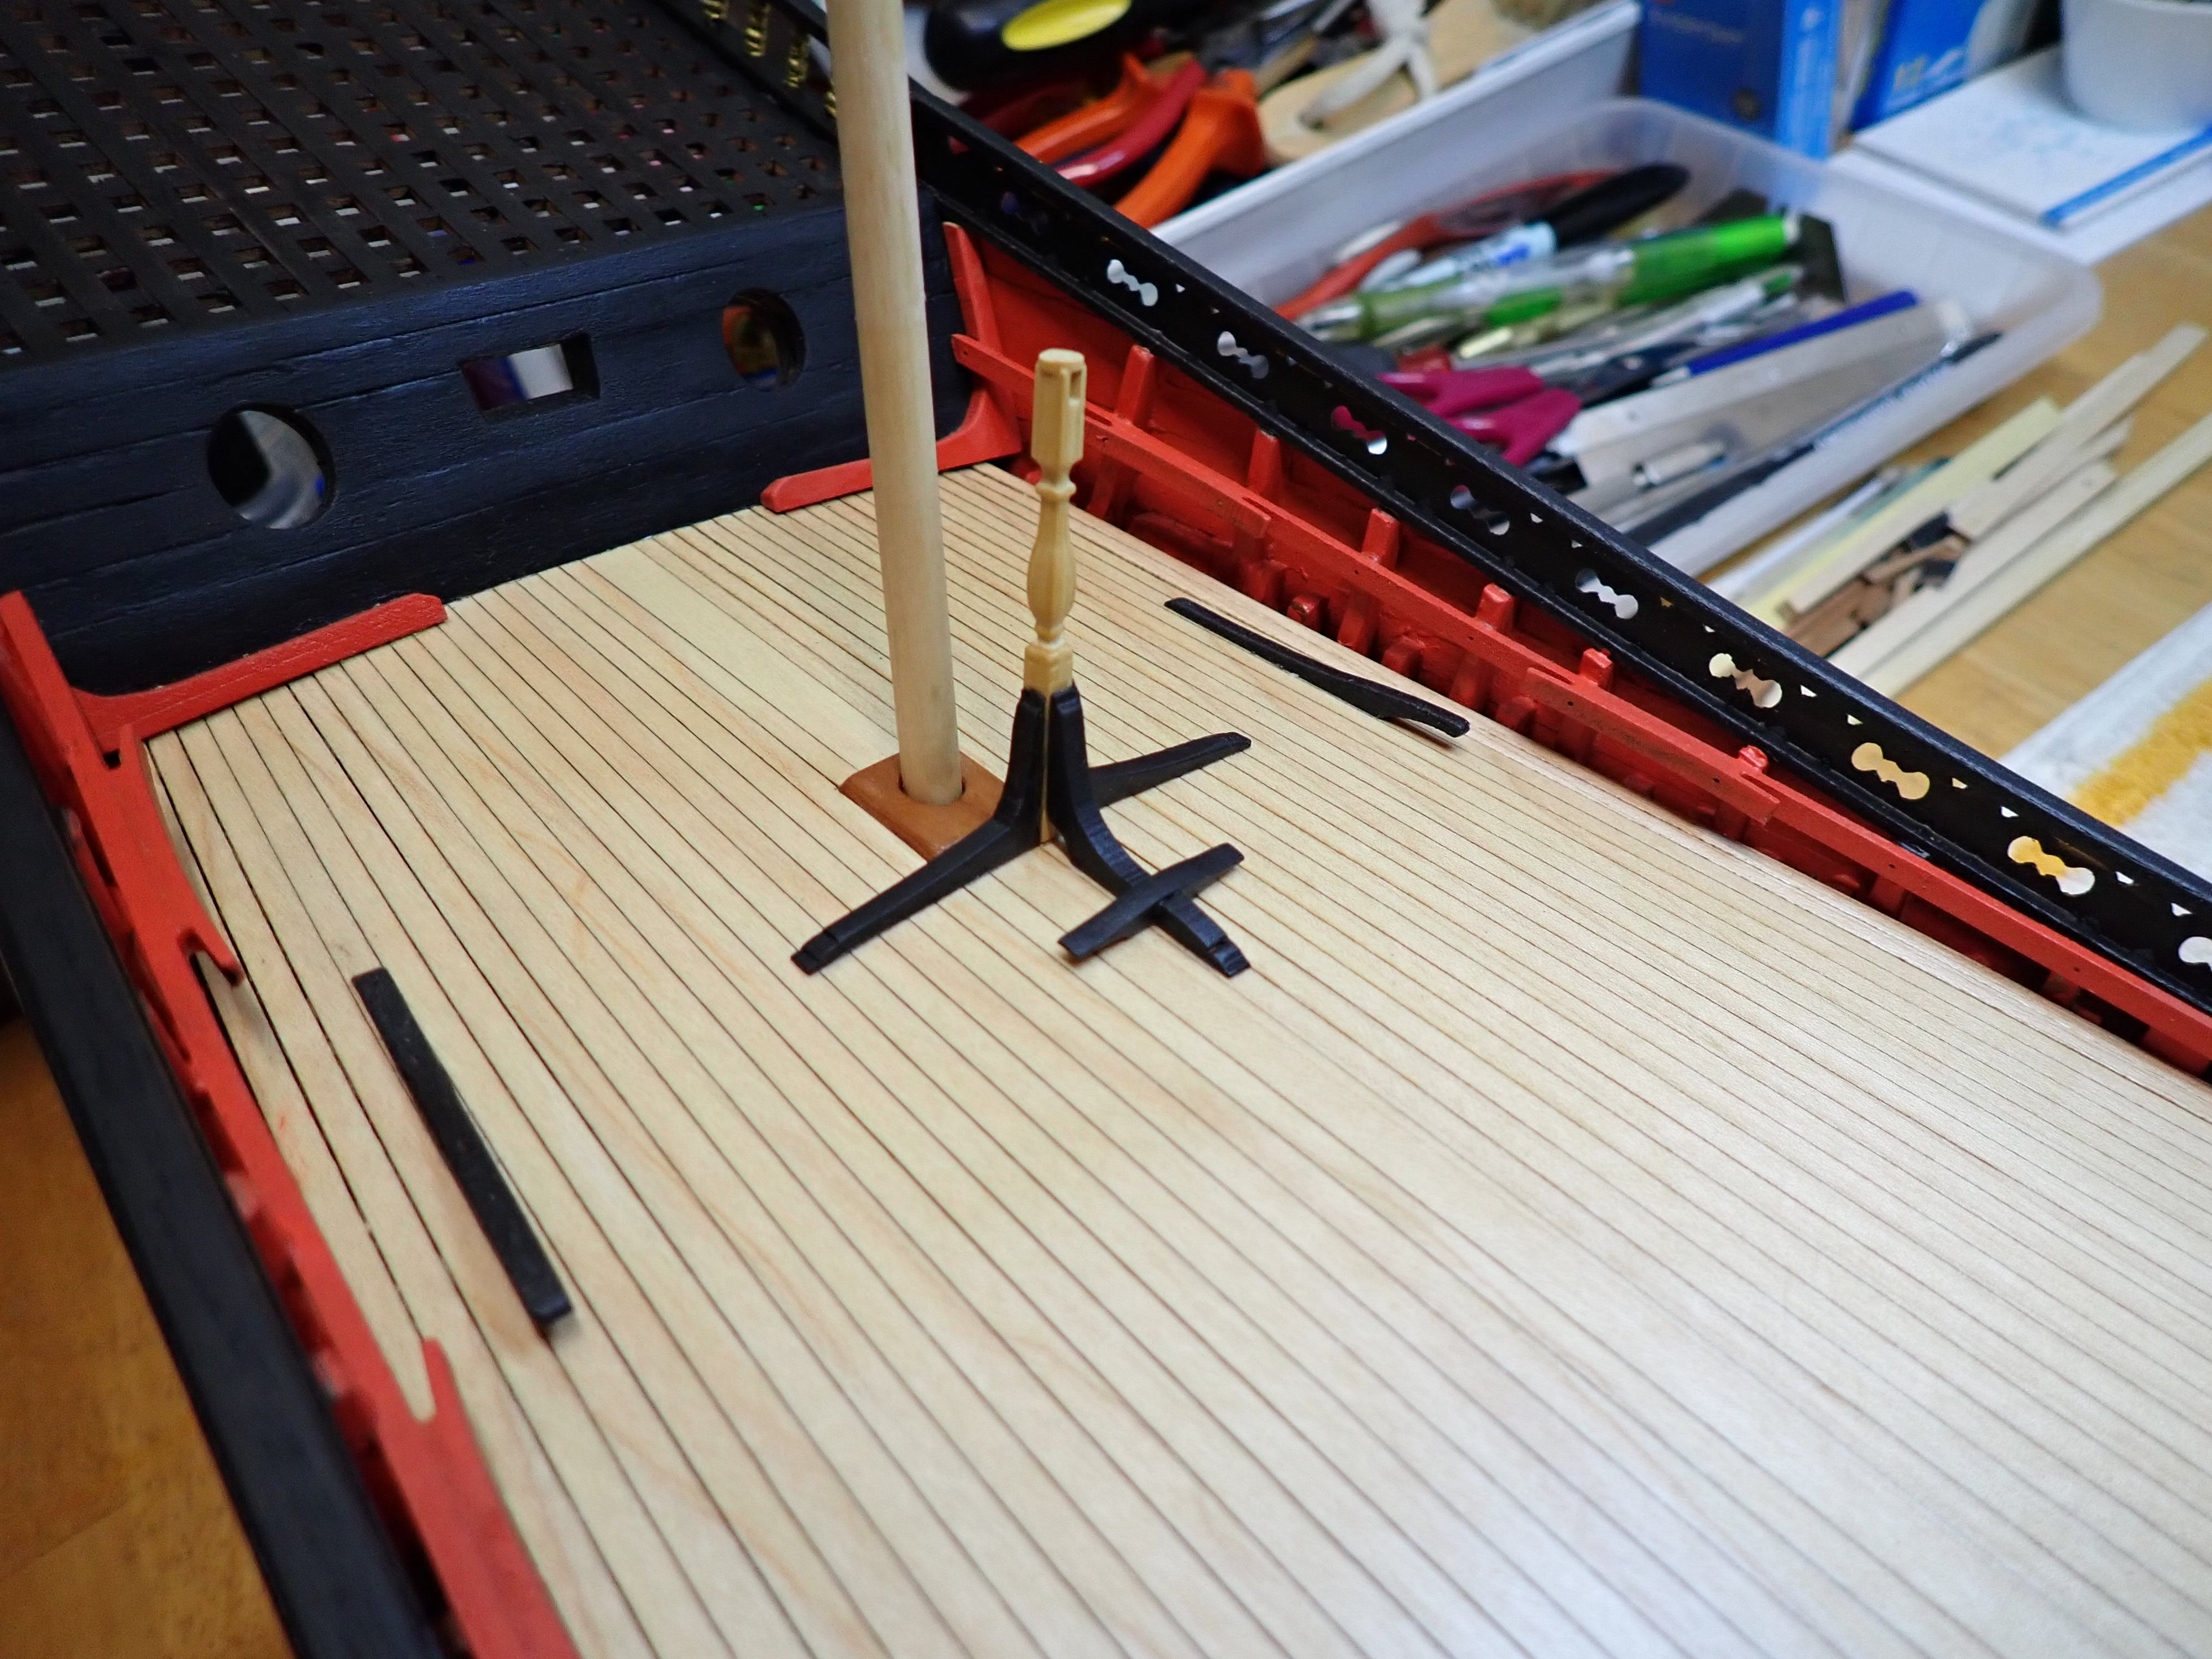
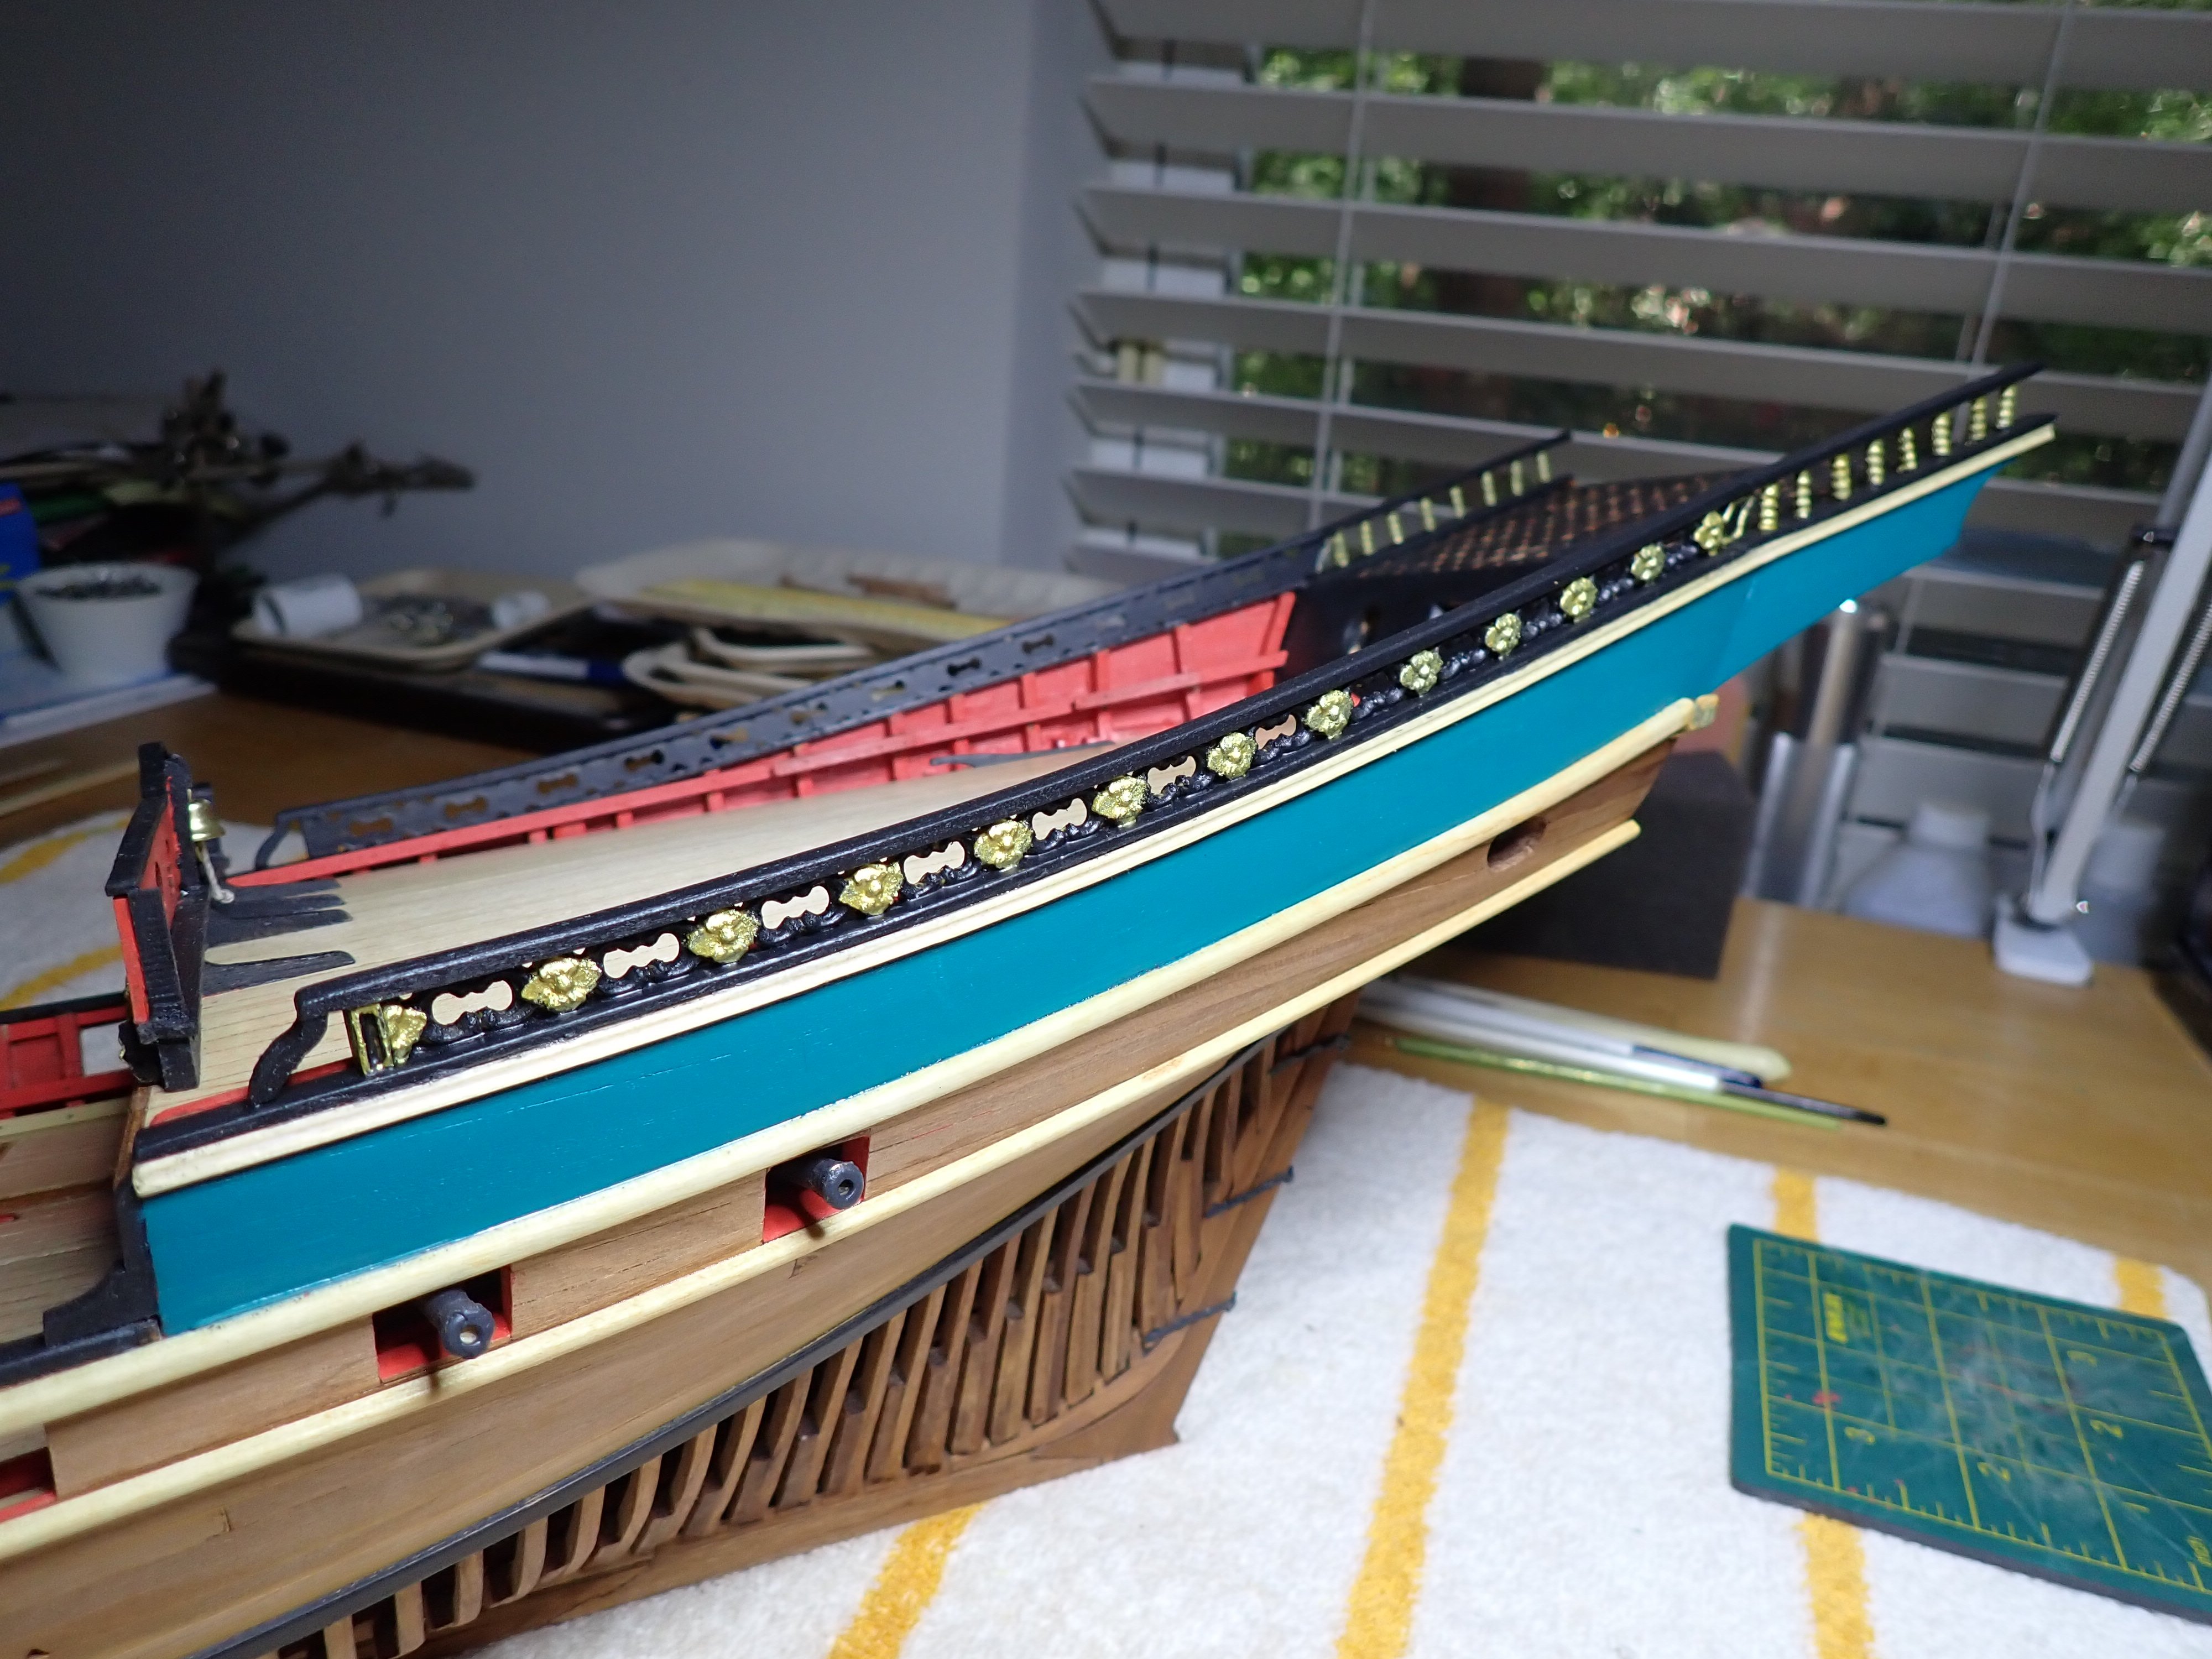
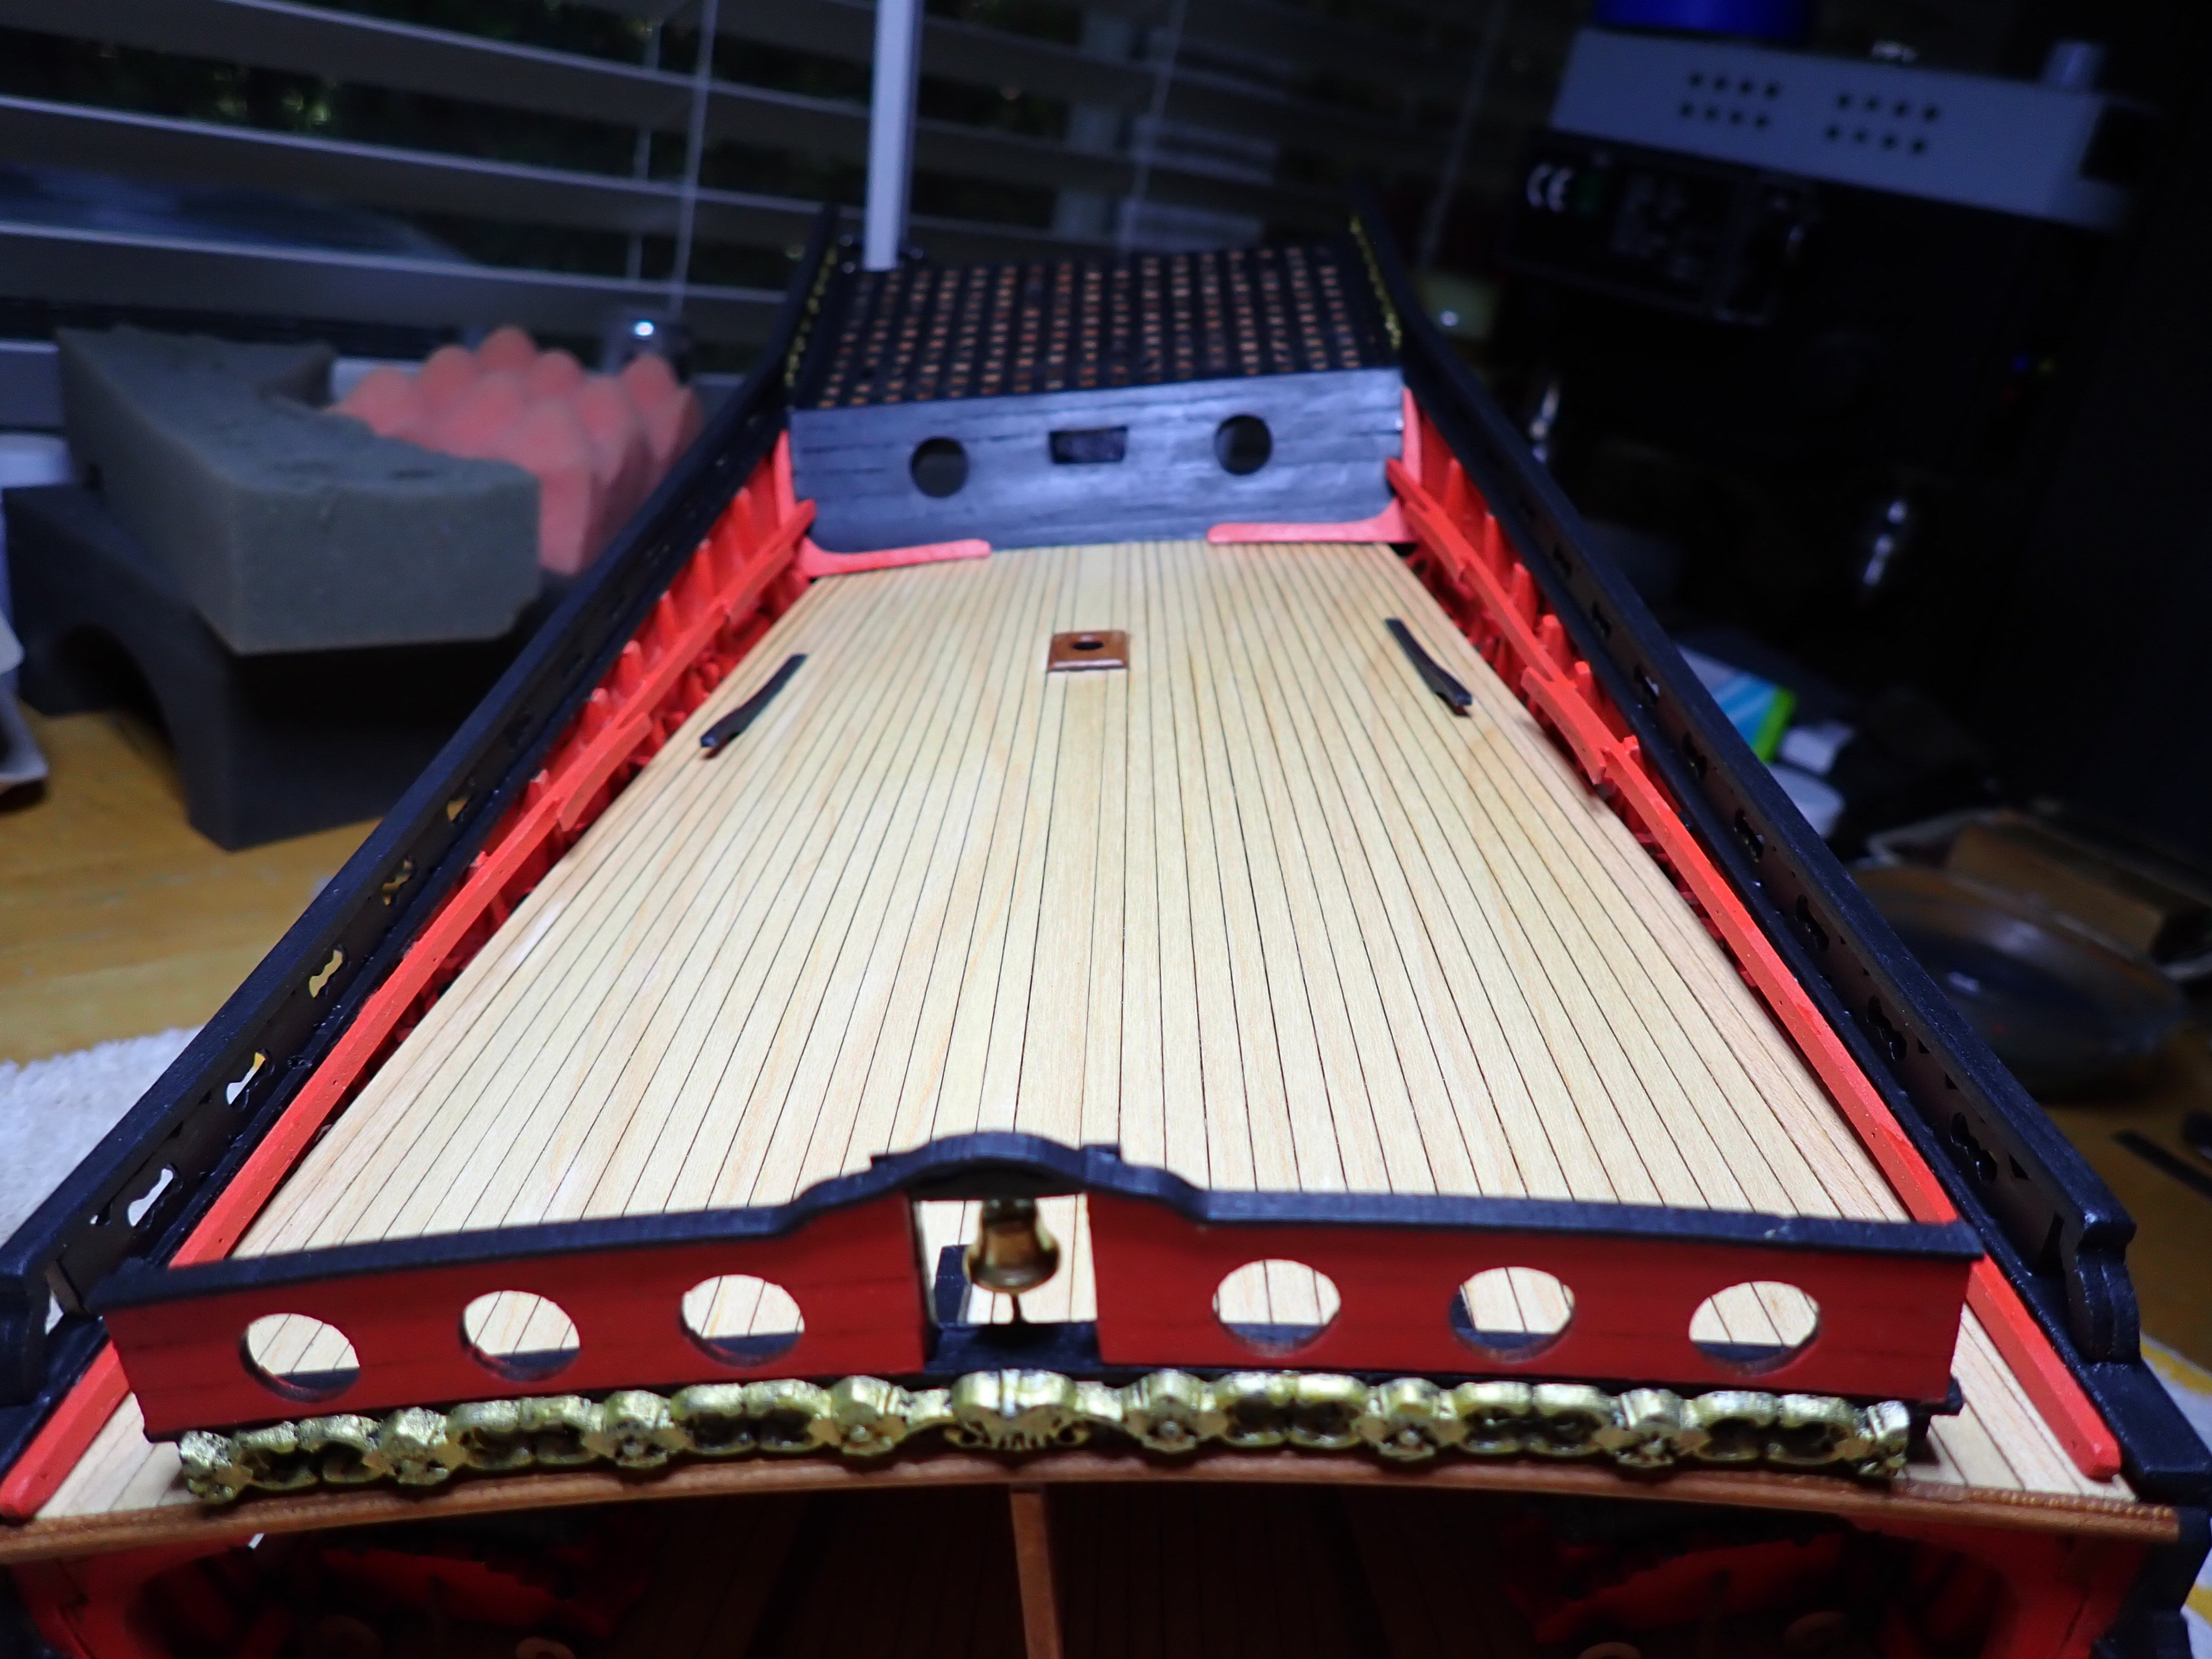
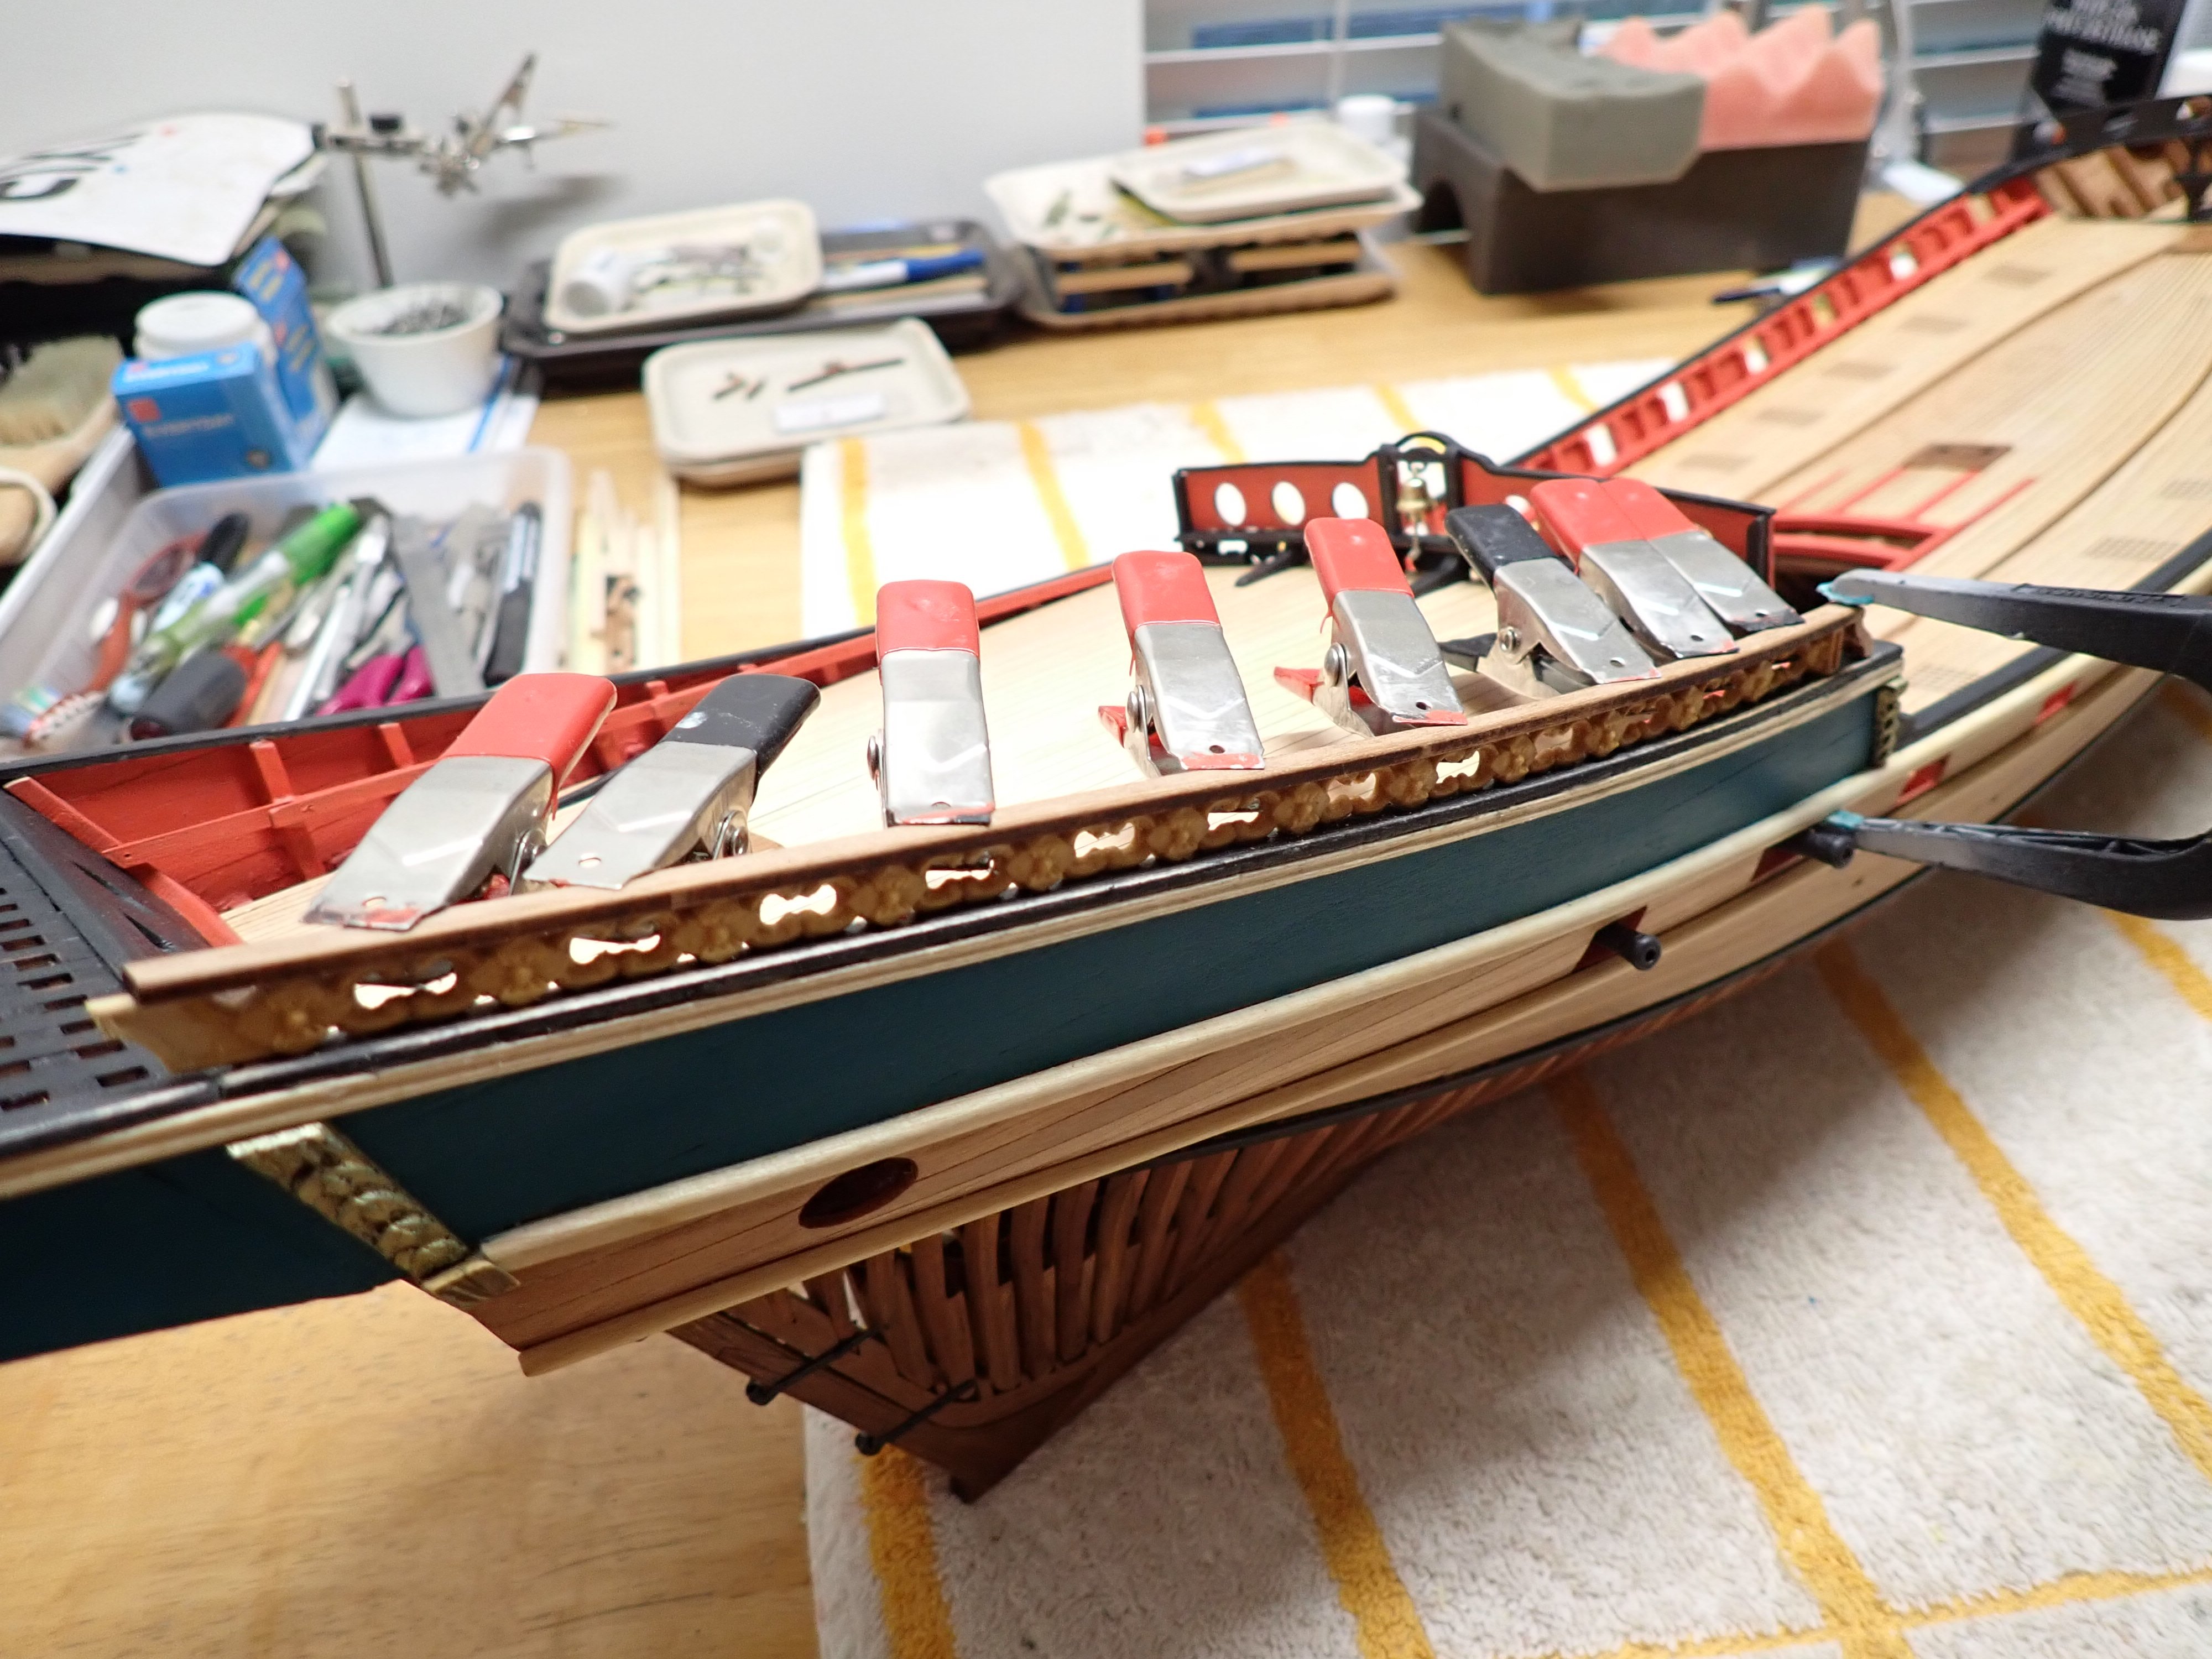
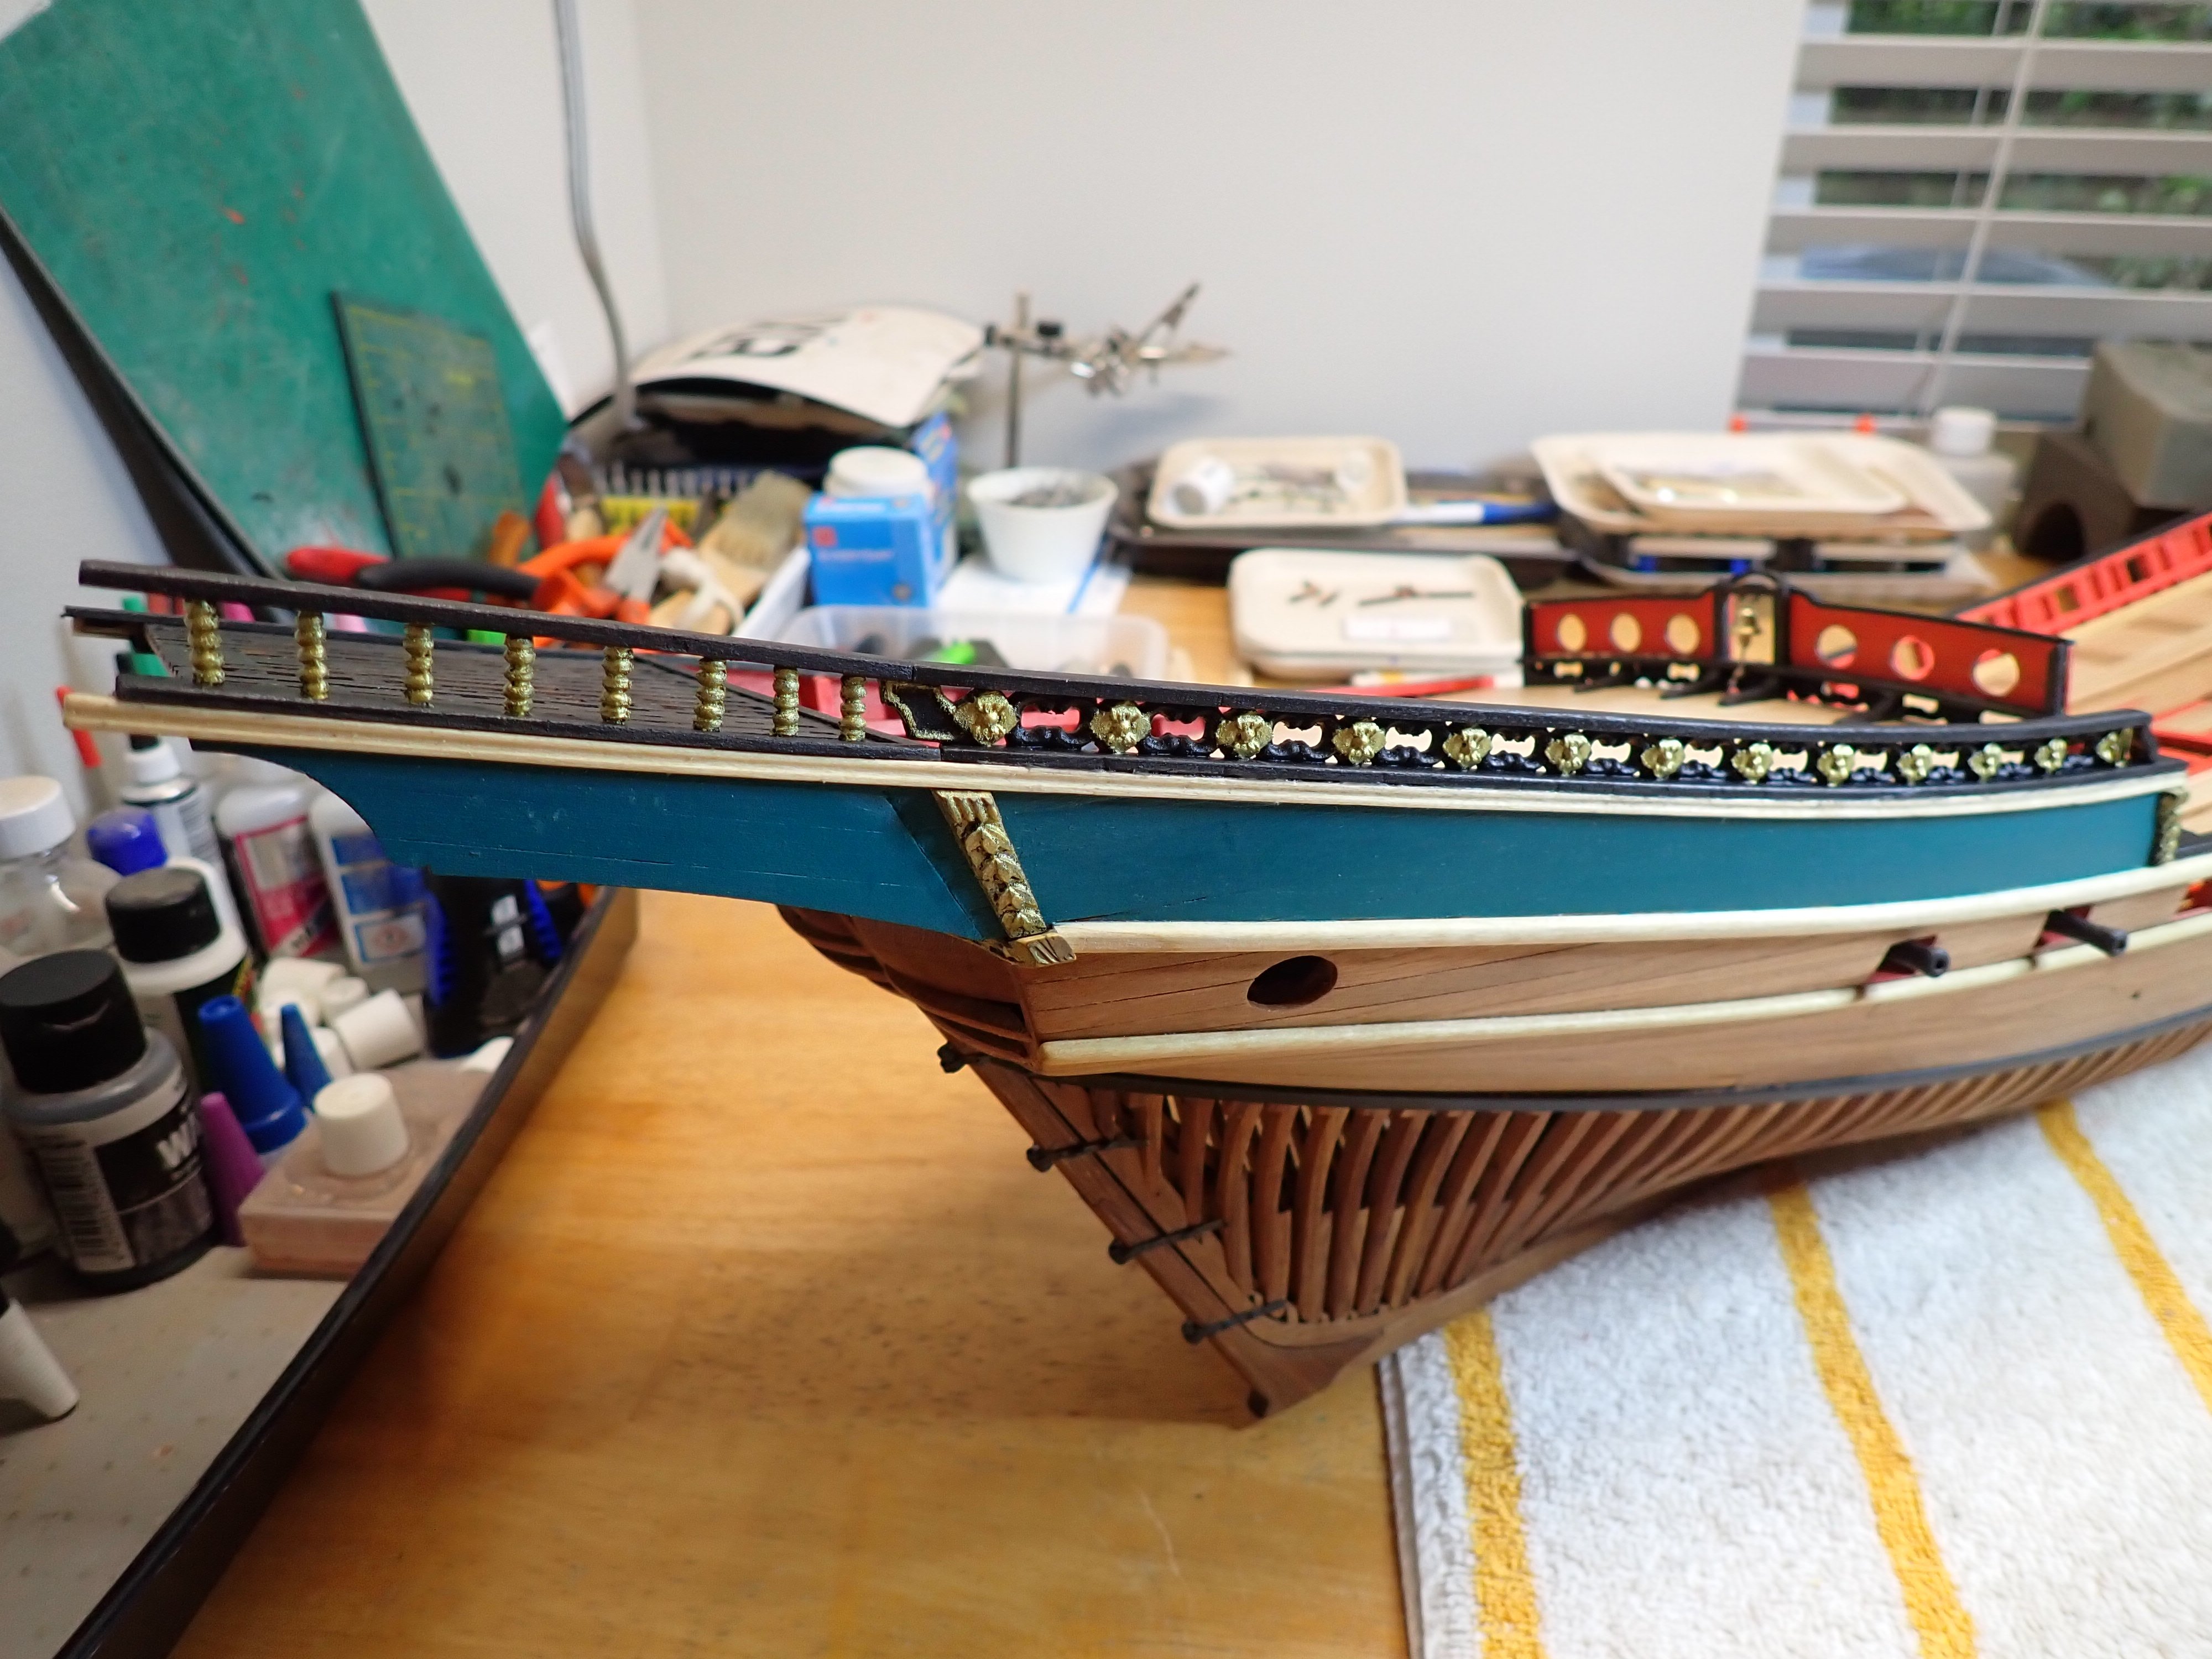
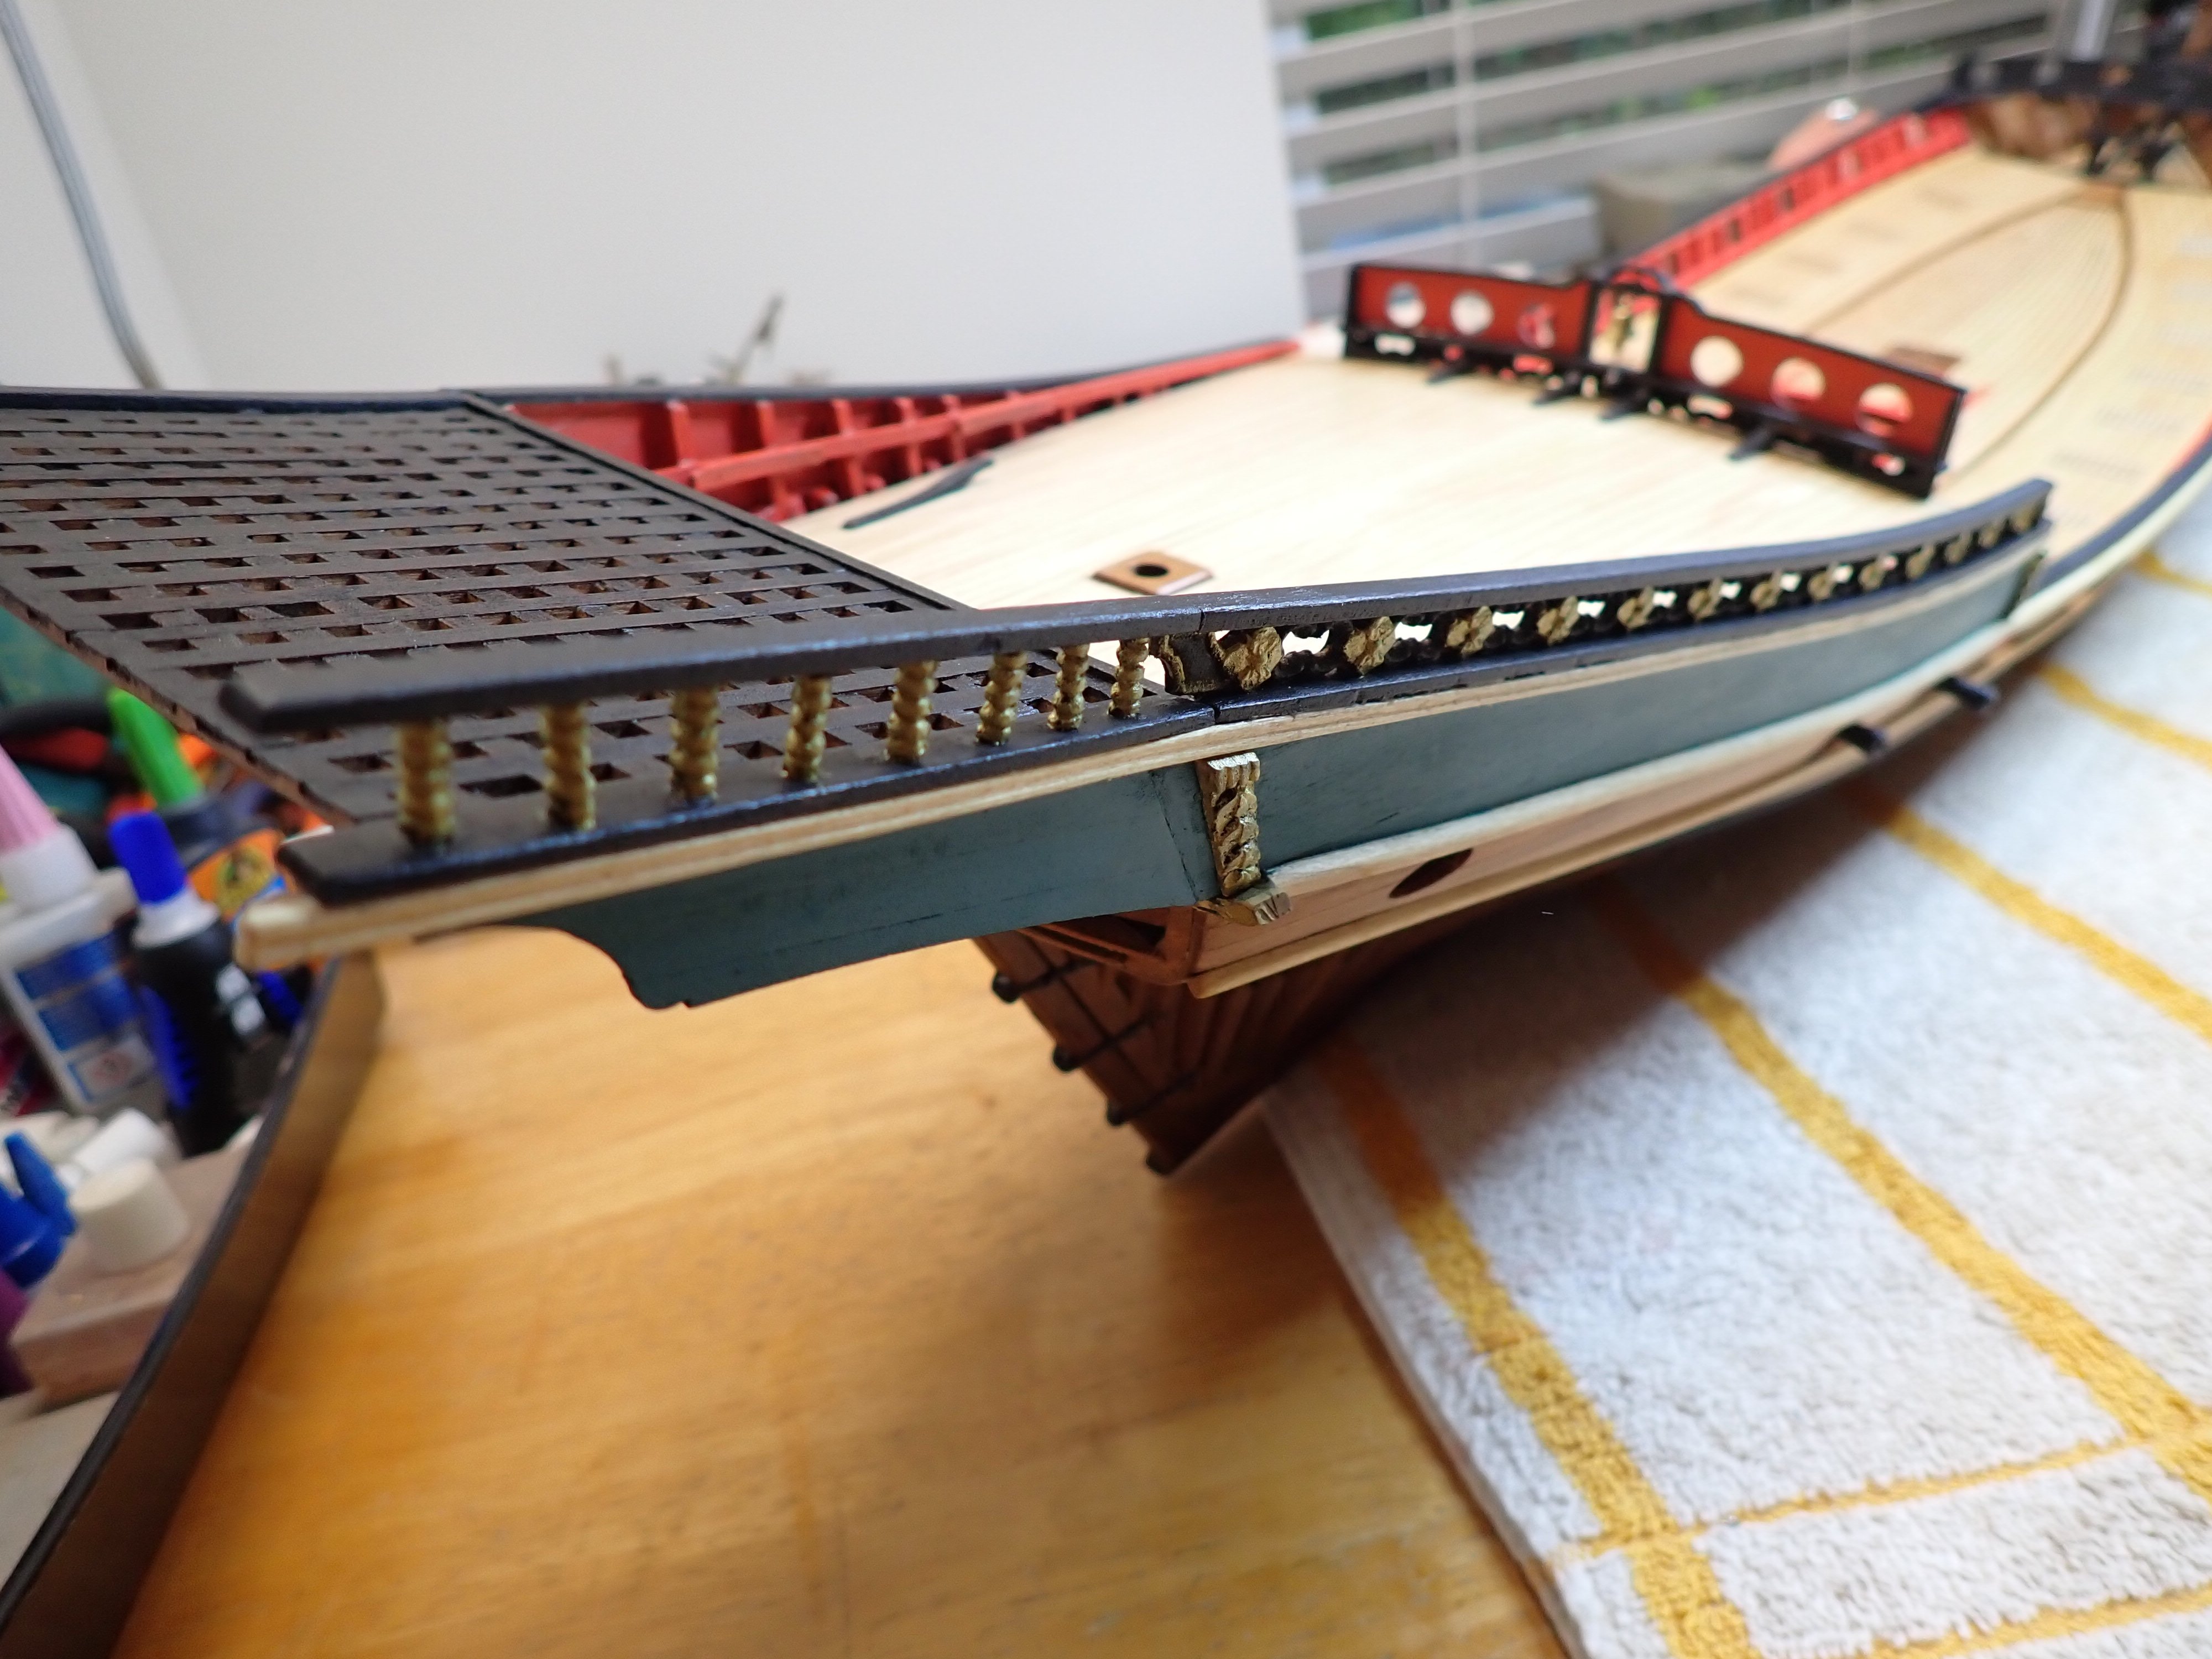
A few progress on the stern and its decoration. The rear panel is made of three parts:


The main sculpture is prepared on the bench:


Although very delicate, this assembly inserts itself nicely in the stern of the ship.


Et voila. I am going to take a short break from this vessel and do other things in the meantime.
Thank you for following and for all the positive feedback.
Yves
- brunnels, Keith Black, ChrisLBren and 13 others
-
15
-
 1
1
-
It is always a pleasure to see your work, Wieslaw.
Yves
- Canute, king derelict and wieslaw_
-
3
-
-
Beautiful job overall. Lots of good idea in your thread.
I will have to follow your Build Log when I decide to build that kit, sitting in my stash.
Yves
- Desertanimal, Ryland Craze and robert952
-
2
-
1
-
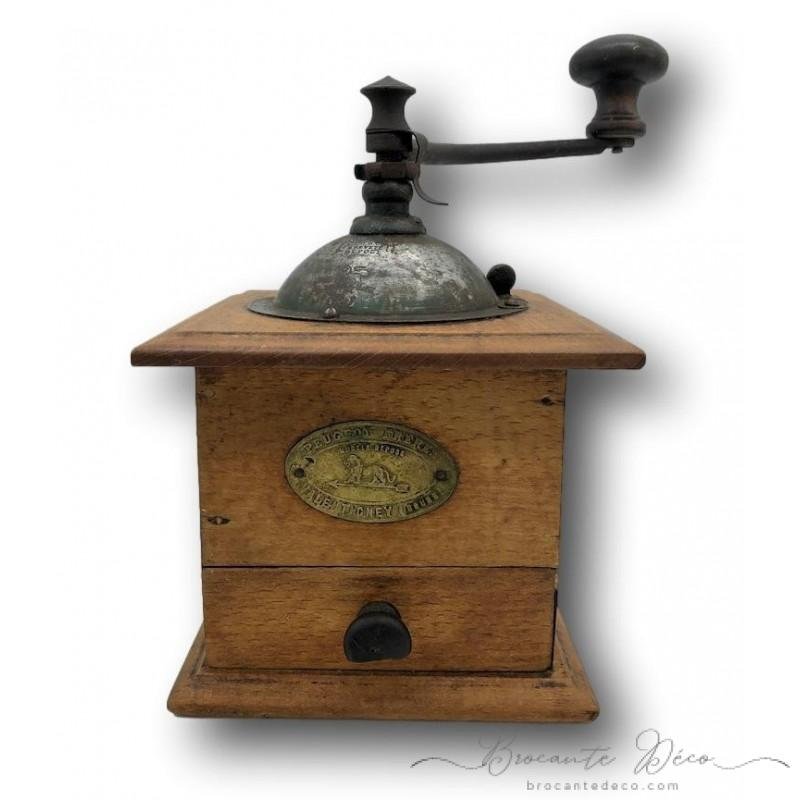
12 minutes ago, Egilman said:
Peugeot was one of the technical engineering leaders of their day... Right up there with Ford and Krupp and all the rest...
Yes, I am aware of that and agree completely. My brother owned a 403 Diesel, a couple of 504 Coupe(s) and is currently driving his 504 Convertible (4 Cyl. not the horrible v6 PRV engine) among other cars. Modern Peugeot cars do not have the same quality and present absolutely no interest.
Yves
- Old Collingwood, AJohnson, Canute and 3 others
-
6
-
-
-
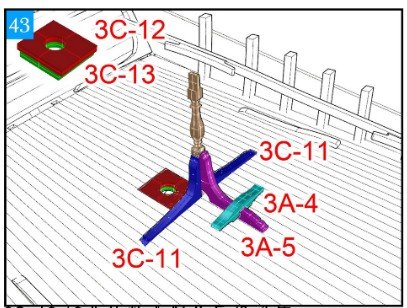
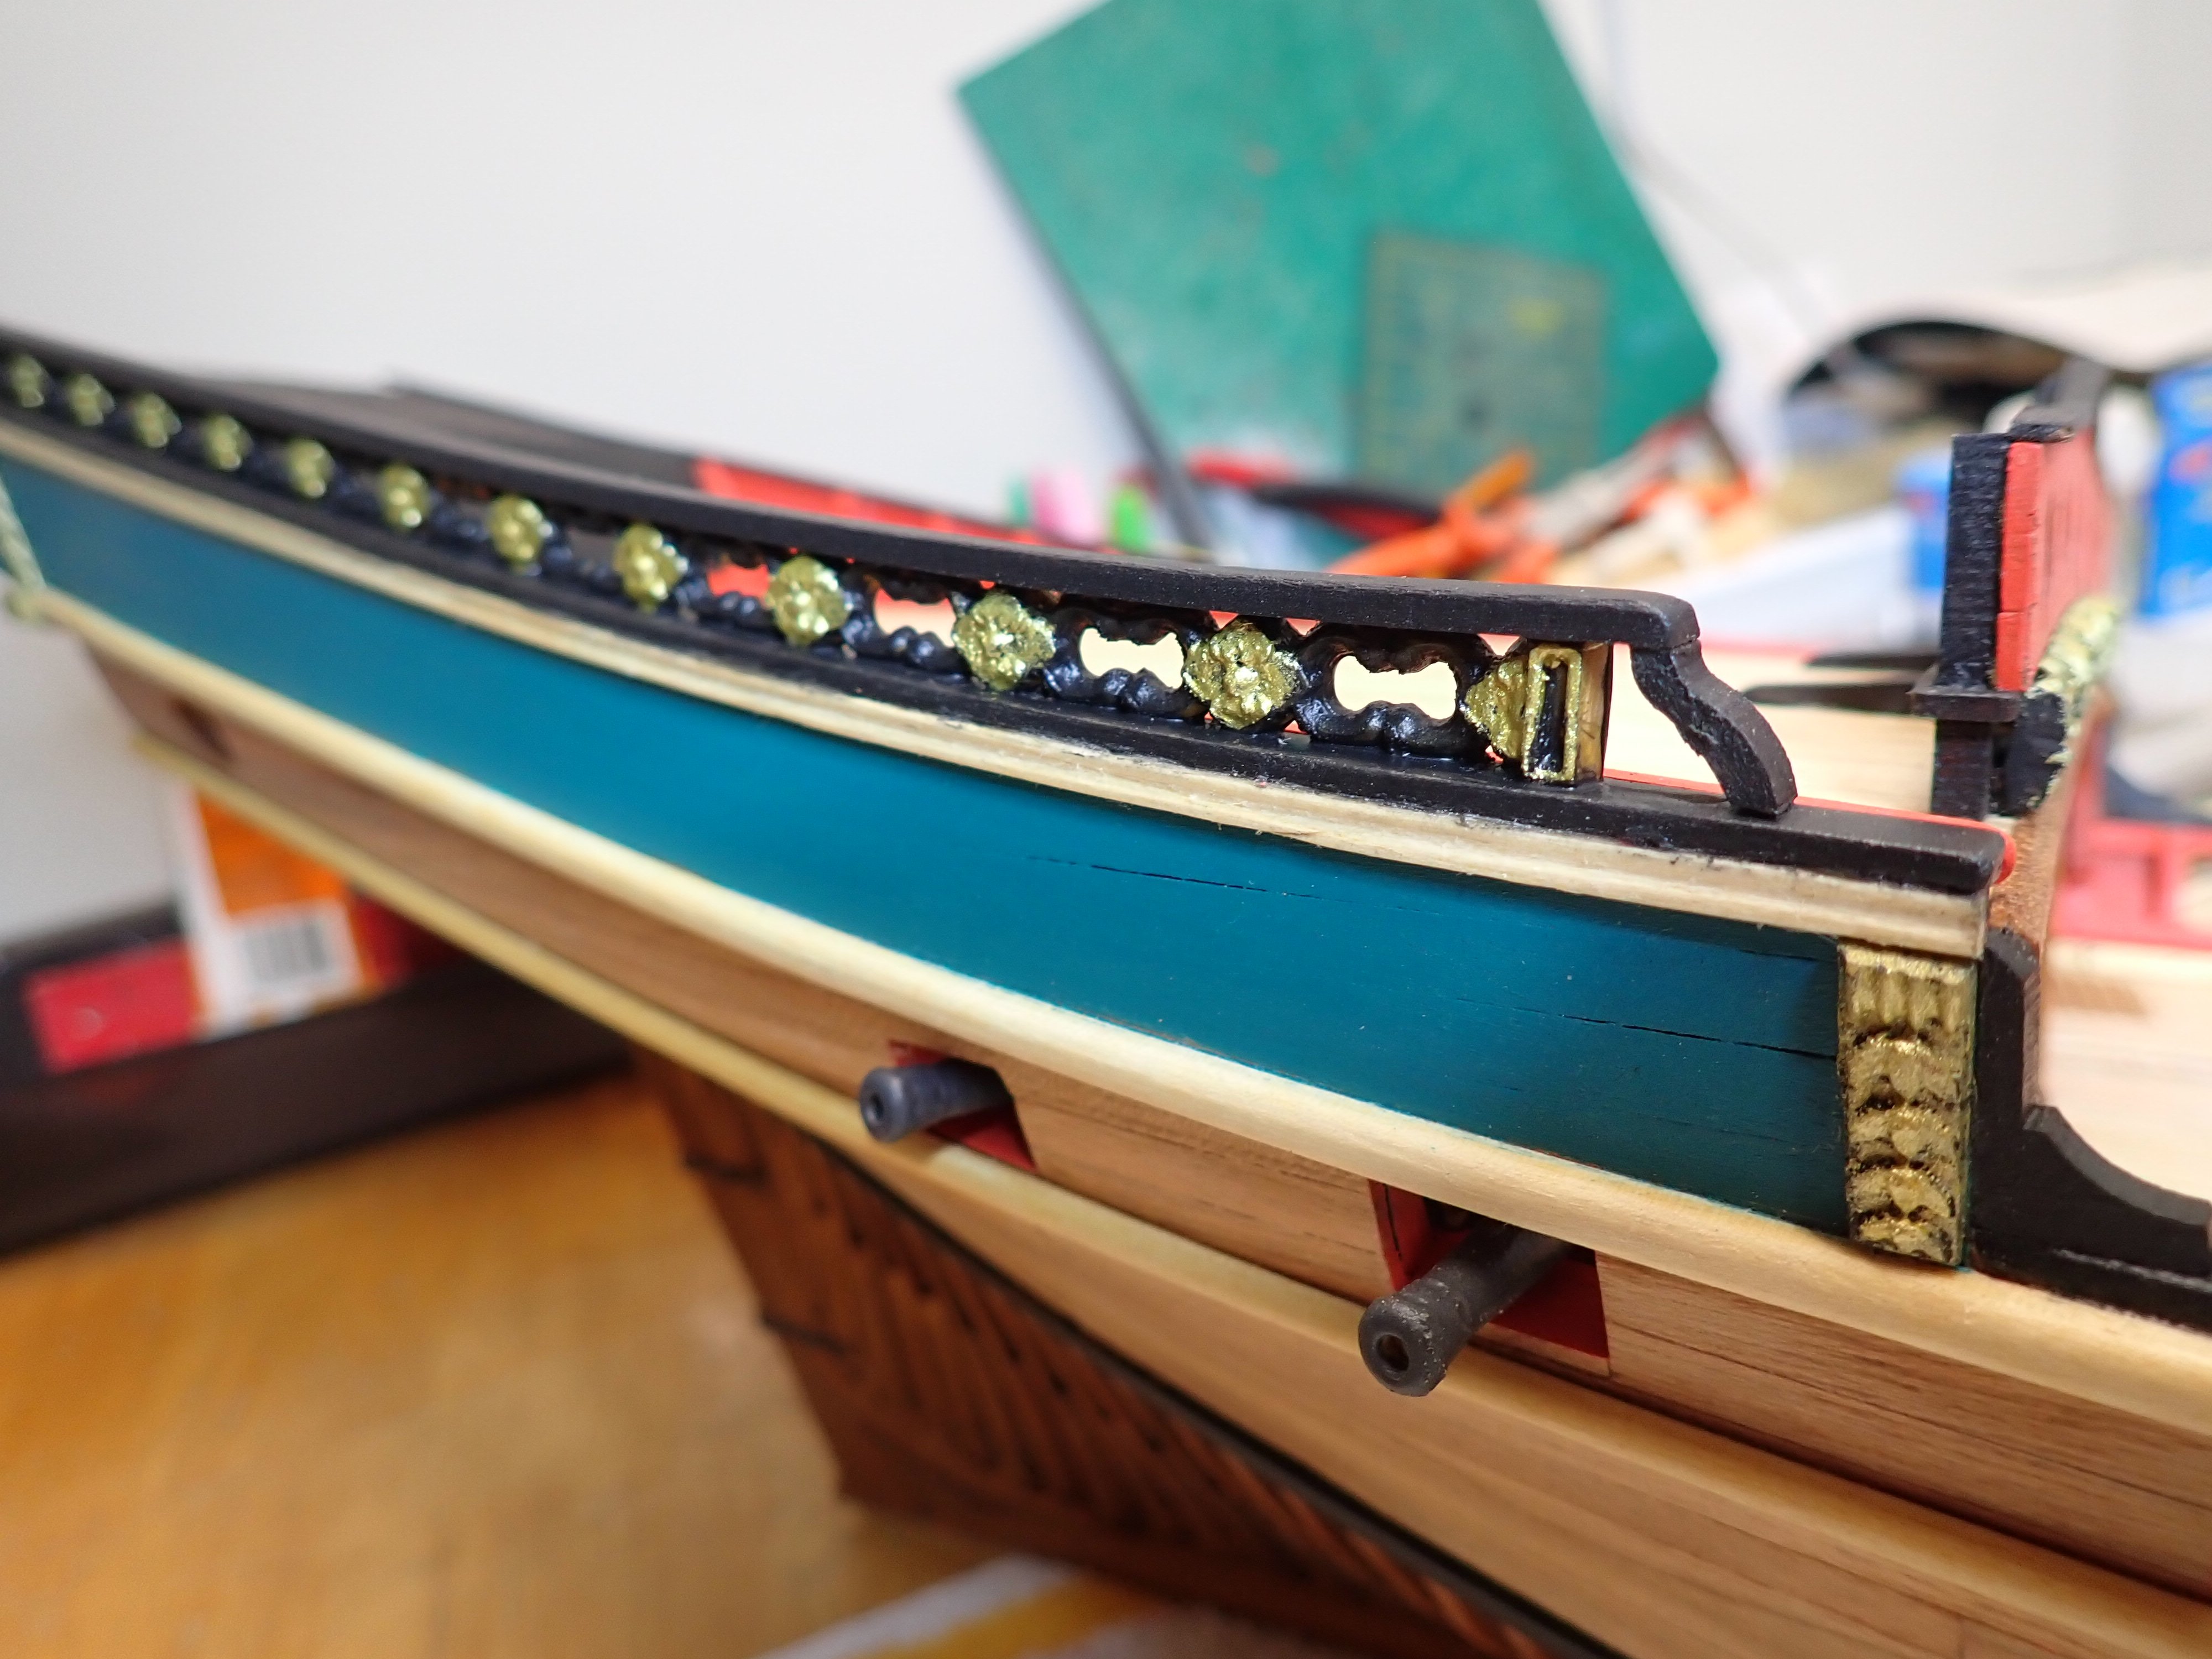
Now is the time to work on the railing of the rear quarter deck:
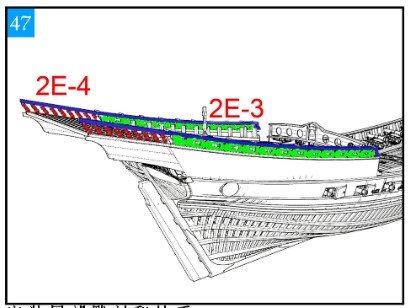
The boxwood carvings are glued with liquid CA. And then, some painting is done:


Now, I have to redo the same on the port side....
Yves


HMS Bellona by Andy Thurston - Corel - 1/100
in - Kit build logs for subjects built from 1751 - 1800
Posted
Beautiful work. You did a good job on the stern, which is not easy.
Yves