


yvesvidal
-
Posts
3,083 -
Joined
-
Last visited
Content Type
Profiles
Forums
Gallery
Events
Posts posted by yvesvidal
-
-
17 hours ago, Olaf said:
Hi guys. I just found that there are two different numbers for 1:200 Yamato Trampeter. Or maybe I need glasses 😀. Can somebody help me please which one is the newest?
I just found MonoChrome | No. 64010 | 1:200. Is this. It’s said that is newest model or Glow2B 505805200 is the same model?Same stuff for different markets.
-
-
-
-
Thank you, Kevin.
While finishing the lamps, I have a few questions regarding the staff and ensign on these period ships:
- How was the ensign attached to the staff?
- Was the staff equipped with a pulley at the top, to raise the ensign?
Any precision or explanations would be much welcome.
I thank you in advance.
Yves
-
-
Your model is becoming a museum piece. It is incredible and I can see the Love and Patience being poured into that model.
Yves
- Canute, Mirabell61, mtaylor and 1 other
-
 4
4
-
I would pour the shots, place them where you want them to be and then pour the resin on top.
Resin is worse than water (in a way) and will seep through every little holes and cracks you have.
Yves
-
-
I have used bug pins with success. These are the long and thin pins used to display bugs on boards.
Using wire, I do not think you can get anything stiff enough to work.
Below is what I did on my Honda CB750 (1/6th scale): Left is the reworked wheel, right is the kit wheel.
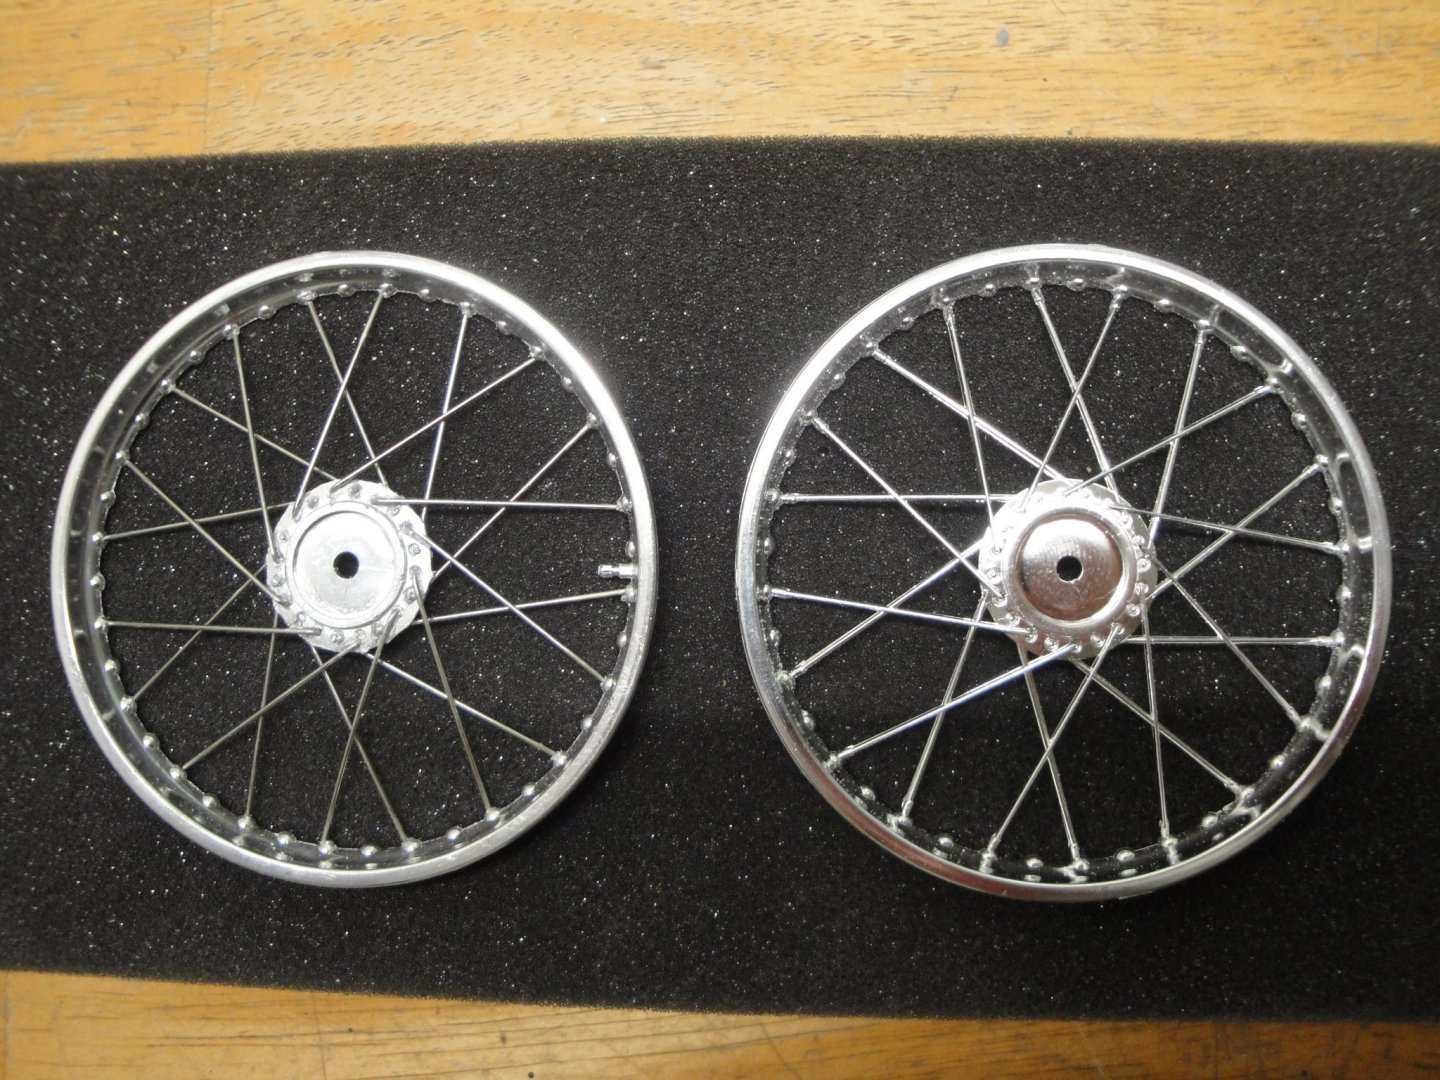
Yves
- AJohnson, Jack12477, Ryland Craze and 12 others
-
15
-
Fantastic work on the Chrome, Craig.
Yves
-
Sultana deserves to be produced in 1/32nd scale. It is such a lovely ship.
Yves
-
2 hours ago, Ian_Grant said:
I bought lead shot and poured into the bilge compartments formed by the framing, afterwards sealing with epoxy resin.
Perfect.
-
I love that model. Thank you for building it and presenting it to us. Obviously, we cannot build everything and these logs allow us to live vicariously through the world of plastic scale models.
Yves
- Canute, Old Collingwood, mtaylor and 4 others
-
7
-
Lead (glued) is the best way to ballast a ship model.
Yves
-
17 hours ago, kpnuts said:
Started dirtying up the chassis, got so many ideas about staging this wreck, I really want to show the chassis and engine separate from the bodywork, thinking in a barn with body parts piled up somewhere, so many ideas.
Romantic view or wish: the treasure sleeping in a barn, ready to be restored! I doubt that you will ever find a Bugatti in a barn, especially the 35B type. It is not the kind of car countrymen usually buy.
Yves
-
-
9 hours ago, CDW said:
The bare metal foil treatment on the driver's side windows will be repeated on the other three window frames, the trim areas surrounding the wheels, one strip down the center of the hood, and the rocker panels.
That is looking sharp, but what a pain it must be to place these strips around the openings.
Yves
- mtaylor, Old Collingwood and Jack12477
-
3
-
-
-
-
I realized that I have not posted any updates for quite a while. Life got in the way, new responsibilities at work (less time to tinker with models), a new Pinball machine being restored and many other things.
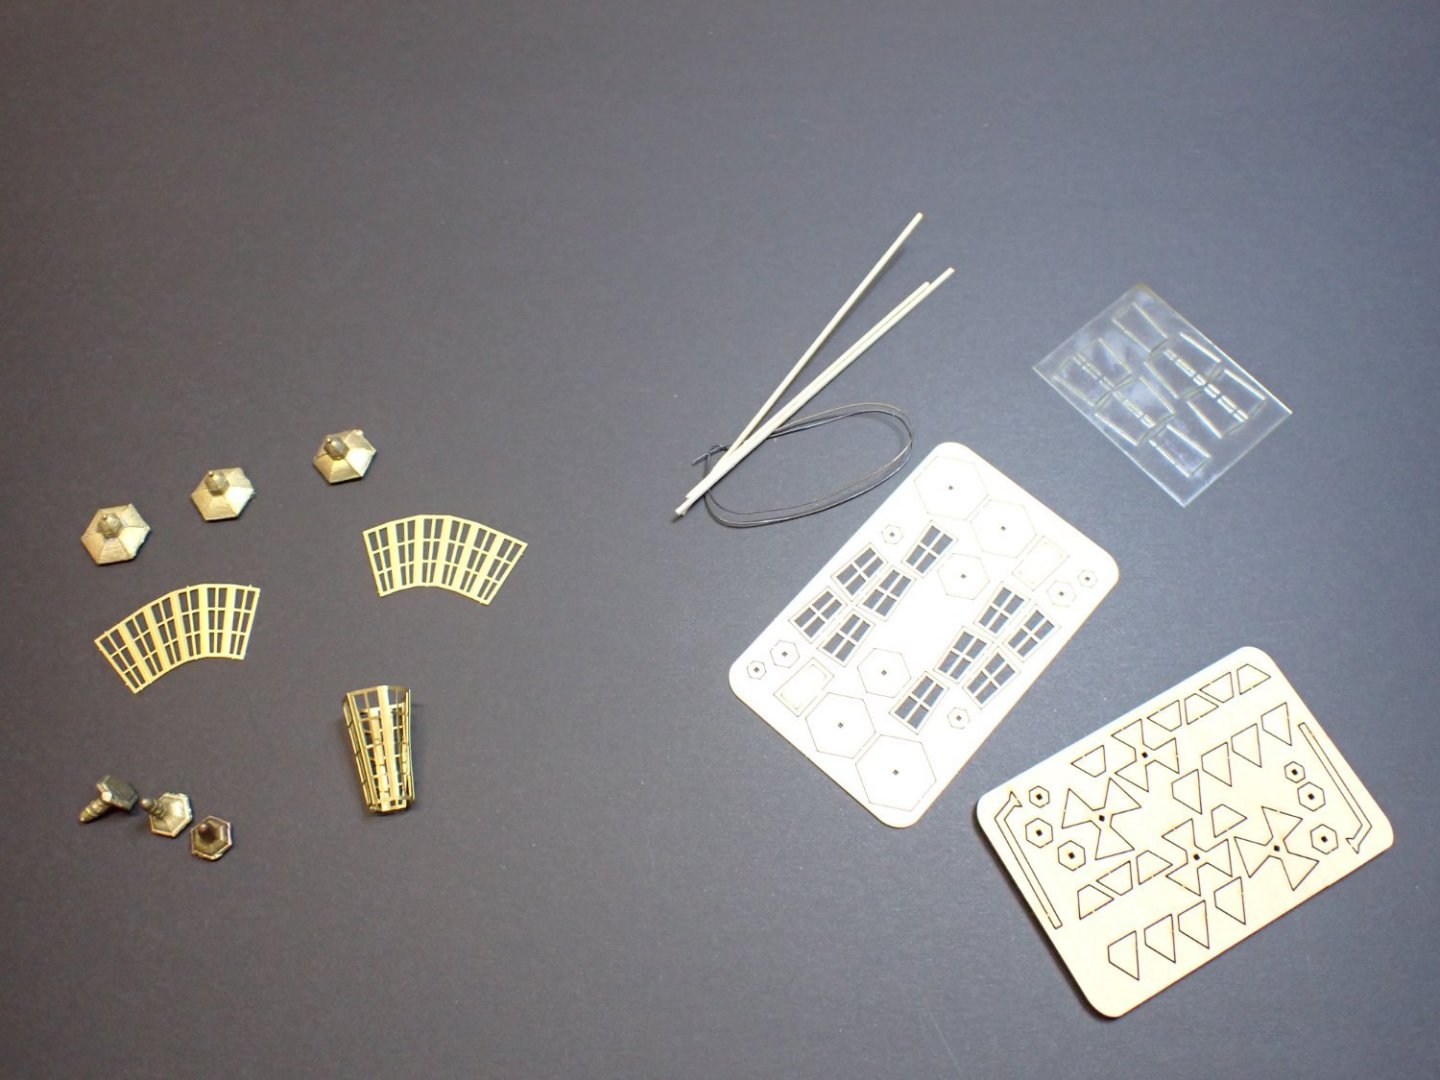
I am still debating how to place these massive anchors on the bow and side of the hull. Therefore, I turned my interest to the stern and started building the lamps. CAF Models provides in the Session #5 of the kit, three pre-etched windows and some brass moldings of the top and bottom of the lamps:
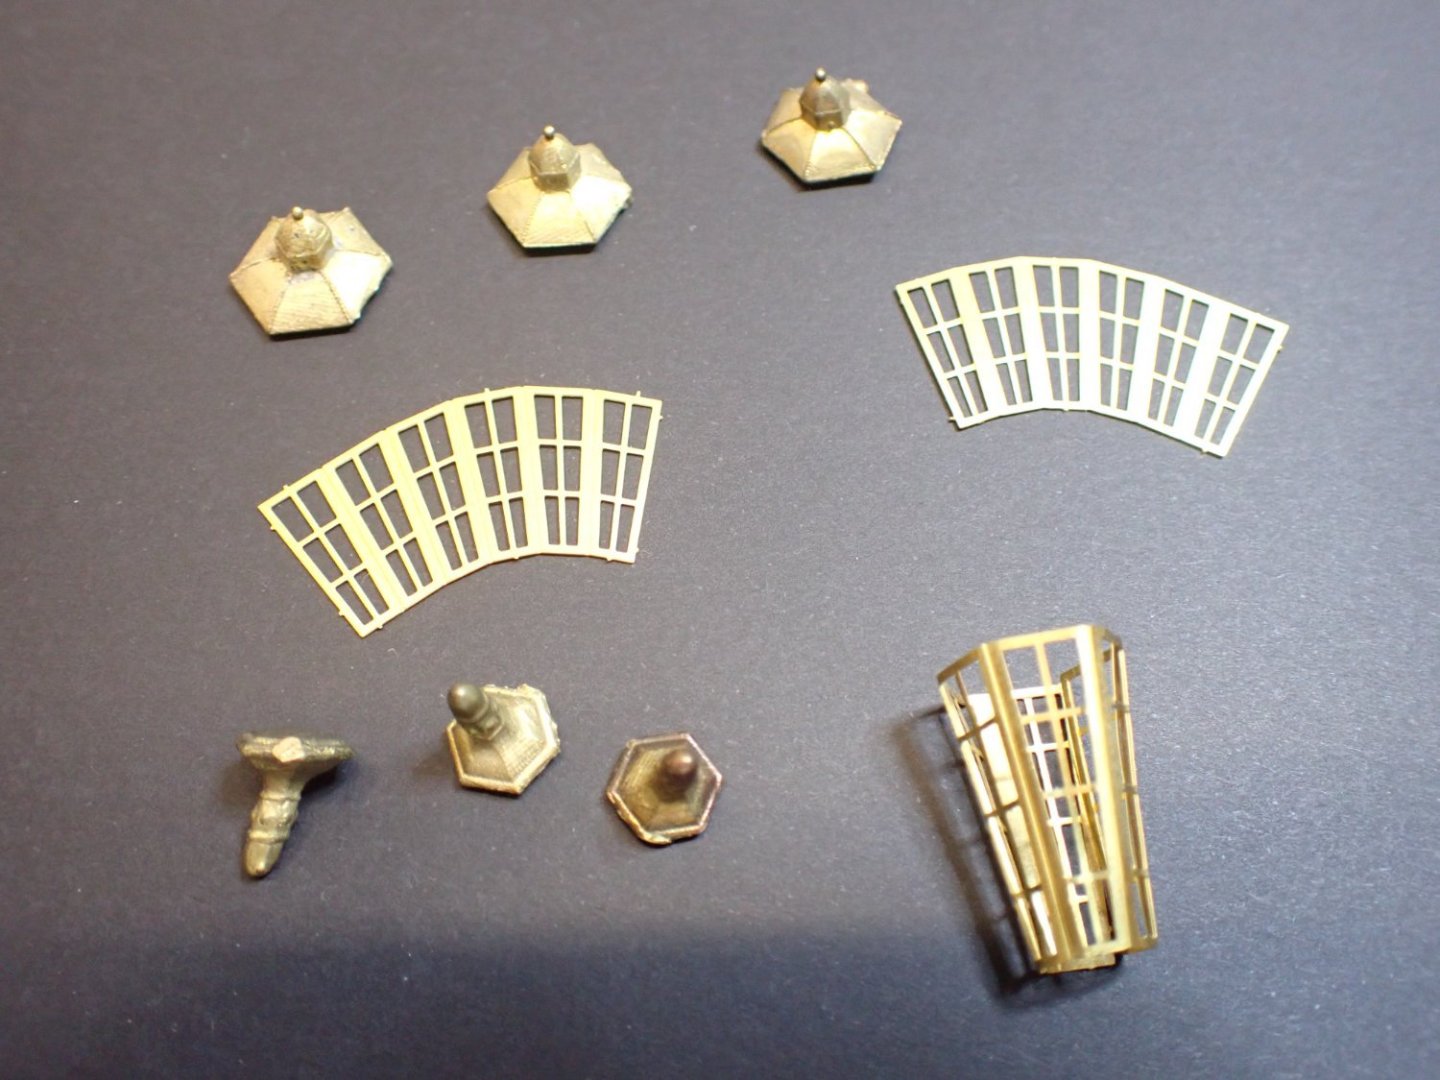
These lamps are a little bit crude and do not have some details such as the glasses, door and the candlewick. So, I decided to also acquire the Syren lamp kit in 1/48th scale. This kit is a lot more complex, complete and is really a small project in itself (not really surprising from Chuck, is it?):

When comparing both kits, one can see some major differences. The only drawback I have with the Syren kit is that the lamps are a little bit short in height, whereas the CAF Model lamps may be a little too tall and reminiscent of these romantic Spanish galleons we see in Pirates Movies:
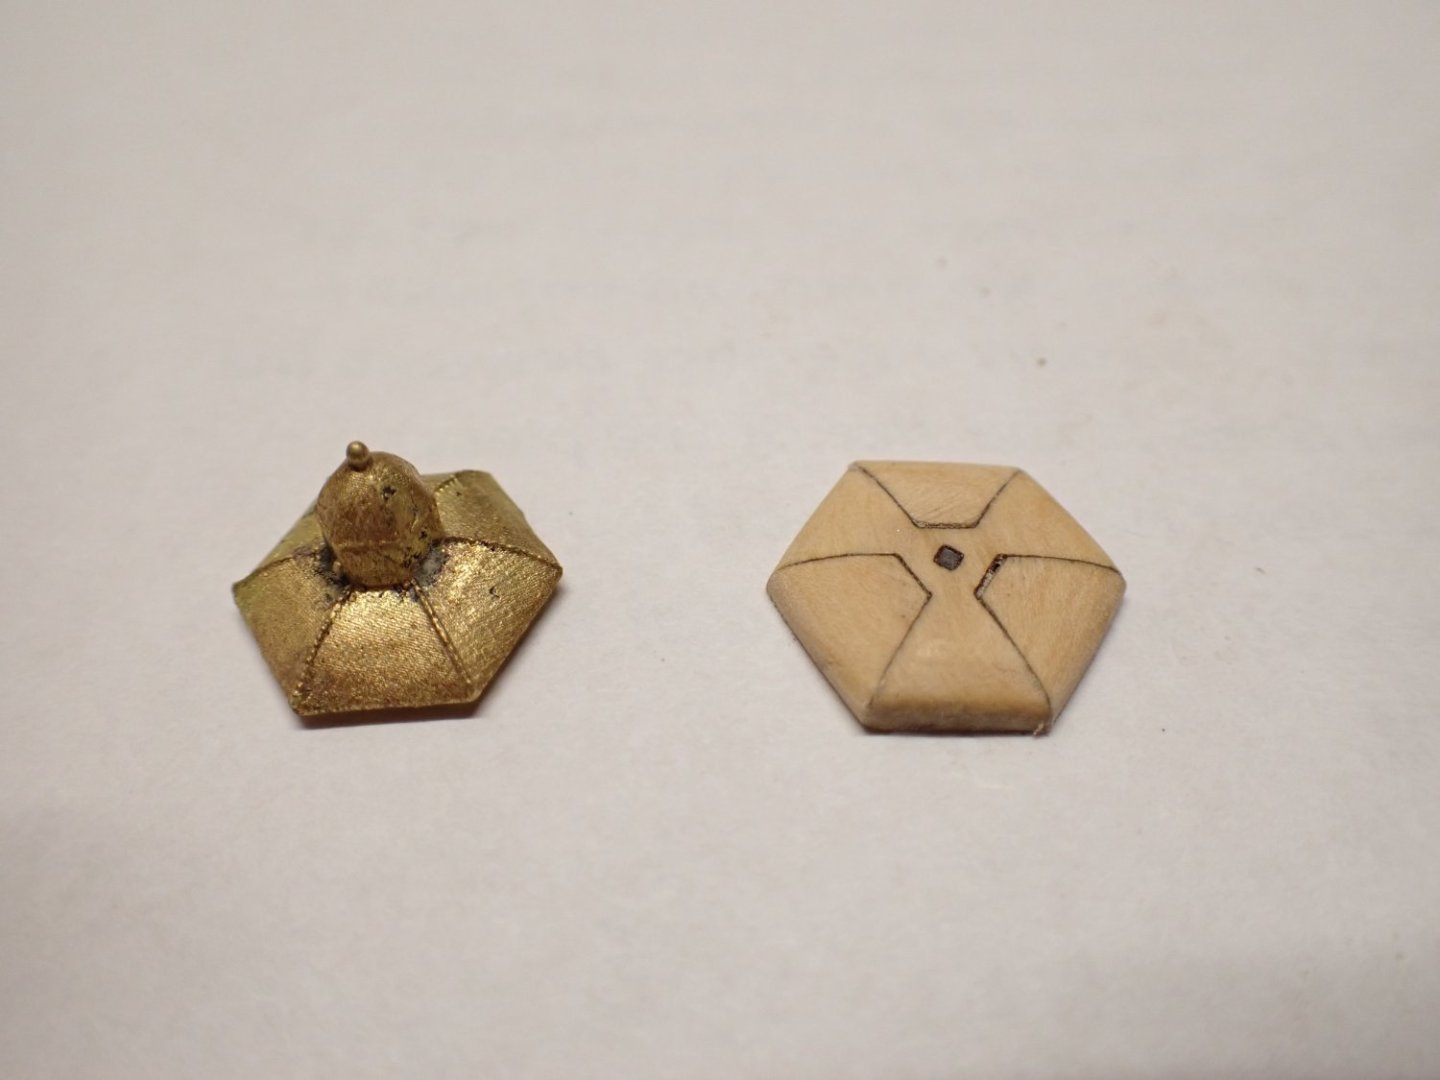
After a lot of deliberations and considerations, I have decided to build my lamps, using the Syren Kit for the main body and the CAF model parts for the top. It creates a good tradeoff between the short Syren lamp and the tall CAF lamp.
Below is one picture showing the differences between the two kits:
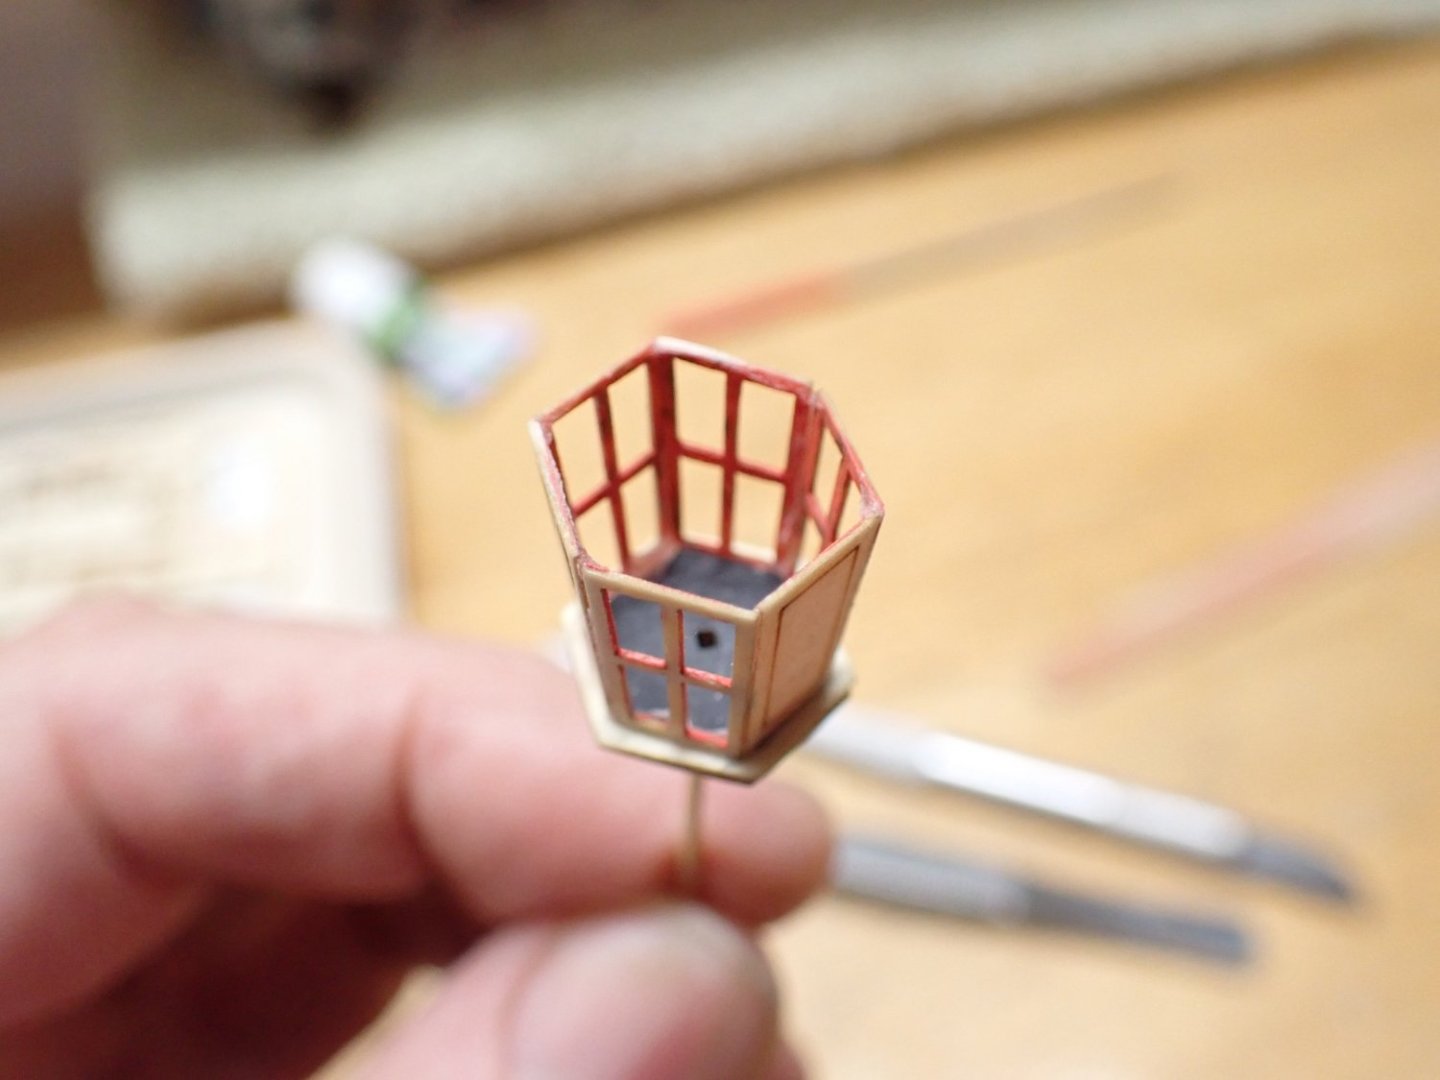
One Syren lamp partially assembled:
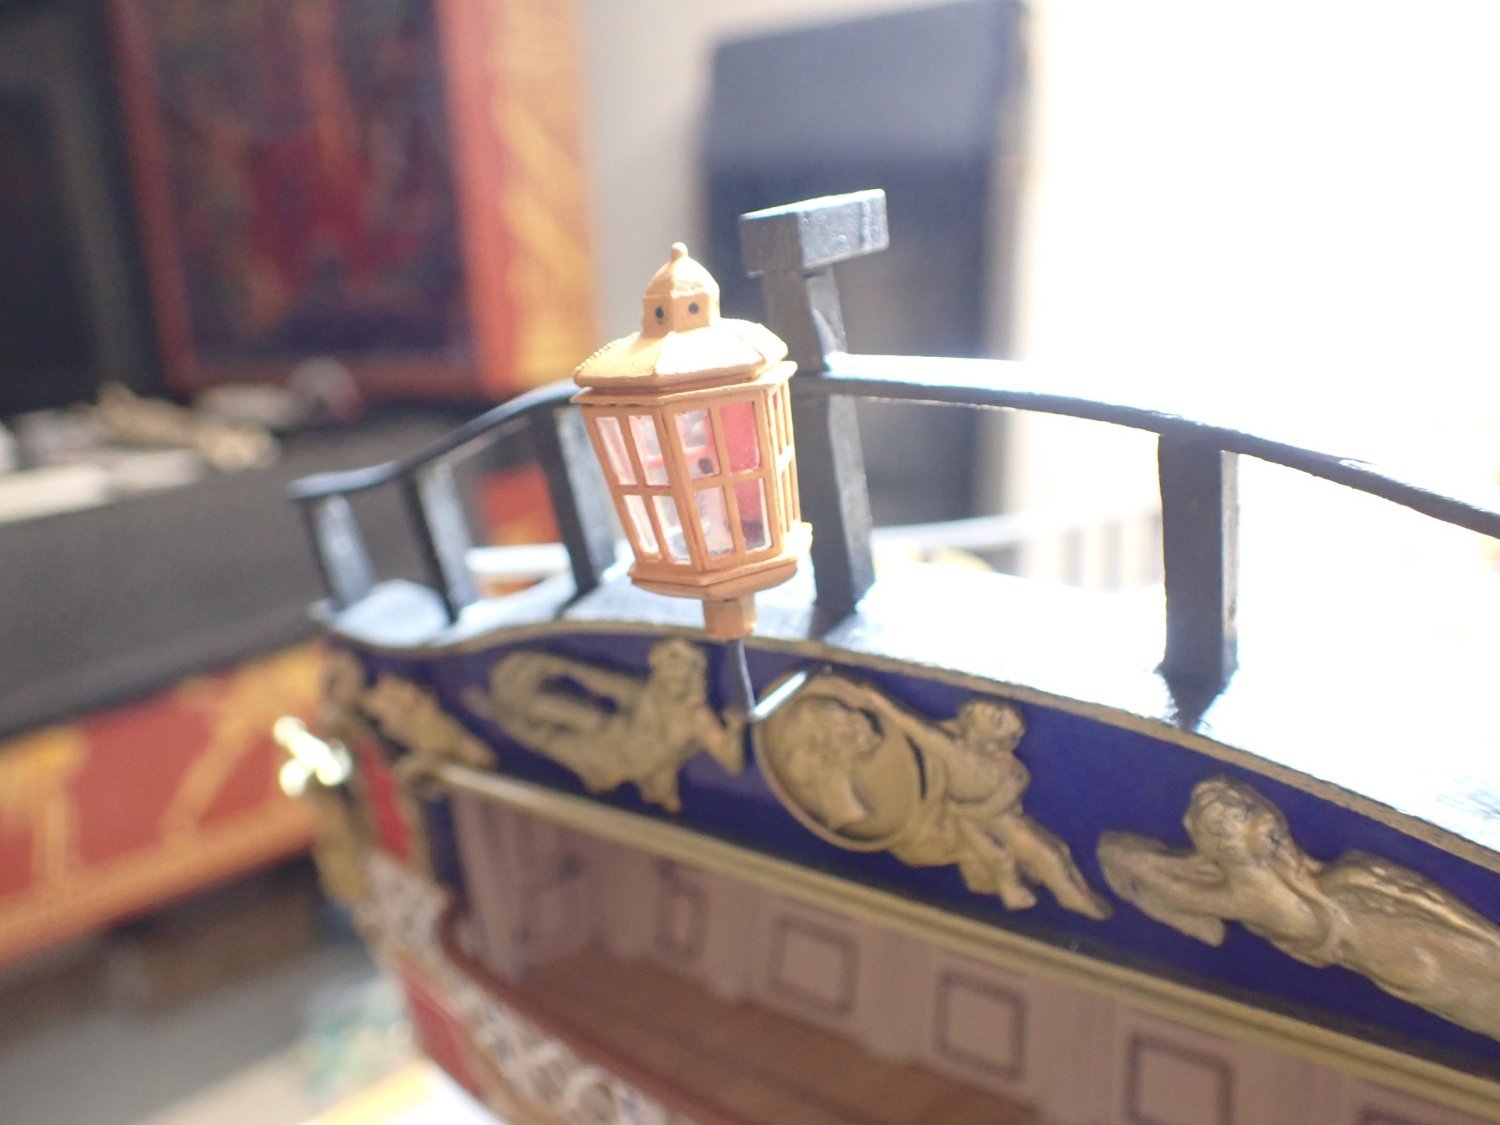
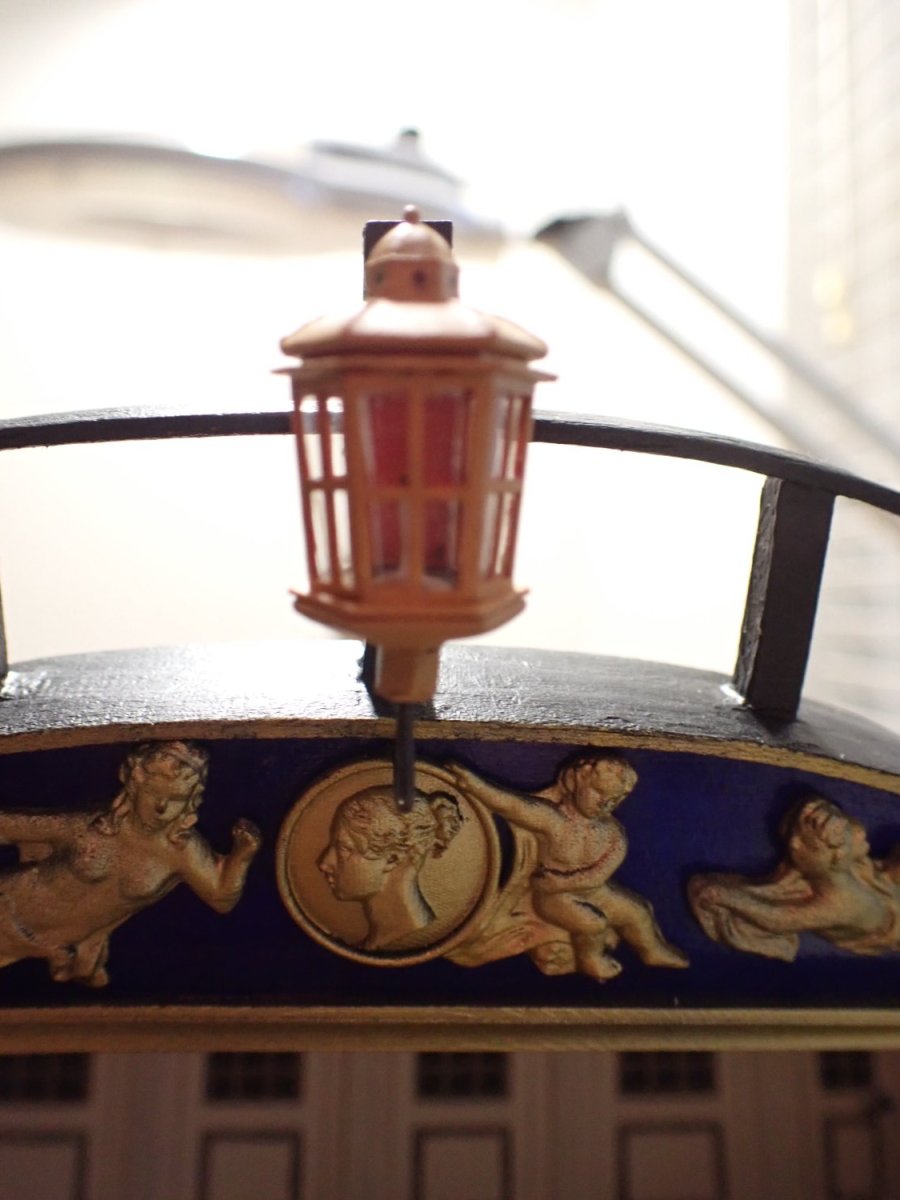
And in place on the stern:

Still a lot of work to make them look decent.
Yves
- JeffT, KARAVOKIRIS, mugje and 12 others
-
15
-
-
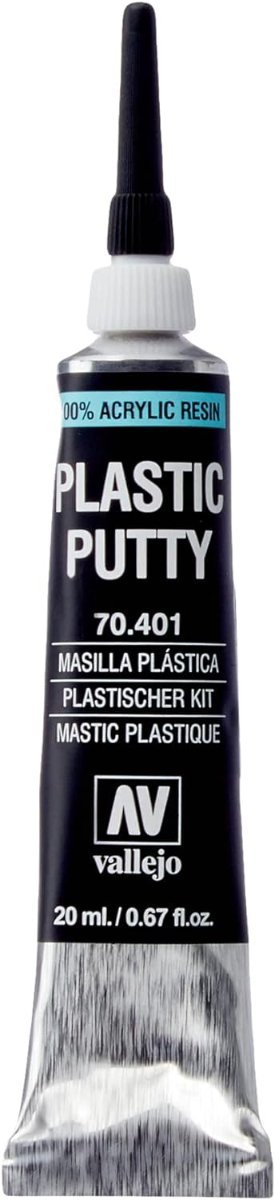
It seems to me that using the Vallejo Putty, with multiple and thin applications would have filled up the cracks:
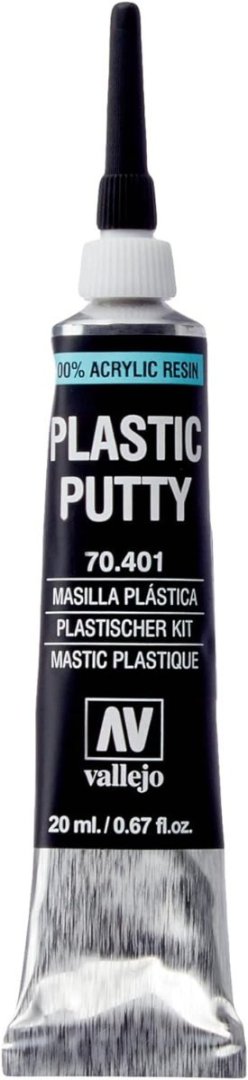
The trick is to cut the dispensing tube very small, so as to serve a tiny quantity of putty. It dries white and would have filled the multiple cracks you have in the cabin walls, very well. I have used it with success and will never go back to Tamiya of other putty brands.
Yves
- king derelict, mtaylor, Canute and 1 other
-
4


.jpg.dac04b2d2cae5bca6df46ccf2122460d.jpg)


Supermarine Spitfire Mk. IXc by chadwijm6 - Finished - Airfix - 1/24
in Non-ship/categorised builds
Posted
I can't believe AIRFIX would not have drilled the holes in the bulkheads. At that scale, it makes no sense to not do it.
Yves