yvesvidal
-
Posts
3,643 -
Joined
-
Last visited
Content Type
Profiles
Forums
Gallery
Events
Everything posted by yvesvidal
-
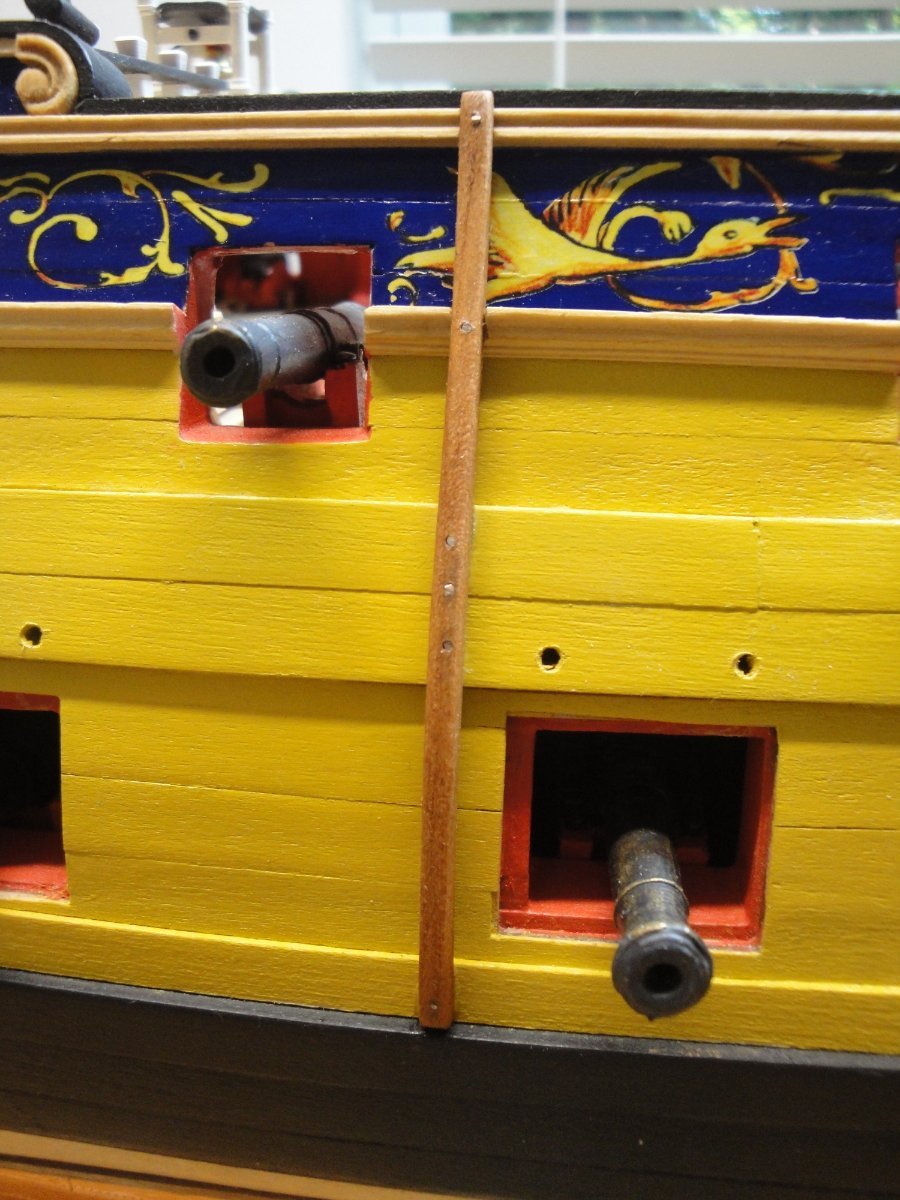
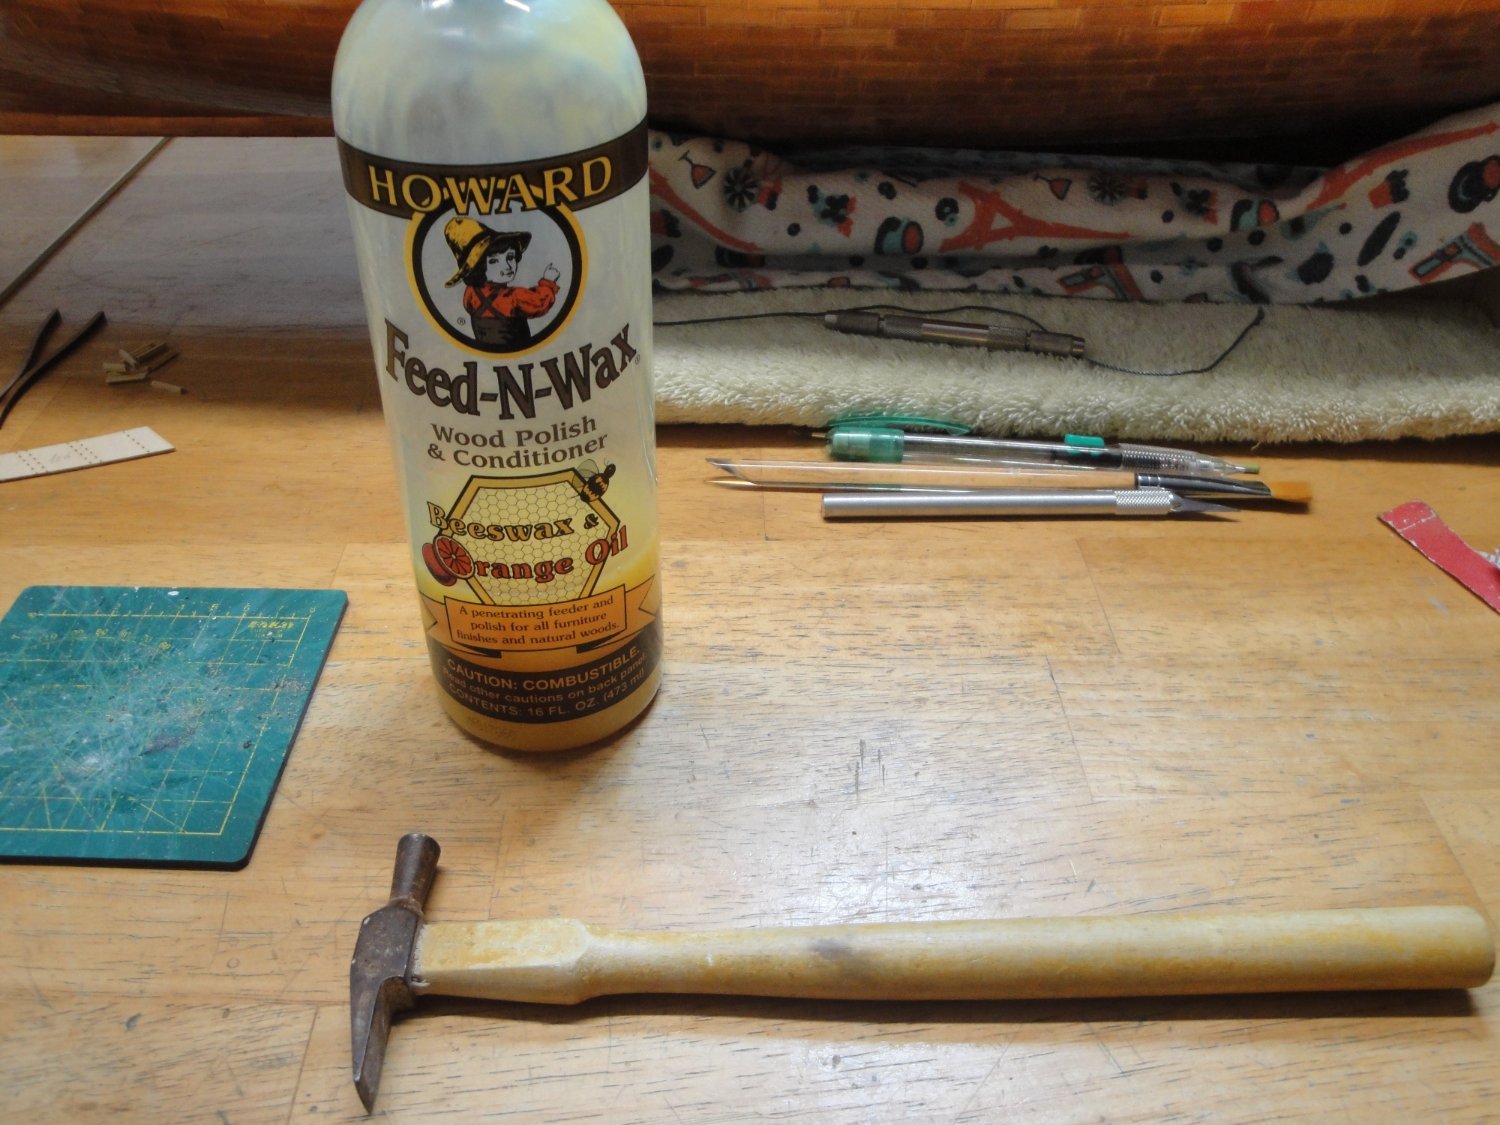
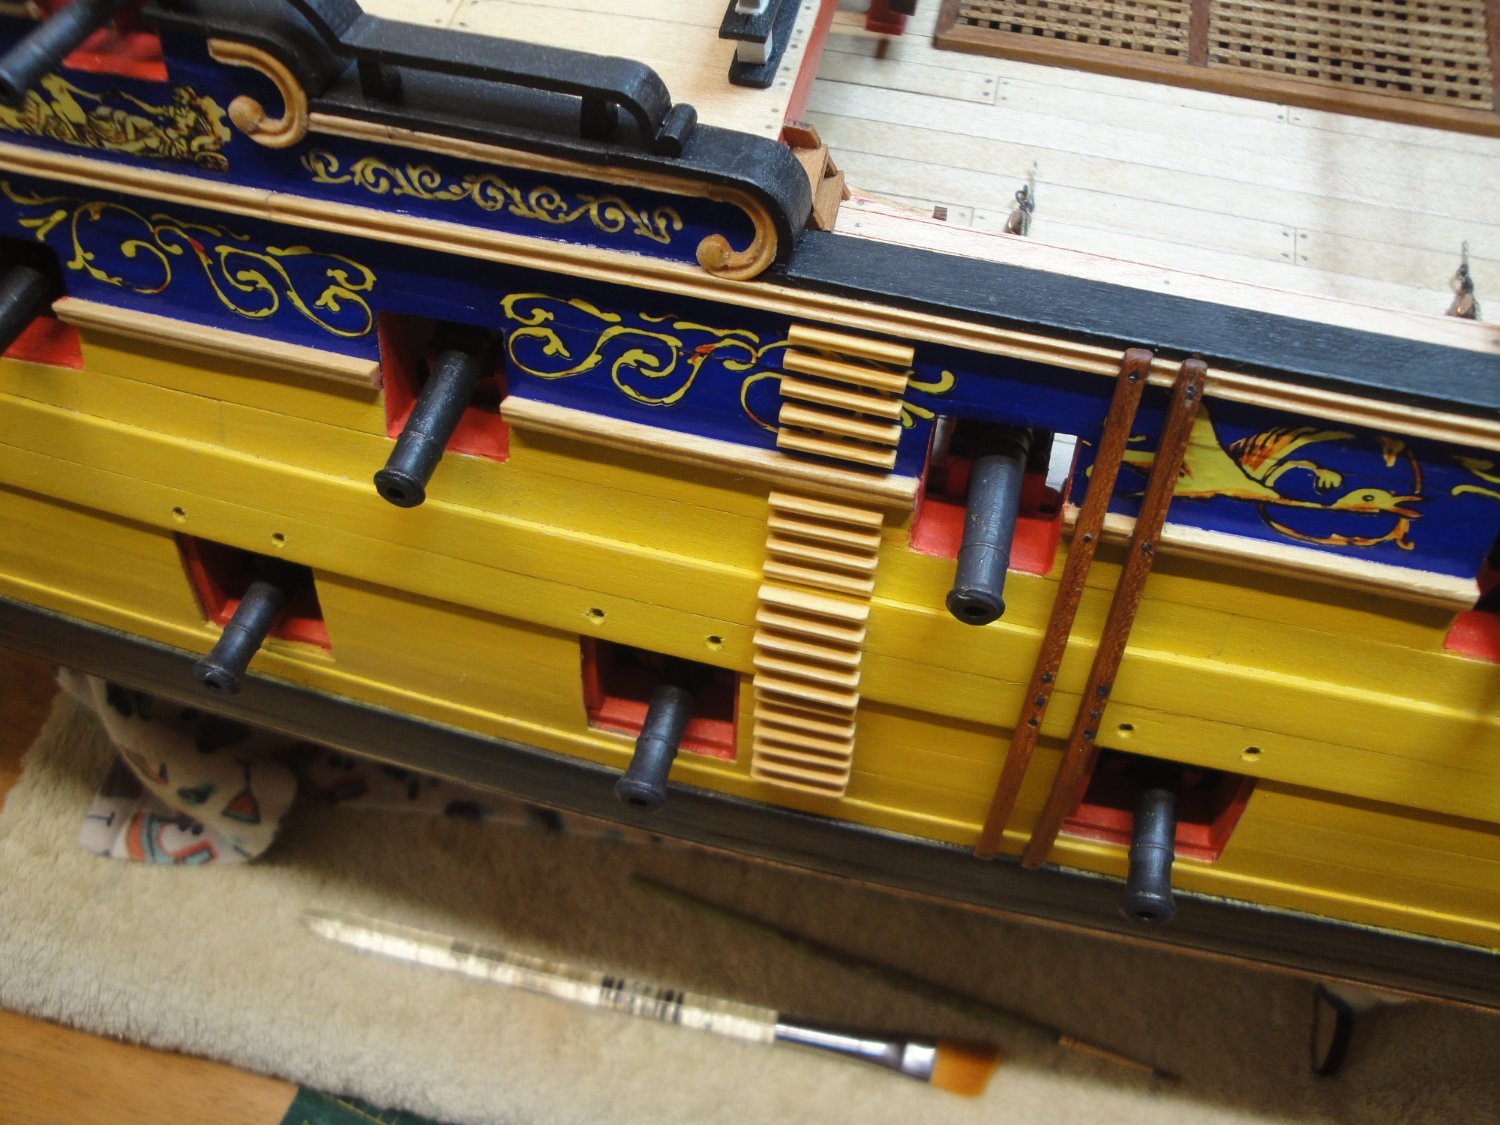
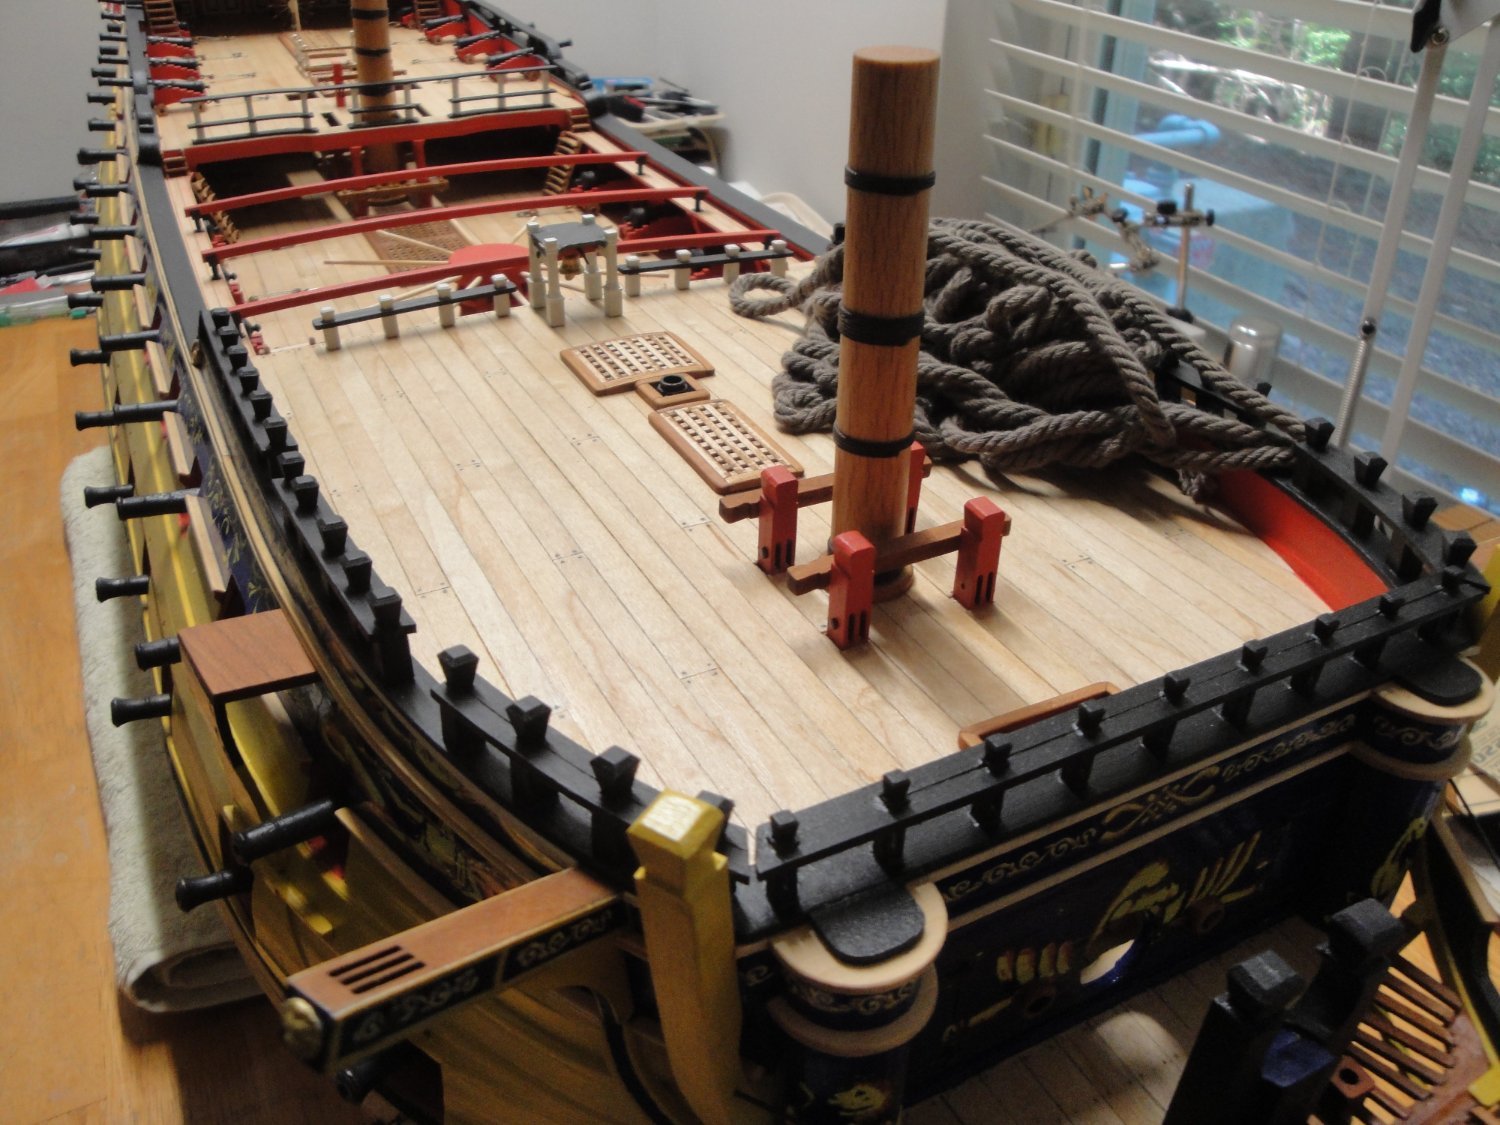
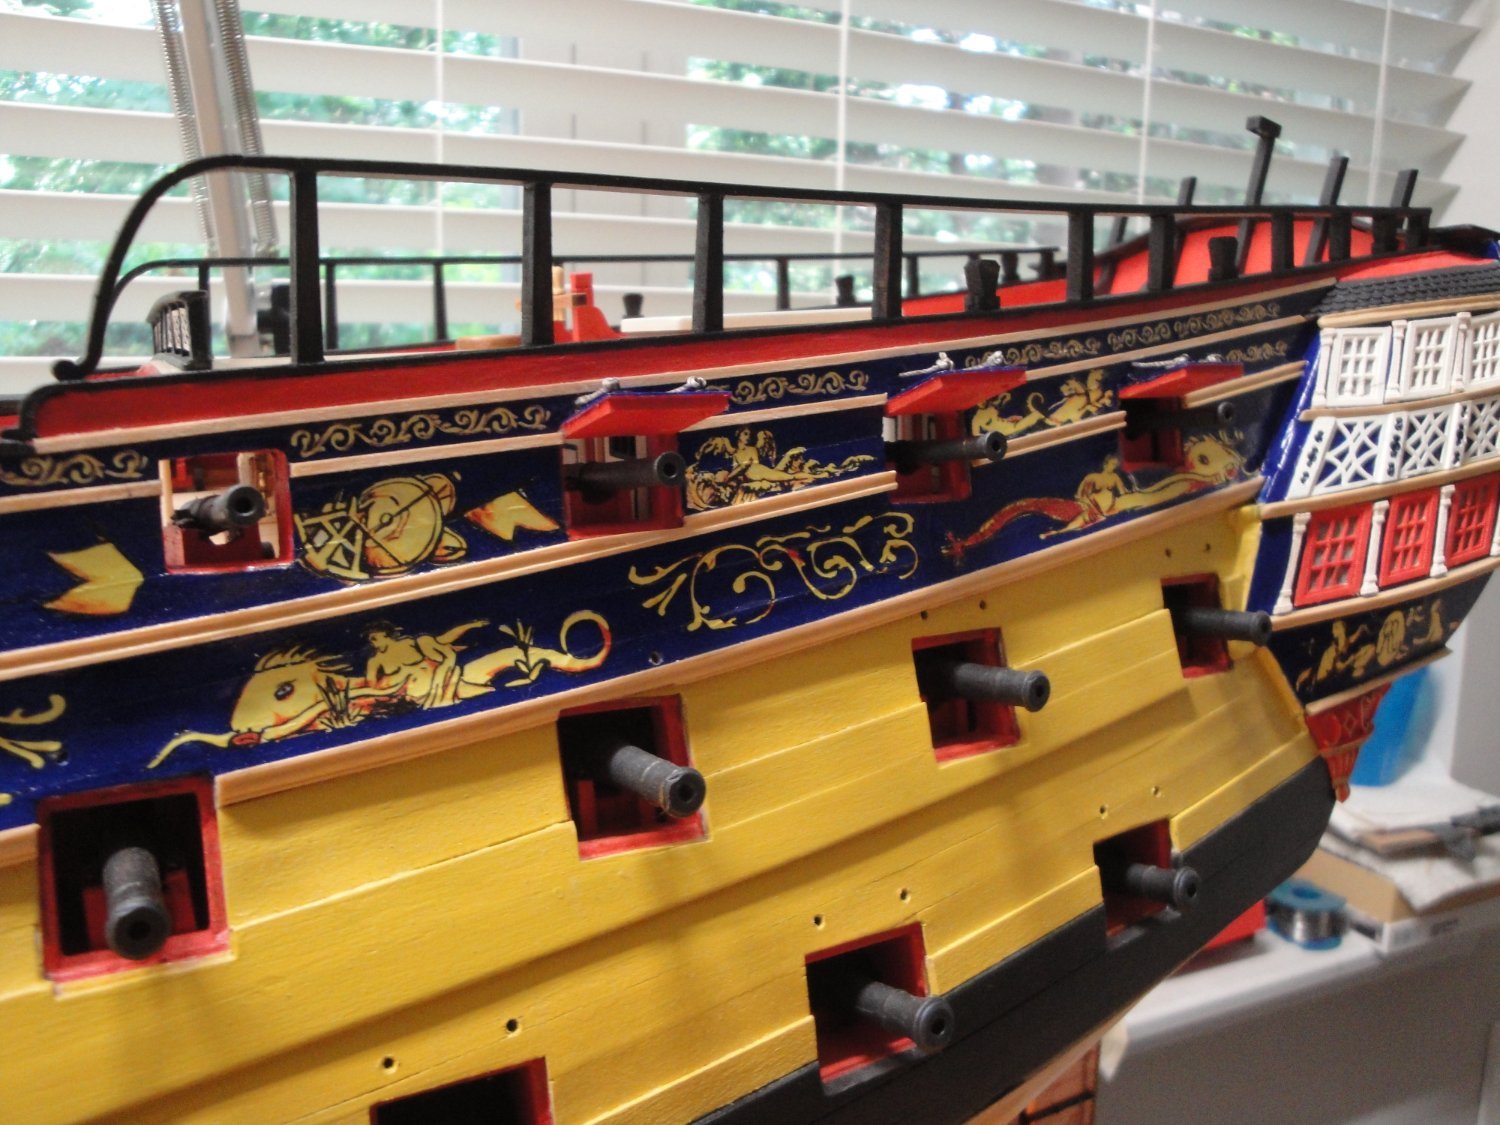
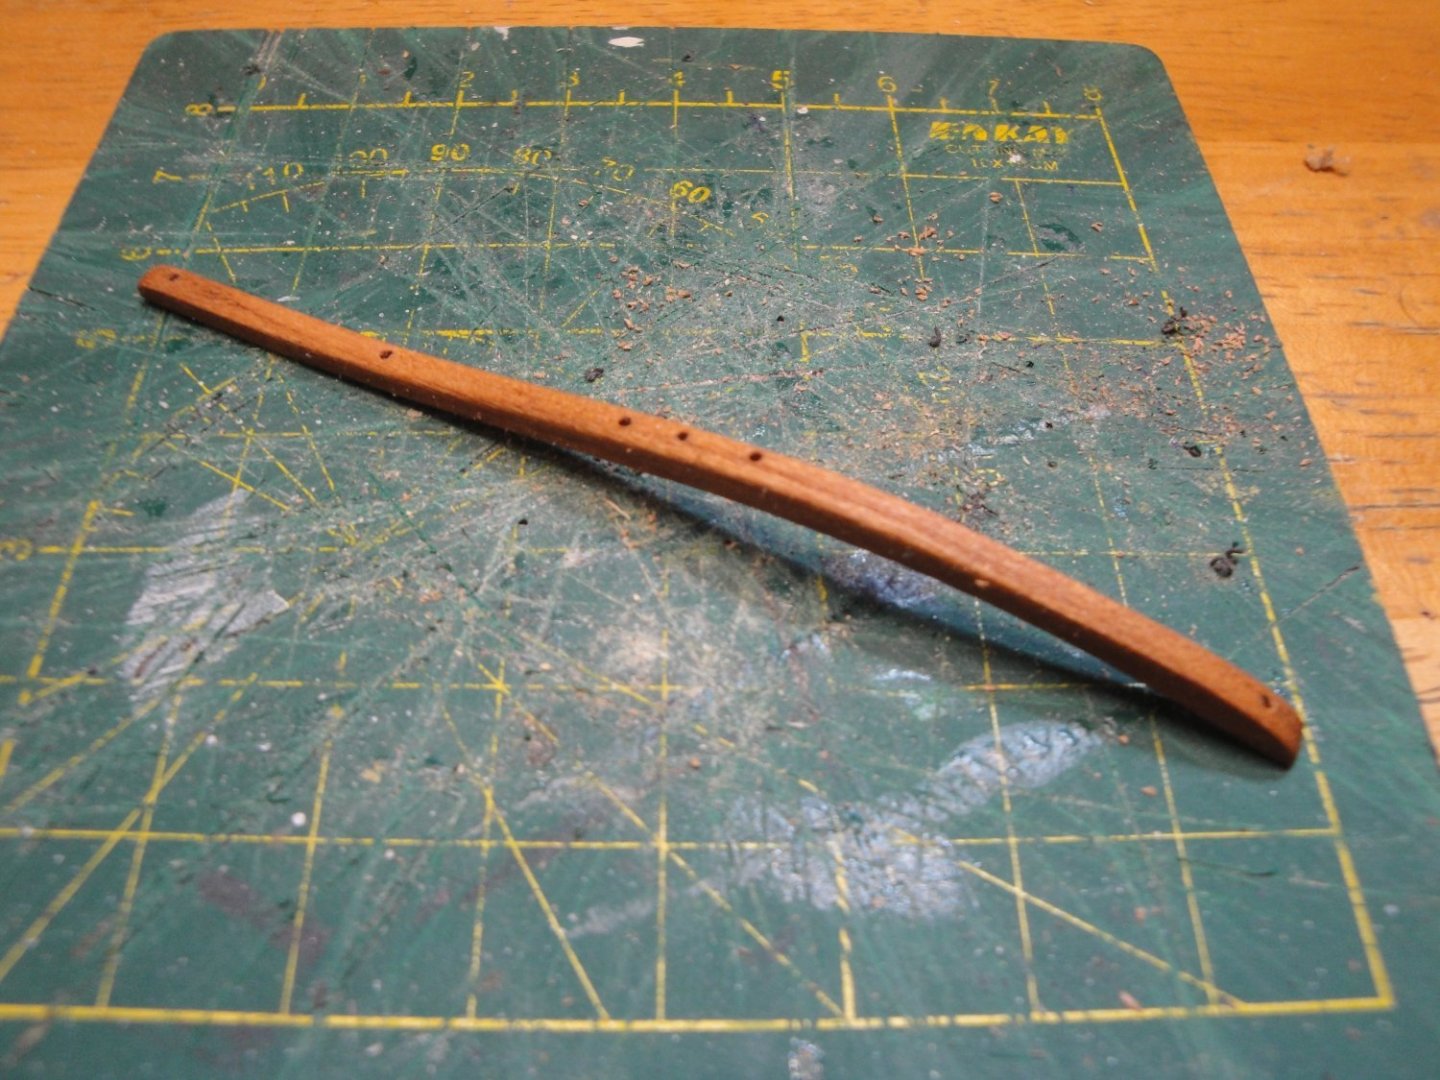
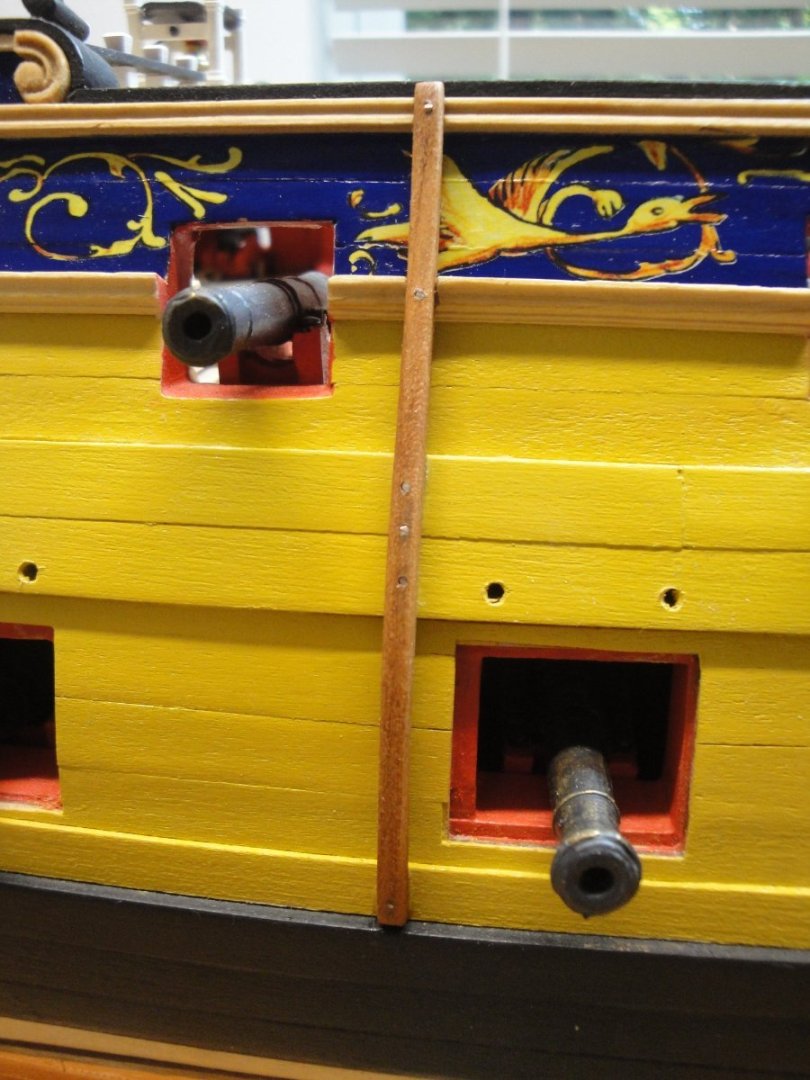
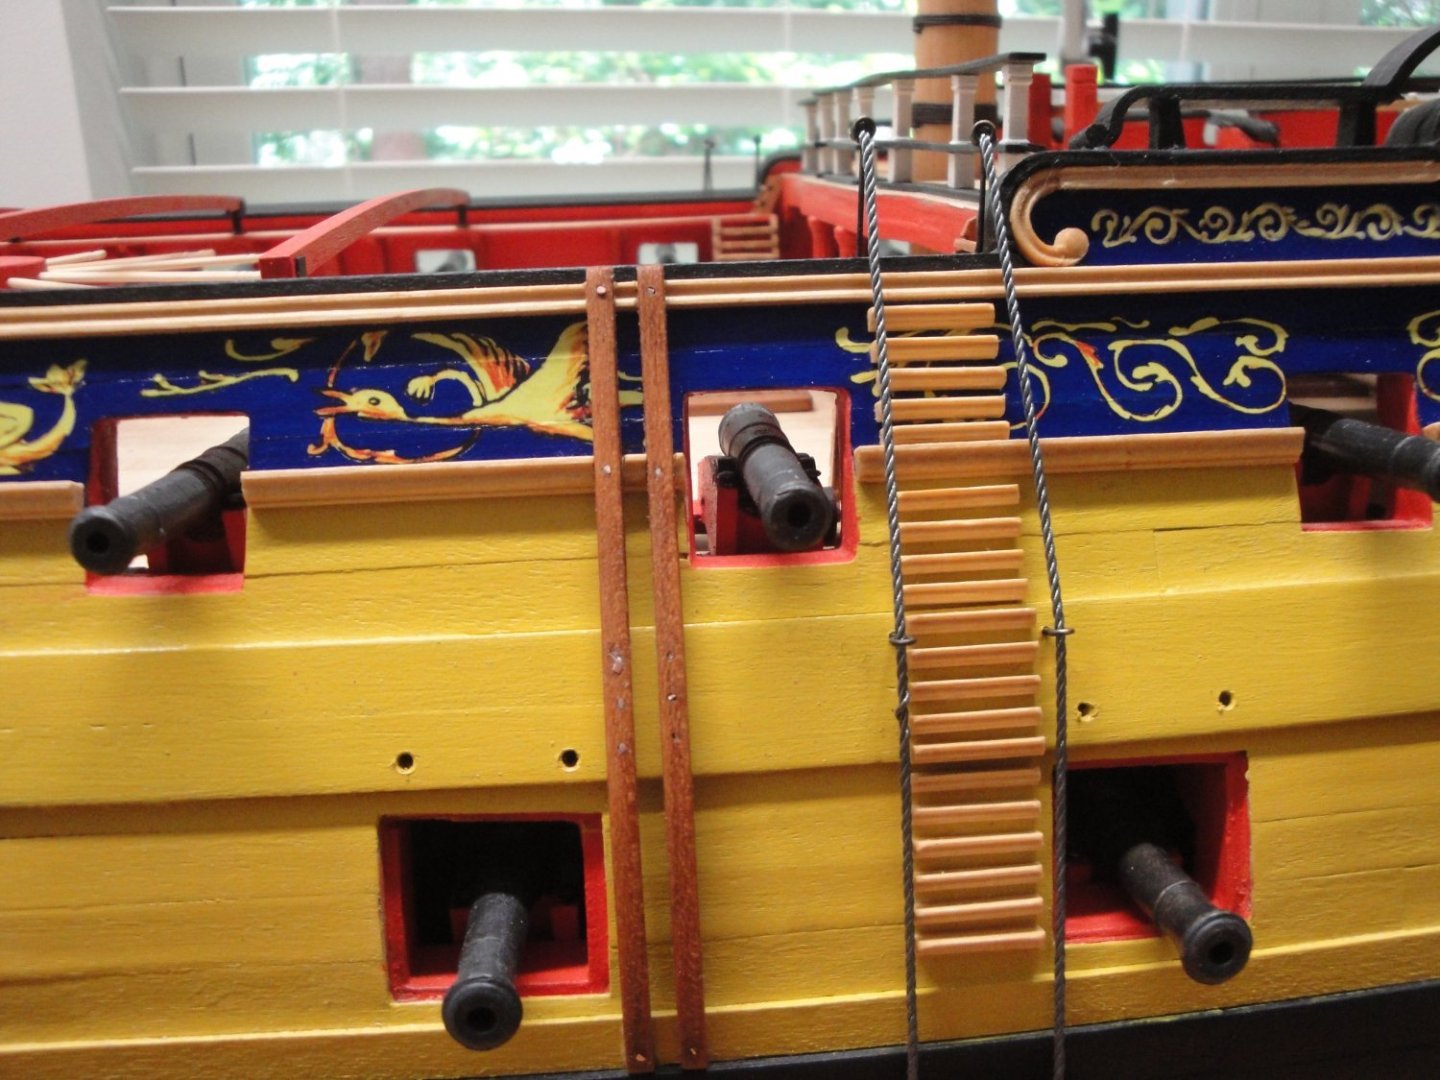
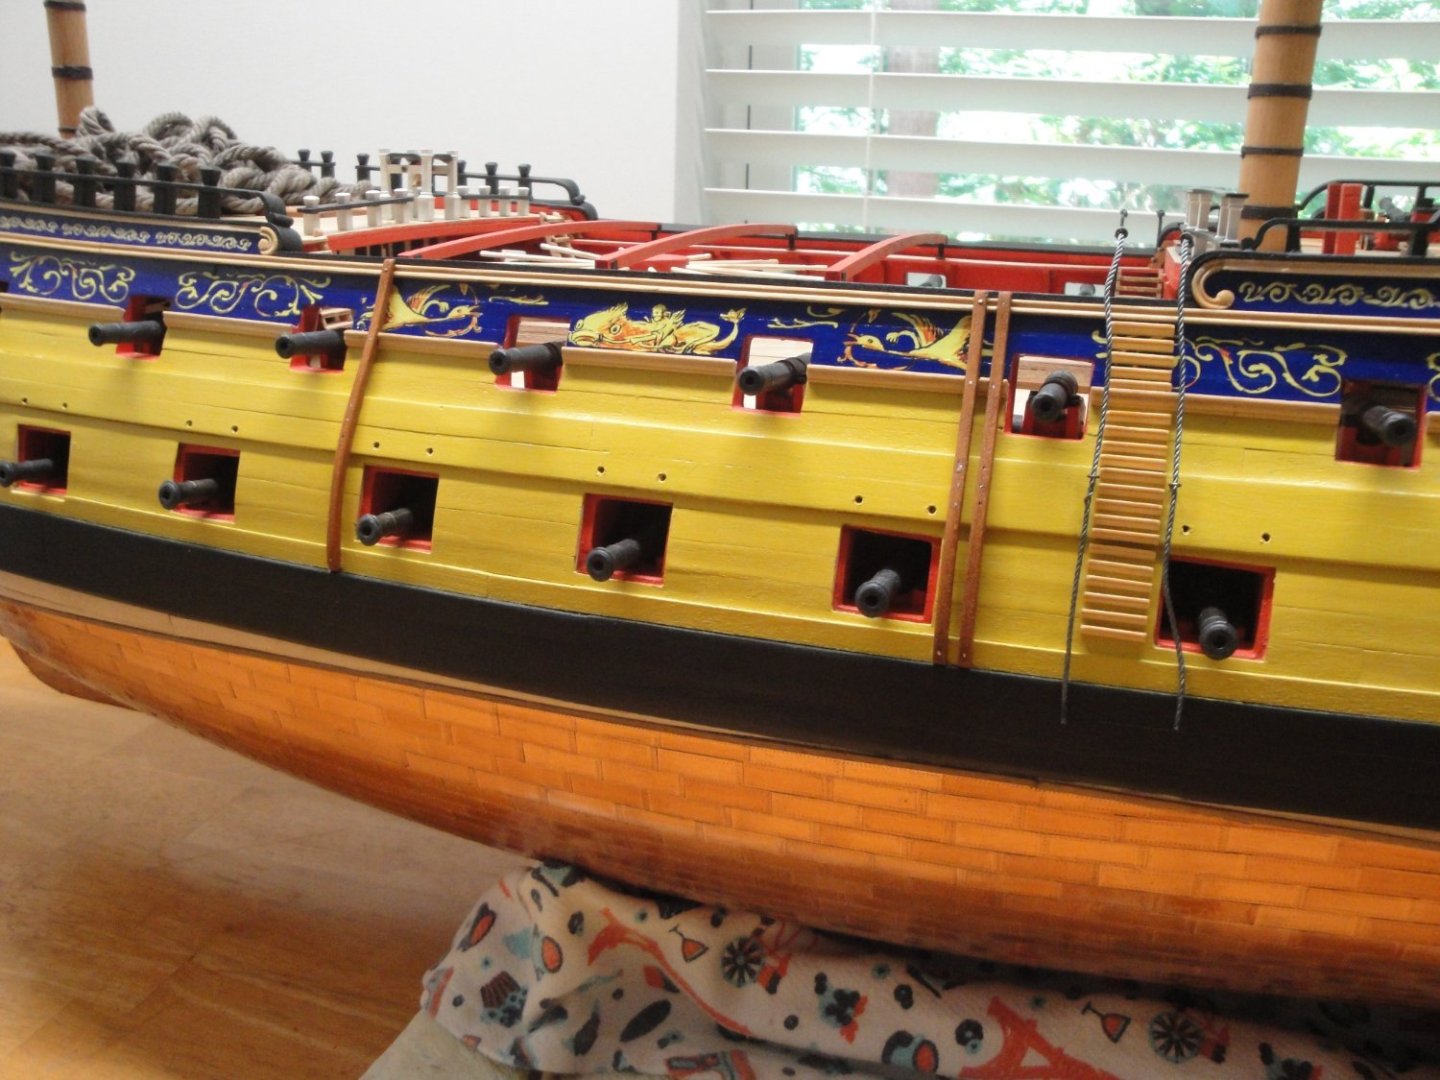
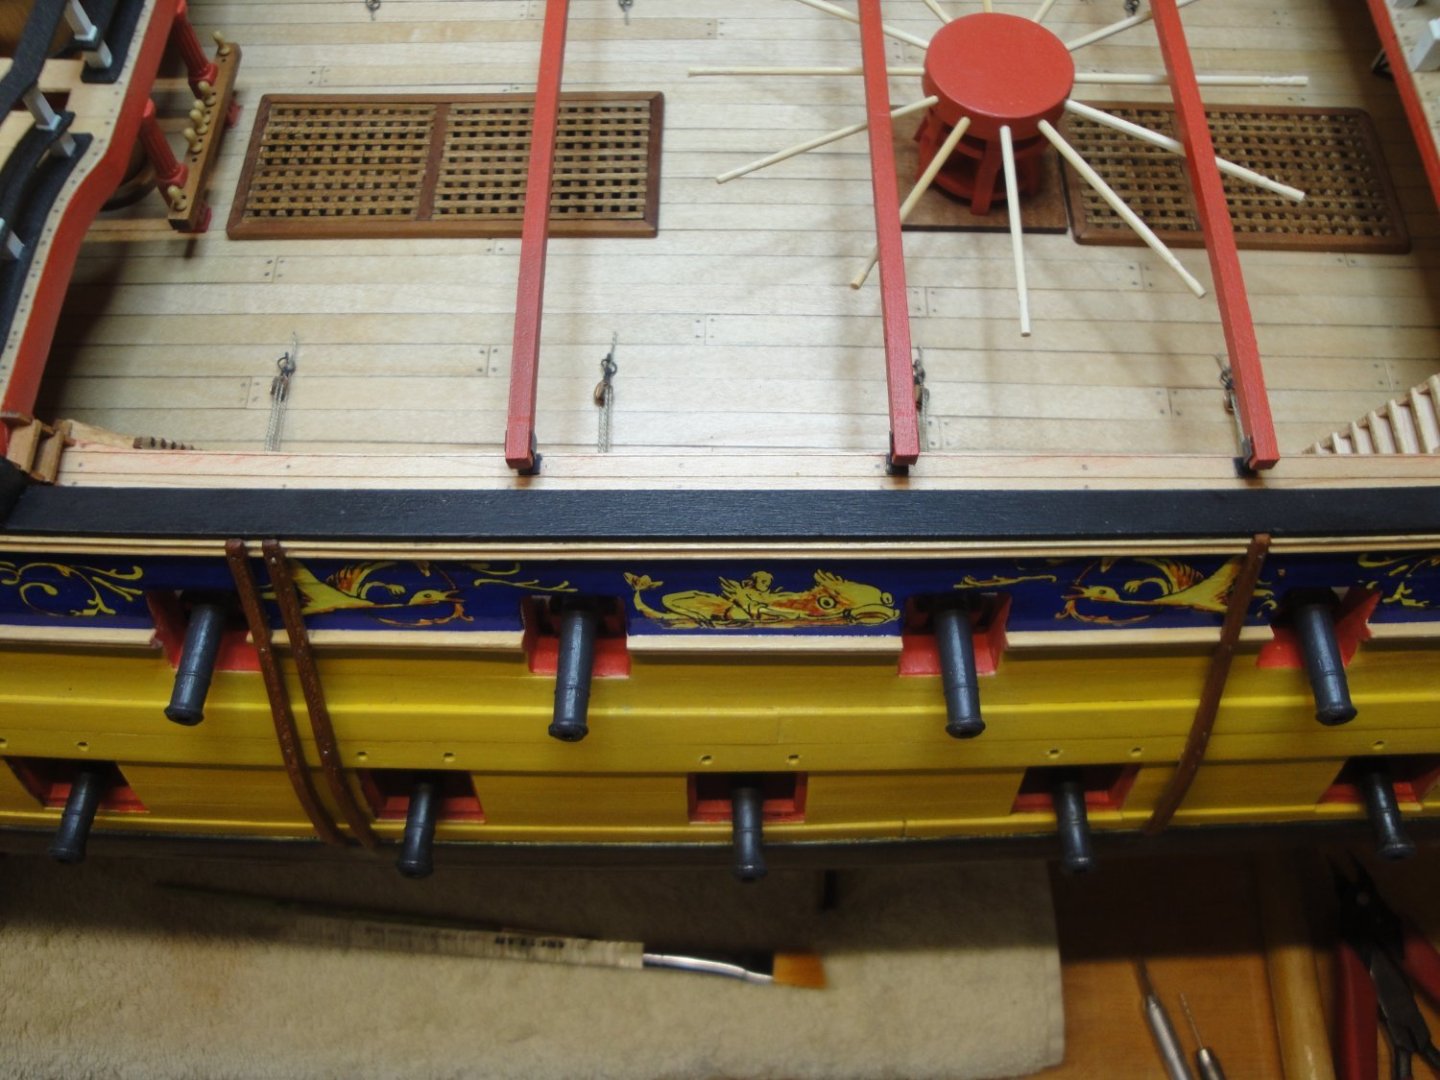
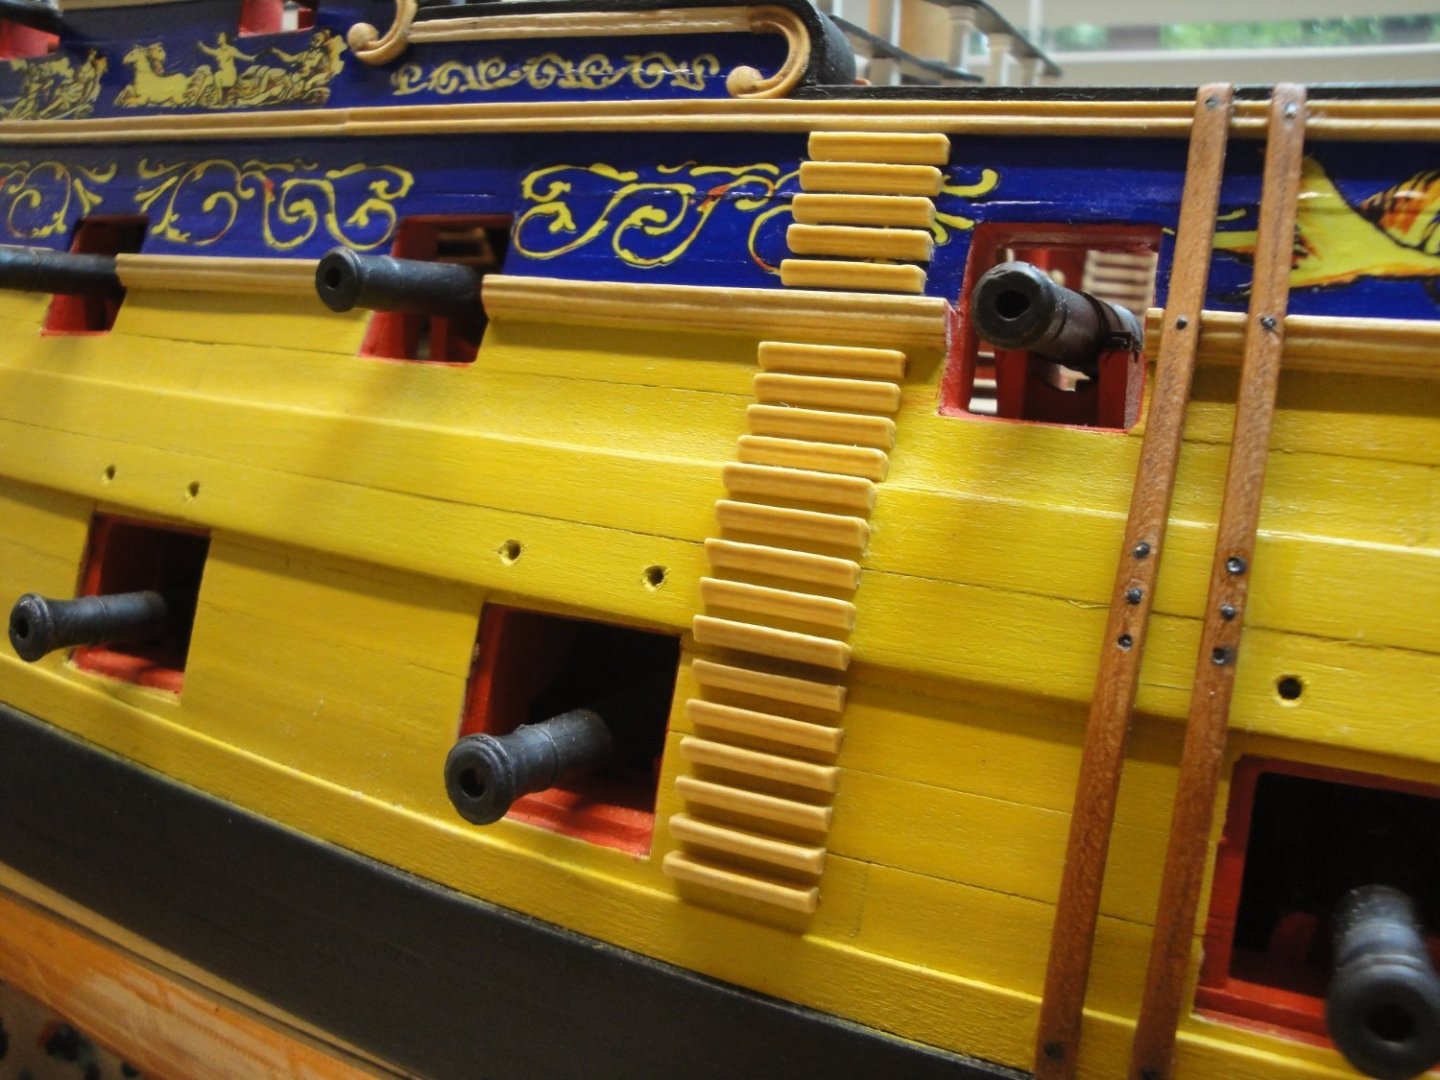
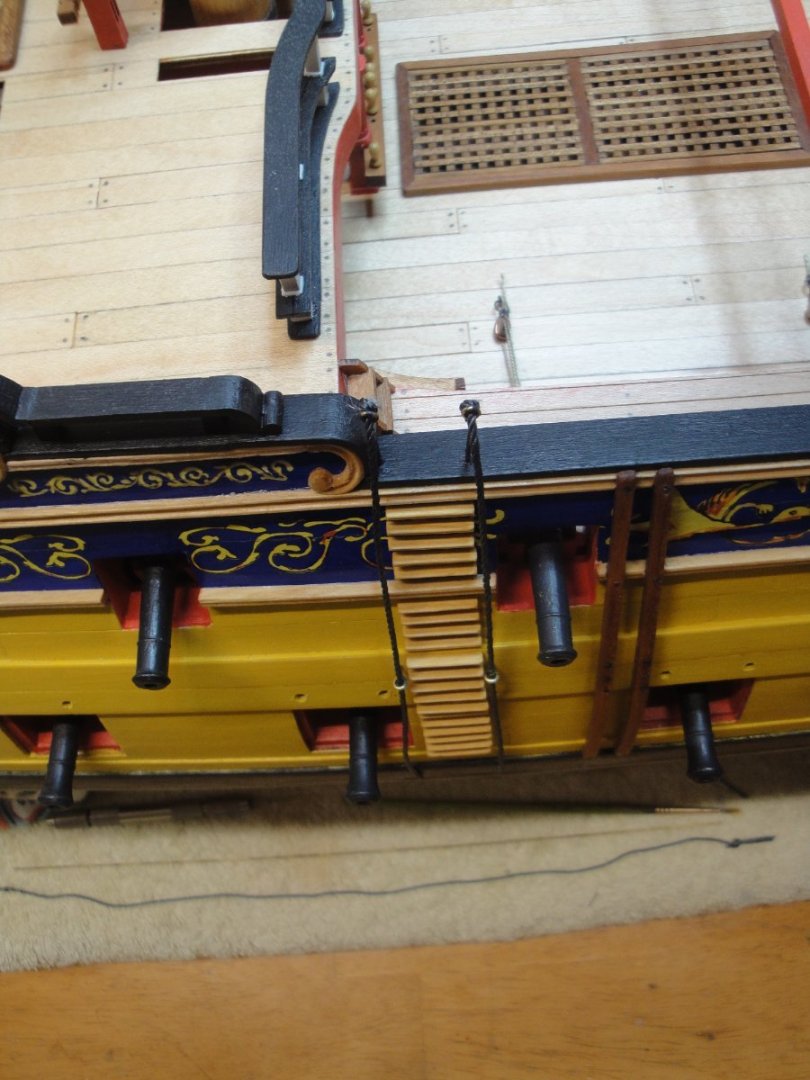
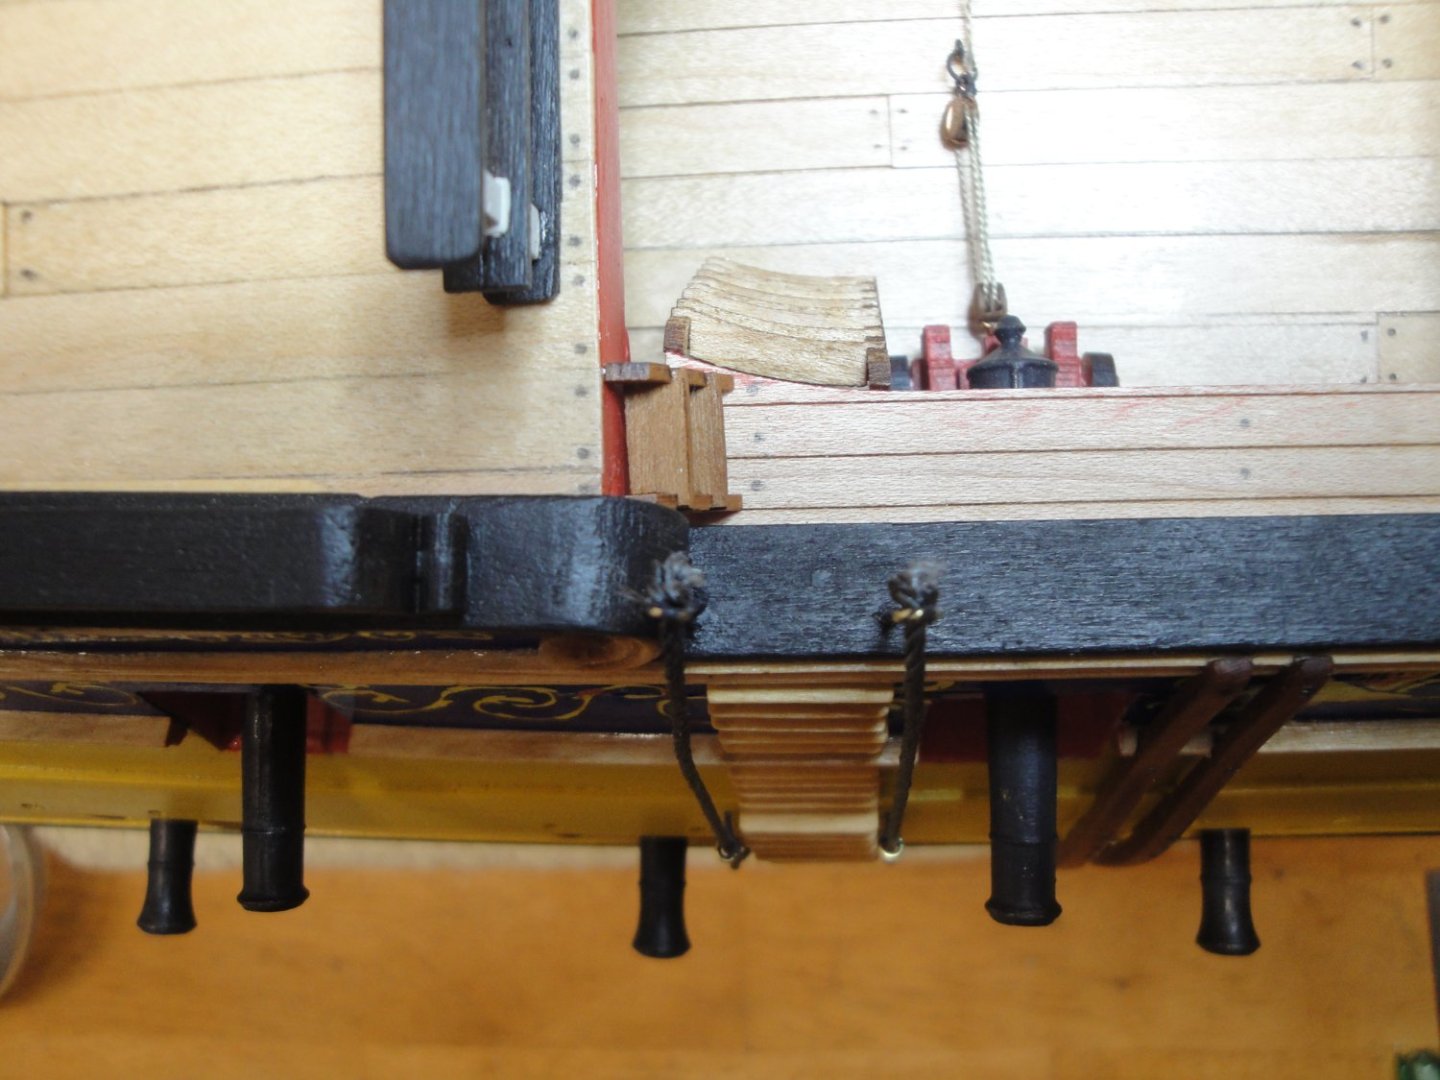
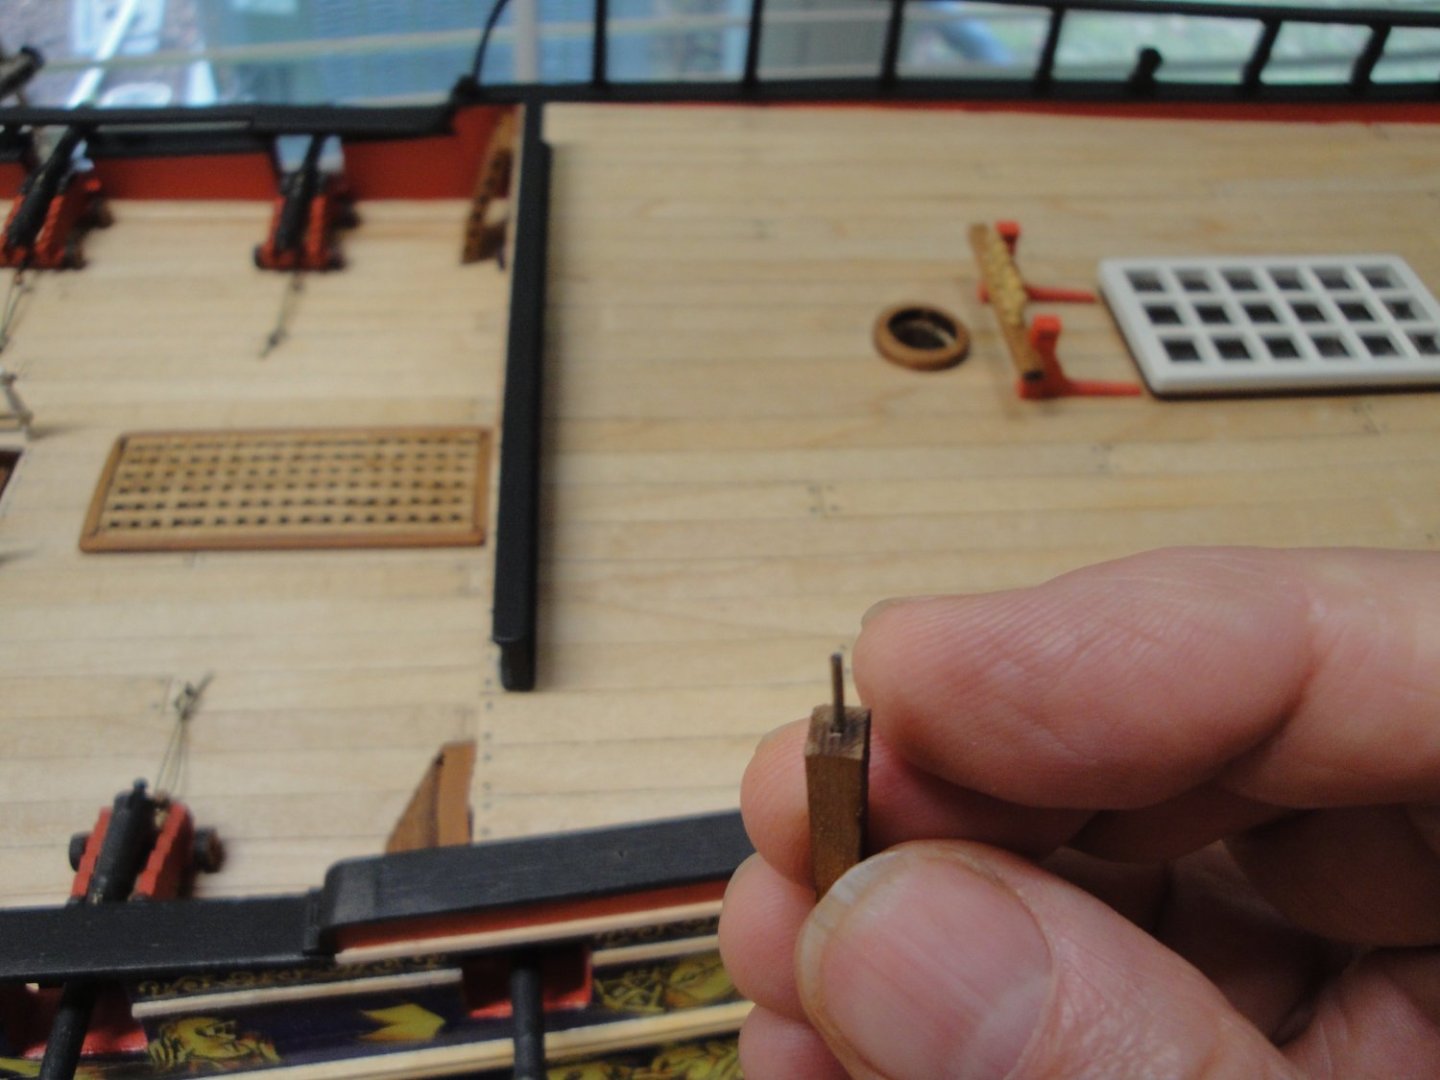
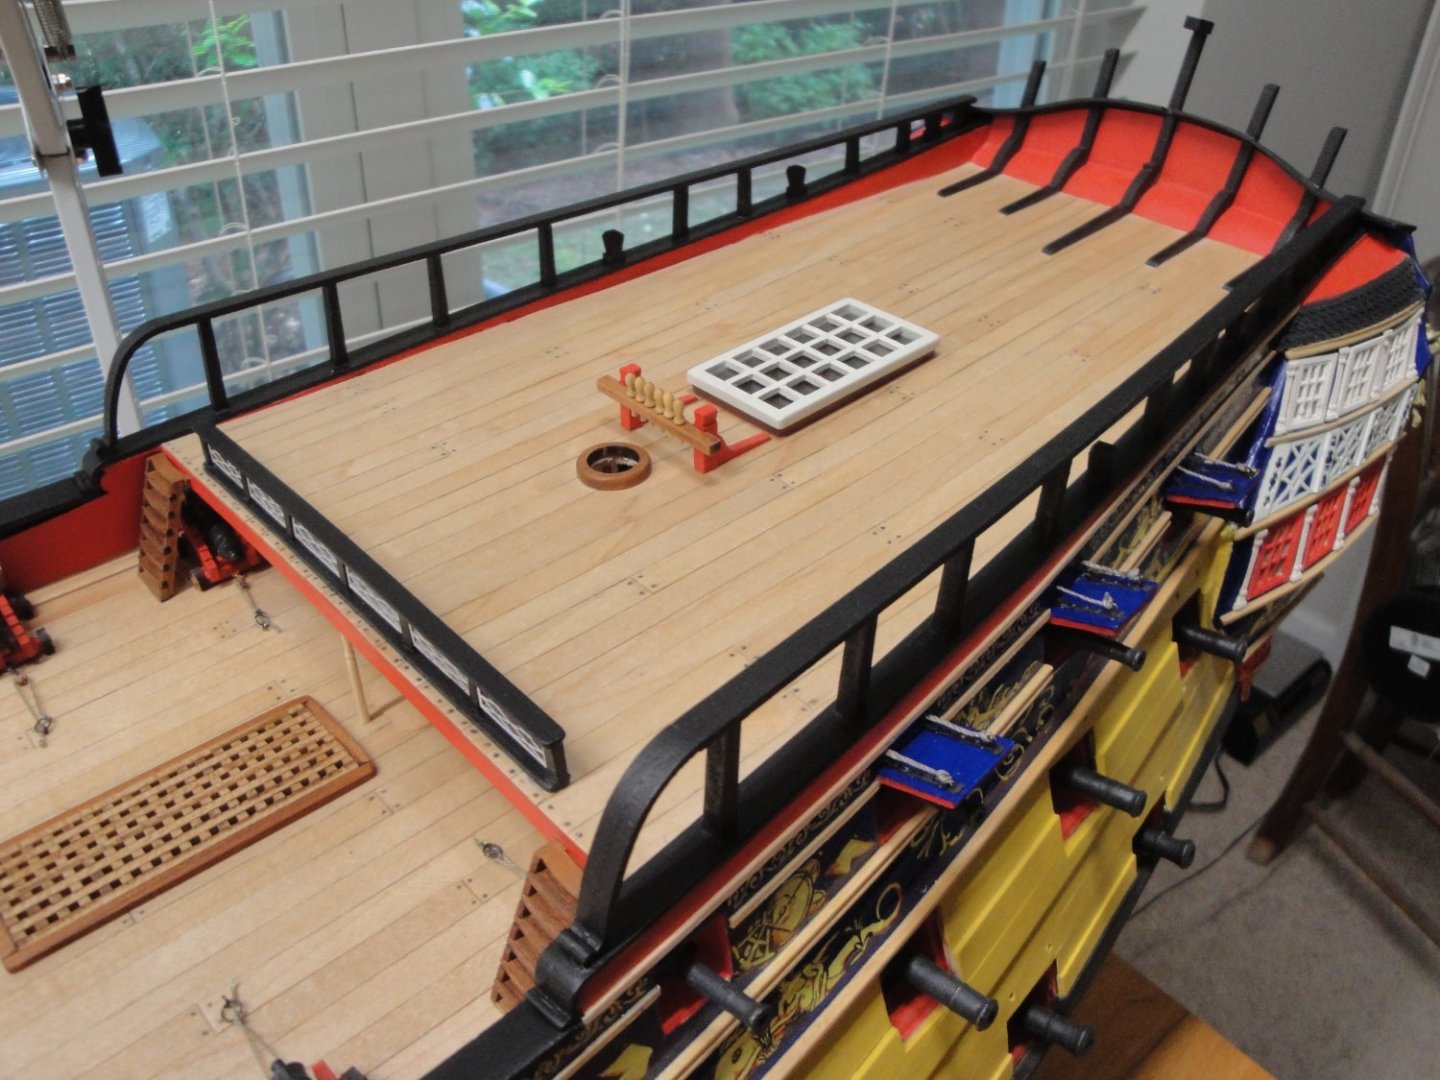
 A few more information to describe the way the skid beams are built: After placing carefully the beams, six holes are drilled in it. Then these holes are reported on the hull and drilled with 0.8 mm bit. Note the careful carving of the rails with a Dremel equipped with a disk. The beam is finely sanded and its external surface is rounded. It is then "oiled" with Howard Feed and Wax, revealing the beautiful color of the sherry wood. It is then glued (CA 7-10 seconds) and then pinned into place. The pins are cut and hammered down in the hull. At the end, a dab of Black Cannon acrylic paint achieves to give them the "old" look. The steps are then installed: Et voila, both sides have been completed: I need to find a way to keep these ropes straight and dangling.... Yves
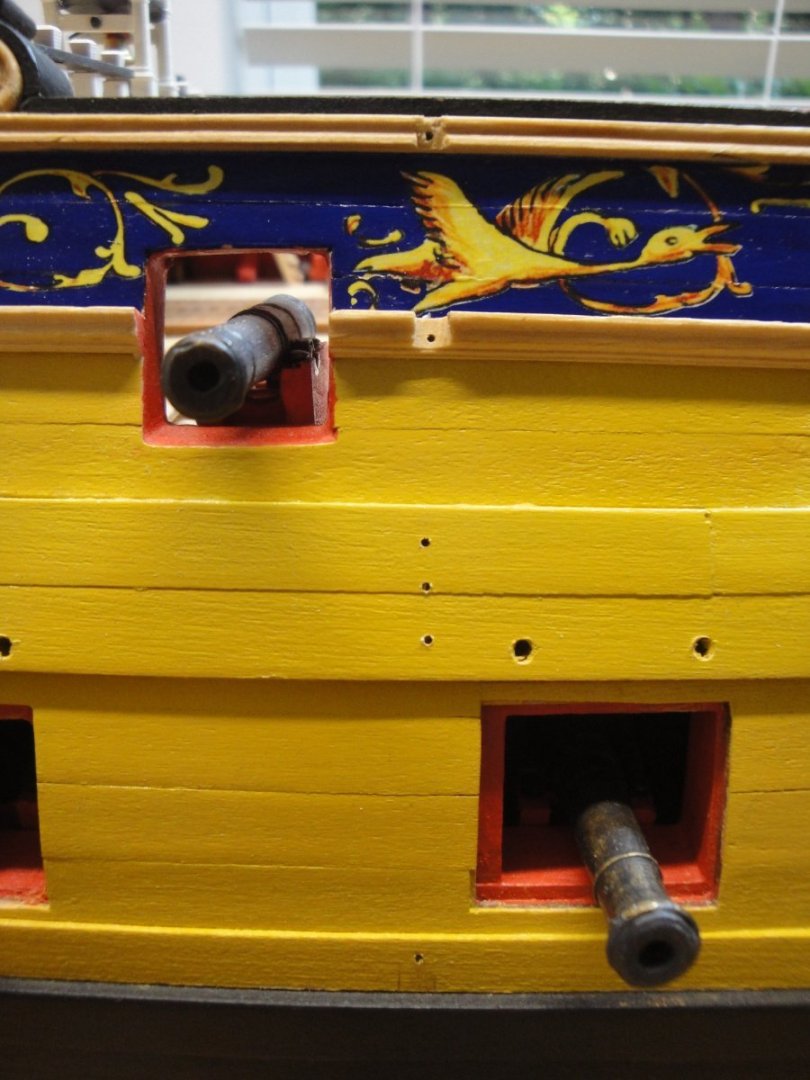

- 507 replies
-
- 13
-

-
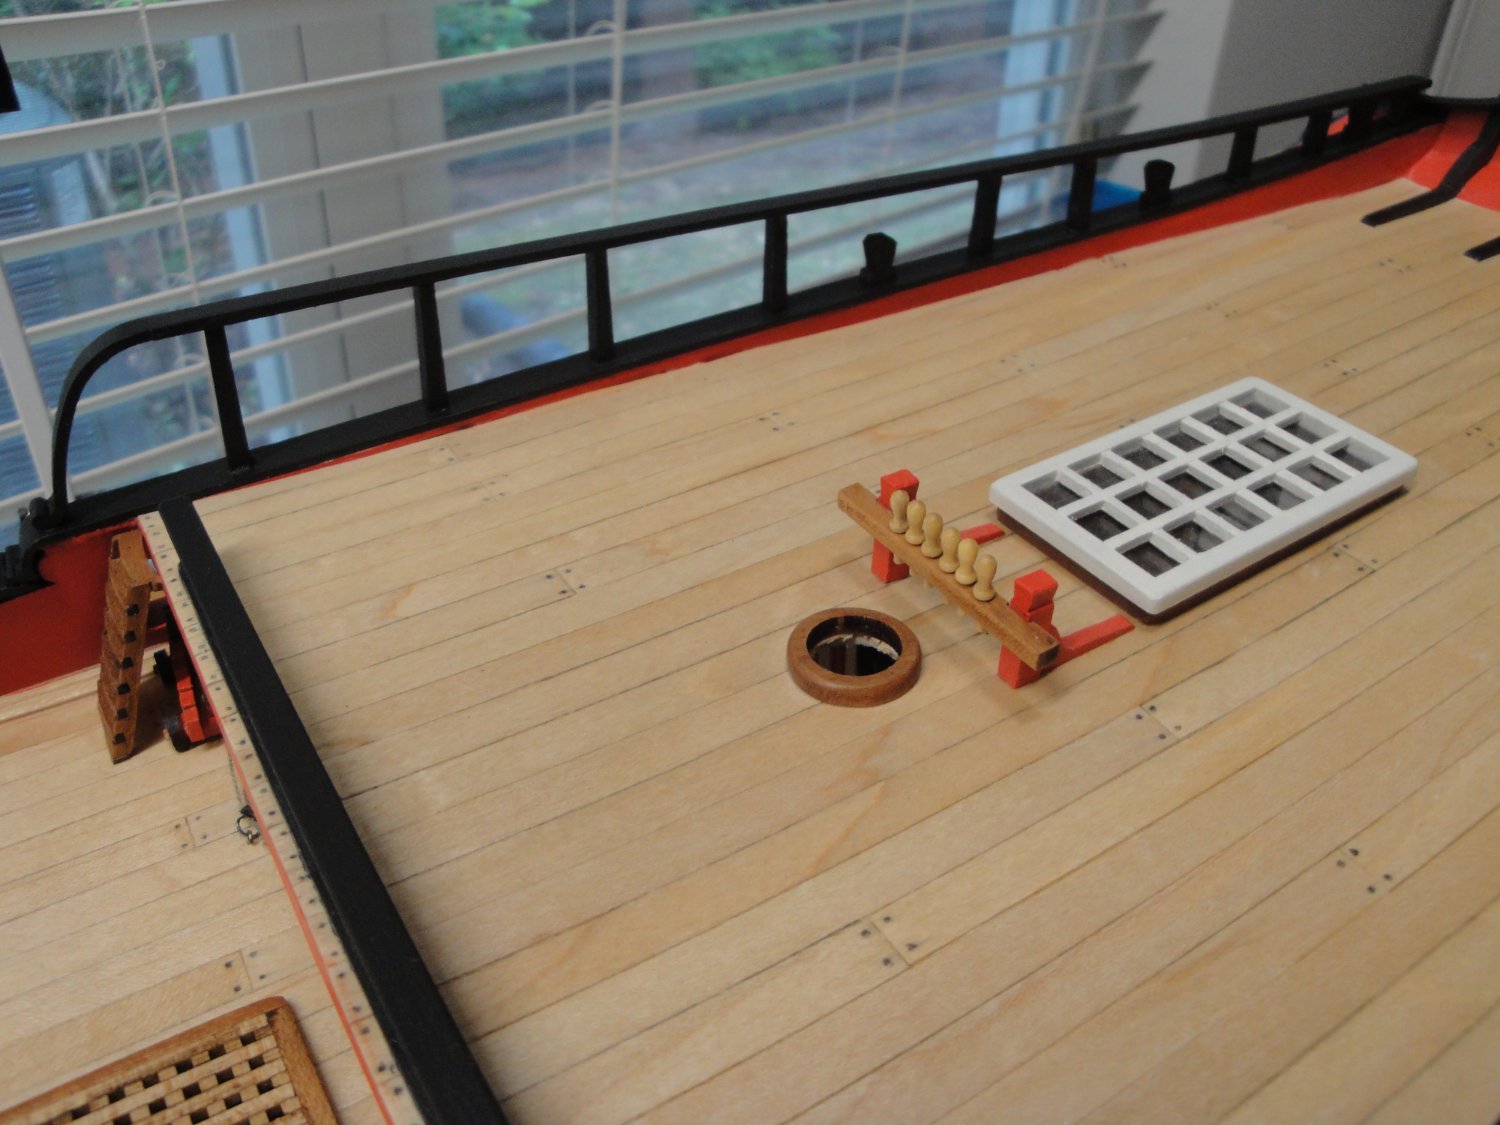
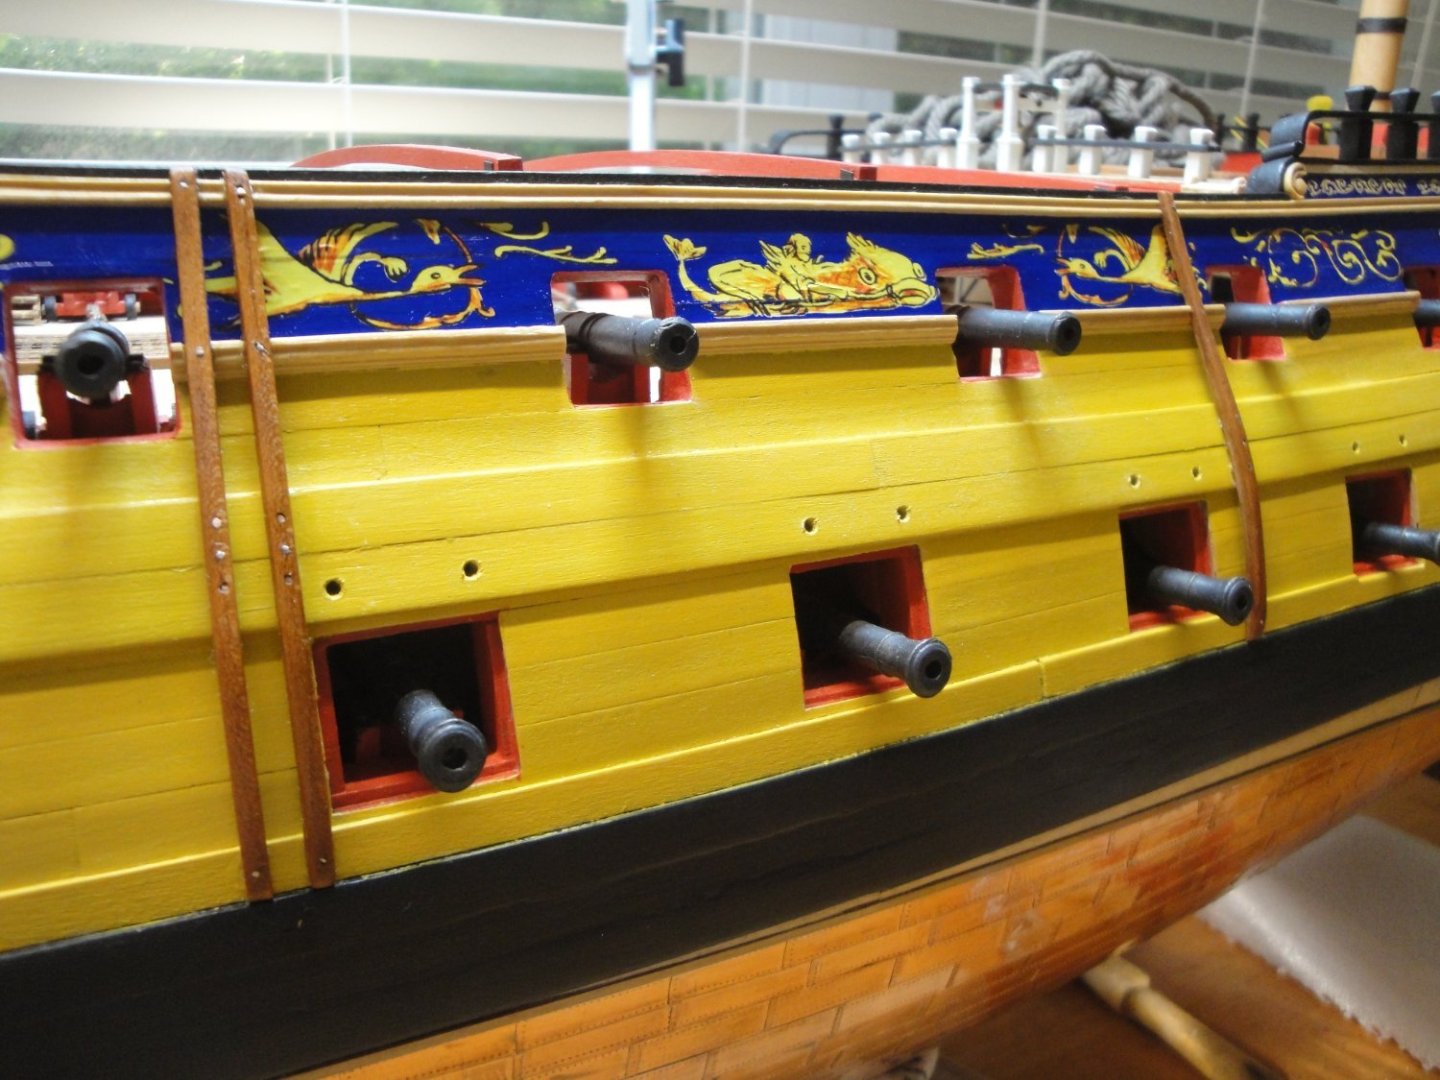
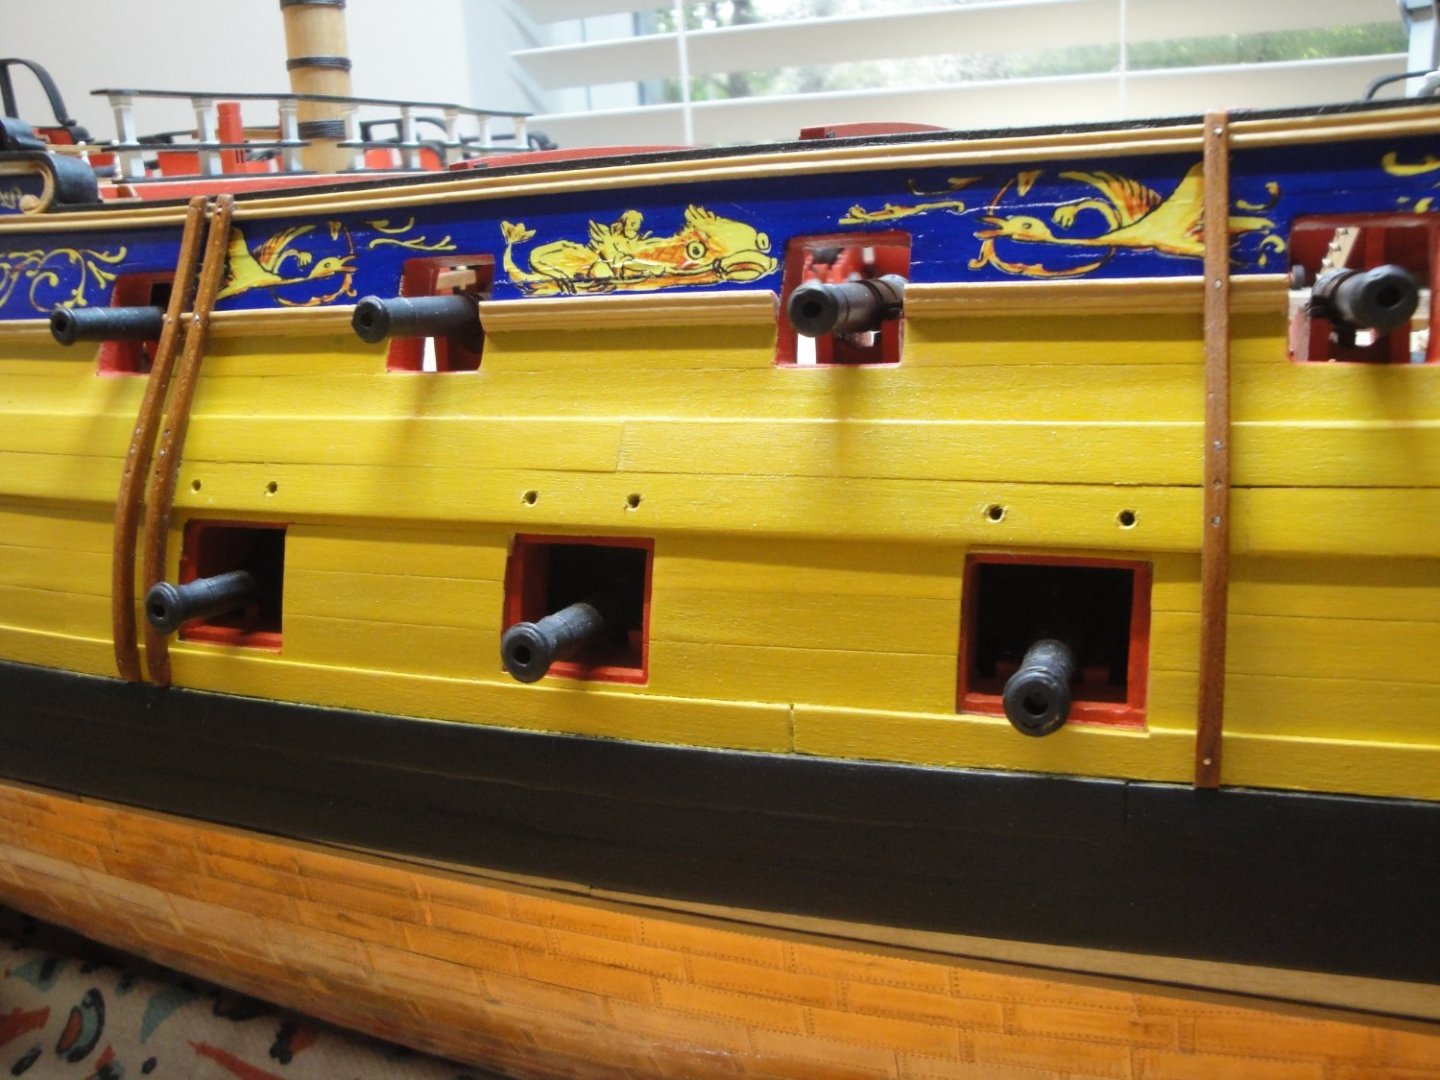
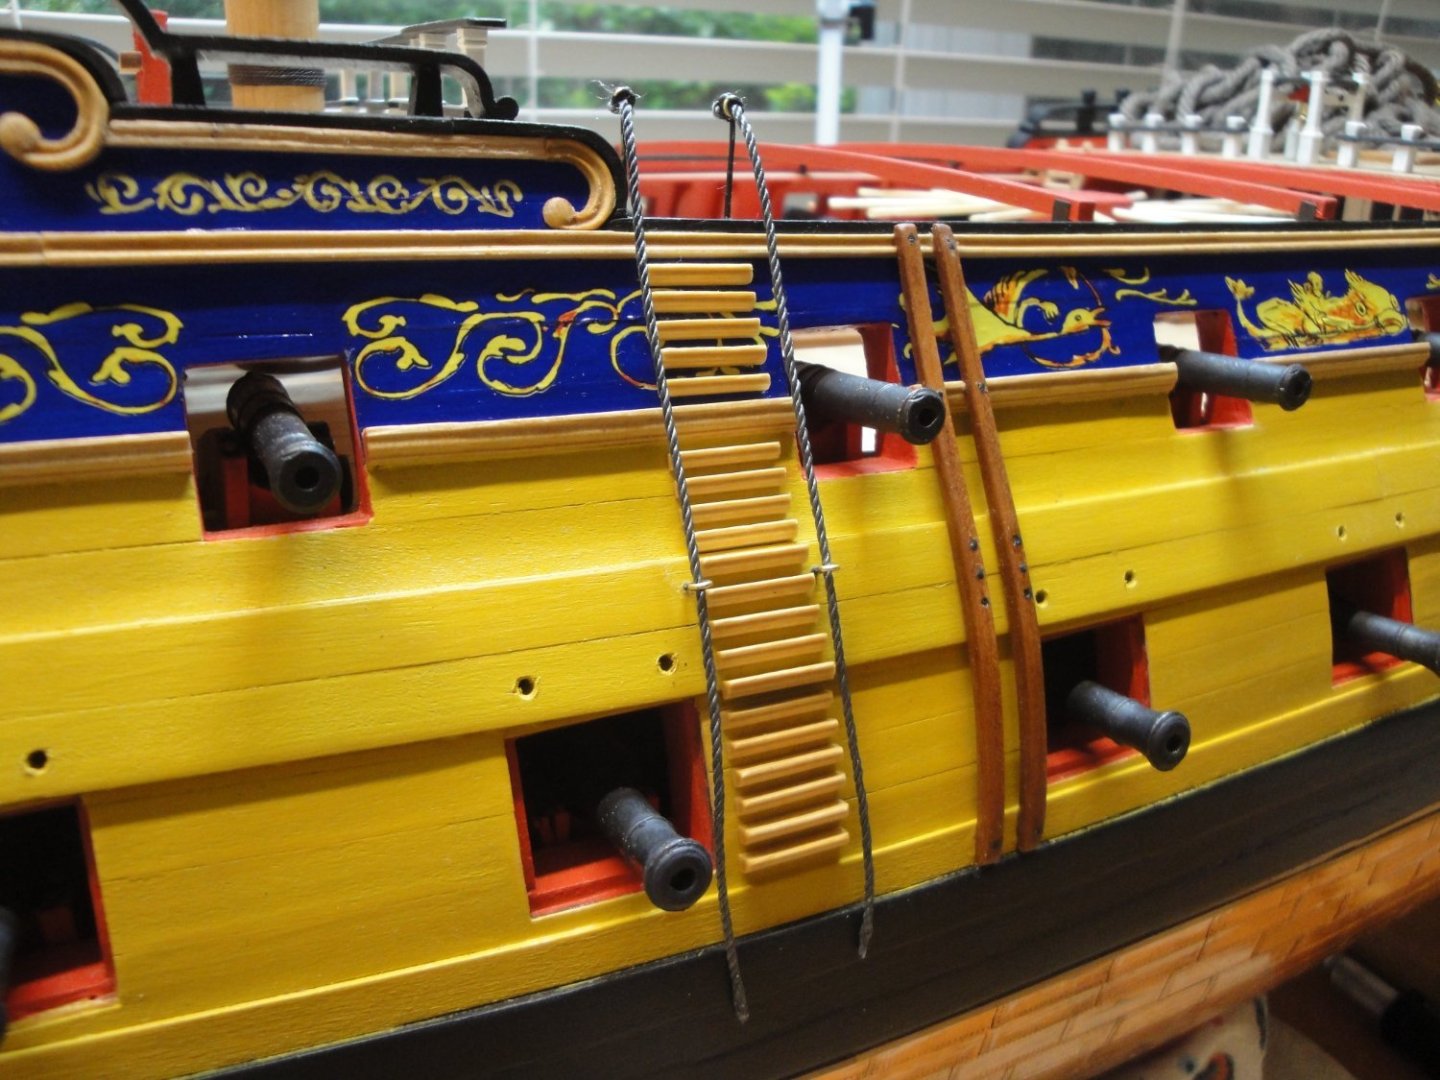
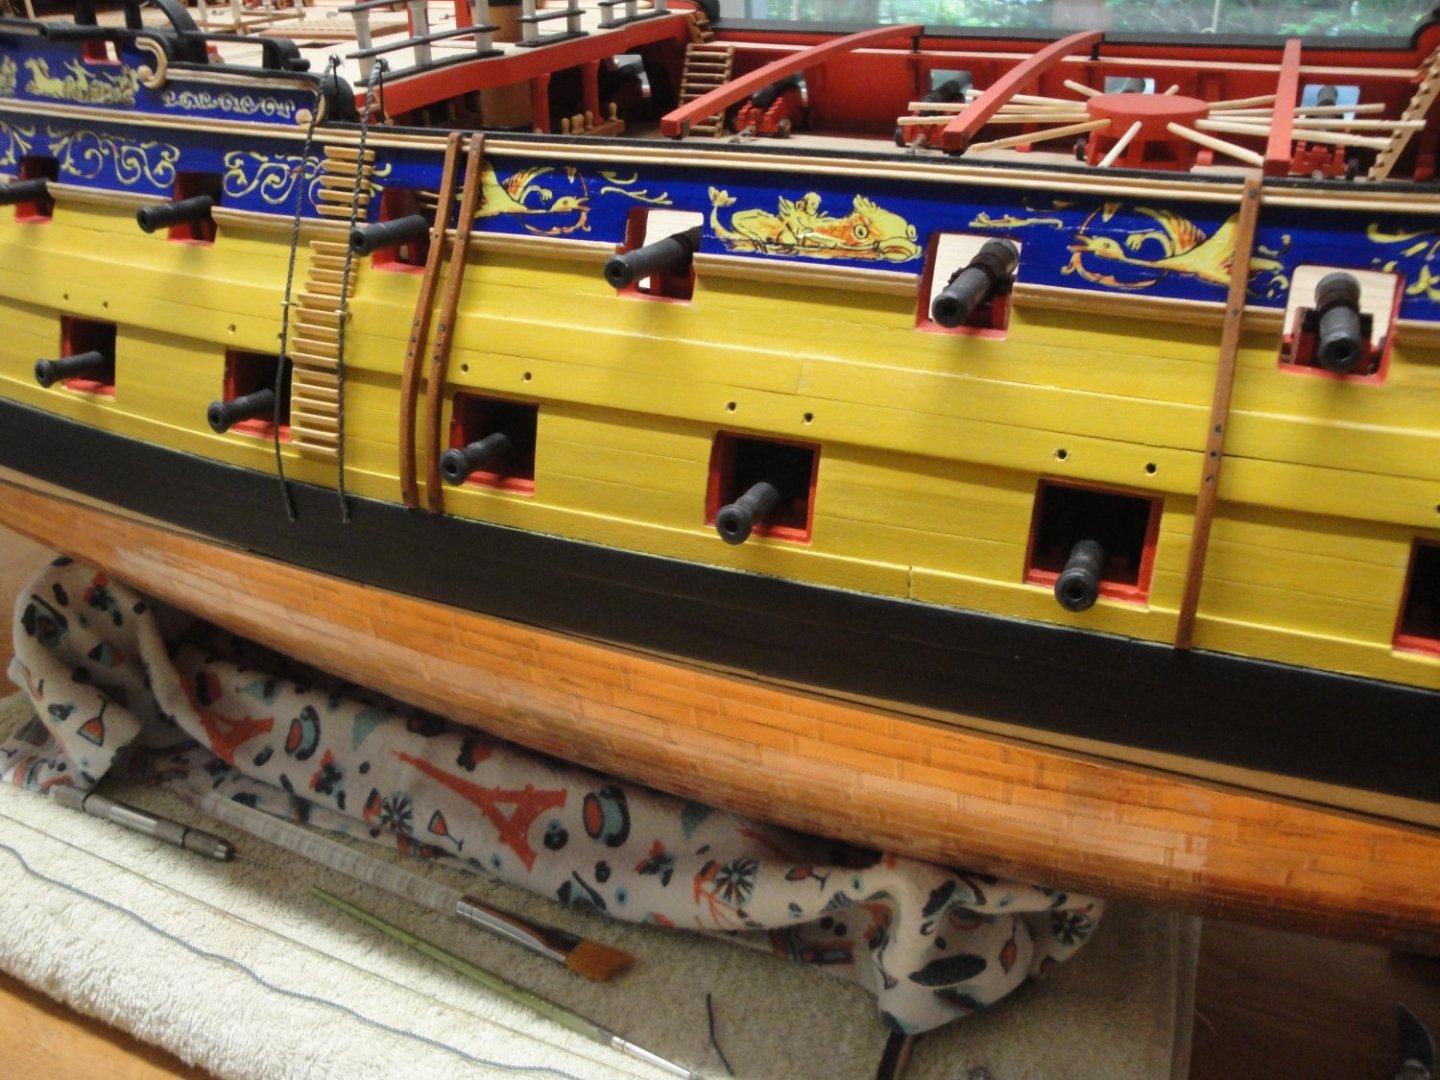
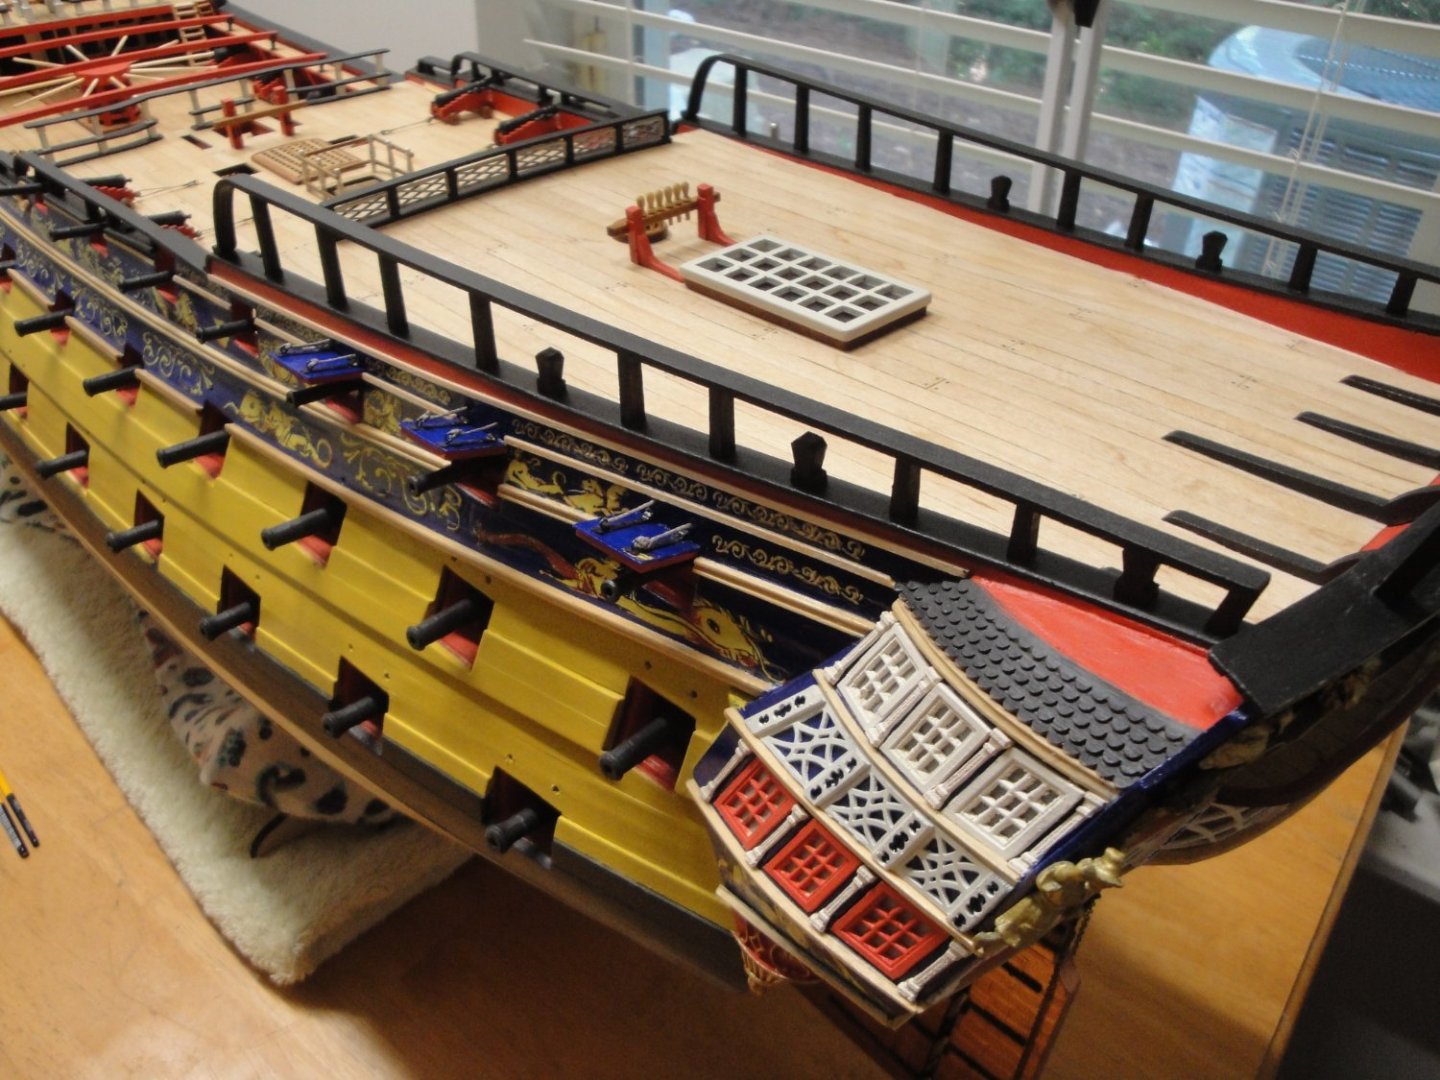
Installation of the skid beams and steps to climb aboard: The skid beams are used to protect the hull when loading and unloading the various boats. The two close beams can serve to guide barrels and other large bags, being loaded on the ship. Installation of these beams was a little bit nerve wracking as I did not want to damage the rails and the freezes. After the beams, come the steps: These are made with 2 x 3 mm strips, carved in the correct shape of steps. Steps are 14 mm long and separated by about 1.5 mm. The kit instructions calls for strips of 3 x 3 mm. I found that it would be too thick and not provide enough gaps between the steps. I think that the 2 (thickness) x 3 (width) mm steps look more realistic. It is very steep and some hand ropes seem necessary, to hold while climbing: Below is pretty much the view that you would have, disembarking from the ship. It is like going down a slippery ladder.... Now, I just have to redo the same on the other side.... Yves

- 507 replies
-
- 19
-
-

-
Lovely. I like the cats waiting for customers... Yves
-
I left mine tarnish naturally for a few weeks and then sealed everything with Future Floor. It has been holding up its original color for more than a year, despite frequent handling with bare hands. Yves
- 443 replies
-
- 3
-
-
- Indefatigable
- Vanguard Models
- (and 1 more)
-
Great work Kevin. Have you thought about protecting the copper or will you let it oxidize naturally? Yves
- 443 replies
-
- 3
-
-
- Indefatigable
- Vanguard Models
- (and 1 more)
-
Beautiful and enchanting little boat. Not many chances to see this kind of boat built in scale models, as such thank you for sharing your passion and allowing to discover this part of the South American culture. Yves
-
I was in Lake Lure this past week, and one of the bears sneaked into the boat house, took all the bread bags and emptied the trash bin. Another one was spotted swimming in Lake Lure and apparently crossing the lake.... Yves
- 58 replies
-
- 2
-
-
- Robert E Lee
- Amati
- (and 4 more)
-
You need to place a flat car on the tracks, somewhere appropriate. Yves
-
Fantastic diorama. Absolutely superb..... A reference for the railroad and diorama enthusiasts. Yves
-
Yes, I watched with pleasure and admiration, your models presented on the The Model News. I placed a link in your Porco Rosso thread. Congratulations. Yves
- 47 replies
-
- 5
-
-
- Zumwalt
- Snowman Model
- (and 2 more)
-
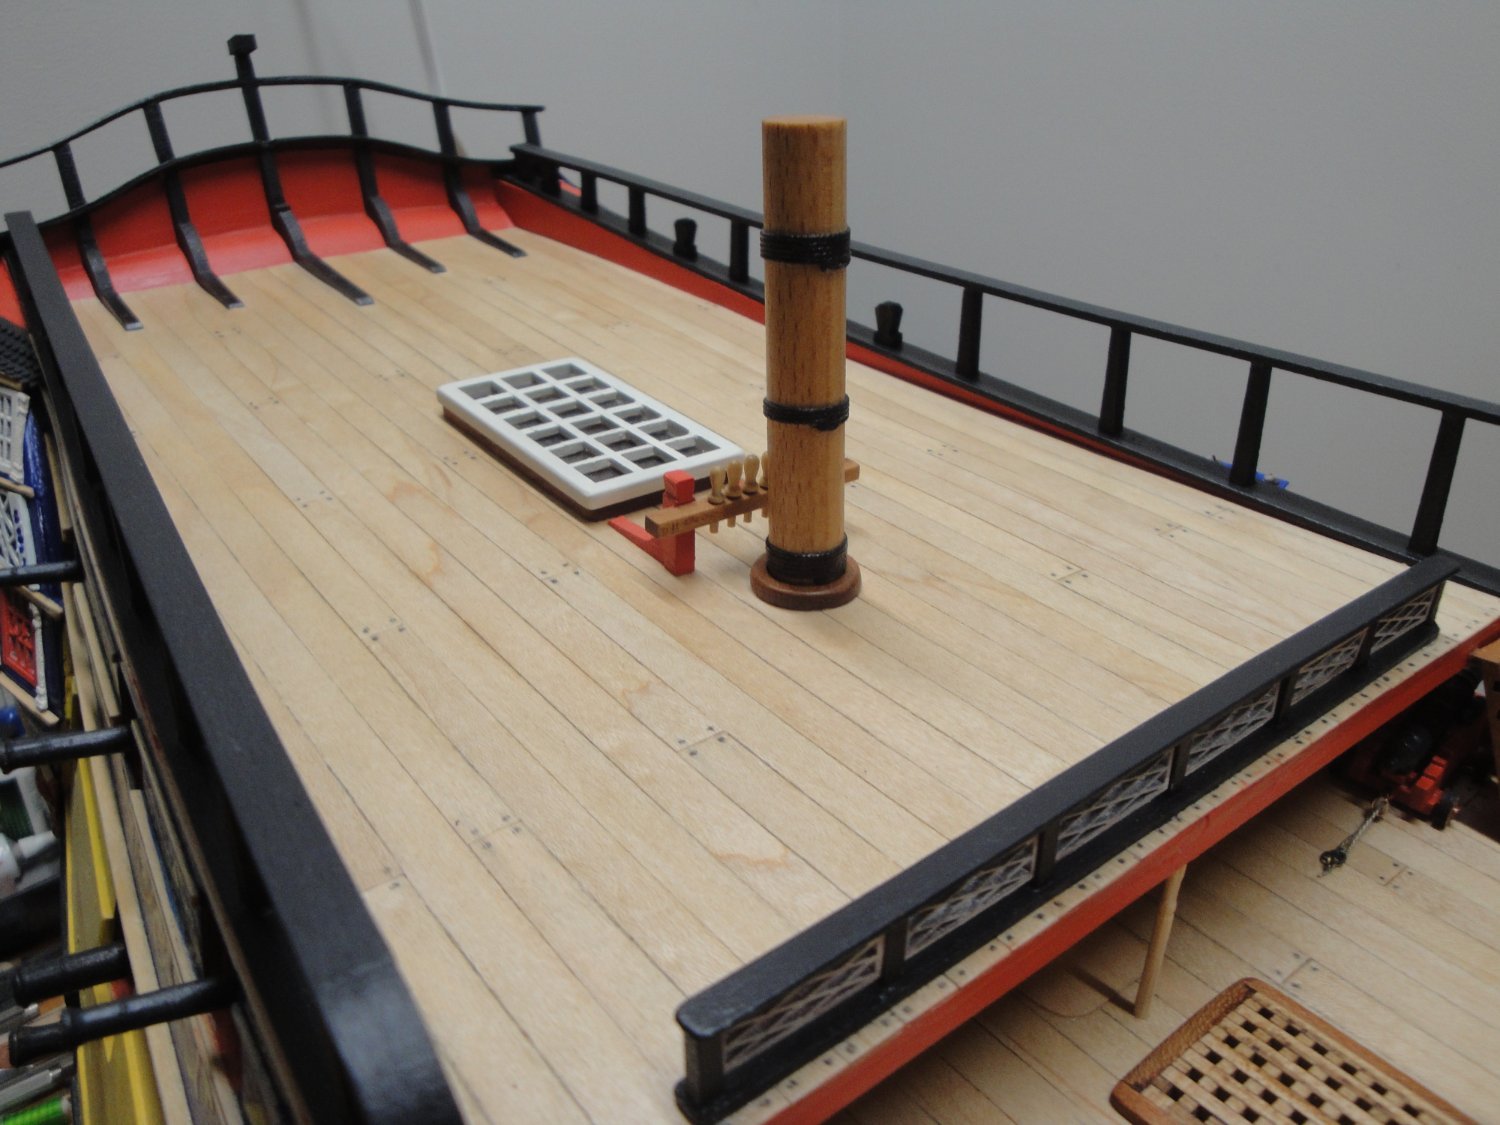
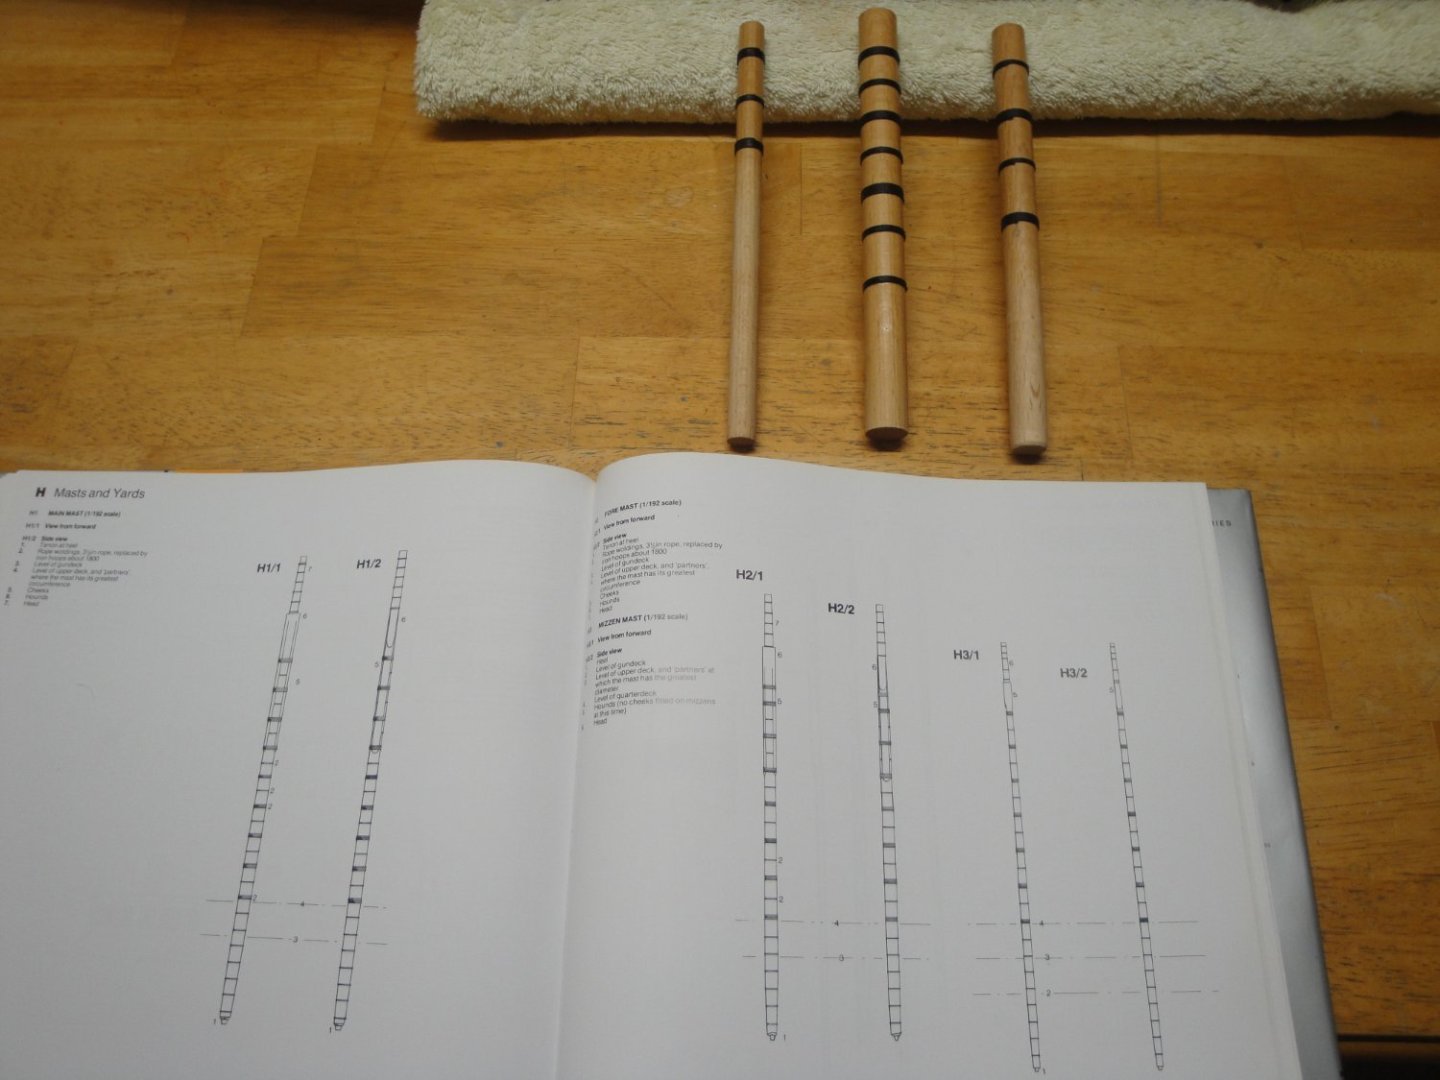
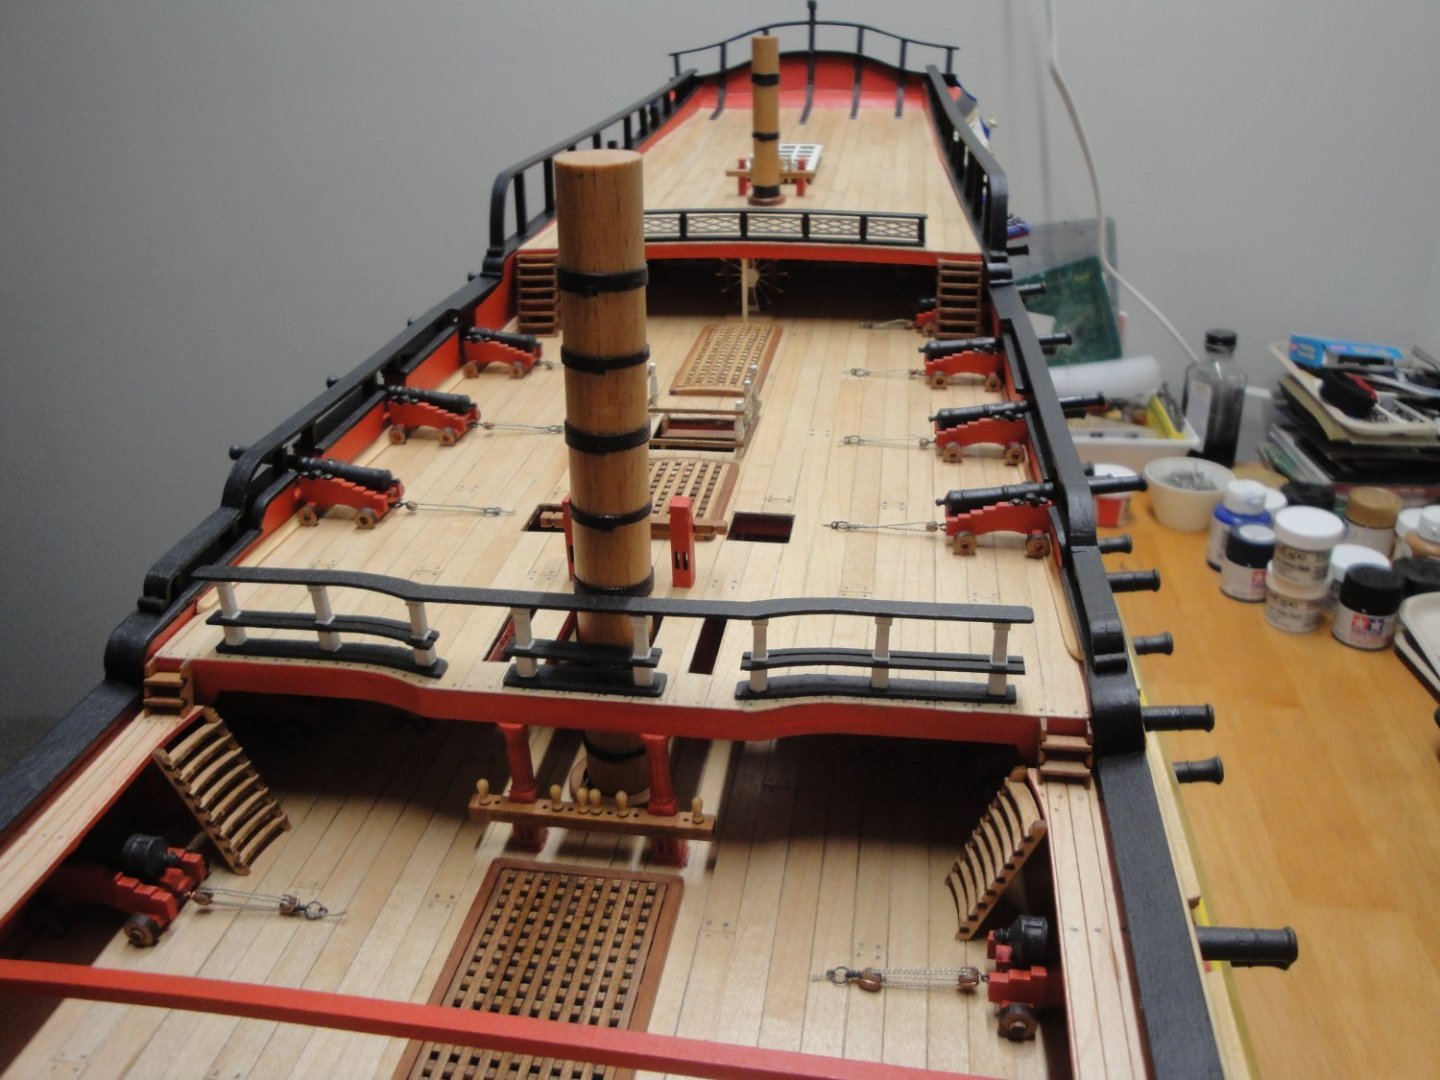
In an effort to enhance the appearance of the "stumps" provided in the kit, I placed some fine threads around the masts, respecting the number of turns and distances between the coils as described in the Anatomy of the Ship book: It does indeed improve the appearance of those short stubs, without departing from the Admiralty presentation: Yves


- 507 replies
-
- 15
-
-
-
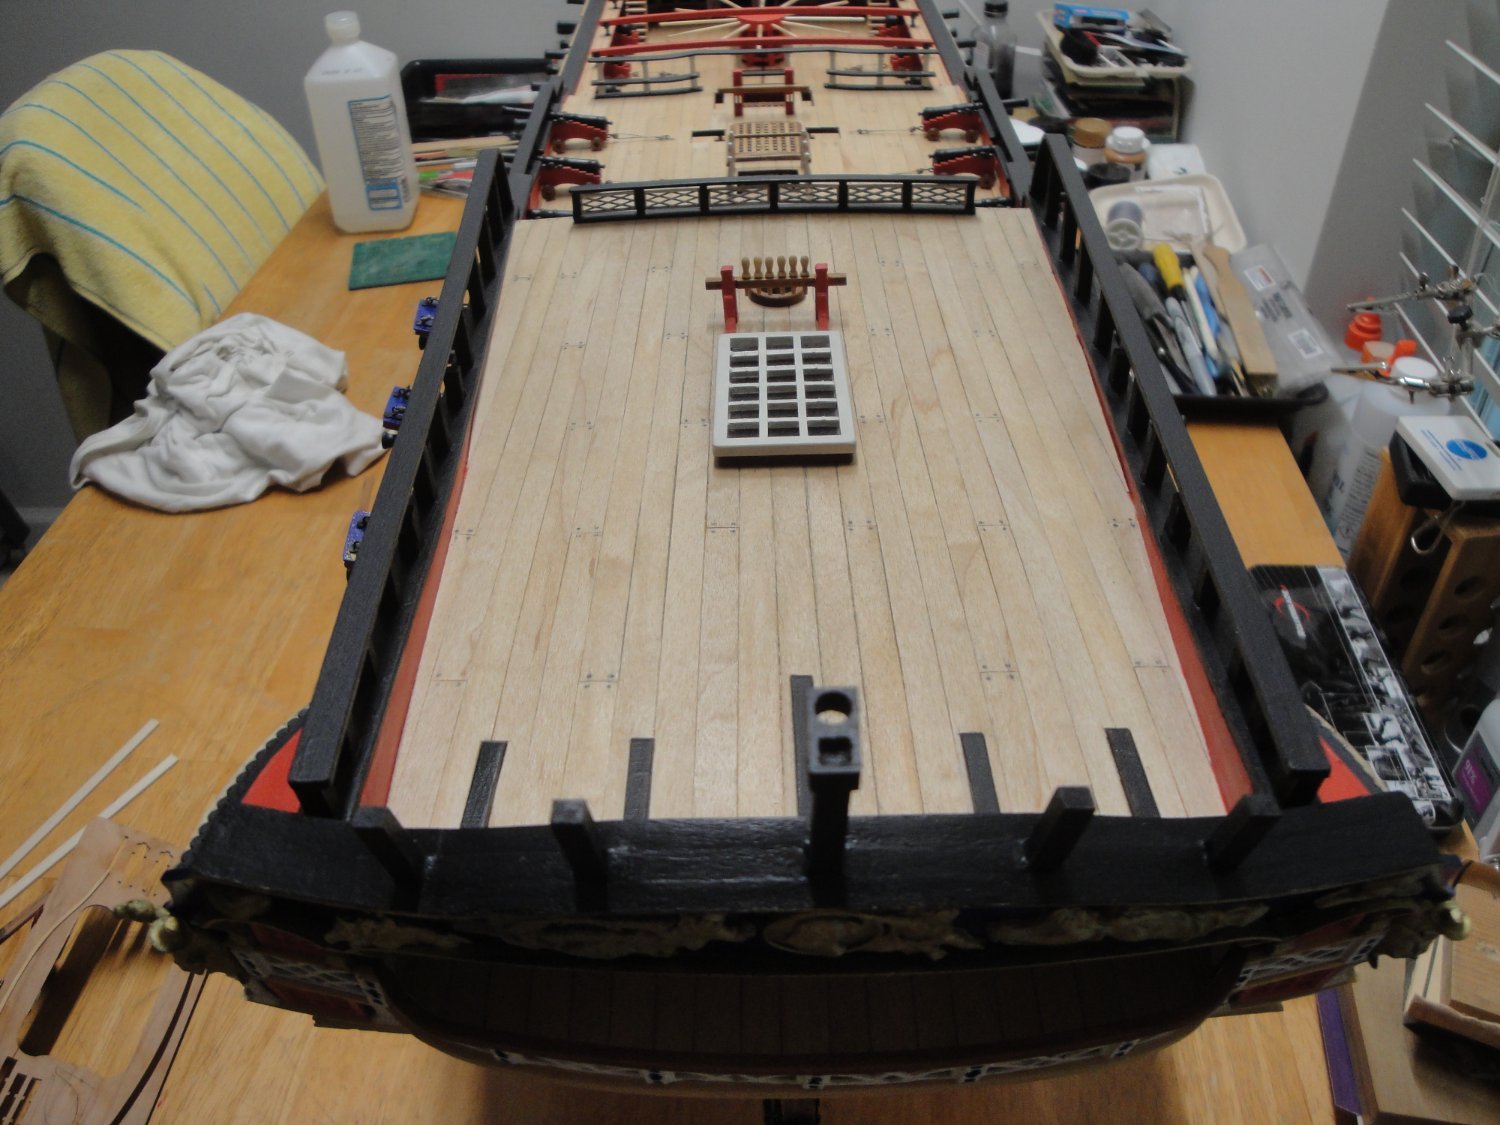
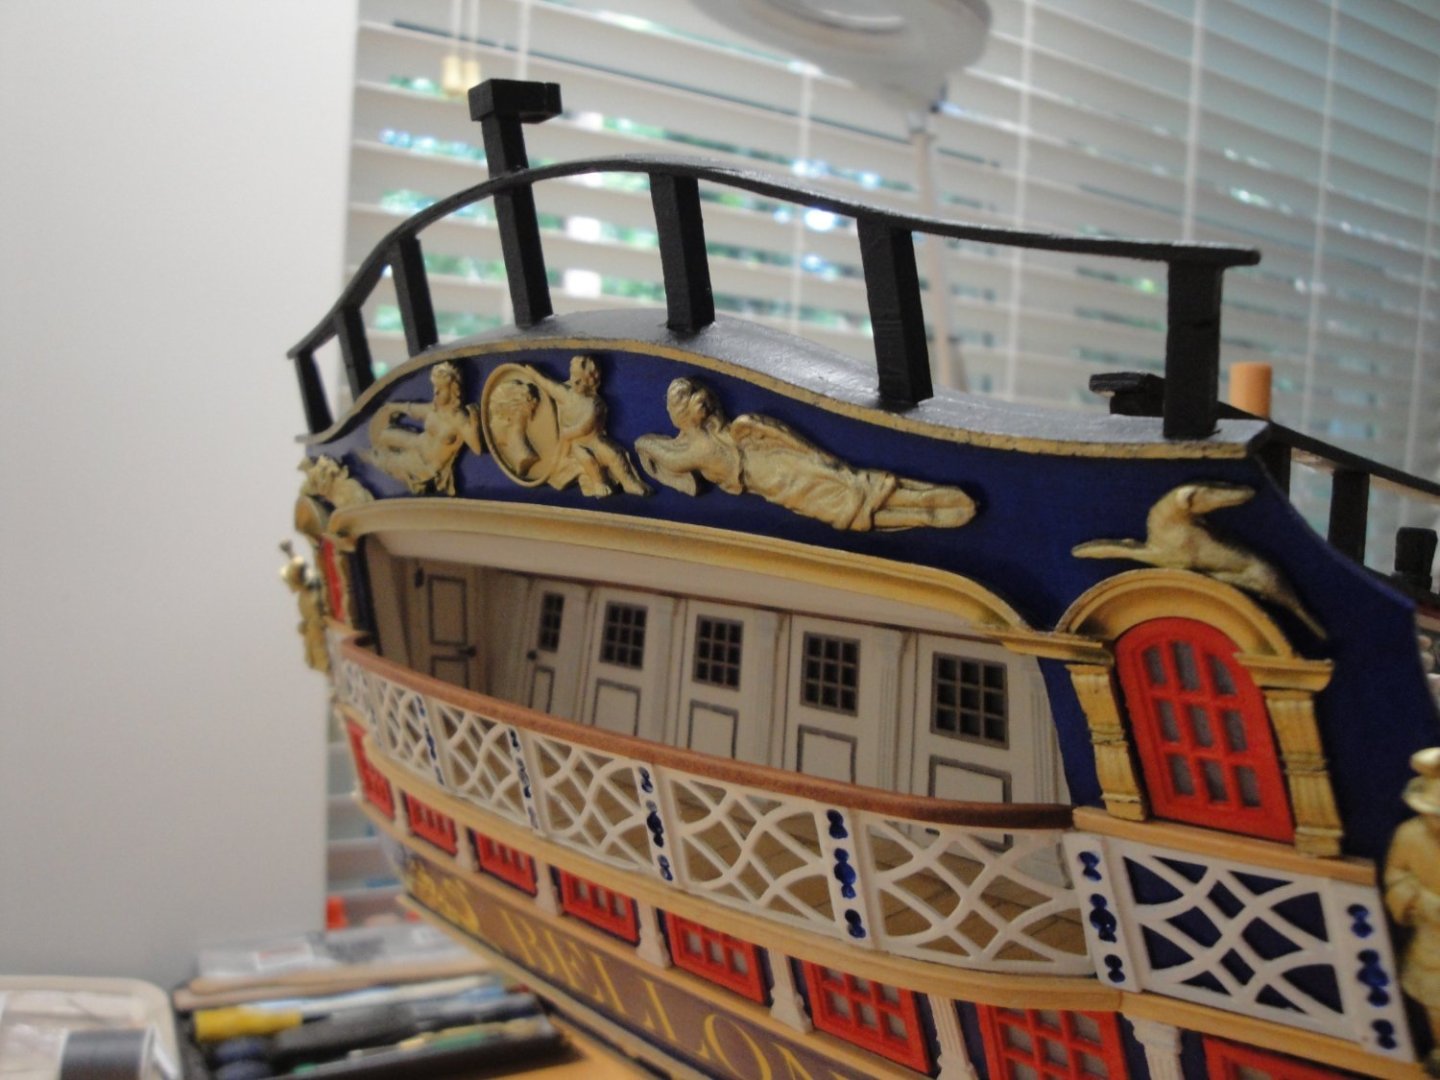
I just finished the Taffrail. The kit implementation is somewhat different from the English reference model but it will do for the time being: Yves

-
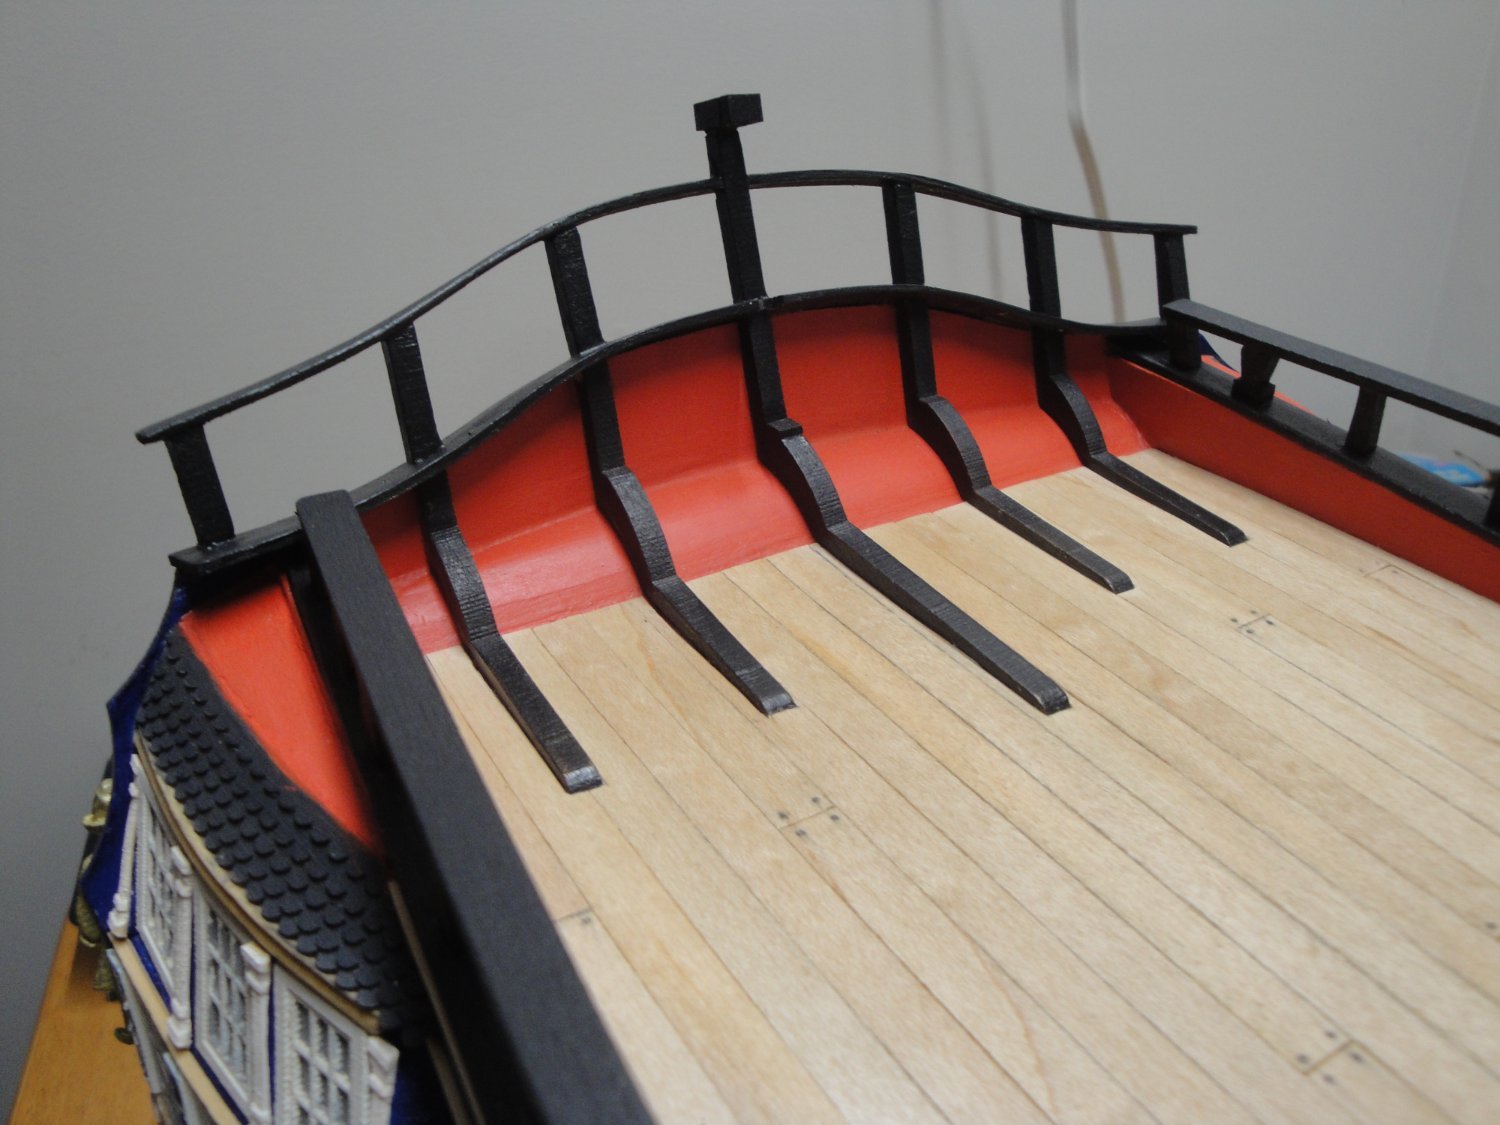
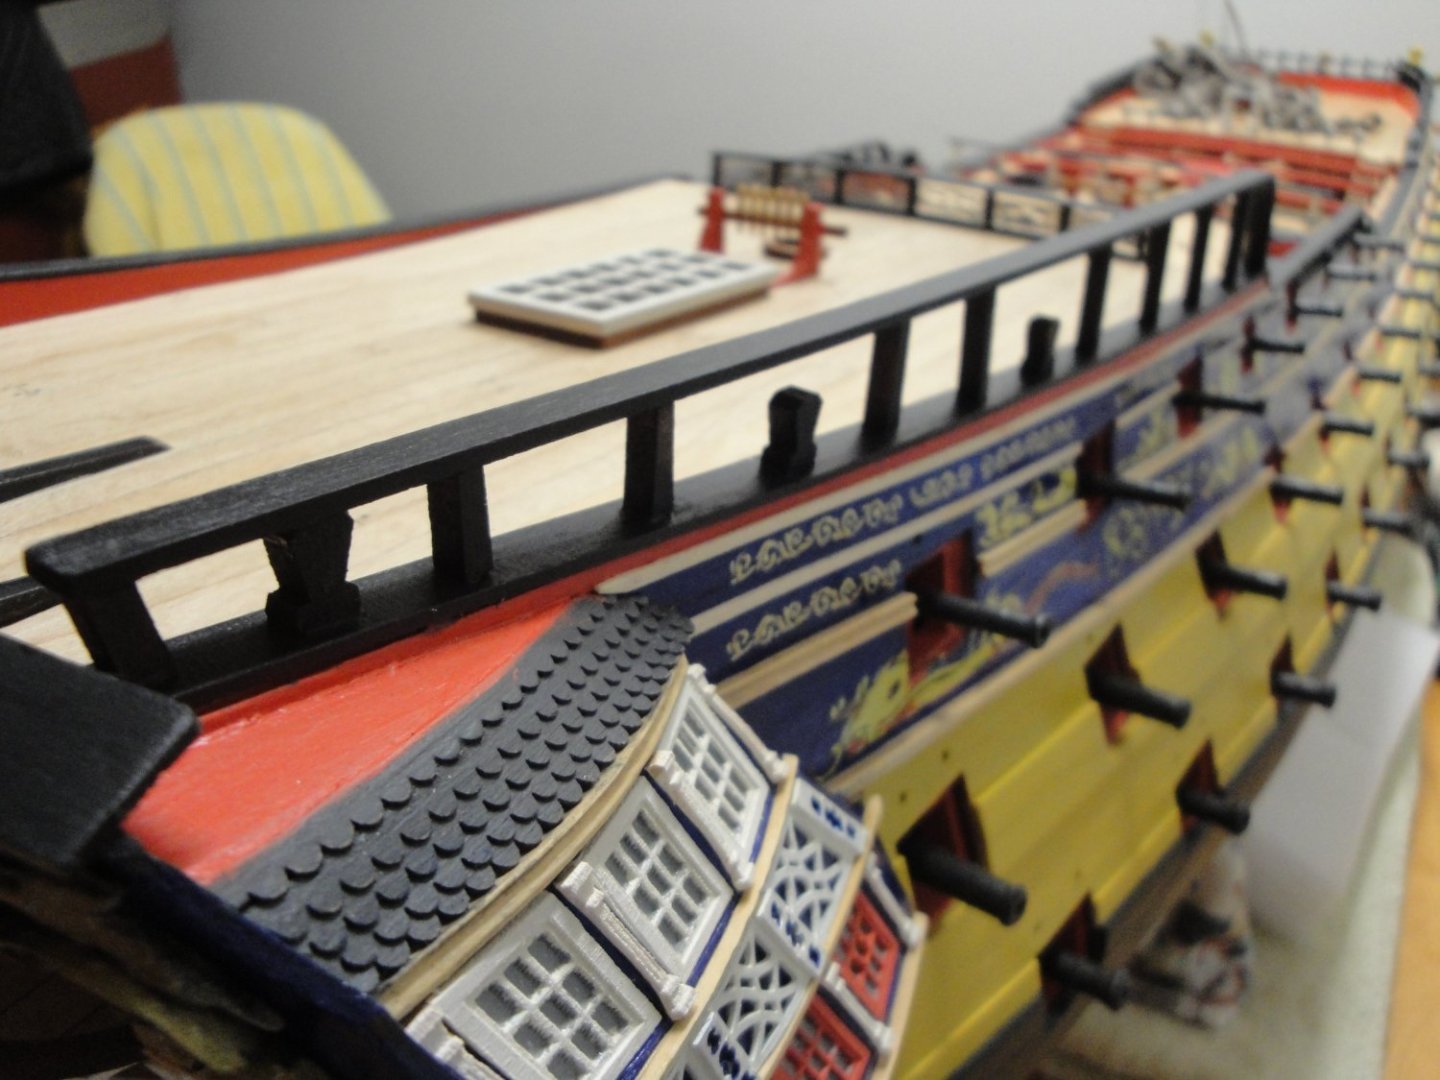
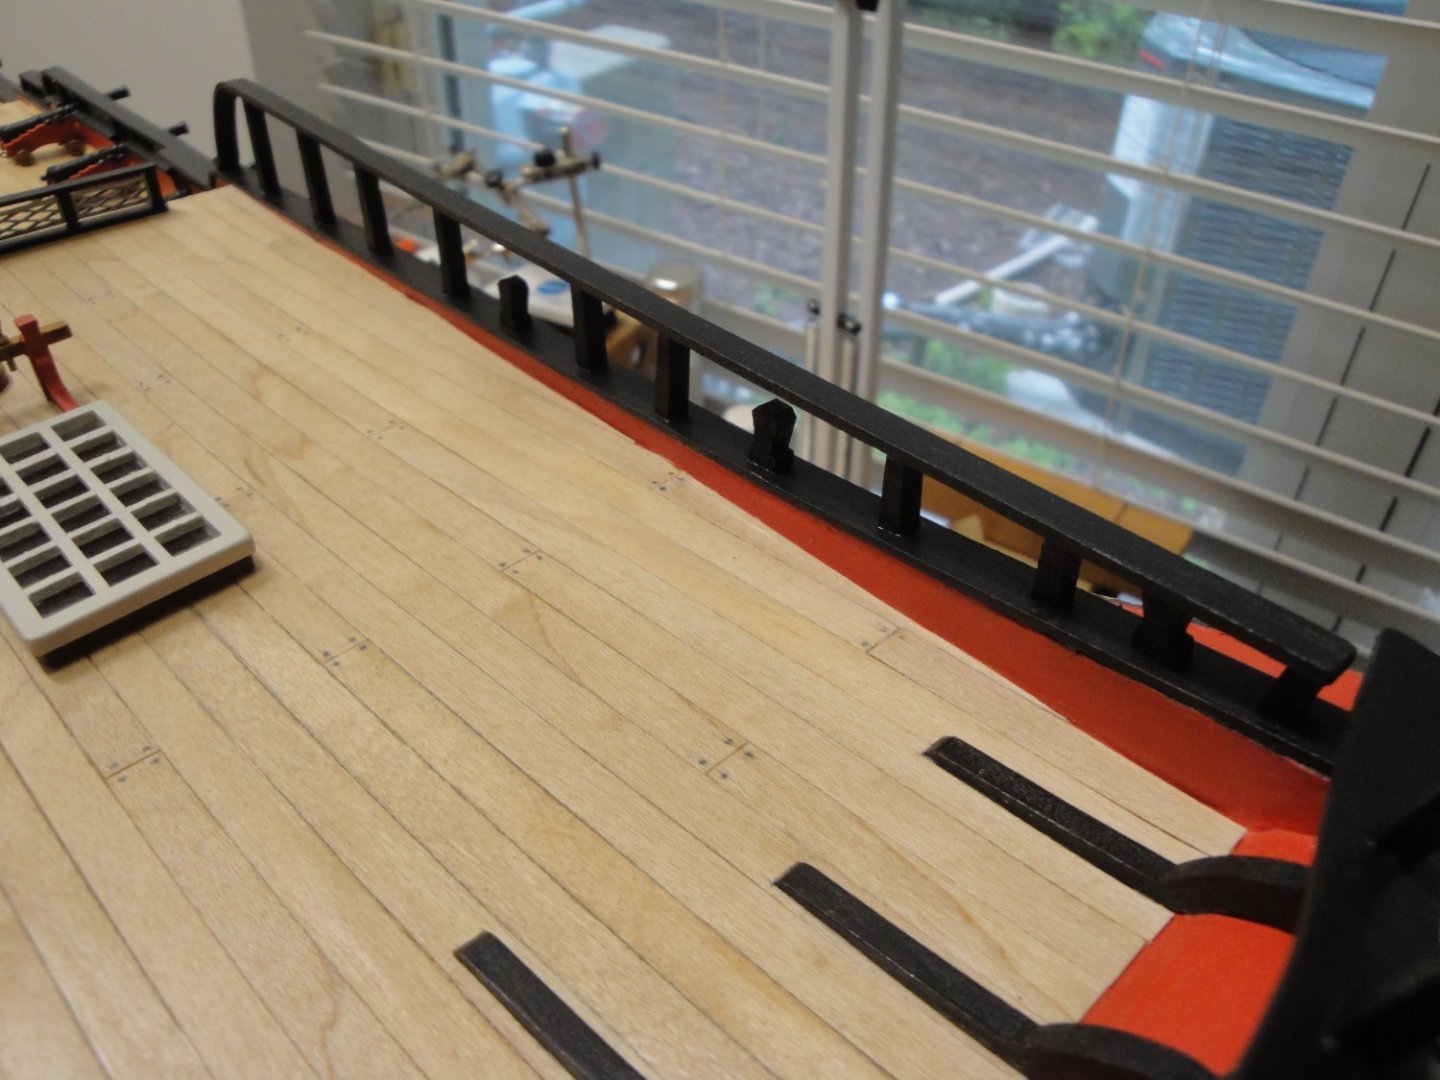
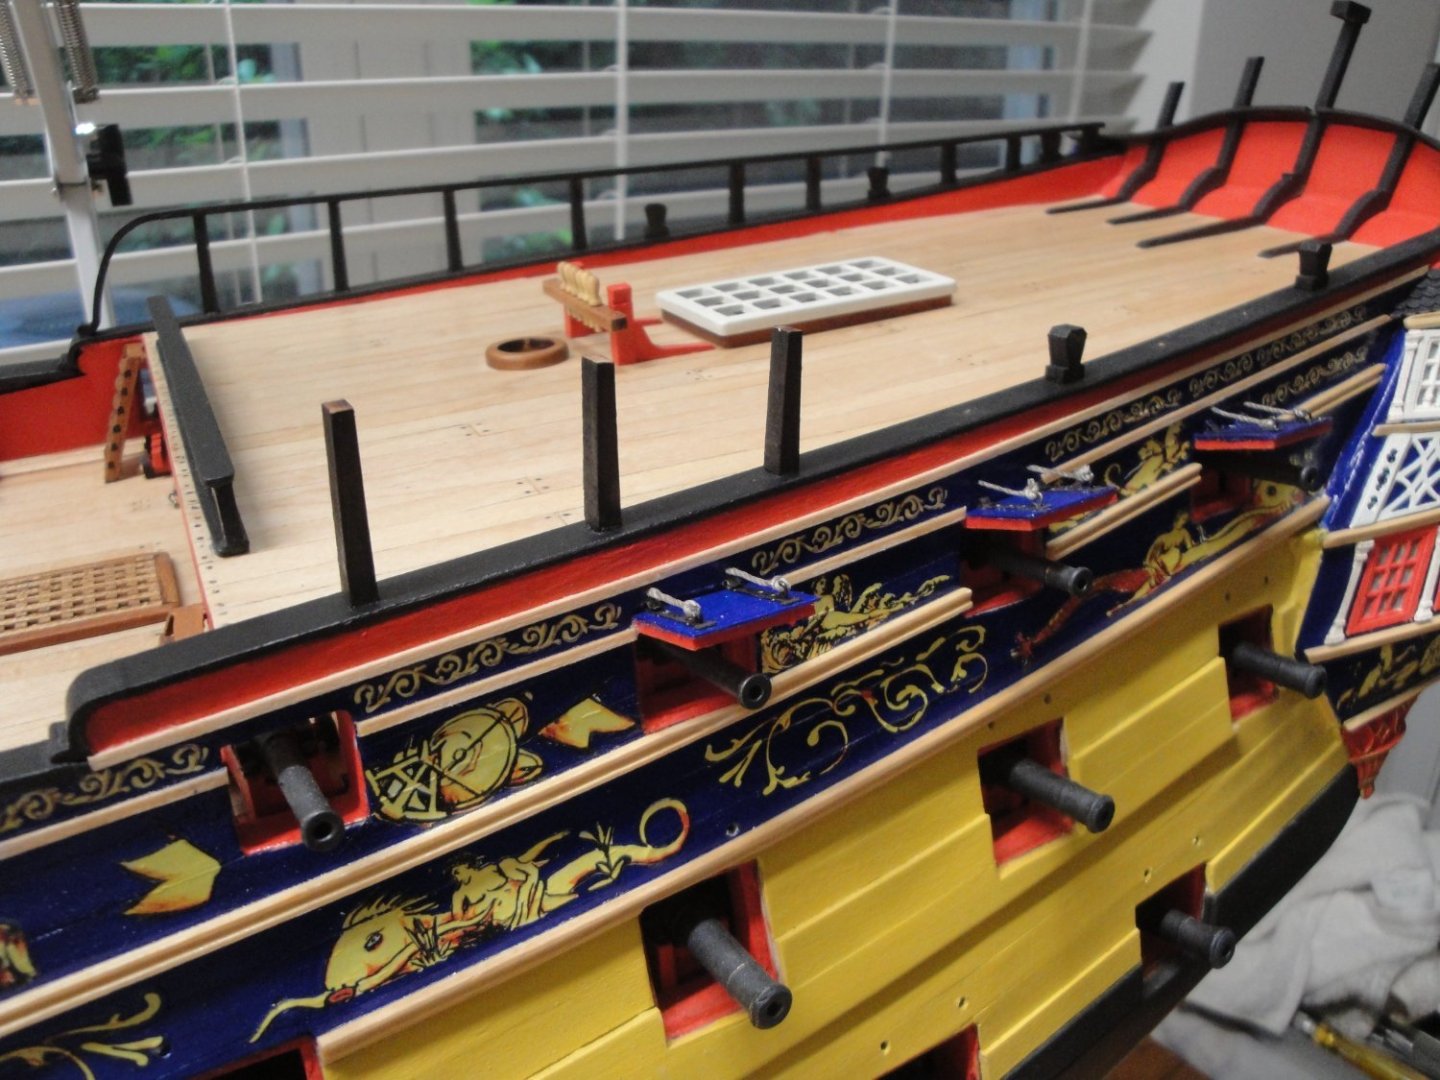
I have completed the railing of the poop deck. Overall, it is quite delicate due to the length of the stands, and the long ones must be pinned if you intend to have something that holds correctly. The pins are made with electronic components pins of about 0.8 mm diameter. Moving to the other side: The parts provided in the kit require some adjustment in length and angles. Overall view of the poop deck: I am now going to work on finishing the taffrail and the stern flag pole. I may even attempt the assembly of the lantern.... Yves


- 507 replies
-
- 18
-
-
-
Greg, I saw your beautiful models displayed at the Australian Berkeley Plastic Models show. You have multiple entries, planes and ships. Congratulations. https://www.themodellingnews.com/2023/06/tmn-on-tour-illawarra-scale-model-hobby.html#more Yves
-
Come on Kevin!! Since that hull is very similar to the 72/74 guns warships, it only take 2400 tiles. You are almost there.... 🙂 I agree with your assessment about the rivets/nails. At that scale, it would be hard to see. Yves
- 443 replies
-
- 4
-

-
-
- Indefatigable
- Vanguard Models
- (and 1 more)
-
No wonder they were out of stock.... It took me two months to get 6 cans of that Automotive Primer.... 🙂 Yves
- 154 replies
-
- 5
-
-
-
- Enterprise
- Trumpeter
- (and 1 more)
-
Vincent Black Shadow by CDW - Revell - 1:12 Scale
yvesvidal replied to CDW's topic in Non-ship/categorised builds
Yes, it is worth the few hours you spent on that wheel. Incredible differences. Yves -
ancre Belle Poule 1765 by j.guydal
yvesvidal replied to j.guydal's topic in - Build logs for subjects built 1751 - 1800
Superbe travail. C'est du grand art !!! Yves -
oh oh !!! This is going to be epic when you start a Build Log. Yves
-
Great project. I feel your pain with the printing time..... 614 hours to print my Russian ALFA submarine !!! Patience and a clean extrusion are key. Yves
- 6 replies
-
- 3
-
-
- swedish navy
- Destroyer
- (and 2 more)
-
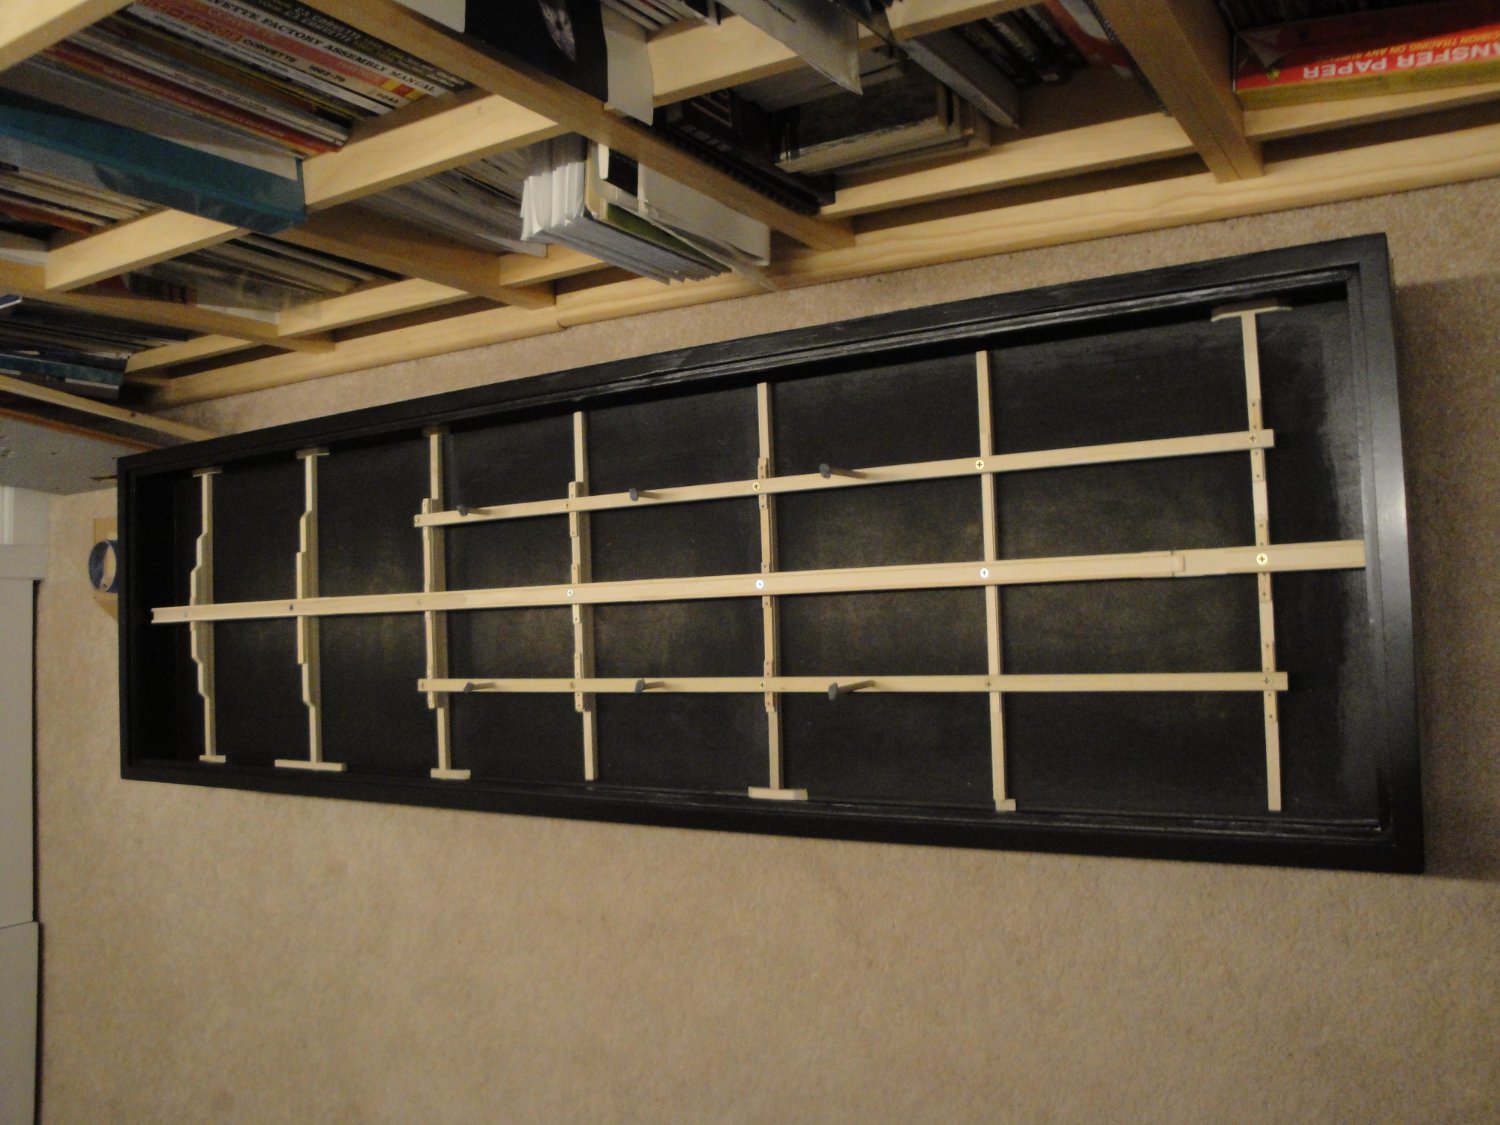
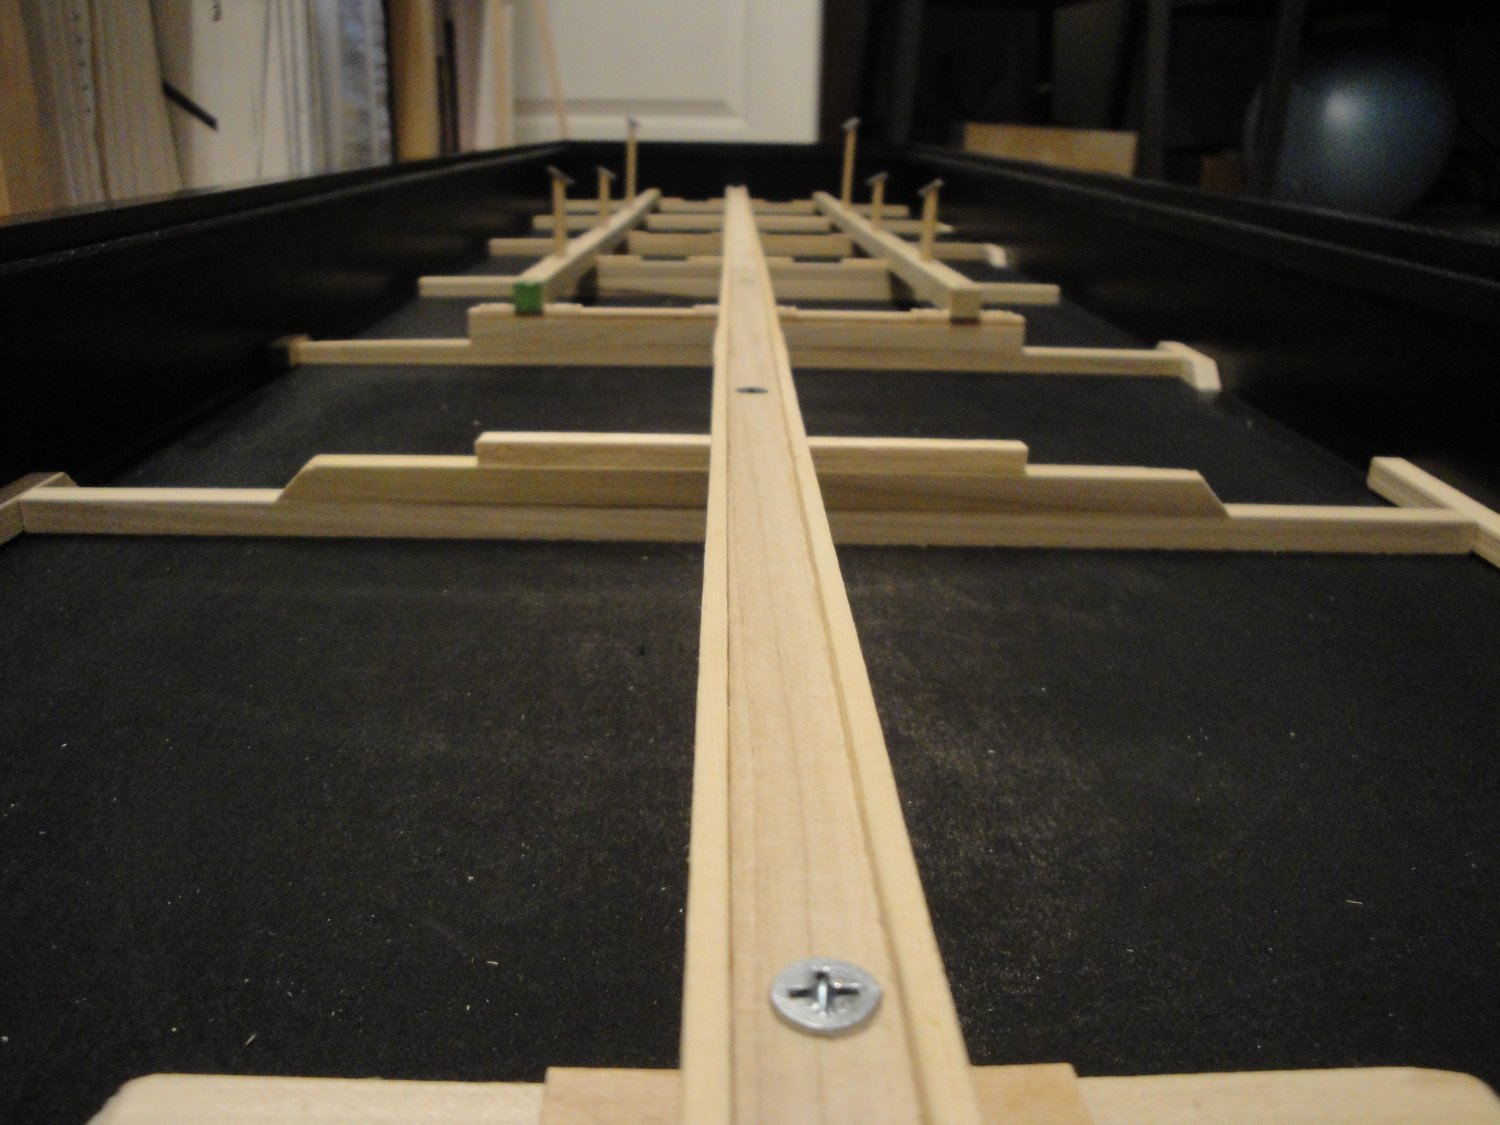
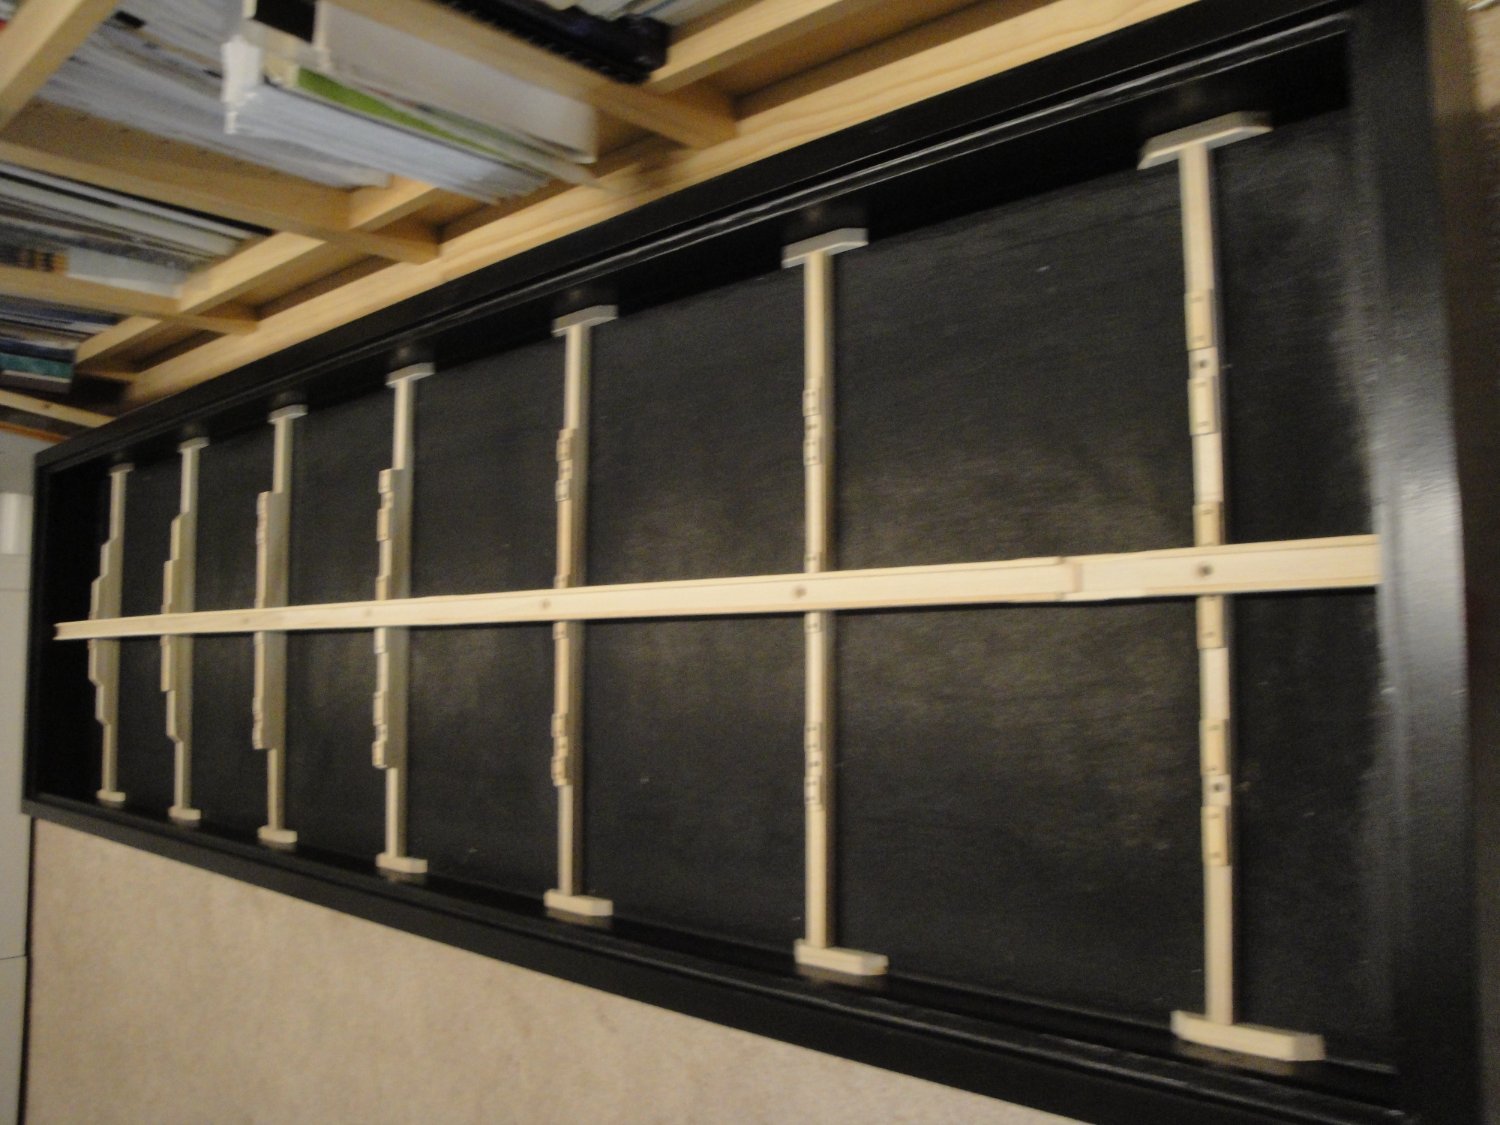
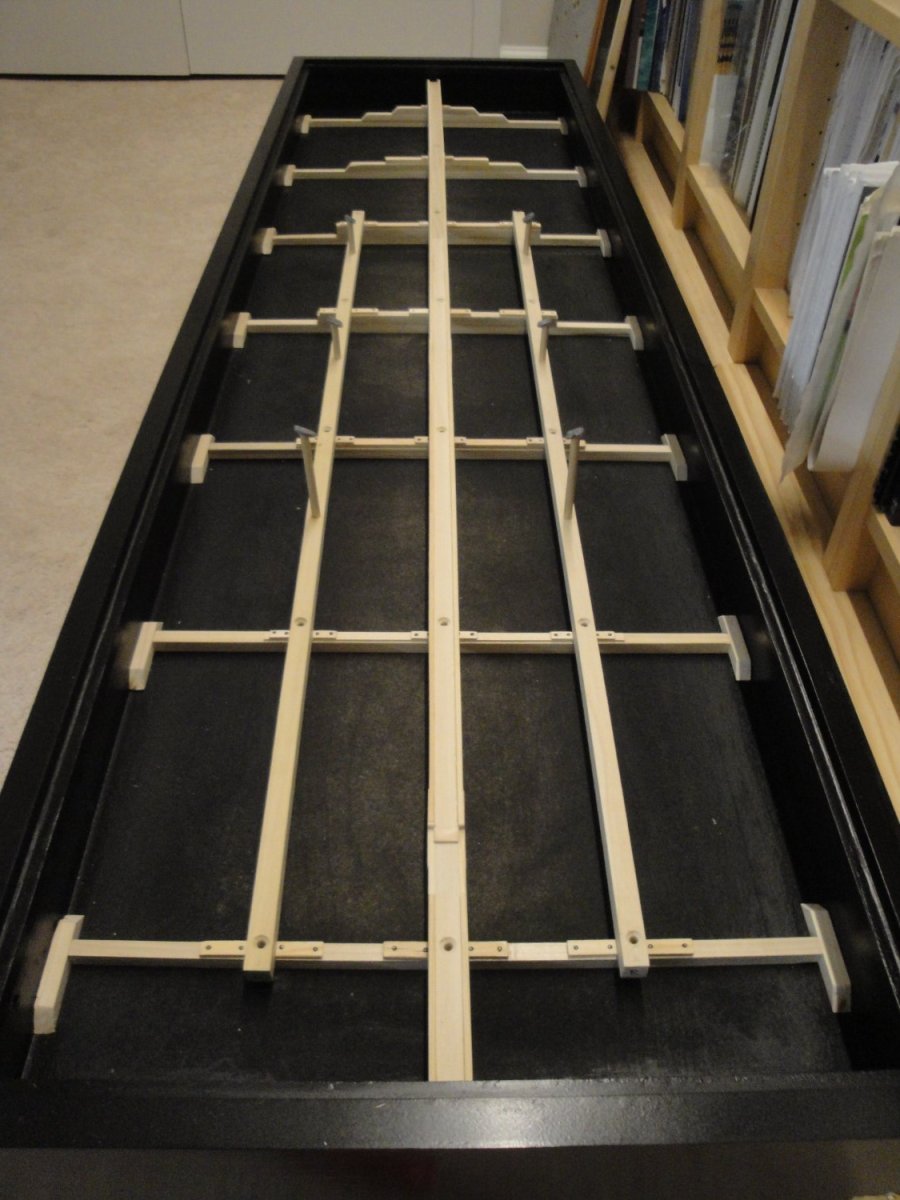
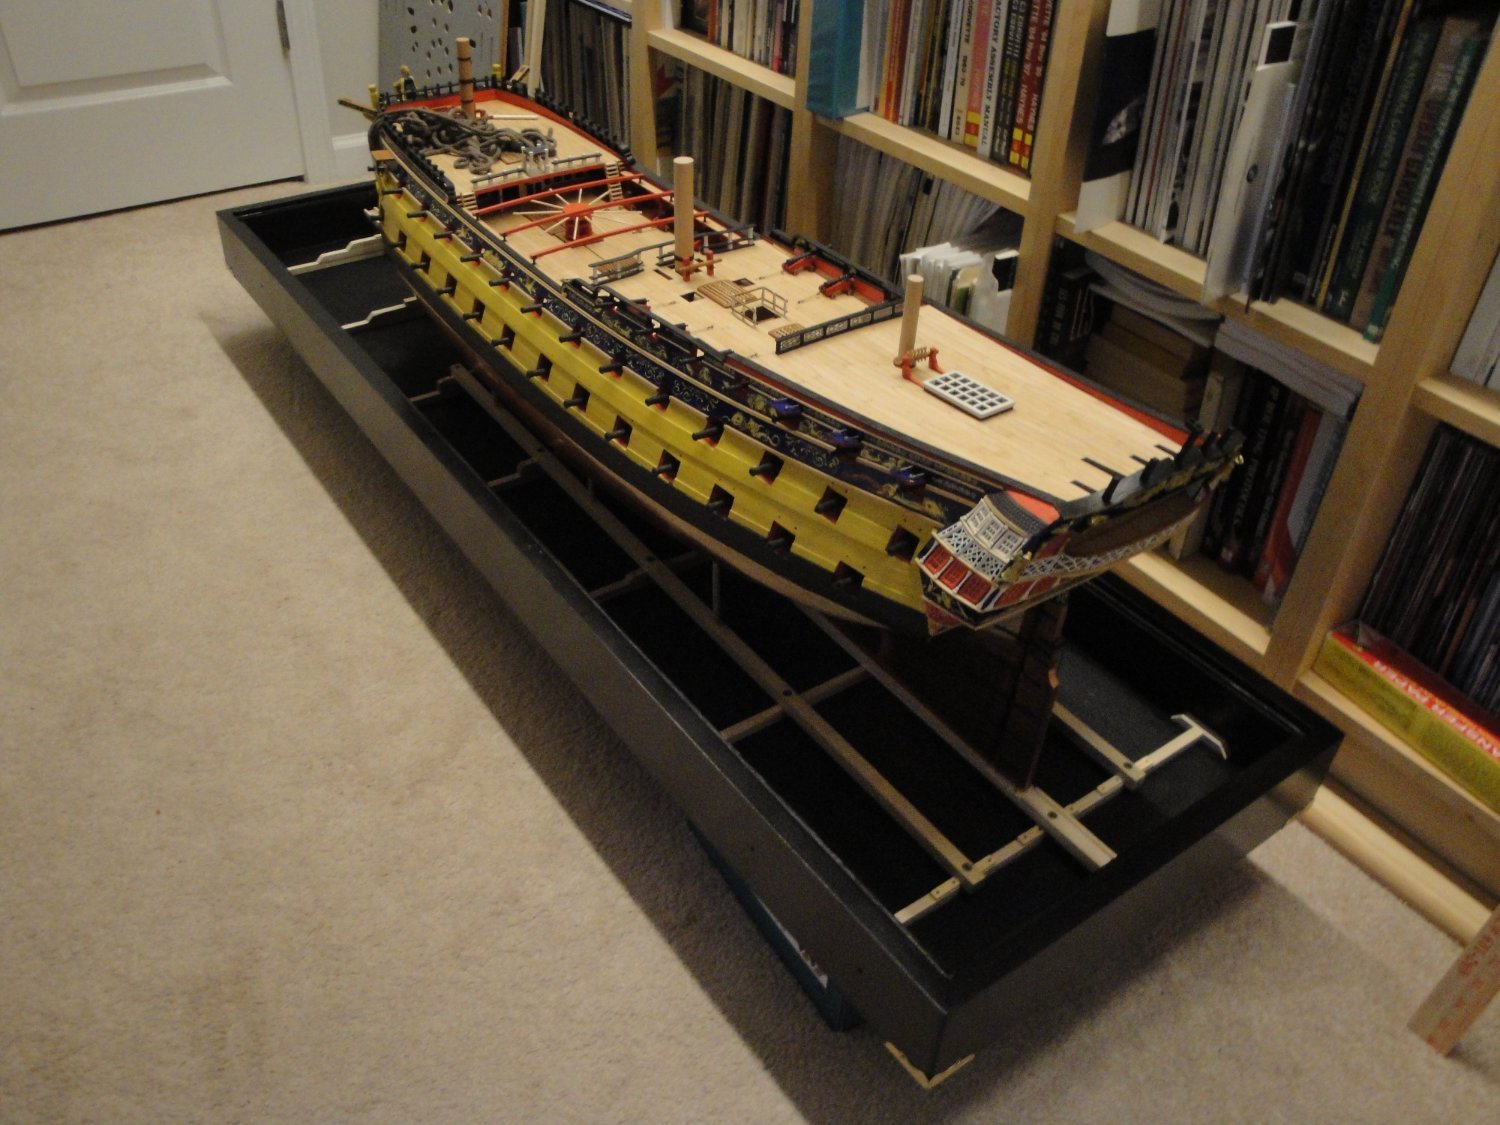
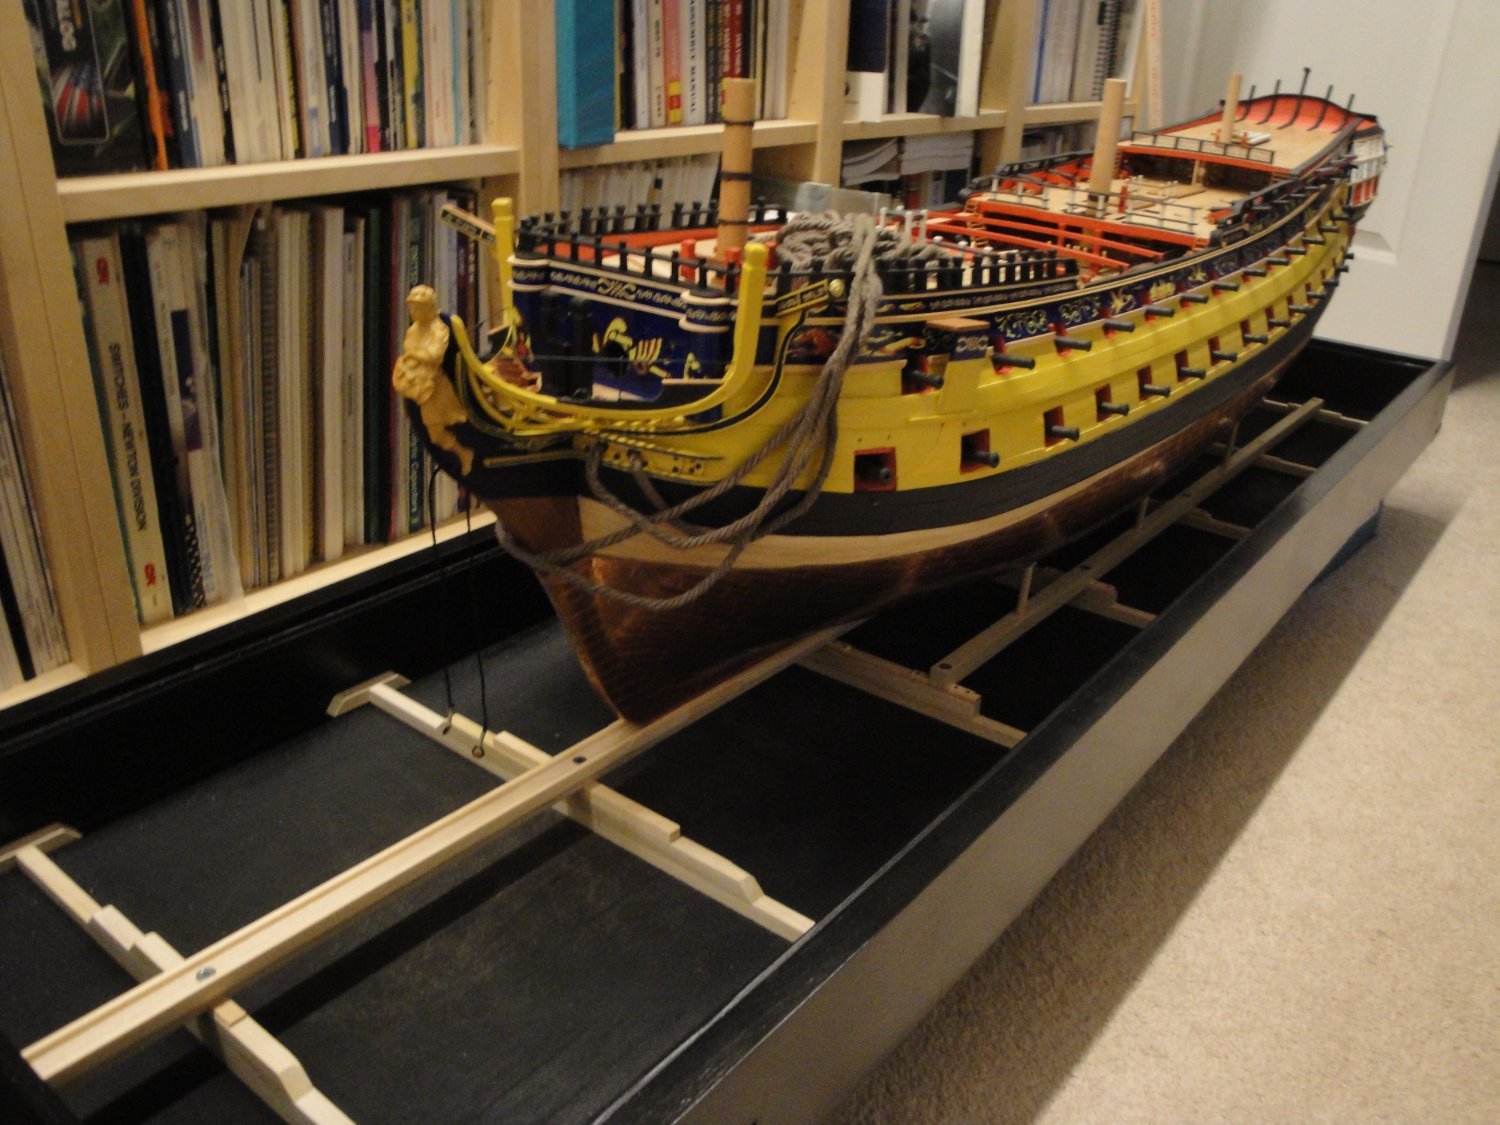
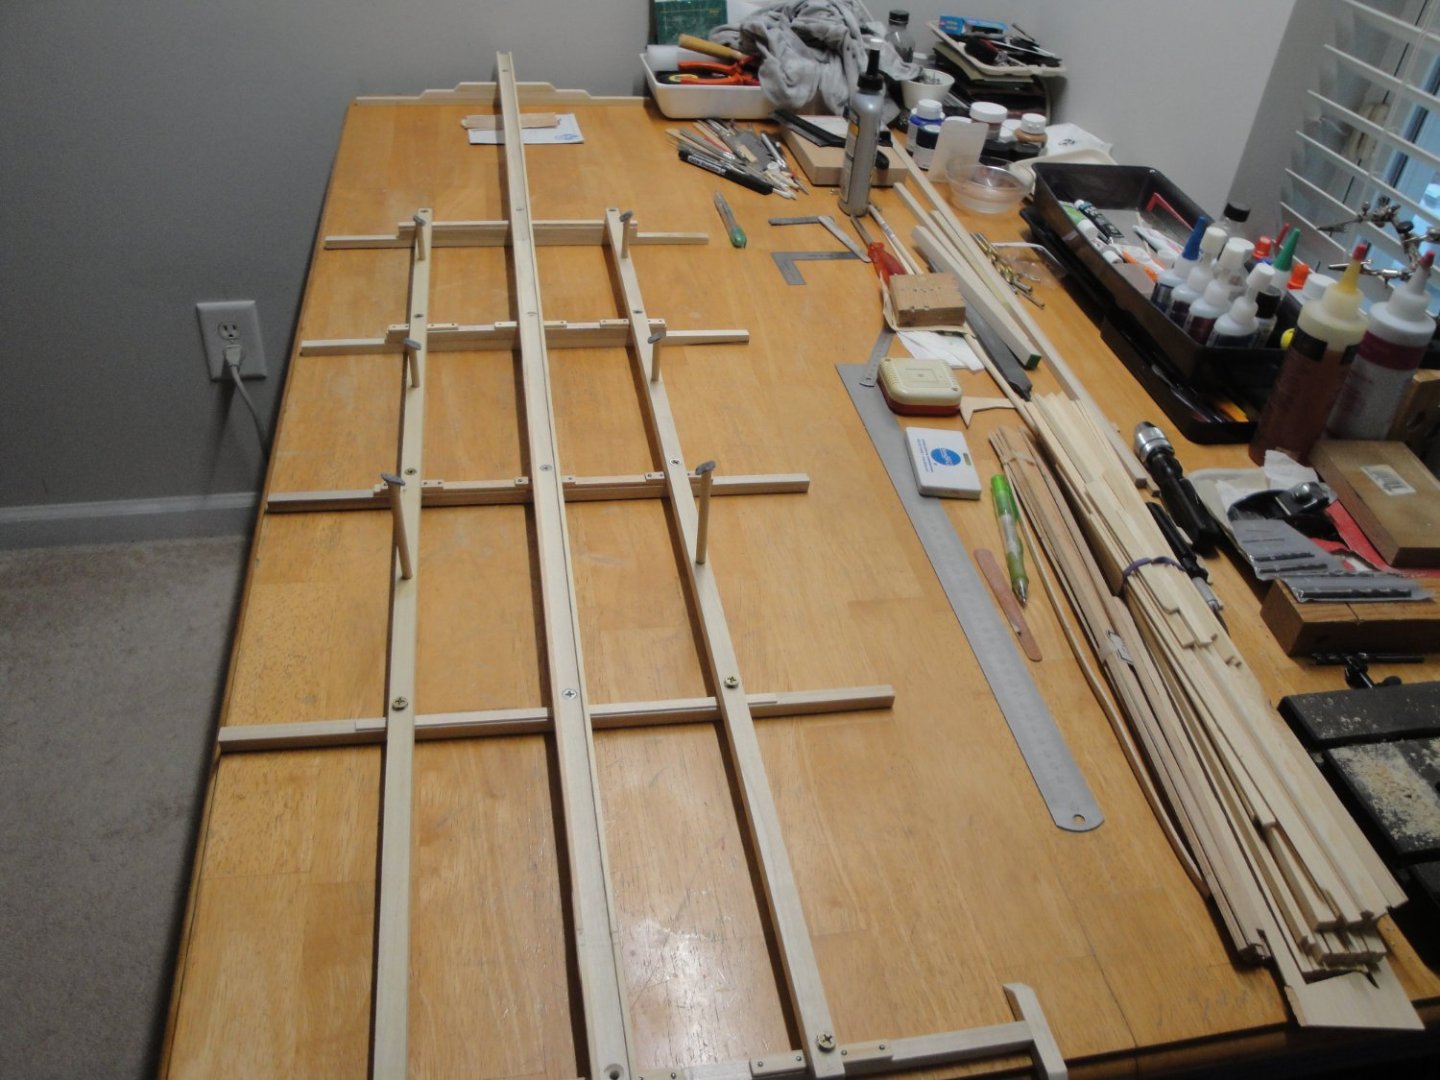
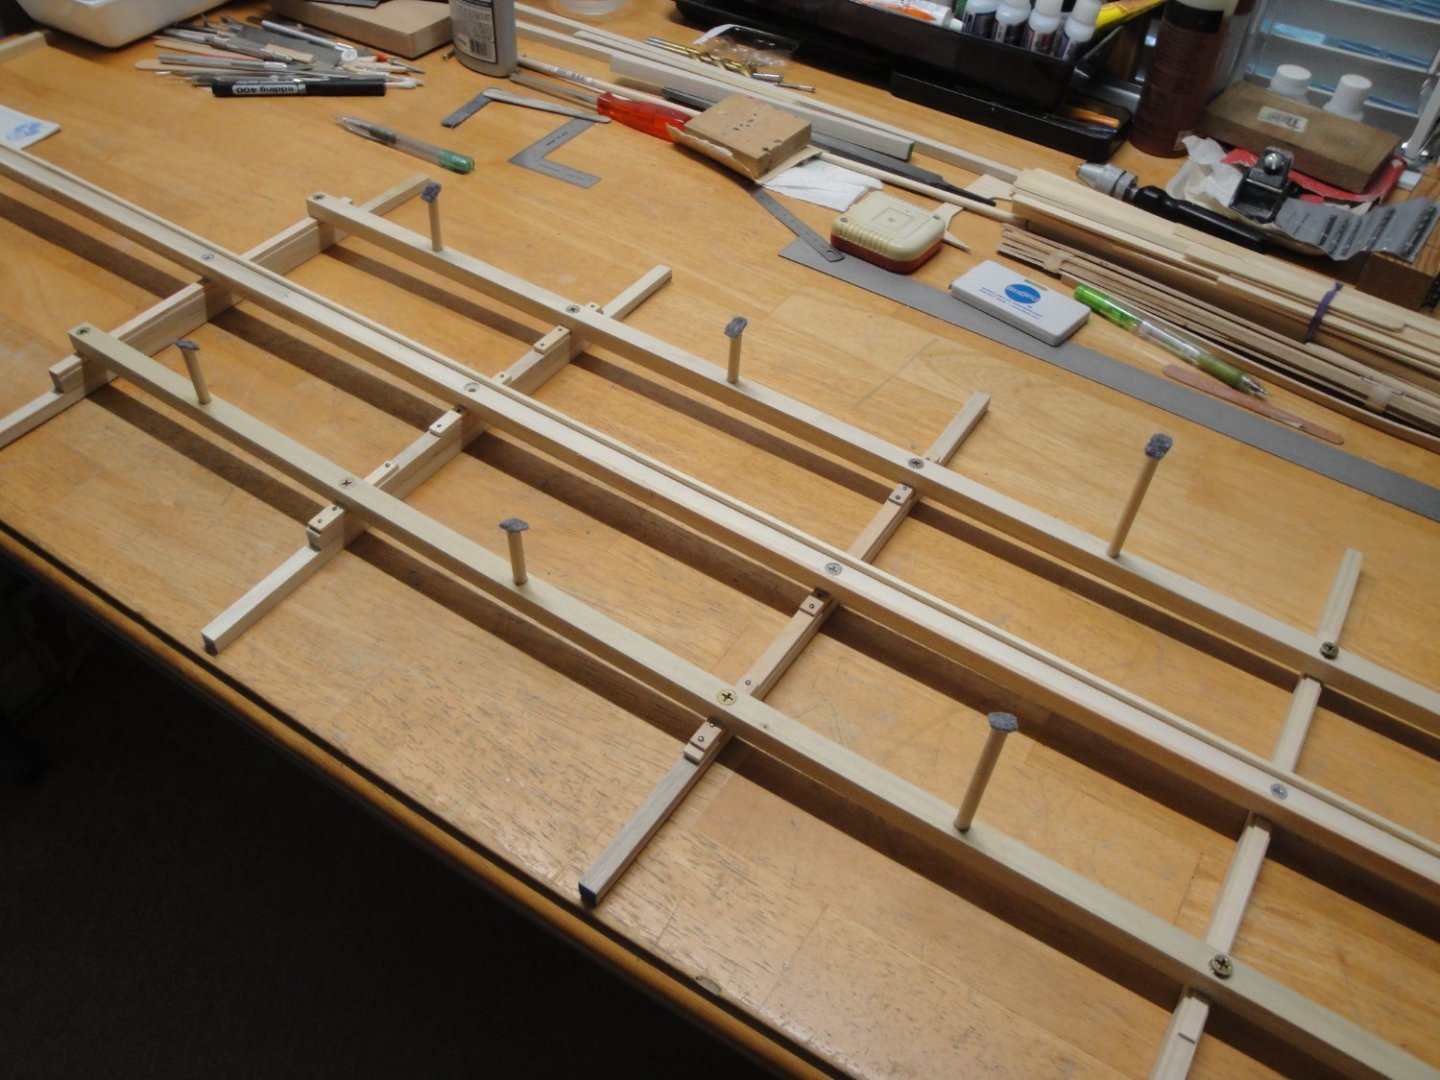
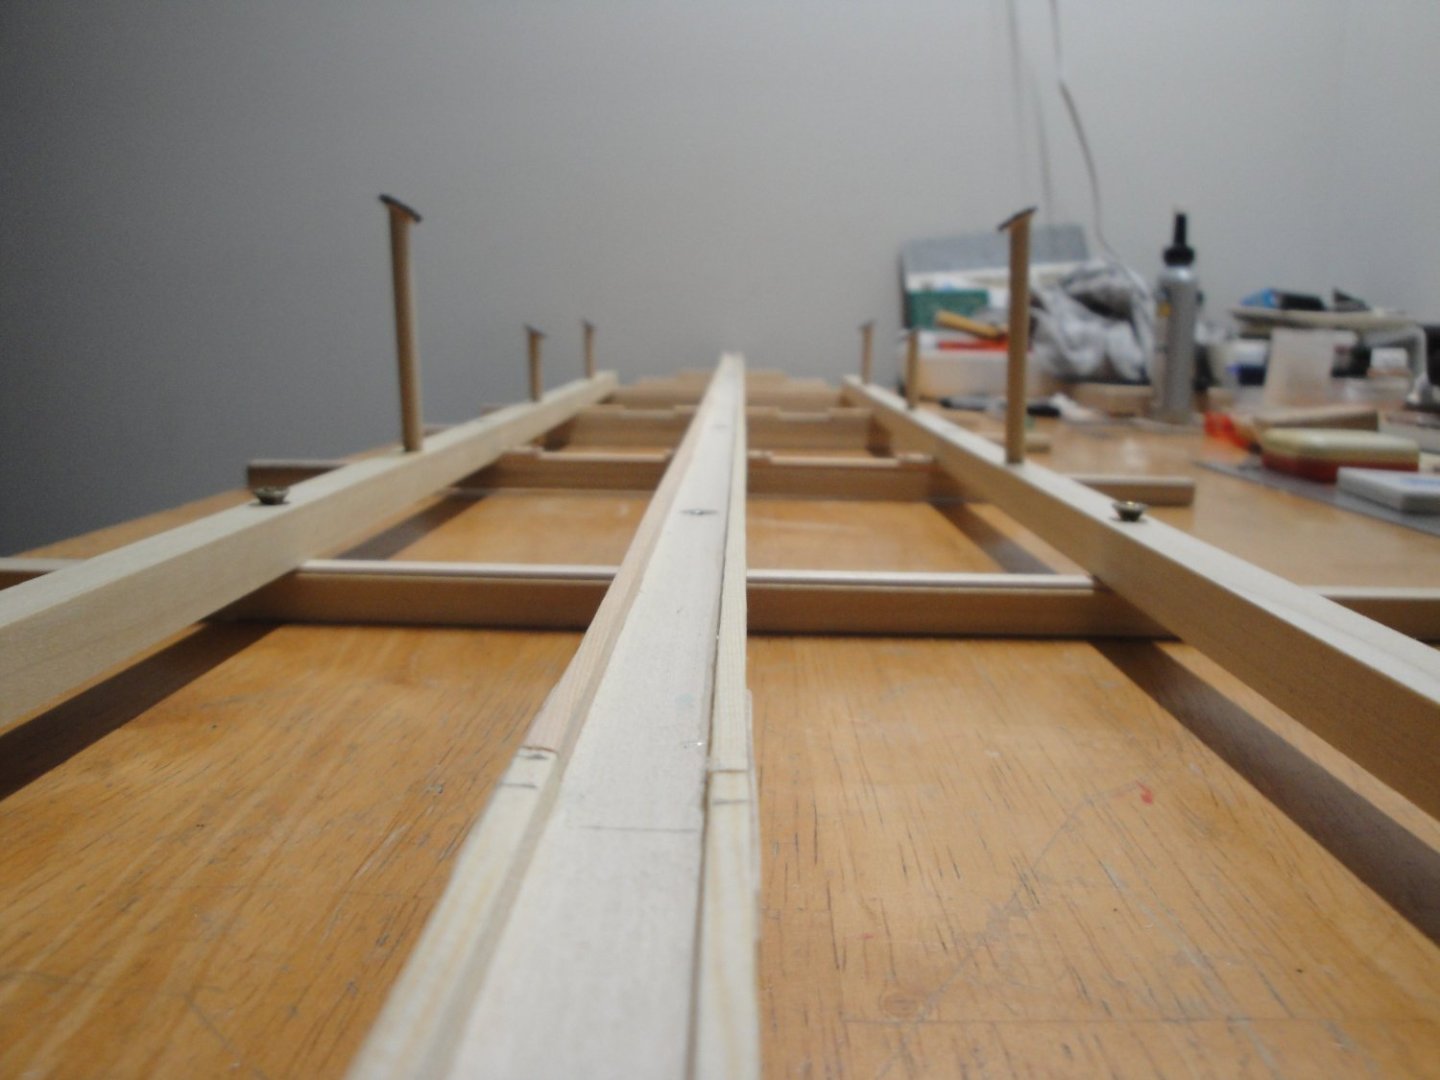
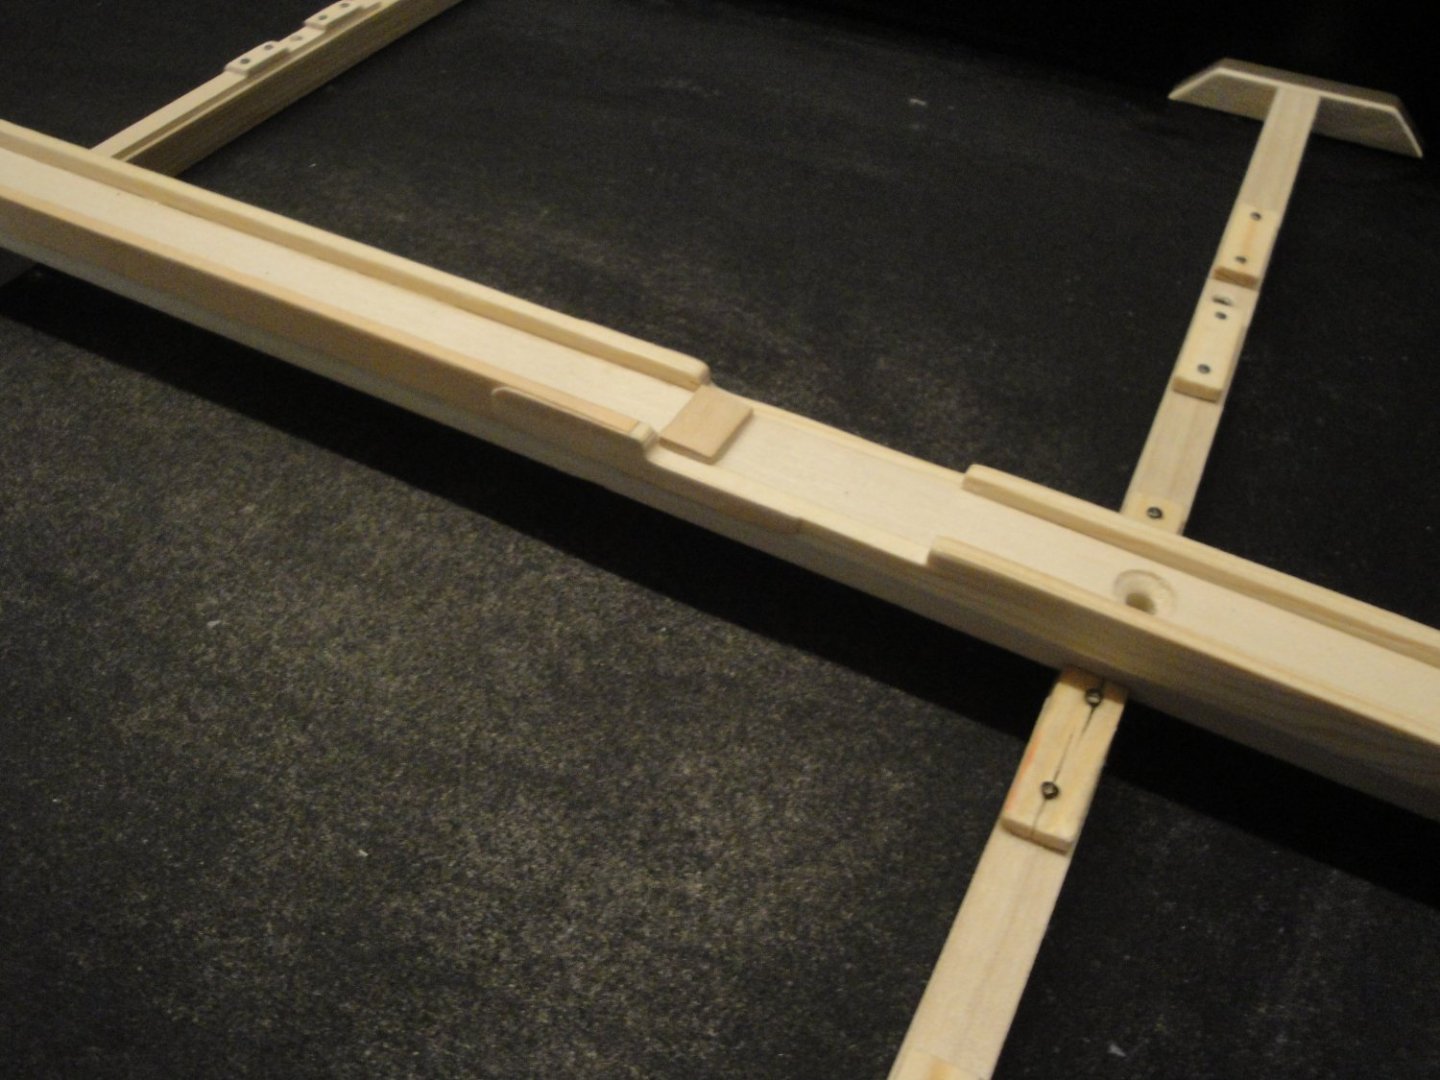
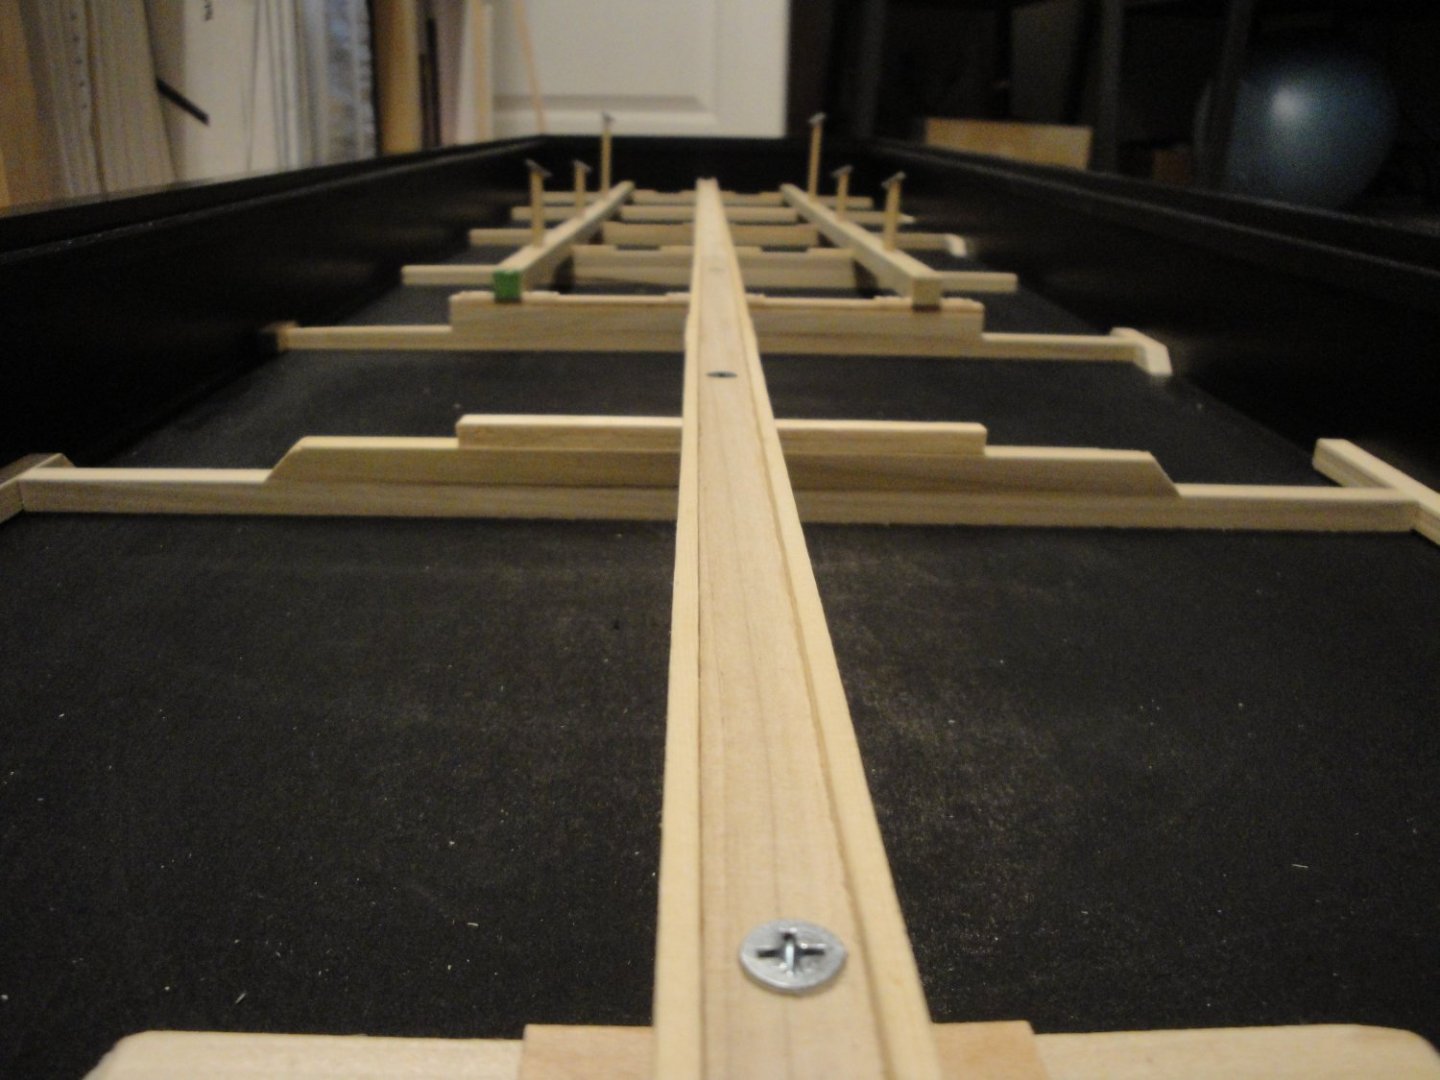
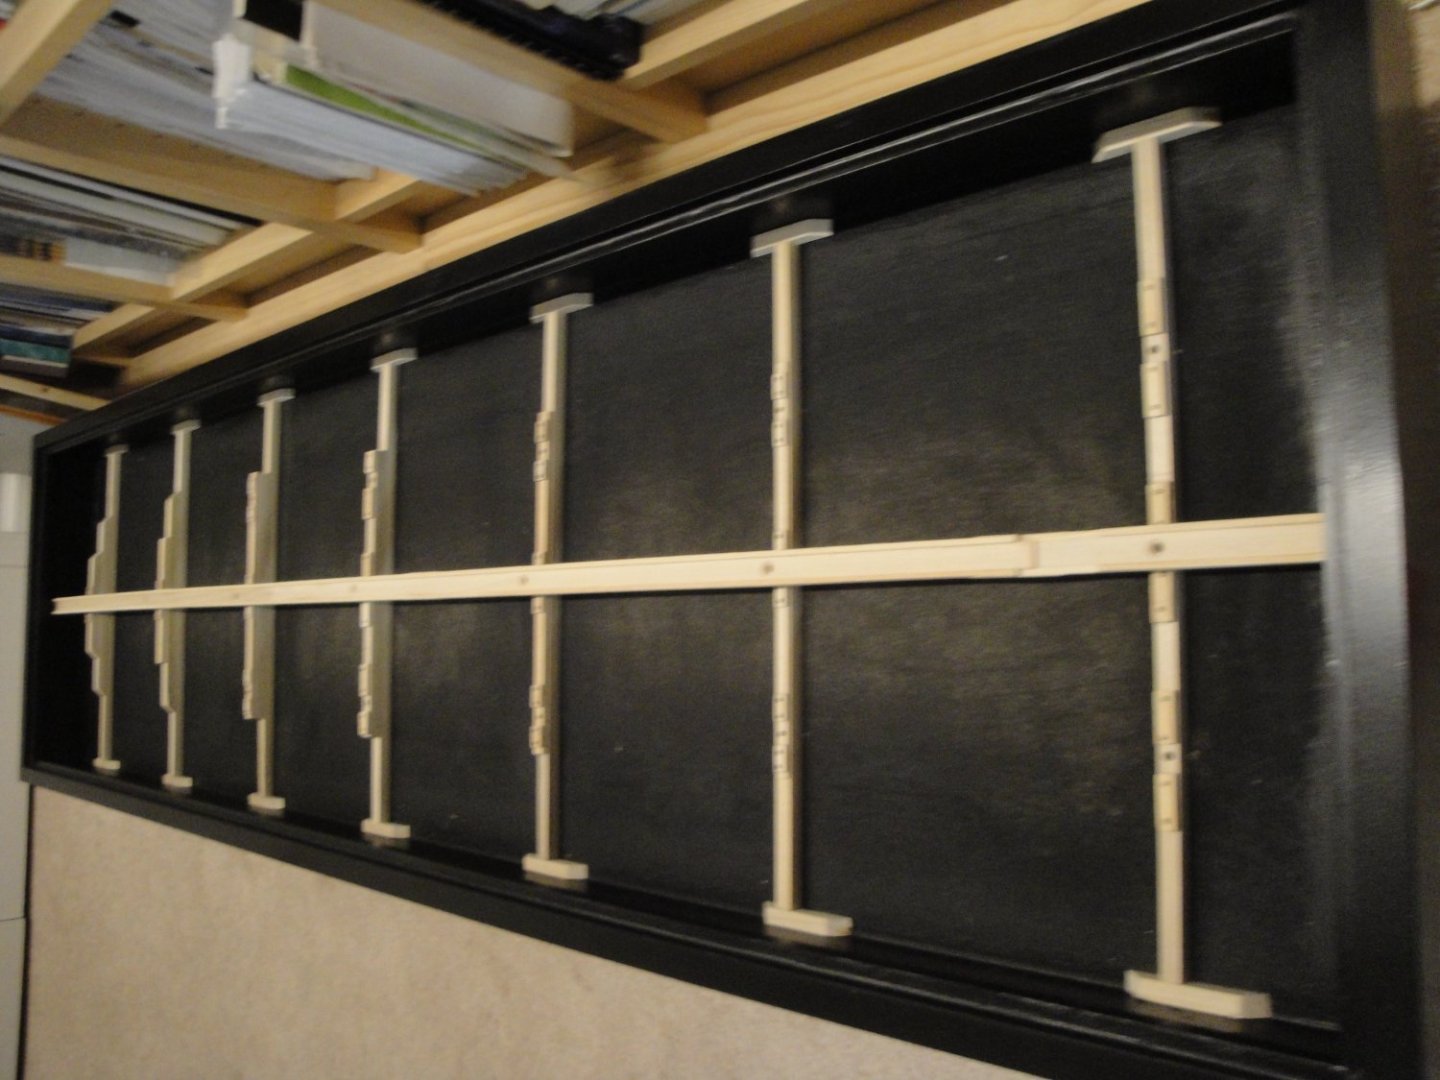
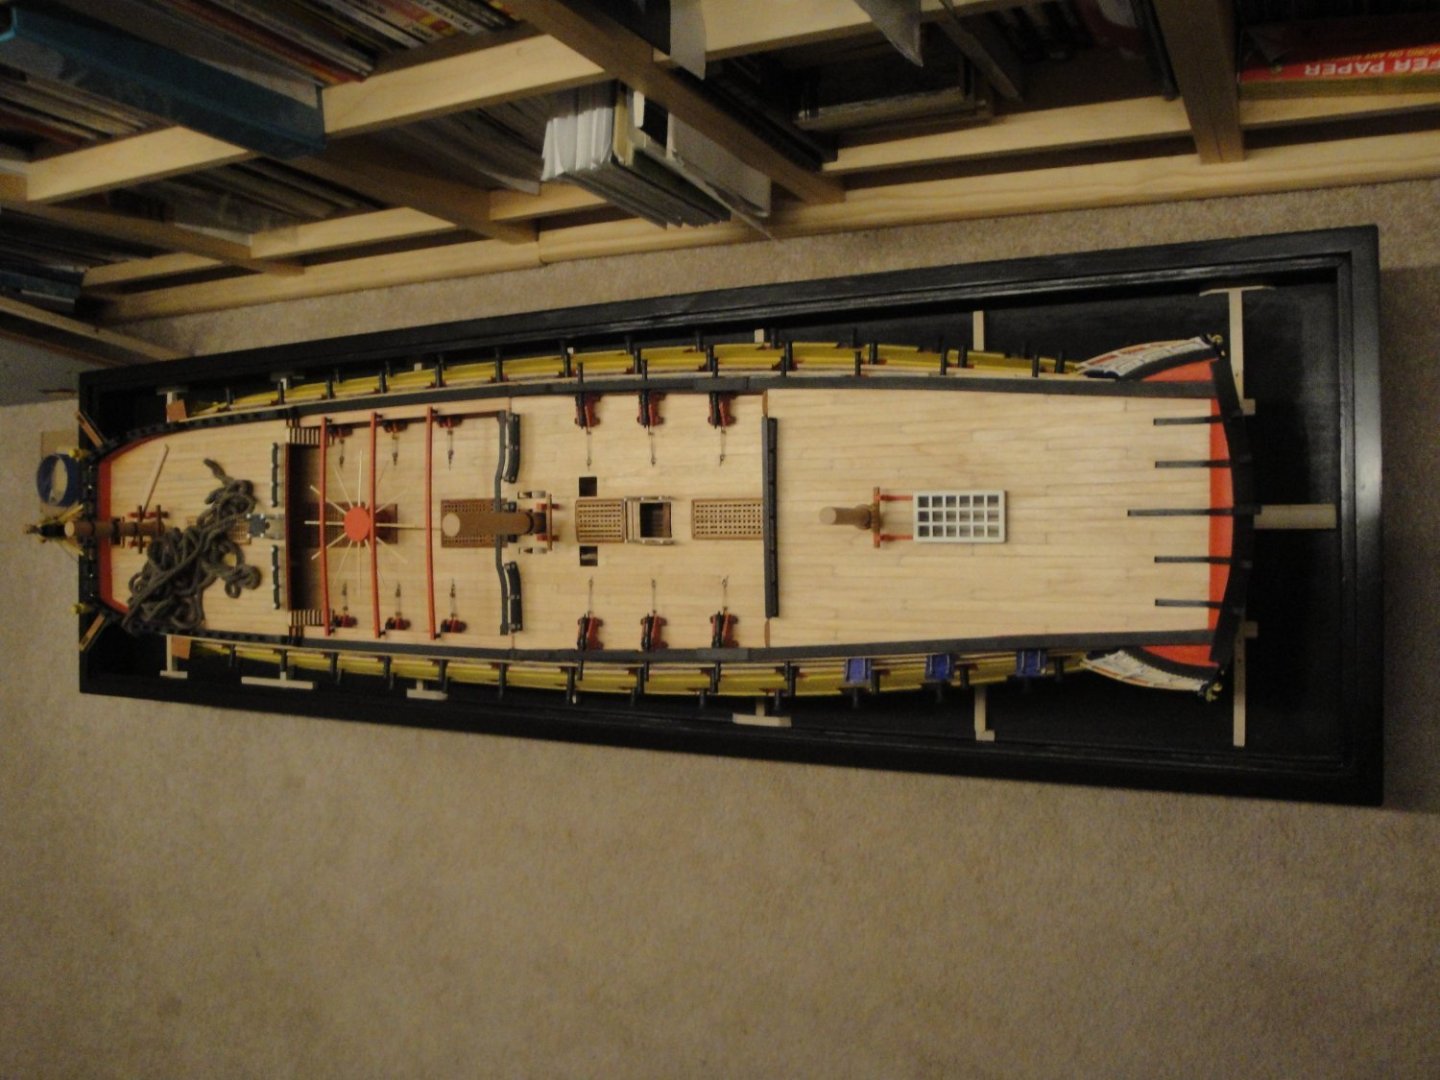
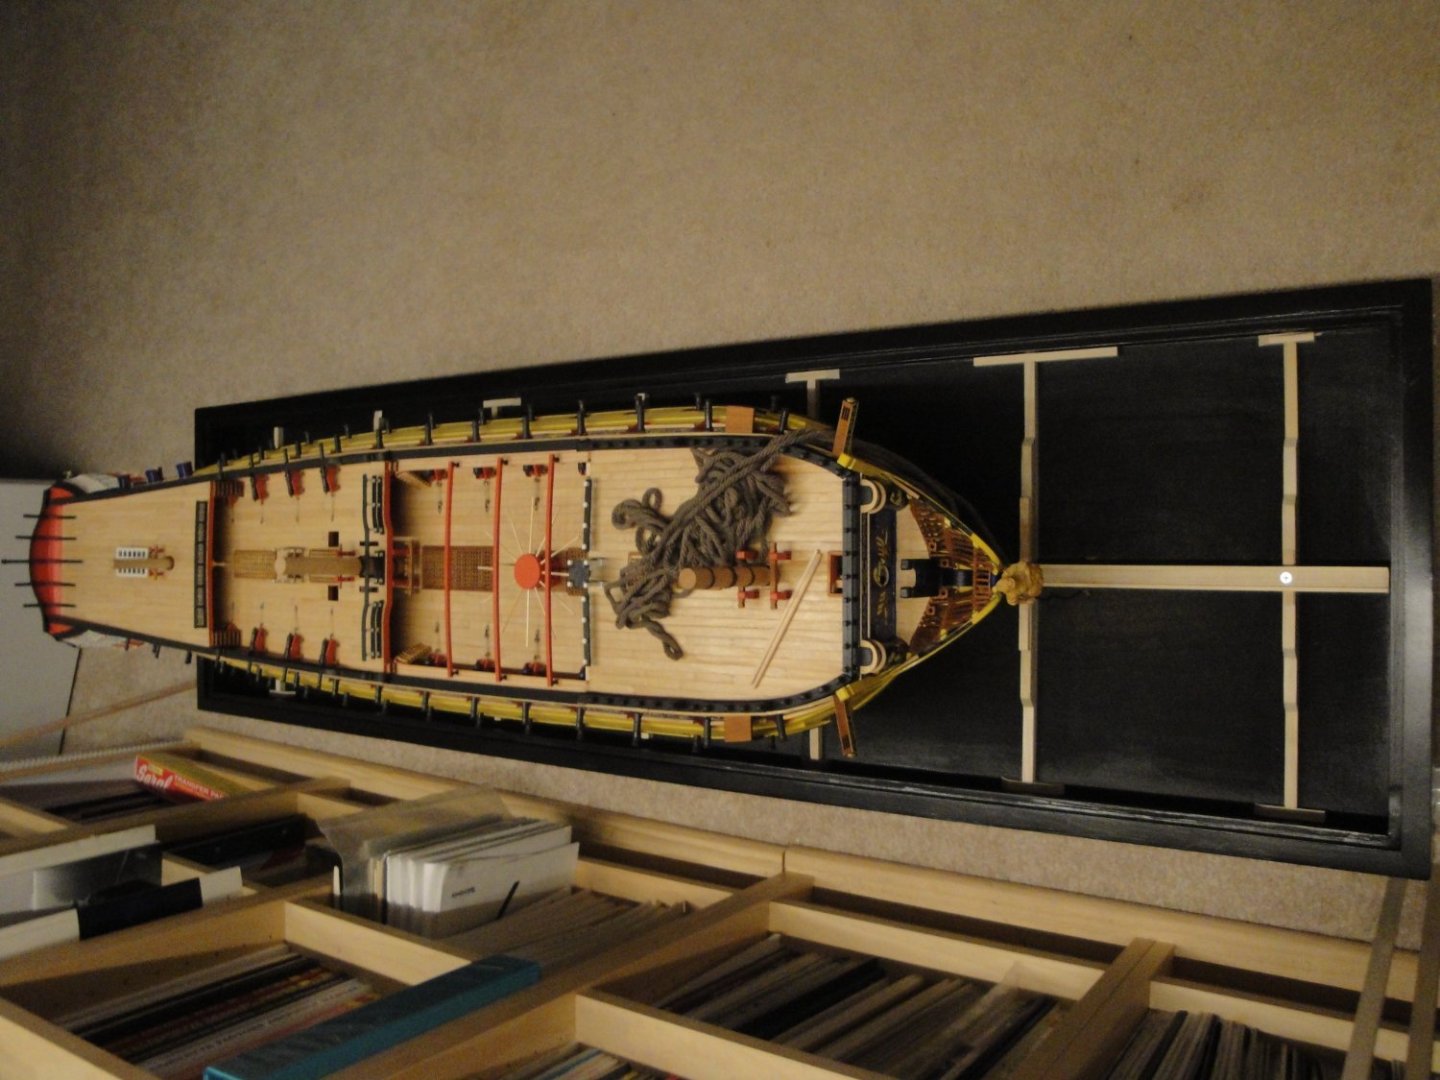
The next step of the stand was realizing the ramps and structures that will support (safely and reliably) this massive model. The crucial part was handling the hull and positioning it in such a way that I could measure and build the six vertical supports that are preventing the model from tilting and rolling on its sides. The ramps are slightly inclined but not enough for the model to slide back. I also wanted to create something that would allow the full display of the copper clad hull, in all its beauty. Below, you can see how the model is stabilized using 1/4 inch poplar dowels with some felt to protect the copper. Moving, installing, removing ...... the massive hull was a challenge and a good workout at the same time. Most of the weight of the model rests on the central ramp which is very solid and stable. The rear part of the ramp is equipped with a small piece of wood to prevent any desire of sliding the model may have, and is cut so that the rudder can be manipulated fully by curious hands: Once inserted, the standing structure fits perfectly into the box. Here are the steps: I am sure you may be impatient to see how the model fits on this display stand. I know I was.... Et voila. Lots remains to be done and now that I have some confidence in the display, I can go back to the hull and finish all the missing details. Thank you for your interest. Yves


- 507 replies
-
- 23
-
-
-
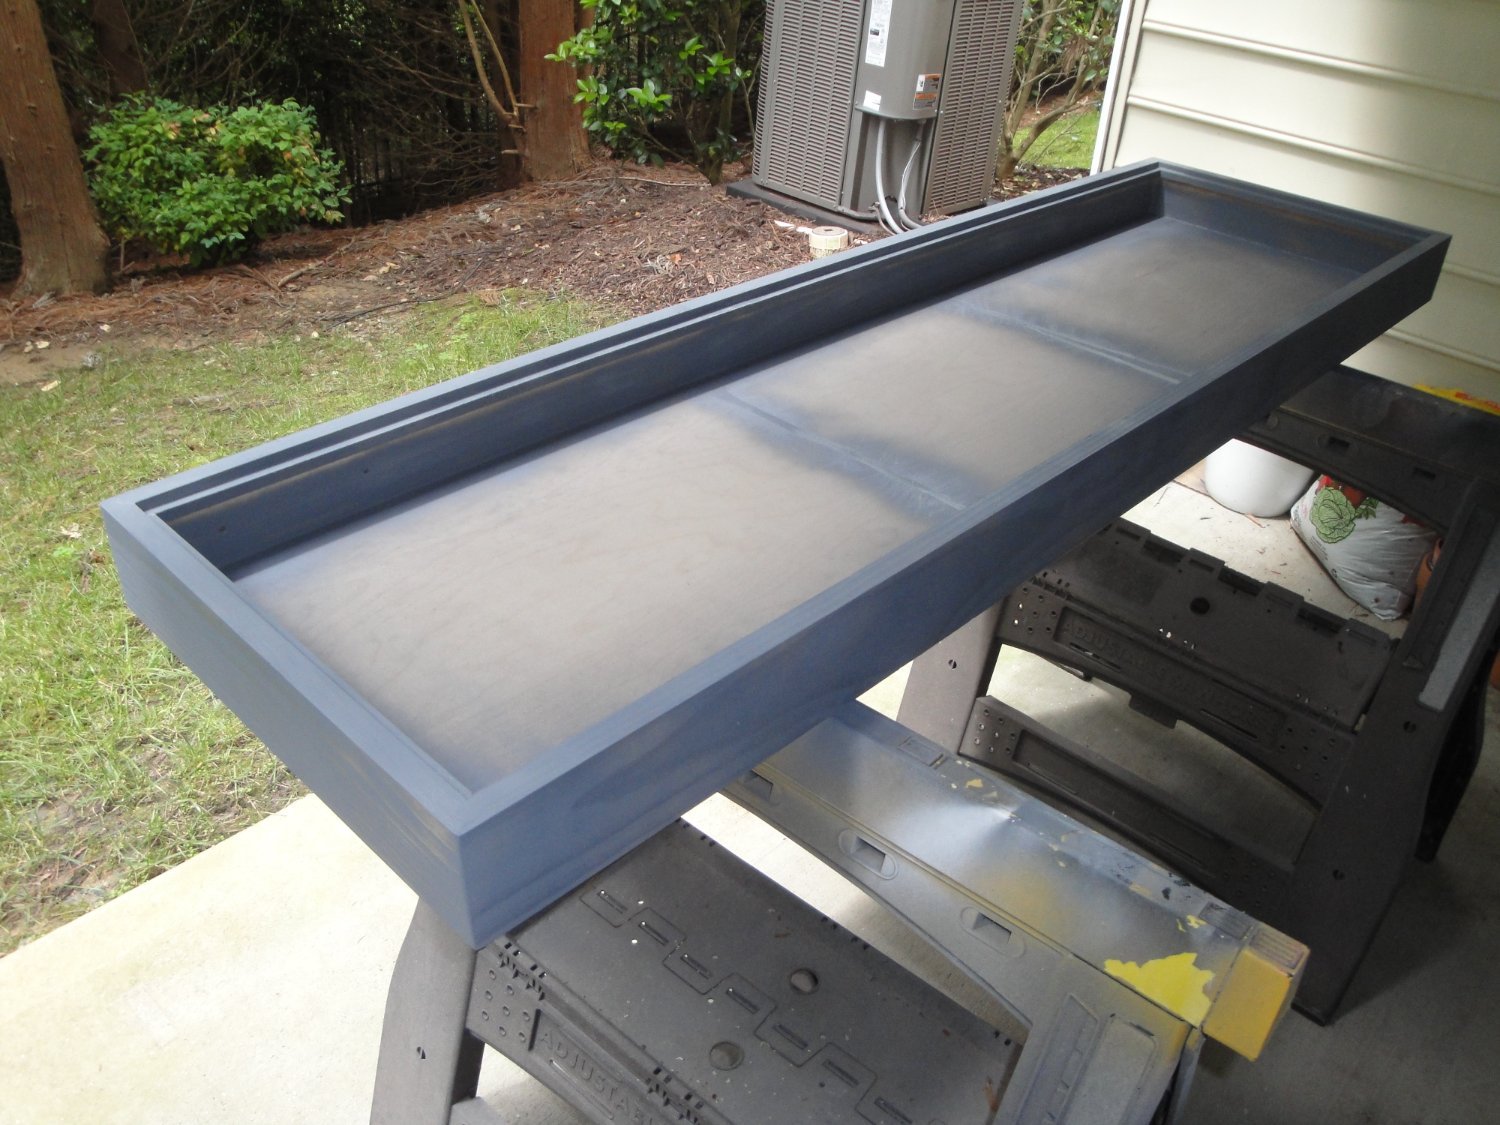
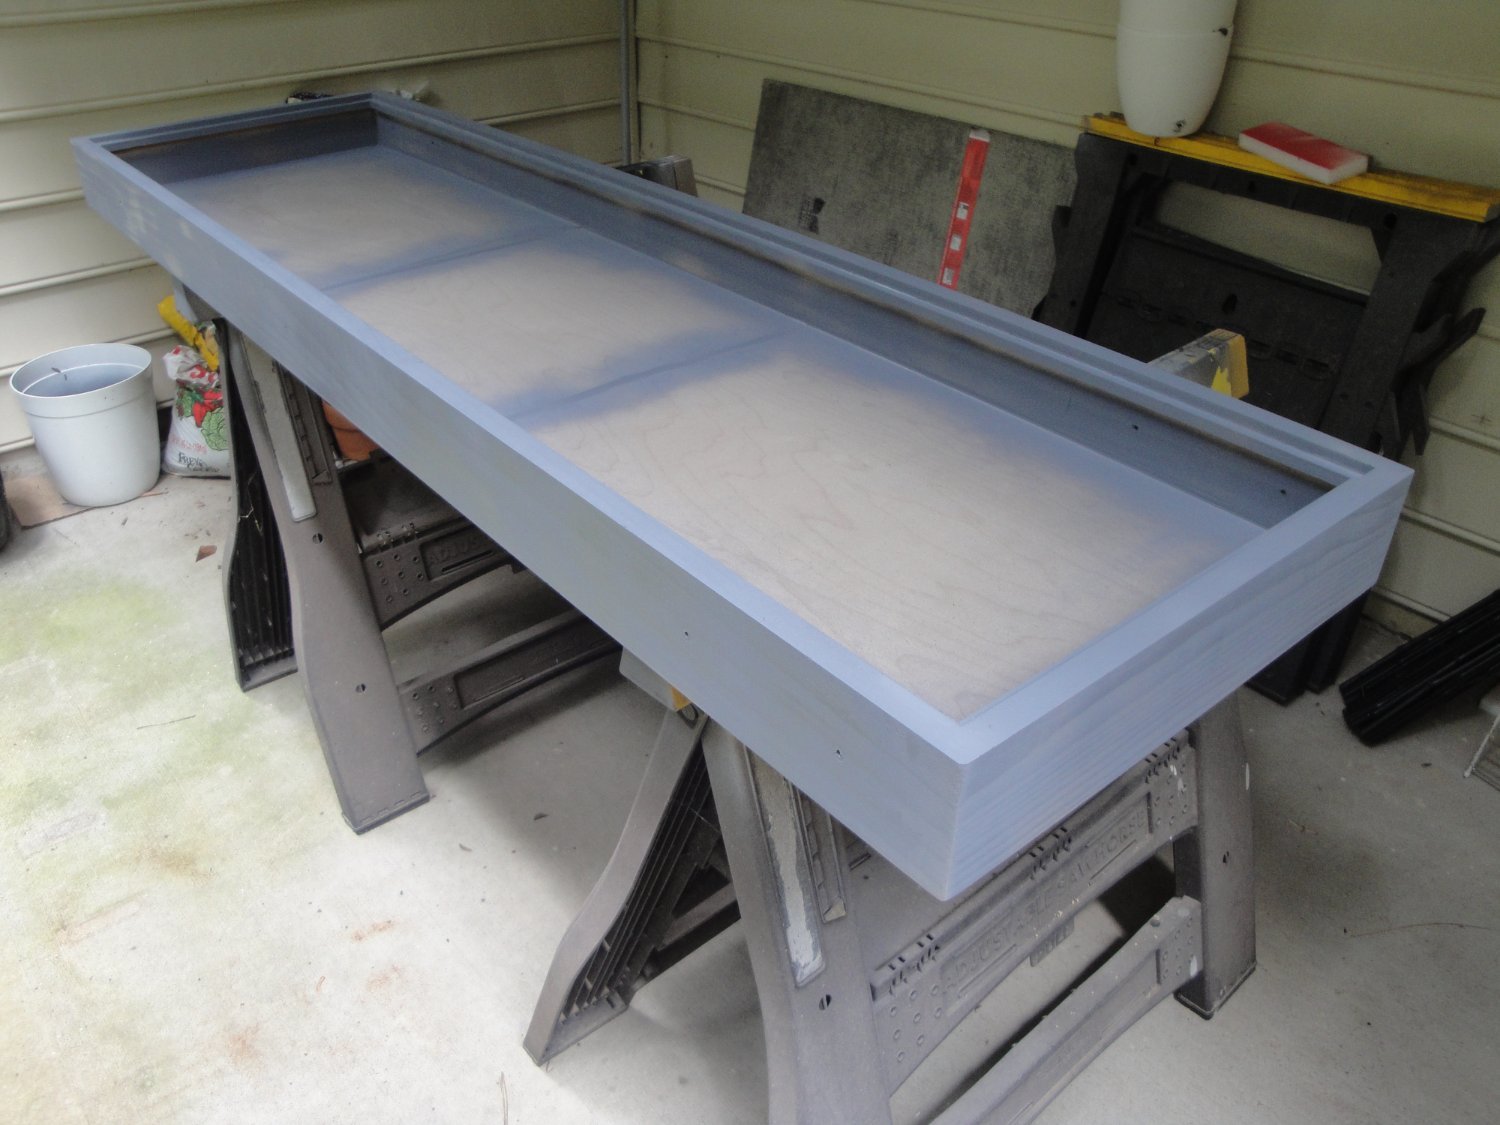
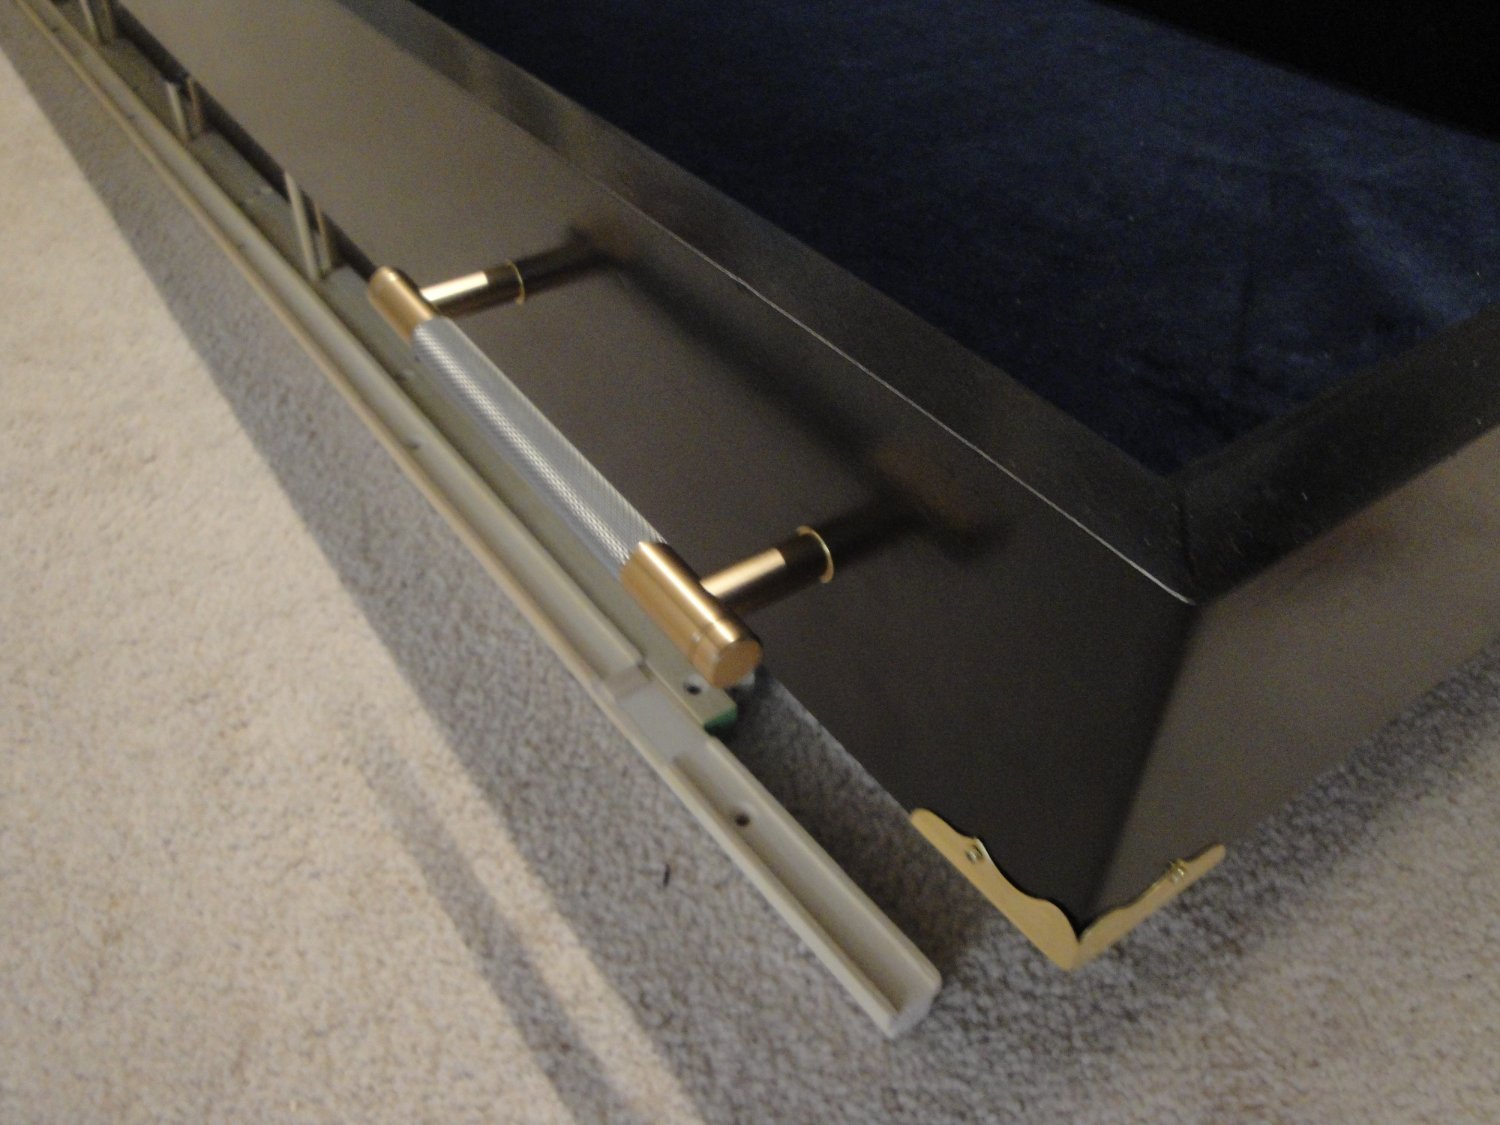
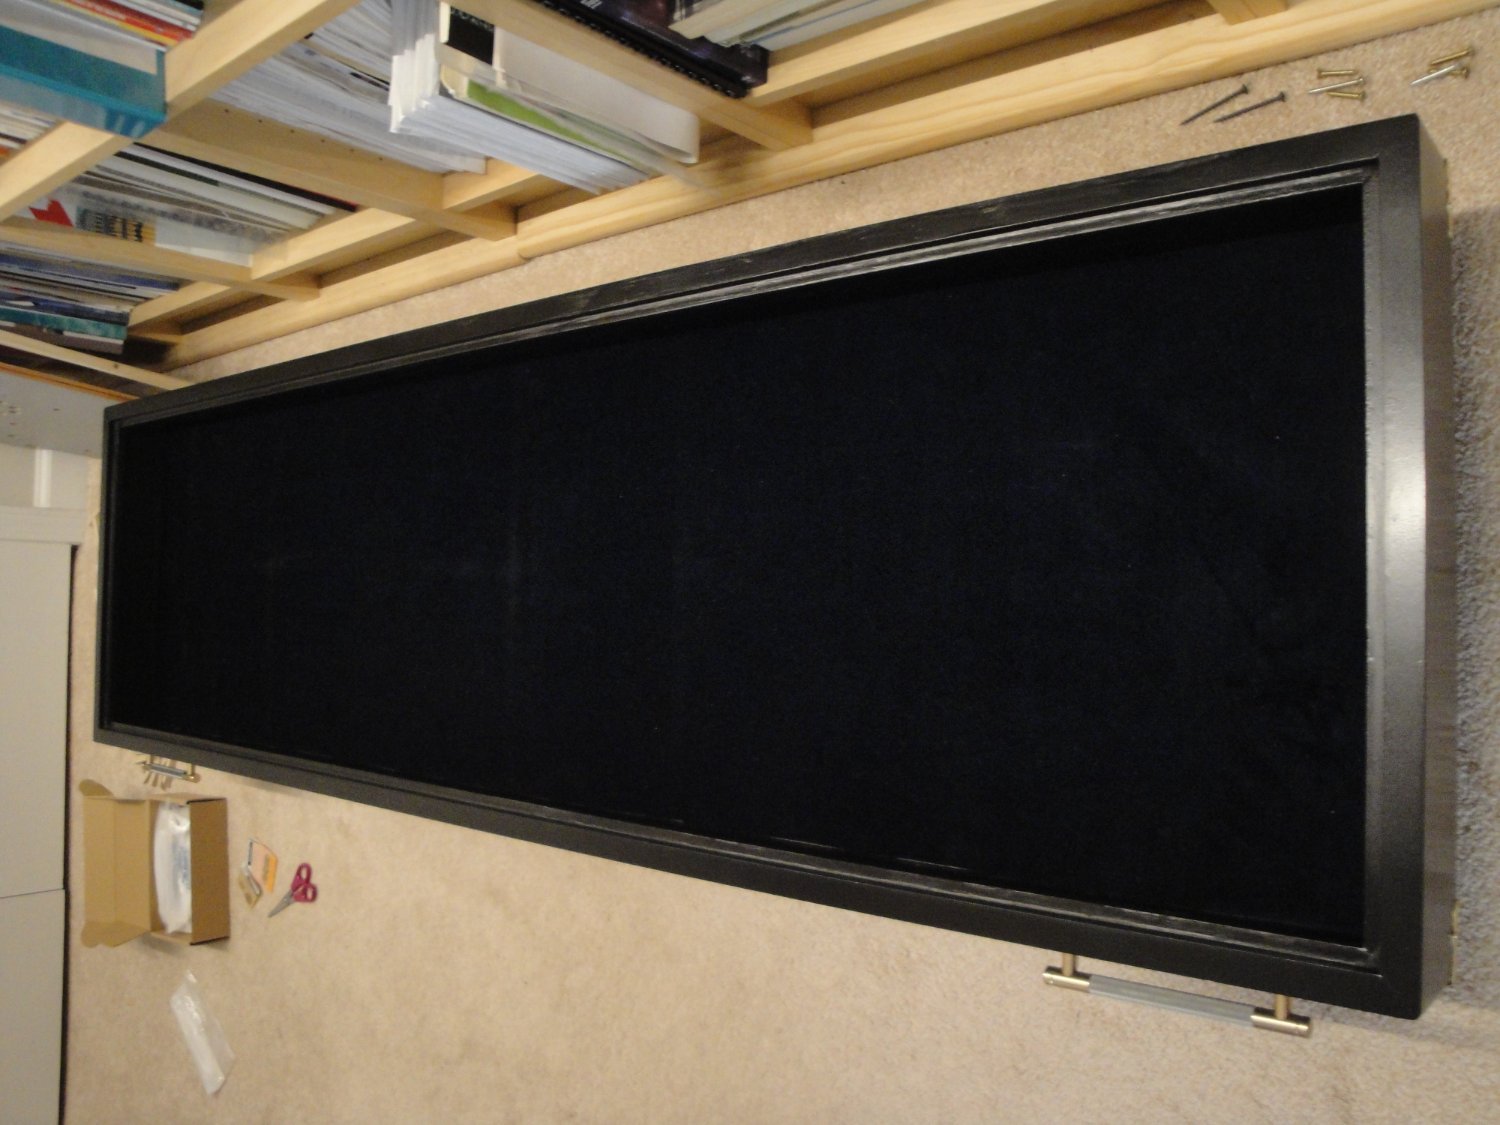
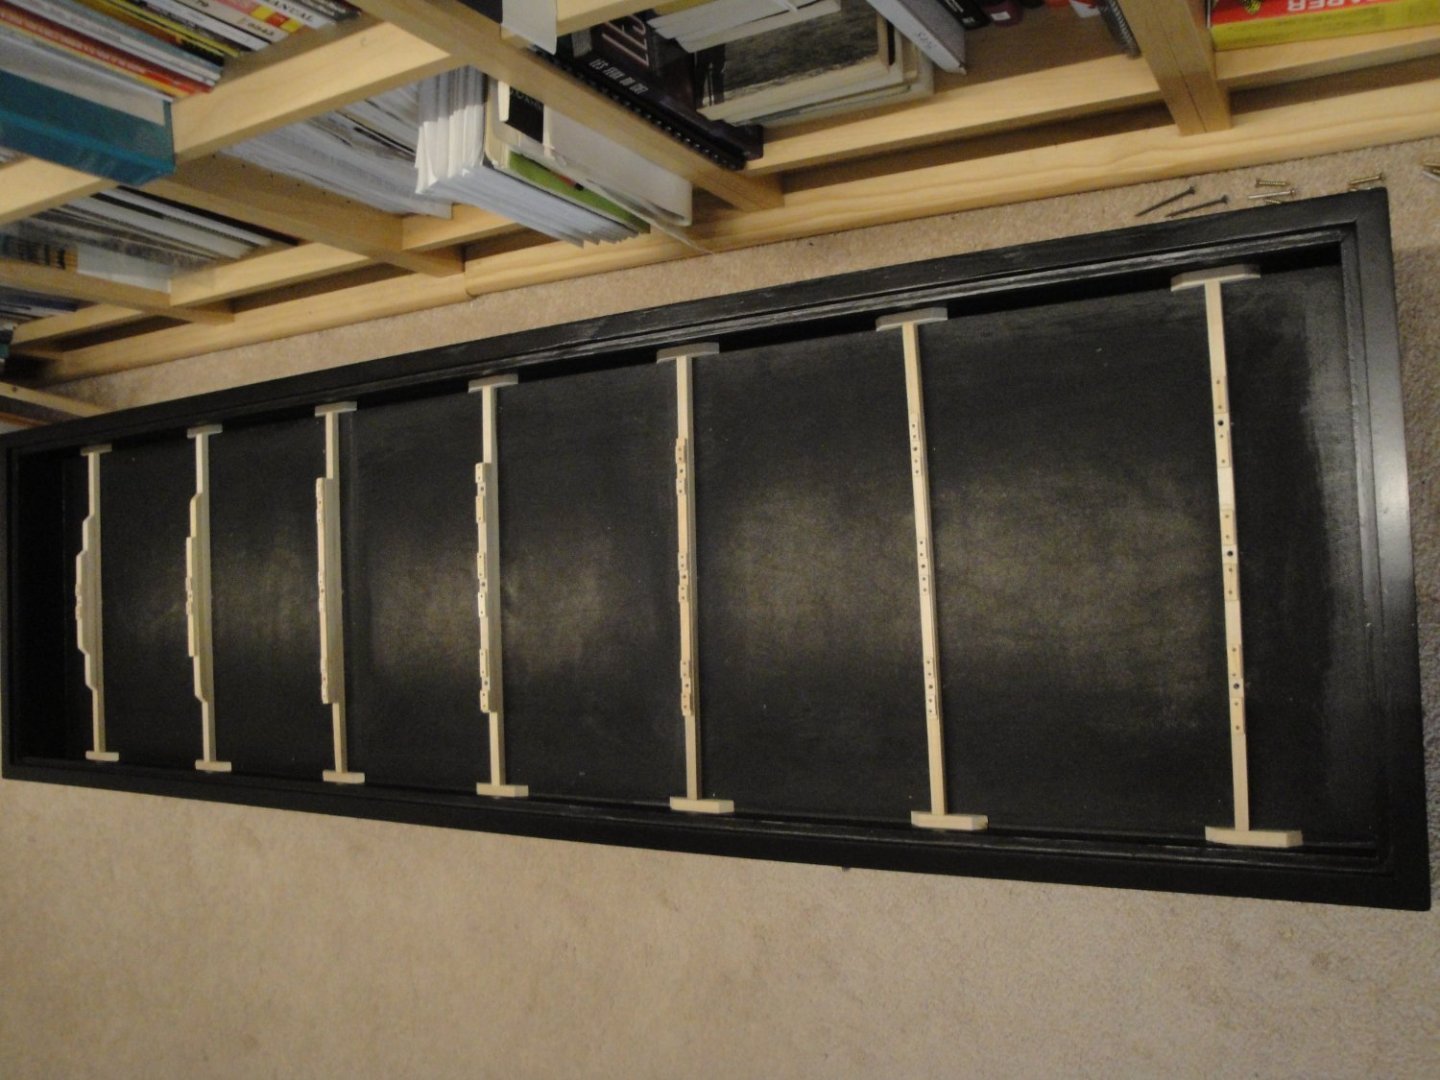
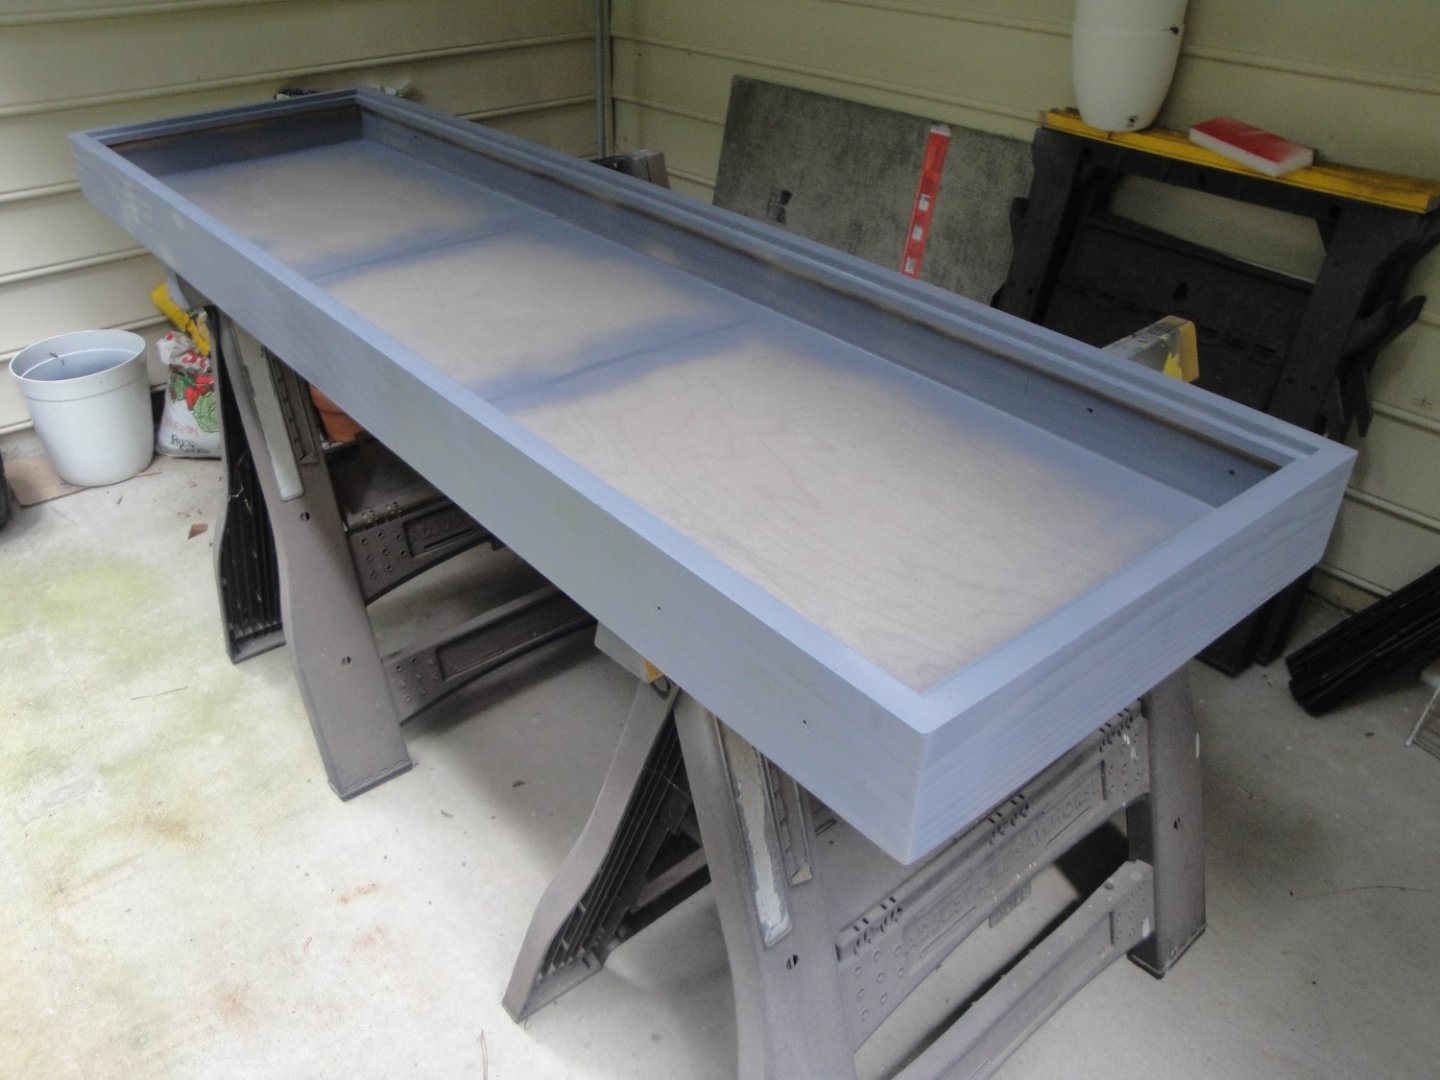
As indicated before in my response to Kevin, I have been working on multiple fronts: Making a bowsprit and its associated rigging. This is not part of the CAF model kit, but I wanted to present a little bit more than the traditional Admiralty Model approach and wanted to play with some lines and ropes. I have quickly came to the conclusion that I suck at rigging and my utter admiration goes to these magnificent models depicted with their full rigging. The second front has been building a stand to display this large (and very heavy...) model. I needed to do that before finishing all the details of the hull and in particular the gun port lids, which are very fragile when manipulating a massive hull of more than 22 pounds heavy. In addition, the bowsprit was necessary to calculate the dimensions of the stand. For the stand, I decided to copy somewhat, the display presenting the 1/32th - 1/36th scale model from the Royal Museum in Greenwich, UK. The display of the original model is composed of a drawer that can be pulled from the rear and which extends the ramps, and allows the sliding of the massive model for inspection. Exactly the way it should be done to convince a set of tight-fist admirals and finance comptrollers in ancient British times. My stand will not be so sophisticated but I wanted to replicate the shipyard ramps used to assemble and build these magnificent vessels. After measuring the "beast", I ended up with some inside dimensions of 60" by 16". A friend helped me cut the wooden parts (poplar and plywood for the most part) and I started assembling and painting the display stand: Priming that large box required a few cans of Primer and a lot of sanding. Each corner will see some modern handles (this stand has no pretensions to mimic the old cabinet or museum stands) installed to help with the handling of that large display. The bottom of the box is covered with a piece of dark blue velvet fabric. An edge has been created to support an acrylic cover if I ever get a chance to buy one custom made. Yves


- 507 replies
-
- 12
-
-