yvesvidal
-
Posts
3,634 -
Joined
-
Last visited
Content Type
Profiles
Forums
Gallery
Events
Everything posted by yvesvidal
-
 Superb ship, Maurino. Yves
 -
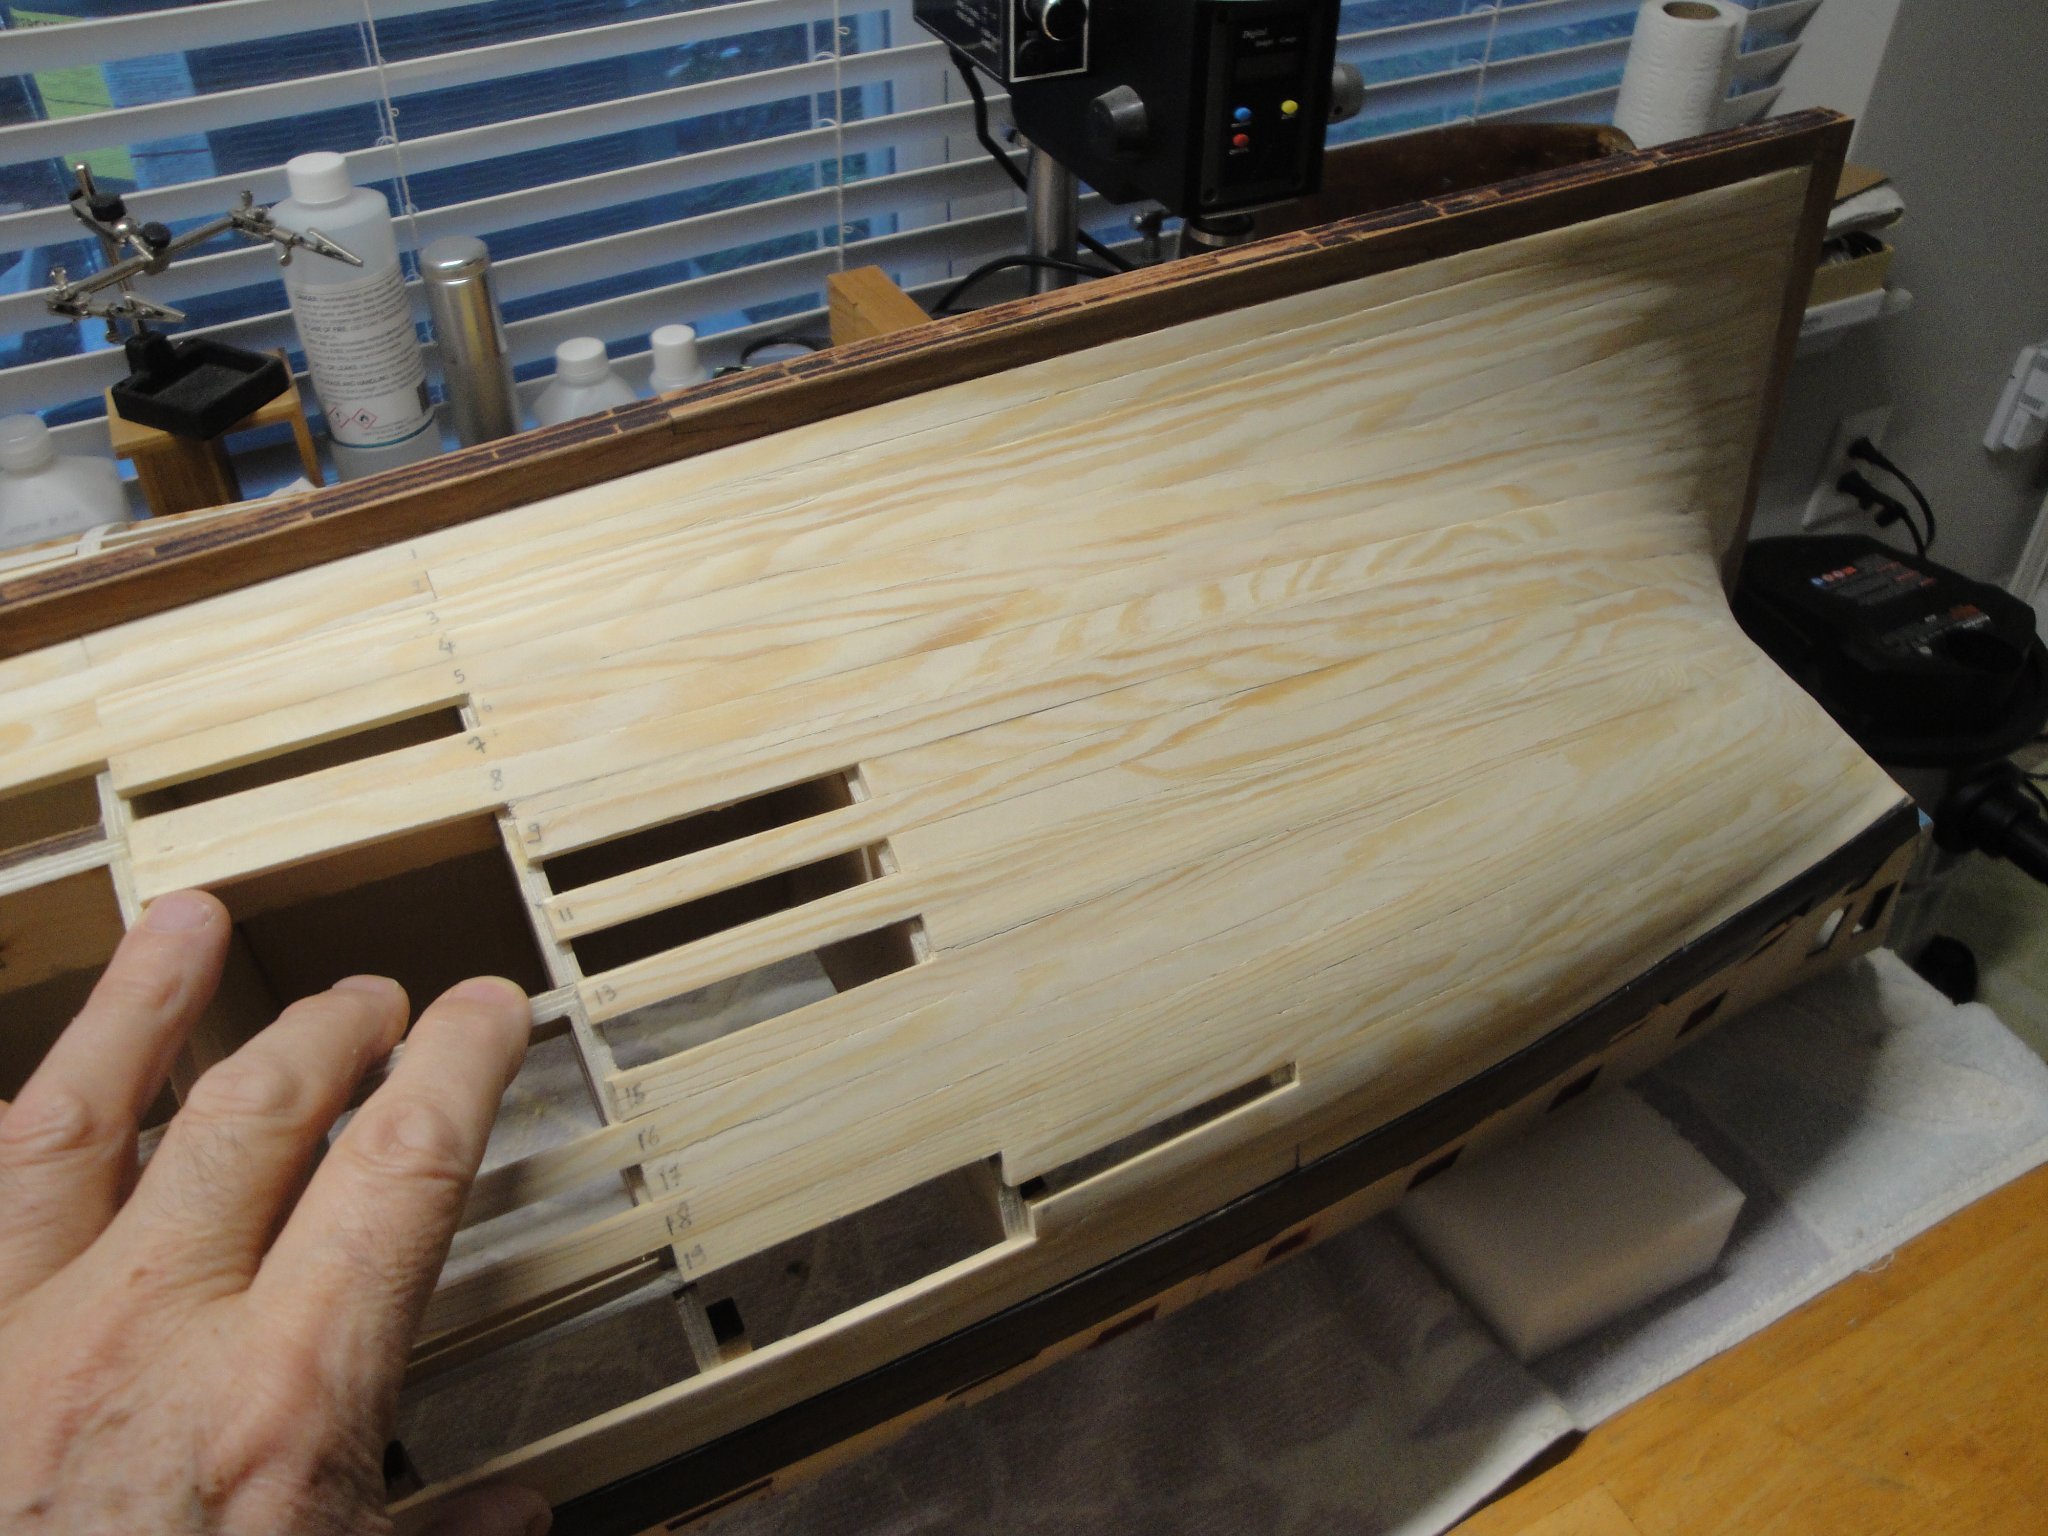
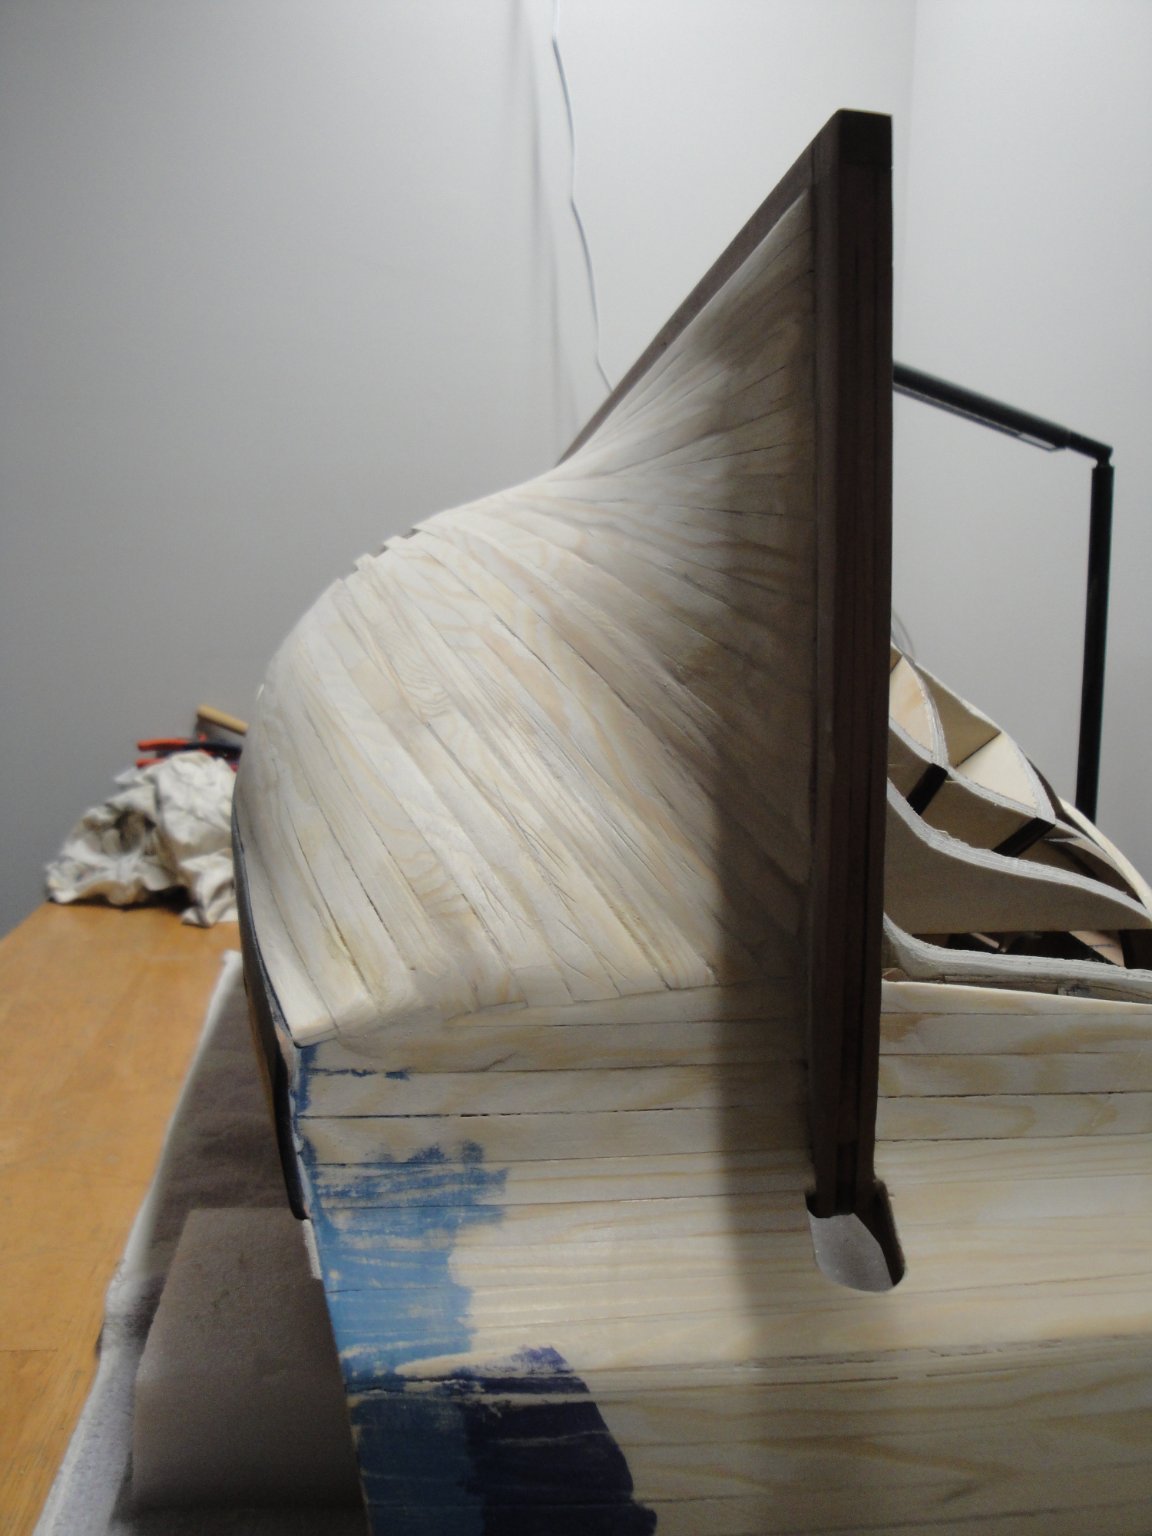
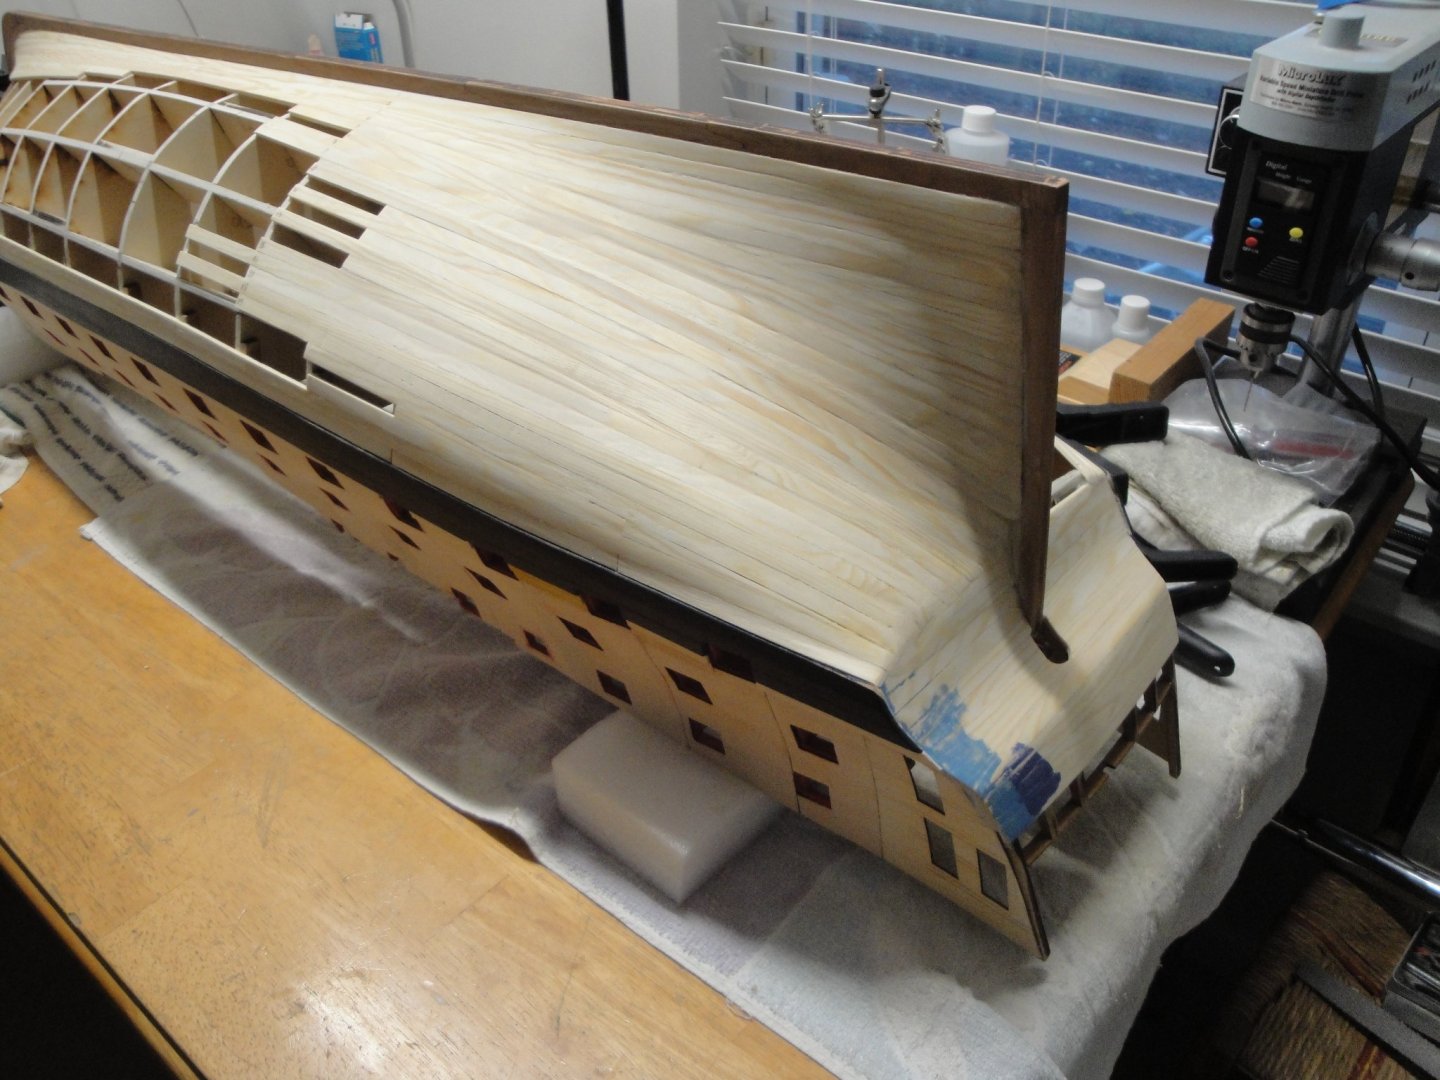
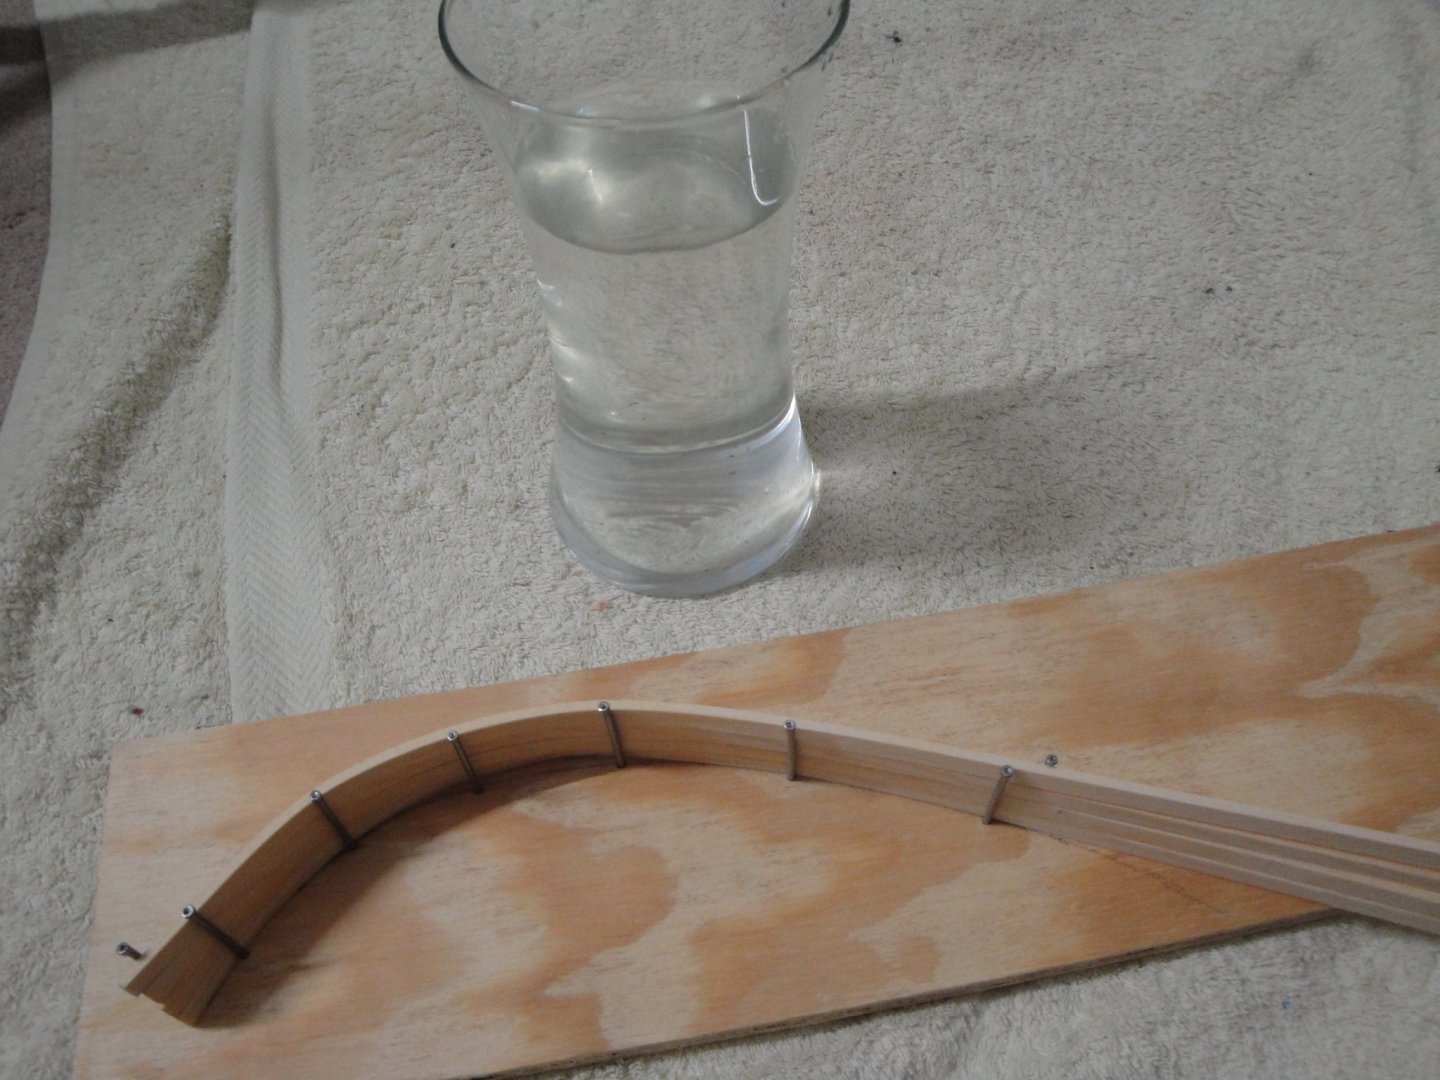
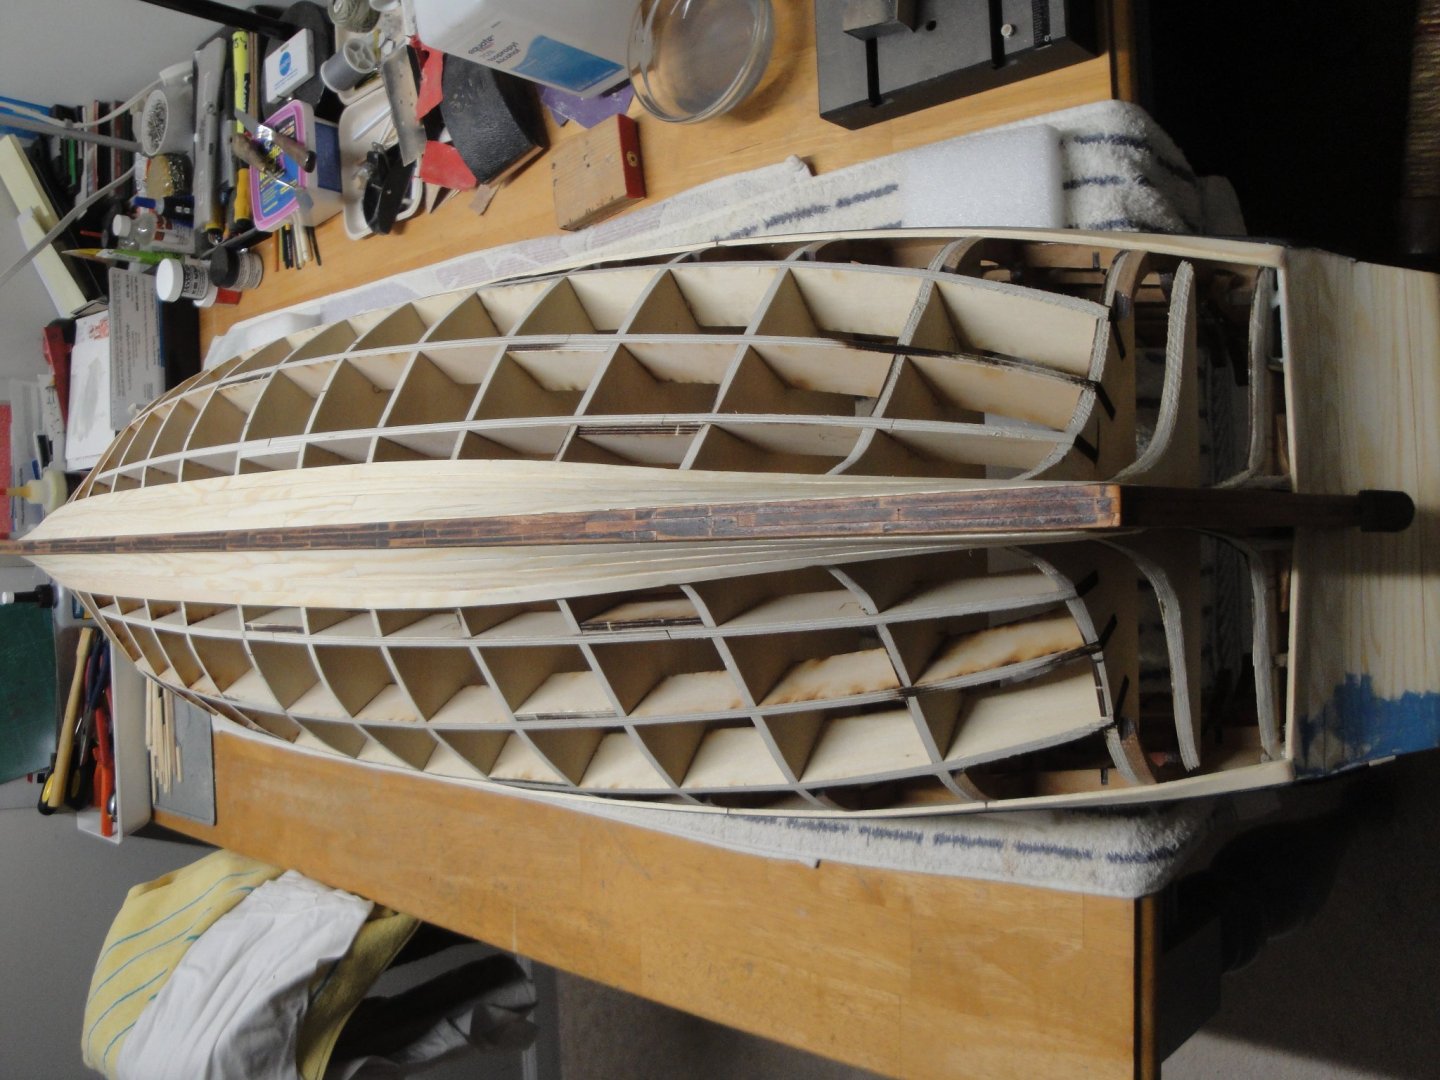
Some progress on the planking. I almost finished one quadrant of the ship: Most of the planks were placed in this crude jig: A little dipping in pure alcohol and then placed between the nails - Four planks can fit nicely, while drying in shape. When released, they rebound a little bit, but are more willing to comply to the difficult shape of that hull. Now, I just have to do the other side, with more than 24 planks.... A first pass of "scraper" and some rough sanding took place. I am still debating if I will paint the hull (anti-worms white) or copper plate it. I would love to do the copper plating but need to learn about that process. Non-covered section of the hull may require a second planking made with 0.4 mm thick maple planks, provided in the kit. I still have plenty of time to think about it.... Yves


- 507 replies
-
- 17
-

-
Congratulations John. Such a beautiful and unusual model, extremely realistic and built like the prototype. Yves
- 127 replies
-
- 1
-

-
- Bowdoin
- Arctic Exploration
- (and 3 more)
-
Kevin, Some fierce competition coming my way... I will be following with a lot of interest. Do not neglect too much the Panart, Enterprise and many other kits you have, though. Yves
-
Alan, You have been officially promoted to Creality Ender V2 Field Support Manager !!!!! WOW, what a difference in printing. Yves
- 460 replies
-
- 5
-
-

-
- Finished
- Flower-class
- (and 1 more)
-
Very interesting project. Surprise or Sophie? I like both. Yves
- 341 replies
-
- 2
-
-
- Sophie
- Vanguard Models
- (and 1 more)
-
Alan, What a difference that upgrade makes. And thank you for identifying and finding a solution to this problem for us all, Creality Ender 3 users. Although mine is not as damaged as yours, I will definitely consider that upgrade on my printer. Yves
- 460 replies
-
- 6
-
-
-
- Finished
- Flower-class
- (and 1 more)
-
It is starting to look really good, Ras. Yves
-
I love the excellent rendering of the wales cuts, through the laser parts provided in the kit. It is very realistic. Yves
- 505 replies
-
- 5
-
-
- vanguard models
- Sphinx
- (and 1 more)
-
It is so precious !!!! This is going to be a big hit on the market place. Yves
- 36 replies
-
- 1
-
-
- vanguard models
- Erycina
- (and 2 more)
-
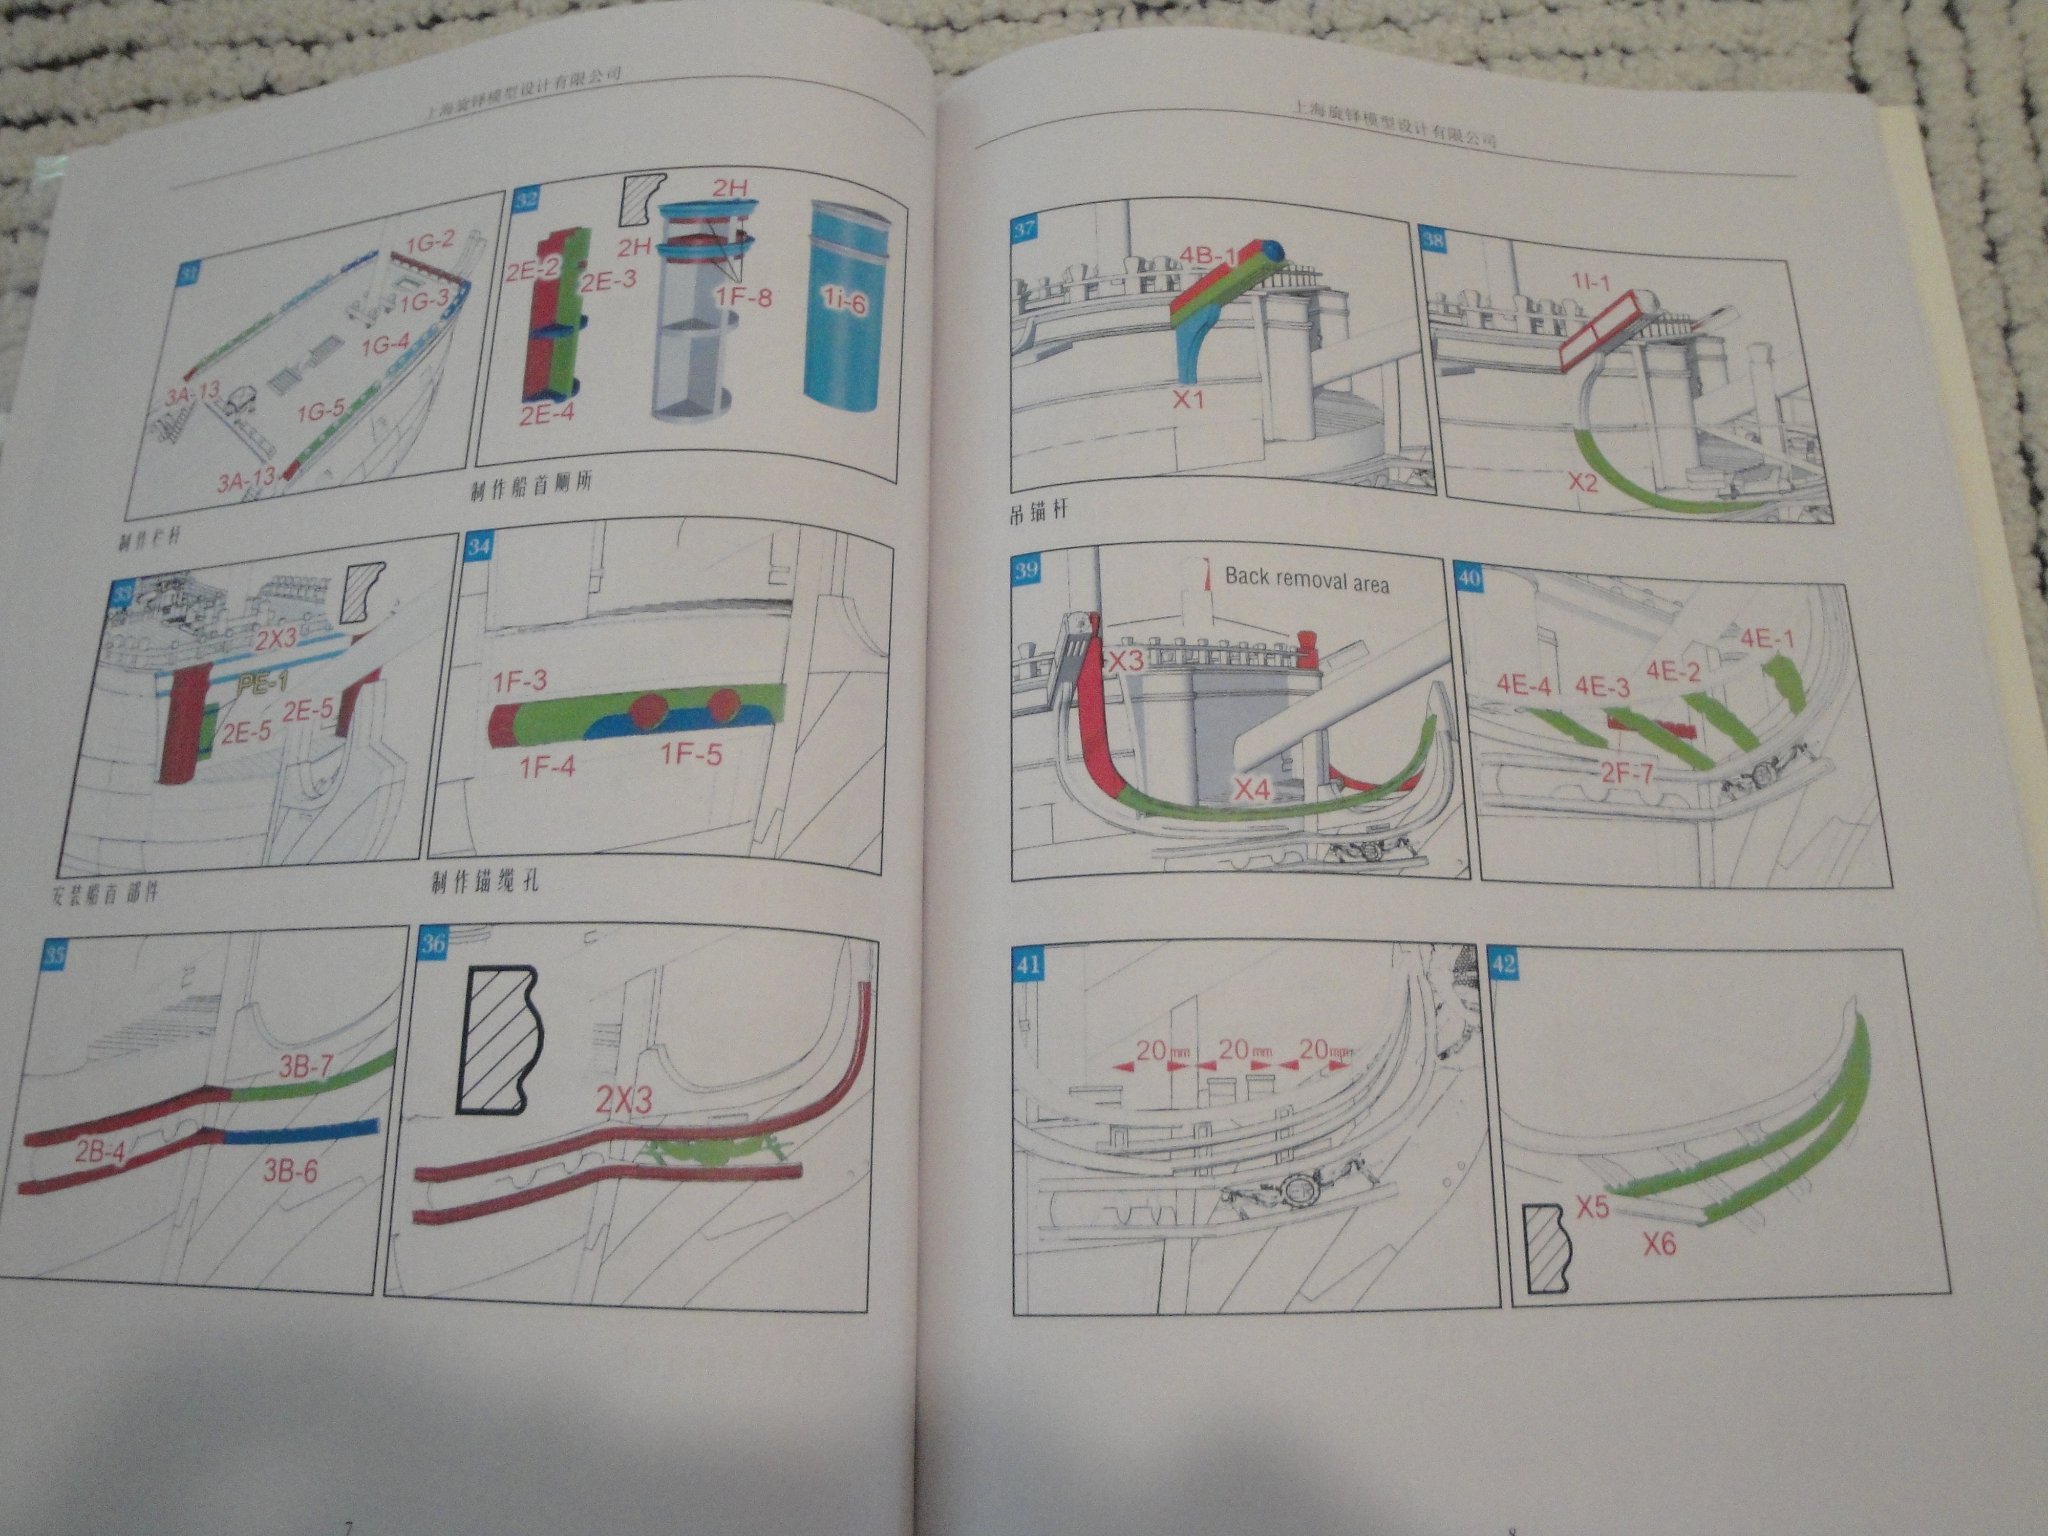
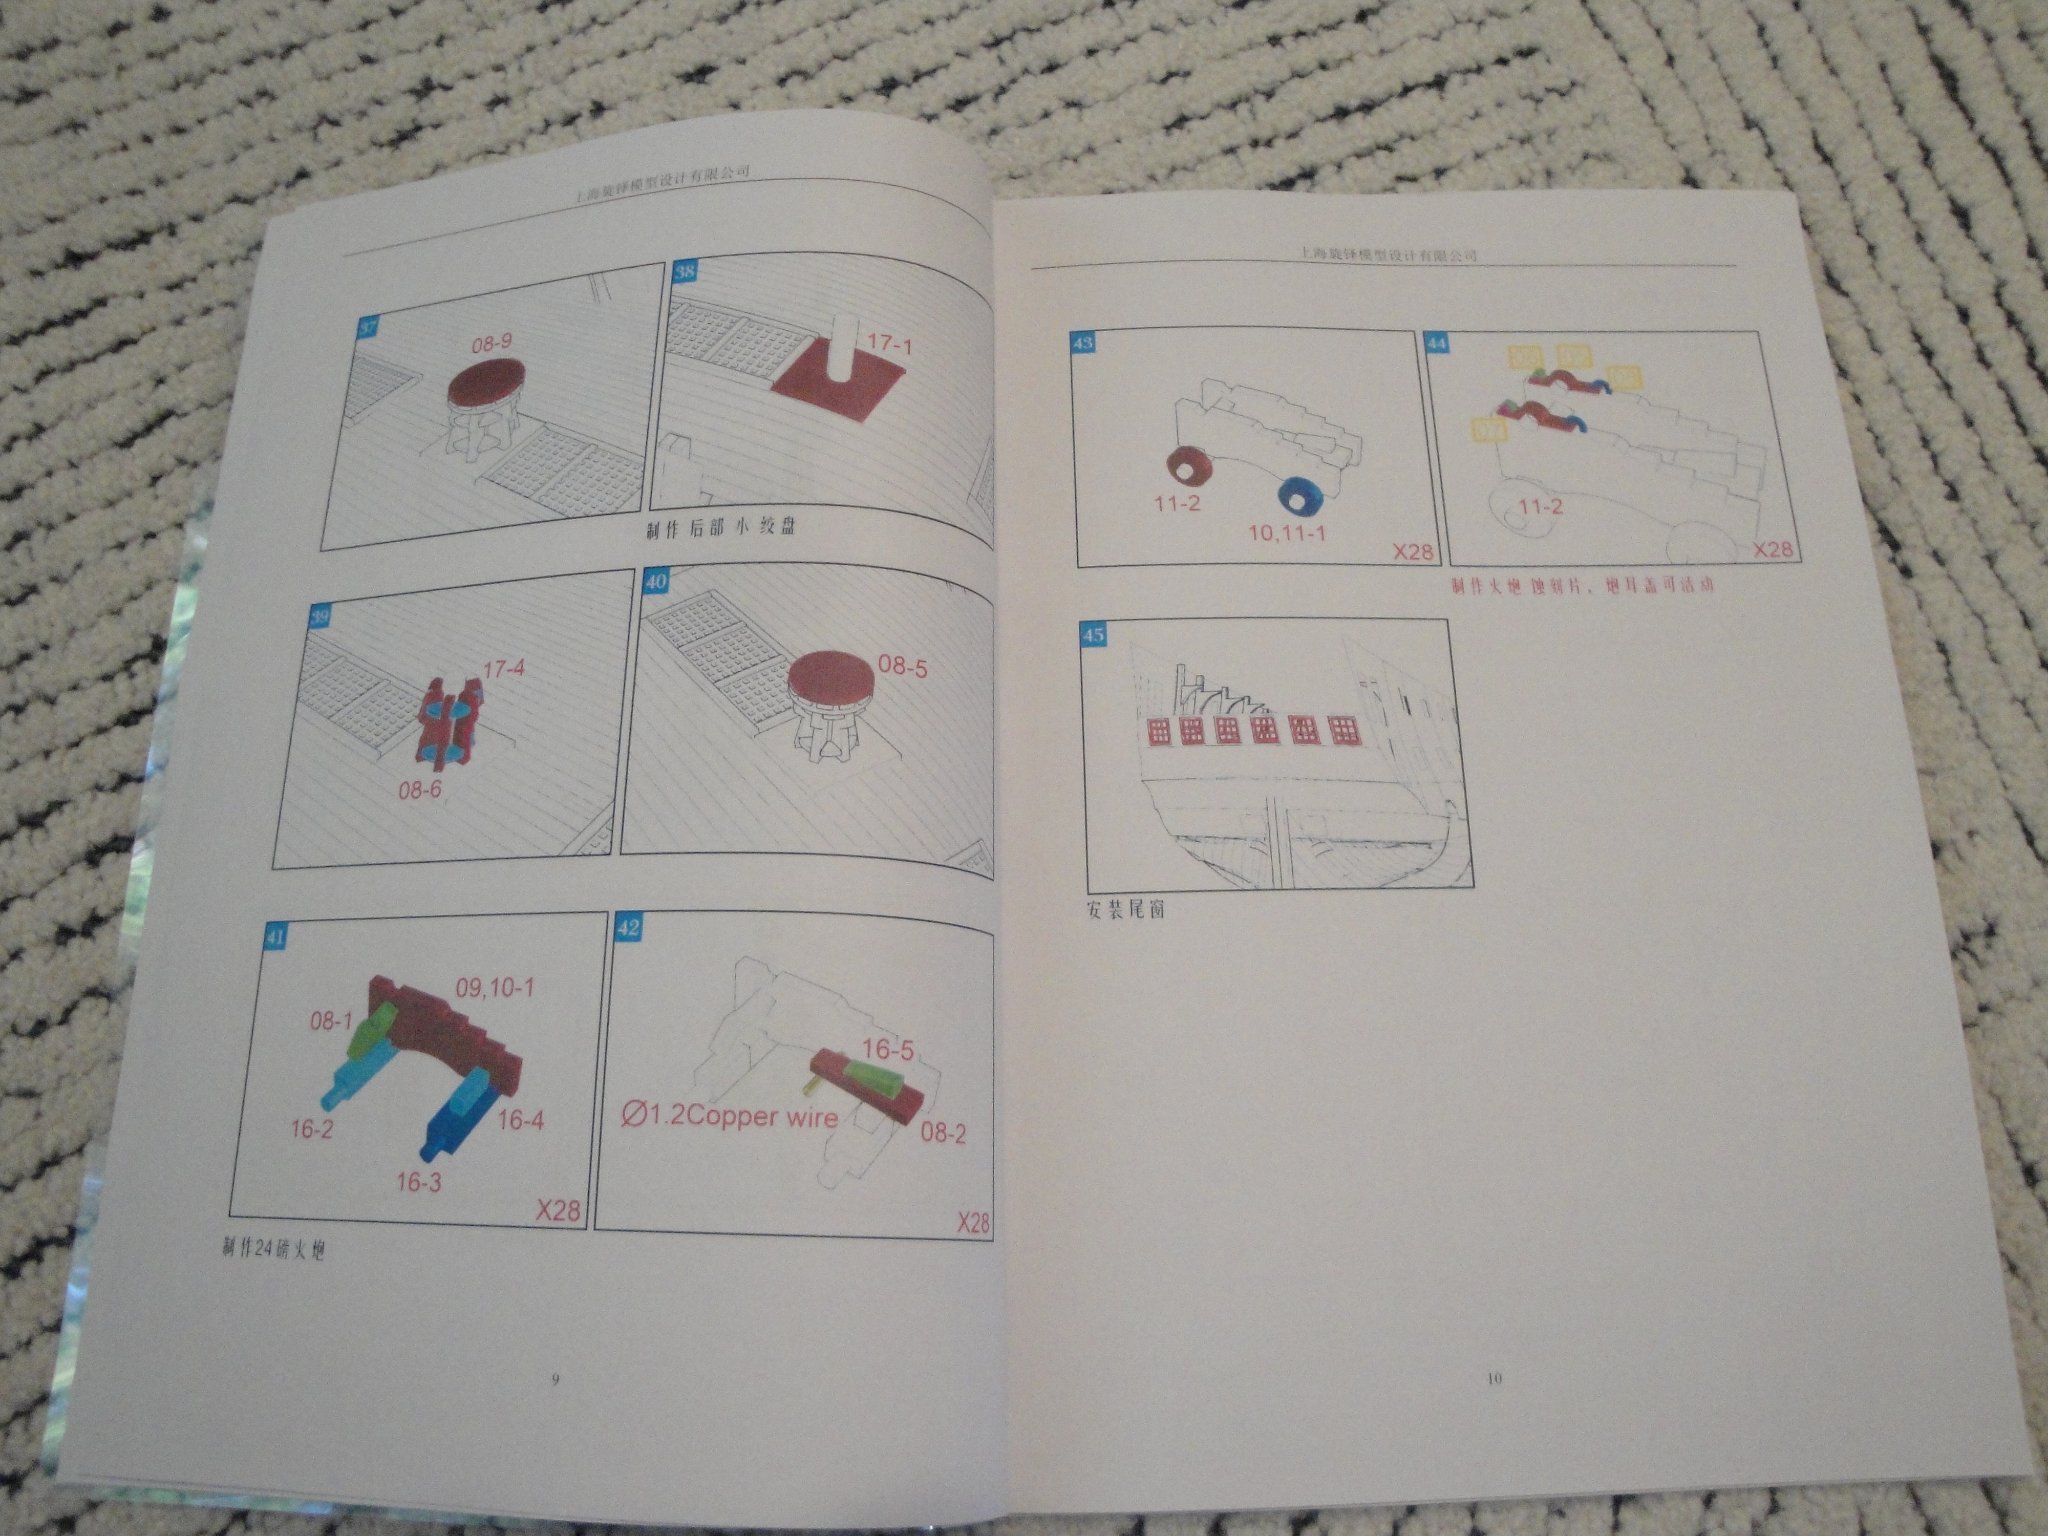
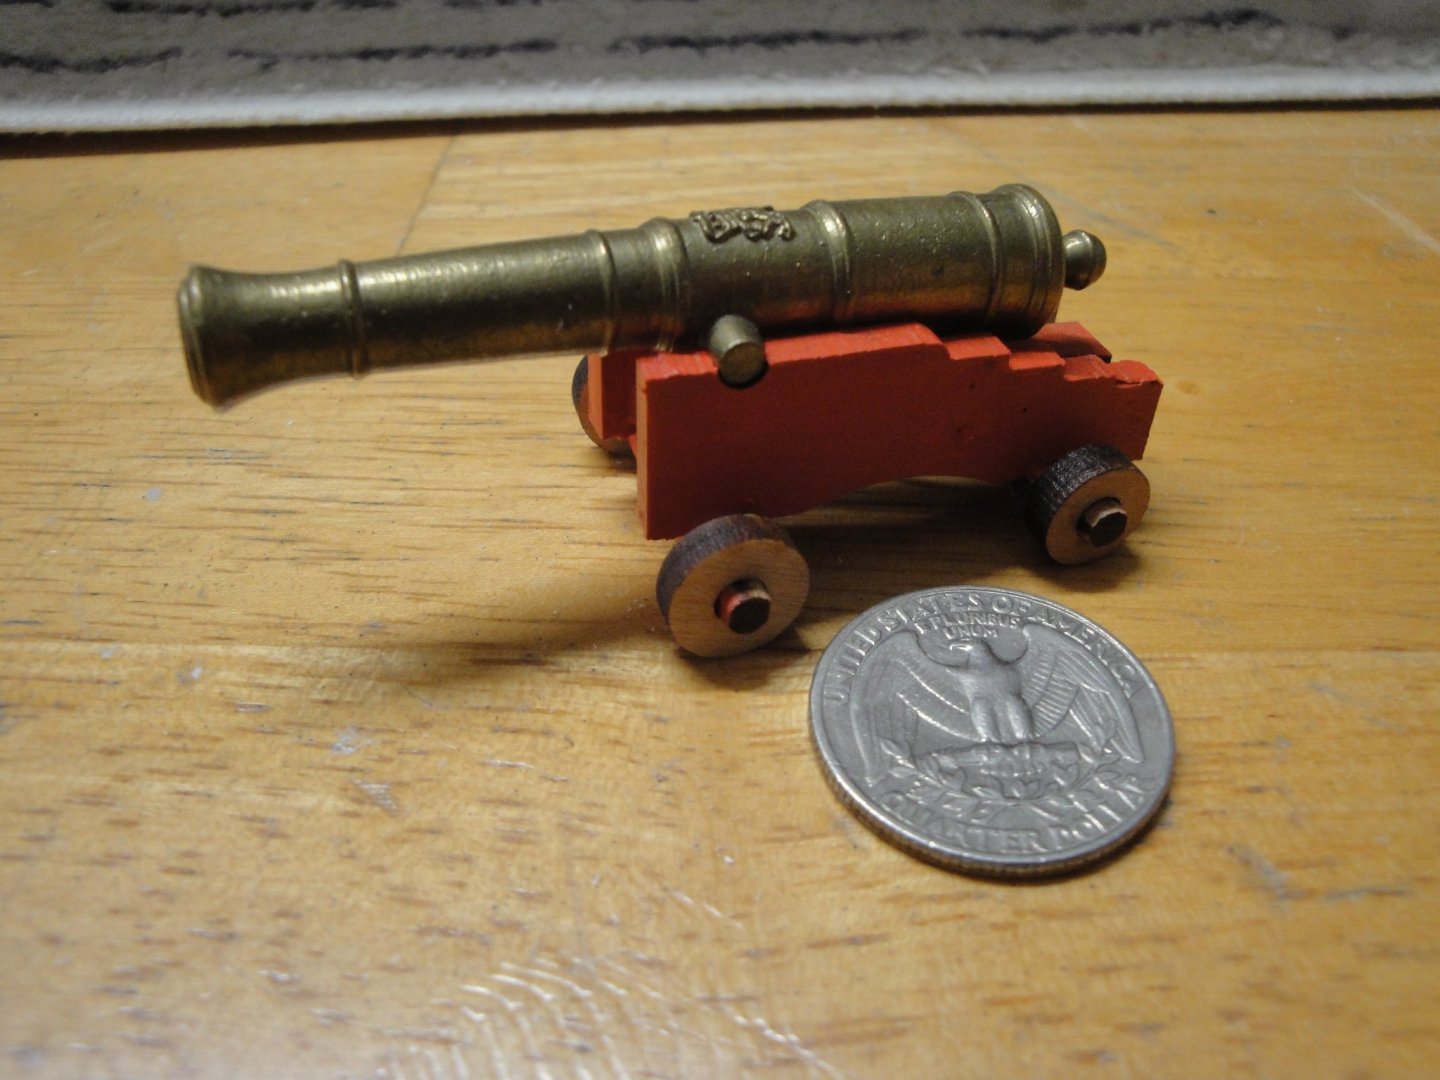
Also, there was a question about the size of the large guns. I just started putting one together for fun: Multiple PE parts are also provided to finish the gun. Yves
- 507 replies
-
- 11
-
-

-
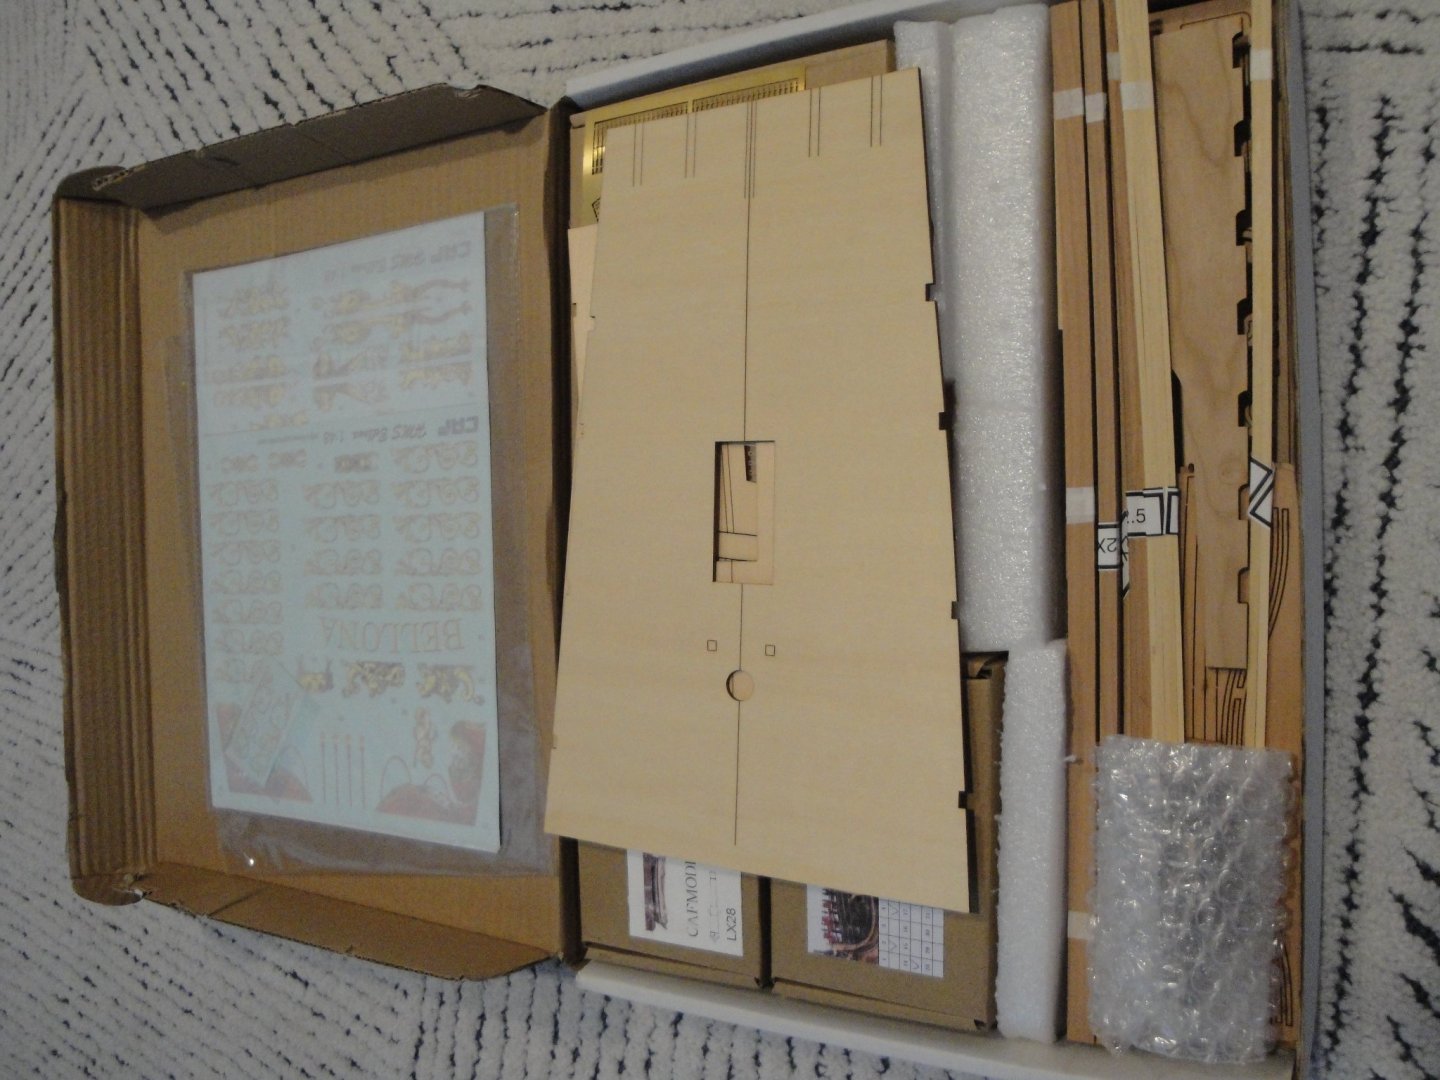
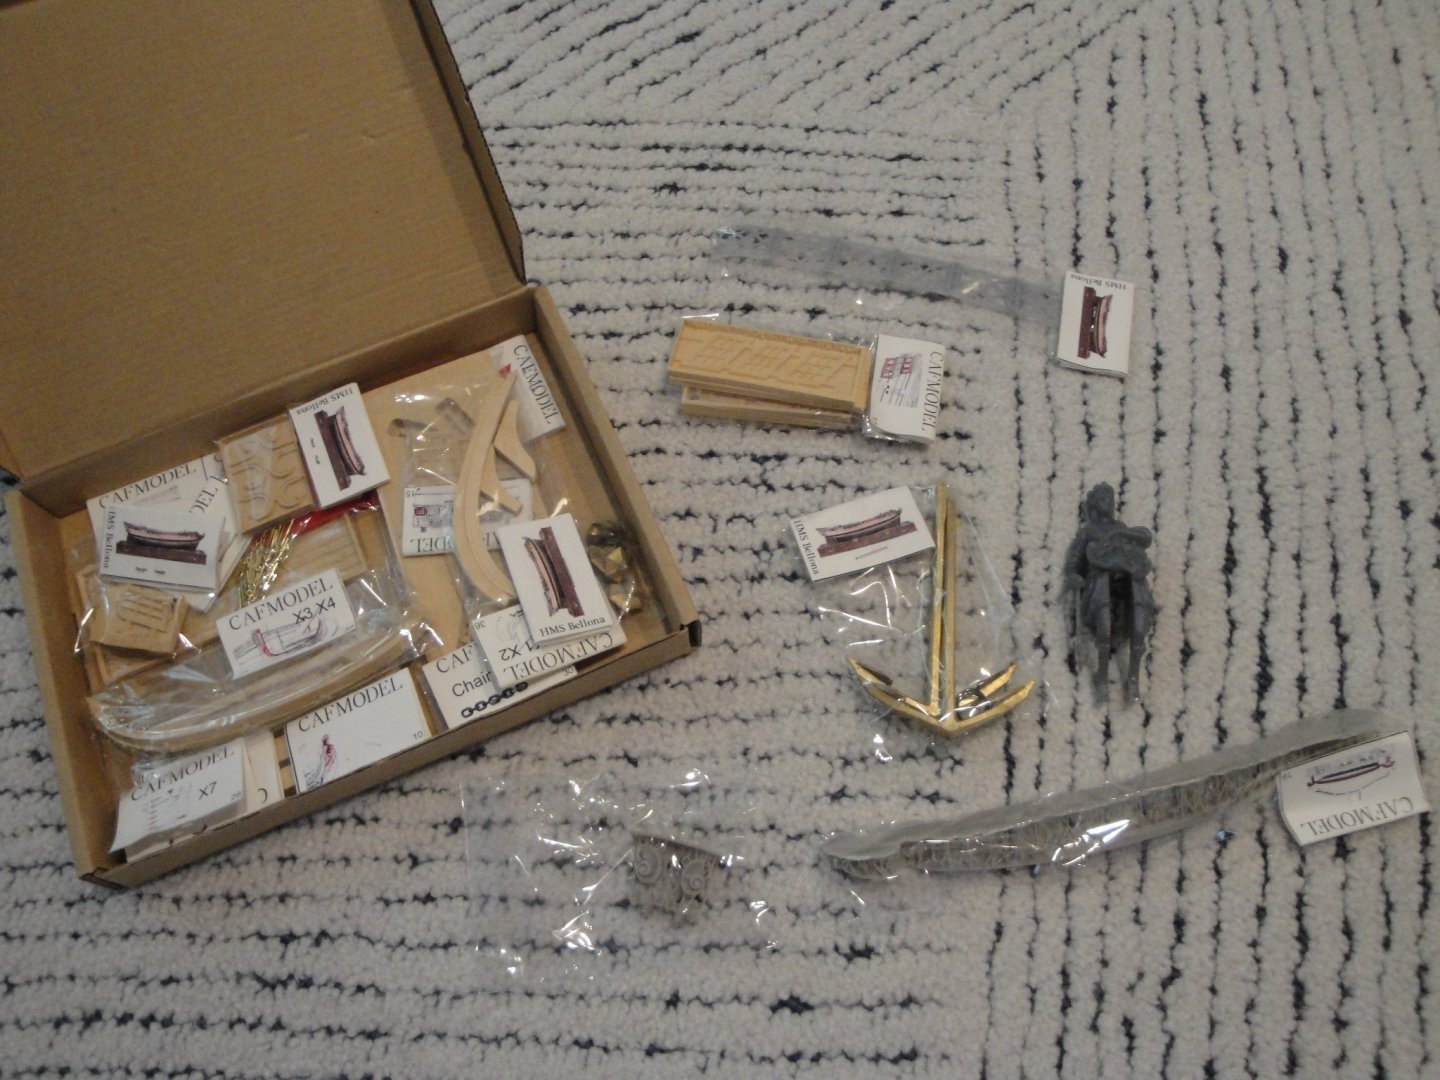
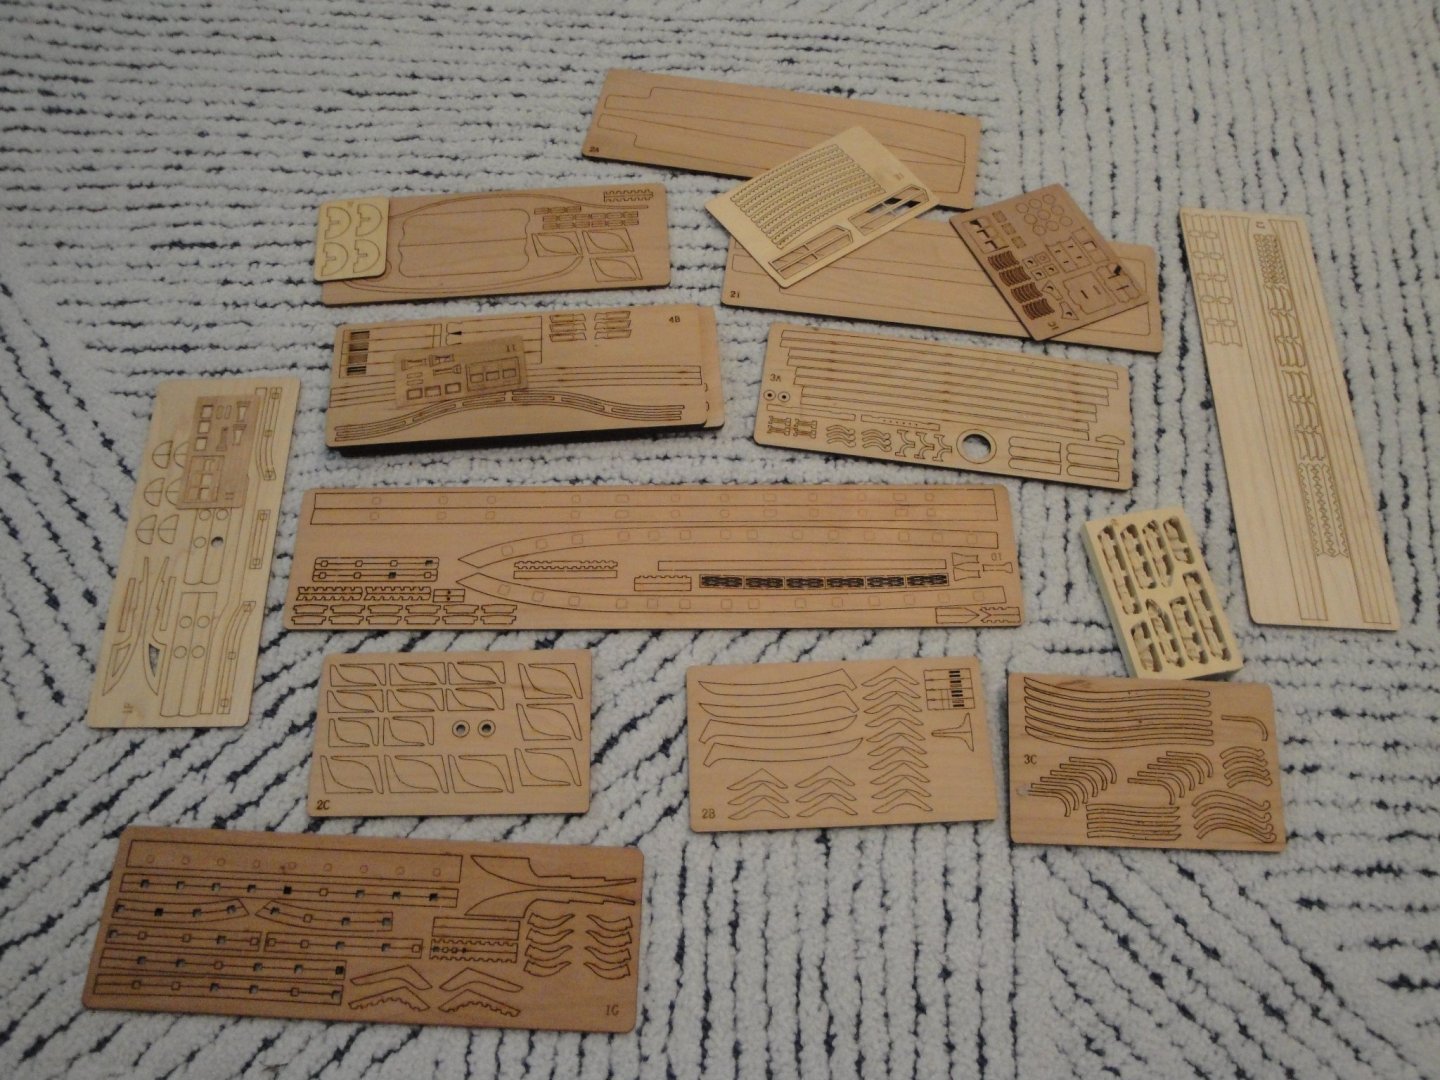
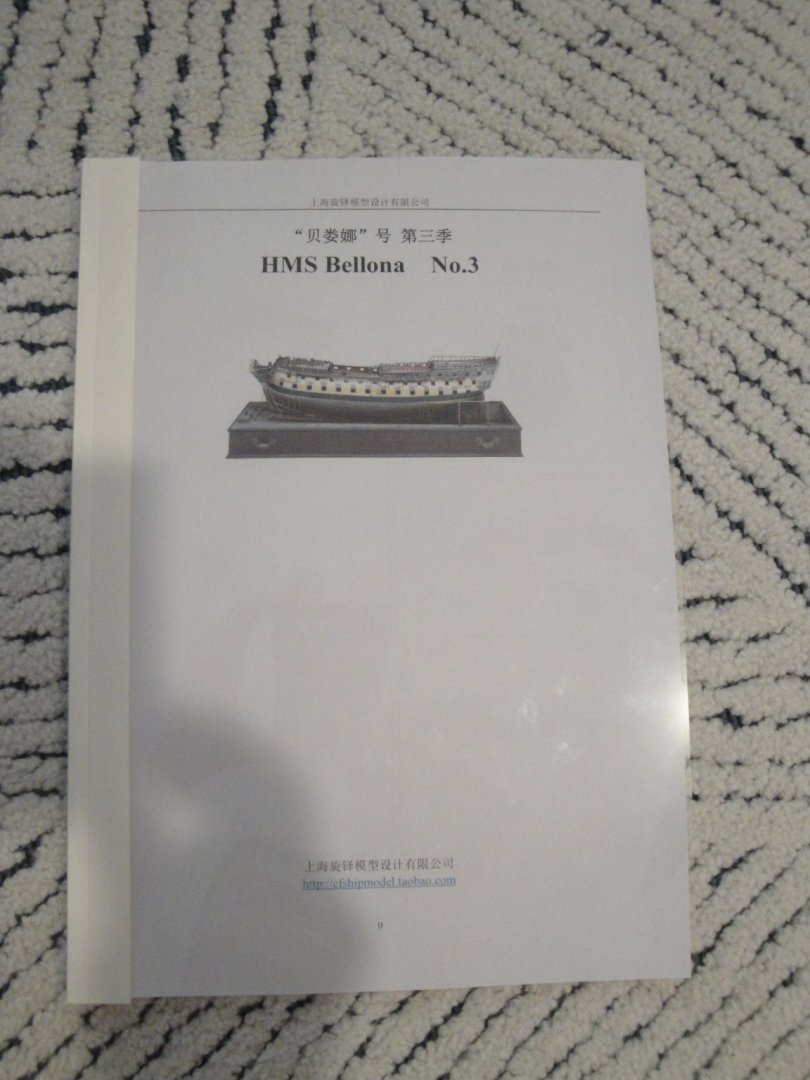
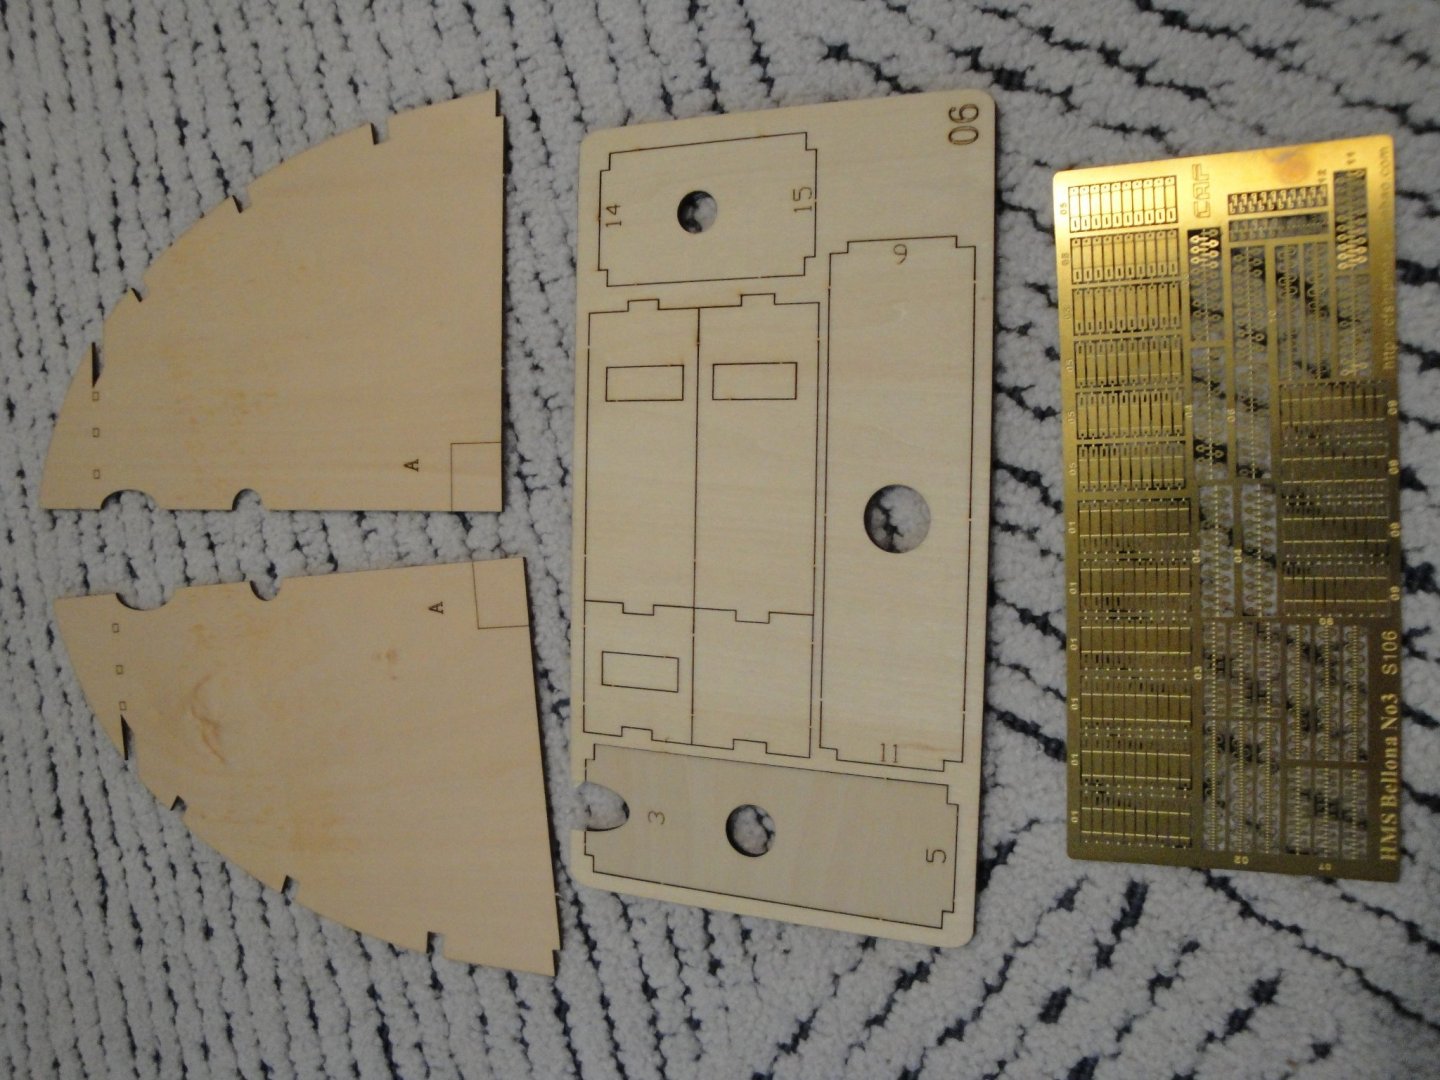
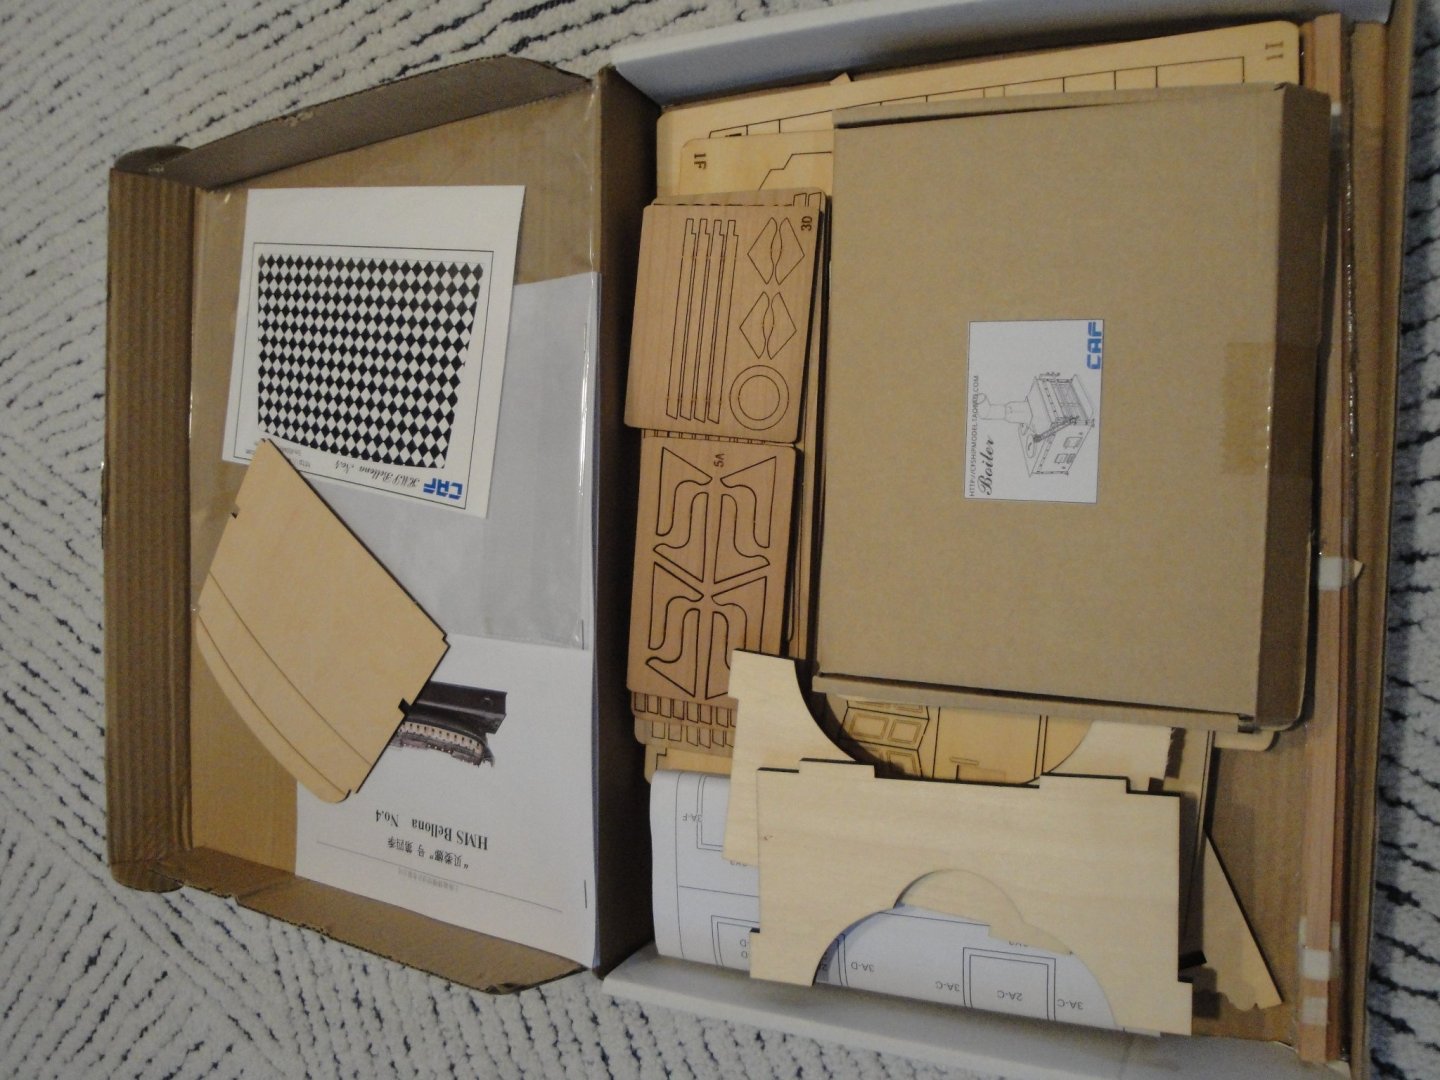
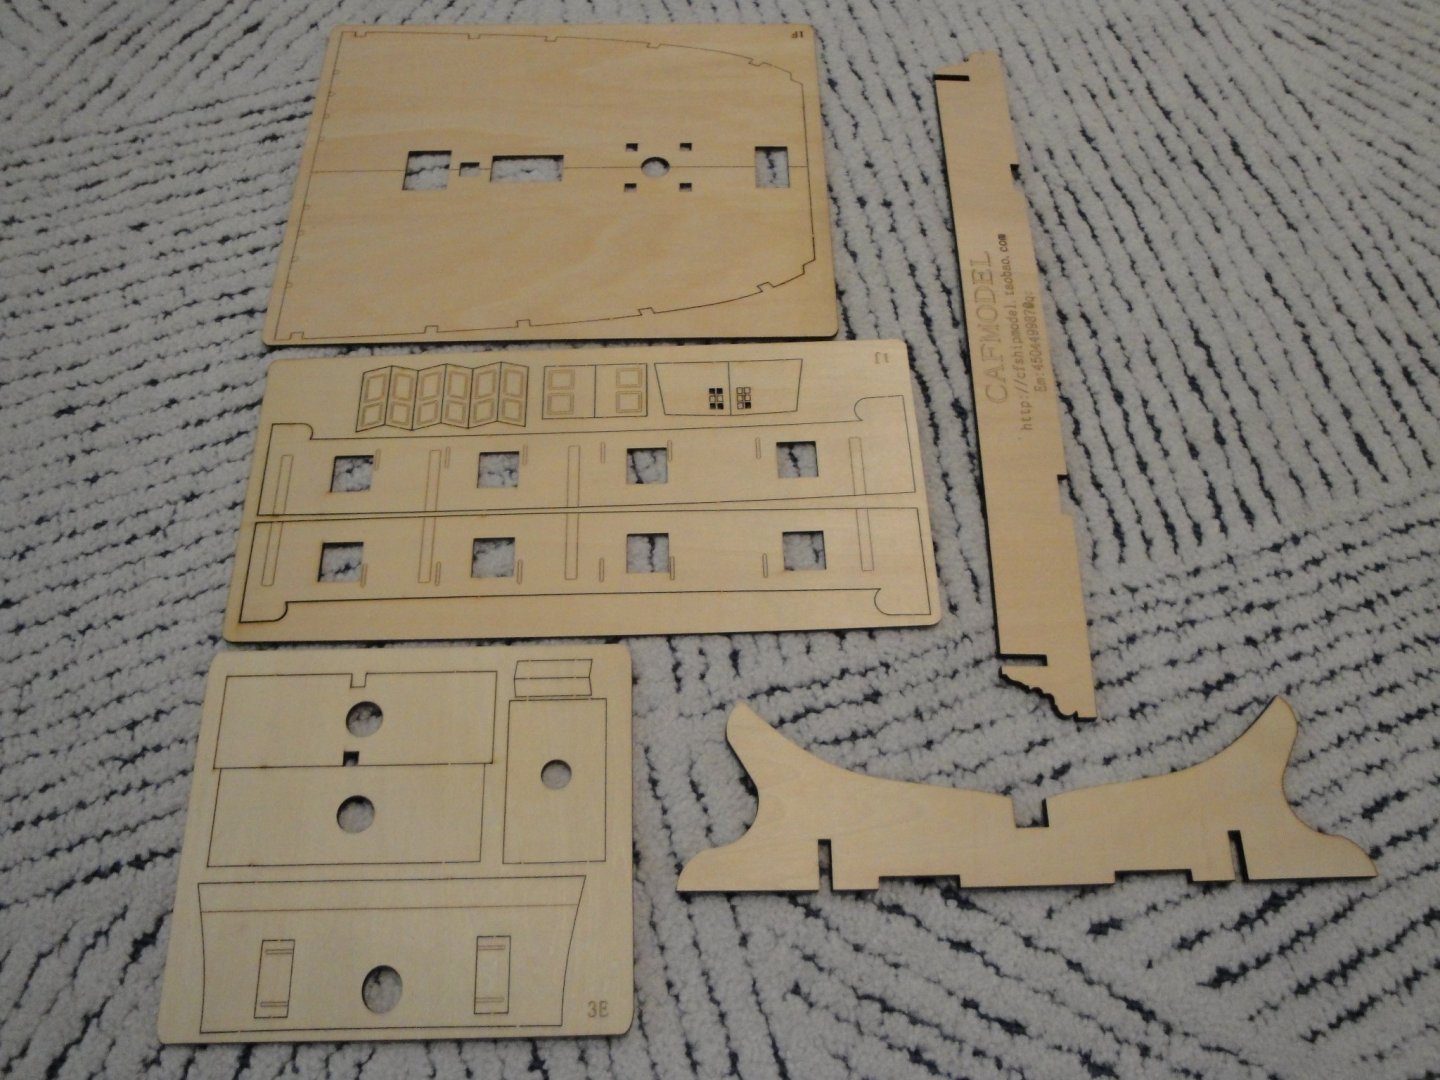
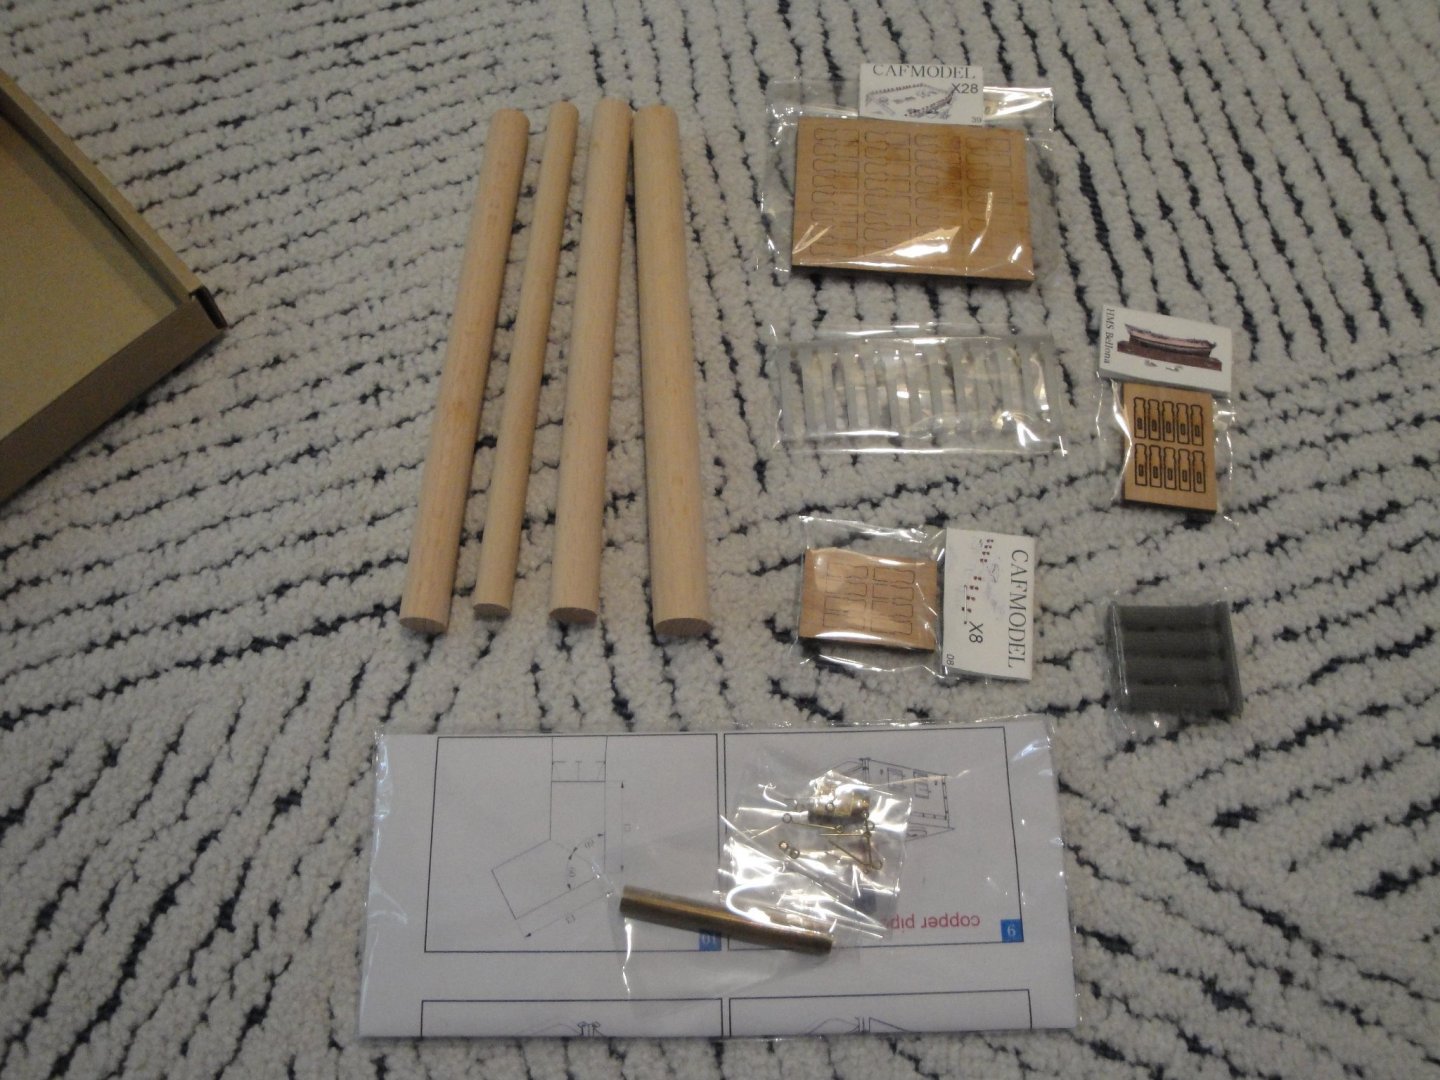
SESSION #5 This is the richest session and heaviest box: I am planning to follow the sessions independently. Every time I start a new session, I will describe the contents of the box, in greater details. Yves


-
Since there seems to be a lot of interest and questions about the various Sessions, here is a quick rundown on what they offer: Session #3: SESSION #4: Yves


-
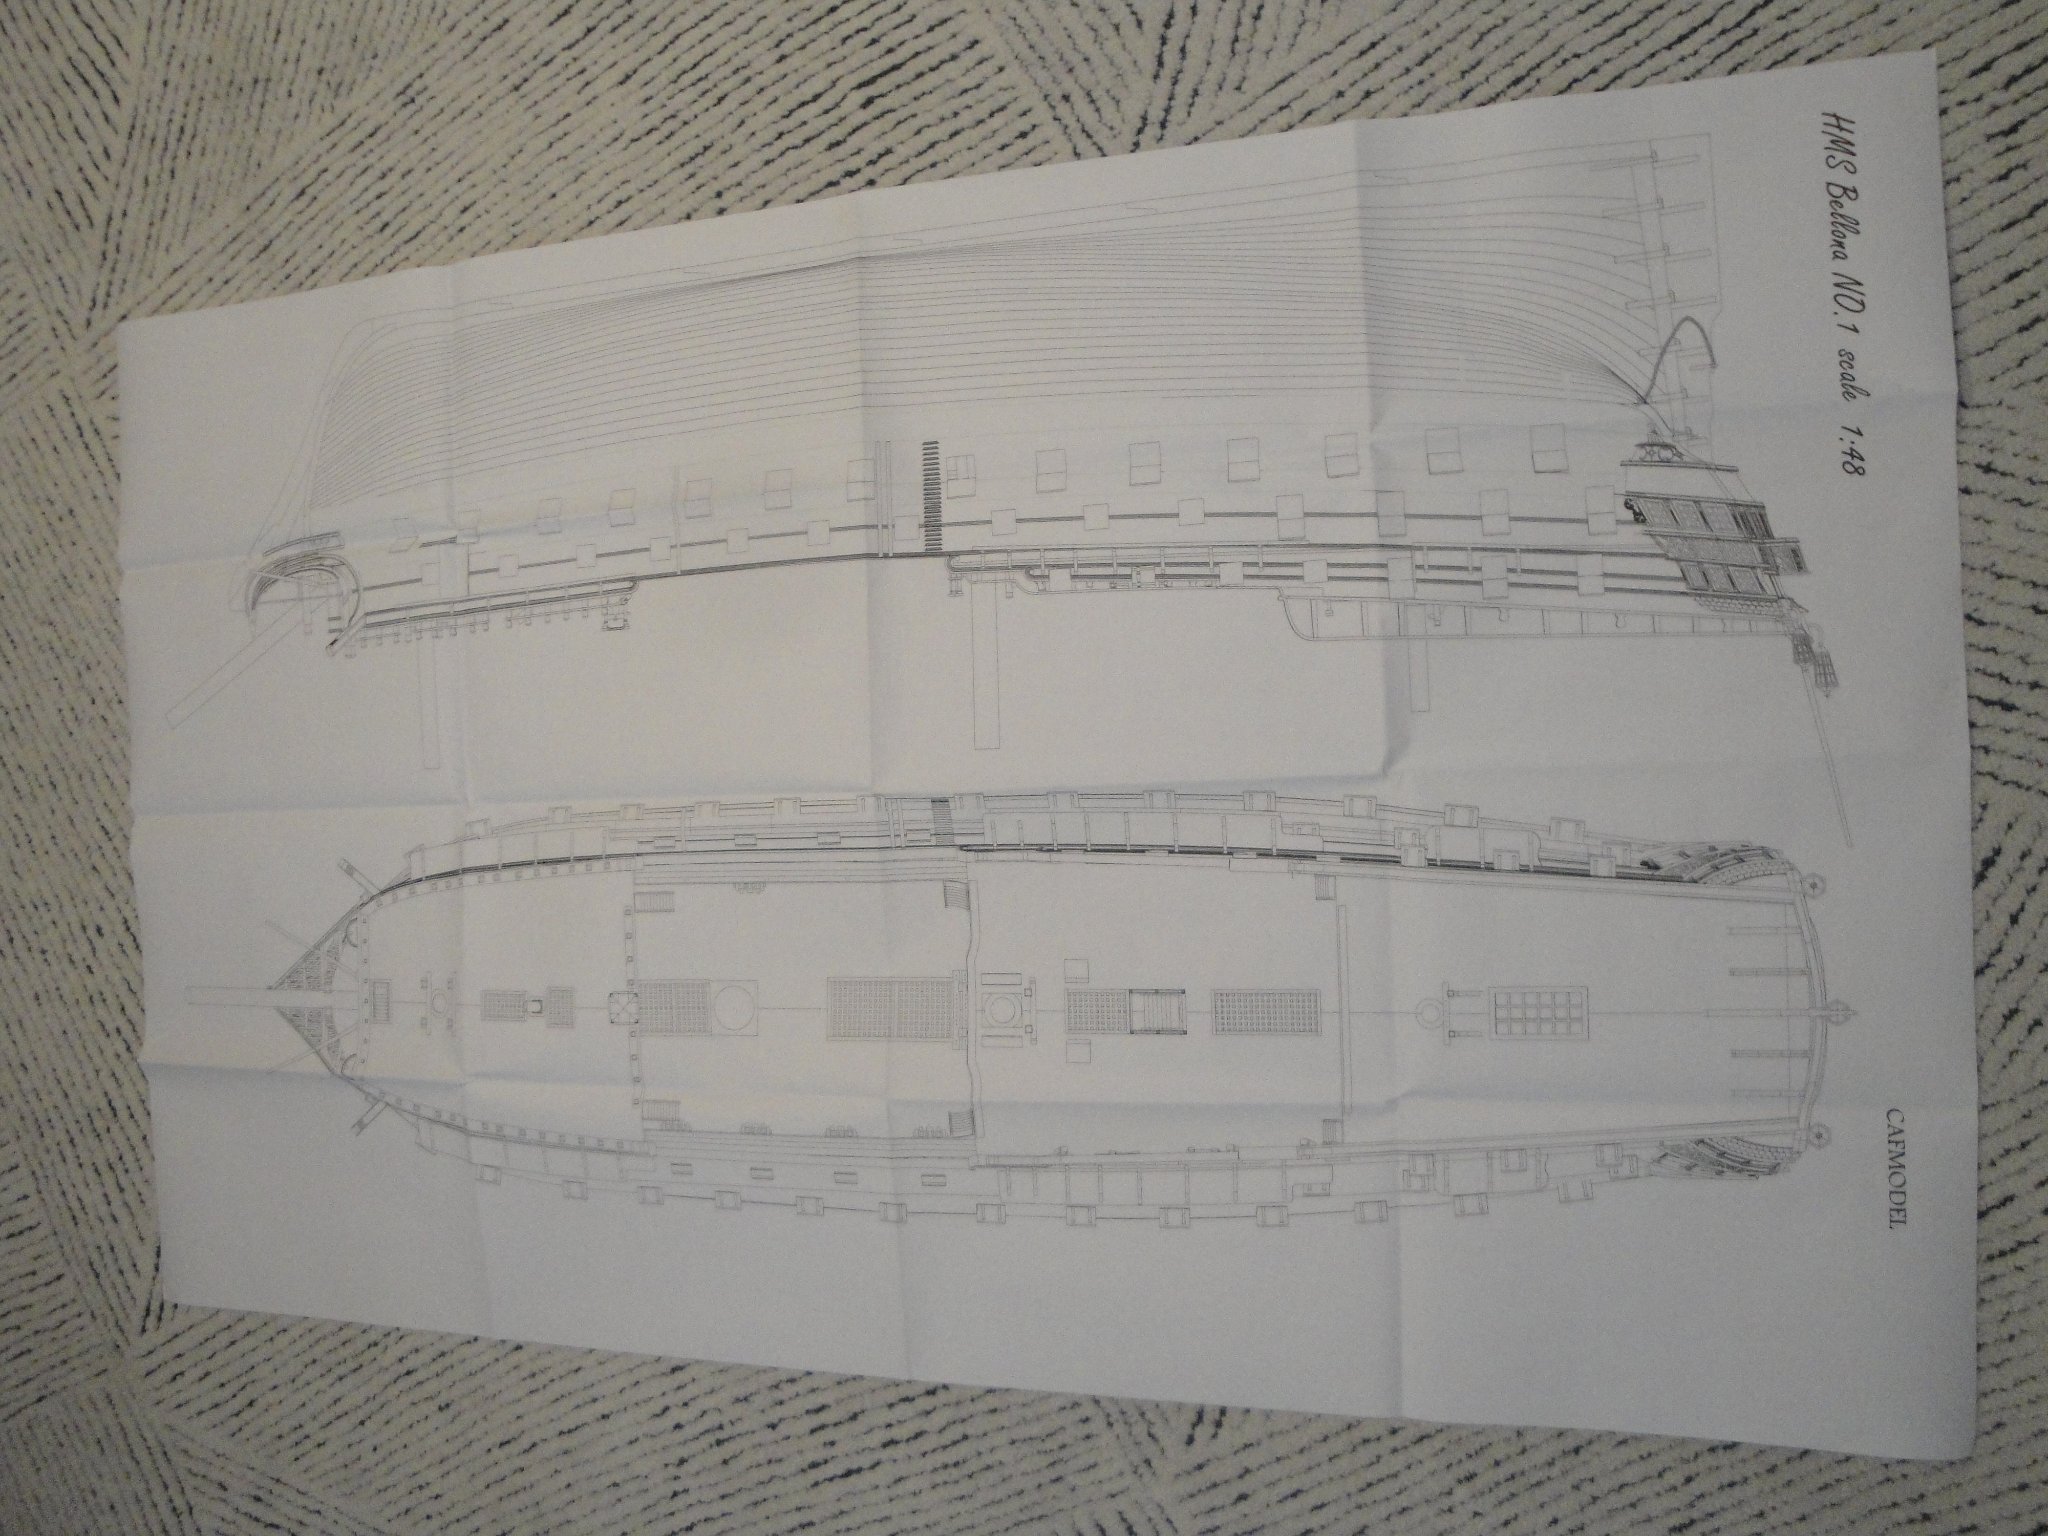
Pierre, yes the kit is made up of 5 sessions. In my humble opinion, it is not possible to assemble Session #1 without Session #2 and ideally Session #3. I have provided the dimensions between the top of the futtocks for each bulkhead and that is paramount for the success of this kit. Session #4 is, for the first time, offering a gorgeous scale 1:1 blueprint (top and side) of the model, with all its details. Yves
-
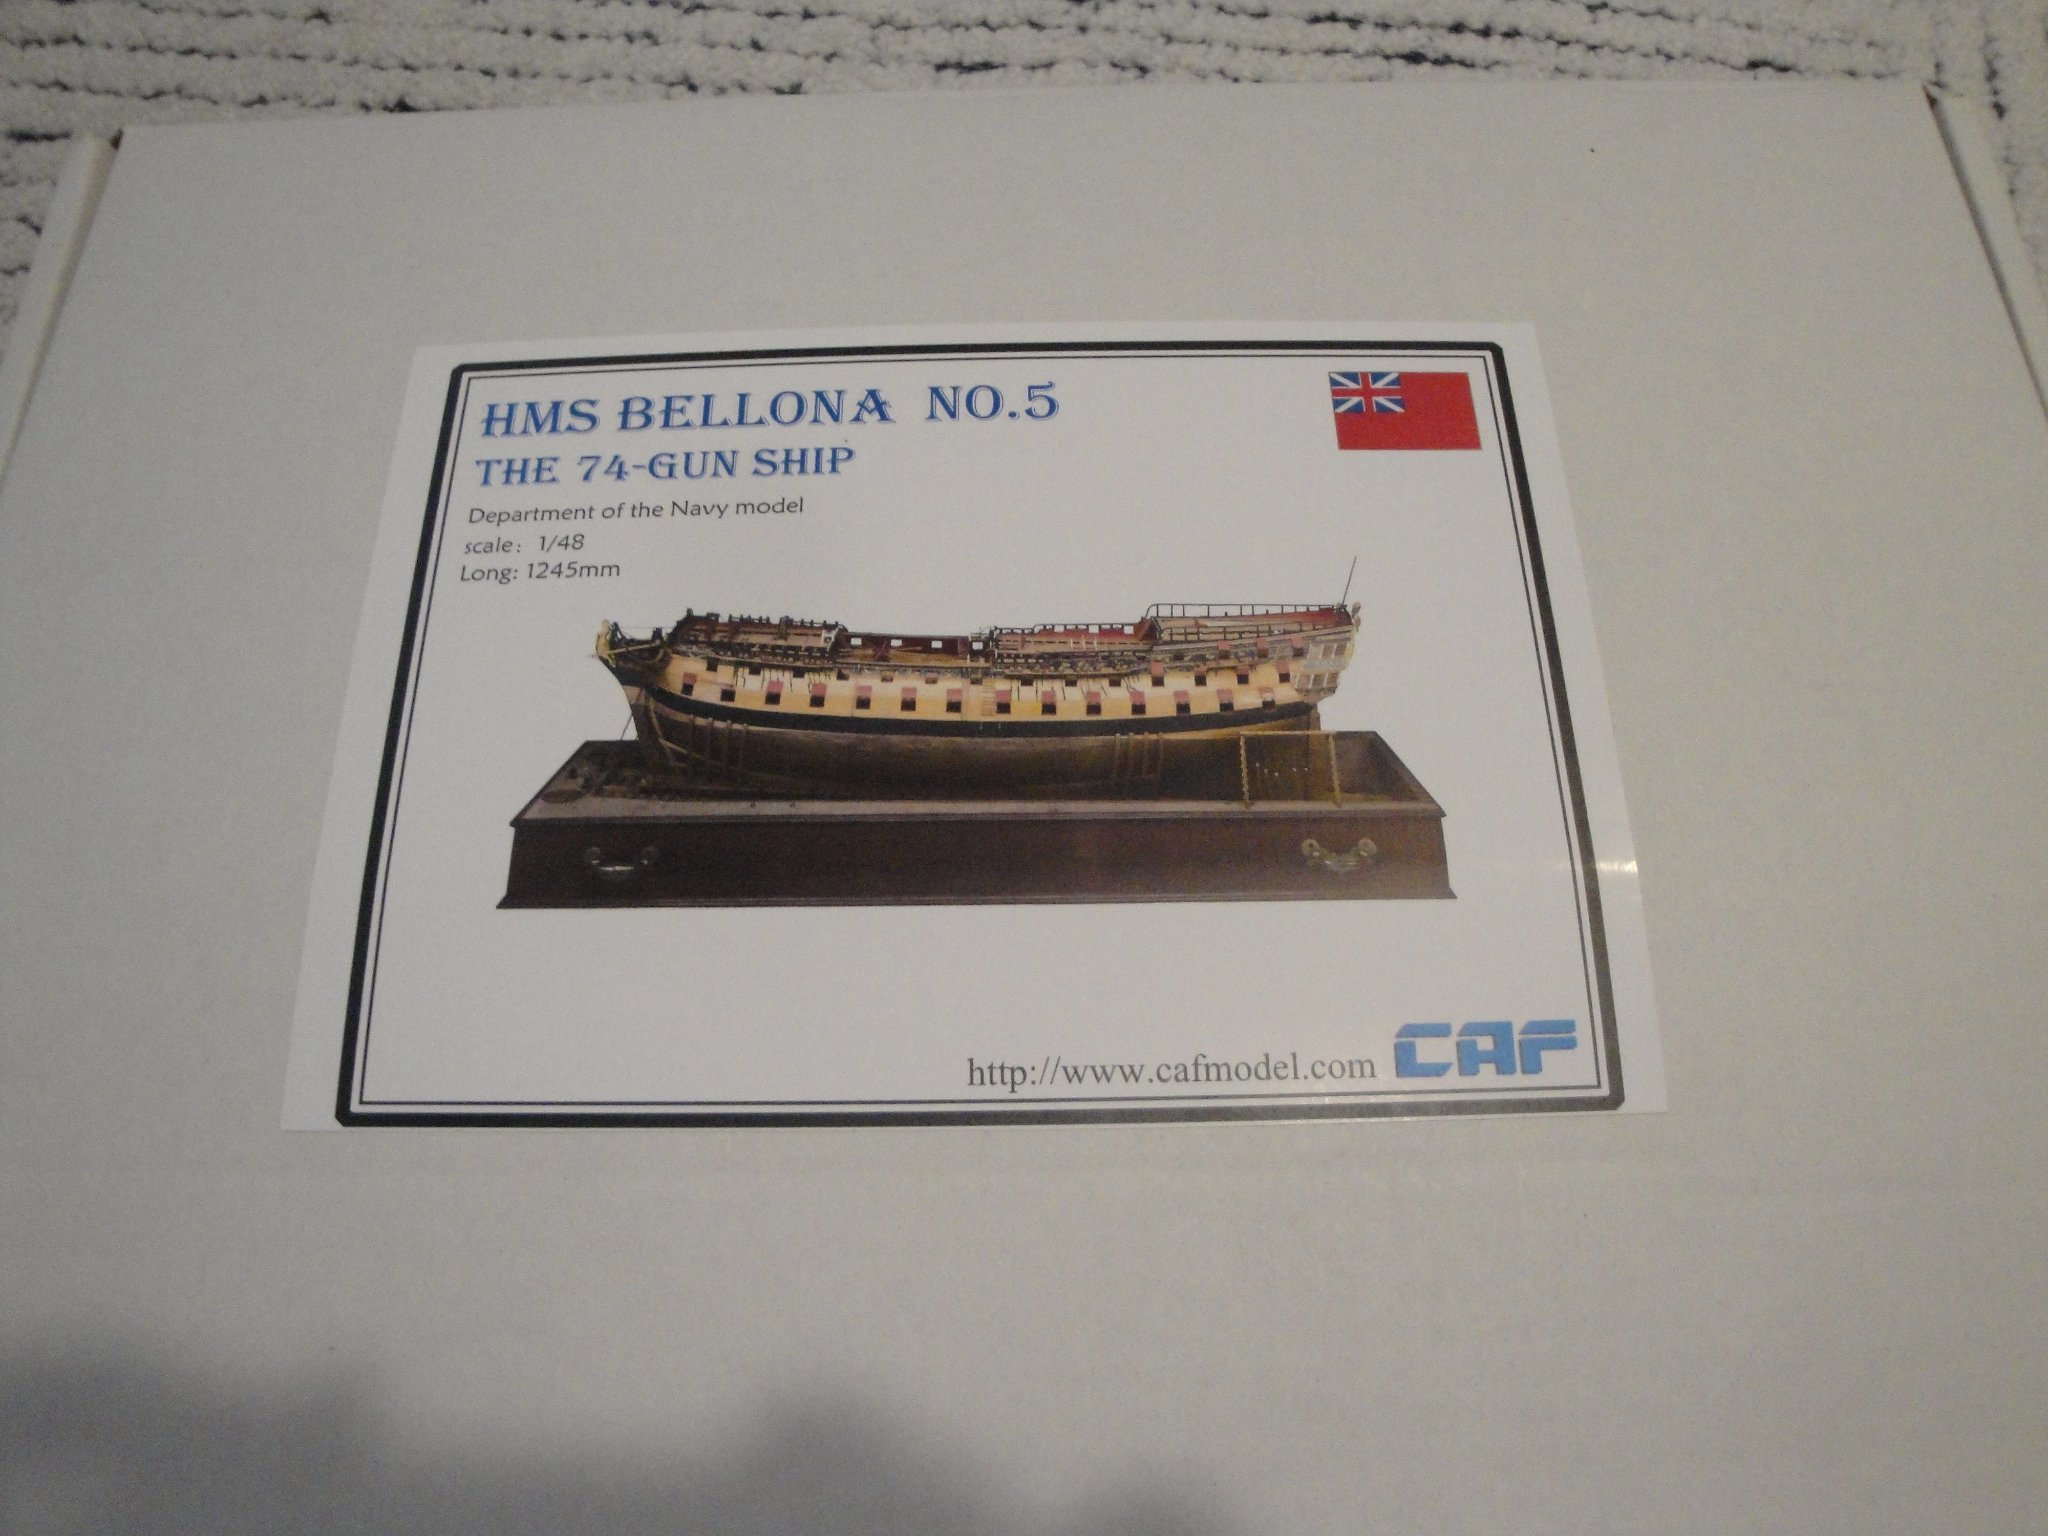
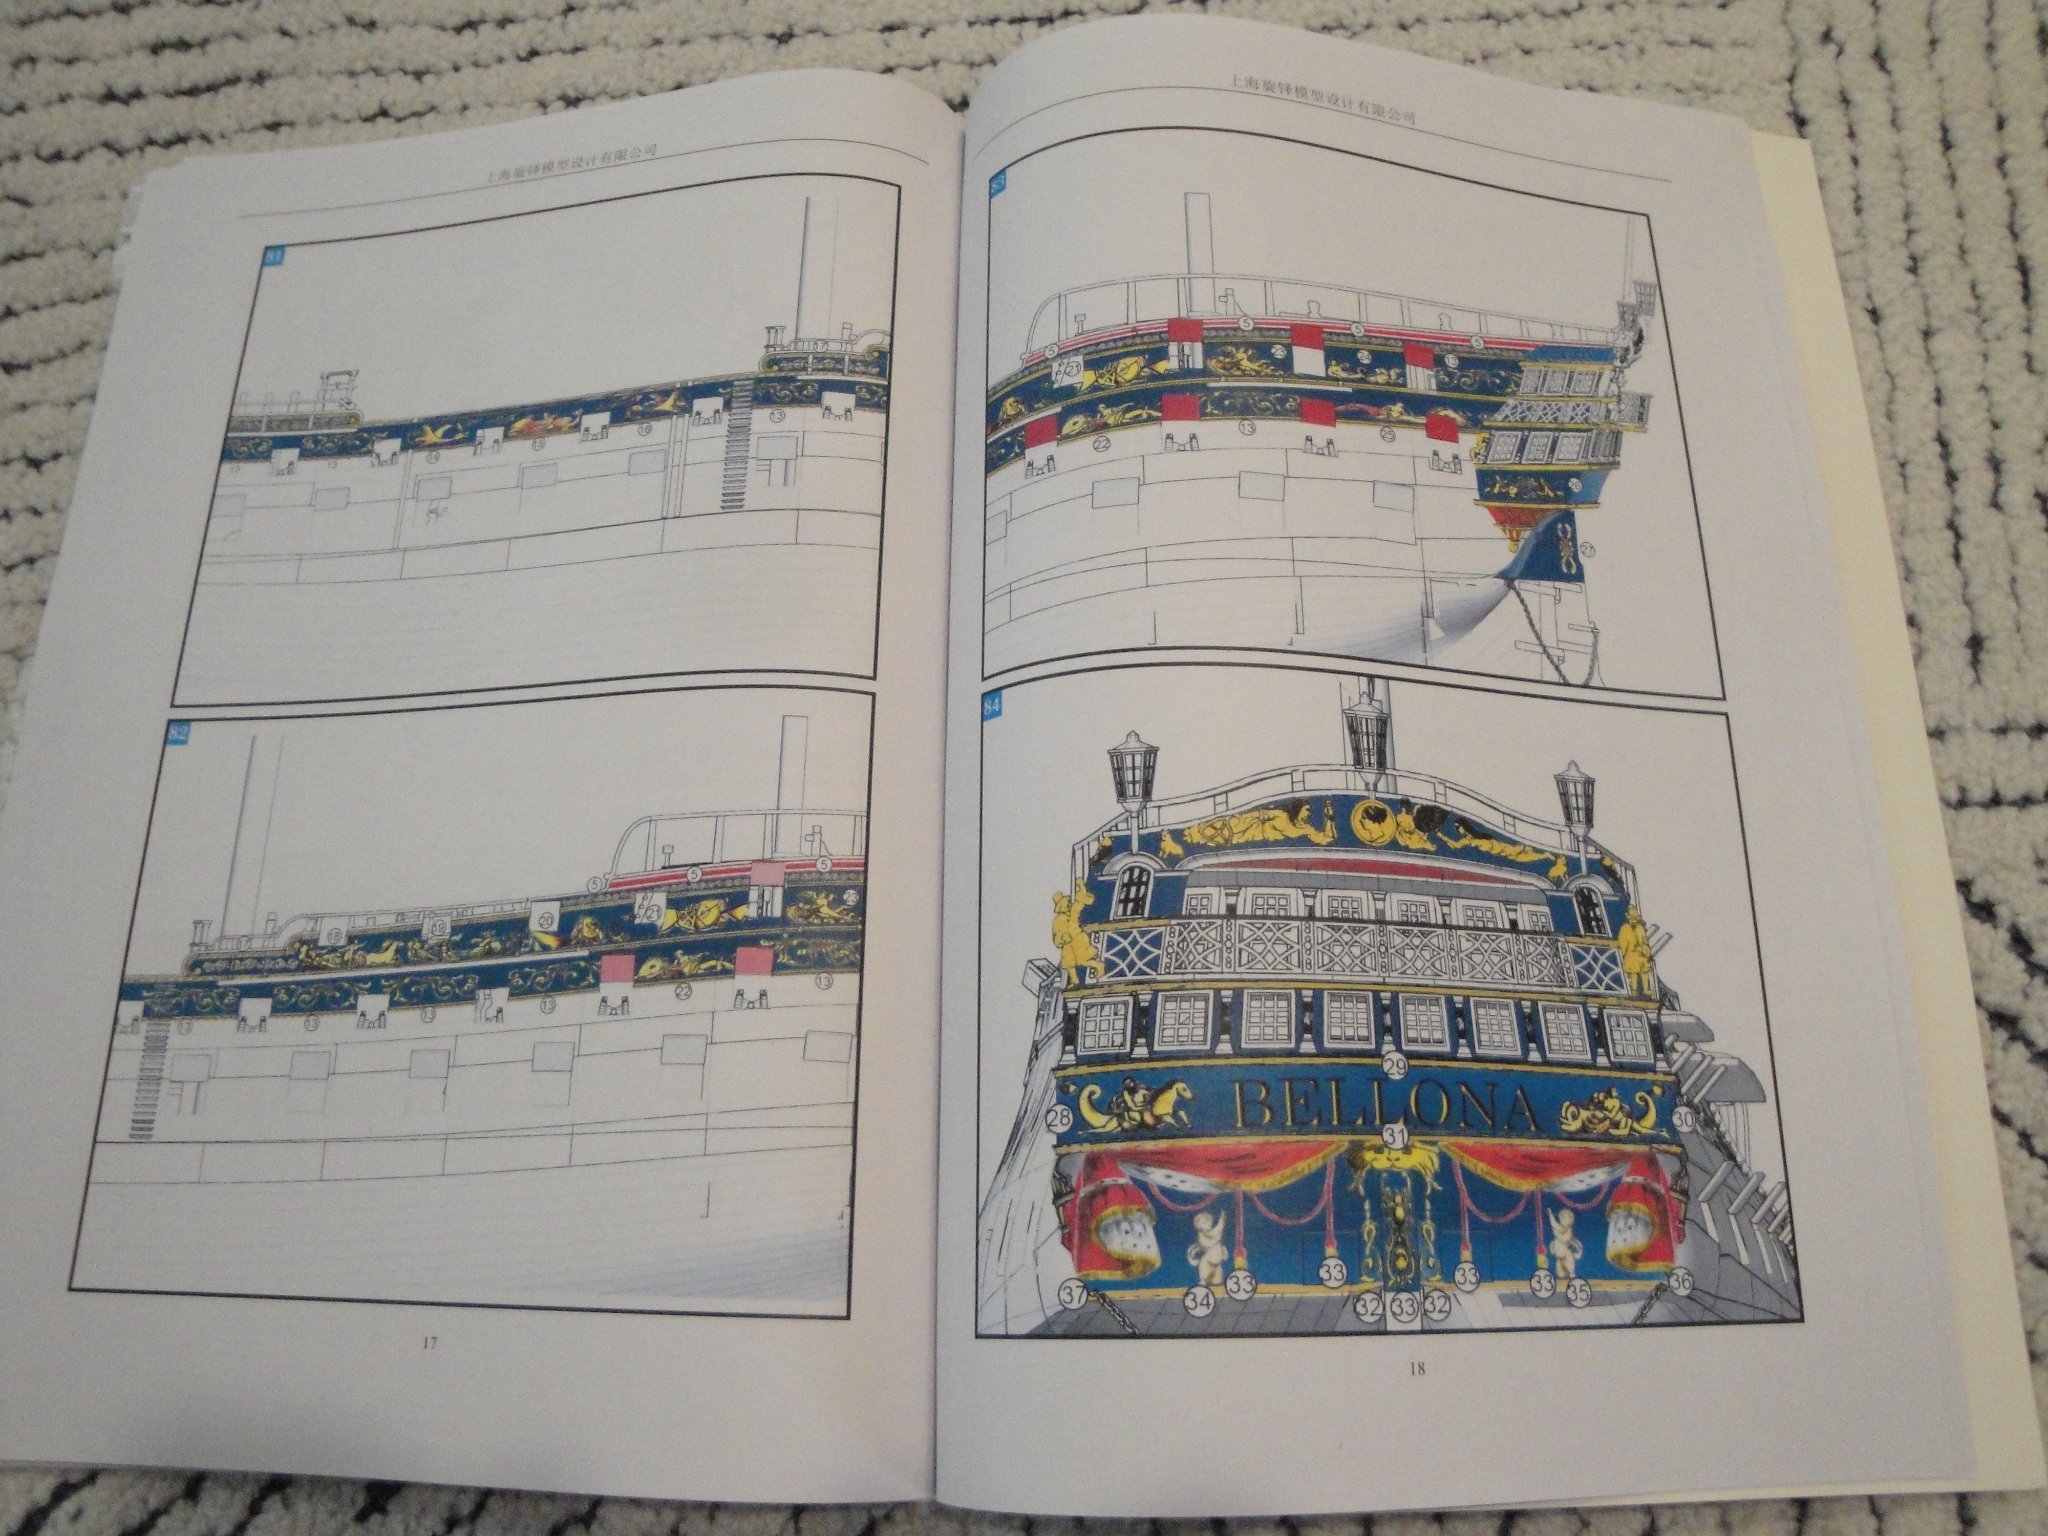
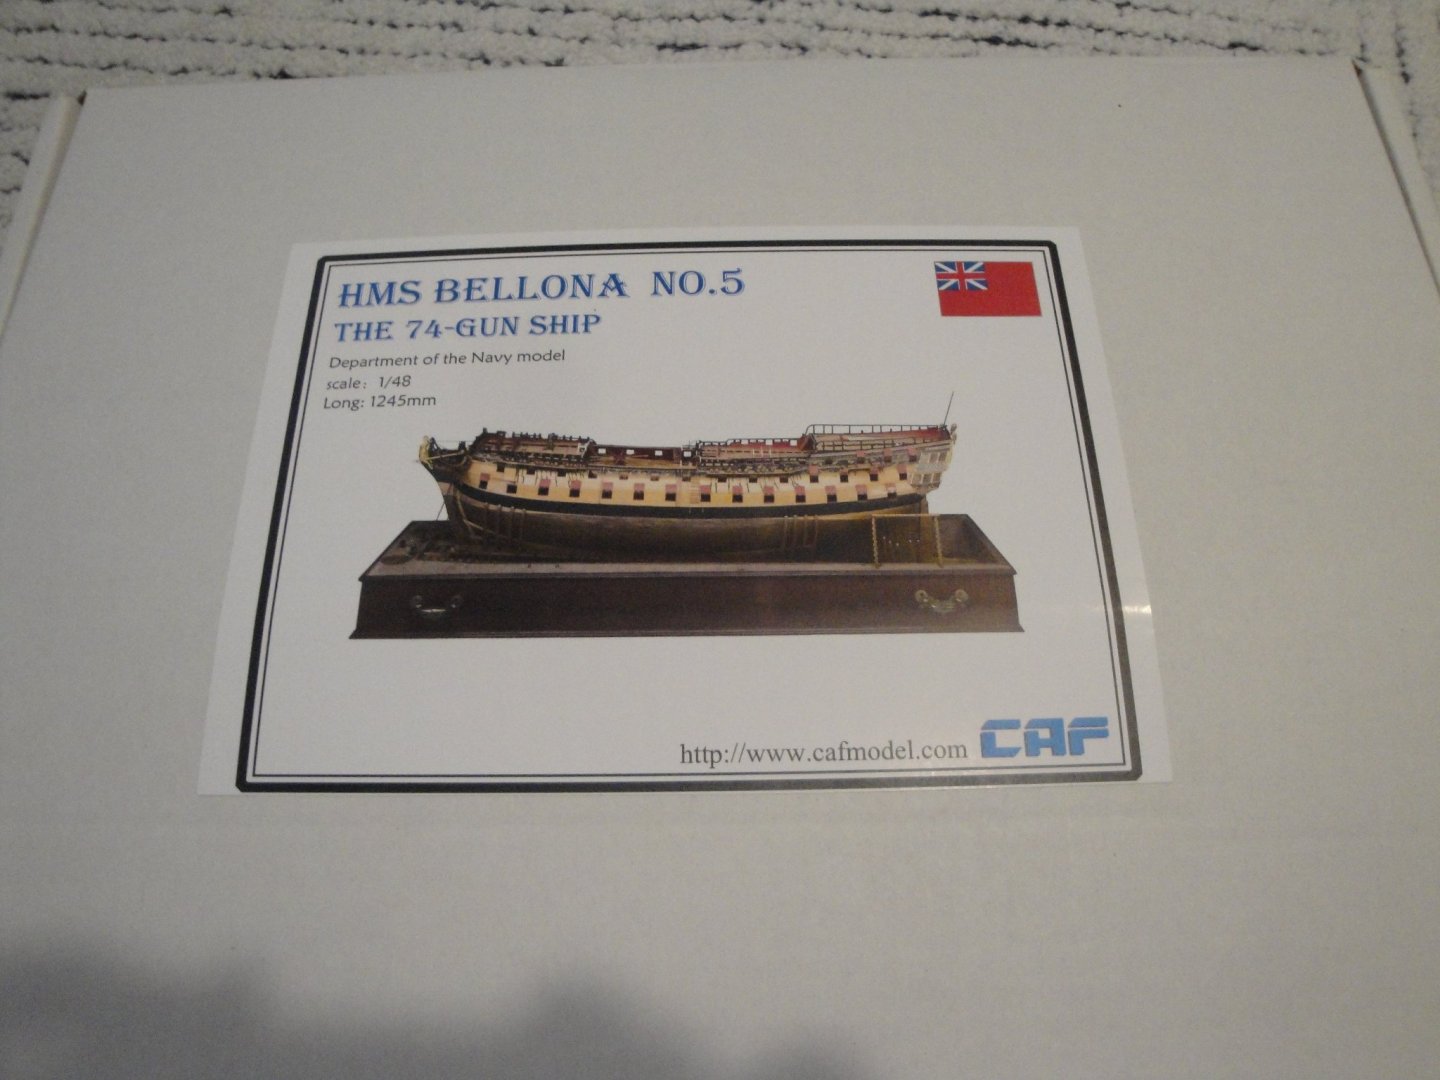
Thank you all for the compliments. I have been working on another large project: the CAF HMS Bellona and the Corvette has been relegated to a second position. I need to get back to it and finish it, soon. Yves
- 321 replies
-
- 6
-
-
- Finished
- Flower-class
- (and 1 more)
-
Definitely one of the most important milestone of that project. I know I spent a lot of time fine tuning it and it paid off immensely. Yves
- 460 replies
-
- 6
-
-
- Finished
- Flower-class
- (and 1 more)
-
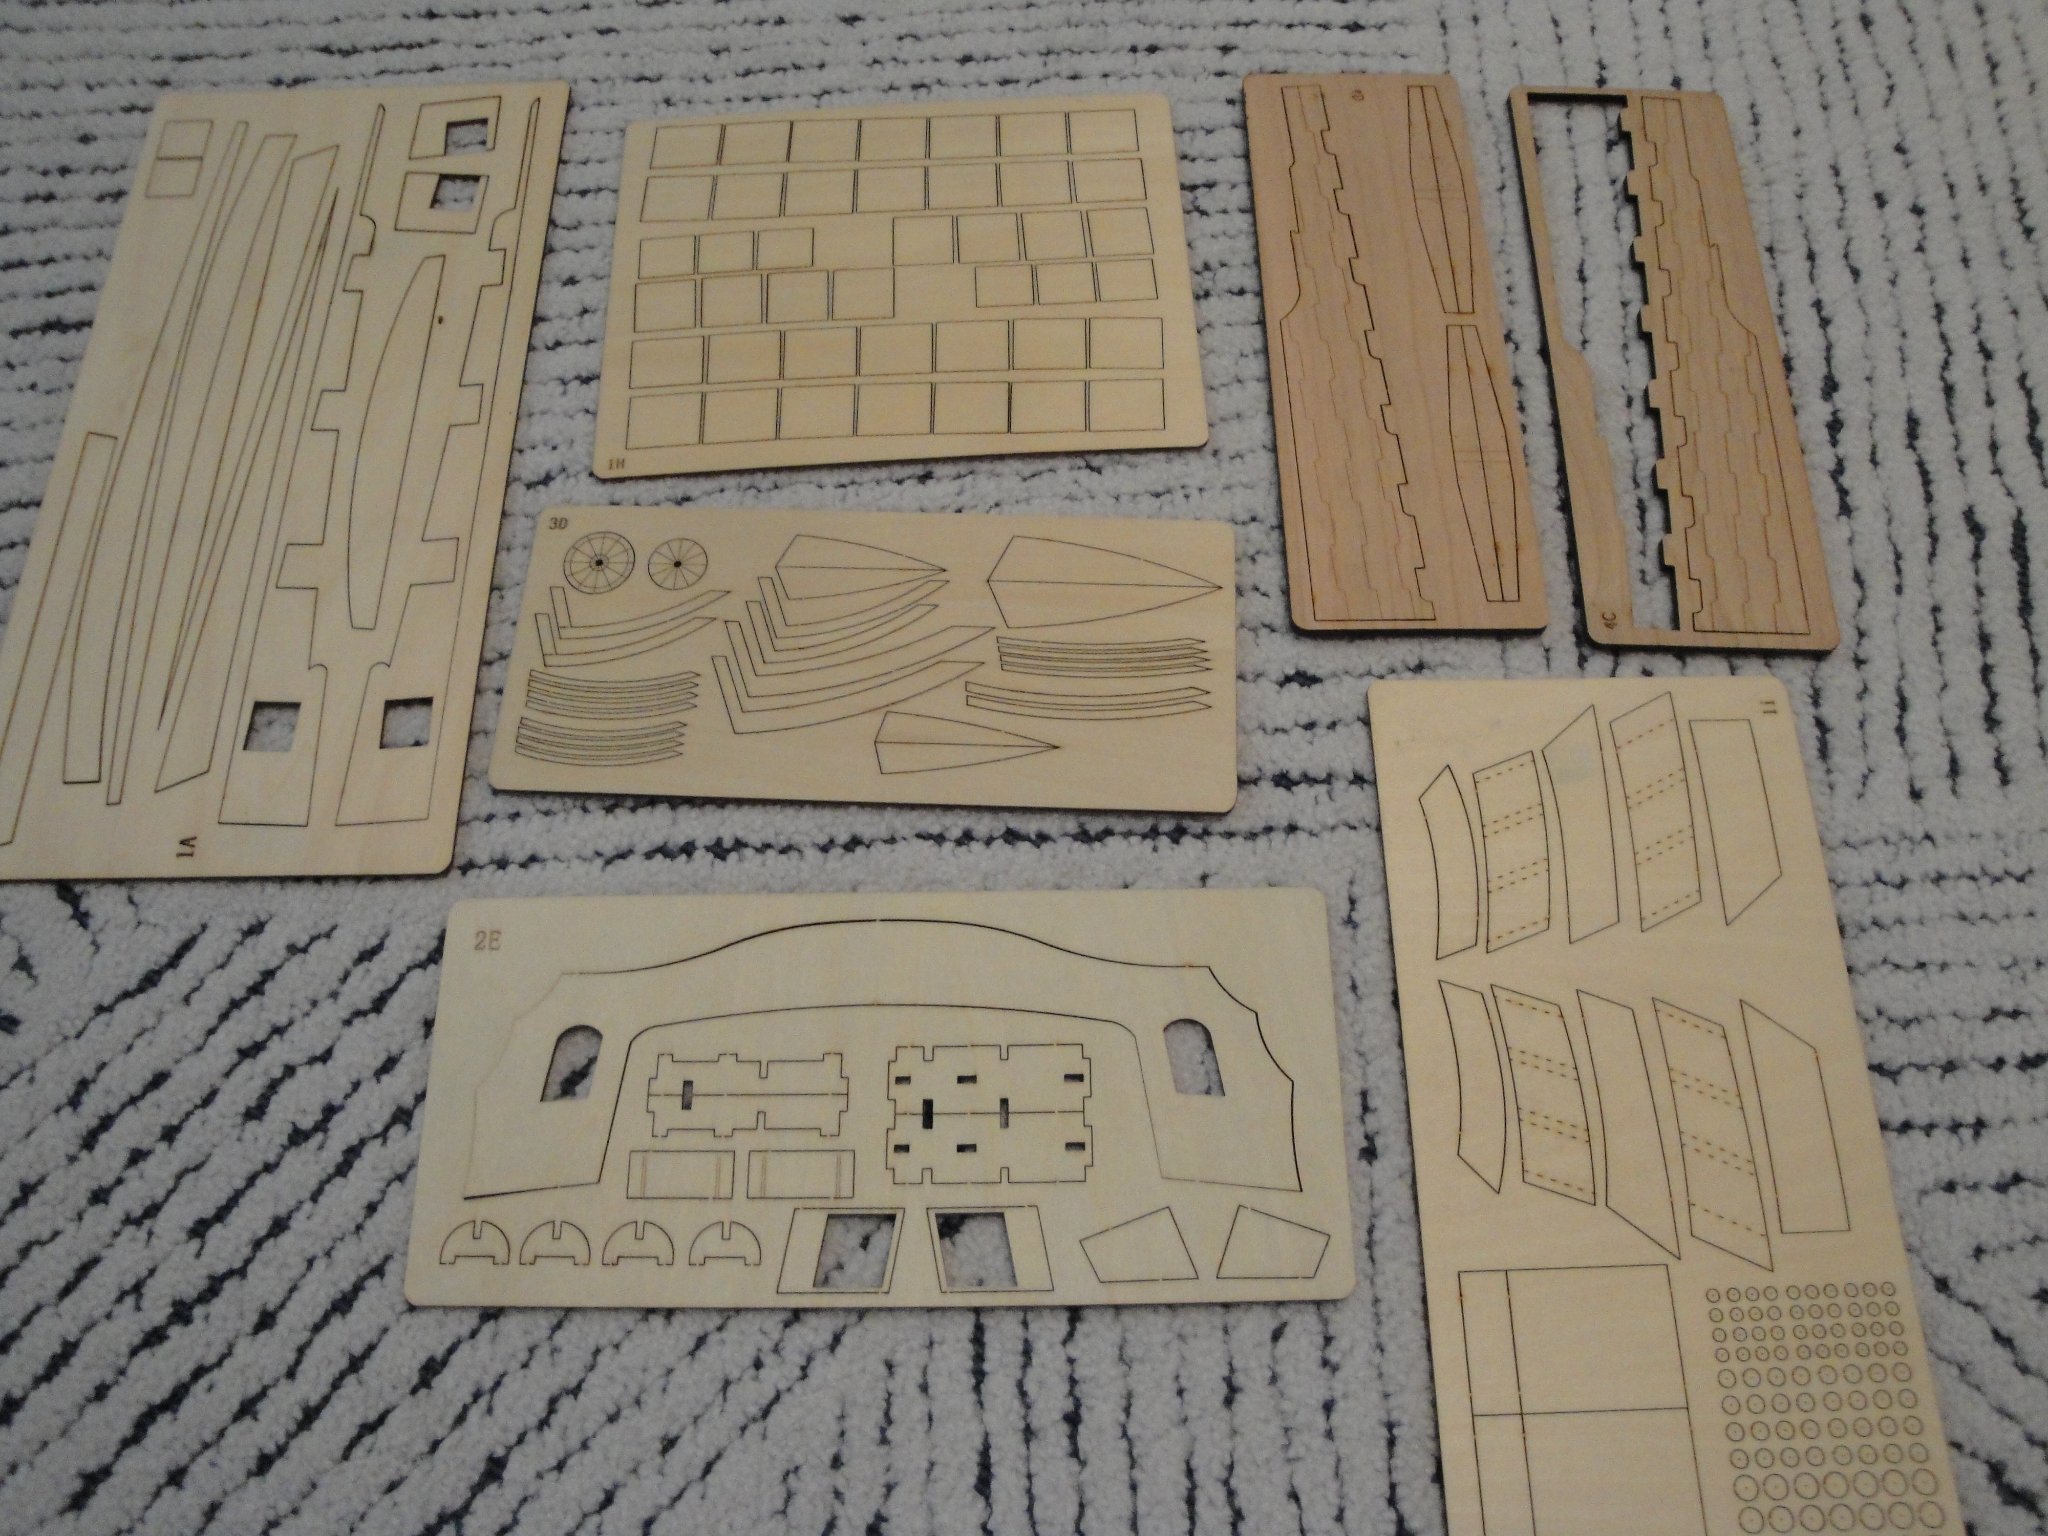
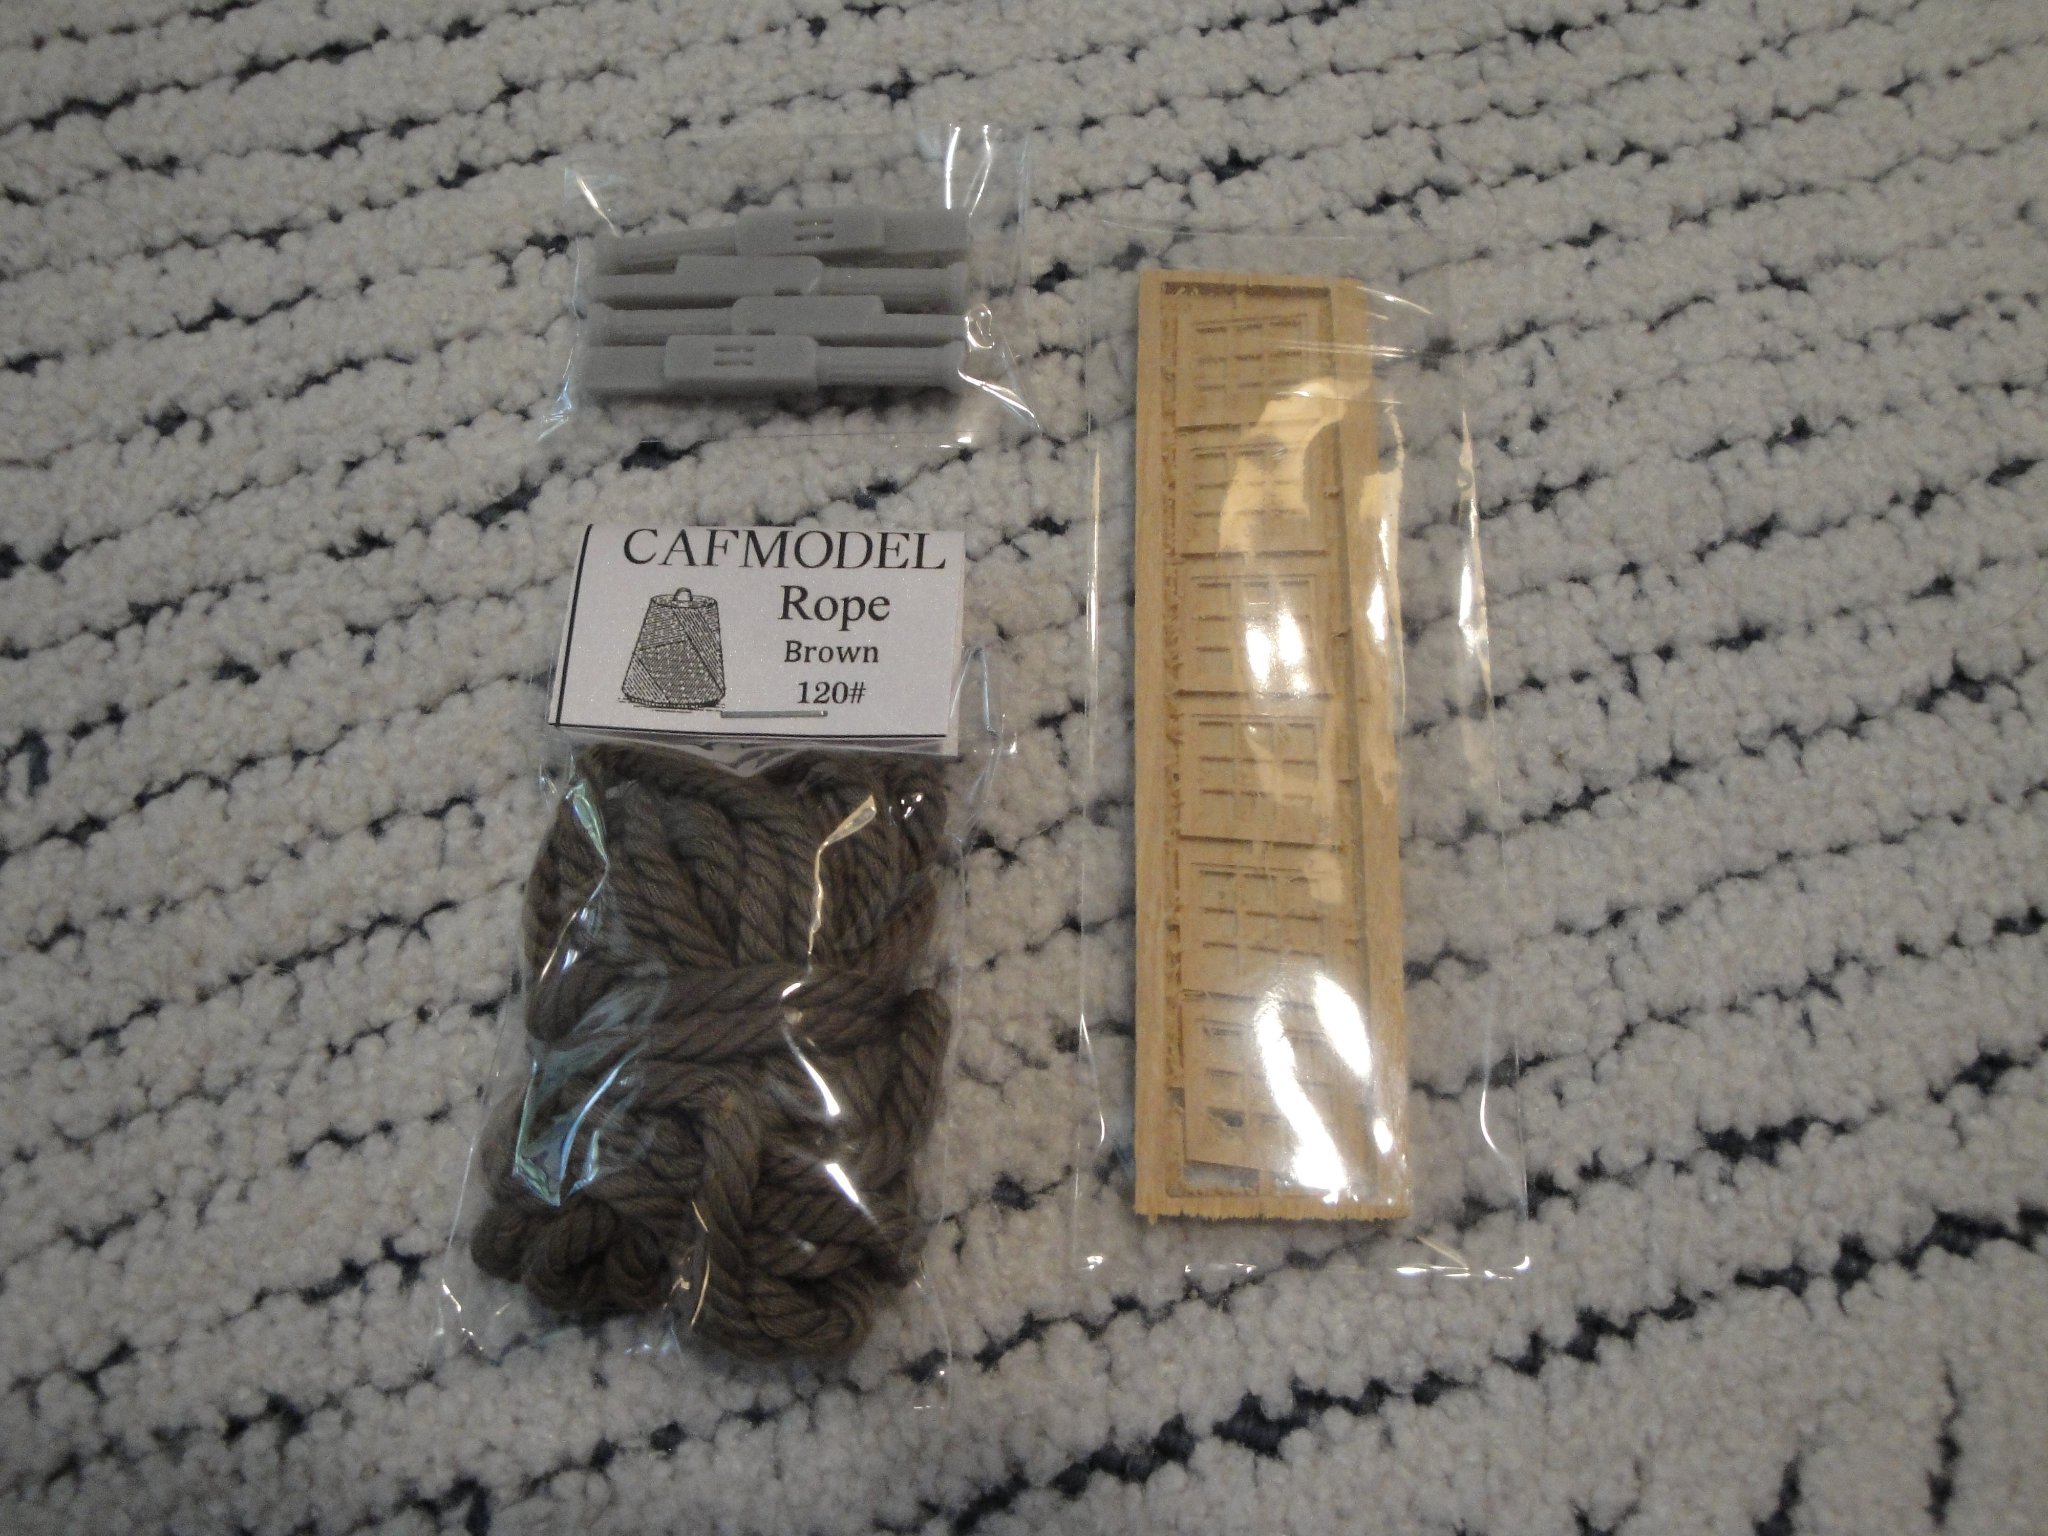
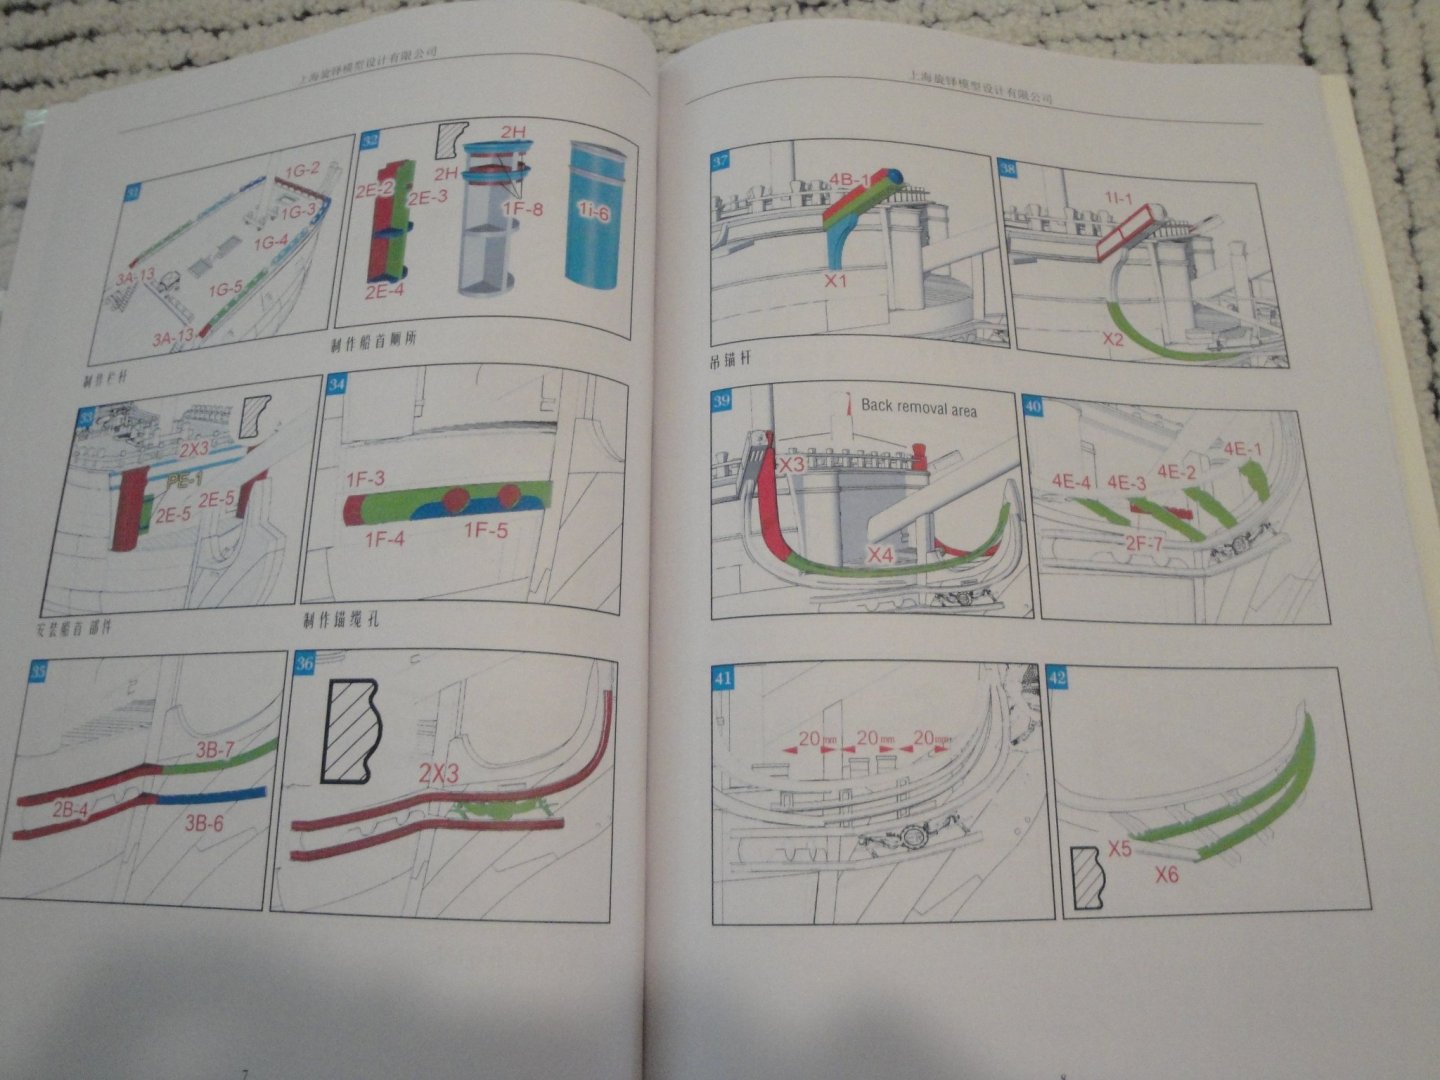
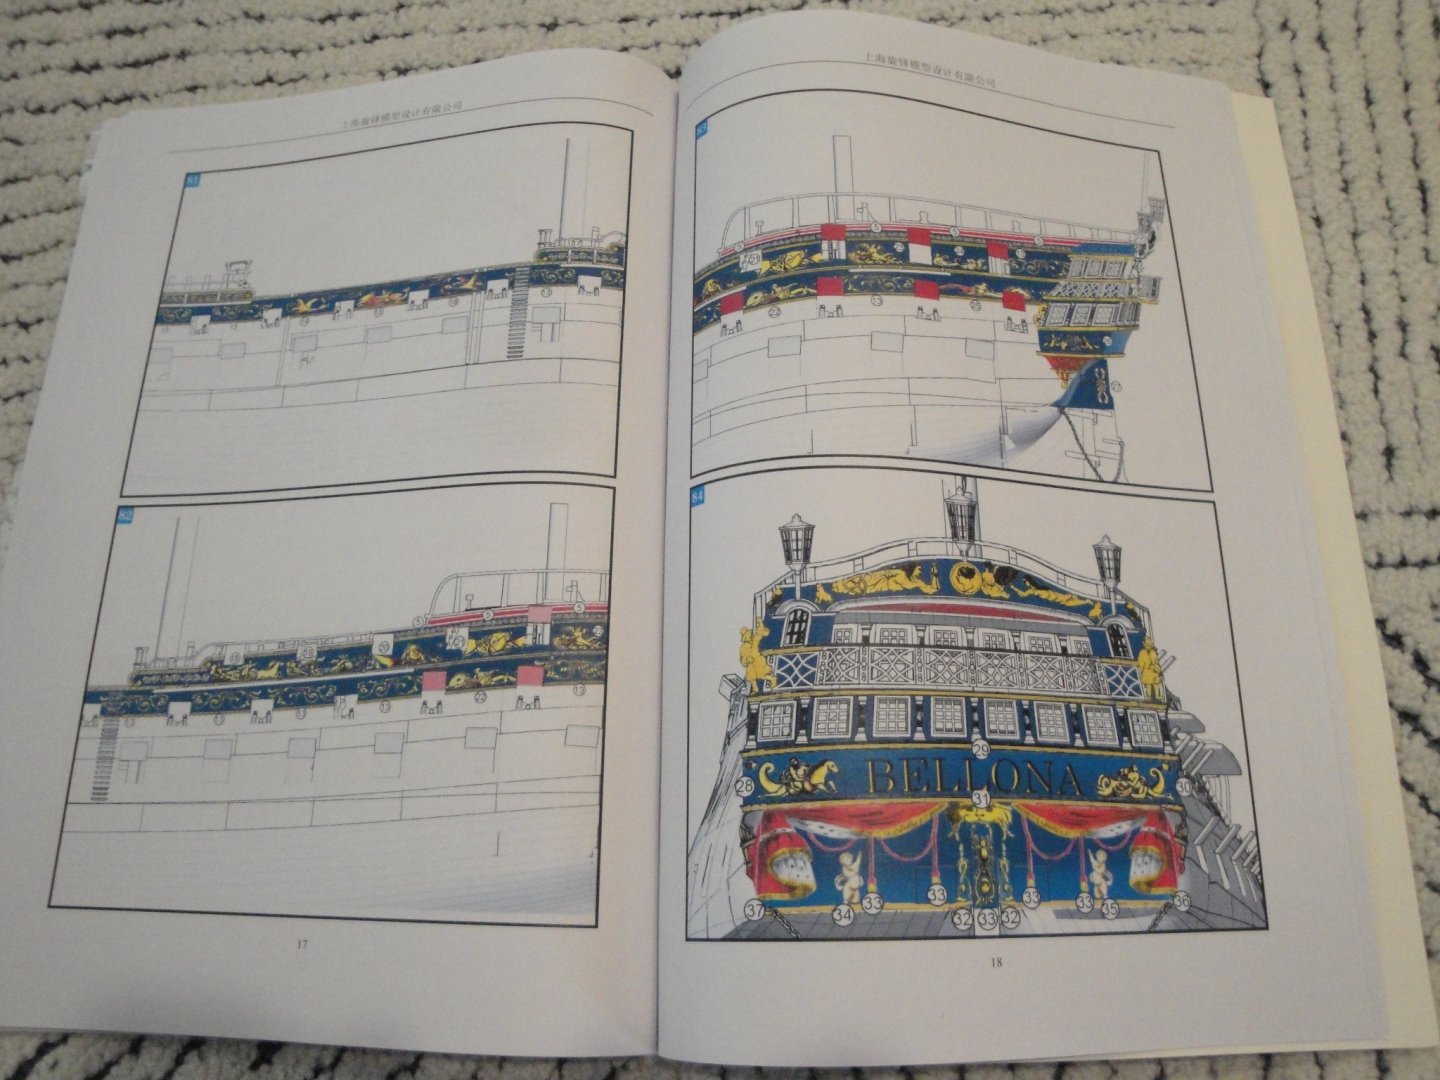
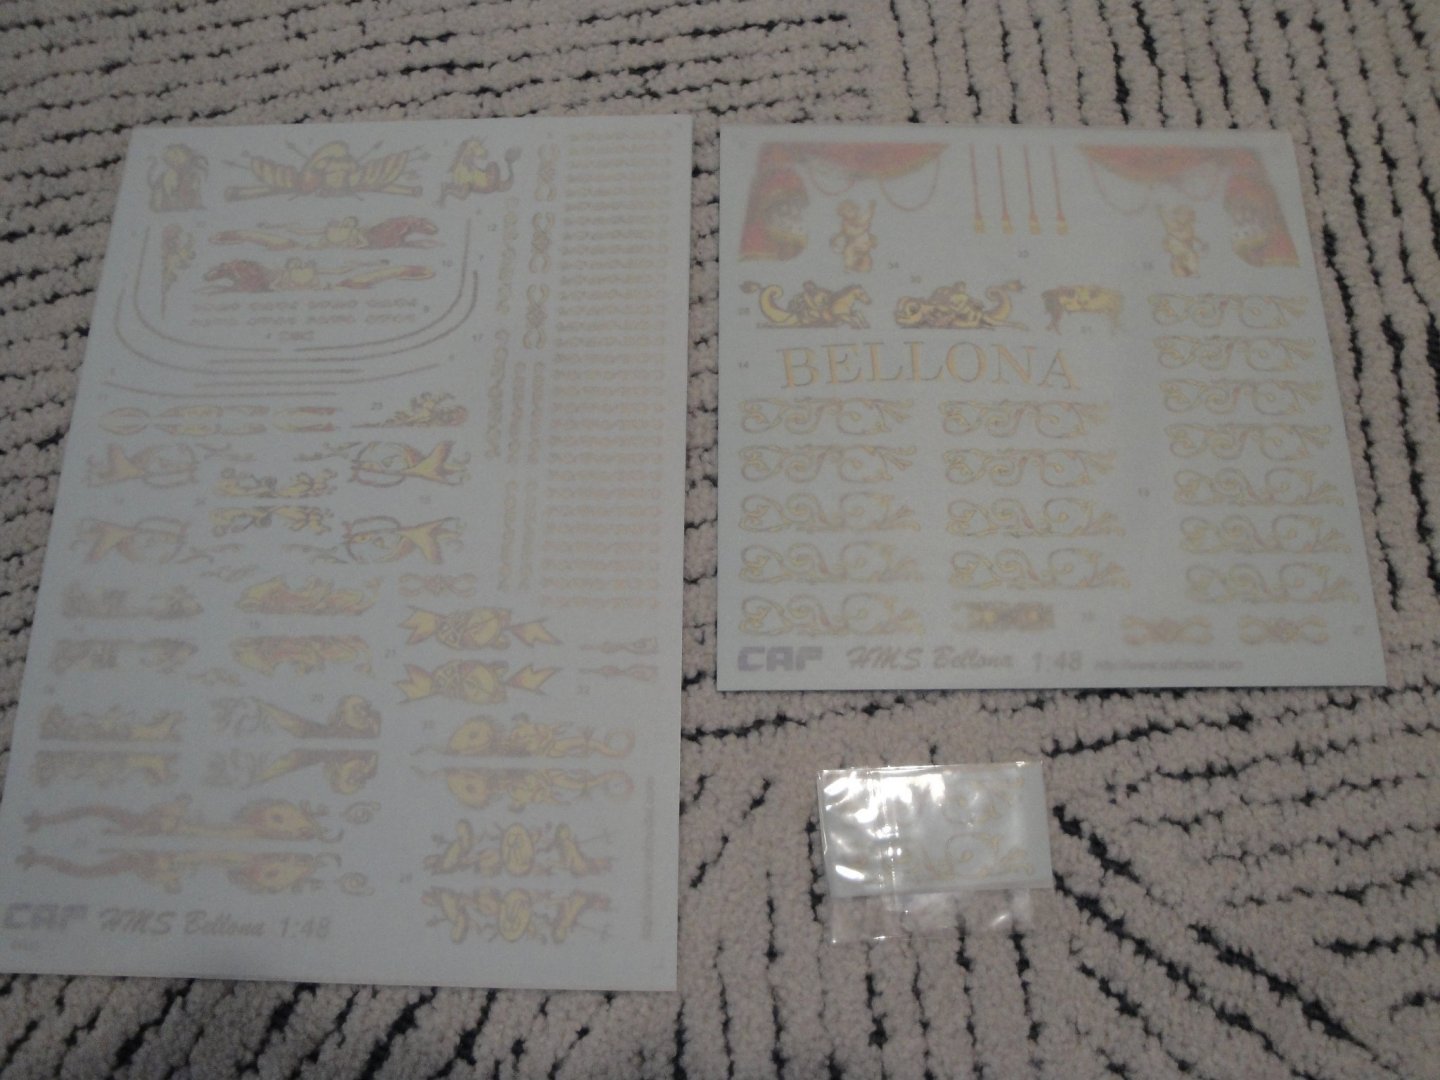
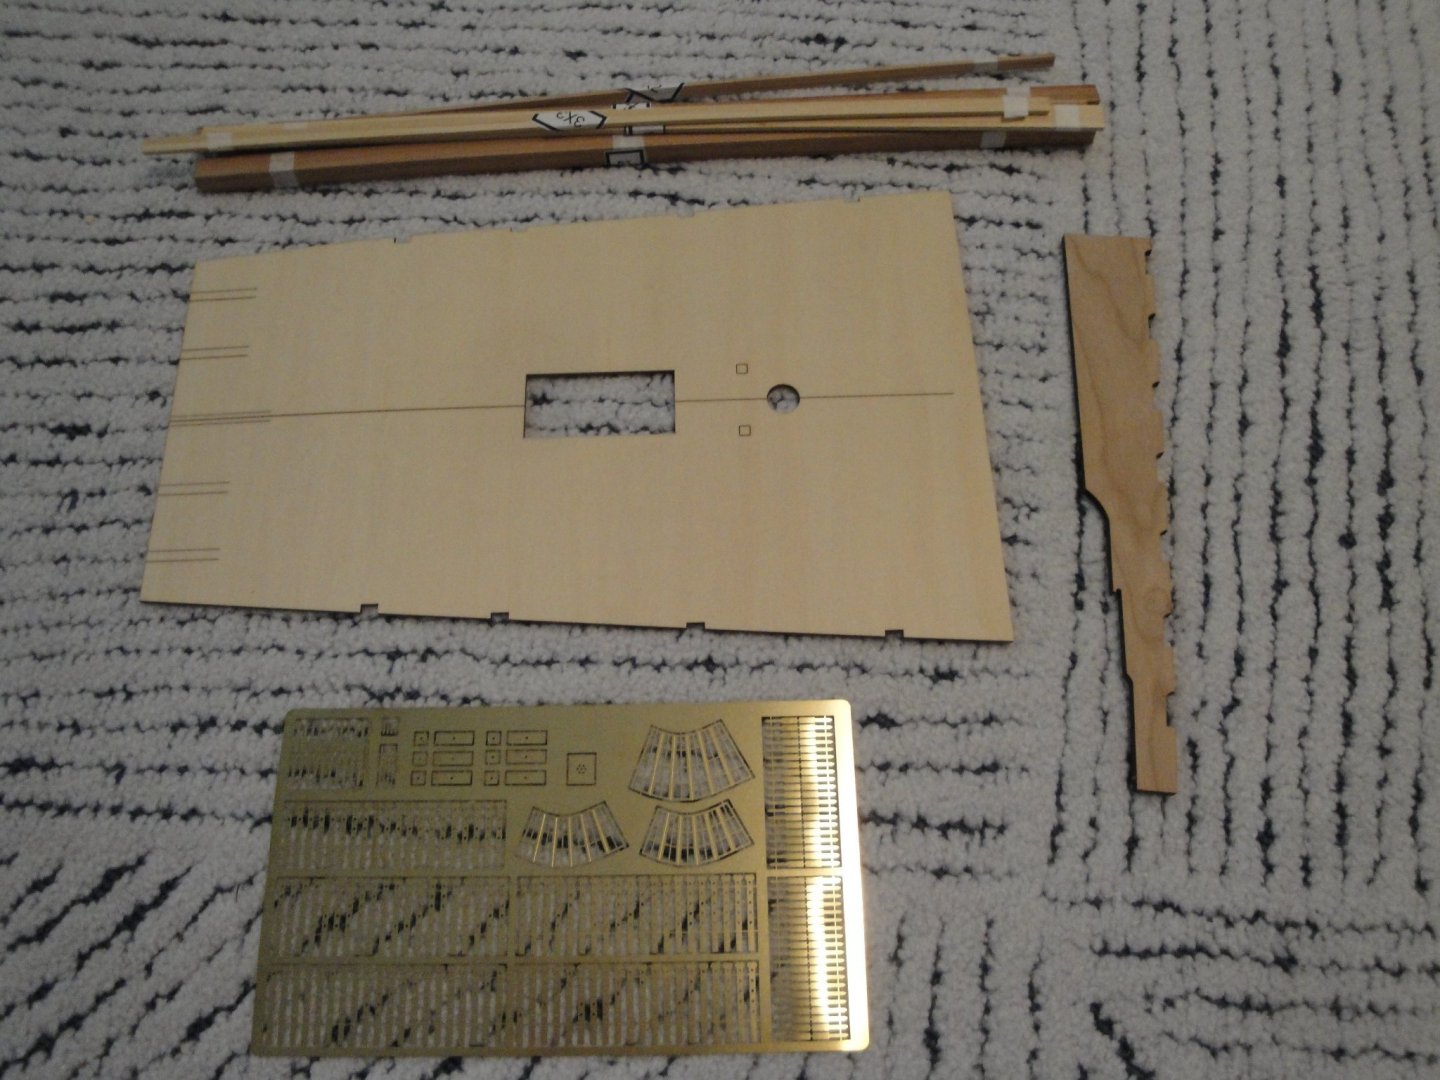
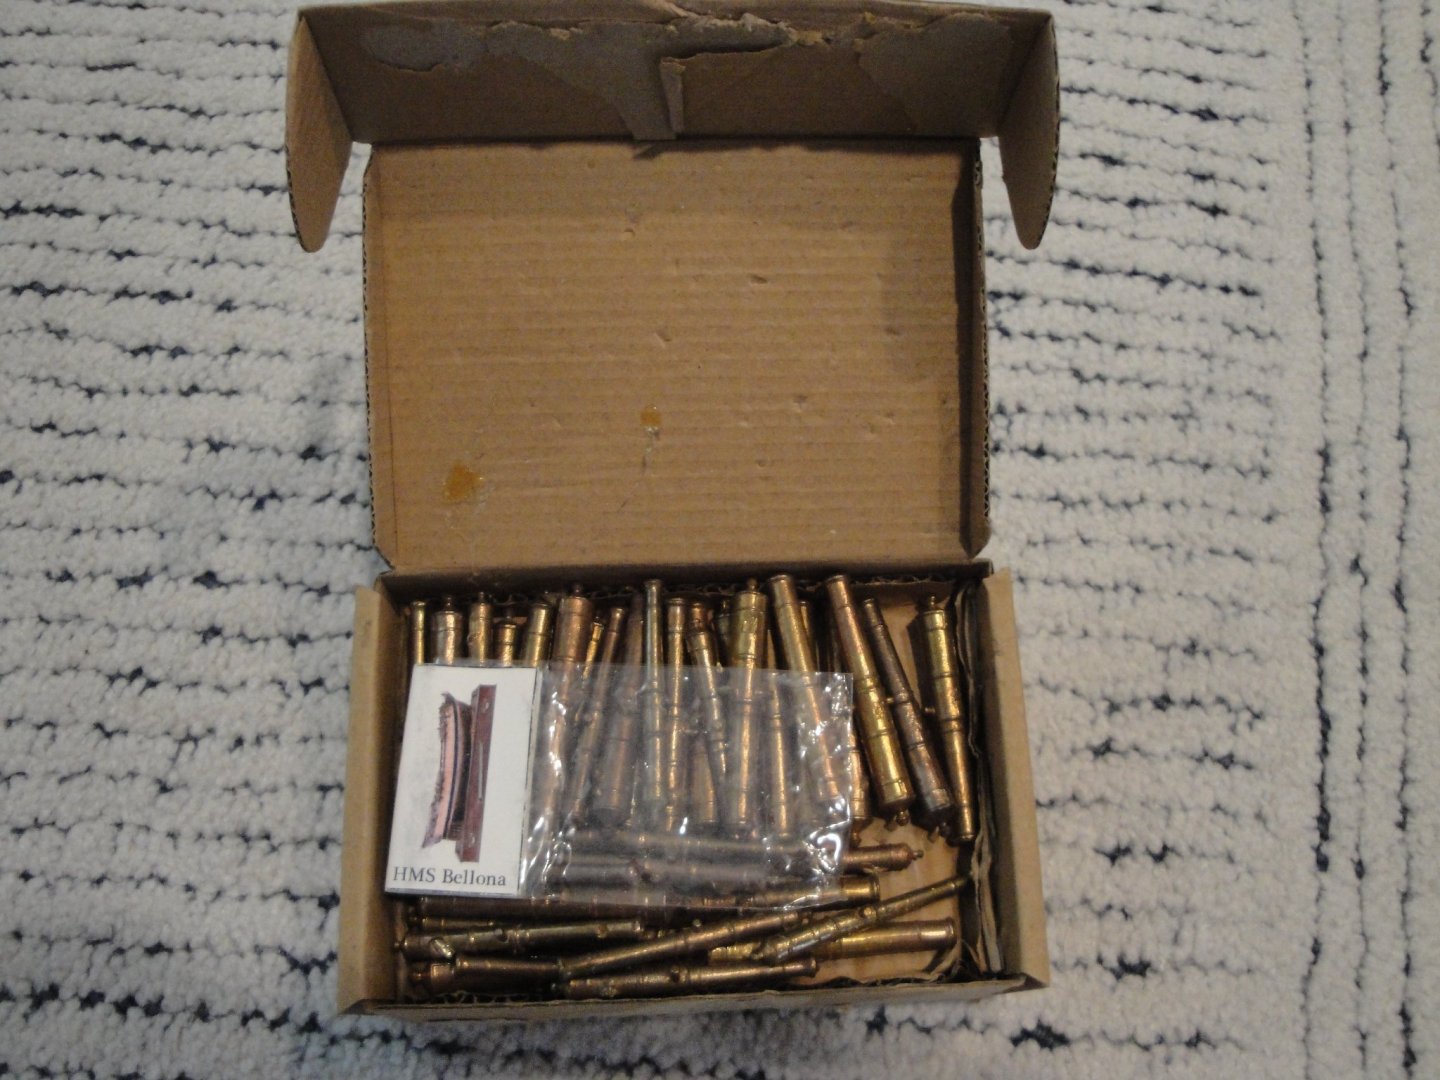
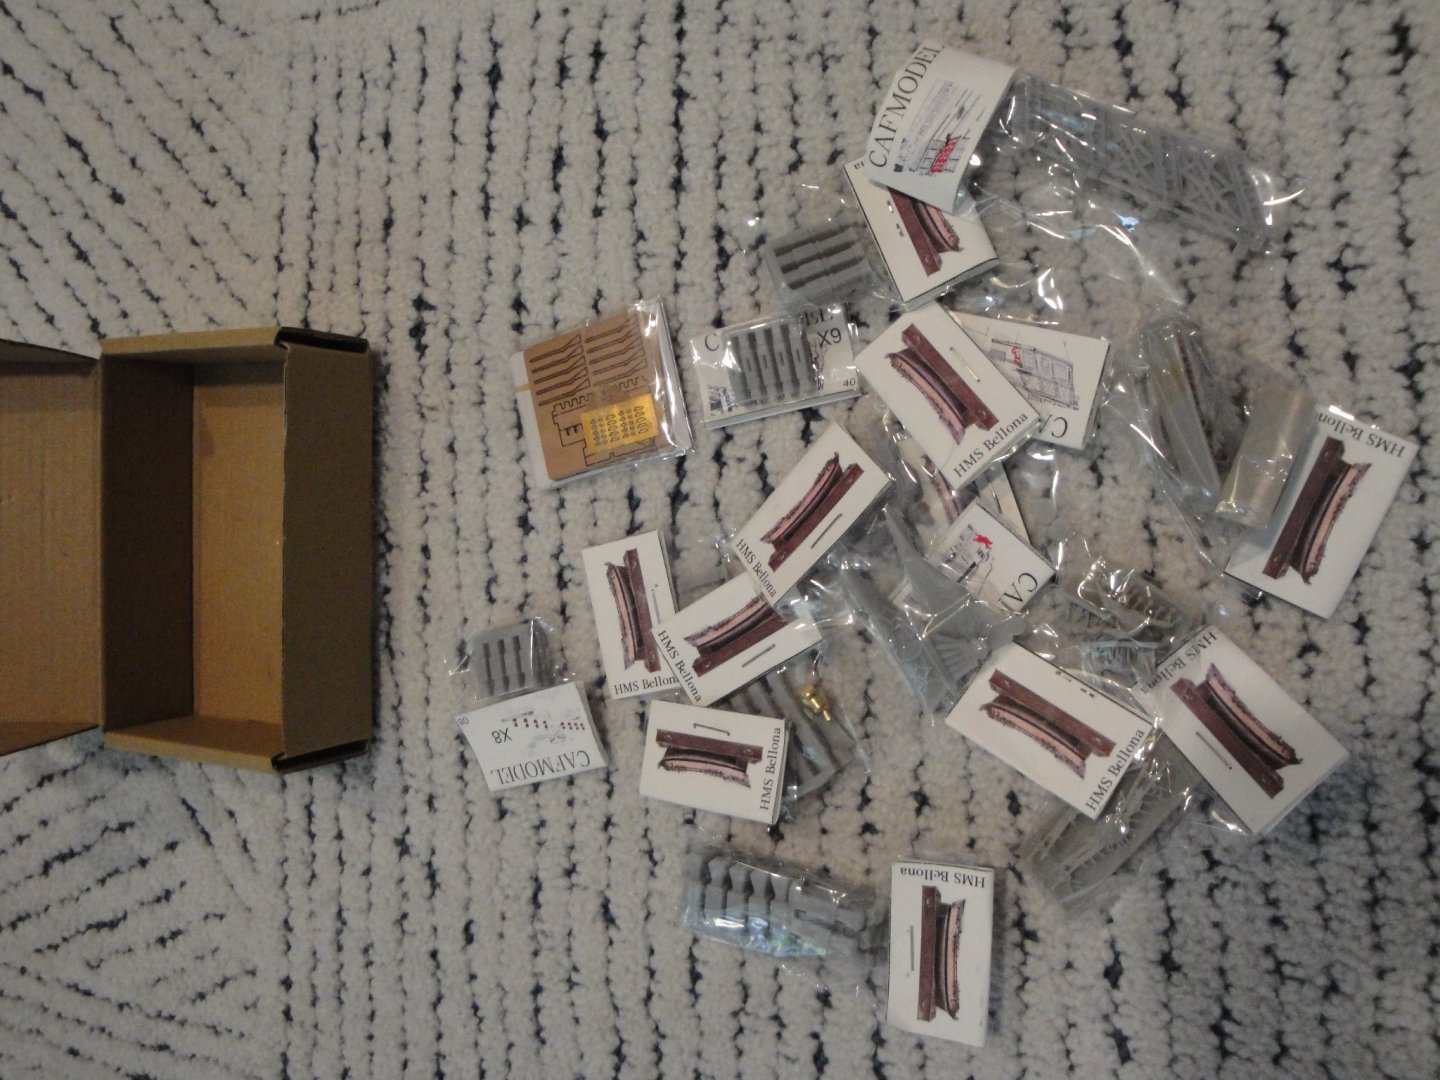
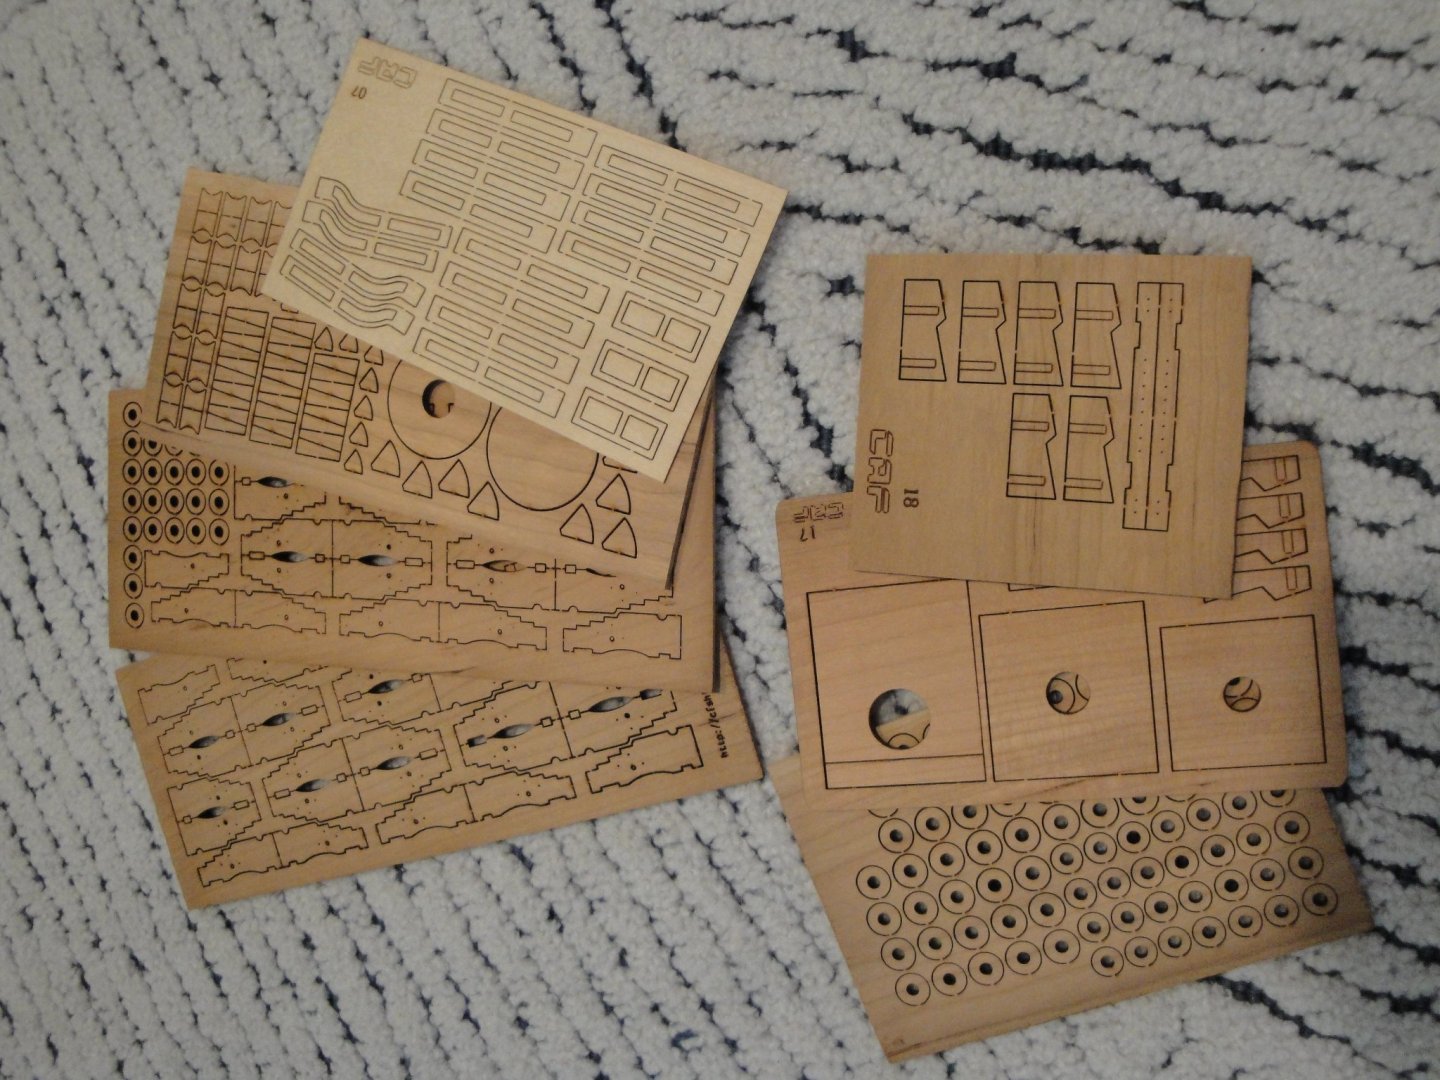
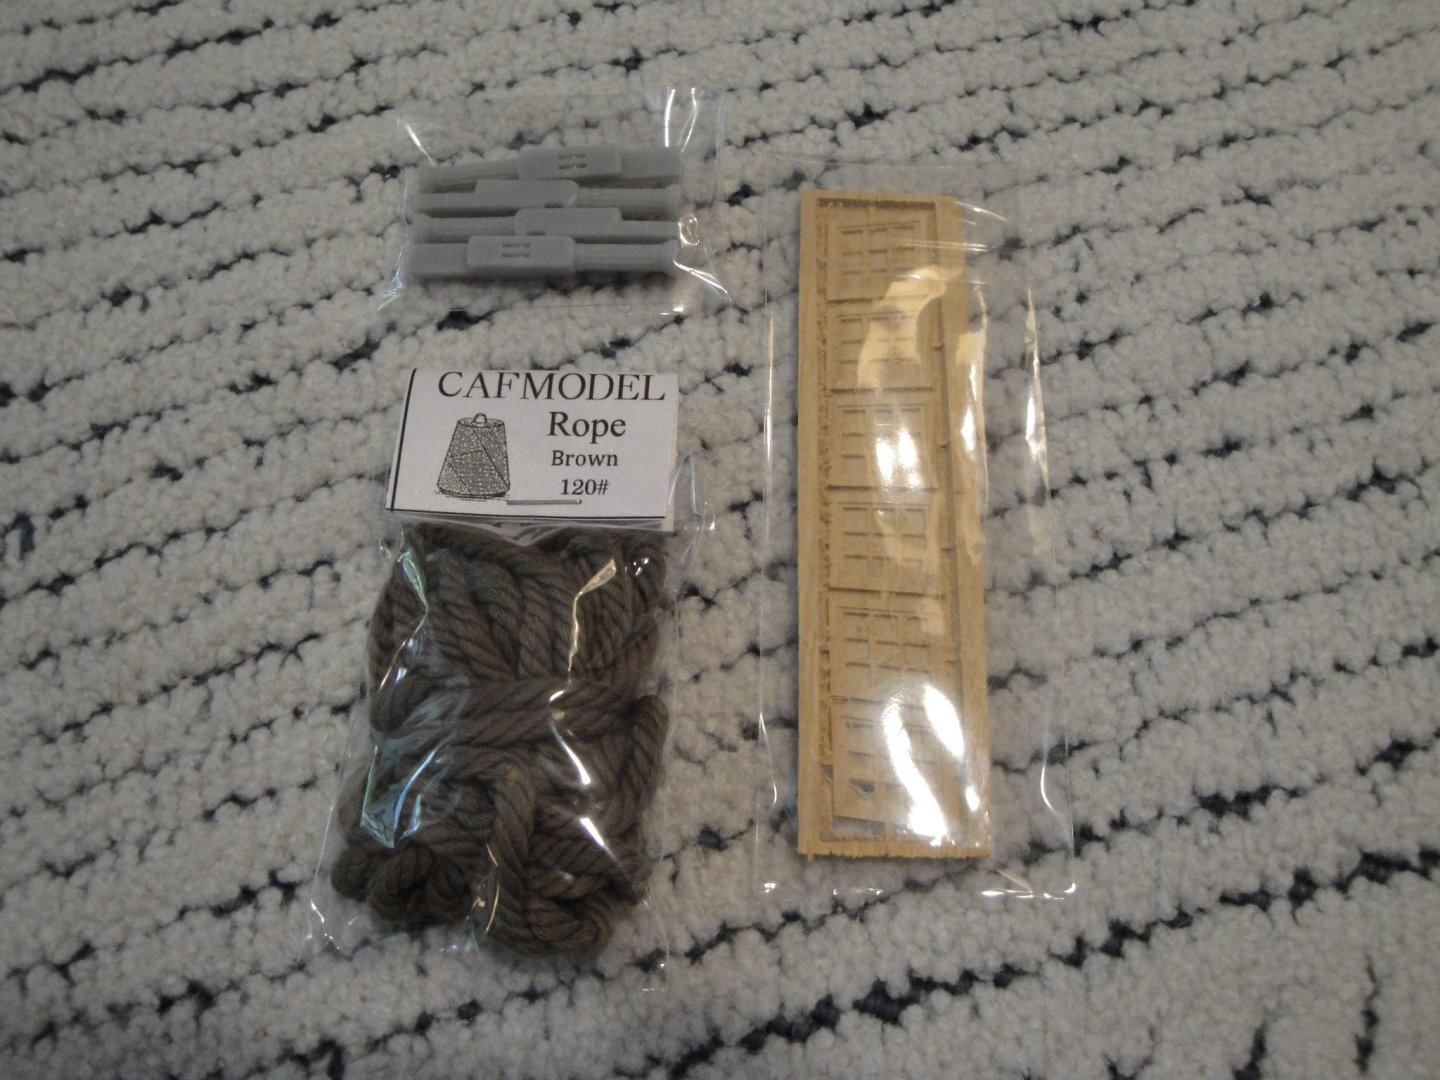
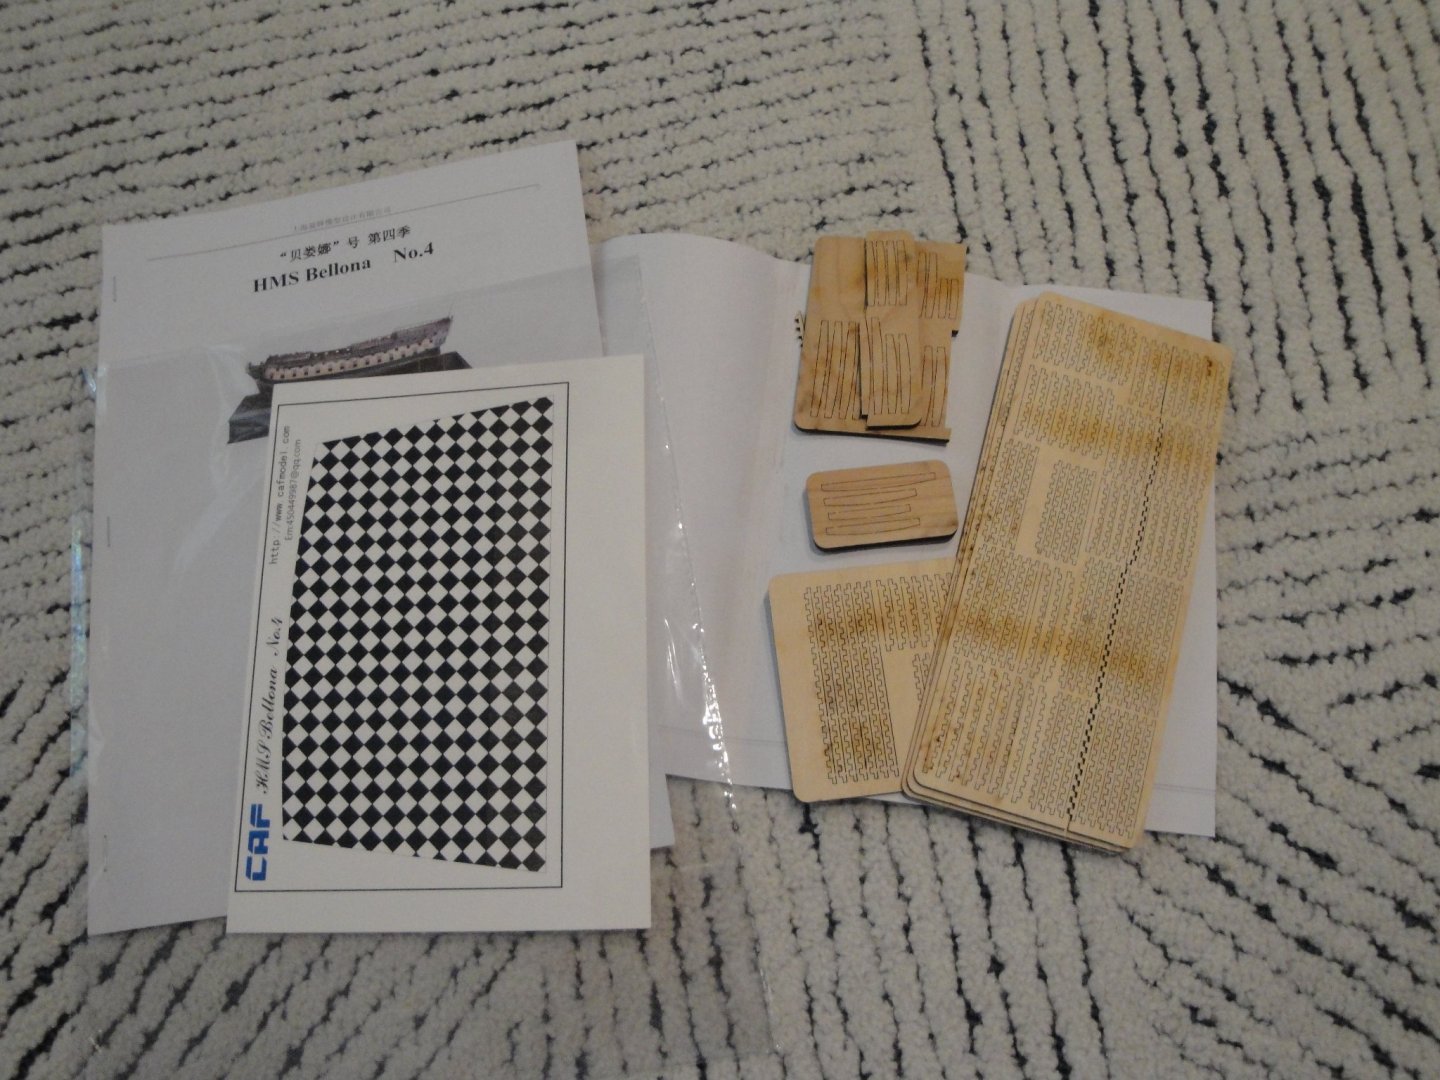
Mike, yes Session #5 is available and I ordered it directly from CAF Model. With the shipping and handling charge, I think it was close or slightly above $300 for it. Session #5 has tons of interesting things, all 74 brass guns, decals for the hull, and lots of plastic and 3D printed parts. At first, I was disappointed by the presence of plastic parts, but they are very detailed and having them made of wood or cast metal would have been cost prohibitive. Yves
-
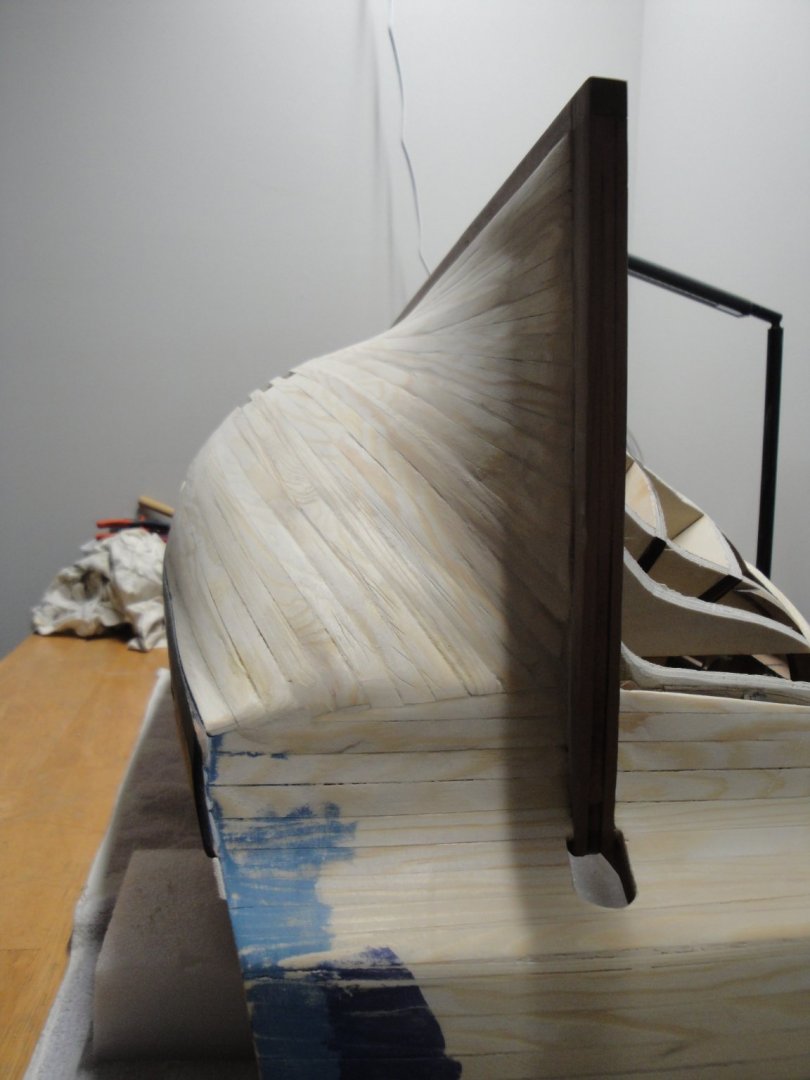
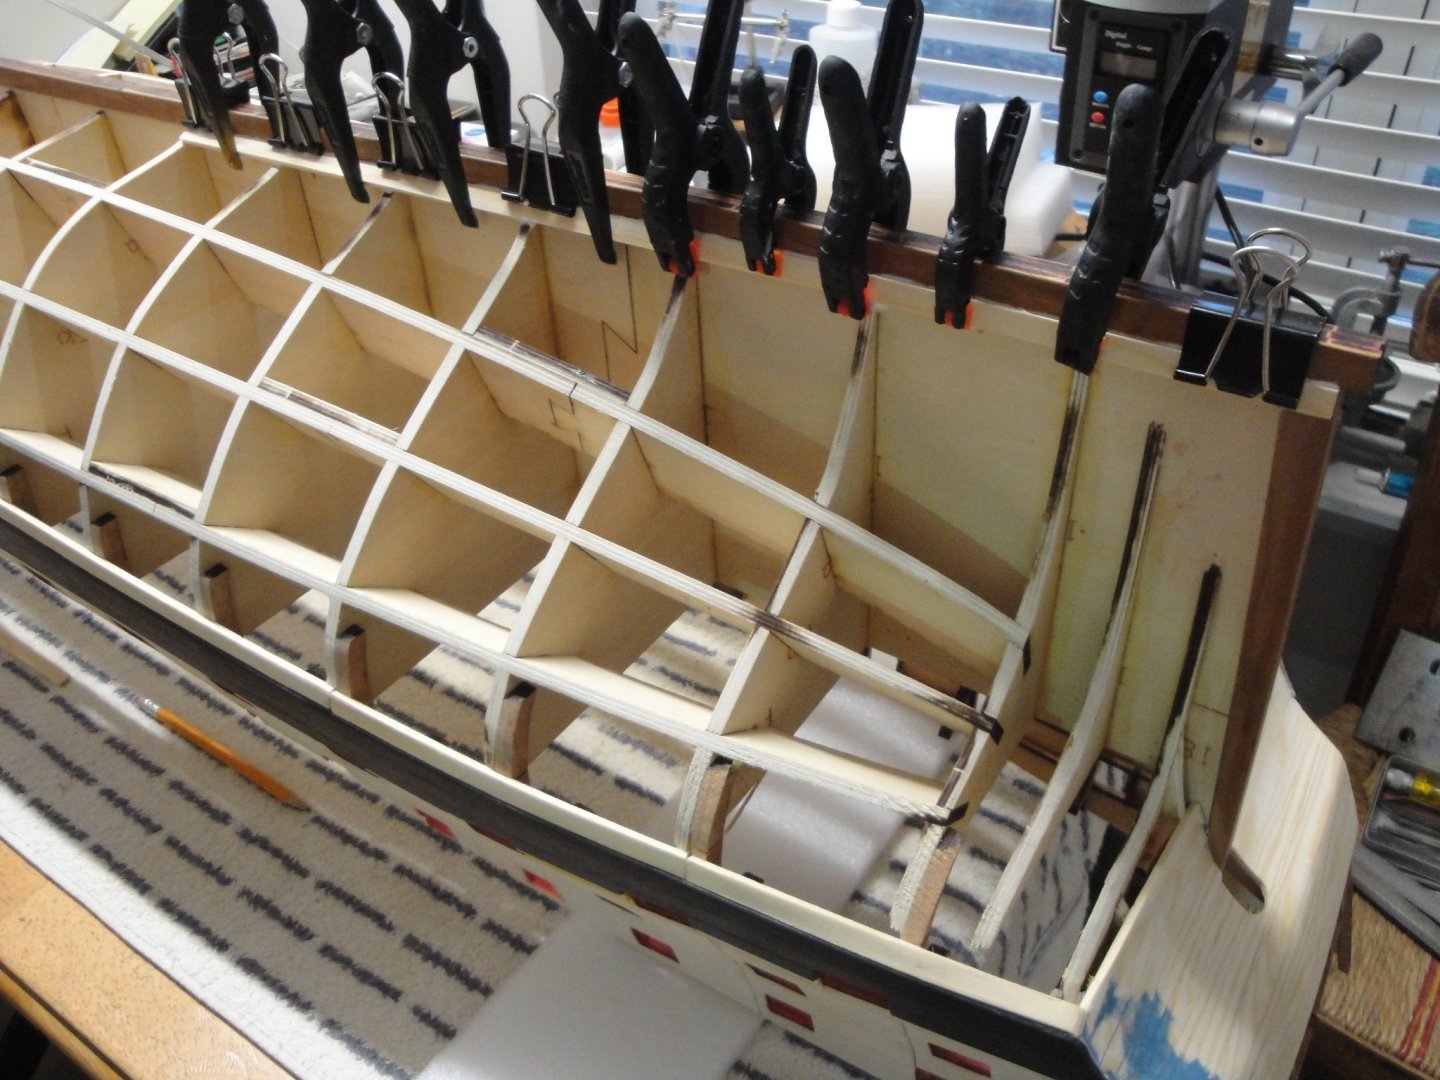
Mike, the cherry wood planks were bent after dipping them in alcohol. Also, for the bow, I sliced them in two parts (a little bit like a two pointed fork) as it helps tremendously the curvature of the wood. Once glued, filled and painted, it is not really visible. All the wales planking is glued with epoxy slow curing two components glue. A must in this case. Yves
-
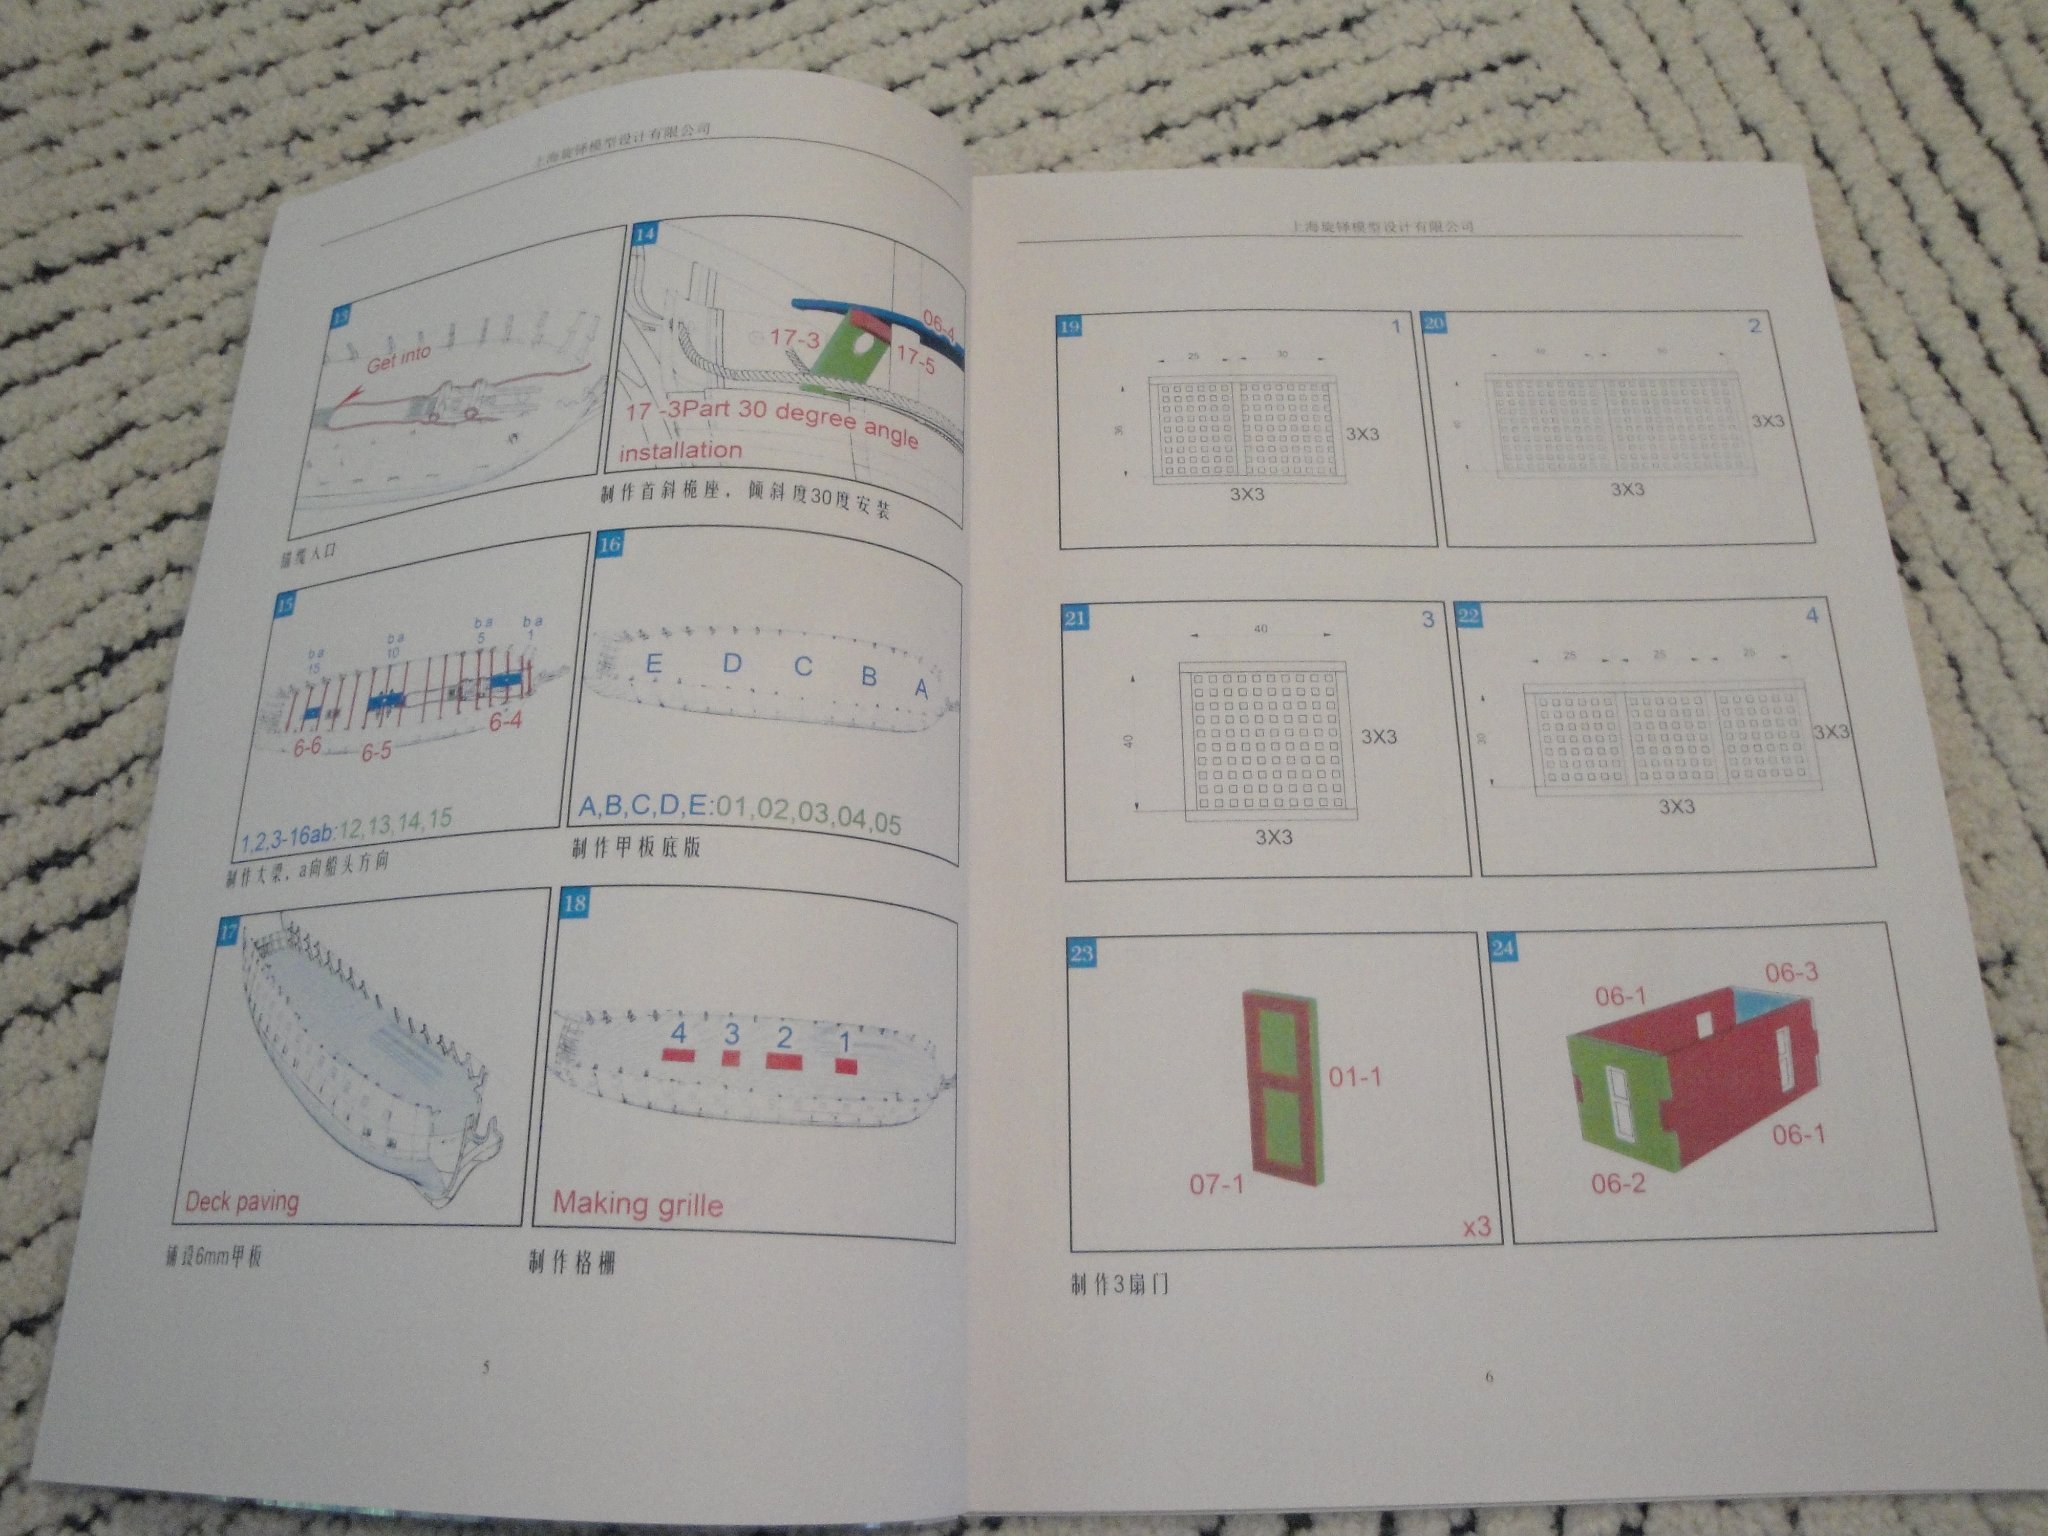
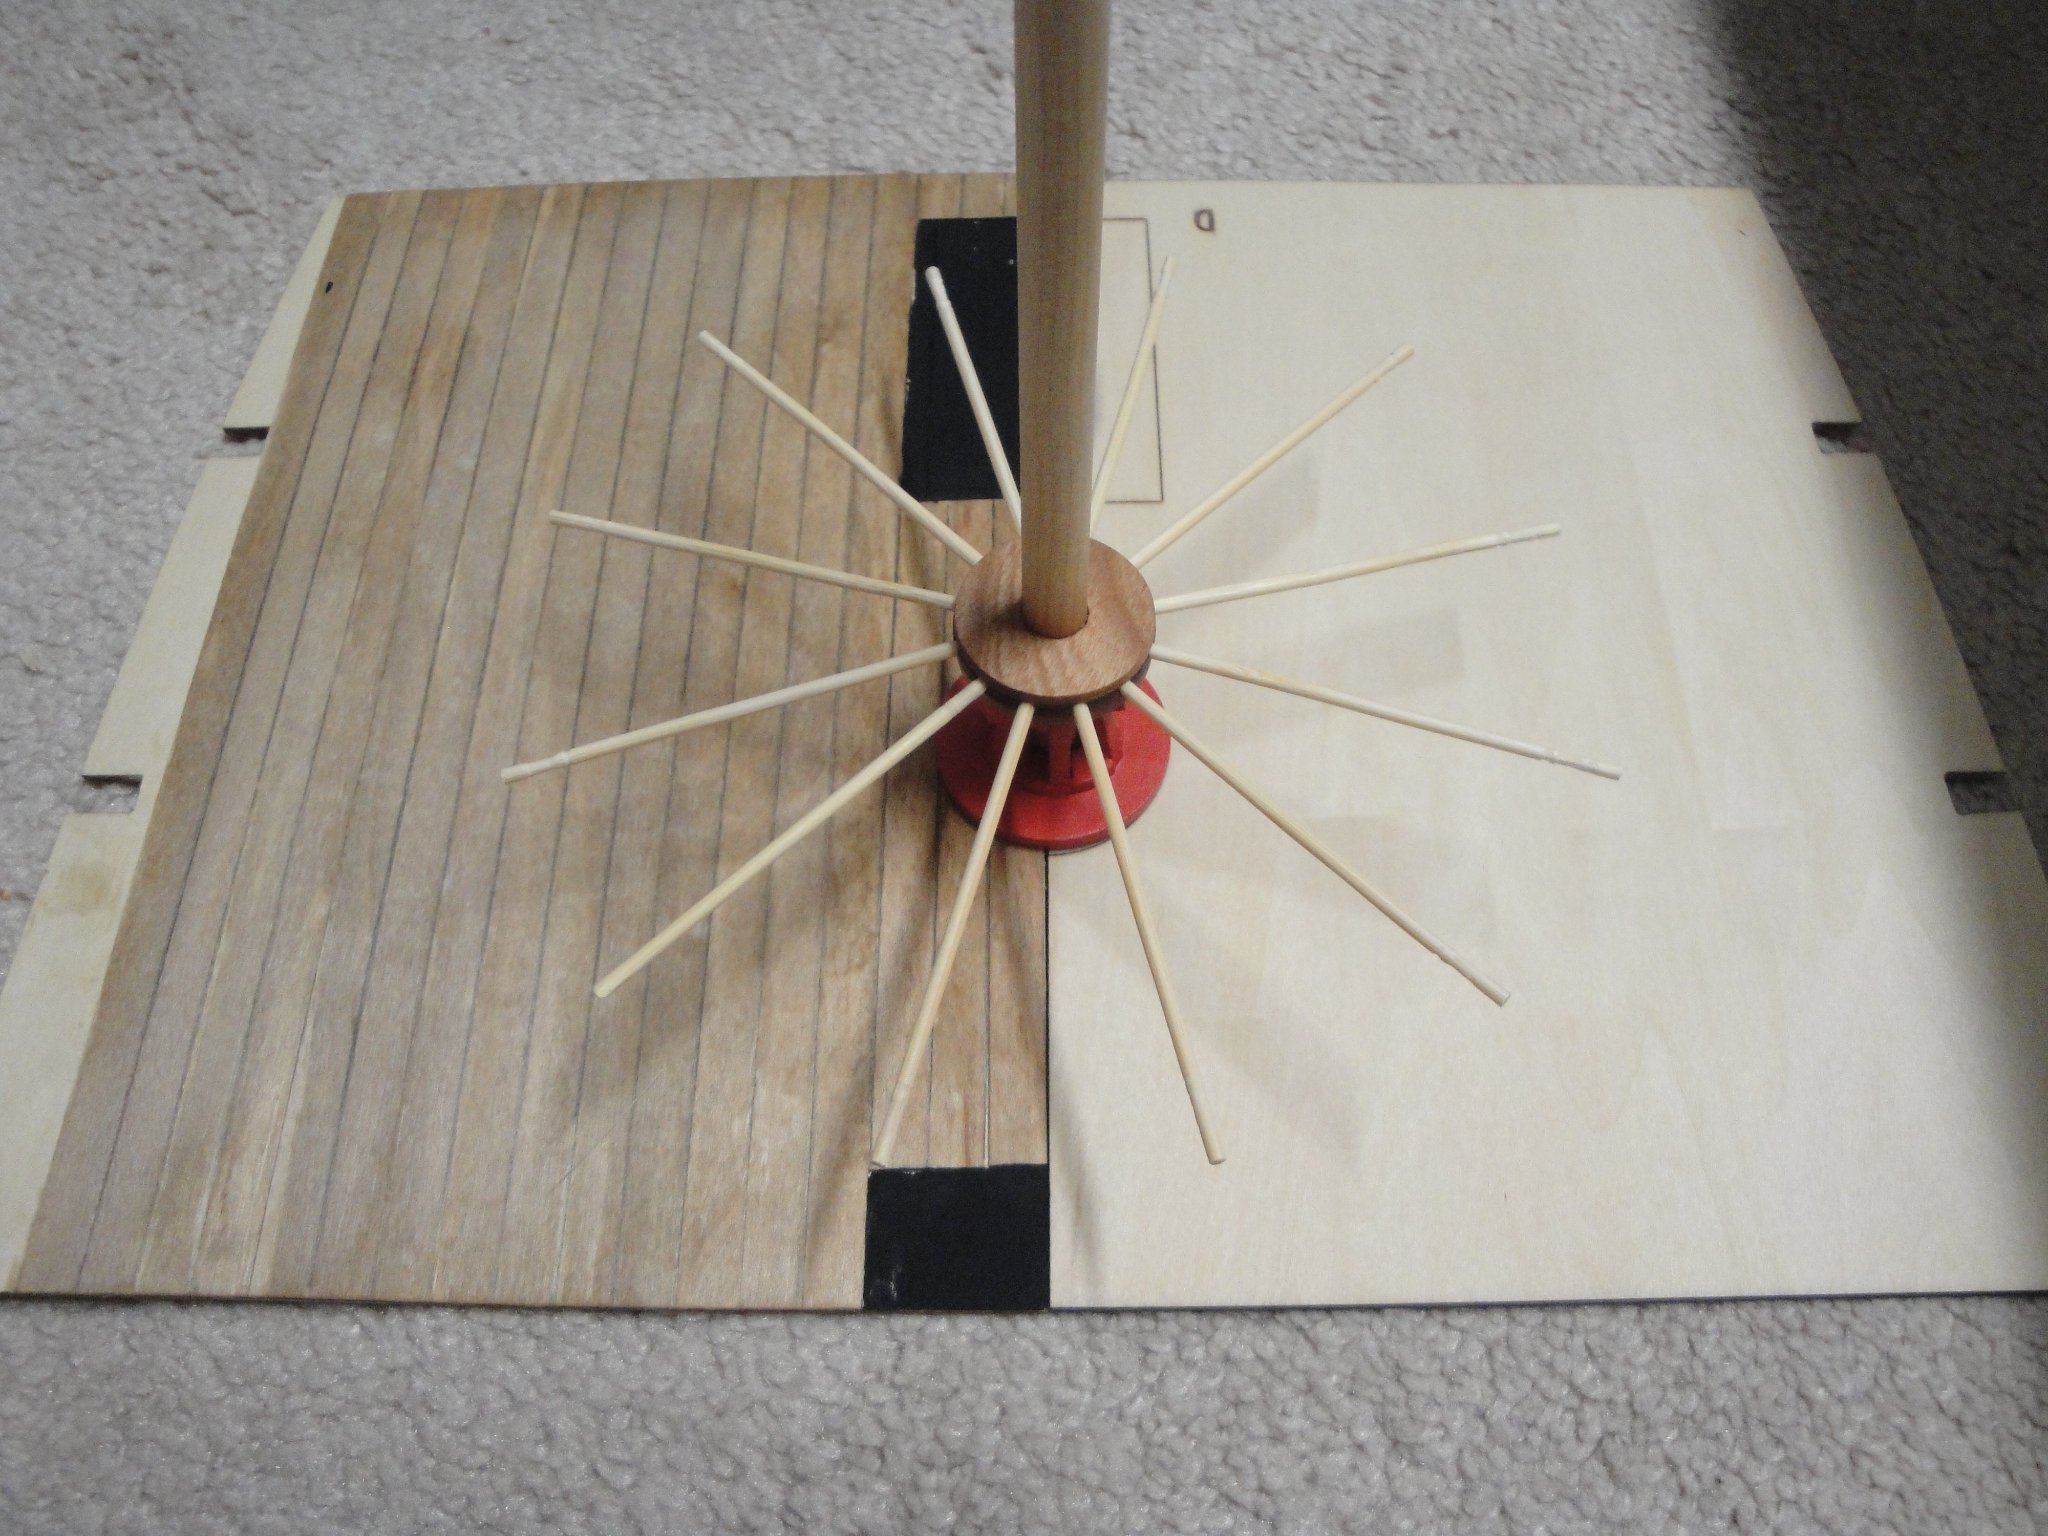
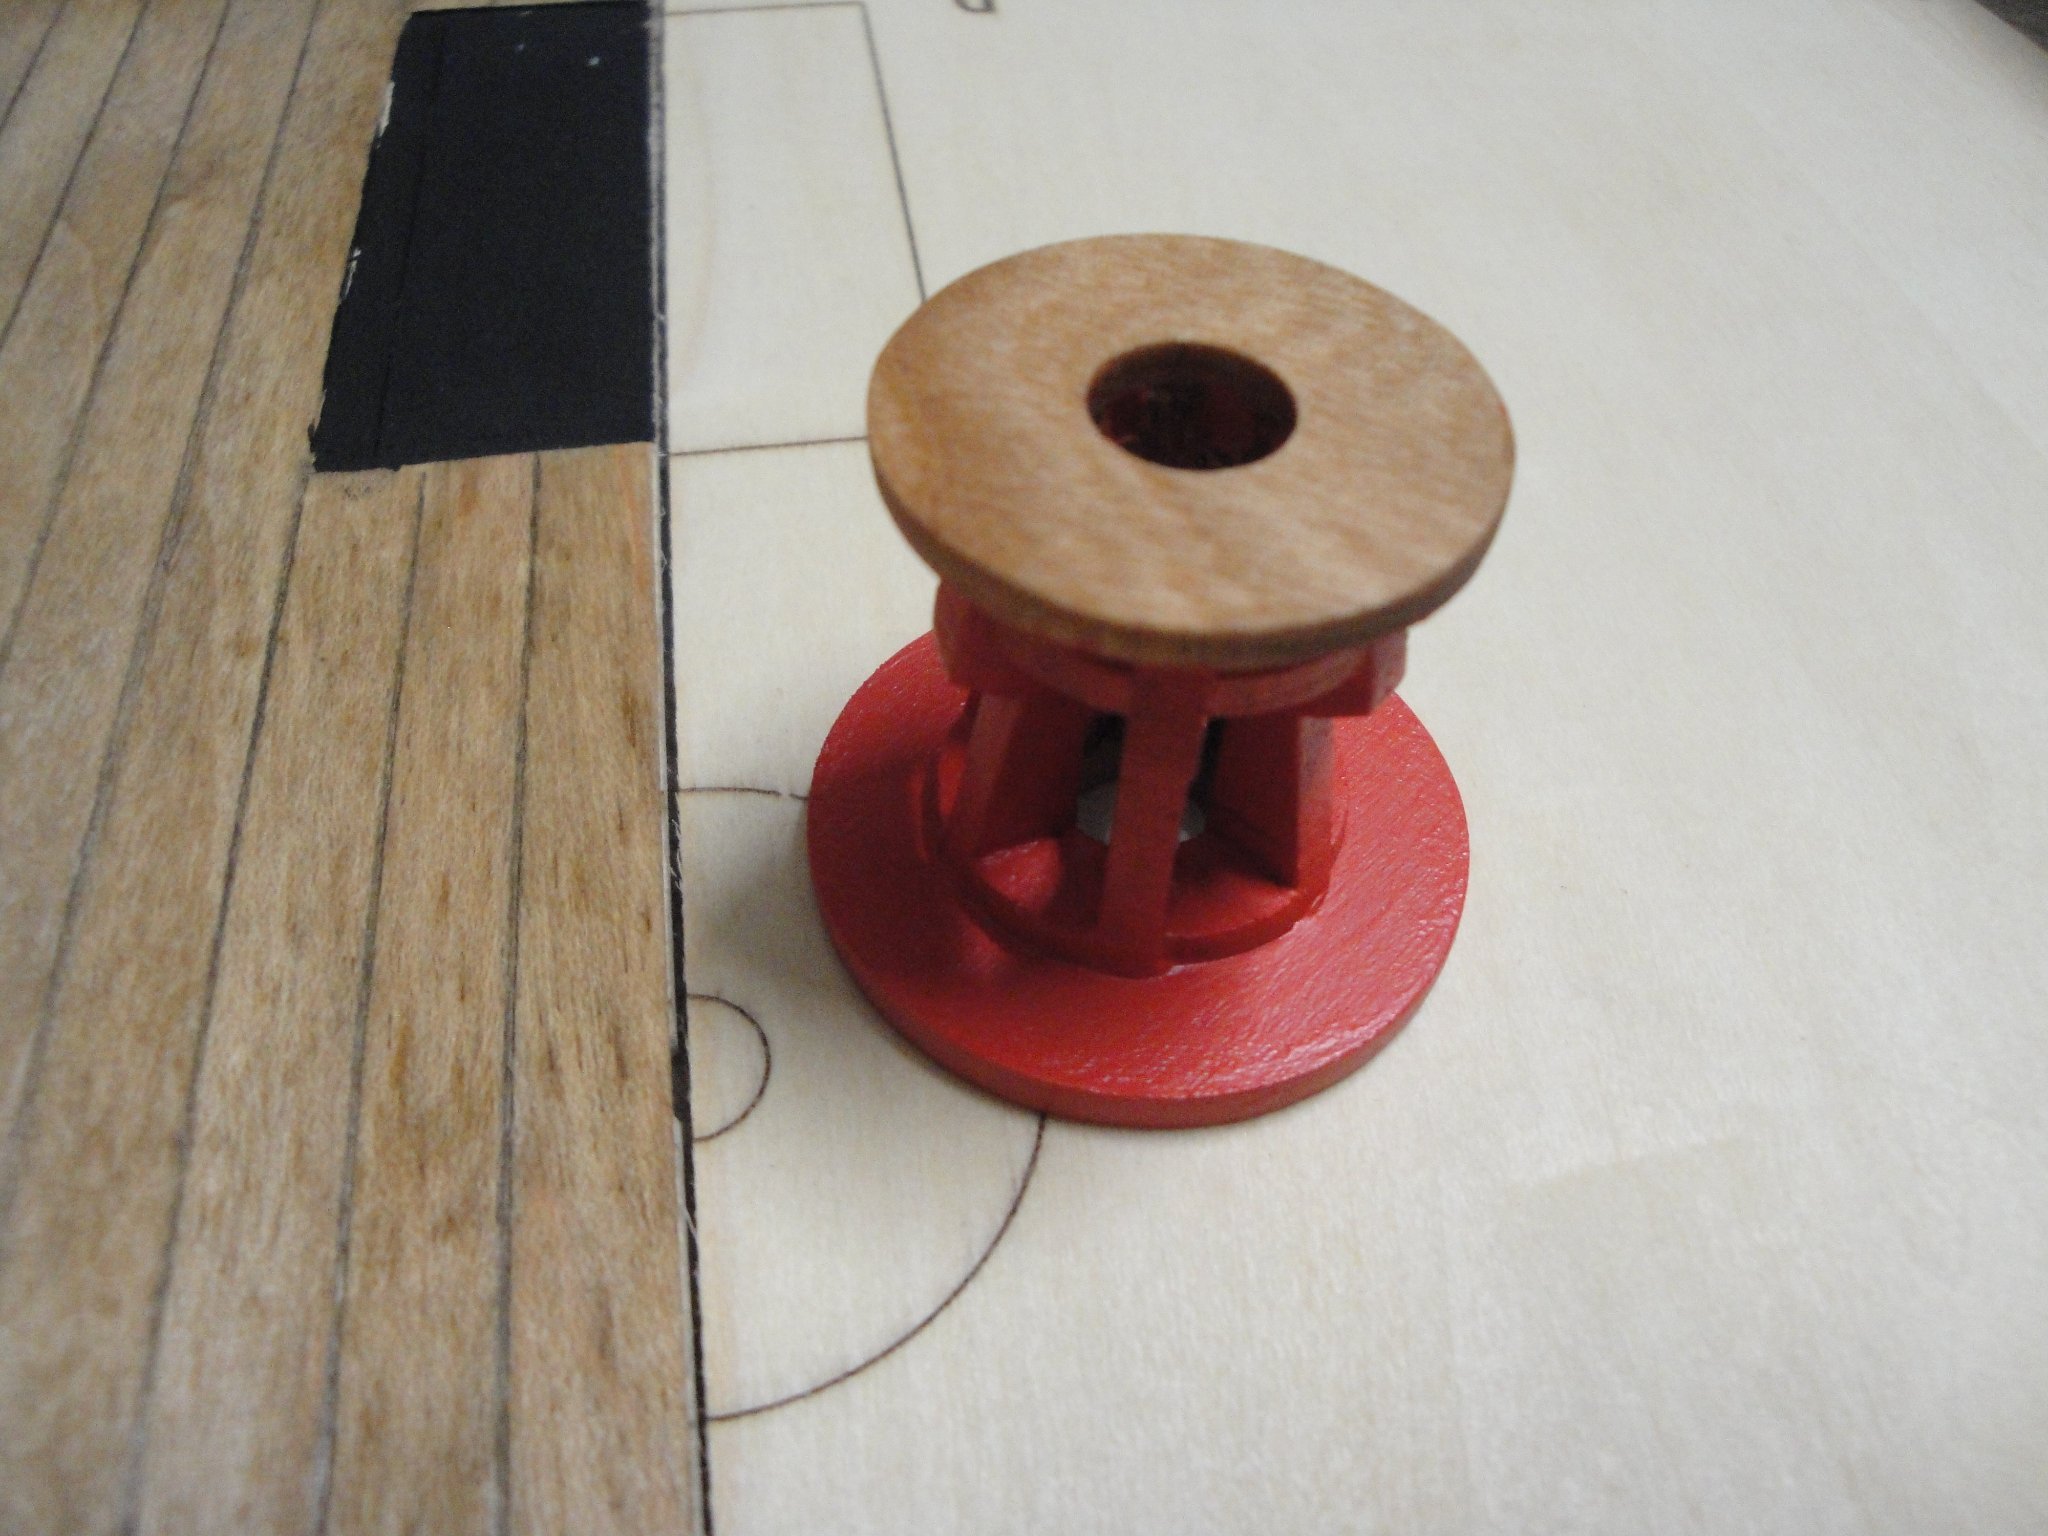
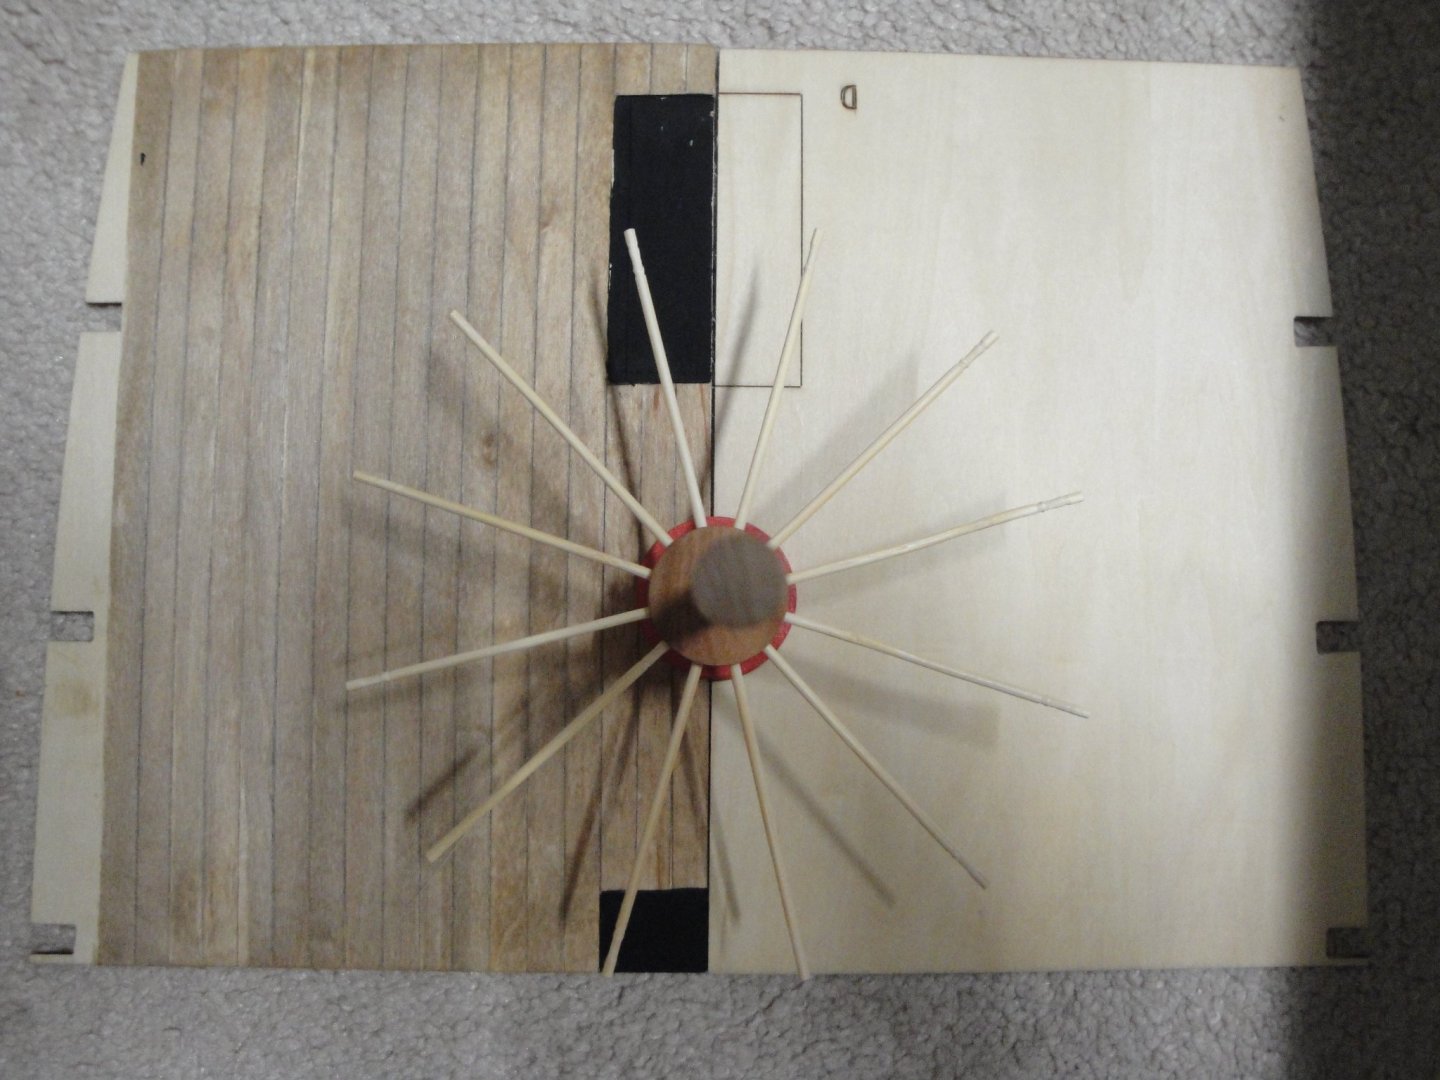
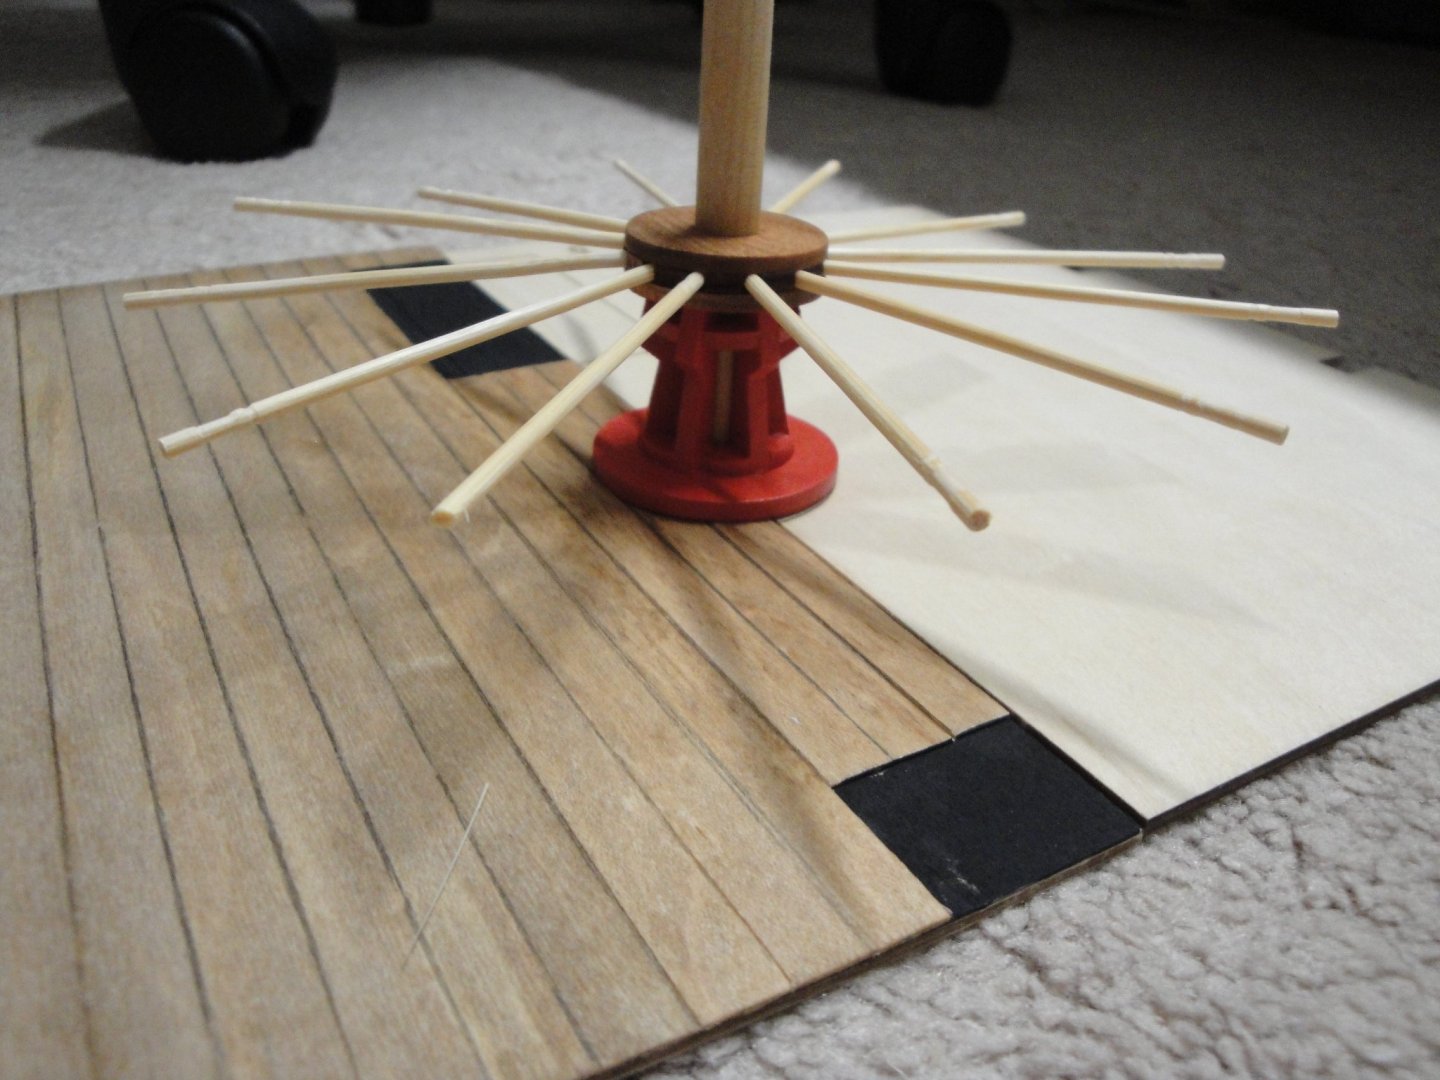
While planks are drying, I started working on the pleasant stuff of Session #2: Some parts of the gun deck and the rear capstan. The assembly above will be glued to the deck and will provide a sturdy pivot/bearing for the main axle. The capstan will be rotating. The lower part of it is fixed and is used as pivot for the axle. The upper part and the 10 feet long sticks are rotating and will be coupled with the capstan on the upper deck. It probably won't be easy to see the lower part rotate, but I will know that it is there. The bars are made of bamboo sticks, for Smores (Publix stores). Each bar is cut at the right length (real bars were 10 feet long) and inserted into the upper part of the drumhead (see pictures below). The upper part of the capstan rotates smoothly and is a pleasure to operate. The deck is planked with maple planks of 0.4 mm thick, 8 mm wide (easy to cut with a pair of scissors) and stained with old oak Minwax varnish (very smelly). Yves


- 507 replies
-
- 16
-
-
-
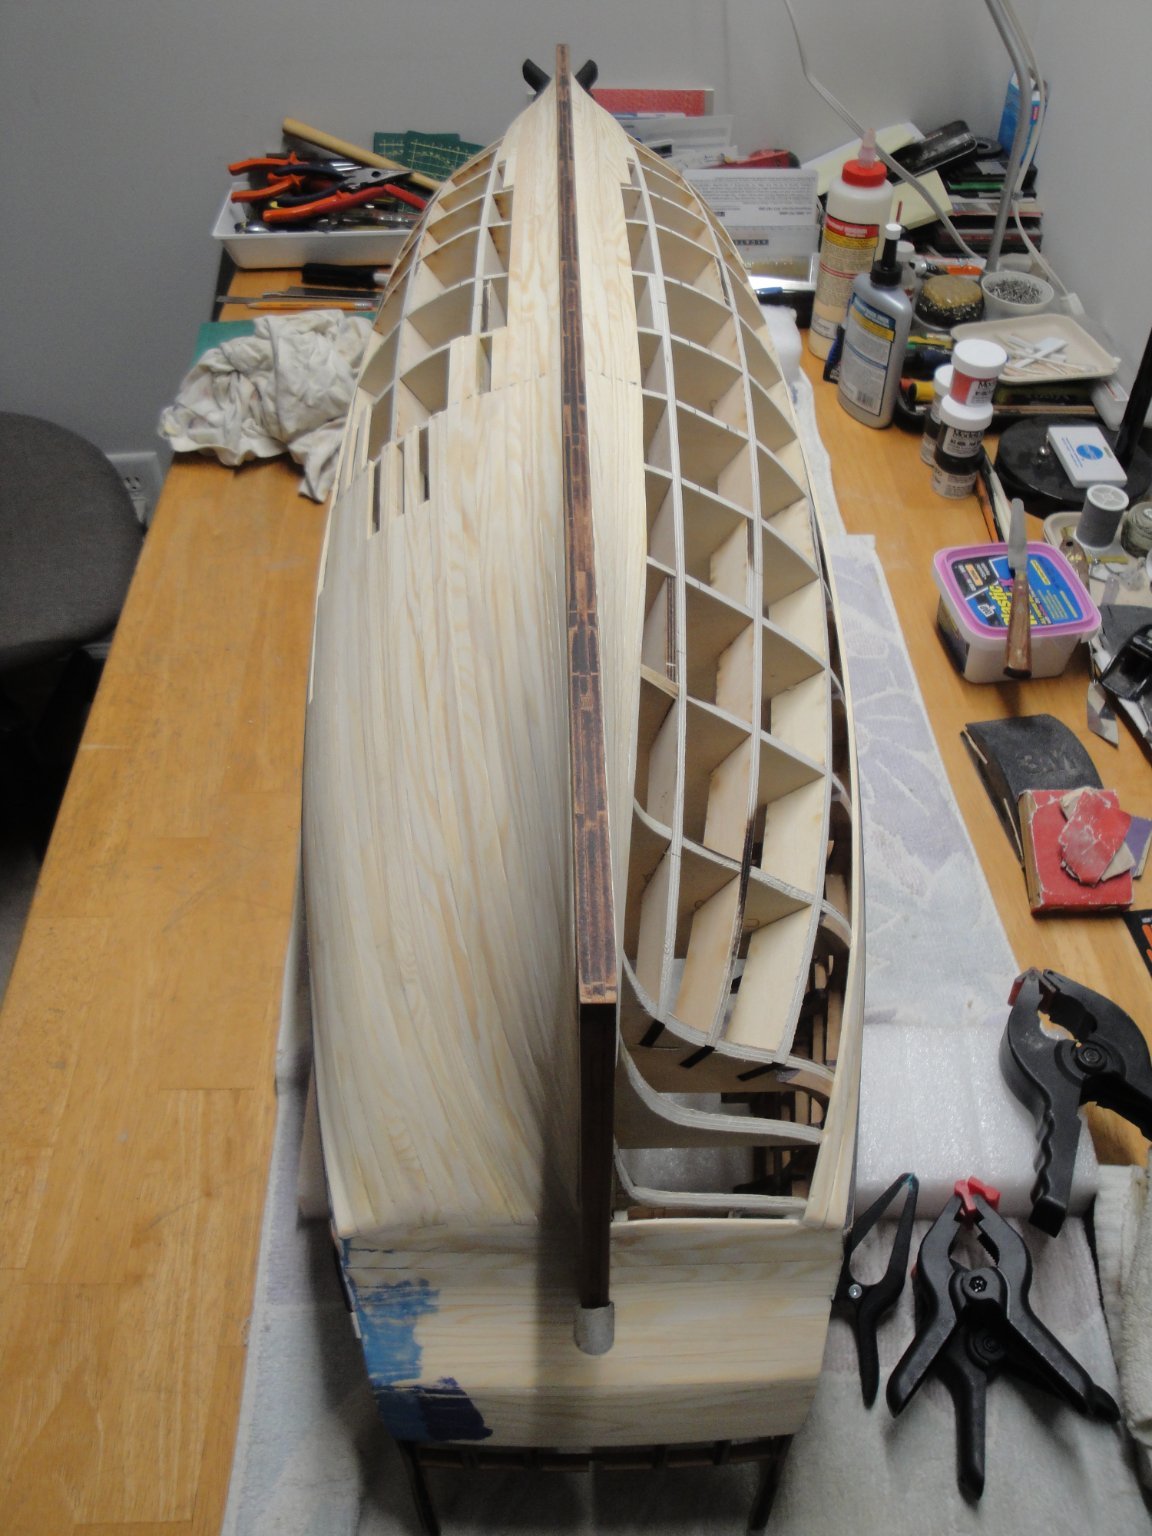
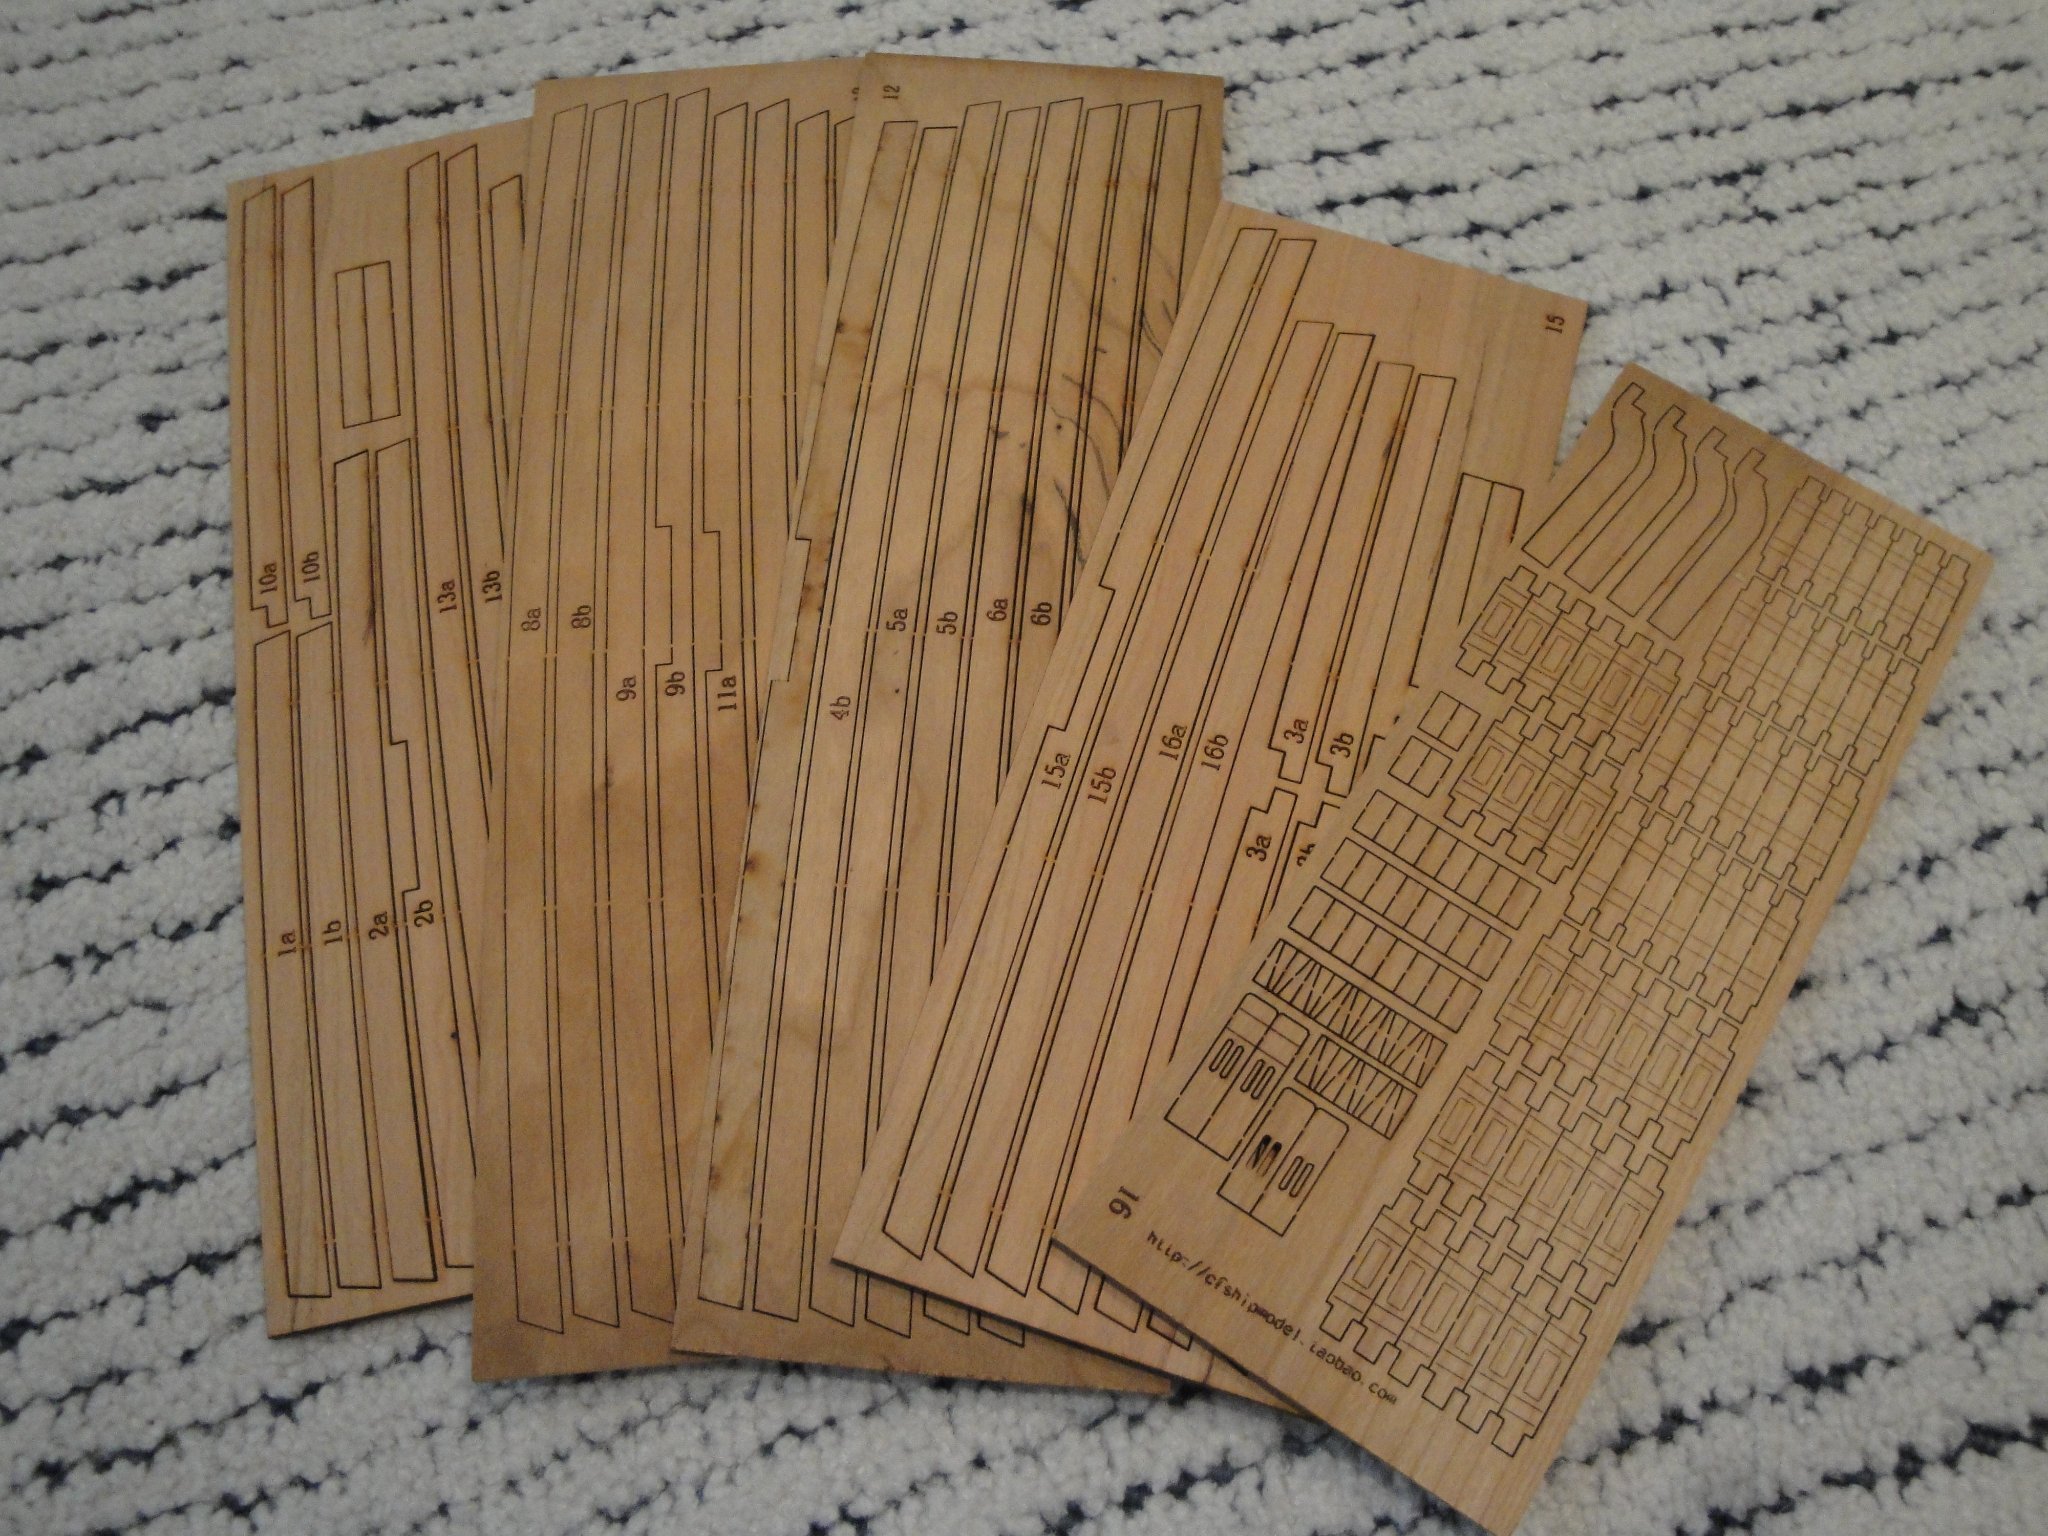
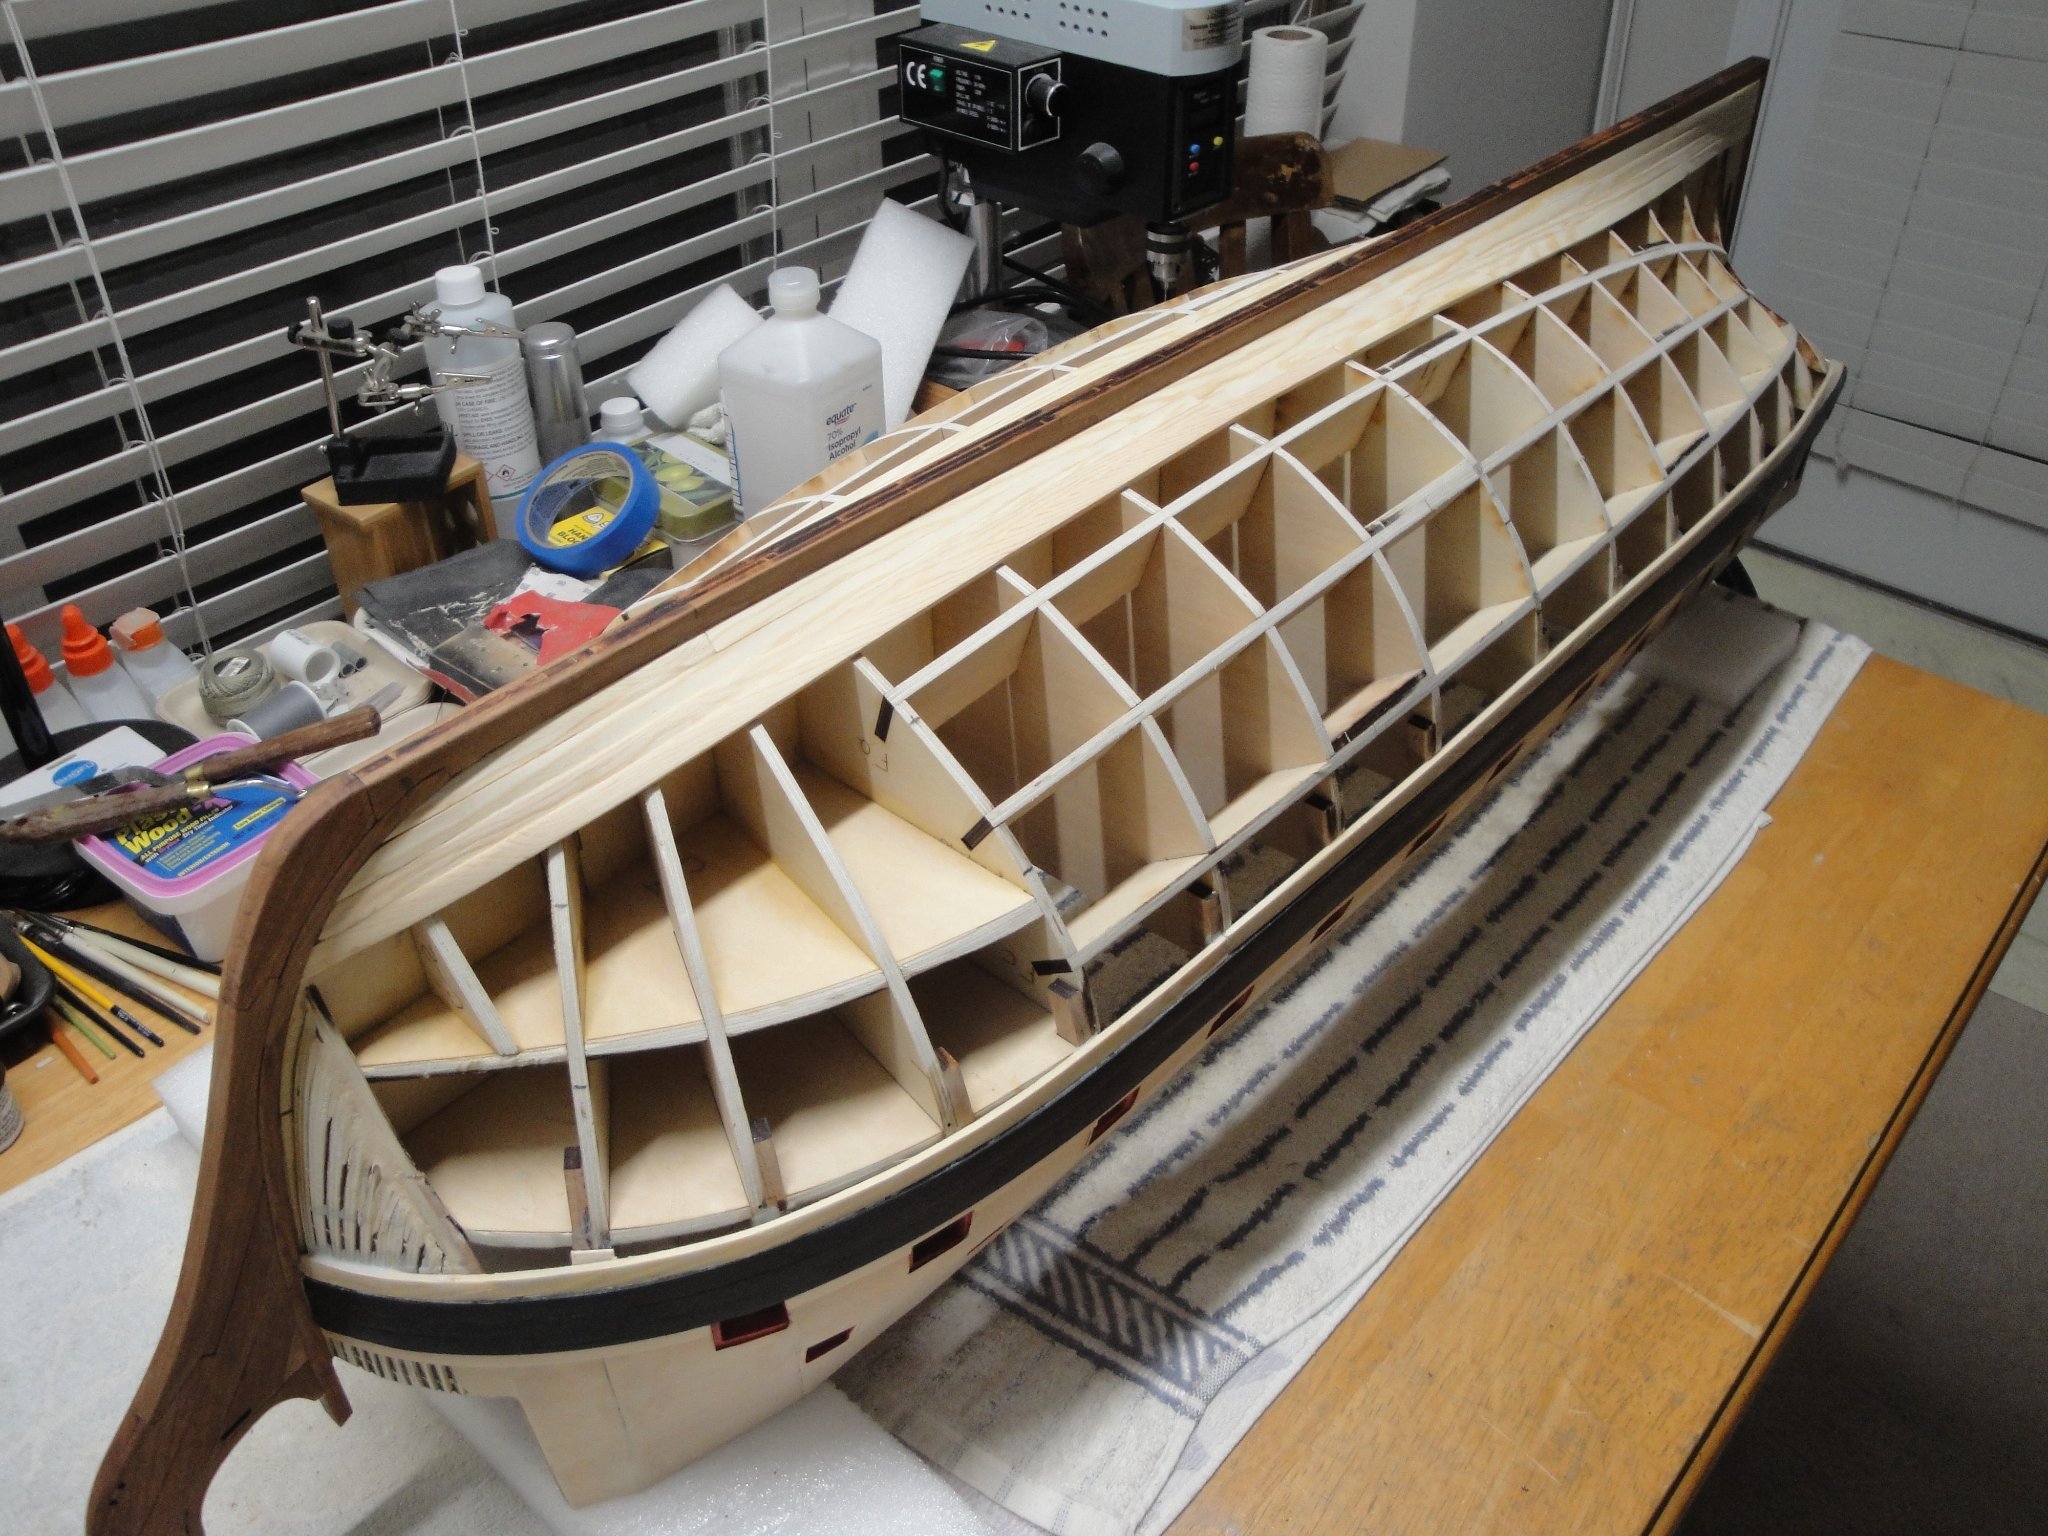
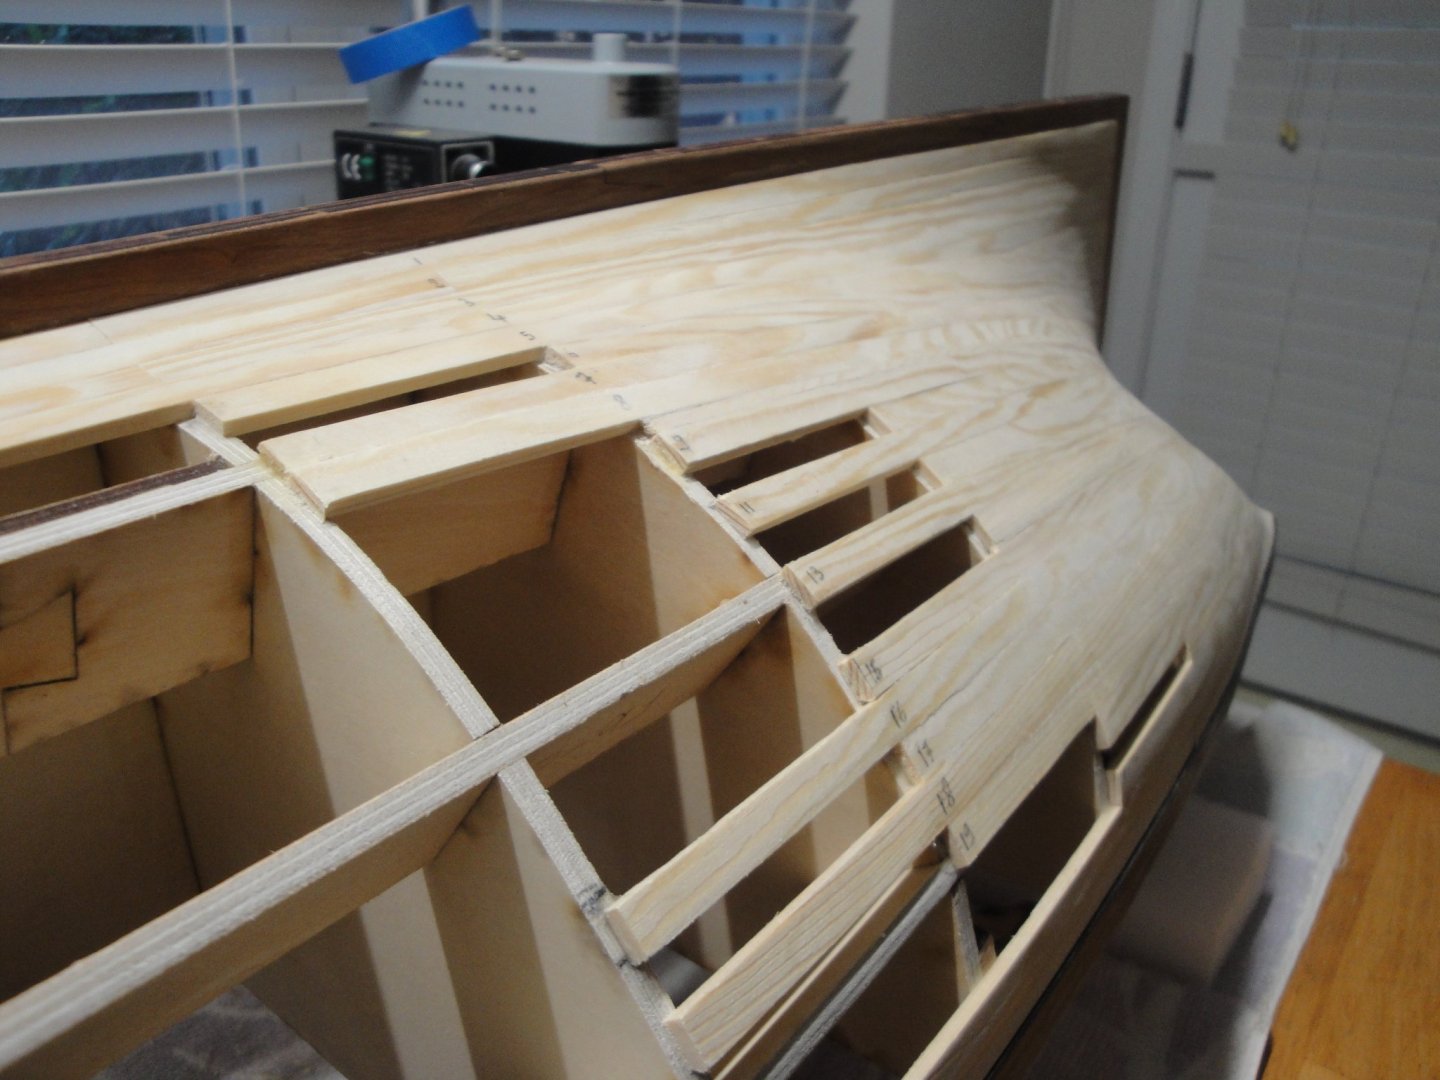
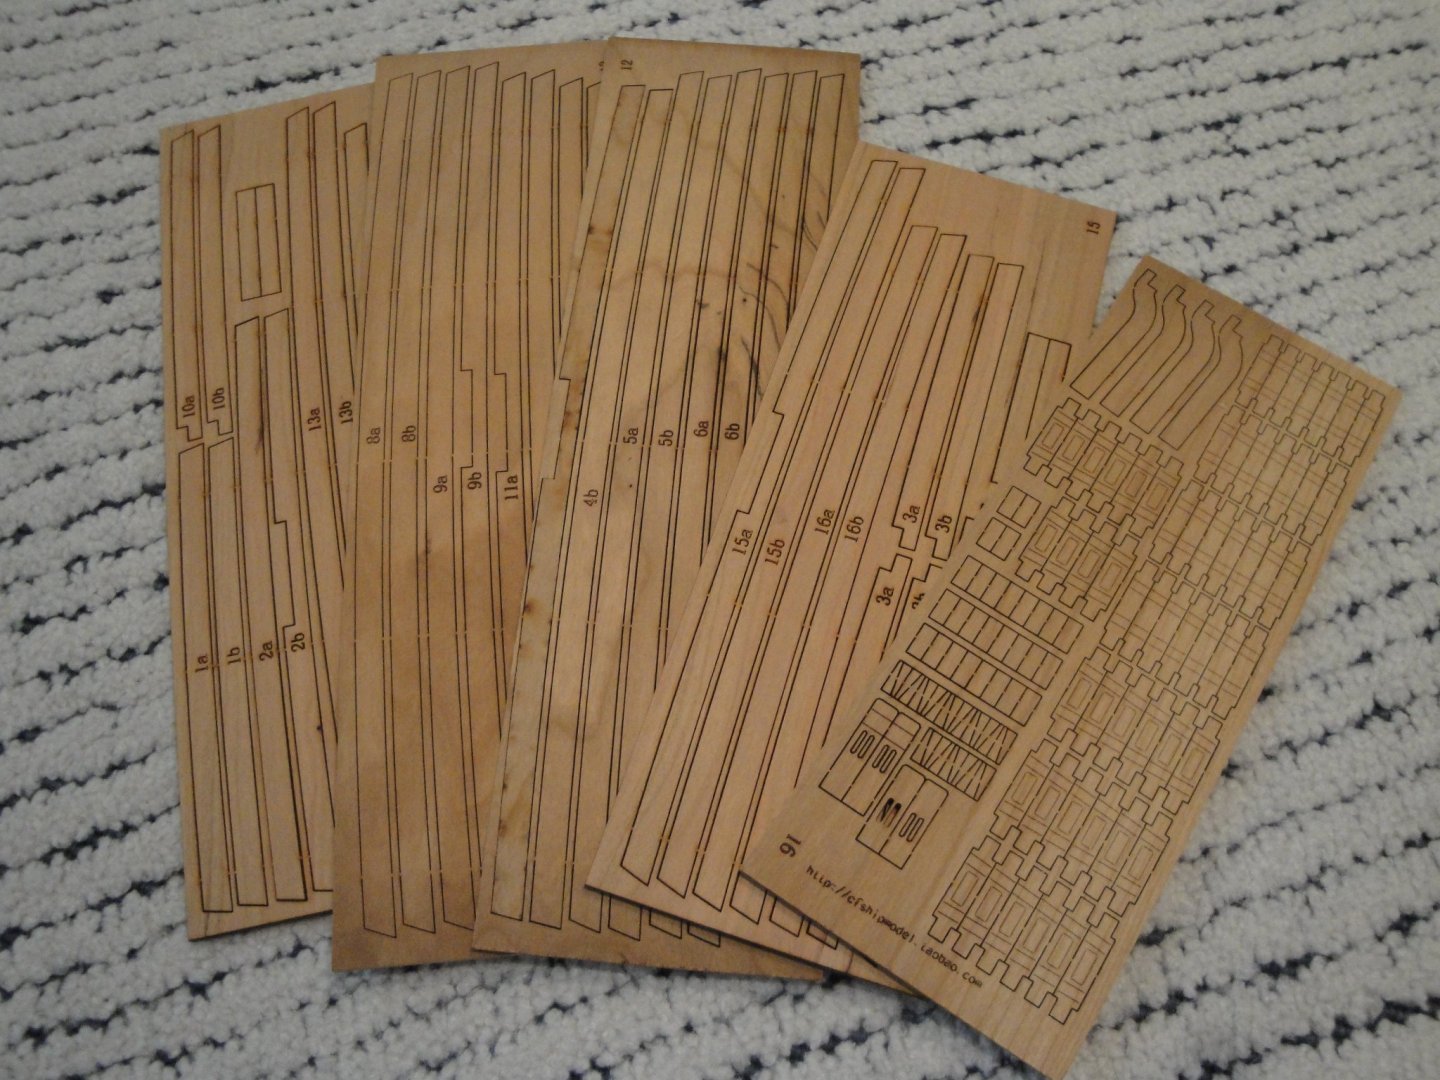
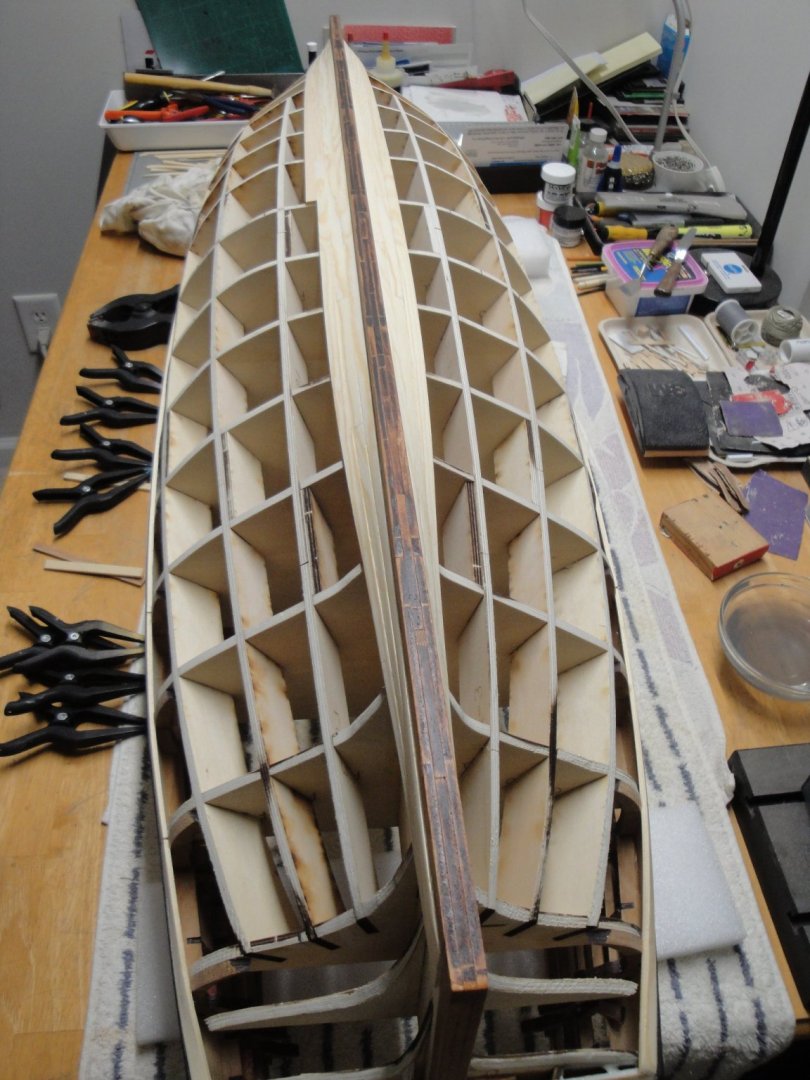
I completed the wales on the port side. I still have to fix and paint the gun ports on that side, as well as install the upper wale. That one is easy (1.5 mm basswood) compared with the main wales (3 mm x 8 mm cherry wood). For a change of pace and more self inflicted torture, I decided to start planking that monstrous hull. Each plank is made of 3 mm thick by 8 mm wide poplar/lime wood and is very stiff. I split the hull in three belts, following the recommendations of experts (such as Chuck) and started planking the garboards and the first planks to the keel. So far, I have installed 4 planks on each side. About 24 planks should go under the wales, on each side. This is still Session #2 and it is by far the biggest session, with the hull planking, wales, upper hull planking, channels, gun deck and 28 big caliber guns to assemble, not counting two capstans, bitts and numerous grates. Session #2 also includes the copper tiling of the hull. I have not decided if I will tile the ship and it will depend of the appearance of the hull. Honestly, I have never planked such a big and curvy hull and each plank presents its amount of challenges. I may be stuck for months on Session #2 and the sanding of that behemoth will require an electric sander, preceeded by a wood scraper. I have secured all five sessions of the kit (you never know what may happen between the USA and China) and I will be presenting the remaining three sessions at a later time. Crazy stuff for sure and tons of parts to assemble for a life time. Yves

- 507 replies
-
- 13
-
-
You are very brave to start a second build of the same ship. I will be following your progress and I am sure this time, it is going to be a museum piece, as the V1 was not that bad and would have pleased quite a few collectors. Yves
- 476 replies
-
- 1
-
-
- sphinx
- vanguard models
- (and 1 more)
-
Talk about distressed wood !!! It looks like the aftermath of a big battle. You need to spill some blood to make it even more realistic. Yves
- 135 replies
-
- 1
-
-
- Occre
- Santisima Trinidad
- (and 2 more)