yvesvidal
-
Posts
3,634 -
Joined
-
Last visited
Content Type
Profiles
Forums
Gallery
Events
Everything posted by yvesvidal
-
 Beautiful. Without the cloth pin, it would be almost impossible to tell it is not a real lamp. Yves
 -
That ship is so tall...it looks like a floating skyscraper. Wasn't it the tallest and most armed period vessel ever built? Yves
-
Superb rendering of the North Atlantic sea.... This is going to be a great diorama. Yves
-
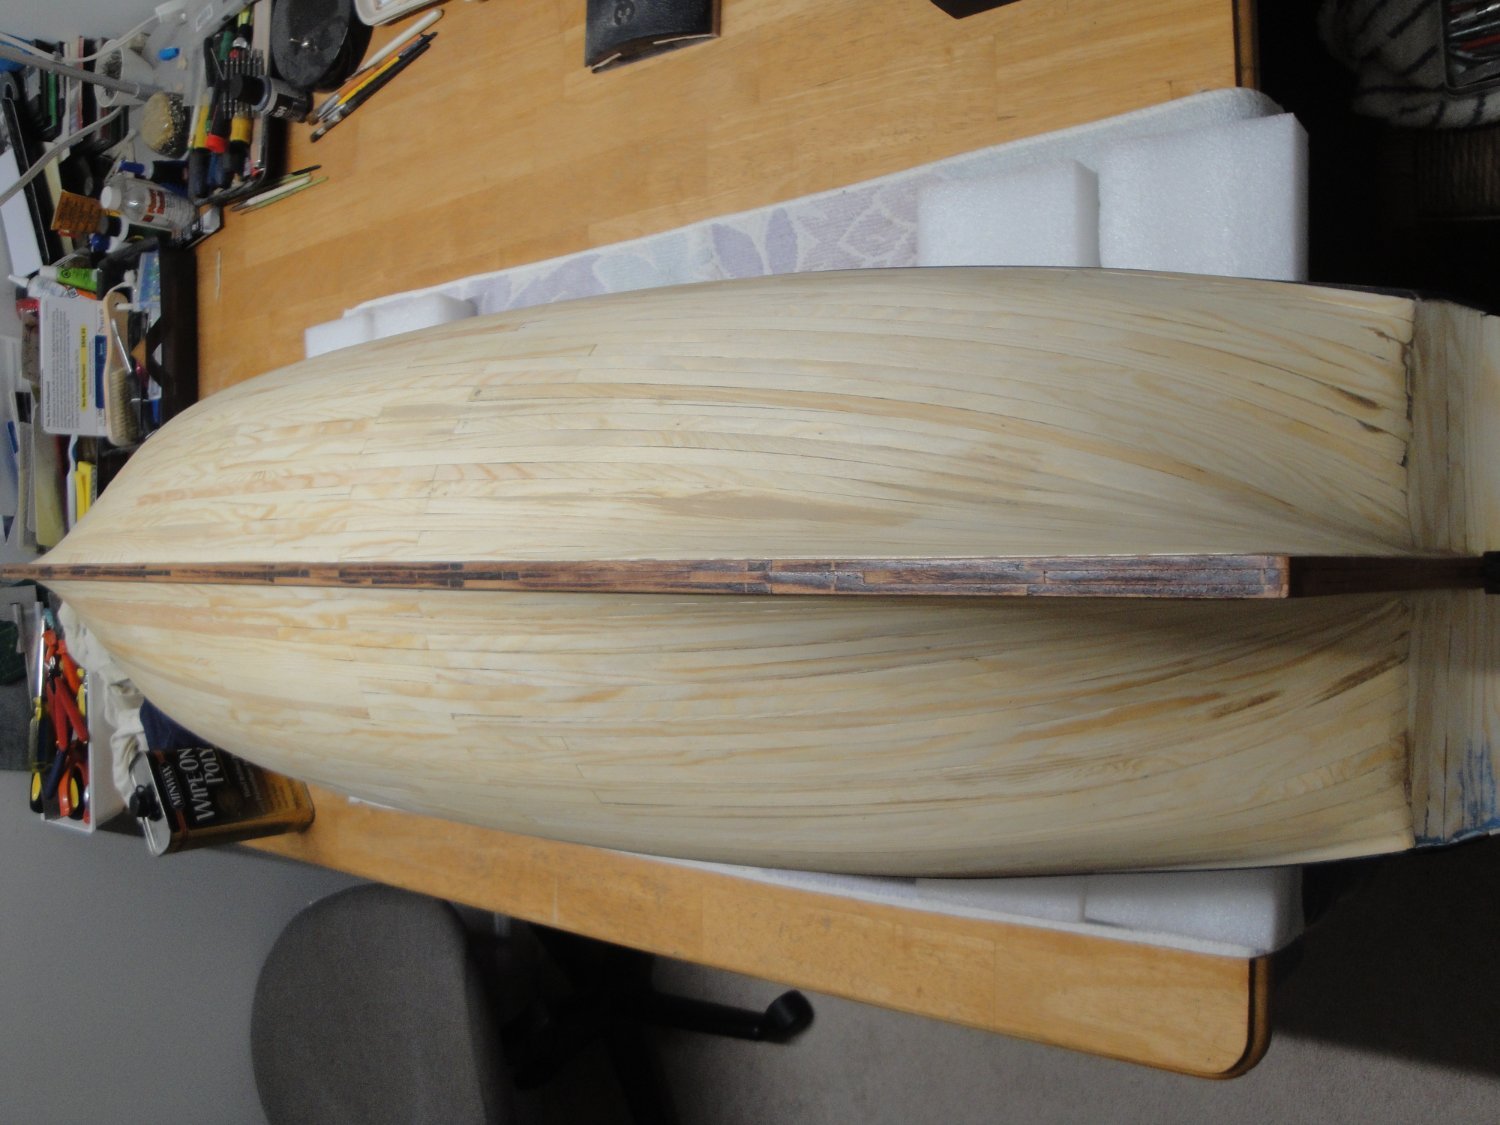
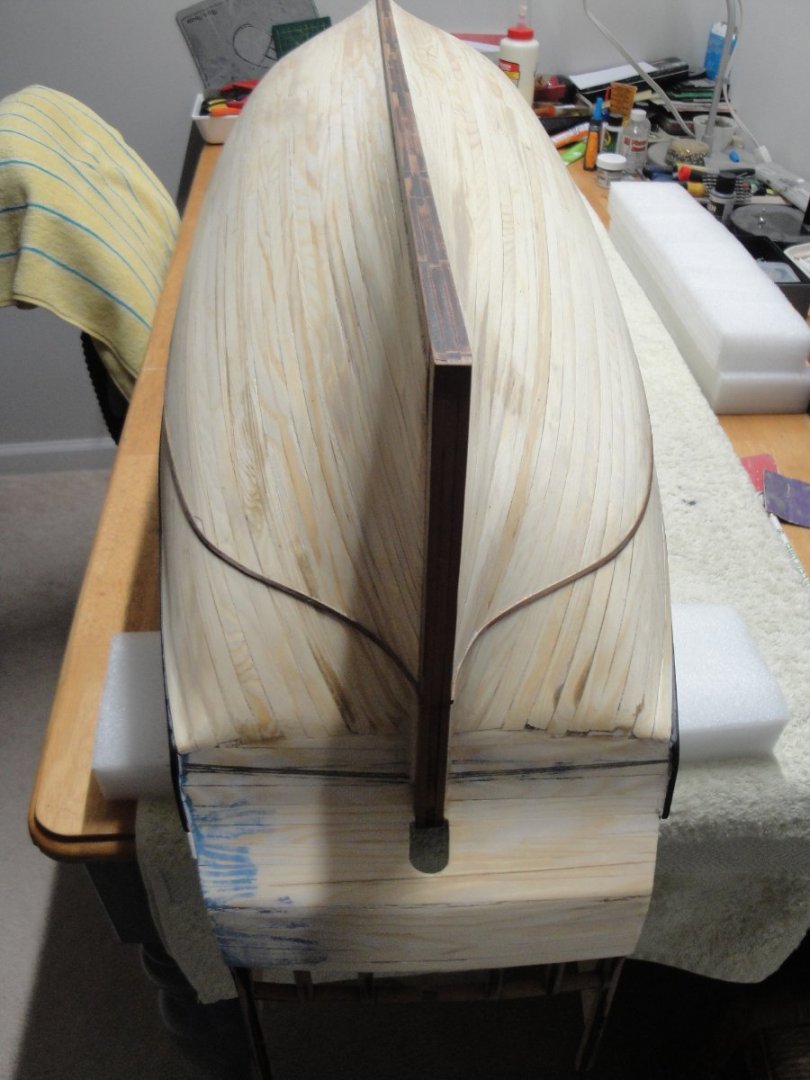
And thus, we are starting the delicate (for me) double planking task. I am doing one quadrant at a time and started by the easier (relatively speaking) bow. Before: And after: This is not perfect and will probably ruffle the feathers of the experts, but it does look good to me after a nice coat of Wipe-On-Poly on top. Yves

- 507 replies
-
- 12
-

-
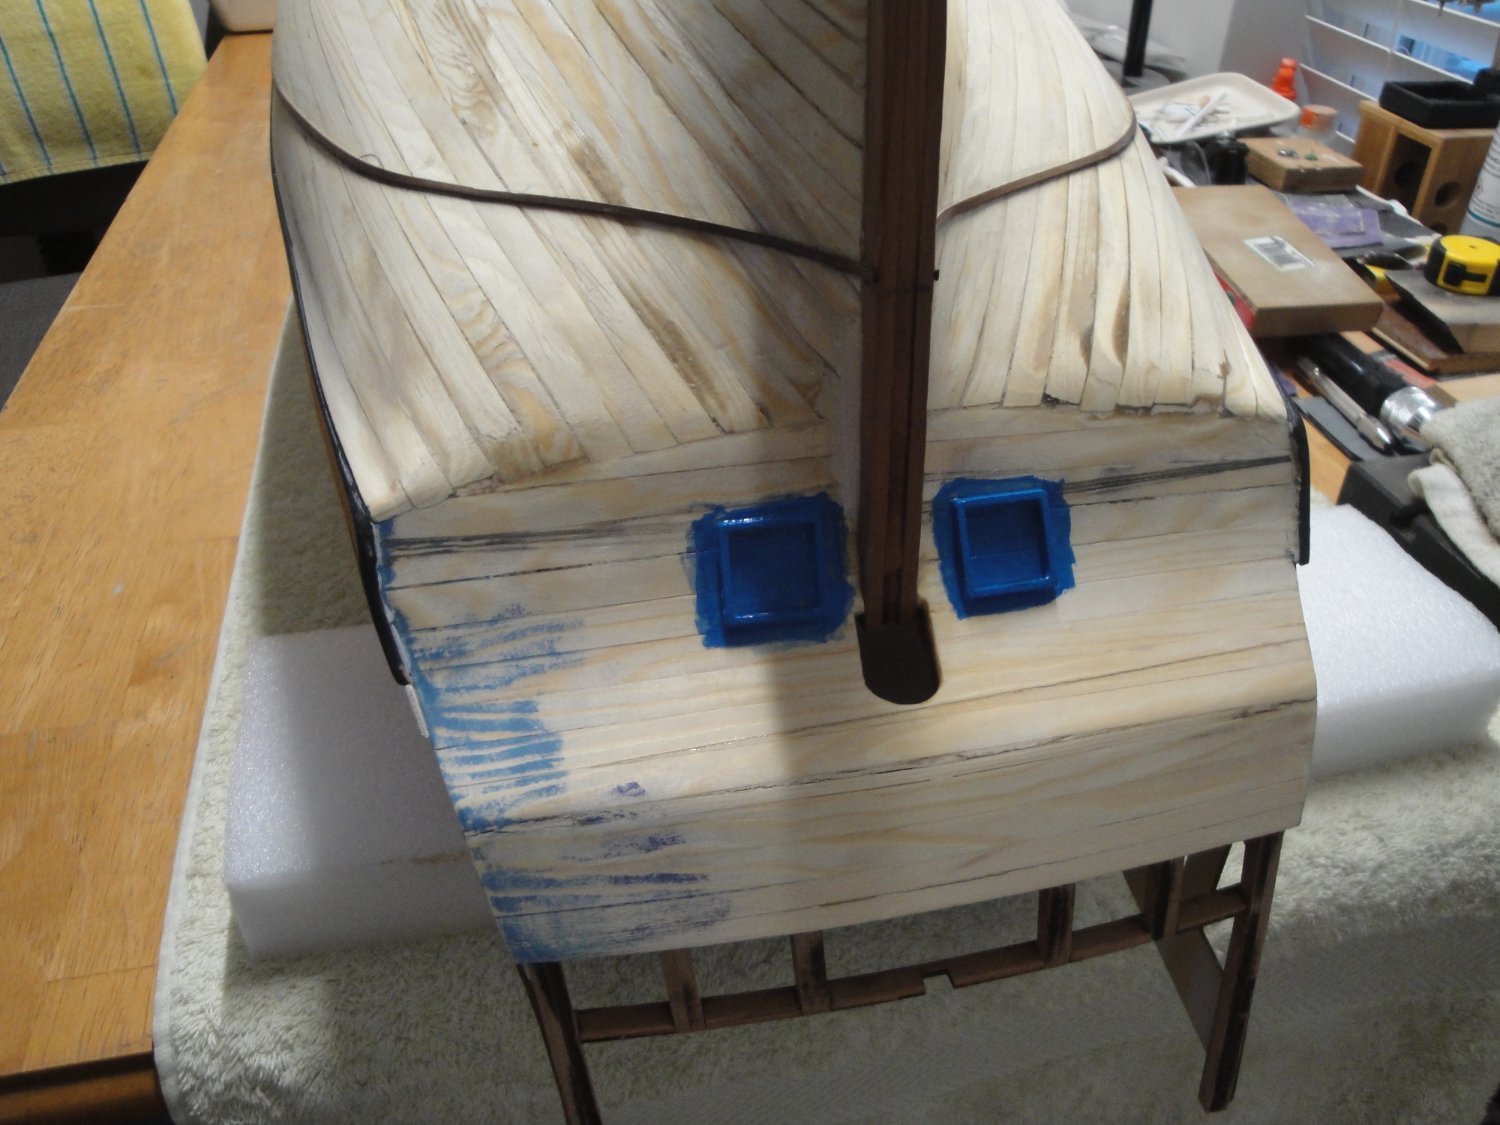
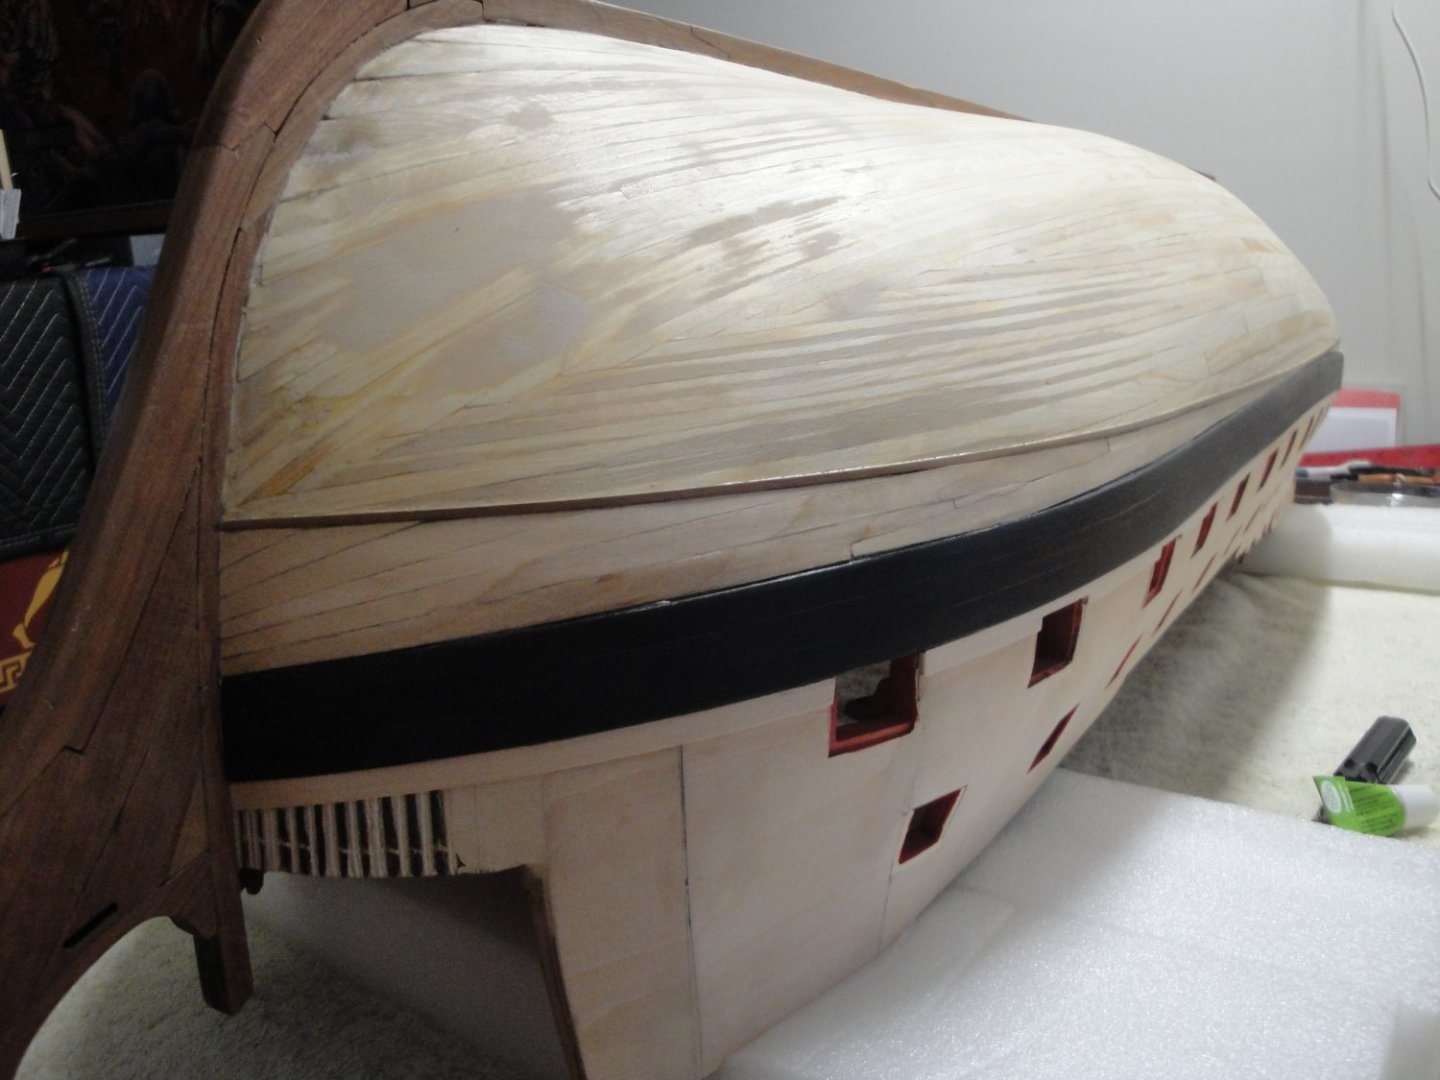
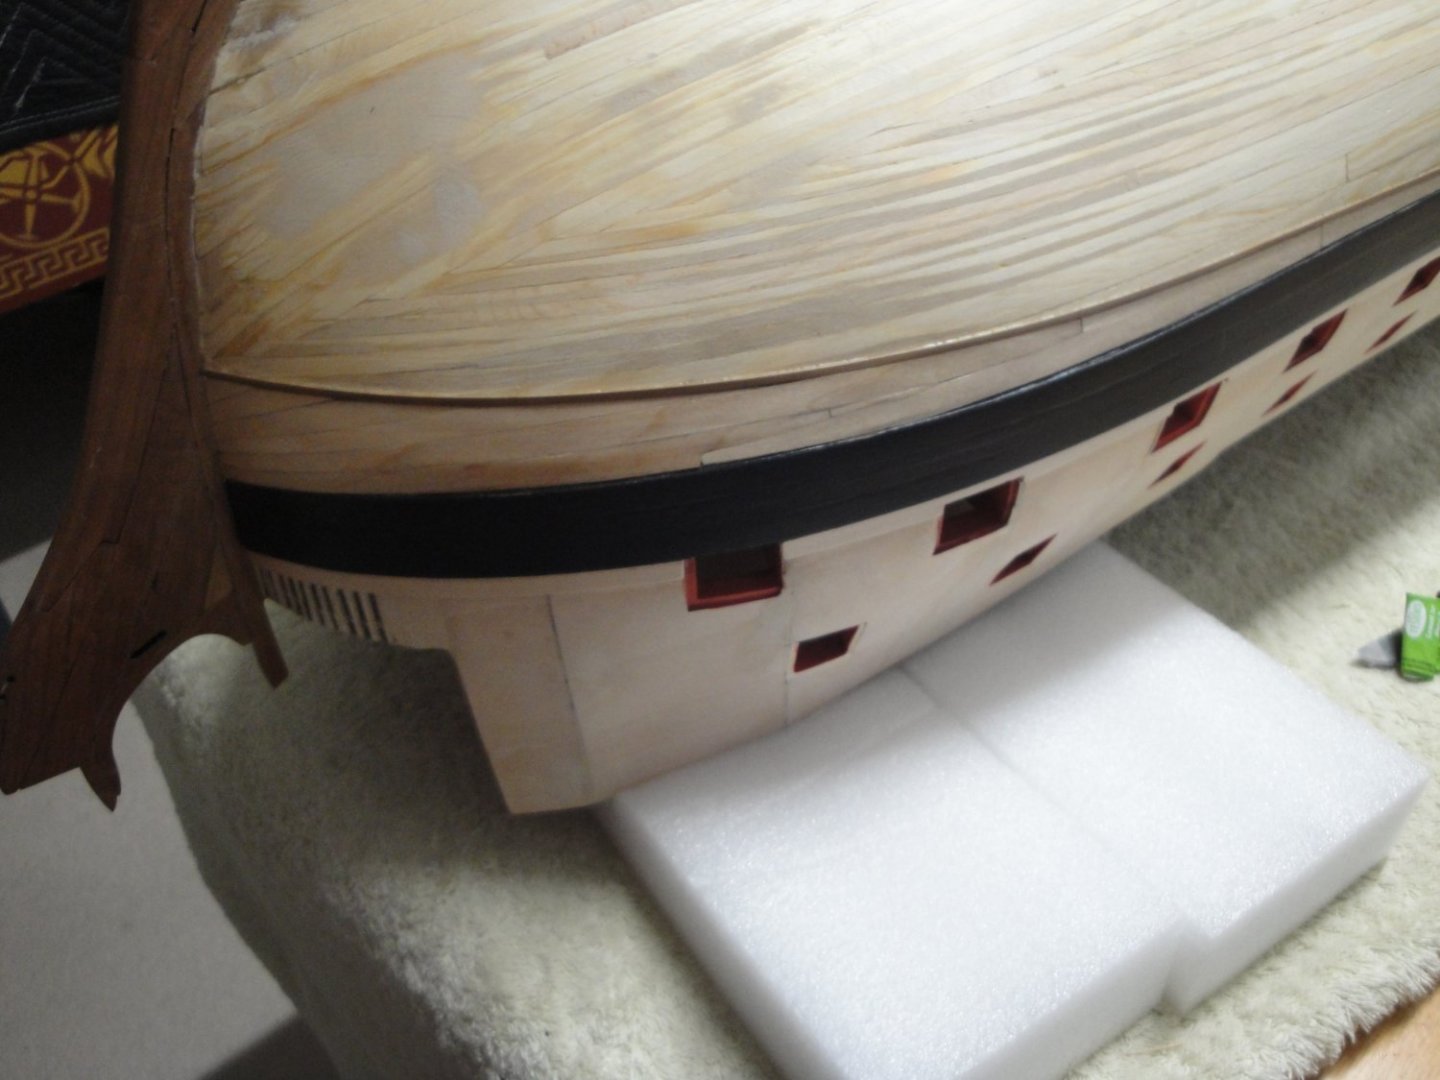
Another steps that I am adding and which is not described in the CAF kit, is the building of the gun ports, on the stern. You need to place these before attempting to double plank the stern. The planks will butt against the lower frame of the gun ports. The gun port lids are only provided in Session #5 and for those who do not have this Session yet, you should build gun ports of 18 x 18 mm for the lids to fit exactly. It is also not possible to open these rear gun ports, as Bulkhead #18 is right behind them. They will be represented closed on the model. Yves

-
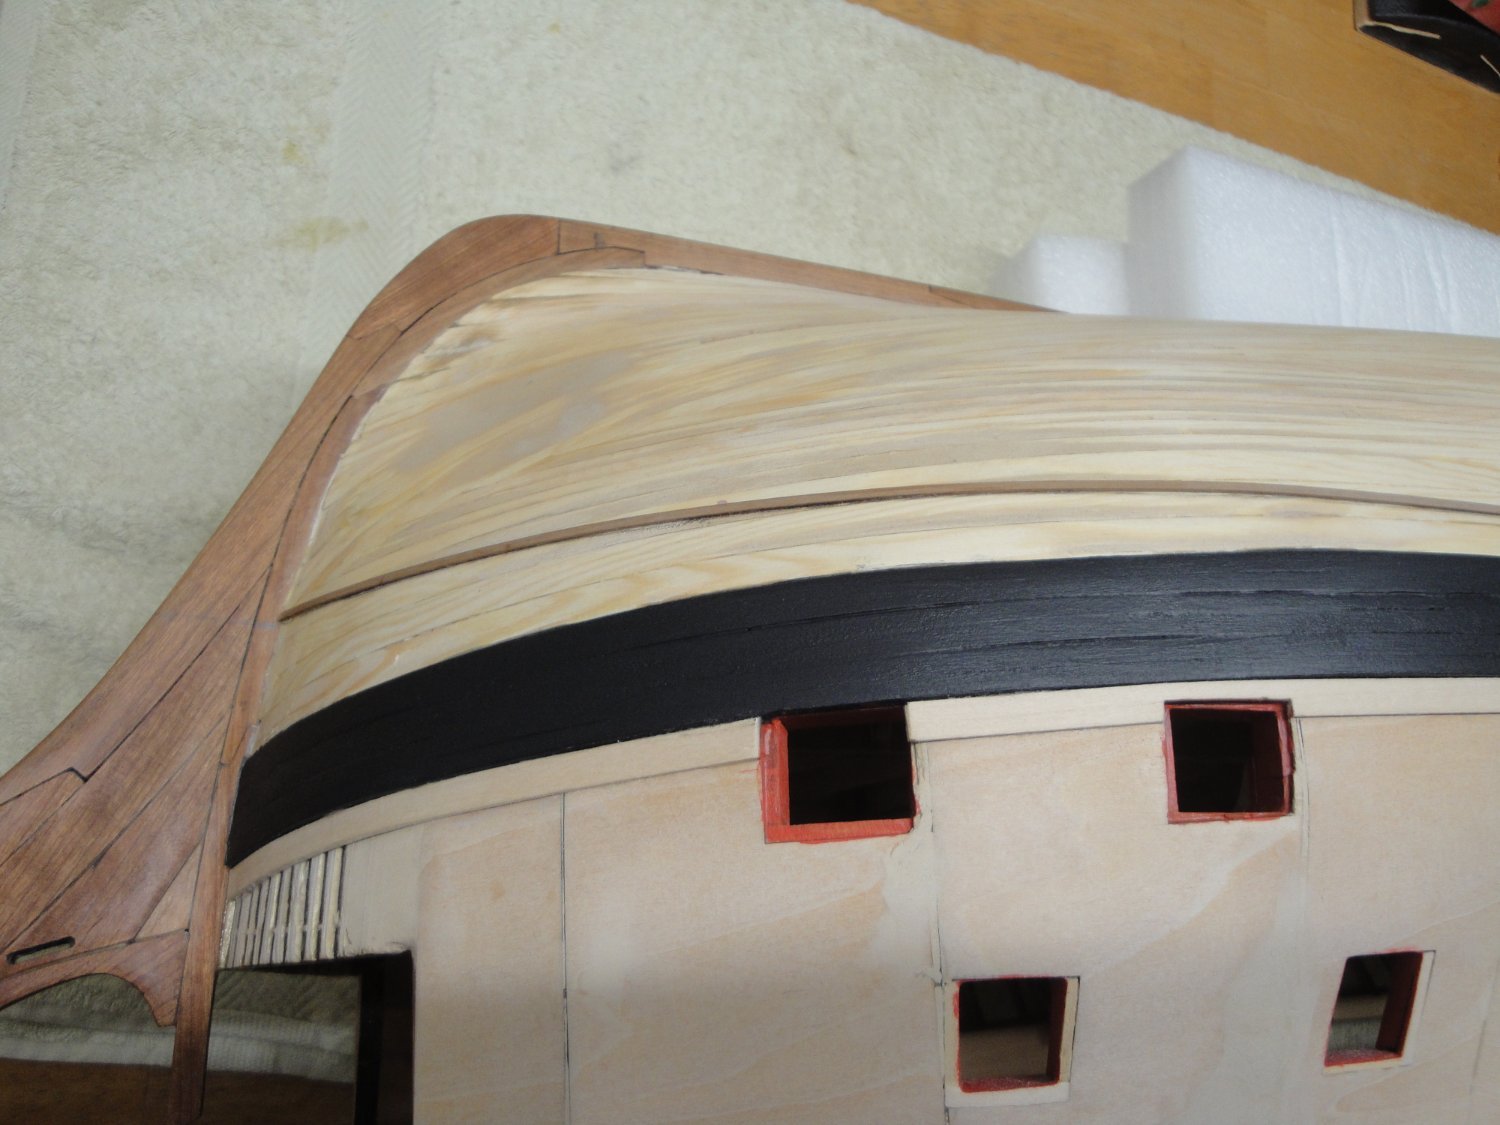
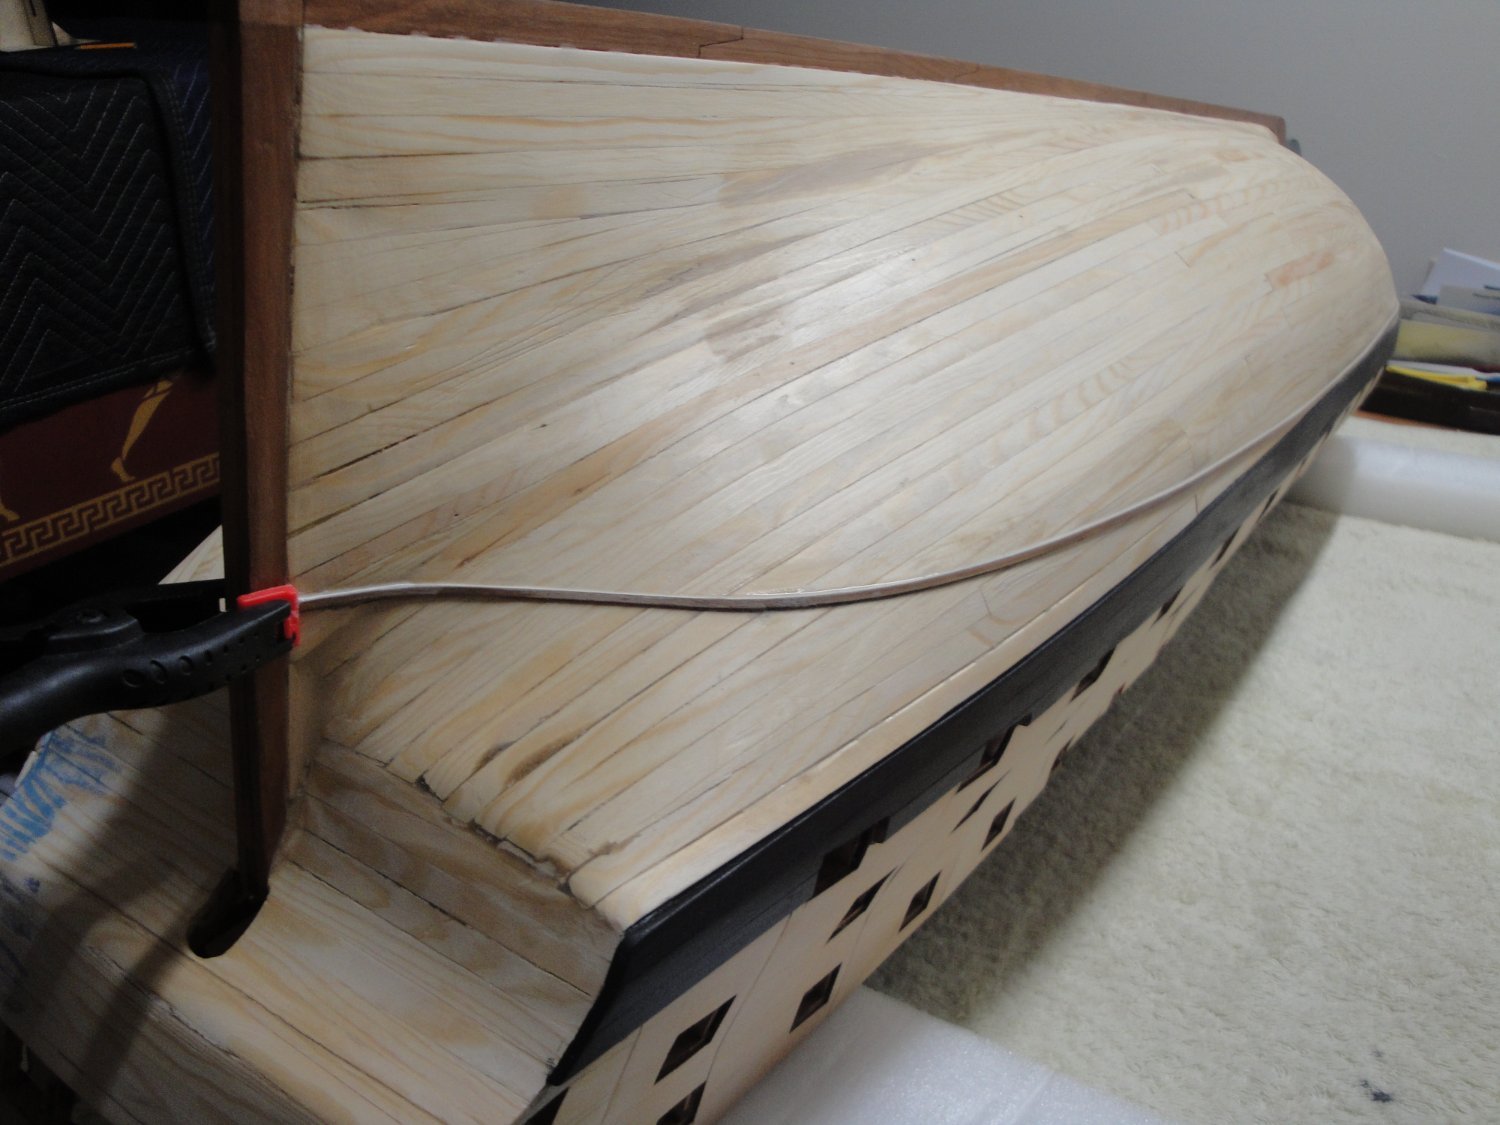
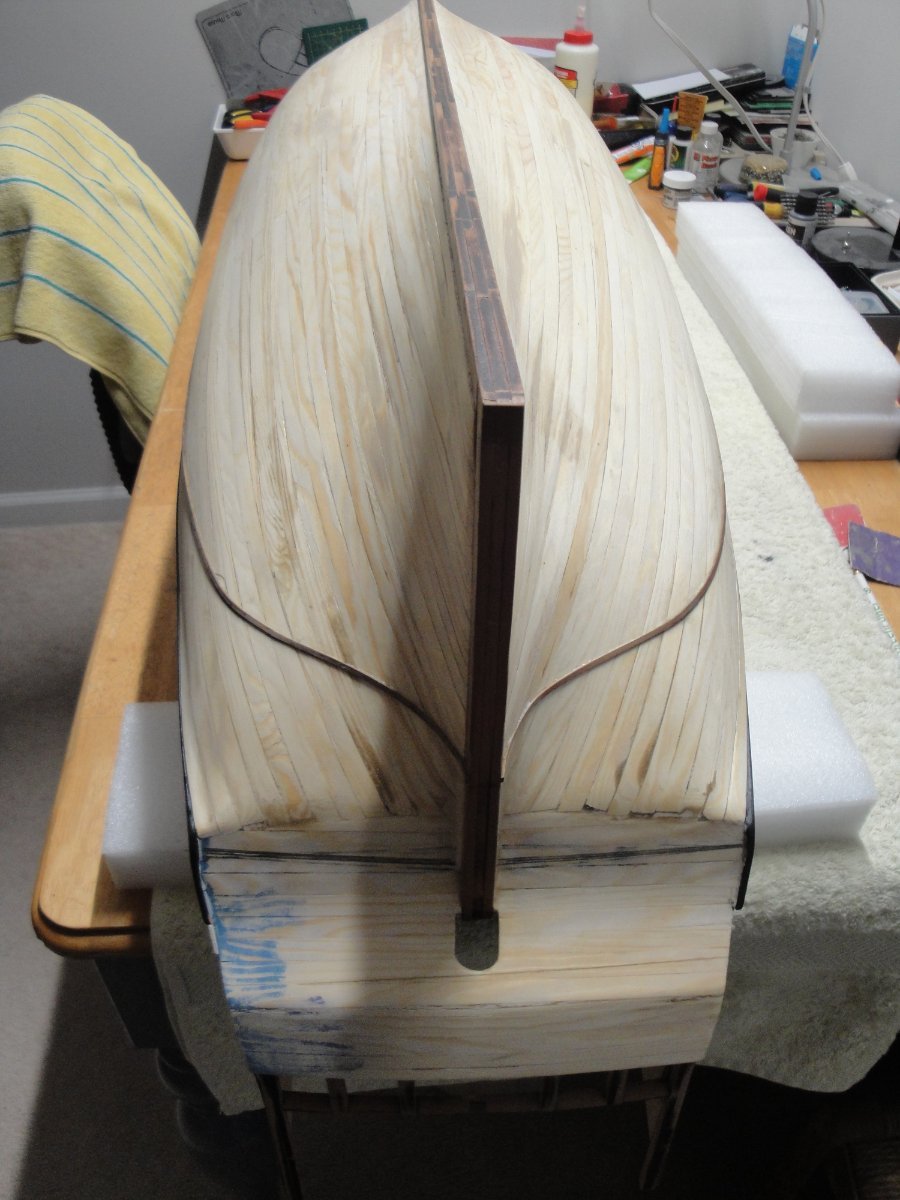
The delicate and crucial phase of marking the waterline is done, after careful measurements on the plan and according to pictures: I am using the little Model Shipways kit, which works relatively well, as long as you use a flat surface all around the ship. The hull will be copper tiled under the flotation line and double-planked over it. Following some exquisite models found in Museums and Art galleries, I have decided to glue a tiny separation all over the flotation line. This is done with a 1 x 2 mm mahogany wood strip, carefully glued with CA glue. The strip is flexible enough to marry perfectly the curves of the hull. This approach is not described in the CAF kit nor are the mahogany wood strips provided. With that nice separation in place, I can now move to the upper parts second planking, using the 0.4 mm x 8 mm maple strips, provided abundantly in the kit. Yves

-
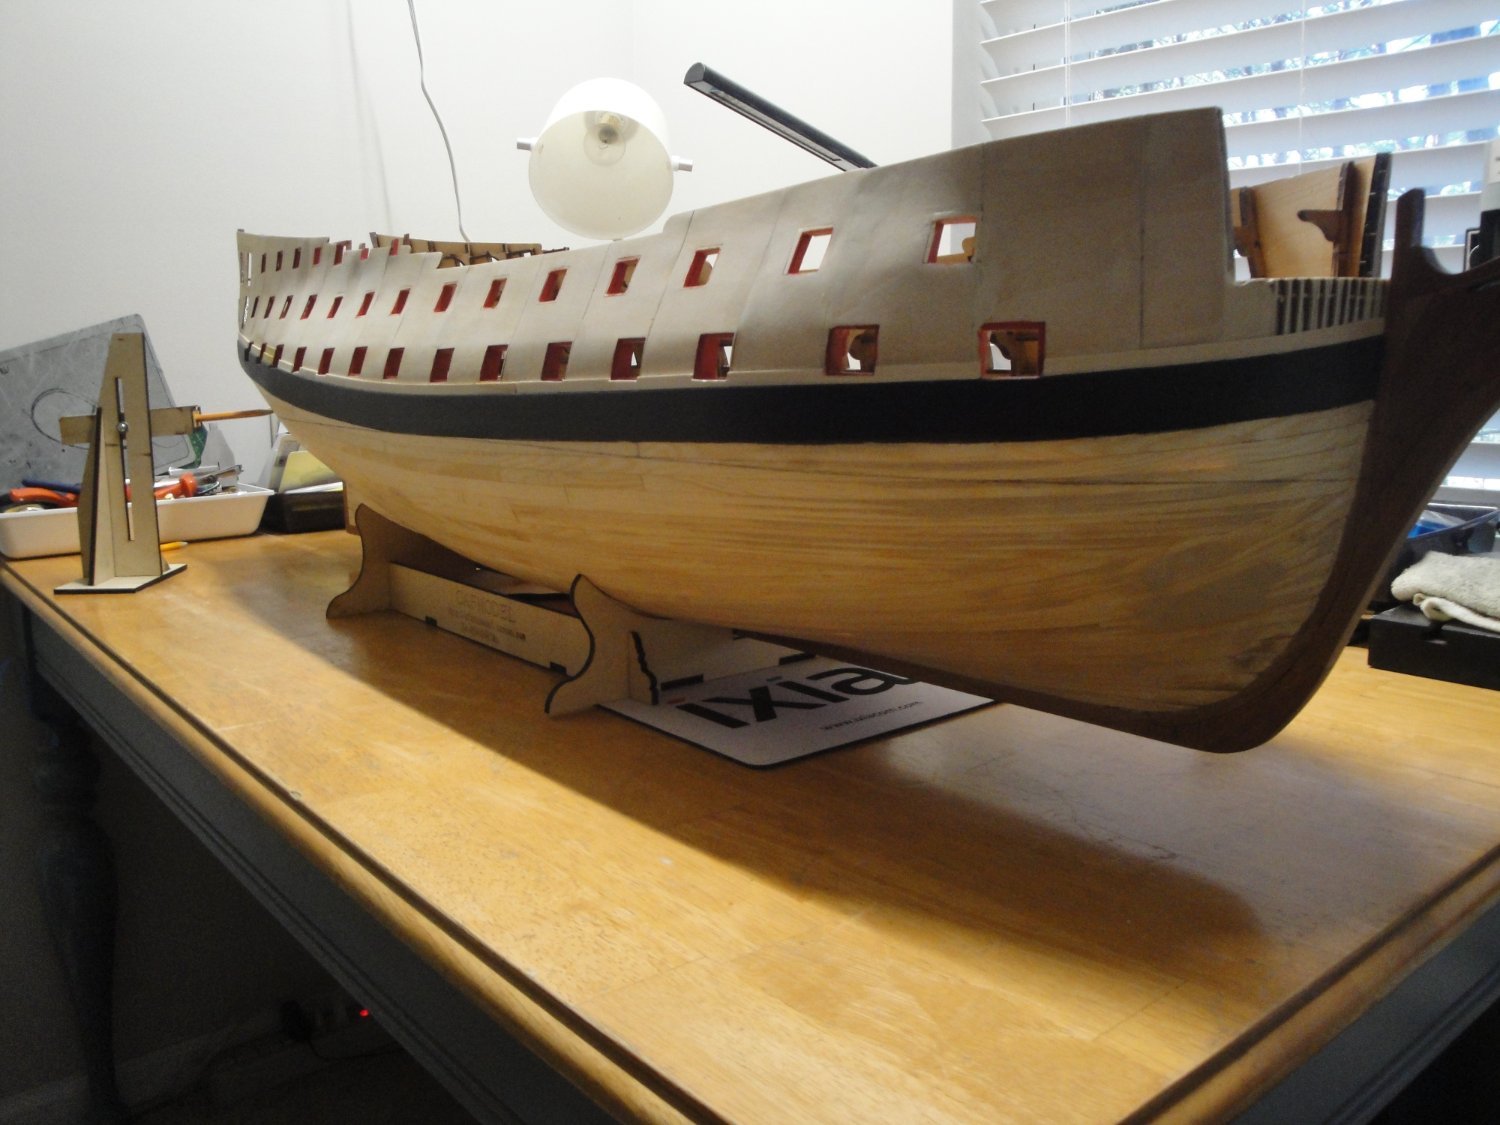
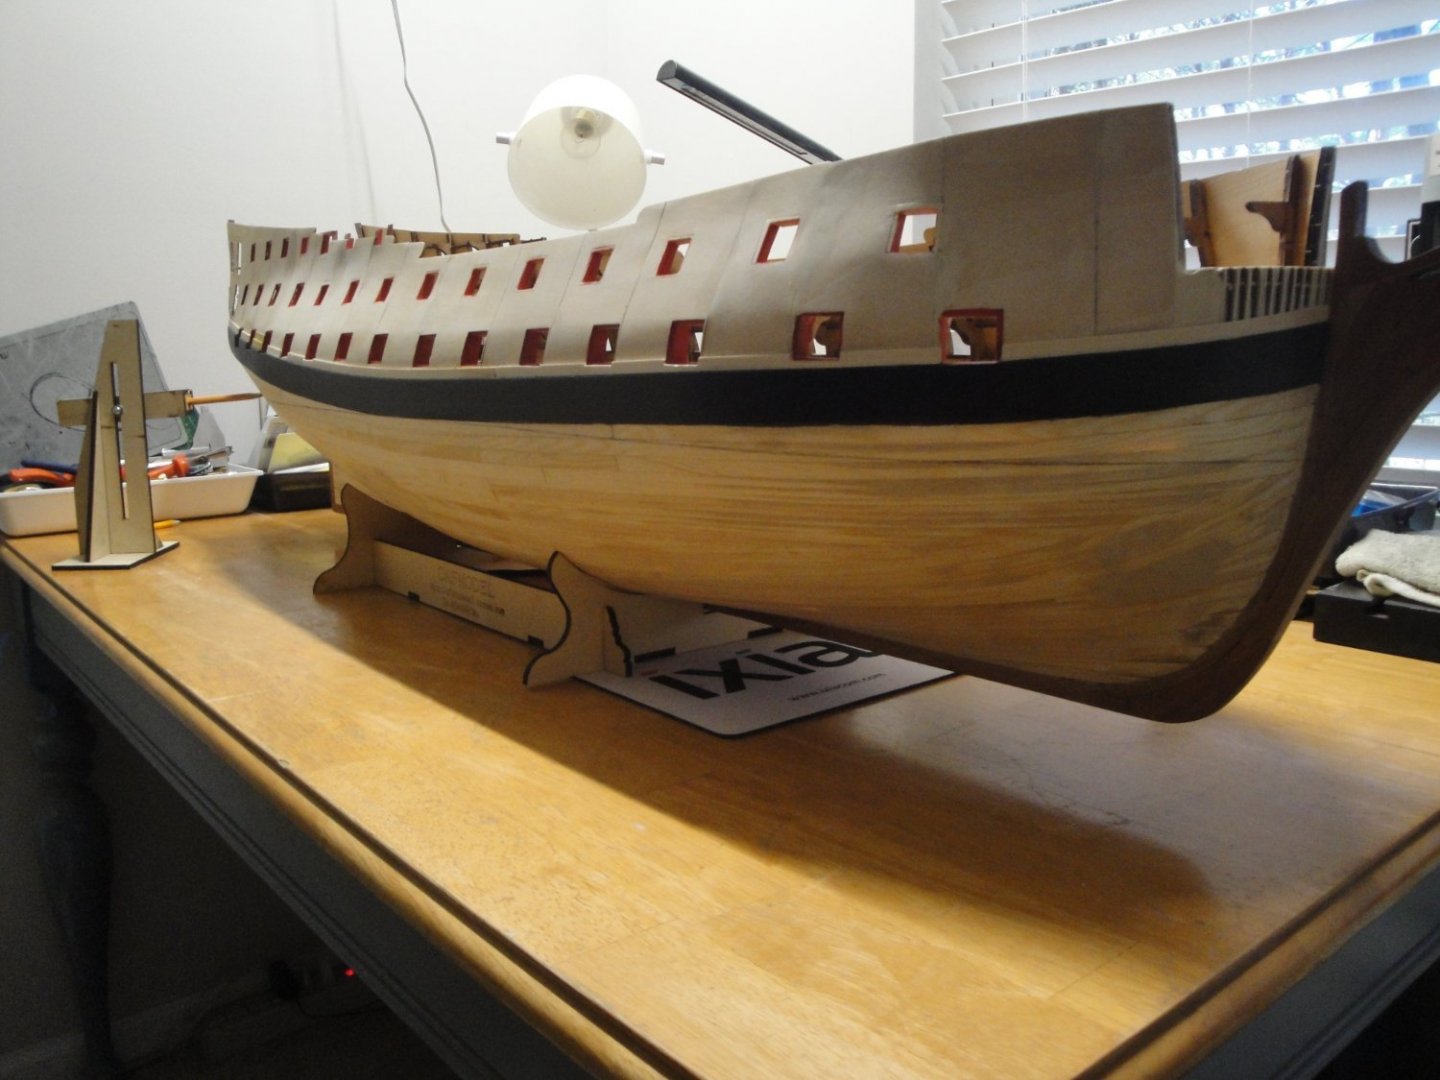
After finishing the 3D printed Corvette, it is now time to get back to the Bellona and breathe some wood dust, again. The hull has been carefully sanded and wiped with Wipe-on-Poly, the preferred wood treatment around this forum: I have also brushed an nth coat of black acrylic paint (Model Shipways) on the wales. I am sure there will be more touch-ups to be done, by the time the hull is finished. The hull is now ready for marking the waterline. Yves


-
Excellent subject. I will follow as I like that kit. This kit is also available in 3D printing technology, but it is a lot more fun (and more realistic) to build it with wood. Yves

- 36 replies
-
- 3
-
-
- Morel
- master korabel
- (and 1 more)
-
Another virtual 3D printed kit that turned into a beautiful model. Congratulations. Yves
-
Vallejo is not allowed in my house !!! I know that may come as a big surprise (and insult to some), but their paints are very difficult to properly spray. Their primer is okay on plastic but will peel on PE and other metals parts. I am sticking to TAMIYA acrylic paints and mixing when the color is not available. I feel for you Kevin.... with that shiny hull. It will be fine in the Monaco harbor at five o'clock for the tea !! 🙂 Yves
-
Thank you Craig and many thanks to all the people who have supported me, encouraged me and helped me with technical information. You all are the fuel that gets me going when times are difficult and when the motivation suffers.... As I have indicated, there will be another Virtual Kit in the future..... I am in the process of printing parts and gauging the feasibility of that behemoth on my small printer. It will be most unusual and not something that has ever been covered on this forum. In the meantime, I am back on the Bellona. Yves
- 321 replies
-
- 6
-
-
- Finished
- Flower-class
- (and 1 more)
-
Very nice workshop. Yves
-
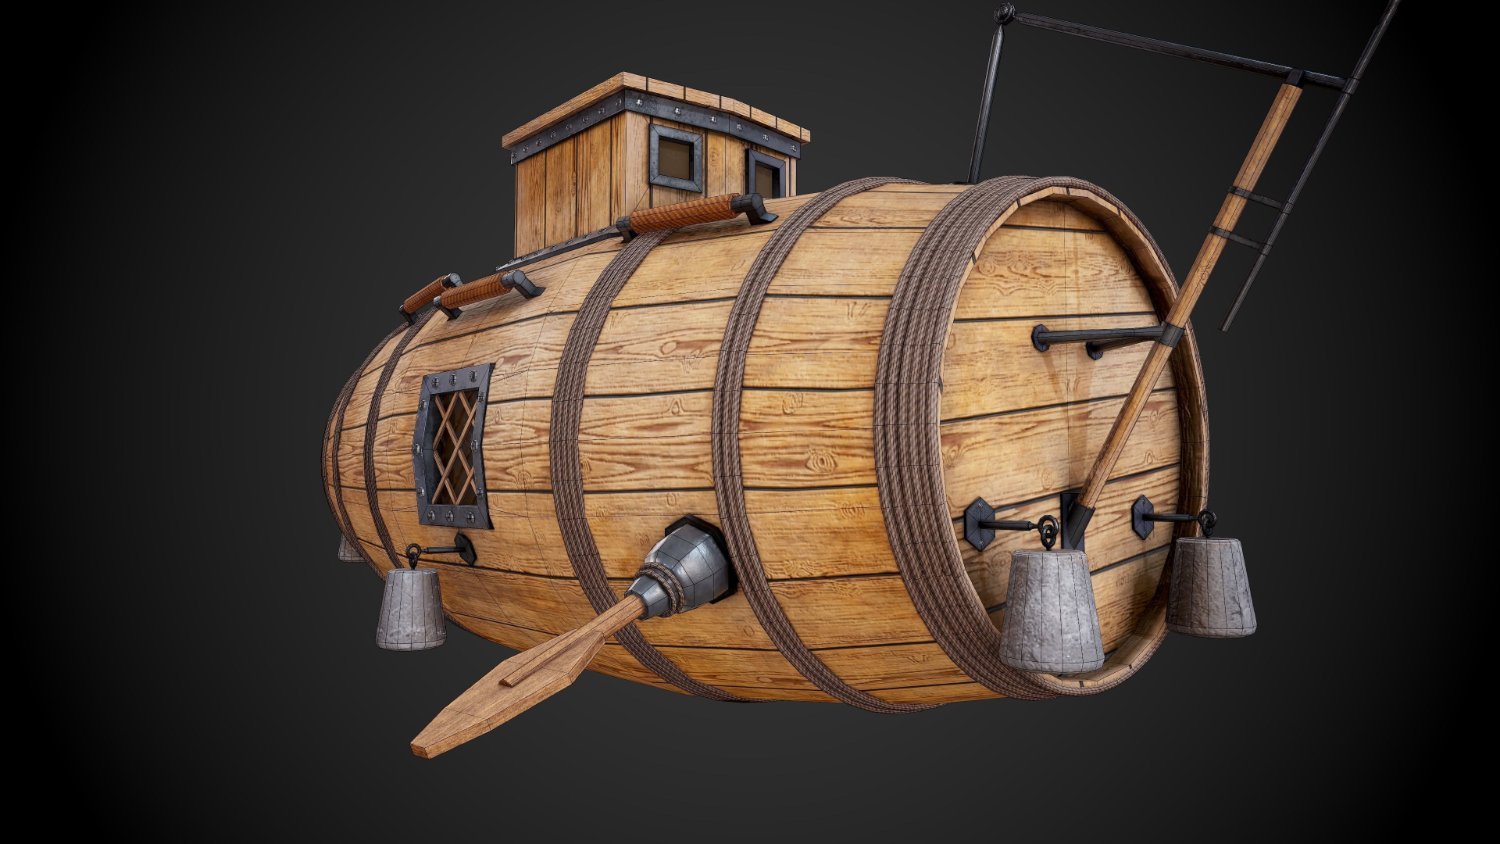
You are doing good. It is nice to see that unusual boat on the forum. Yves
-
That is fantastic work and this carving is gorgeous. You are a true artist. The adjustable model bench/vise that you are using seems great. Where did you procure that tool? Yves
- 208 replies
-
- 2
-
-
- kitbashing
- Woodcarving
- (and 4 more)
-
Thank you for building one of my favorite vessels: Le Chebec. I will follow your log with a lot of interest. Yves
- 208 replies
-
- 1
-
-
- kitbashing
- Woodcarving
- (and 4 more)
-
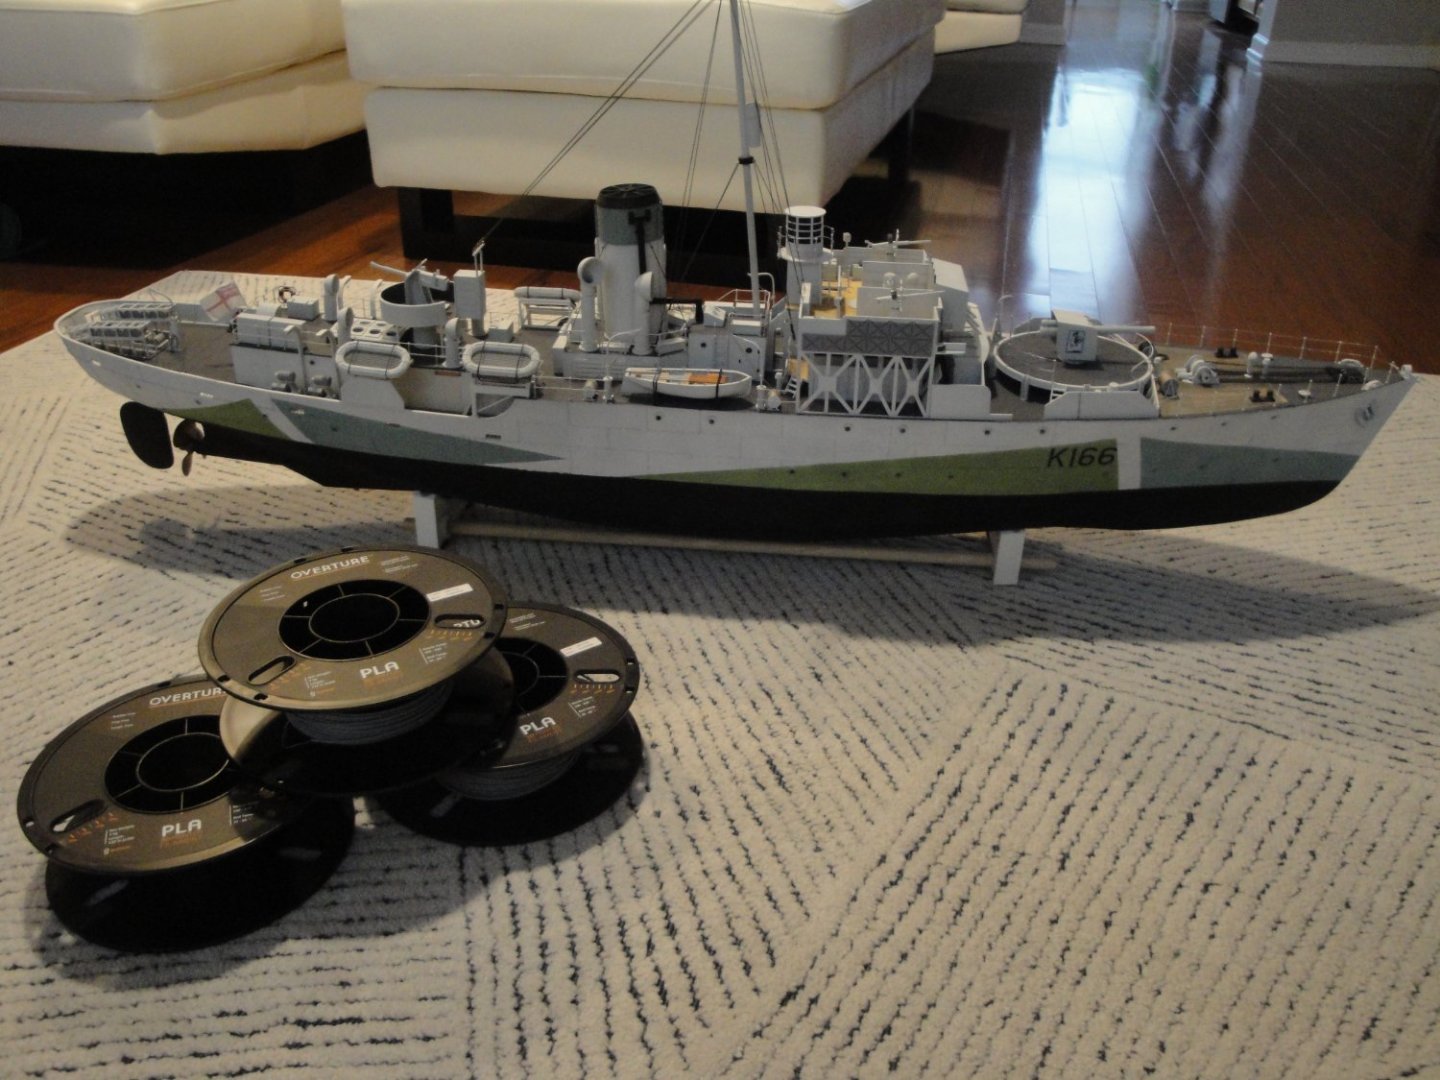
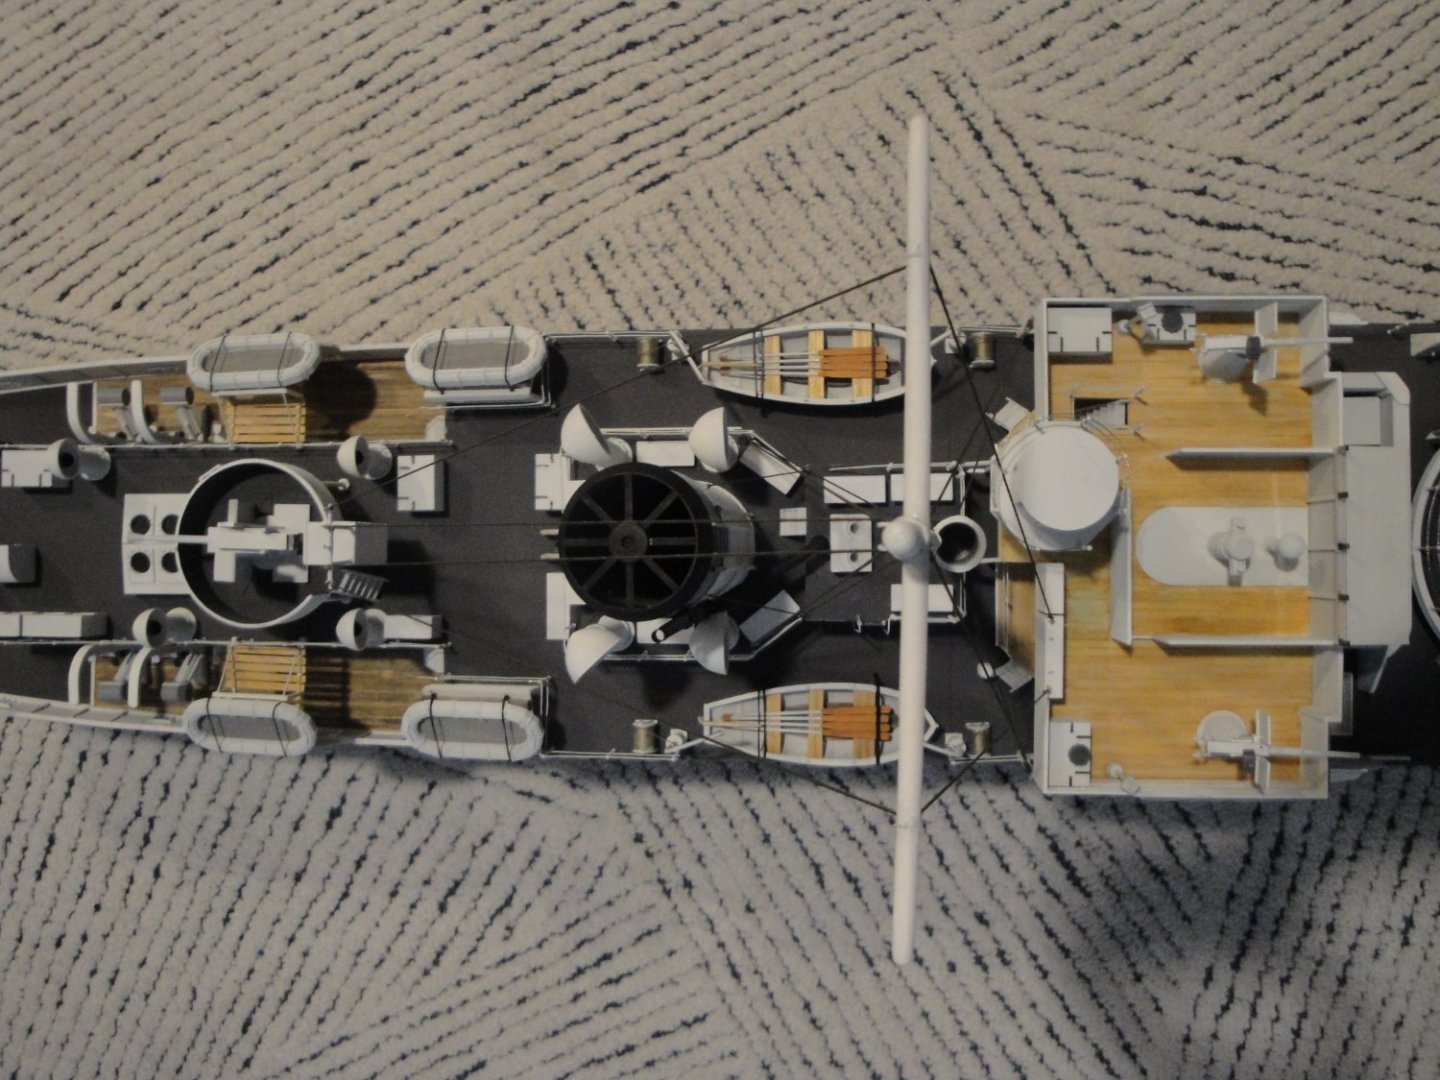
I was just weighing the Corvette model and it came at 3.163 Kgrs. Knowing that each spool of PLA is 1 Kgr and that I had to use 3 spools, the amount of PLA seems right. The excess weight are the stanchions, wood parts, propeller (brass 60 mm diameter) and paint. Yves
- 321 replies
-
- 8
-
-
- Finished
- Flower-class
- (and 1 more)
-
Don, This may not be the best forum for planes, but anything is welcomed. To get you started, you are in the right section, just hit the Start a New Topic box. Type your text and drag pictures into the lower section of the window. When inserting a picture, place your cursor where you want that picture to display, go to the bottom, select the picture you want and hit insert. At the end, just Save and it will be published. Very easy to use and one of the best engines for forums. Yves
-
Superb racer and apparently very efficient on the water. Yves
- 3 replies
-
- 1
-
-
- Gentlemens racer
- Runabout
- (and 4 more)
-
Very interesting and unusual boat. Exquisitely completed. Yves
- 18 replies
-
- 2
-
-
- card
- World of Paperships
- (and 2 more)
-
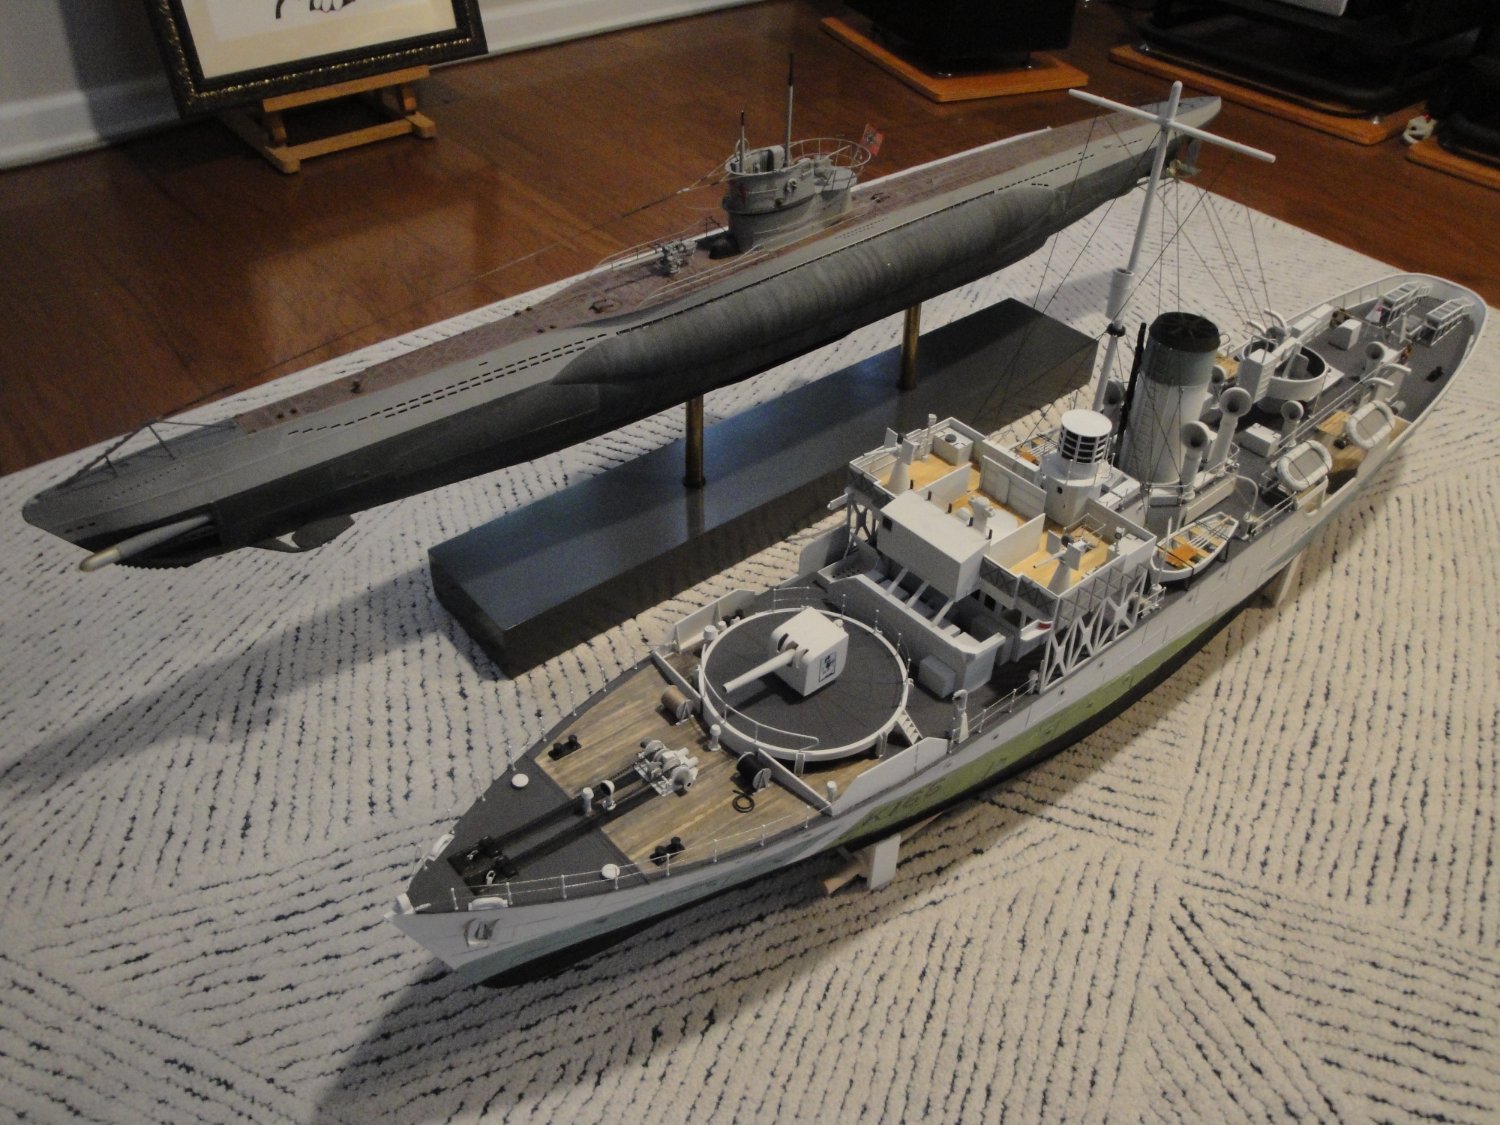
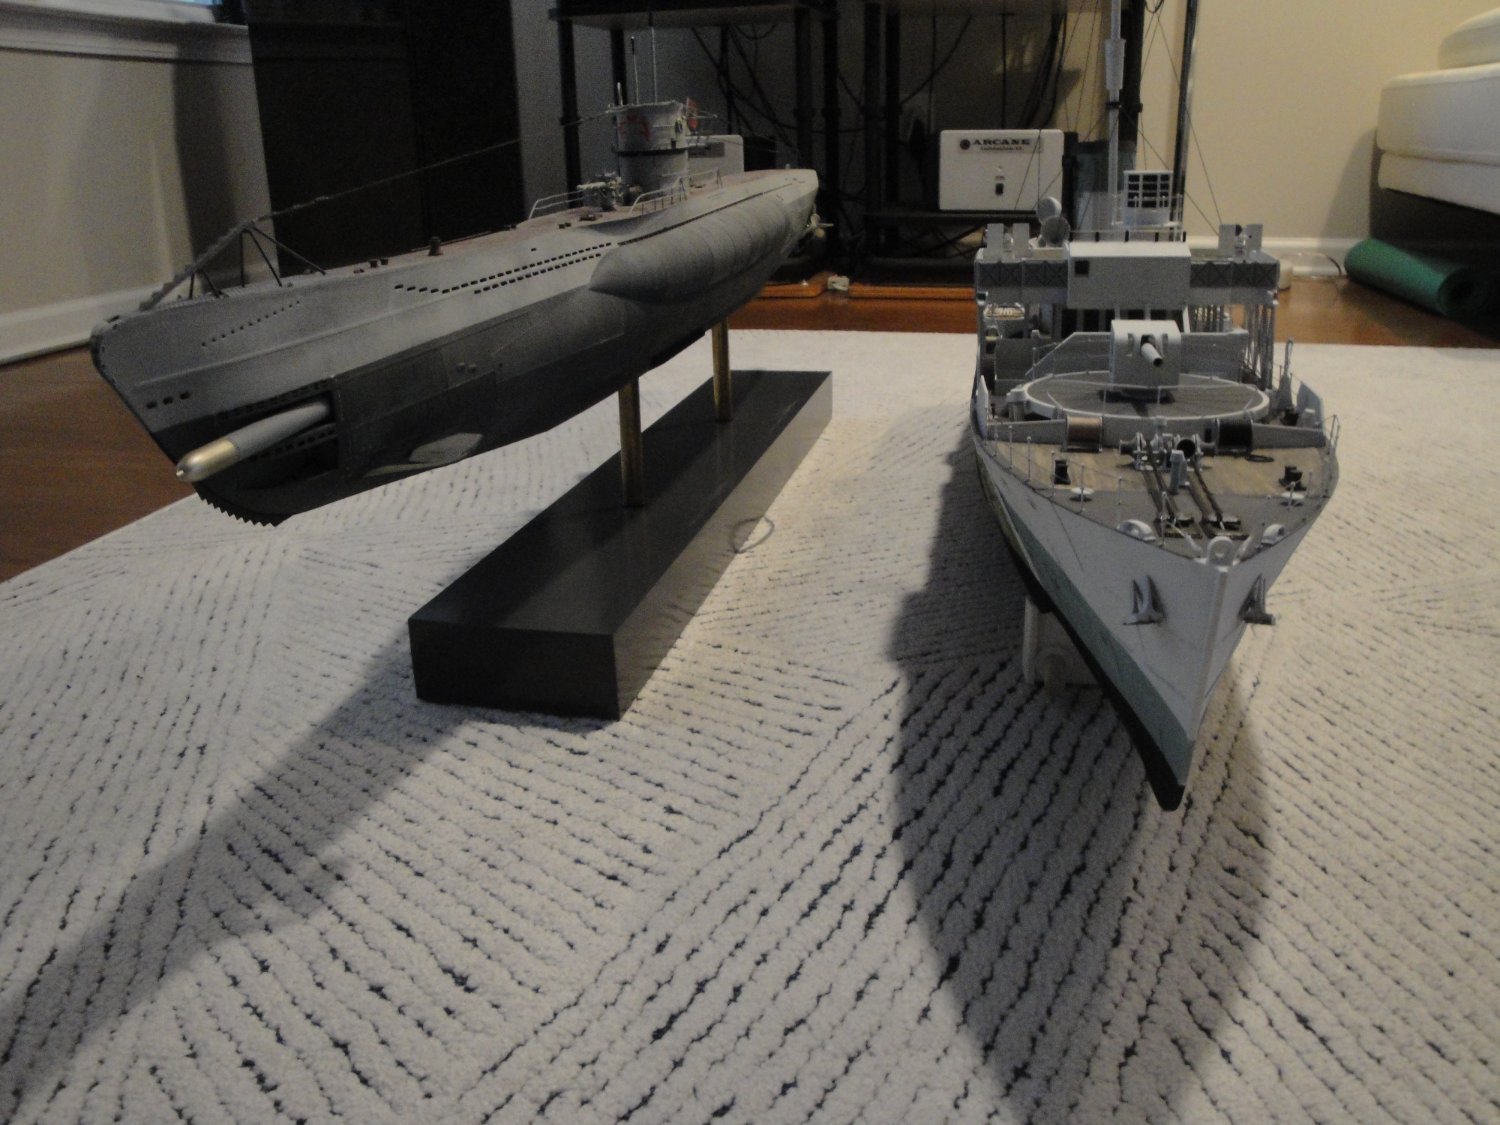
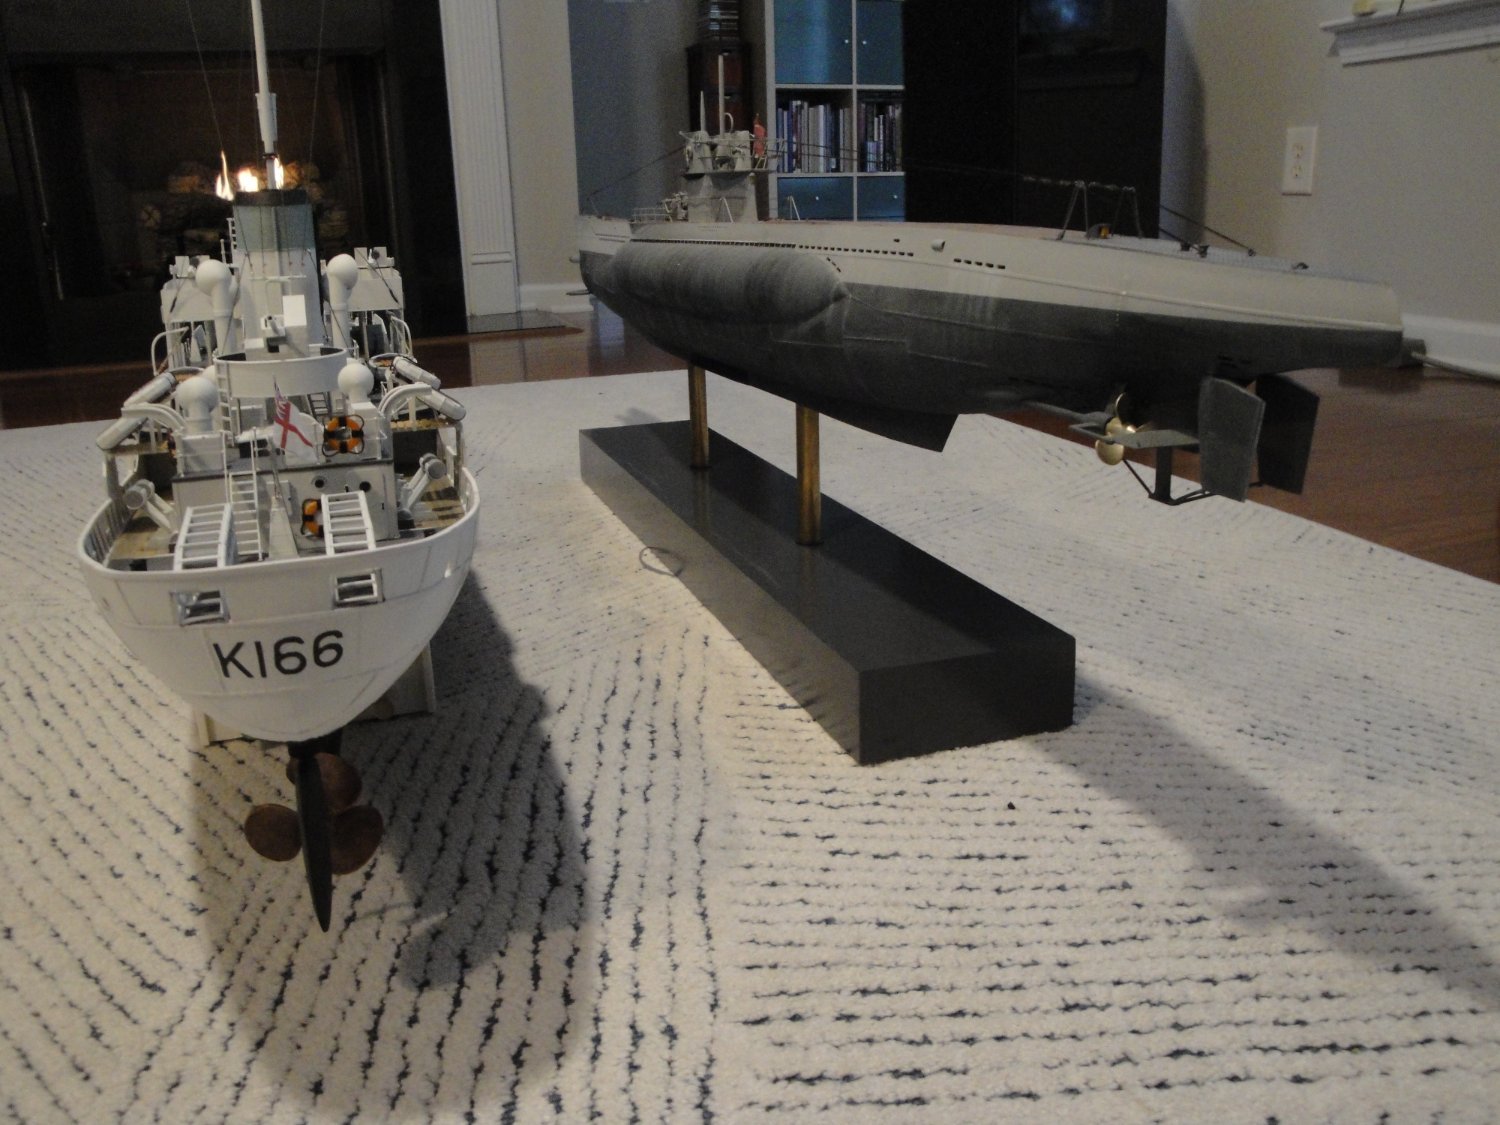
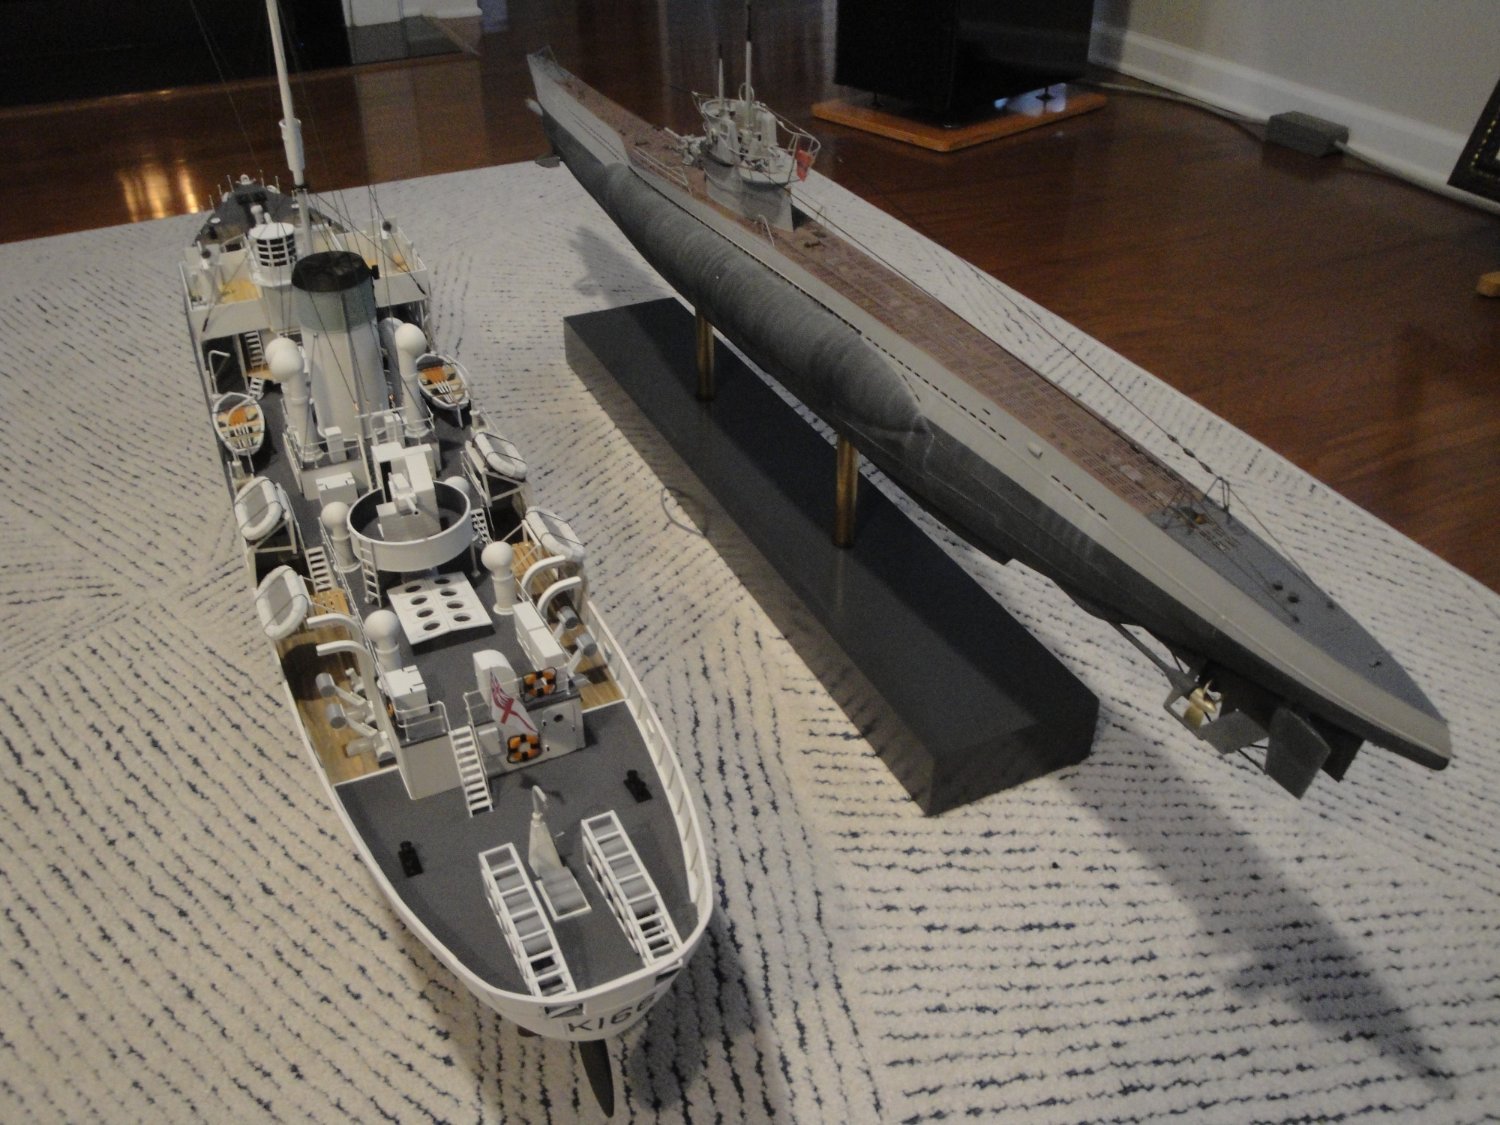
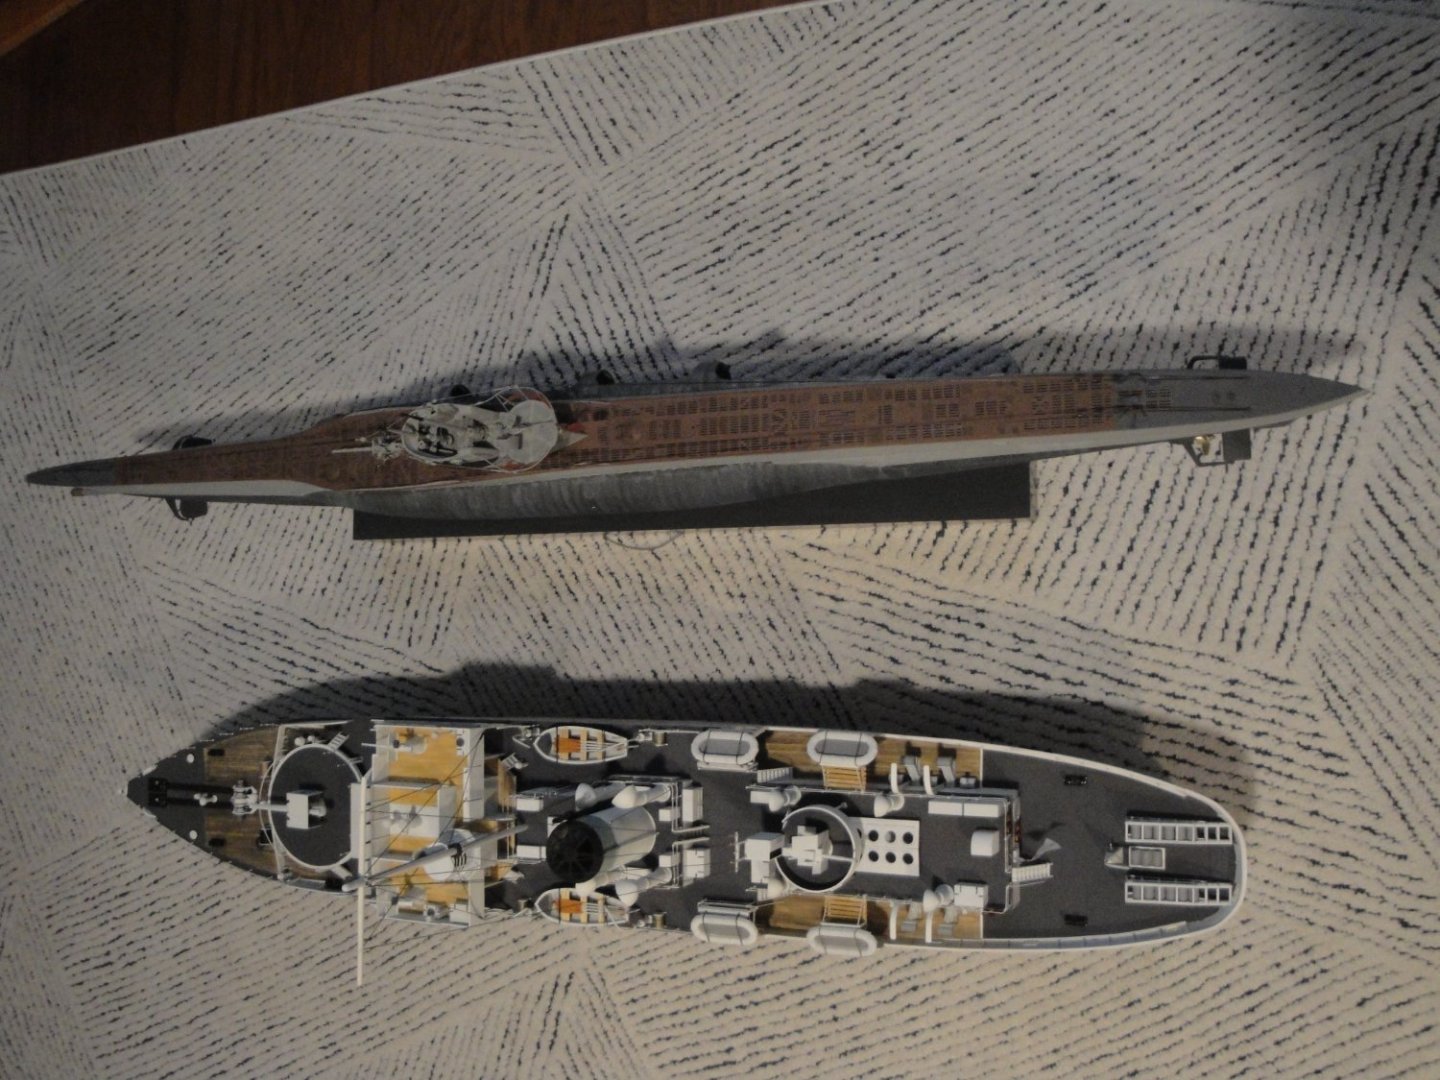
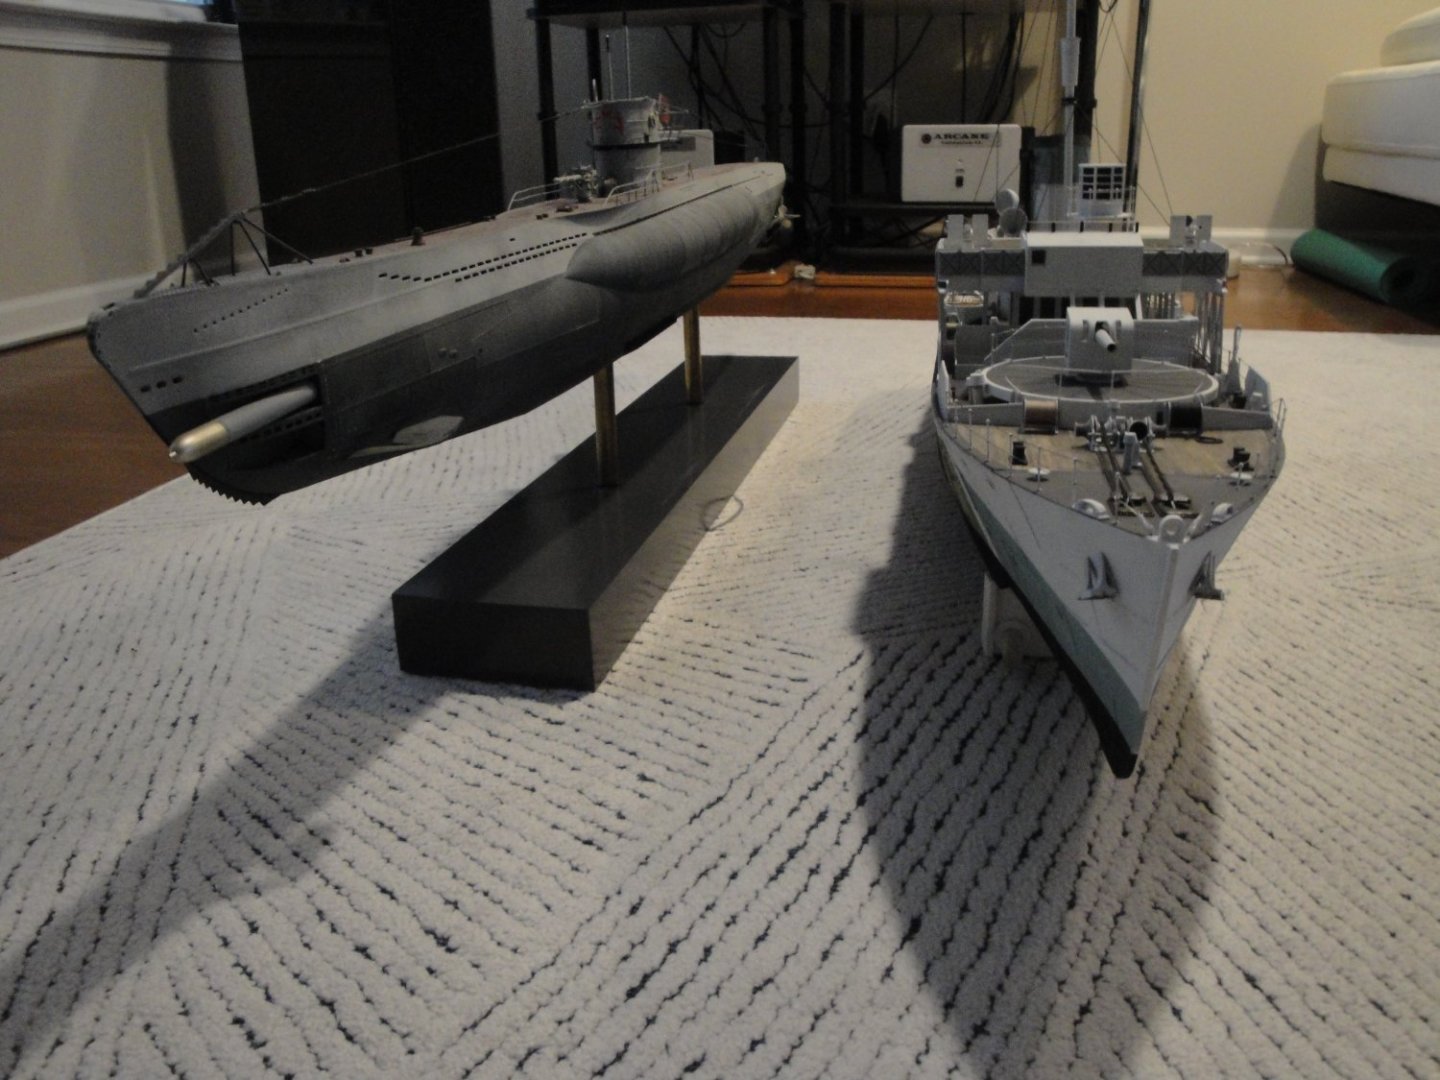
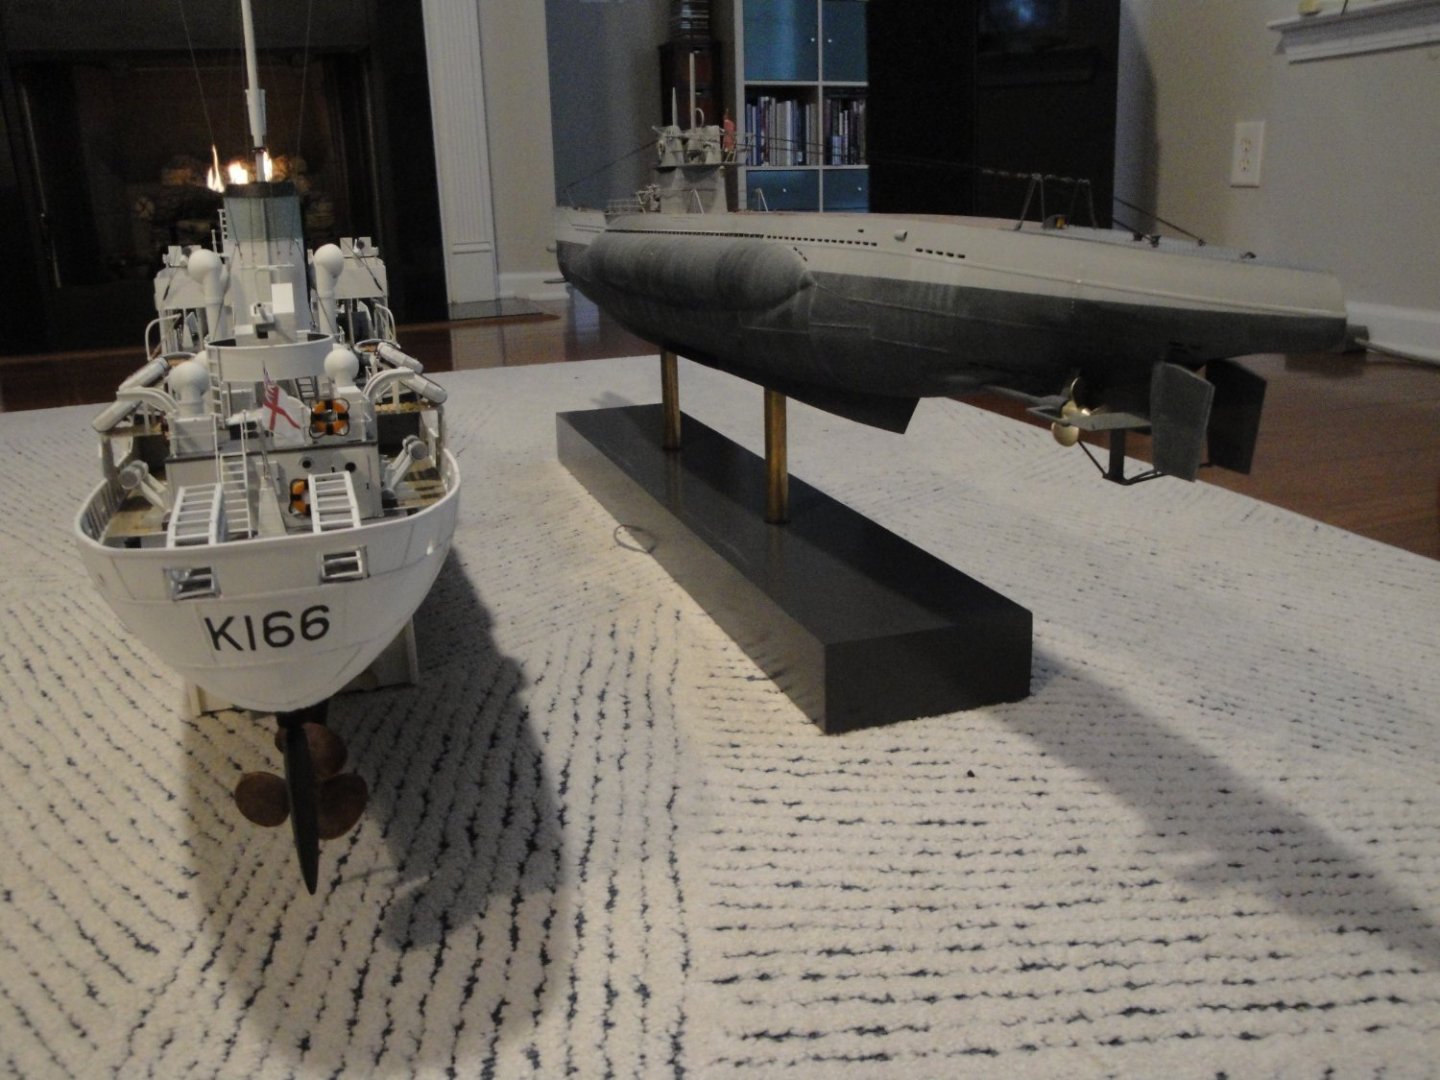
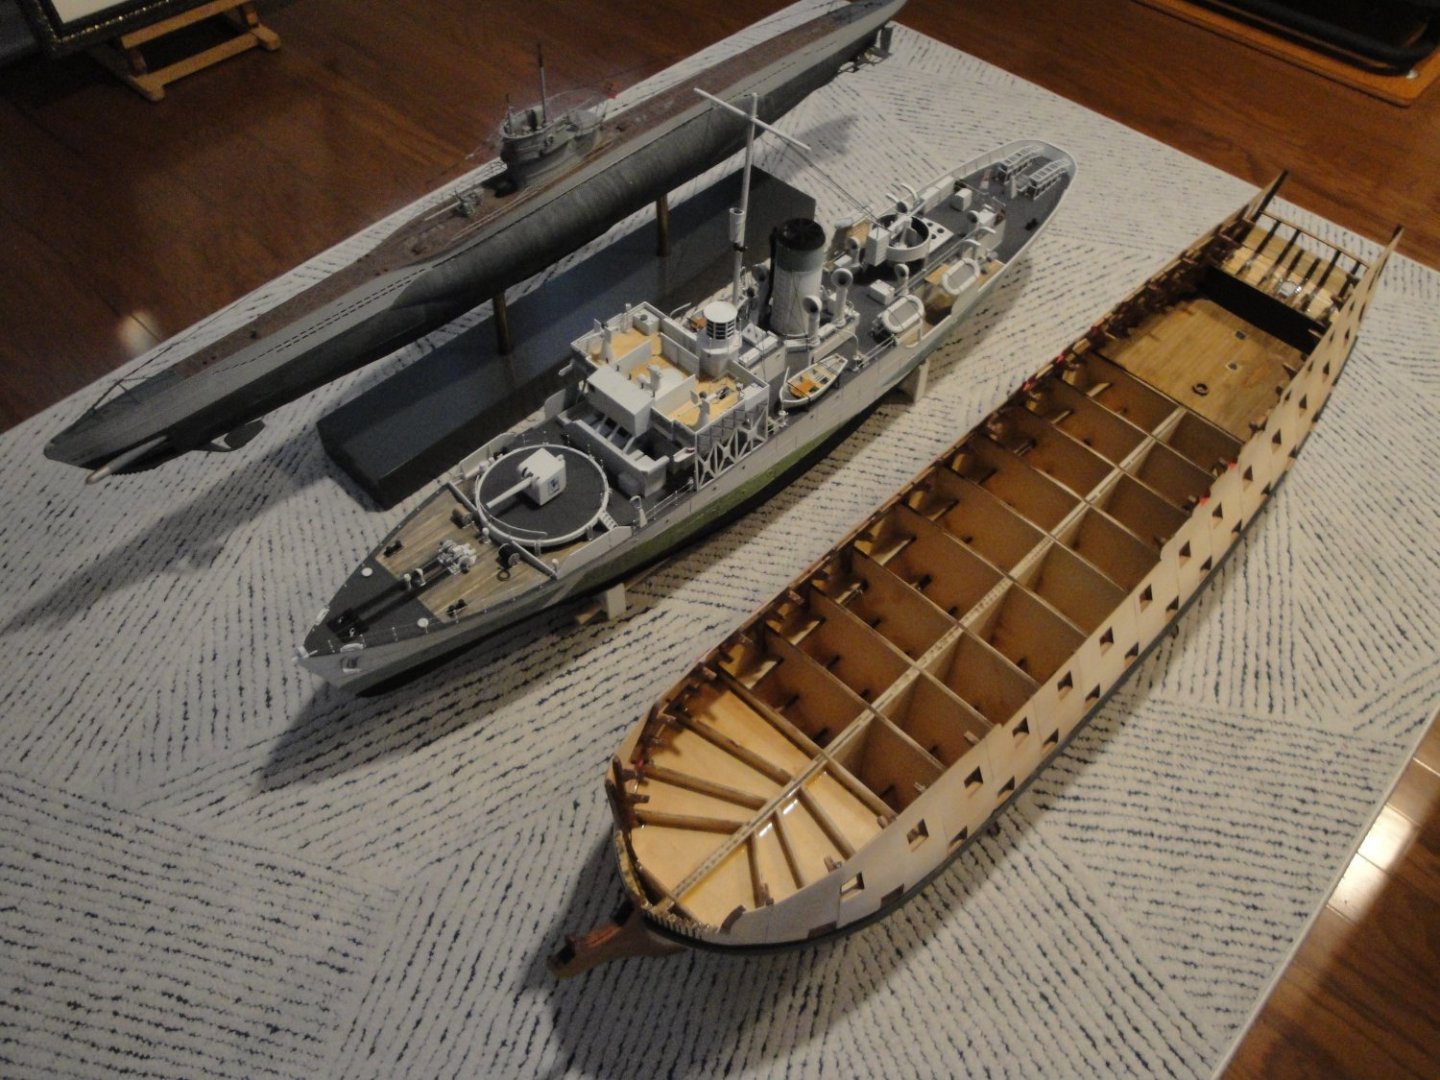
Final photo shoot, the 1/48th scale fleet: Corvette and U-Boot: And a trip in time back to the XVIII century: Comparing these vessels is quite interesting.... the 74 guns period ships were just monstrous !! I hope you enjoyed the Virtual kit building and my wish is that more models and kits will slowly become available. It is definitely a technology that deserves a lot of attention. Yves


- 321 replies
-
- 22
-
-

-
- Finished
- Flower-class
- (and 1 more)
-
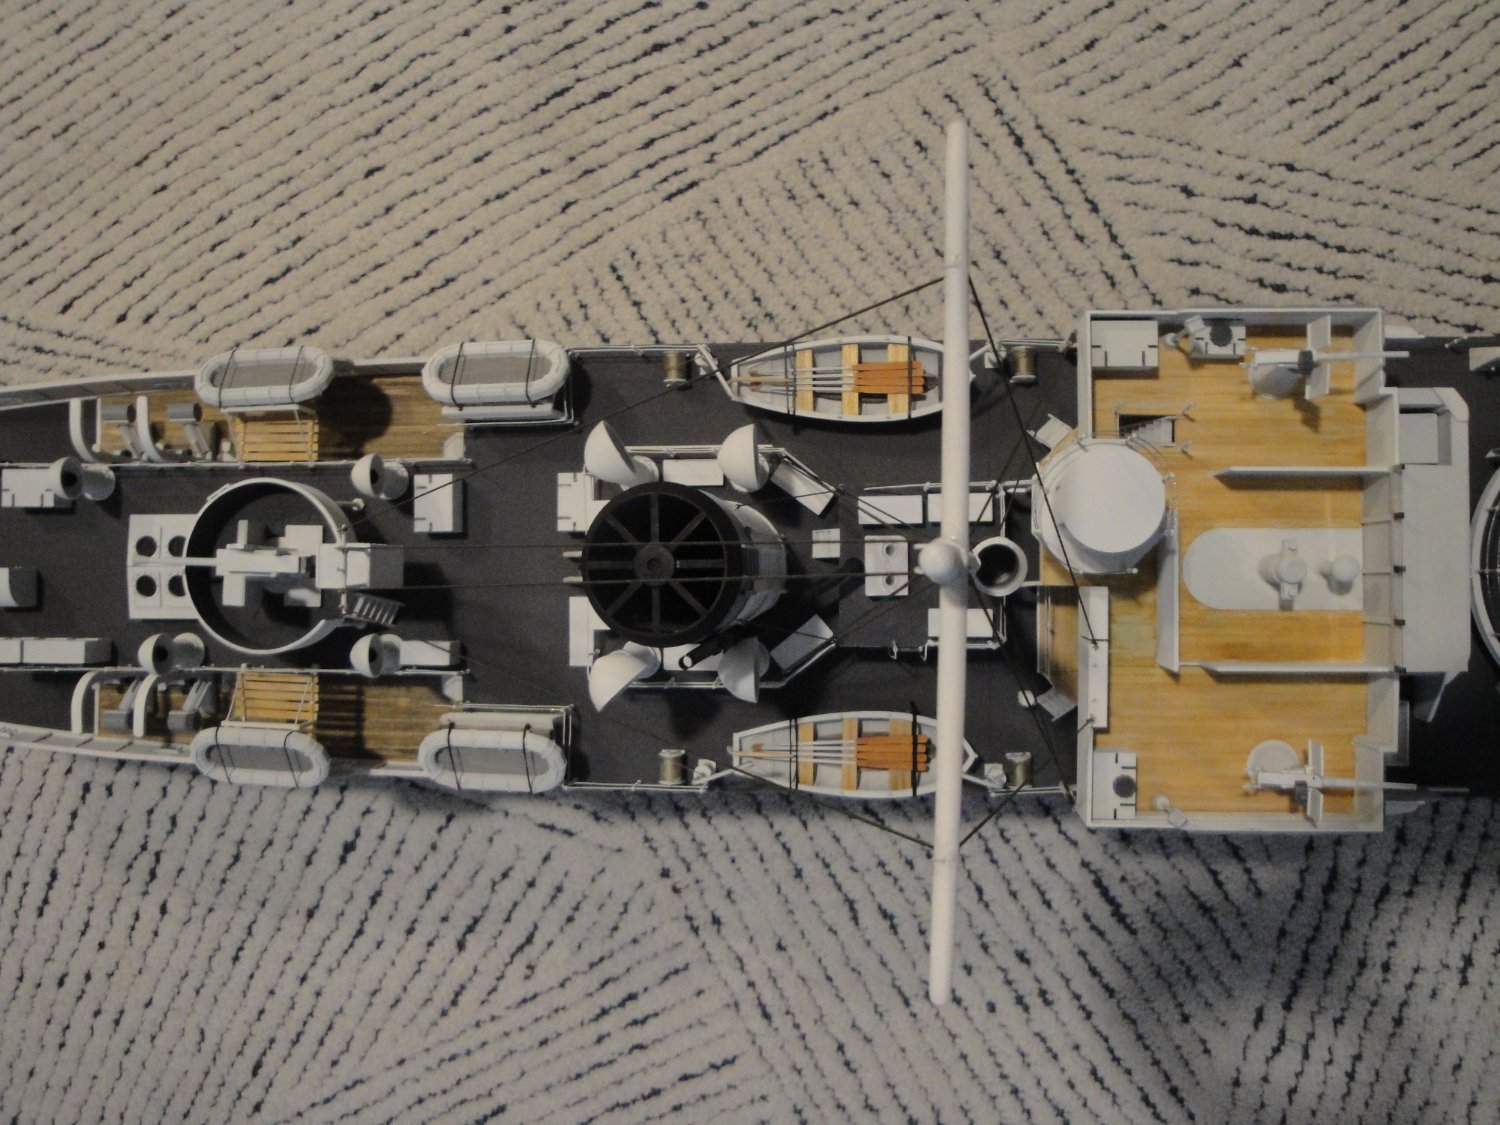
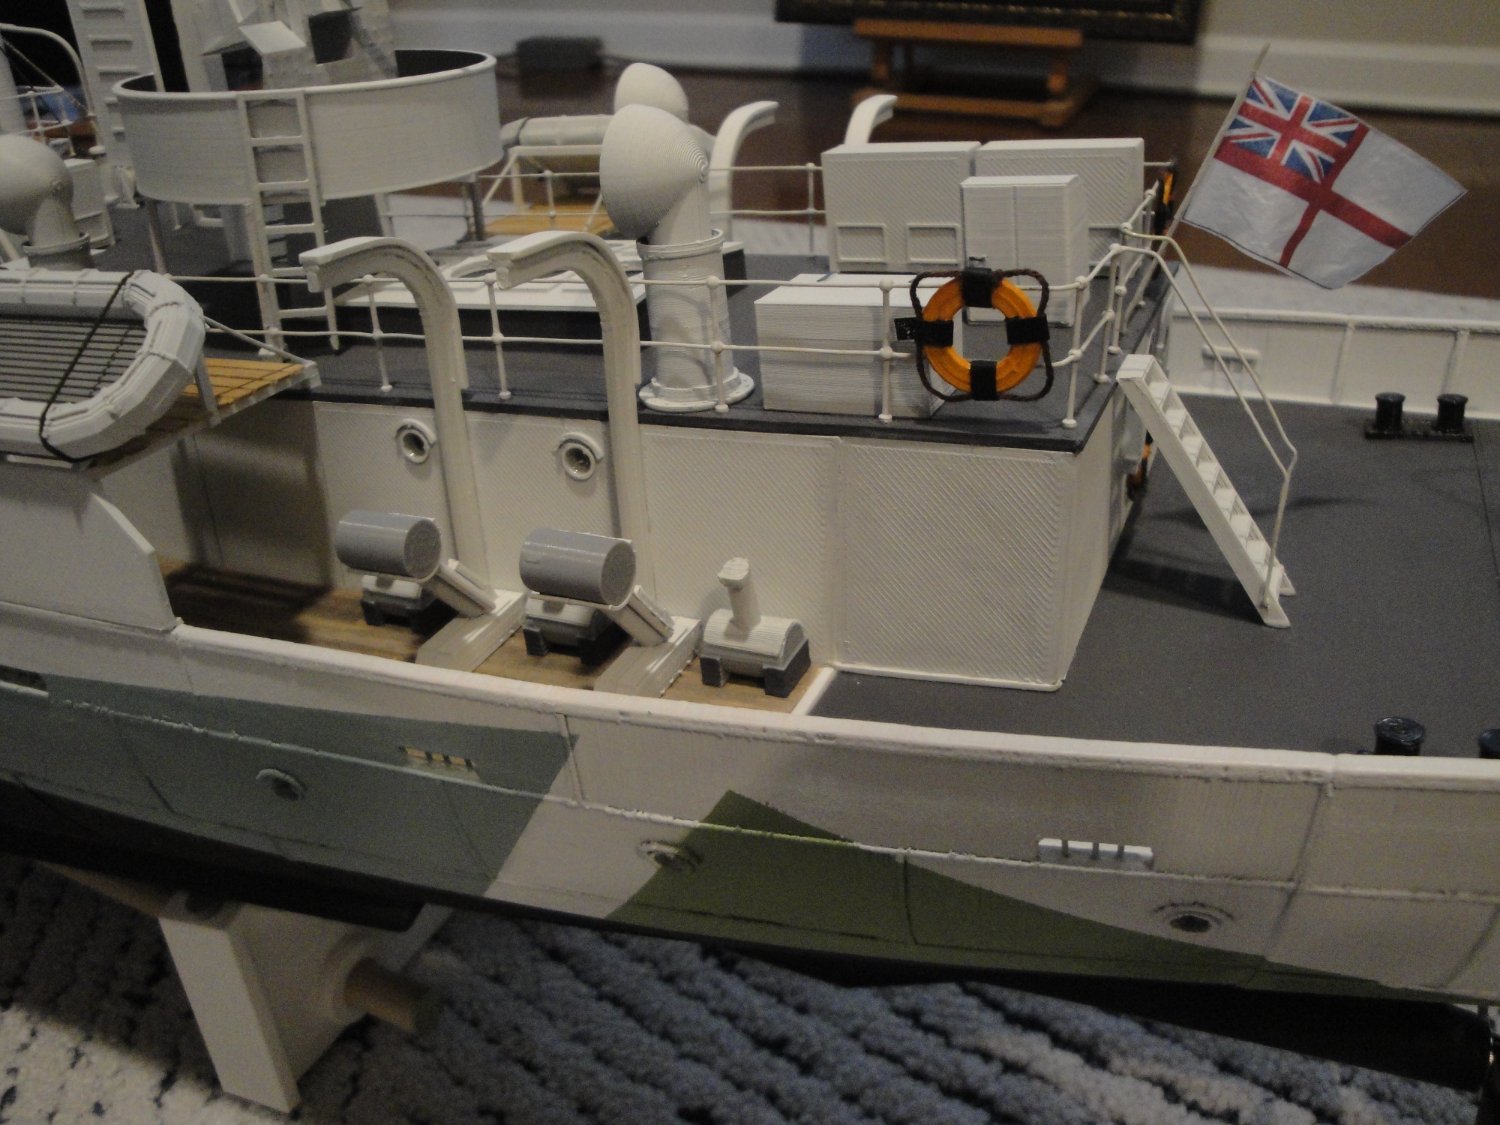
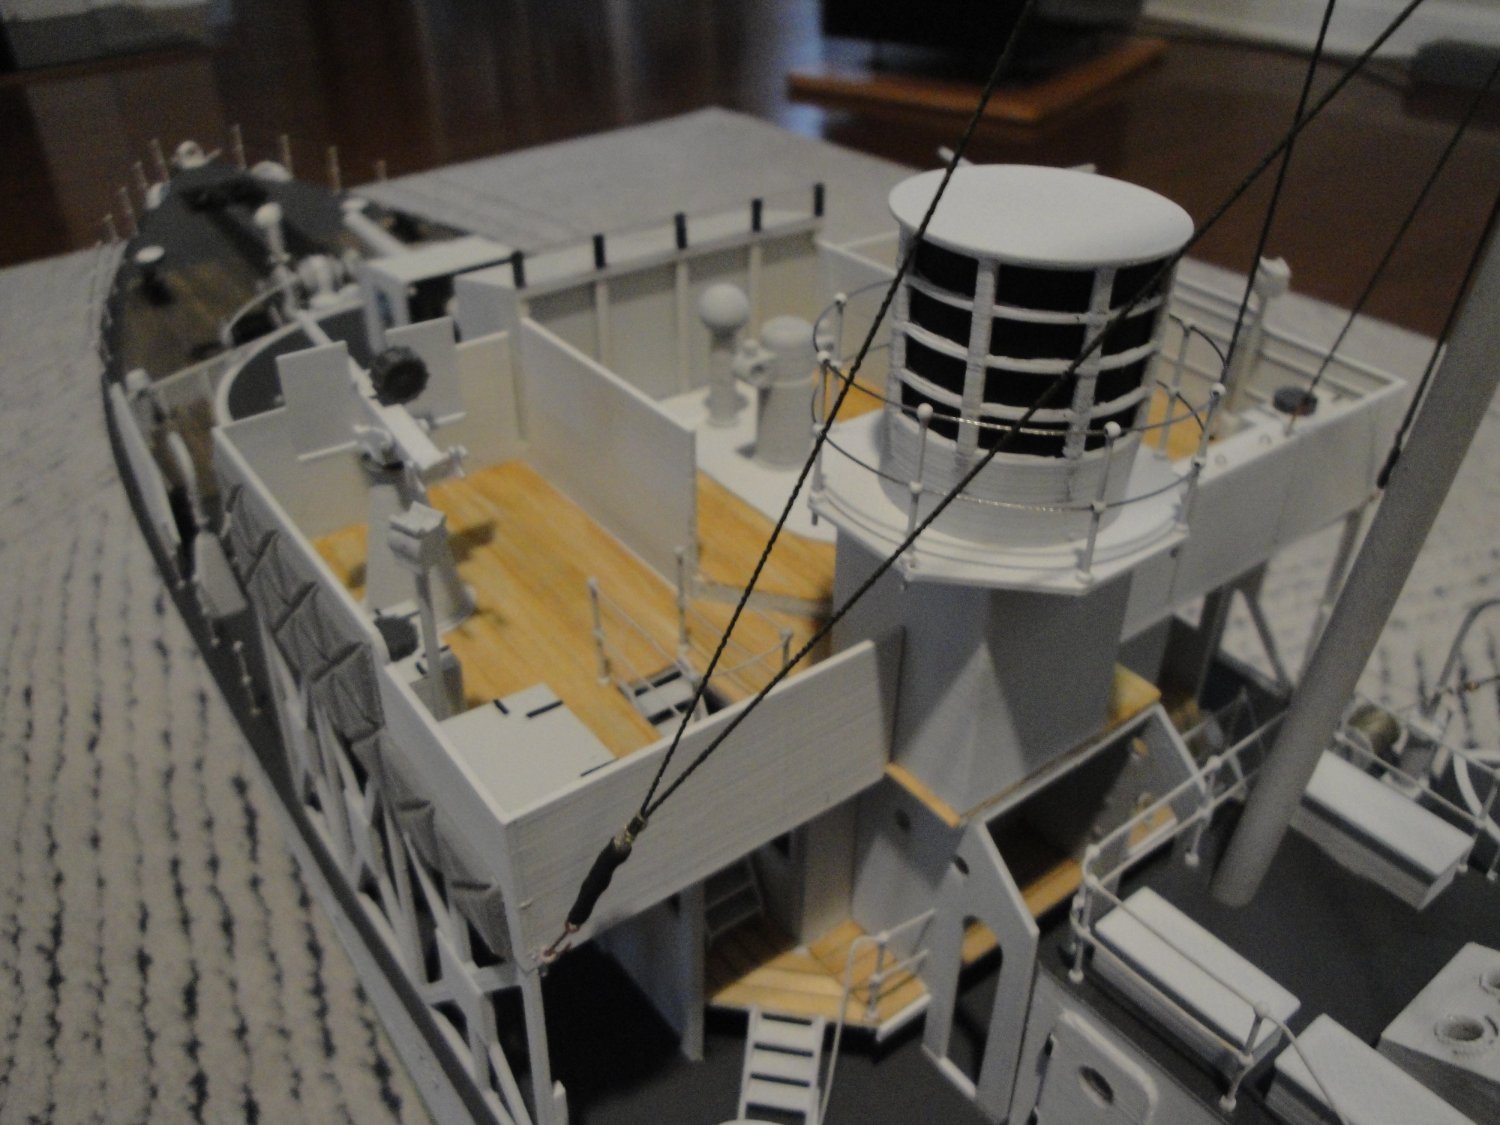
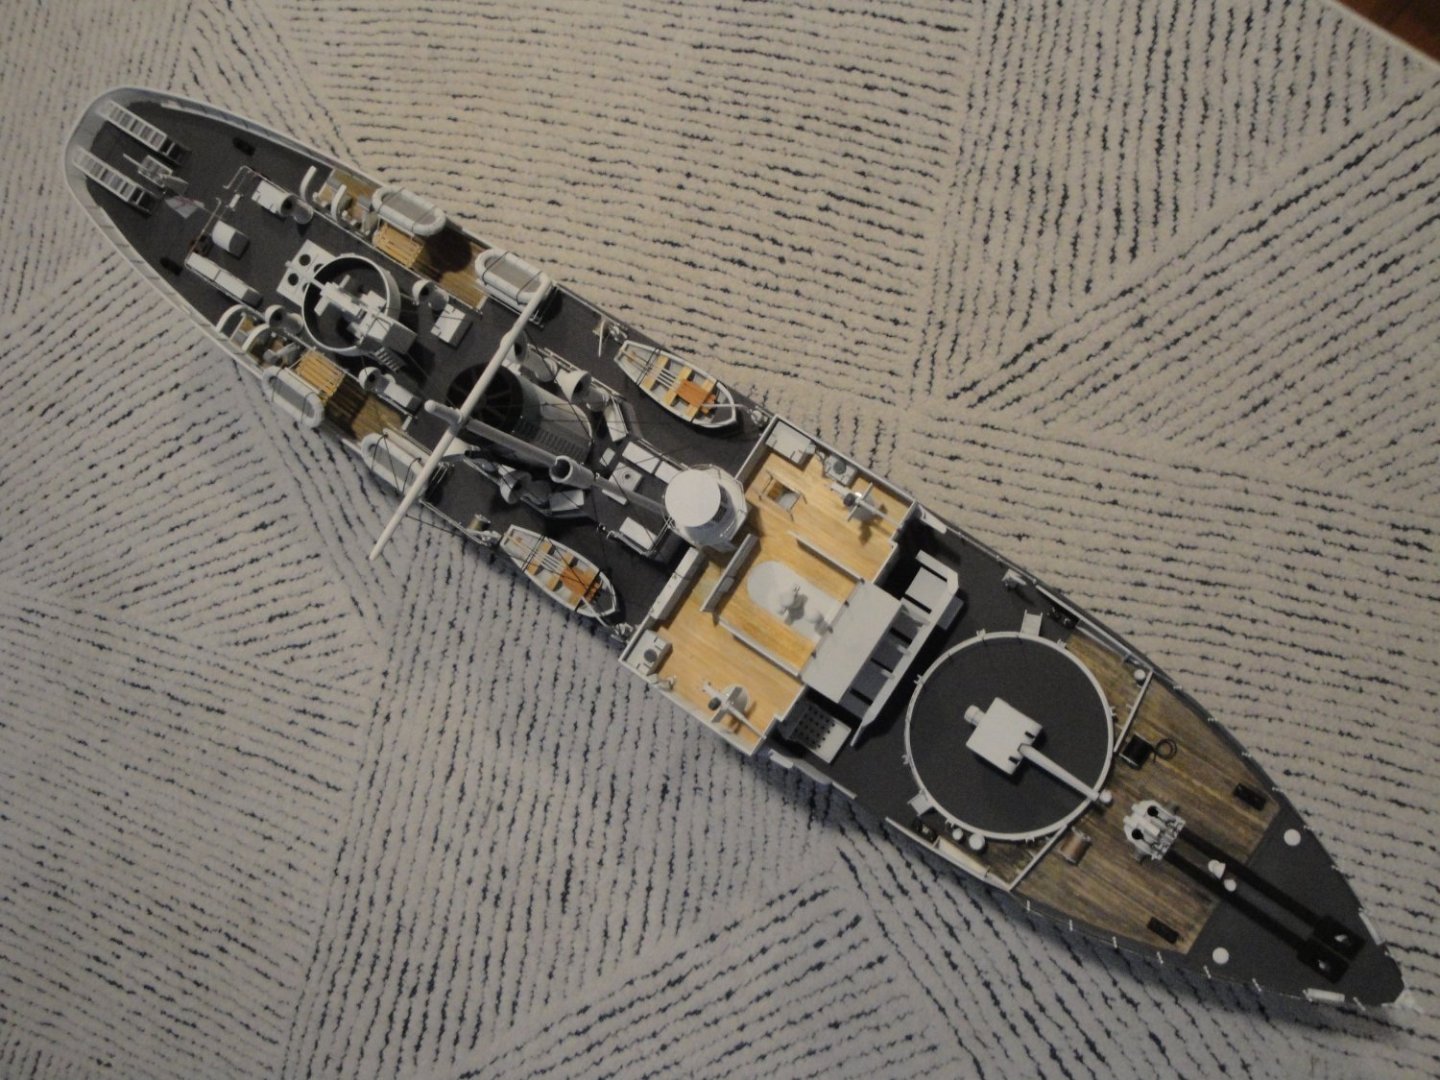
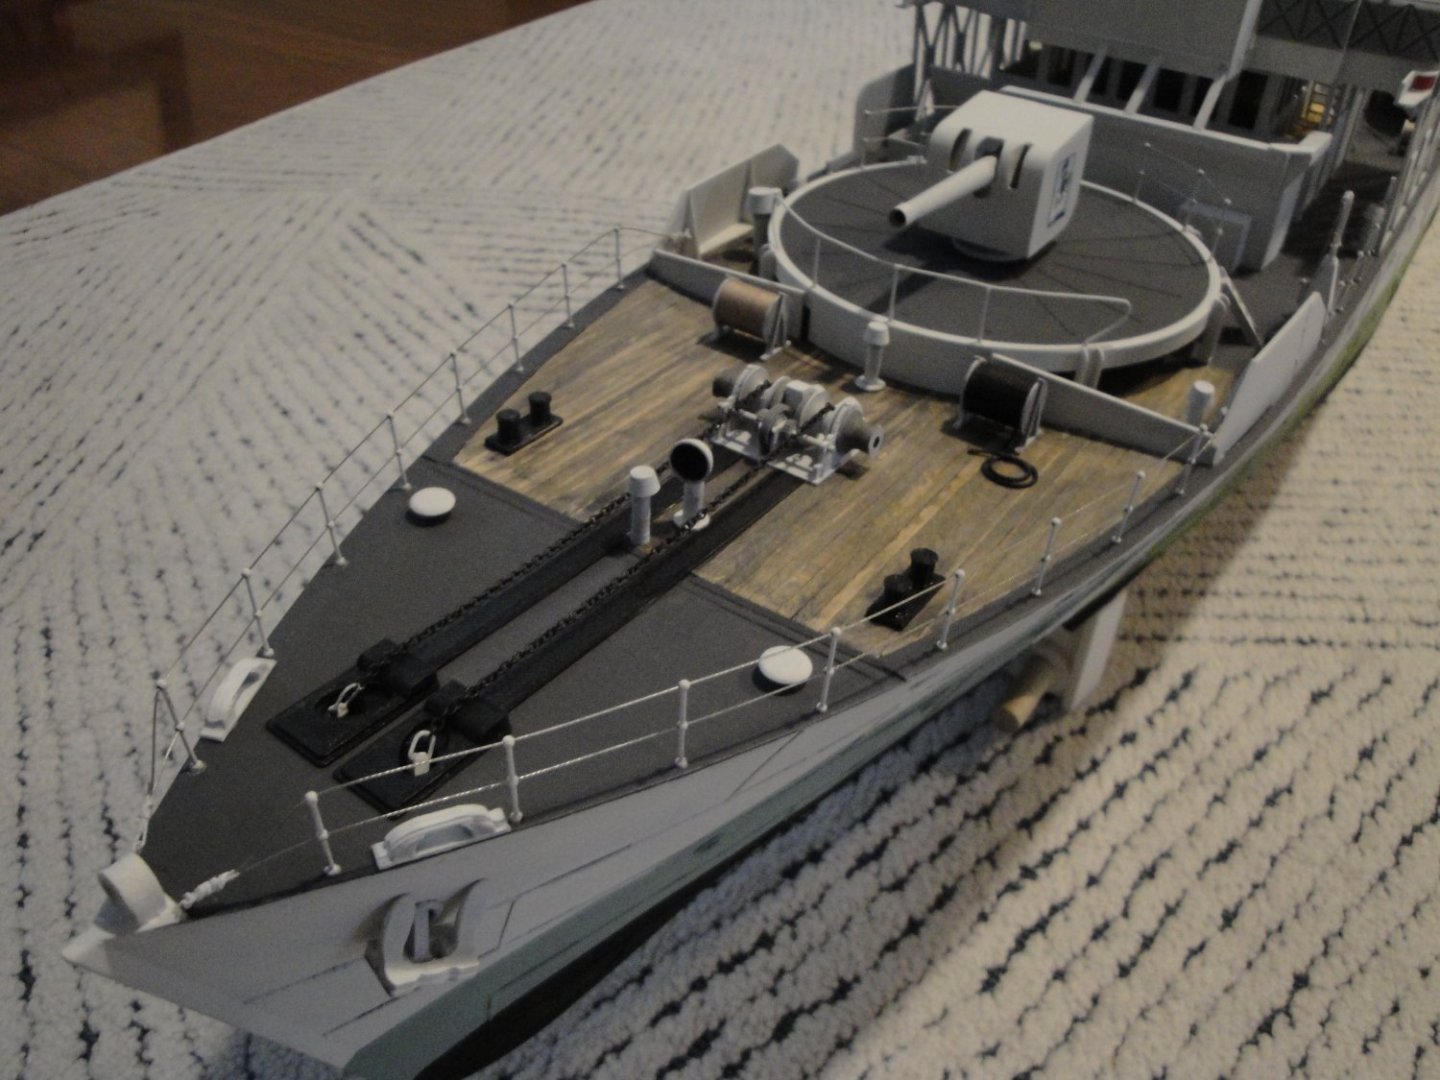
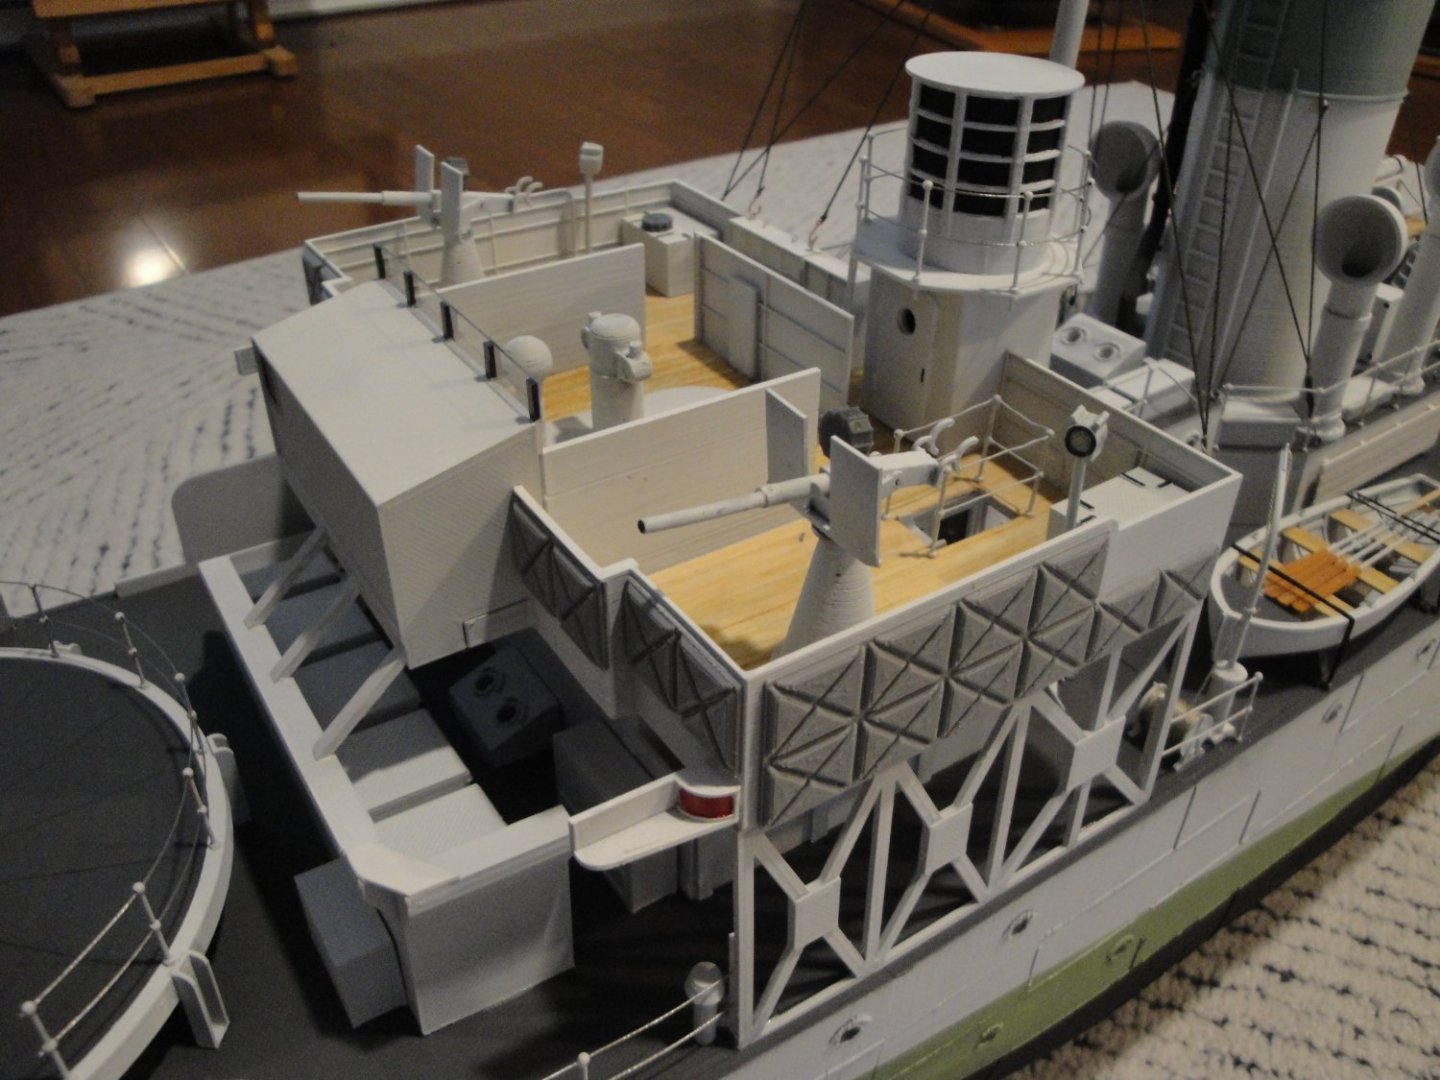
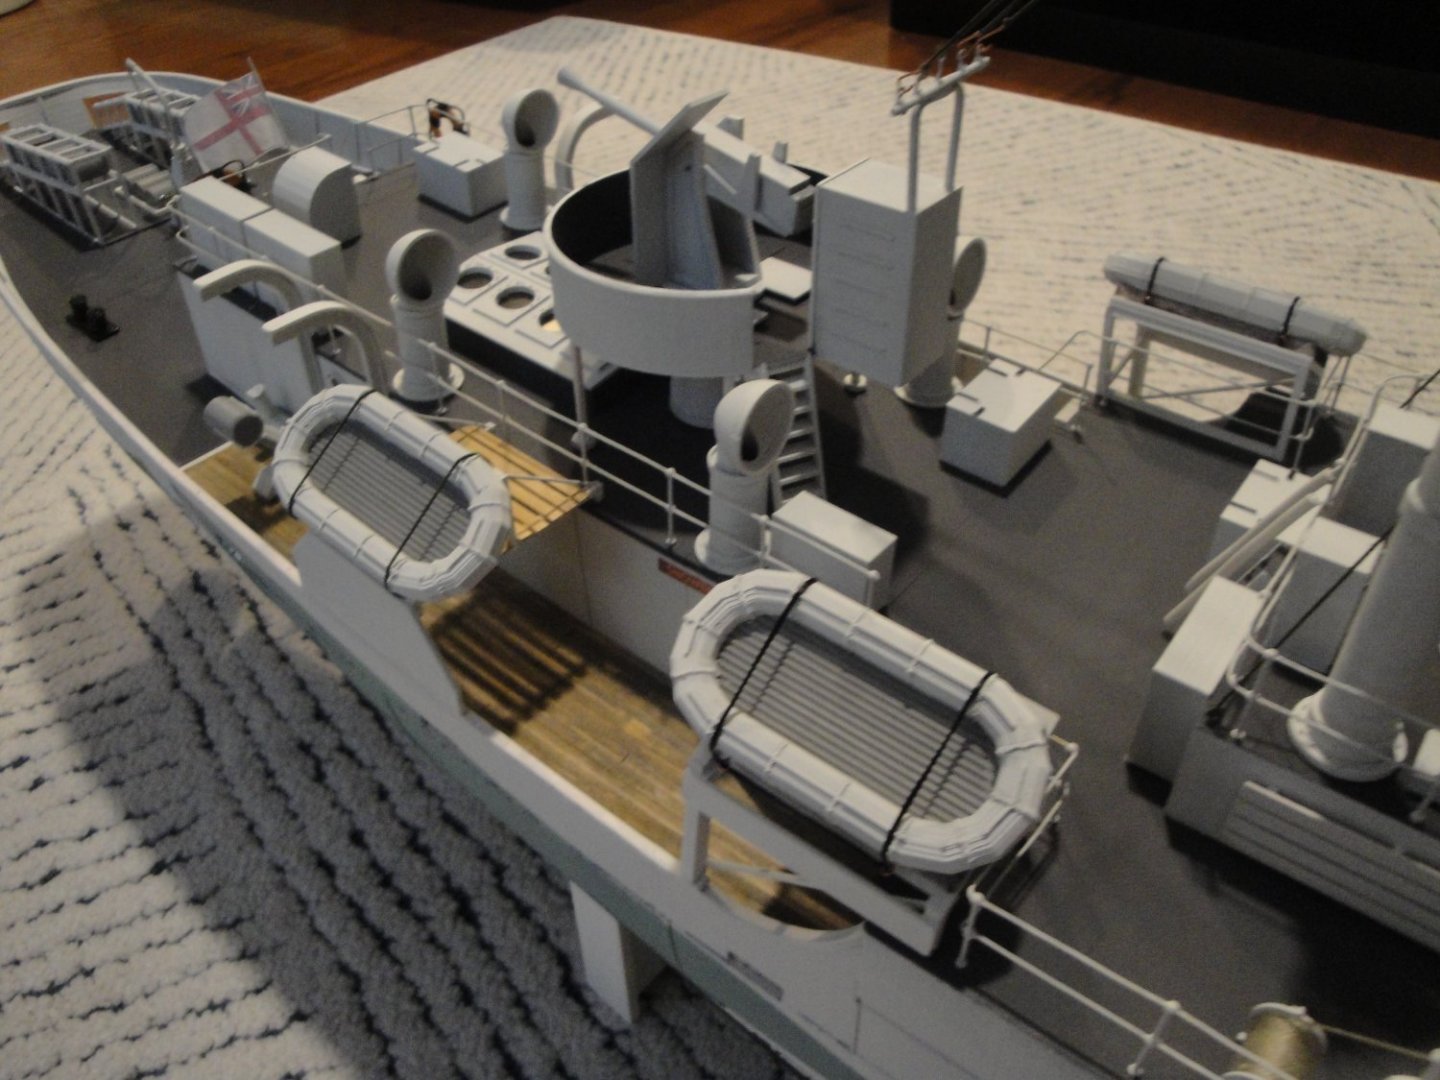
Well, it is also time to conclude on the building of this virtual kit. Overall, it has been a fantastic journey and it has given me an opportunity to learn a lot of new technologies and become familiar with 3D printing. The kit in itself may seem crude but it provides a wonderful platform for an infinite amount of details and variants of these legendary vessels. It is not exactly inexpensive, but compares very favorably with the vast majority of 1/350 or 1/200 plastic scale models with their PE pimping kits. Let's do a quick recap of the cost: License with hundreds of parts: $ 50 3 spools and a half of PLA filament: $ 67 2 cans of automotive primer for the hull: $ 20 Tamiya: Five large bottles of Flat White, one bottle of Matte black, two bottles of dark grey and a couple of various colors. Lots of glue for plastic and CA glue. About $30 of wood strips and dowels 100 Caldercraft stanchions - 10 bags at $9 each - By far the most expensive item.... Amati propeller in bronze $12 Hundreds of printing hours and assembly....but that is part of the fun. The kit can be made with basically three spools of PLA if you are very careful and do not waste any. PLA is very affordable and is actually the cheapest material in this kit. It also offers the characteristics to bio-degrade if you ever bury your model in the dirt: after 50 years, not much will be left. This can be important when compared with Polystyrene kits and models that will not disappear unless they are recycled and turned into bumpers, plastic bottles or other consumer parts. The BENSWORX virtual kit comes with an excellent assembly guide and offers a plethora of parts, with a few minor exceptions. Most of the parts can be printed on a PLA printer. I would recommend fine and detailed parts to be printed in a resin printer, for better surfacing. Although it was not my objective, I really enjoyed pimping up this kit and trying to improve it in some simple ways. It offers a great foundation for modelers willing to recreate mini action scenes and large dioramas at 1/48th scale. More than anything else, it provides a terrific platform for Radio Control and navigation on a lake or pond. For rivets counters, procuring some parts (at great expense) from Shapeways or other printing shop may be a great way to sink your bank account and turn this virtual kit into a museum piece. From Spools to model: I am going to stop at this stage, even though more hours could be dedicated to this model. I may add the smoke floats that were kindly provided by the two Kevin's from England, at a later time. Will there be another Virtual kit presented on this forum? You bet there will and parts are already printing.... It will be another crazy and very unusual project. But in the meantime, I'd like to go back to HMS Bellona and make some progress on it. Yves


- 321 replies
-
- 19
-
-
-
- Finished
- Flower-class
- (and 1 more)