

minimini
-
Posts
56 -
Joined
-
Last visited
Content Type
Profiles
Forums
Gallery
Events
Posts posted by minimini
-
-
-
-
Mark
A master, no just lucky
Christianno but I have access to one where I only pay for the materials I cut , plus 10 $ per hour
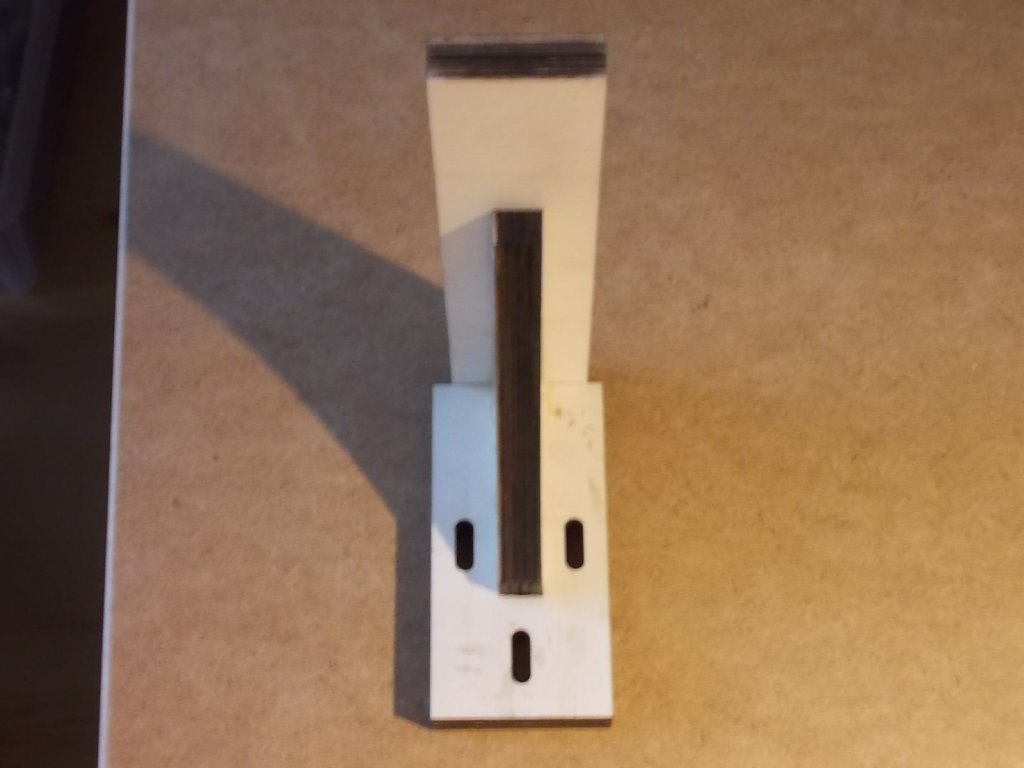
My building board is finished and the same are the 8 angle braces
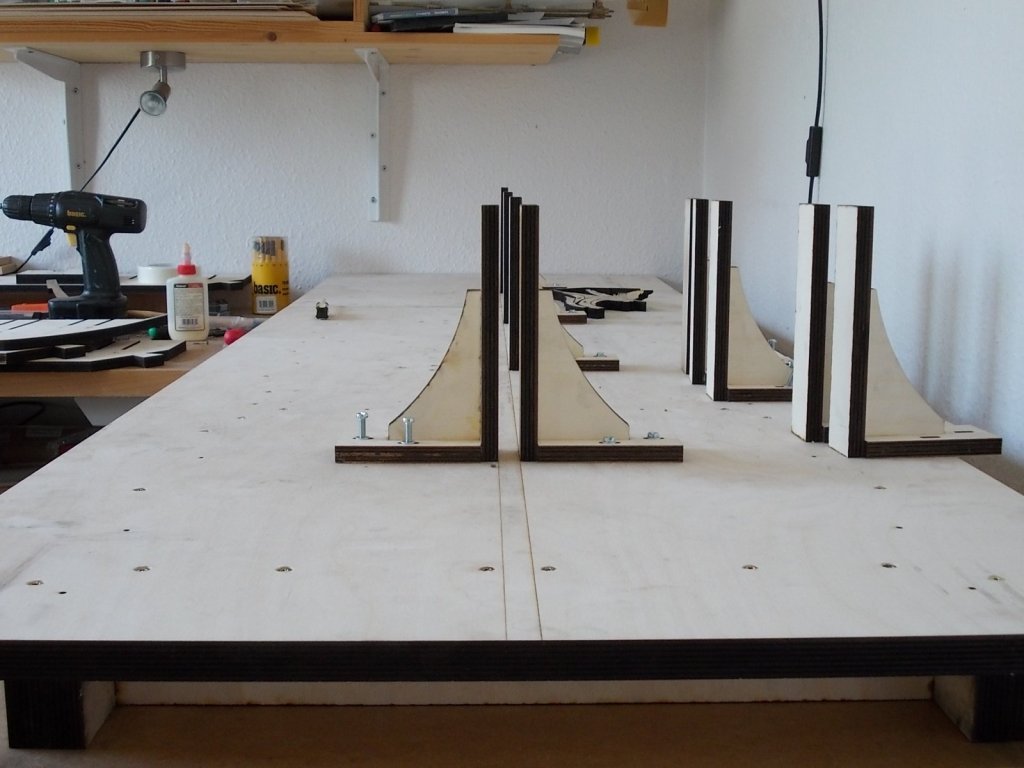

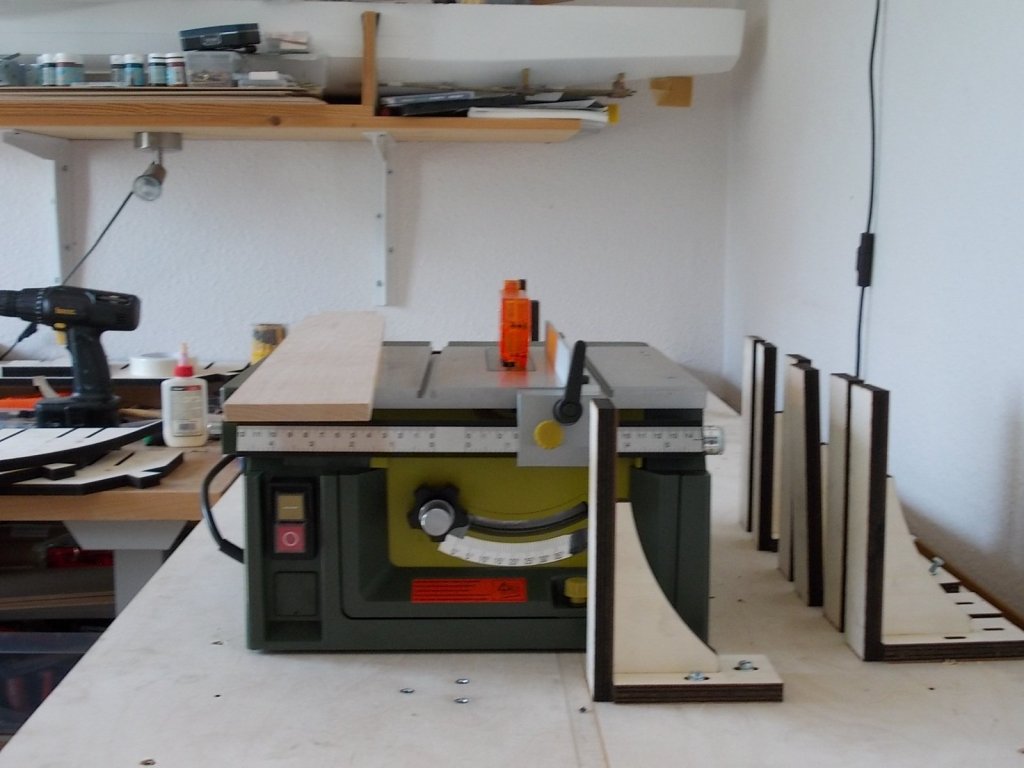
next one on the list is to cut some wood on my new table saw
Michael
-
-
Hi All
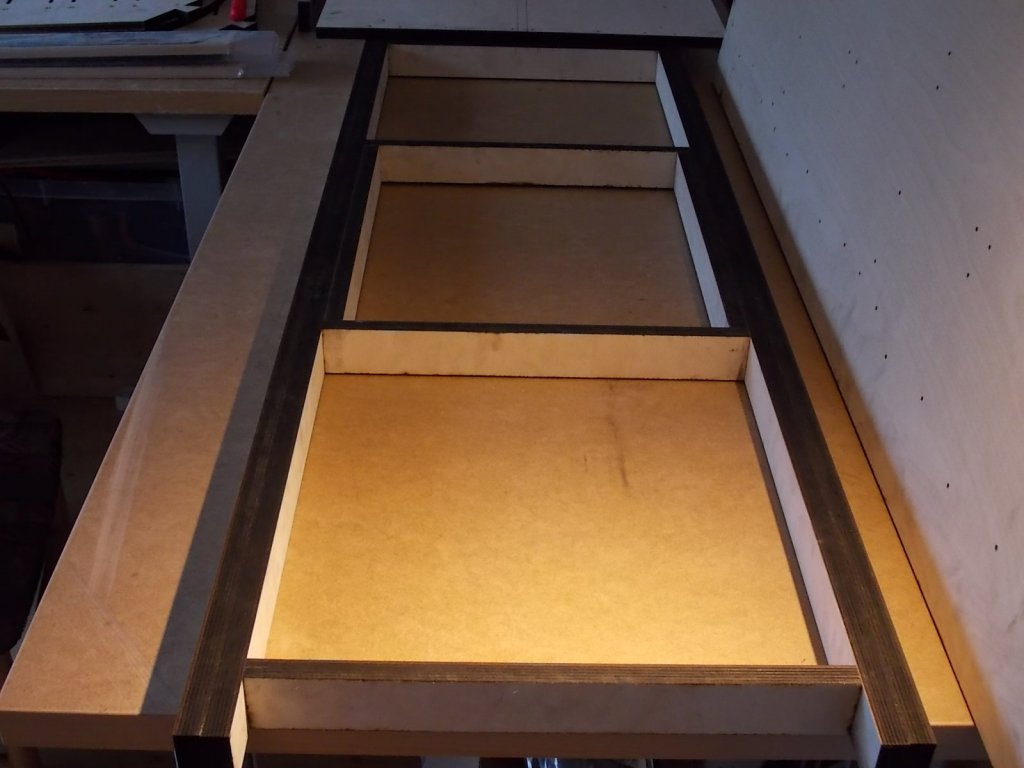
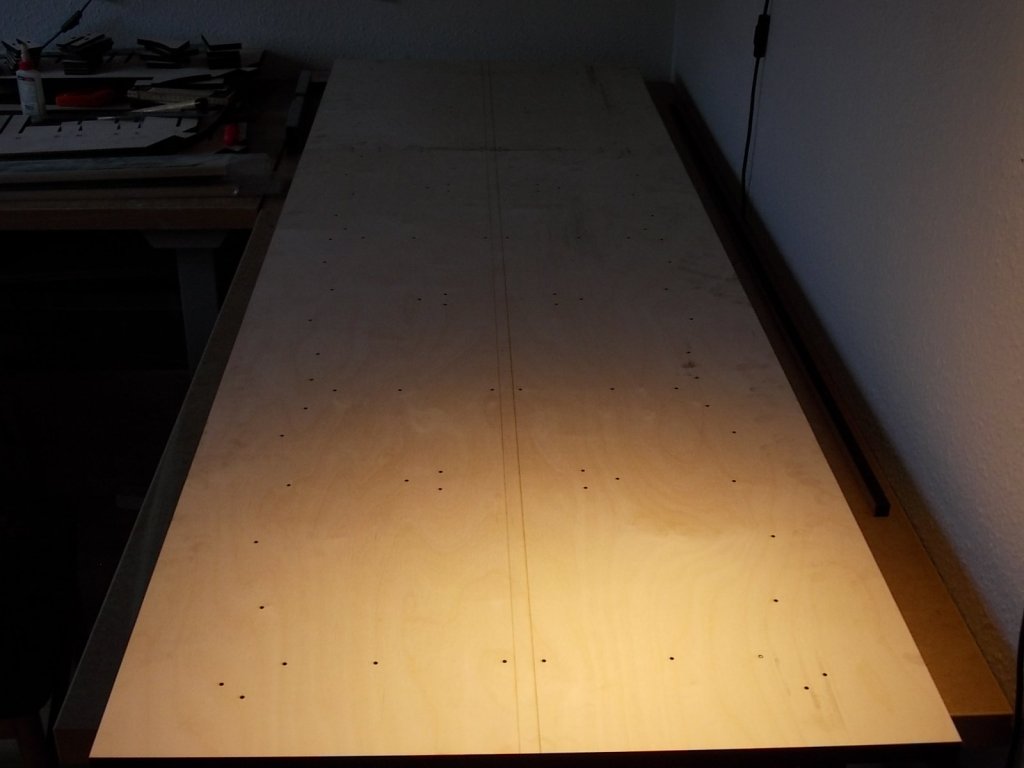
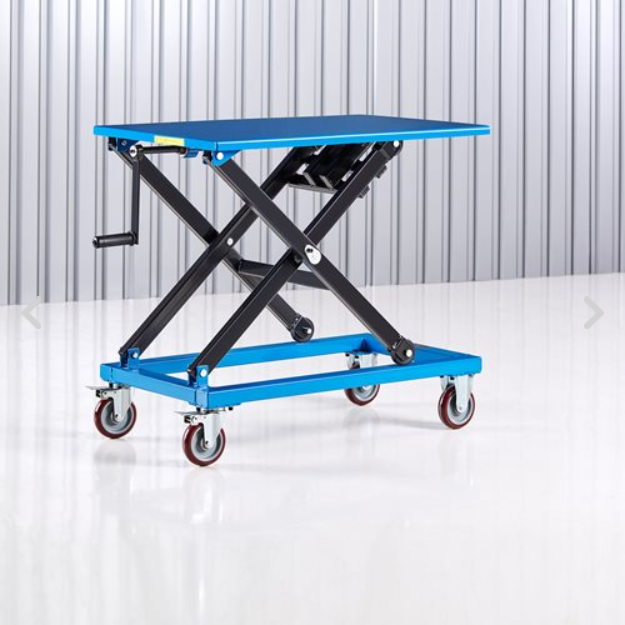
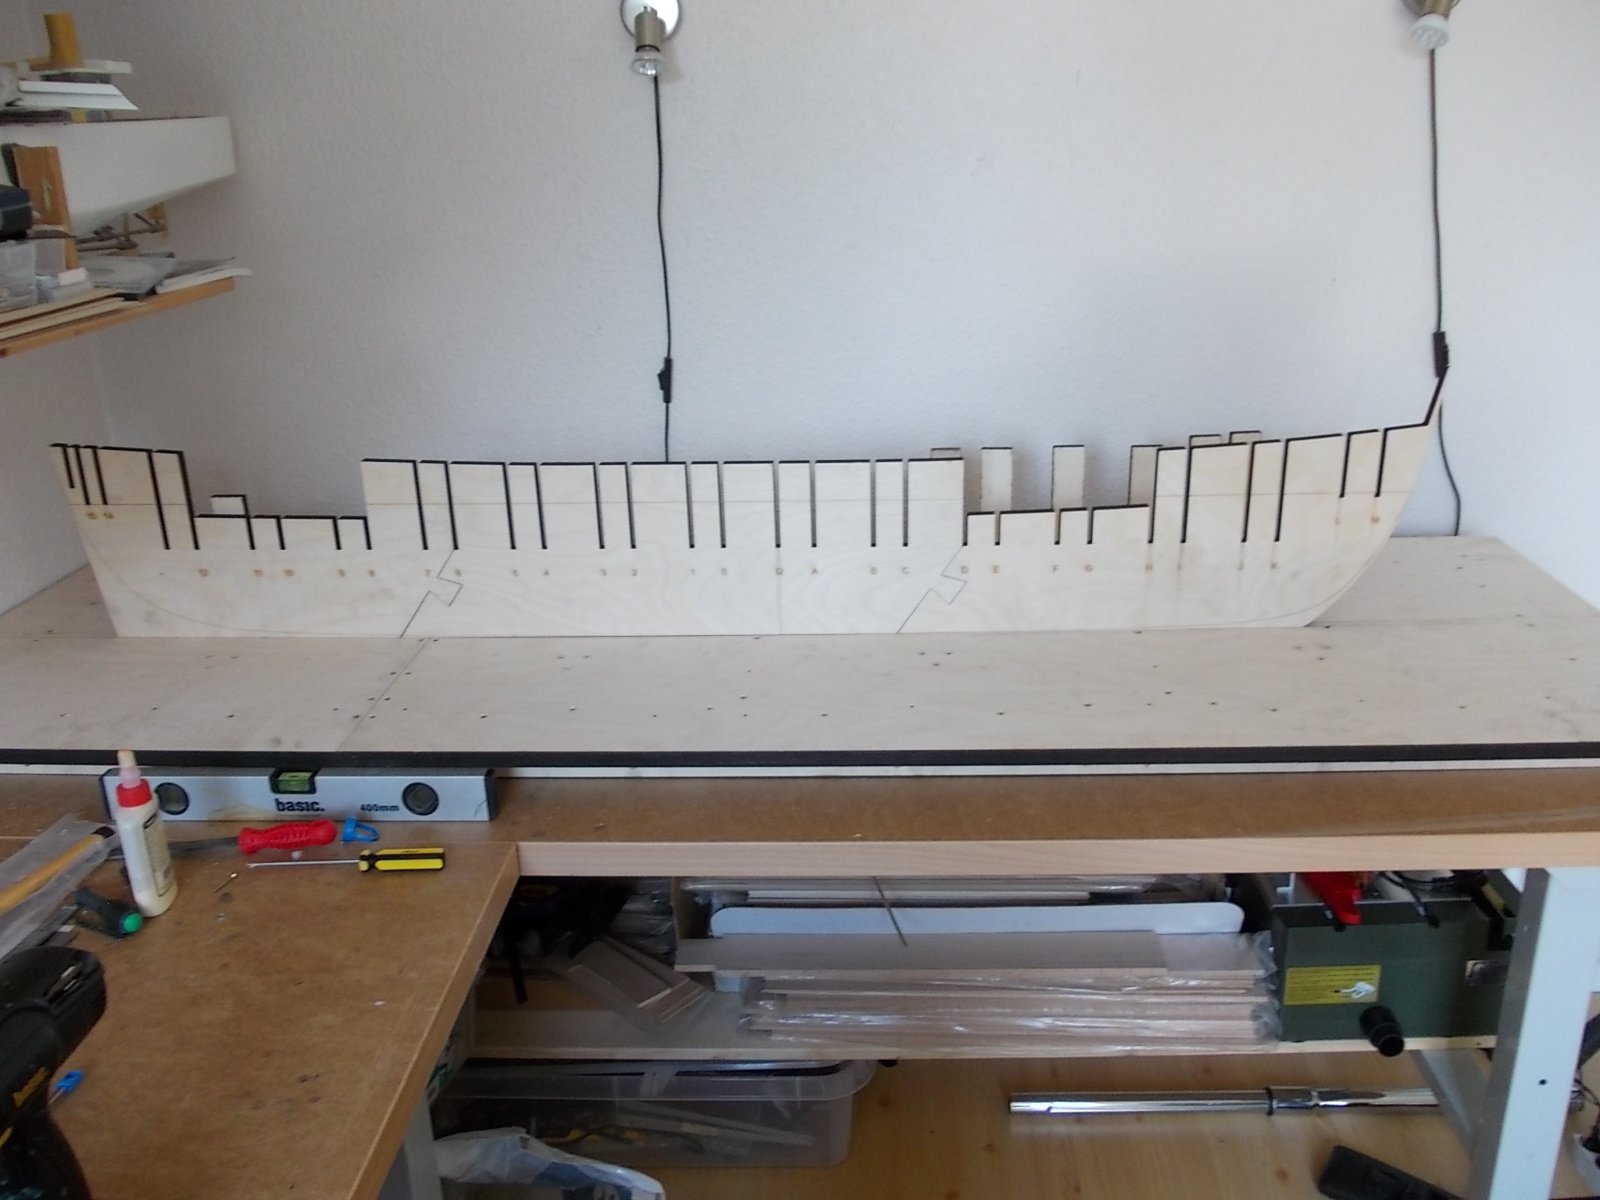
just a little update , before i start the model i have decided to make a build table it is made of 18mm beech ply 700mm wide 2000mm long (sorry for the bad picture)
All the bulkheads ( 32 ) and the 9 pieces that make up the stem I post some picture in a few days. out of the 32 bulkheads I only mess up one
Michael
- GrandpaPhil, AntonyUK, G.L. and 4 others
-
 7
7
-
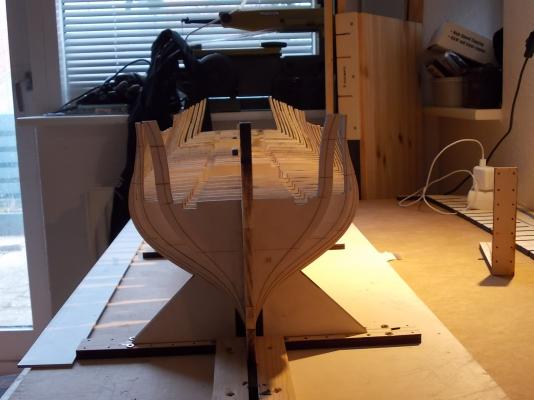
just a couple of pictures more before bedtime,

Michael
- dvm27, Mirabell61, paulsutcliffe and 6 others
-
9
-
Nils
no , on a shelf in my living room
Druxey
yes she is, I'm almost afraid to think about how much she will weigh when she's done
Michael
- druxey, Mirabell61, Jack12477 and 1 other
-
4
-
Hi Nils
she will be 1820 mm long
Michael
- mtaylor and Mirabell61
-
2
-
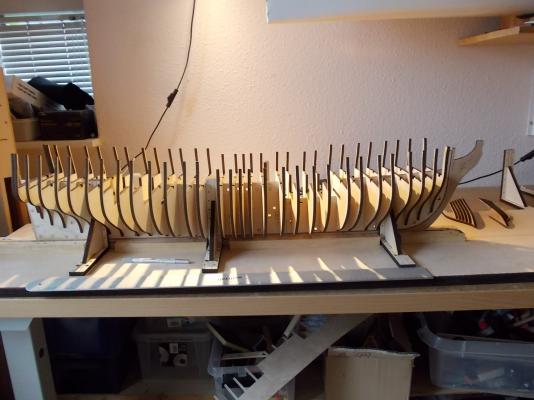
Hi All
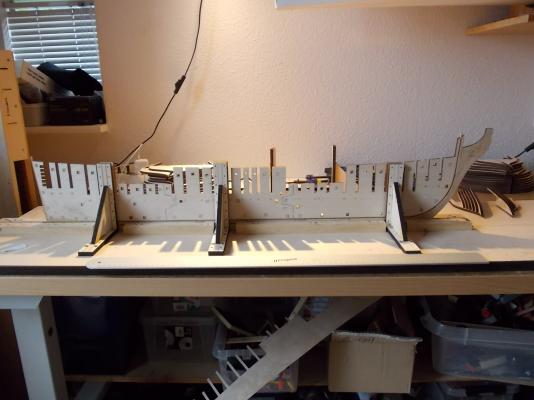
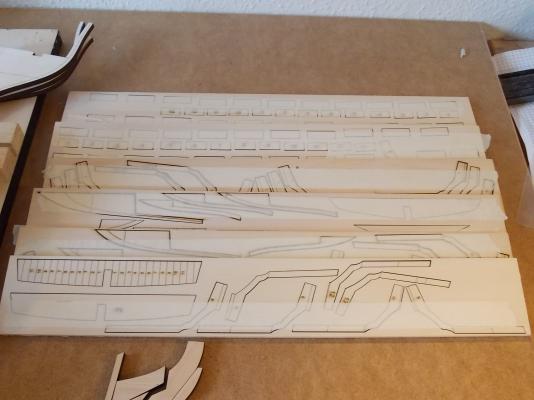
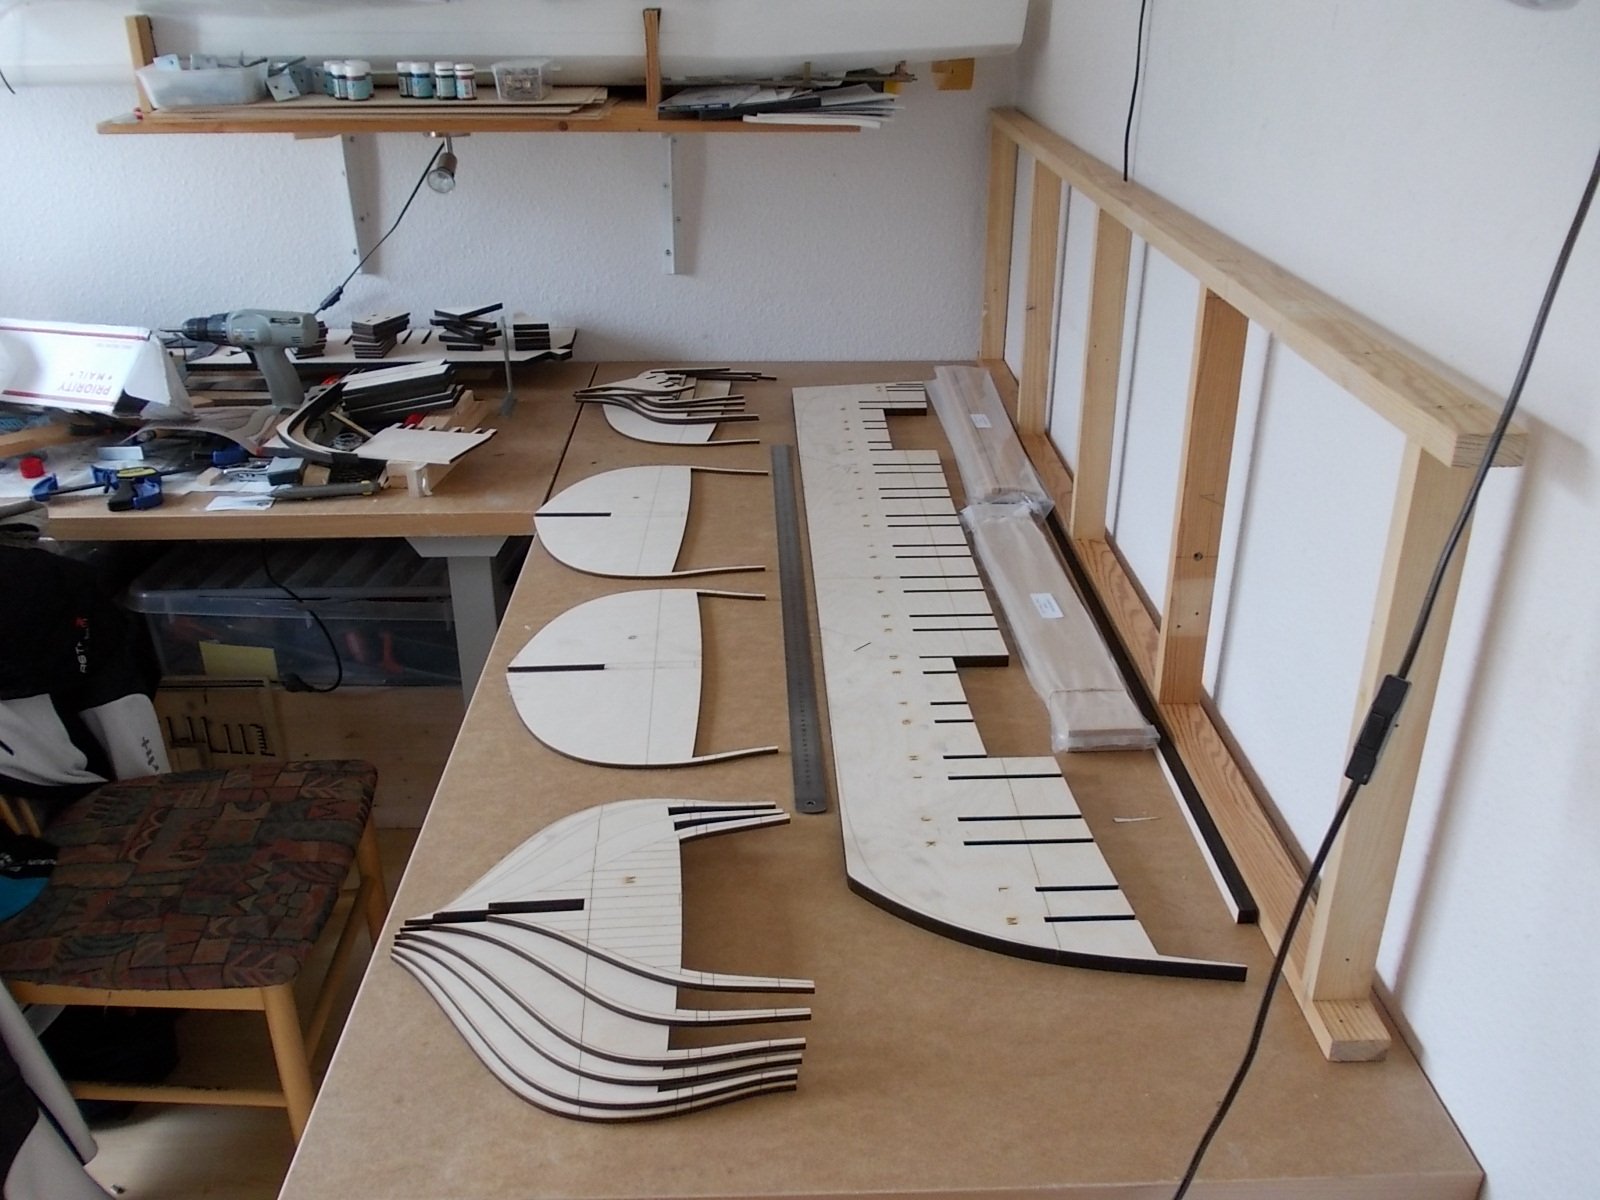
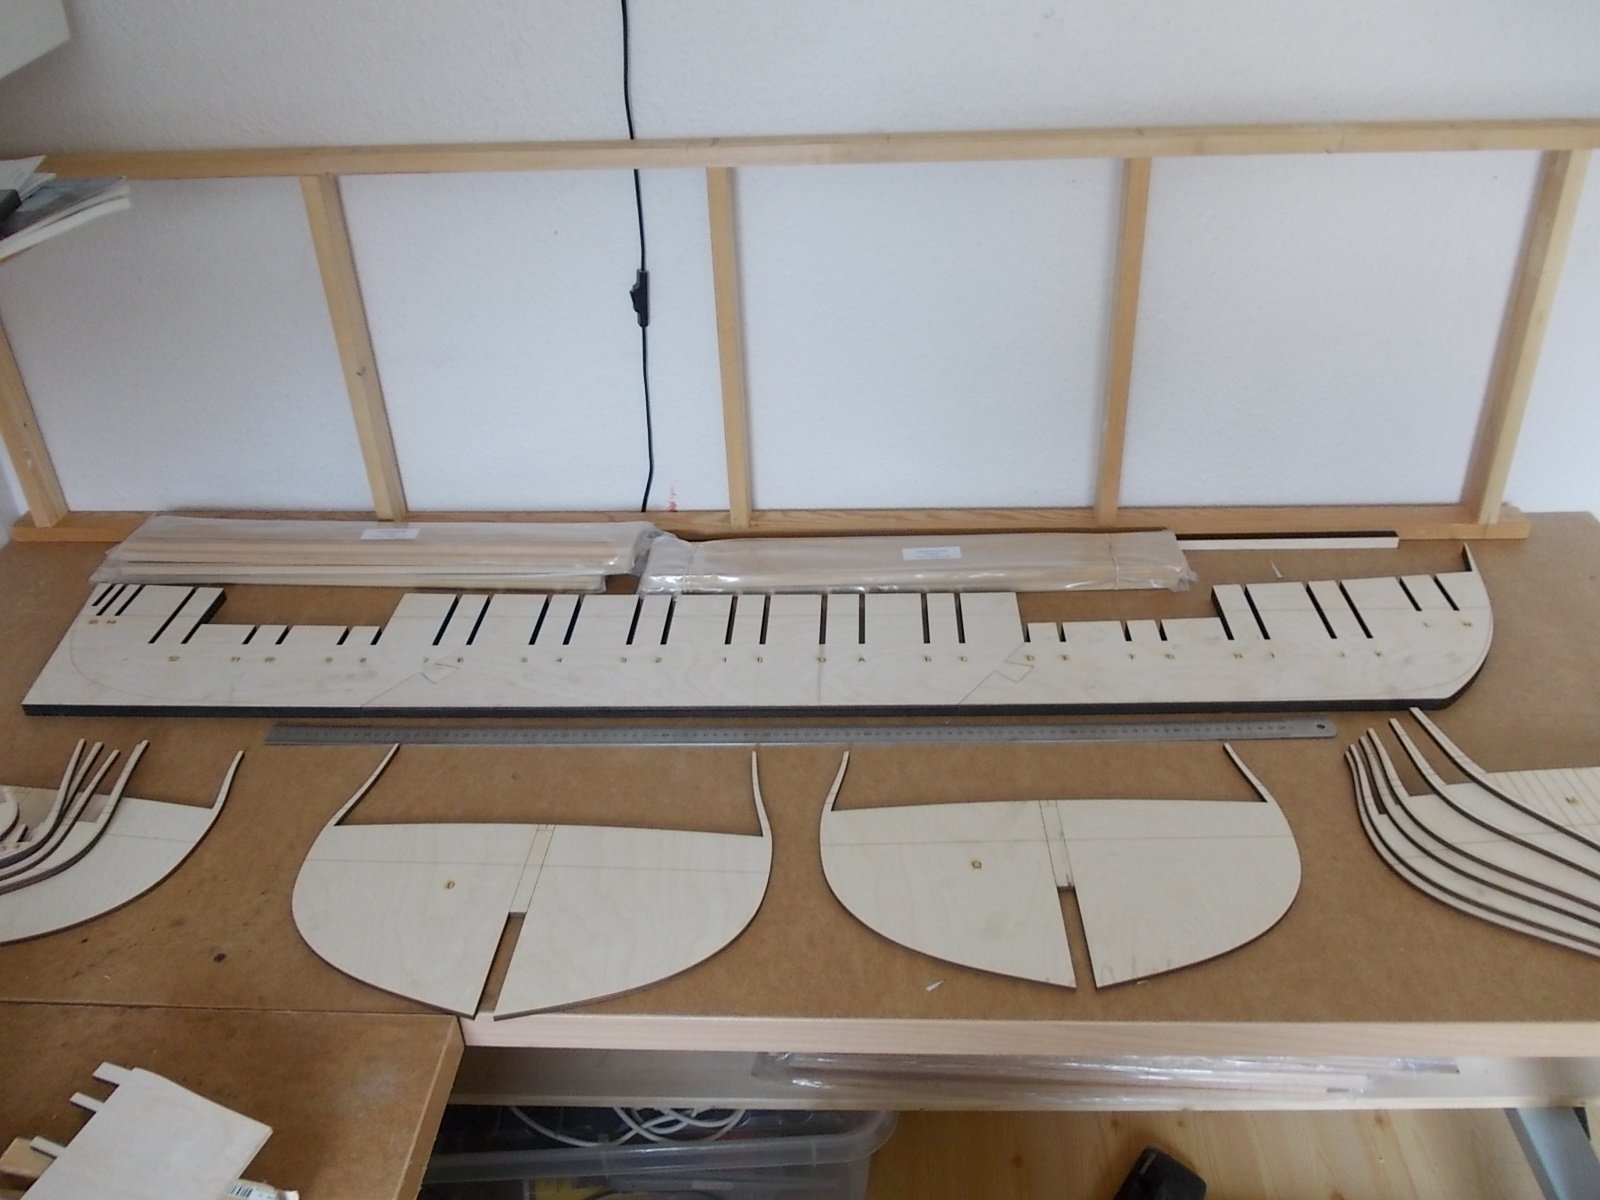
Now after 6 weeks of high sunshine, where time has been spent outdoors, it now time for a little update.The first picture shows my work table without any mess, it will probably be the last time it will happen.
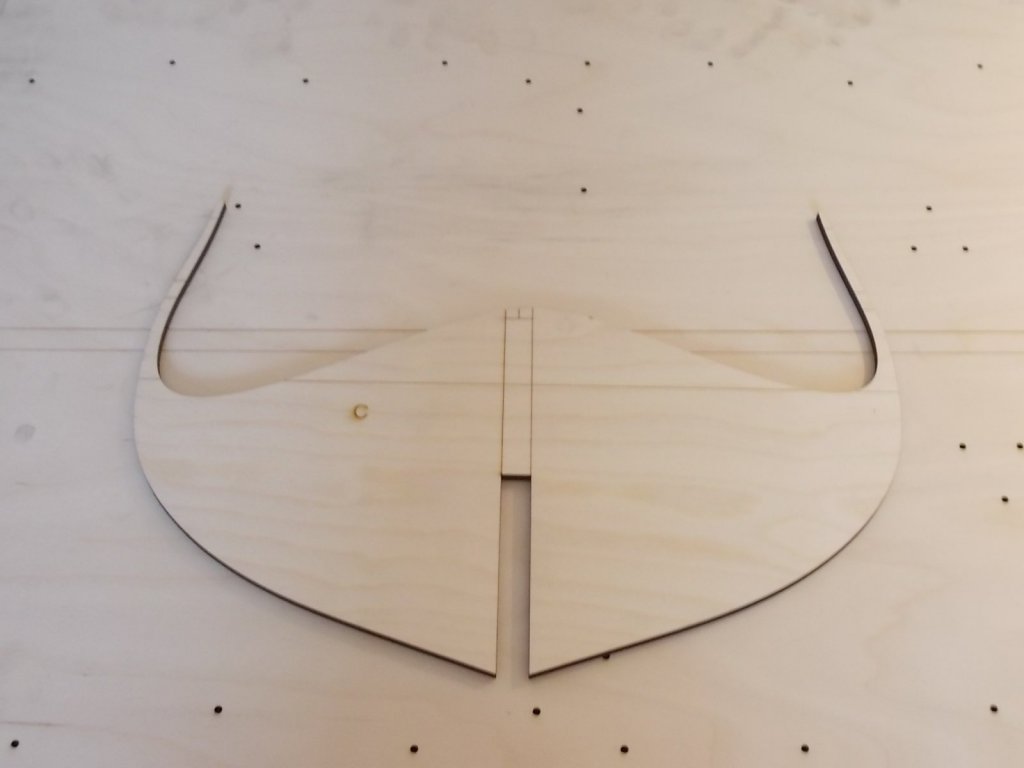
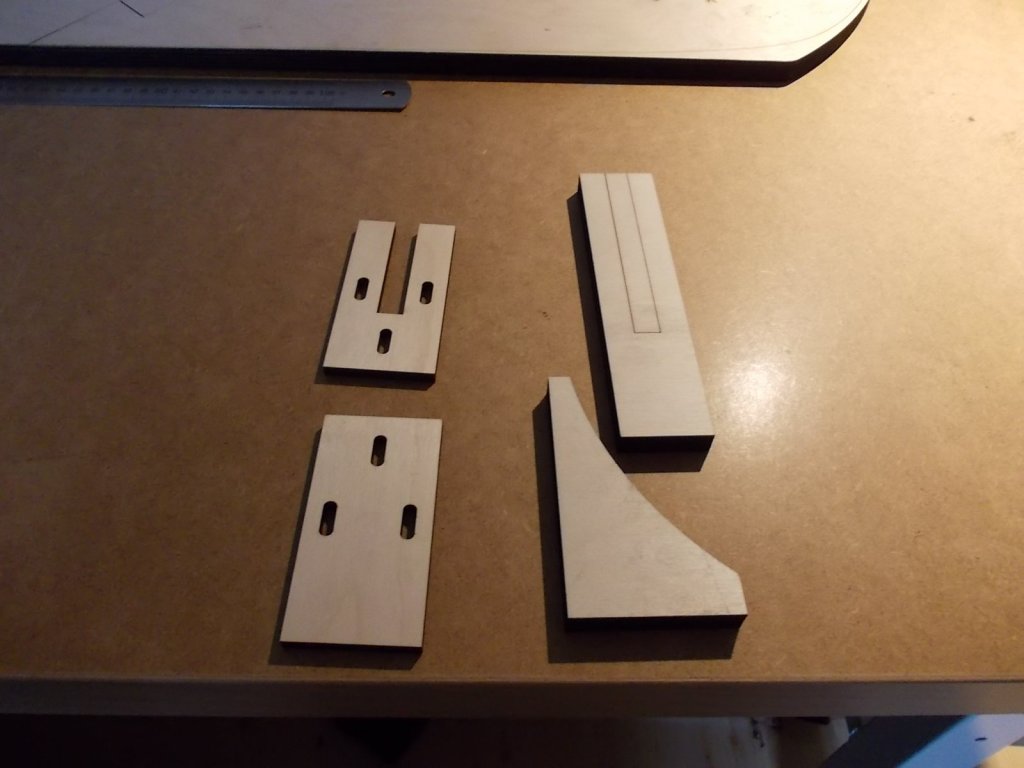
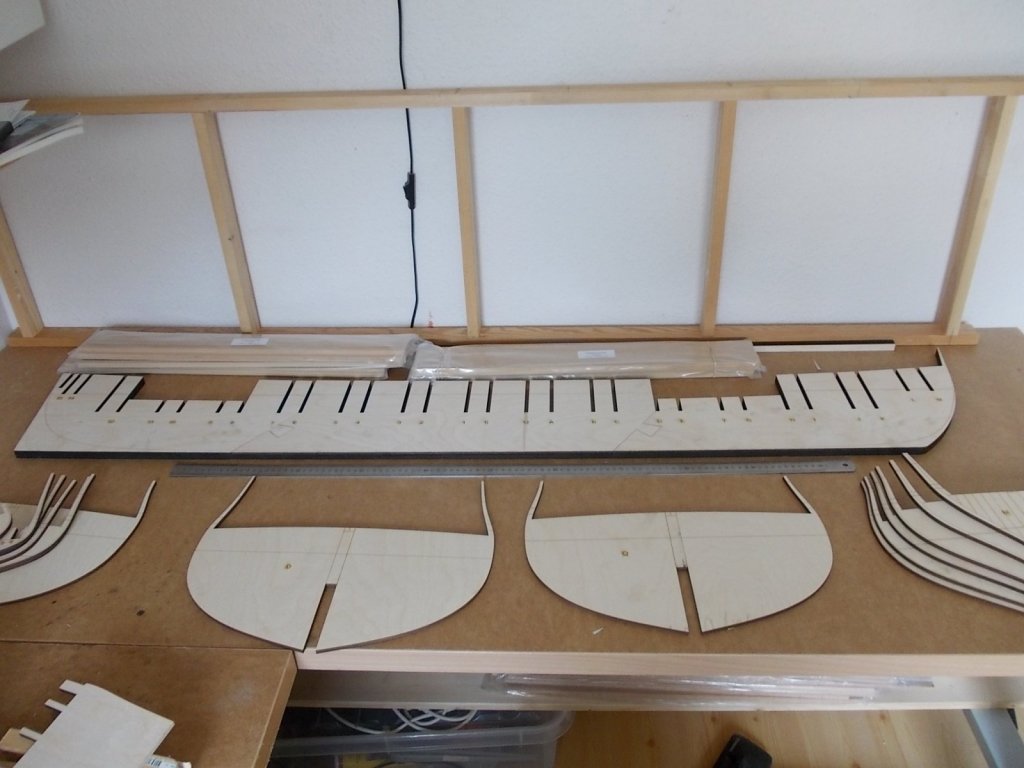
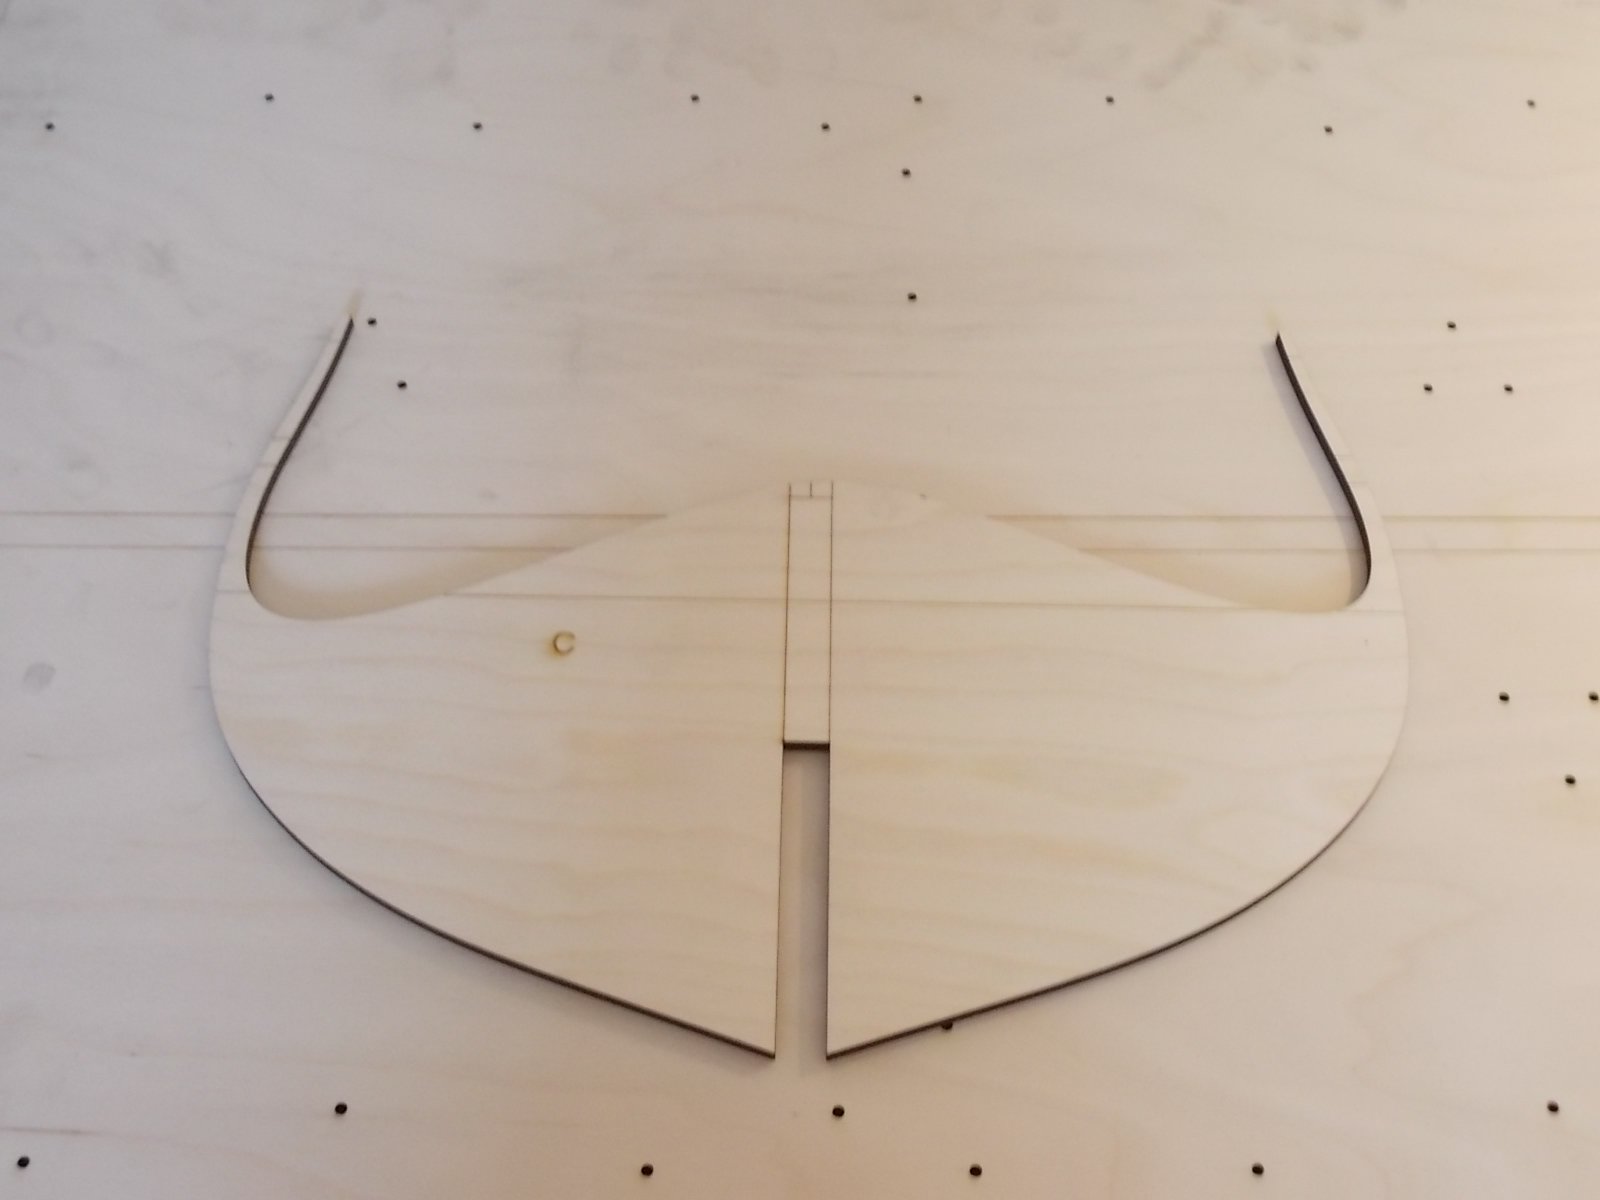
picture 2 and 3 show The three section bulkhead shapes and 13 out of the 32 bulkheads and last but not least some of the wood I received from Jason from Crown Timberyard last week.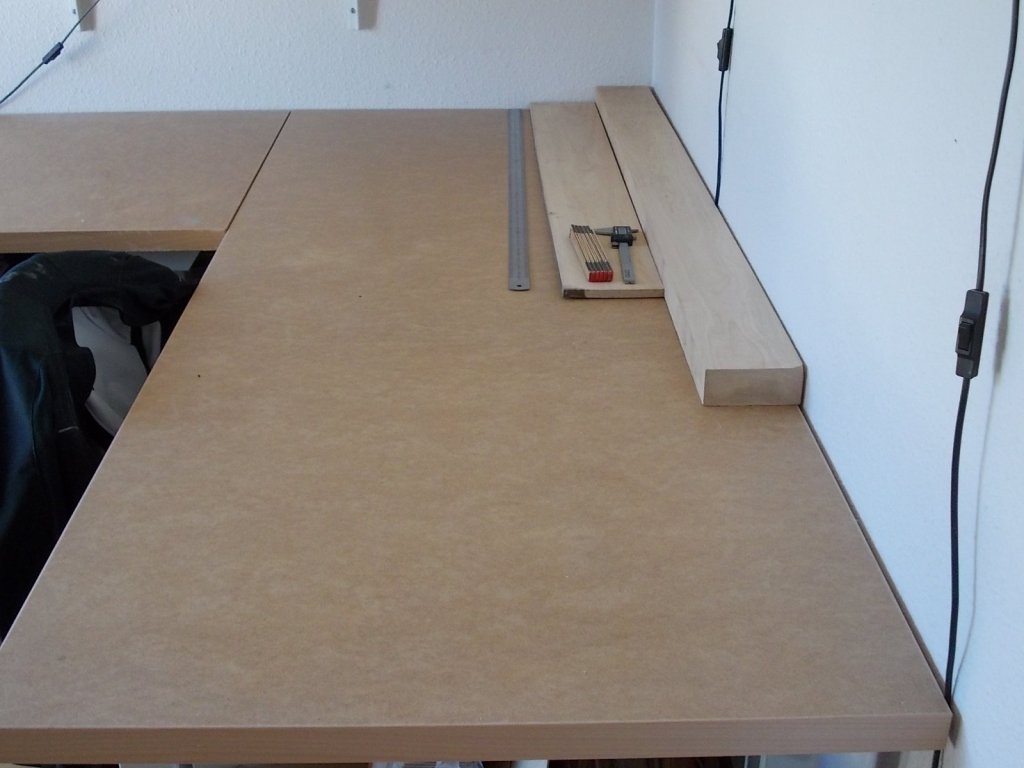

It's only when you stand with the part between your hands you get an idea how big this model will be , the ruler is 100 cm long and the 2 bulkheads in the middle are 41 cm wide.
Michael
- paulsutcliffe, archjofo, druxey and 6 others
-
9
-
hi all
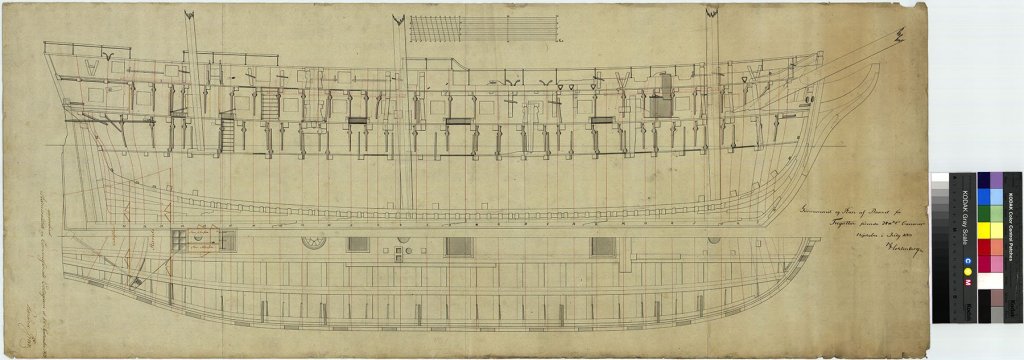
I am almost finished with the building plan for the HMDS Perlen , so I decidert to start a buid log for her.
all i need to do is the last few frames and the bow filler pieces , and then I be ready to make wood dust.The drawing is made in autocad
My plan is to start cutting wood when my 3 week vacation start on april 5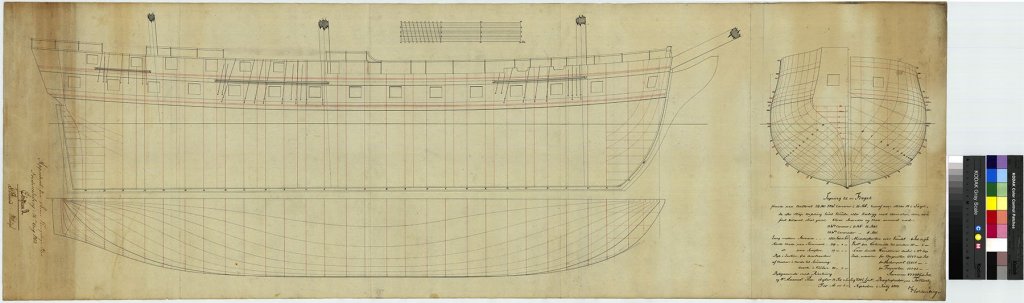

Michael
- prutser, malachy, GrandpaPhil and 5 others
-
8
-
-
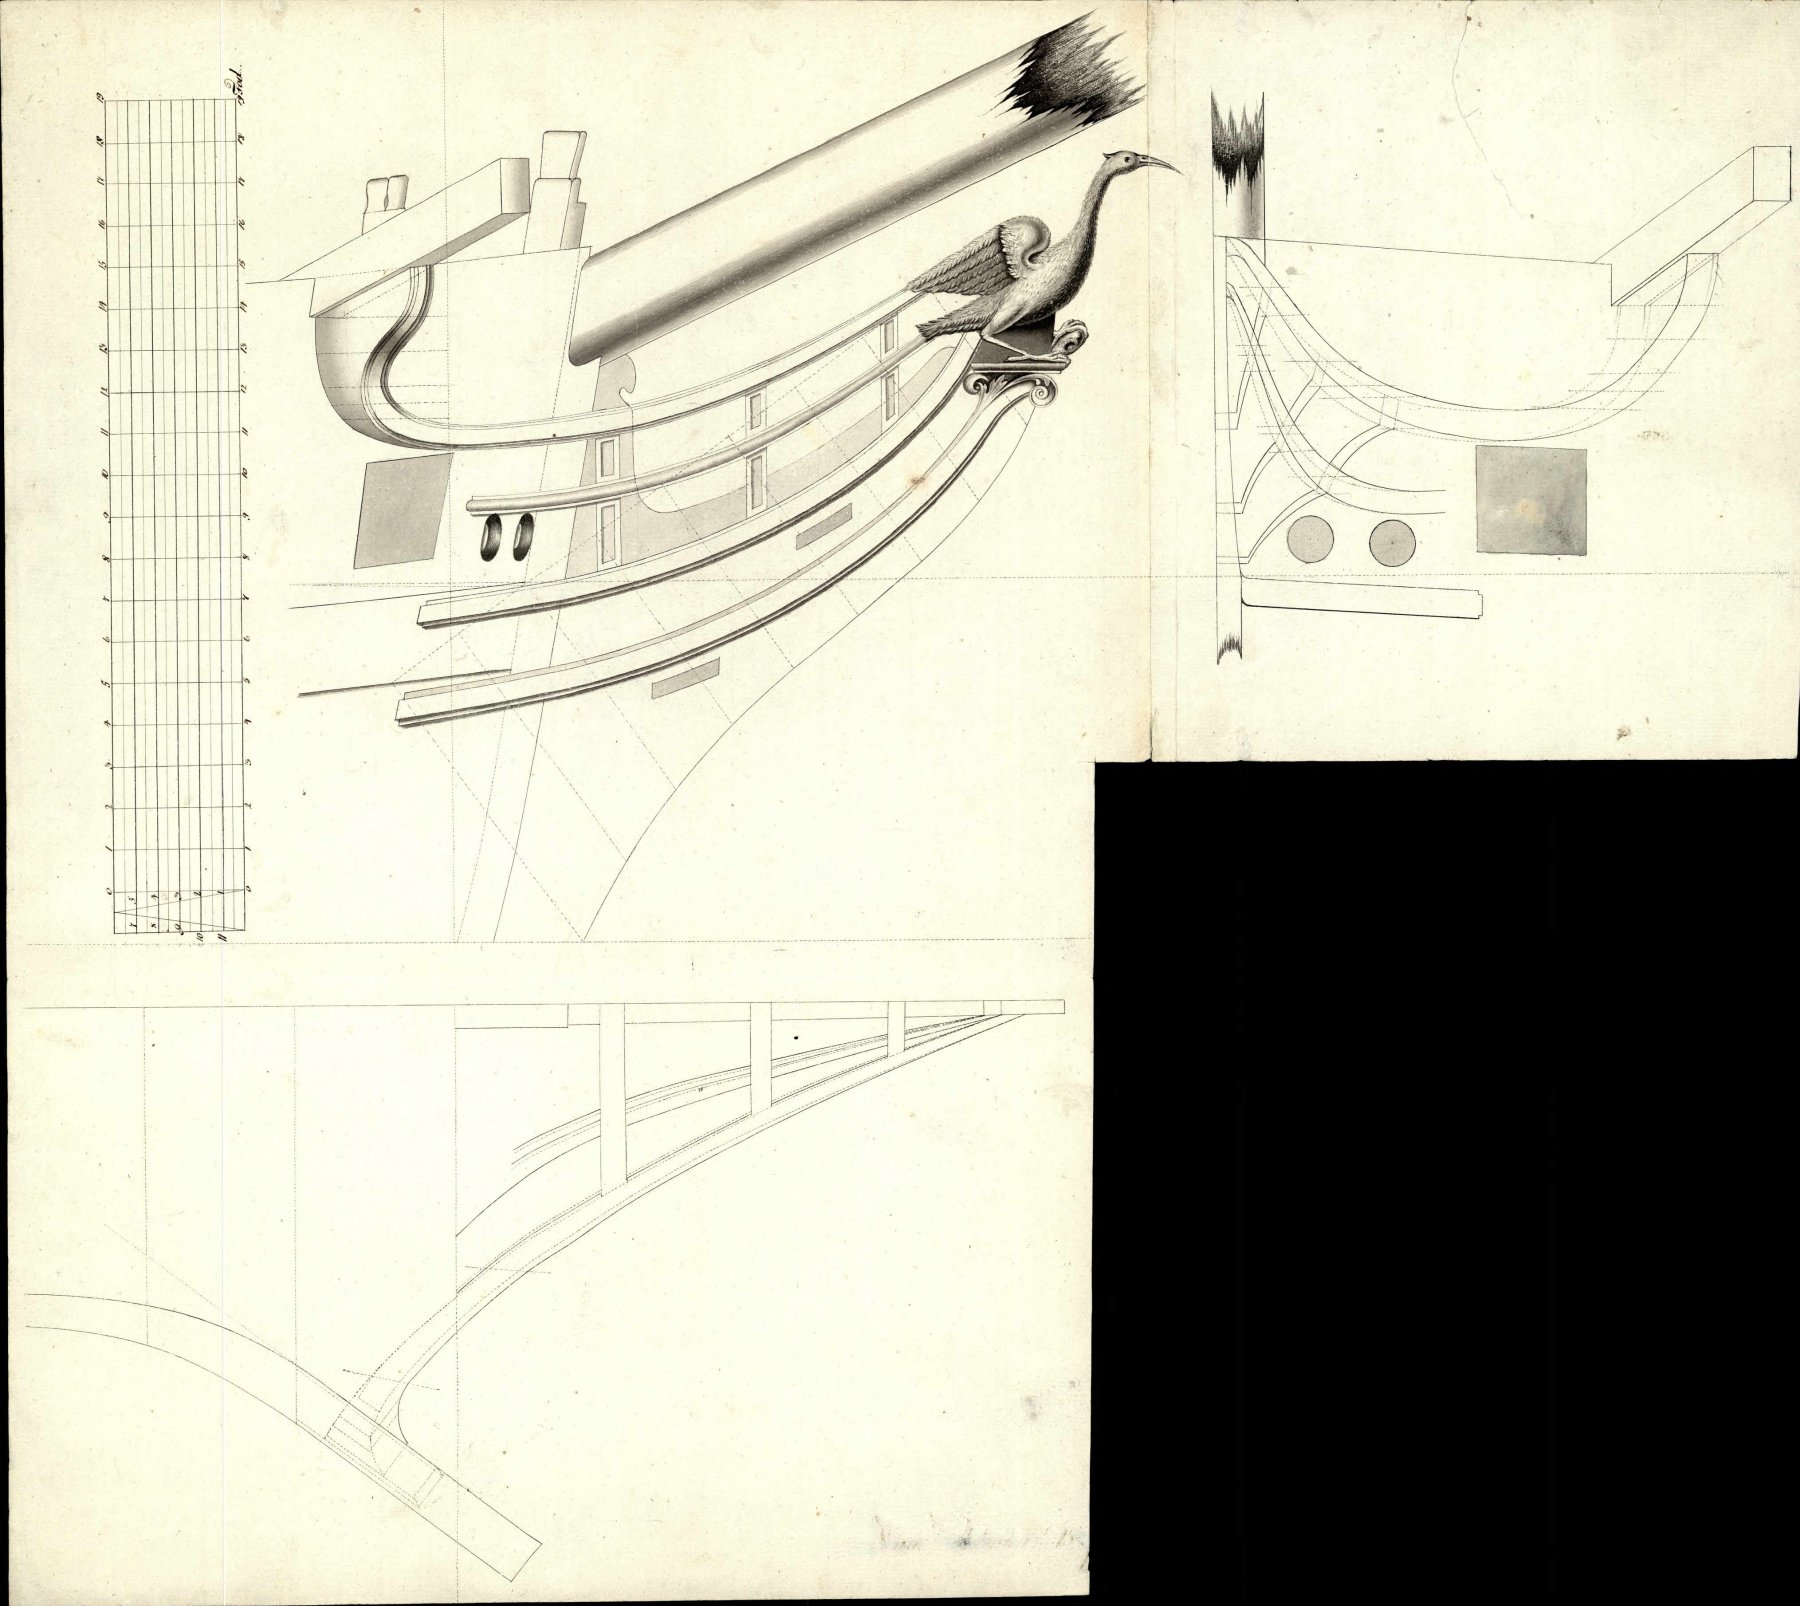
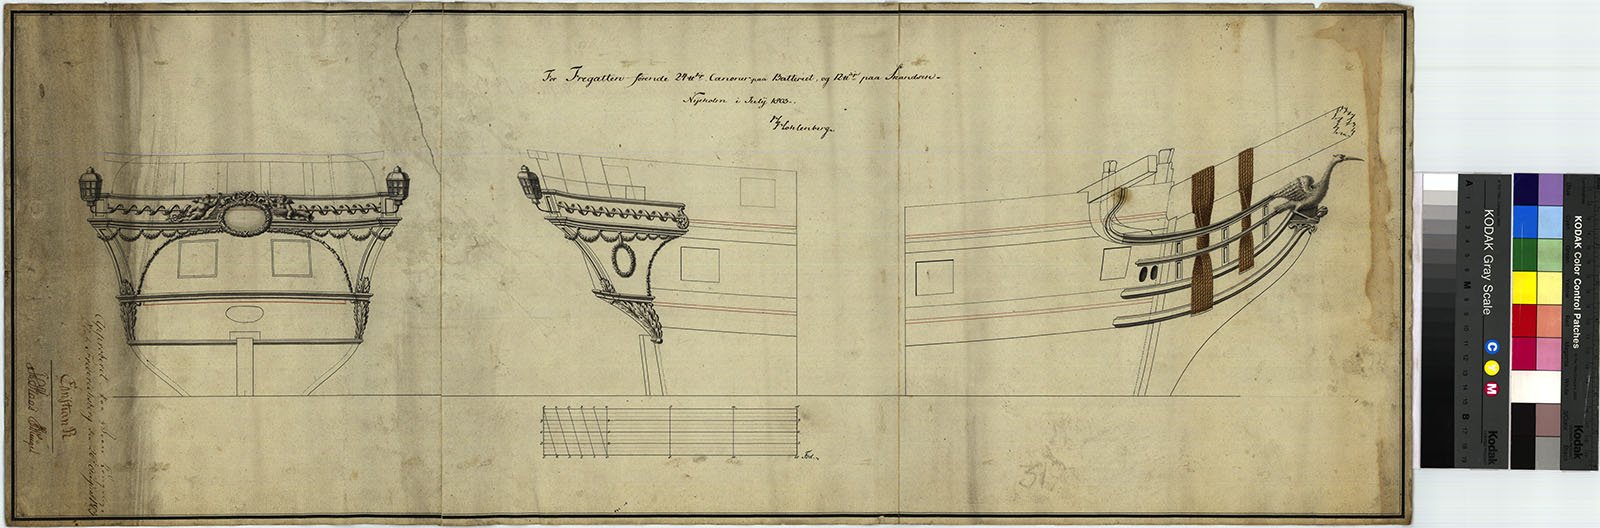
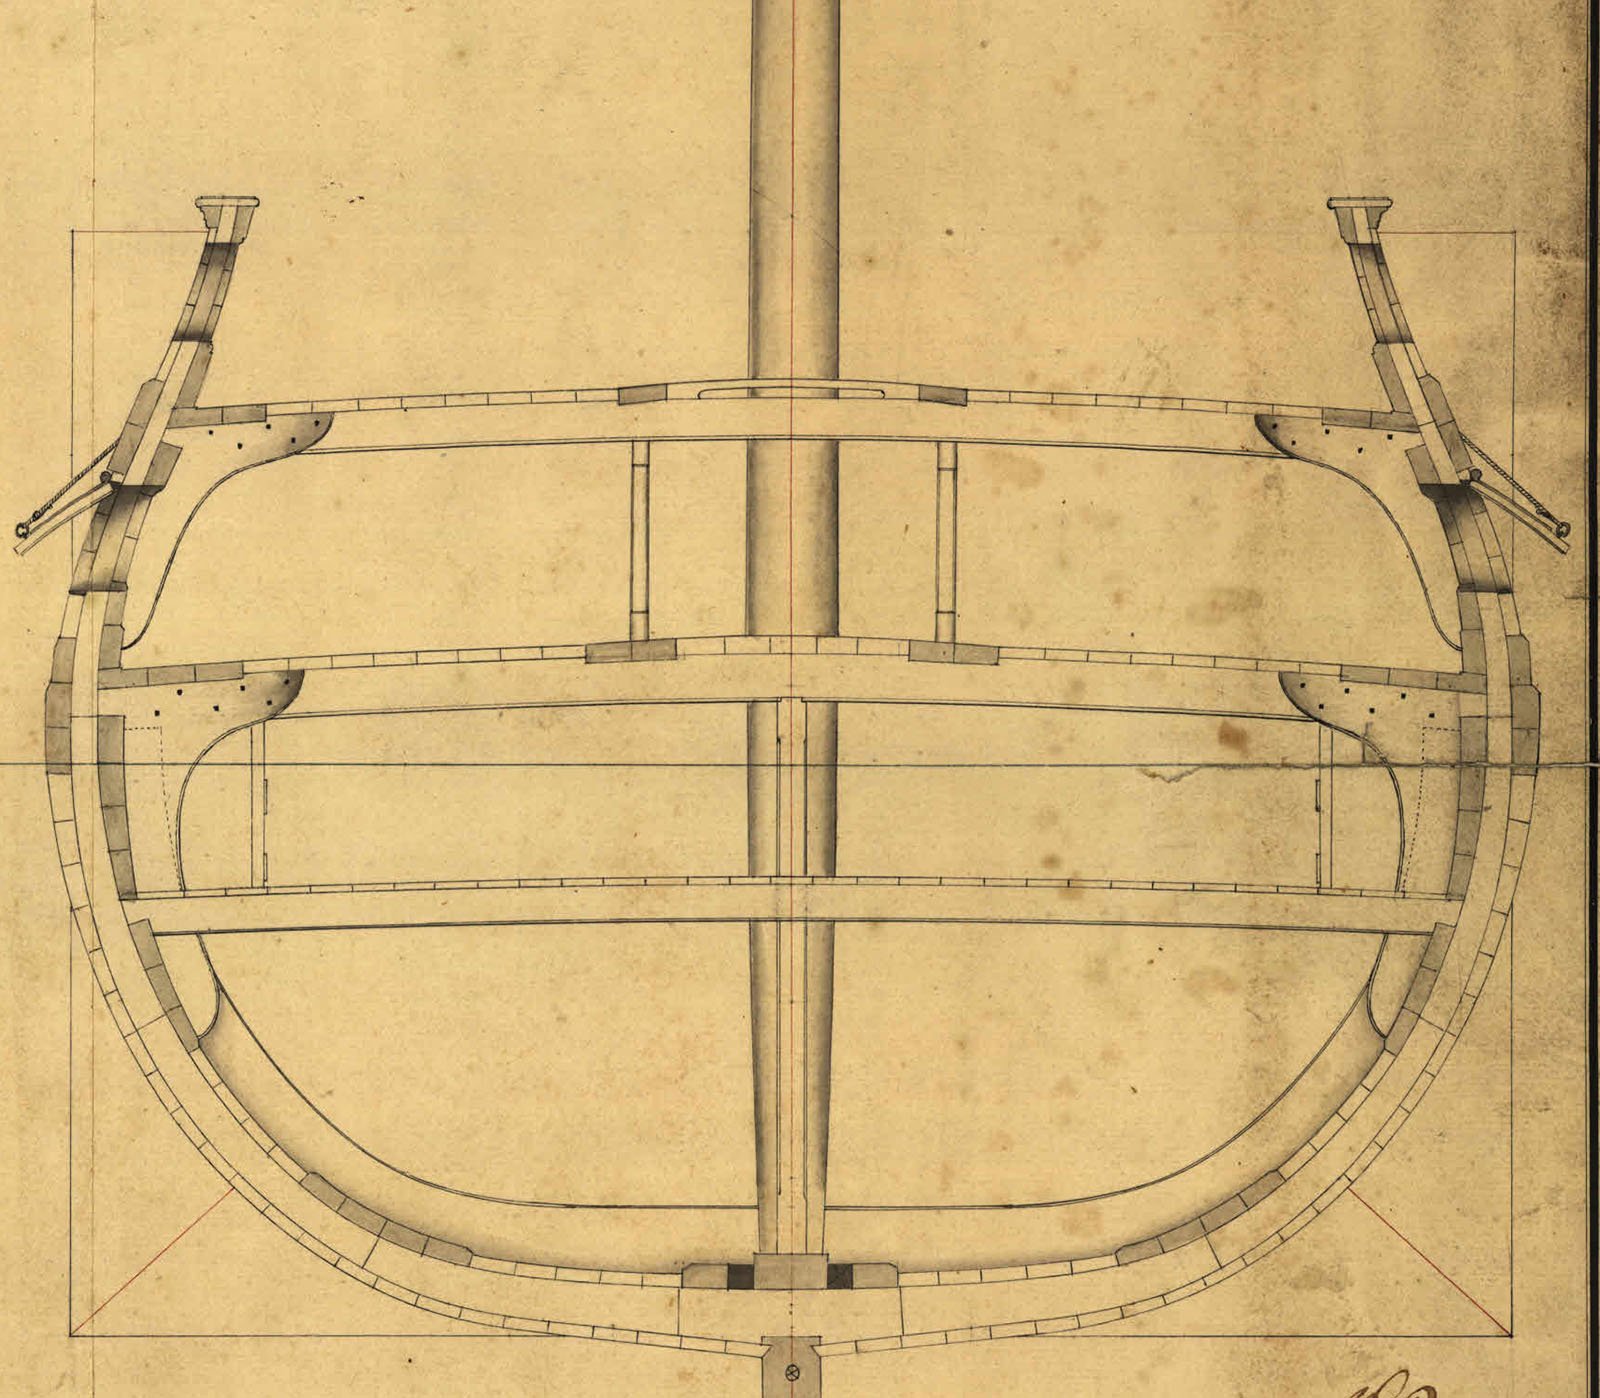
Hi Druxey
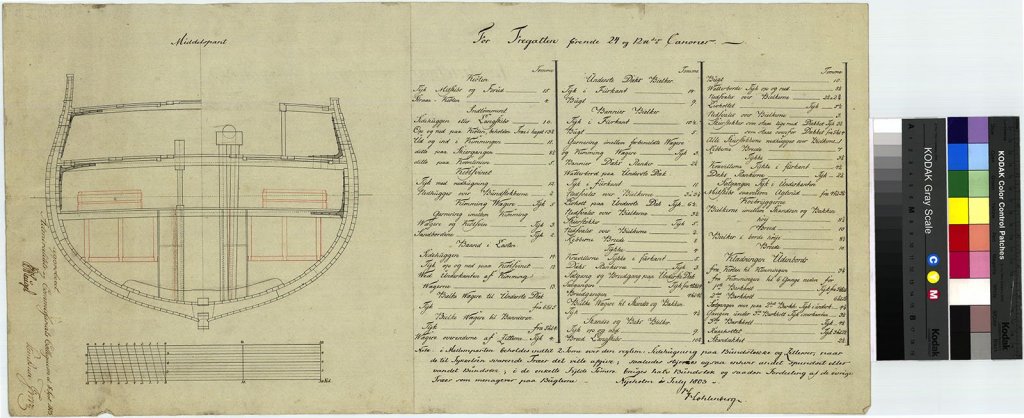
Yes, you're right, I've looked up drawings back from 1705 until 1820
and they all show the same thing, like this one from 1728
Michael
- Jeronimo, mtaylor, Landlubber Mike and 3 others
-
6
-
-
amazing work Druxey
Michael
- Canute, paulsutcliffe, Jack12477 and 1 other
-
4
-
-
-
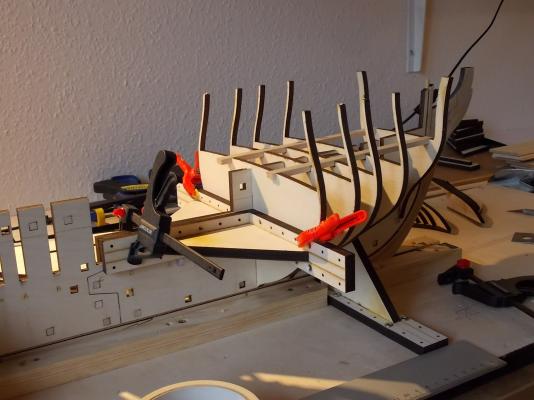
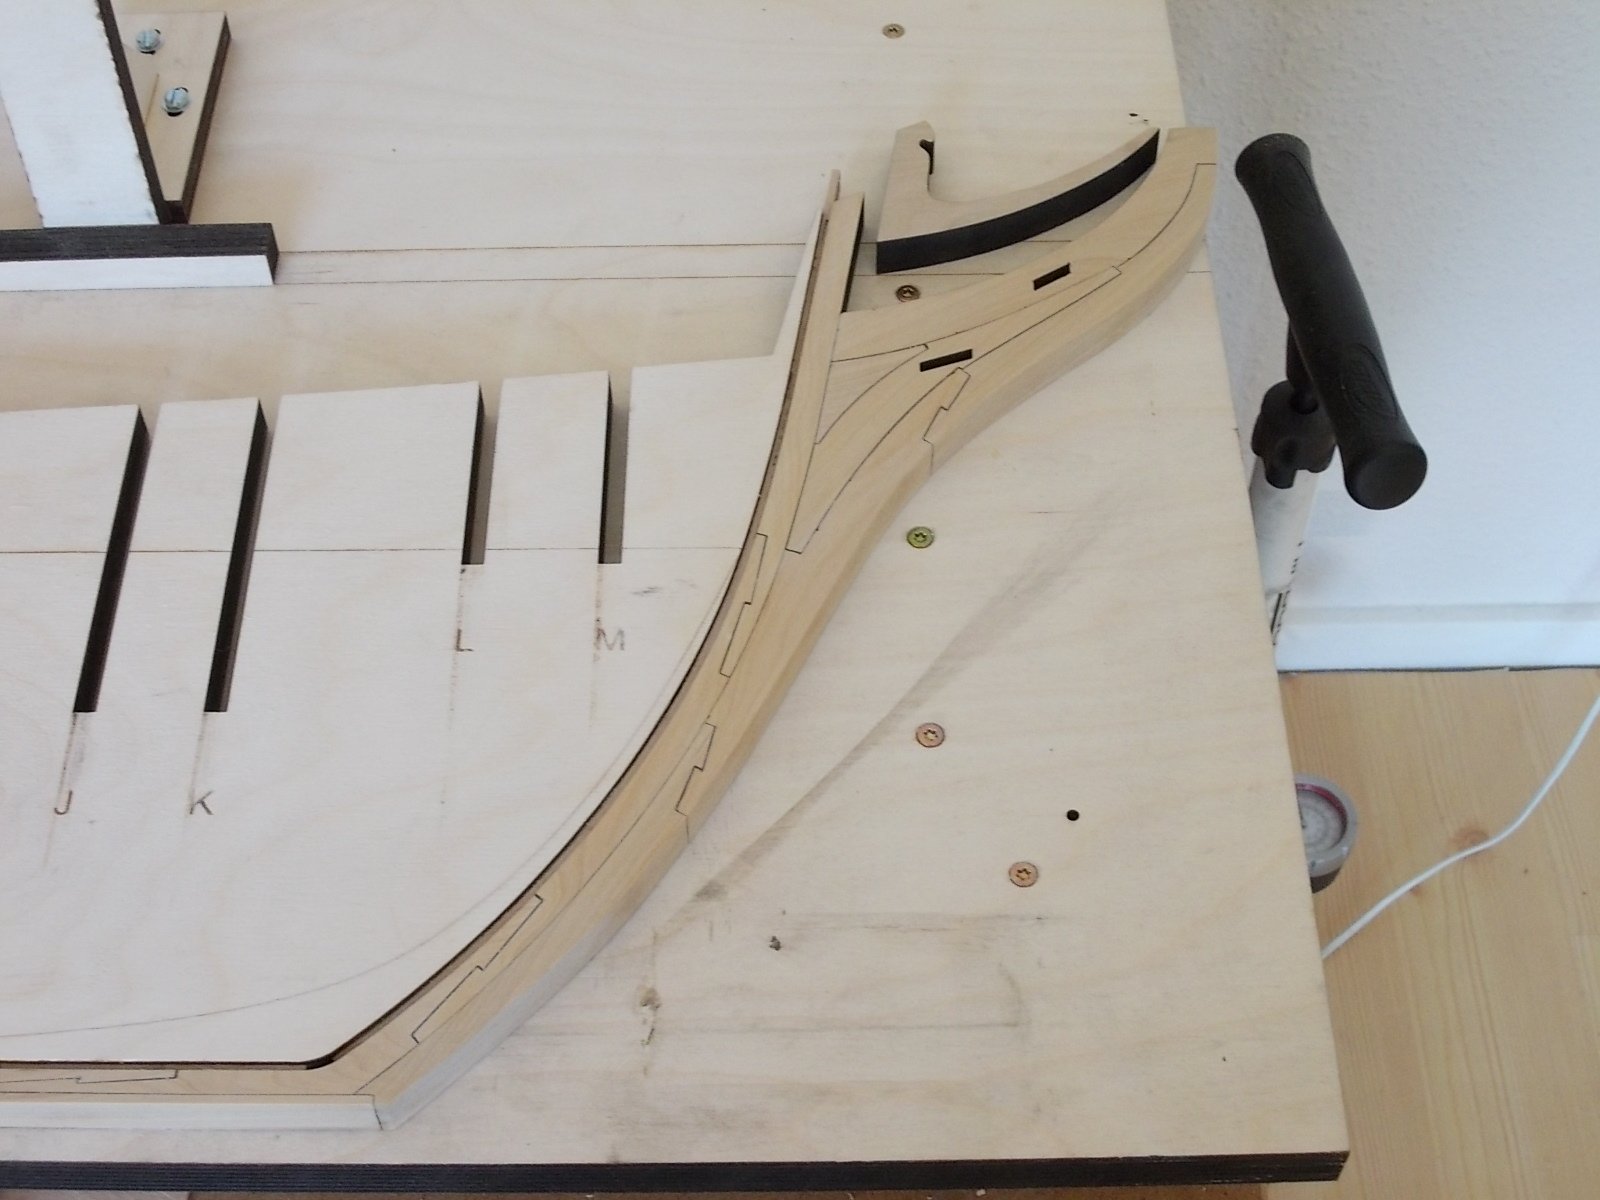
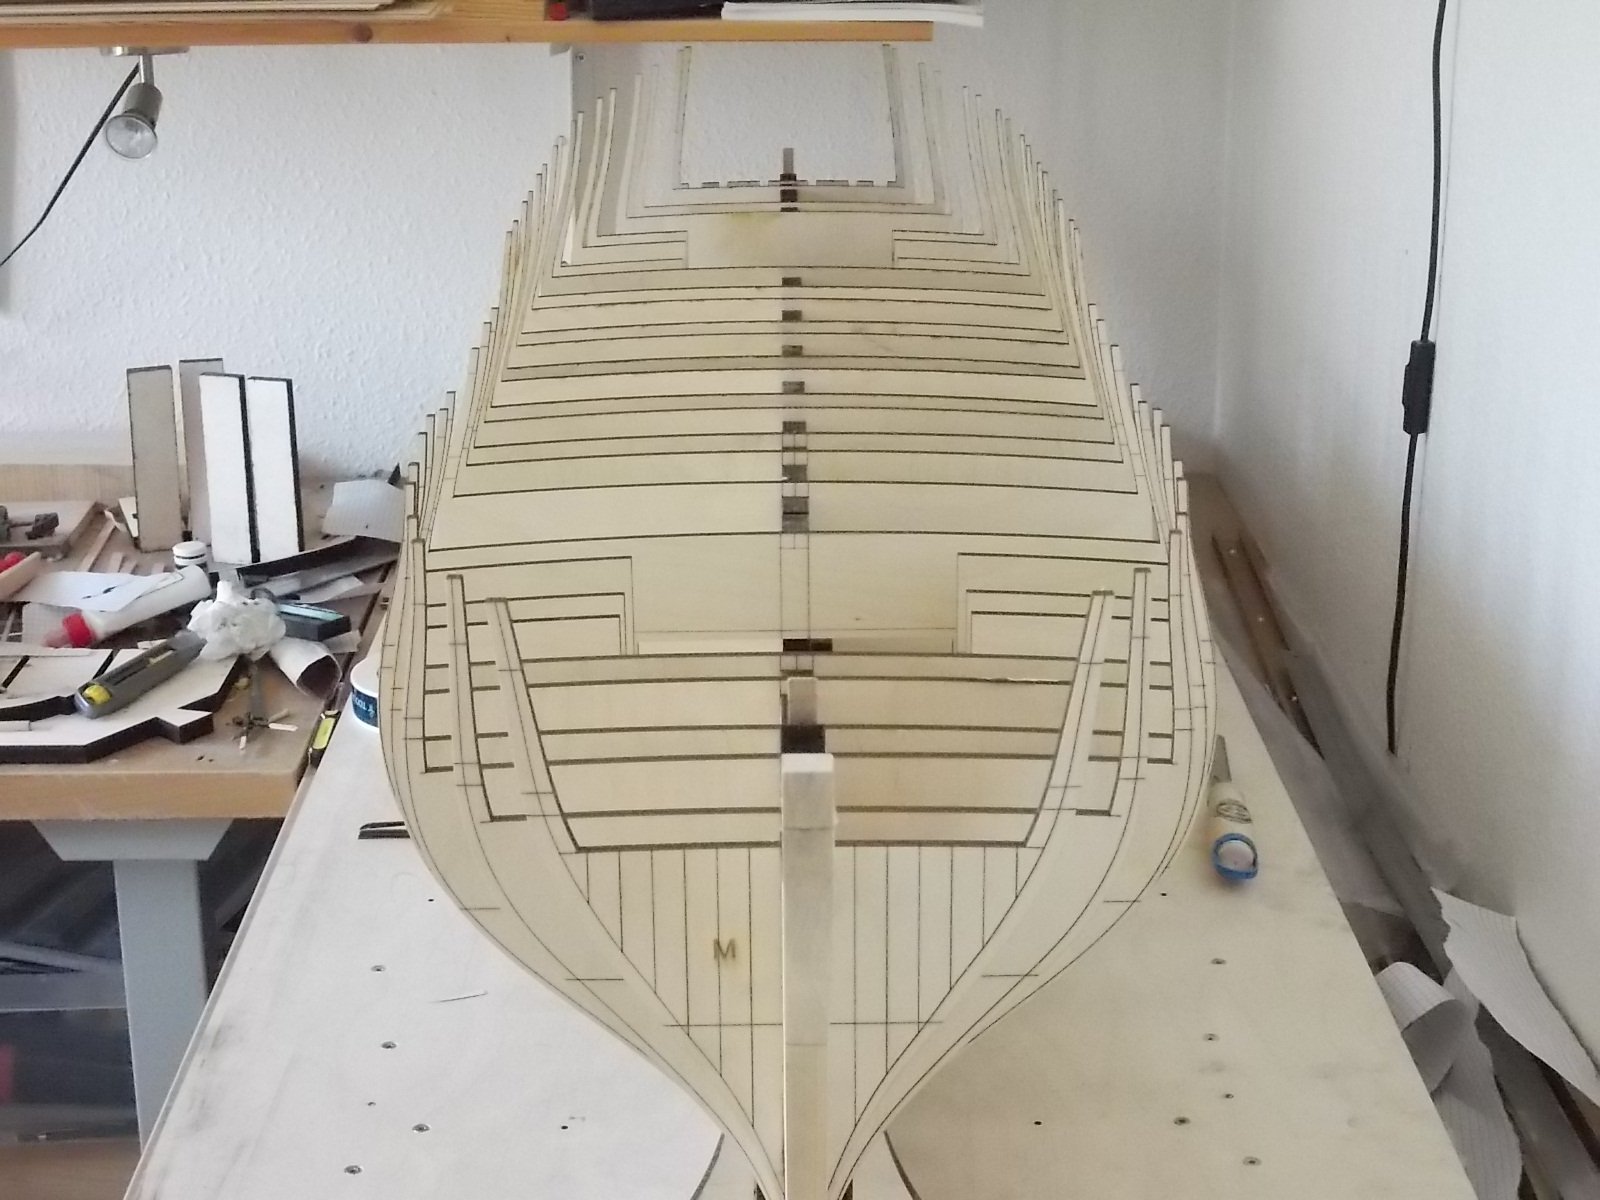
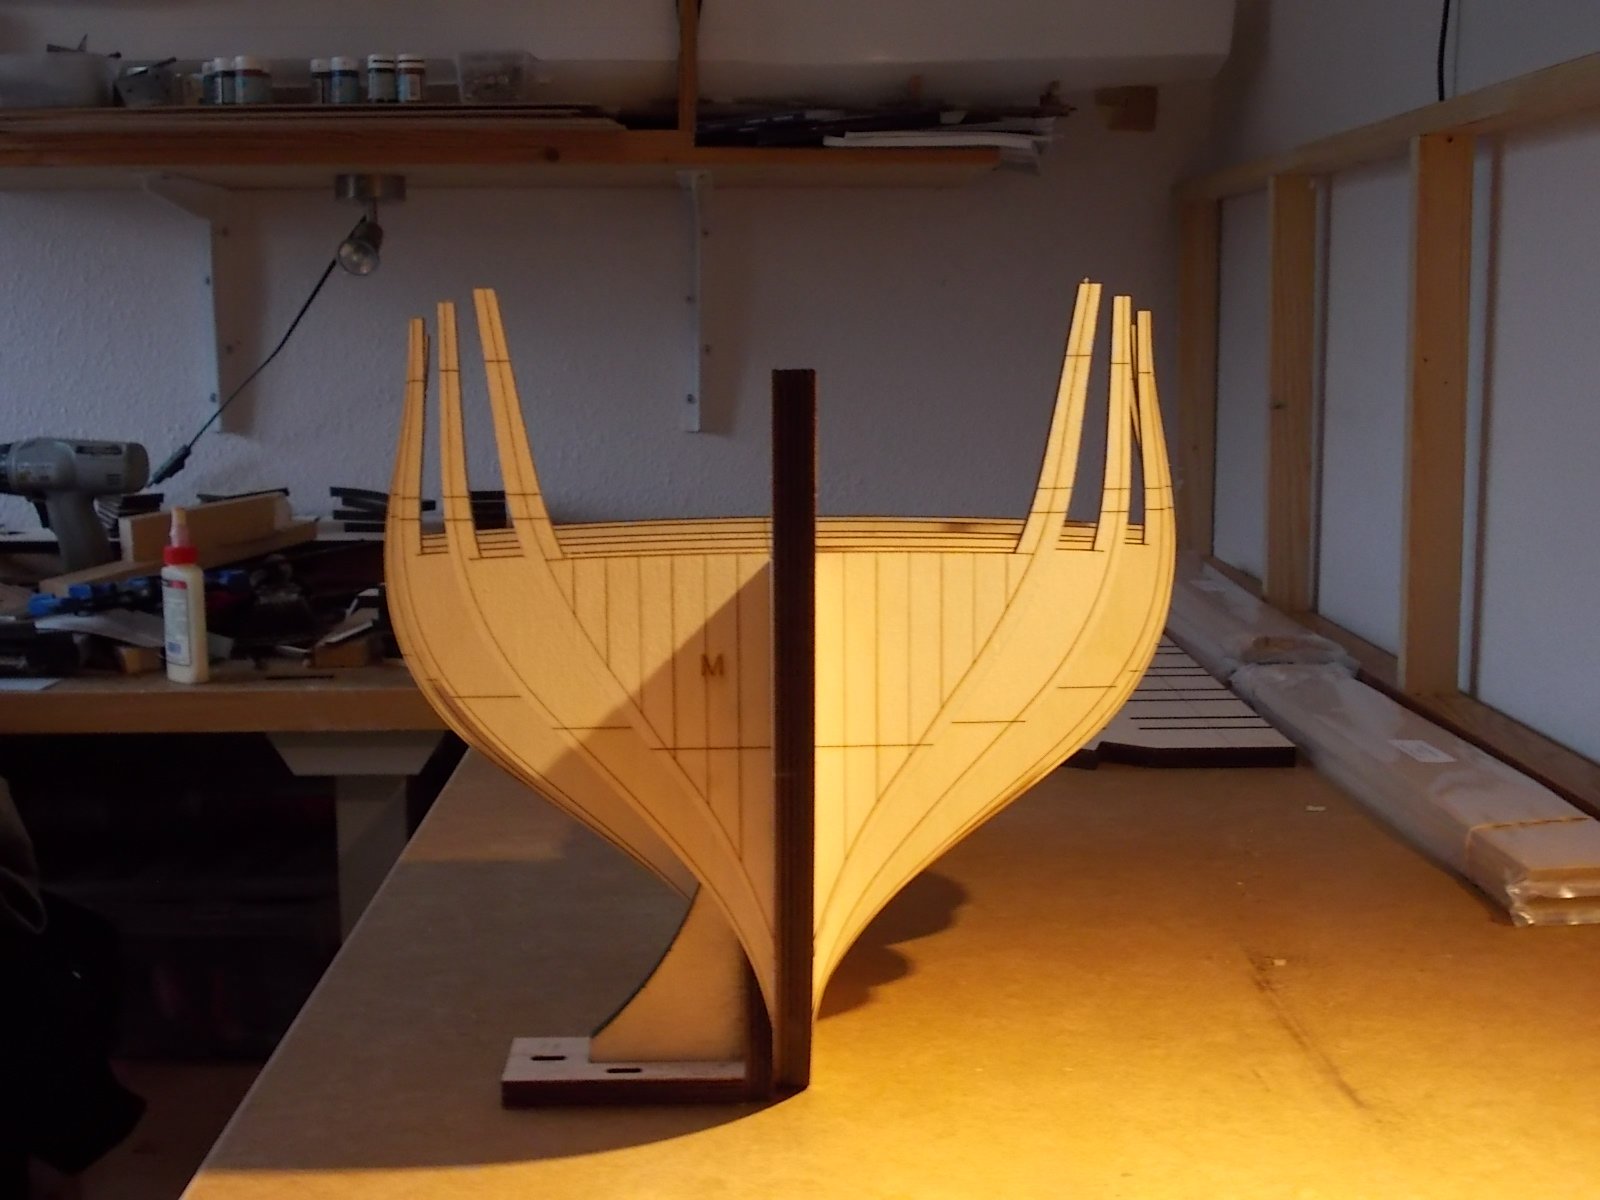
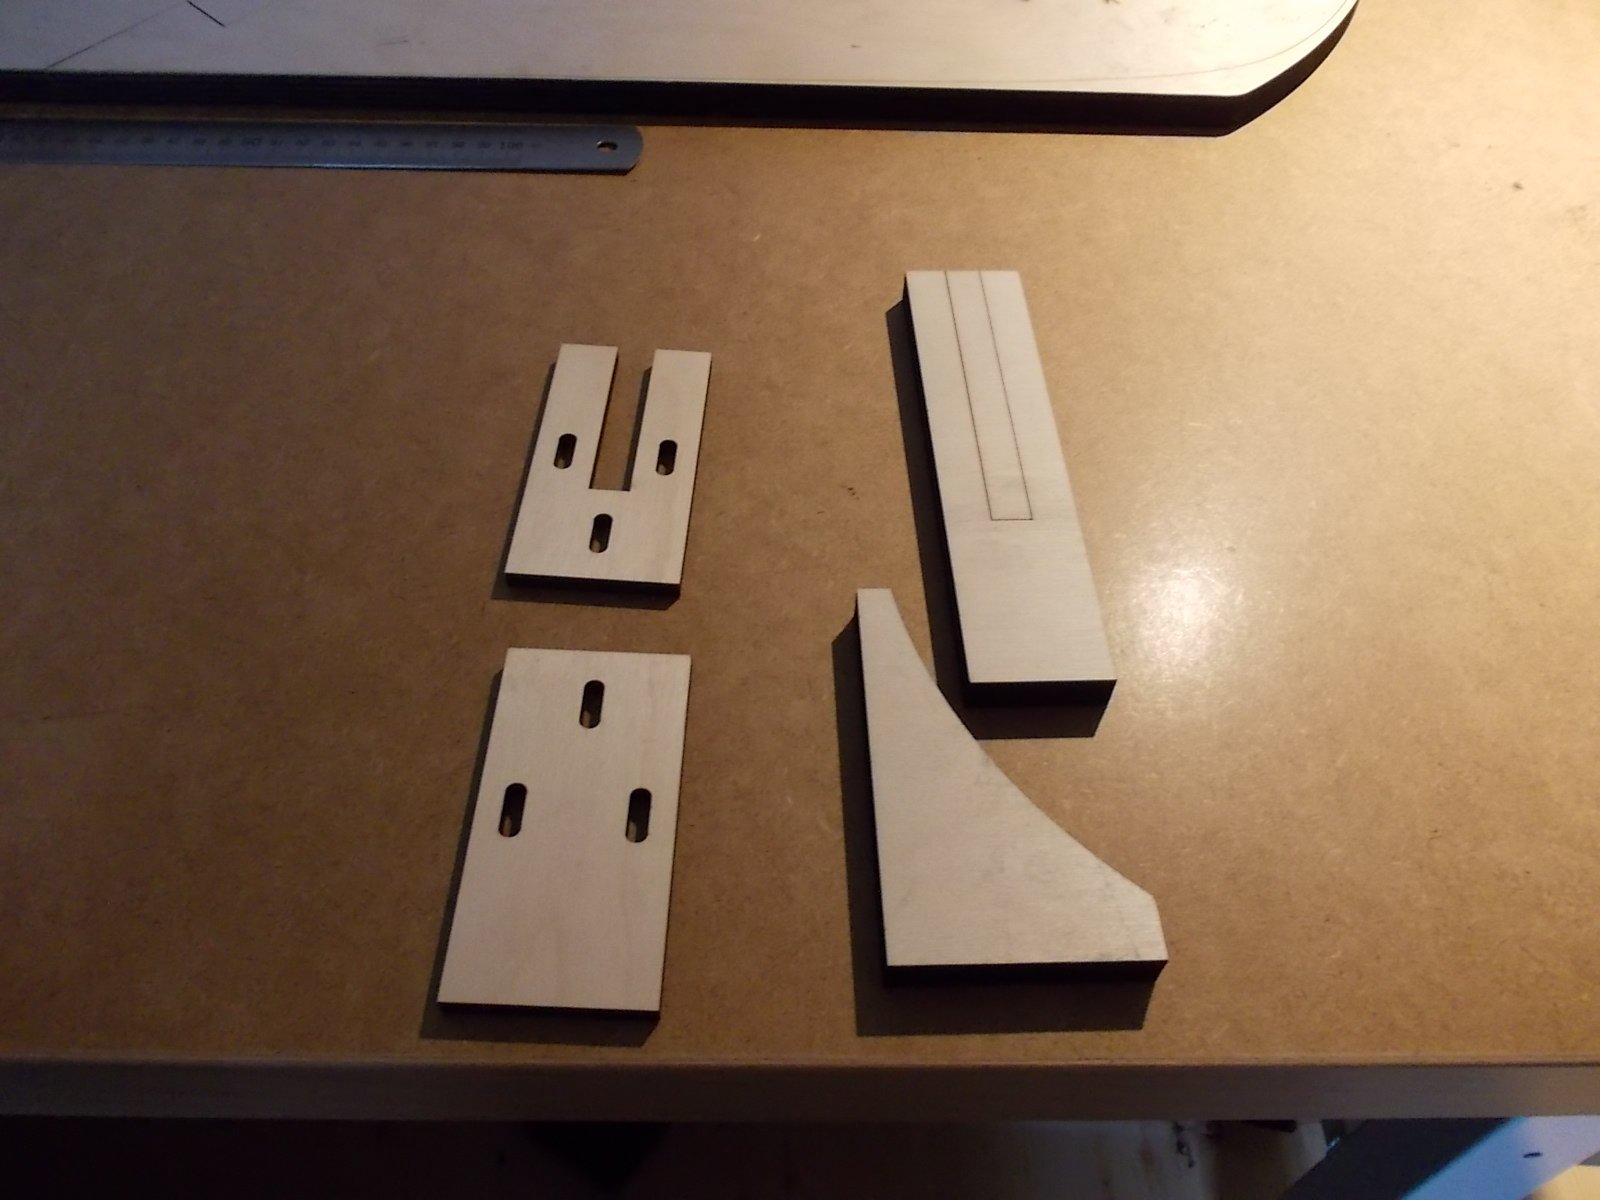
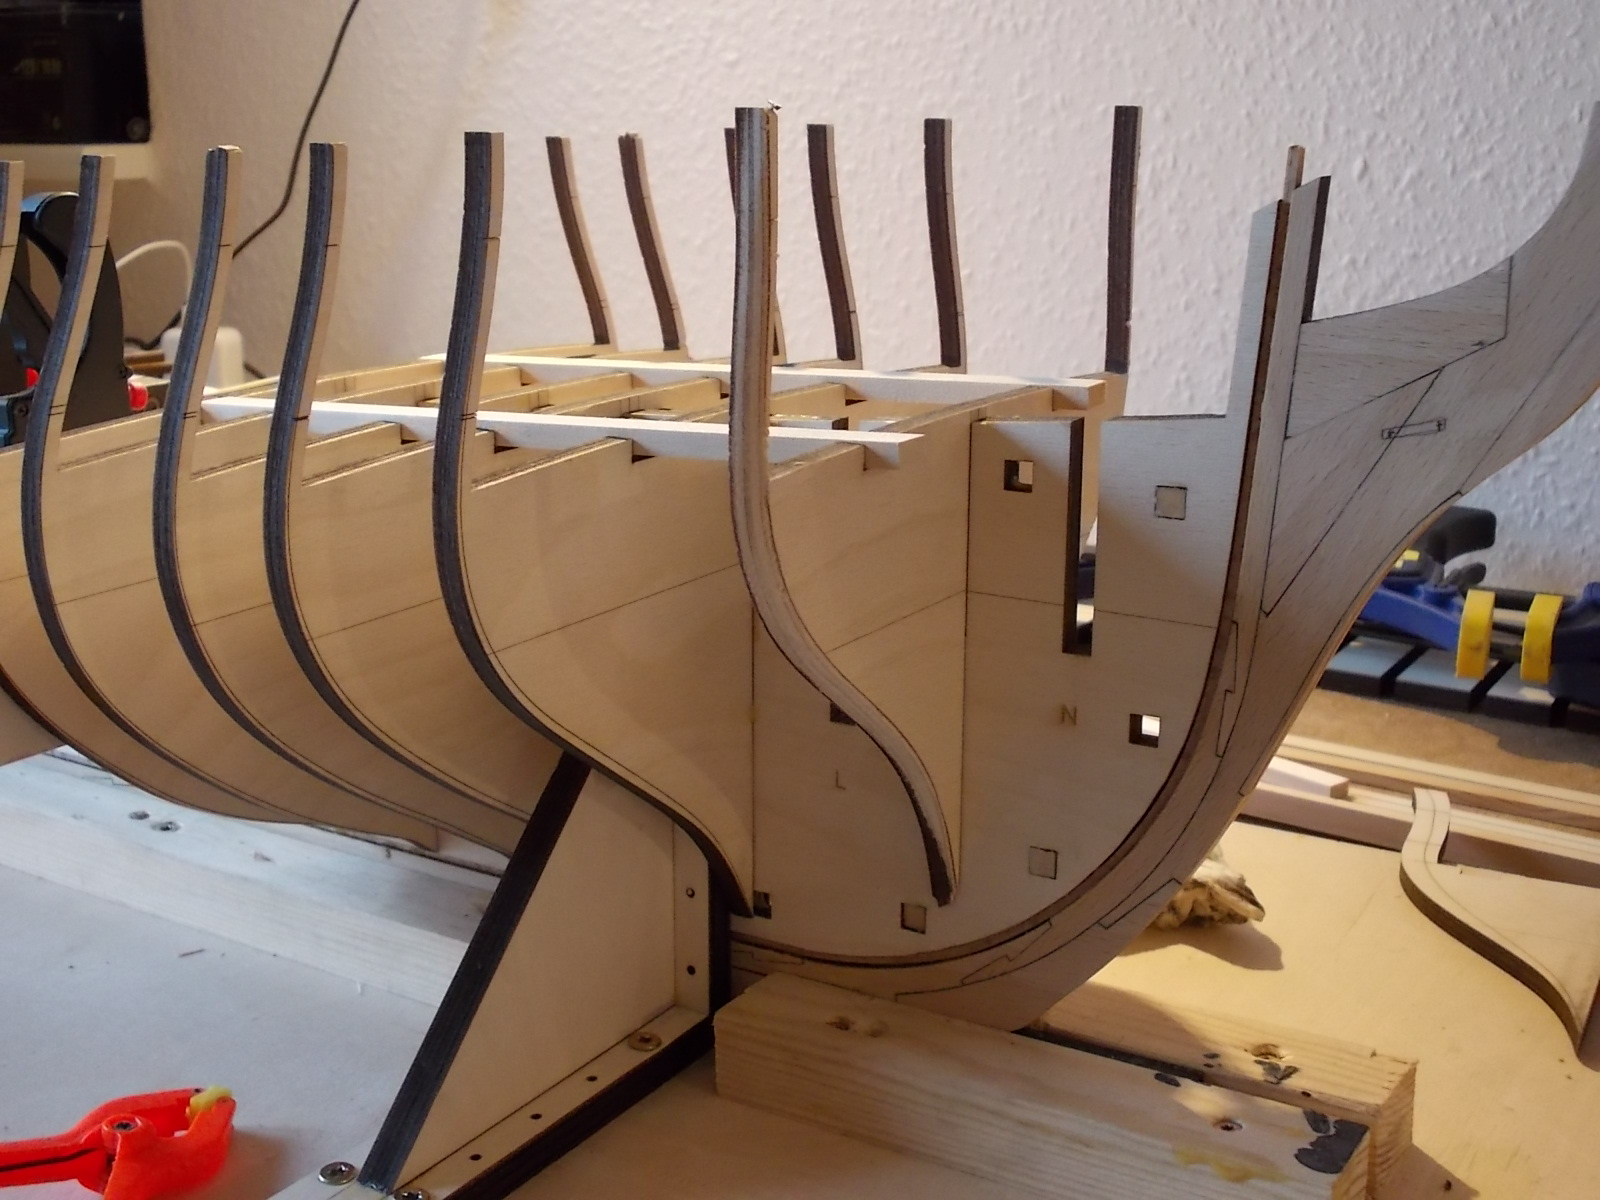
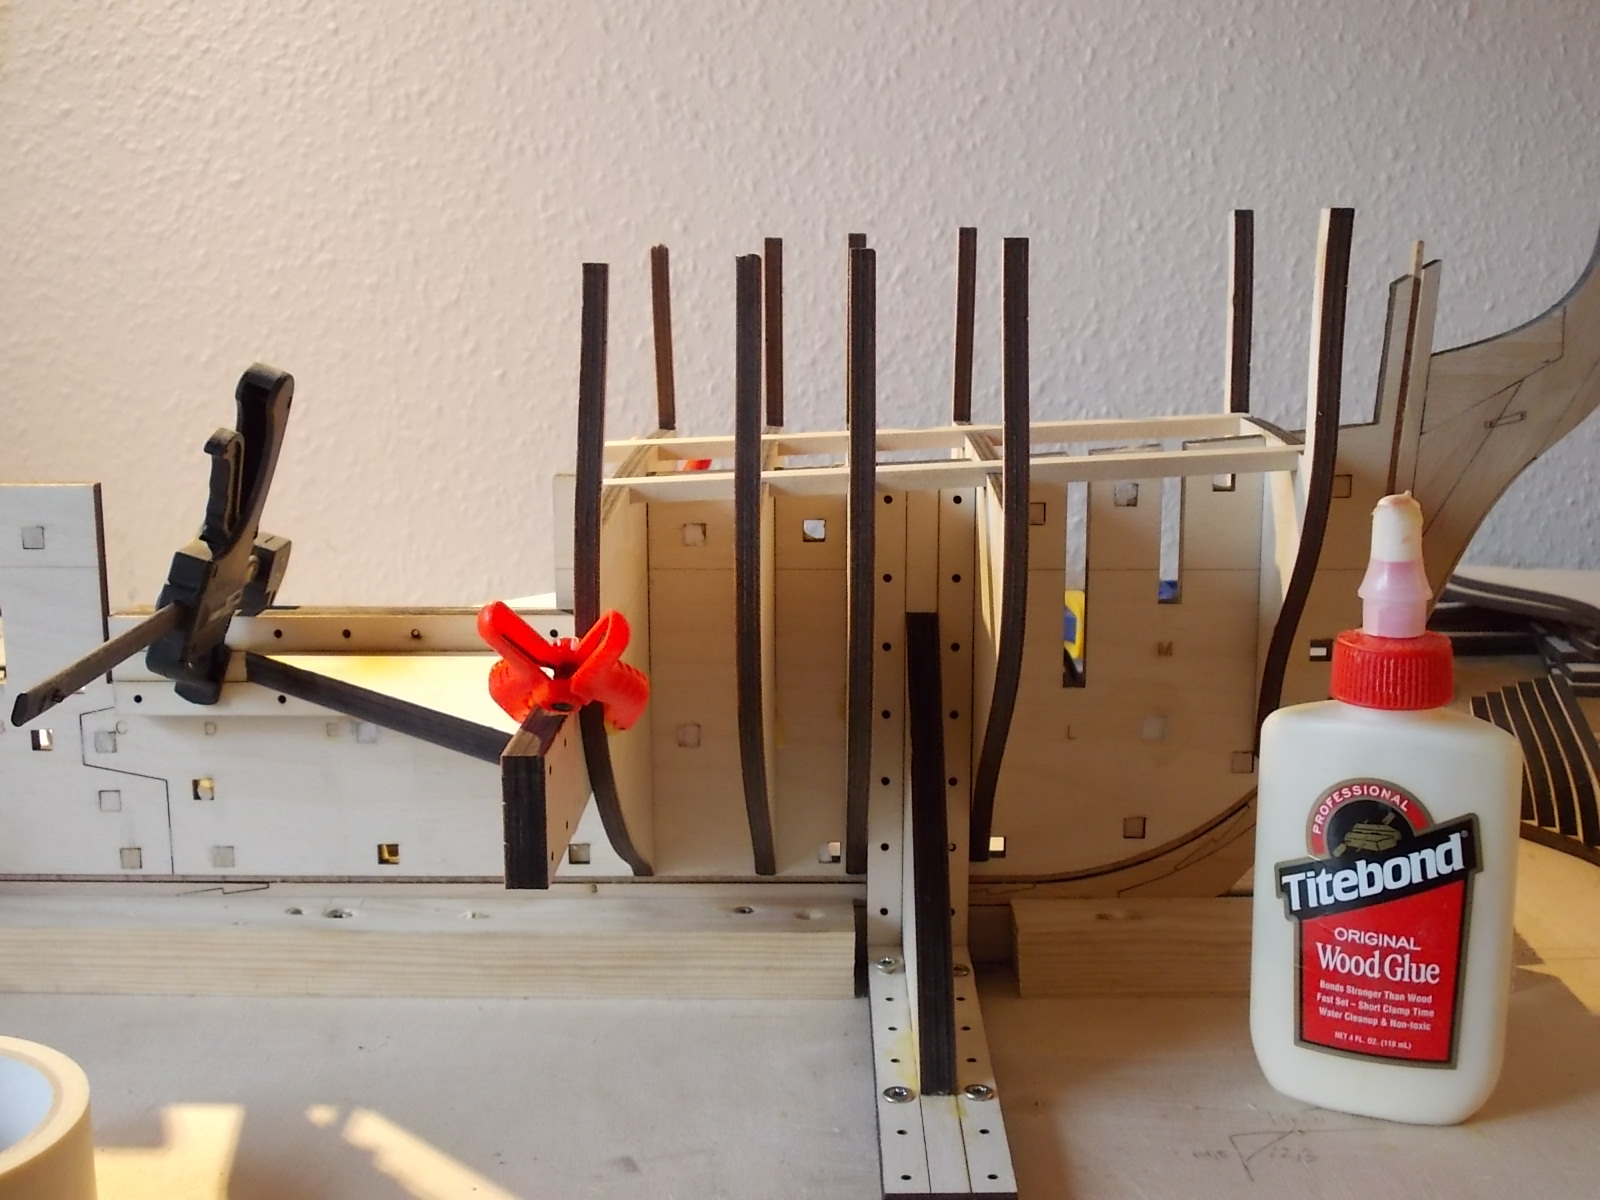
while waiting for the glue to dry I decided to do the fairing on bulkheads L , M And N the 3 foremost bulkheads before I glue them on

Michael
- malachy, dvm27, paulsutcliffe and 4 others
-
7
-
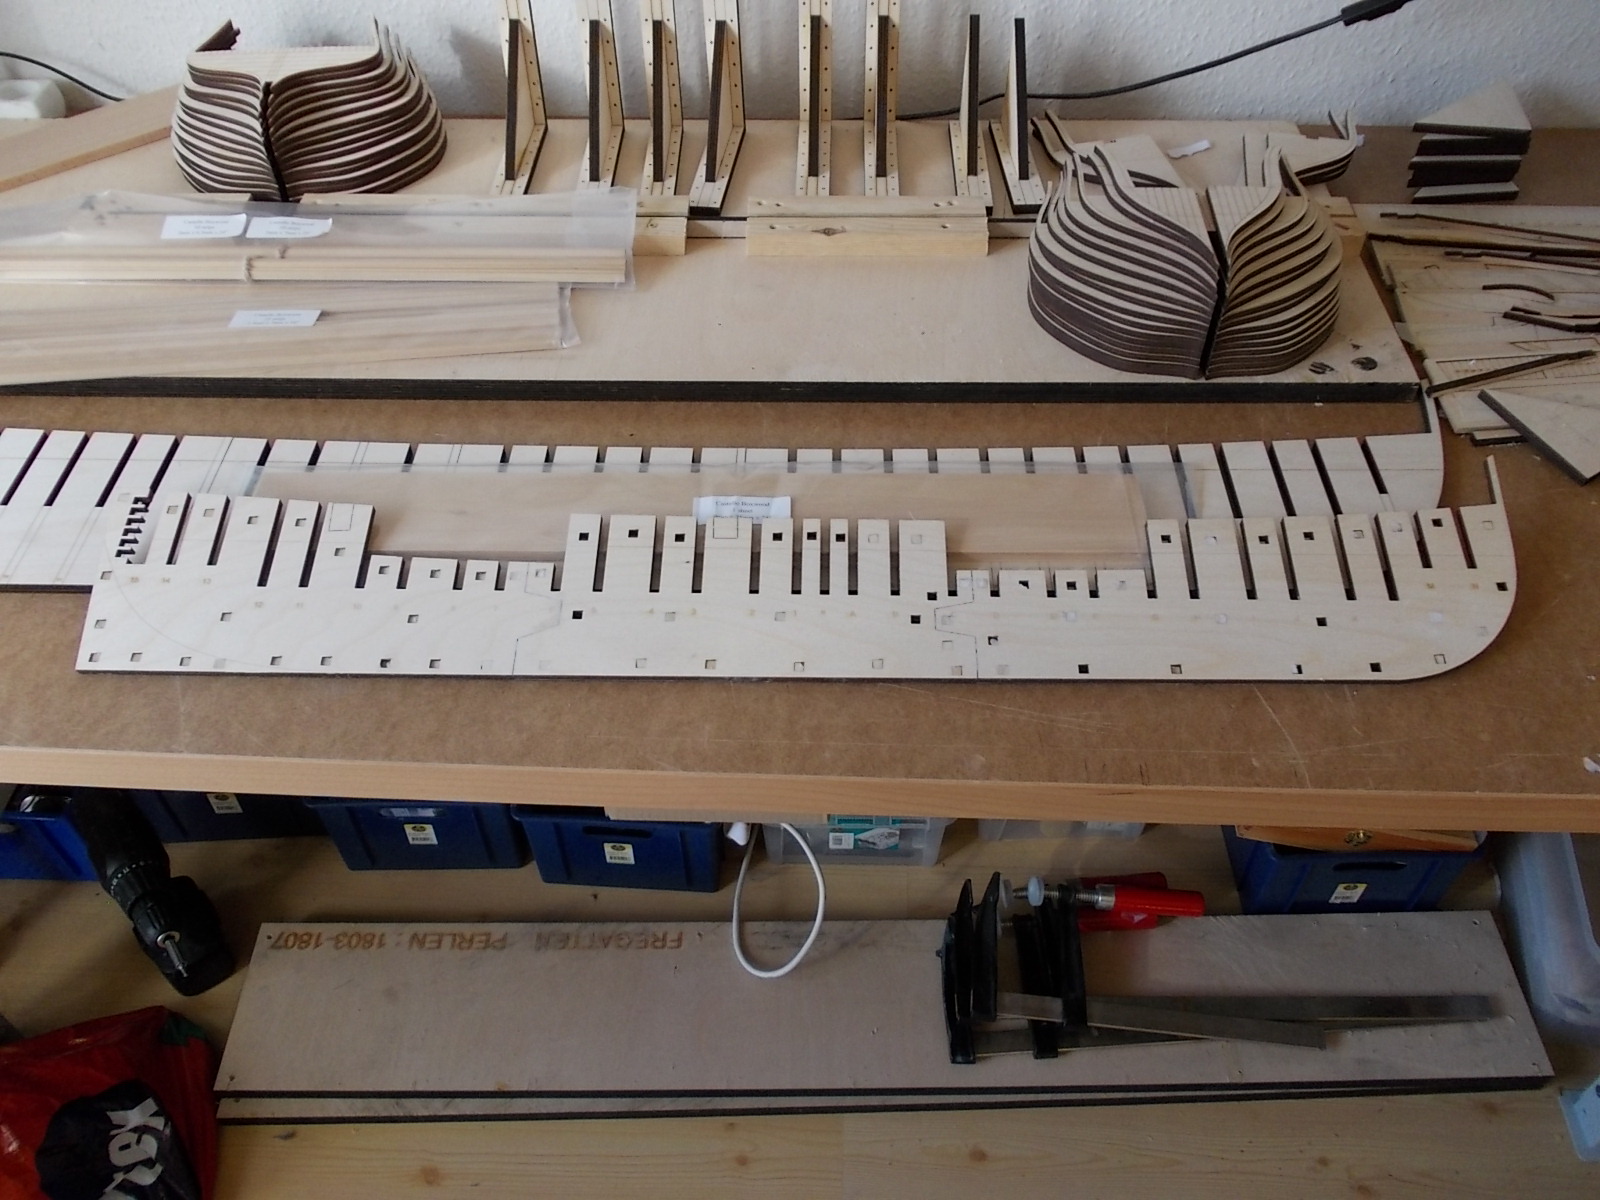
Hi All
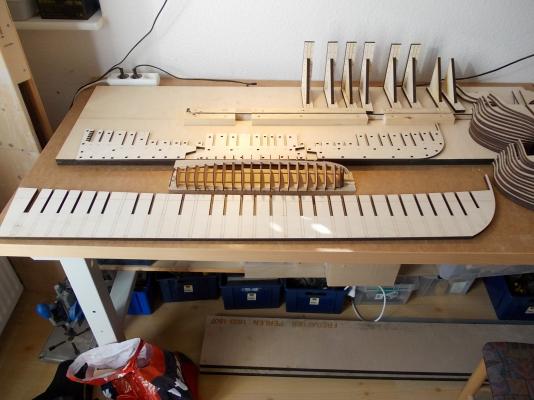
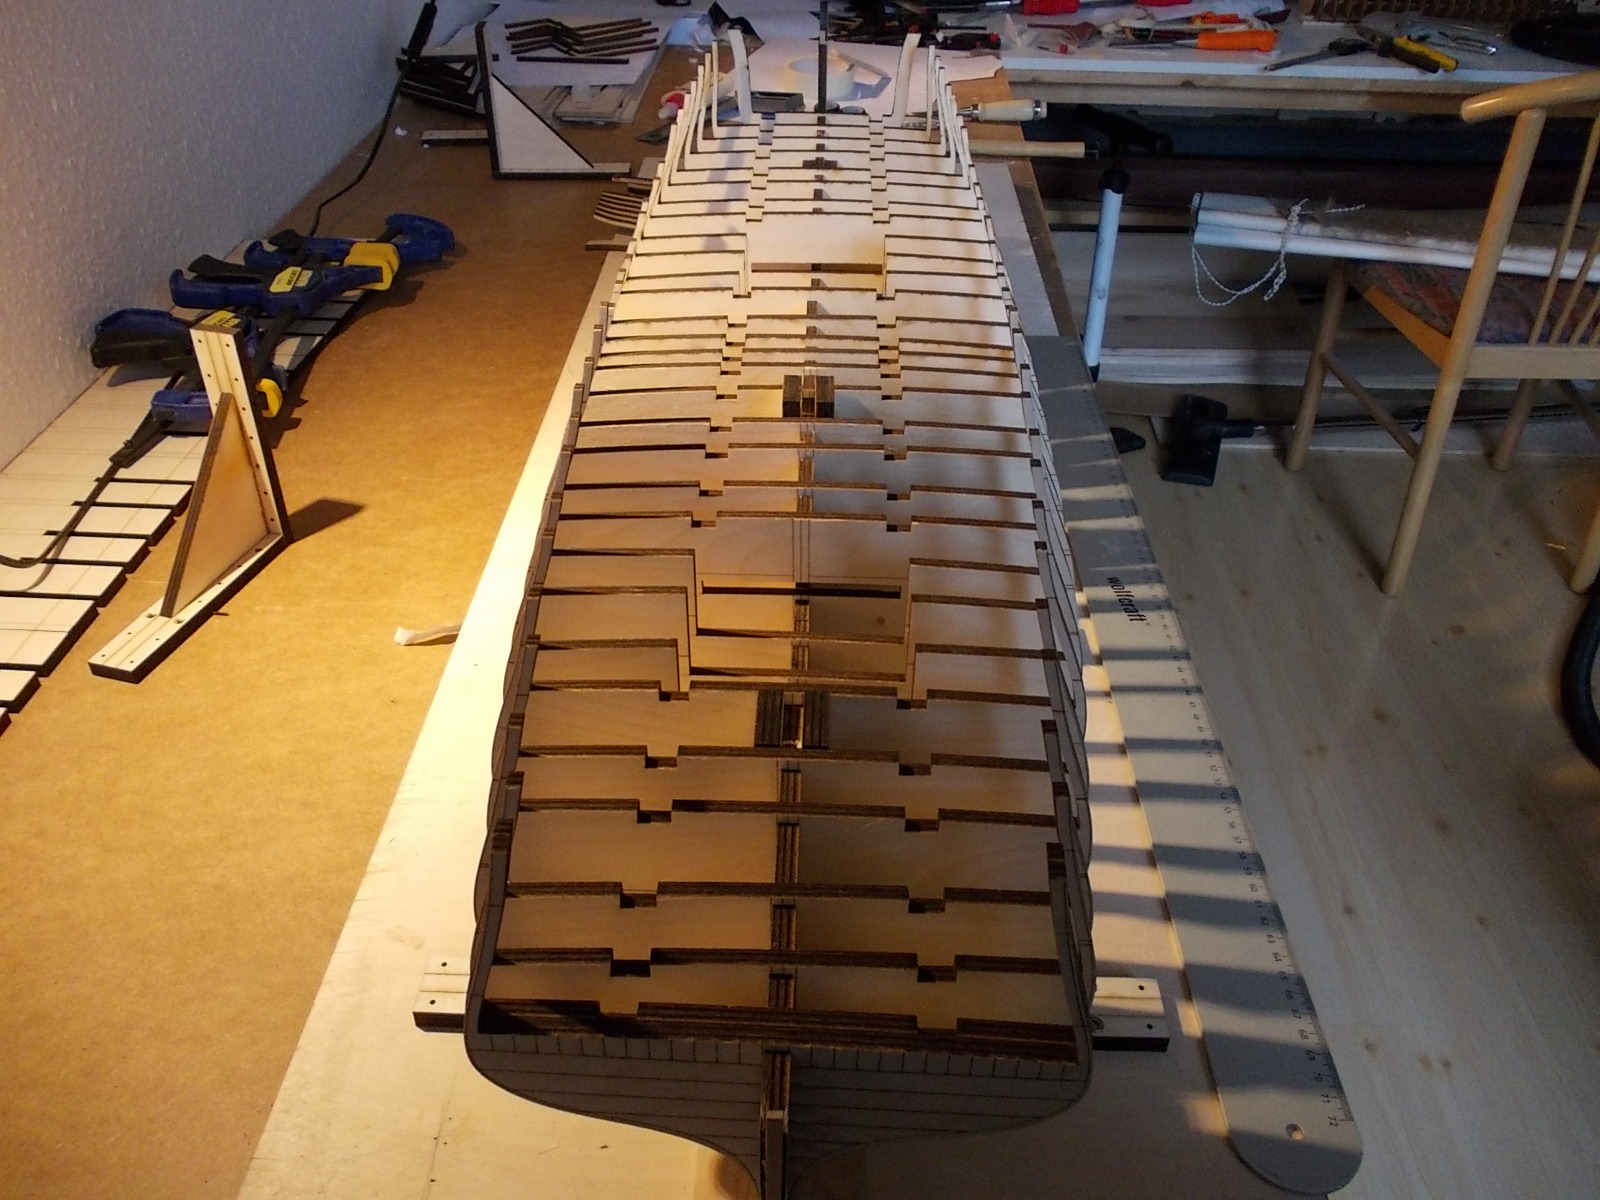
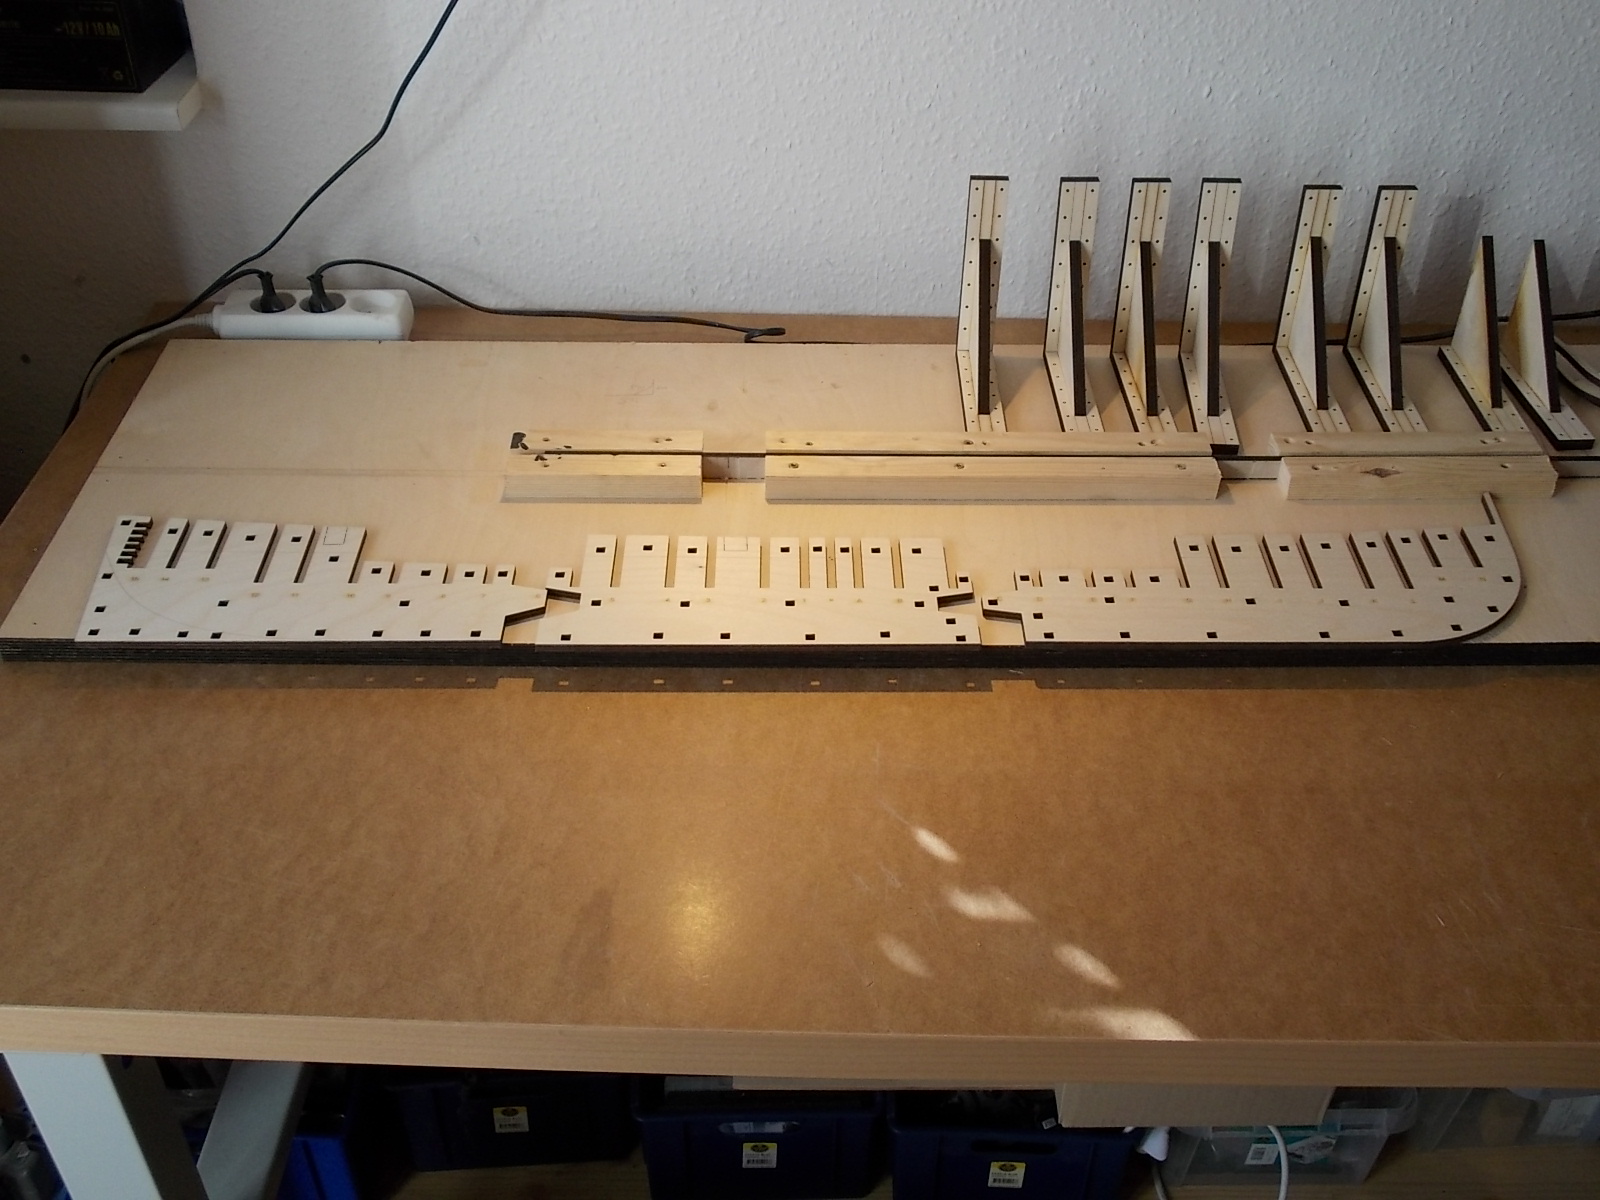
just a small update the build board is ready
and I decided to dry fit all the bulkheads

and finally the first 4 build board ar glued on.

Michael
- Bobstrake, mtaylor, GrandpaPhil and 3 others
-
6
-
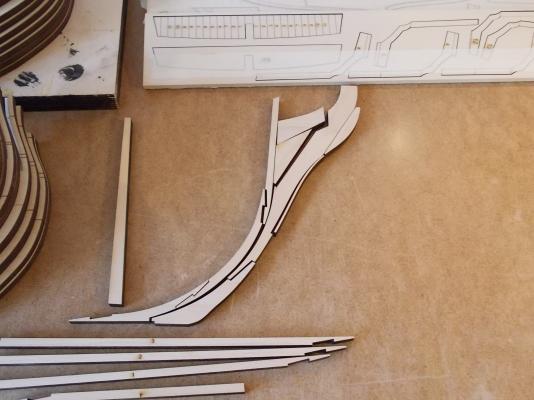
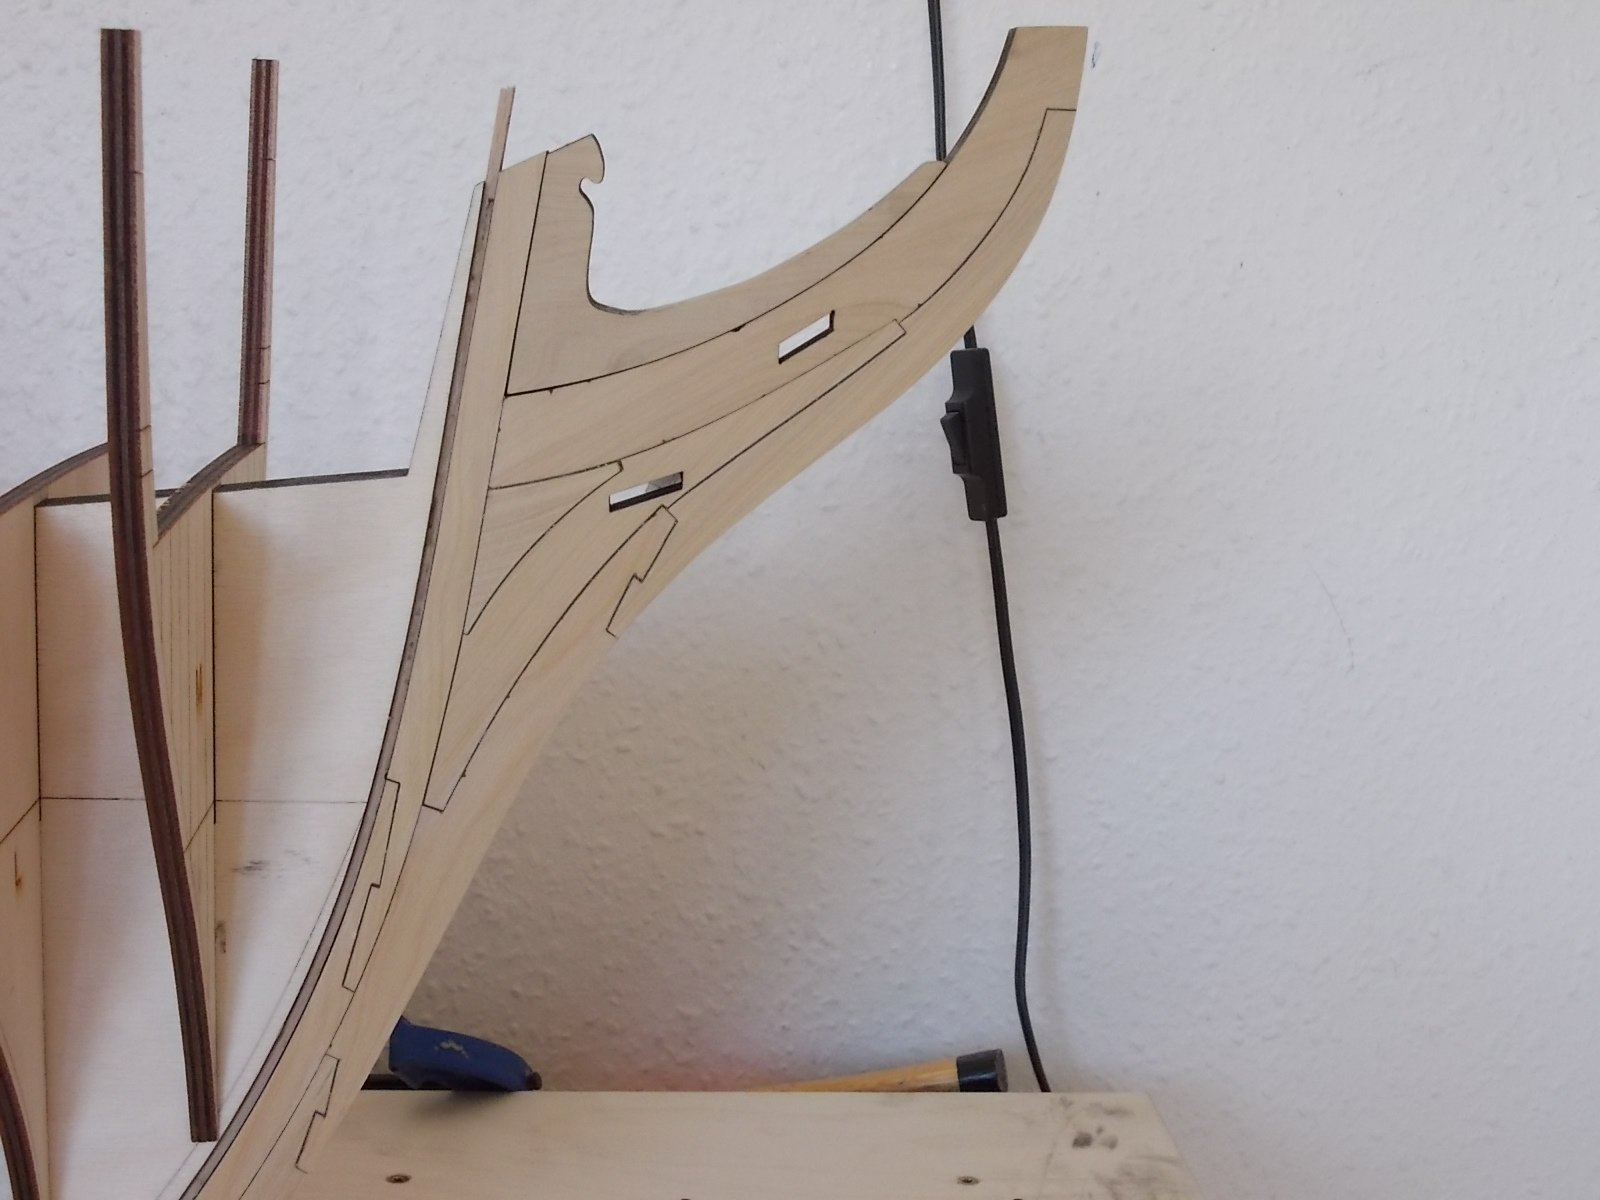
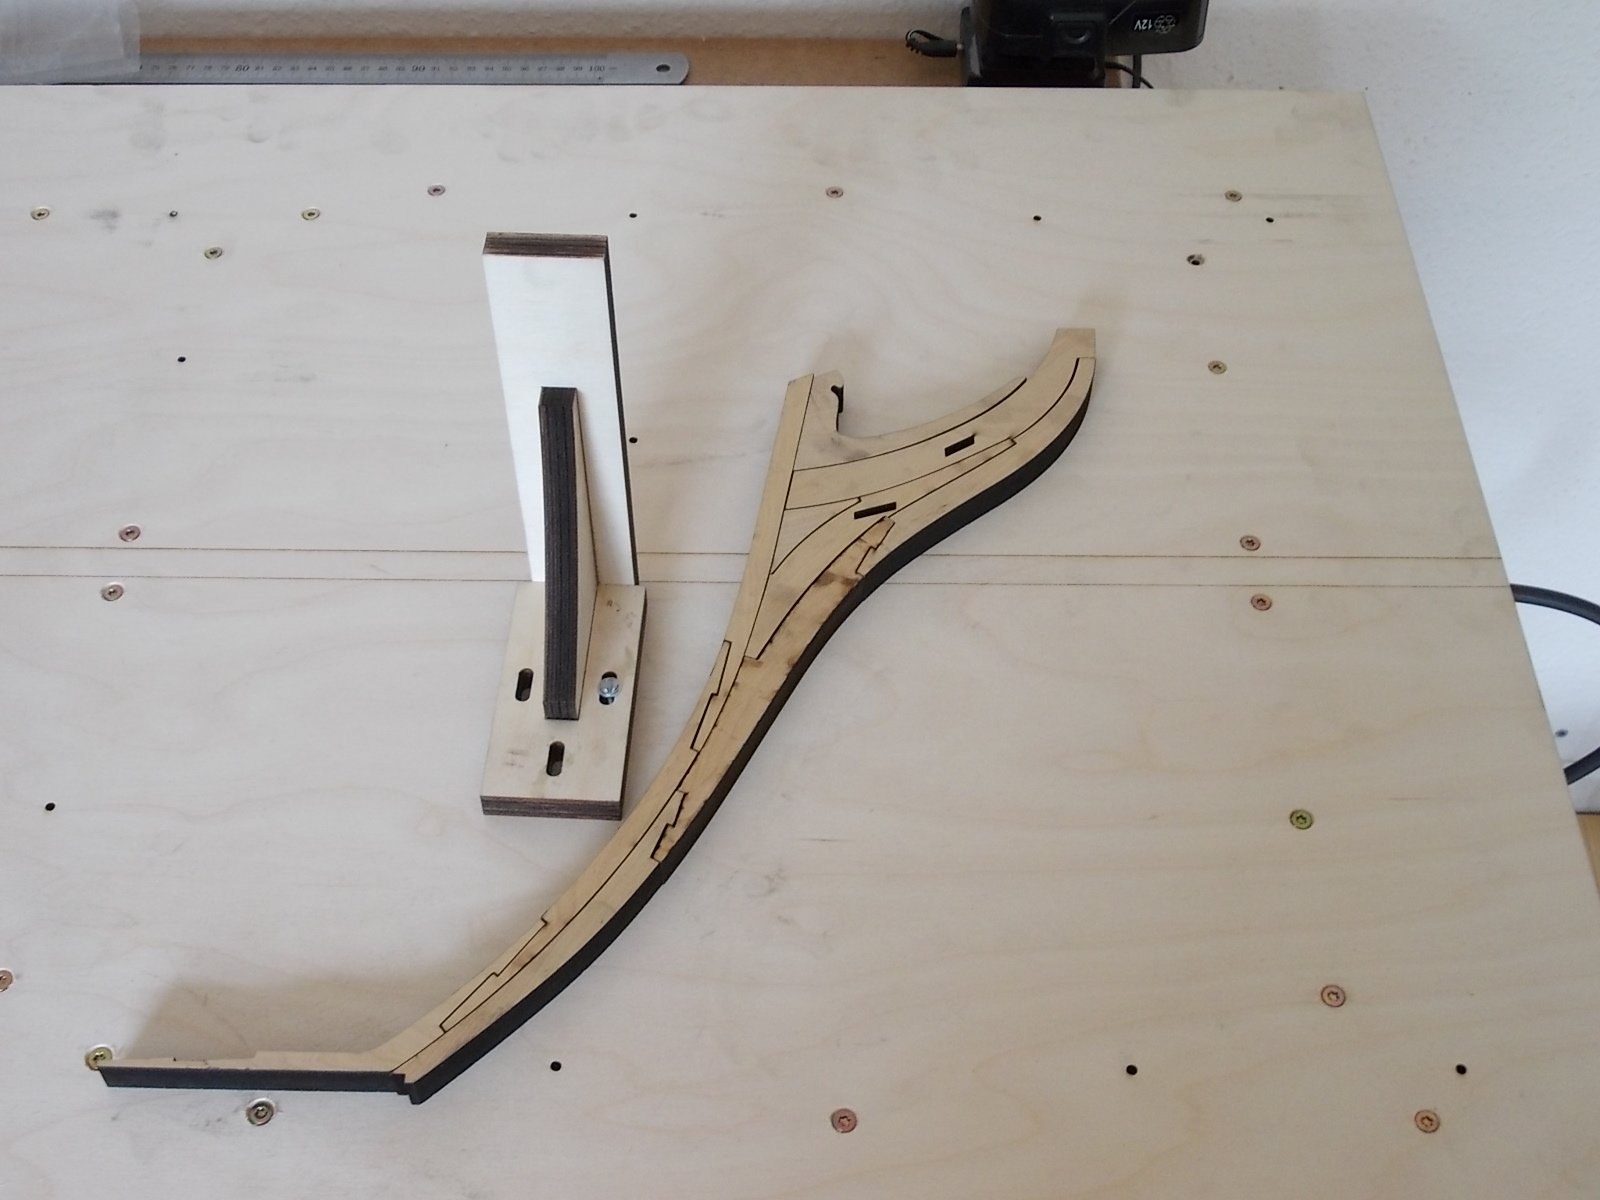
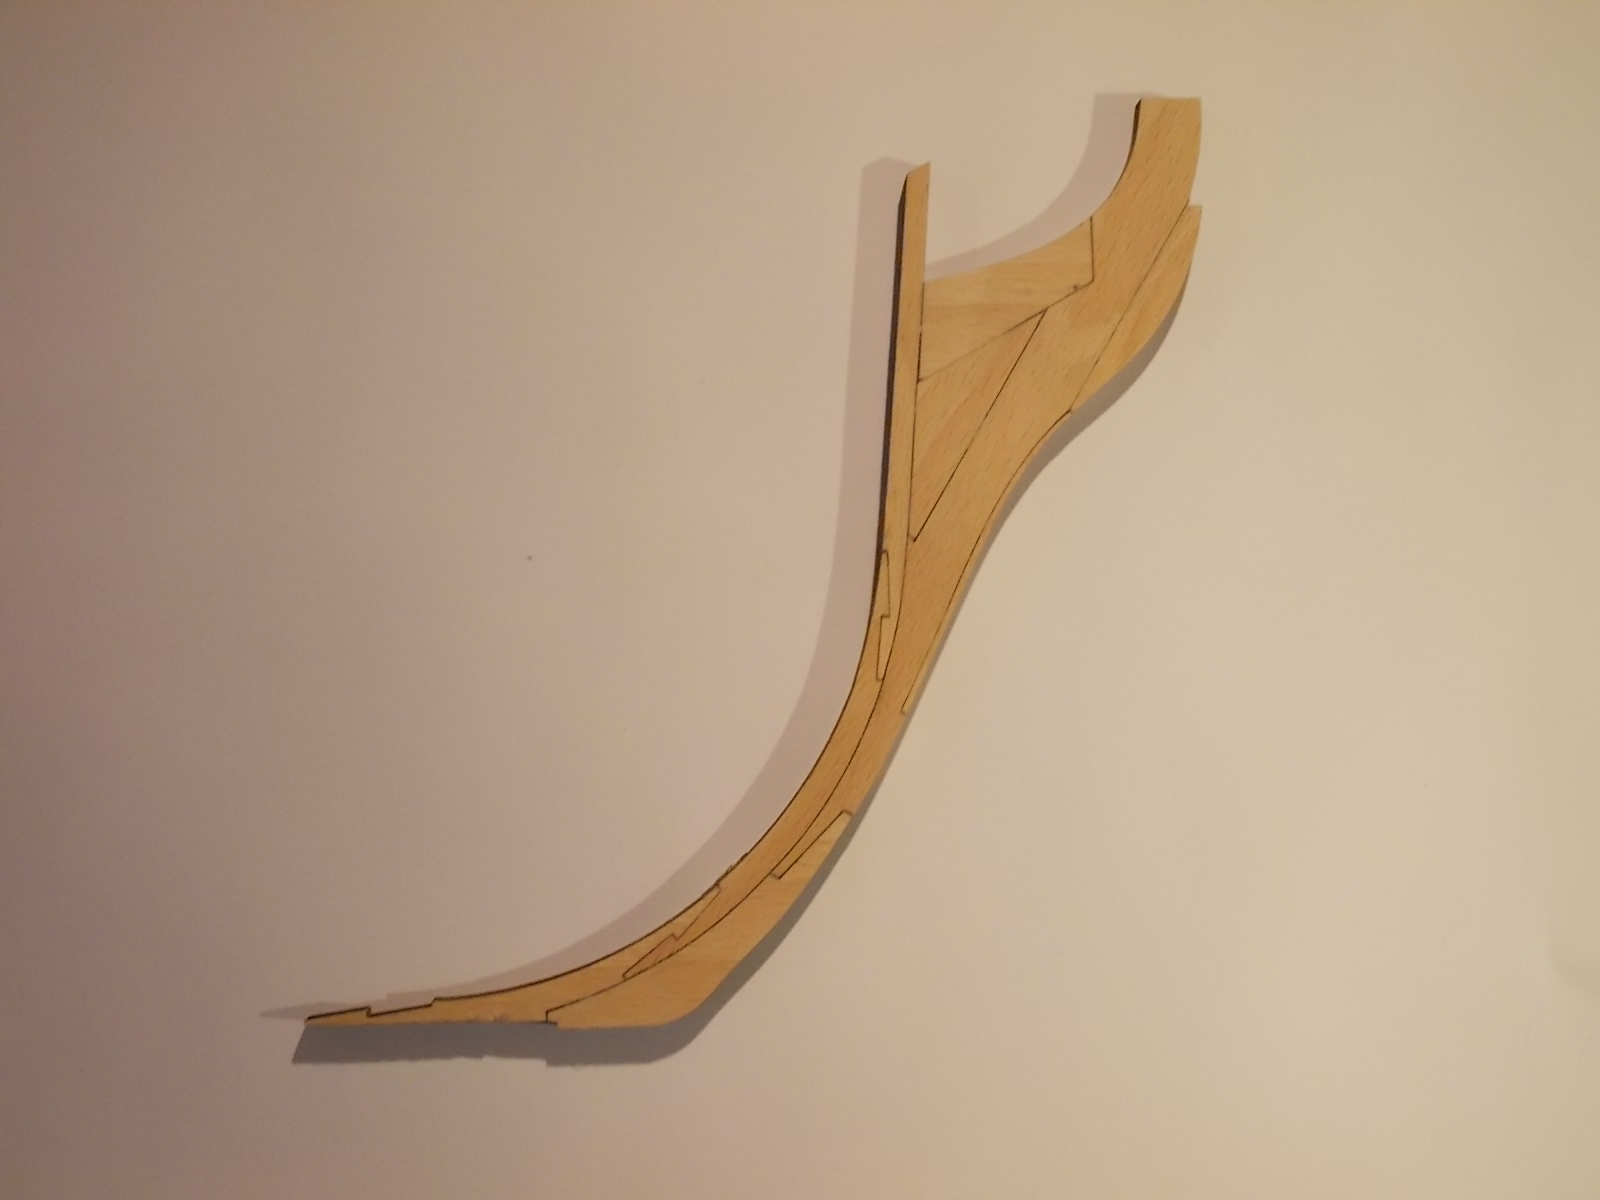
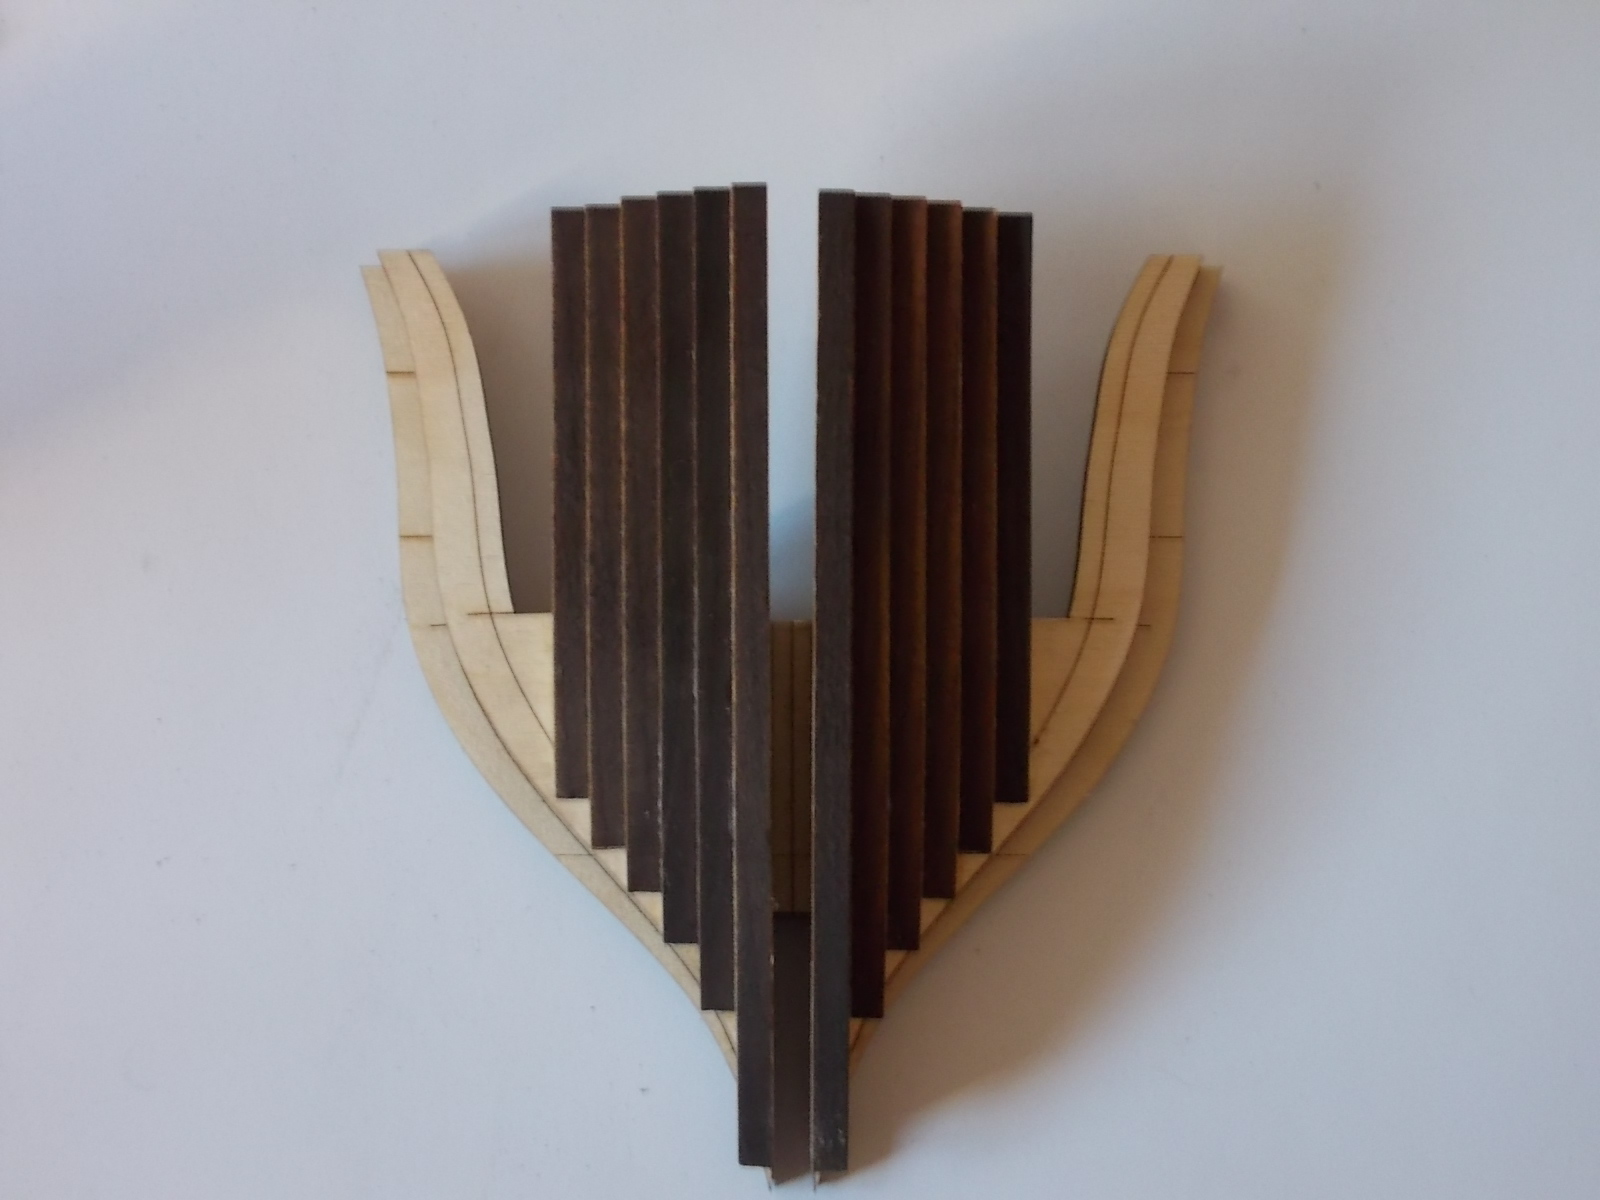
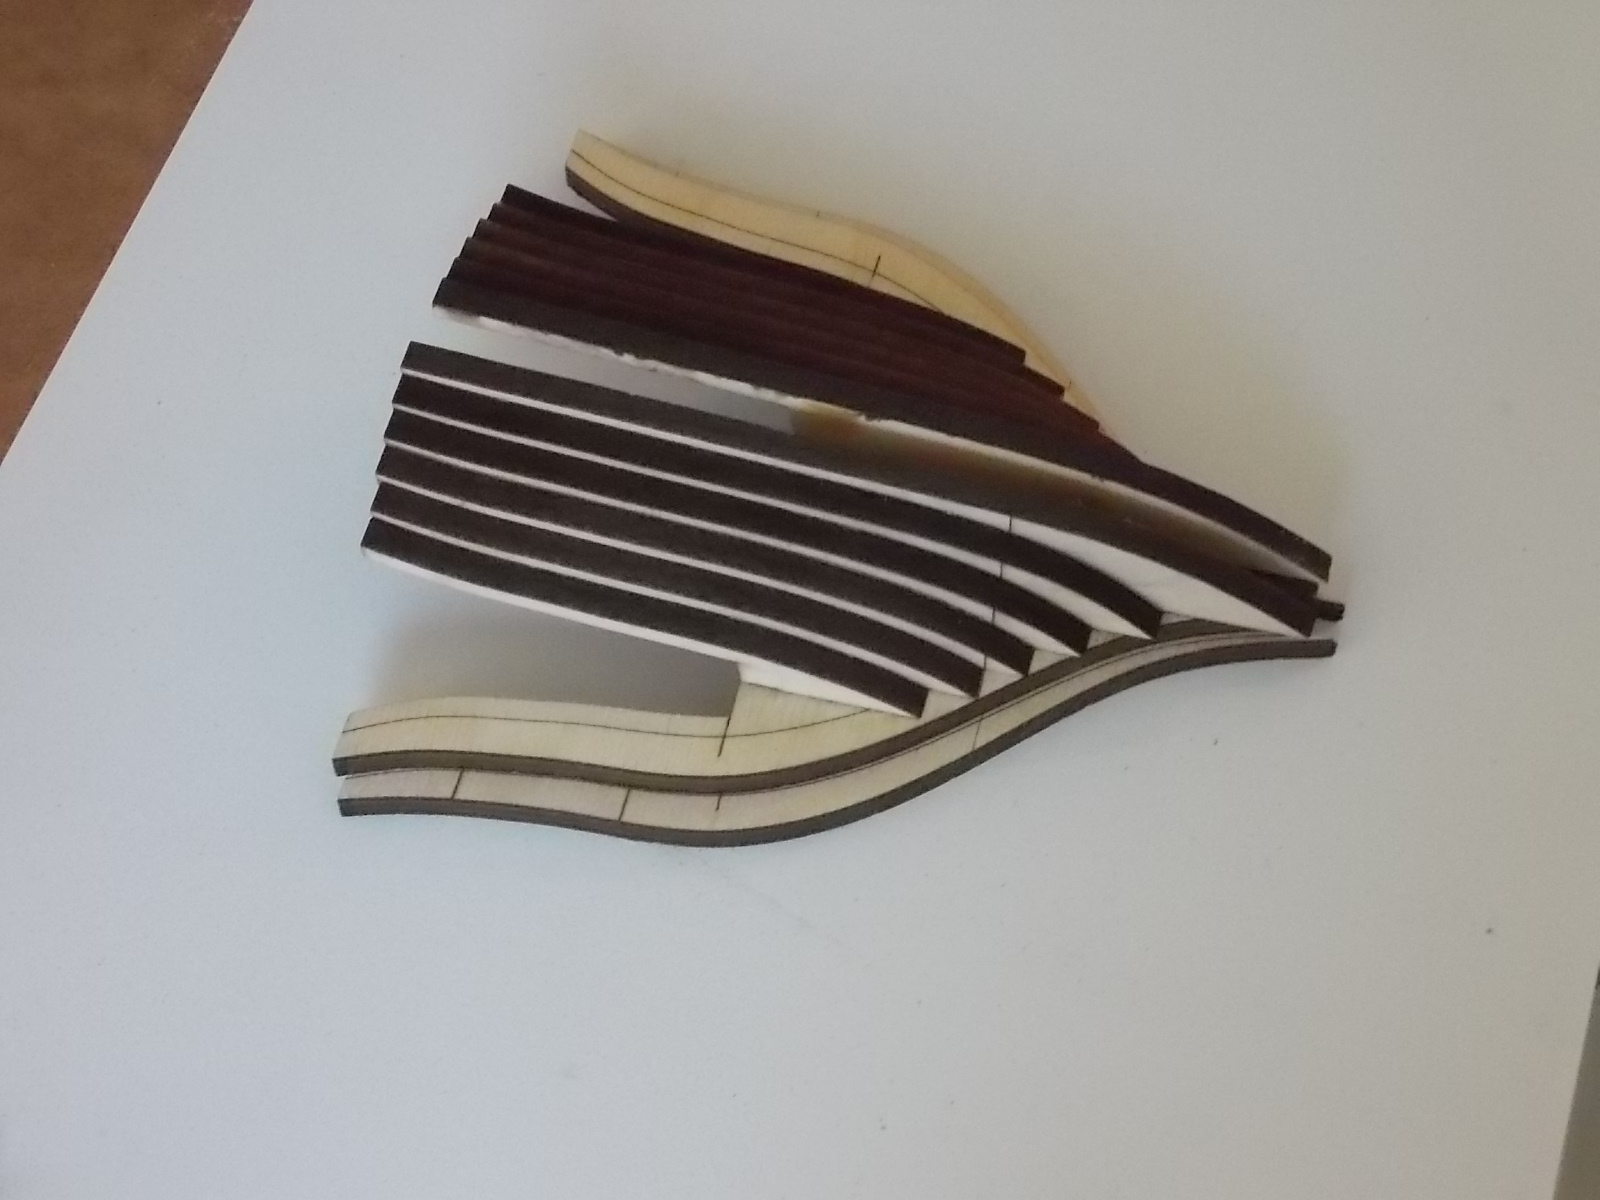
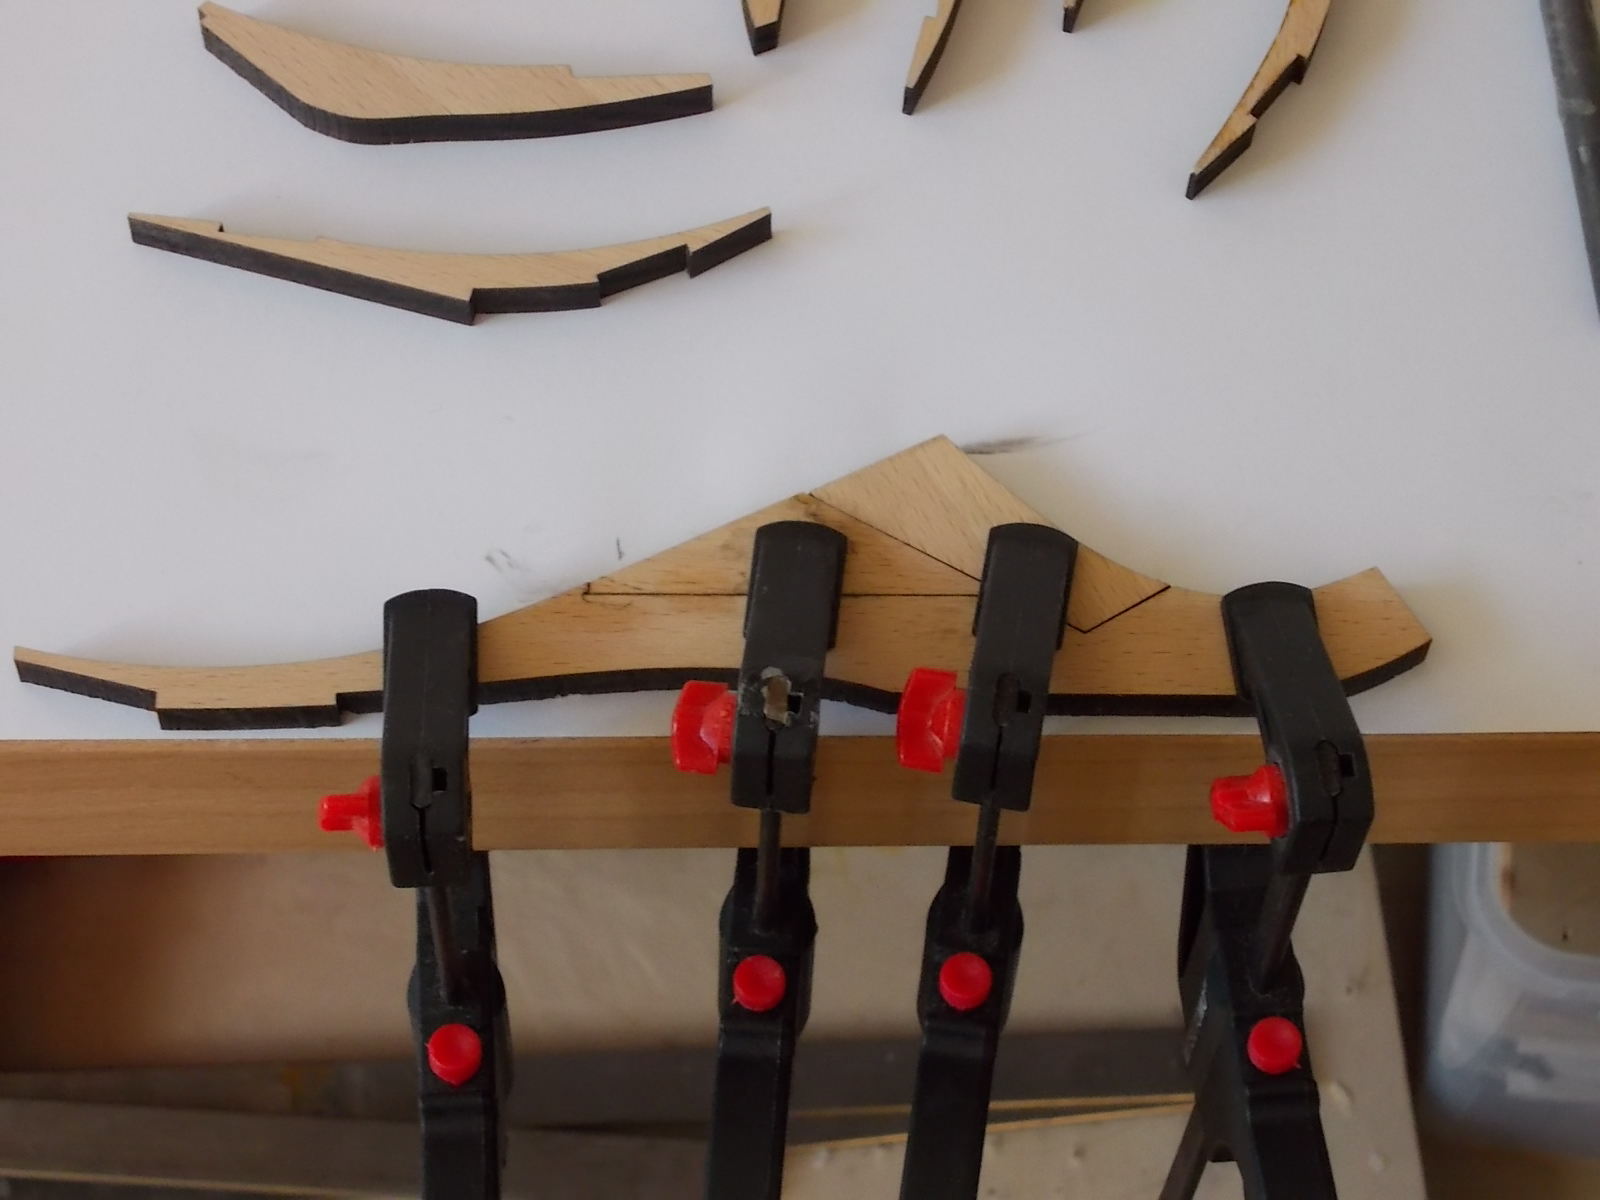
after the glue on the false keel was dry it was time to fit the rabbet strips
 and complete the stempost
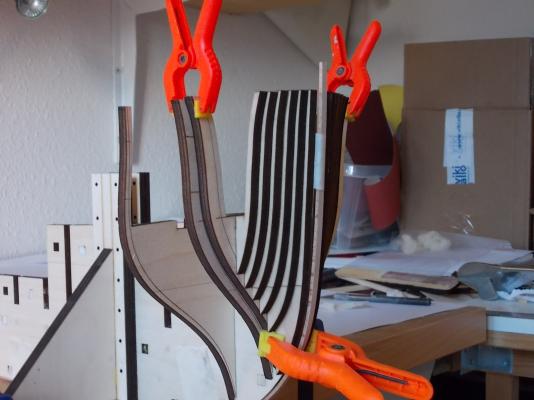
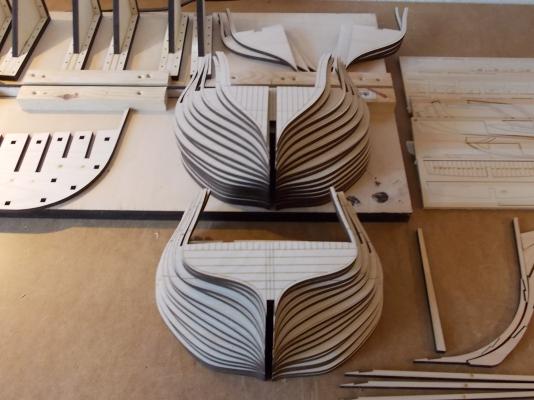
 and when I was done with that I decided to assemble the bow fillershow they looked before they were assembled
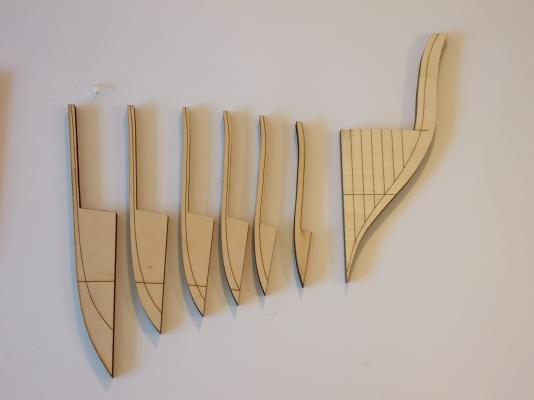 and after
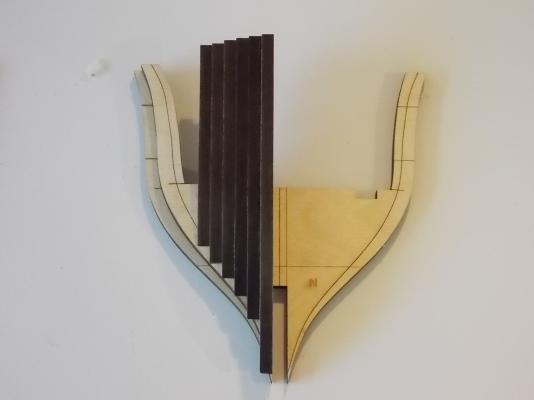

 and finally how they will look when they are put on the keel
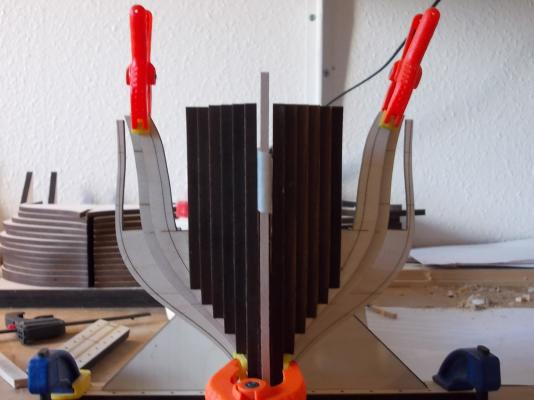
 Michael
 -
-
-
now I think is time for a little up date on this model, I decided to throw the old model out and start over again why ? because I made too many mistakes as I made the first drawings, so instead of to constantly correct errors on the error on the old model I decided to start over.
I've created a set of new drawings and finish cutting the new parts

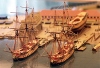
the last image is of the false keel of a Danish 74 scale 1:48 the small model is a Danish gunboat also in 1:48
Regardes
Michael
-
-
Beautiful work Christian
Michael
- AnobiumPunctatum, mtaylor and Eddie
-
3


3D drawings 18pdr at 1/64 scale
in CAD and 3D Modelling/Drafting Plans with Software
Posted
Christian
ther ar a company in ukraine that make the guns for the la Vénus
but I'm not sure if they also make them in 1/64 scale
http://www.shipmodels.com.ua
Michael