HOLIDAY DONATION DRIVE - SUPPORT MSW - DO YOUR PART TO KEEP THIS GREAT FORUM GOING! (Only 72 donations so far out of 49,000 members - Can we at least get 100? C'mon guys!)
×


keelhauled
-
Posts
788 -
Joined
-
Last visited
Content Type
Profiles
Forums
Gallery
Events
Everything posted by keelhauled
-
 Don't throw out the colored plates, you might be able to blend those plates with the rest. Place the plates that are already colored in something air tight, while the others are turning color and eventually they will be the same color as the rest. good luck! Marc
- 74 replies
-
- 1
-

-
- del prado
- cutty sark
- (and 1 more)
-
looking good! If you think that coppering will take you more than a week (it takes at least as long as planking the hull- it took me much longer) you might want to take all of the copper plates out and spread them so that they all get oxidized by the air. Otherwise you will get bands of copper oxidized differently. Just a suggestion. Marc
-
Jay, that is by far the best lighting effect that I've ever seen in a ship model. Incredible!!!. It looks amazing - very life like. Hard to believe it isn't photo shop! Keep it up! Marc
- 572 replies
-
- 4
-
-
- constitution
- frigate
- (and 1 more)
-
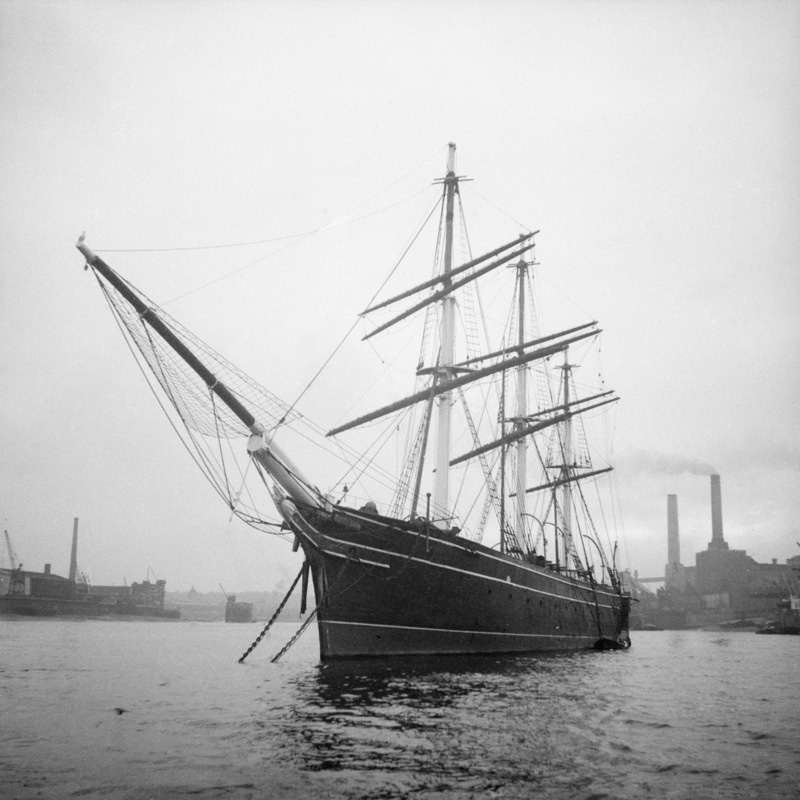
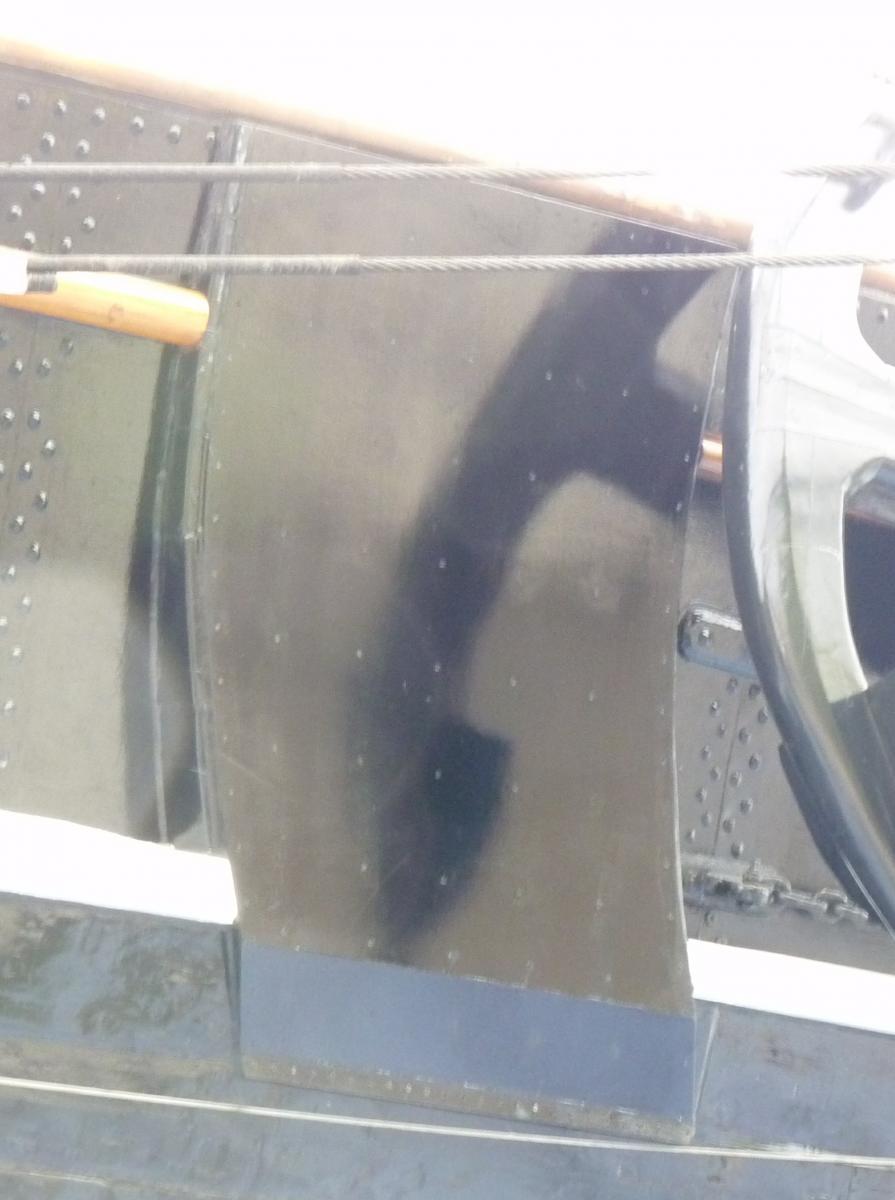
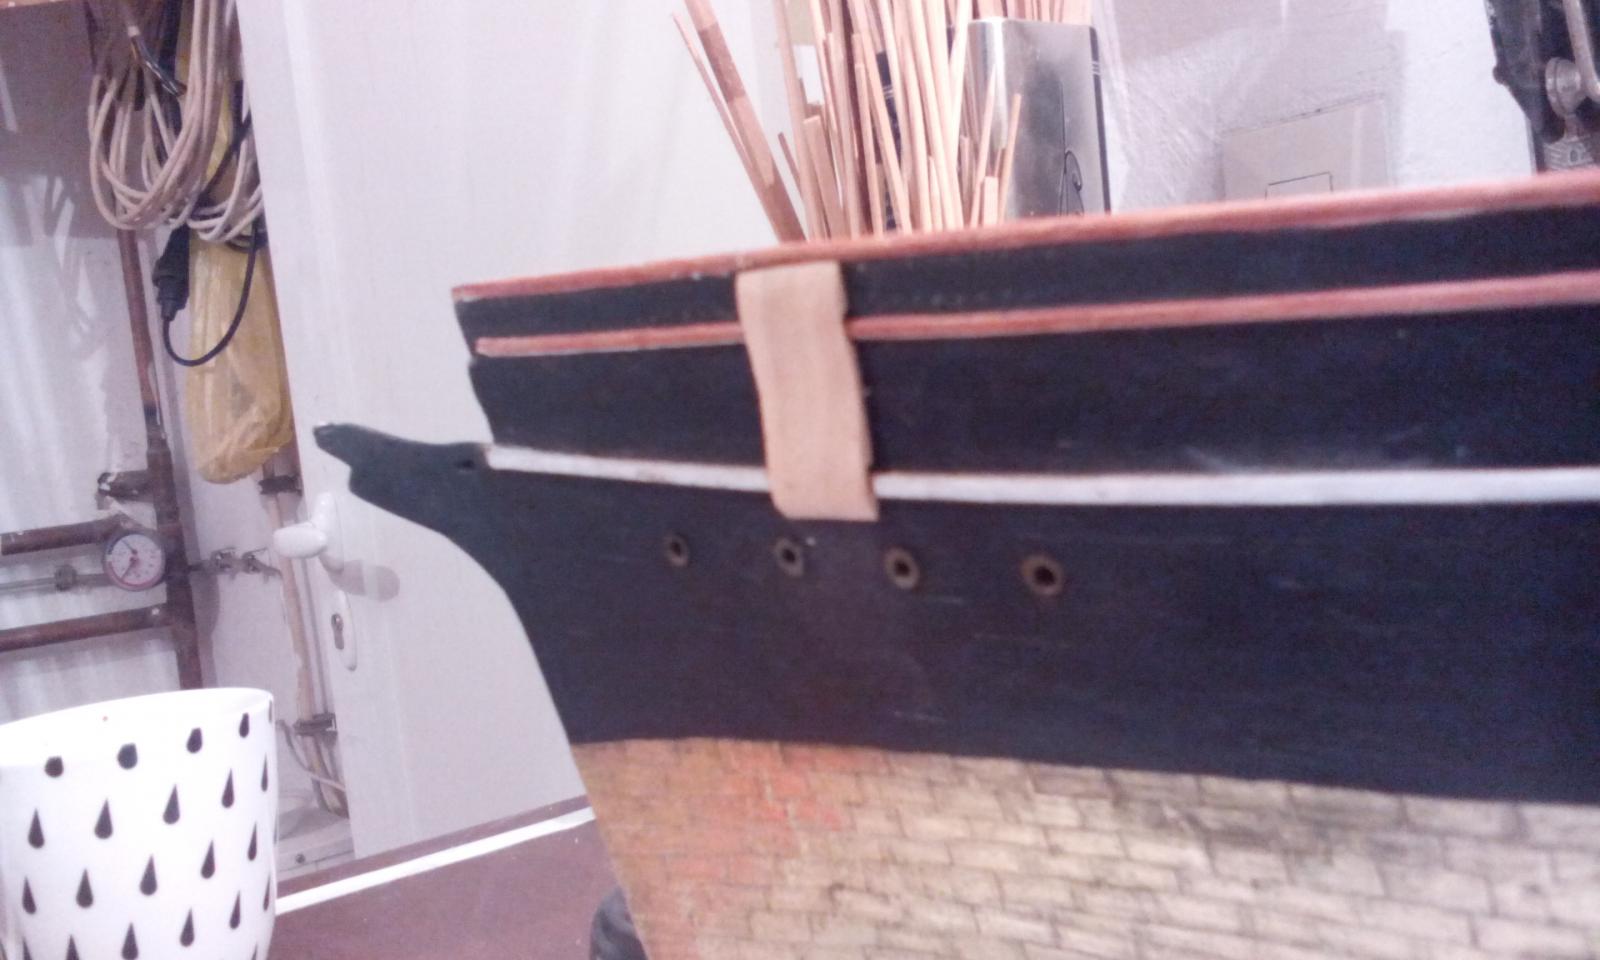
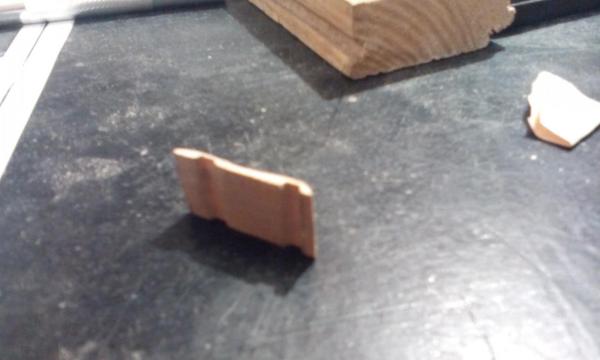
I'm Looking at the photos posted for the anchor boards. It is interesting how much perspective changes the appearance of how wide the boards are. The model is taken from Campbell's plans and looks correct dead on when compared to photos taken dead on. but in this post the model's boards looks narrow. Maybe they will look wider when they are painted black.
- 525 replies
-
- 1
-
-
- cutty sark
- mantua
- (and 2 more)
-
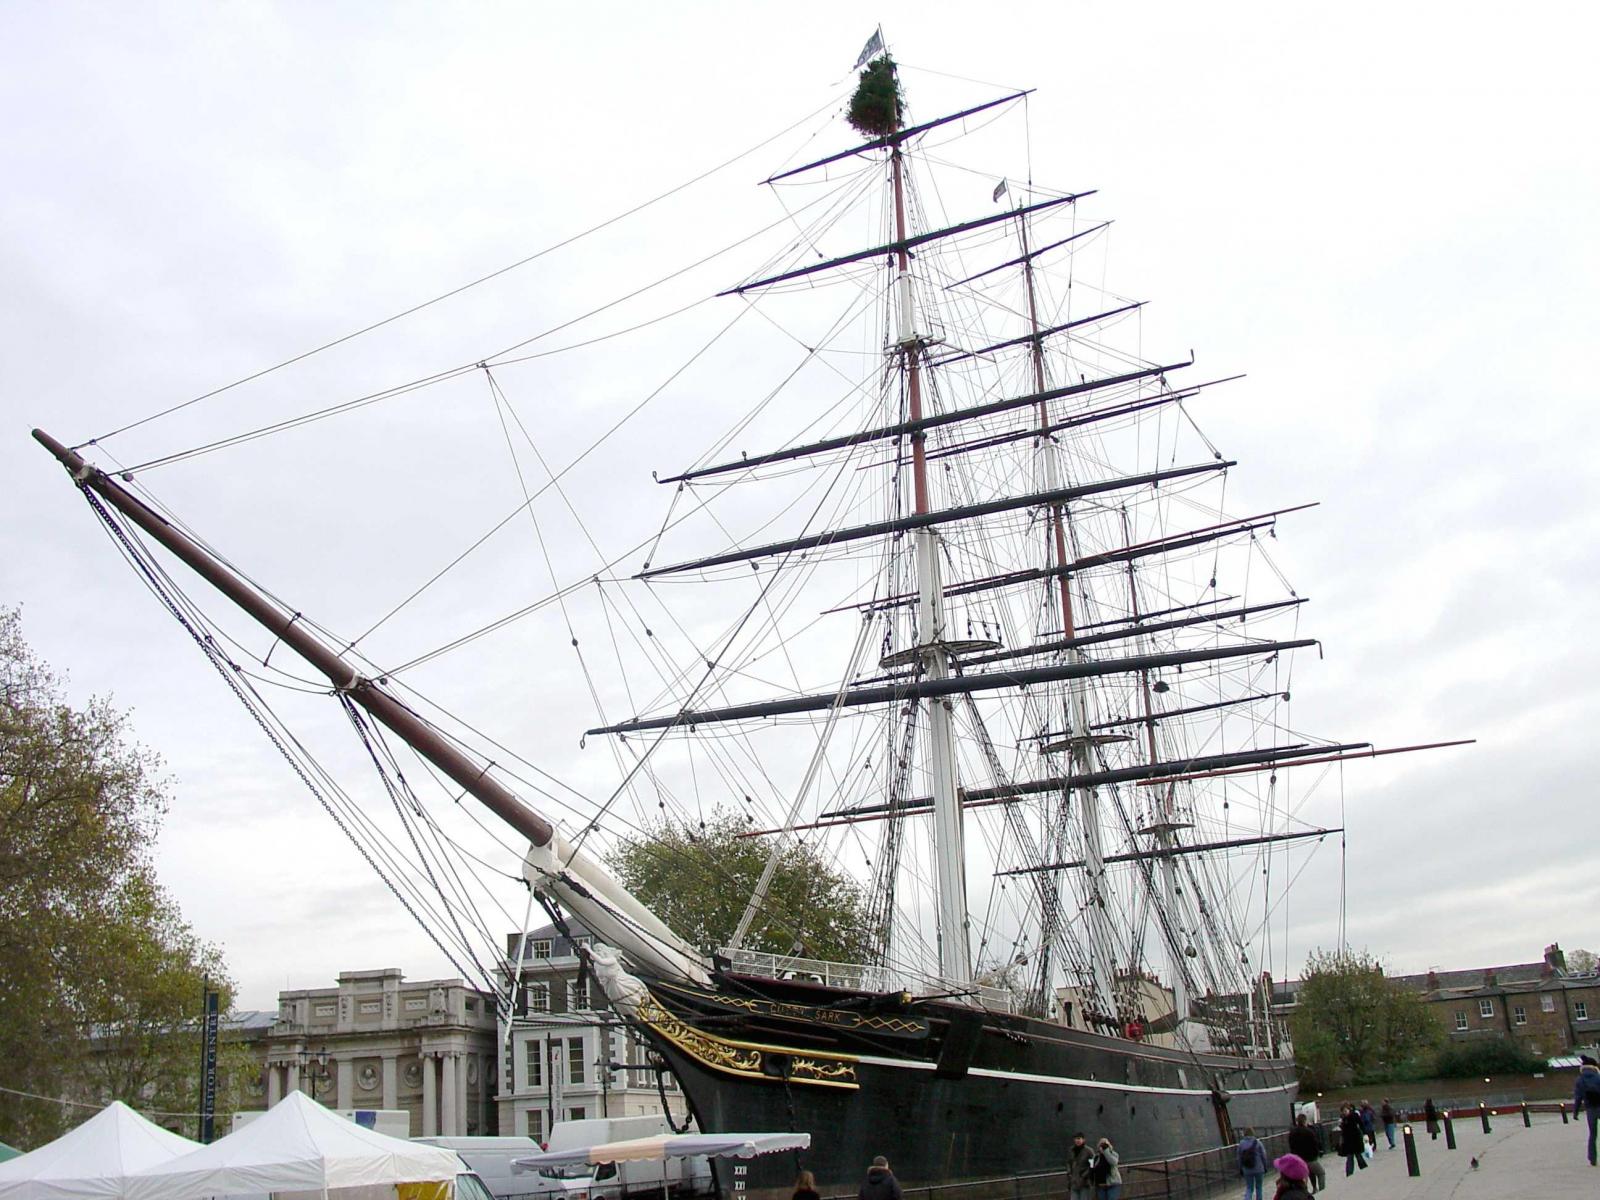
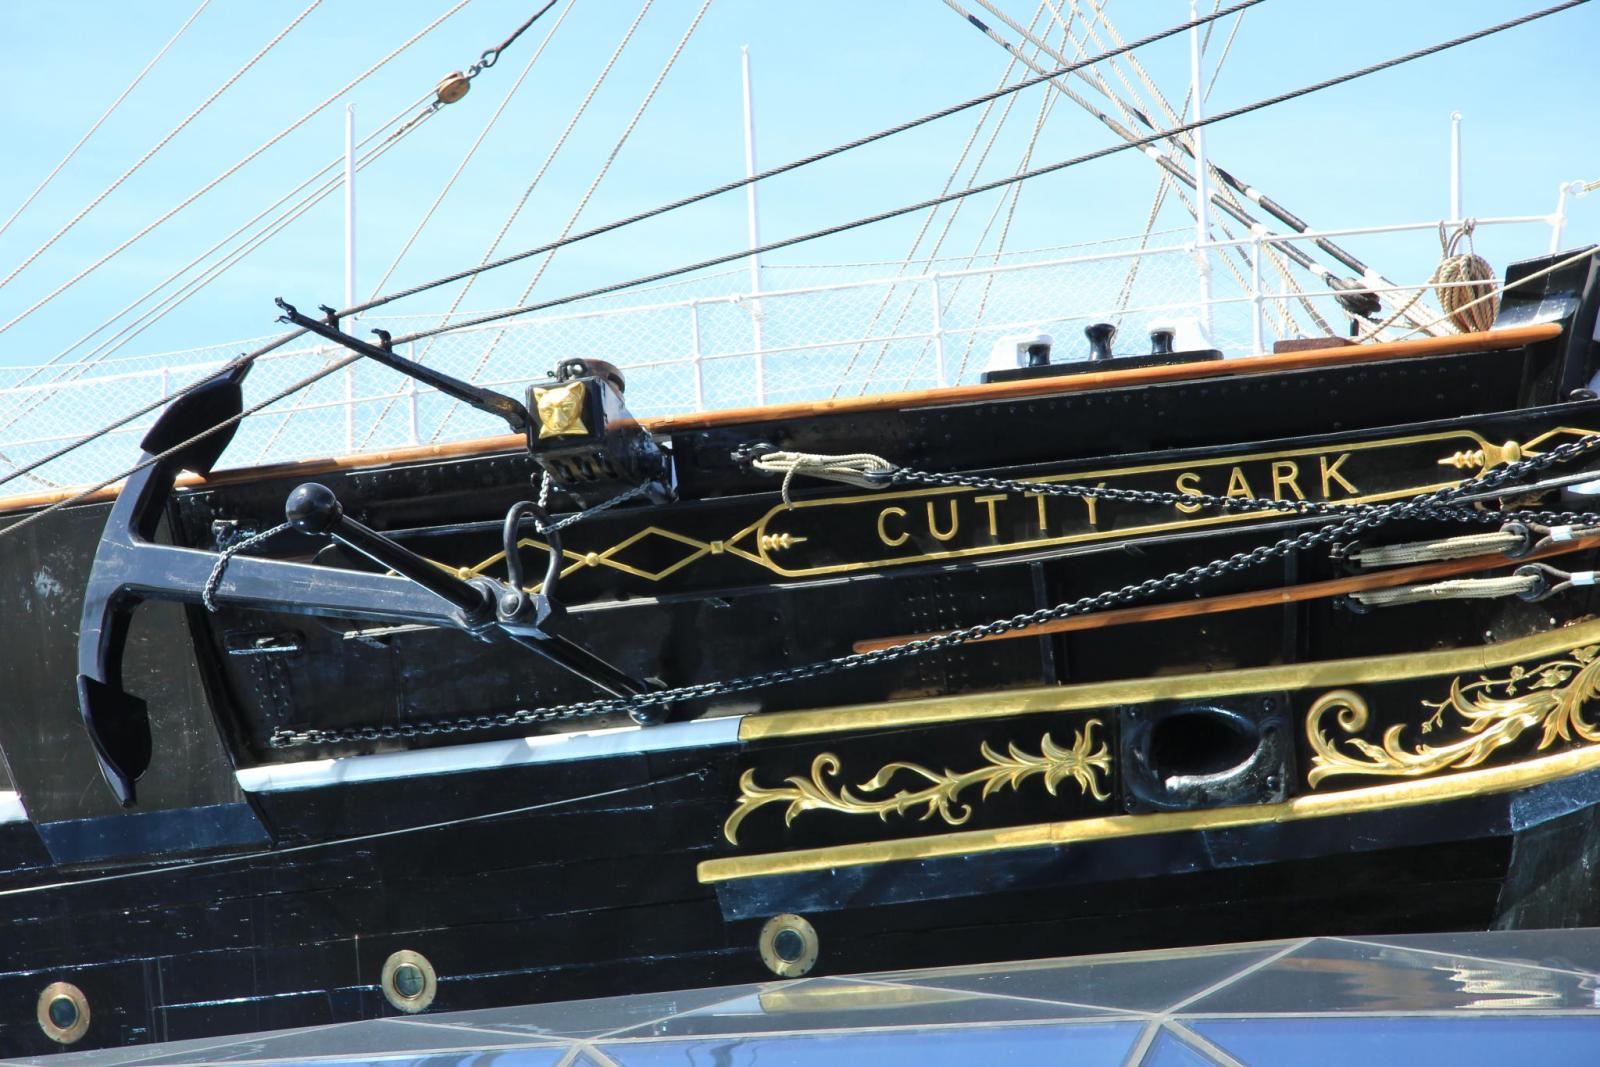
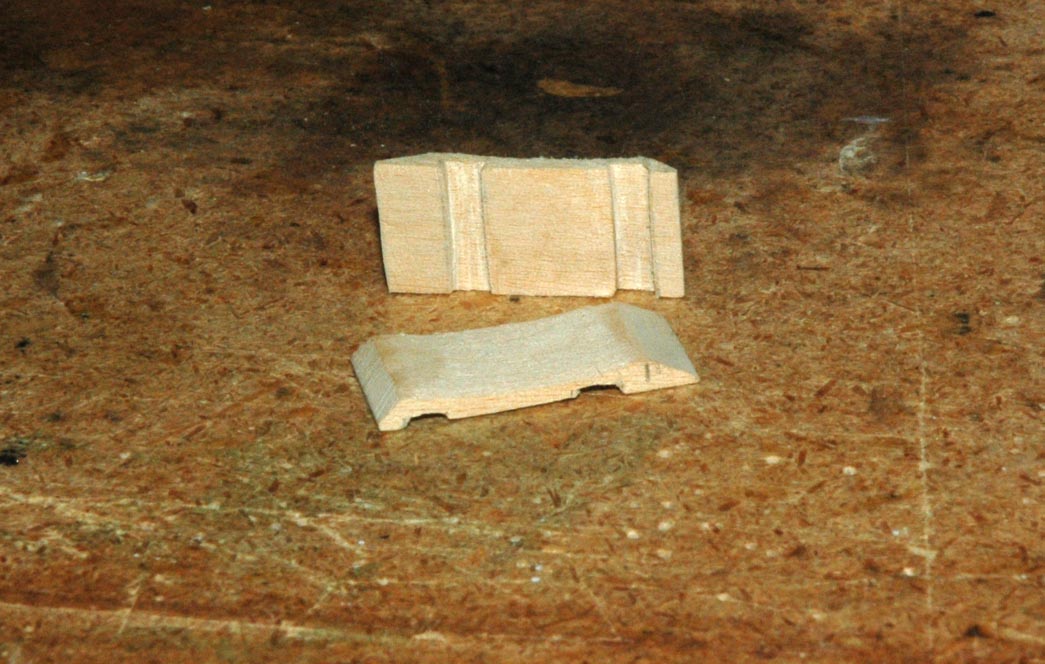
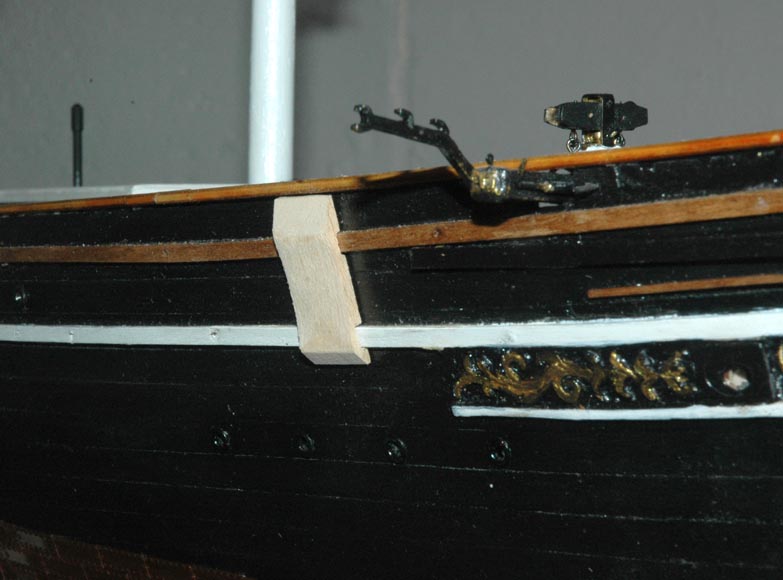
I worked on the Cutty's anchor boards. So, like so many objects on this ship, there are numerous versions and paint jobs. Some photos have white strips painted across the boards carrying on the whales. Their shape seem to be somewhat different in various photos. Before the restoration, the shape was more flat vertically, now after the restoration they curve as they go up the ship. In the end, I decided to curve them... Interestingly they look like Nenad's. I guess I shouldn't be surprised since we are modeling the same piece for the same ship. I think I need to shave a little of the thickness near the top. Marc


- 525 replies
-
- 4
-
-
- cutty sark
- mantua
- (and 2 more)
-
Be safe. We look forward to the build after you've settled back in! Marc
-
Cutty Sark by NenadM
keelhauled replied to NenadM's topic in - Build logs for subjects built 1851 - 1900
Looking good!! It always makes me nervous cutting into the hull. You did a great job. I think that the bolts on the ends of the cats might be for cleats. Marc- 4,152 replies
-
- 1
-
-
- cutty sark
- tehnodidakta
- (and 1 more)
-
How to avoid table saw fuzzies?
keelhauled replied to Keith_W's topic in Modeling tools and Workshop Equipment
As Jeff points out that "you should not use the miter and fence on a cut without a stop." Hopefully you're not using the fence to setup the thickness of your cut. On larger pieces and a saw this is a serious issue and could create kickback that could end up with severe injuries and loss of fingers. Just wanted to comment on the safety aspect. -
Tilting Table on Byrnes Saw
keelhauled replied to jhearl's topic in Modeling tools and Workshop Equipment
Does anyone have video of using the tilting table? I'm wanting to buy the saw, but wondering about how the tilt table works. It's easy to see with the proxxon its the same as the full size table saws that I've used in the past. -
Cutty Sark by NenadM
keelhauled replied to NenadM's topic in - Build logs for subjects built 1851 - 1900
Ditto about the Cherries as well as the whisker booms! I knew that your would make the booms better and better! Very nice! beautiful work! marc- 4,152 replies
-
- 4
-
-
- cutty sark
- tehnodidakta
- (and 1 more)
-
You are a patient man, Jay. My head hurts just thinking of the geometric difficulties! You're doing an awesome job!
- 572 replies
-
- 4
-
-
- constitution
- frigate
- (and 1 more)
-
Cutty Sark by NenadM
keelhauled replied to NenadM's topic in - Build logs for subjects built 1851 - 1900
The spice must flow! It must flow until we all have blue within blue eyes! Actually I need to see in the future like the navigators so that I can correct my mistakes before I make them- 4,152 replies
-
- 6
-
-
- cutty sark
- tehnodidakta
- (and 1 more)
-
Nenad, I would be amazed if you don't finish first. although it's not a race. You run rings around me. It doesn't help that I'm always traveling. But I dream of her when I'm on the road. Always working out problems. How am I going to deal with this or that? I have a book full of drawings and notes. I have pages and pages where I've traced the rigging trying to understand how it is supposed to be and checking all of the the photos I can find. I have to tell you my friend that my model is so much better because of you. Watching you build, you drive me to redo what I have done to make it better. You are always making it better and better! I am glad we are building together! Take care and thank you for the joy. Marc
- 525 replies
-
- 2
-
-
- cutty sark
- mantua
- (and 2 more)
-
Cutty Sark by NenadM
keelhauled replied to NenadM's topic in - Build logs for subjects built 1851 - 1900
Knowing you, you'll beat it into a masterpiece in the end!- 4,152 replies
-
- 4
-
-
- cutty sark
- tehnodidakta
- (and 1 more)
-
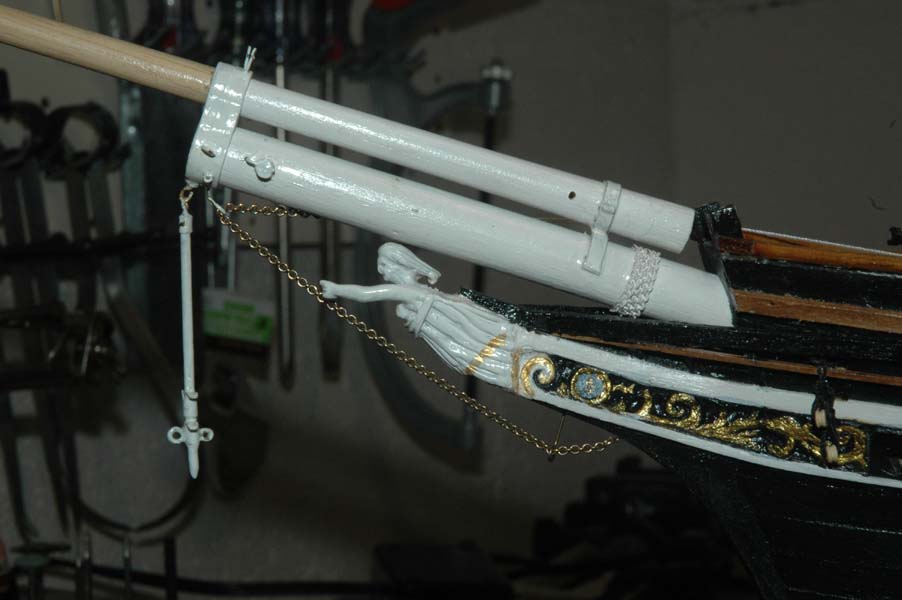
George, Nenad, Grant, and Popeye, thanks for the kind words! Nenad, concerning the entertainment that comes with rigging delicate masts and yards.........I can't wait to see your work as well. You may get there first! As to the deadeyes, I'm planning on using epoxy. I've used epoxy on eye-bolts and was unable to pull them out with pliers. The only disadvantage is that once they are in place, they will be in place forever. I'd have to cut the copper and re drill holes if something is wrong. Unless anyone has other advice...suggestions? Thanks Marc
- 525 replies
-
- 1
-
-
- cutty sark
- mantua
- (and 2 more)
-
Hi Grant, I've been catching up on the build. Very Very clean. The detail is amazing. Don't take this the wrong way, but your skill seems to be getting greater and greater every time you build something during the builds. And your skill was great on the Victory. Just amazing work! It's a pleasure seeing the build! Marc
- 456 replies
-
- 2
-
-
- finished
- bomb ketch
- (and 2 more)
-
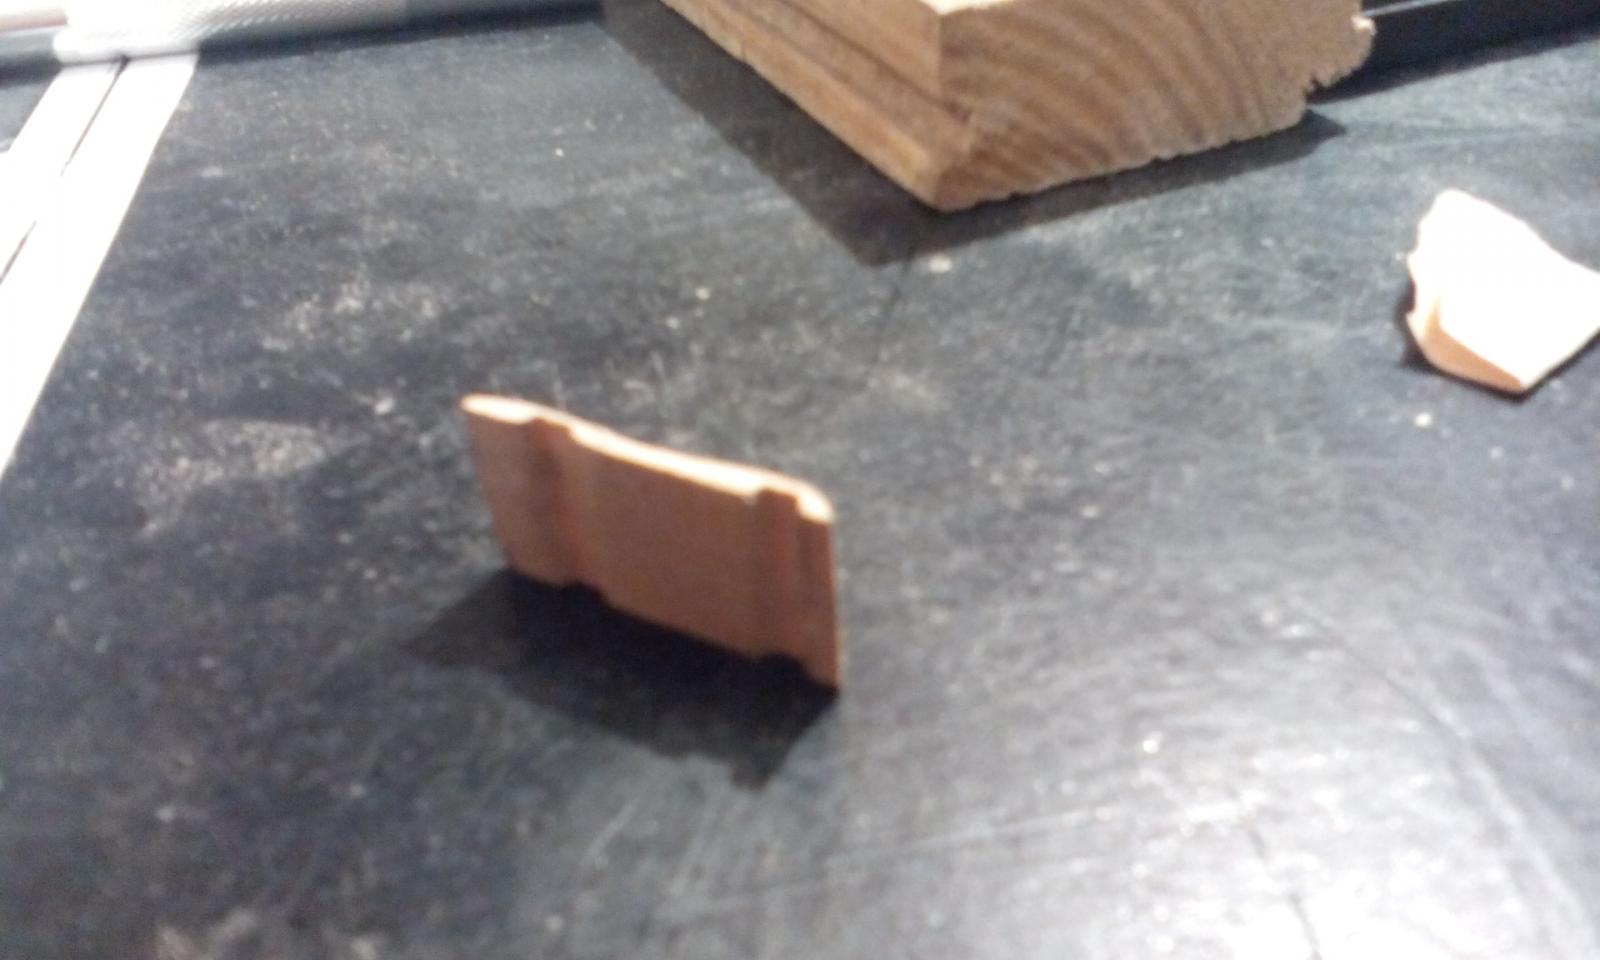
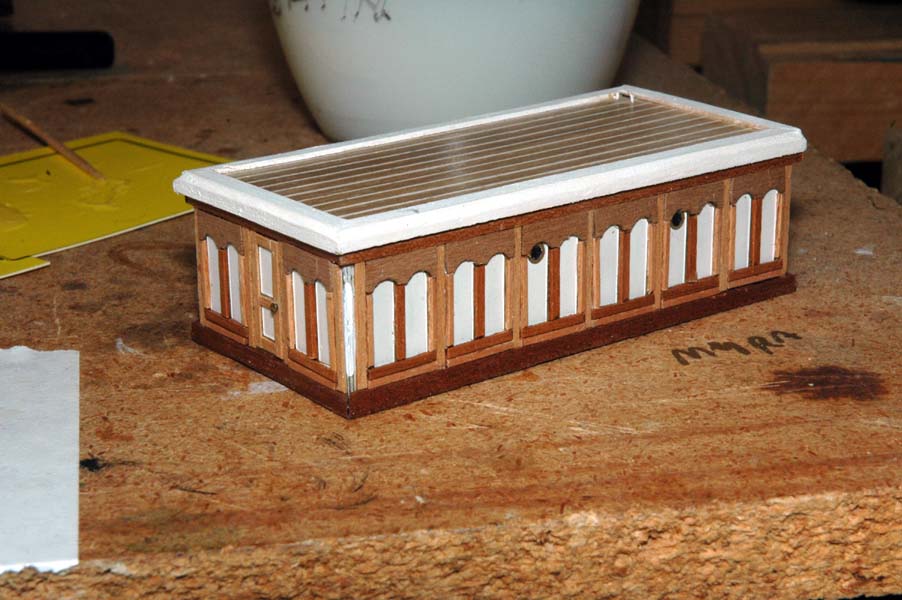
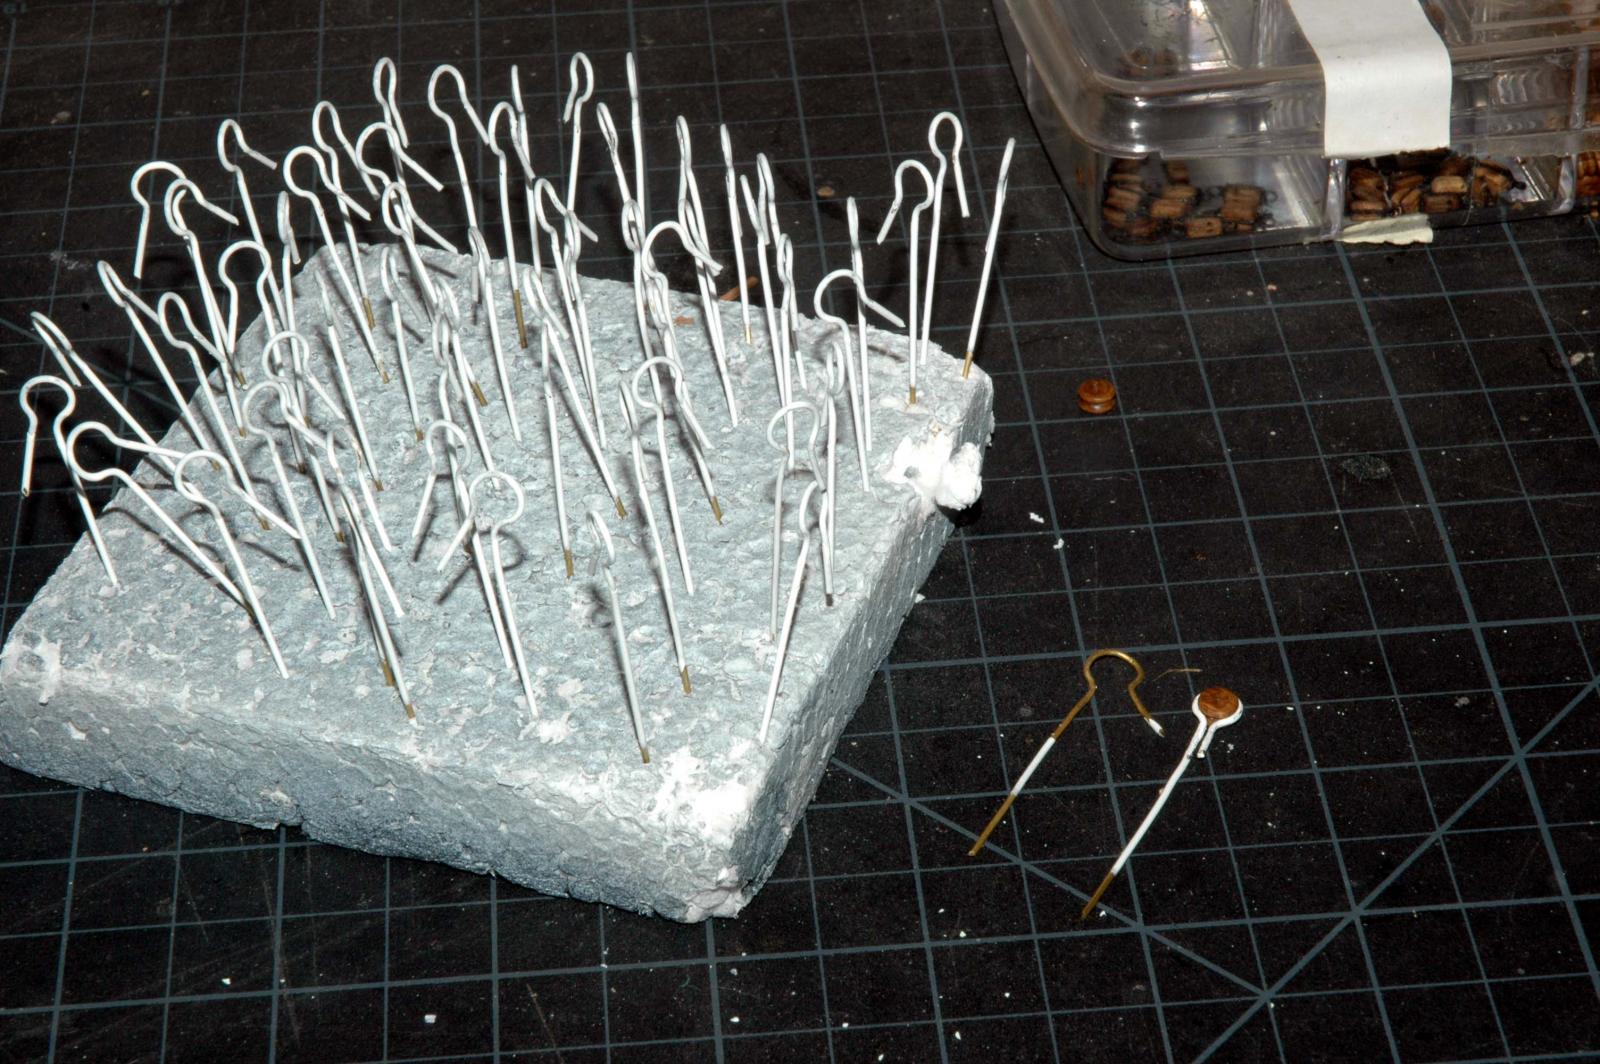
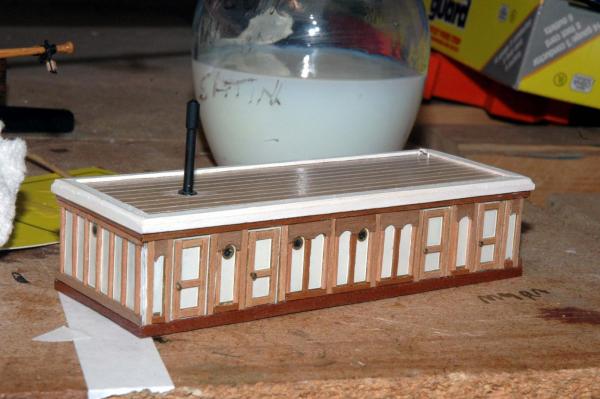
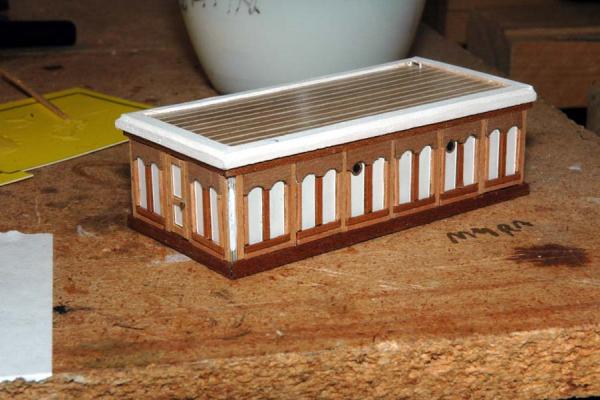
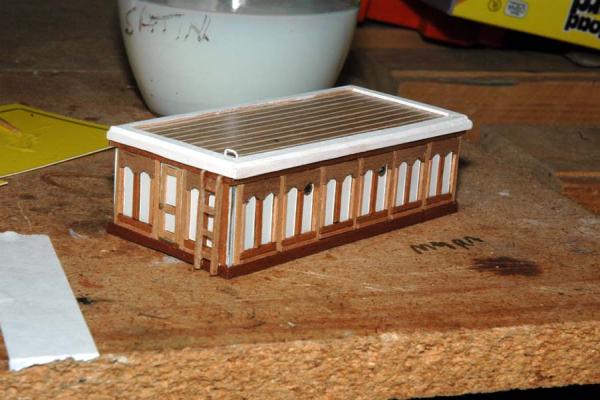
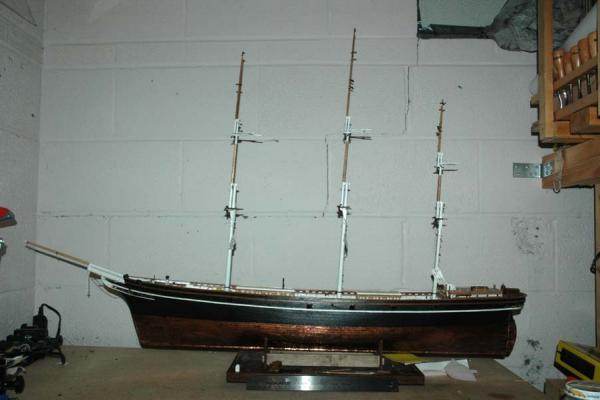
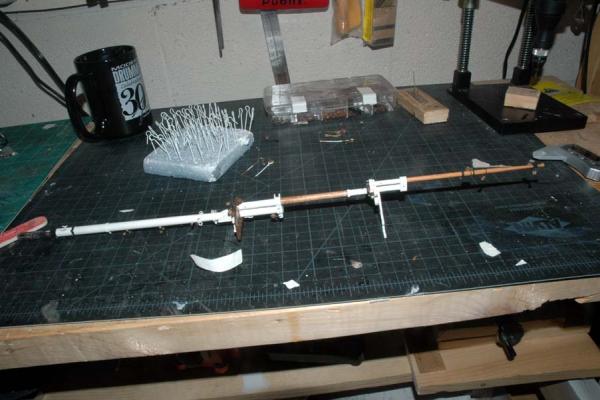
Thanks George, Popeye, Nenad, and Grant! I really appreciate the support! the Gremlins are at it again! I just tried bending the painted copper for the lower dead eyes. I saw someone else painted the copper before bending, so I did the same. The enamel paint cracked and flaked off completely upon bending. So I've been repainting 58 copper wire pieces for the dead eyes. After bending first, of course! George, I bought the mats at an art store too. they weren't cheap, but much less expensive than what the model suppliers were charging. I finished the 3rd version of the Deck Houses The forward House The aft house I dry fitted the mast - just to see the scale of this model. Pretty Large. That's a 12 inch aluminum ruler centered below the hull

- 525 replies
-
- 8
-
-
- cutty sark
- mantua
- (and 2 more)
-
looking great! I've learned much about rigging the cannons. This kit is sitting on my shelf, waiting for me to finish my current build. I can't wait. I follow your build very closely! Marc
-
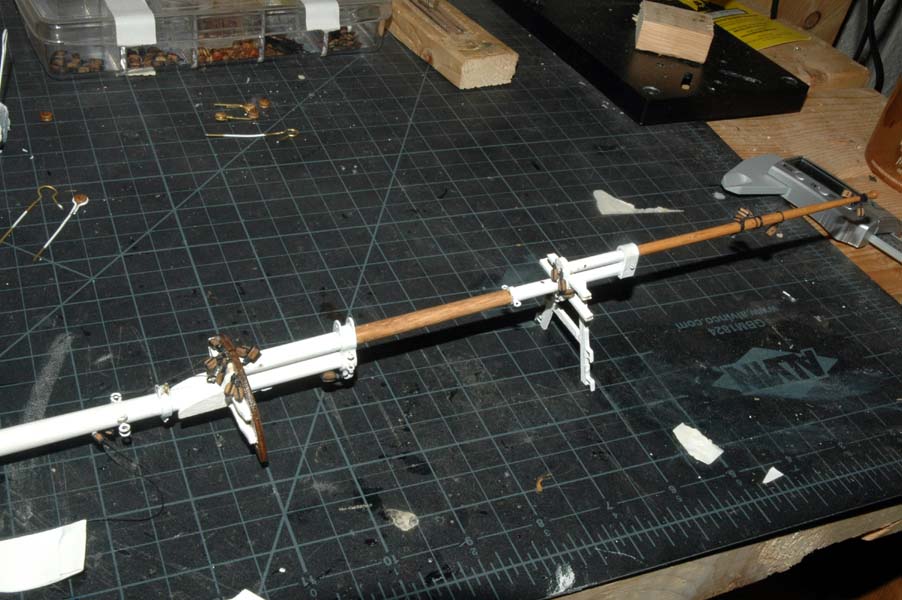
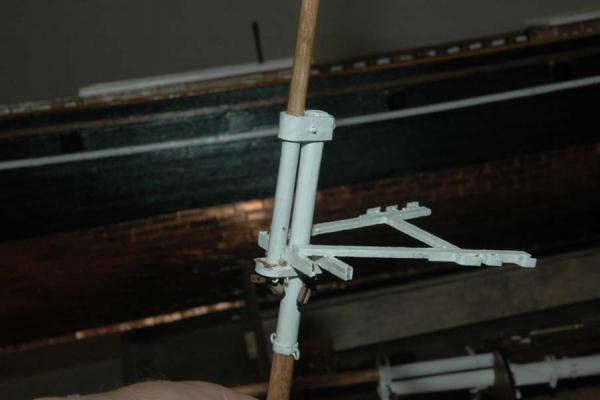
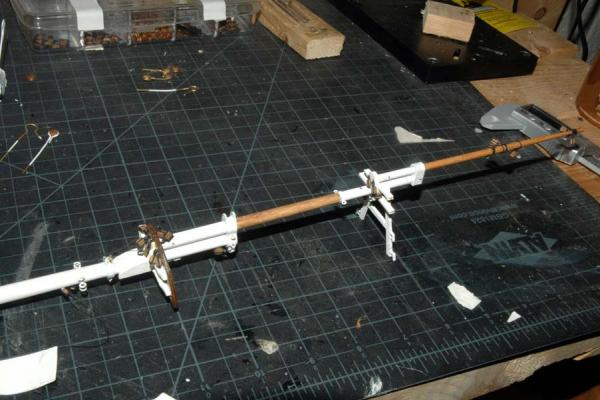
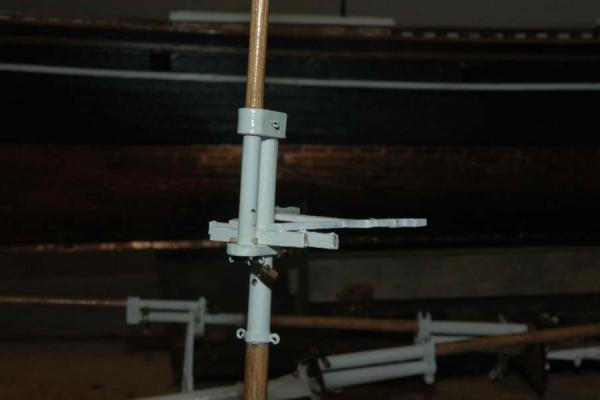
So, I've been busy this week. At last I finally had a chance to work!! I partially tore apart the cross trees on all three masts moved/reassembled them correctly. Now they just need to have the paint touched up. finished adding all of the blocks to all three masts checked the chain clearance on the bowsprit I also started work on MK III of the deck houses (never happy)

- 525 replies
-
- 8
-
-
- cutty sark
- mantua
- (and 2 more)
-
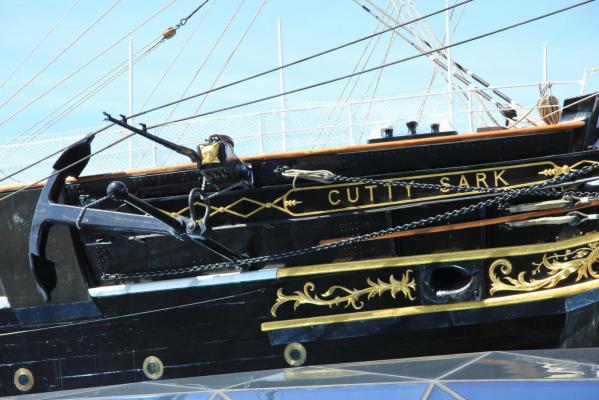
Hi, nice build. I saw your post about the color of the deck houses. During the rebuild they did analysis of the paints and varnishes. It was inconclusive, but appeared that the panels were probably white with the surrounding molding varnished. Kind of what you have in your post. during her first three captains, her deck houses had three different treatments. All white, white panels with wood trim, no paint - only varnish(like she is today). So you actually have an accurate depiction of the color scheme for her deck houses. Marc
- 74 replies
-
- 1
-
-
- del prado
- cutty sark
- (and 1 more)
-
Henry, She's a beautiful build! Very clean and detailed. Typically, you wouldn't leave lines coiled on the deck. You're just asking for someone to trip or be trapped by it on a real ship. I'm not sure on your ship, but I've often seen the line coiled and belayed on the closest rail and pins, if it can't be belayed to the knight itself. Are you sure that the scale of the halliard line is correct. Seems like it might be a little large compared to the breach lines on the guns. Remember that the sailors would have to grip it in their hands. It might also explain why it looks like you have such a large coil of line. Just a thought. Keep up the great work!! Marc
- 196 replies
-
- 1
-
-
- plastic
- soleil royal
- (and 2 more)