
HOLIDAY DONATION DRIVE - SUPPORT MSW - DO YOUR PART TO KEEP THIS GREAT FORUM GOING! (Only 44 donations so far out of 49,000 members - C'mon guys!)
×


popeye the sailor
-
Posts
16,007 -
Joined
-
Last visited
Content Type
Profiles
Forums
Gallery
Events
Everything posted by popeye the sailor
-
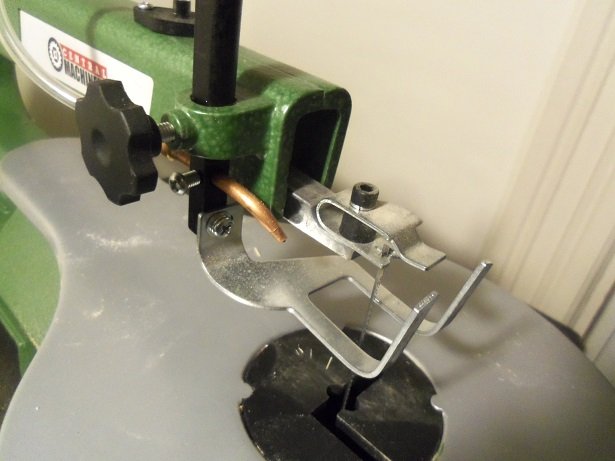
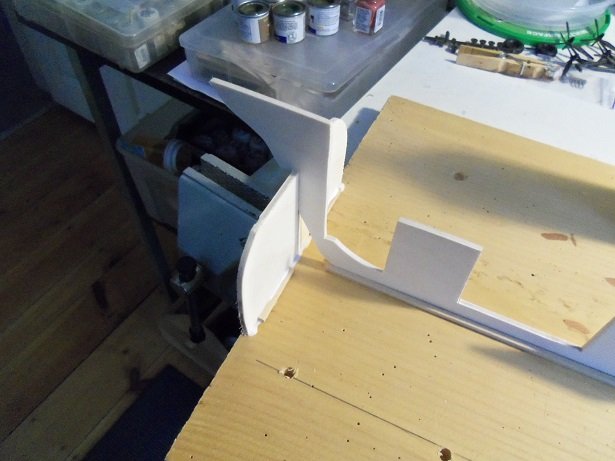
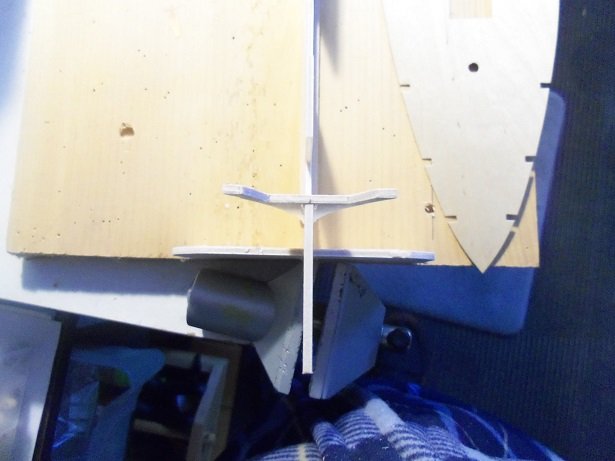
 I thought about that Mark........I wish I could make it out of metal. the blade runs though around a 1/2 inch hole...you can actually see the blade shift side to side as your passing the wood though. having it run through a narrow slot might deter that from happening. it won't have the slotting that this one has....... you can see the depth problem in this picture........shy about 1/32 from being flush with the table. the blade has all kinds of room to shift when cutting. it won't deter it if the replacement has a narrow slot. I will mark it in a way so that the slot is directly in front of the blade, so it still can be removed to change the blade. the pressure fork is another Achilles heel.....the darn thing isn't straight....the adjustment is poorly designed, so that it causes it to sit a bit off. if I do it right, I should only need to make one insert. on my old Craftsman, I removed it because it put too much pressure on the wood....very hard to maneuver. the adjustment knob tightens against a flat along the height rod, the when loosened, becomes very flimsy. I'll show you what I come up with
-
there's a little Oscar in all of us.......like me right now.........gotta go to work tomorrow
-
Revell 1/72 De Havilland D.H. 2
popeye the sailor replied to SigEp Ziggy's topic in Non-ship/categorised builds
I tend to look for date stamps.......give you an idea of how old the kit is, or if the molds are from another company. Revell took over some of the old Aurora molds. I used to work in injection molding.......some of the molds are not light........closed, they look like a block of steel. I find it interesting added wire detail......very nice interior detail -
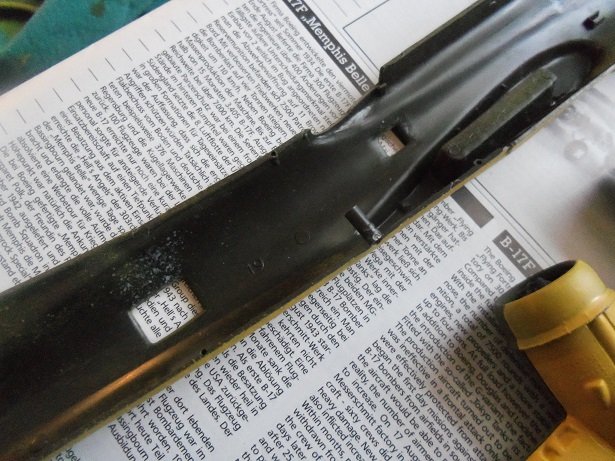
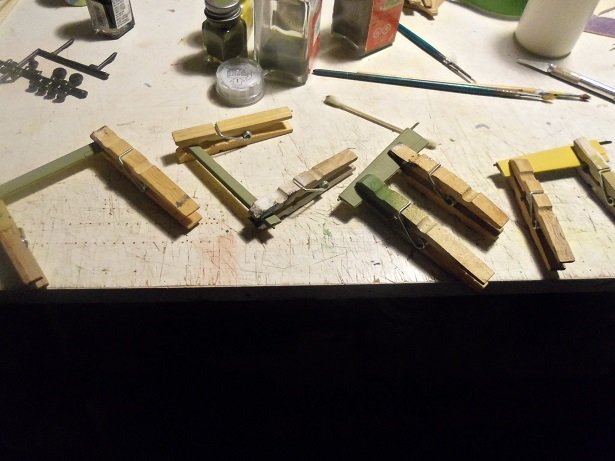
when I get to the Memphis Belle, you will see them........the kit has some very nice detail in this area. the kit is loaded with detail......I've never seen a 1:72 like this...........as I mentioned, it has over 230 parts! when I was a lad building the balsa planes, I did a lot of reading.......I may need a refresher from time to time I do have a couple more pictures to show.........like the wings after the clamps were removed. ....still a bit more painting to do. I plan to have her on a stand.......as can be seen, gear down. where the belly turret would have been located, the hole is still there. there is a part that would join the stabilizer ailerons together, so they would move simultaneously, but they will be cemented in place too, so I won't need that part. so I cemented it where the hole is, and when the two halves are joined together, the hole will be drilled out to remove ant dries glue blocking the holes. it will act as a guide for the pin that will attach it to the stand. I posted a picture of the stand earlier....... haven't tested it yet {of course}........if it doesn't work, I can easily fill in the hole, and curse Icarus

-
I thought of that........I might have some strip wood, or scratch it. I don't think it's even mentioned or shown. we'll figure it out
- 211 replies
-
- 2
-

-
- agilis
- steingraeber
- (and 1 more)
-
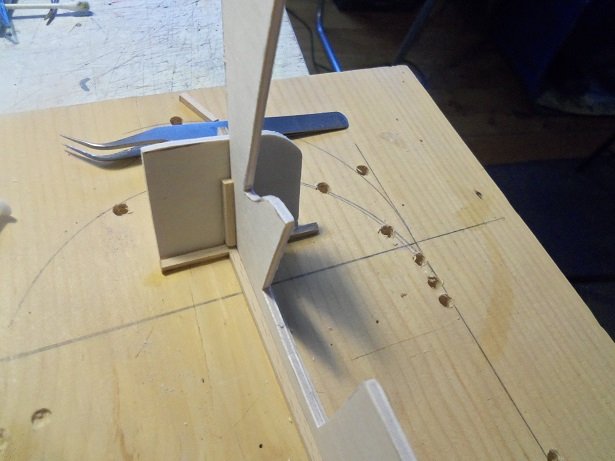
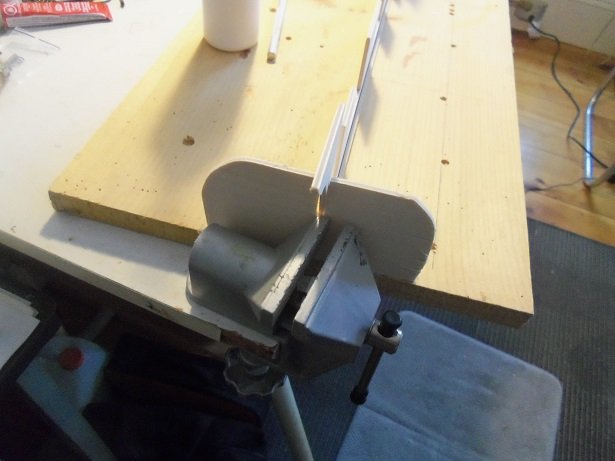
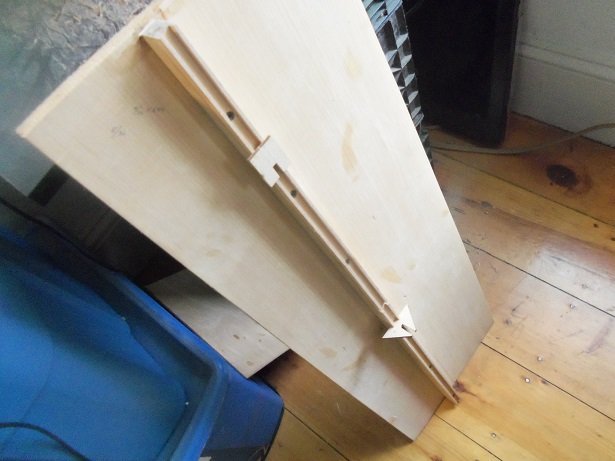
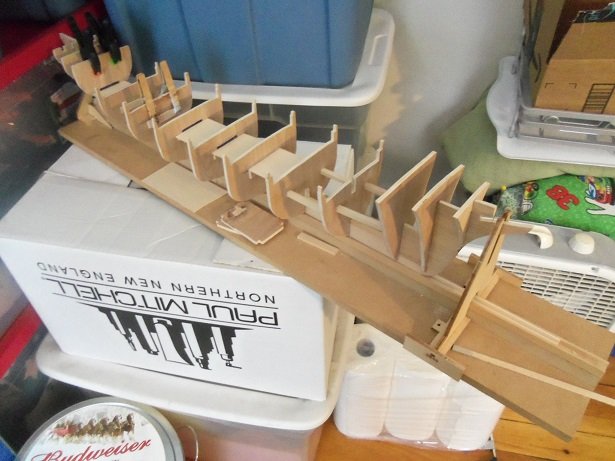
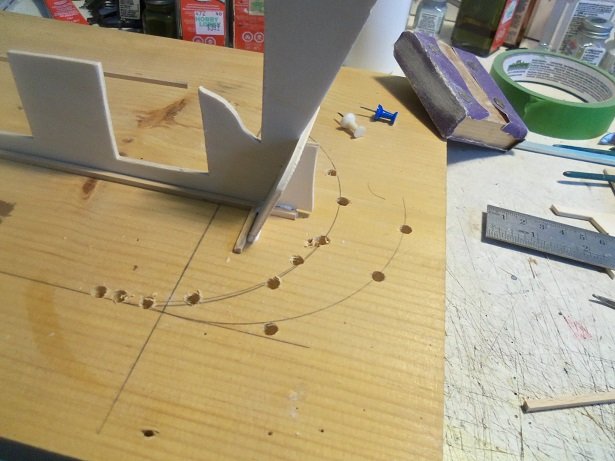
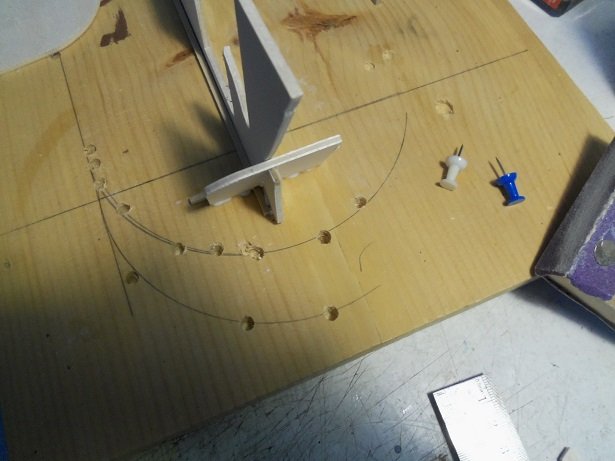
I'm doing that as I go along J........perhaps it will save time....dunno I'm finding info in the strangest of places..... took the admiral to her doctor's appointment. I picked up a magazine to read while I was waiting, and what do I see....an article about the clotilda and the last slave ship. it's in this month's National Geographic...I'm going to stop at the drug store near my house tomorrow and pick up a copy. it has a pretty good picture of what she looked like........relatively flatish deck, all the way to the bow, a windlass instead of a capstan, two gratings instead of the one supplied in the kit. so this tells me that all of the bulkheads need to be brought up without much of a curvature......probably a slight camber side to side. schooner rigging.........then again, that's what the Clotilda was. hi John.......yea.....but I'll be slowing down. I gotta go back to work glad your following along but hey........while I'm here, I'll share what I did after I last posted. so, with the stern in a position where it won't move, I added a couple strips to hold the frame vertical. to hold up the bow was the next step......taking the piece of the plywood used to space the base strips, a slot the width of the keel was cut in the middle of the piece. it was then cemented into place at the bow, making sure it would hold it perfectly straight. two pieces of strip was added to the base of the holder to strengthen it. now the frame won't move, and I can proceed. I pushed it up to my vise to hold it in place for the time being. the line will follow from bow stem to stern stem....all should be flush. to be safe, a slight curvature fore to aft wouldn't be incorrect. this frame also could be assembled upside down to insure the bulwark posts don't show this curvature......according to the picture, the cap rails are relatively flat. I found that I did need to slot the bottom of the #1 bulkhead, to achieve being flush with the bow stem {deck platform surface}. I was going to cut another one due to that chigger in the post, but I can patch it before planking {not to mention I still need to fare the frame afterwards}. you might see the mark I made in the center of the deck platform flat.........that is my center. all bulkheads need to be marked for proper location. it was cemented in place. at this time, it was off to the doctors and grocery shopping....so far, I haven't gotten back to her. the article I read is pretty good.....talks a lot about the slaves that were brought over on that last voyage, and the town that was created, when they were freed after the war. there are two pictures...doesn't show the complete rigging though......bummer.
-
coming along great Yves!
-
now I'm jealous.........all I got for Christmas was a scroll saw. it's on my 'hope to get' list small problem with the bulwark panels........patch and sand........when painted, you'll never know it's there looks great!
-
congratz........really nice looking model I haven't started mine yet either.........
-
band saw did work better though the whole frame is going to need reinforcement. cutting the keel isn't a bad thing......actually the added thickness there {and in other places} might be a plus. you got 'em all cut out......that puts me still slightly ahead of you. the build slip is you next step.
-
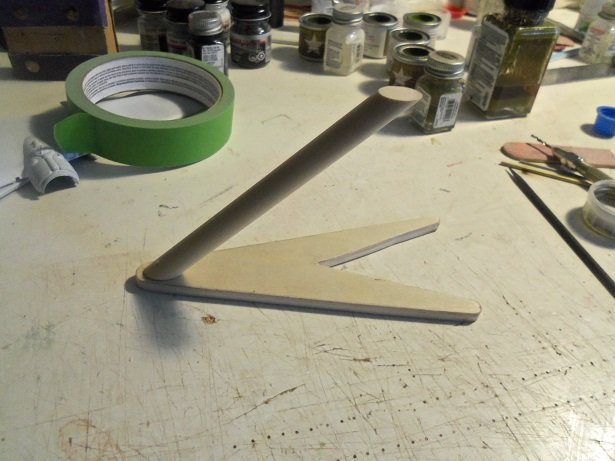
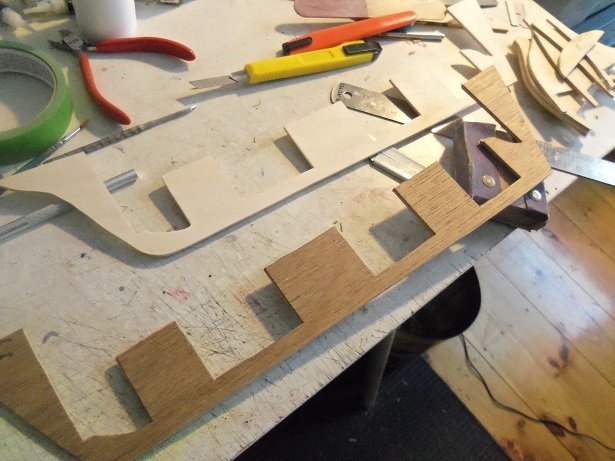
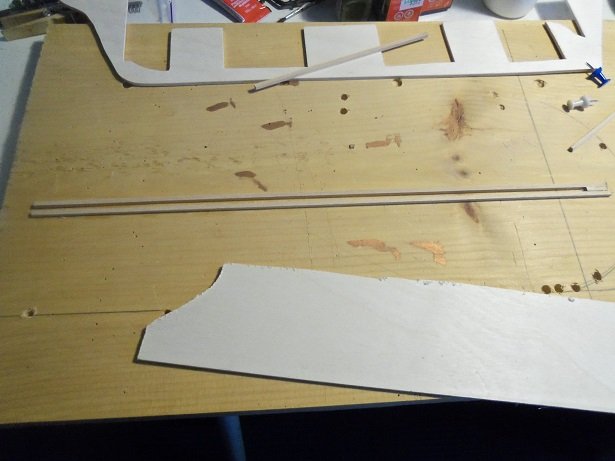
yepper........seems to be the rule with this kit. whether or not they will need to be slotted at the keel.......only your build slip will know for sure #1 does.......found that much out. as for that planking......sounds like a bit more work, although 3 to 4 mm should put the deck planking to scale. sanding may take some of the color out of it for ya.......likely got that color with age. if it's really is pine, than likely it's the pitch. I should wait, but I have to let glue dry for the moment, so I have time to kill. I'm not really pleased with the new scroll saw.........there is a plastic plug that acts as a collar where the blade is. darn thing isn't flush with the table......needs around 1/32 or so. I'm gonna make one out of wood to replace it. likely this is the reason behind the chipping issue. another issue is that I don't have it on a stable table....just a board on top of milk crates I have a shelf {cabinet} that I made a while ago.......I use it now to store my junk box and assorted stuff, out in the hallway. it's big enough to lay on it's side.....I can still use it as a junk bin holder, and has enough surface space that I can actually fasten the saw to it, to hold it in place {future task}. it works fine for a while, but when the board goes off center with the milk crates, it tend to vibrate more....that's when the scroll saw starts to walk. but at any rate.......the cutting is done for the most part I even got the second keel cut...... I did some of the squaring up.....cleaning up the keel part.......now all we need is a build slip. I knew I had the old one still around ......I set up a couple slips on it.......one might work . I can't use the spare one I made, from the odd parts I got when BB closed down on Wisconsin........the slot is too wide for the keel too ...and I can't use the one I bought, 'cuz it's in use right now....... .......slots are too wide on that one too............still can't find the old one.......I guess I'll have to make one for it. taking my old board, to build balsa airplanes on, two lengths of 1/8 strip was laid down. a piece of the plywood was used for the spacing. at one end, a plug was fitted in, closing off the slot. the plug will act as a stop........but I really didn't need to do it, because to keep the keel vertically straight, I added a wide stop and braced it with a wedge {the wedge could have filled the slot just as effectively}. next time....think before I act......will me?!?!???

-
I did have to laugh.......as I pulled them apart, the outer layer came off with it in places........re-laminate them.........sure why not!! perhaps I can get a second hull out of this.....ka-ching! I can actually FEEL the gears turning
-
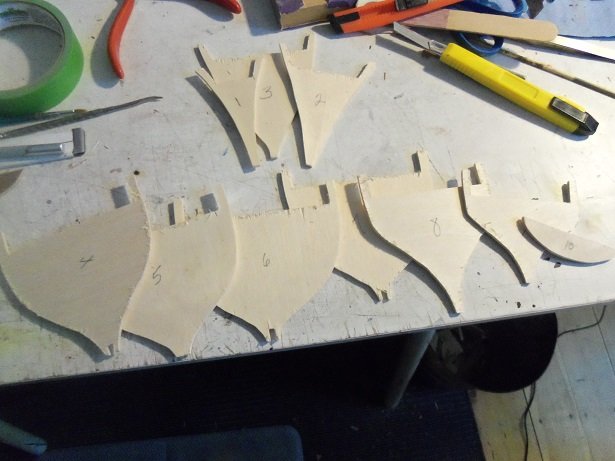
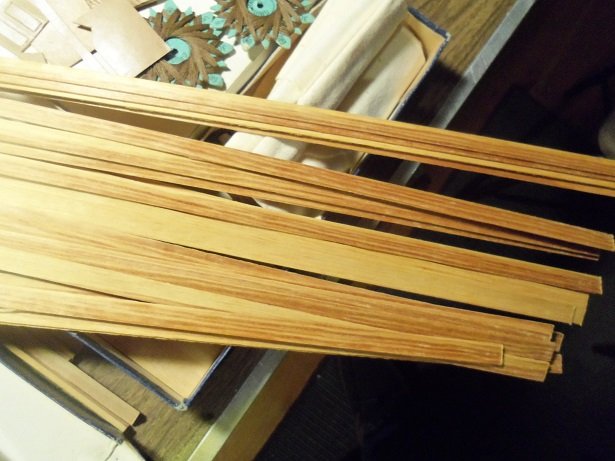
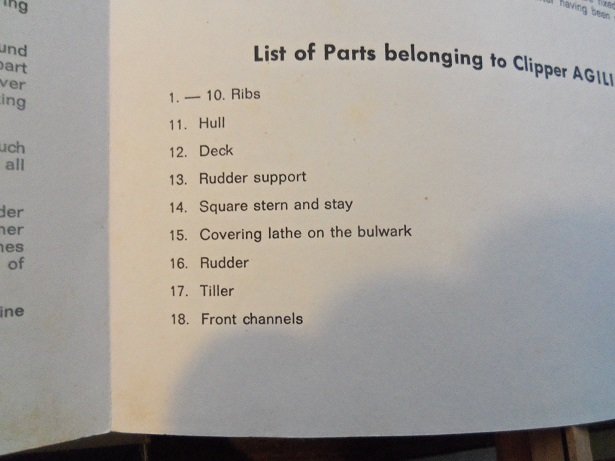
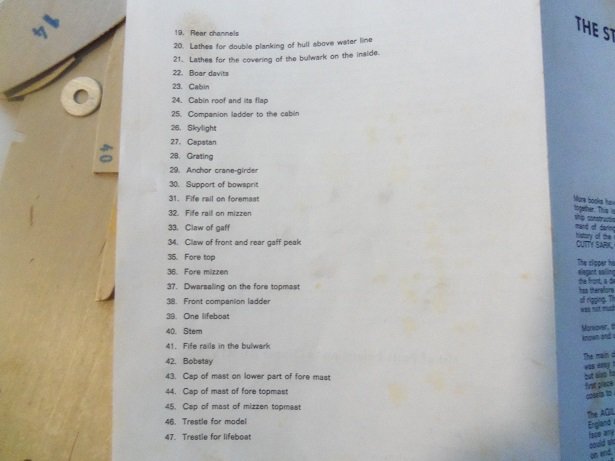
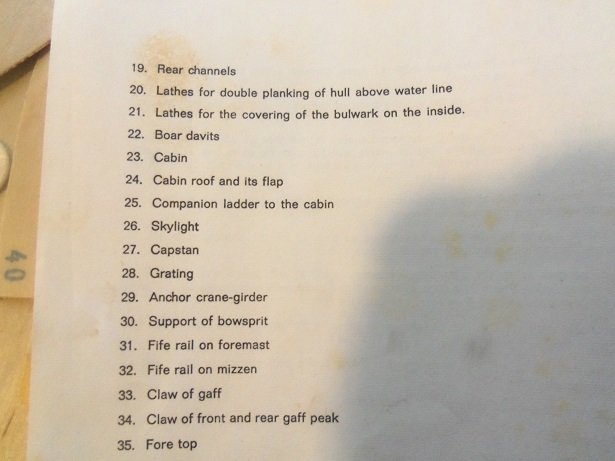
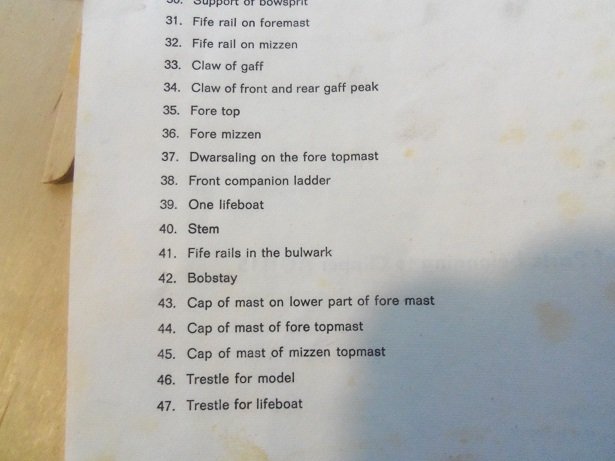
thanks gents.......one more cut out ....three more to go. I'll have to see how the bulwarks are arranged as far as height goes......some of the bulkheads have no slots at the keel end. I may also trace out and cut another keel, in case there's a problem >evil grin< sure J........the list doesn't have any quantity though. I think this is the wood your talking about I think this is pine......lovely grain. I think I'll use it for the deck of the Progress....unstained and sealed, I think it will look really nice. see those parts to the right in the second picture.......feels like leather or textured plastic? they are for the cabin roof and the skylight.......probably won't use it either. here is the parts list in the booklet: just so you don't need to squint........ I was going to mention last night that I sent a PM {on the ETSY site} to Kal, the person that was selling the kit. I let him know what's going on........it was of no fault of his......and that I expected to see some anomaly with the kit. I asked him the age of the kit.......earlier he mentioned that it had been in his family for a long time. his mother used to work at a shop and she bought it for the father about 50 years ago. it remained untouched all this time. he didn't mention, but I sense that one or both of his parents has passed on. I let him know what I was doing....he's still gonna get a five star review from me. I can't complain........old kits like this are a 50 / 50 kind of thing........good kit / bad kit. I've had such good luck with these kits in the past.......sad not to try and resurrect this one. well....as of a couple of moments ago, all ten bulkheads are cut out. I still need to clean them up. I will trace out the keel and use it instead of the one supplied........might as well work with all fresh wood

-
I was under the impression that they were used as a form of braking ie.....air brake, dive brake. in the model of the Memphis Belle, there is more detail to them....brackets and such. there is nothing for this model however, although there is molded detail. they are cemented in the retracted position.....can't do much about it now.
-
old news....seen the bio
-
impressive job! the Padre will be pleased
-
Revell 1/72 De Havilland D.H. 2
popeye the sailor replied to SigEp Ziggy's topic in Non-ship/categorised builds
hey there........I see you found the hanger alright love a good biplane build! -
very nice start Craig........I love big birds.
-
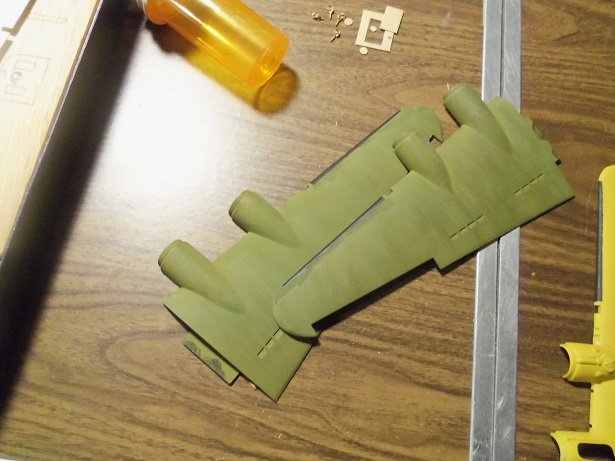
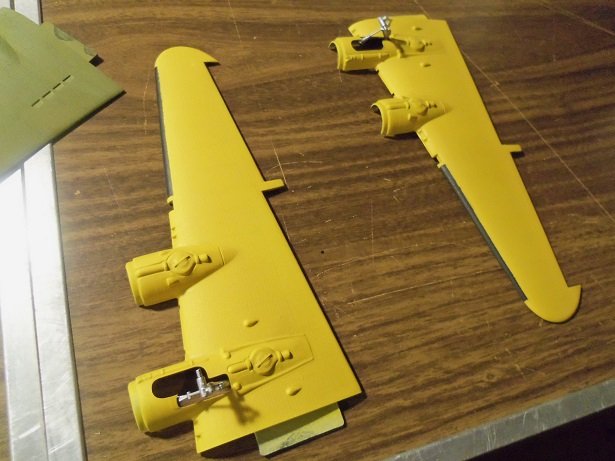
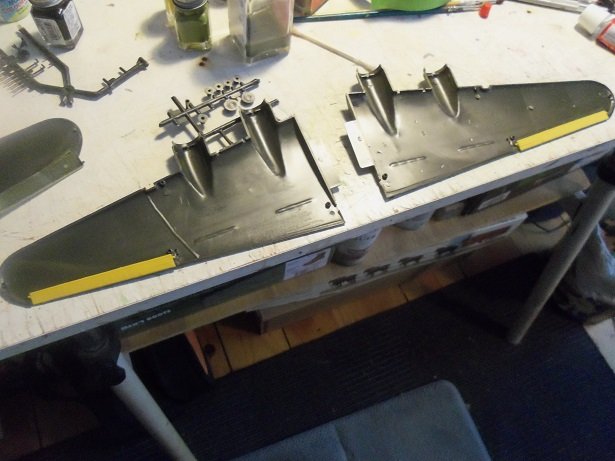
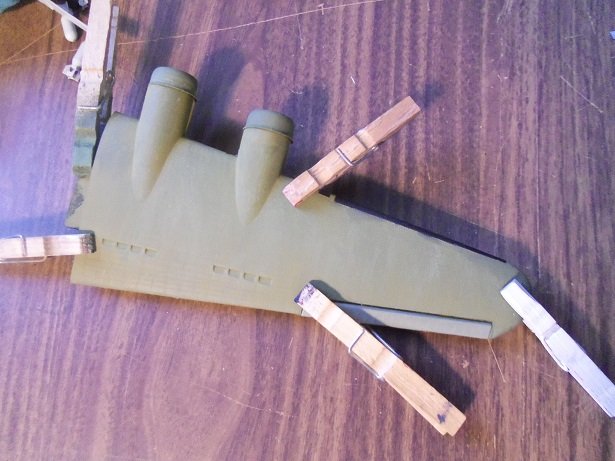
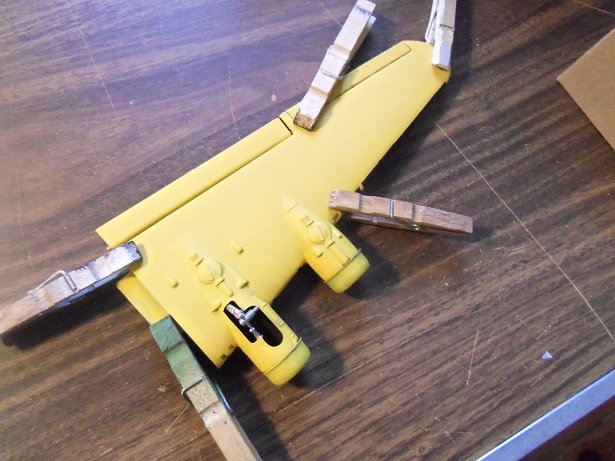
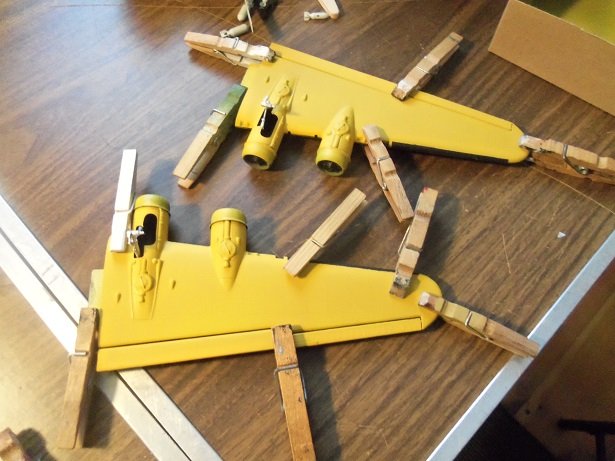
I have more progress to report on the Wulfe Hound. I did a little paint and some assembly.....mainly the wings. first was to assemble the aileron halves together for the wings and stabilizer. no sense keeping them apart any longer. then to paint the deice panels......on the top halves, I think I used the wrong paint.........or the black had not cured enough and became solvent. in any case, I need to fix it. the nacelle cowls were a bit pesky too...I tried to do the two color paint, and apparently, the white ensign paint would rather be airbrushed....came out a bit ghostly. the bottom halves came out alright, but some bleed did occur. thinner did help in removing most of the problem. I also added the landing gear, which will be in the down position, as if it's taking off {flaps up} don't know what those two slots are between the nacelles...nothing seems to go there.. there more to be painted yet. I did this yesterday.....today, I decided to assemble the wings. the ailerons were cemented in place.....I won't have them movable. on the Nine o Nine, they keep dropping like the plane's gonna nose dive....not very appealing first one done...... the ailerons have that faded coloration........you can see what I mean about the cowls. the second one, shown on the belly side, shows the flap in the up position. in the down position, they would put drag on the wings, slowing the plane down for a landing. other than the cowl ghosting, I like how they came out. as mentioned.....still more to be done on the wings. I'm dying to decal them
- 134 replies
-
- 11
-
-
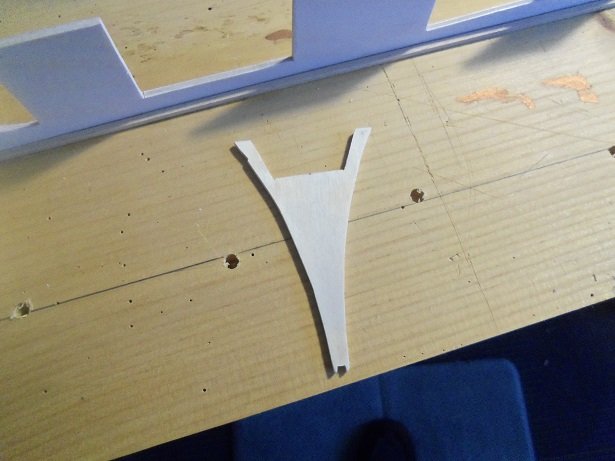
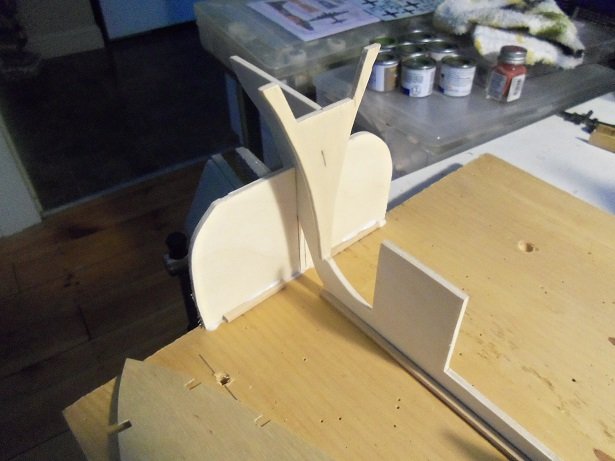
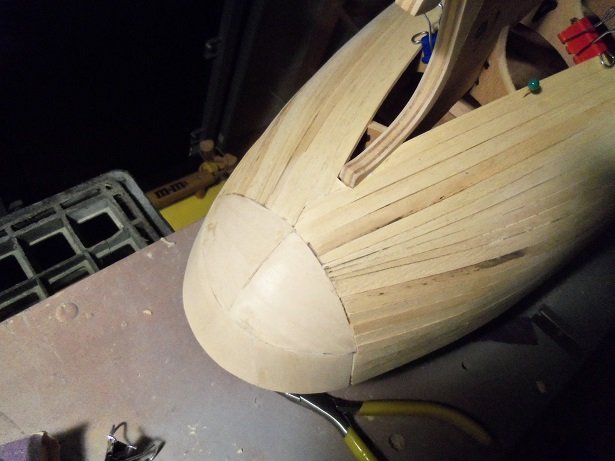
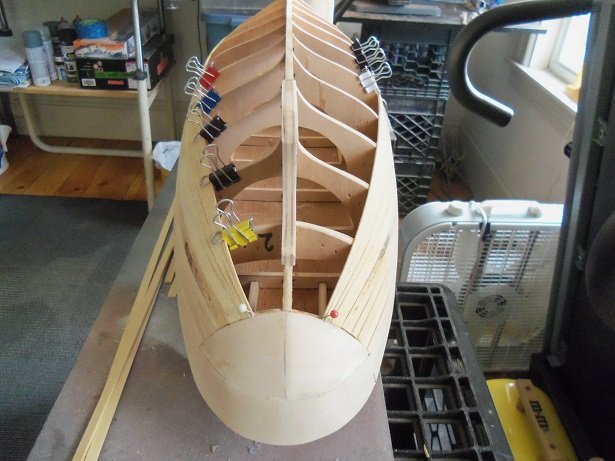
at the stern, the planks will meet on top of the keel stem. usually, Billing will supply rabbits for the stems....surprised that there aren't any for the bow, in this case. to make it easier to plank, Billings supplies a curved piece that would fit over the stern area. it would likely end where you inserted the balsa, but leaving enough of a bulkhead lip, that the planking can terminate on it. it is possible that you can scratch make one of these parts. for an example of this.....here is what I did on my build of the Progress. very easy to make:
-
offer is still good anytime.....if you need something check with me and I'll take a look
-
popping in for a looky too.........she is looking swell......very nice job thus far
-
none what so ever.......although that thin grainy looking stuff might be pine. if you'd like to go along with some narrower planking, let me know. I think I have enough to share
