-
Posts
16,007 -
Joined
-
Last visited
Content Type
Profiles
Forums
Gallery
Events
Everything posted by popeye the sailor
-
wow! guess we know now who slept during class..... gotta think though....if the plane was shop up or crippled, that barrier probably save quite a few lives.
-
you've done well in recreating the deck beams if you have my log on word press, then you've got all the info you should need......I put quite a bit into her yes.....this particular hull style was use in {I think} three of Billings kits...the Cux 87, the Mary Ann, and the Norden {which is in another scale}. I found another use for this hull style as well...the M&M Fun Ship {it's in the gallery} I kept the part sheet and traced out the hull parts...the rest I did from scratch. if this was not laser cut......then you've got an old kit. early Billings kits were not laser cut, and the fittings were sold separately.......the Nordkap {my first wood build} wasn't laser cut...though to be around 40 or so years old. I recently got another old Nordkap kit, which I am building the Progress, a model that was produced around the same time as the Nordkap. I've seen older Cux and Mary Ann kits out there......I've wanted to get 'em, but the admiral says I have too many kits already {by who's standards?}. I'm not sure if you need to cut the deck platform in half........can't recall if I did it, or even if the kit came that way. the deck beams do have a slight camber to them, but it's not an aggressive curvature. it'a good point Matrim....what can be done is to weight down or fasten the center to prevent it. if it does occur, a plane can bring the rise down sufficiently. I've split 'em a few times...or they came that way........once the rise is removed and planked over, you'd never know the difference I remember your Danmark build.......turned out a very nice ship, you did I see it needs restoration. hope it's nothing serious. your stern posts and truss beams look good too. the frame look very good. no filler came with the kit........you won't need them. the stern bulwark cap can be tricky.......hopefully the guy didn't cut it out he did a sow's ear on the beams!
-
amazing detail Greg........the contrast between the supplied and PE guns is astounding! the Island is a model in itself! really nice progress........very well detailed
-
holy cow! it's a good thing I poked into the forum to catch up.........you'd be done and I would have missed all the fun! she's looking great my friend ........your rigging looks awesome! looking forward to seeing her completed.........the closer you are here........the closer you are to the Mosquito
-
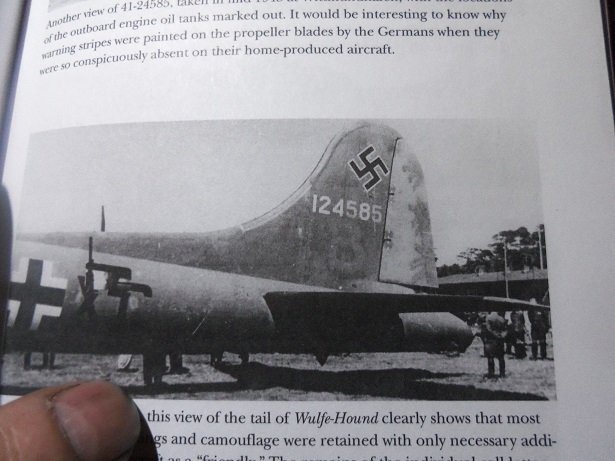
thanks Ken.......I owe it to this book. the original author Geoffrey J. Thomas, passed away towards the tail end of the research. Barry Ketley picked up where he left off and had it published. there is also quite a bit of info about Adolf Hitler, so this book would also be a good source of info for any history buffs out there. it does make it harder to discern color with the bulk of the pictures I've seen in black n white, but I've seen enough faded finishes { cars and such}, that it isn't hard to imagine. I think that's what drew me to the plane......all of the exterior detail. thankfully, it will make up for the lack of interior detail....because this kit doesn't have it. so I will try to add as much of the exterior detail I can into the model. when I get more into the Memphis bell kit.......you will see the difference
-
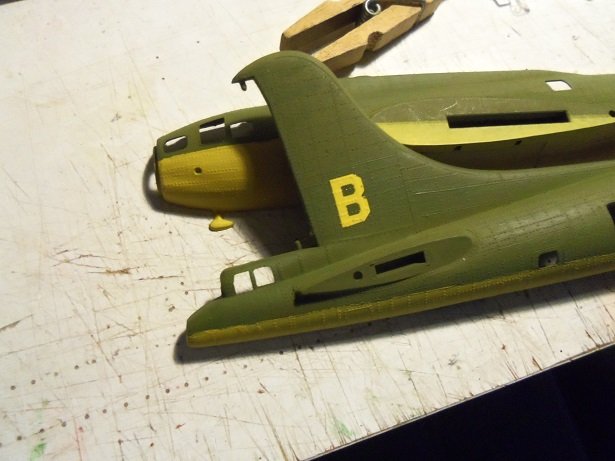
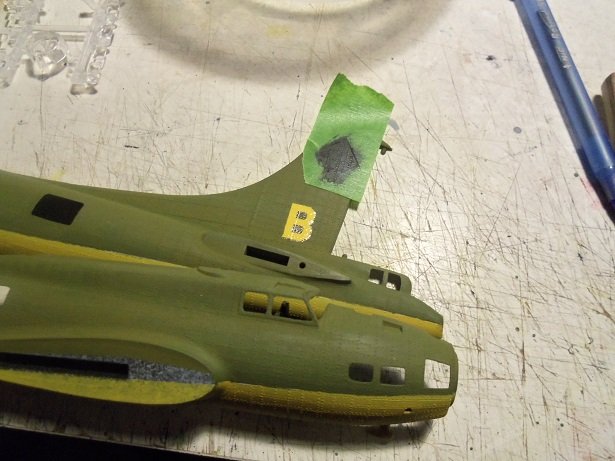
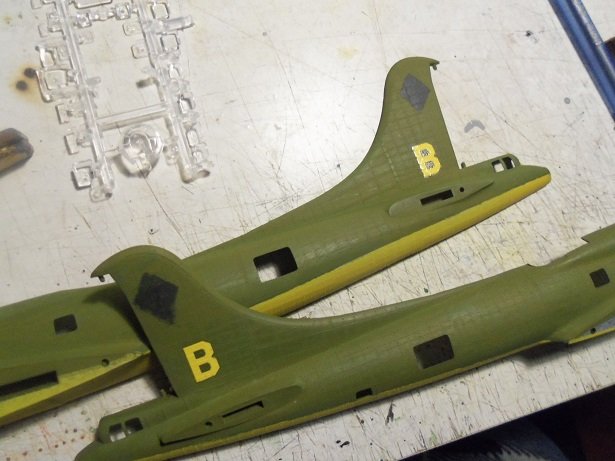
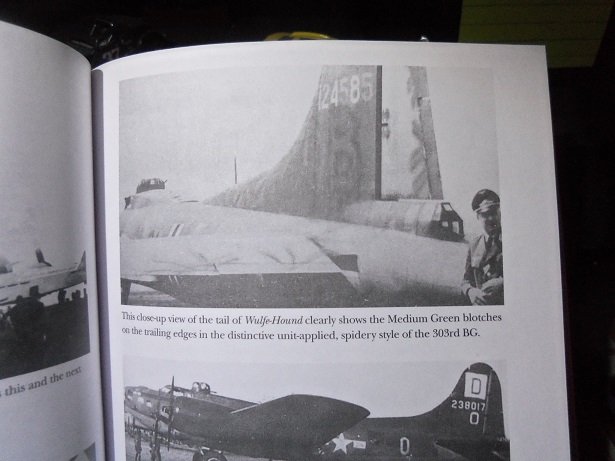
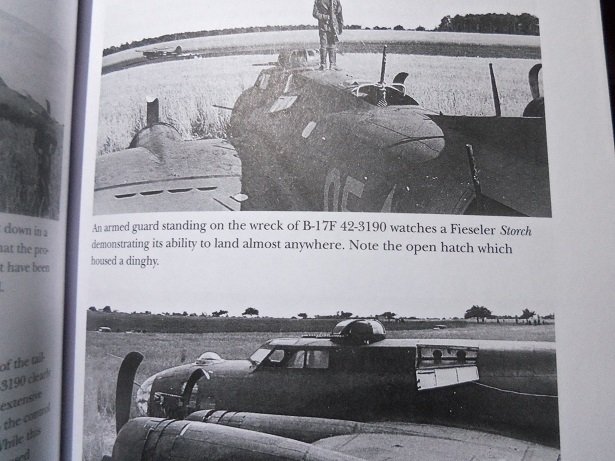
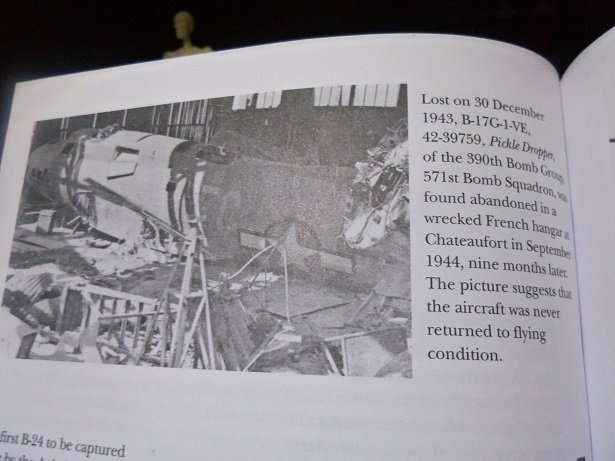
thanks OC........thanks to all for the likes I've gone a tiny bit further.......the markings on the rudder fin that were defaced. for the 'B' I'll be using a decal.......and for the pennant marking {which for most was a triangle, but for some reason appears as a diamond on the Wulfe Hound}, I'll just do some paint. I put the decals in place first. taking some parchment paper, a strip of tape was laid on it and a diamond was cut out. it was laid in place on the rudder fin, and with some dark German gray, I tried to dry brush it on....came out a tad too dark though. the call letters were still left on the fin...a couple of the numbers were a bit faded. luckily, they are supplied on the decal sheet and two of the numbers are faded. I'll be adding them on after I attempt to blot out the code letter here are a couple of pictures from the book... earlier I mentioned that these planes were also equipped with an inflatable dingy, in the event that they landed in a watery situation........here's where the compartment was located on the fuselage I made this one so you may be able to read the caption...... at one point, the Germans were known to have as many as 20 B 17's in the KG 200. a few were not air worthy and used as parts.....such as the fate of Pickle Dropper
-
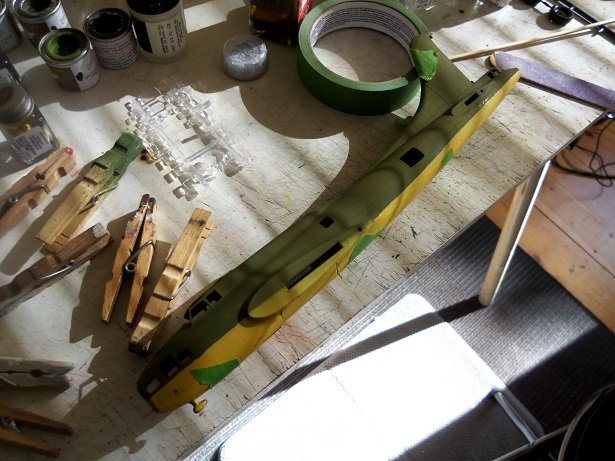
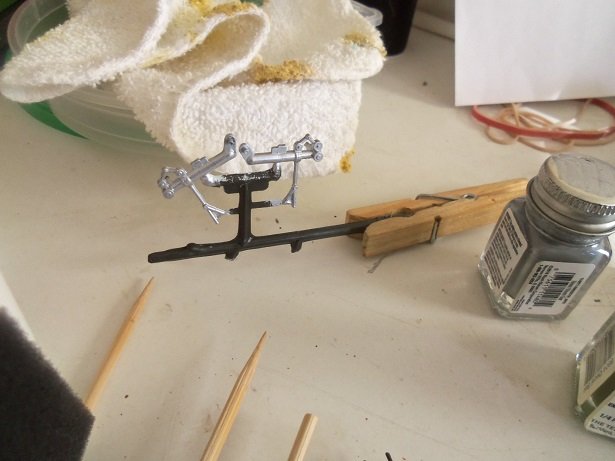
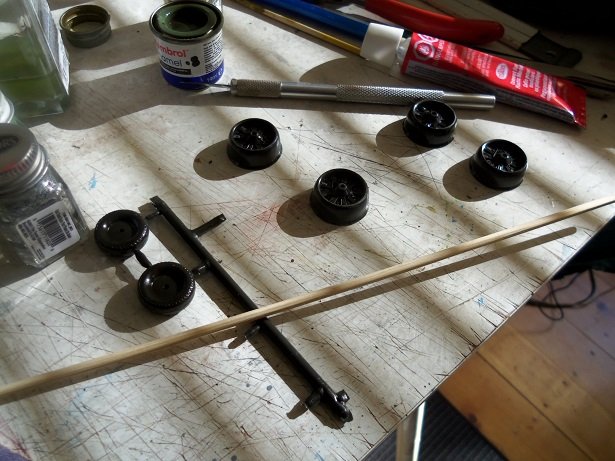
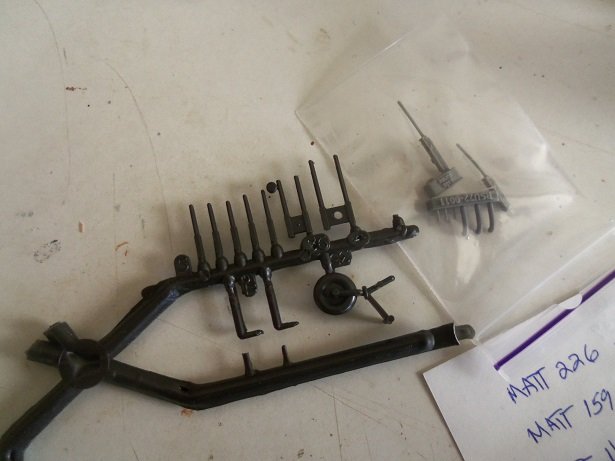
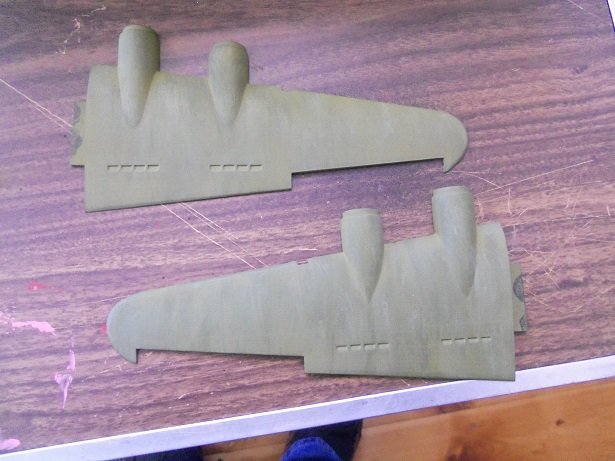
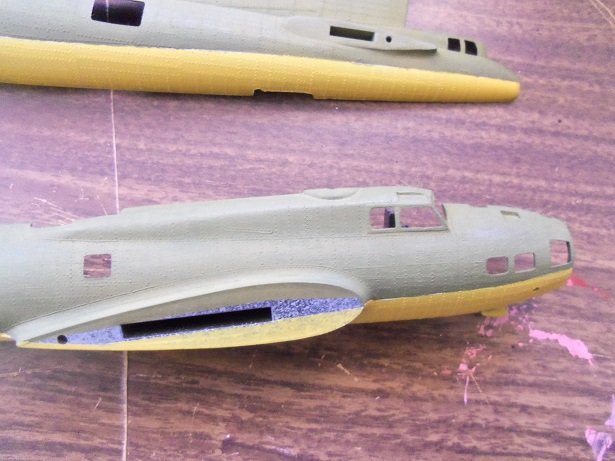
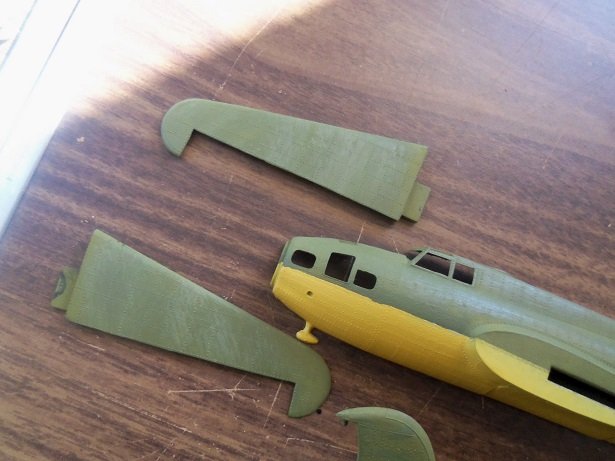
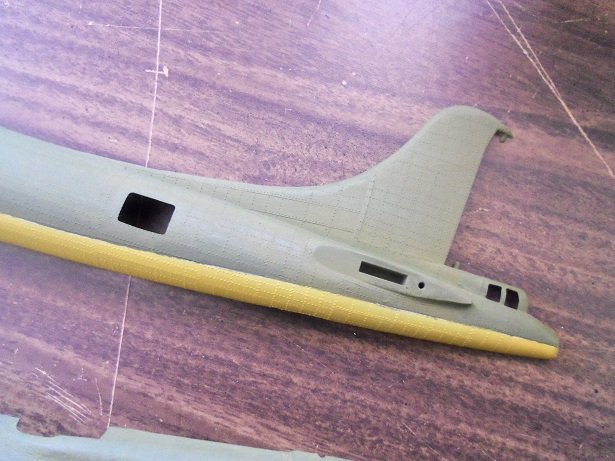
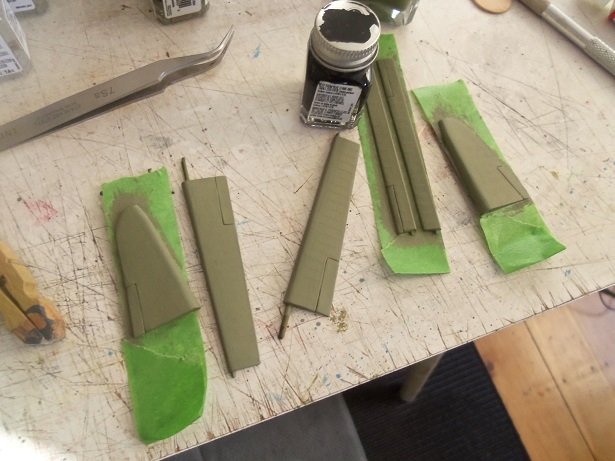
wow Ken........that site is worth book marking! for anyone who is looking for paint tutorials, they have some here as well sadly though.......the bottles aren't what I'm looking for. I don't use pipettes and stuff........I'm old school. I don't use future either....tried it, but for whatever reason, wasn't happy with the results. thinking further on the paint.......as I mentioned, the olive drab is no good. letting it set after mixing in all that thinner, was the swan song........the suspension in the paint was totally broken down, and allowed to harden. I am not without a solution though............................I have a couple of white ensign paints light olive drab, olive drab, and light bronze green. I also have a couple of Humbrol paint too...interior green, khaki drab, and US light green. I started this morning, by trying to fix the olive and yellow line. it worked out nice......but I saw something more. the mottling of the paint on the Wulf Hound has been a question to me........how can I achieve that?. well......I just did the olive I began using looks a little bit darker than the olive I used........using a brush to repair the line....I then went over the rest of the fuselage. this turned into a paint fest.......started to paint other aspects of the plane. the nacelle cowls had flash around the rims...took some time to clean them up. I also did the props too, cleaning around all the tips. I assembled the tires, cleaning up the seams after they had set a bit. Mark had sent me a couple of machine guns that he couldn't use.......I though they looked a bit small for 1:72 . here they are along side the machine guns for the Wulfe Hound. seeing what the white ensign did to the fuselage, I decided to use it on the wings too. to use a brush though wouldn't do the trick........the streaking would be narrow and it needs to affect the entire wing. rubbing somehow entered the picture, and it became the ideal solution. I first went over them with the olive drab............and without changing the cloth, went over them with flat bomber tan. this mottled the wings fairly well. I rubbed over the fuselage a little....I think I might do more. I did the ailerons rudder halves and flaps in the light bomber tan I did notice while all this was going on, that the waist gunner positions, are just glassed over and no guns are present. I may use the machine guns that Mark sent me.........I will need to make a bracket to mount them on. more on this bird in a bit
-
I did injection molding....automotive parts and seals. the molds to make the parts are interesting.........heating......injection time......cooling, are all critical. when the mold opened, I had less than a miniute to wax it up and close it, or strange things would happen to the material, as well as the next run of parts. I could get into some of the scenarios, but it's a long story........fog might be caused by heat and cooling ratios.
-

B-25 Mitchell "Meet Miss Runyon" by Javlin-HK-1/32
popeye the sailor replied to Javlin's topic in Non-ship/categorised builds
first class job Kevin! I went out for thinner the other day, and I picked up a couple bottles of that green chromate. those tins look like the ones I have I've heard of that name......although when I did a search, it took me to bass fishing and pleasure crafts {not exactly what I had in mind}. I've compiled a couple dry transfer videos in my youtube....but haven't had the courage to try them out. I still believe that there is a way to make the perfect water slide decal.......constantly looking for other programs. cockpit detail looks super! -
it's been so long.........hard to recall if they did name as well as number the parts. I know that the Revell ships did. gotta be the worst thing about planes........all that good stuff being closed up and hard to see, if seen at all. being late to some of the scuttle butt.....did you look into seeing if you could get another set of clear parts from the manufacturer? Revell USA used to do it before they were bought up........I do believe Revell Germany does it. I'd check with Zvezda to see if it's possible
About us
Modelshipworld - Advancing Ship Modeling through Research
SSL Secured
Your security is important for us so this Website is SSL-Secured
NRG Mailing Address
Nautical Research Guild
237 South Lincoln Street
Westmont IL, 60559-1917
Model Ship World ® and the MSW logo are Registered Trademarks, and belong to the Nautical Research Guild (United States Patent and Trademark Office: No. 6,929,264 & No. 6,929,274, registered Dec. 20, 2022)
Helpful Links
About the NRG
If you enjoy building ship models that are historically accurate as well as beautiful, then The Nautical Research Guild (NRG) is just right for you.
The Guild is a non-profit educational organization whose mission is to “Advance Ship Modeling Through Research”. We provide support to our members in their efforts to raise the quality of their model ships.
The Nautical Research Guild has published our world-renowned quarterly magazine, The Nautical Research Journal, since 1955. The pages of the Journal are full of articles by accomplished ship modelers who show you how they create those exquisite details on their models, and by maritime historians who show you the correct details to build. The Journal is available in both print and digital editions. Go to the NRG web site (www.thenrg.org) to download a complimentary digital copy of the Journal. The NRG also publishes plan sets, books and compilations of back issues of the Journal and the former Ships in Scale and Model Ship Builder magazines.


